
Some of you may recall this project from a long time ago. It’s a rustic style picture collage clip board thingy. I’m sure someone else can come up with a better name. Anyway, I have been making these for a few years now to give away as gifts and you can make one too. It’s a perfect project to use up some of that scrap wood you have been hoarding for a while now (I know you have…). To make one you will need a random size piece of 3/4″ plywood, a few pocket hole screws, a few pieces of scrap 2×4, a couple eye hooks, some binder paper clips, and some cheap twisted sisal twine.
Attach The Sides
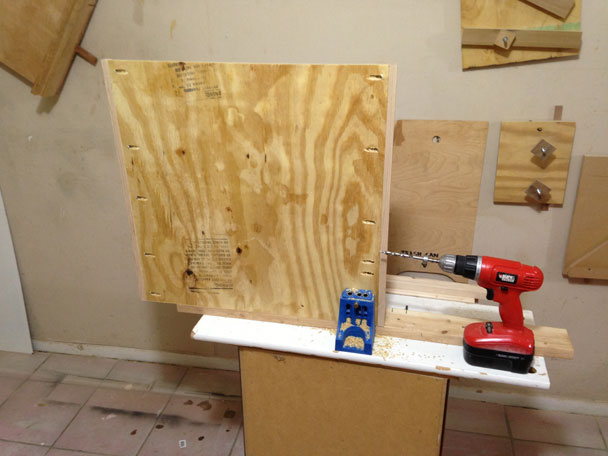
Sizes really don’t matter much with this project as imperfections really play well with the overall look. You can make them up as you go really. But for reference, I attached two 1”x1” strips to the sides via pocket holes in the back. I made sure they were flush with the back and the bottom of the main panel. Then I can run it through the tale saw to flush up the tops.

Attach The Top And Bottom
The top and bottom are attached the same way with pocket hole screws.
I like to make the top and bottom extend past the sides slightly. I made these parts roughly 1” tall and 1-1/2” thick.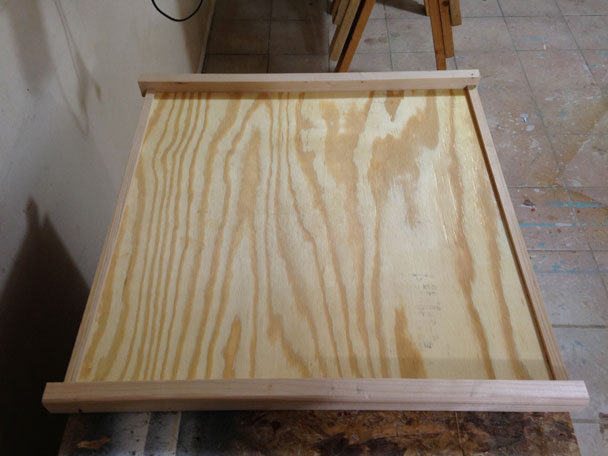
Make It Rustic
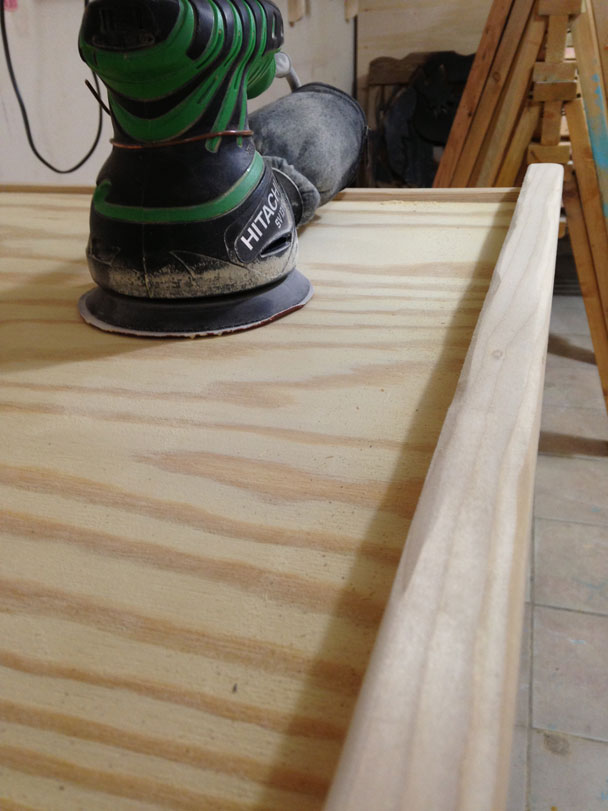
This project looks a lot better if you distress the wood a bit. Make it not-so-perfect. I used my random orbital sander to sand out a few shapes here and there on the perimeter.
Add Vertical Strips
For visual depth add some vertical strips. Again sizes don’t really matter here but for reference mine were 1/8” thick and about 3/4” wide. Space these evenly or create a pattern of your choice.
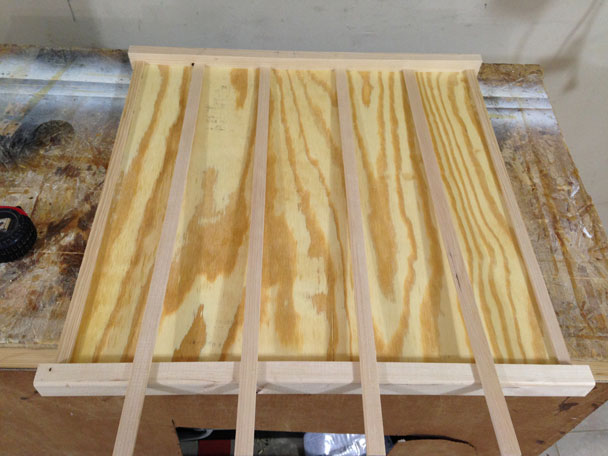
Just a little bit of wood glue and light pressure will hold these in place. I normally use a box of screws or a can of whatever I have close to hold the middle down for a few minutes. This will never have any stress on it so there isn’t a need to go overboard with clamping.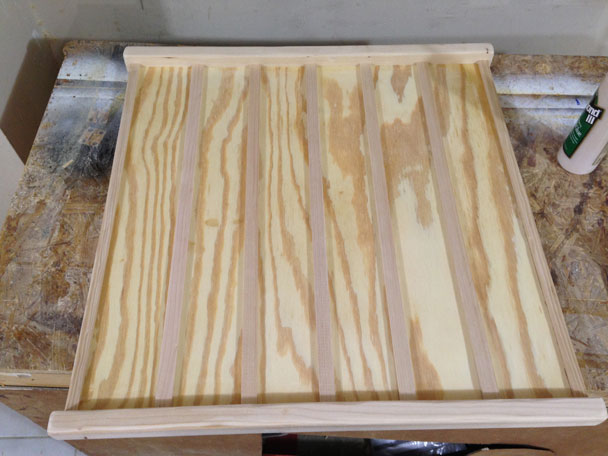
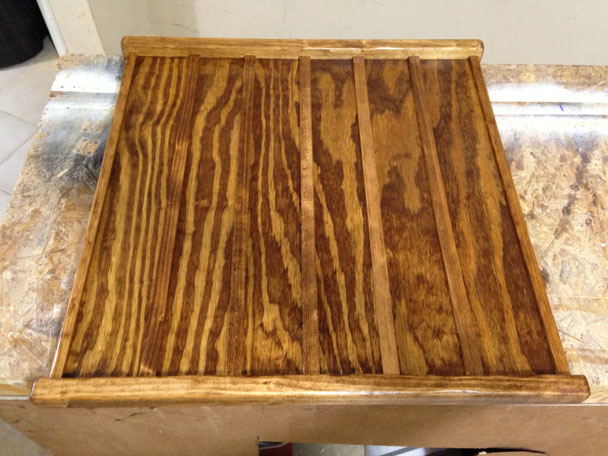
Stain And Finish
I chose Early American Minwax stain for mine. It looks a lot better in person than it does in this picture. I followed that with one brushed coat of satin lacquer.
Color Your Hardware
The only hardware I can find locally is either polished brass or silver (why doesn’t anyone sell black hardware?!!!!?). I decided to spray paint mine a darker brown color. Make sure you let the paint fully harden before you screw in the eye hooks.
Add Eye Hooks
Depending on the size of your board you may end up with a different number of rows. Mine was perfect size to get three 7” rows which will work great for 5×7 pictures. Add your eye hooks about 1/2” away from the sides. Remember that if you place your top most row too close to the top you won’t have much room to use the clips easily.

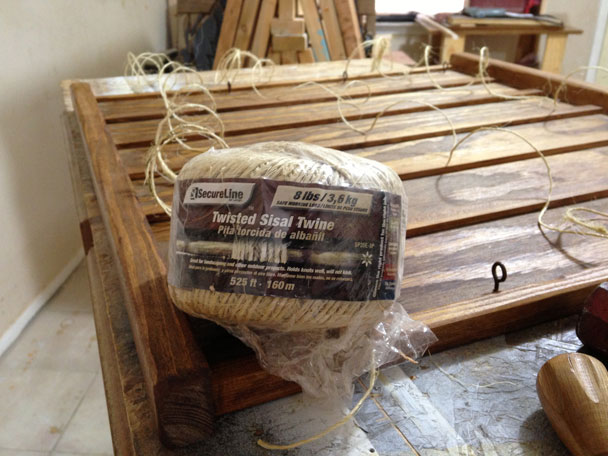
Add Some Twine
Take some twisted sisal twine and make a “mini clothes line” in between each row of eye hooks.
I loop it through one end, take it to the other side and twist both strands, and then tie it off real tight. The more slack you leave in the line the more your pictures may sag.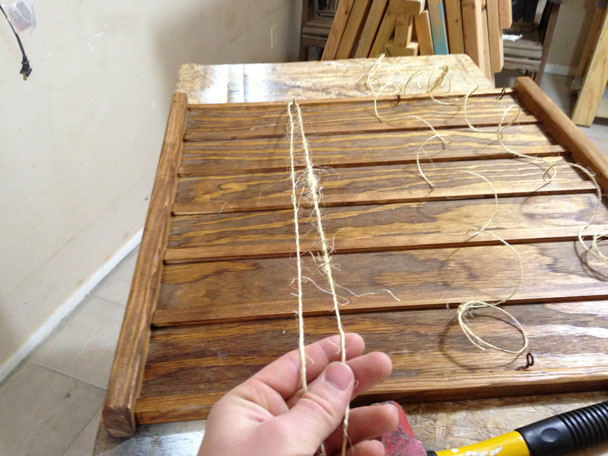
Add Binder Paper Clips
Add your clips and that’s it. What’s awesome about this project is that every one can be unique from the other. Get creative with this. You can make any size you want.


Awesome. I think I will make a few of these for gifts and myself.