My house has pretty boring windows. A little because of the architecture of the house and a little because of the fact that I hate curtains. So we just have 2” wide blinds in all of our windows. All of the blinds were left by the previous owners of the house and it looks like they were installed at different times through the years as most of them are of different styles and manufacturers. Luckily the major differences are only noticeable at the tops of the blinds. To cover these unsightly blinds I thought about making painted window cornices.
Window cornices are incredibly easy to make. It’s really just a three sided box with a little decorative moulding. To make things easier and get a better representation for the sizes that I wanted to use I first designed the project in SketchUp.
I designed the project with the dimensions of a 1×12 in mind but when I got to the shop I realized I had a perfect piece of MDF that has been in my way for quite some time. Just waiting to be used. This piece of MDF will actually yield enough material for two cornices of this size. Today I’m only building one though just to make sure I like the design.

I probably should have adjusted my measurements for the box pieces slightly so that I could get three cornices out of this piece of MDF scrap but oh well.
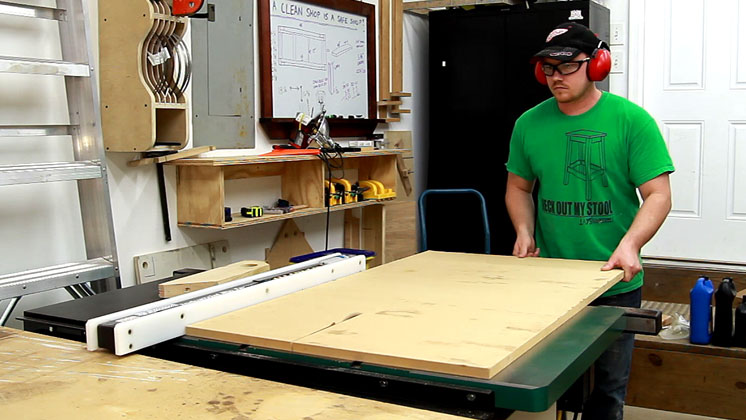
Once the MDF was ripped to it’s 11-1/4” width I cut off two 3” wide strips. My final SketchUp design had these pieces being 4” wide but after measuring the blinds I have I found that 3” would be just fine. And yes, I got a different miter saw finally.

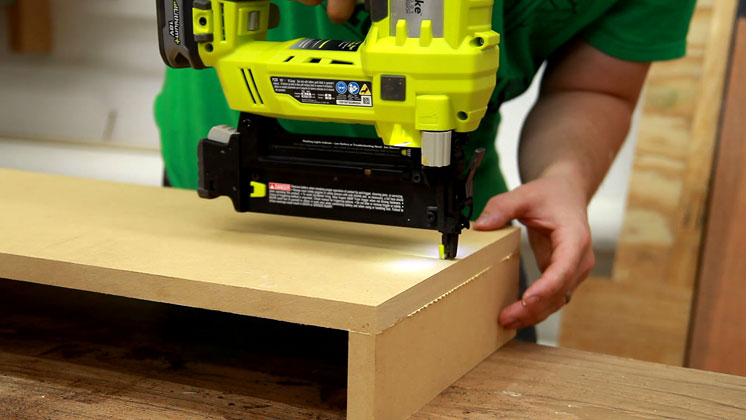
Because this project will be filled and painted a simple butt joint with glue and brad nails will be fine for the box construction. Three brads at each end.
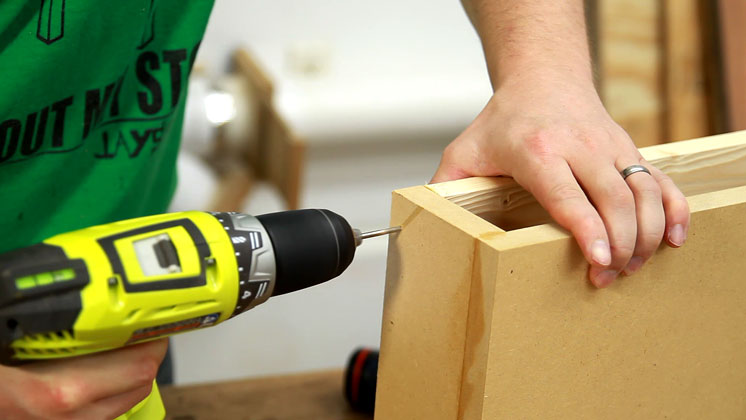
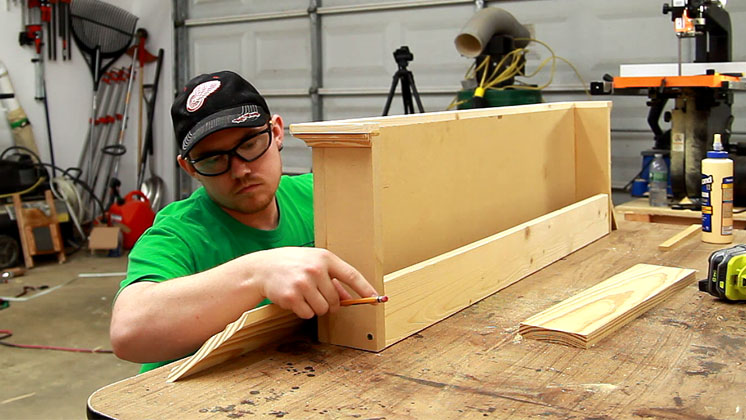
On the back side I added a strip of 1×4 to connect the sides. This will also give me plenty of surface area to screw through when mounting the cornice to the wall. I used one brad nail and one wood screw to secure the 1×4 to the sides. I’m sure glue and brads would have been plenty strong enough but just adding one wood screw makes me sleep better at night. Seriously, I slept like a baby last night.
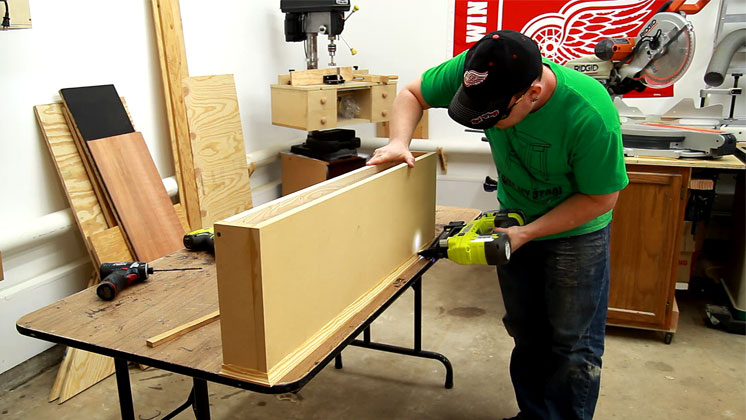
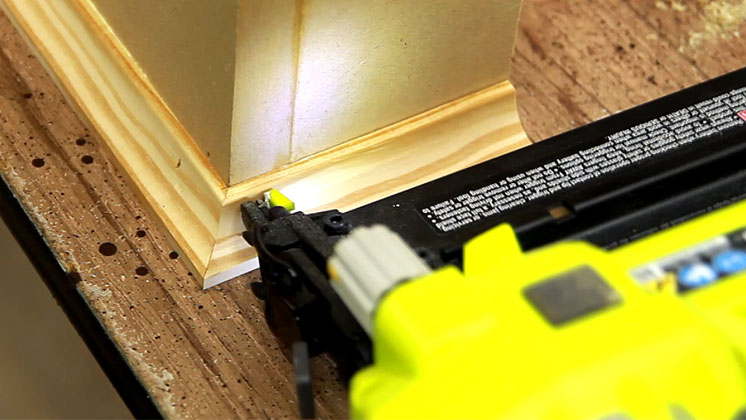
To dress up the bottom of the cornice I used regular 11/16” cove moulding. I didn’t bother making any of this moulding. It was all purchased.
It’s just a matter of working my way around the box and attaching the trim with wood glue and 5/8” brads.
It’s OK if the miters aren’t perfect for a project like this. Everything can be filled with caulk and painted over. It’s very easy to disguise mistakes.
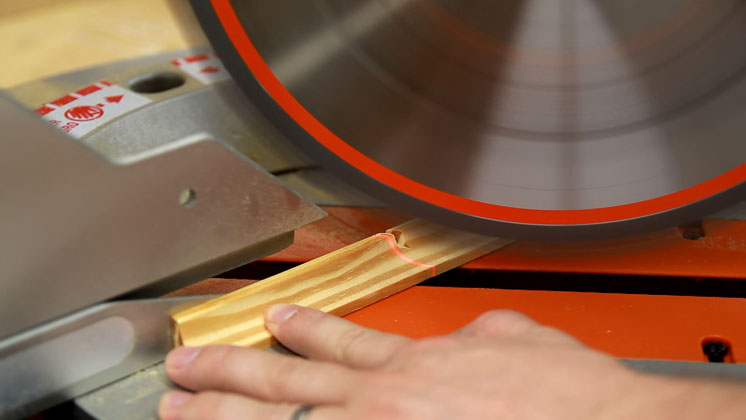
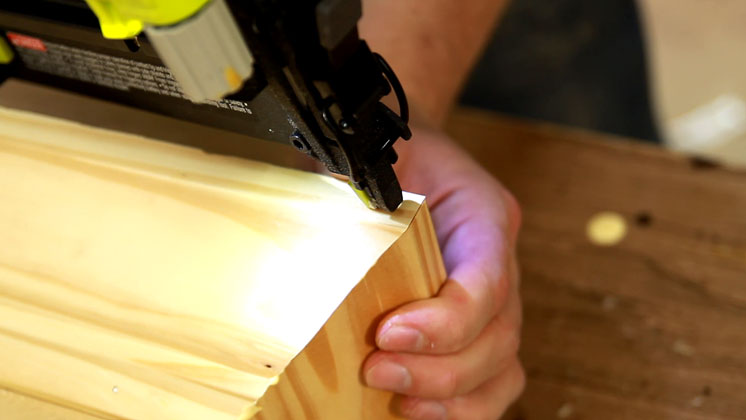
The crown moulding went on the same way. But this time I flipped the box upside down so I could reference off my work surface. I actually forgot to take any shots of me cutting the crown at the miter saw. It wasn’t anything special though. I just set the saw to the appropriate 45 degree miter and made my cuts with the crown on an angle against the fence and saw table. Just marking and cutting to the line.
If you’ve never worked with traditional crown moulding before don’t worry. Neither have I until this project. Both of my miters were a little gaped at the end. I’m sure that was due to me holding the crown by hand at what I thought by eye was the appropriate angle against the fence when cutting the miters. I should have used a stop block system or some type of jig to get more repeatable results from cut to cut. But oh well. I just closed the corners by hand and tacked them together with glue and a brad nail.
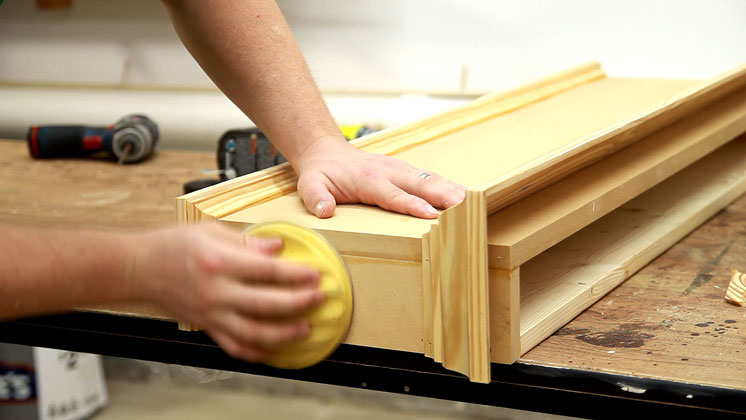
With the structure complete a little hand sanding will smooth the edges of the MDF. It was actually a lot of hand sanding but the power of video editing and still photos drastically reduces the production time.
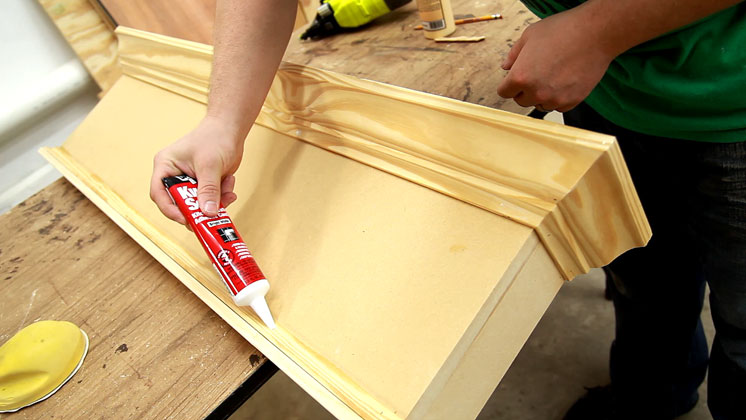
I really didn’t want to deal with wood putty and sanding again so I filled all of the nail holes with caulk. I also ran a bead in every seam between pieces. This will give a flawless and consistent transition for the paint.
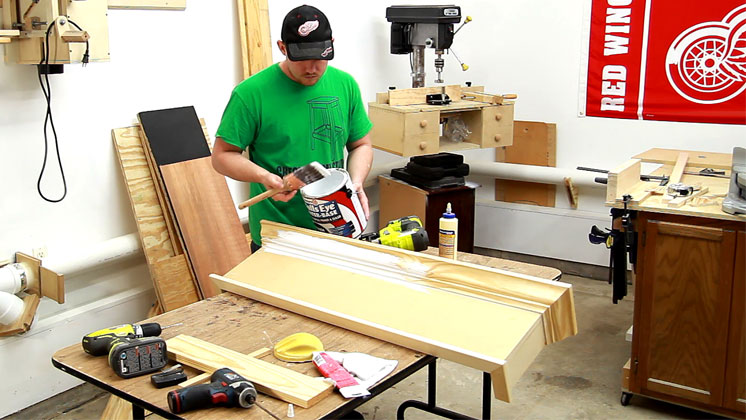
Most caulk recommends waiting for an hour or half hour for the caulk to cure before painting. I’ve installed a lot of base trim and window and door casing in the past few years working residential maintenance and I’ve never waited for the caulk to dry. I just paint right over it and have never had any problems. The whole project was primed white first and then finally painted with a bright white semigloss latex paint.
Because there is a 1×4 strip in the back, mounting this to the wall is incredibly easy. I set the cornice directly on top of the window trim, checked that it was level enough by eye, and screwed it to the studs in the wall.

This is an incredibly rewarding and easy project to make for an otherwise boring room. I didn’t follow my thoughts in SketchUp and ended up making this just a little wide for my liking when compared to the window. But that’s OK. This was a test run. The main thing is that my wife and I both like the upgrade. That means I have 11 or 12 more to make for the rest of the house and judging by my current work schedule I’m not sure if that’s a good thing or a bad thing.


Looks really good Jay. I’m not really a fan of those.. a little TOO fancy for me. But they look simple enough to make.
Yeah they can get really fancy real quick. I contemplated using decorative dental moulding as well.
Nice work Jay, I have a few windows in my house that could use the same treatment. I actually built the same sort of thing above each door way in my house but haven’t really done anything with the windows yet. Also looks like you have a few new tools. Hope you plan on giving your opinion on that dust collector.
Thanks Steve. I’d like to replace the trim around my doors to a non mitered style one day but for now it’s just the windows to work on. So far the dust collector works a lot better than the last one I had.
Jay,
Did you consider using a French Cleat hanging system for these Cornices?
Nah, It’s just two screws to remove it from the wall. Not that big of a deal with cordless drills these days.
I agree with Bob. Only I would suggest mirror mounting hardware, for the compactness. This would increase the ease of removal for cleaning purposes. It would also mean the cornice could be shallower.
Nice project, Jay. I showed the video to my wife and she wants me to make them for the bedrooms. You have great ideas and the way you break it down makes for a simple build. Hope you enjoy your new Ridgid sliding saw! Thanks again and look forward to many more projects.
Thanks Web. I appreciate it. The saw works great!
So many projects on my list of renovations to our house, and now I might have to add another one….
Did you attach a dust collector to the Ridgid slider? I have the same one and i haven’t found a good solution yet for dust…the bag doesn’t seem to work well, and my shop vac barely pulls anything in.
I slid my 4″ DC hose over the end but it didn’t do much. I’m making a specific miter saw station for the saw soon.
I would love to see what you come up with!
Thanks Jay……..this is another one I’m going to do. I had no idea how simple this would be. As usual great job on many levels. Have a great day my friend.
Chuck
Jay nice touch. I know you hate tool reviews but how do you get on with your Ryobi brad nailer?
No complaints
I have the same blind problem in my house. This looks like a great remedy. I’m gonna build these during the holiday break.
Jay,
Beautiful work, but I think there is a simple change everyone should consider… if you close the top of the box, whether with a piece of wood, or whatever, it changes the way the air flows up and down the window, and you’ll get an energy savings on heating and cooling by forcing the air to the outside of the blinds/curtains, especially in the instances where the curtains are mounted on the wall rather than inside the window opening. Super simple mod that wont affect the look of the cornice, but makes it functional rather than decorative.
Good day. Great idea for a curtain rod and it looks amazing.