We’ve been living in our current home for over two years now. It’s crazy to think that much time has flown by. And while we’ve gotten a lot of household things accomplished there are a few loose ends that still need to be buttoned up. One of which is my pantry.
I really need to quit calling it a pantry. It’s not a pantry. It’s a hall closet. It just makes much more sense to convert it into a hall closet. In doing so it will finally bring a little more organization to a bunch of items that previously didn’t have a home in our home. Like our mop bucket and vacuum.
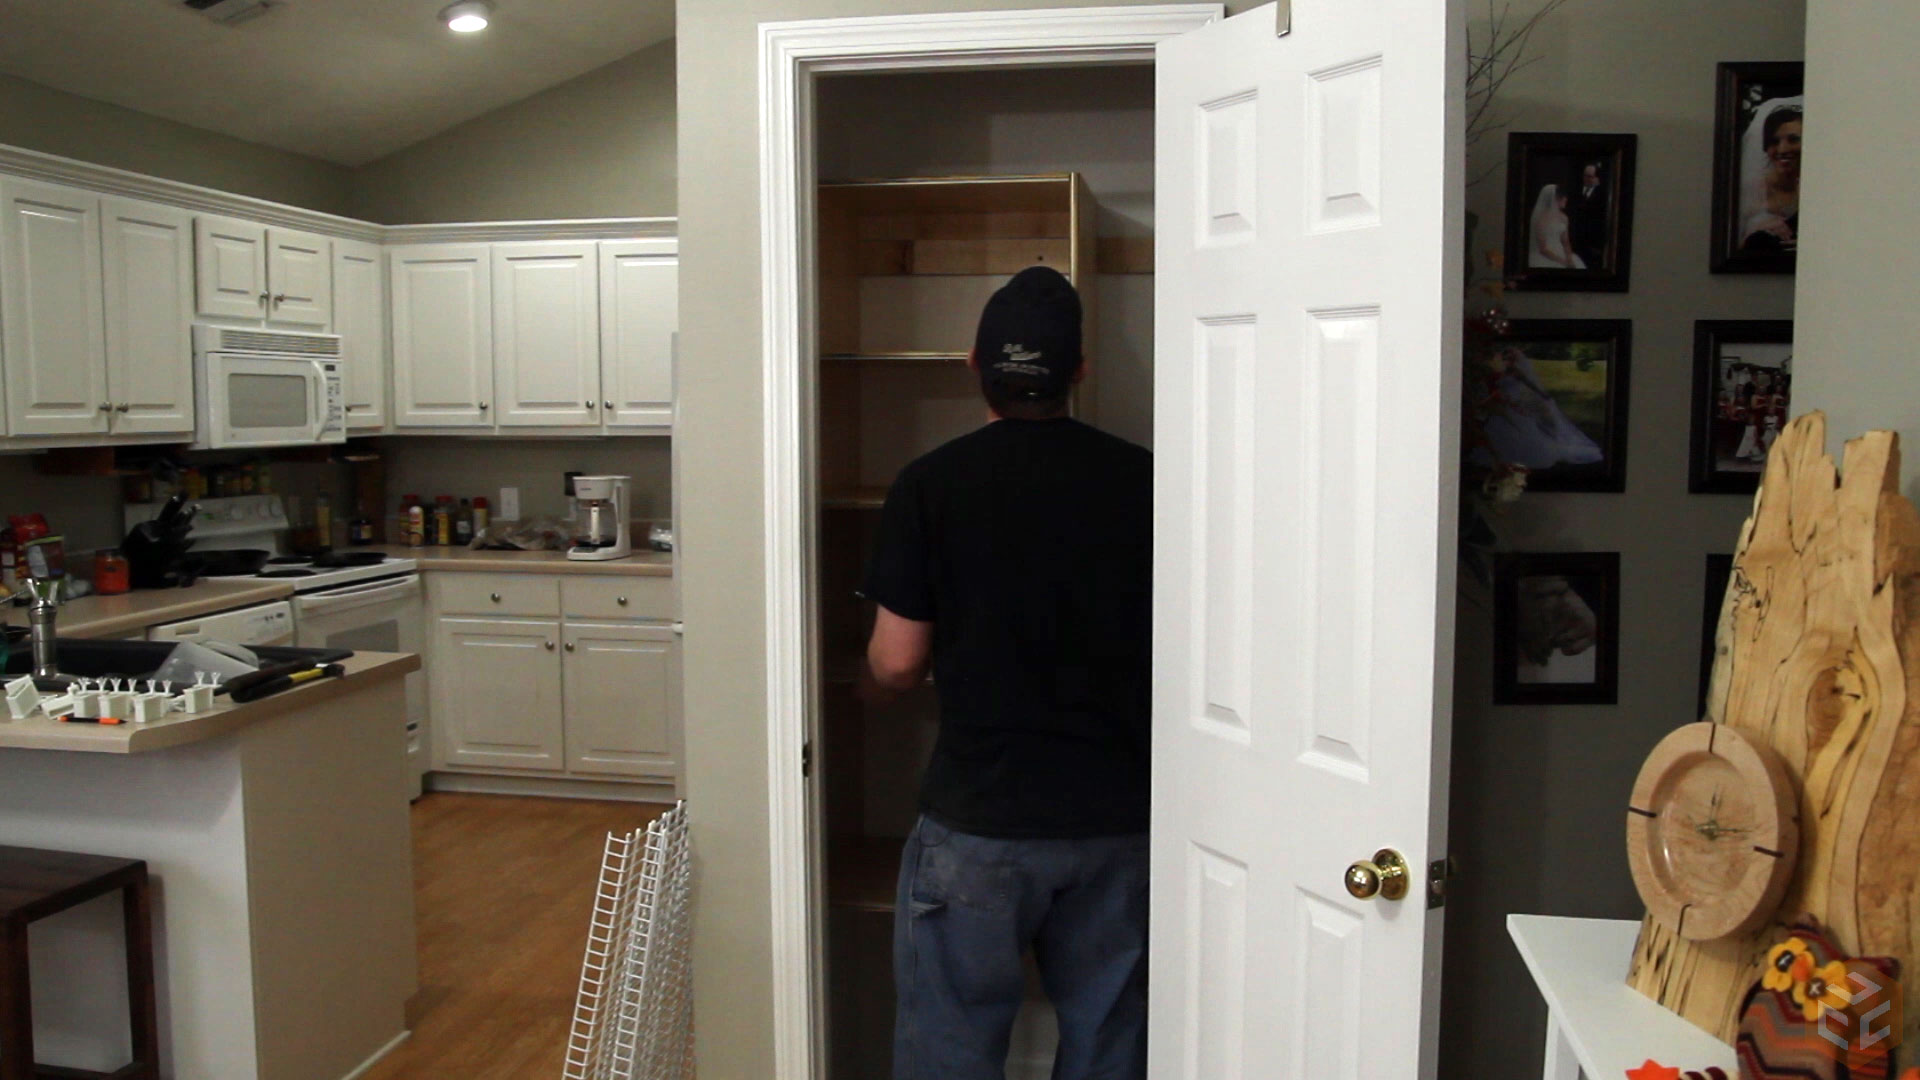
Step 1 in this case was to empty the current pantry and remove all of the wire rack shelving. I’m totally not a fan of wire rack systems. They do have some benefits, like not collecting dust, but they limit customization and can’t hold much weight. While emptying the pantry I was reminded that the previous owner didn’t finish the base board trim so I added that to the list of stuff to do while I was at it.

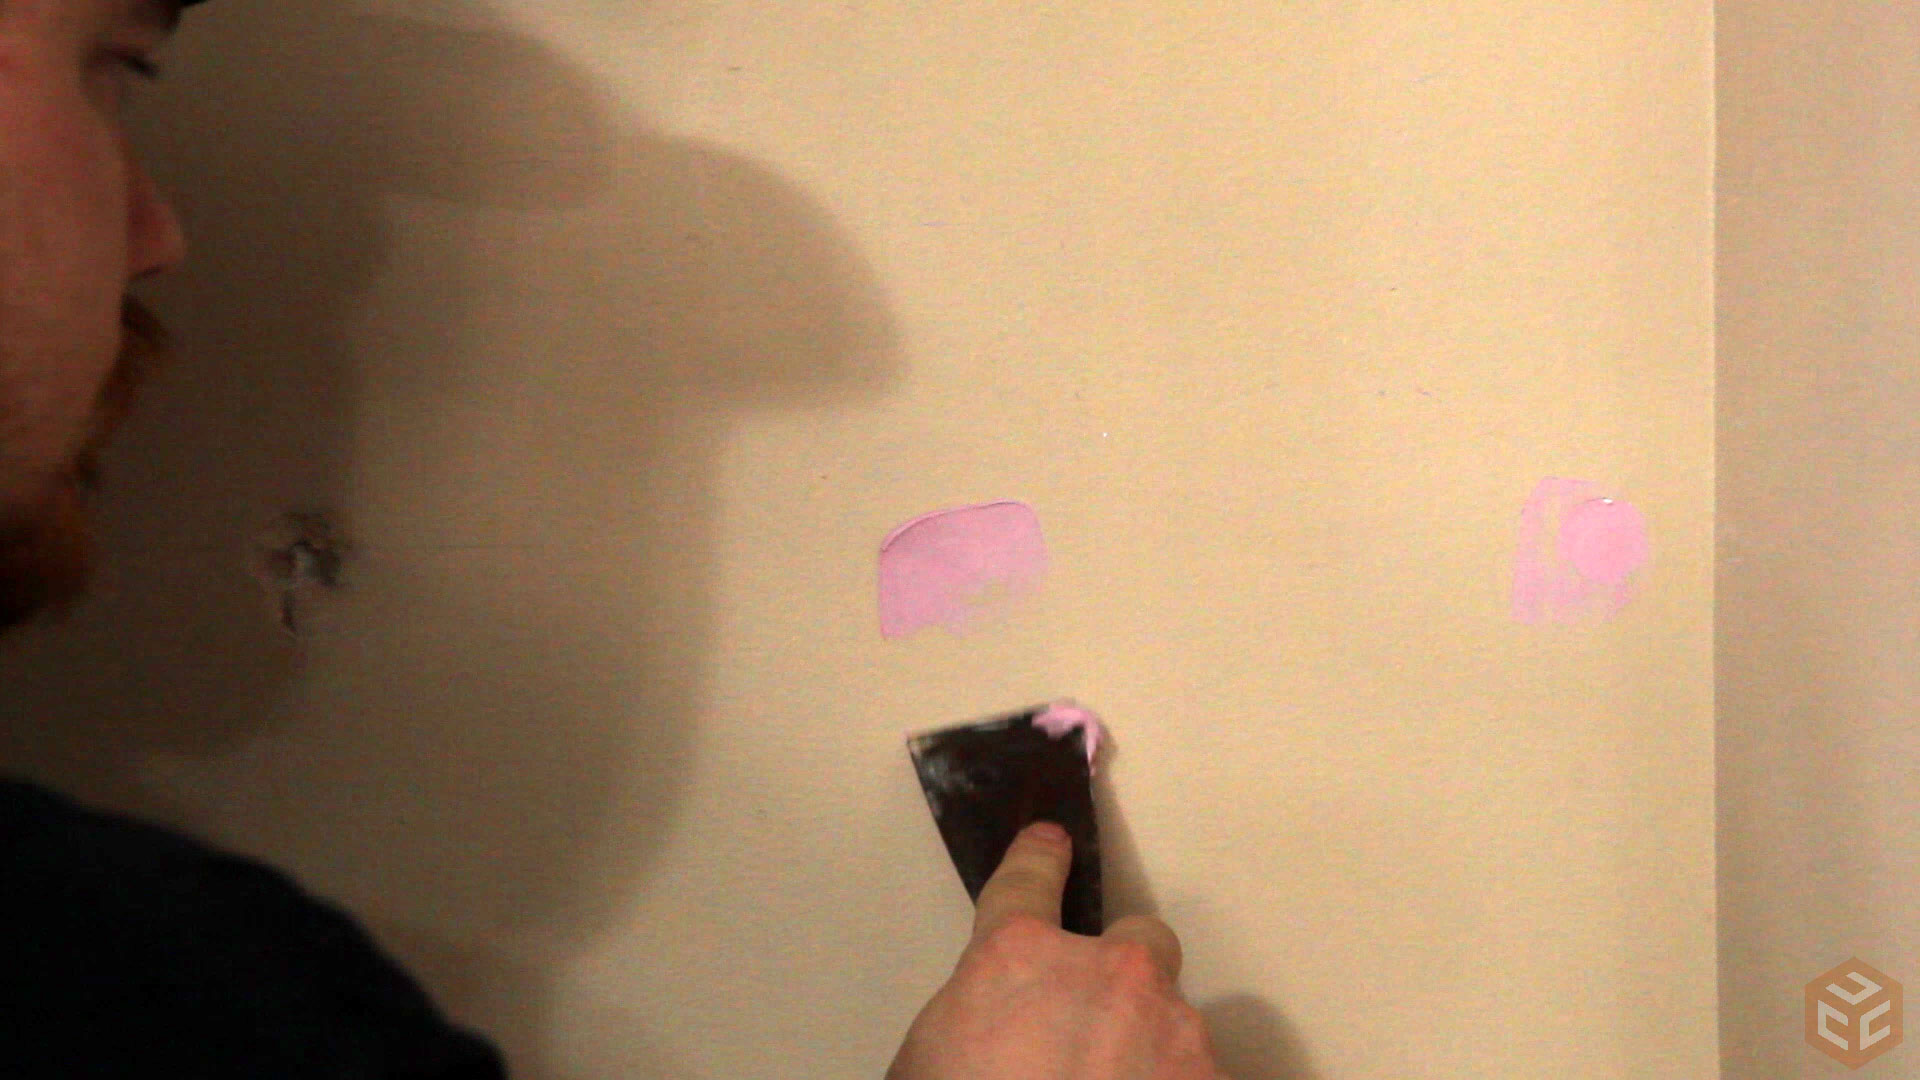
When removing the wire shelving I tore up the wall pretty good. Not a problem though. A little ready-patch compound and it’s good to go. The stuff I used goes on pink and dries white which is great to visually let you know when you can sand it down.
After installing the lower trim and patching the holes I gave the interior two coats of white paint. This really helps brighten up the small unlit space.

A couple of days prior to building I put together a SketchUp video covering my design process for this project. You can see that video by clicking here. The entire build will be made with 3/4” plywood. The stuff I’m using is maple PureBond hardwood plywood. I’ve been using this plywood for about a year and a half now as it’s the best stuff I can find below $50 per sheet. Plus, it’s formaldehyde free and made in the USA. I started by ripping a few strips to 17” wide.
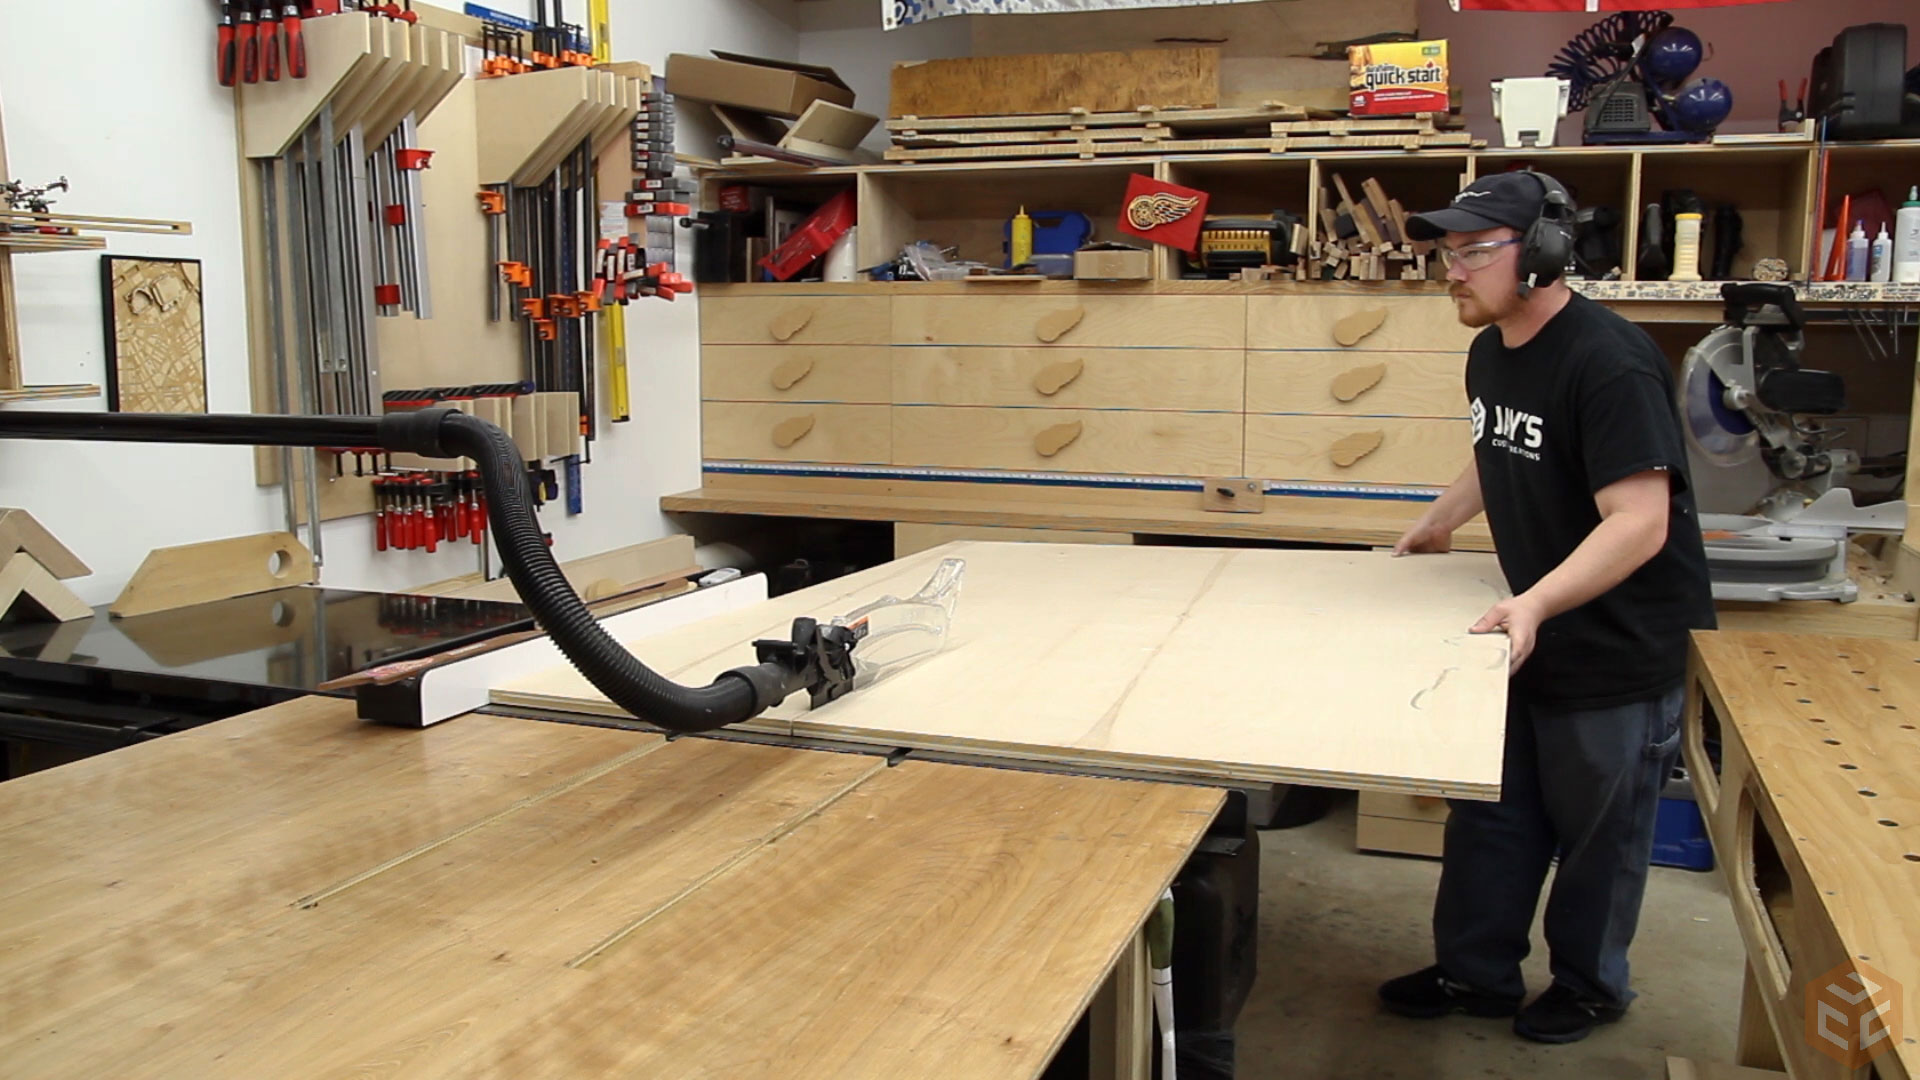
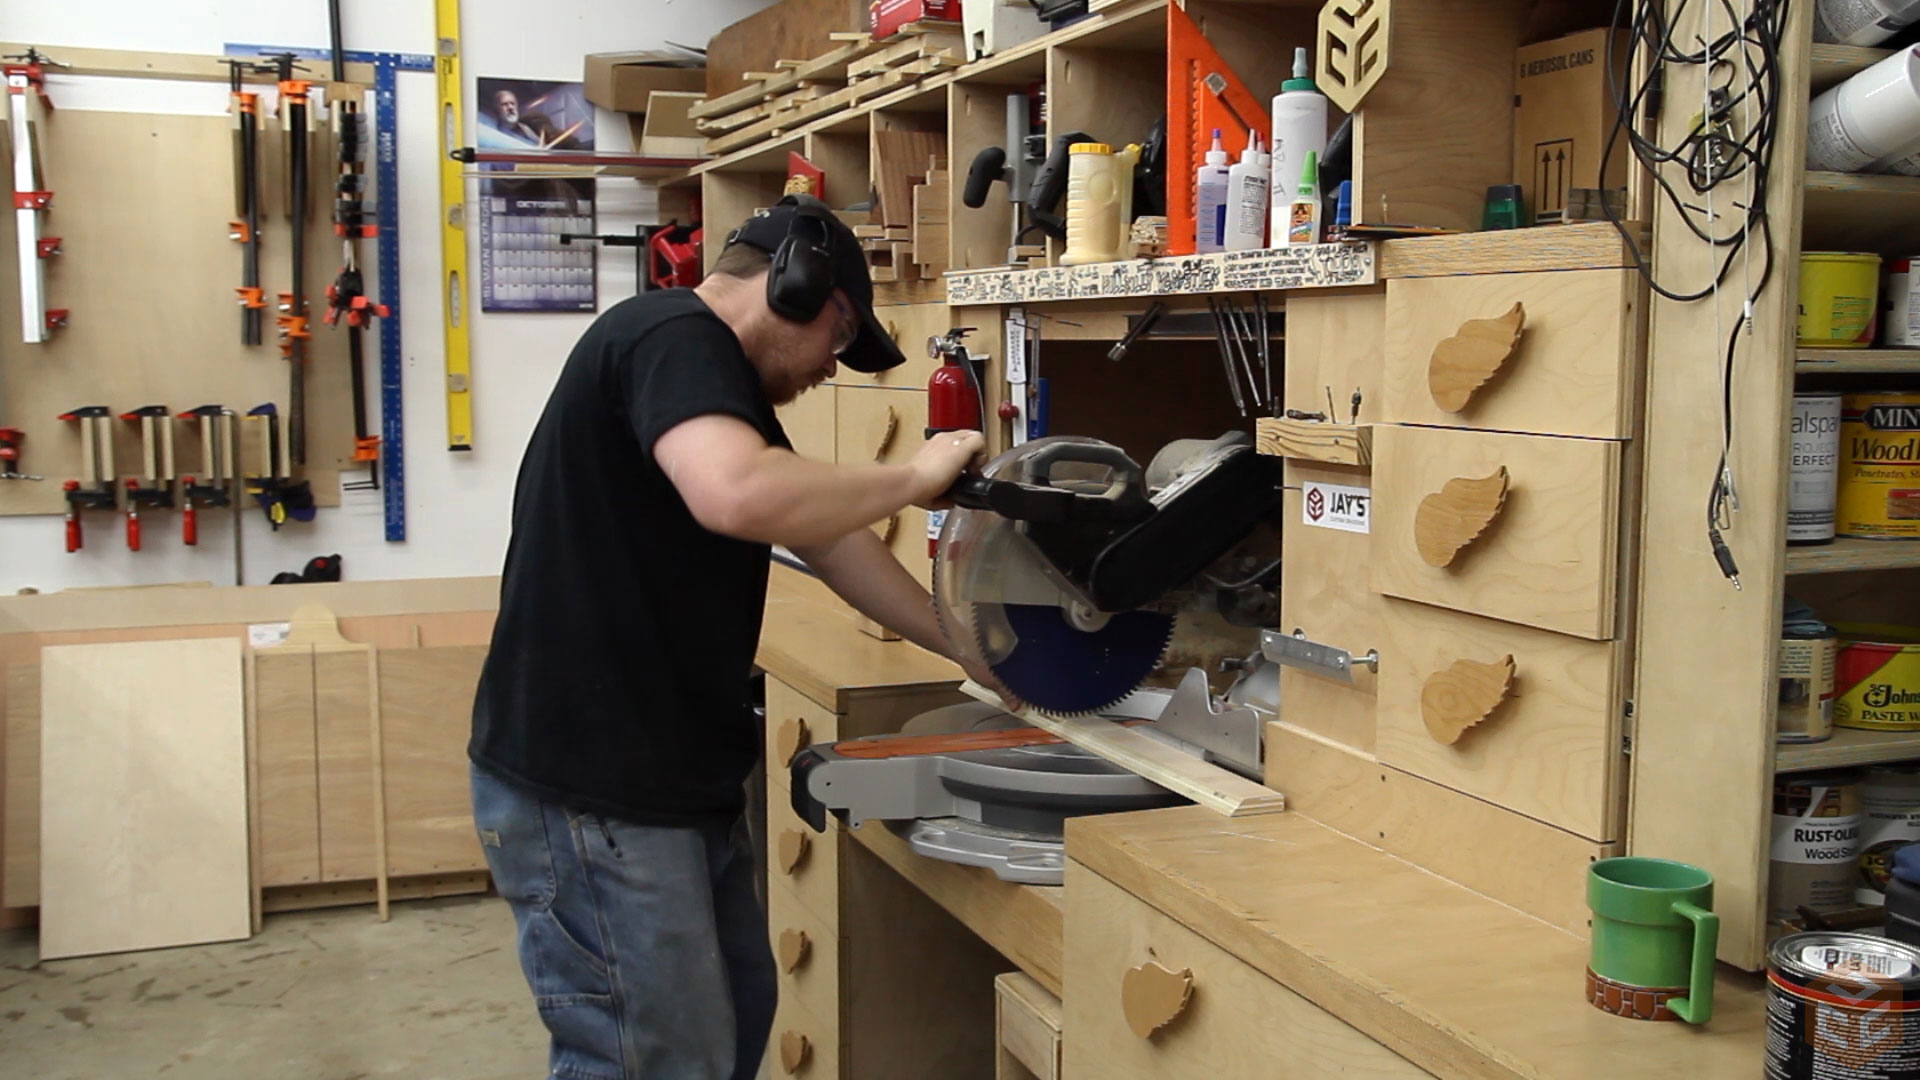
Then all of my pieces can be cut to length at my miter saw station. Having a dedicated miter saw station that is always ready to go and always has more than enough material support has been so handy.
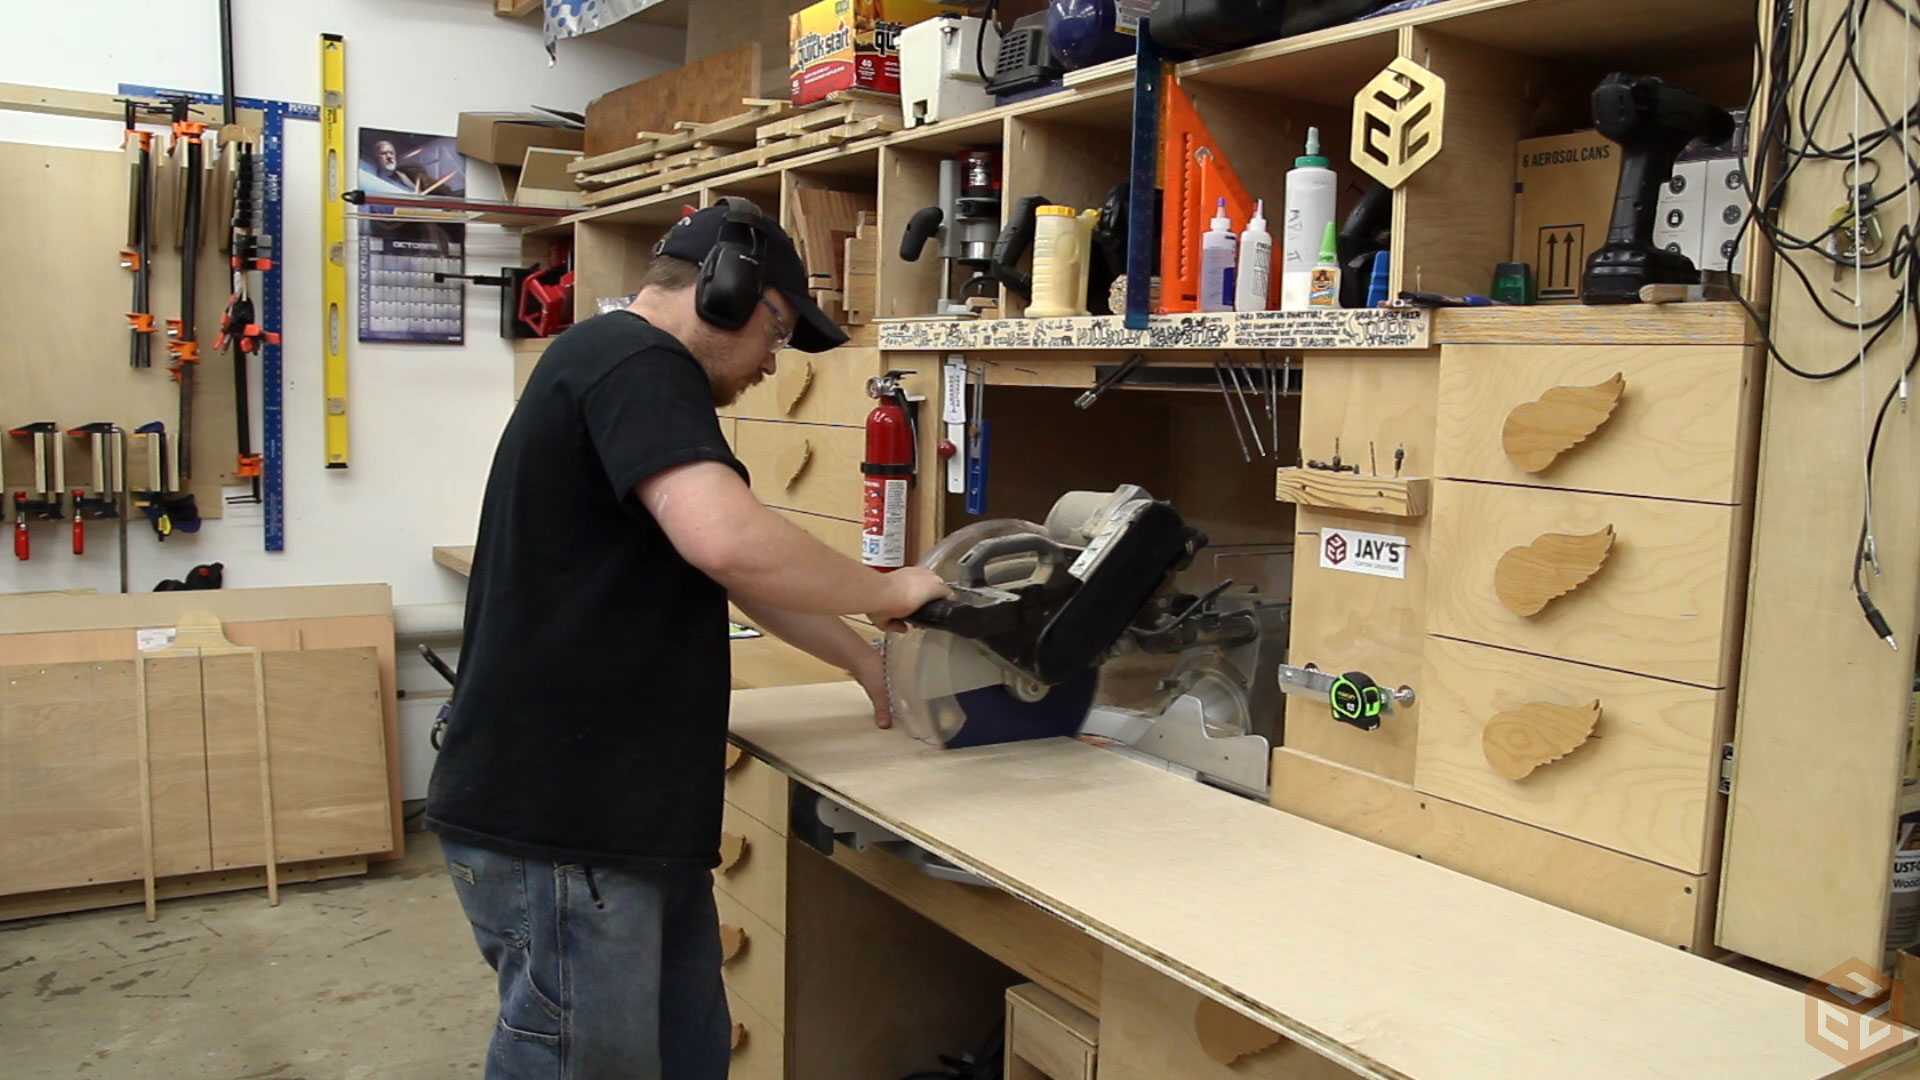
On a side note, I’m really happy with the way the shop layout has evolved. Having the assembly table in the middle with access on all 4 sides and with all of the tool stations surrounding it has worked out quite well.

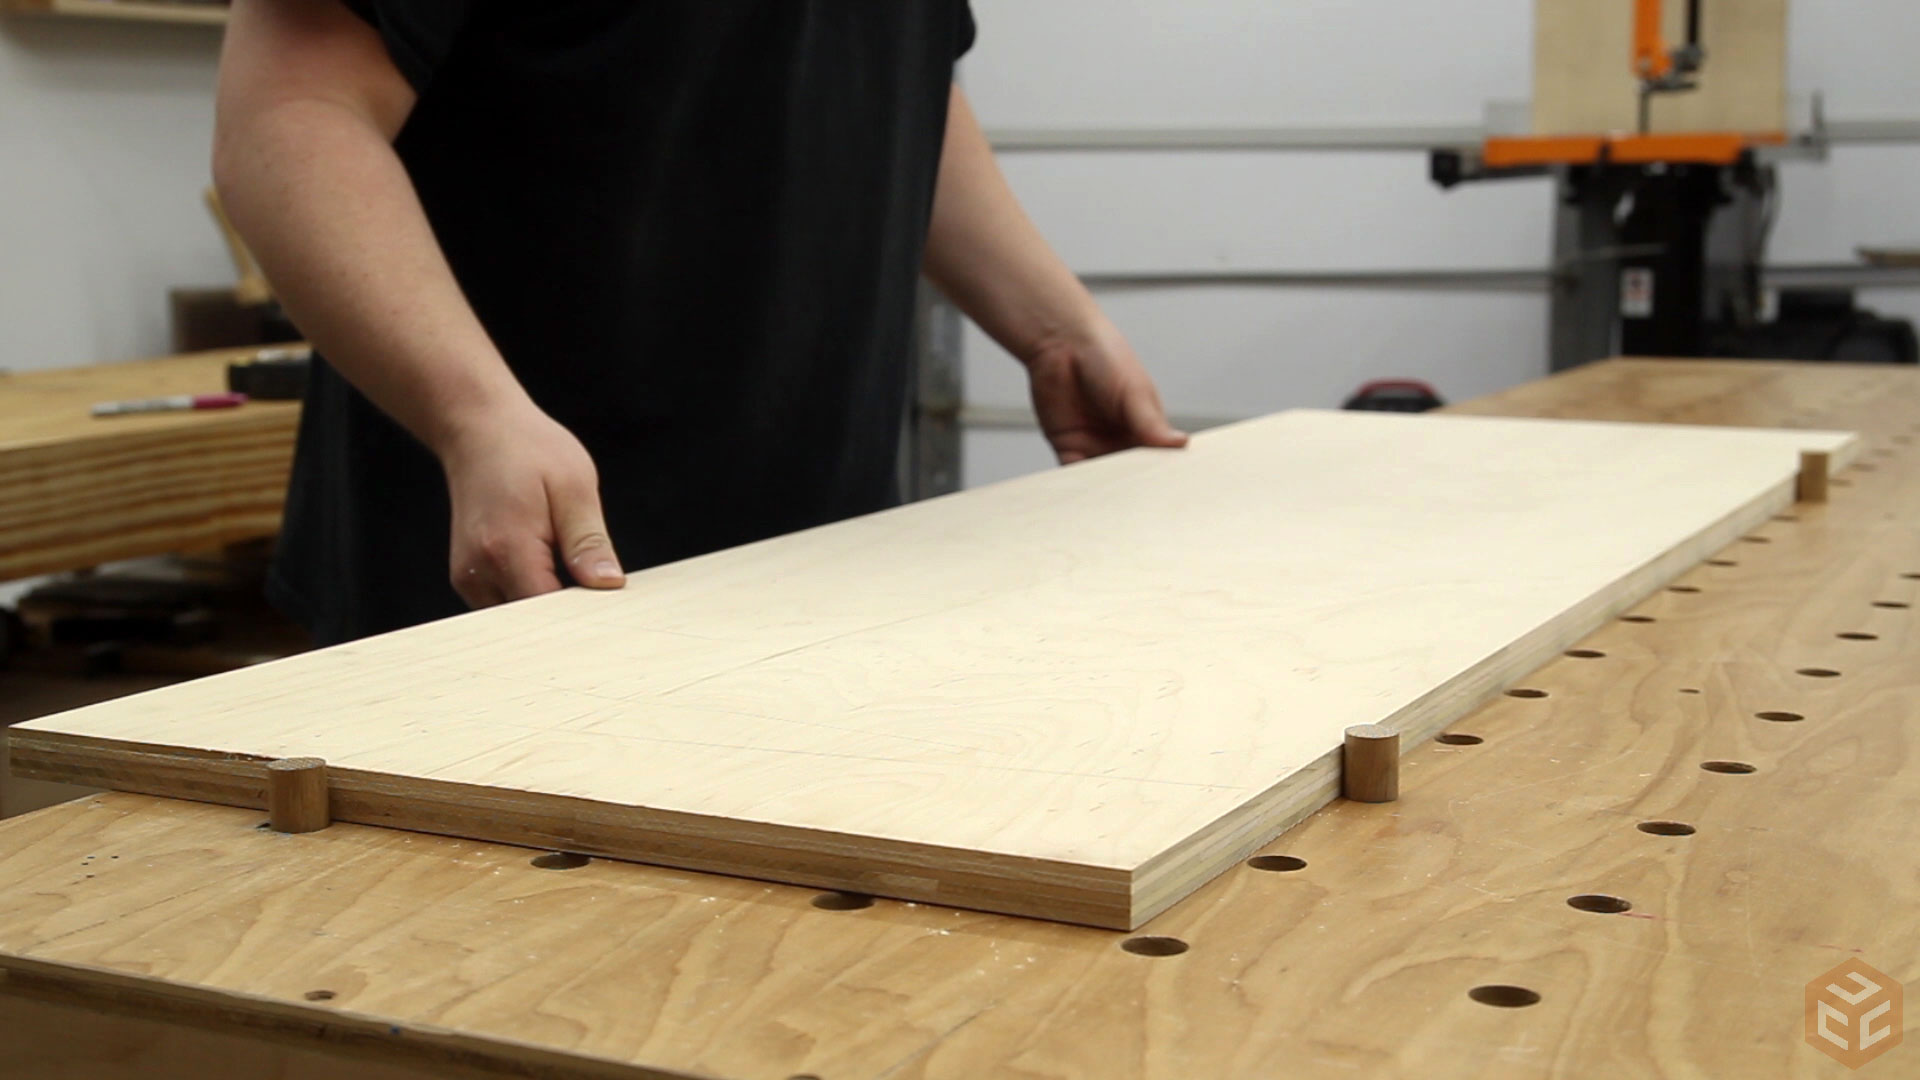
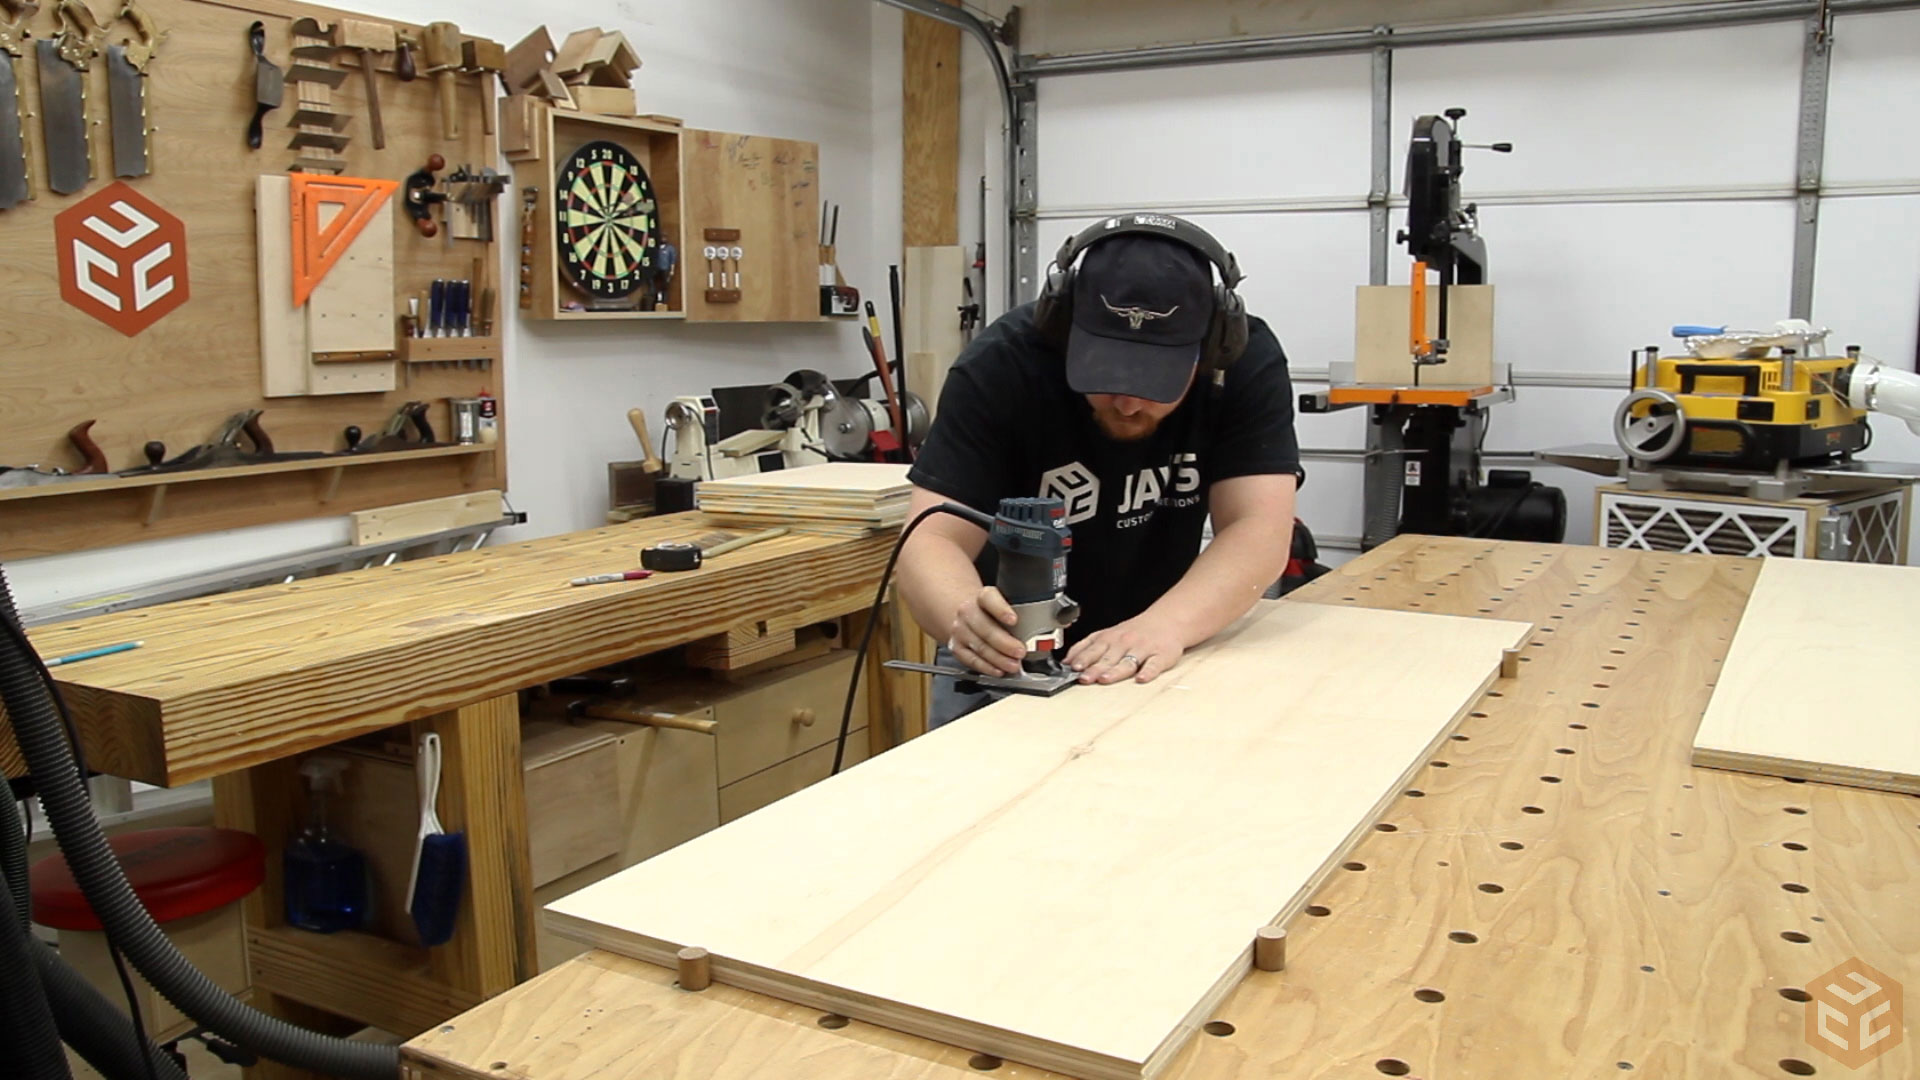
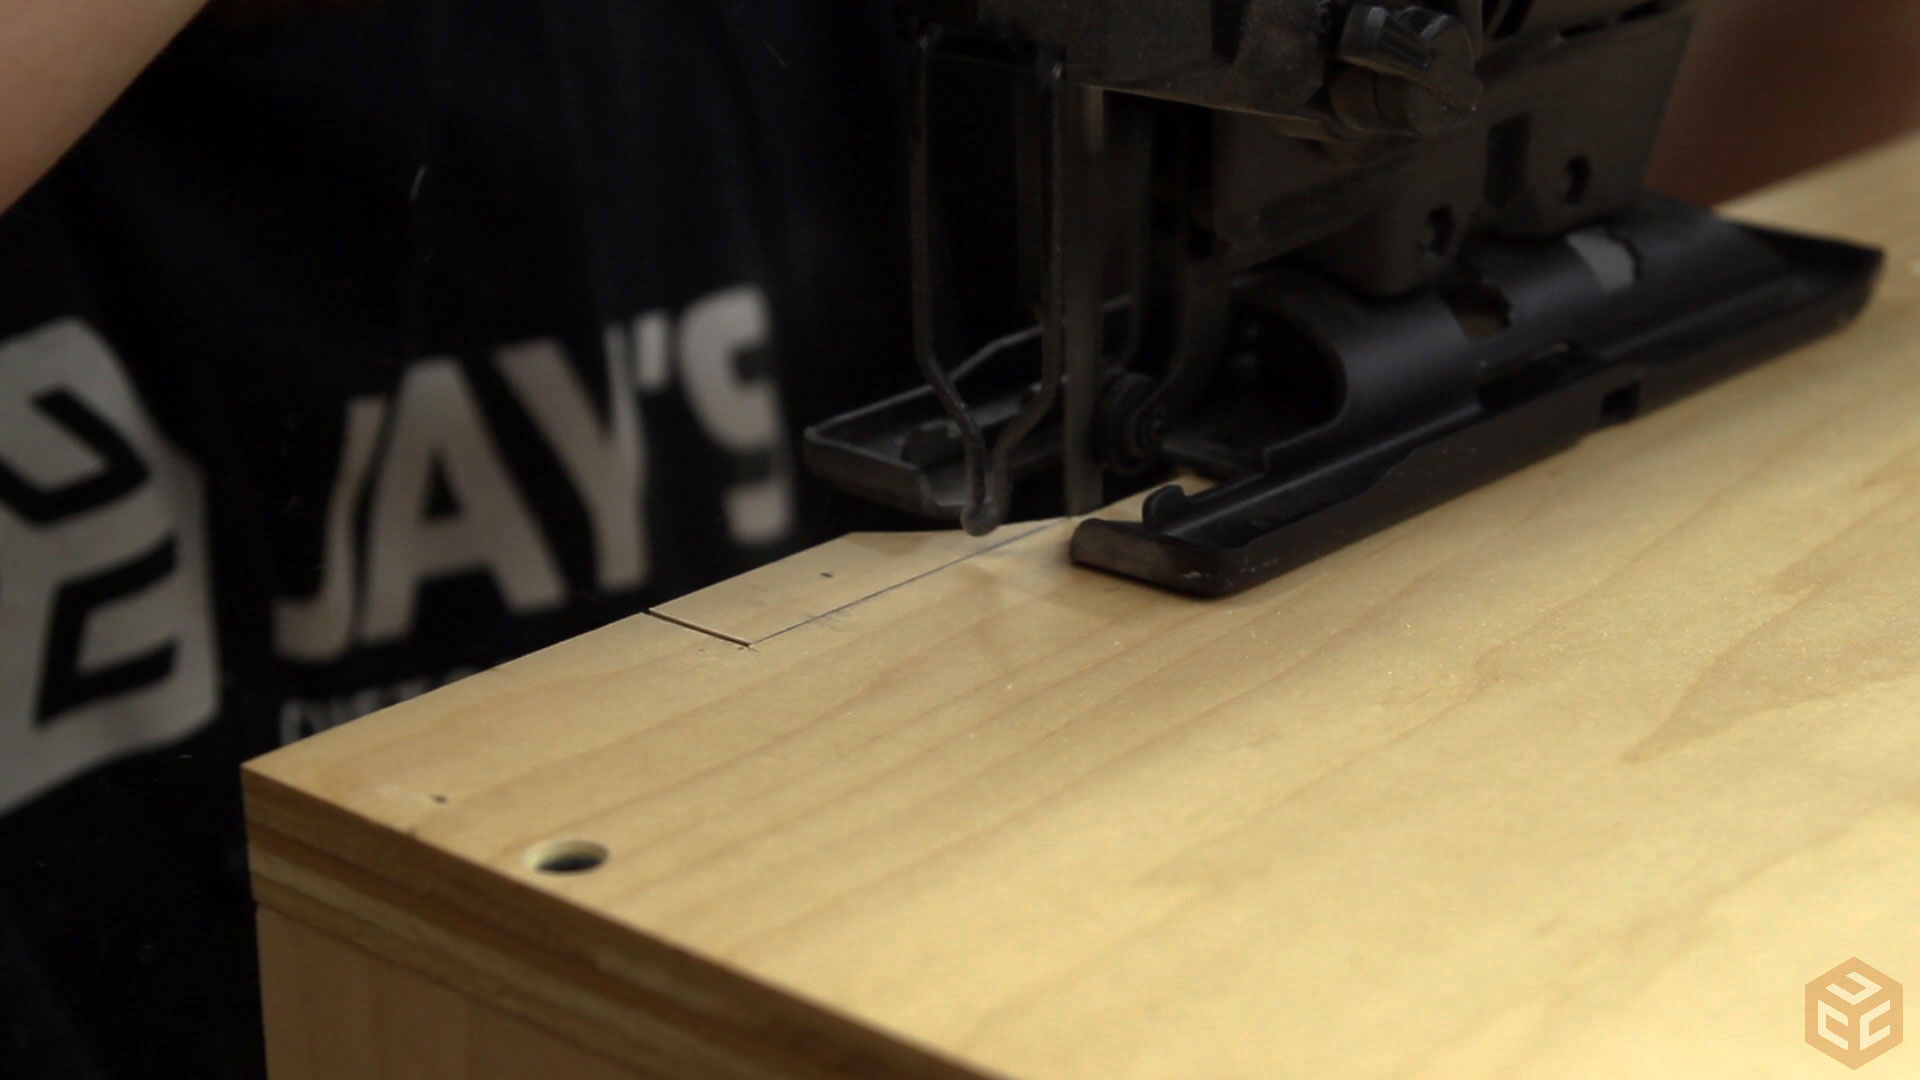
Here’s a good example of why I like all of the holes in my assembly table. Place two pegs in the back and one to the side and you have a great setup for working with power tools.
All of the front edges received a round over with the router. I did this on both side panels as well as the horizontal shelves.
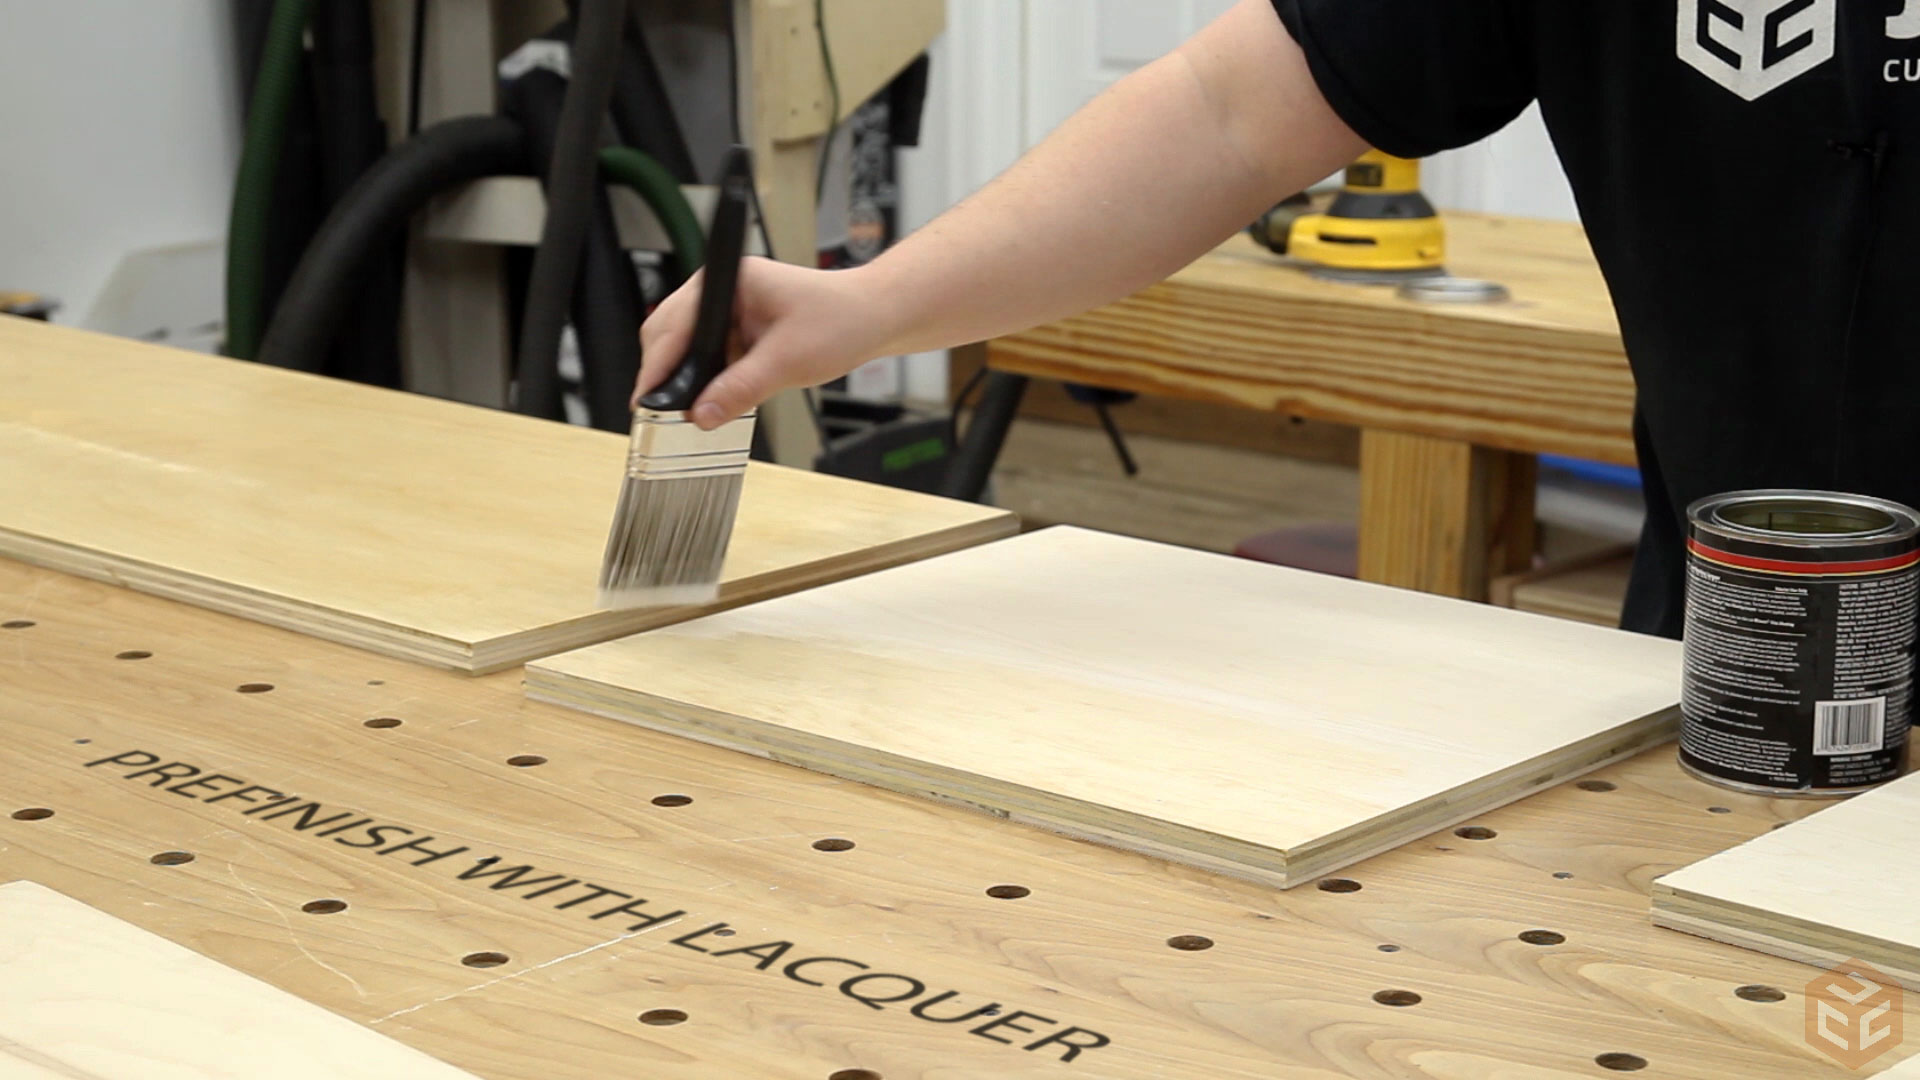
Unlike most projects I make, I decided to finish before assembly. I figured it would be a lot easier that way considering all of my pieces are panels. Before finishing I hit everything with 220 grit sand paper in my random orbit sander.

For a finish I used lacquer. I’ve had great results with the durability of lacquer finishes in the past and because the items that will live on these shelves will be there for quite a while I don’t see any future issues with damage to the finish.
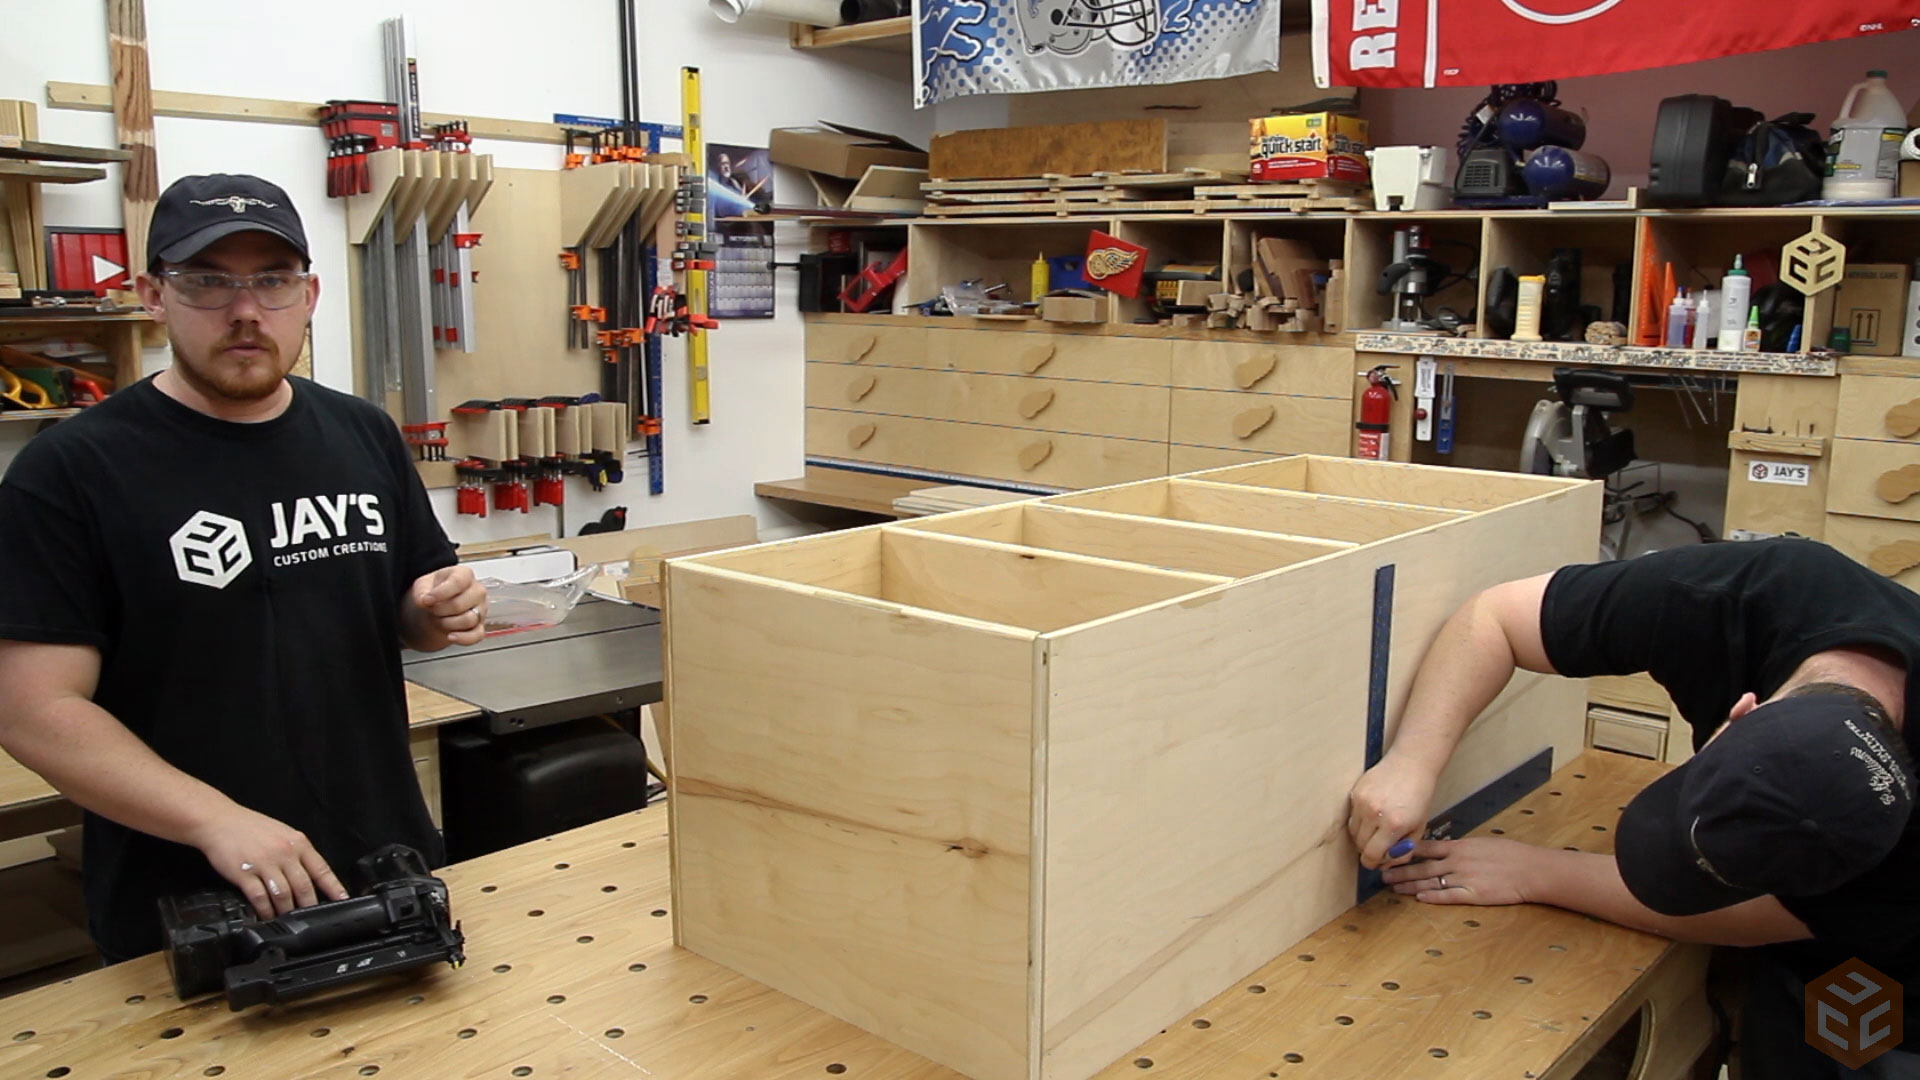
Holding everything together before driving screws is super easy with a few brad nails. The only downside is that you see those brad nails in the finish project. Because the sides of this cabinet are going to be difficult to see I went ahead and tacked everything with some brad nails.

With the brad nails holding everything together I marked drilling locations with a blue marker. I find it much easier and a lot more consistent to take a minute or two to mark out the drilling locations instead of just drilling blindly.
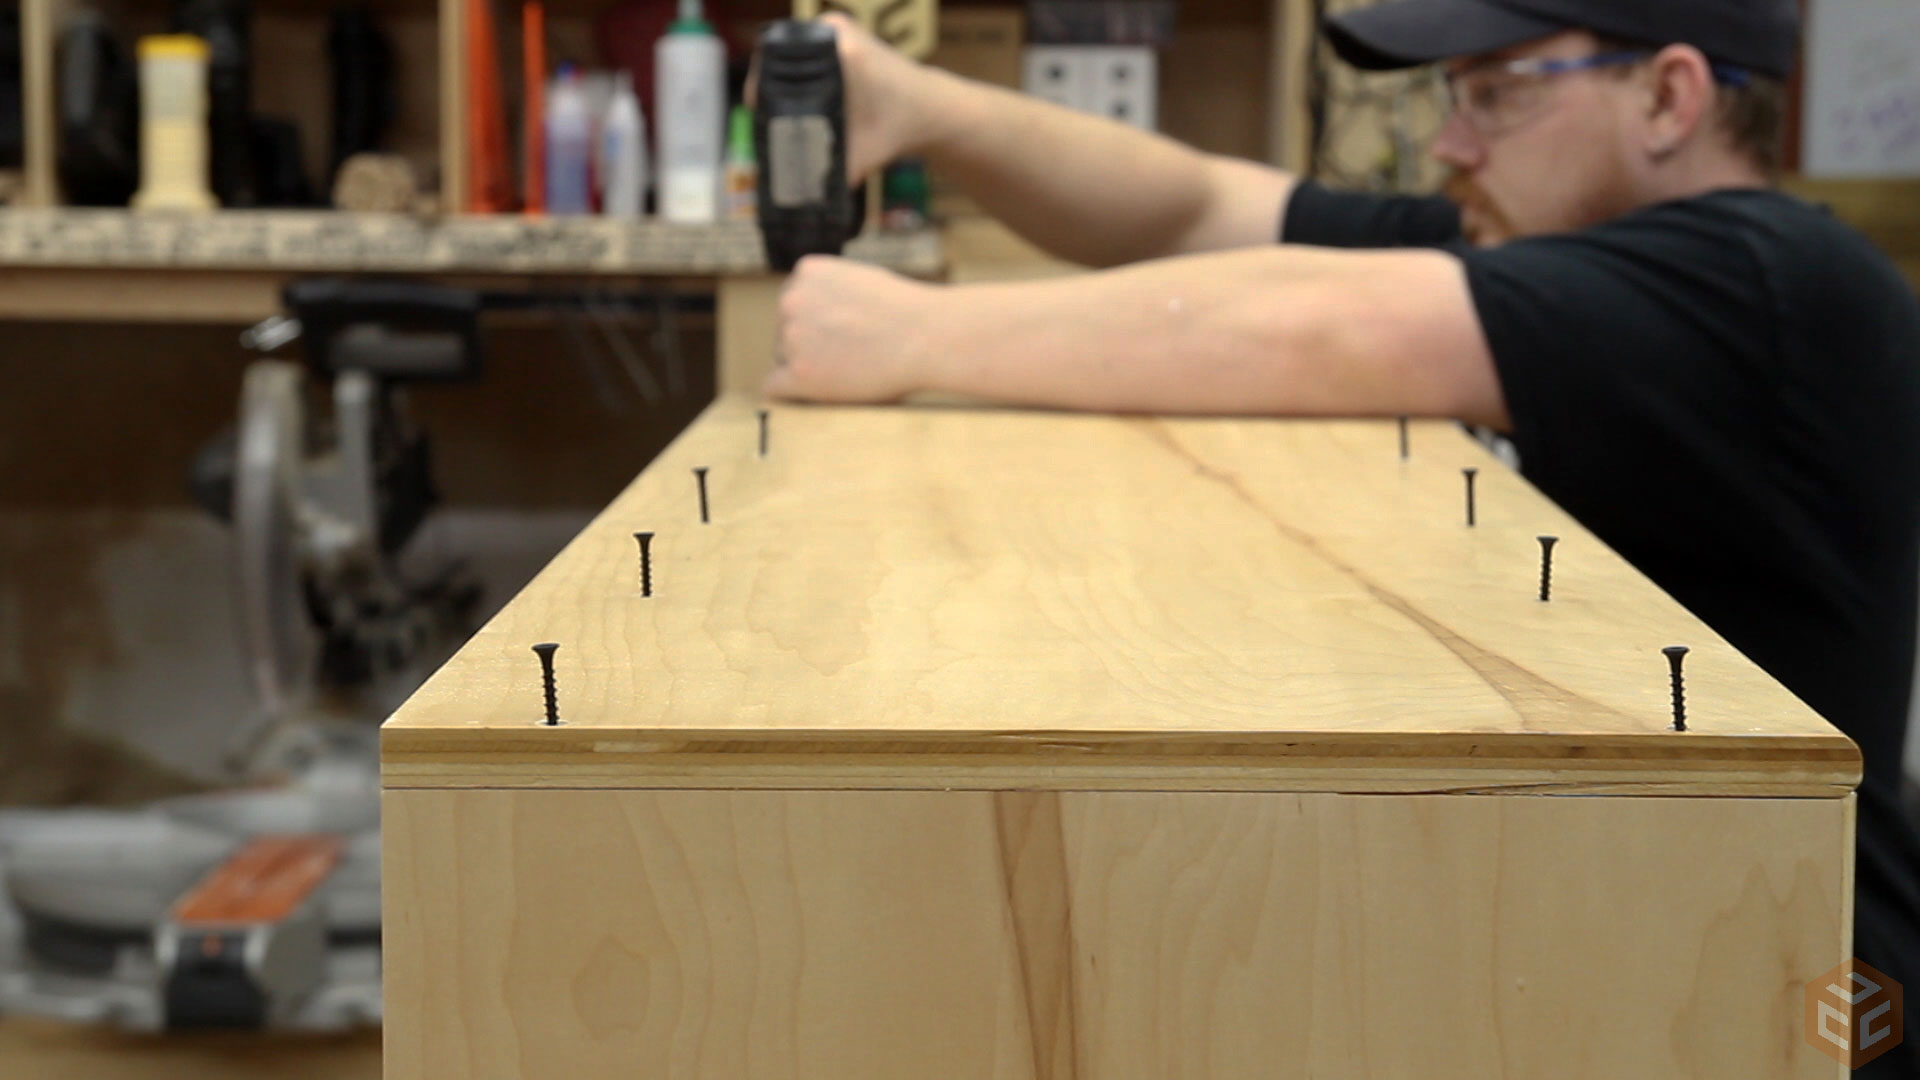
As I said previously, the sides of the cabinet will be difficult to see. That means drywall screws will do the job just fine and nobody will ever see them. 1-1/4” screws are plenty long enough for the 3/4” plywood.
To hang the cabinet I decided to use a French cleat. To make a mating set I first ripped a piece of plywood to 5-1/2” and then ripped that piece right down the middle with a 45 degree angle. This results in two matching cleats.

The cleat on the wall will run the full length of the closet. The cleat in the cabinet needs to be cut down though.
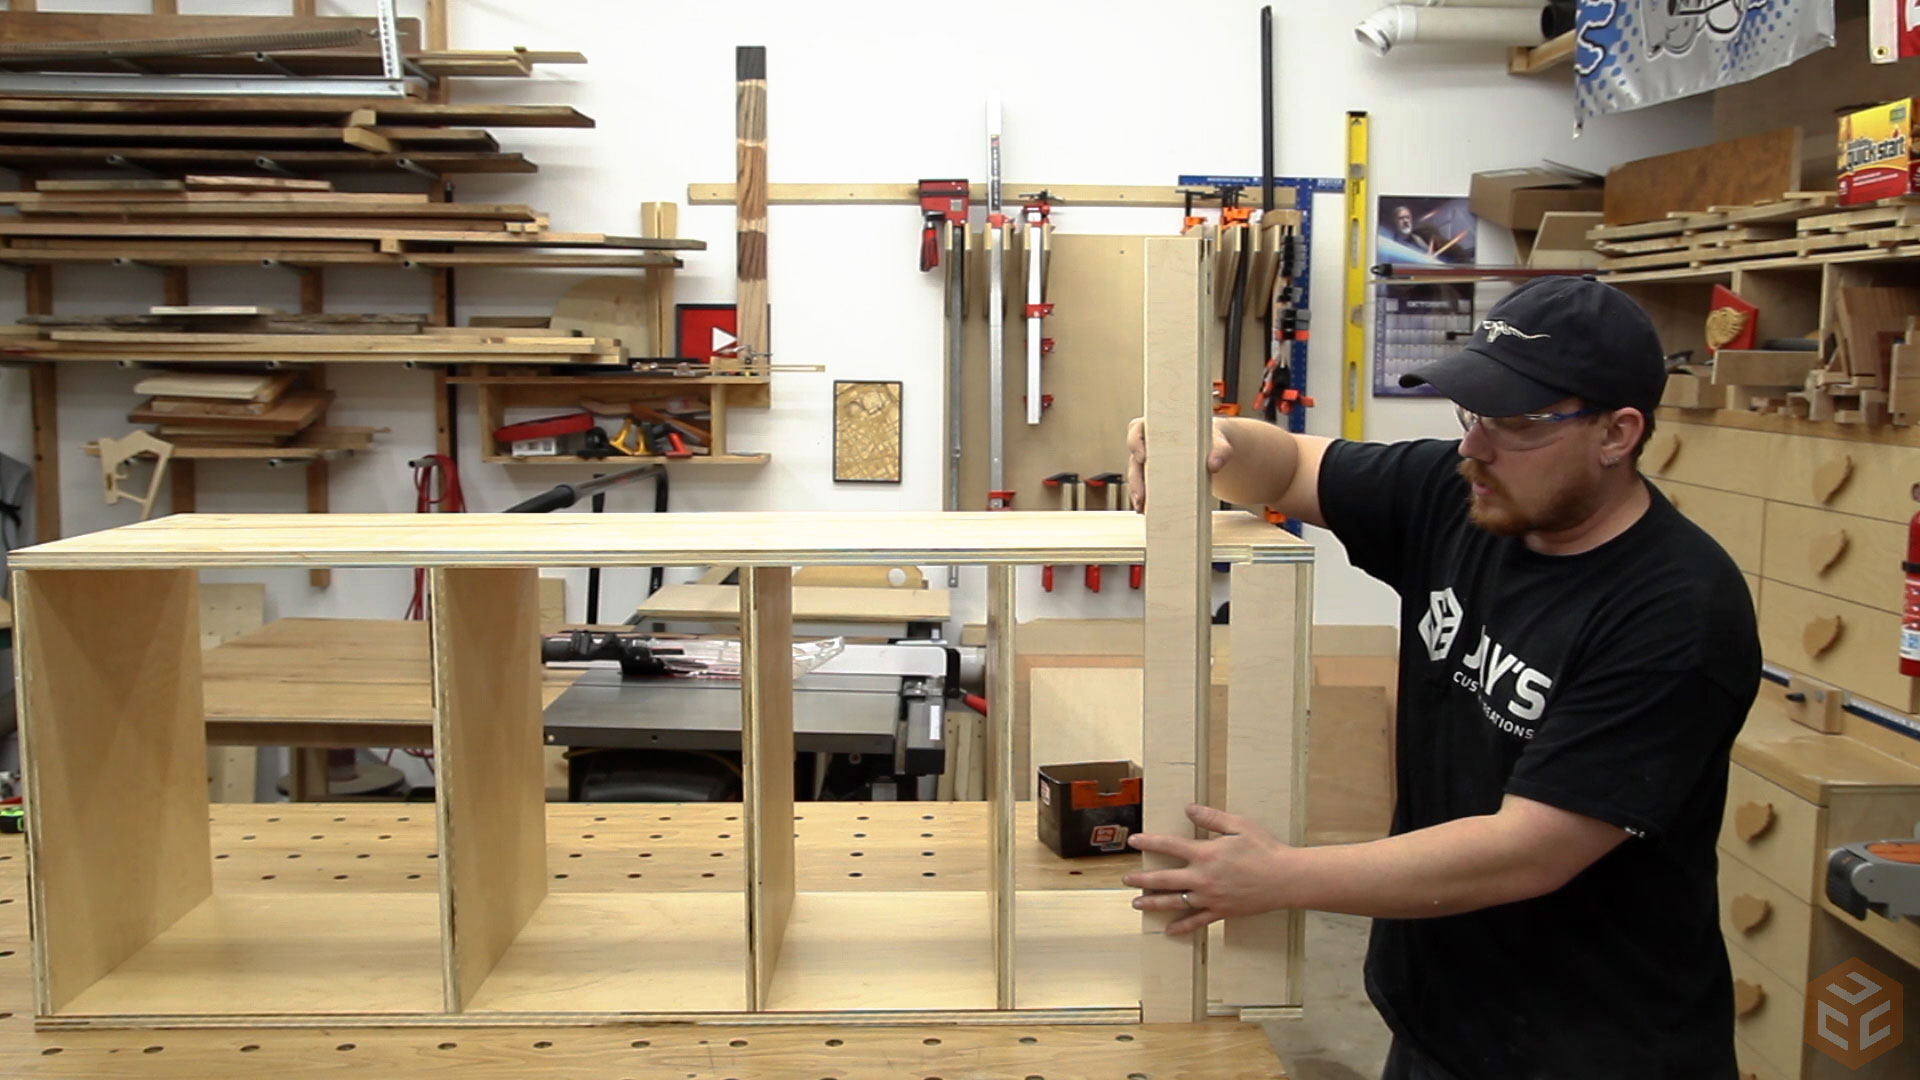
To prevent having the cabinet stick out even further due to the cleat I cut a recess in the back of each side panel near the top to allow the cabinet to straddle the cleat on the wall while hanging it.
And finally the cleat can be installed inside the cabinet. You can see the location of the recess in this picture.

Just a quick test run of the cleat to make sure there will be no issues during installation. It’s much easier to check everything before it goes on the wall than have to fumble with a heavy cabinet when something isn’t fitting properly.
Because this is such a small closet finding the studs is really easy. One right in the middle and one on each side.
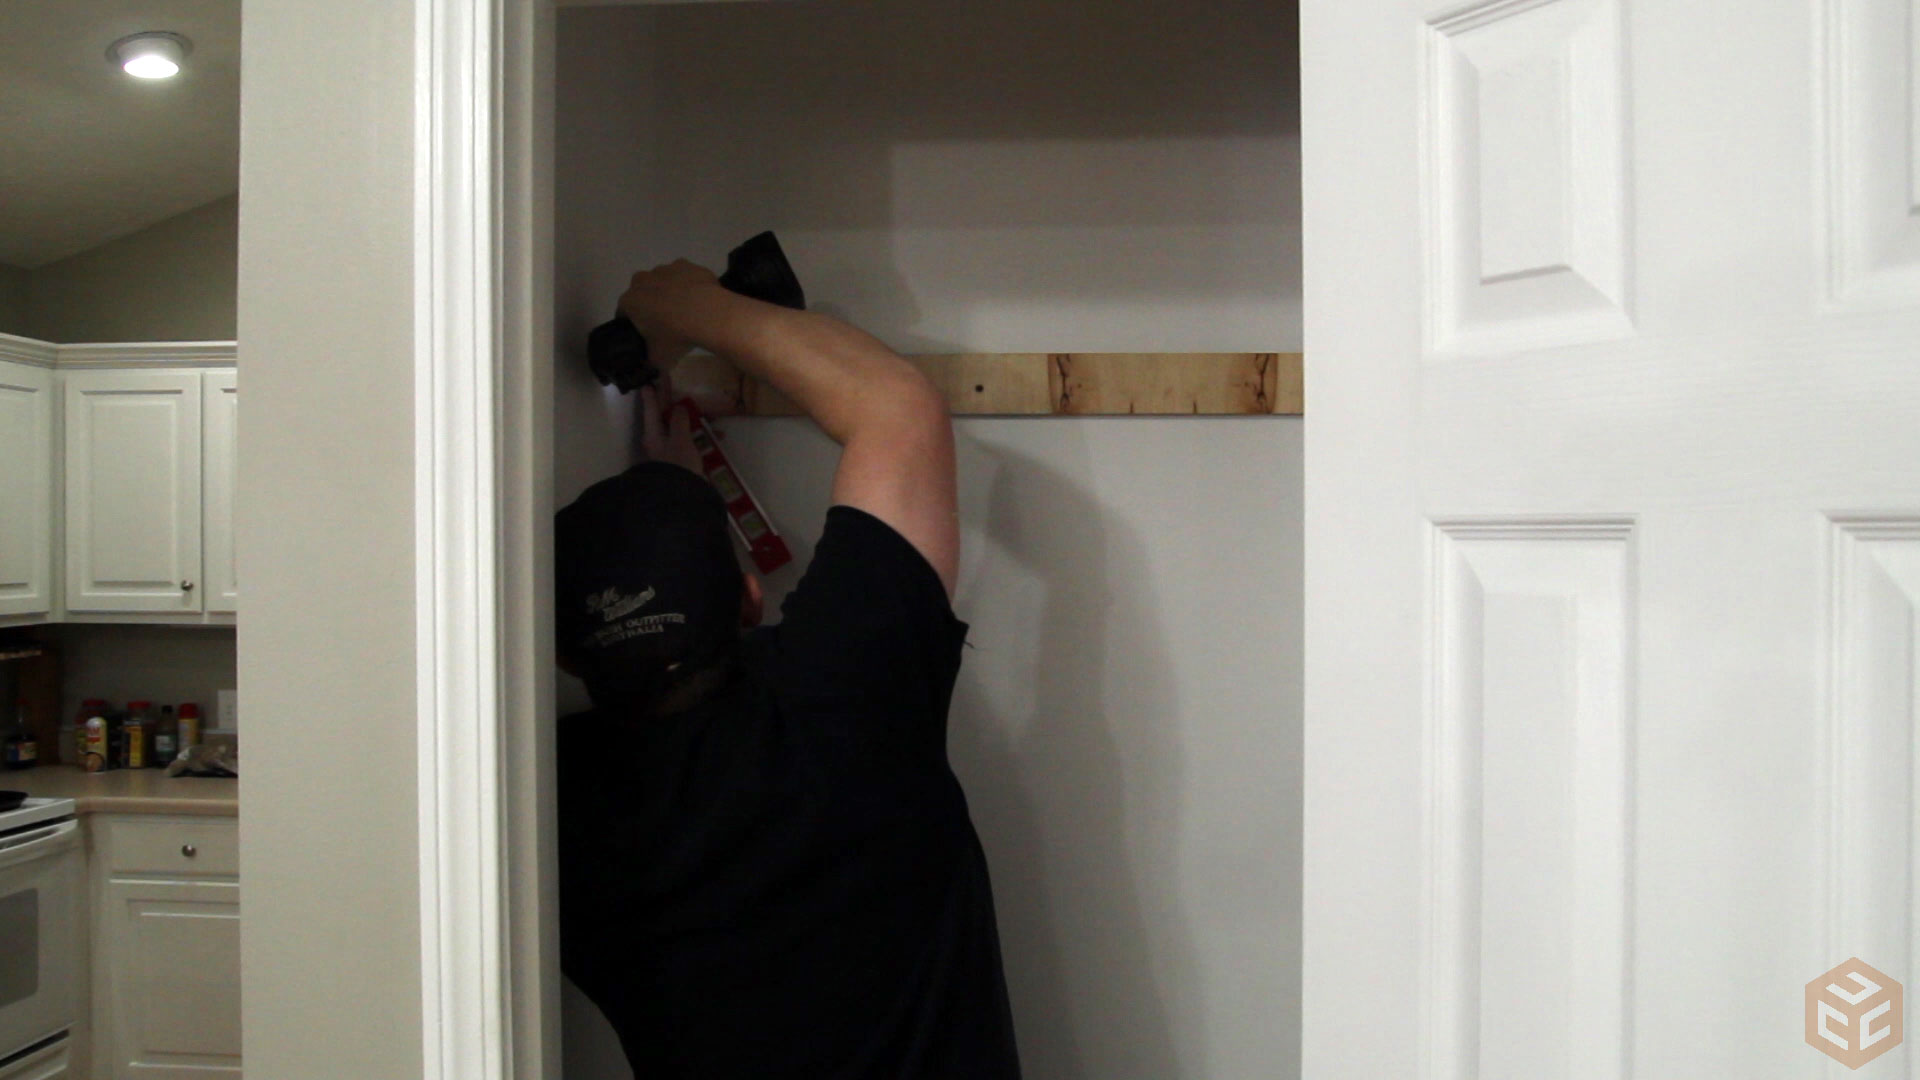
Hanging the cabinet went smoothly. And because this is a french cleat system it’s really not a permanent fixture. There was no need to secure the cabinet to the left wall as it was not wanting to wiggle at all. This means if we ever move the next owner can easily change things if they want.
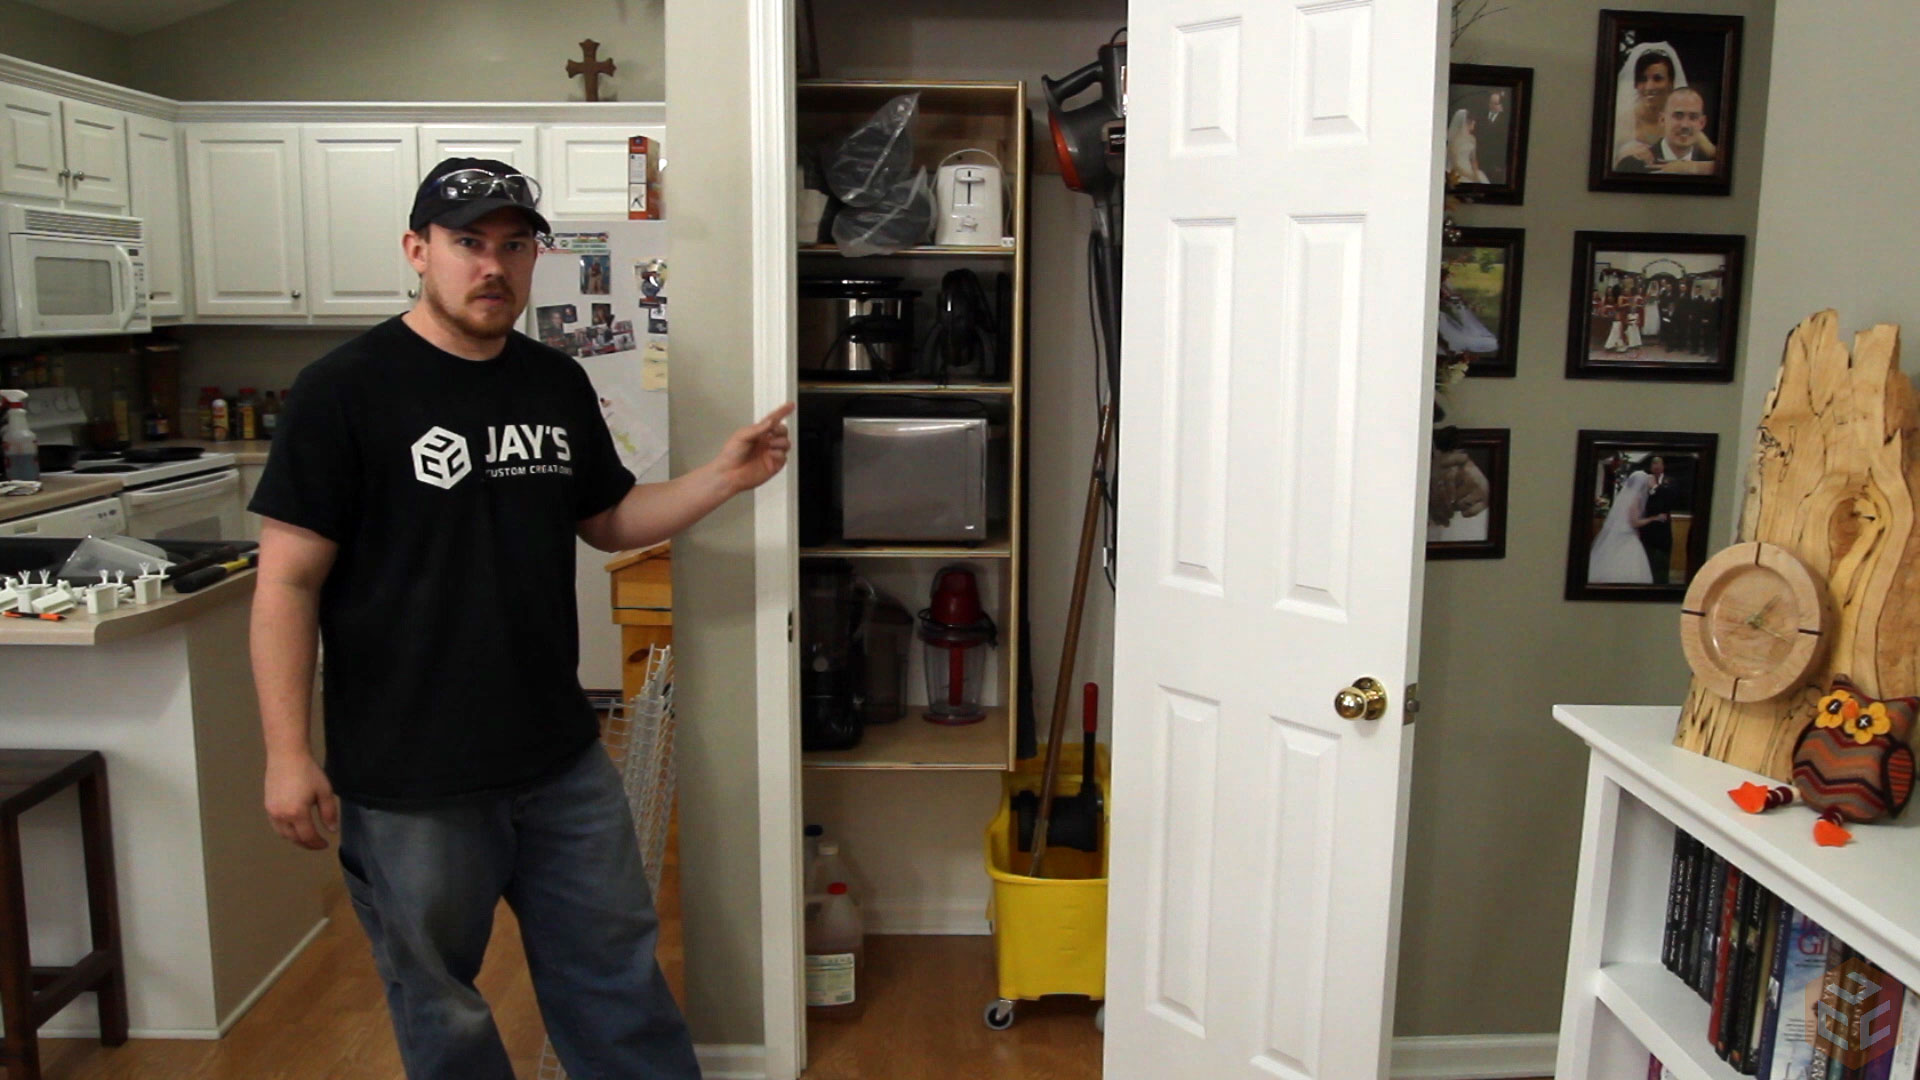
Everything fit as expected and I really like the added convenience that this adds in the house. FINALLY after two years I have a decent home for my vacuum :)


Well organized closet solution and the ability to easily adapt in the future is smart. My only comment is given the poor (questionable) structural quality of plywood these days, I personally wouldn’t trust anything but hardwood to a cleat system. I recently pulled a 1/4-20 hex-bolt head completely through a ‘void’ in a piece of 3/4″ plywood while mounting a bench grinder.
Not all plywood is created equally though. I’ve had great results with this stuff and all of the internal cores are poplar. I’ve used it for the past year and a half for my plywood projects and haven’t had any signs of problems. That being said, a solid piece of hardwood would be better but I believe it’s beyond the line of diminishing returns.
So Jay, why did you run a full length cleat on the wall rather than putting one on the wall the same size as the cleat you have on the shelving unit?
Harold
To screw into wall studs instead of just drywall.