This is part three of an ongoing series of building a makeup vanity that later got changed to a dartboard cabinet. Be sure to check out part one for an explanation as to why the project got changed as well as to see the full grain selection and lumber milling process and part two for the mortise and tenon joinery for the case construction.
At this point in the build we have all the structural mortise and tenon joinery done on the cases and can move on to the tongue and groove joinery to house the floating panels. There are a few different methods to choose from when it comes to making tongue and groove joinery. The easiest method, and the one I most commonly use, is to use the table saw for both the tongue and the groove. Using the table saw is easiest when all the material stock is the same thickness. In our case the legs are much thicker than the rails so we can’t flip the boards end for end to center the groove. So I opted to use a router table instead.
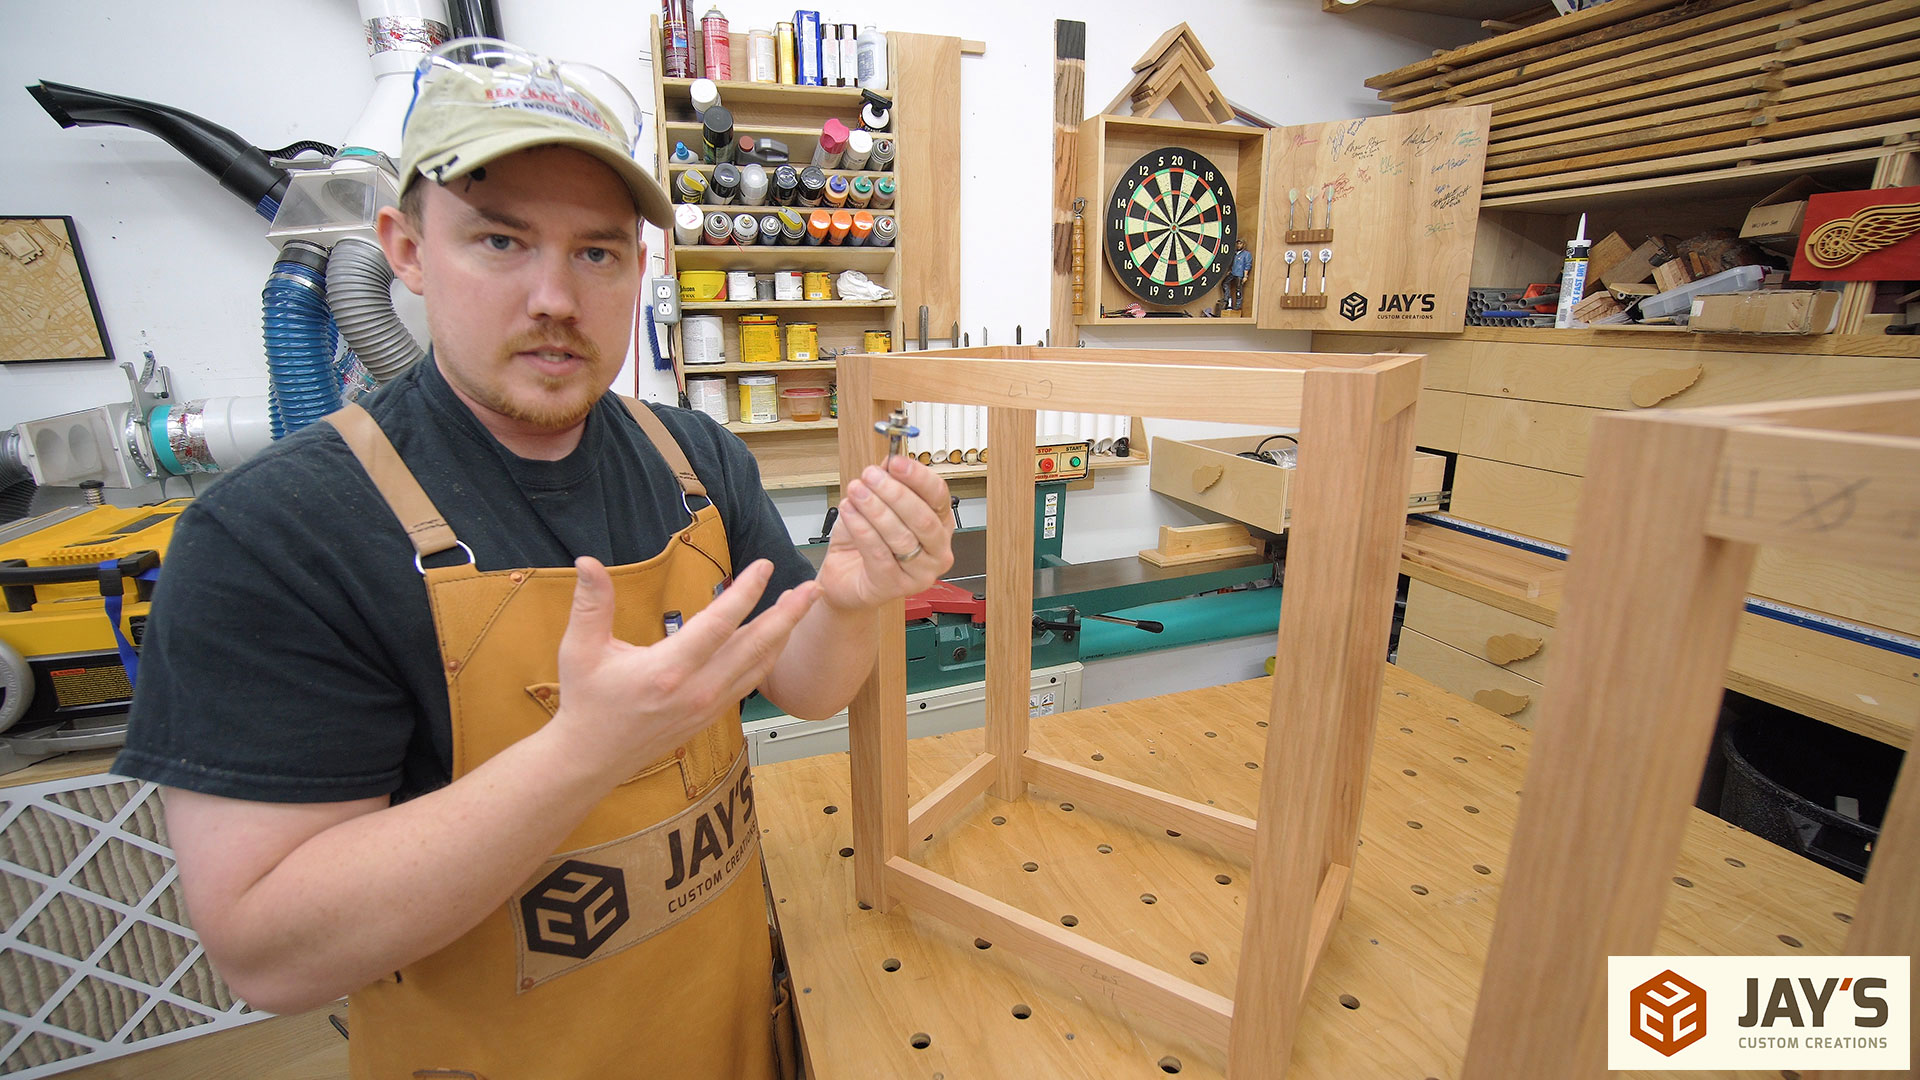
With the router we have a couple of options. First, a slot cutting bit with a bearing can be used but there are two downsides to this method; the depth of cut isn’t really adjustable as it is determined by the distance from the tip of the cutting edge to the guide bearing and also due to the direction of cut the router bit cuts on the exit side of the material which can often times cause tearout. Another option is to use a spiral upcut bit just like we did for the mortises. The spiral upcut bit allows us to plunge easily when needed and is less prone to tearout. A spiral upcut bit in the router table is the method I choose to use.
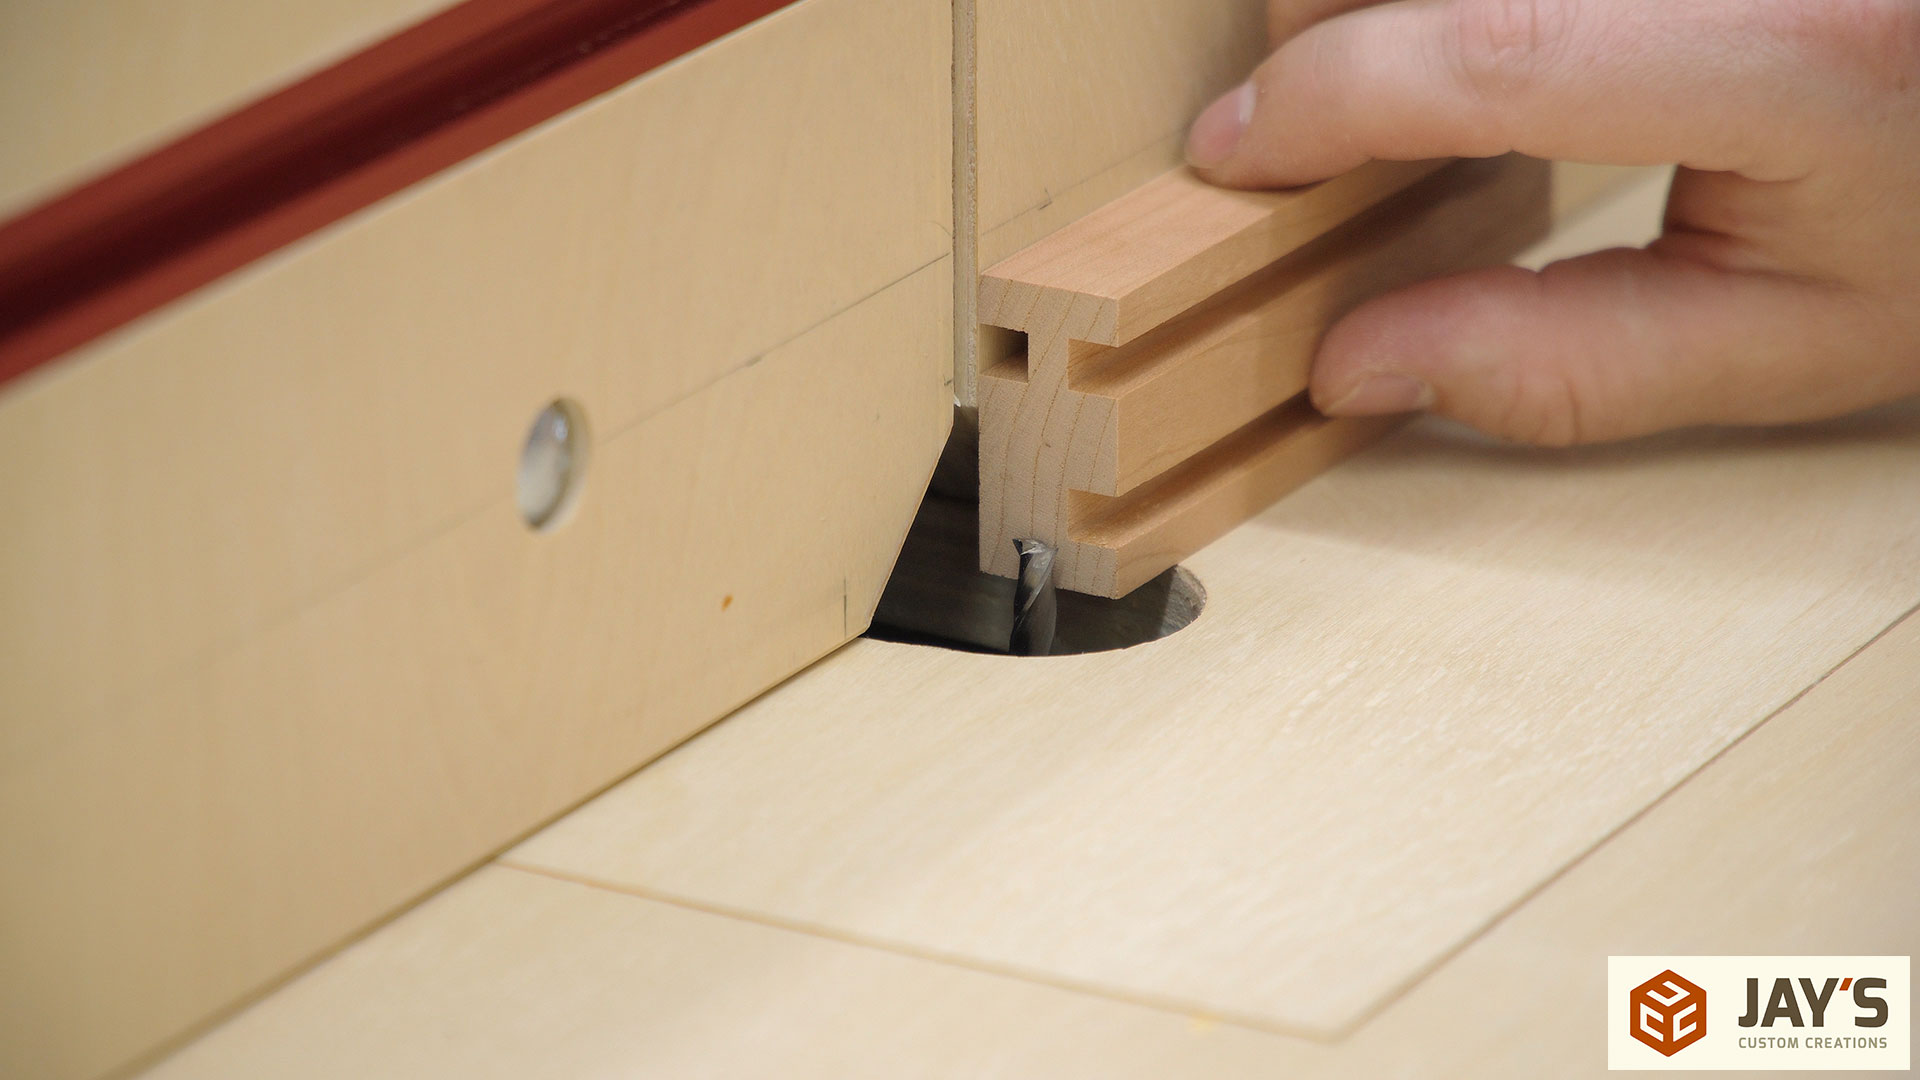
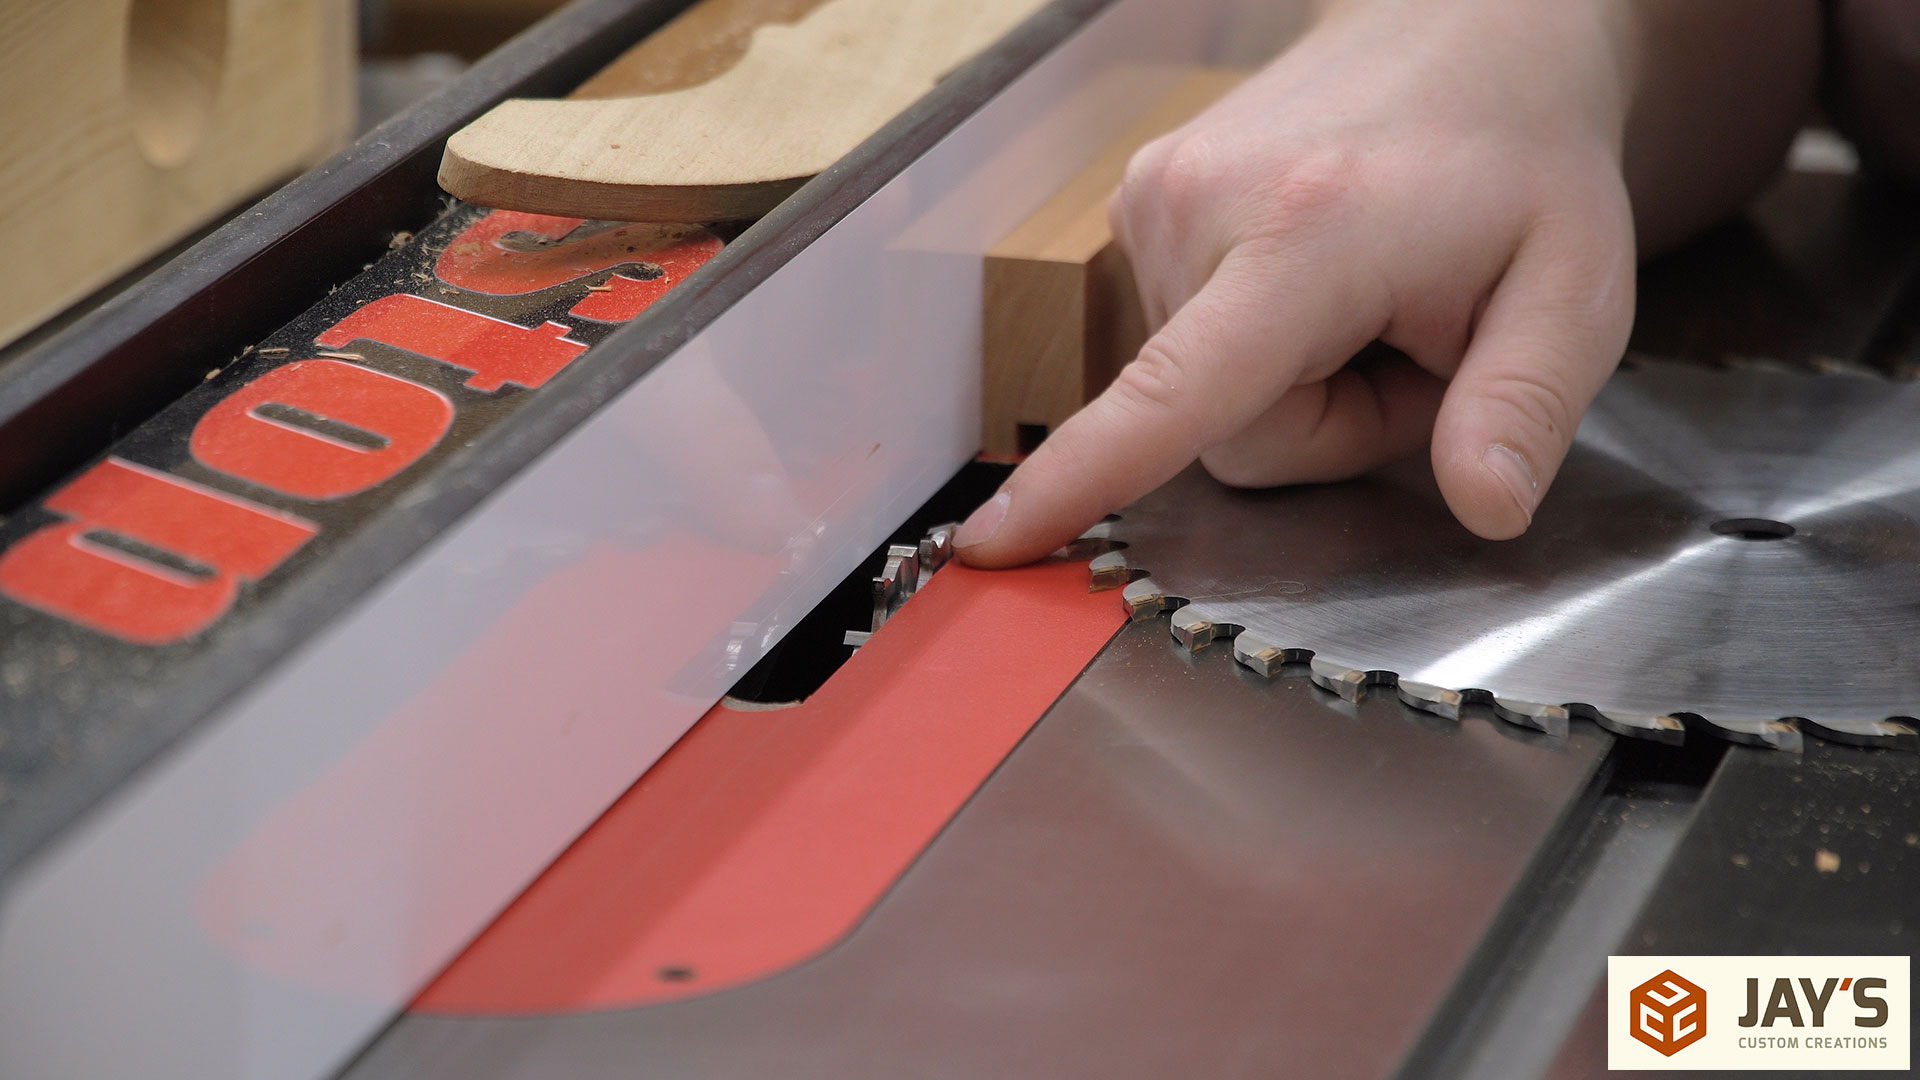
Setup at the router table pretty straight forward. Set the distance from the bit to the fence first by using a drill bit as a spacer. The depth of cut should be a tiny bit more than the nominal target. Something super small like 1/64” extra. We wanted a groove that was 1/4” deep all the way around. This makes It really easy to size the panel. Simply measure the visible space of the panel and add 1/2” to both the length and height. And because we added a tiny bit more than 1/4” when cutting the groove we should never have any issues fitting the panels. Finally, the enter and exit side of the router bit should be marked on the router table fence. The easiest thing for me to do was to adjust the sliding front faces of my router table fence so that the gap between them represented the exact location of the router bit. This allows us to know exactly where the bit is when we cover it up with our material. You can see in the following picture that when I slide a scrap block against the bit the edge of the block is in alignment with the split in the fence. Before cutting any of your project material run a small scrap block to determine that everything is indeed as it should be.
The rails have a tenon already formed on each end. We want to leave as much of this material as possible as it is just extra glue surface area. That means we started with a plunge cut about 1/4” away from the shoulder of the tenon and finished the cut 1/4” outside the shoulder of the tenon on the other side. When plunging or removing material mid-cut it’s very important to keep the material against the fence.

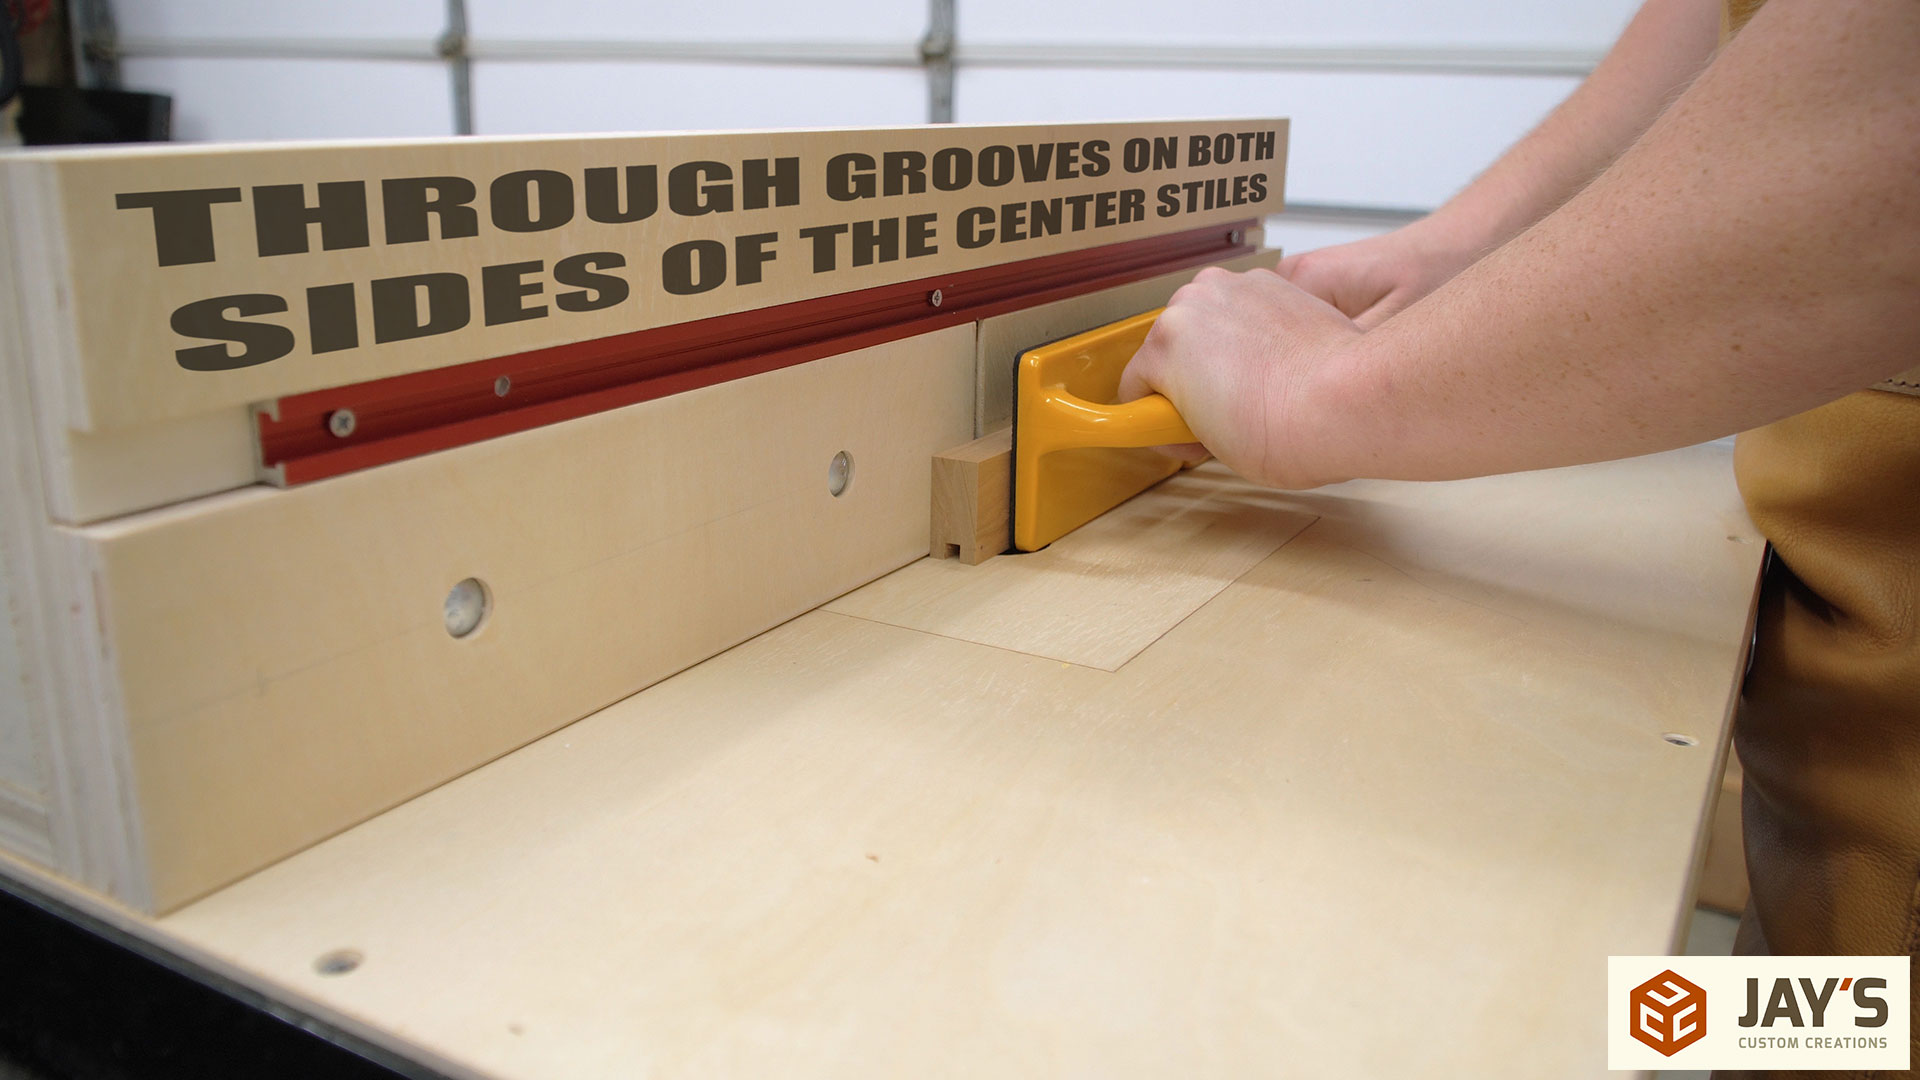
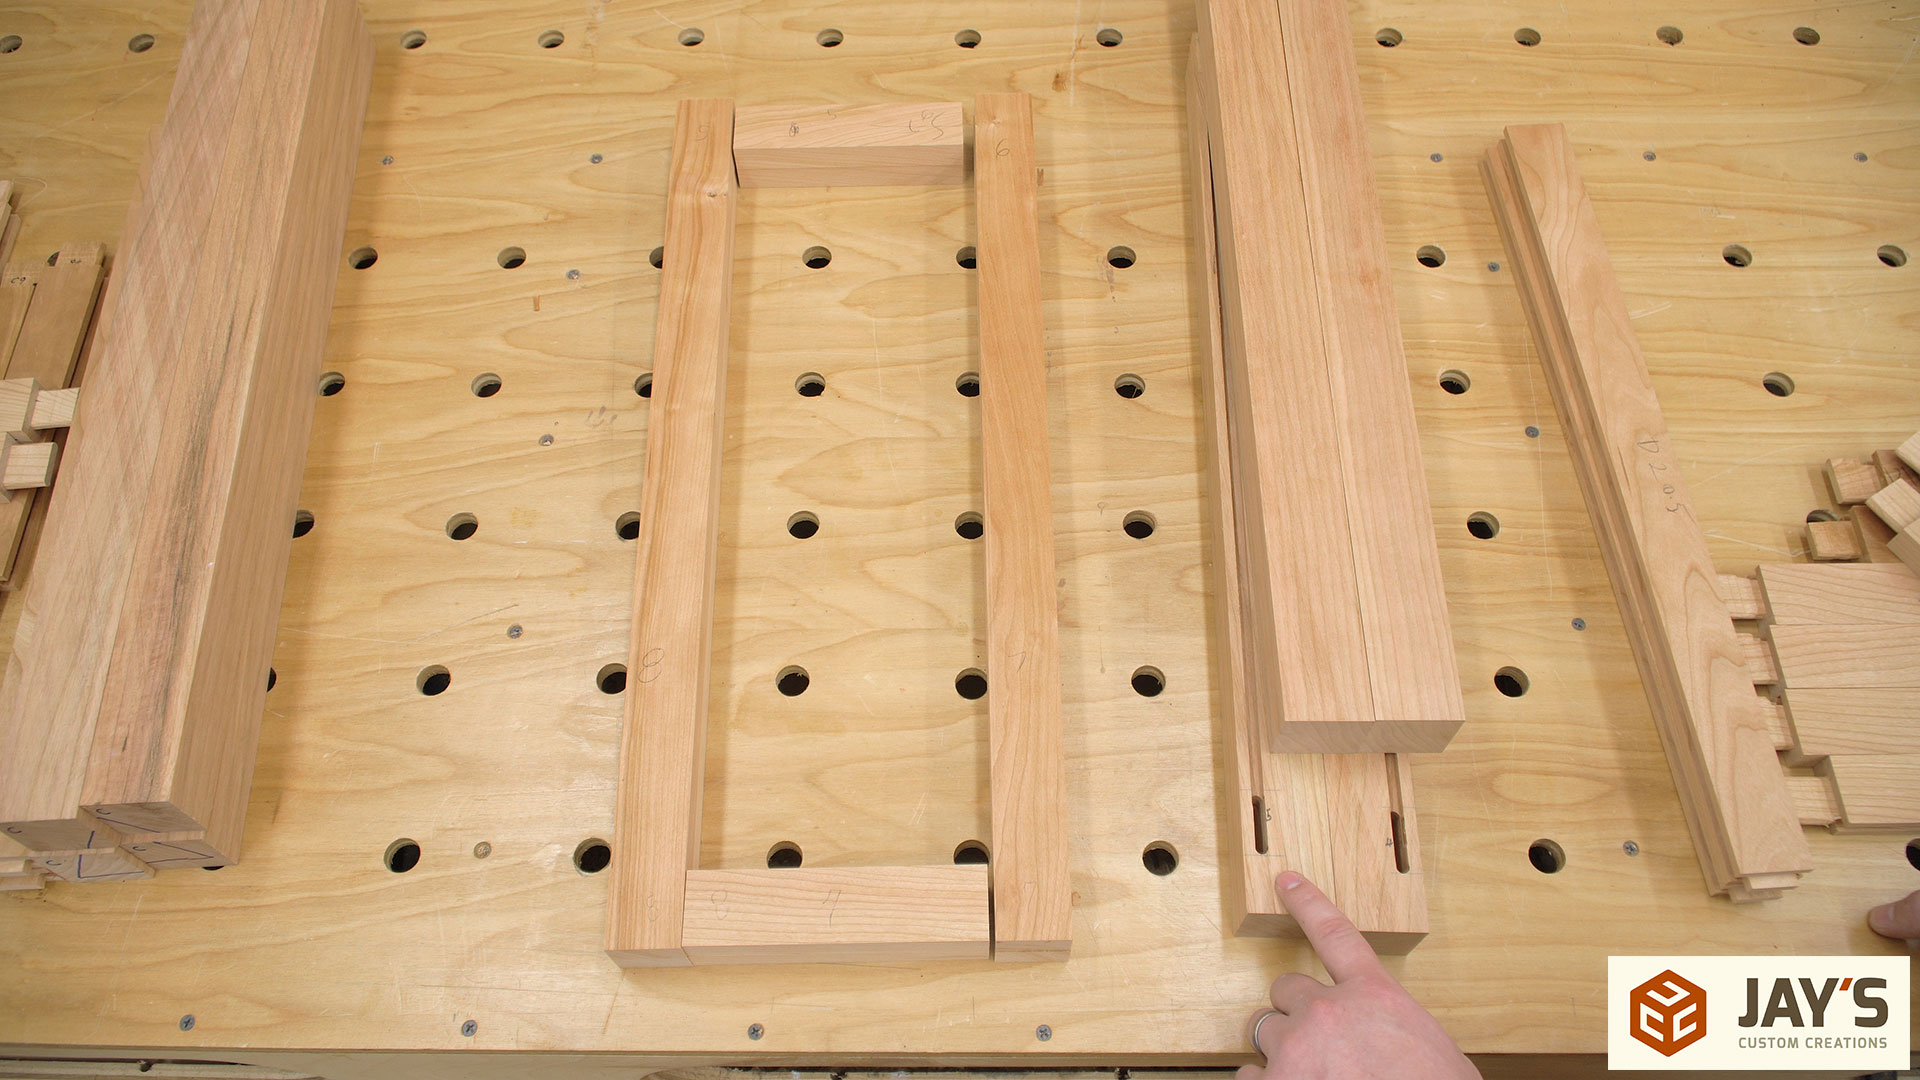
There is four center stiles on the lower cabinets. They can get a groove down the entire length of both short sides. It’s important to keep the same wide face against the fence for both grooves though. We are using 3/4” material with a 1/4” groove that is 1/4” away from the fence. That doesn’t guarantee it’s 100% perfectly centered though so maintaining a constant reference face will ensure that the groove lines up with the other pieces.
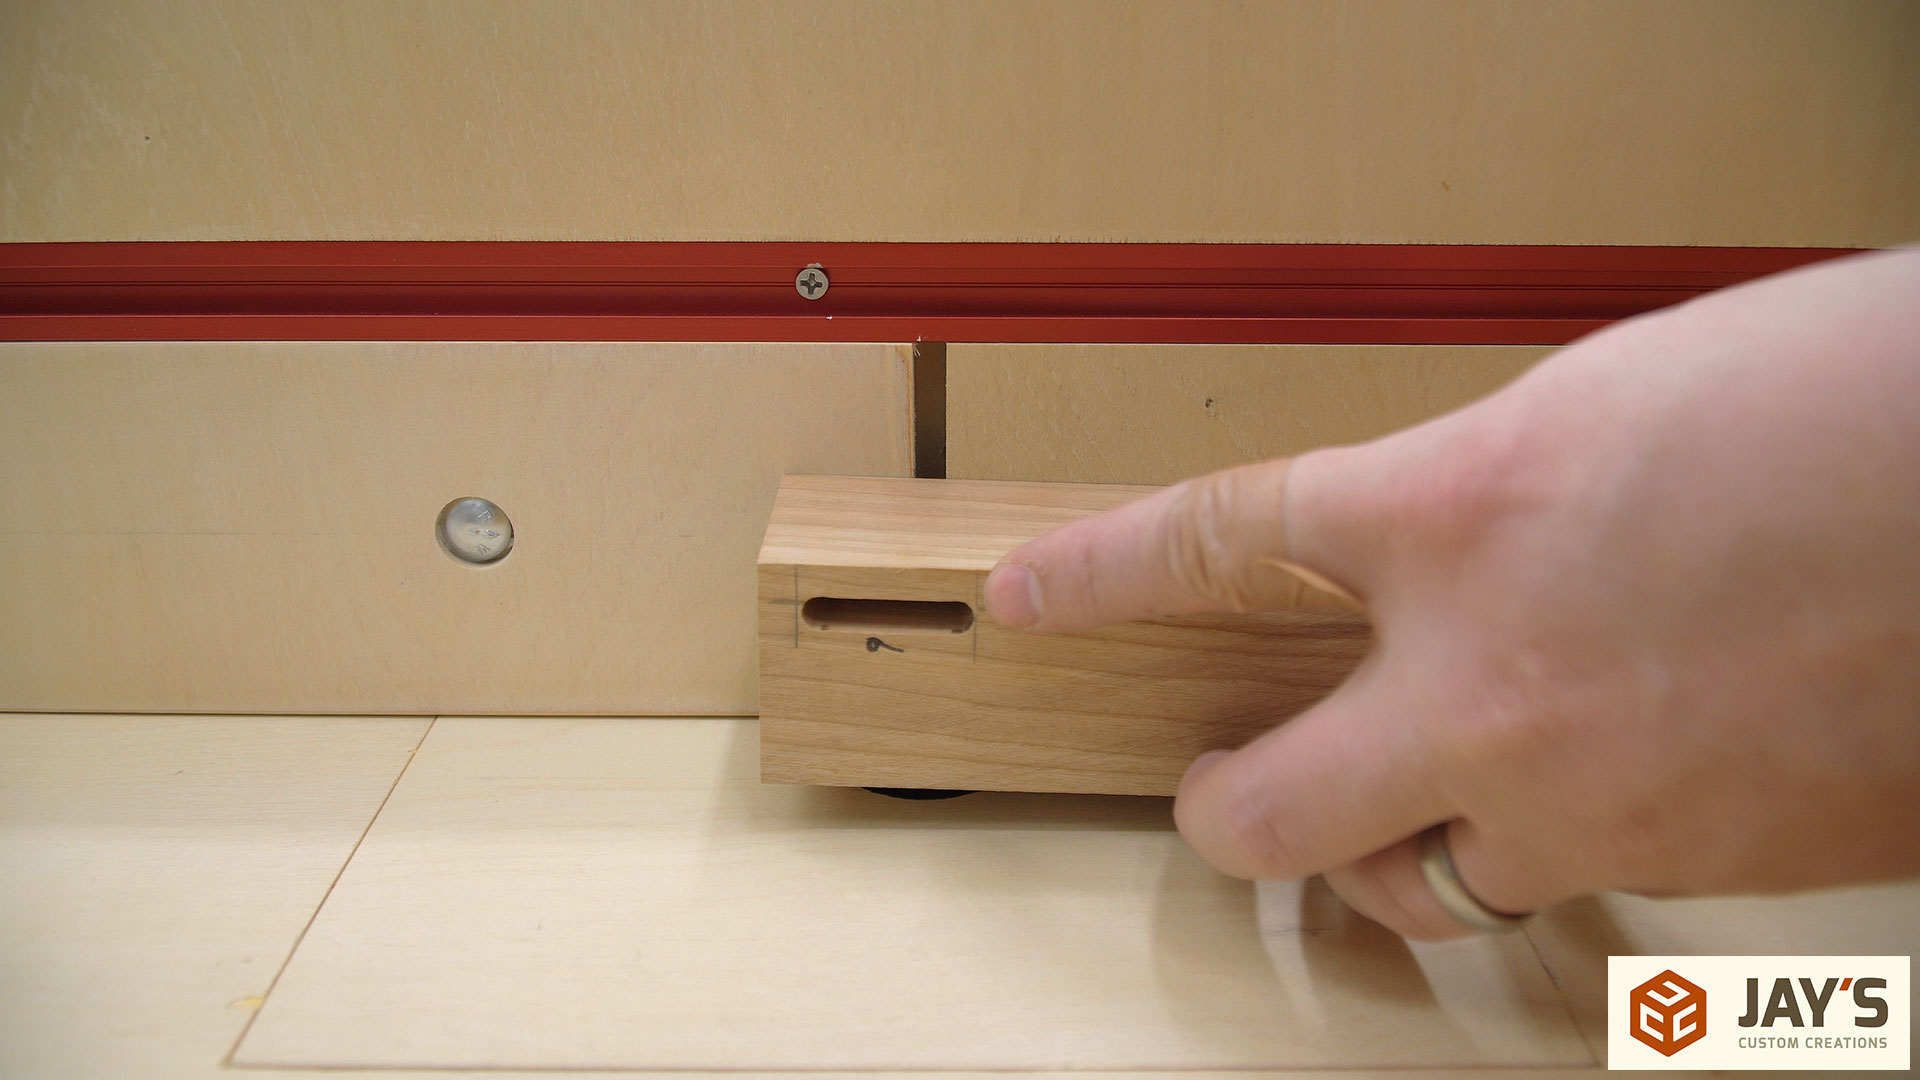
The legs get a stopped groove as well. Here you can see how convenient it is to have some indication on the fence as to where the router bit is. I know that the mortises are marked the same on this end of the board so by looking at the exposed mortise I can see that I will start my cut inside a mortise on the bottom face which is exactly what I want.
With the top and bottom rails installed in the legs the center stile can be finished. I previously cut the board to its final length which was 1/2” longer than the opening. This means I can cut a 1/4” long tongue on each end.
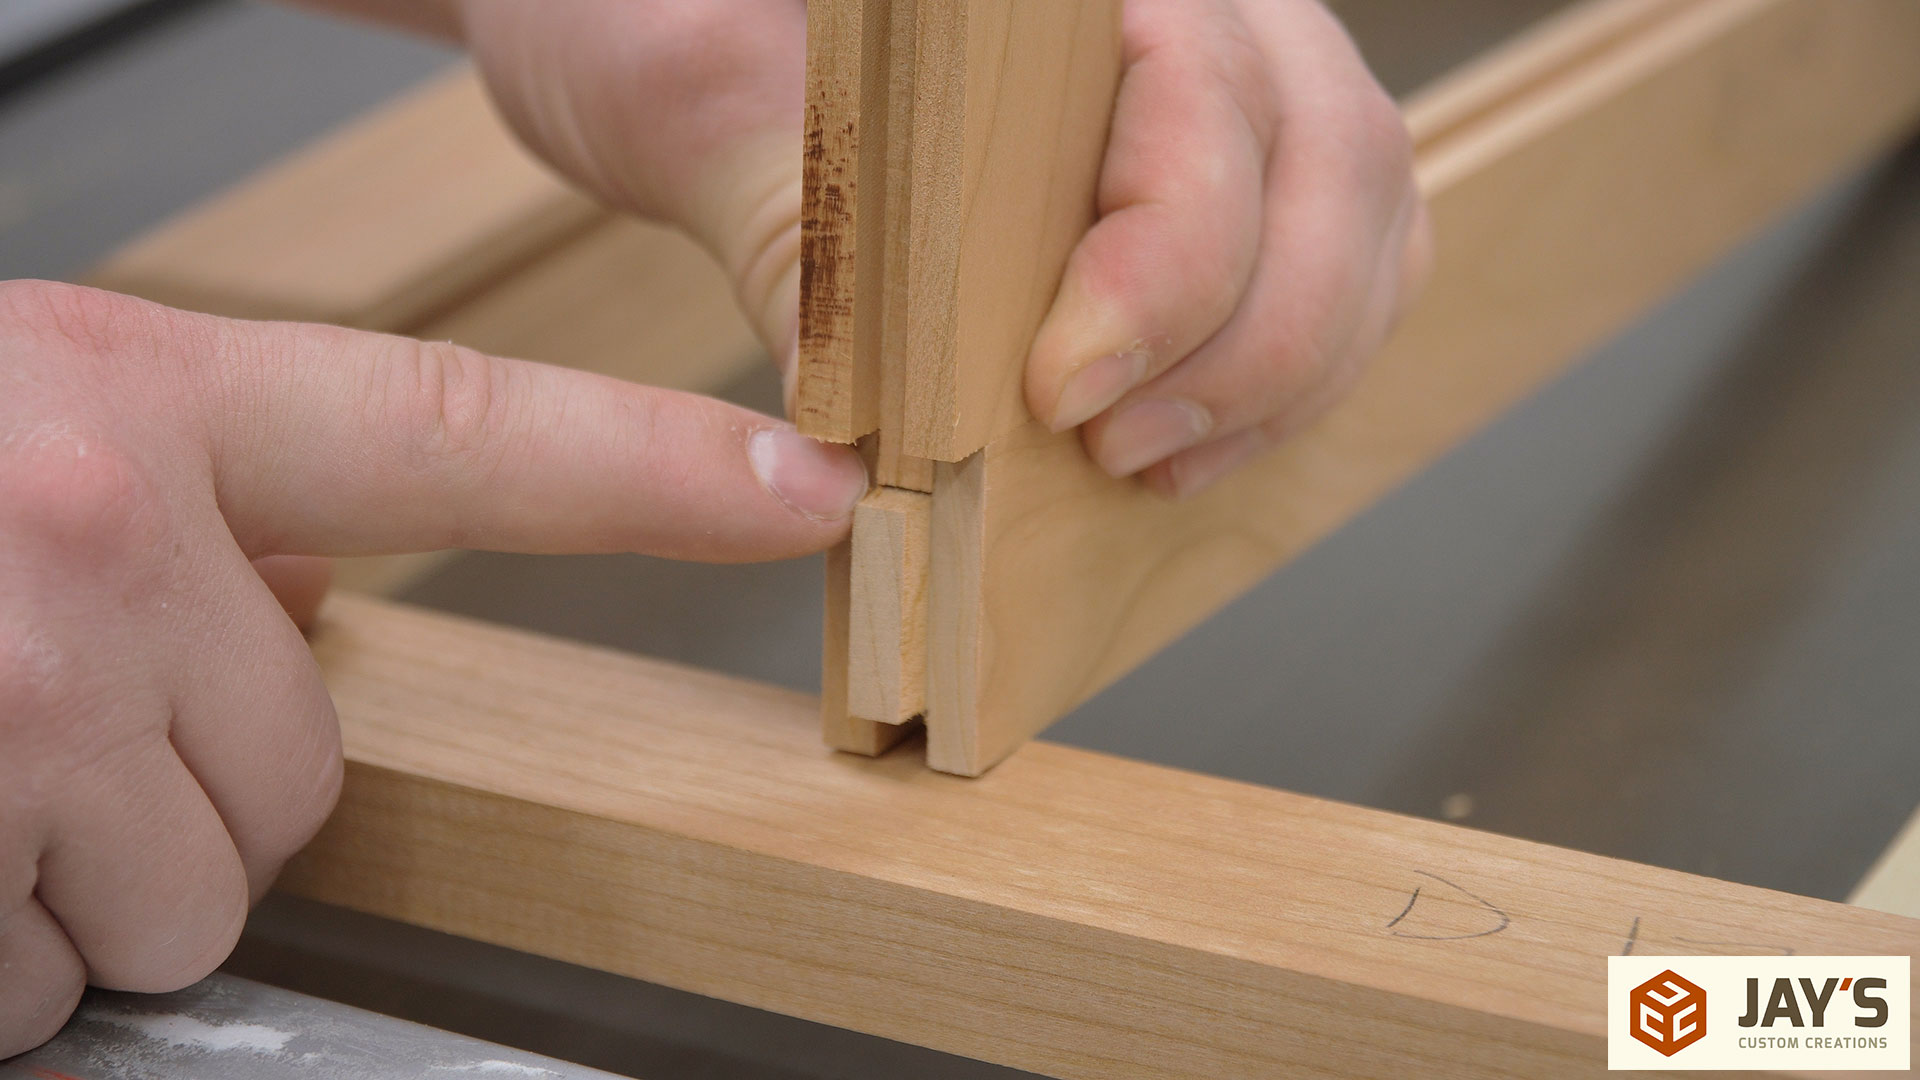
As I previously mentioned, even though the math works out, we can’t assume that the groove is 100% centered because the groove was cut in only one pass. This means each side of the tongue needs to be sized individually. To dial in the correct height I used a scrap block. If the depth of cut on the scrap block matches the distance from the outside face to the inside face of the groove then the height is properly set for that side.
The distance from the fence to the outside of the dado stack determines the overall visible length of the stile. If too much is cut there will be a gap at one or both ends of the stile. To prevent this I purposely undercut the length of the tongue and snuck up on a perfect fit. It took two tiny adjustments but I got it dialed in perfectly. Make sure you are cutting both ends of the board as adjustments are made.
Once the fence distance is determined and the first shoulder is cut the second shoulder is cut with an adjustment to the blade height. After the entire tongue is cut I used another stile to determine verify the outside faces were flush and that there was a tiny gap at the bottom of the tongue. The gap isn’t 100% necessary but I always like to leave one to verify that the glue won’t cause any gaps at the shoulders during assembly.
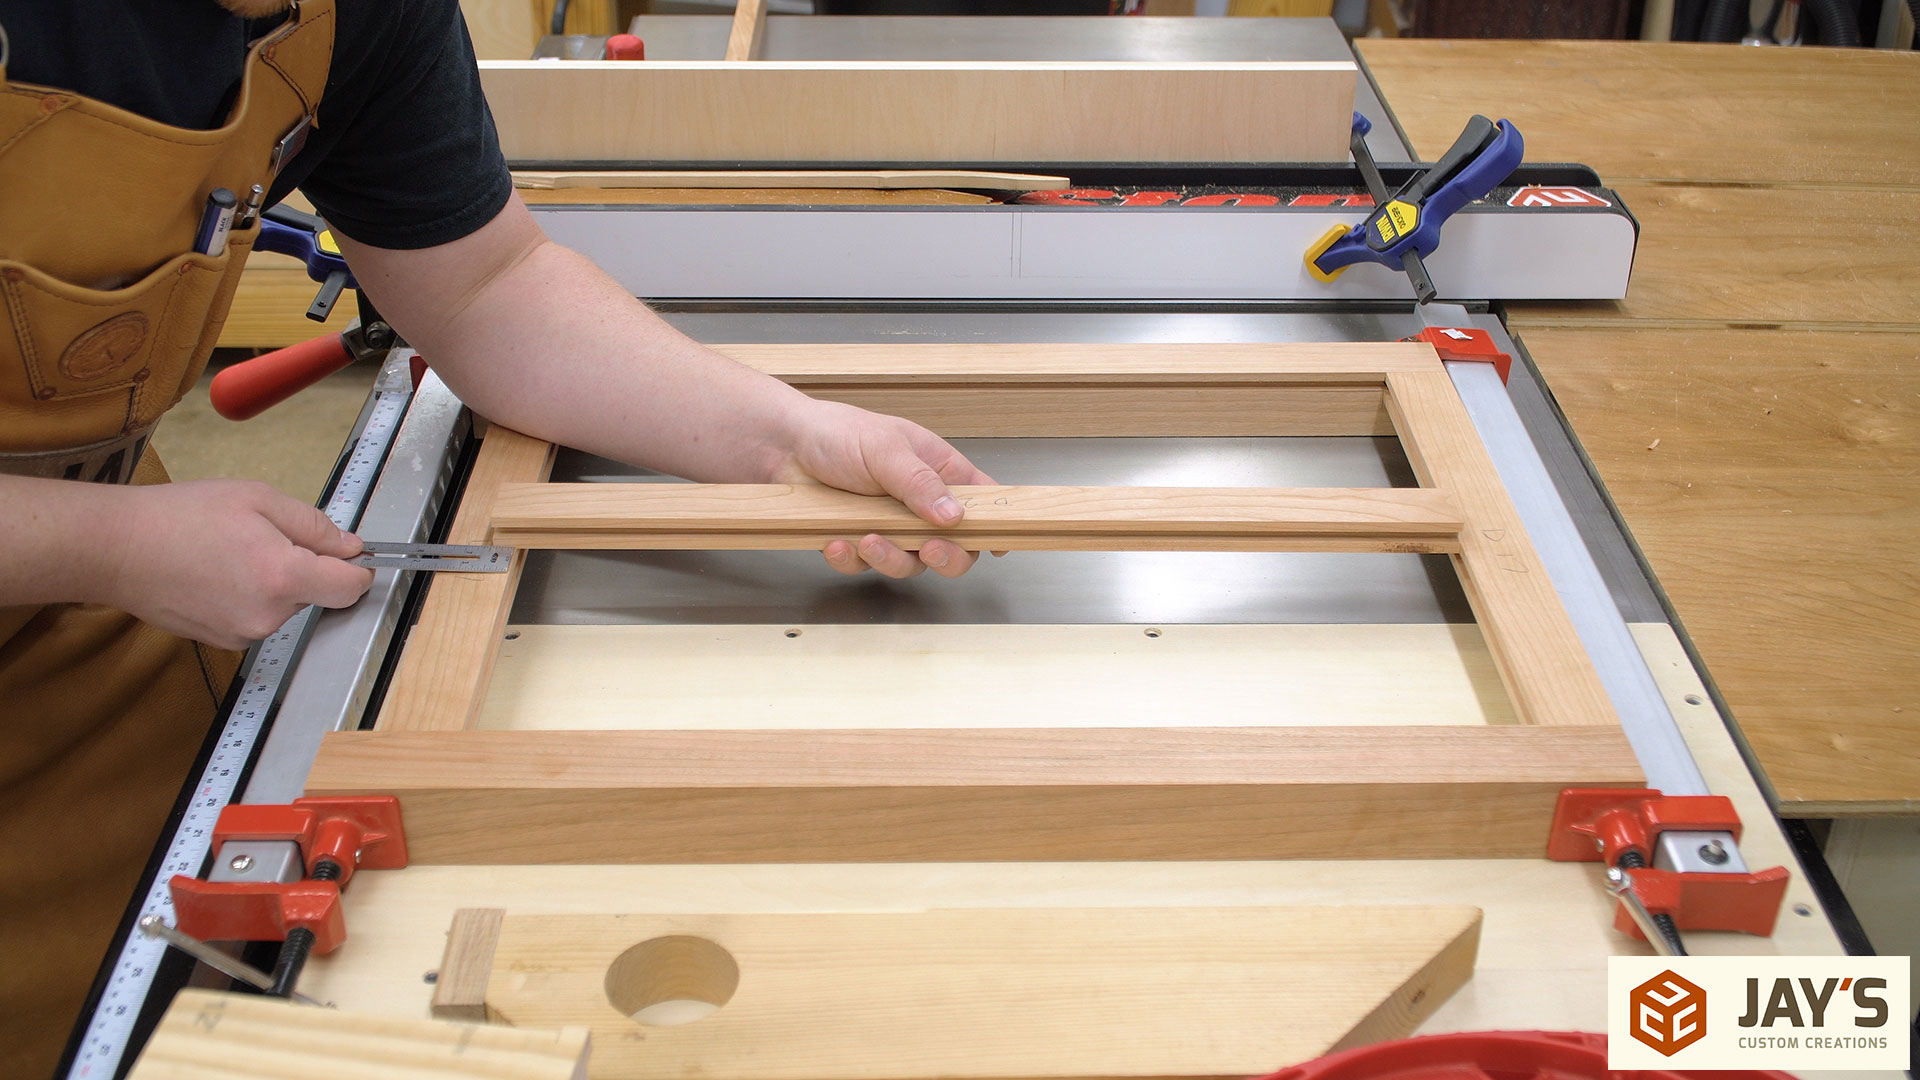
At this point all the tongue and groove joinery is complete on the case components. Cutting the tongue and groove joints on the door parts can be done the same way as I have already shown in this build but for the sake of showing another method I chose to cut the entire joint on the table saw. In the following picture you see the door components in the middle.
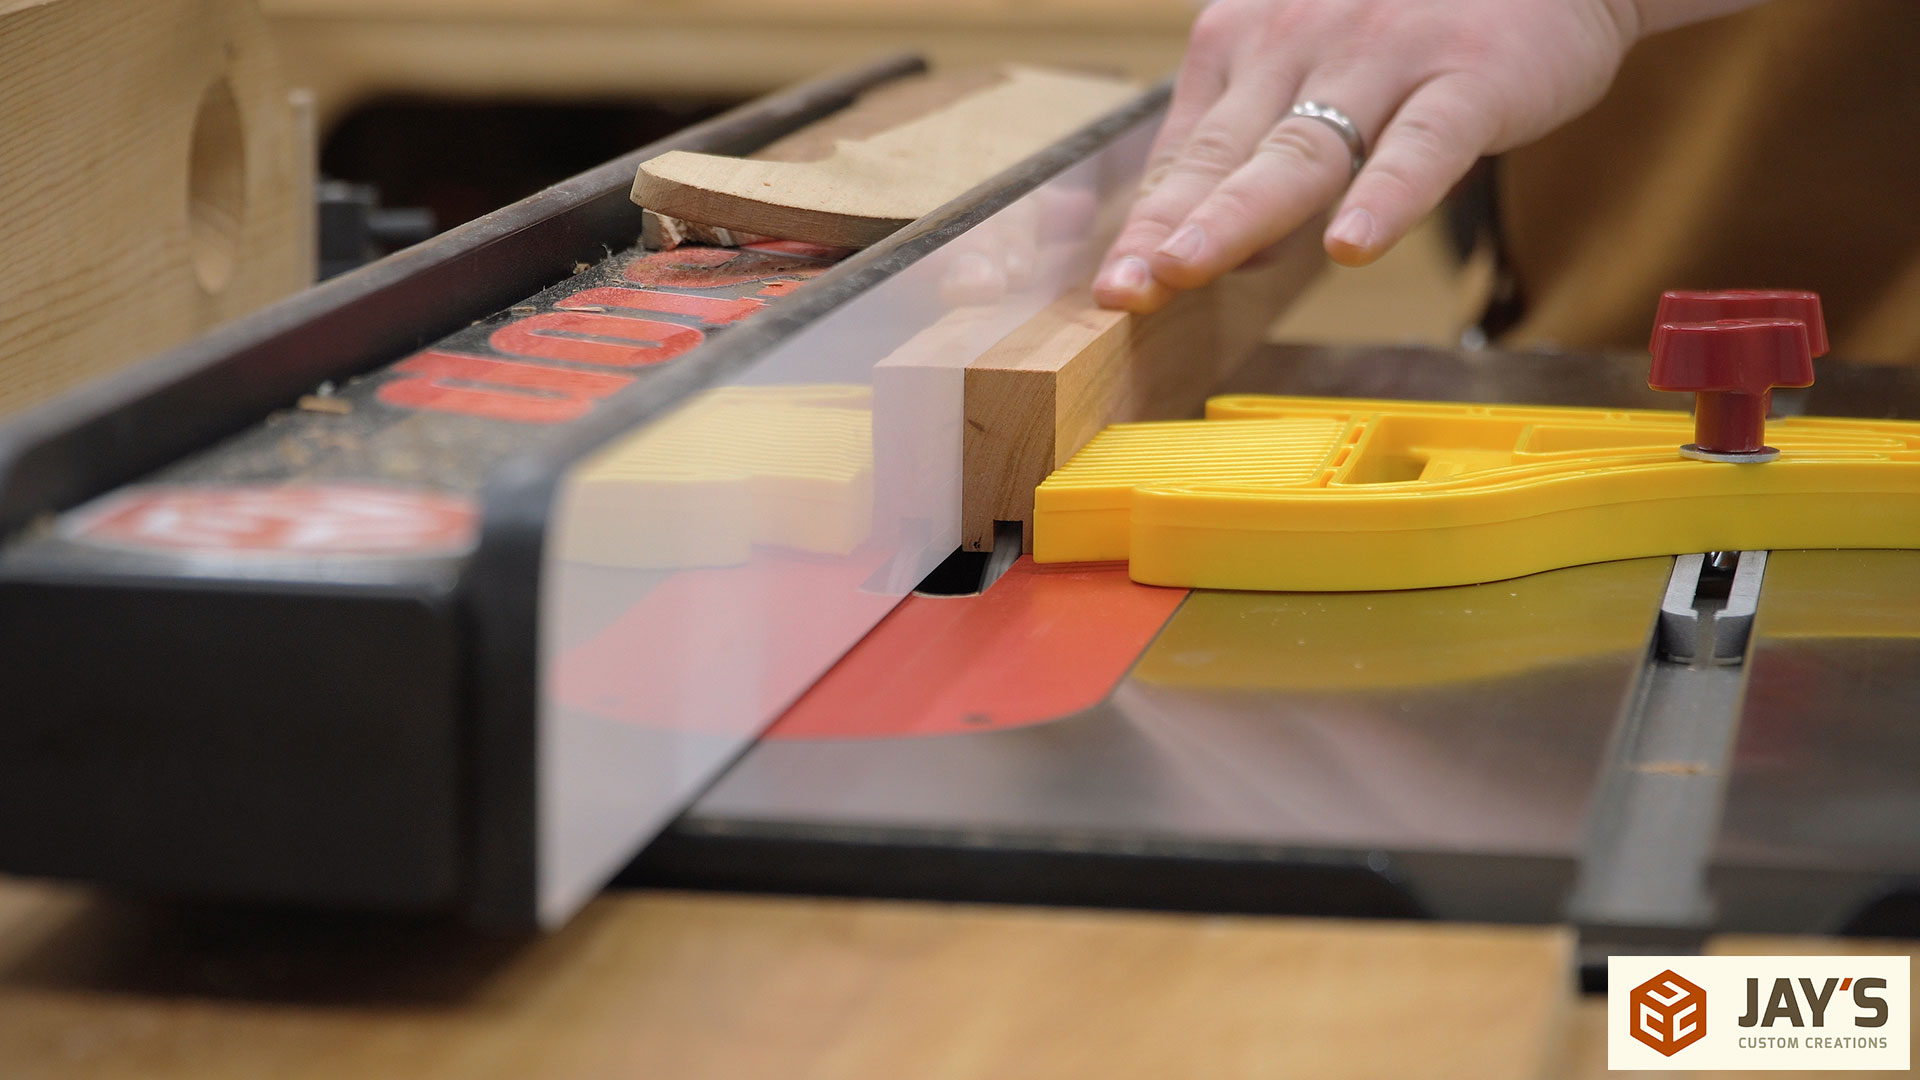
A couple of years ago I made a video showing how easy it is to make tongue and groove doors at the table saw. In that video I used my regular table saw blade that had alternating beveled teeth (ABT). The downside of using an ABT blade is that it doesn’t cut a flat bottom. A lot of times this is acceptable because it’s not really noticeable. In this case I wanted a true flat bottom so I used the outside blades on my dado stack. This creates a 1/4” wide groove in one pass.
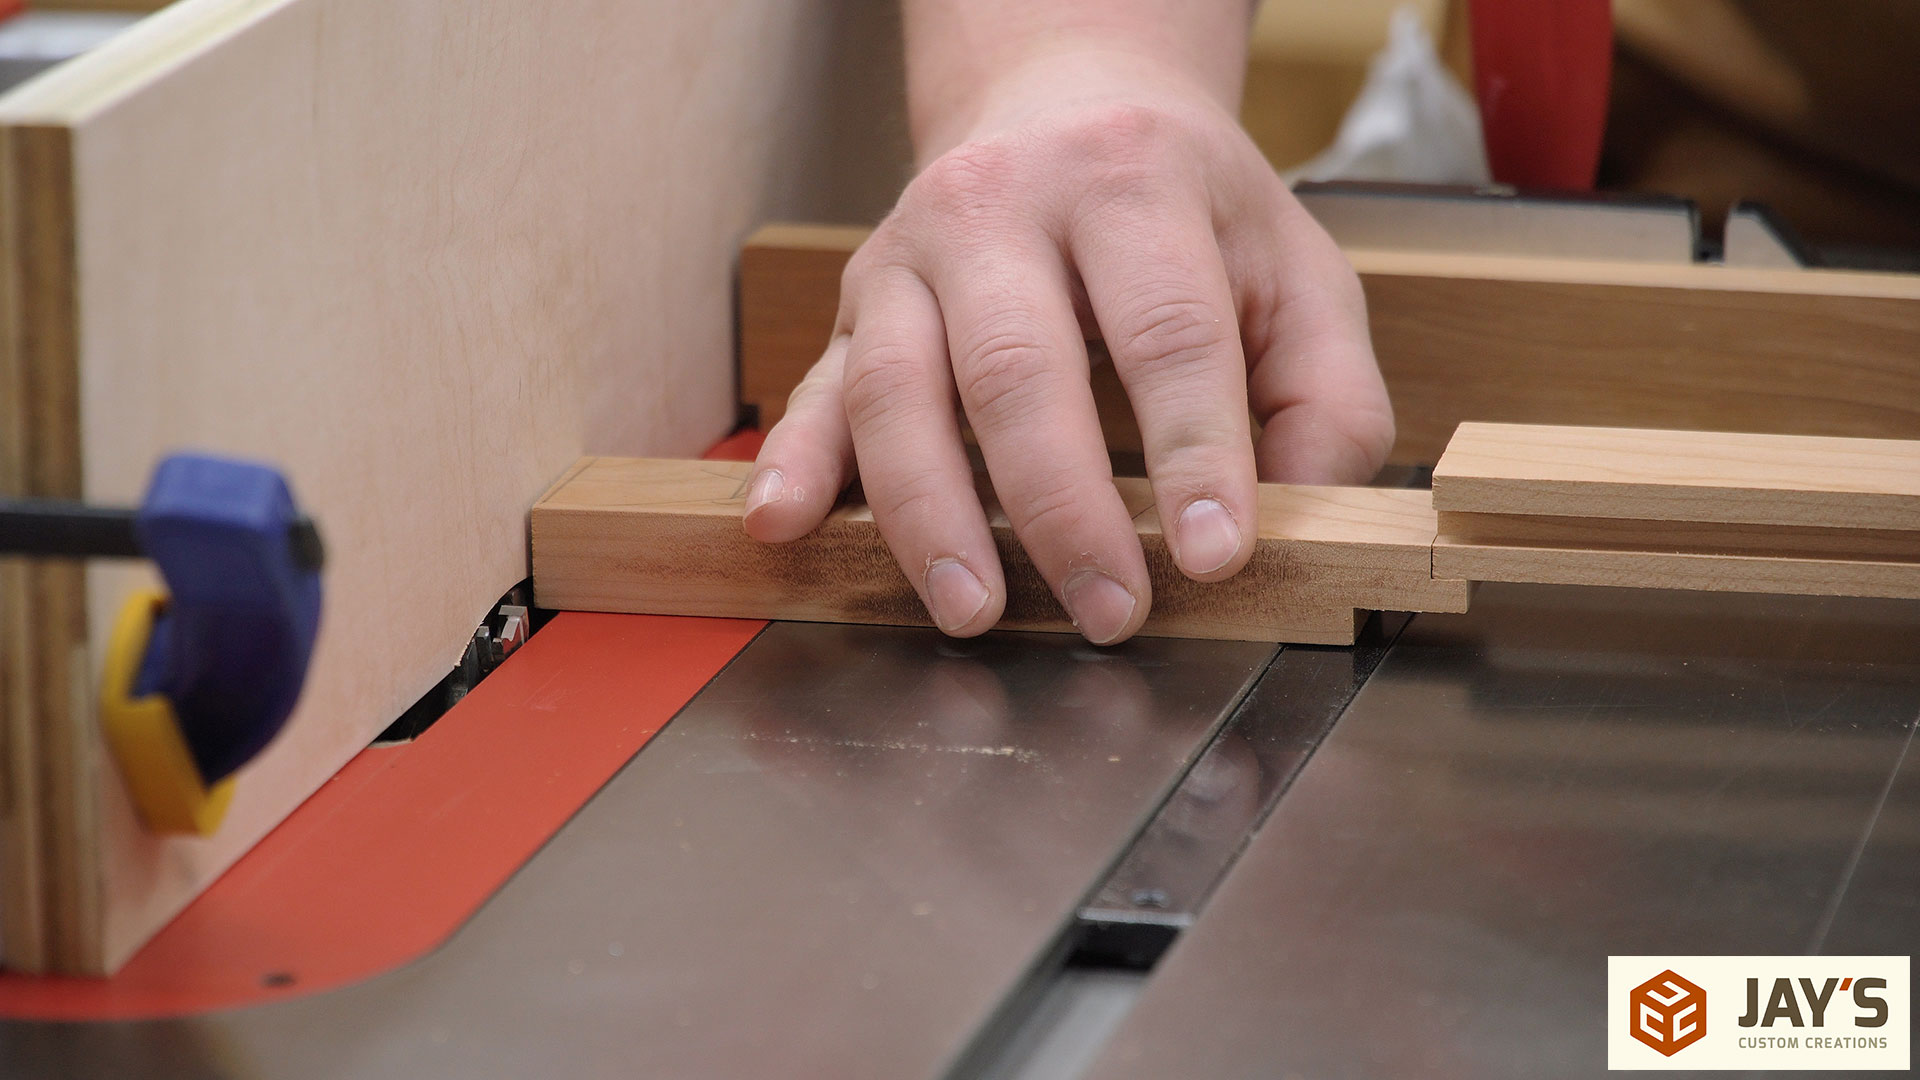
Because all of our door stock is the same thickness we can make two passes, flipping the board end for end, to make each groove and guarantee that the groove is perfectly centered on the material. To help keep the material against the fence for the grooves I used a featherboard on the table saw. Keep in mind that if you are making a through cut on the table saw you need to position the featherboard so that every finger on the featherboard is in front of the table saw blade. If you don’t you will push the material into the side of the blade as you make the cut which is a bit no-no on the table saw. In the case of making these grooves the cut is not a through cut and therefore nothing will be released and pinched against the blade.
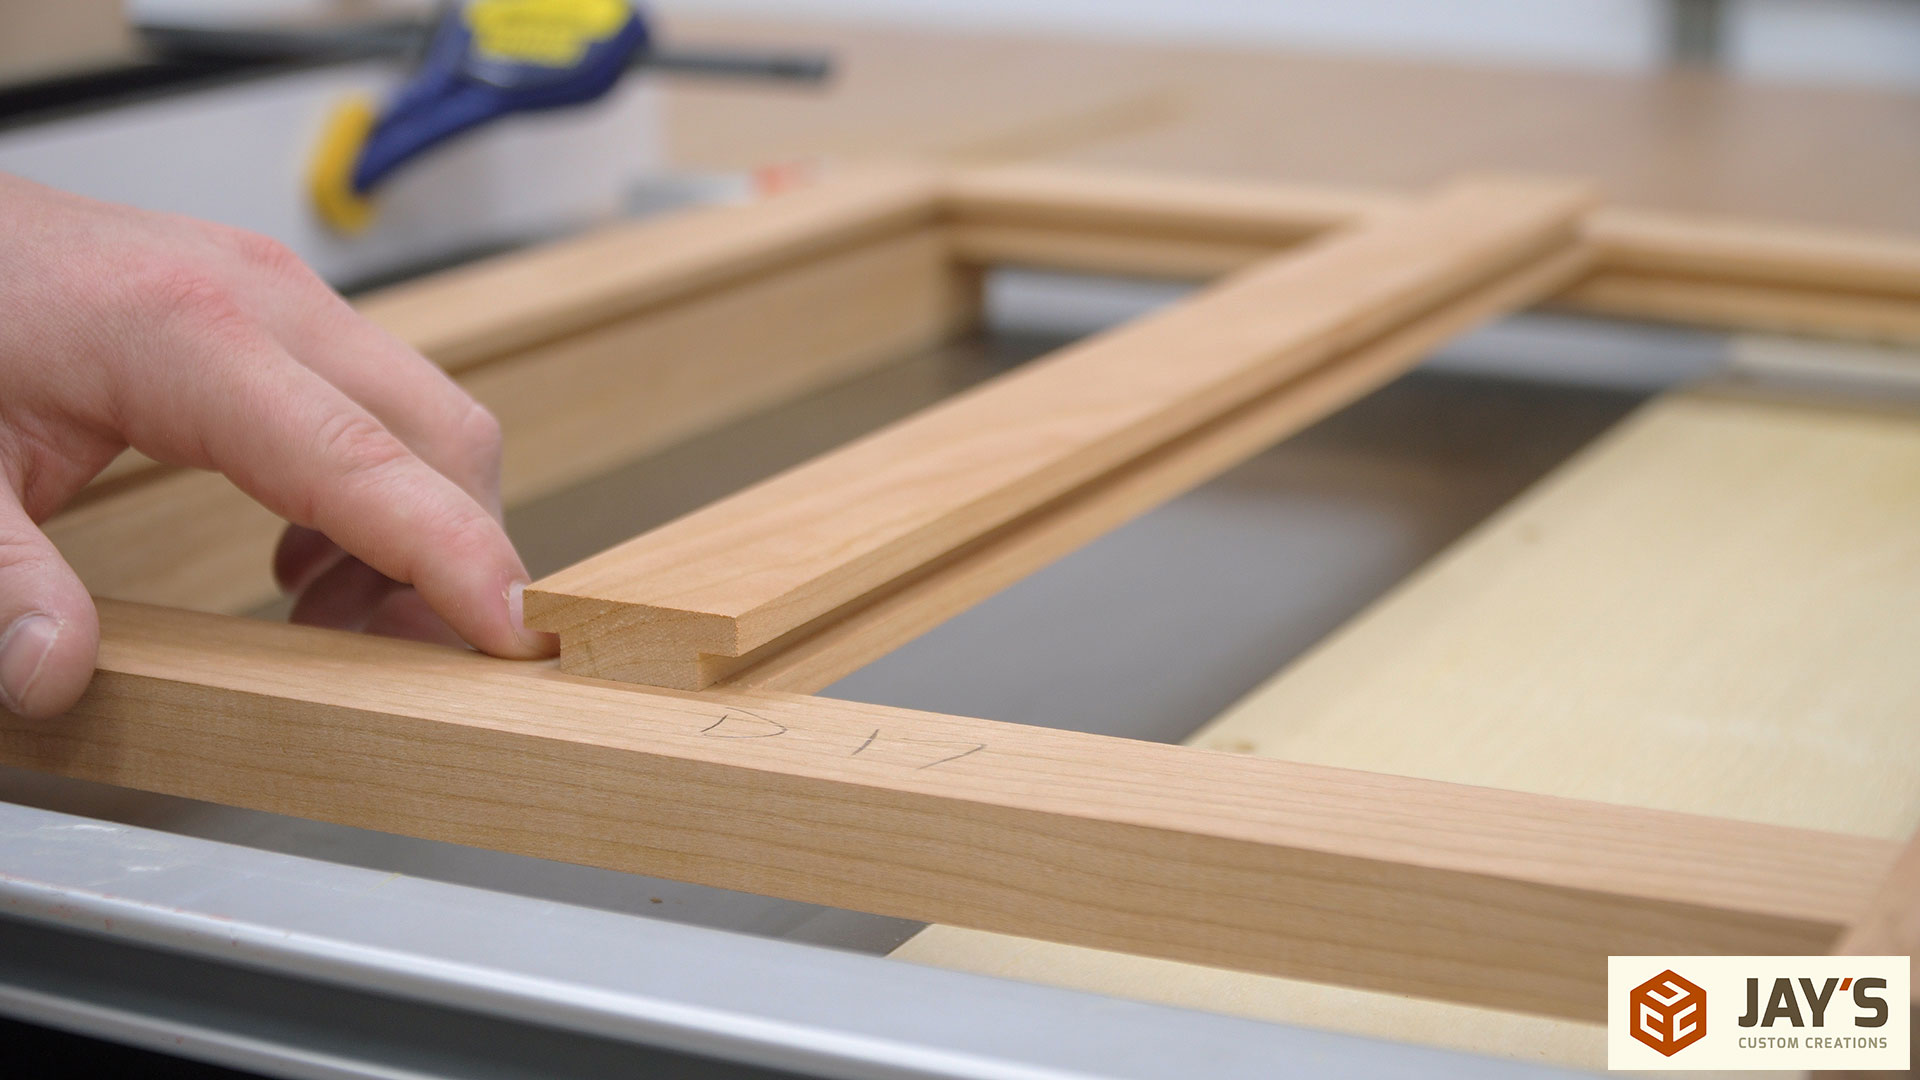
The process for cutting the tongues on the doors is the exact same as it was on the lower cabinet stiles. However, because we made sure the grooves were perfectly centered the setup for the tongues is identical for every shoulder cut. Here are the doors in a dry assembly. The joints should be loose enough to be easily inserted by hand but tight enough to hold up against gravity.
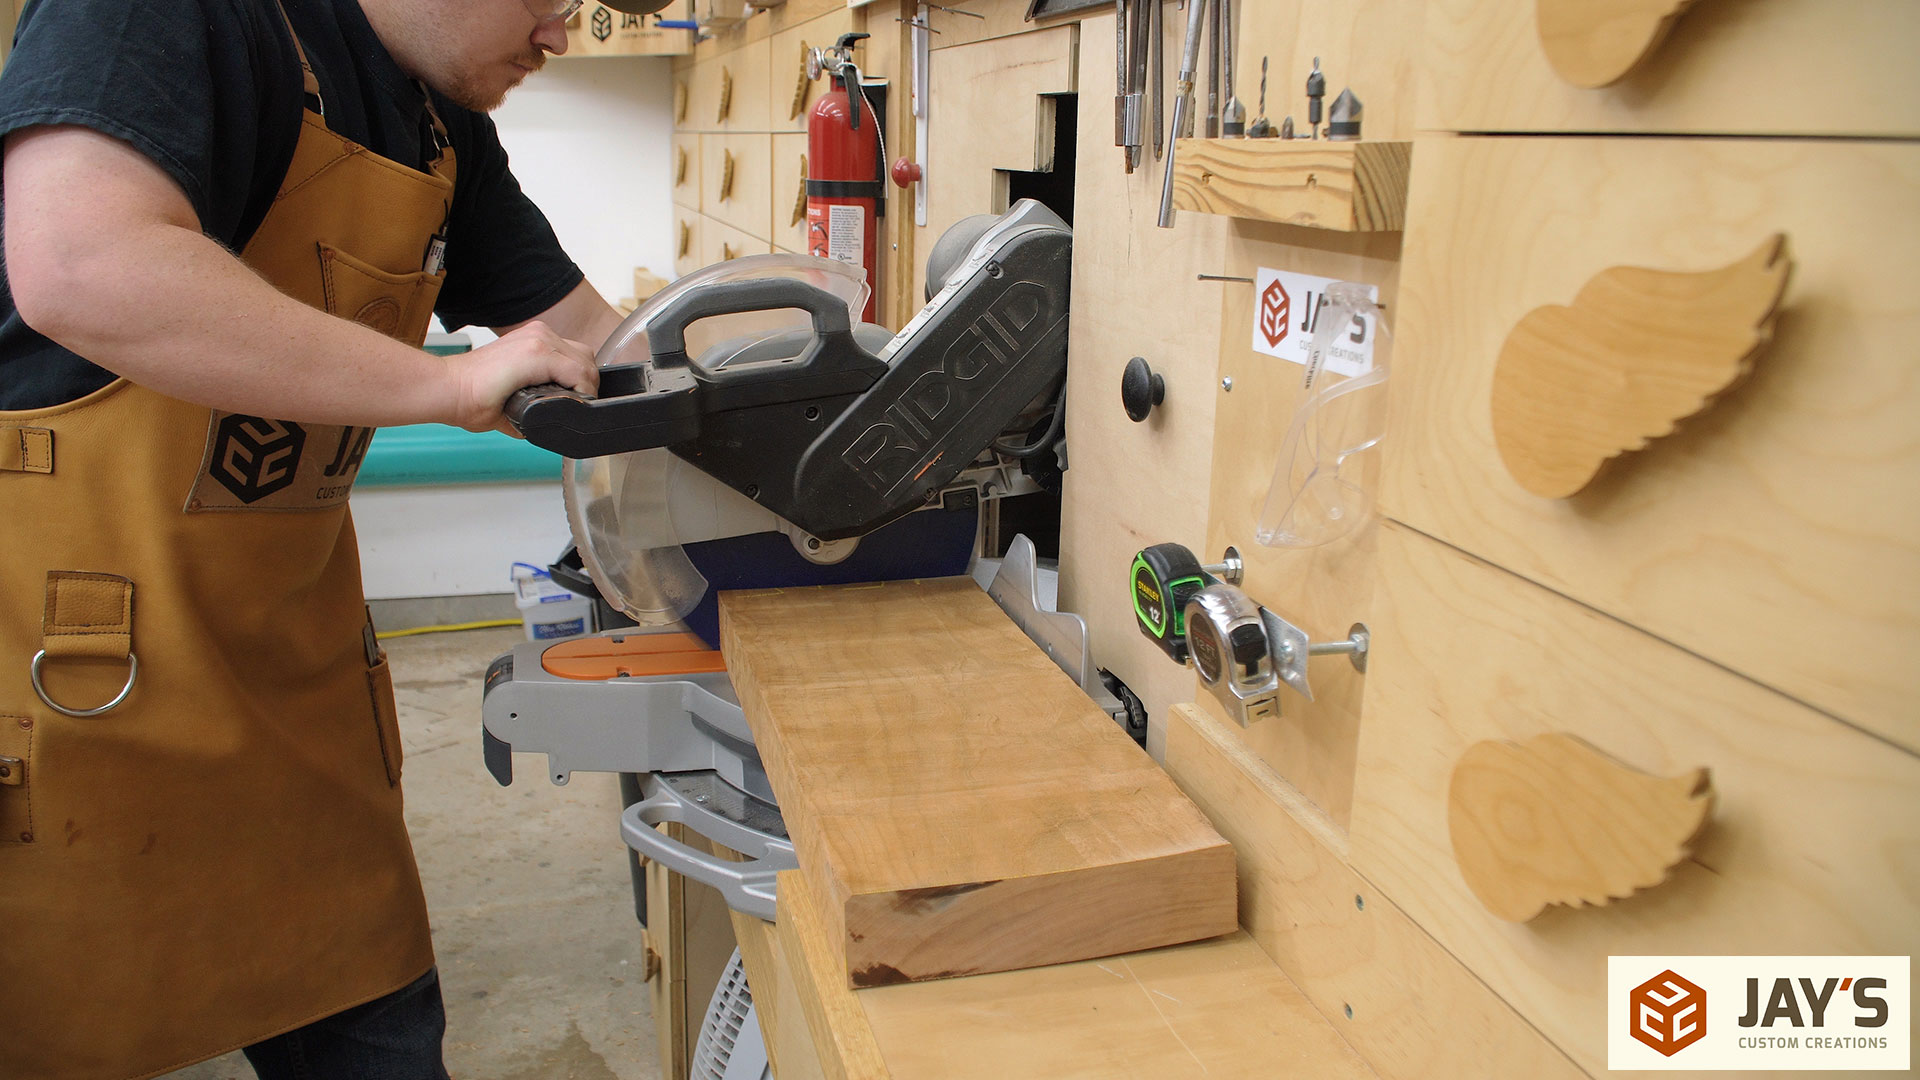
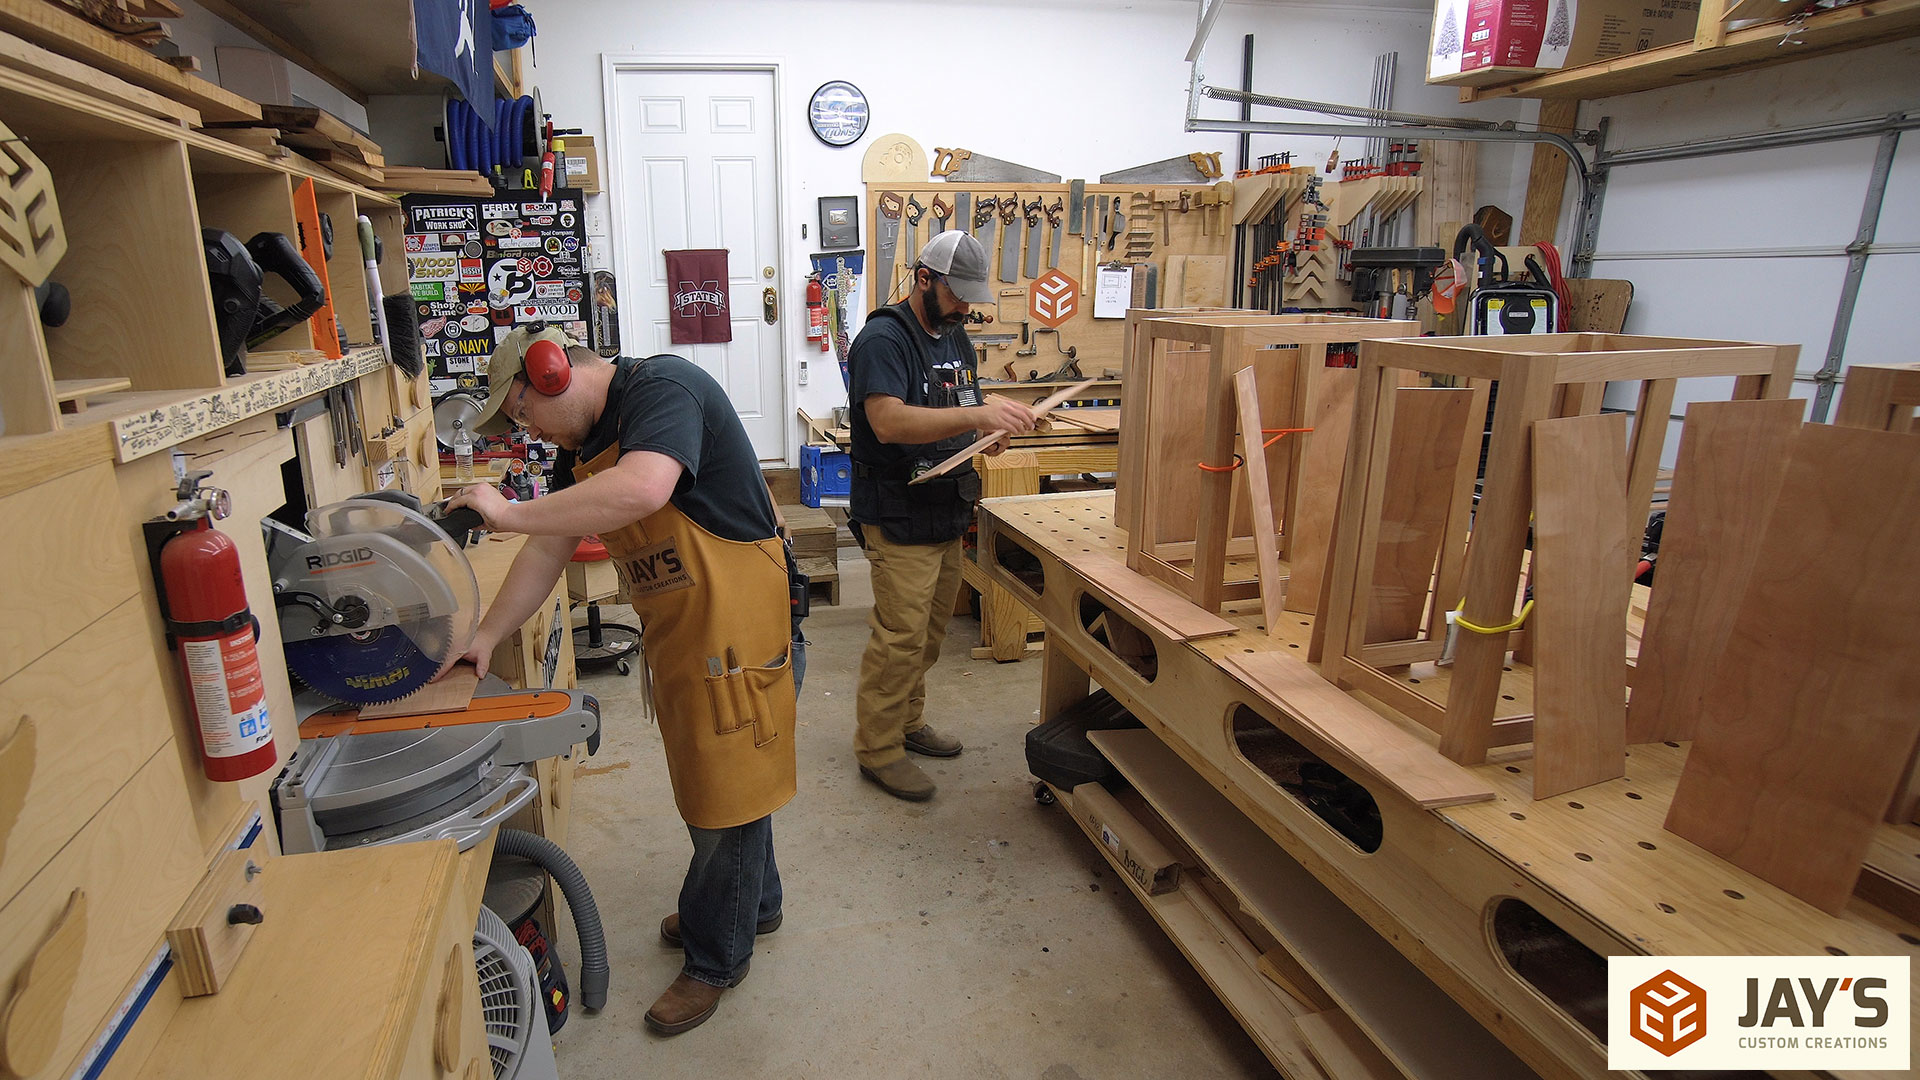
Next up is the panels. We had what we thought was a pretty figured piece of 8/4 stock set aside for these. Unfortunately the surface figure wasn’t that impressive as we thought though. First, we crosscut the 8/4 stock to rough length with the miter saw. The miter saw is the first tool I use on 99% of the things I make and having a dedicated station with great dust collection and plenty of material support to handle large stock like this is so nice. Great storage is a bonus.
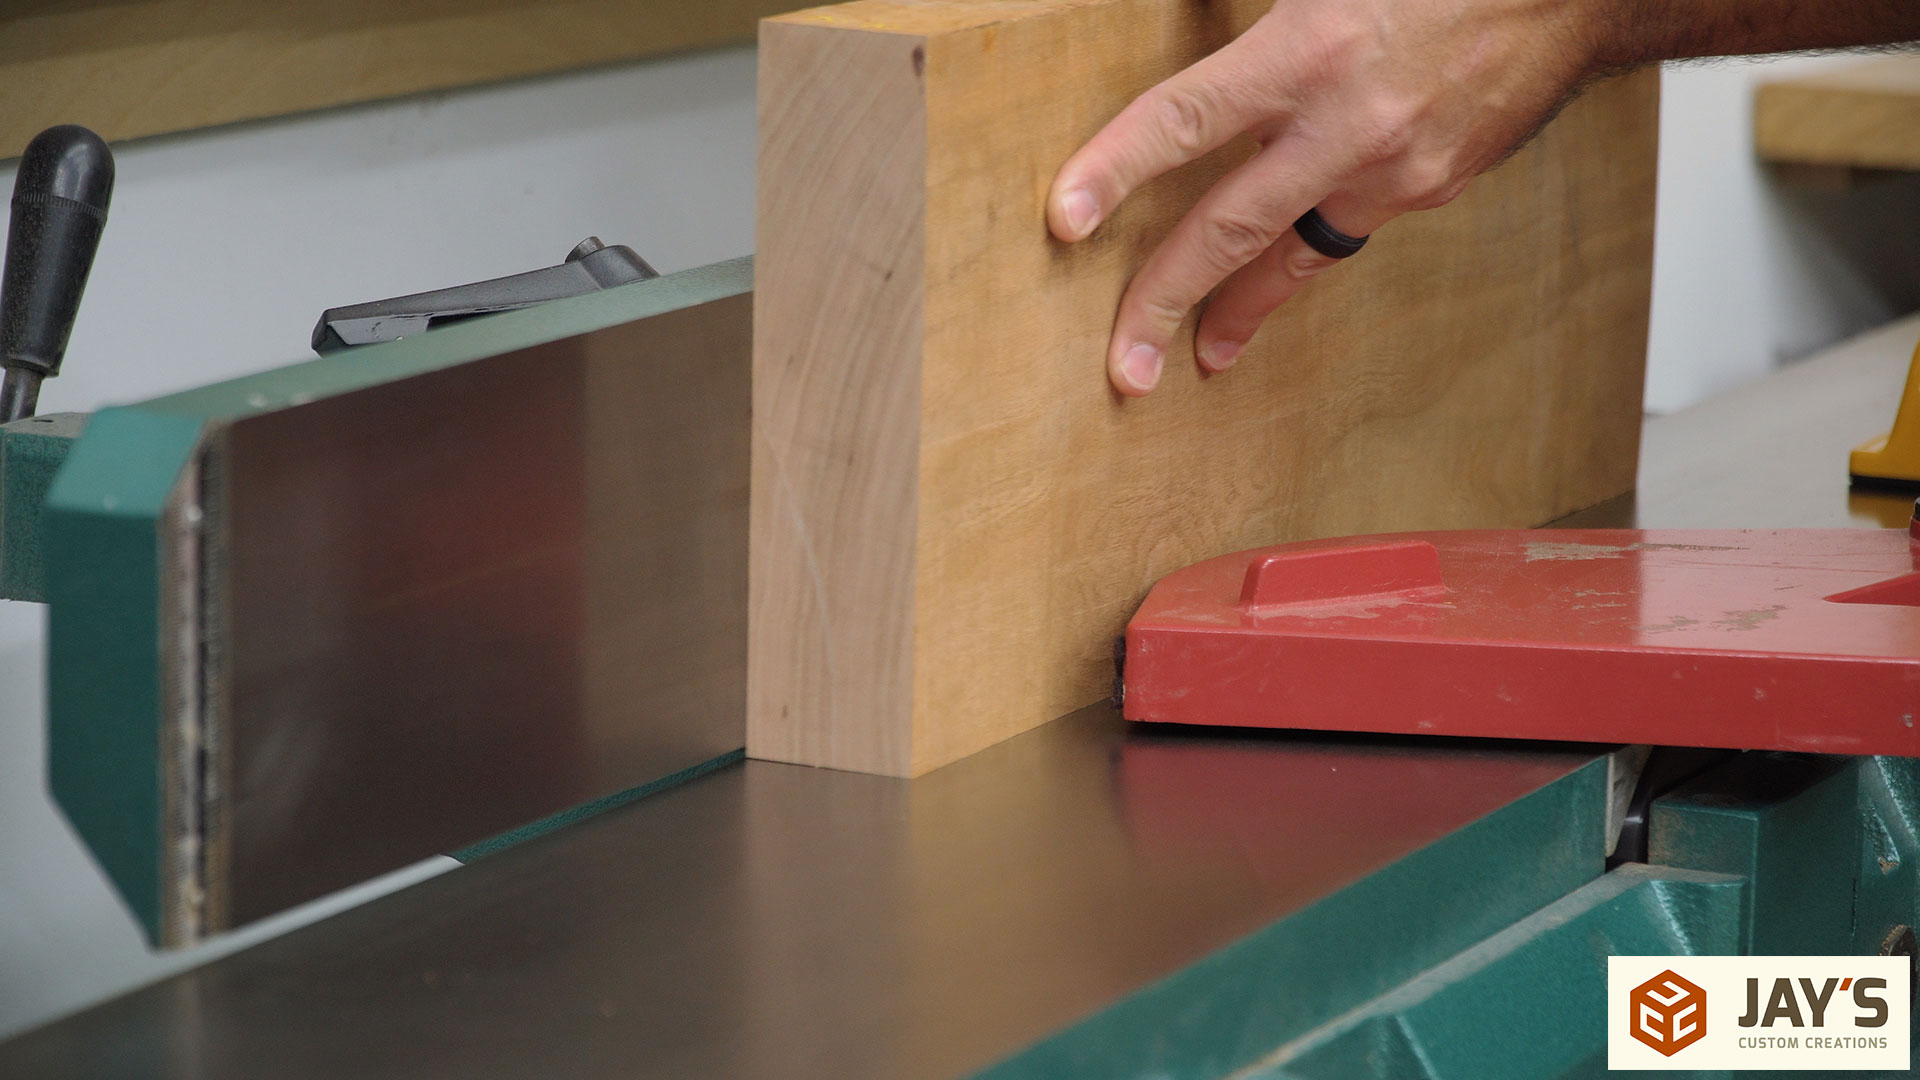
After a rough crosscut the jointer is used to flatten two adjacent faces.
Followed by the bandsaw to resaw as many panels as possible out of out material. The final thickness we were aiming for was 1/4” so the fence was set to cut 5/16” thick panels. When resawing make sure you verify that the fence is set to the thickness you need at the table as well as the top of the cut. Especially on a saw like this where the table trunions aren’t that great. The plan was to plane the material to 1/4” thickness after resawing so in between each pass at the bandsaw we jointed the wide face of our material stock. This gives us one flat face to reference off of at the planer.

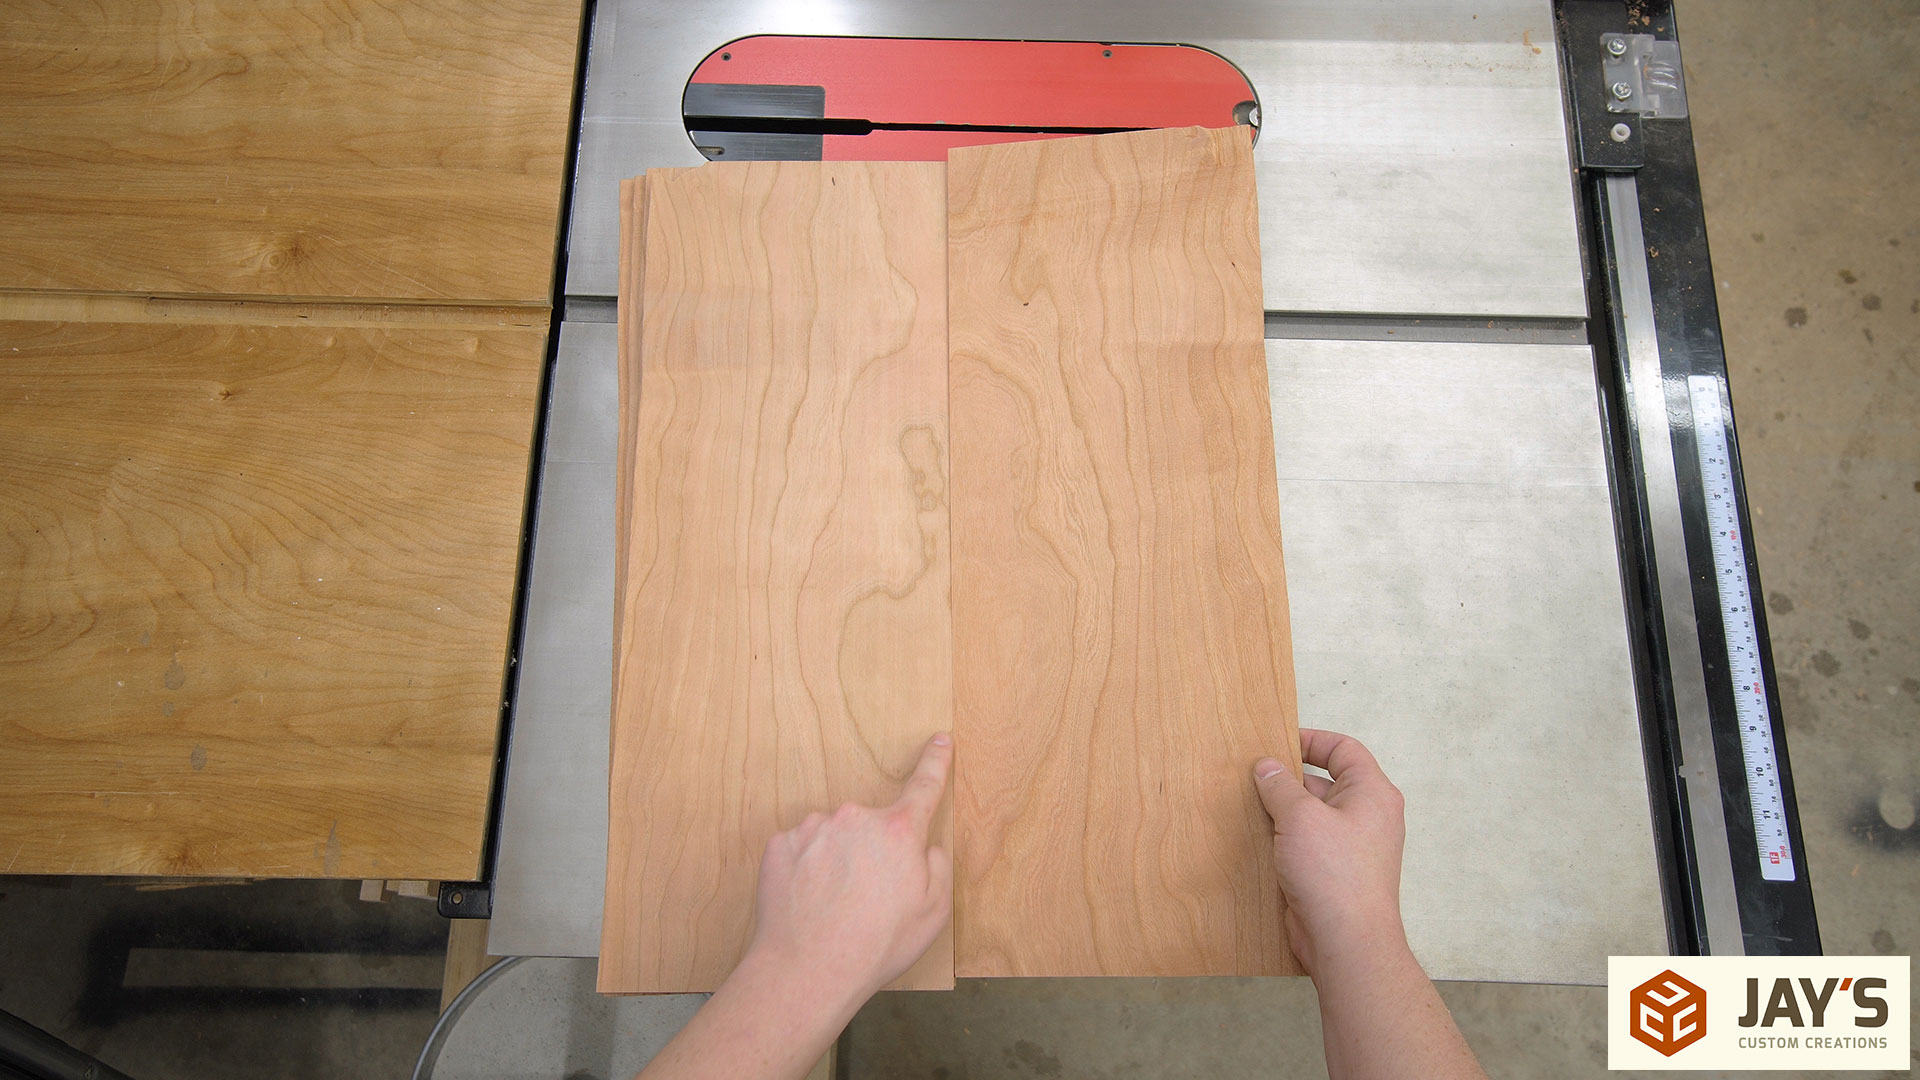
Each section of 8/4 stock gave us five panels. If we were to use two pieces of 4/4 stock instead of each one of these pieces of 8/4 we would have gotten one less panel for the same amount of wood. You can barely see it in this picture but before we resawed the panels we marked each blank with a different number of diagonal lines on the short faces.

The diagonal lines allow us to stack and order the panels in the exact same orientation in which they were so that we can get a bookmatched appearance where necessary.
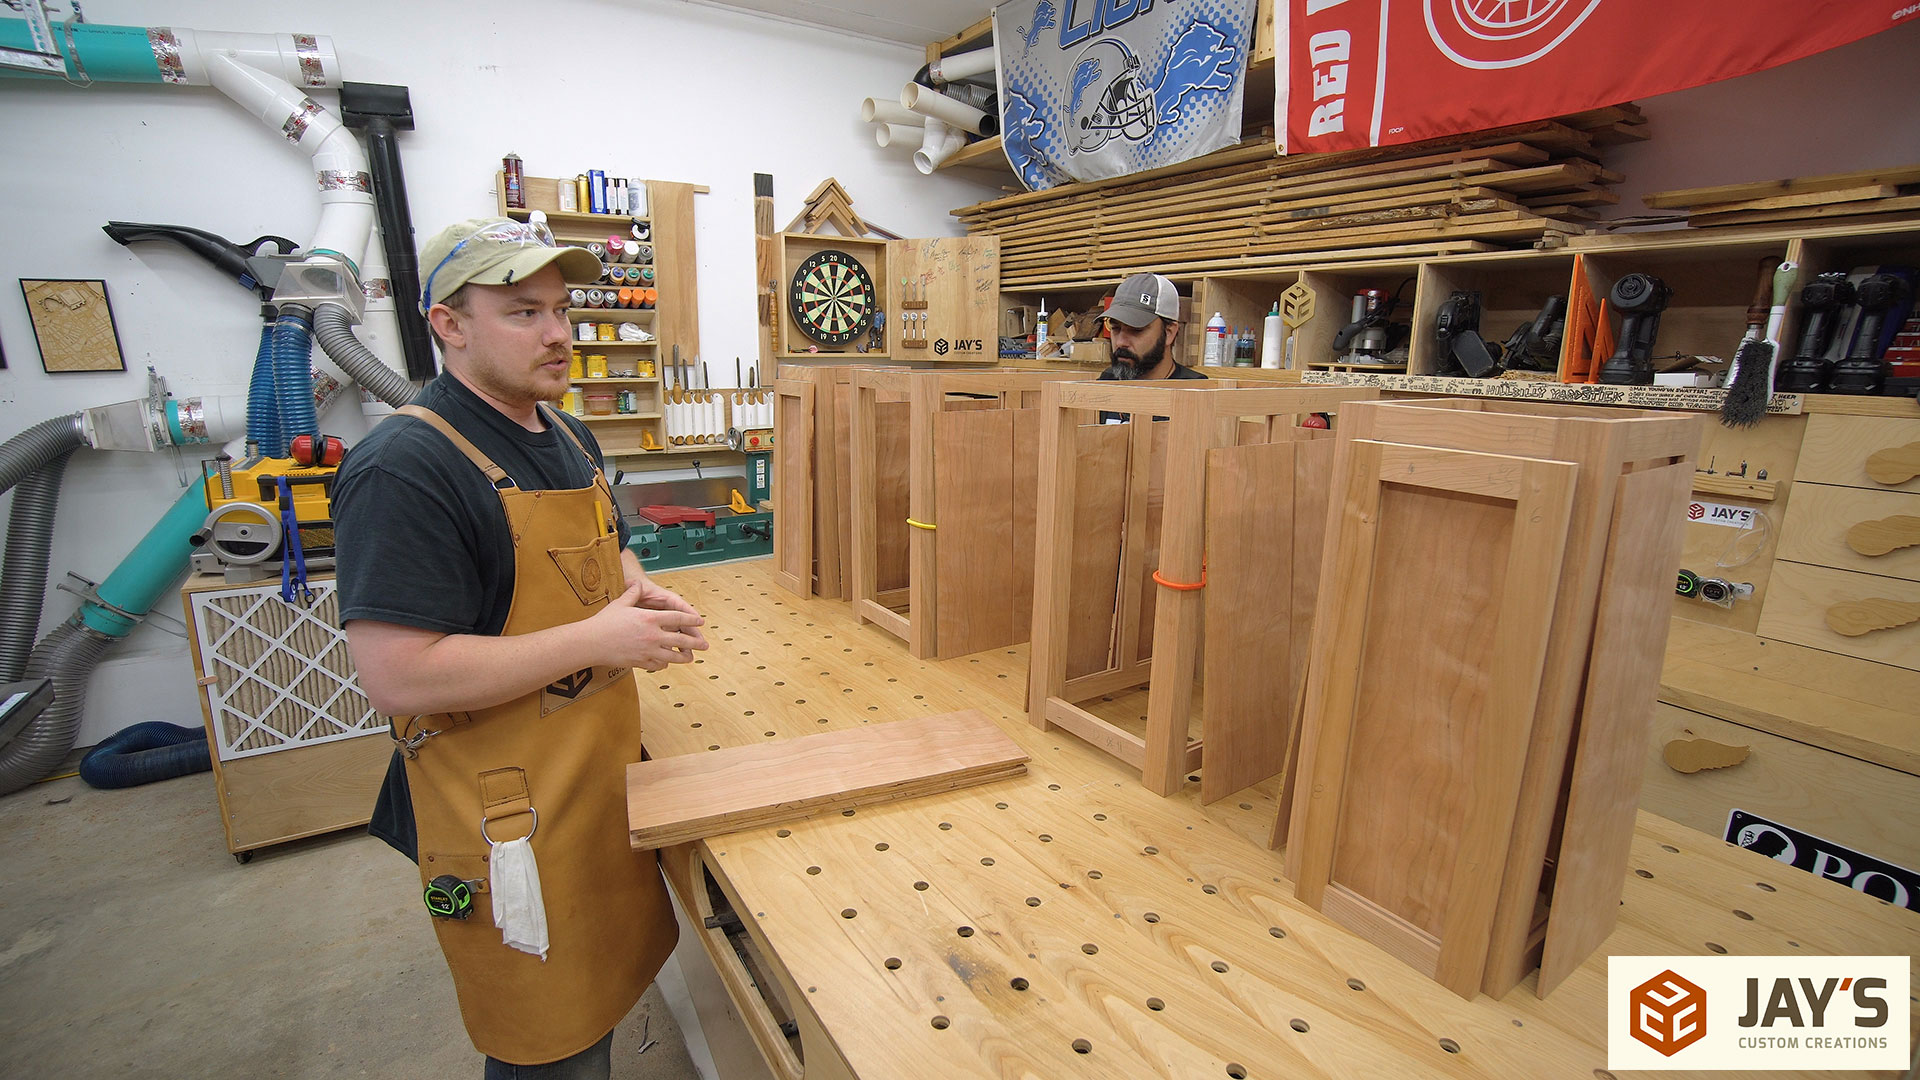
With the cabinets in a dry assembly we mixed and matched to determine the best grain orientation for each cabinet. Really taking the time to move stuff around and look at different angles will pay off in the end. We wan the project design and the beauty of the grain to grab visual attention and not a lack of symmetry or a random defect where it shouldn’t be.
Then the panels are cut to final width at the table saw and length with the miter saw. I was cutting as Shawn was feeding the panels to me. He made sure the panels went back in the appropriate location after they were cut.
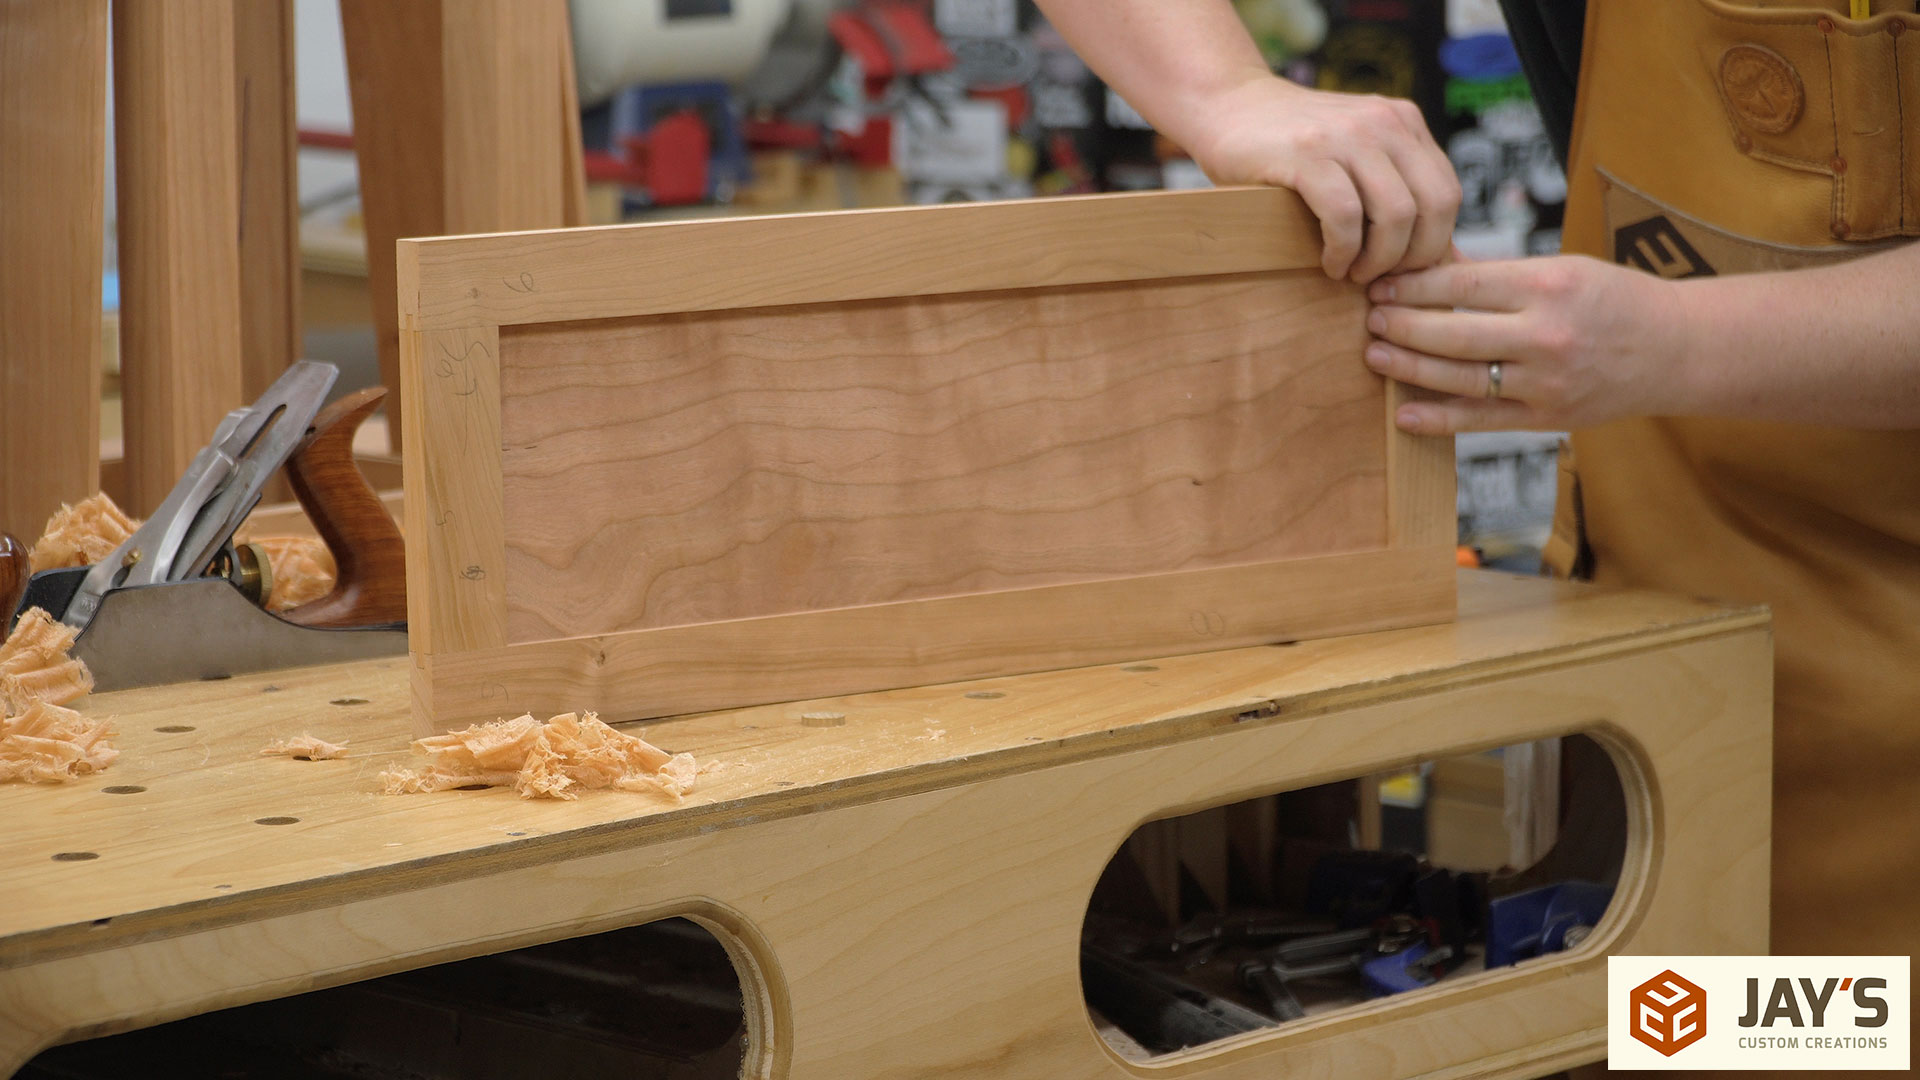
The panels fit the cabinets perfectly but were just a tiny bit too thick for the doors so we trimmed them a little bit with a smoothing plane. It was a good feeling seeing the doors in a complete dry fit for the first time.
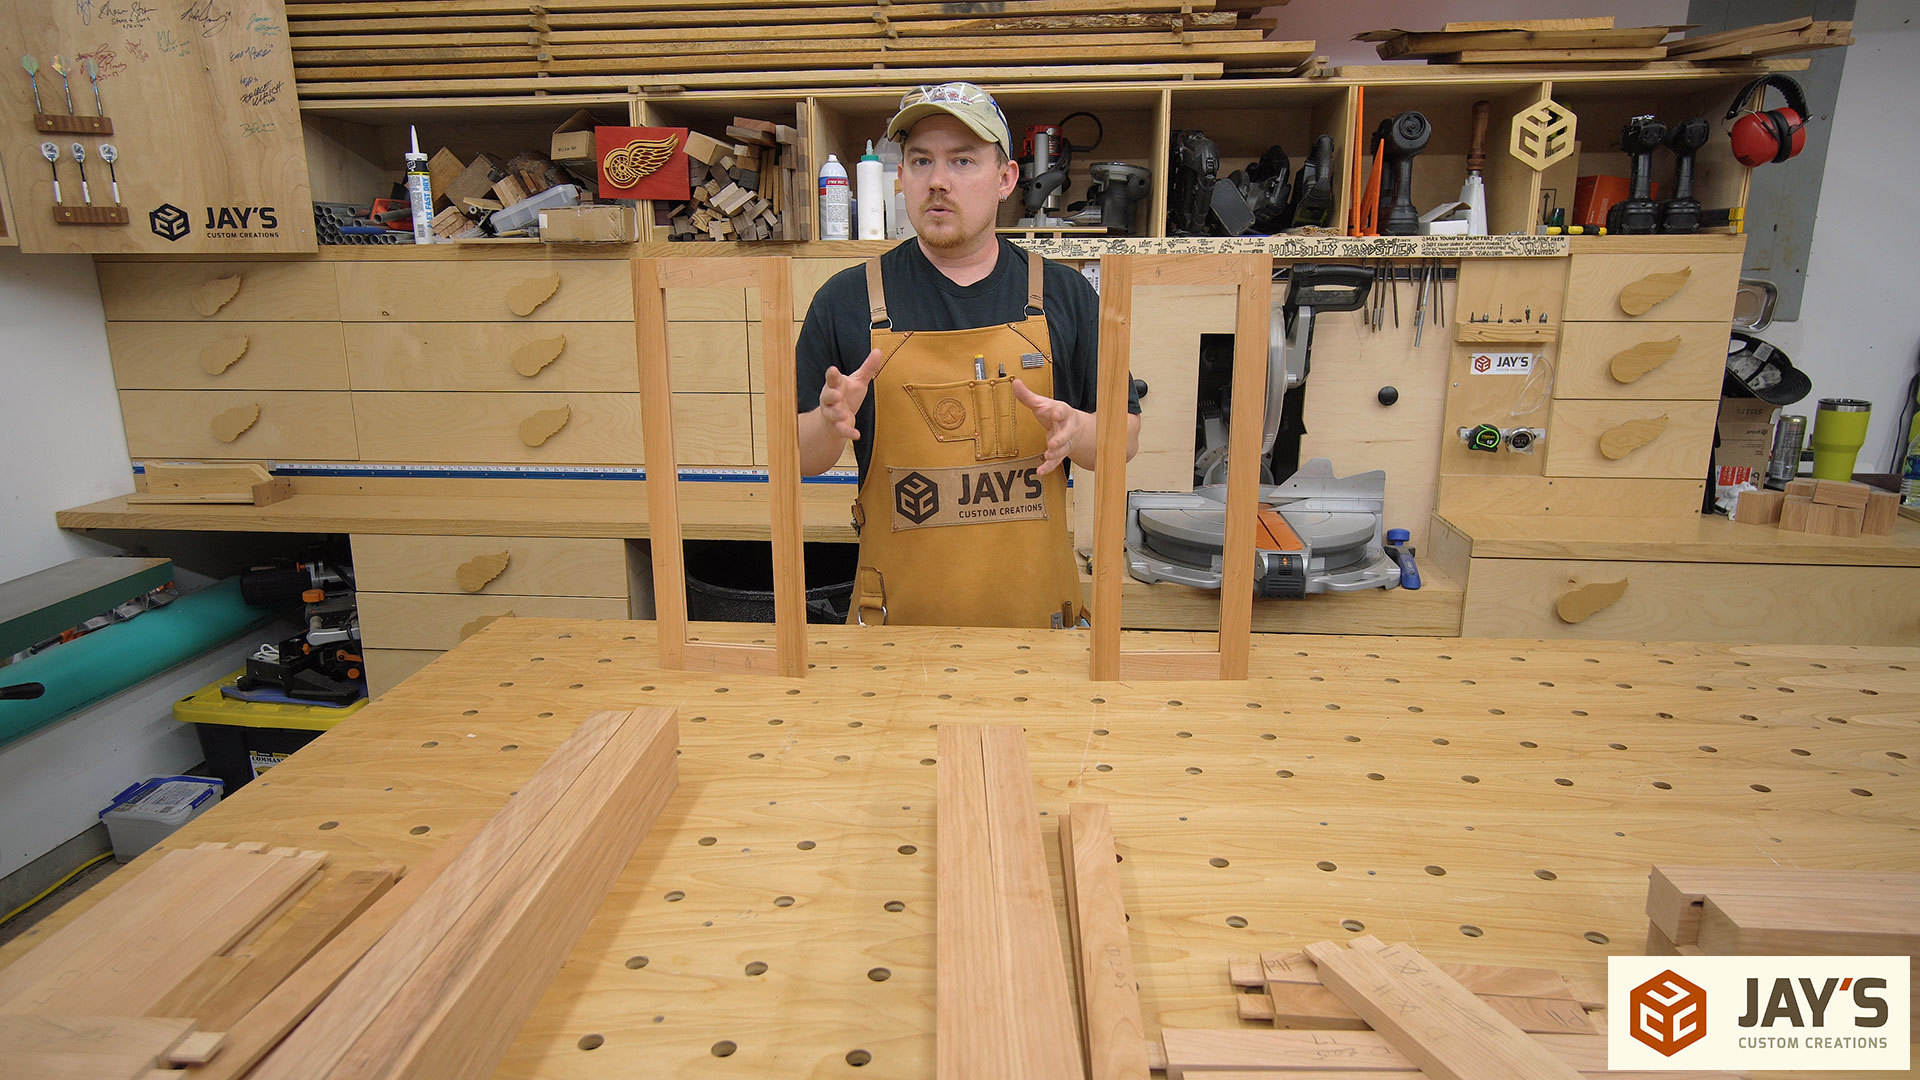
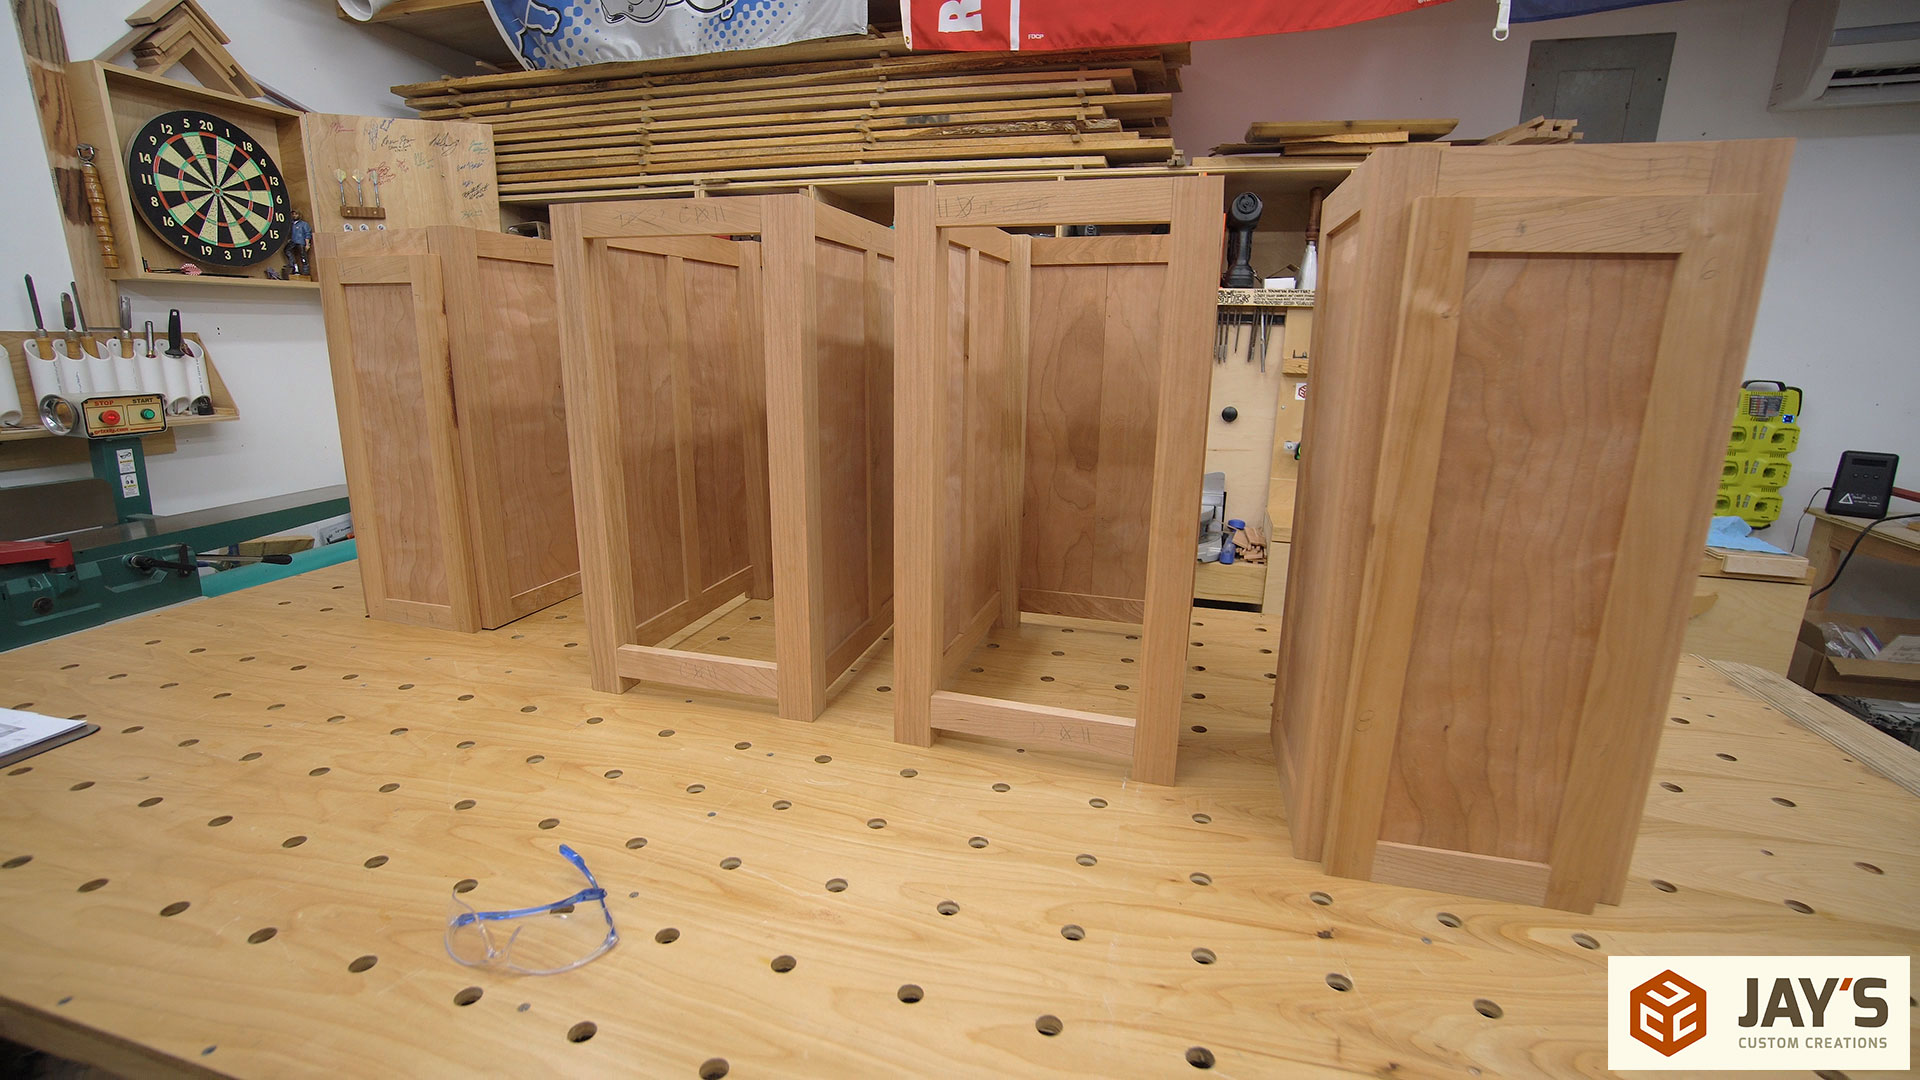
Followed by a dry fit of the rest of the cabinets.

This is what I call a milestone moment in a project where the pieces of rough lumber finally start to look like the completed project. Still lots of work to do but at this point it actually looks like something. Be sure to subscribe to my email newsletter to stay up to date on all of the stuff I publish. I’ll talk to you on the next installment of this build. Take care!


The details mentioned above clears a lot of my technical doubts of carpentry and also tells me a lot about the role of guide in carpentry. You have a follower for a life time dear, I will always bank on your carpentry guides and suggestions.