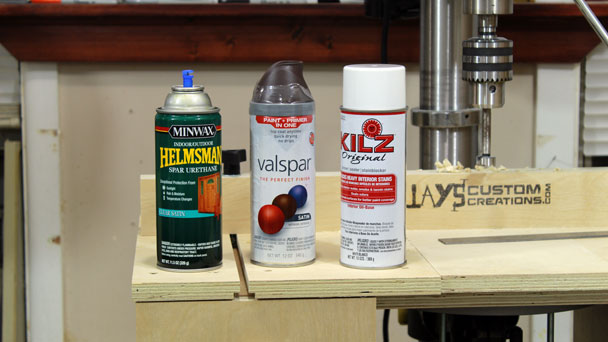
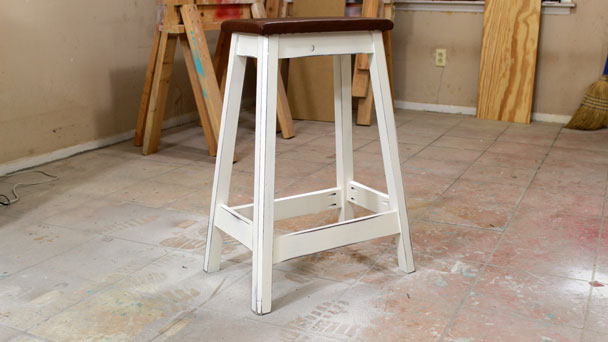
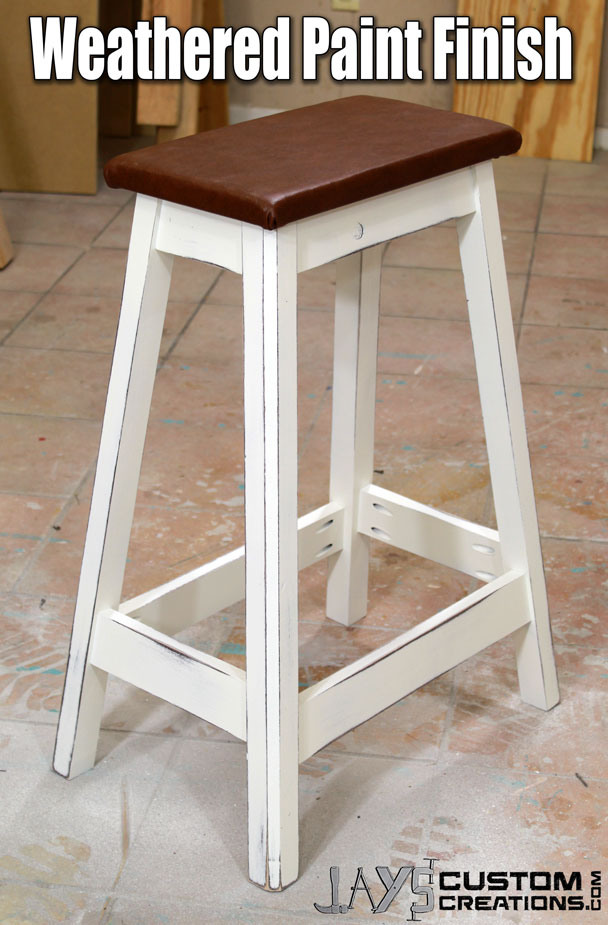
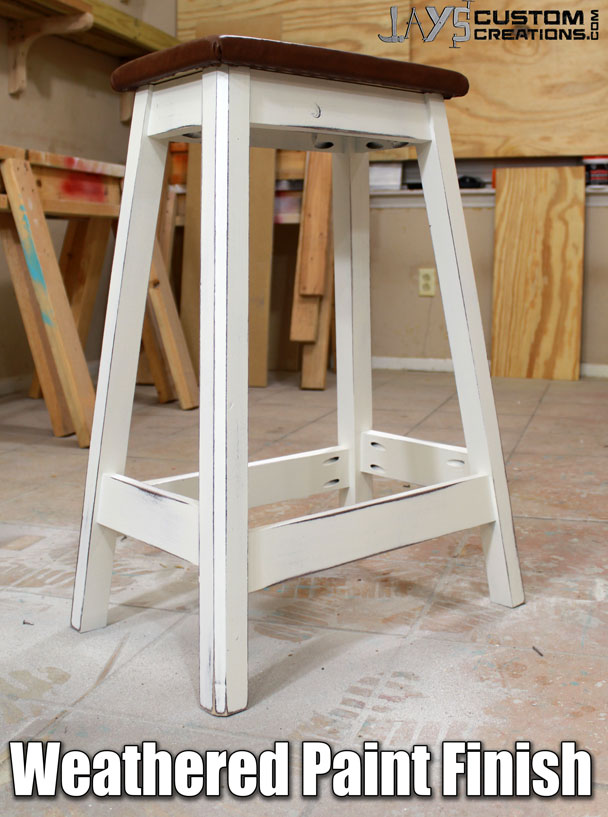
I’m not sure if I can call this a “how to” as it was my first attempt at an antique weathered paint finish. I tried it on the bar stool that I just made. It’s more of me sharing my results than anything. Anyway, this style of furniture is trending right now in a big way. I bet you could find an old dresser near a dumpster, apply this finish technique, and sell it for a nice chunk of change. The method is incredibly simple to do. You will need a few things to start. A base paint. I chose brown spray paint. A top paint. I chose white spray paint. You could even do a few layers in between. I experimented with the sequence of brown, blue, white and brown, yellow, white and both turned out neat looking. I stuck with just brown and white though. I read online that latex paint gives better results but I didn’t feel like cleaning any brushes. You also need some type of clear protective finish. I recommend a satin lacquer. I’m not a big fan of polyurethane for many reasons and one of them is that it tends to yellow over time.
Prep Work
If you are doing this on top of an existing finish you will need to sand the surface to scuff it up a little bit. If you are doing this to a new piece do not sand before the base coat.
Base Coat
Apply your base coat. I sprayed two coats of brown letting the first one dry completely. I wasn’t worried about 100% coverage in places I knew weren’t going to be roughed up later.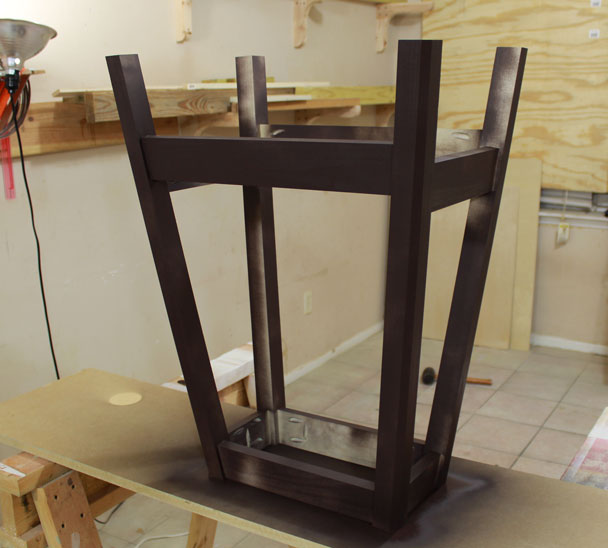
Top Coat
I applied two coats of white just like the brown before it. Make sure the first coat has ample time to dry completely. Then let it sit overnight. If you start the next step too soon you will get paint that balls up into chunks instead of sands away.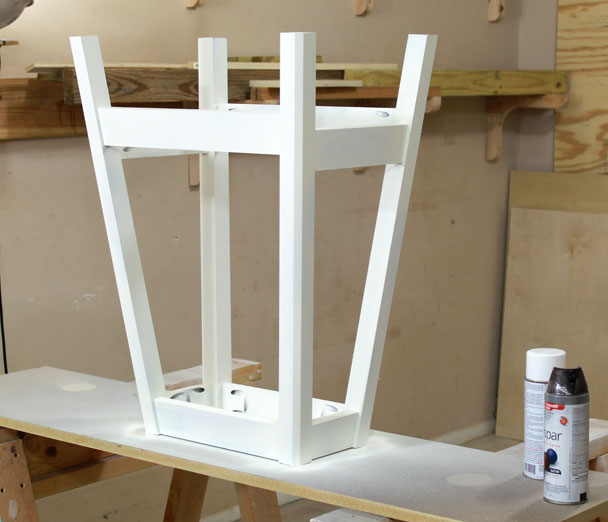
Normal Wear And Tear
First smooth out any fuzz or dust that may have ended up in your paint while it dries. I sanded my entire project with 220 grit sand paper to make it all smooth to the touch. 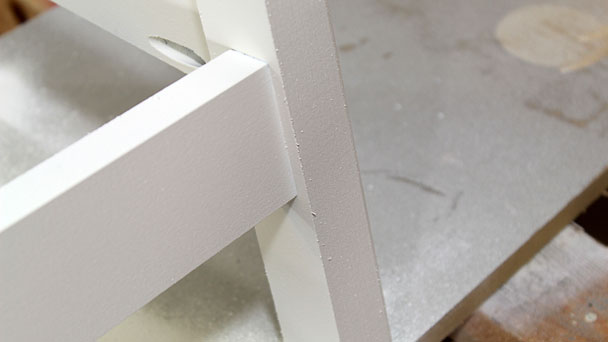 Then determine how your piece will be used over time. Is there any place that will be frequently grabbed or stepped on? Are there any corners that will be bumped into a lot? These areas need to be sanded deeper than the others. Gently sand over most all of your edges and make a few wear spots in random areas. It’s really up to you so have fun!
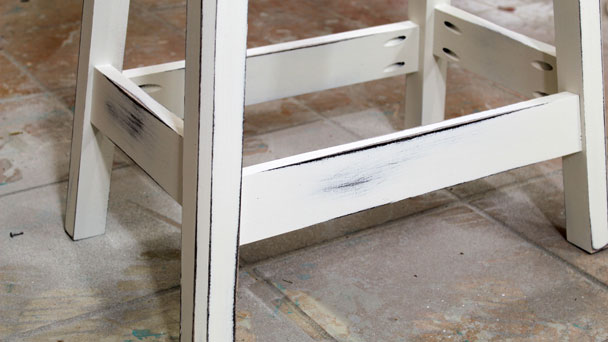

Protect Those Perfect Imperfections
Once you have it the way you want it you need to protect it. Apply your clear finish of choice. Like I said, I prefer satin lacquer but you can brush or spray whatever you want.
If you haven’t already I hope you take on this finishing technique. It’s a lot easier than it may appear. I’ve noticed that it’s actually very hard to screw up. If you do decide to do this for the first time let me know. I’d love to see your results!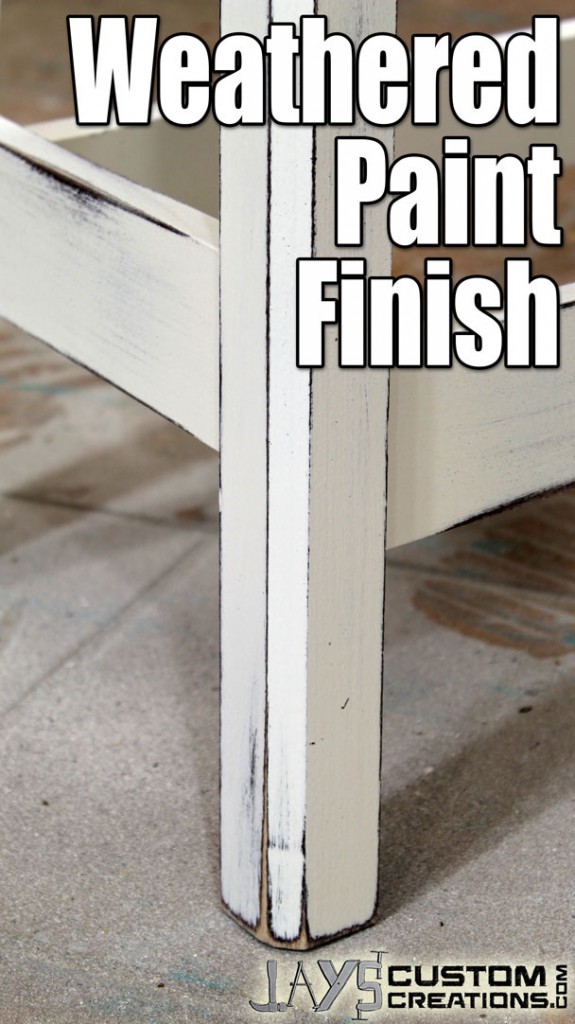


I’m applying this finish to an Ana White Bedside Table plan this week. Love your blog and videos. You’re the man!
Love your project. But was thinking, maybe you should have sanded the edges of seat also.