I’ve got an upcoming bookcase build that has me a little on the fence in regards to the joinery. One of the main reasons I use pocket holes for most of my projects is it’s a way to create strong joints quickly. That’s is great for me considering the time constraints of making a project and video pretty much every week. But due to the size and the angles in which the shelves will be visible I’m not entirely sure that pocket holes will be appropriate for the bookshelves….maybe, maybe not.
The other joinery method I was contemplating was just regular rabbets and dados. I’ve got a dado stack for my table saw but setting it up to exact thickness of wood is a bit of a pin in the rear. And cutting dado’s in the middle of longer planks doesn’t sound too fun either. The other option was to use a router and a router dado jig.
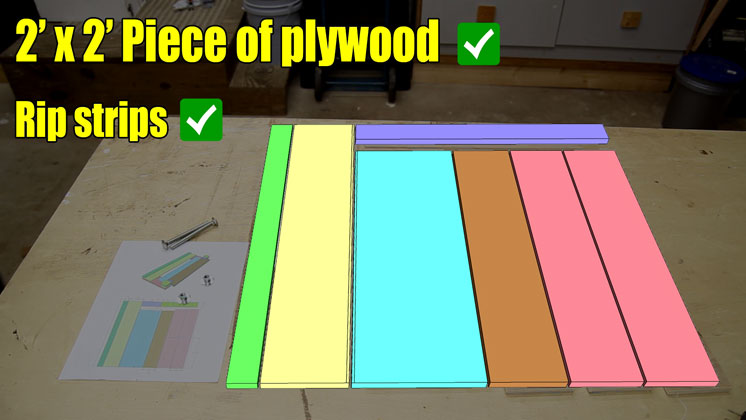
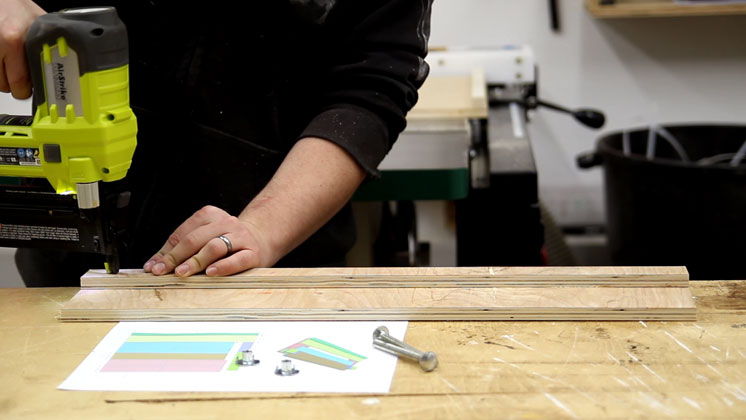
There are many router dado jig options out there. I could have very easily just made one of them but I wanted to be a little different with this one. Just for the sake of trying something new. My spline jig and miter sled were each made from a single 2′ x 2′ piece of plywood so that’s the route I went with this one. I designed the project in SketchUp first to make sure I could get everything from the 2′ square piece of plywood. Another thing I wanted to do was to eliminate the need to cut any slots. So step one was to follow my layout diagram.
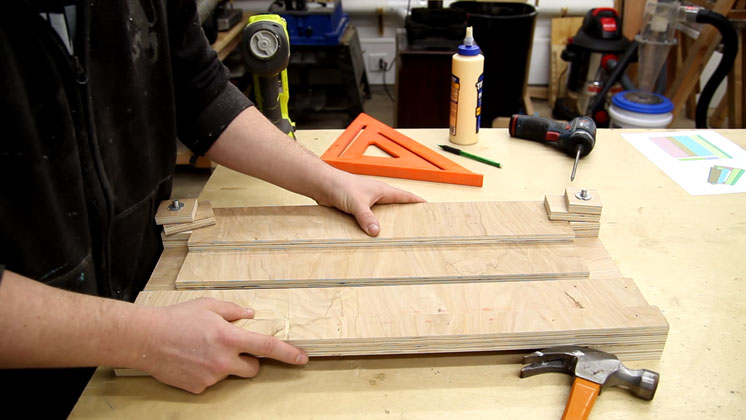
Six cuts later I had all of the rip cuts done and laid out on my work surface according to the layout diagram.
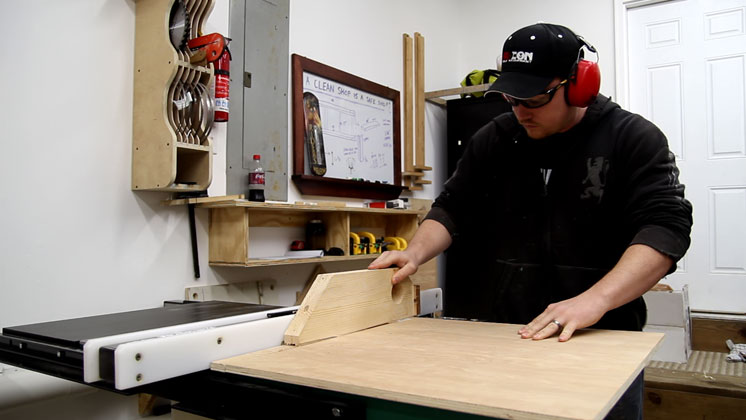
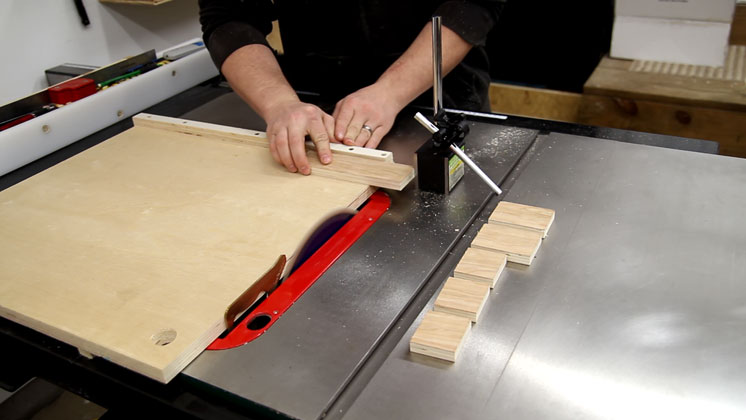
Then it was on to the crosscutting. I used my table saw for this instead of my miter saw as some of the pieces were a little small. A magnetic base works great as an adjustable stop block by the way!
And of course a stop block can be used on the sled itself when needed. I prefer the one sided crosscut sleds on the table saw. It keeps you to one side and away from being directly in line with the blade.
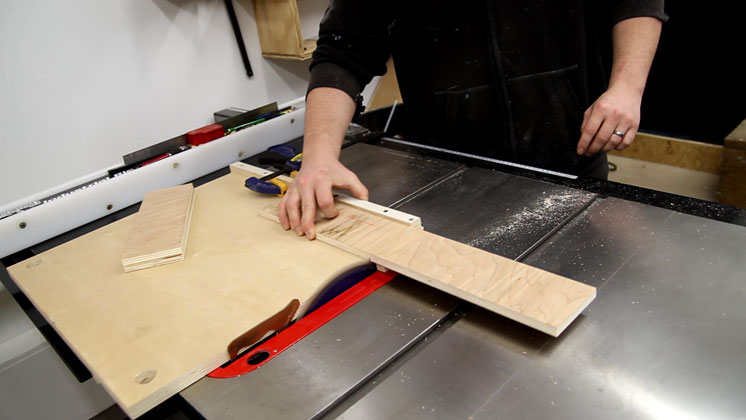
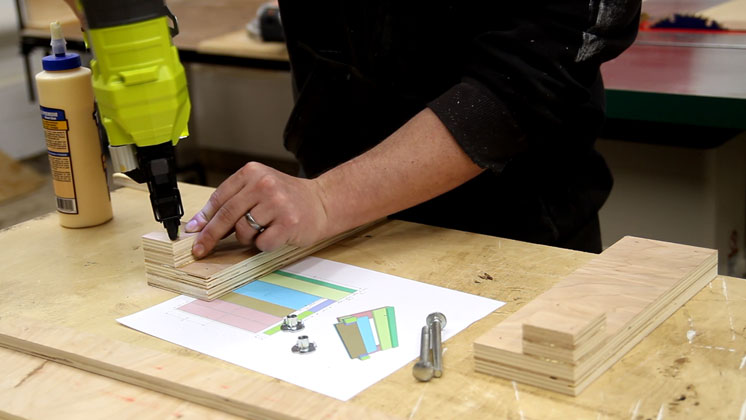
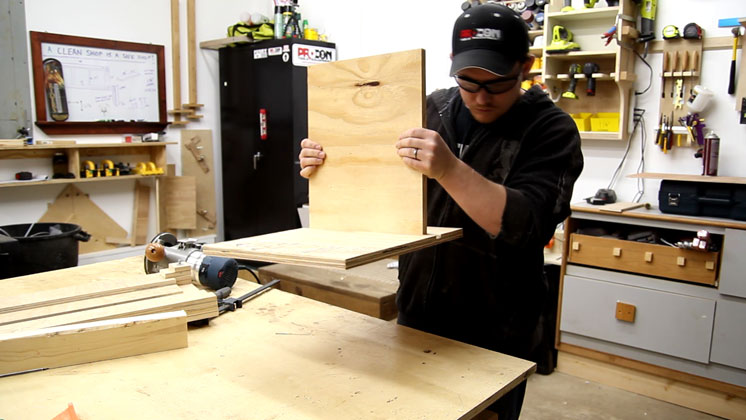
Finally all the parts are cut to size. It’s just a bunch of rectangles. Nothing complicated.

To assemble the jig I used wood glue and some 5/8” brads to hold everything in place. The brads aren’t there for strength, just to hold everything while the glue dries.
For some reason I see a lot of feedback online from others saying they don’t like to cut slots in their jigs. I designed this so that it uses a hold down block to grab a floating guide. That way there is not slots to cut. A couple spacer blocks are needed to get to the appropriate thickness for the hold down blocks.
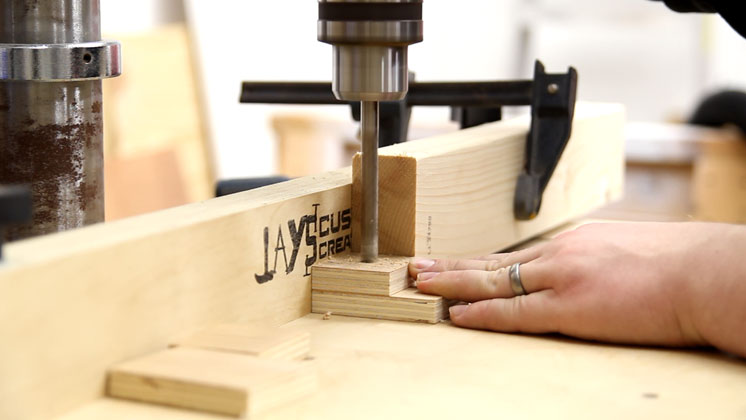
Holes are then drilled into the hold down block and what will be the tightening nut. No, my logo isn’t photoshoped onto my drill press fence. I “branded” it there with my toner transfer method.
The simplest way to make a hold down nut is to drive a t-nut into a rectangle. So that’s what I did.
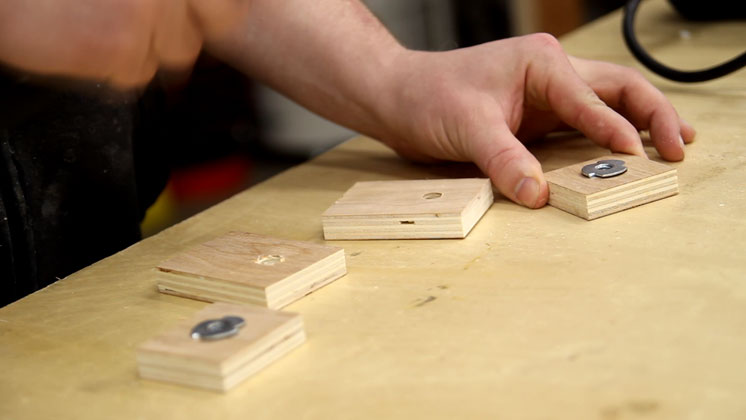
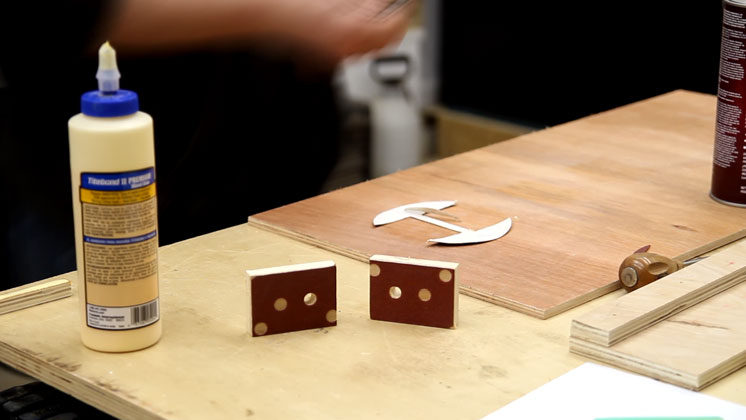
The built up spacer blocks are the same thickness as the floating guide so a little material is removed with a sander. This will allow the hold down blocks to create a little bit more clamping pressure.

To give the hold down blocks a little bite I glued sandpaper to them. I just used a random orbital sanding disk which already had the appropriate size holes for the carriage bolts I was using.
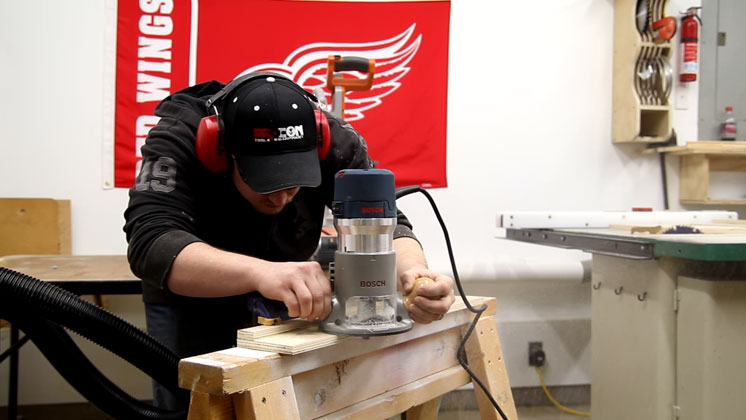
I sized the router guides to have 3” of distance from the fence to the zero clearance line. That should be enough for most routers using a 1-2” router bit. With a 1/2” bit installed in my router the distance from the edge of the bit to the end of the base plate is 2-3/4” so I needed to cut a new zero clearance edge on both guides.
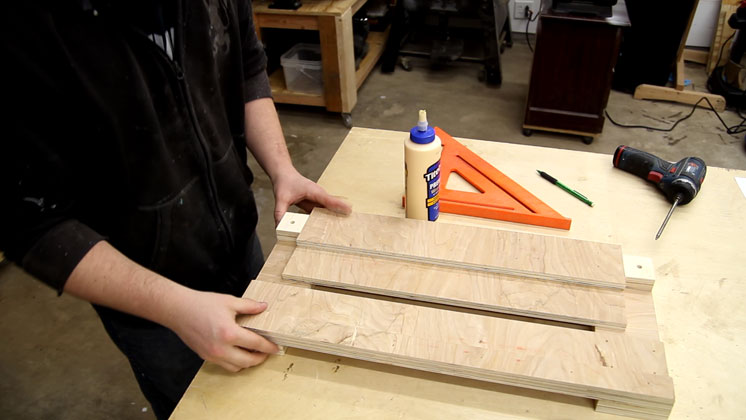
The fences will be below the router guides and the front fence needs to be perpendicular to the stationary guide. That way only one reference mark is needed on the work piece to establish the location. Wood glue and brads will hold it in place.
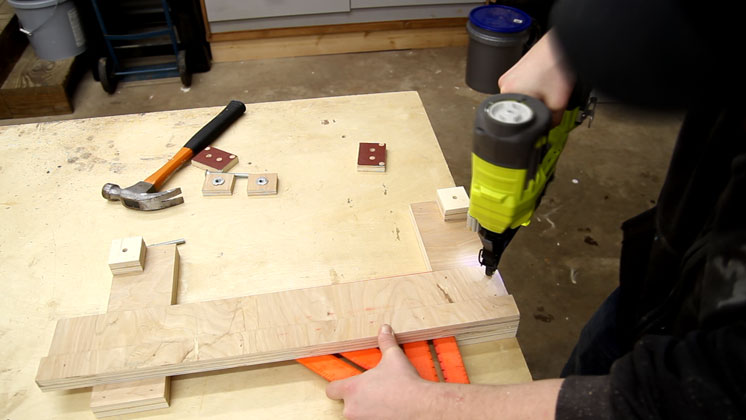
The second fence doesn’t necessarily need to be perpendicular. It just needs to allow enough room for the floating guide to move freely. Again, wood glue and brads to hold it while the glue dries.
I used hardware that I already had on hand which was 5/16” x 3-1/2” carriage bolts and matching t-nuts. You could probably get away with a smaller diameter bolt and wing nut.
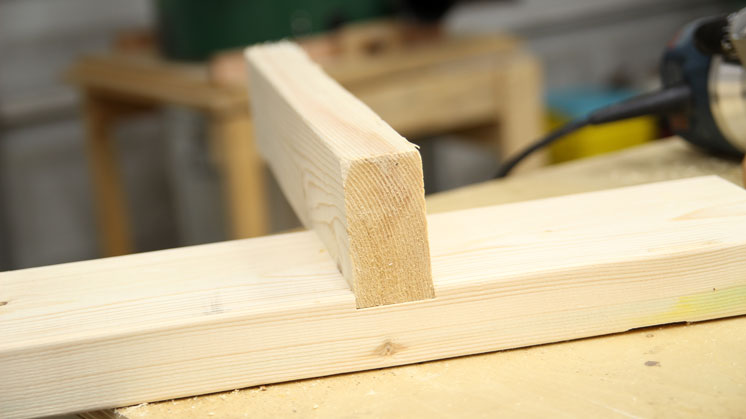
To set the width of the dado insert the material that will be going into the dado into the jig. Adjust the floating guide to sandwich the material. And tighten down the hold down blocks.

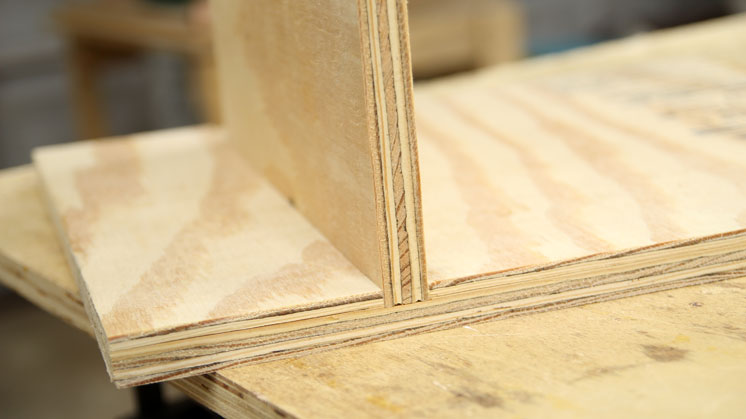
Clamp the jig to the work piece and route a dado. The resulting dado should be nice and tight. To allow for a slightly looser fitting dado you can use a piece of paper or two added to the material thickness when adjusting the jig.
The results are perfect every time, regardless of what material thickness you are working with. I designed this to work with material from 1/2” up to 1-3/4” in thickness.
There are many dado jig options out there. If you would like to build this one click here to download the cutting diagram. It’s not a step by step tutorial as the build is pretty easy to follow with the video and this article. It’s just the layout diagram. EDIT: I just added a metric version with millimeter dimensions. Click here for the metric version.


Jay ,
You continue to amaze me , your videos are informative and entertaining. I have learned so much,keep up the great work.
Gregg
Thank you for the feedback Gregg. I very much appreciate it.
I like it, great idea!
Thanks Mark.
Gonna build one this week, Jay. Best design I’ve seen yet.
Thanks Robert. Glad it can be of some use.
Great video. Not one word said, but every bit of information passed. Nicely done.
Thanks for the feedback Chris. Just trying to change it up a bit.
Jay, what kind of router you use
I have a DeWalt laminate router, a Harbor Freight Drill Master router in my router table, and I just purchased this Bosch router. No complaints out of either one.
Love all the cool jigs you come up with not to mention al ot of neat projects. Keep up the great work man.
Thanks for the feedback Robert. I appreciate it.
I built a Dado jig but it’s not even close to being good so I’m going to start over build it like yours. Thanks for the great plan. I love how it’s adjustable.
Very cool. Thanks Grammi
great idea Jay!!
Thank you Lyden.
WOW! Great design & EXECUTION…I can’t wait to make mine!
GREAT WORK! LOVE YOUR VIDEOS!!!
Hey Terry. Thanks for the feedback. I very much appreciate it.
Great Job, I like this one a lot!
Thanks Mario. I appreciate it.
Thank you Jay for saving me lots of time and frustration. I have been frustrated by making dado’s with guides for a long time. I have a project net week where I will need to use a router to make Dado’s. I will make your jig first. Thanks again for your work, you are awesome.
Thanks for the feedback Dev and I hope this saves you some frustration!
Nice one Jay! How do you stop the router bit from eating into the jig? Are you using a template guide in your router?
No bushing guide is in the router. The router base rides against the fence of the jig. Thanks for watching Greg.
hey Jay, nice jig, any chance of a metric version of the plans for us europeans?
Hey Corny. I added a metric version to the post.
thanks very much Jay, much appreciated
I really like the no bullshit approach. Also The obvious … half lap joints for sure. nice job
Thanks Garry. I appreciate the feedback.
like it. i”m makeing one.
Awesome. Good luck.
Jay I really like this jig. I will have to make one and give it a try. Thanks
Thanks Brian.
Hi Jay, very much enjoy your video’s and creative ideas. Wondering how much longer you think it could be extended to handle longer dado’s? Thanks again, and looking forward to next update. Mike
I would think you could make it as wide as needed.
Yes, as Scott said you can make it as long as you need. I was just trying to stay within the the 2′ x 2′ plywood limit.
It looks like from the drawing you end up with about a 17″ capacity… I think Micheal is asking (and I’m curious also), how much longer do you think you could make it with the current structure and still be rigid enough to be accurate?
I’m also wondering if you’re using a piloted bit or just a straight bit that you’re guiding off the sides of the router base (honestly I don’t know that I’ve ever checked the concentricity of my router bases, but the big freud that usually lives in my router table has a flat side that would make that a pain)?
Great video. Love how you make everything so clear and simple and the stills along with the video really emphasize key points. The tip of using the magnetic base is also a great and simple time saver I never would have thought of. Wonderful stuff, keep it coming.
Thanks John. I appreciate the feedback.
Genius. So it basically works like the kerf tool, perfect dado every time.
Thanks Scott. Yes, just like a kerf tool.
Could you use this design to make long dados down the edge of a piece of material by just moving it down the edge and re clamping as you go? And as far as going across a wider piece of stock. Could you clamp a piece of straight material to whatever your trying to dado and clamp and move along that the same way you would down the edge? Wouldn’t that enable you to build a shorter jig and yet do longer dados and would not be so cumbersome. Please tell me if I am wrong cause I think that’s what I am going to try
I have seen the error of my ways. The plan would have to change slightly in order to do what I am talking about but still yet another amazing job!!! Keep up the great work. Watch all your how to’s
Thanks Trey.
That is pretty sweet and it could double as a Planing Sled for small projects for those of us that don’t have a thickness planer.
Here is a tip. Take a scrap piece of plywood that is the same thickness as the floating guide, and plunge your router bit through it. then you can place it against the router plate for measuring accurate bit depths for cutting your dados.
Or you can ignore this and simply place it in the jig and accomplish the same thing.
i have never used dados blade and i have one but now i love the router thing . harold
Love this jig. I have a router that I’ve never used because I didn’t think I could control it. With this jig I’ll feel more confident. Thanks for all your tips and vids.
That’s awesome news Vicky. Routers are very versatile tools. Glad this jig can be of some use to you.
Love the jig I made the jig for my router but after using I made a another jig based on the same principle but using a skill saw to cut the dado works great and faster thanks for the inspiration. Cory
I Love it. Very good jig. I love the video too and how you showed the cut pieces.
I never had a problem before on any of the projects of yours I have built in the past but I got to the end and I have milescraft 7 inch router base it don’t fit oop looks like I got some extra wood cut redesign
salut camarade , est il possible de nous laisser les mesure en centimètres, comme ca, ca va etre plus facile de suivre tes plans de partout dans le monde,
jaouad de belgique
hi friend, is it possible to let us measure in centimeters, like that, it’ll be easier to follow your plans around the world,
jaouad belgium
Hi Jay, this was an amazing build which I’ve now had the chance to create myself. This may seem like an obvious answer to a stupid question but are you using some sort or bearing on the router cutter to follow the edge of the jig? How do you ensure that your router bit runs flush to the jig and doesn’t cut into it?
Thanks
James
Hey James. The router runs along a fence and cuts the oversized base to an exact zero clearance line.
Excellent- thanks so much for clarifying. And my apologies- I see you’d already responded to a similar question earlier- keep up the great work.
No apology necessary :) Thanks.
This is genius, I’ve added it to my list of projects to build! Thanks, I’ve enjoyed watching your videos, I especially liked the three of you waiting for the glue to dry in that one video.
Jay,
Sure do enjoy your videos!
Brian M
USAF Ret.
I just built the jig and am about to run the bit along the fence to cutoff any excess material. I love this idea of yours, as I do drawers myself and it seems very intuitive. However, my question is would this jig only work for one size of router bit (like 1/2 or 3/4 straight bit) as the distance from the fence to the bit would be different for different size bits. Please correct me if I am wrong.
Hi Jay,
Have you come up with a router dado jig that would cut across a board at OTHER THAN a 90 degree angle? I built an exact width jig for a project (a wall case with angled shelves at 30 degrees) but realized the 90 degree jig would not fit an angle across a board.
I suppose 2 movable sides would do the trick as opposed to one fixed side? Thanks for the videos.