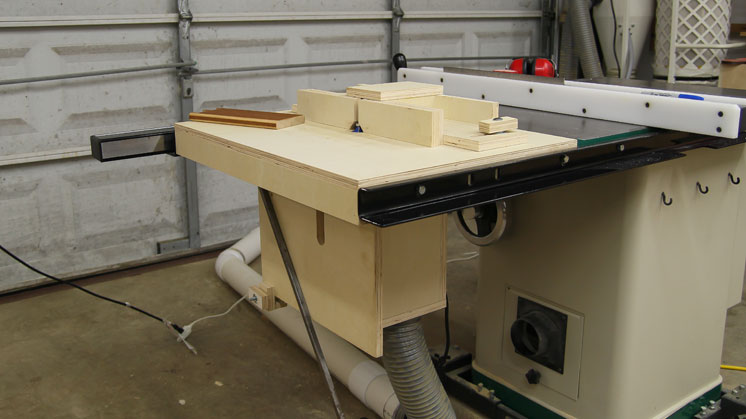
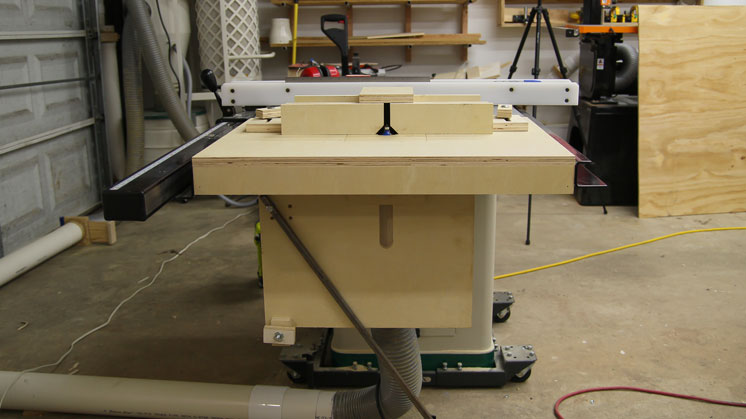
My new router table is now complete and quite honestly I’m not surprised at how awesome the entire setup works. The router lift, extension table, dust collection, and fence all work according to my expectations. I don’t mean that in any cocky or arrogant way at all though. I’ve taken everything that I learned from all of my previous router table setups to design a super simple and easy to build router table that incorporates everything that I liked from previous setups and adds features that I wish I had. If you haven’t seen my quick release router lift or my table saw router table extension wing you might want to check out those first. The final piece of the puzzle was this router table fence.
I do have plans available for those who are interested in this entire router table setup. The materials cost me about $50 and I picked up a 2HP Drill Master router from Harbor Freight for $39.75 plus tax (using one of their common 25% off coupons). A router table, a router lift, and a router for about $100-$110. I’d consider that budget friendly.
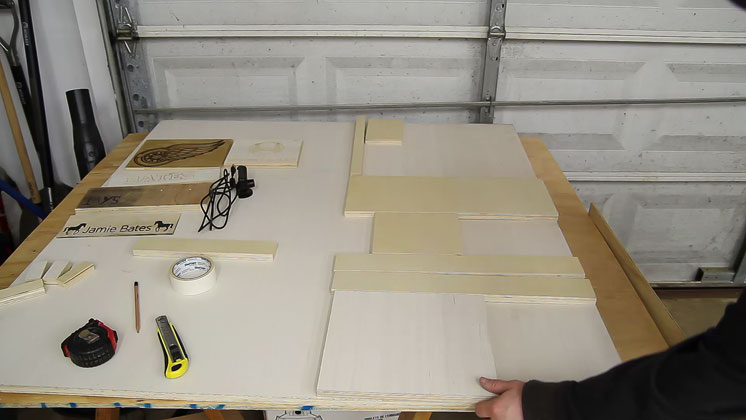
As with my extension wing, I already had the pieces roughed out according to the plywood layout diagram in the plan. So I just had to cut a few pieces to their final size before assembly.
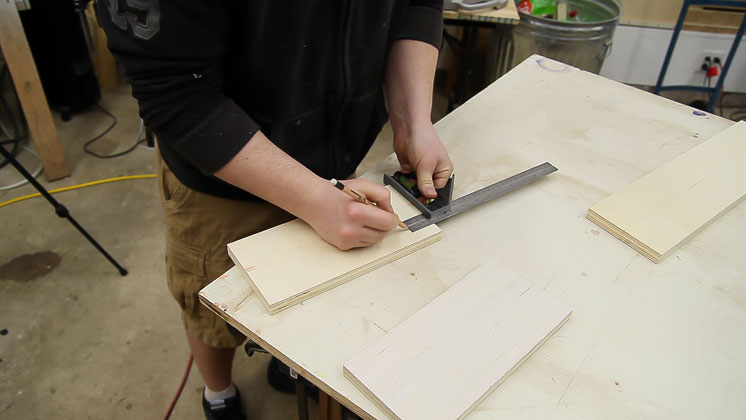
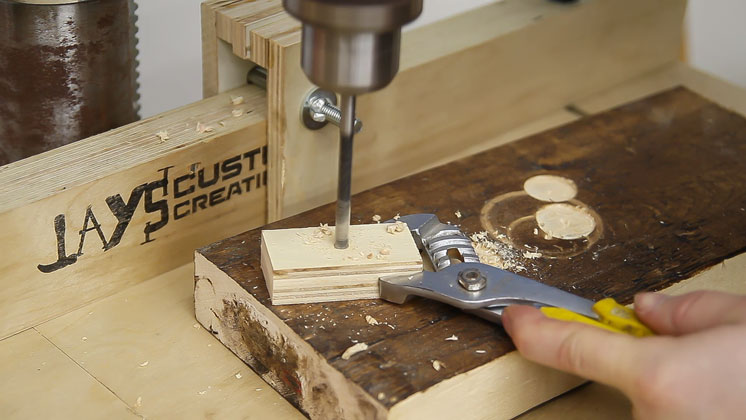
The fence will be adjusted as well as held in place with two slots and hold down knobs. The process is really easy. First mark out the center points for each end of the slot.
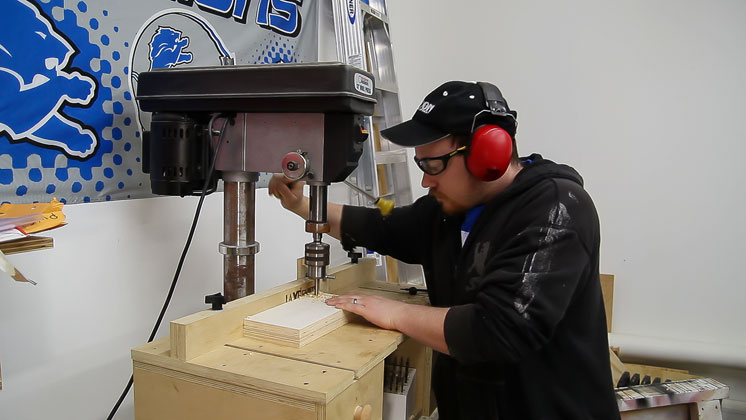
And drill those center points with the appropriate size drill. I stacked both the left and right pieces to save time when drilling.
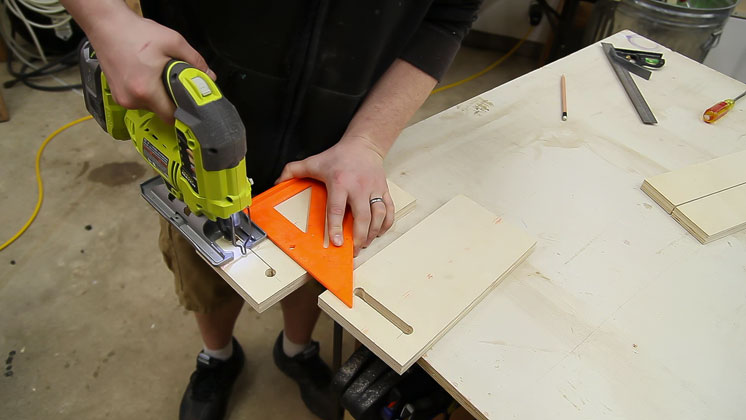
Finally, a jigsaw referencing against a speed square will connect the sides of the holes to form slots.
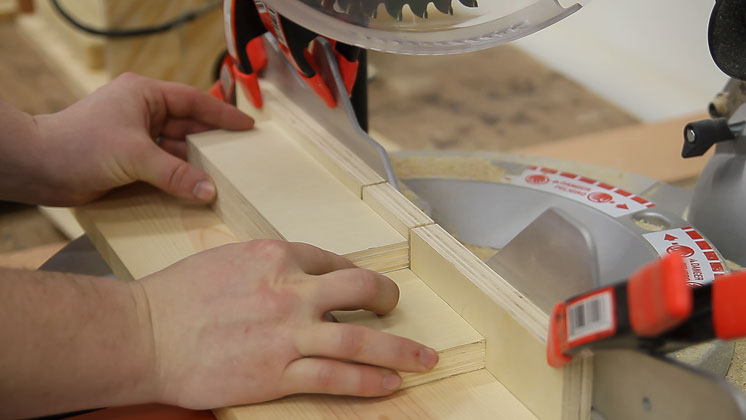
The rest of the pieces were cut to length at the miter saw. I got a few questions regarding the fence setup I’m using on my miter saw in my extension wing video and I first got the idea from Jon Peters on YouTube. It’s just two pieces of scrap wood brad nailed together to form a L shape. Then a couple cheap spring clamps hold it to my miter saw fence. A shallow kerf cut is made into the sacrificial surface which gives you a clear representation of exactly where the blade will be. I’ll be using this setup whenever possible as I really like the exactness of the cut that is achieved.
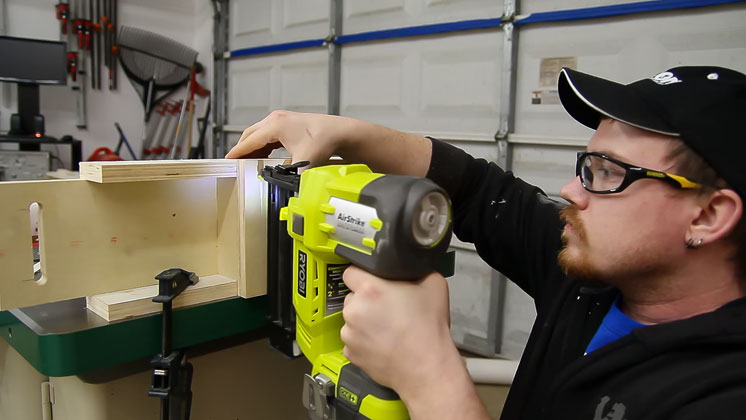
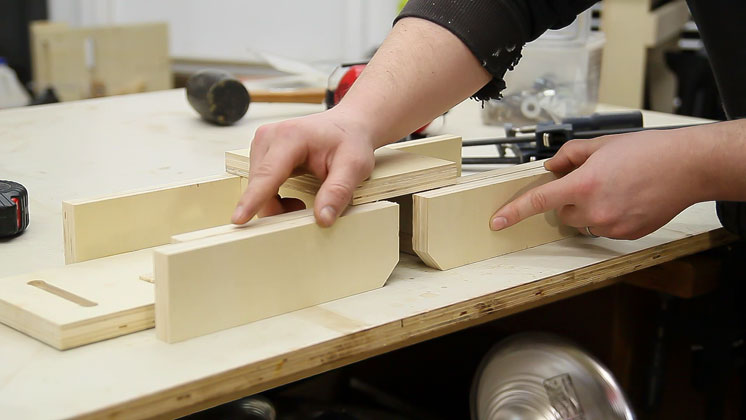
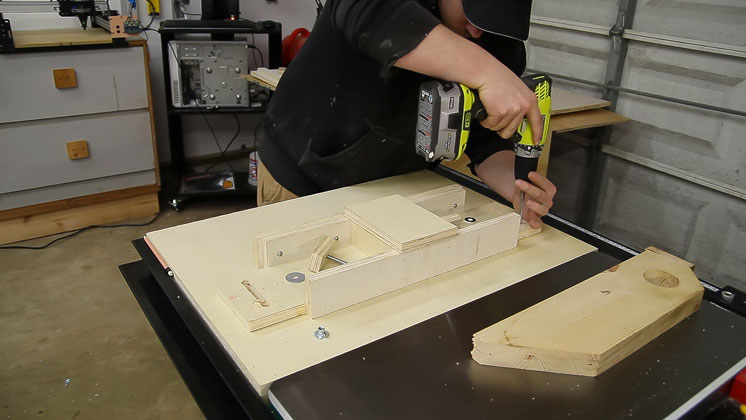
With all of the pieces cut the assembly is pretty easy. Its nothing but butt joints, glue, and brad nails. The slot bases get a riser block on the inside and then the back is attached followed by the first front panels.
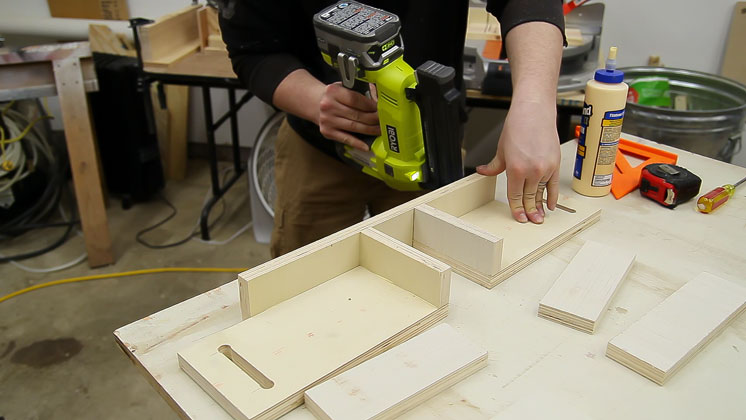
The fence uses a split base design due to the dust collection port being on the bottom of the router box. If you are building the ShopVac dust collection version the base will be a continuous piece. To make sure that the front pieces remain on the same exact plane they are clamped to the straightest surface in my shop which is my table saw.
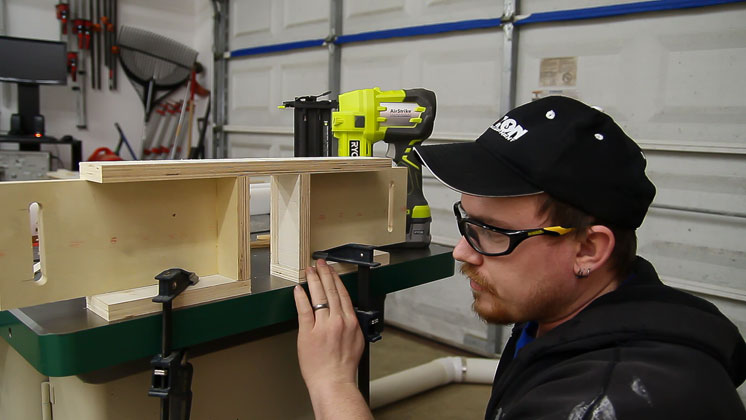
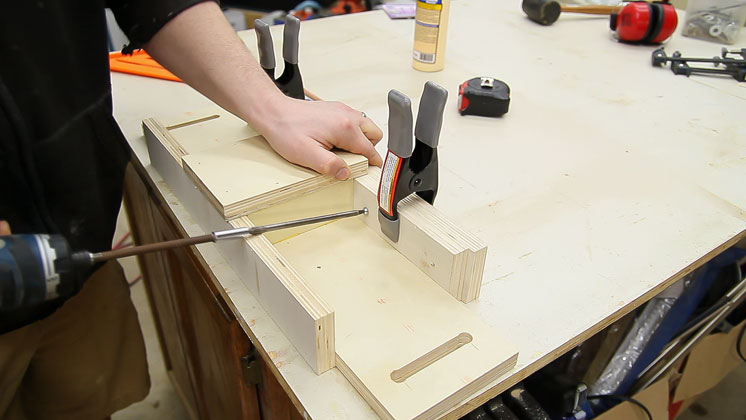
Then the top cap can be glued and nailed in place. I let this sit for about an hour for the glue to cure before I removed the clamps from the front faces.
Most router fence setups incorporate a split fence design that is adjusted with carriage bolts and slots. I wanted to use the split fence feature but I didn’t want to go with the slot and carriage bolts.
On every other router fence setup I have used I set the fence faces one time and never adjusted them since. So to keep it simple I drilled two holes to insert screws from the back side to hold it in place. If I ever want to adjust it for some reason I can back the screws out, slide the front faces, and secure it again with the screws.
You can get super fancy with homemade knobs or even purchase them if you want. A simple rectangle with a hole in the middle will do the job just fine though. (Admittedly, I ended up cutting some fancy knobs with my CNC after this was built)
When I stopped making picnic tables to sell I ended up with a lot of 5/16-18 extra carriage bolts in my hardware collection. For that reason I try to use them when possible in my projects. A 5/16” carriage bolt threaded into a 1/4” hole makes for a perfect knob. After the bolt is halfway through a wrench and a couple jam nuts can be used to finish driving the carriage bolt.
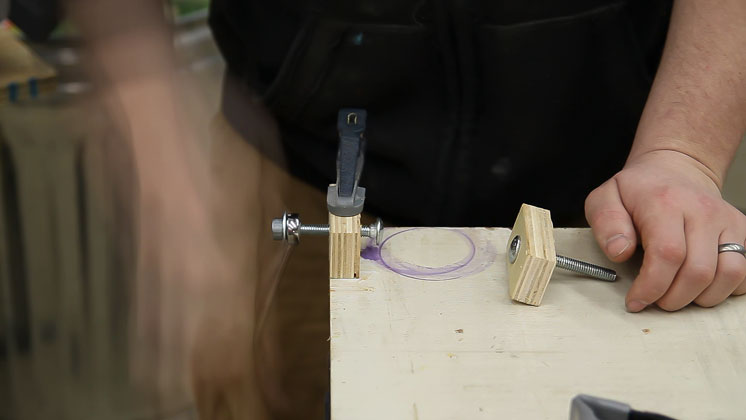
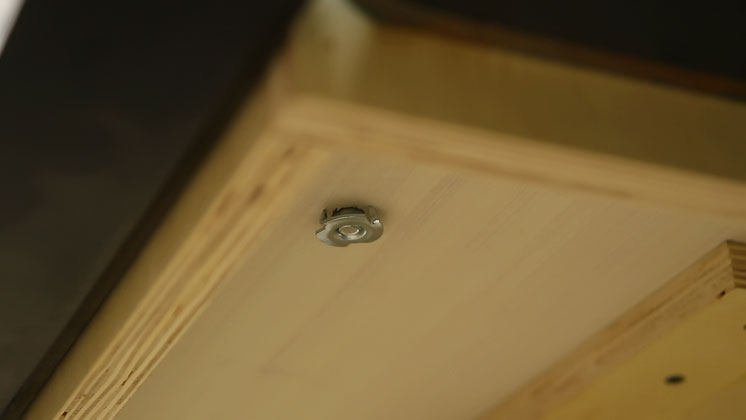
With the fence assembly done it can be positioned in its forward most position to drill the tee nut holes in the back of the slots.
Tightening the knobs is as easy way to draw the tee nut up from below.
With everything built and installed a few test passes confirm that everything is working as it should. I made a total of eight passes that were about nine inches each on some scrap maple that I salvaged from the trash. The bit used was a 1/2” round over bit. The dust collection is flawless on this setup.
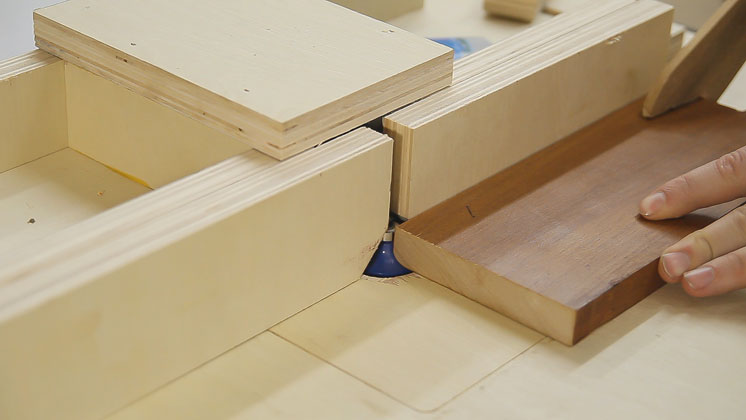
The reason the dust collection works so well has to do with the unobstructed path from the router bit into the dust collection air stream. The insert plate is notched to the back side. A similar insert plate with a larger opening to the left of the blade could easily be made to increase the dust collection on dado operations.

I’m 100% satisfied with this router table setup and how easy it is to use. Because of that I will probably incorporate its use more often in future projects. If you would like to keep up with all of my current projects and news be sure to sign up for my email newsletter. Have a great week folks!
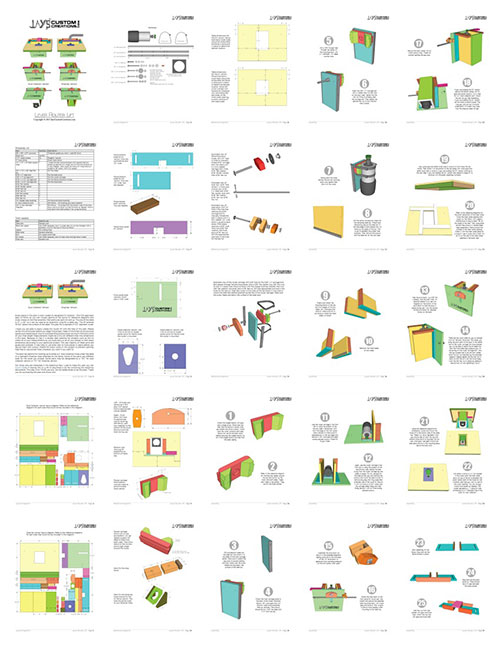
Quick Release Lever Router Lift Plans

This router lift is lever activated for quick movement while still allowing precise positioning. An included stop block will allow you to easily drop the bit if needed and quickly return to the exact position you were at. The plan includes the router lift and enclosure, a 27” x 20” top so it can be used as an extension wing for a table saw, and an adjustable fence. Every piece in this plan is color coded to designate it’s location. I find this approach easy to follow as you can visually glance at the layout or reference diagrams and know where on the final assembly that particular part will end up. There are two versions of the build in the plan. One for use with a 4″ dust collection hose from below and the other to use with a shopvac hose attached to the fence. The lift extends 15-3/4” below the surface of the table. This plan fits a standard 3-1/2” diameter router. An approximate build cost is about $50 depending on where you get the hardware. My cost for everything except the 1-1/4″ wood screws that I had was just shy of $50 with sales tax. Links to the SketchUp files are included in the plan.
The entire plan is included in one PDF document. Most everyone will have a PDF reader installed on their computer already but if you do not you can use the free program Adobe Reader to view the plans. You can download Adobe Reader HERE.
Included in the lever router lift plan:
- 30 detailed pages
- shopping list
- tools list
- plywood layout diagrams
- reference diagrams for specific part dimensions
- exploded view diagrams
- step by step 3D assembly diagrams with written instructions
The checkout process for this plan uses PayPal. You can use major credit or debit cards through PayPal. You do not need a PayPal account. To purchase the plan follow the link below. After you purchase the plan you will receive an email receipt from me containing a link to download your plan. Make sure to check your inbox and spam filter for the receipt. If you do not receive the email within 10-15 minutes or encounter any problems please contact me.


Jay – Excellent fence instructional video and I liked how you introduced the various pieces of hardware used and how they are secured in place. You dust port behind the router bit is outstanding and I am seriously looking at how I can mimic the same on my system. Thanks for doing what you do. I am enjoying your web site immensely.
Imants Udris (Udie)
Just curious why you didn’t make something that attached to the tables saw fence? Any reasoning behind it or just didn’t?
I designed this fence to do both. You can attach it to the fence of the table saw with quick clamps if needed via the back vertical pieces. But using the hold down knobs allows the use of the table saw to make rip cuts up to 18″ without breaking down the router setup.
Another great project. Keep them coming.
HI Jay, I was just dropping by to say i like the videos they are very helpful, i also had a question, do you happen to sell the plans for the half lap blanket chest i saw the video and the link to the sketchup file doesnt work any help would be appreciated thank you
Always enjoy your videos and fabrication techniques. How do you like your Ryobi battery brad nailer and jig saw?? Thnx in advance
Zero complaints.
Jay, I am retired and new to woodworking. I watched your U-tube video on building a router fence and liked it. I noticed that you did not laminate the faces. Did you do anything to seal it to avoid moisture creeping in? I need to build a table and fence (can’t afford the high prices of ready made) and am ready to start. Did you wax the faces for a soother glide?
Hey Gerald. I didn’t wax or seal anything and didn’t have any problems. If you go the route of sealing I would recommend a water based polyurethane as it’s super quick and easy to apply a couple coats. Also seal both sides of everything. If you only seal one side then moisture will creep up the other side and cause uneven moisture changes.