Drawers! Drawers! Drawers! I love using drawers for storage. I mentioned in my end of 2013 shop tour in my last shop that if I were to start over with a new shop I would use drawers every chance I could instead of cabinets with doors. Here we are a year and three months later and I’m doing just that. My miter saw station/storage wall build will incorporate 20 drawers and one slide out shelf giving me a ton of storage to get organized and hopefully more productive.
I have a detailed set of plans for this completed miter saw station available at the bottom of this post.
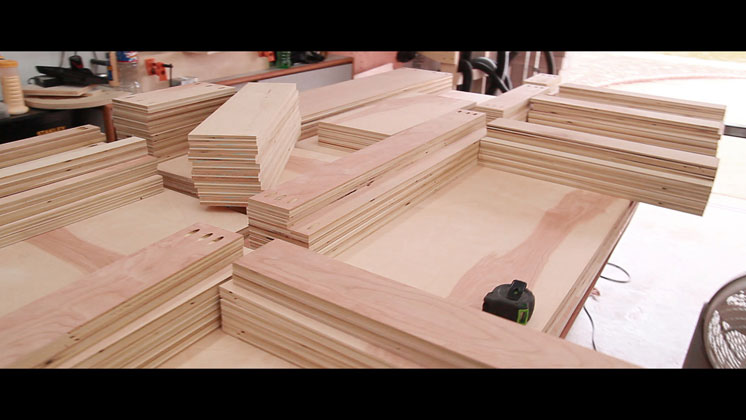
My recent cheap Chinese plywood nightmare really opened my eyes to disappointing and possibly unsafe Chinese plywood and because of that I’m using PureBond birch hardwood plywood for this build. This entire miter saw station is sponsored by PureBond hardwood plywood which is an absolutely perfect fit for me. If you aren’t familiar with PureBond it’s a non toxic, soy based plywood made in the USA and Canada. And because it utilizes a soy-based technology it is a much safer alternative to toxic, formaldehyde-based resins. It’s available exclusively at the Home Depot. After completing this phase of the build and having cut up 11 full sheets so far I’m so glad to be working with it.

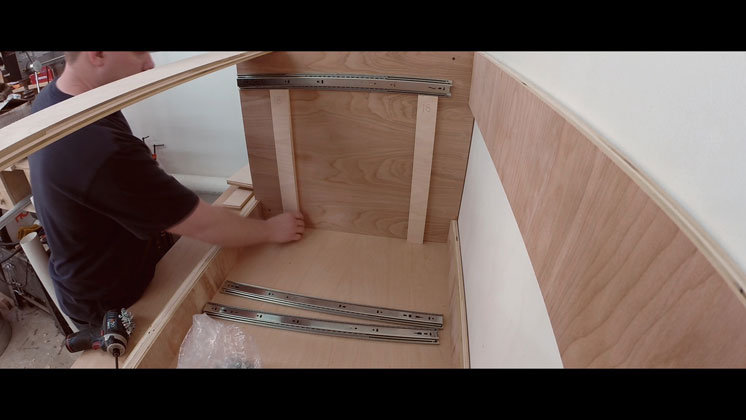
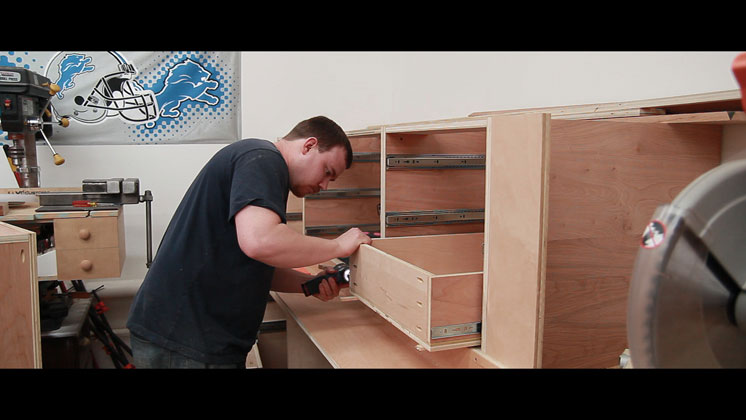
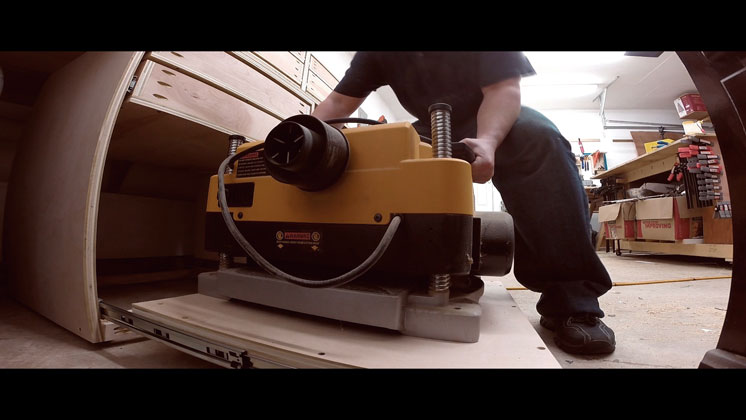
In the first phase of this miter saw station build I constructed all of the cabinet carcasses and the saw work surface. The first step in the drawer phase was to mount all 3.75 million of the drawer slides. Technically, I used 23 pairs of slides but man did it feel like a lot more than that. Luckily installing them isn’t too difficult. The easiest thing you can do is cut a few spacer blocks to easily locate all of the slides without measuring. Just use the blocks to locate the slide and secure it with the included screws. I tried to change things up a bit and was going for a cinematic feel in the video which is the reason why these images may look a little different than my typical images. Let me know your thoughts on that aspect as well!
Working my way down from the top the process is incredibly smooth. The drawer slides I am using are from Outwater Plastics. They have the best prices I’ve found on full extension slides. If you know of cheaper prices let us know in the comments below!
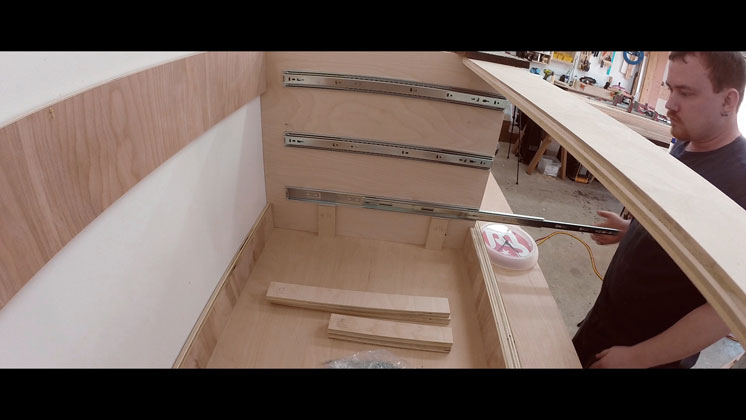
And here they are all installed and extended. I extended every one just for pictures and then immediately put them back. It wouldn’t be long with them sticking out until I would somehow accidentally bend one of them.
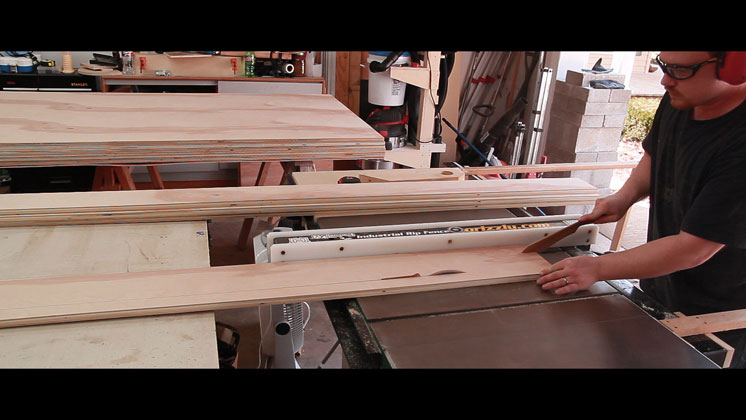
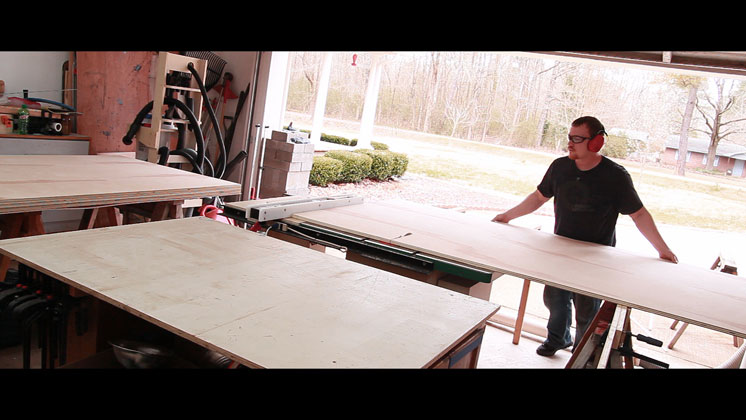
This project was a great learning experience for perfecting a technique to cut full size sheet goods on my table saw. I didn’t use my circular saw at all in this project which is a first when working with full size sheet goods. I couldn’t have done this without my super easy infeed support arms. They really make this process a lot safer and easier on me.
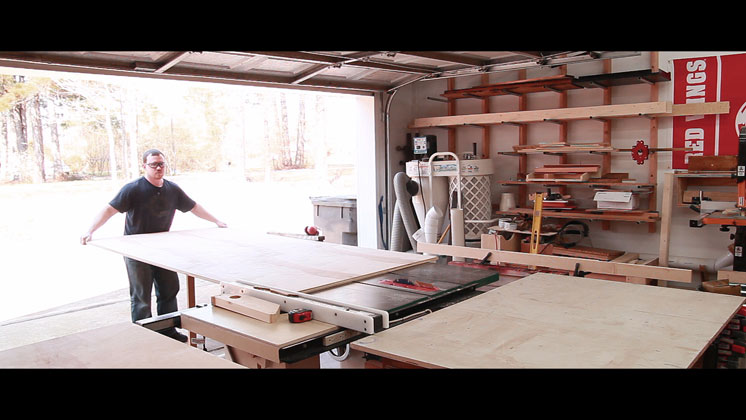
I wanted to rip as much of the plywood along the long direction as possible. It’s just much easier to only have to worry about plywood that is 48” to the left of the fence instead of ripping along the short direction. So that meant a lot of long strips made on the table saw.
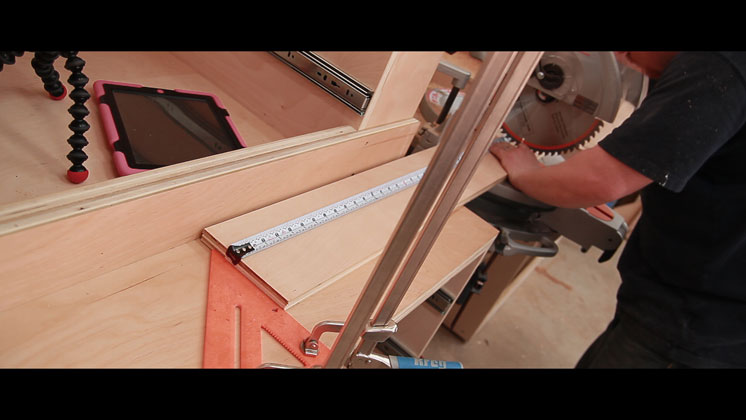
The miter saw station isn’t complete yet but that doesn’t mean I can’t use it to finish the job. Clamping a speed square to the work surface makes a great stop block for repeatable cuts. Once complete I’ll incorporate a t-track and stop block system to the left of the blade.
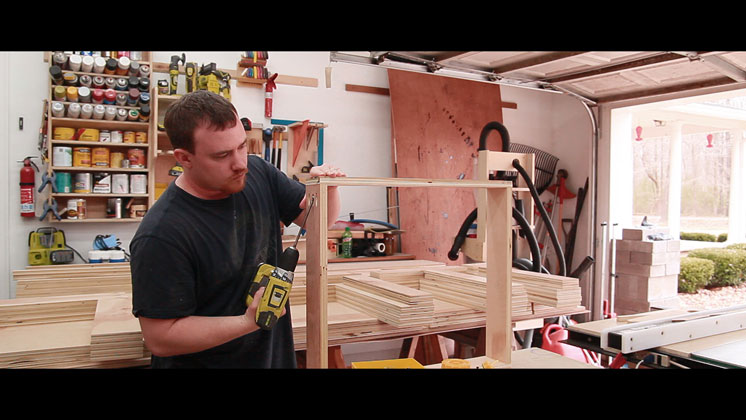
Joinery is a hot topic with woodworkers these days. I’m more of a function over fashion kinda guy and because I’ve never in my life had a pocket hole joint fail on me that’s the route I went. It’s really hard to beat the production speed of using them. Especially with my Foreman. Unfortunately I did break the drill bit with about 25% of the pocket holes still to go. I used my K4 to finish the pocket holes.
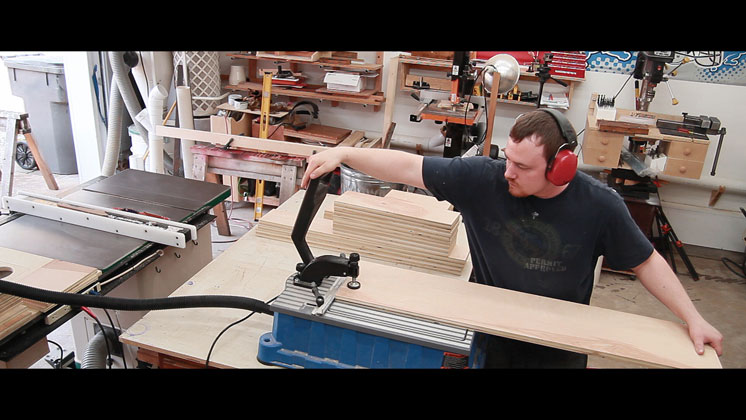
After cutting all the pocket holes for the drawer pieces I turned my attention to the drawer bottoms. This is one area I simply could not get around ripping along the short direction of the plywood. To make the process a little easier and safer I secured some wood to one of my I-Beam sawhorses at the same level as the table saw. This would carry the weight of the plywood and all I had to do was make sure to feed it correctly through the saw.
I did have a few panels that were about 24” wide and 96” long. Those measurements aren’t too safe to crosscut on the table saw so I used the miter saw. With a stop block setup I can cut, flip the board, and cut again to easily crosscut to a repeatable length. I believe I can get a full 26” or 27” crosscut on this miter saw by using this method.

Finally all the pieces were cut and assembly could begin.
I use glue on all of my pocket hole joints.
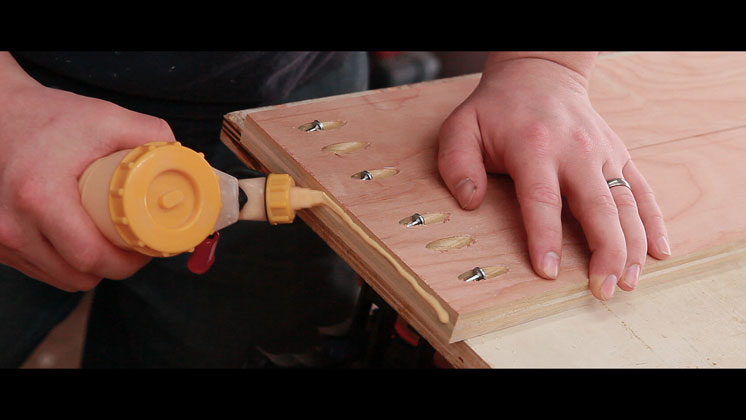
Standard pocket hole construction. I use the pocket holes in the front and back pieces of the drawer with the pocket holes facing the outside. That way there are no pocket holes on the inside of the drawers. The pocket holes on the front of the drawer will be covered by the drawer front and the pocket holes on the back of the drawer will only be seen if the drawer is completely removed and turned around.
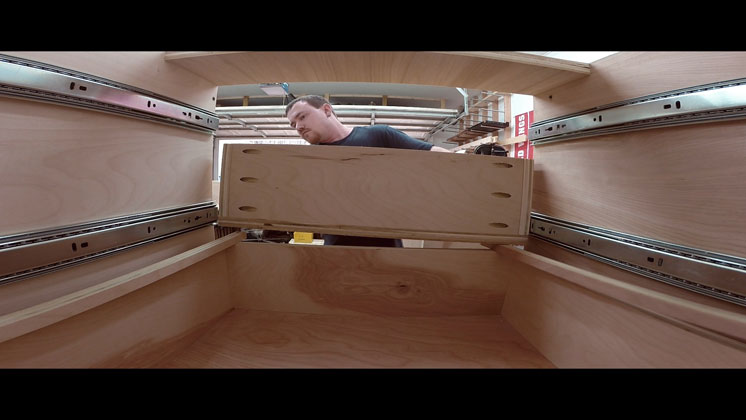
For drawer bottoms I used 3/4” plywood secured directly to the bottom of the box with glue, a couple brads to hold its position, and a bunch of 2” wood screws. Attaching them to the drawer slides is super easy. I picked up this method from John Heisz. Use spacers to position the drawer exactly where you want it inside the cabinet and insert the drawer.
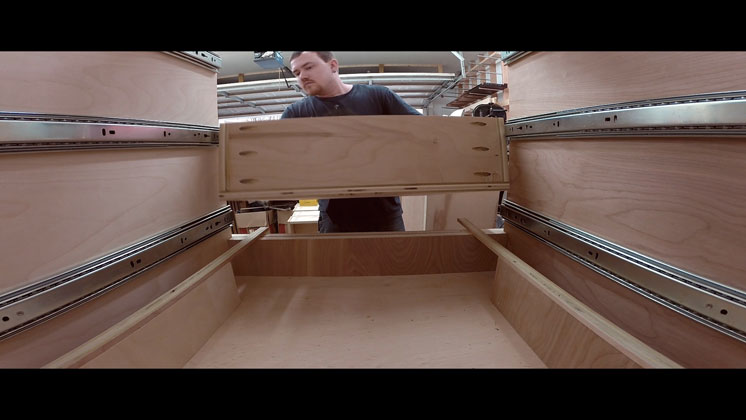
Then pull out the drawer and drawer slides just enough to get screws in the first holes on the slides. Continue the process until you have the entire slide attached to the drawer and remove the spacer blocks.
Then another spacer can be added to the top of the first drawer and the entire process is repeated. It’s quite easily actually.
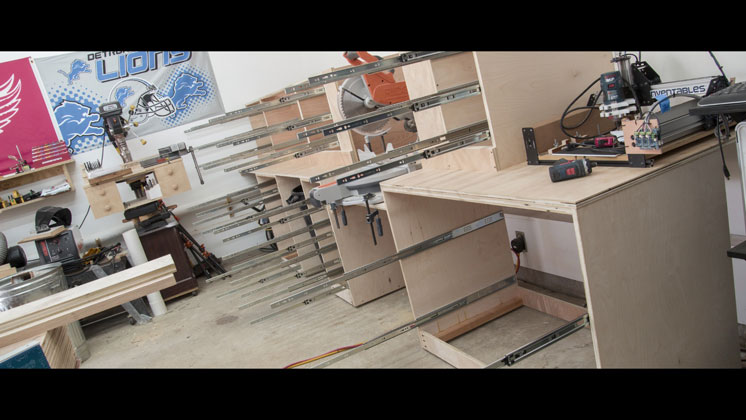
After a long days work of building and installing I had a very rewarding sight. Lots of drawer storage!! So exciting :)
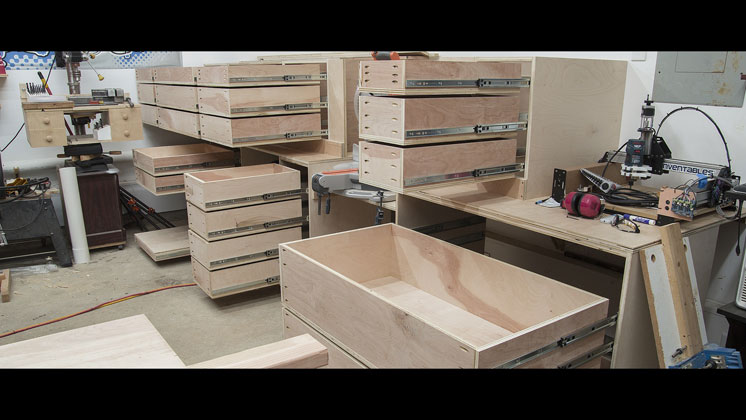
The bottom right cabinet is the largest in this miter saw station and also has the least amount of drawers. The drawers themselves are just shy of 48” long, 24” front to back, and 10” deep. This is where I’ll put larger items like boxes of paper towels and stuff that isn’t used often like my benchtop 8” grinder. The original design was to use four shallower drawers here but I changed my mind to two deeper drawers at the last-minute which was after I had ordered the drawer slides. This meant I had two extra pair of slides. Rather than let them collect dust until I found a use for them I chose to double up the slides on these drawers. So now each of these drawers can theoretically support 340 pounds. I’m up to 200 pounds these days and it held my weight just fine.
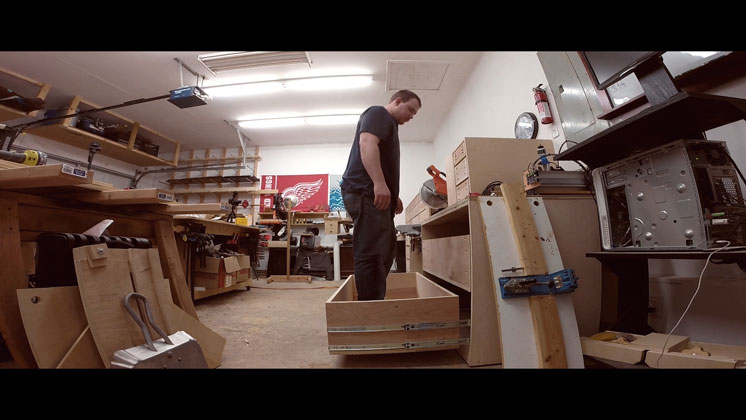
In the bottom left cabinet I made a pull out shelf specifically to store my planer out of the way. This is another feature I’m really glad I incorporated into the build. Every other drawer slide in this build is 24” long. The slides on this shelf are 26” slides to give a little more elbow room when picking up the planer.
So that wraps up phase two of this build. Next will be some divider storage above the top drawers. I also have a detailed set of plans available for those who are interested.
Miter Saw Station Plans:

Ultimate Miter Saw Station PLAN
$19.99
Description
This miter saw station has been an incredible increase of shop organization and greatly increased the ease of use and dust collection for my miter saw. It is 177″ long, 37″ deep, and about 71″ tall depending on the leg levelers. It features 21 drawers of various sizes, a slide out tray for storing a benchtop planer, and a row of quick access tool bins at eye level. The empty space on the bottom left houses my air compressor. The next empty space in the bottom houses my trash can. And the open work surface to the far right houses my small CNC machine. A drill press would work well in this location. The plan is in imperial units only but you can change the SketchUp file to read metric units if you prefer. A link to the SketchUp files I used to create the plan are included in the plan. I broke the project into four parts and made a build video and article on each:
- Part 1 – Carcasses and work surface
- Part 2 – Drawers and drawer installation
- Part 3 – Drawer fronts and shelf boxes
- Part 4 – Stop block system
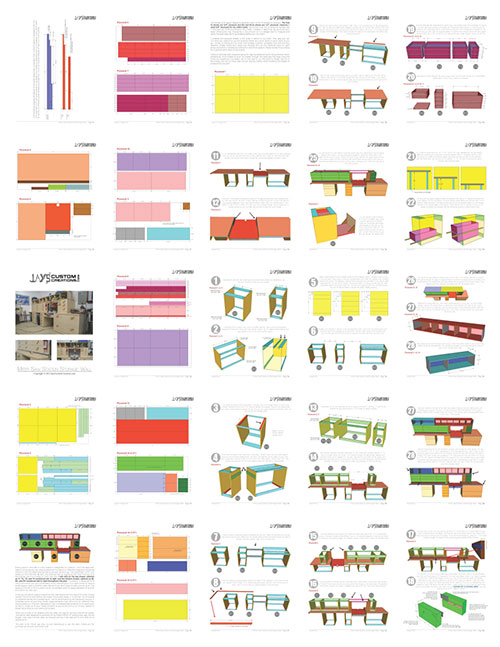
Included in the miter saw station plan:
- 28 detailed pages
- shopping list
- plywood layout diagrams
- reference diagrams for specific part dimensions
- step by step 3D assembly diagrams with written instructions
 Here is a follow up video close to two years after making it that covers a lot of common questions:
The entire plan is included in one PDF document. Most everyone will have a PDF reader installed on their computer already but if you do not you can use the free program Adobe Reader to view the plans. You can download Adobe Reader HERE. The checkout process for this plan uses PayPal. You can use major credit or debit cards through PayPal. You do not need a PayPal account. To purchase the plan follow the link below. After you purchase the plan you will receive an email receipt from me containing a link to download your plan. Make sure to check your inbox and spam filter for the receipt. If you do not receive the email within 10-15 minutes or encounter any problems please contact me.

Related products


Comments are closed.