I’m FINALLY getting around to making my dream miter saw station. I’ve been putting this project off for a while for two reasons. I wanted to make sure that this was the final design I would settle on. Sometimes letting completed designs sit in the back of your head really forces you to think bout all the details to verify that is what you want. And the other reason was the cost. It’s a pretty decent size and due to the amount of drawers I am incorporating the material list got a little crazy.
I have a detailed set of plans for the entire completed miter saw station at the bottom of this post.
There’s simply no way I can fit a project this size into one video and article. It’s just not going to happen so I’m breaking it into three build phases. This first phase will cover the cabinet frames and the work surface. While this is technically the first phase of the build it is actually the second attempt at the first phase because of a recent Chinese plywood disaster. I really feel like I need to shine a light on the issues about disappointing and possibly unsafe Chinese plywood so if you haven’t already check out my recent post regarding it. Due to that experience I reached out to the folks at PureBond to see if they would be interested in sponsoring this build. They gladly accepted and really saved the day on this build. If you aren’t familiar with PureBond hardwood plywood it is made in the USA and Canada, formaldehyde free, and available exclusively at The Home Depot.

The nearest Home Depot to my house is about an hour and fifteen minutes away but it was worth the drive. This plywood is night and day better than the crap I used the first time around. My design called for 12 sheets of 3/4” plywood and that’s pretty much the limit of my small truck.
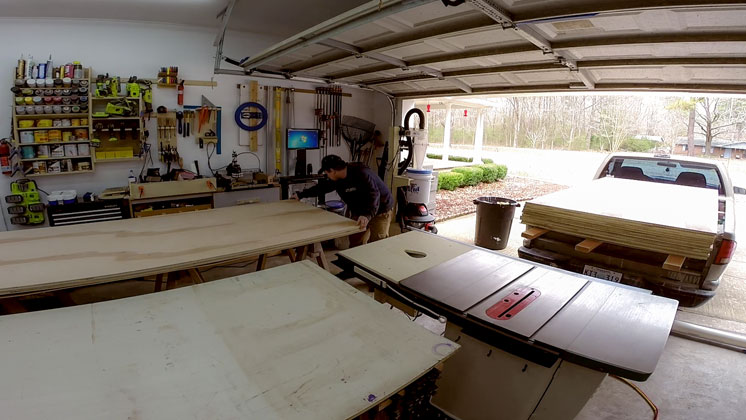
With the help of my infeed support arms and an outfeed table I was able to cut all of the pieces with relative ease. This is the first shop setup I’ve had where I could comfortably break down full sheet goods on a table saw. Previously I would use a homemade guide track for my circular saw and make the first couple cuts with it.

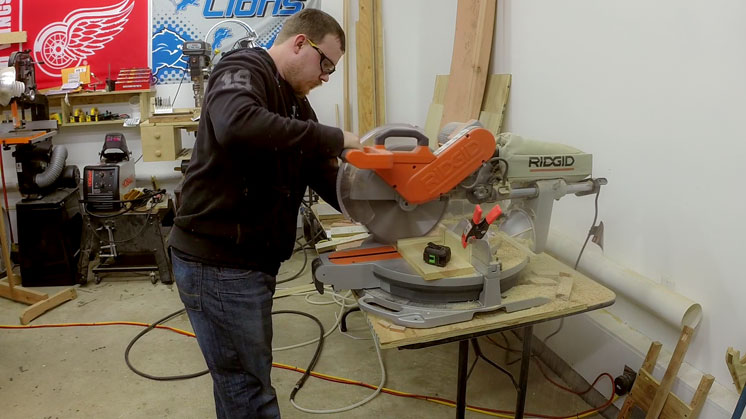
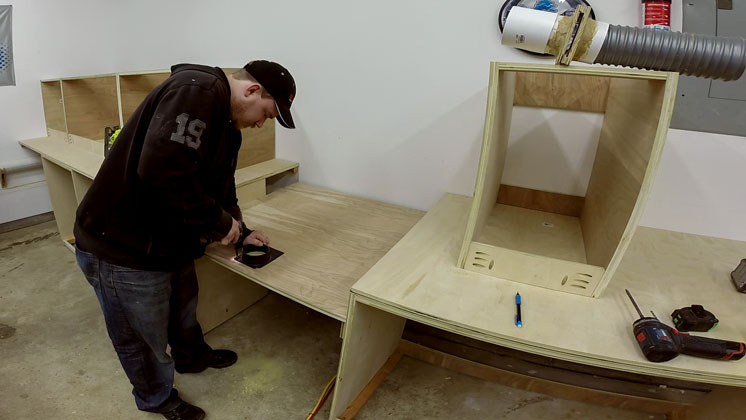
After everything was ripped I crosscut the pieces to length at my miter saw table. I’m soooooo glad this is the last time I will be using this miter saw card table setup.
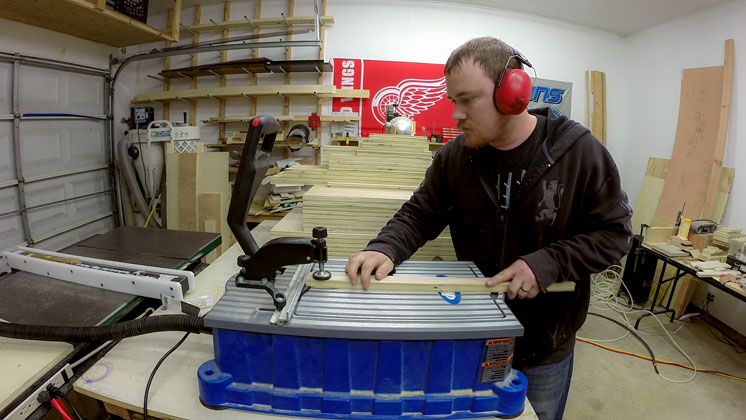
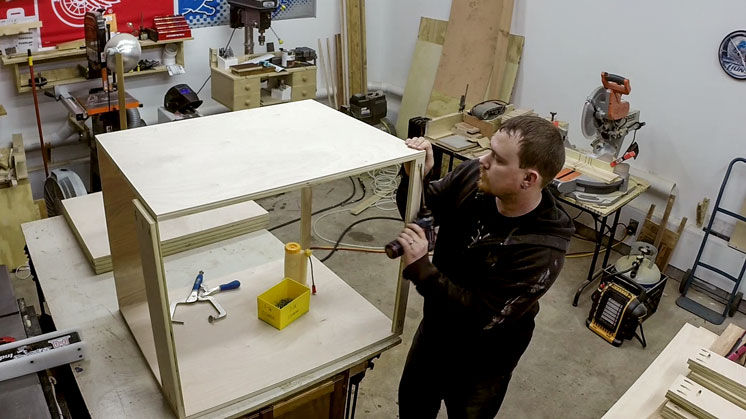
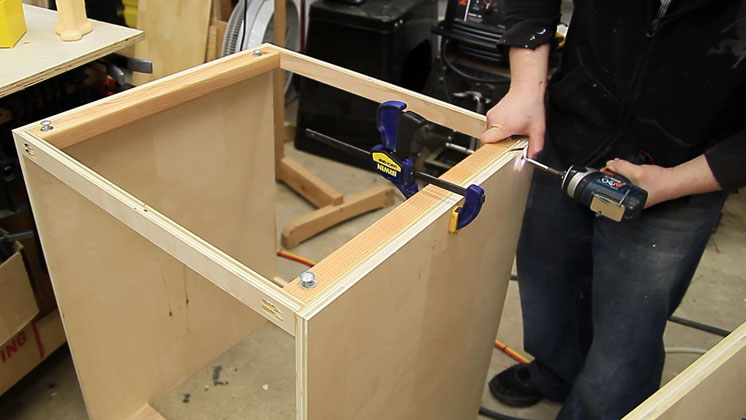
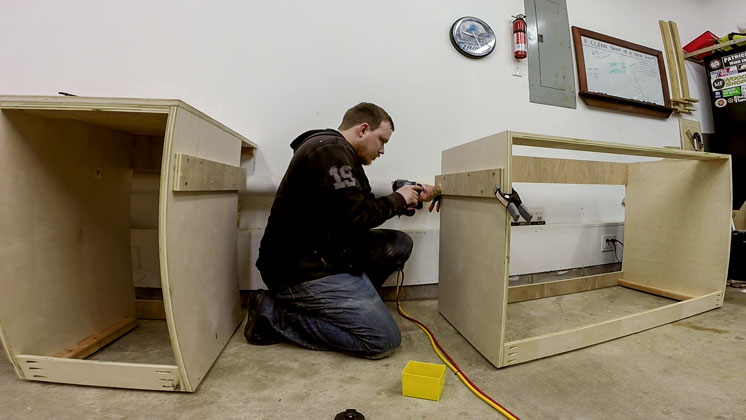
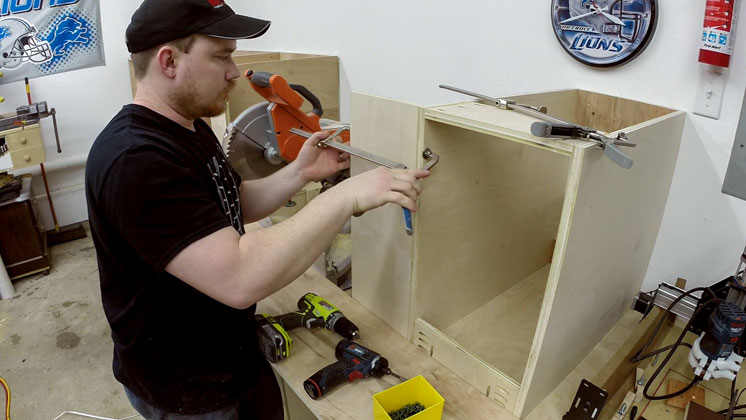
The vast majority of cabinets these days are constructed with pocket holes. It’s a quick and easy way to produce a joint that is plenty strong enough for this application. Any pocket hole jig will work. I had 168 pocket holes just in this phase of the build. There will be a ton more next week when I tackle the 20 or so drawers.
Assembly is pretty straight forward. Two same width pieces on the bottom front and back and two same width pieces on the top front and back to join the two panels.
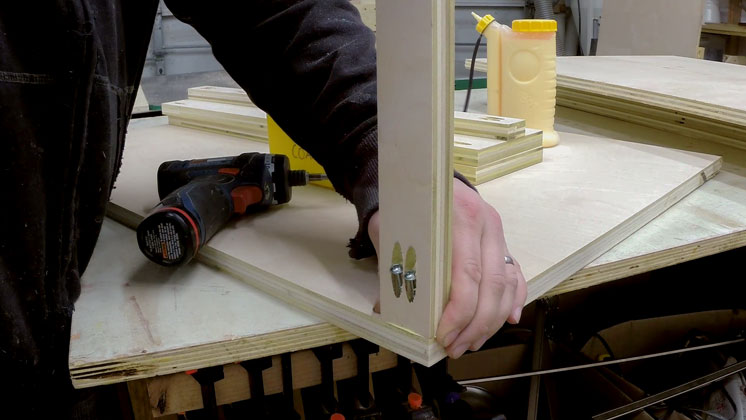
I secured all of the horizontal strips to one side first. Then I laid other side panel on top and secured it. Because these will be sitting in place and secured to the bottom of the work surface no more bracing is really needed.
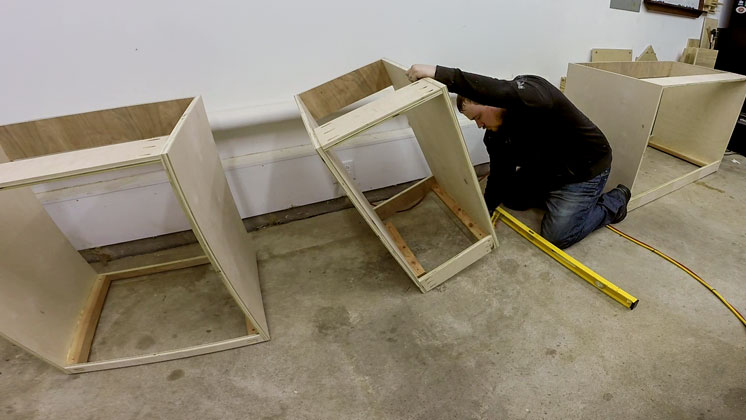
You may see the quality of images change a bit in this build. I used my GoPro camera for most of it and I haven’t quite figured out the color balance just yet. With the lower cases built I made some leveling feet from strips of 2×4, tee nuts, and galvanized carriage bolts. I went with galvanized carriage bolts because the corner of my garage where the left side of this miter saw station will be occasionally floods slightly when it rains heavily outside.
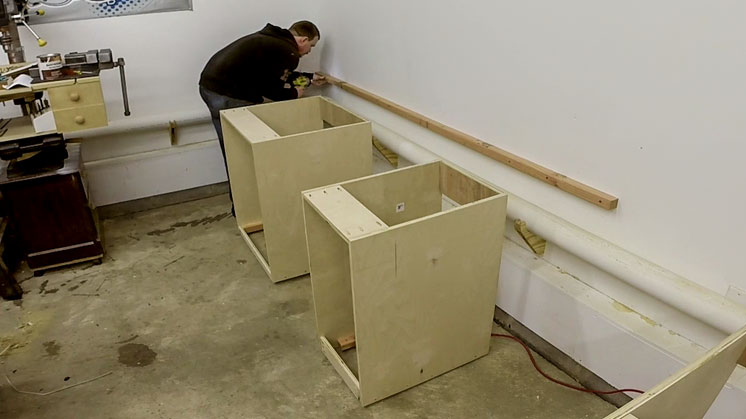
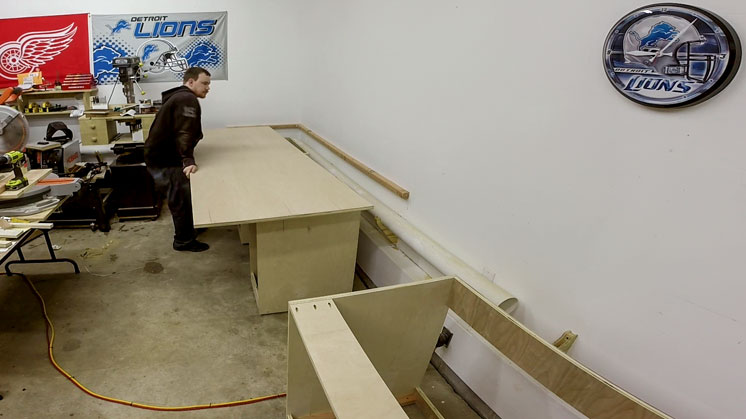
I measured and placed the lower cabinets where they will be in relation to the walls and leveled them starting with the middle cabinet. I though this process would really take a while but it was actually not a lot of work at all. Just start with the highest corner of the highest box and make everything match it.
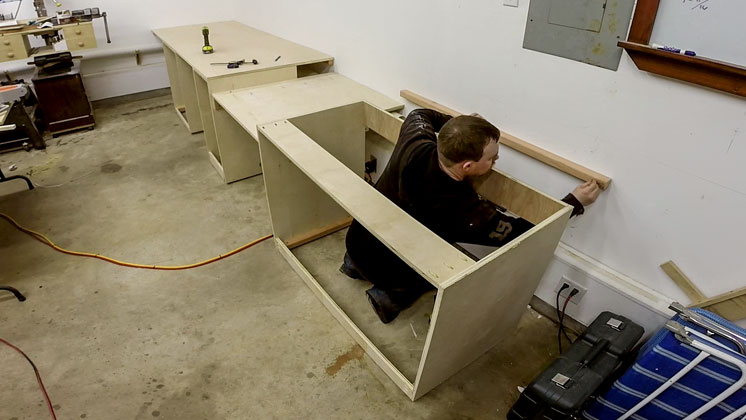
Here you can see why I didn’t make my cabinets go all the way back to the wall. The base cabinets are 24” deep and the front edge is at 36” away from the wall. This gives me future access to my dust collection plumbing as well as all of the electrical on that wall. With the cabinets level I used a straight edge to transfer their height to the wall where I mounted a strip of pine 2×2.
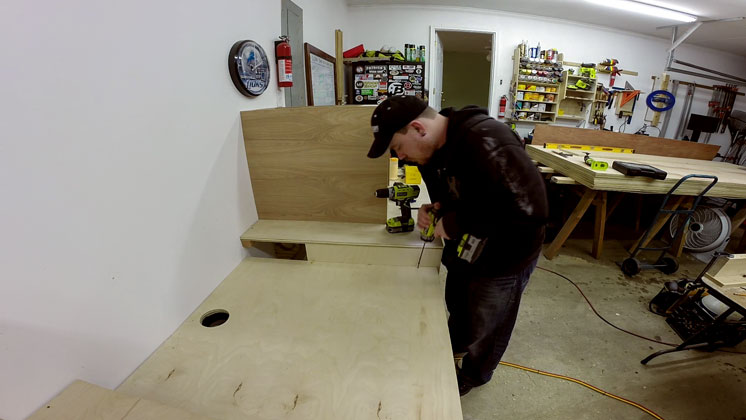
That 2×2 also extended around the corner along the far wall. From there the top surface is mounted. I used screws through the plywood into the 2×2 and through the tops of the cabinets and into the plywood work surface.
The left section of the miter saw station is a full 8′ long. The right section is a full 4′ long. The miter saw section in between is about 2” wider than the minimum distance to accommodate my miter saw. With the appropriate height measurement marked I used a couple of pieces of 3/4” ply to create a ledge for the miter saw shelf to rest on.
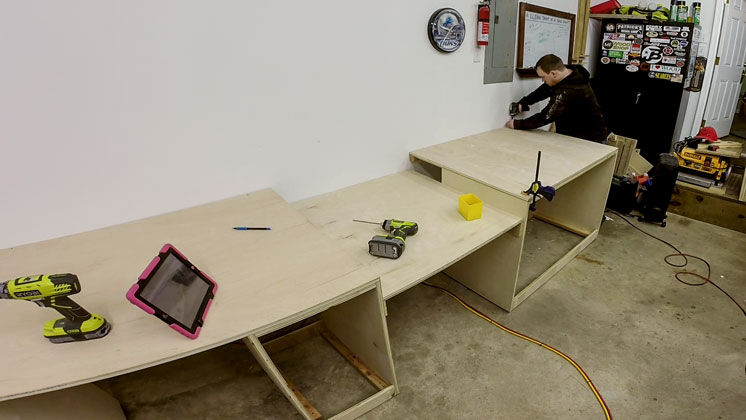
With that shelf resting in place I could use its position to locate the right section of the miter saw station.
And the top is mounted the same way.
I’m not going too crazy with the dust collection. My objective is to create a draft that will draw all of the dusty air away from me and into the dust collector. There will be a lot of space in the dust collection area for the larger sawdust to fall down. If it doesn’t make it directly into the dust collection port I am totally cool with brushing the larger dust into the port once or twice per year. I’ve used this exact setup previously with great results. I’m using half of an old harbor freight blast gate as a dust port.
To hook it up to the dust collection pipe I used one of my blast gates and some flexible hose. I’ll extend the blast gate arm at a later date. Until I do I’ll just leave it open. Space was a little crammed under there so I had to use my head to lift up the panel to attach it all.
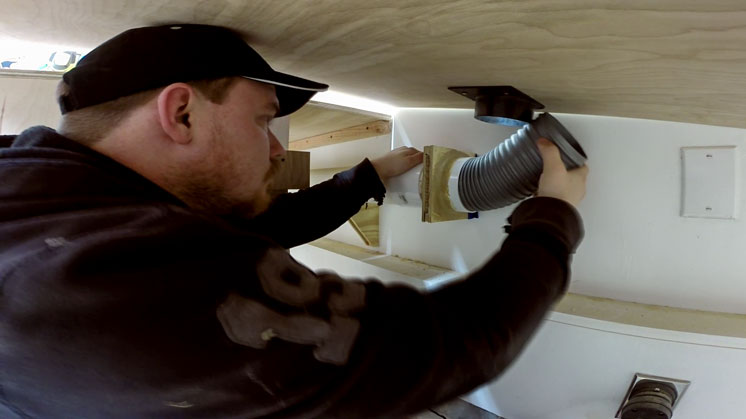
Finally that panel can be secured. I thought it was wise to only use two screws per side to hold it in place to allow for easier removal if the need to ever arose.
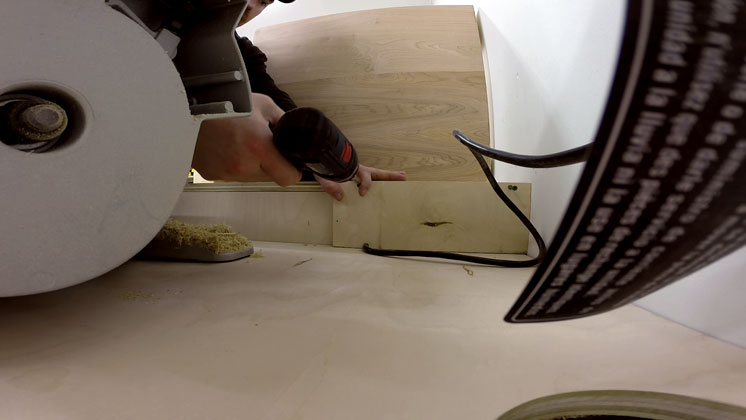
There was a resulting gap behind the miter saw where the shelf met the back side of the cabinets. I used of ply to cover these areas. I cut a small notch in the left side panel to allow for the cord to pass through.
Because my miter saw is so large the area required for proper movement of the back arm is quite large as well. It’s actually quite a bit of dead space. To keep the air flow more centralized with the miter saw I added two wings to both sides of the saw area.
The last addition to this phase is the fence board. This ties all of the cabinets together and is where I will mount some T-Track at a later date for a stop block setup.

Like I said this is just the first phase of this build. It’s a rather in-depth build to try to cram into one video and article. Next up will be the drawers……lots, and lots of drawers. I have a detailed set of plans available for those who are interested.
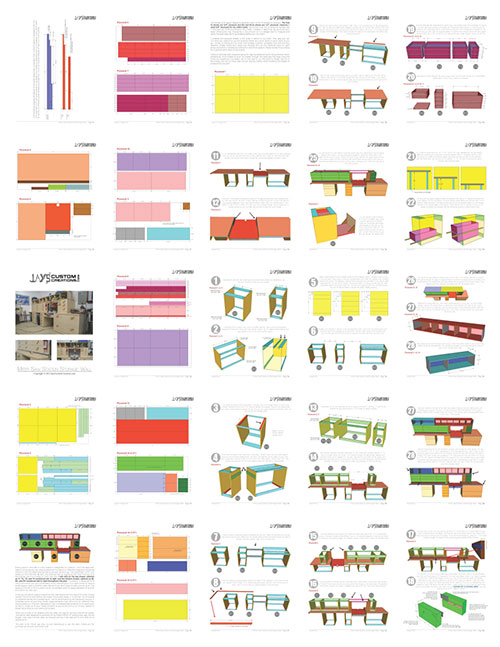
Miter Saw Station Plans:

Ultimate Miter Saw Station PLAN
$19.99
Description
This miter saw station has been an incredible increase of shop organization and greatly increased the ease of use and dust collection for my miter saw. It is 177″ long, 37″ deep, and about 71″ tall depending on the leg levelers. It features 21 drawers of various sizes, a slide out tray for storing a benchtop planer, and a row of quick access tool bins at eye level. The empty space on the bottom left houses my air compressor. The next empty space in the bottom houses my trash can. And the open work surface to the far right houses my small CNC machine. A drill press would work well in this location. The plan is in imperial units only but you can change the SketchUp file to read metric units if you prefer. A link to the SketchUp files I used to create the plan are included in the plan. I broke the project into four parts and made a build video and article on each:
- Part 1 – Carcasses and work surface
- Part 2 – Drawers and drawer installation
- Part 3 – Drawer fronts and shelf boxes
- Part 4 – Stop block system
Included in the miter saw station plan:
- 28 detailed pages
- shopping list
- plywood layout diagrams
- reference diagrams for specific part dimensions
- step by step 3D assembly diagrams with written instructions
 Here is a follow up video close to two years after making it that covers a lot of common questions:
The entire plan is included in one PDF document. Most everyone will have a PDF reader installed on their computer already but if you do not you can use the free program Adobe Reader to view the plans. You can download Adobe Reader HERE. The checkout process for this plan uses PayPal. You can use major credit or debit cards through PayPal. You do not need a PayPal account. To purchase the plan follow the link below. After you purchase the plan you will receive an email receipt from me containing a link to download your plan. Make sure to check your inbox and spam filter for the receipt. If you do not receive the email within 10-15 minutes or encounter any problems please contact me.

Related products


Comments are closed.