A few years ago I made a sliding moxon vise out of two 1/2” pipe clamps and some scrap plywood in the shop. As a vise, it worked very well. Both jaws were made from laminating plywood together and it was secured to the work table via two homemade hand screws from scrap wood and a carriage bolt. The hand screws connected to two tee nuts mounted in holes on the bottom side of the table. I used this setup for a while until it gradually became more and more inconvenient to setup.
The problem with my previous moxon vise was that it was mostly in the way when mounted to the top of the work table and when it wasn’t mounted it wasn’t convenient to use. I tried mounting it to different work surfaces but in the end it just barely saw any use from me. I gave it away to someone who stopped by to check out the shop.
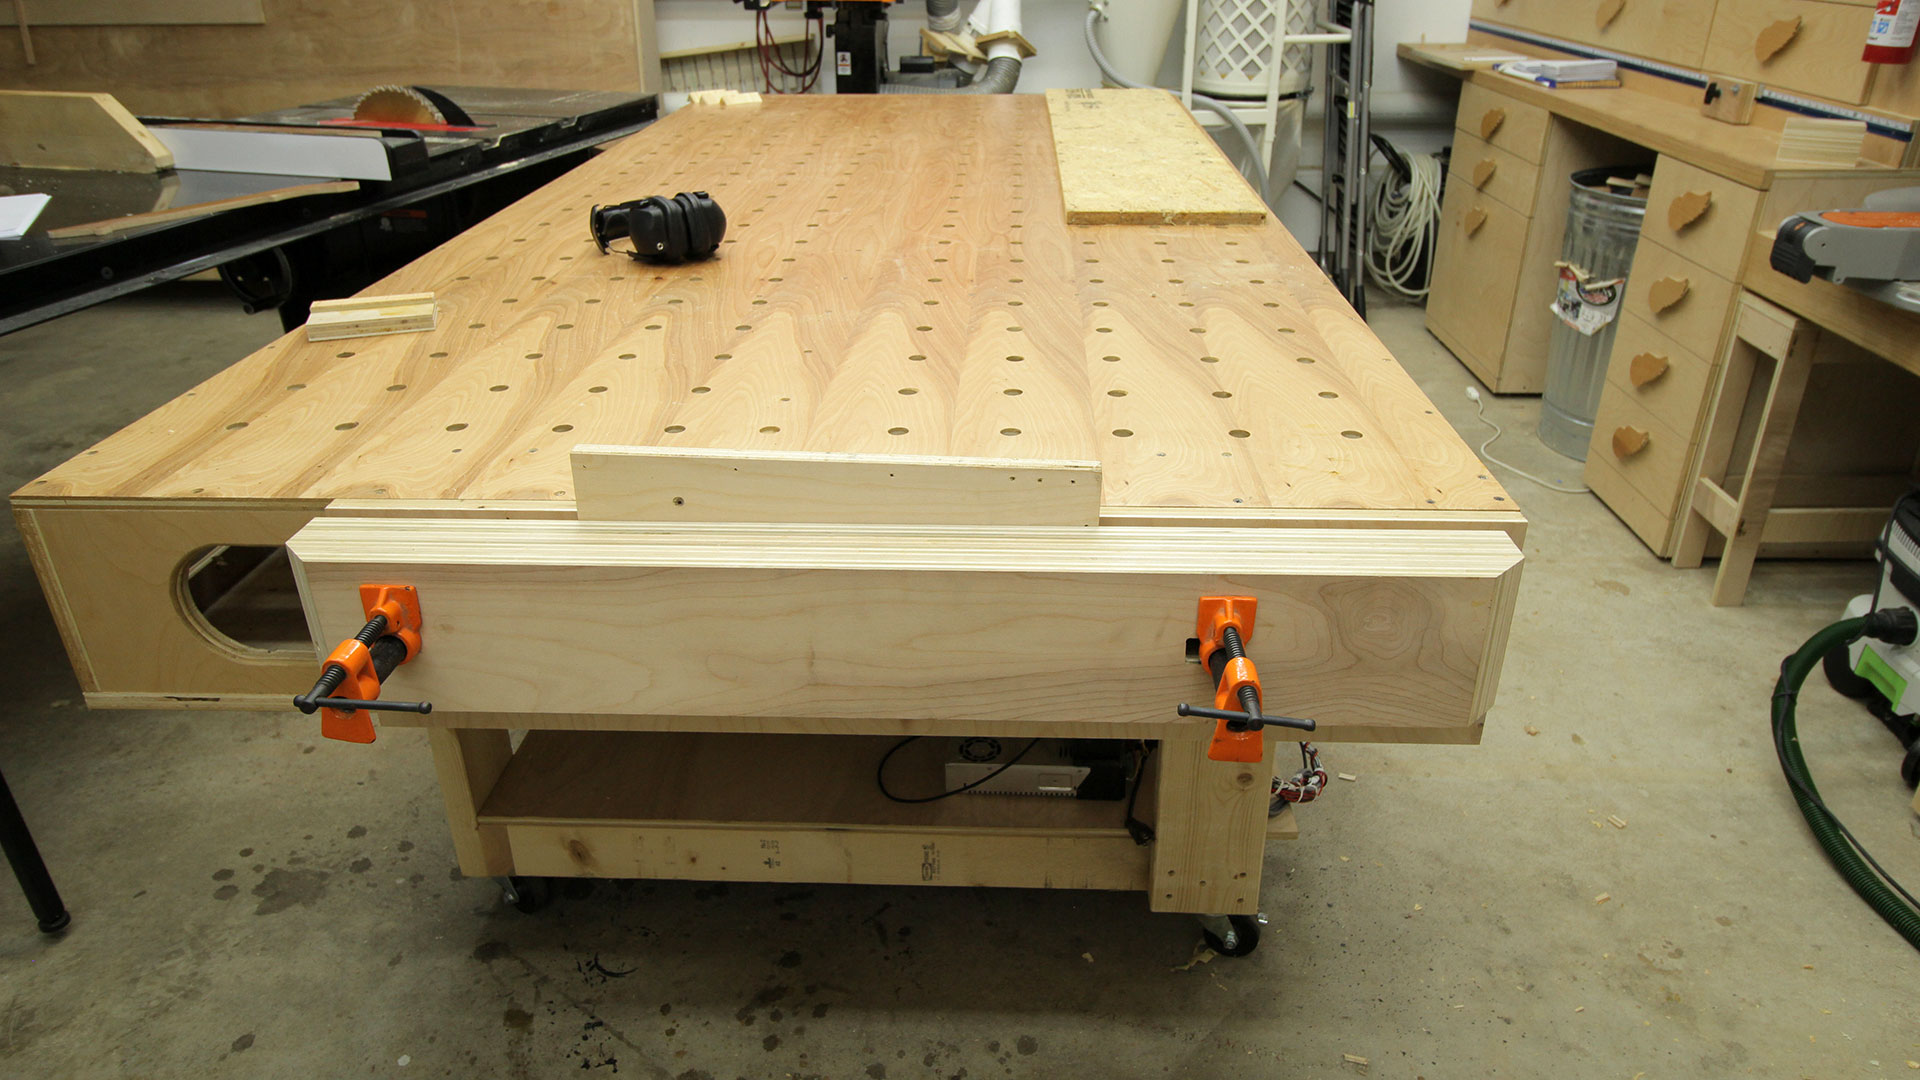
My need for a vise hasn’t gone away though. That’s something that will never go away in a woodworking shop. Having multiple options for holding work pieces is very beneficial. So with a proven concept of using pipe clamps as vises I decided to make another version for my current work table. This time I wanted it to be built into the end of the table to be more convenient to use and not in the way of the work surface. If it’s not convenient odds are it won’t be used. Again, I used scrap plywood I had in the shop for this.
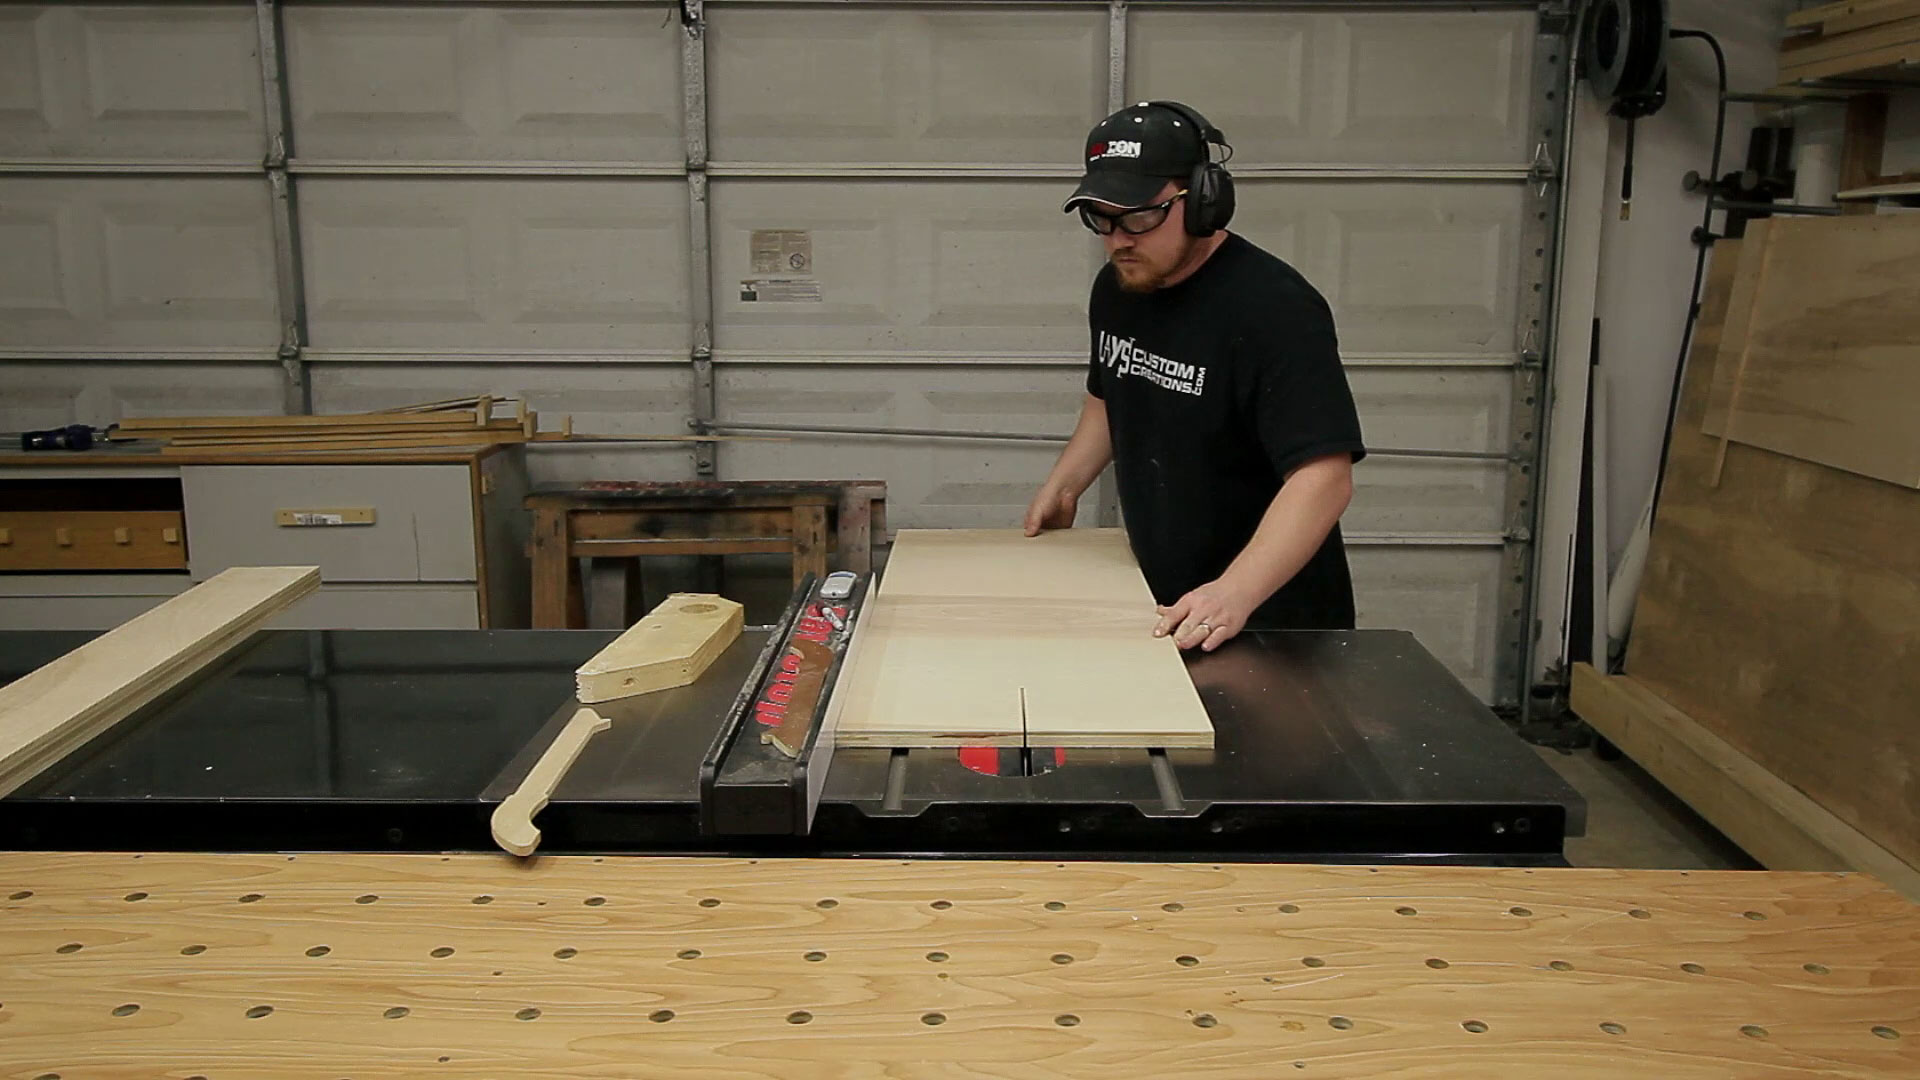
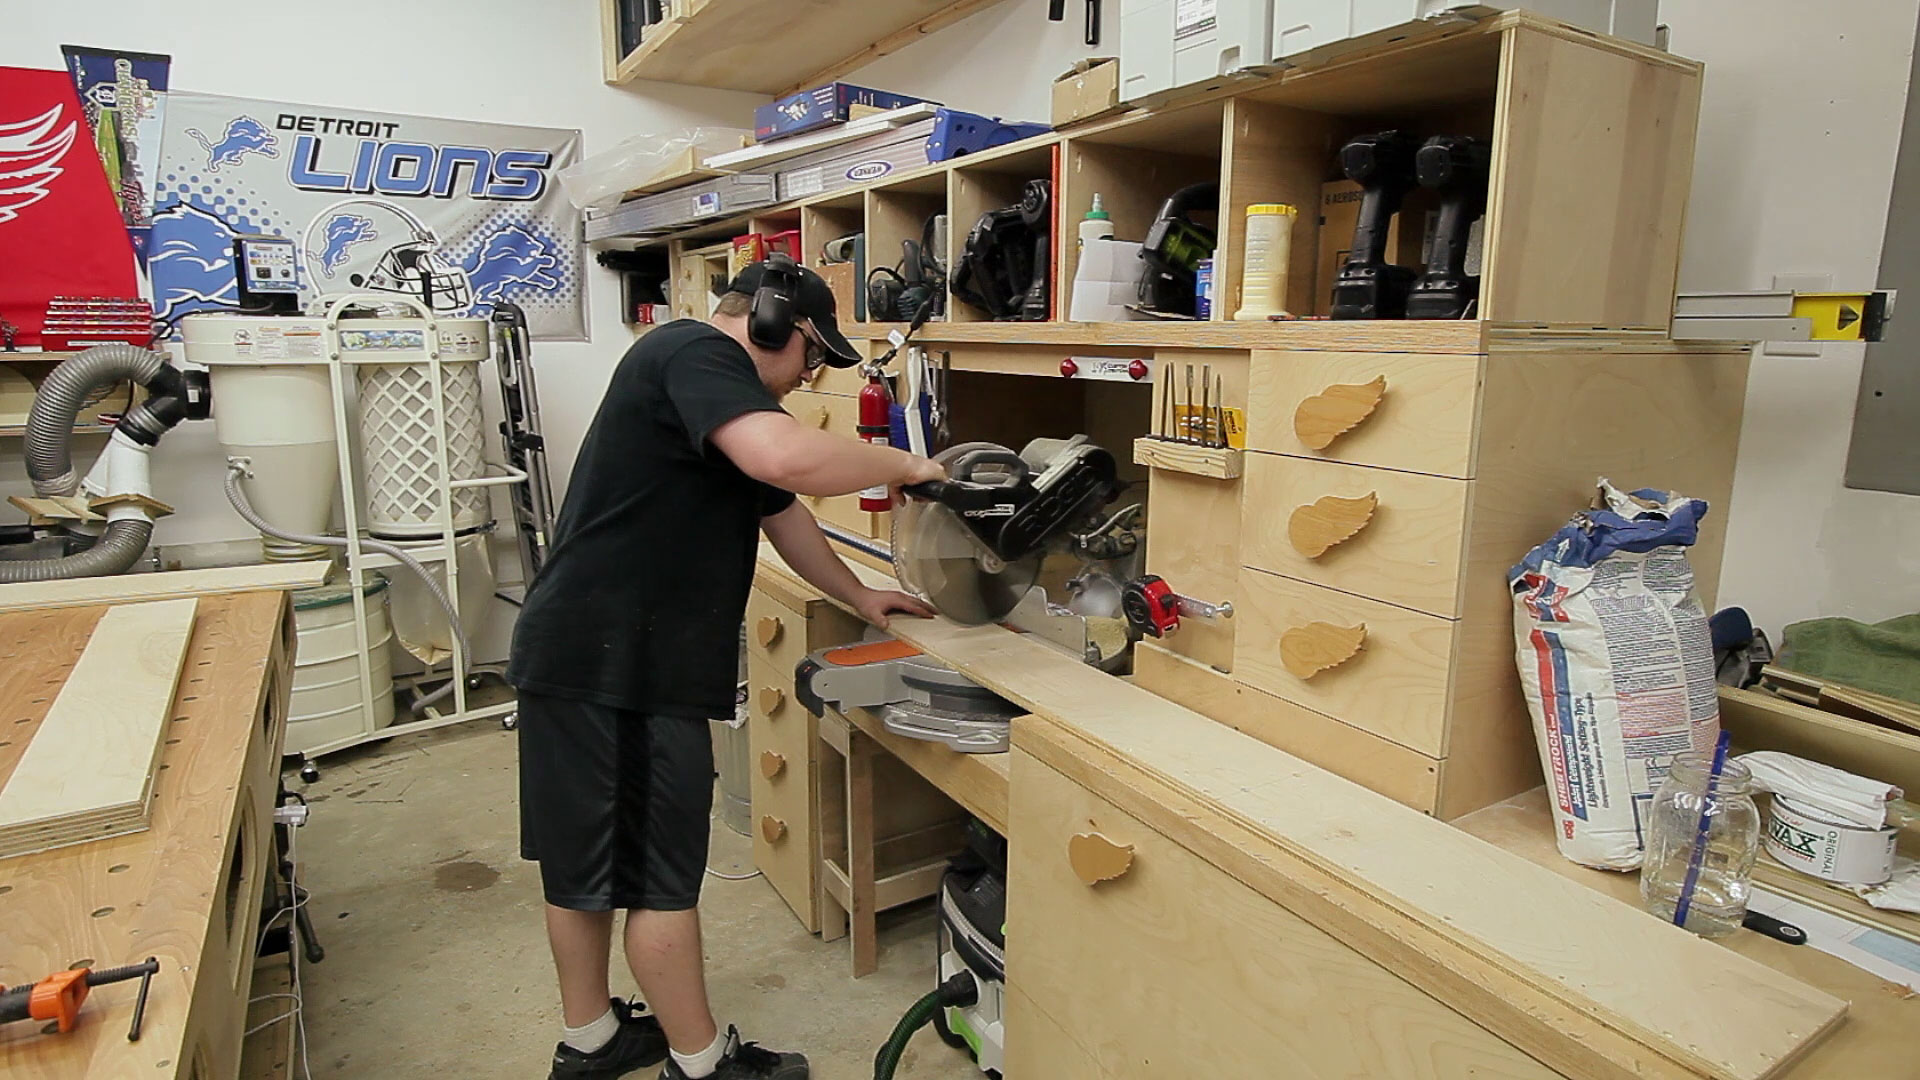
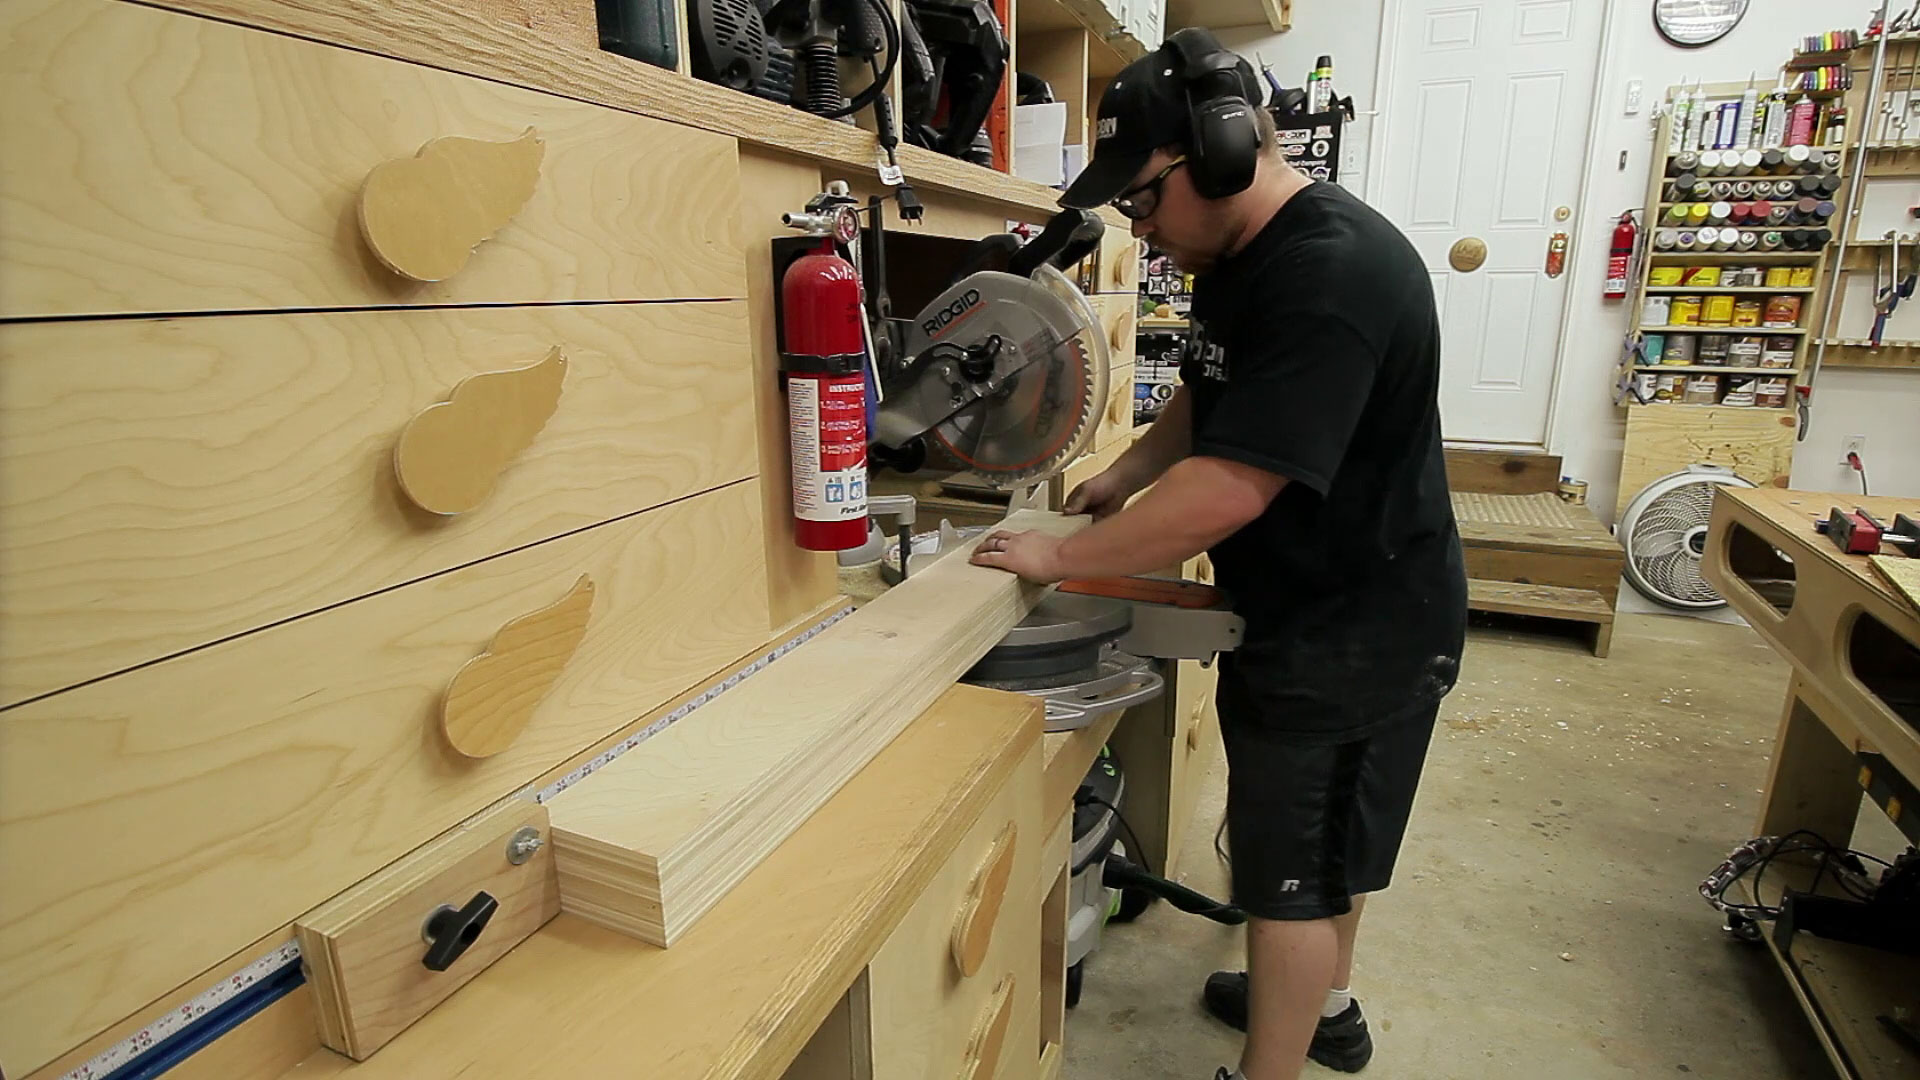
All of this scrap plywood is Purebond hardwood plywood. I’m sure using pine plywood would be sufficient but I like the rigidity of this hardwood stuff. It’s also made in the USA and formaldehyde free which are two great bonuses. With my material ripped to width I cut the pieces to a little longer than necessary at my miter saw station. I say it all the time but I absolutely love my miter saw station setup. Having a dedicated setup like this is incredibly convenient and really is a pleasure to use.
The front movable jaw will be a lamination of four strips of 3/4” plywood. This will give a 3” thick jaw. Plenty strong enough for this application.

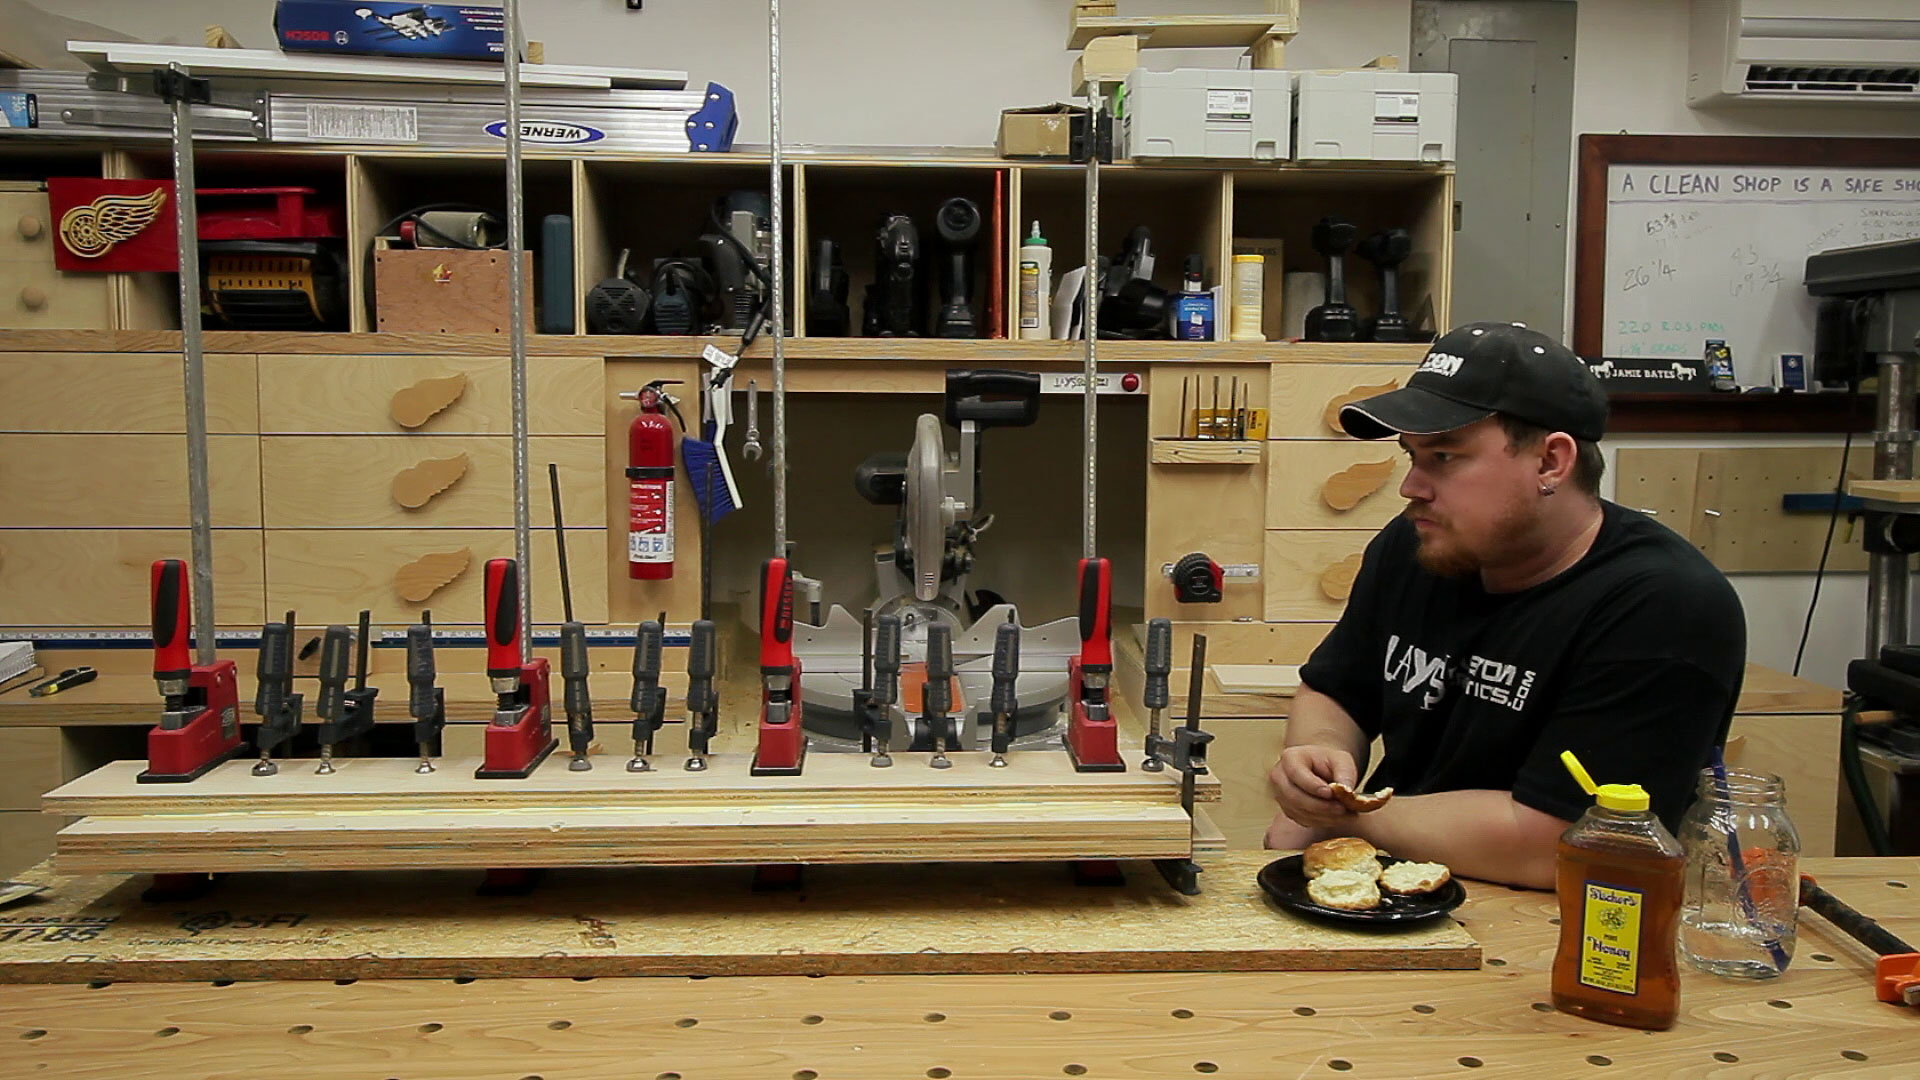
Glue-ups can sometimes be stressful. Especially when you have larger items or a lot of items to glue. To ease the stress a bit I used biscuits.
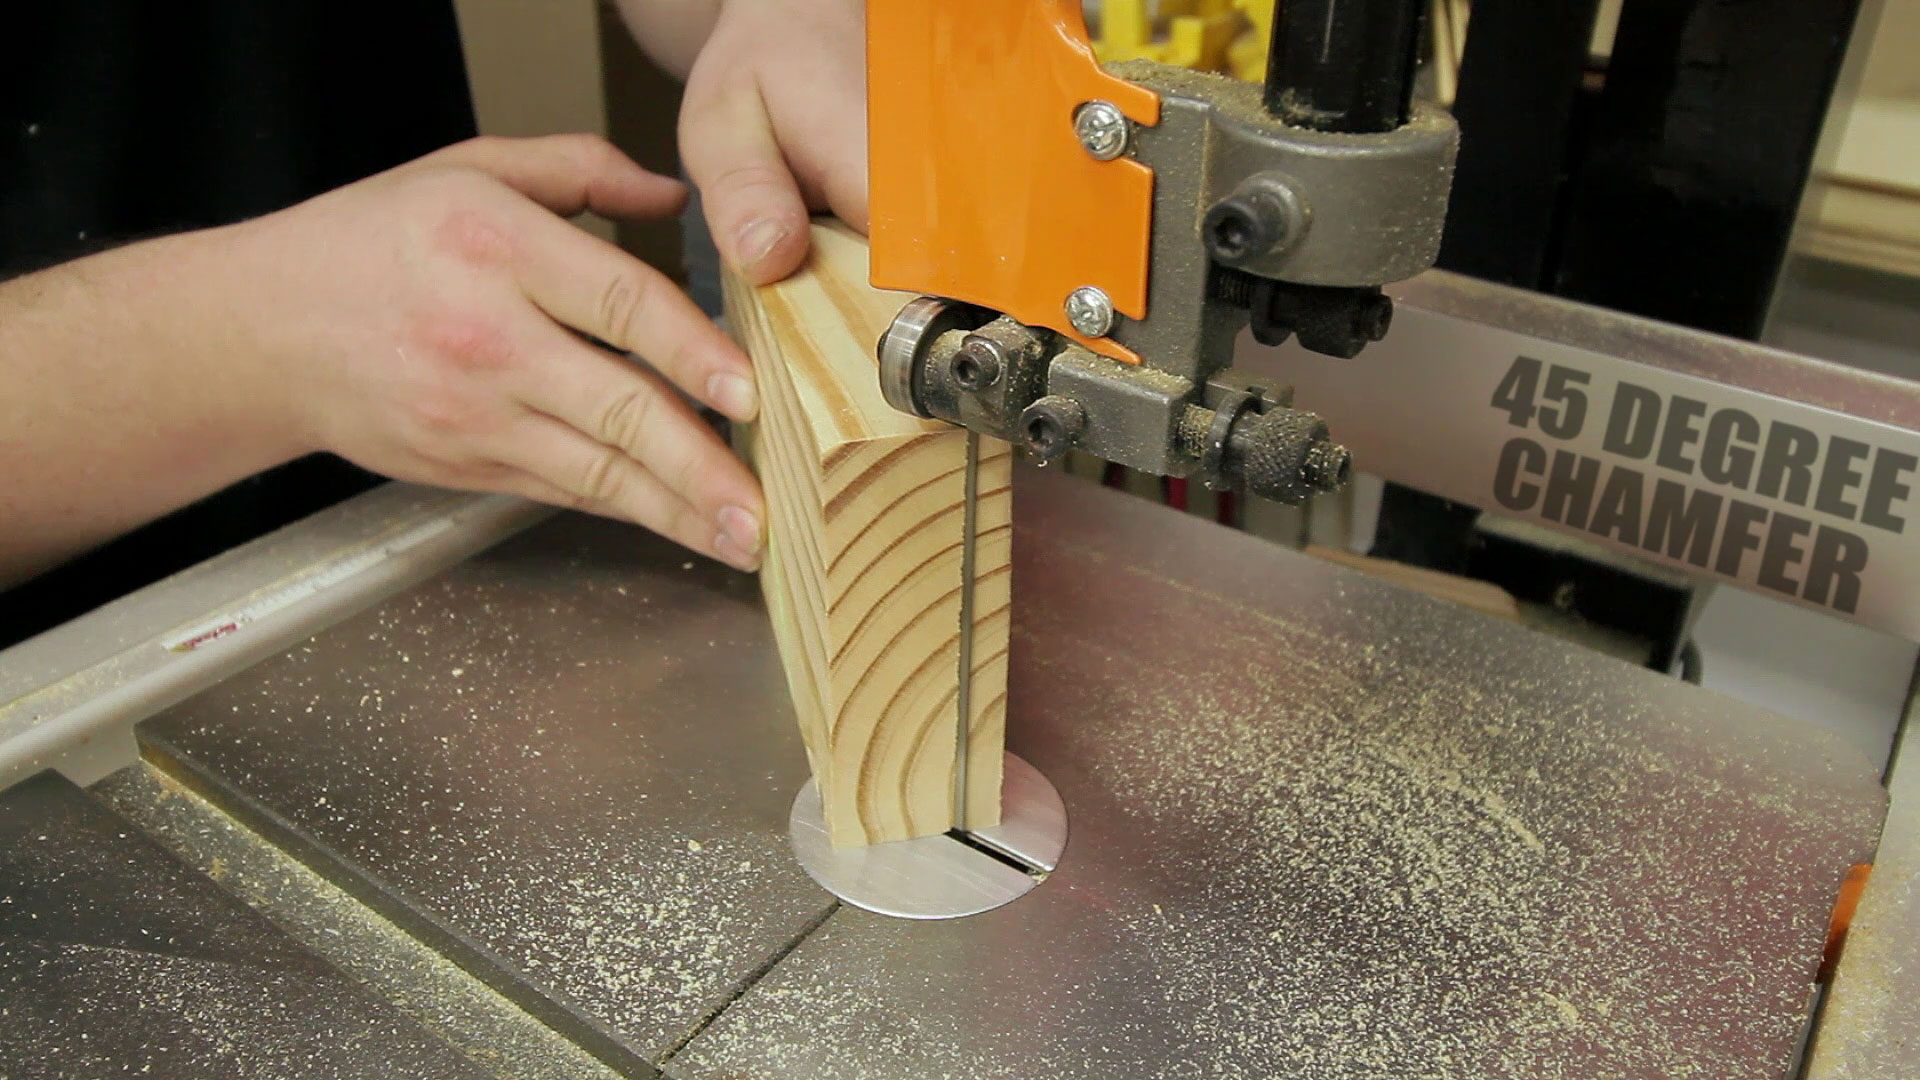
While the front jaw glue-up cured I worked on machining the blocking that would make up the interior structure of the vise. Six blocks 4” x 7” were cut from 2x dimensional lumber. These were actually scrap 2×10 pieces from my chest of drawers build.

The interior cavity height of my Paulk work table is 7” and I want to use blocks that are that exact length inside the table. Because the pieces will need to be rotated into place you have to consider the longest diagonal length when rotating. It will always be longer than the piece is so to reduce the diagonal length while still maintaining a 7” total height I added a rough chamfer to the bottom edge of each of the interior blocks on my bandsaw. I explain this better in the video for this vise.
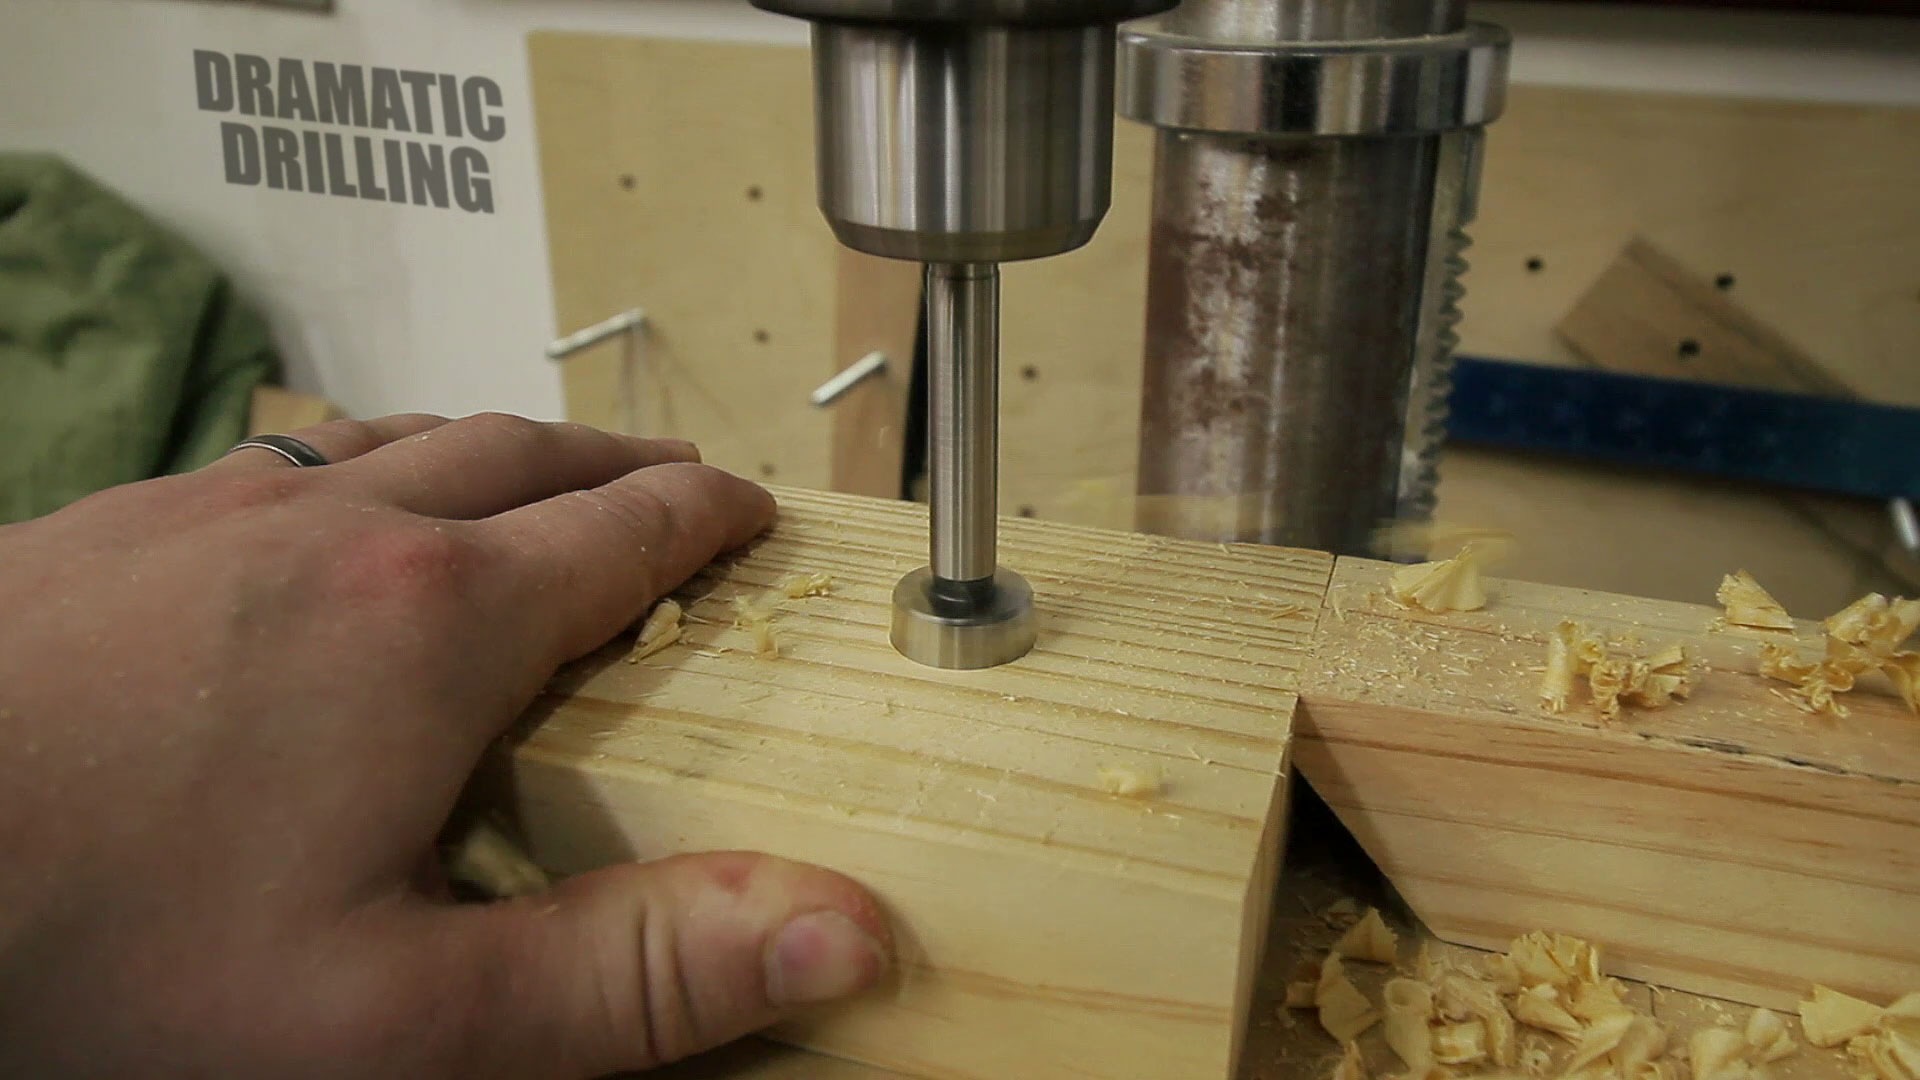
The location of pipe hole needs to be the same in each of the interior blocks so the pipe will track correctly. To do this I clamped a few blocks to my drill press. A standard 1/2” pipe needs a 7/8” diameter hole.
With all of the interior blocks ready I stood them up one at a time in the work table. Using the pipe to align them I first stacked two front to back and secured them to one another with two 2-1/2” screws. Then I removed the pipe, slid the third block in front of the other two, used the pipe again to line them up, and secured the third block to the first two with two more 2-1/2” screws. I did this on both sides of the table where the pipes would be.
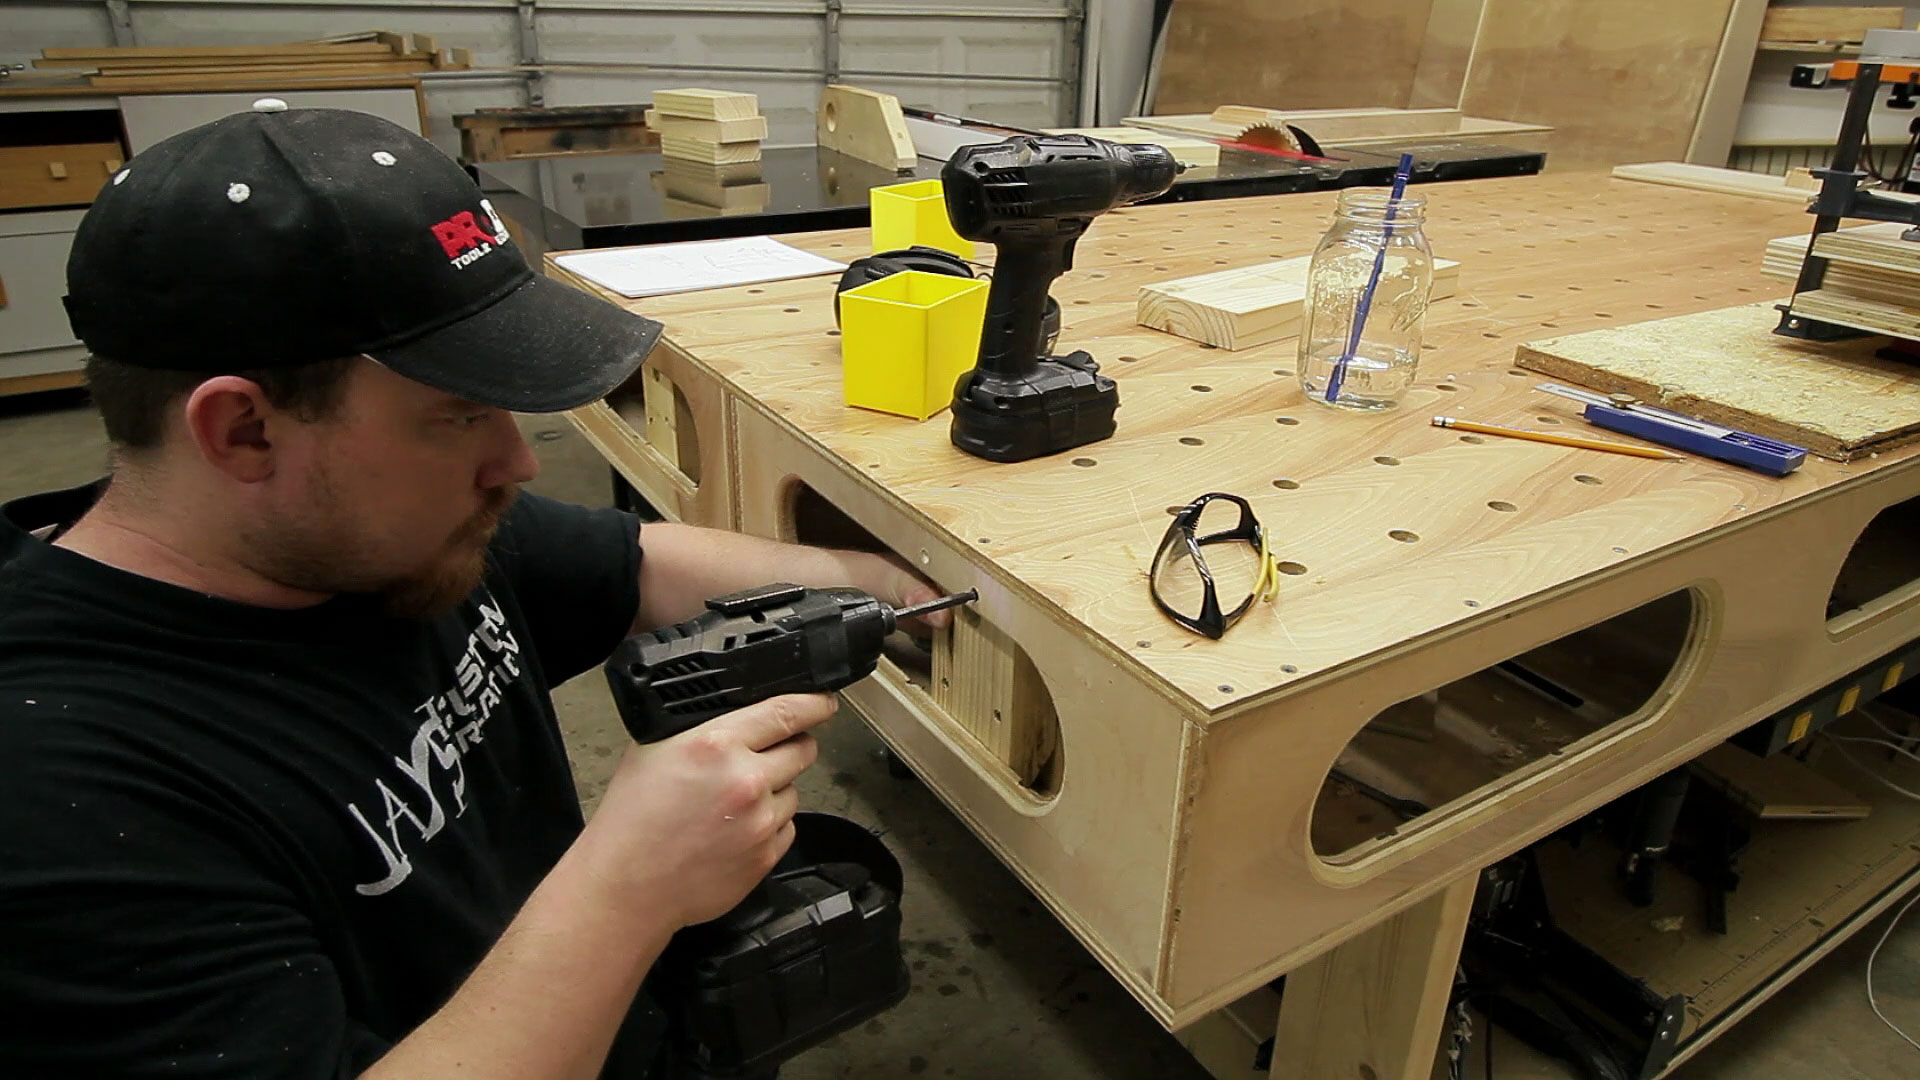
Once both interior assemblies were complete I positioned them left and right and secured them to the table itself with a few 1-1/4” screws.
Once the vise is complete I don’t want the rear pipe clamp pieces to move so I drilled a couple holes to secure them with screws. These will be used in the last step.

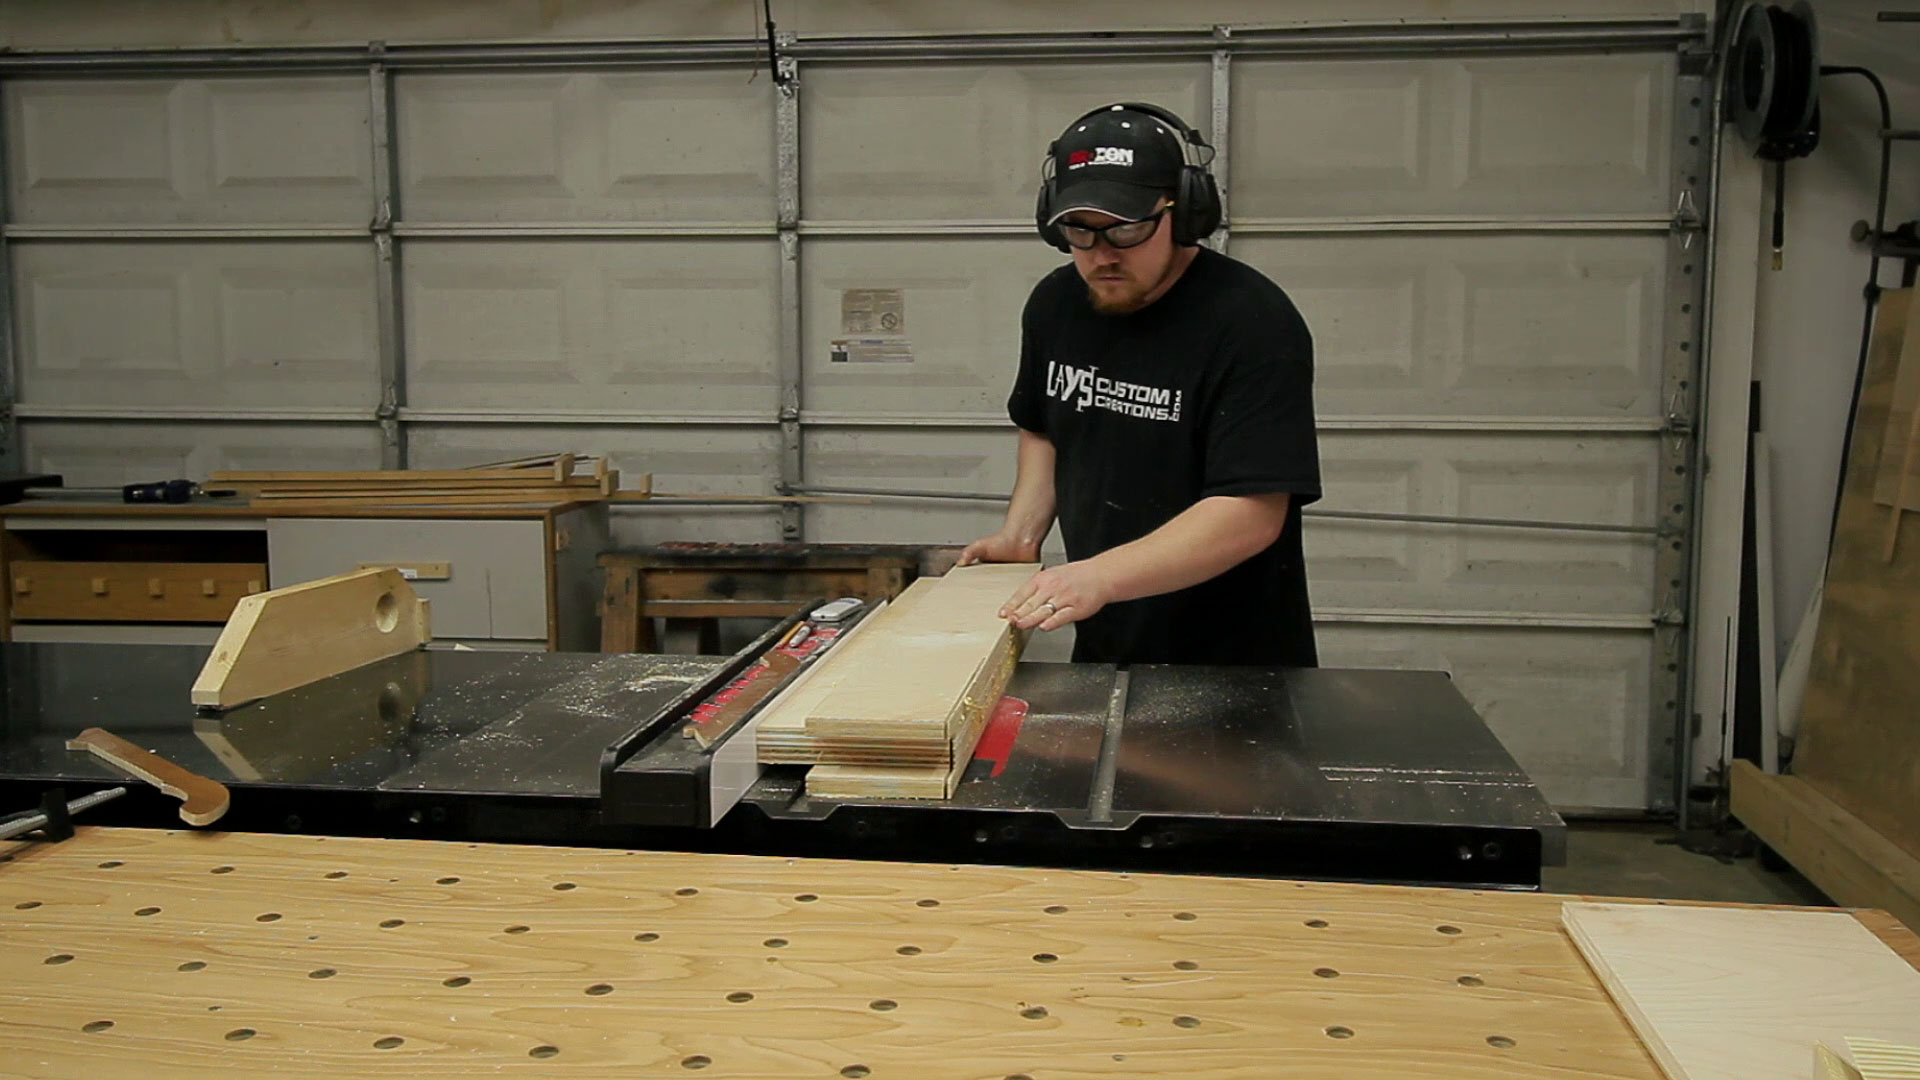
With the front jaw out of the clamps I ripped it to it’s final width at the table saw making sure to take material off both sides. I get questions quite often about how much power is necessary in a table saw. This saw has a 3hp motor and it sliced through this 3” thick hardwood ply (poplar) glue up with no problems or bogging down.
And again I used my miter saw station to cut it to it’s final 36” length. I also added a chamfer on both outside corners of the front jaw. Just to prevent bumping into sharp corners.
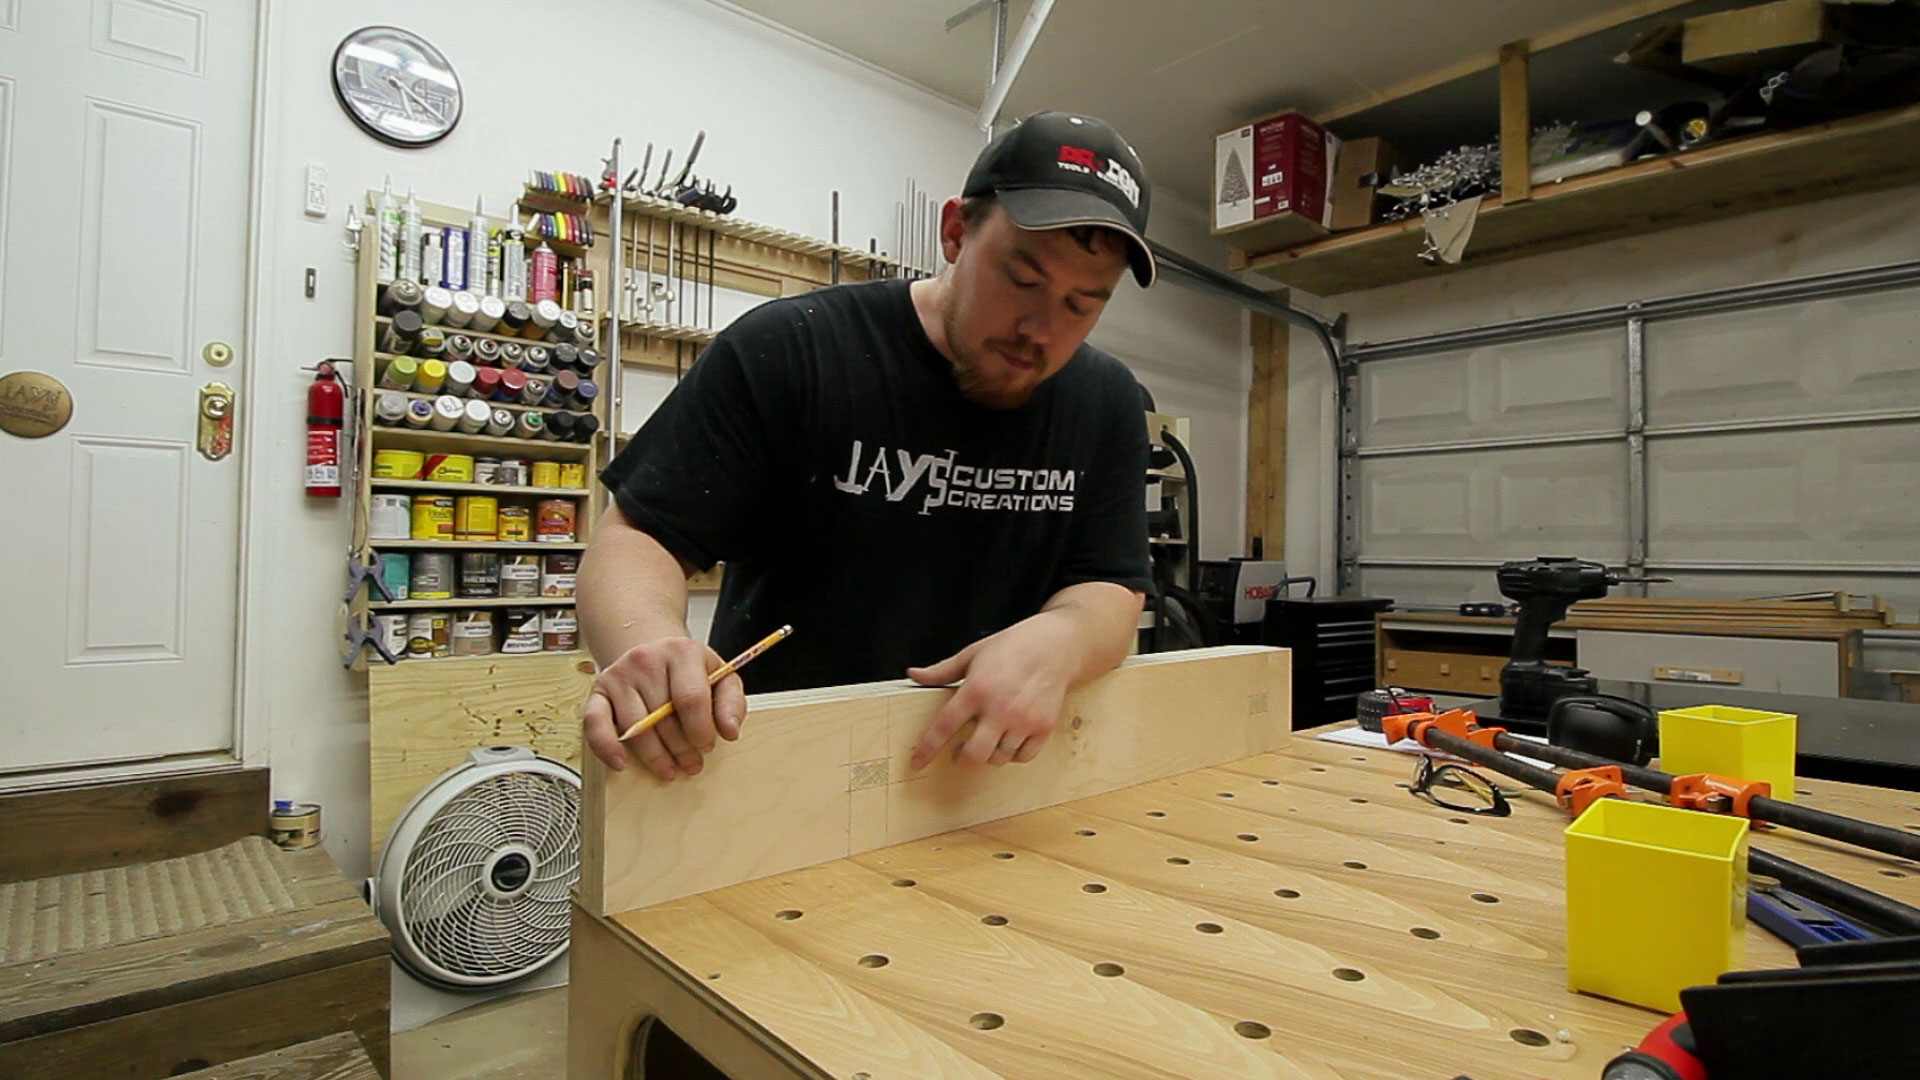
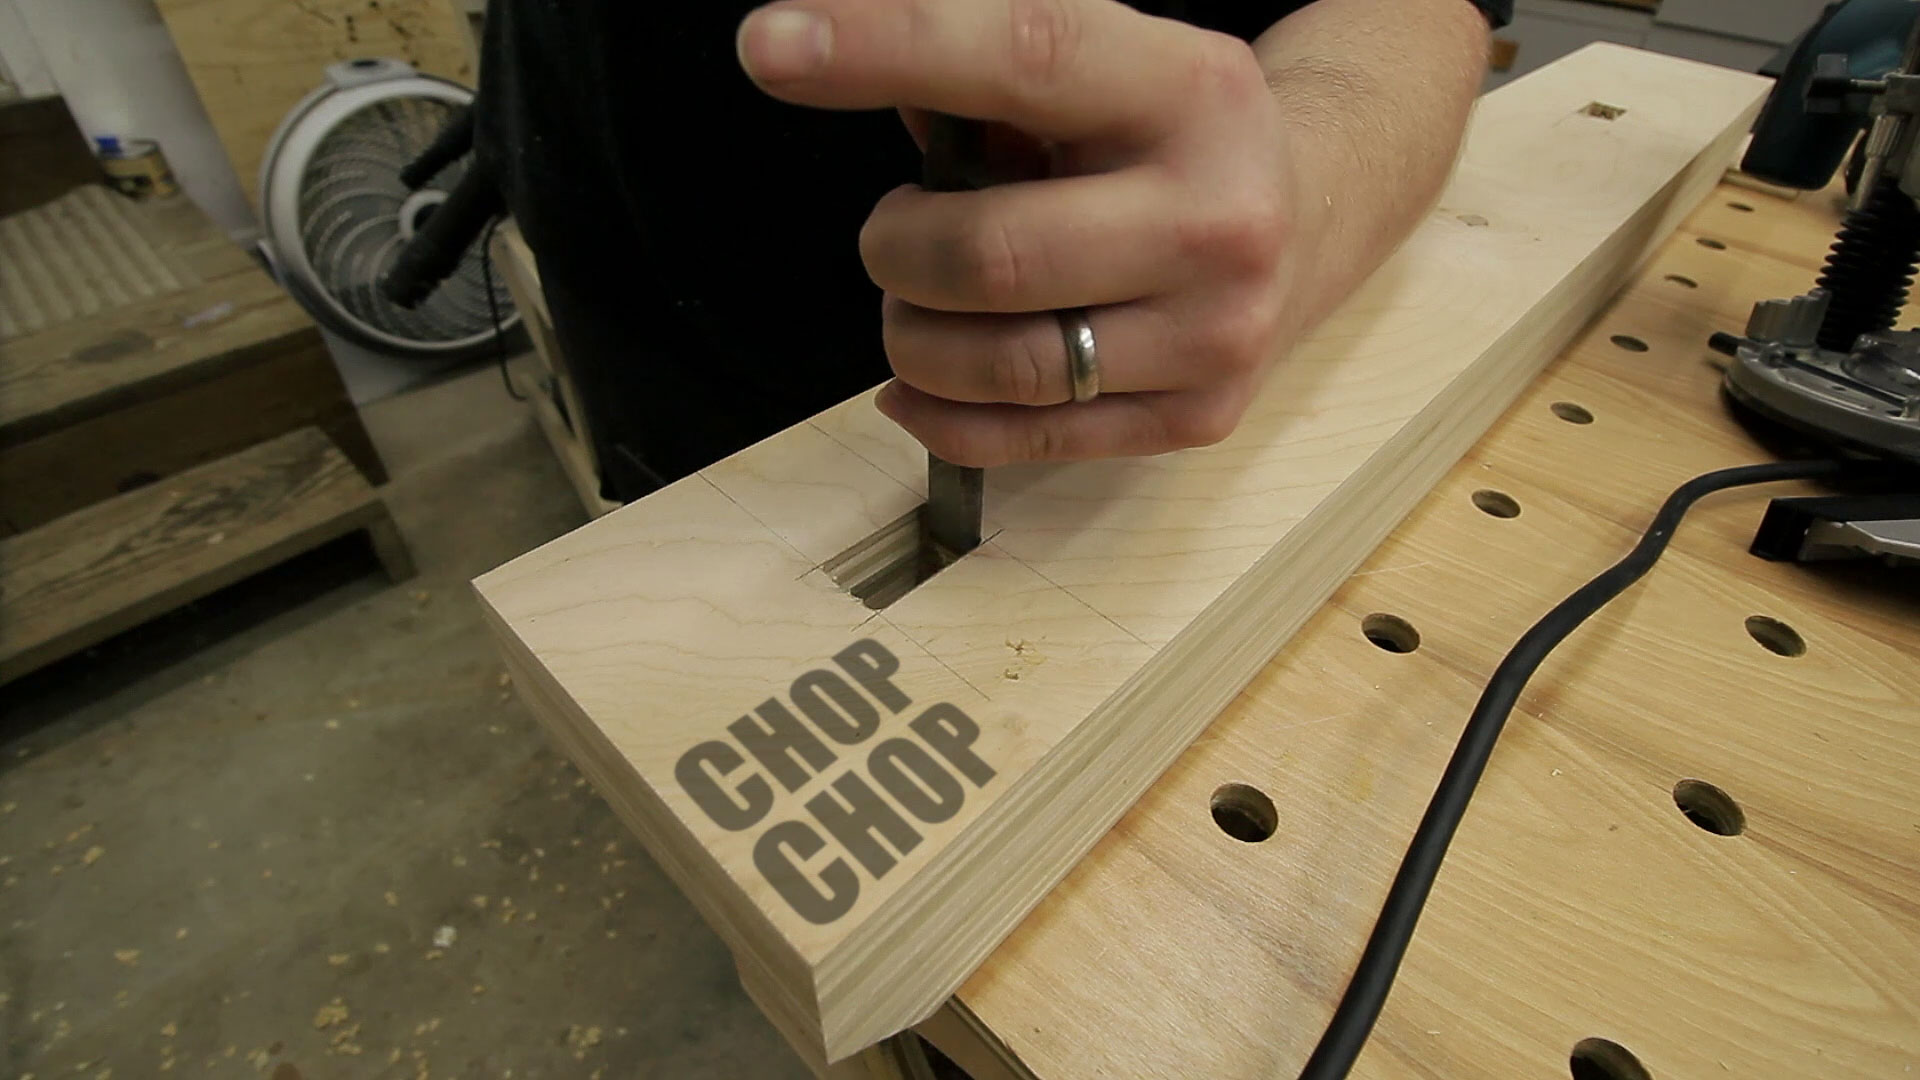
The front jaw does not receive regular 7/8” through holes. Because this vise jaw is rather wide it needs some extra horizontal play where the pipes pass through. Not allowing this space will cause the jaw to bind up as it moves in and out. Extra play is only wanted in the horizontal direction though. Not the vertical direction. The more play in the vertical direction you have the more likely the bottom of the jaw will rack forward when clamping something only in the top inch or so of the vise. I laid out my cutting area on both sides of the jaw before I started cutting to reduce the chances of me making a mistake while cutting.
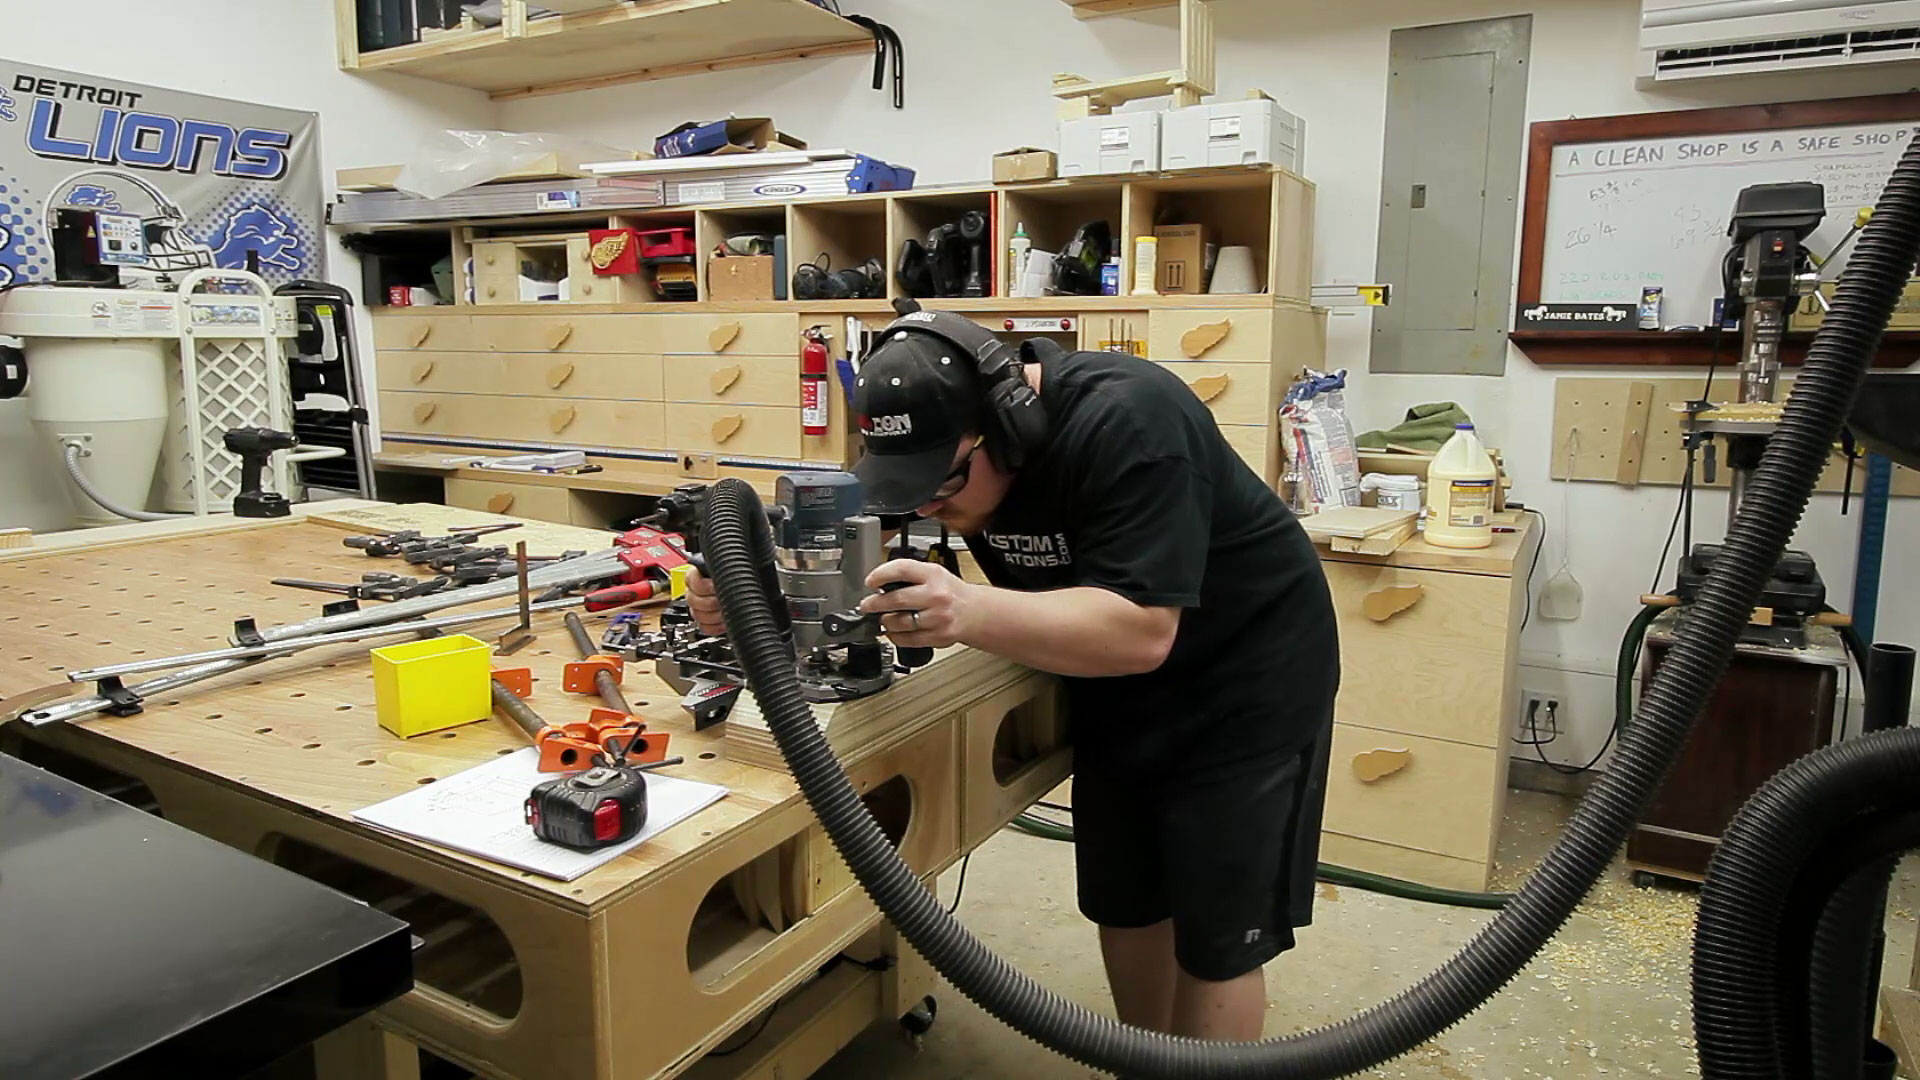
I used my plunge router and an edge guide for this. I just got a dust collection attachment for my Bosch router and it works great. Having great dust collection on a router is very nice and will probably increase my temptation to use the router on projects. Essentially your just making a mortise here. When making a mortise though plunge down to drill a full depth hole in the start and stop locations of the mortise. Then use shallow passes to remove the material between the holes. The start and stop holes will prevent you from going too far with your mortise. Just a quick tip I picked up from The Wood Whisperer :)
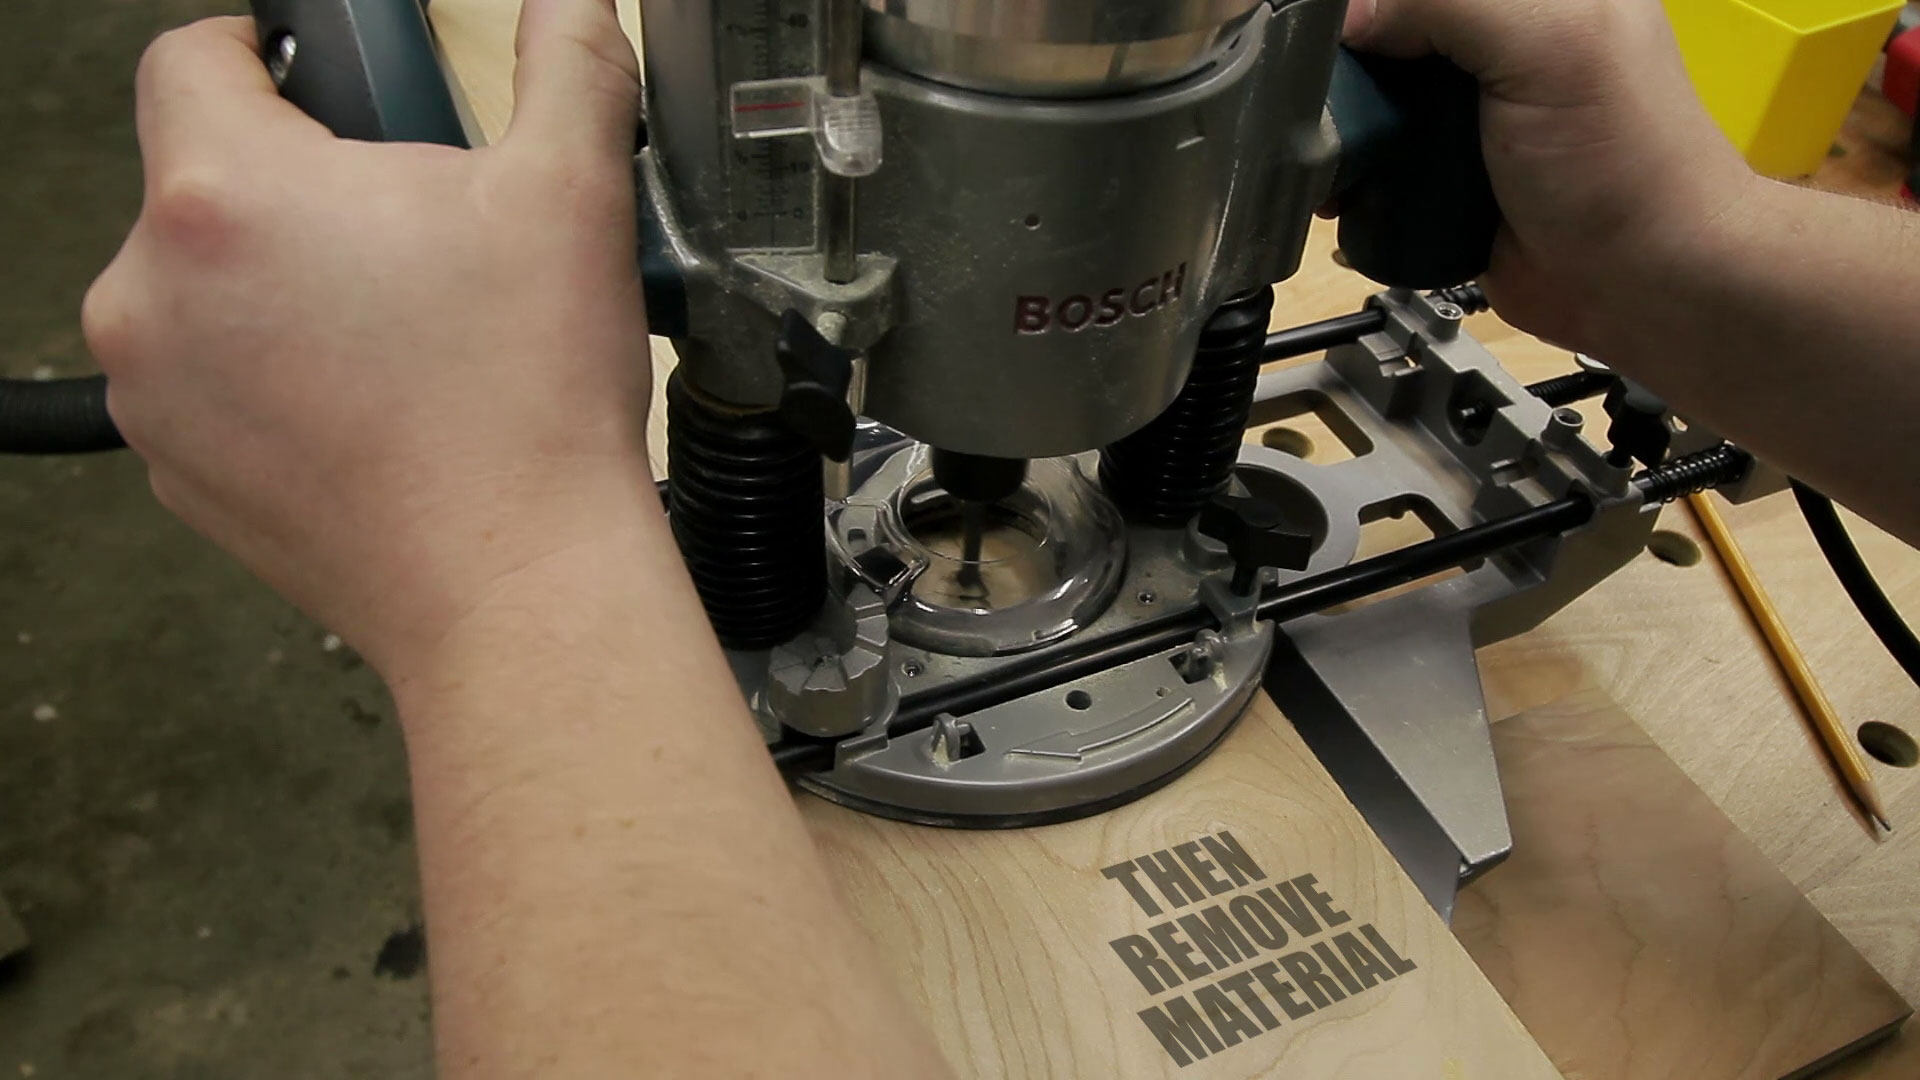
Because my router bit was kinda short I could only plunge about half way through the material. That’s why marking both sides of the jaw is important. Flip it over and repeat the process.
My final hole was a snug 7/8” tall and 1-1/2” wide. After routing I cleaned it up with a chisel.
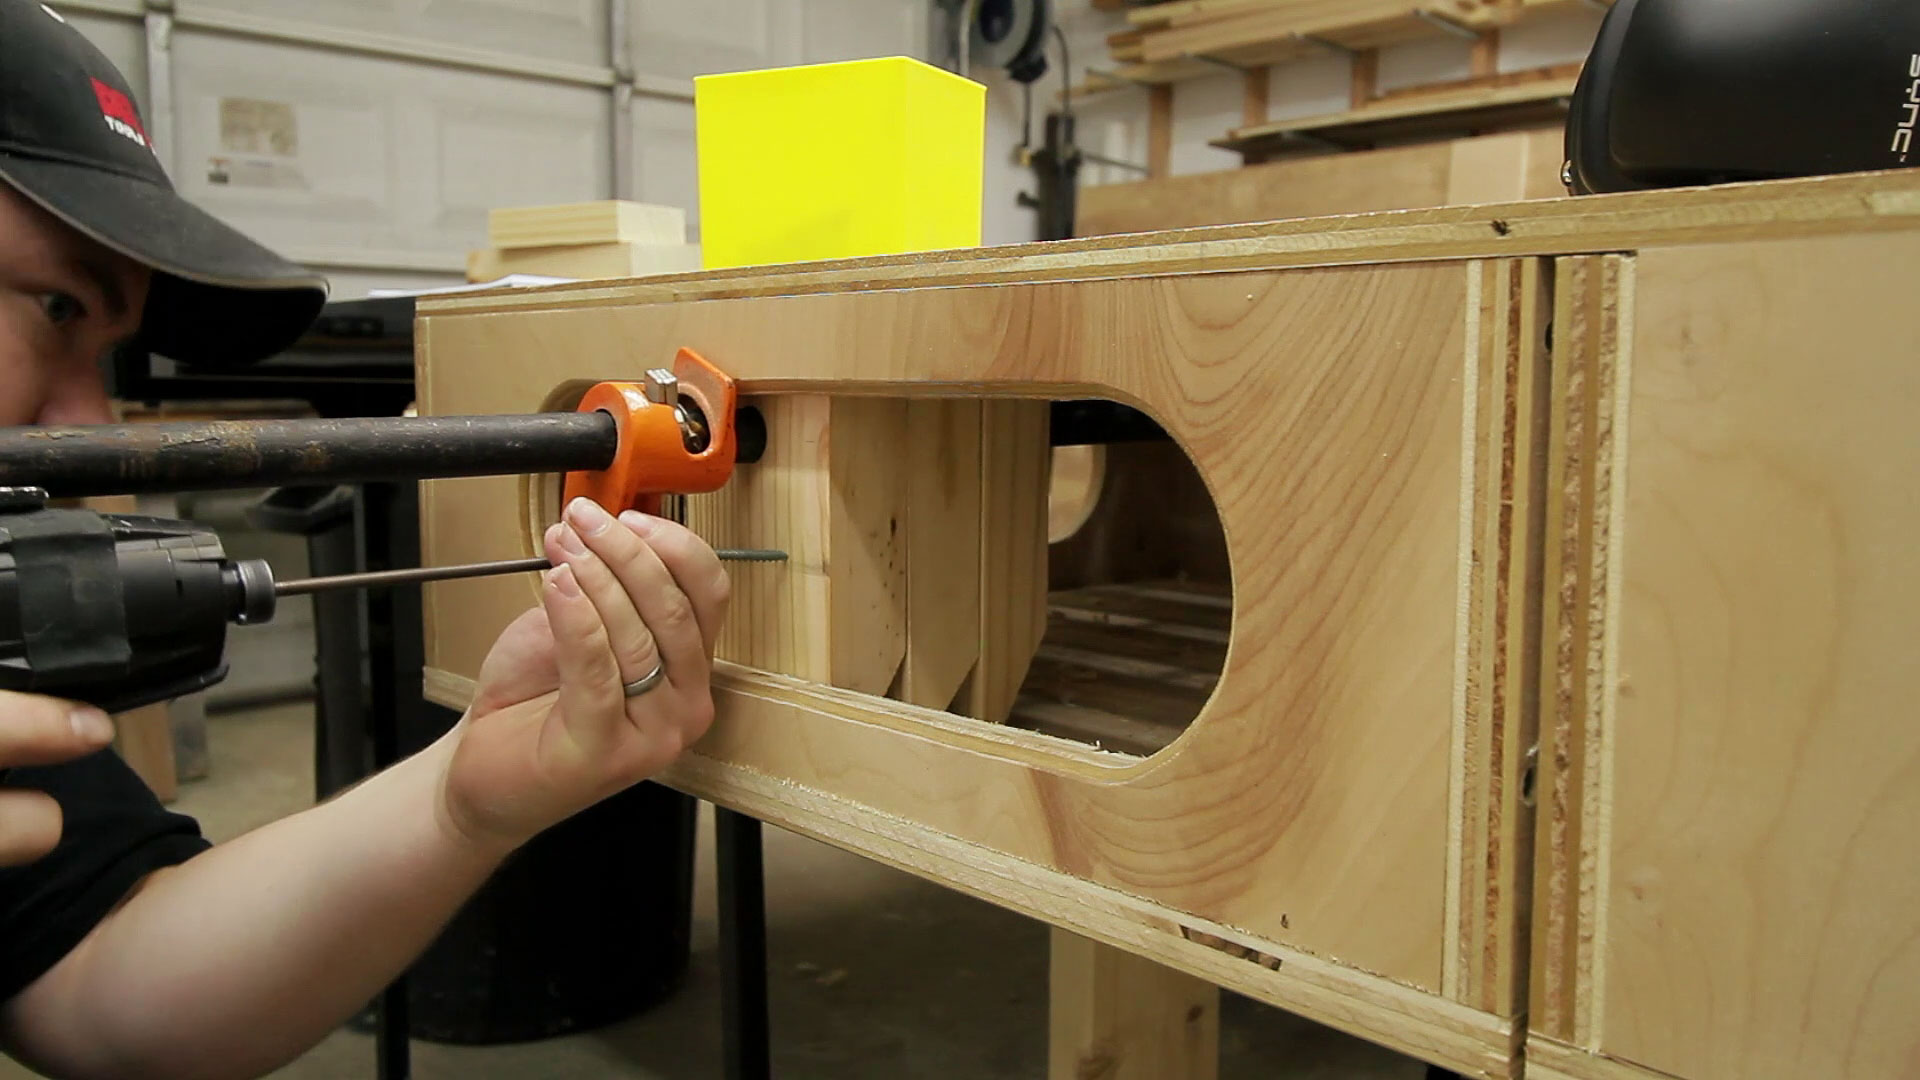
After cutting the stationary rear jaw to length and drilling a couple oversized holes it can be attached to the work table. Use the pipes to position it before securing it. Myself and I made quick work of this. It was only a few screws so anyone can make quick work of it actually.

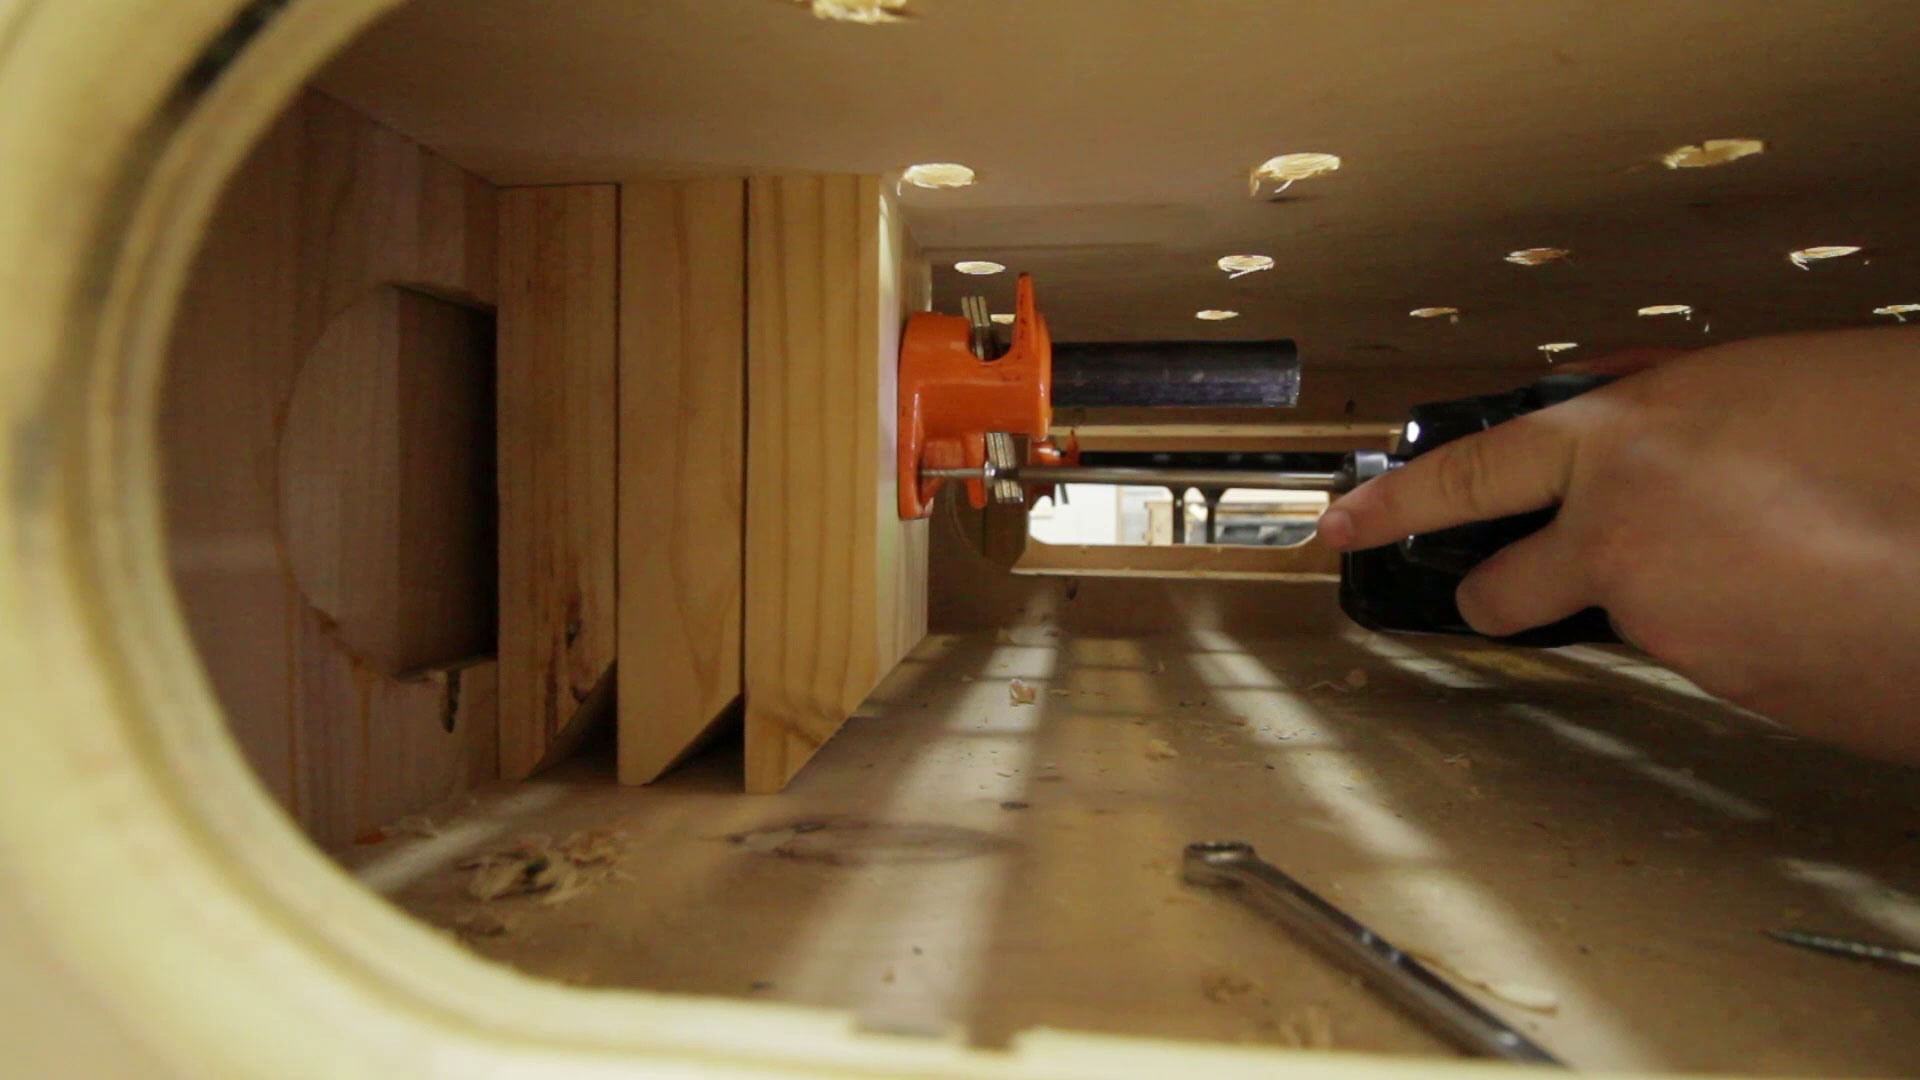
Finally the last step is to secure the rear pipe clamp jaws. This step was a little fiddly. It turns out that I had better luck sliding the pipe in and out once assembled when I kept these hold down screws slightly lose. That way the rear pipe jaw could wiggle slightly as needed and reduce the chances of the pipe binding in the solid wood next to it. This work table has openings on both sides which makes reaching into the interior space to adjust the pipes very easy.
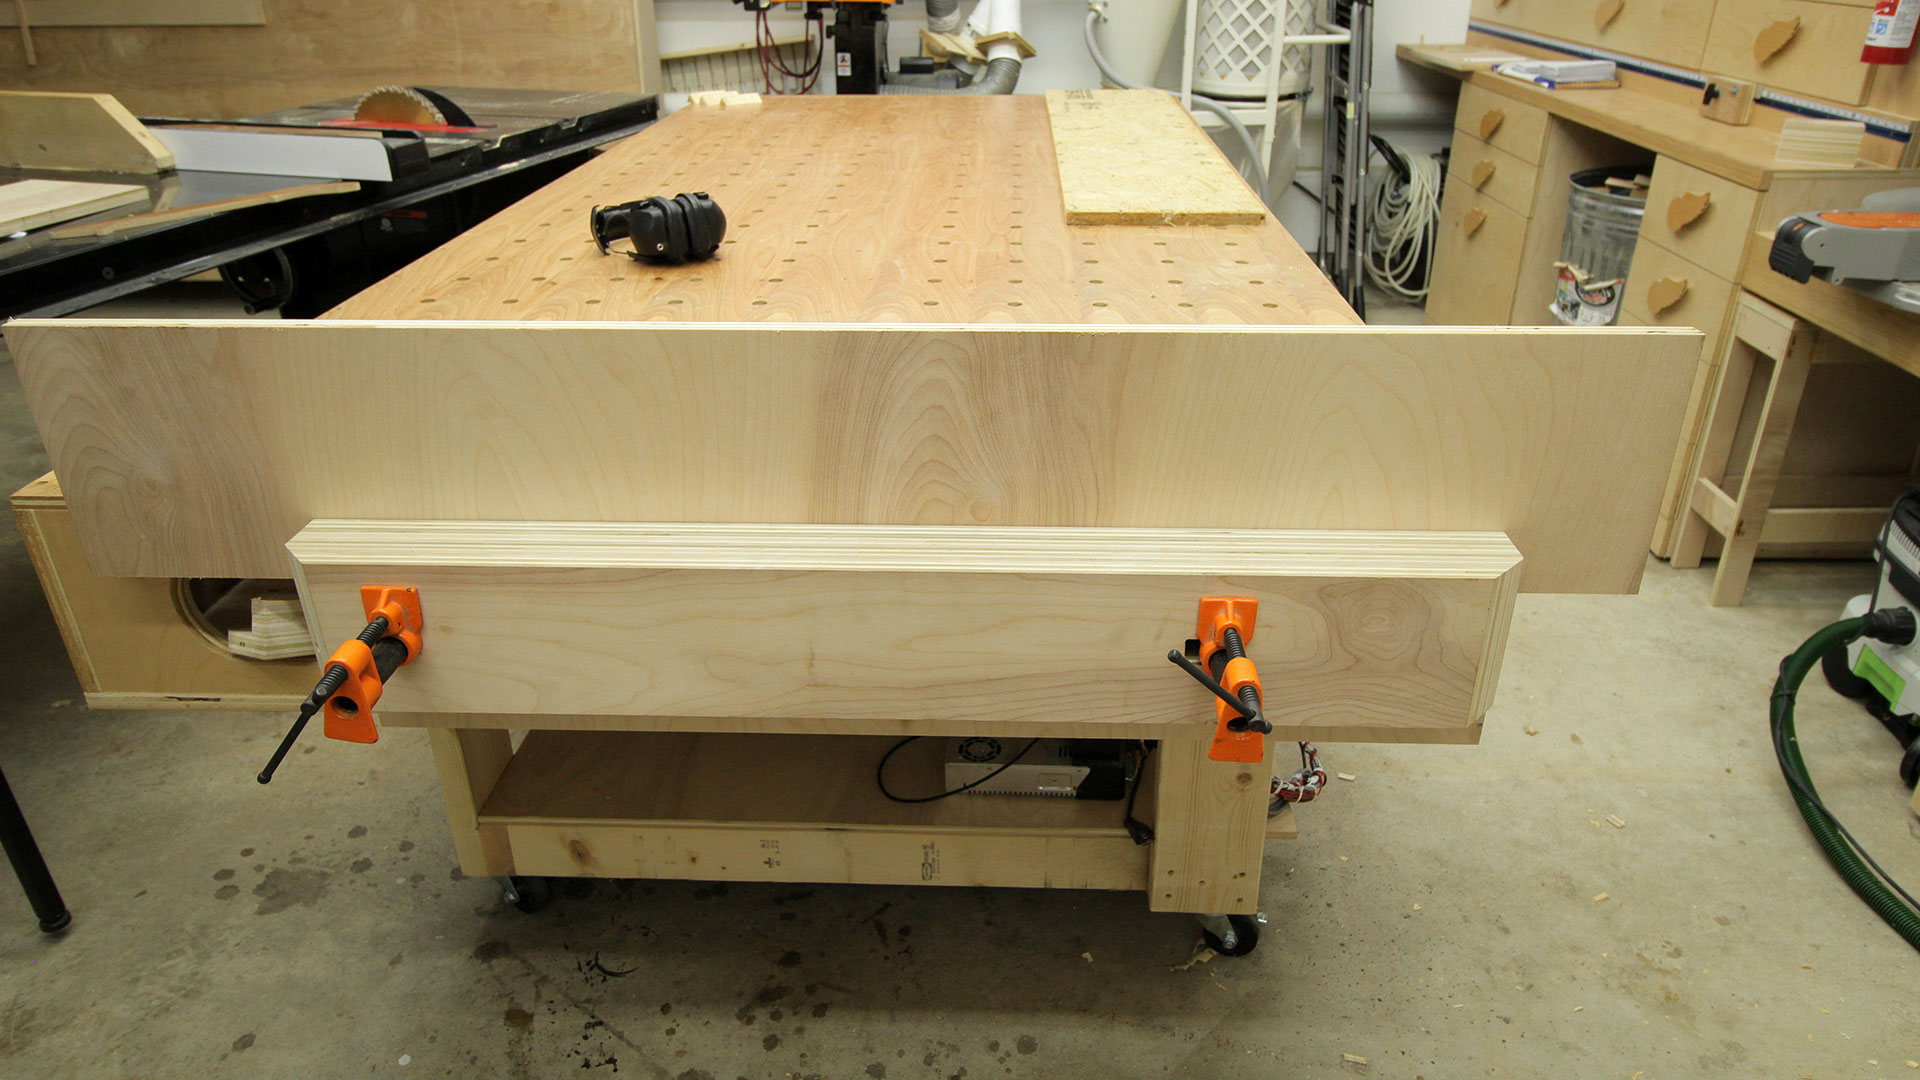
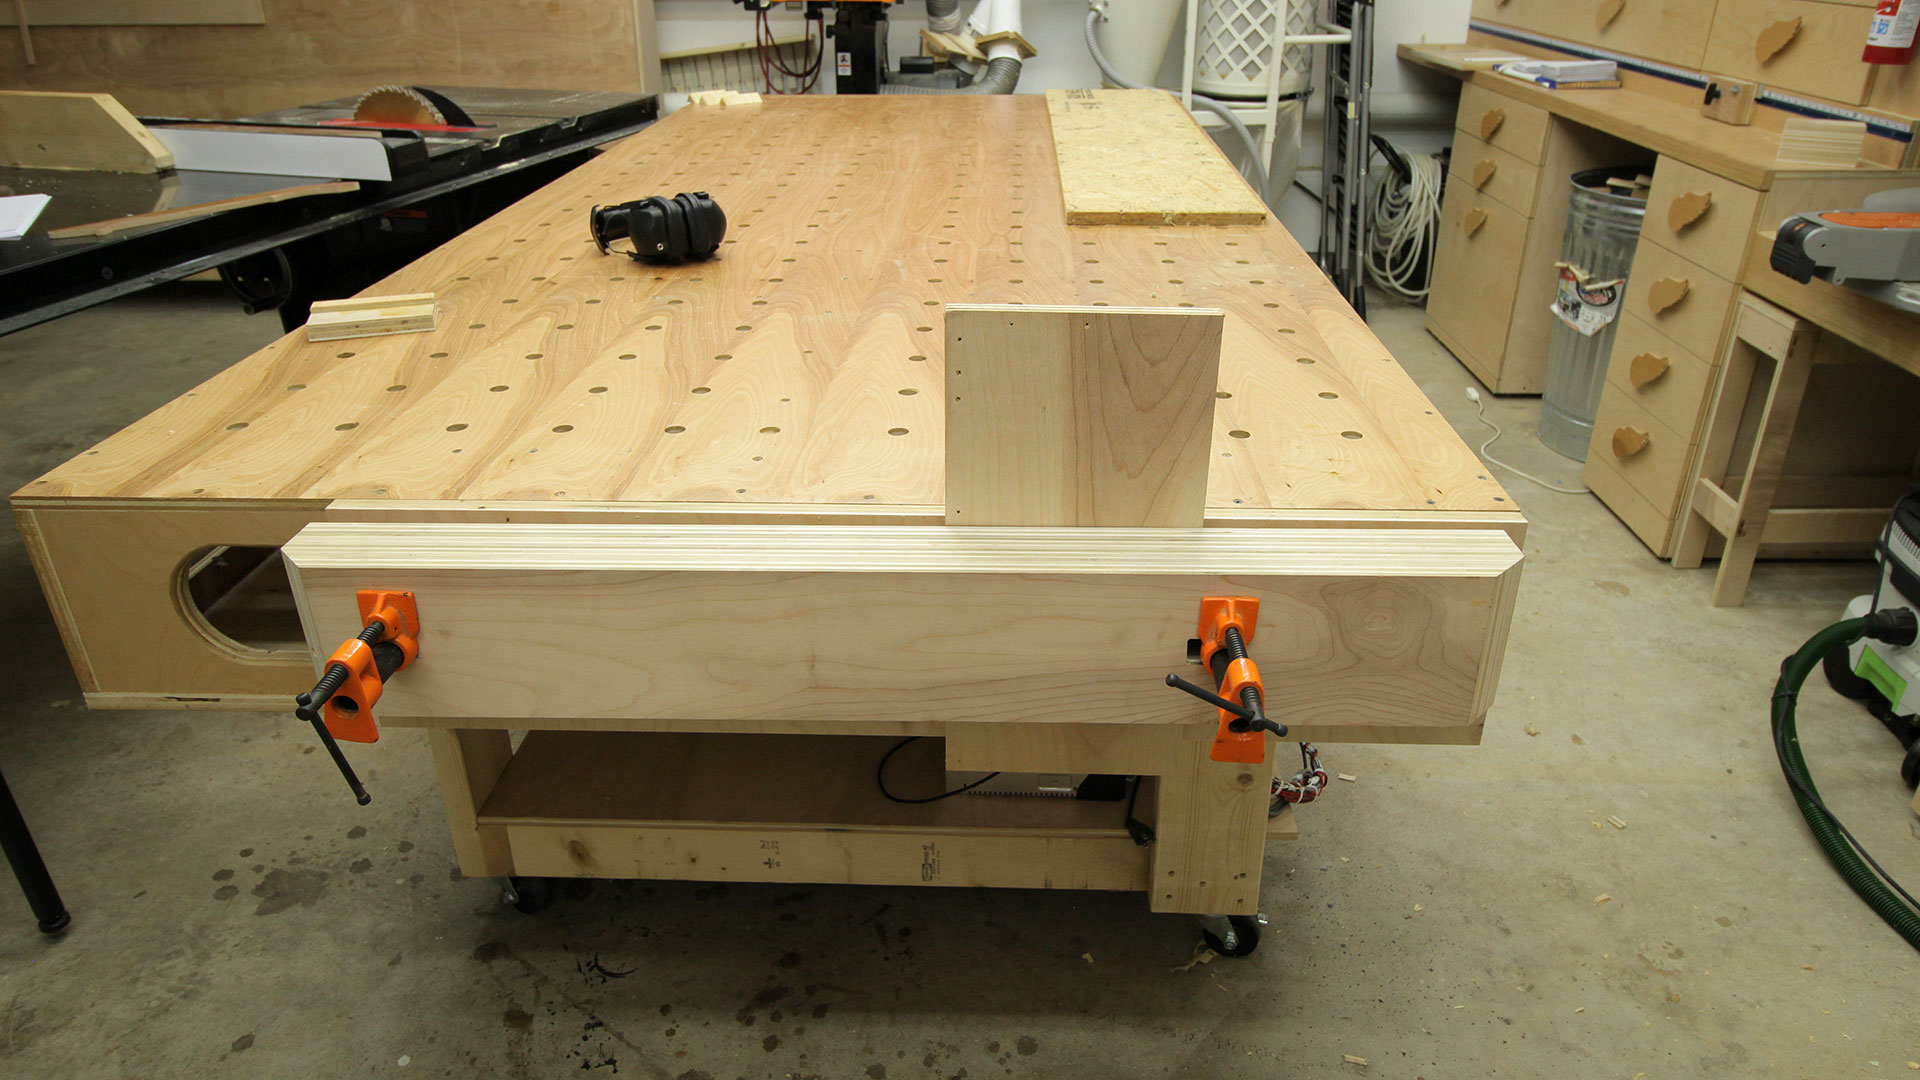
The completed vise will have as much clamping depth as you want according to how long of pipes you use.
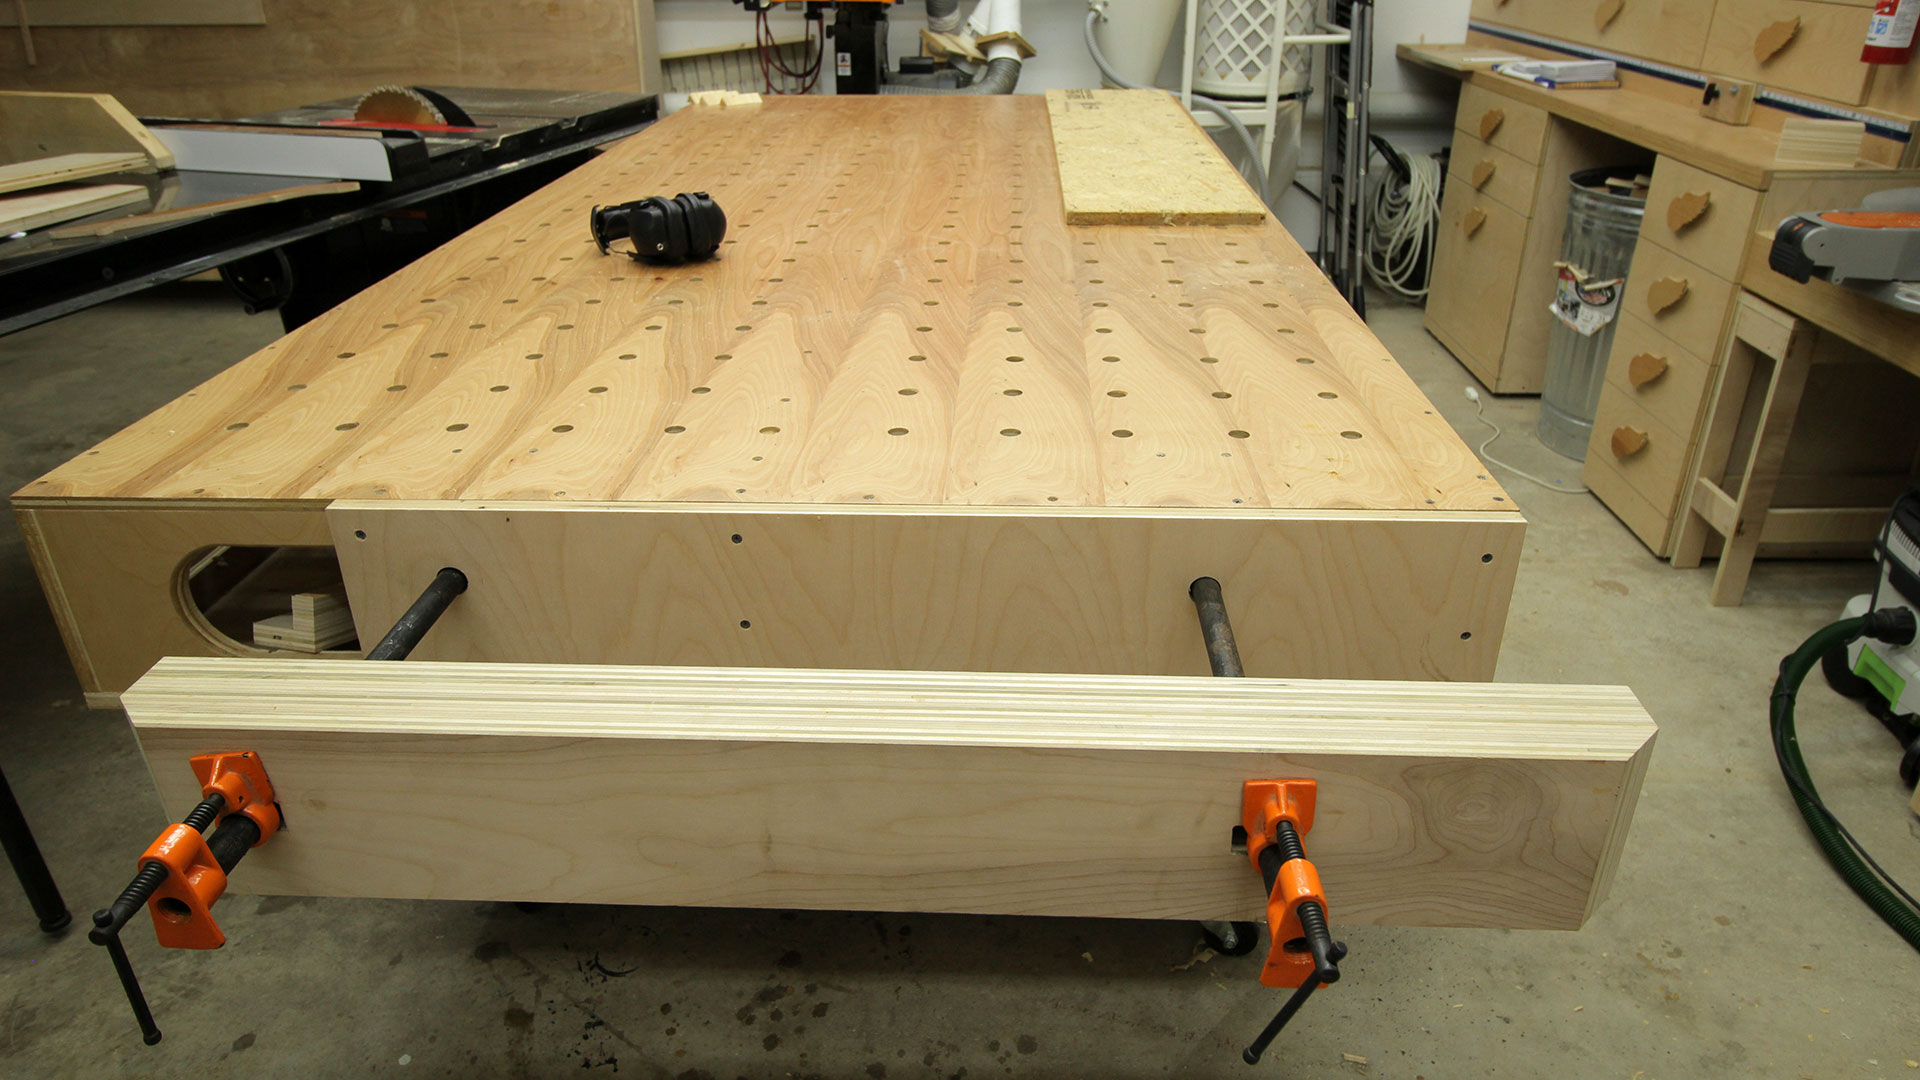
The space between pipes is about 24” or so and can be modified as needed. I also offset the right pipe a little bit to give more clamping area to the right for pieces that can’t be clamped along their entire length. I hope you are able to find this project as useful as I am. For those who are interested click here to download a zip file containing dimensioned diagrams in a PDF and a SketchUp file of the vise components. Have a great one folks!


Biscuits!!!
Yum :)
Ha! Biscuits. I think I peed a little cause I laughed so hard when I saw which biscuits you used.
Oops!
That’s awesome Jay. I just built a torsion box assy/outfeed table (not open design) and I think I am going to try to adapt your idea to it. I love the use of pipe clamps and “scrap” lumber.
Nice. It can be easily modded to fit just about anything.
But how do you slide the pipe in and out without having to reach inside and press the release?
You can actually twist the pipe and it will slide out. But reaching in to release it isn’t a problem as you will rarely have to do it. The screw heads have 2-1/2″ of travel.
Drill you a few holes in the jaw of that vice, lined up with the holes in the bench, make you up a couple dogs, end up with one of them fancy on top of the bench holding deals. For all the hand planeing you do. There’s practically no stopping you.
Yup. That’s the plan. I mentioned it at the end of the video.
I just read the article, day jobs seem to frown on me watching videos…. communists.
Darn commies.
Witam Cie dobra robota jest pomysłowe i praktyczne podoba mi się dzięki
Strange to see you working with the garage door closed. Glad the air conditioner is working out for ya! Oh, and nice vice too!
Jay, glad to see you bought the dust extraction attachment for the Bosch router. Much better now, isn’t it?
Nice build Jay. The biscuits were a good idea.
Love your vise!! My shop has transformed for the better because of your videos and links that you have found!! I have found myself in the shop more often, and enjoy it. What brand is your A/C unit? I live in Pensacola, FL and have the same heat problem.
Nice build for almost no money spent.
Did you fasten the front metal jaws of the clamps to the front wooden jaw of the vice?
No. Due to the pipes not being activated and in motion at the same time the front jaw needs to be independent so it doesn’t bind.
Jay,
I really enjoy watching you work and come up with your ideas, it’s a great inspiration for others, I think. Me?? I quit wood working as I have neither the time nor patience for it which really makes me appreciate what others can do even more. Great new shop you have keep it coming, I truly enjoy watching your work.
Thanks
Pat
Sorry to hear you quit woodworking. Hope you get the itch to start again :)
On the jaw glue up you left a large overhang between the middle ply and the top/bottom (which you trimmed up on the TS), was this intentional and if so why?
Any particular reason why didn’t you make it the full width of the bench?
I made something similar but eventually had problems with the release. (Just got tired of reaching the undermount) any ideas? Thanks
I love the table and the vise!!! I built the mobile base yesterday and now onto the top. After that, the vice!!! Thanks again for the ideas and love the channel
I am curious if there is a reason that you made the right side of the vise go all the way to the end, and the left side end up in the ‘middle’ of the bench? Is there a reason you didn’t make the vise the whole 48″ wide?
So I could use the right side as a horizontal leg vise situation. It’s been pretty handy.
Hi Jay,
another great video, thank you.
I much like the underlying idea to use pipe clamps and your “down to earth” spirit when you were completing the project. It seems your vise is very versatile and, well, *huge*.
Keep up producing these very inspiring videos, please!
Oh, and Merry Christmas.
Cheers,
M.