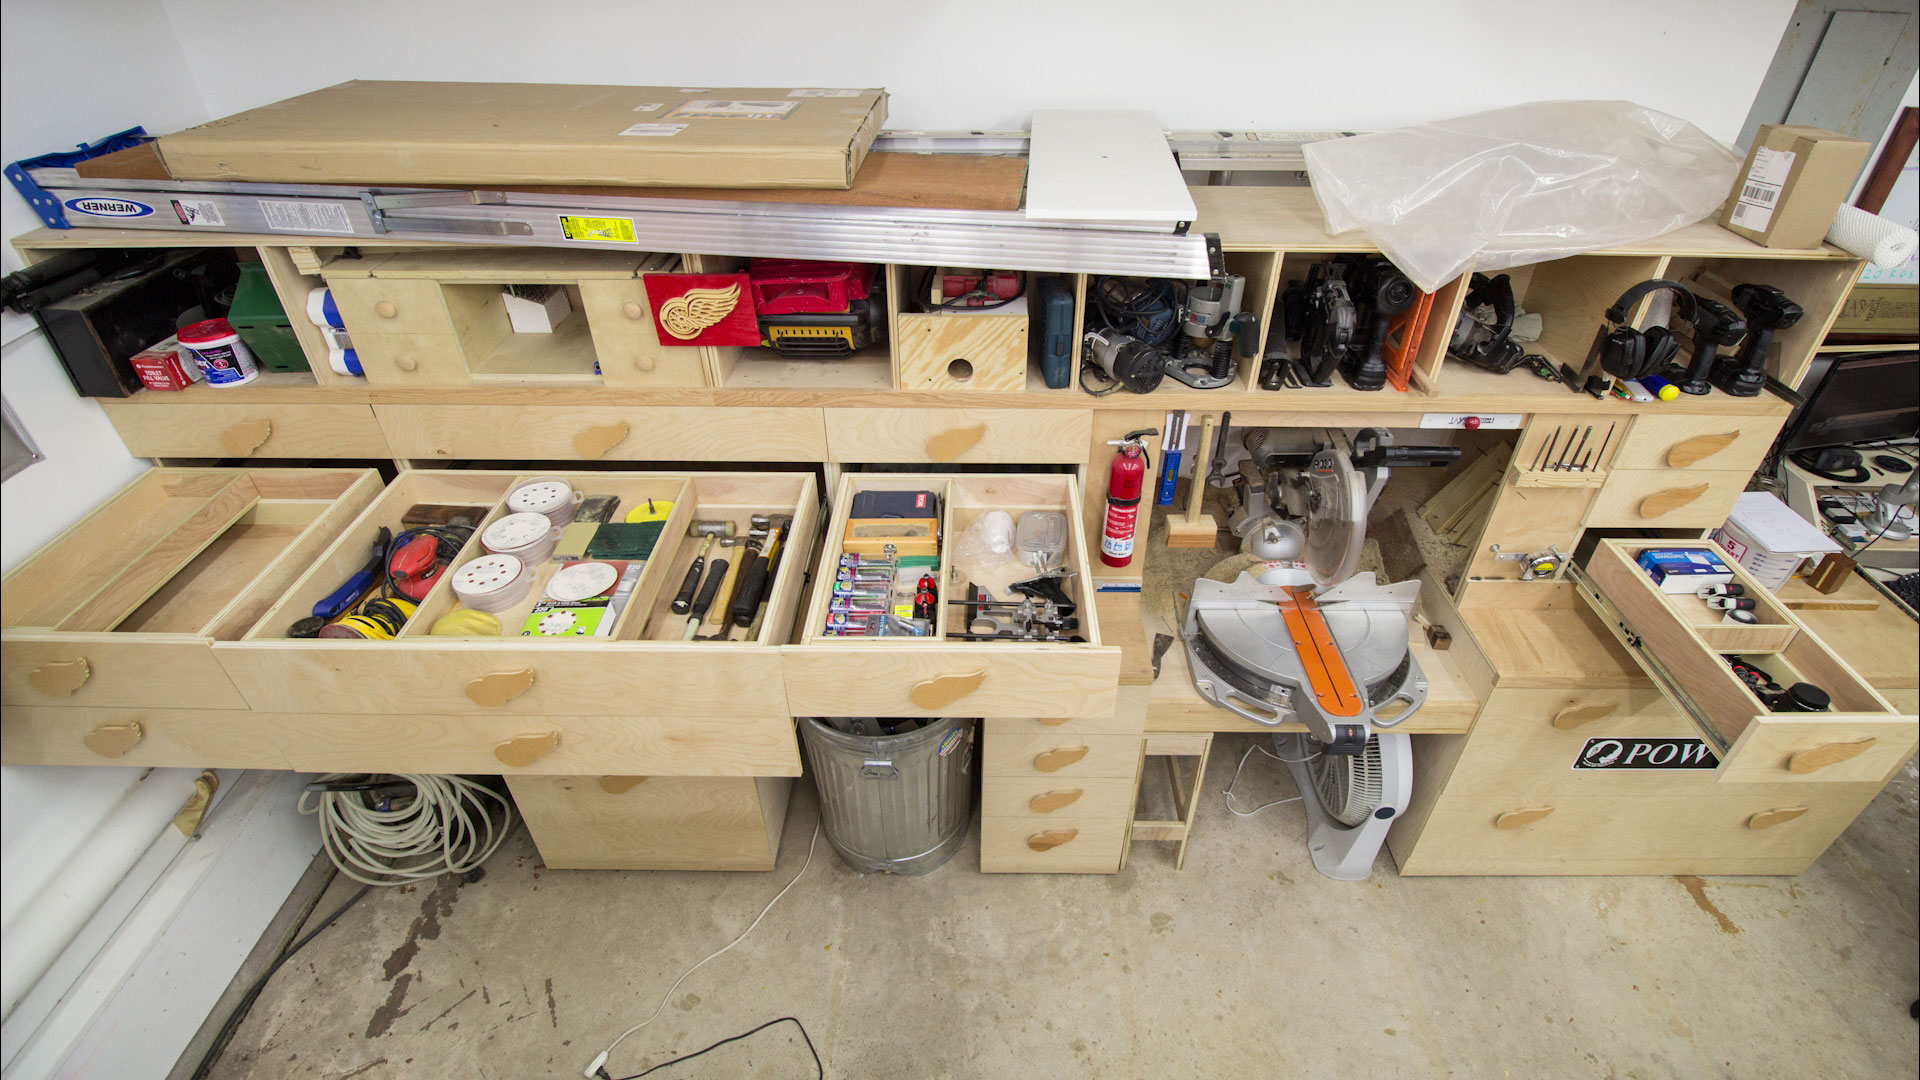
Building my current miter saw station is hands down the best thing I have done for the three shop spaces I’ve worked in. Even though the name implies that it’s main purpose is for the miter saw it’s not in this case. Yes, my main objective when I built it was to have a dedicated station for my miter saw but as it turns out the greatest benefit from the whole station has been the increased storage and organization it has brought to my shop. It has 20 full extension drawers of various sizes that sure have been a pleasure to use. But there’s always room for improvement.
A few months ago I bought a Festool Domino machine and to test it out and get familiar with it I decided to make two plywood trays for my most commonly used drawer. There was two purposes for making them though. To get familiar with the tool and also to see how well I liked using sliding trays in my drawers. A few months later I can say that the trays are a great addition so I’d like to make four more for other drawers.
With anything I make these days my planning stages are all worked out in SketchUp. I am much more efficient in the shop and make less mistakes when I first plan out all of my cuts in SketchUp. I made a video on this cutlist/layout process for those who are interested in the process.
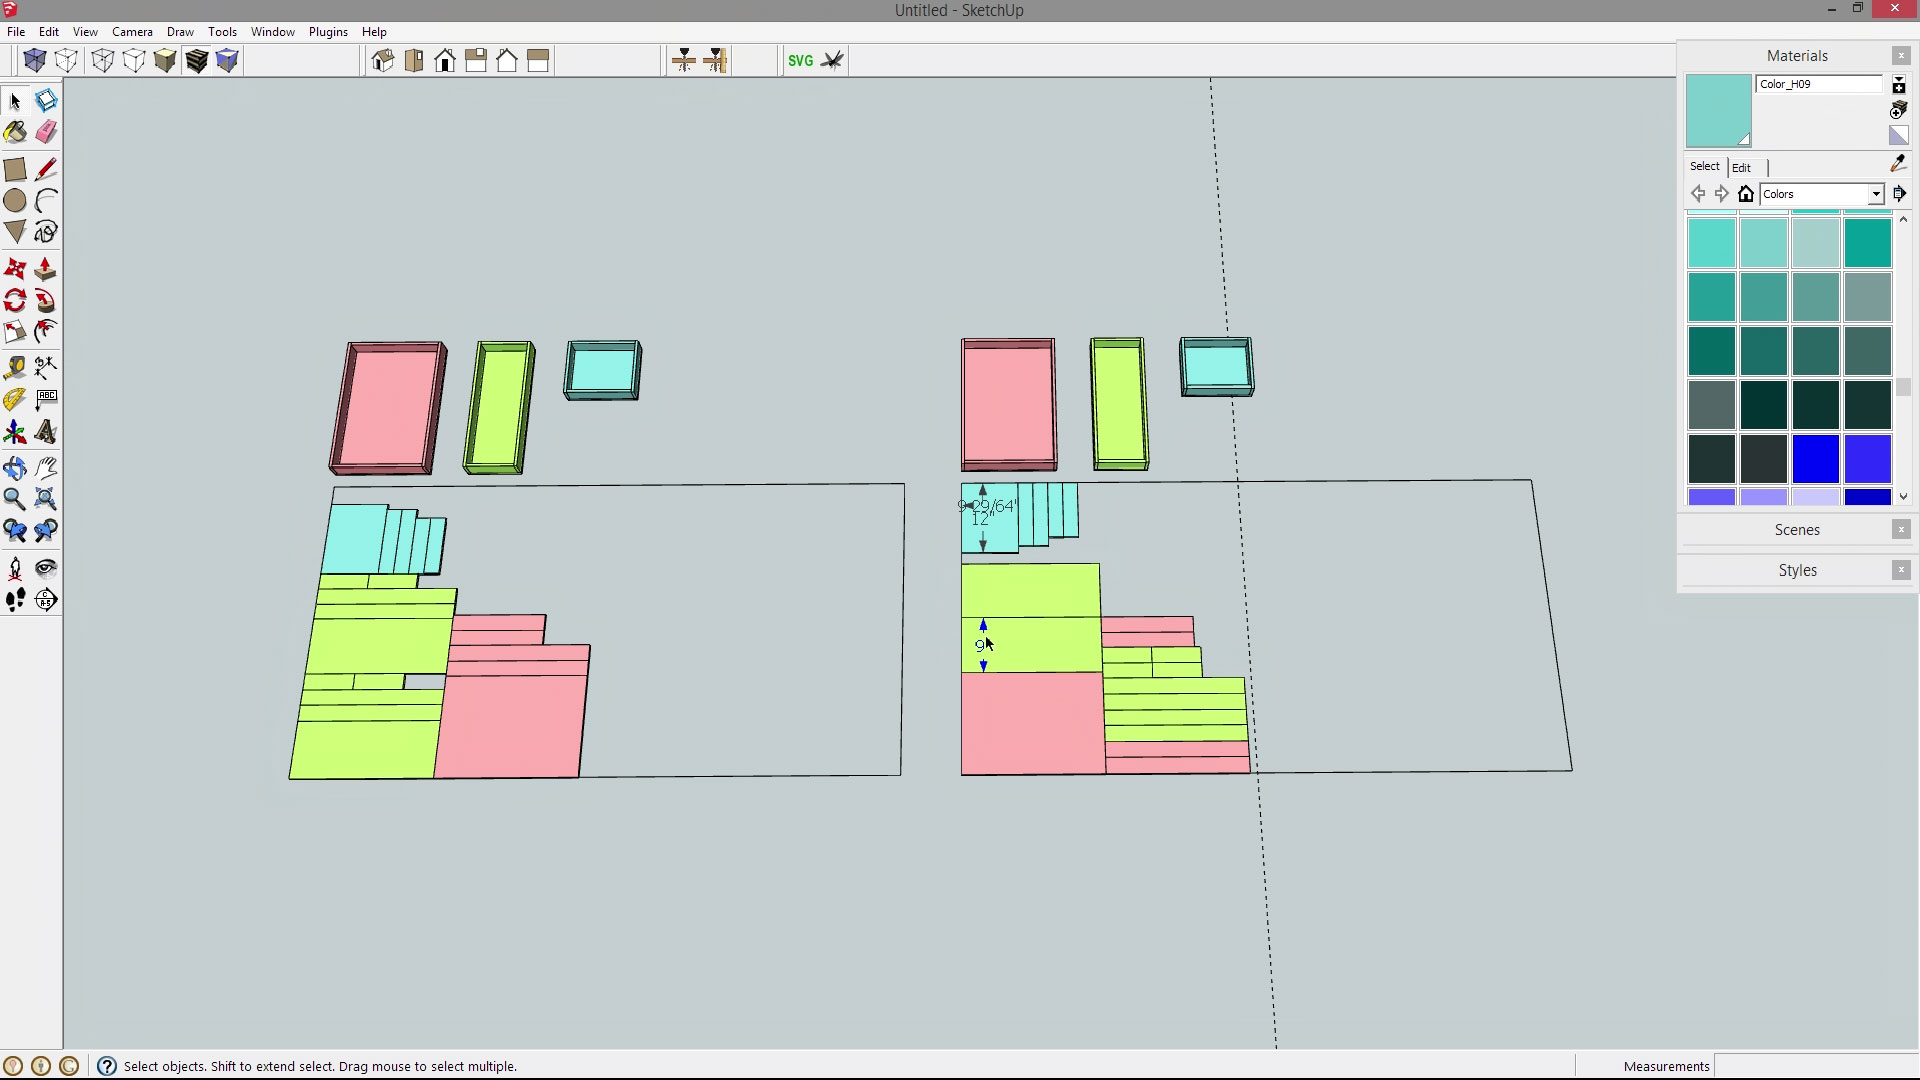
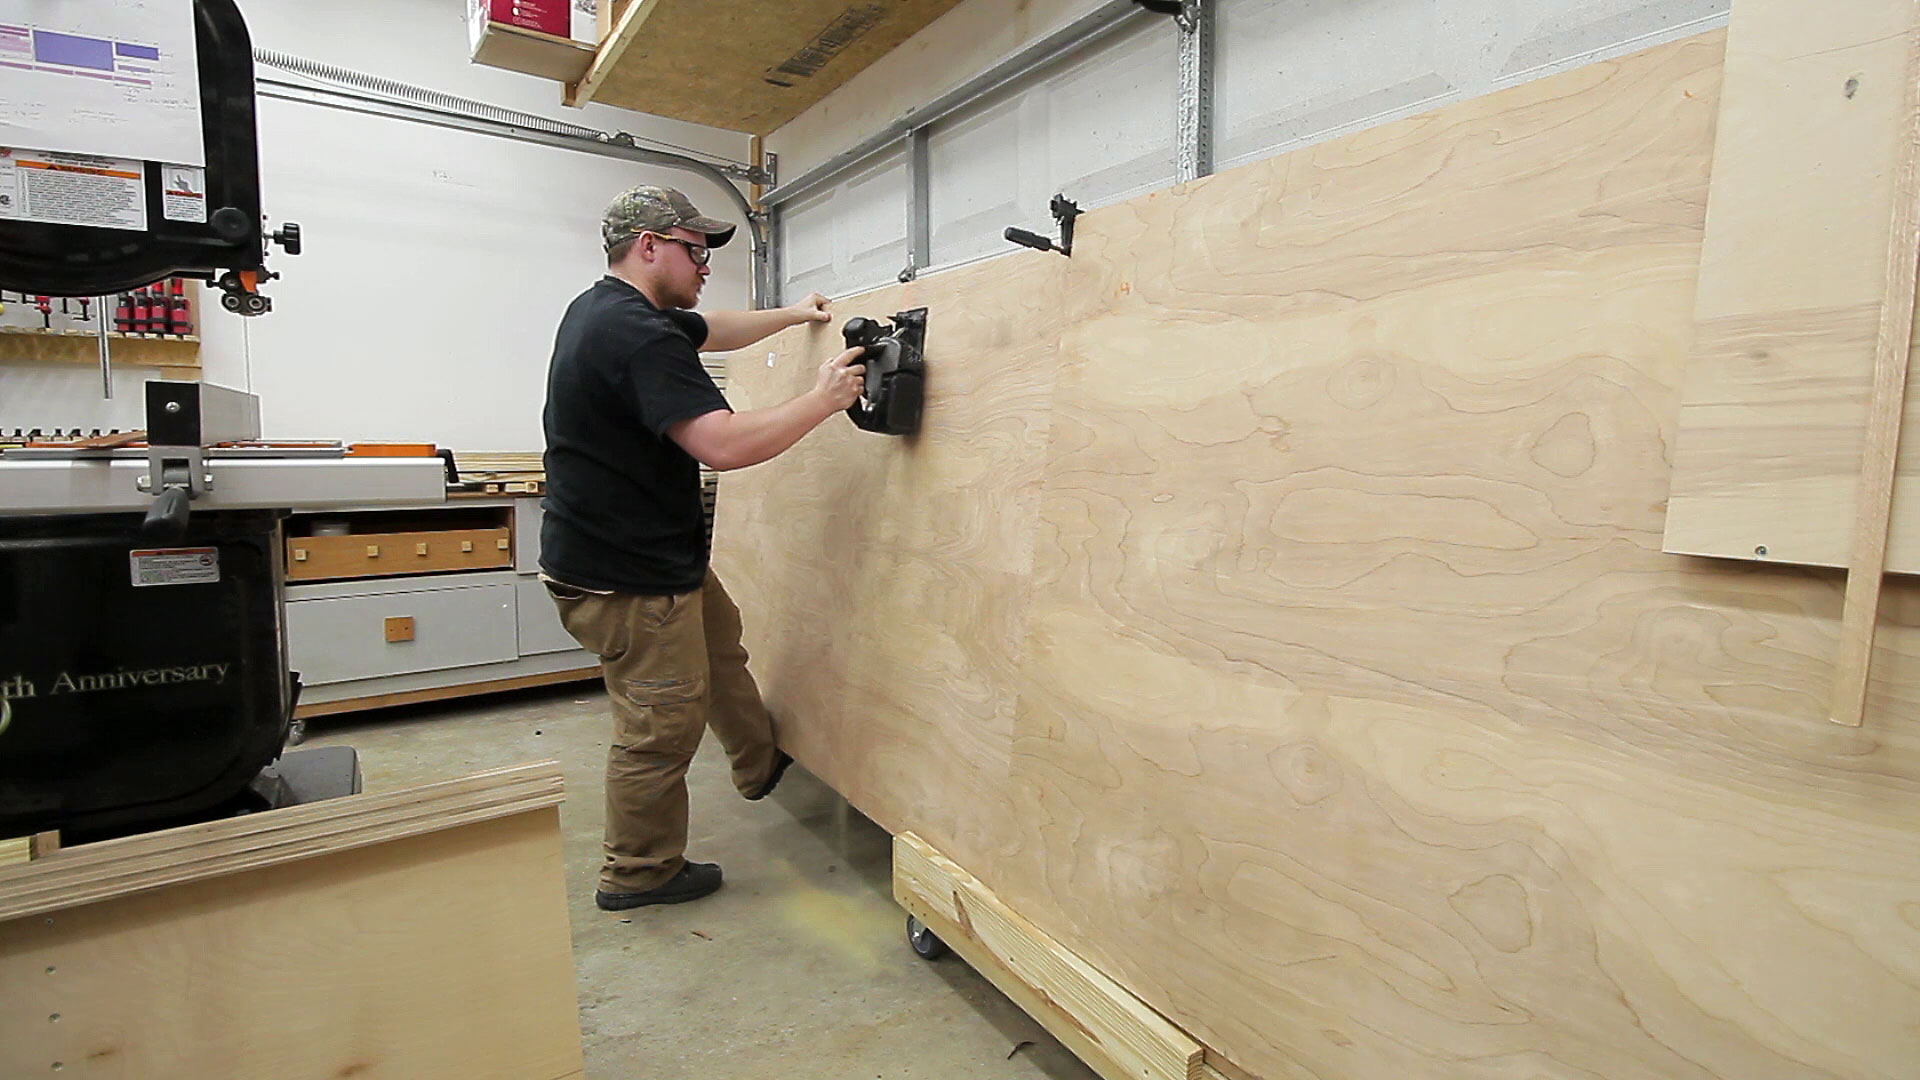
The SketchUp layout indicated that 45-3/8” of a full sheet of plywood would be needed. My table saw has the rip capacity to handle a full sheet but I find it much easier to make the first cut with a circular saw and then take the smaller, much more manageable piece to the table saw. The plywood I’m using for this is PureBond hardwood plywood. I’ve had great results with it and it’s the best plywood I can find without spending $50 for a sheet. Plus it’s formaldehyde free and made in the USA which are two things I really like.
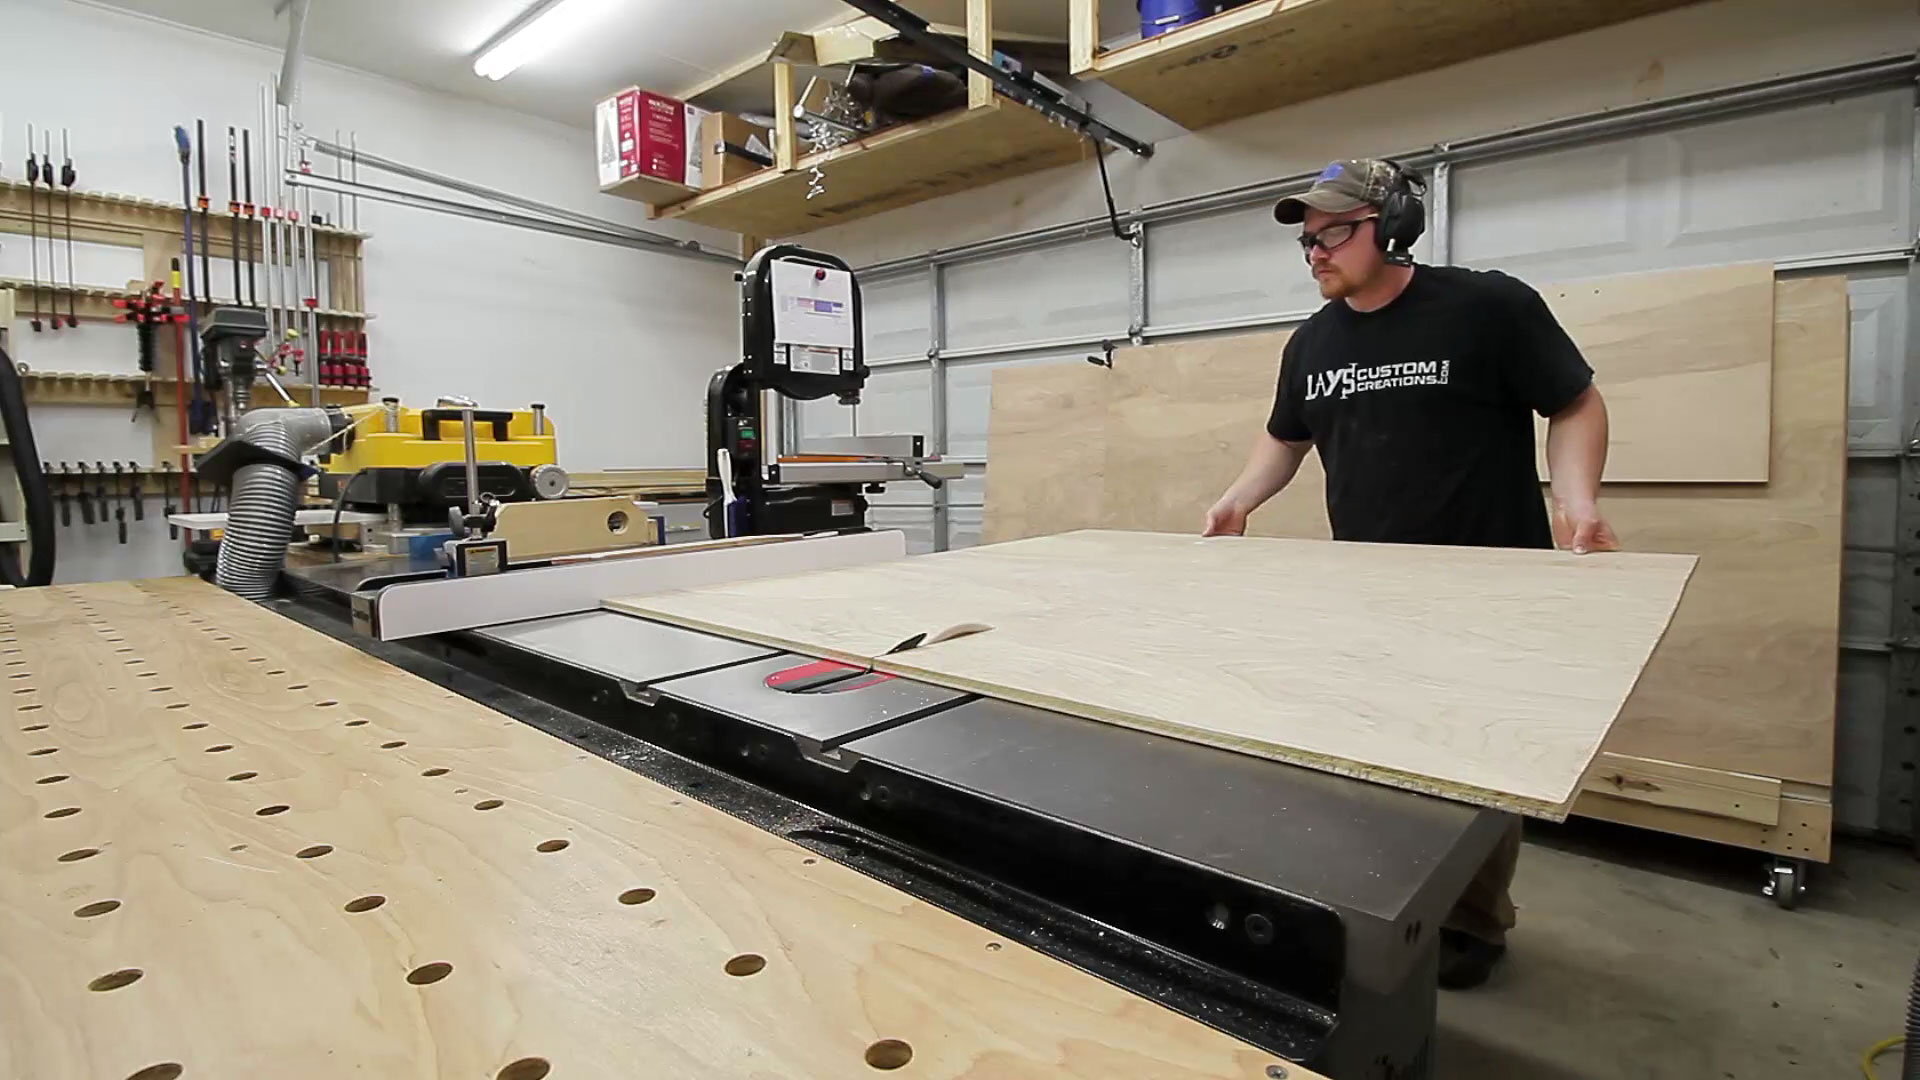
Now the much more manageable piece can be brought to the table saw. The first two cuts are to establish two strips at the same width as the most common dimension in the parts layout. Organizing your parts on the layout diagram so that the most common dimension can be cut with the fewest cuts on the table saw will increase part consistency as well as reduce cutting time.
The larger tray bottoms are cut next. Largest to smallest. This reduces table saw fence setup time as you aren’t constantly moving the fence back and forth changing between common dimensions. After all the tray bottoms the side pieces are batched out.
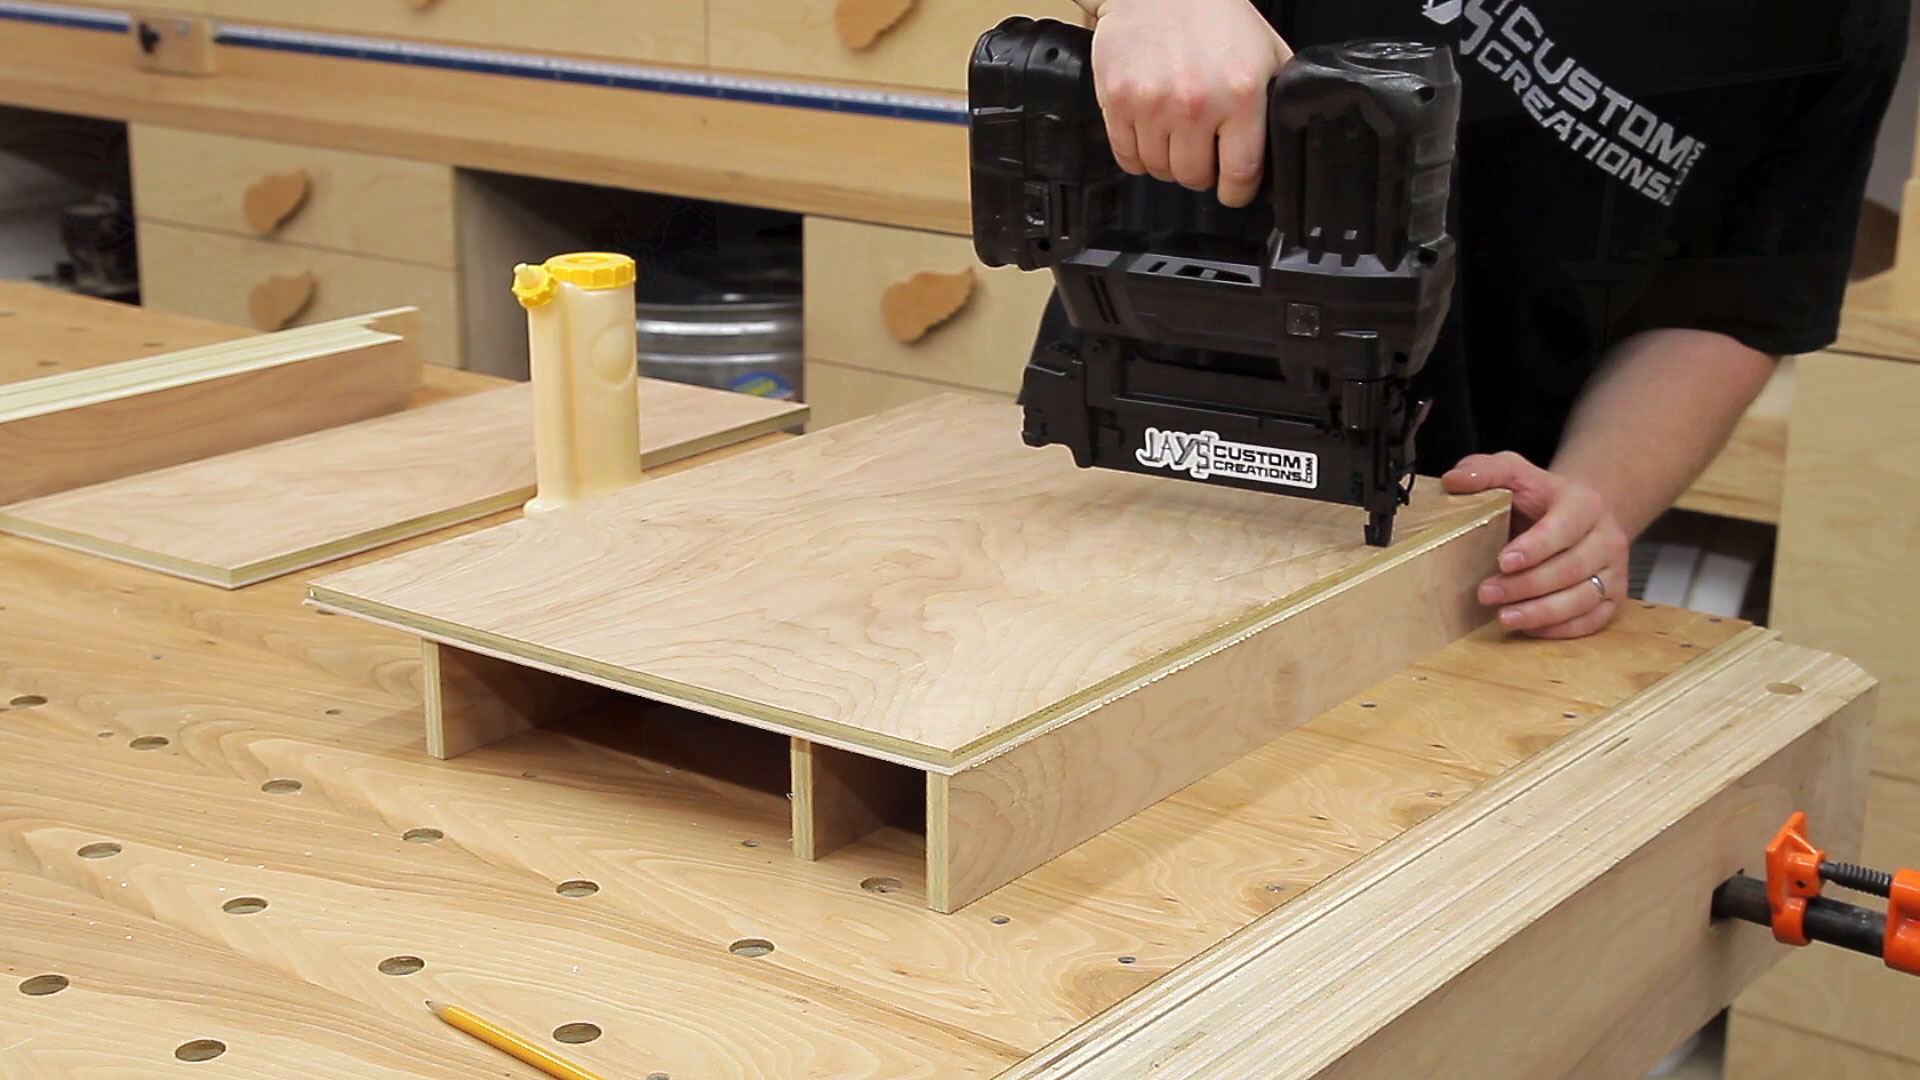
For the trays themselves I went with a really simple construction. Glue and brad nails only. Perfectly acceptable for this application. I’m not trying to win a beauty or craftsmanship award with these. They just need to do the job structurally. I started with attaching the long sides.
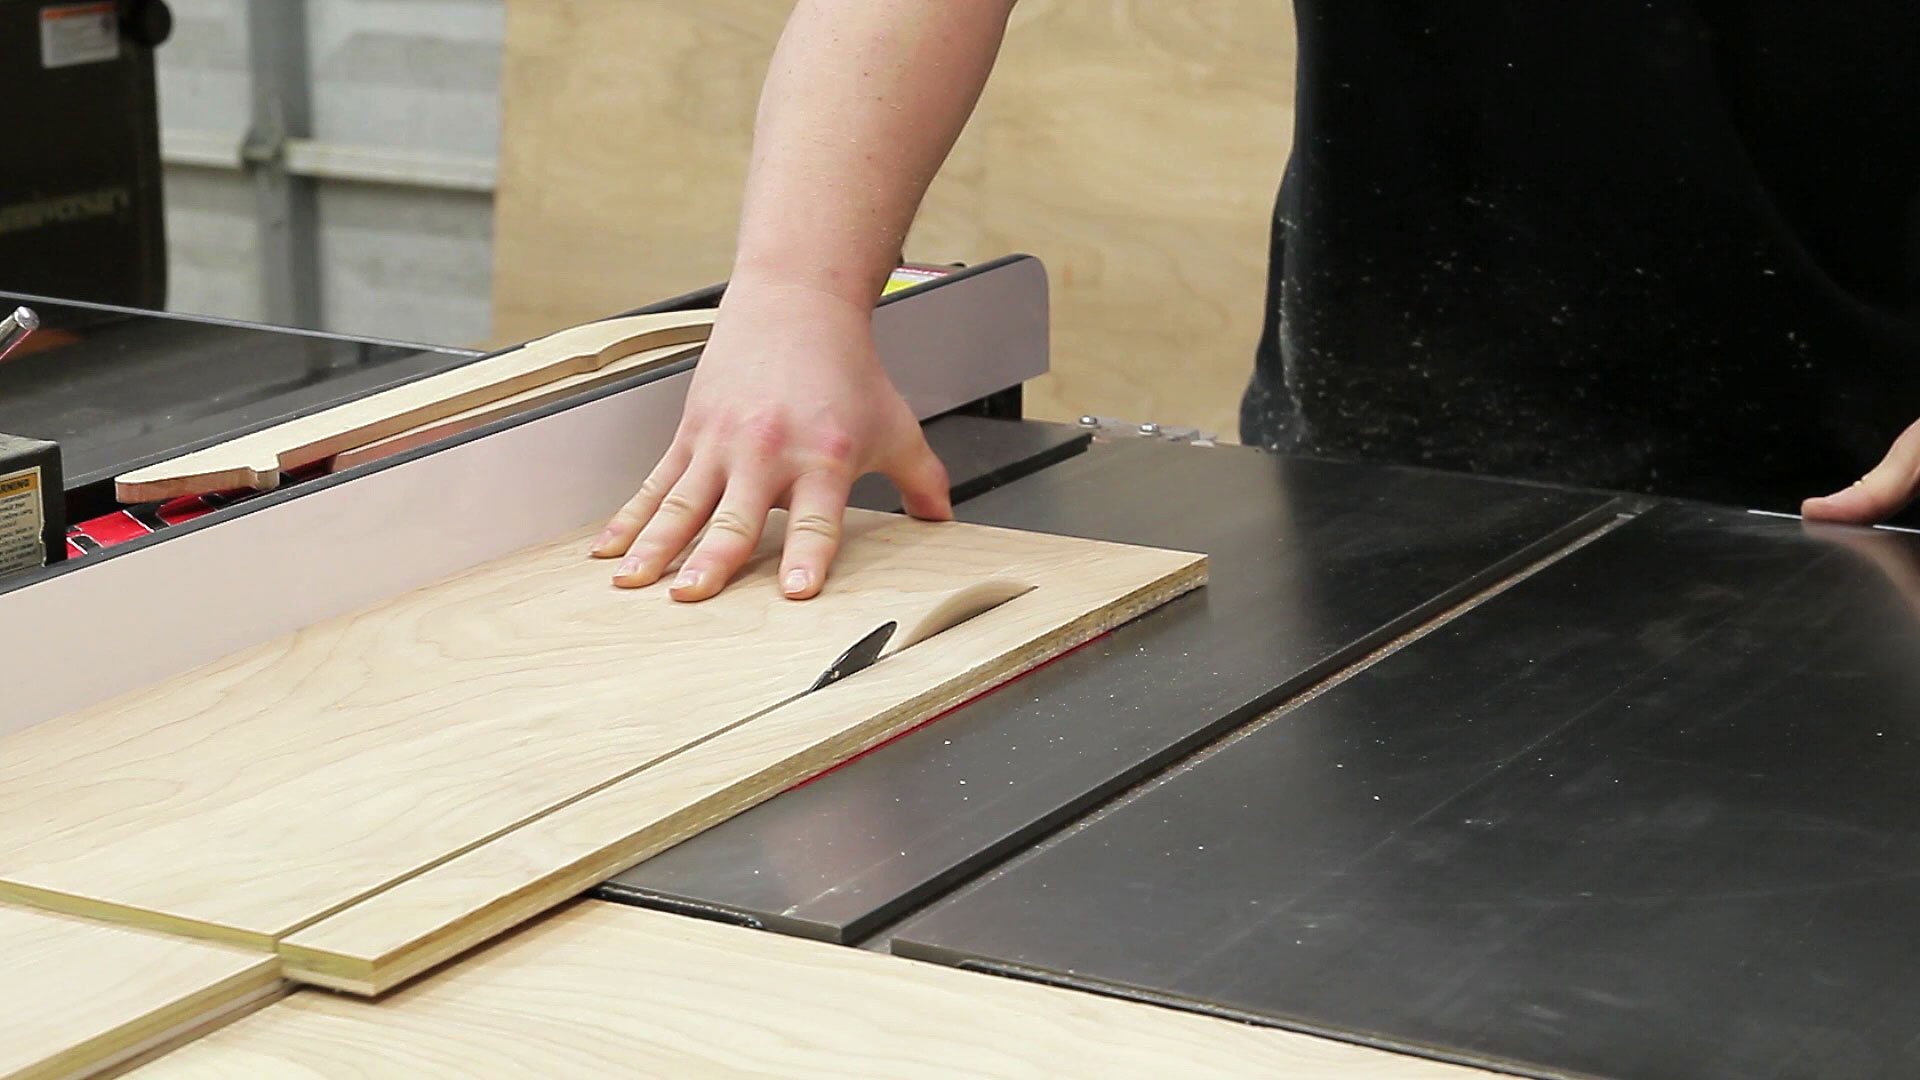
When I cut out all of my side pieces I cut a few extra strips that needed to be cut down for the front and back pieces. I used my table saw sled for this. I typically prefer a one sided cutoff sled for this but the one I have for this saw has developed a bit more slop in the miter slots than what I am comfortable with. Probably due to the fact that I made that sled when it was super humid and I kept the garage door open all the time. Since then I haven’t opened the garage door much and have installed a AC unit to control the heat. The sled runner probably shrunk as it dried out a little in the shop.

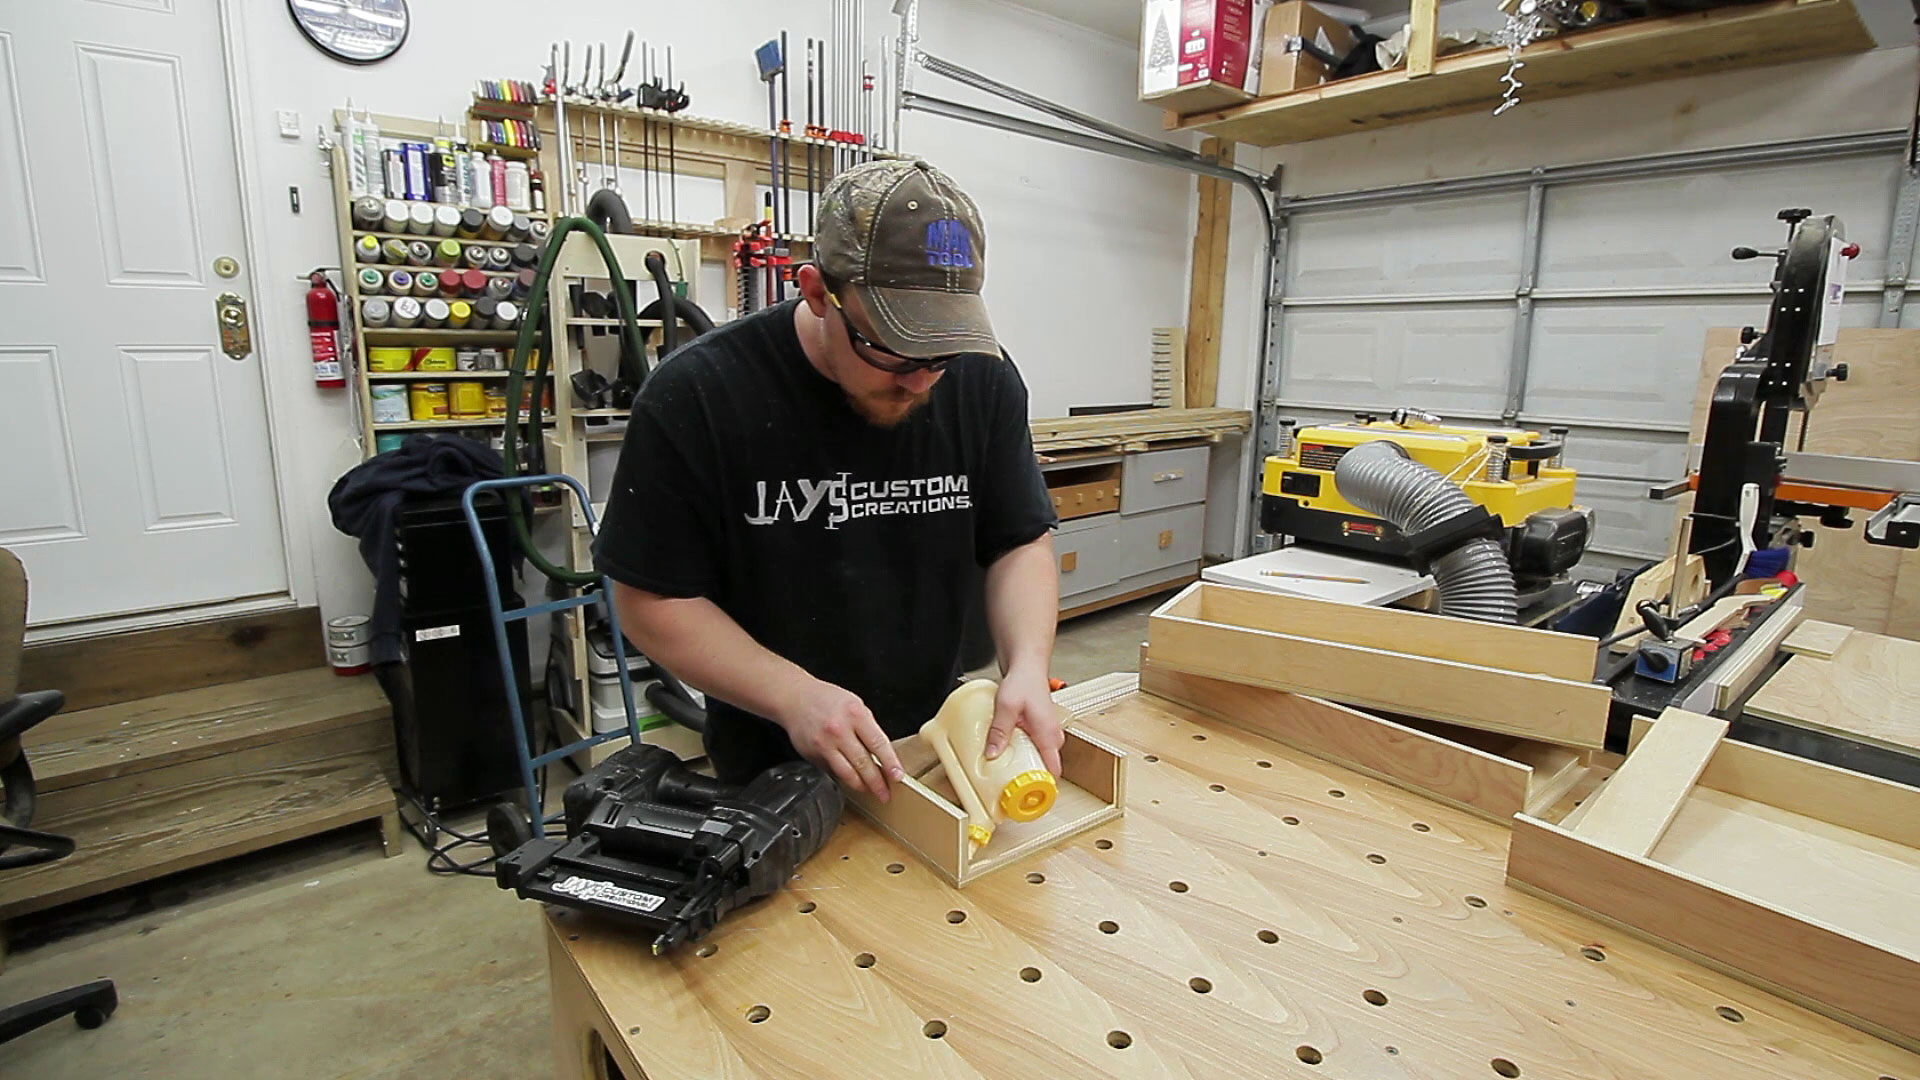
The resulting smaller pieces are glued and nailed as well. Nothing fancy….other than that beautiful Detroit Lions clock in the background. That’s pretty fancy.
A pair of 3/4” plywood runners get nailed to the inside of the drawers. No glue. This gave me an opportunity to get rid of a little more scrap plywood that has been accumulating.
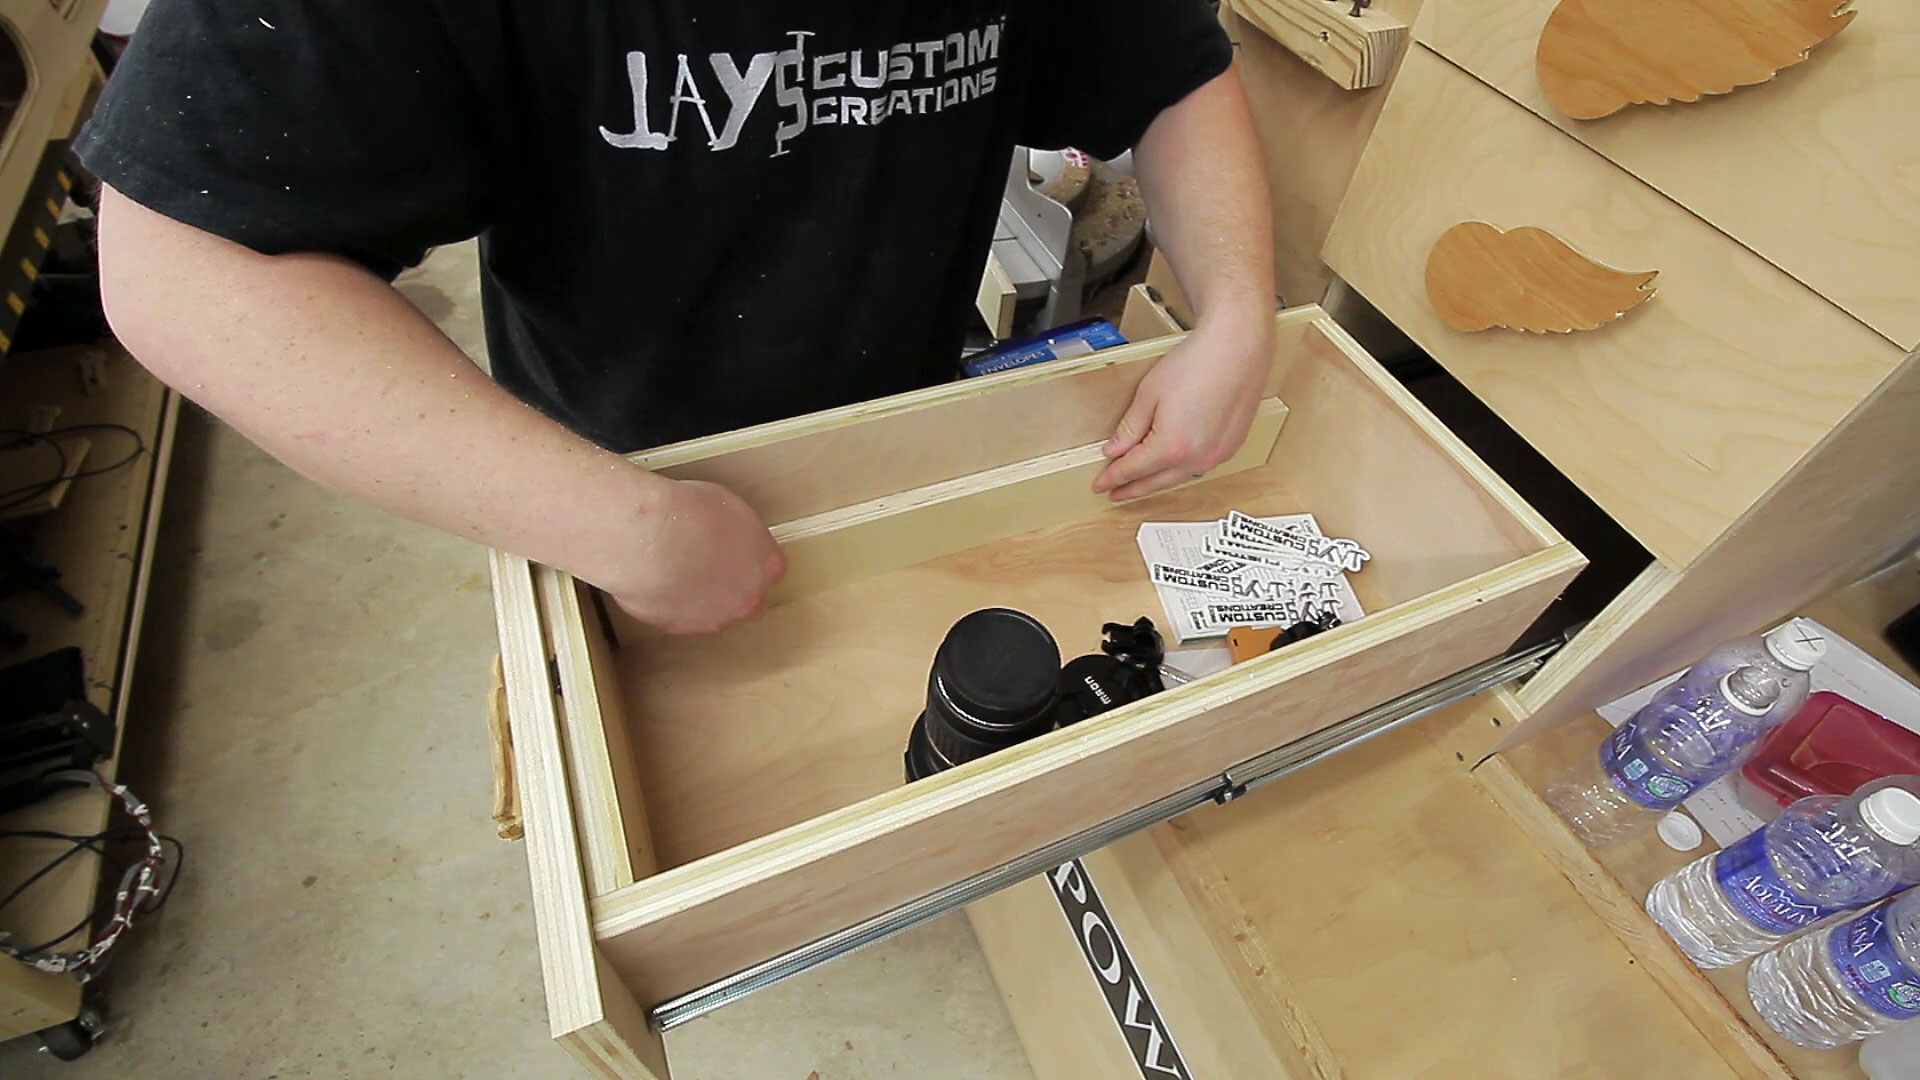
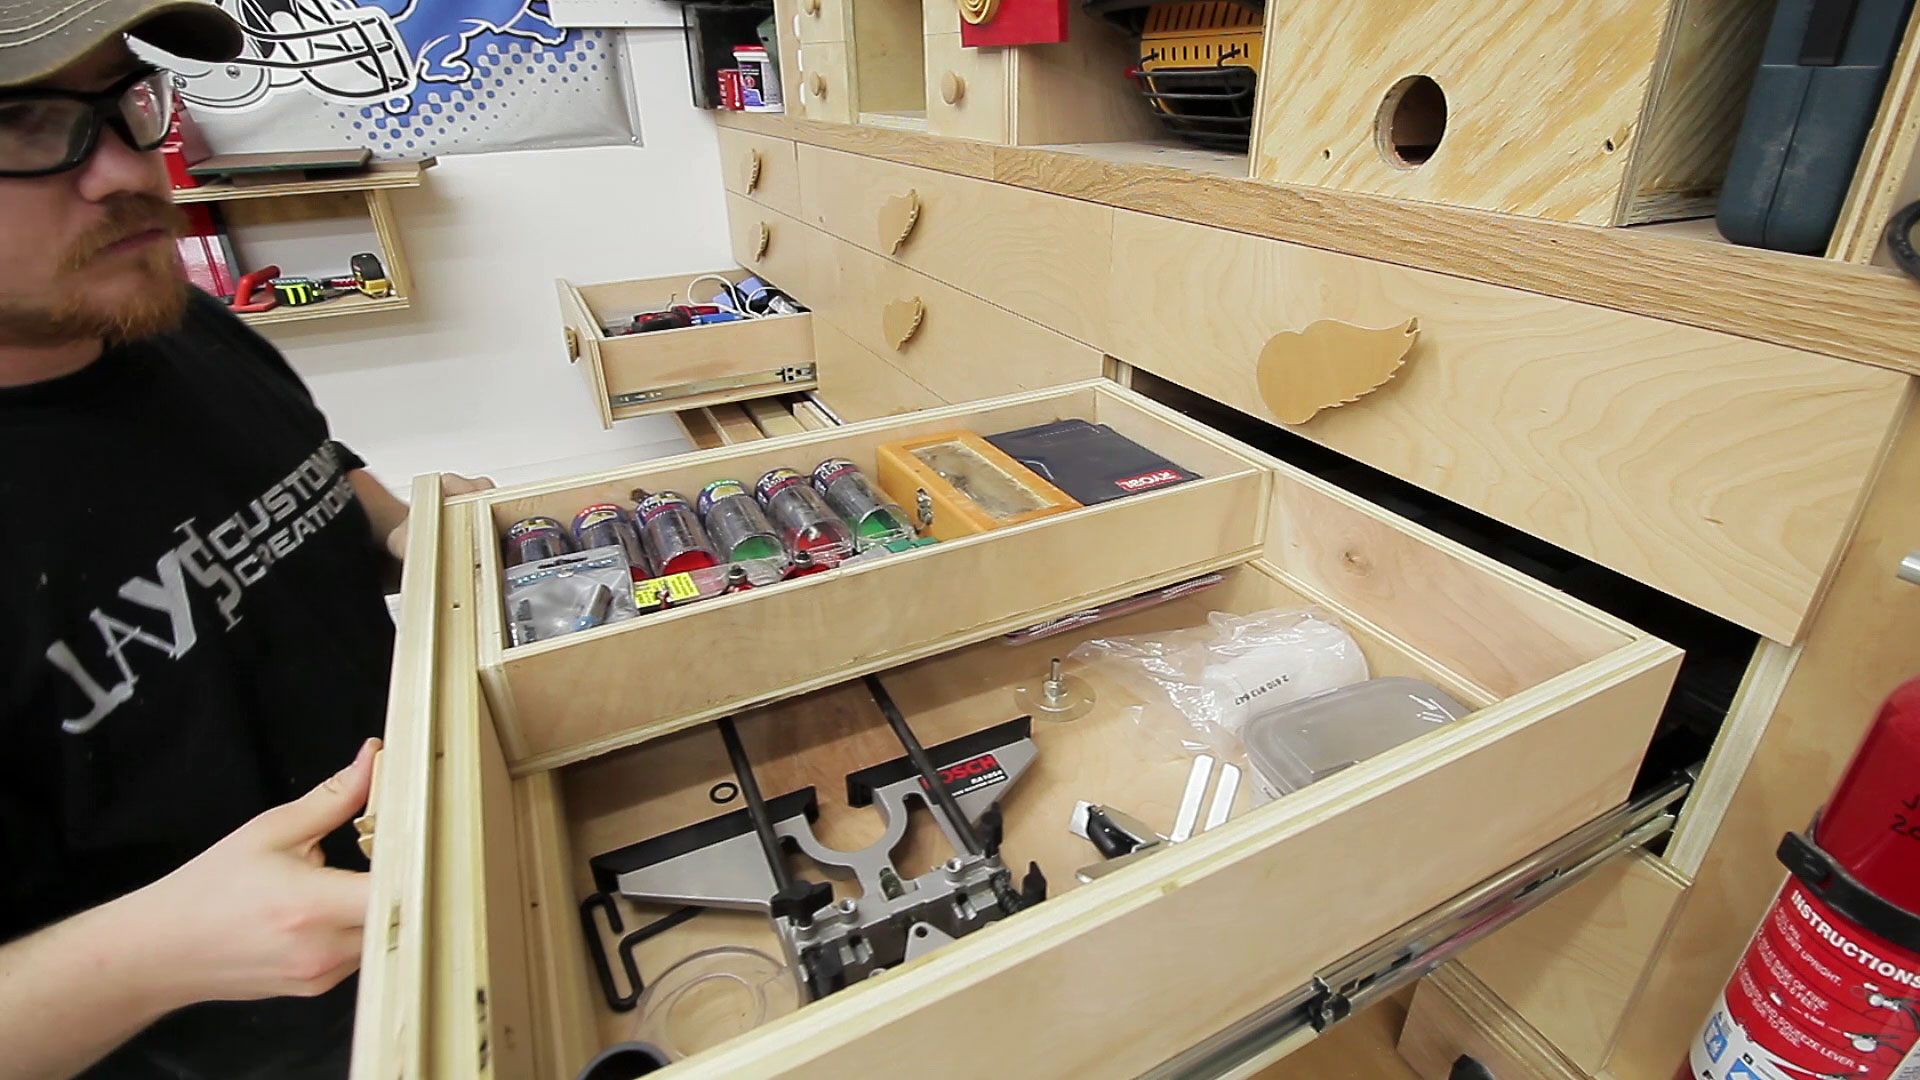
And the first tray is in. I sized these so that there would be an even amount of height in the tray as there is below the tray. The trays obviously give the benefit of another layer of storage but what I like about them the most is you can fill it with items that are commonly used together and when the time comes to use those items you can bring the entire tray to the work area.
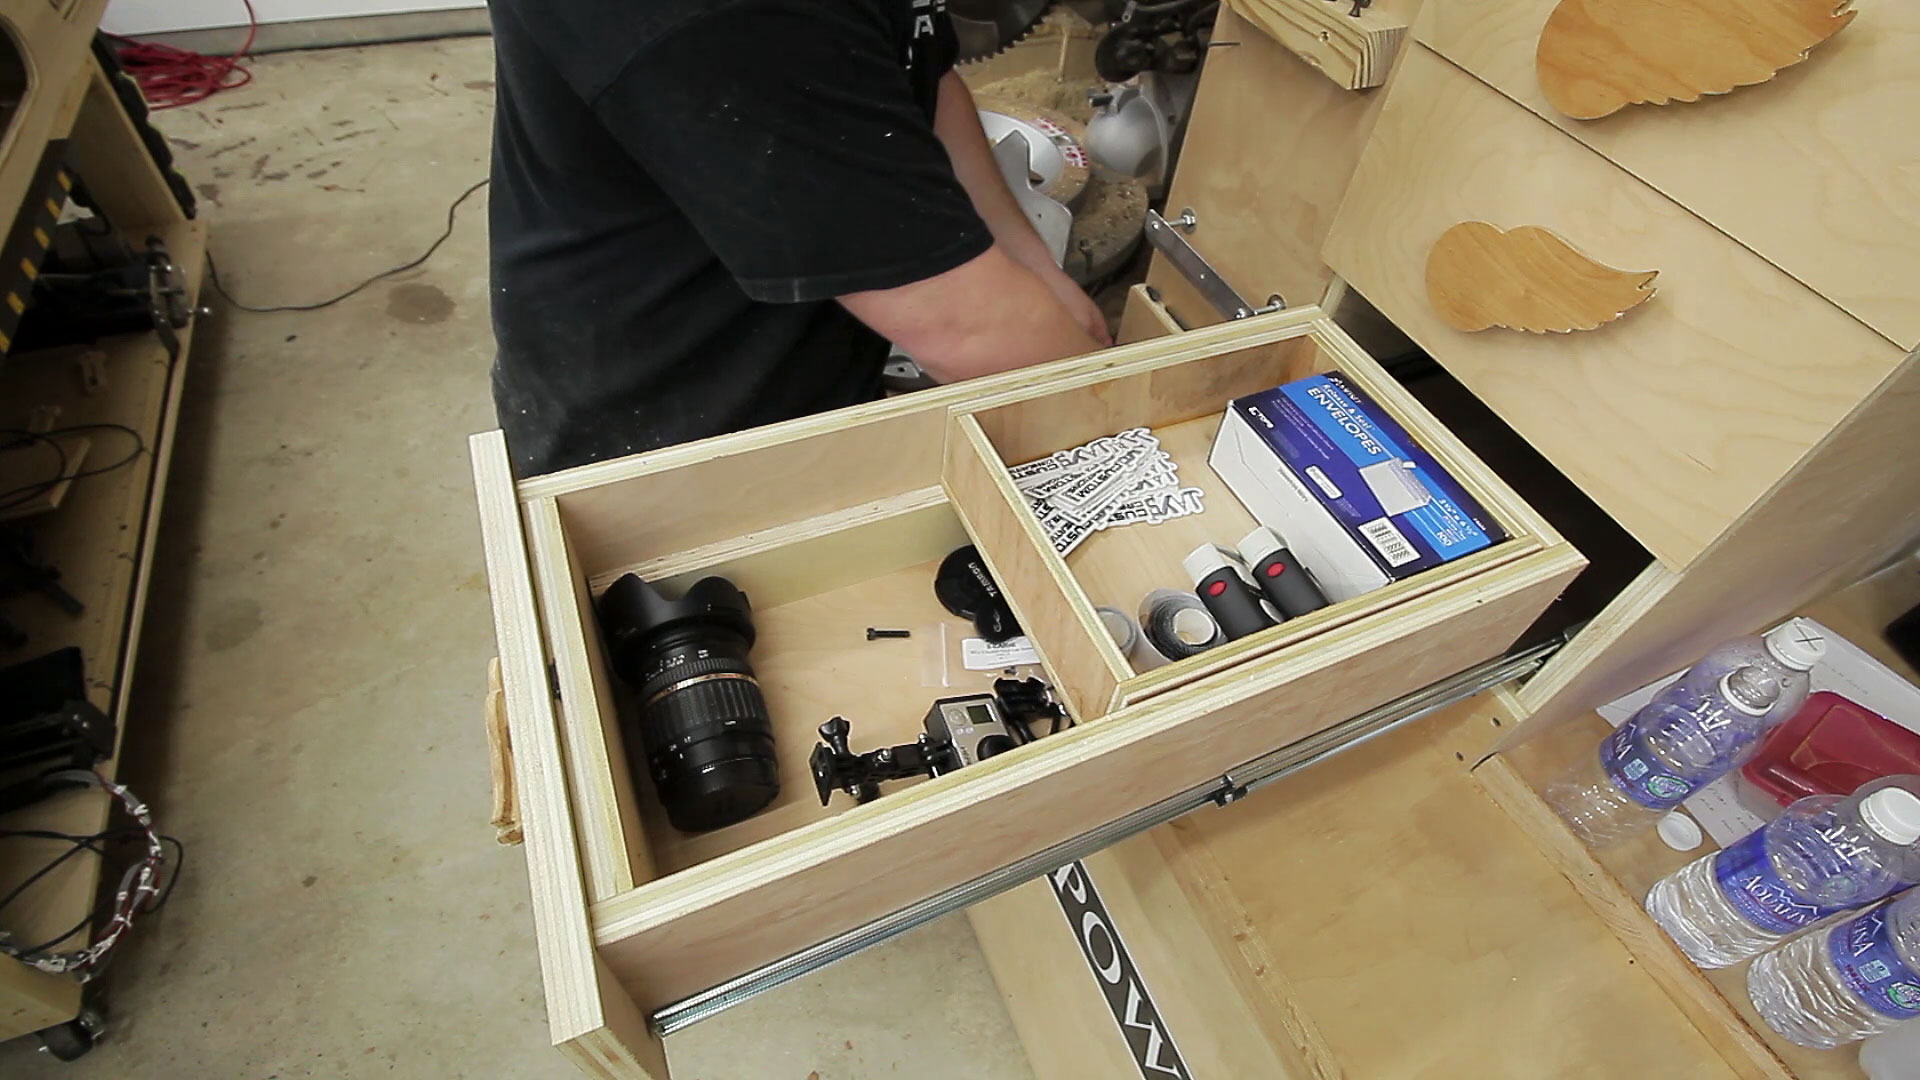
The largest improvement was made in my router drawer. All of the bits and wrenches on top and accessories below. The bits can be organized even further by removing them from their original holders and making a bit board to hold them all. I might do that at a later date.
So this obviously isn’t a home run “WOW” project but you can definitely file it one under the quick win column. It didn’t take long at all to complete, used less than a half sheet of 1/2” plywood and some 3/4” plywood scraps, was incredibly easy, and was another step in the direction of greater efficiency. It’s little steps and improvements like these that add up to make a big difference.


Jay how come you painted your battery nailer black
To cover up a brand name that I have no affiliation with and was receiving a crazy number of questions about.
Jay, is the plywood the 3/4″ birch @ $49.98 per sheet? All the plywood I see at the big box stores do not look as nice as the plywood you use.
Yes. That’s it. From Home Depot.
Thanks
Jay, I wish you would consider building a over table dust collector for your Saw Stop. Your videos are superb and I really need the dust collection over the table but Saw Stops version is just too dang high priced.
Good video Jay! I really enjoy your humor both in the video and the article.
Thank you.
Have you thought of making a platform or rig to help hold the plywood while you are making that first cut? It looks a tad bit dangerous cutting off that big piece of wood while standing on one leg.
Not dangerous at all. The circular saw has a blade guard and stops super quick. The piece I cut off isn’t heavy and was supported just fine. My foot was to guide the piece down vertically. My only concern was to prevent the offcut from rotating into the cut line at the bottom of the cut.
Liked the drill noise on the nailer
Hi Jay – When I get a box full of solid wood scrap I glue it up into drawer side and end blank widths, then flatten on my joiner followed by planing to thickness at the planer. I put it away on my lumber rack and always have stock on hand for drawers in small or shop projects. I have done this many times and it works for me as well as eats up scrap instead of throwing it away. Won’t help much with plywood but it can save you a little money by using up wood scraps.
I like that idea Dennis
Thanks for the tip. What sizes do you normally keep as drawer stock?
Your spooky self always make me grin. Love it!
Hi Jay, Thank you for your detailed and wonderful creations. May God richly bless you!
How in the world do you still have an empty drawer?
LOVE how you’ve organized your shop! I’m new to woodworking, but your videos give me confidence. Thanks so much!
Glad to hear that Dez. Woodworking is addictive. Have fun :)
Jay, if those tray get difficult to slide when full. Rub a little Petroleum Jelly on the runners. We did that on a truck bed box i built and with over 700+ lbs in it i could still slide it with one hand…
I like the back Cordeless nailer . I’m going to do the same to mine( I kind hate the color and the brand , plus my coworkers always grab it )but the nailgun so far is working really good