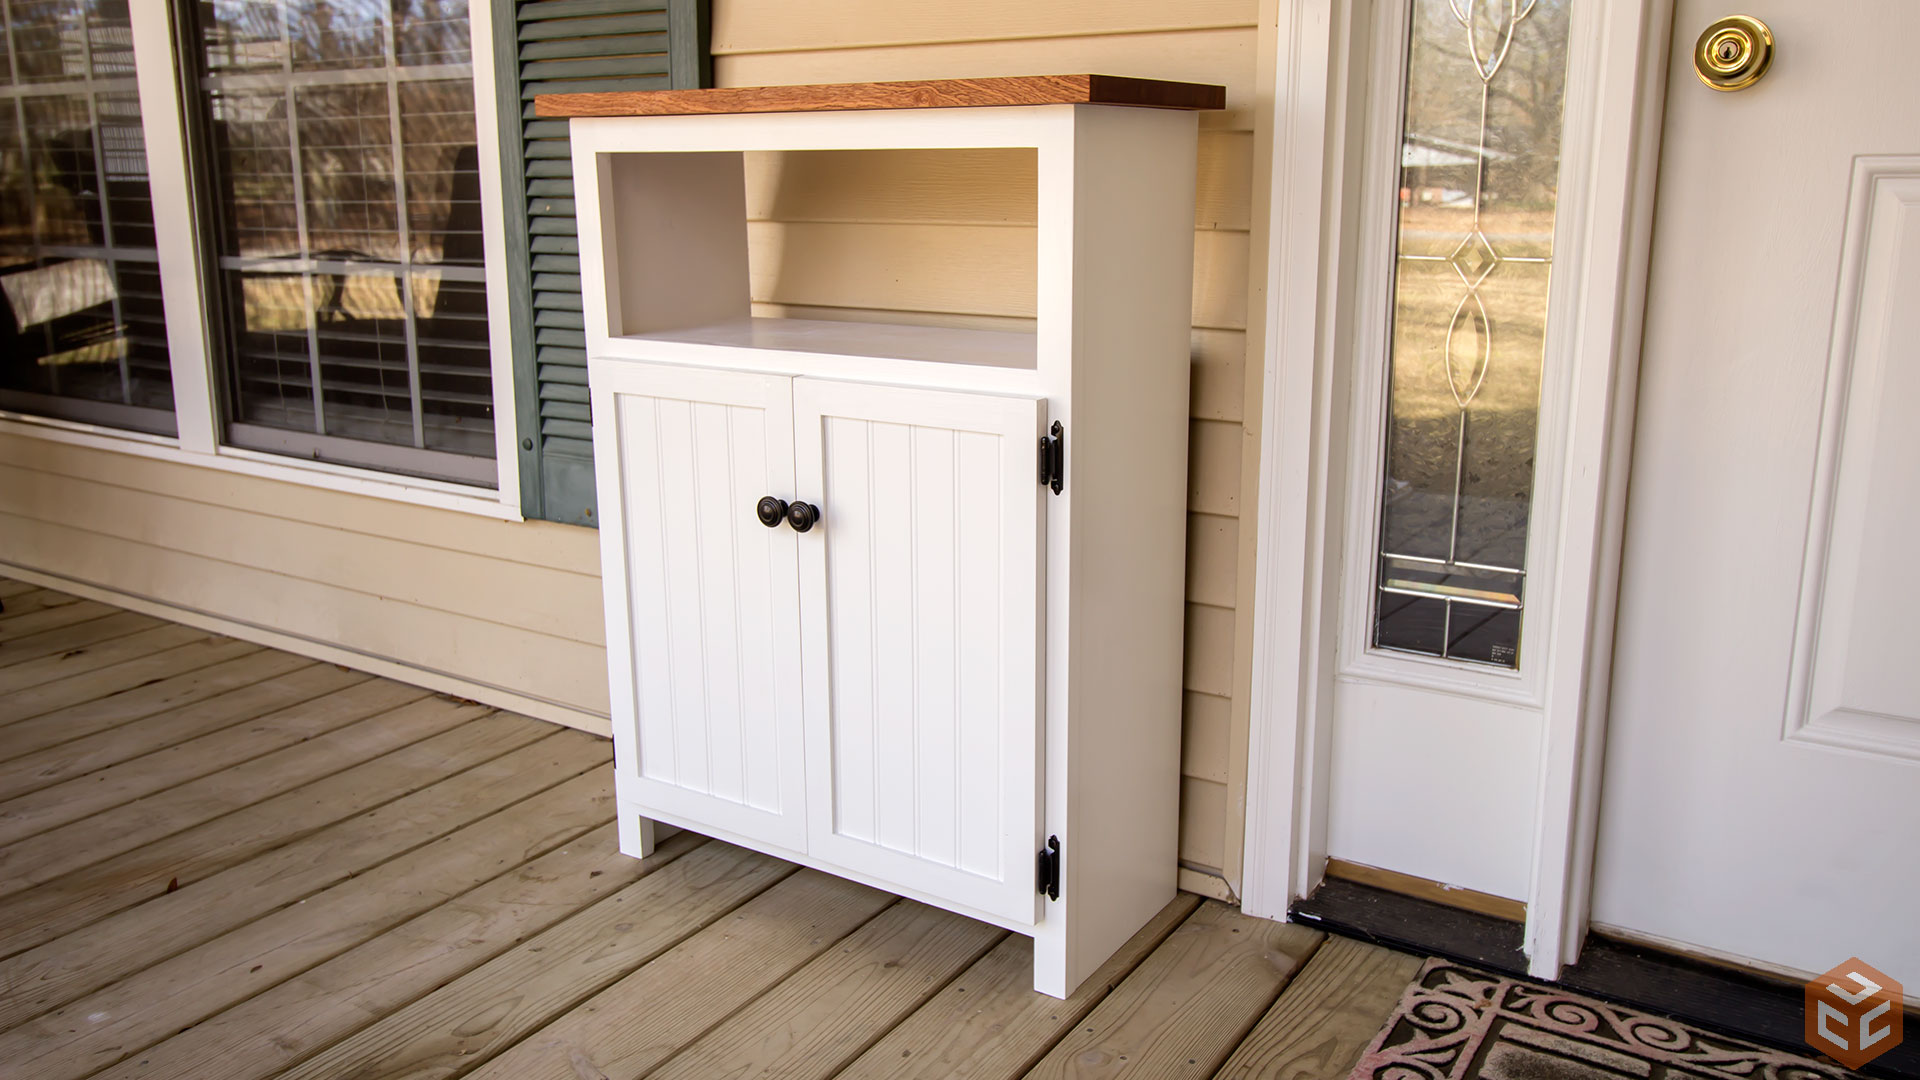
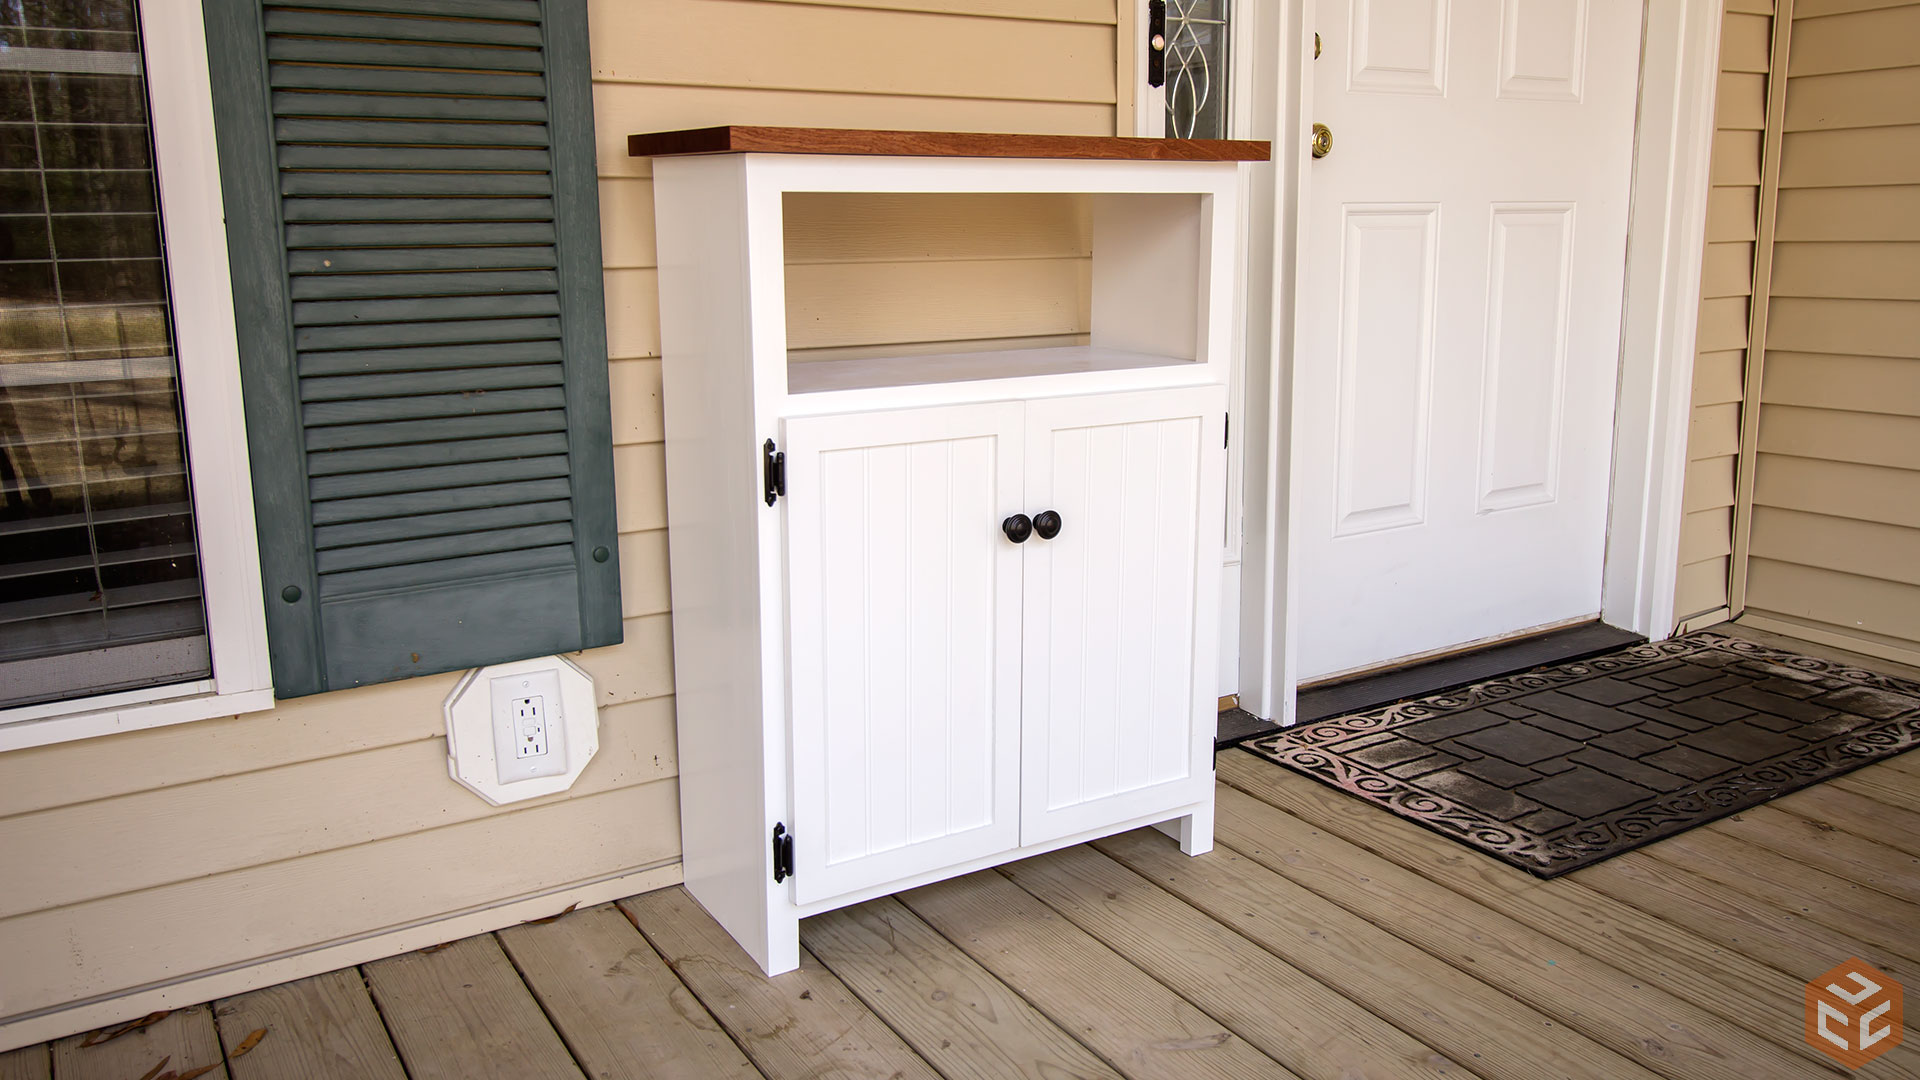
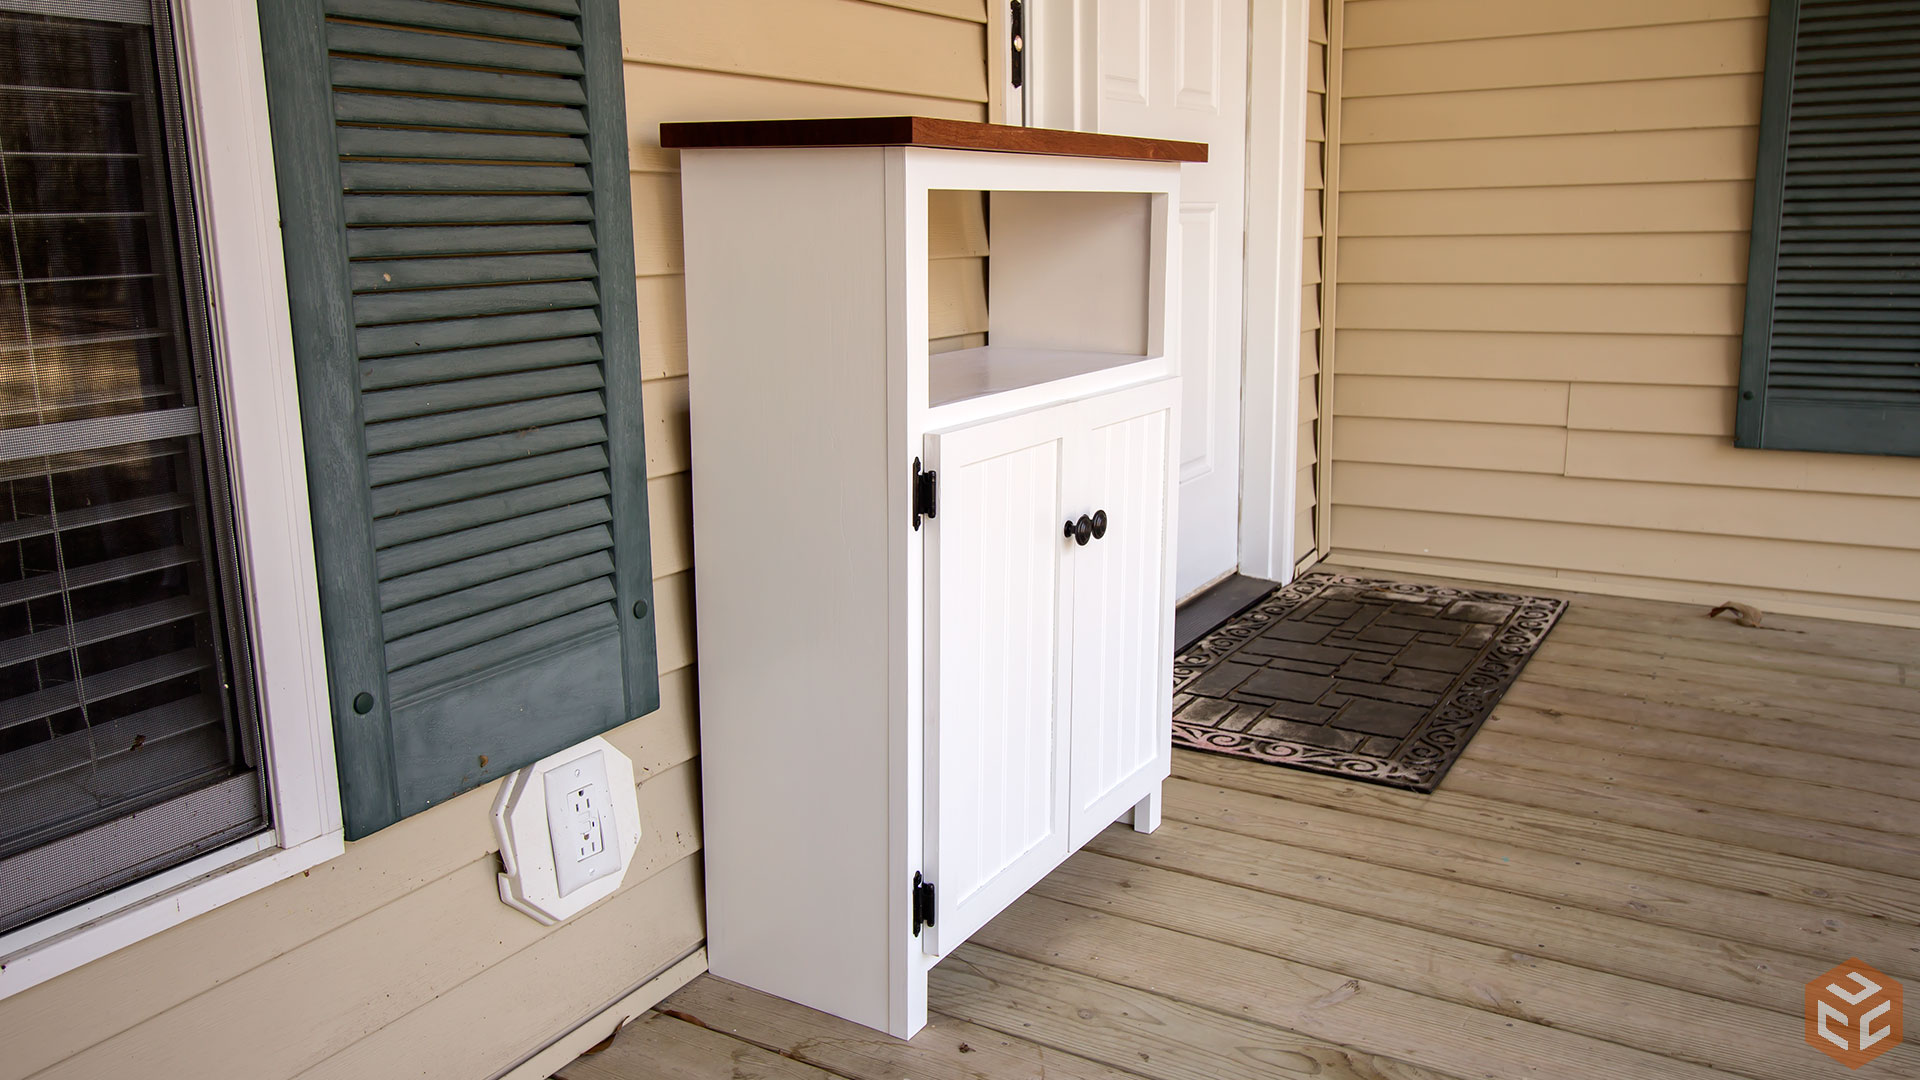
My wife and I have an L shaped front porch that faces north which means it is always shaded. Perfect for the summer time. And because we live outside of the city it’s a nice quiet place to unwind and listen to the birds and the wind through the trees. But like any slice of enjoyment in life there is always something to bring it down. In this case it’s blood sucking, small bird size mosquitoes. Because of which, we always keep some bug spray, citronella candles, and a lighter on the porch. The thought behind this project was primarily to have a place to store those items out of sight and also to have a place to set down whatever I might have in my hands when I am unlocking the door.
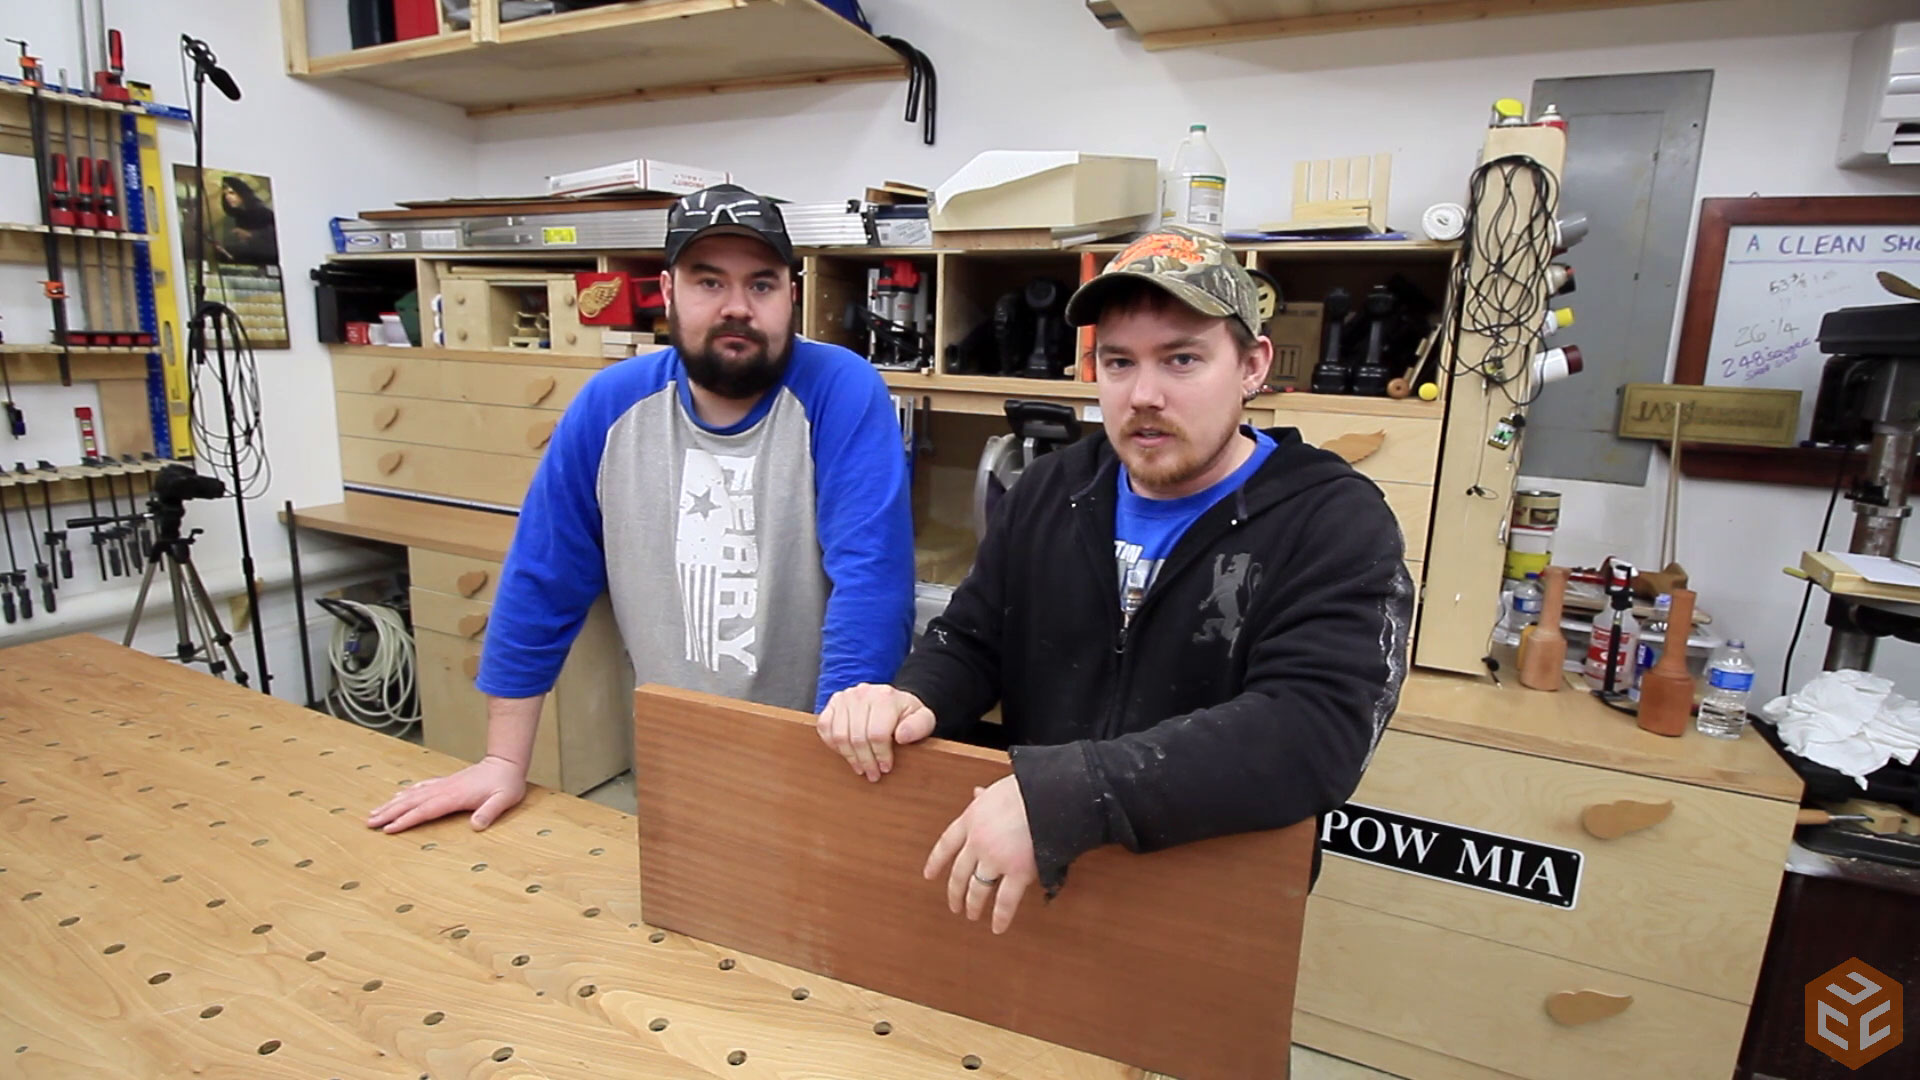
It just so happened that Nick Ferry was in town so I decided to put him to work. He’s a fellow YouTube woodworker so check out his channel and be sure to hit that subscribe button if you like what you see. Honestly though, he’s a big talented goofball. It was a lot of fun working with him over the past week or so. Constant laughter is the best way to describe it. On to the project though.
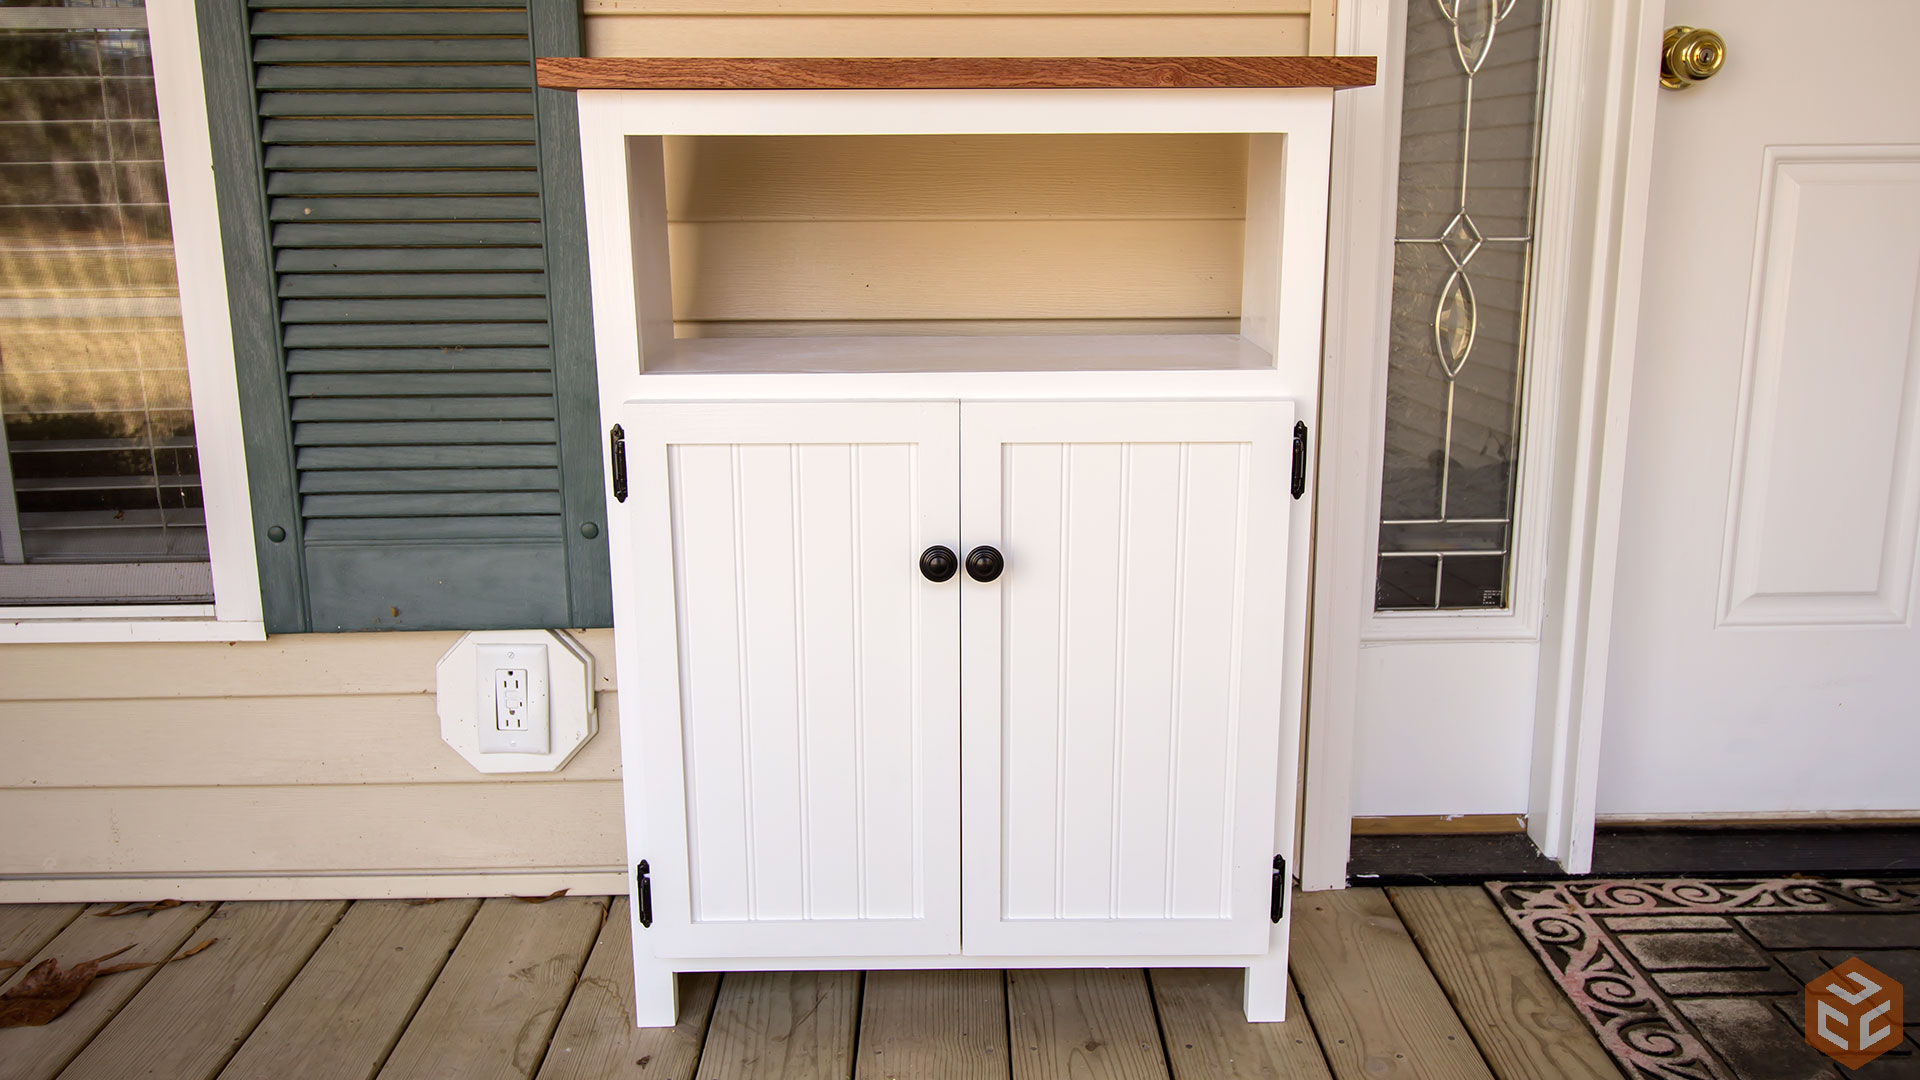
The design I settled on was a super simple two door, two shelf cabinet. The size wasn’t crucial. In fact, all of the dimensions were determined off of this left over piece of 4/4 sapele.
I’ve got an 8” jointer. The material we are working with is 11-1/2” wide. That’s Ok though. It can still be jointed with the help of a planer. I previously made a video showing how to joint stock wider than your jointer. Be sure to check that out if you haven’t already. First up though was to joint one wide face of the board.

Then the rest of it can be planed flat at the planer. Hidden under all of that rough sawn surface is an absolutely beautiful, straight grain piece of wood.

Back to the jointer to edge joint one of the edges. Luckily the grain was close to parallel to the edges so I didn’t worry about tapering it close to the grain.

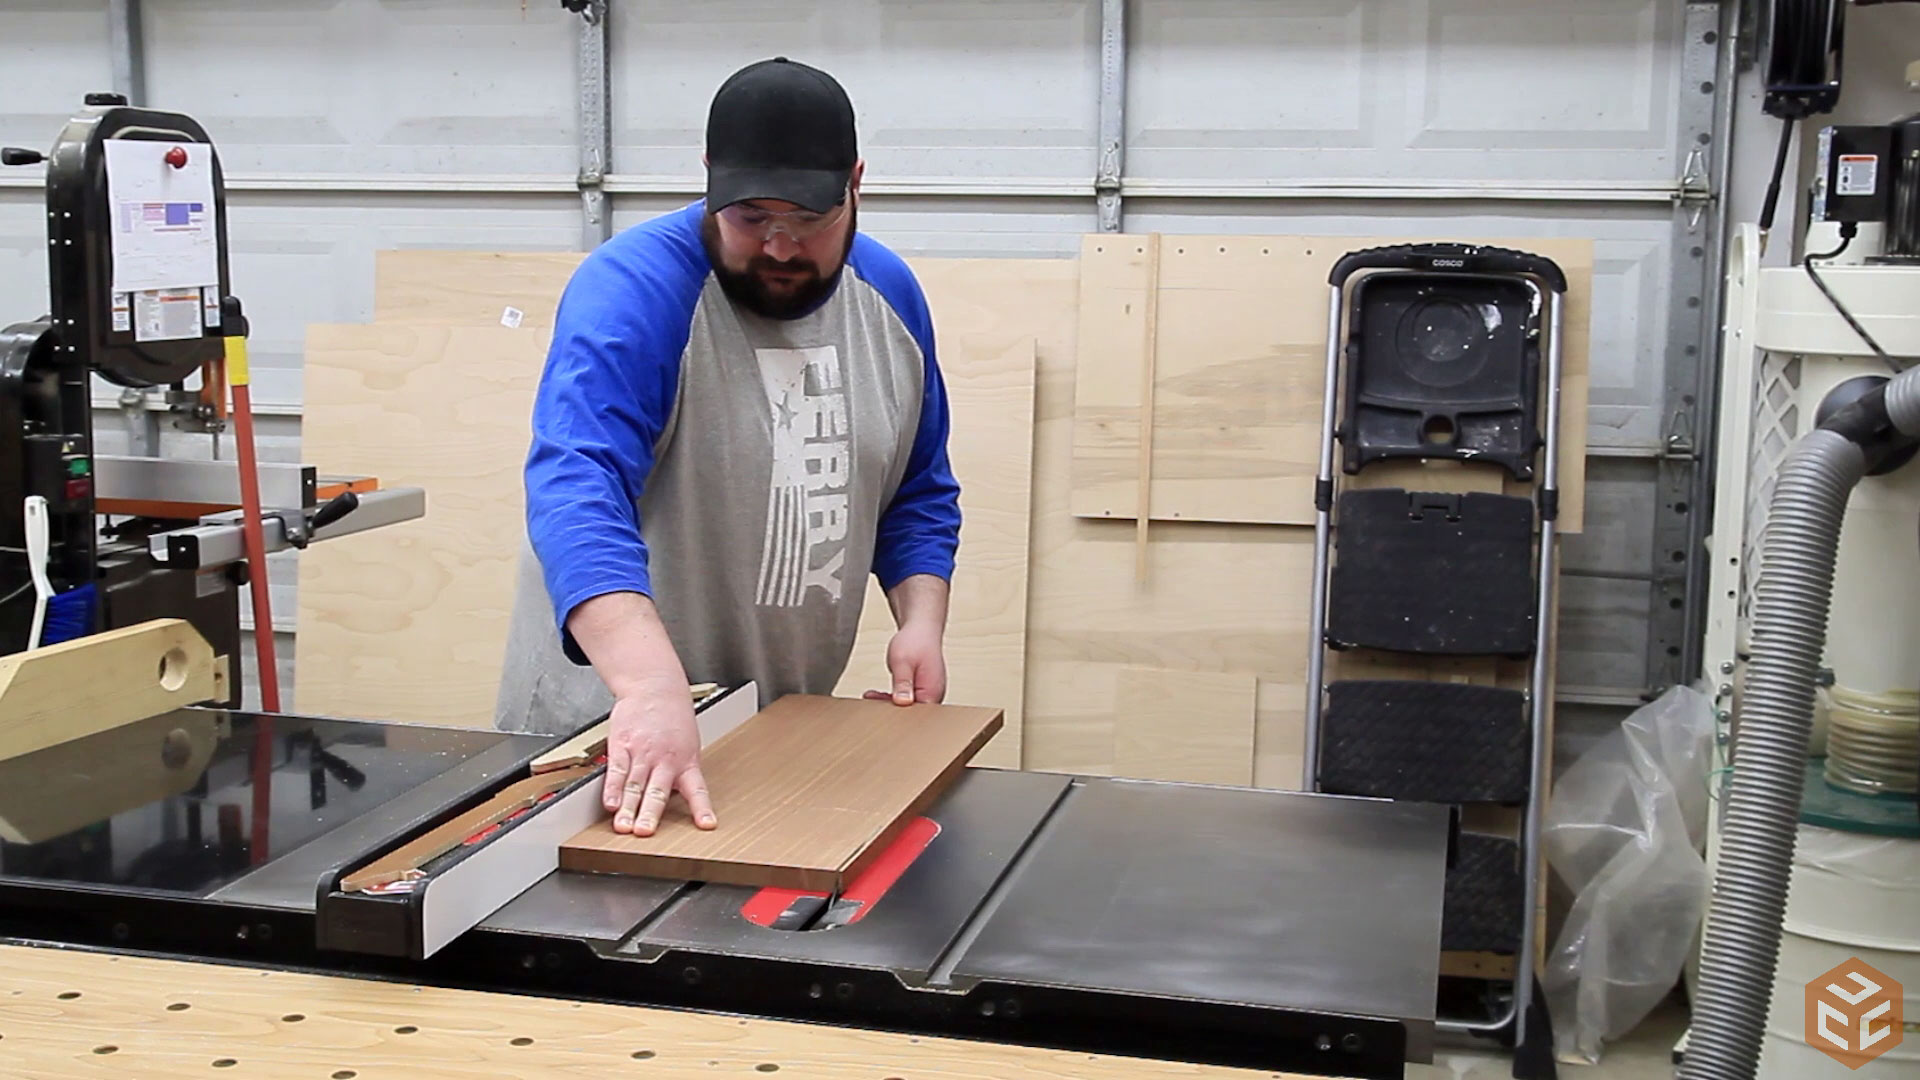
Finally the opposite short face can be trimmed up at the table saw. Then the sapele can rest for a bit as we focus on the rest of the cabinet.
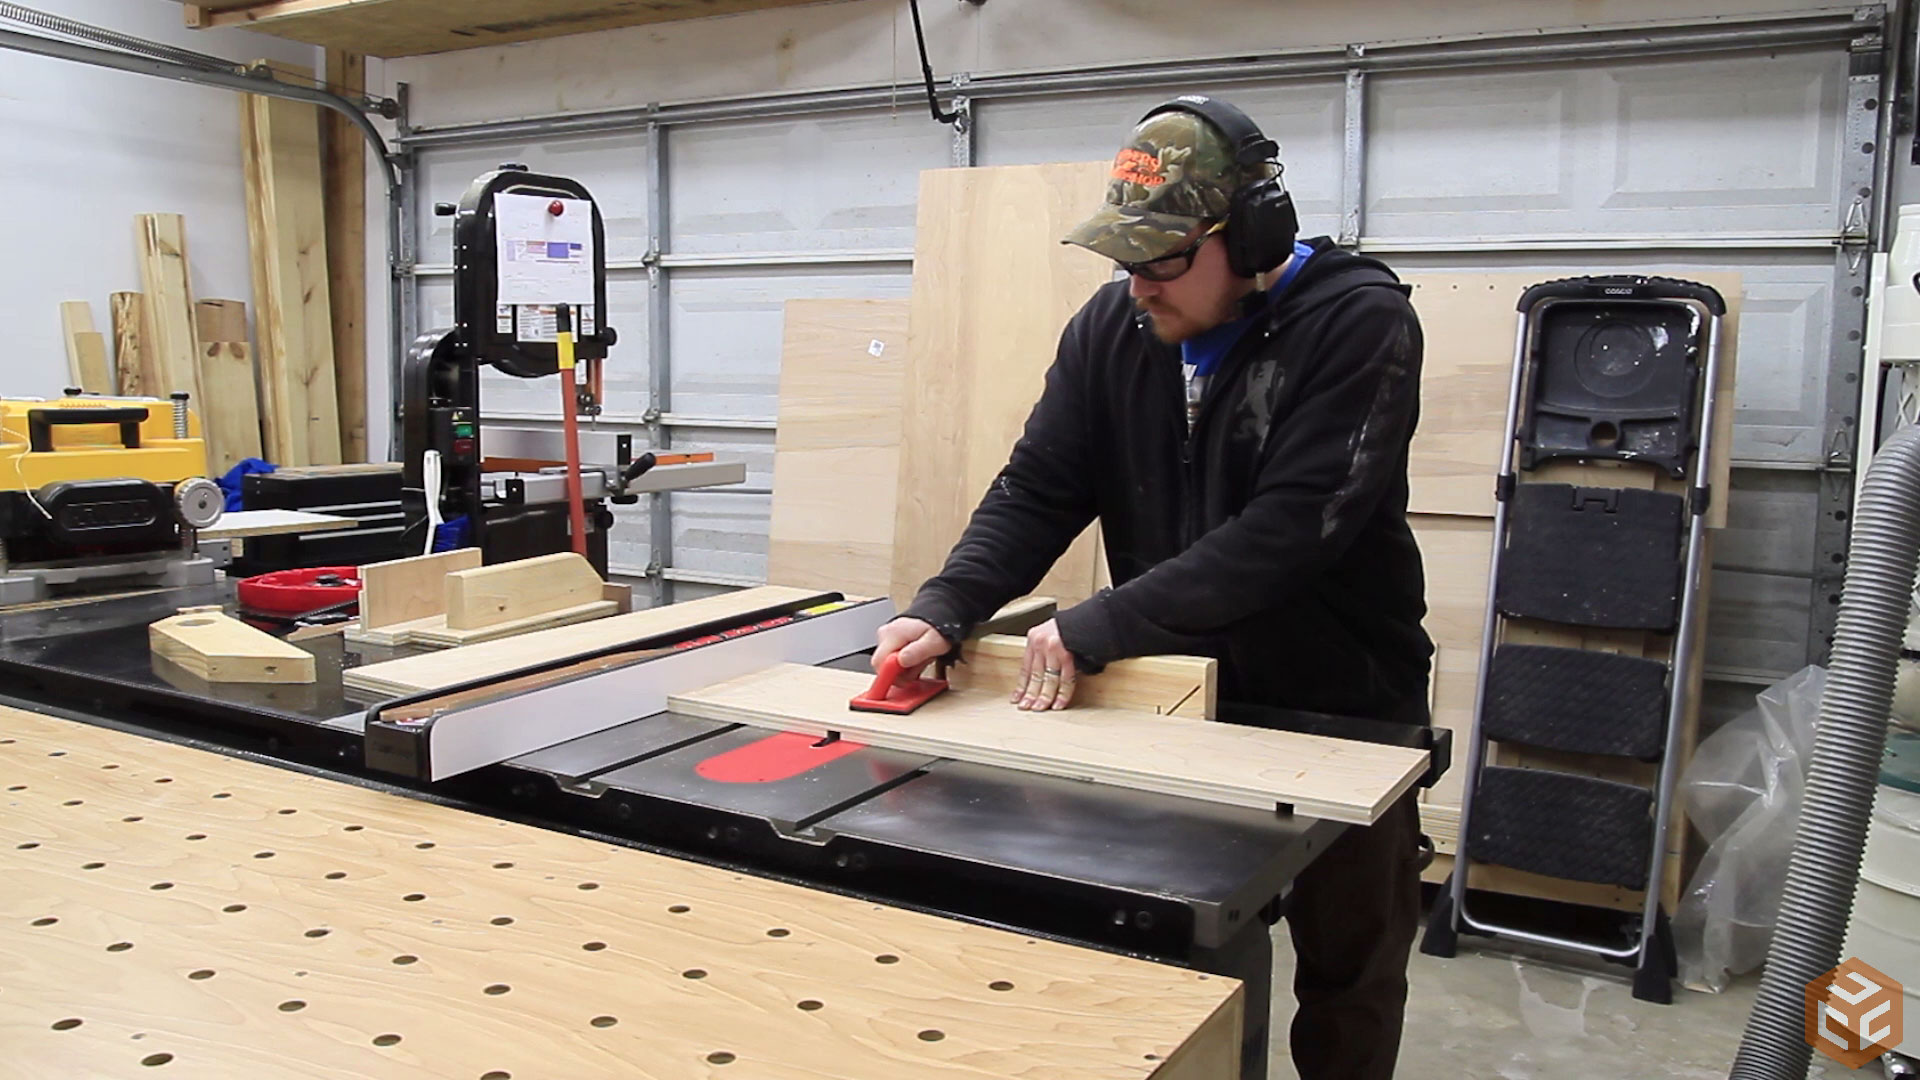
For the main body of the cabinet I used 3/4” PureBond hardwood plywood. I really like this stuff as it’s the most stable and best performing plywood I have found under $50 per sheet. Also, its formeldehyde free and made in the USA which are two bonuses. Two rip cuts on this one panel gave us enough material for the cabinet.
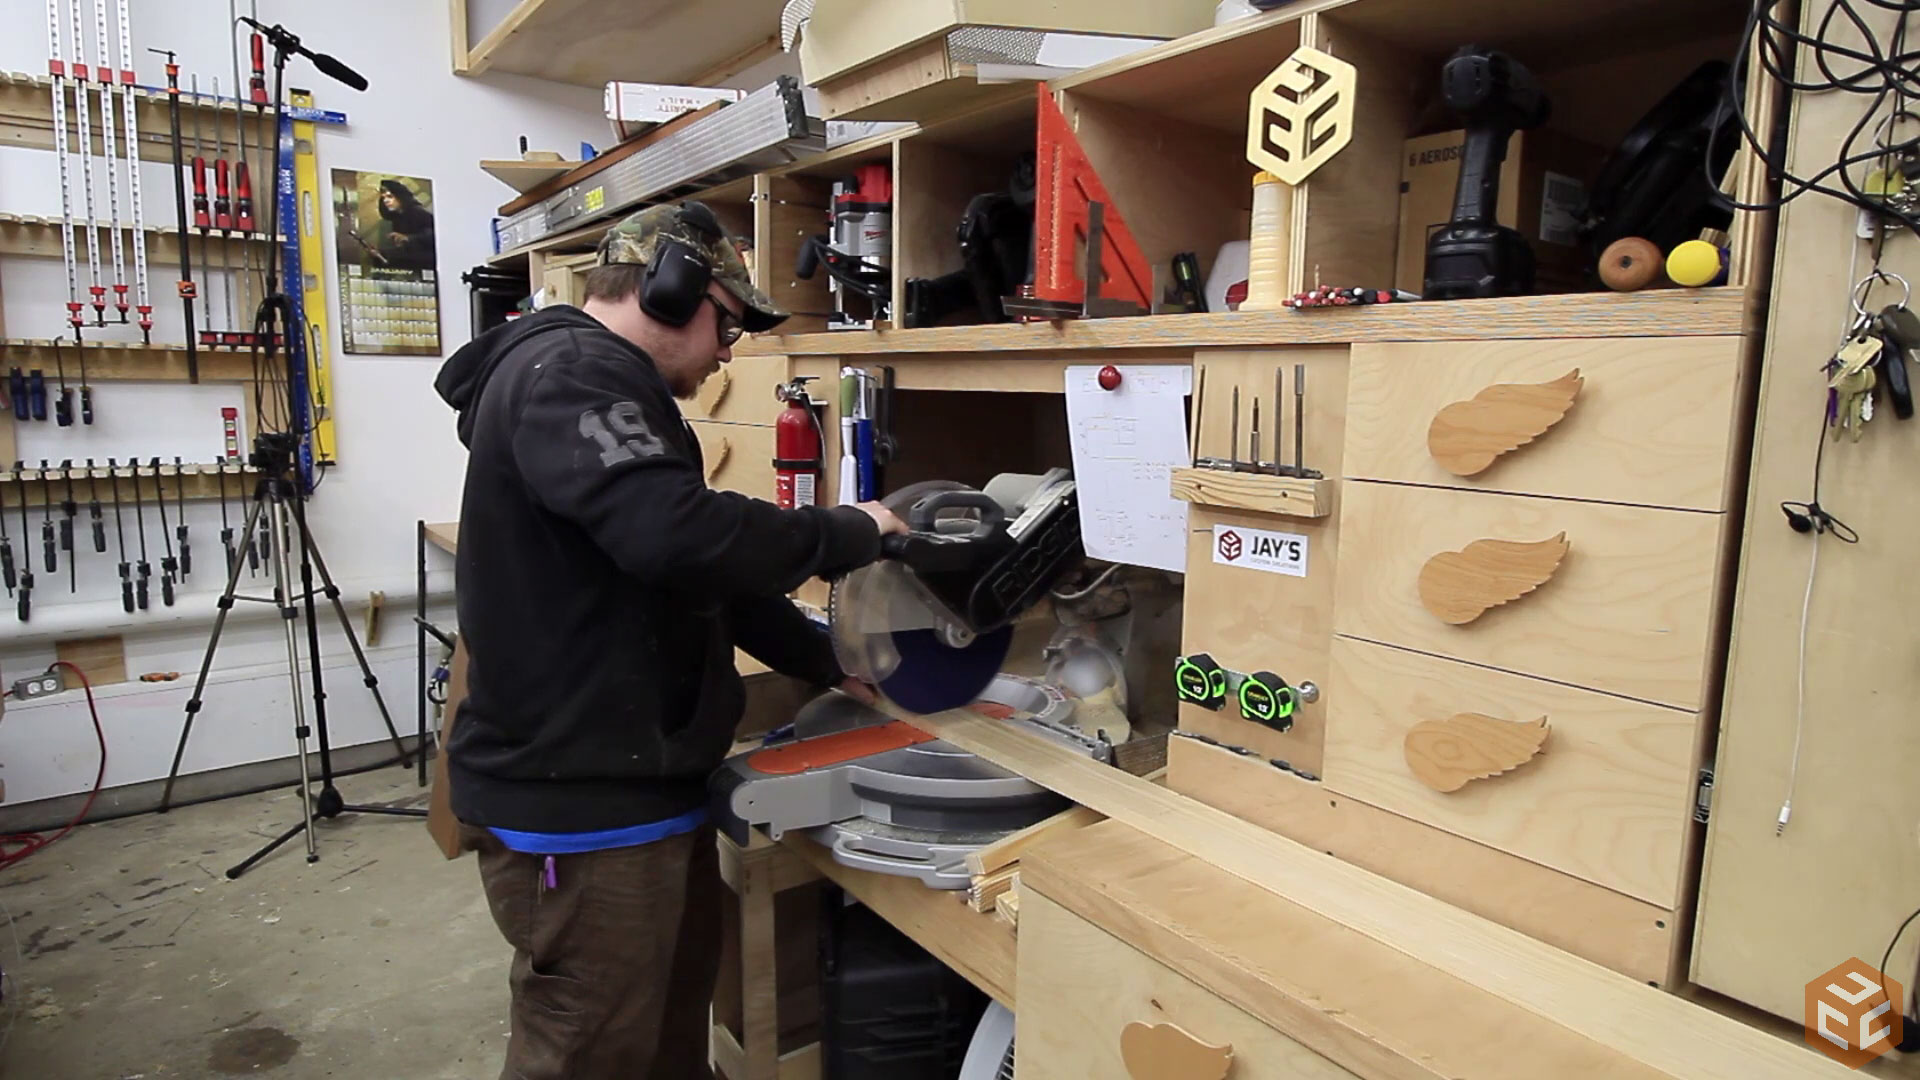
After ripping the plywood the pieces were cut to length at the miter saw. Building my miter saw station has resulted in the greatest amount of storage and organization increase for my shop and workflow. Having a dedicated miter saw surface has also been a huge benefit.

For the joinery Nick talked me into using dados. I’ve made a ton of dados in my life but I don’t recall if I’ve ever used them for plywood cabinet construction. I suppose that’s the benefit of working with other people. It gets you out of your comfort zone a bit and sometimes results in you trying new things…even if they are just super simple alternatives like in this case.
After cutting the dados I also added a thin kerf cut near the top of the cabinet to use table top hold down fasteners later.

Nick got work gluing up the cabinet. It’s a simple process; glue, assemble, clamp.
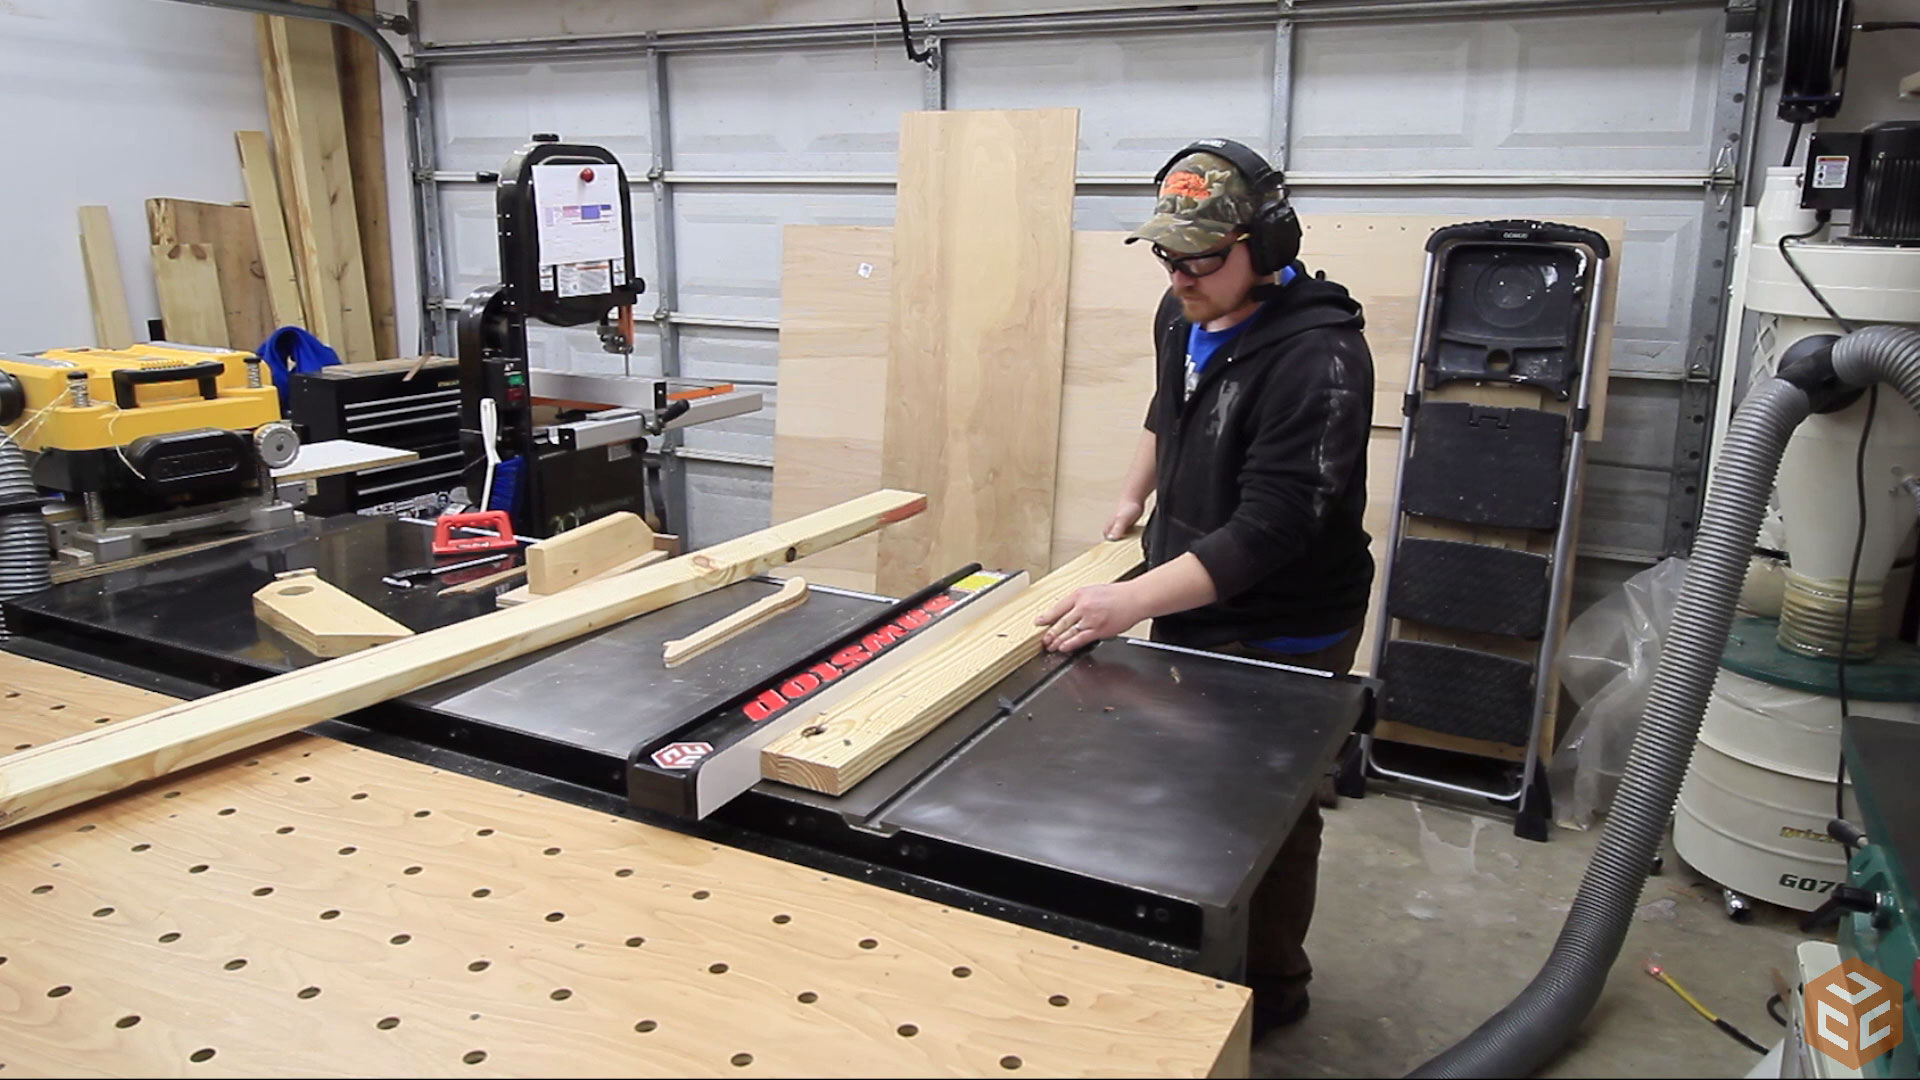
For the face frame I chose to use regular yellow pine. After squaring one short face of some leftover material from my workbench build I ripped a bunch of 1-3/8” x 7/8” stock. In the next picture you can see a bunch of black debris in front of my hand on the table saw. That was from the knot that just went through the blade and exploded right into my face. That’s not fun folks. Always wear your safety glasses at the table saw and be mindful of cutting through knots.
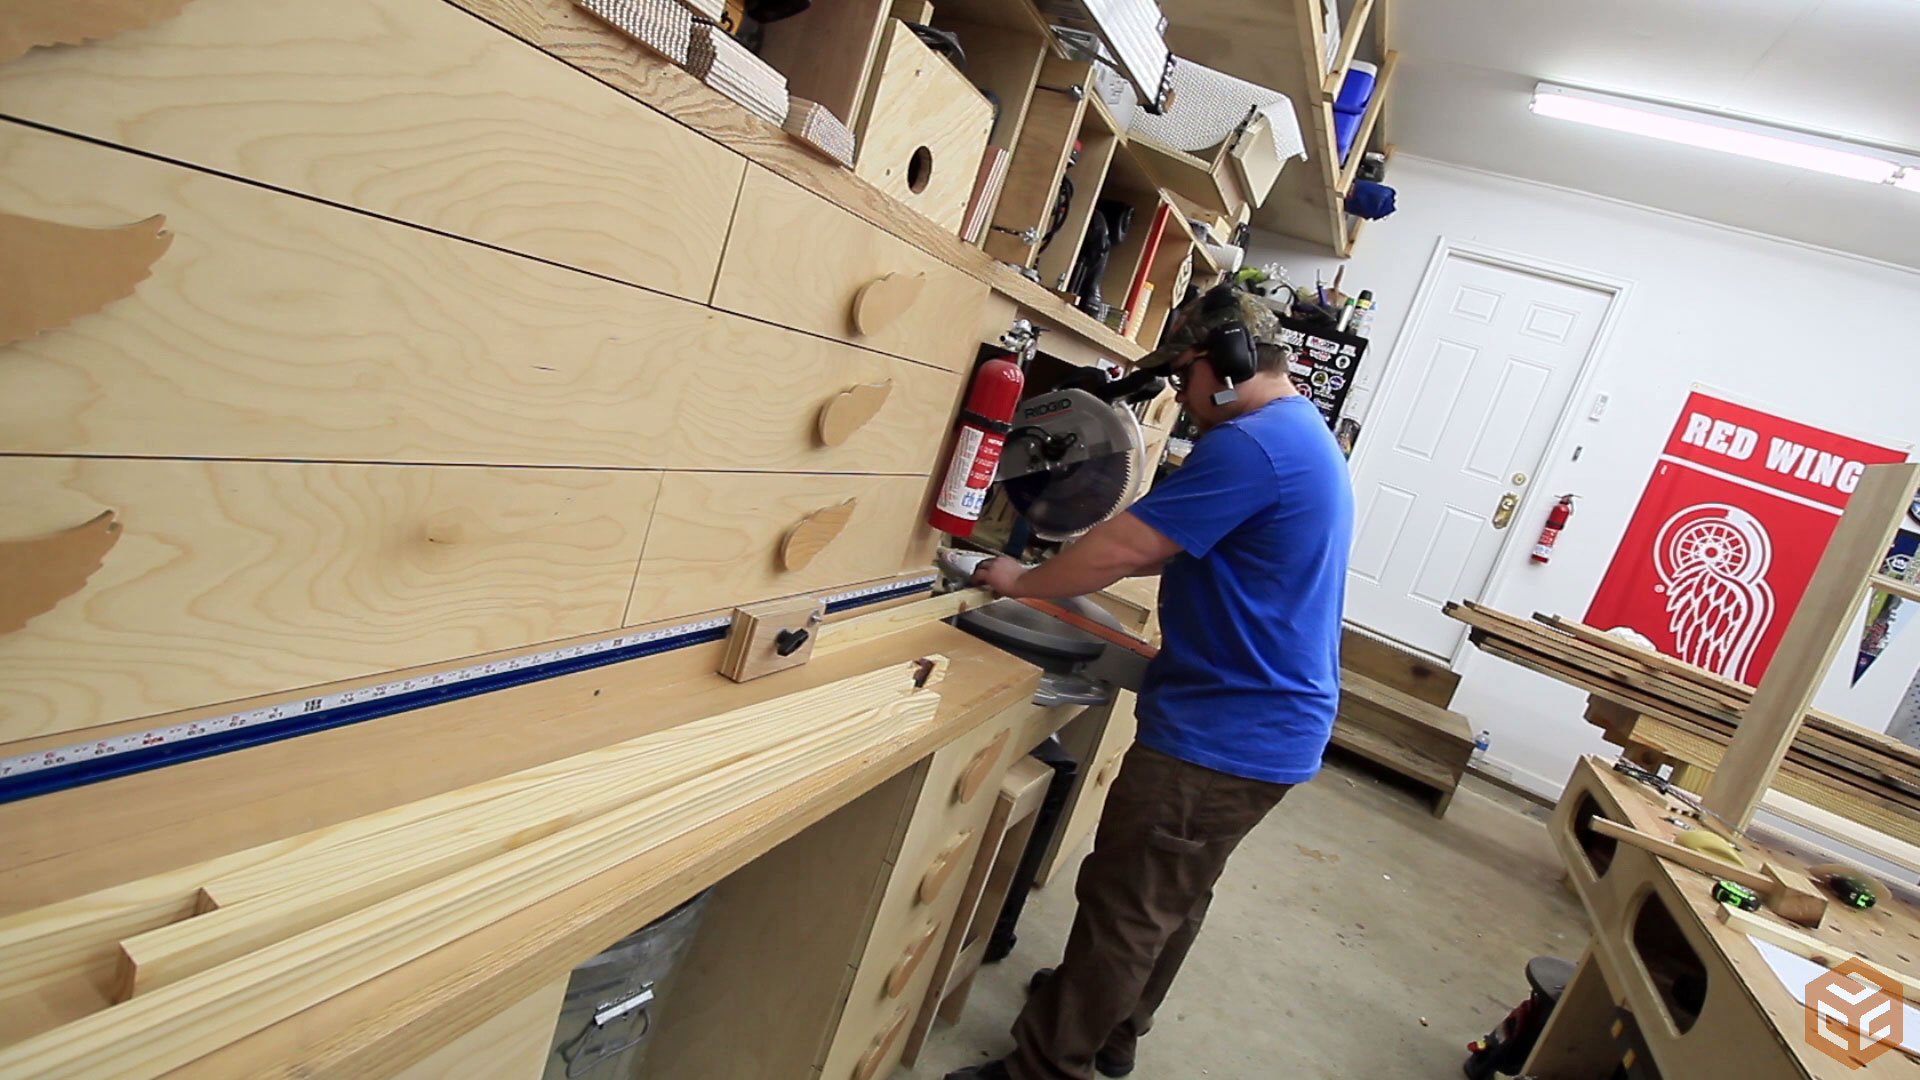
Back to the miter saw to get all of the face frame pieces to their appropriate length.
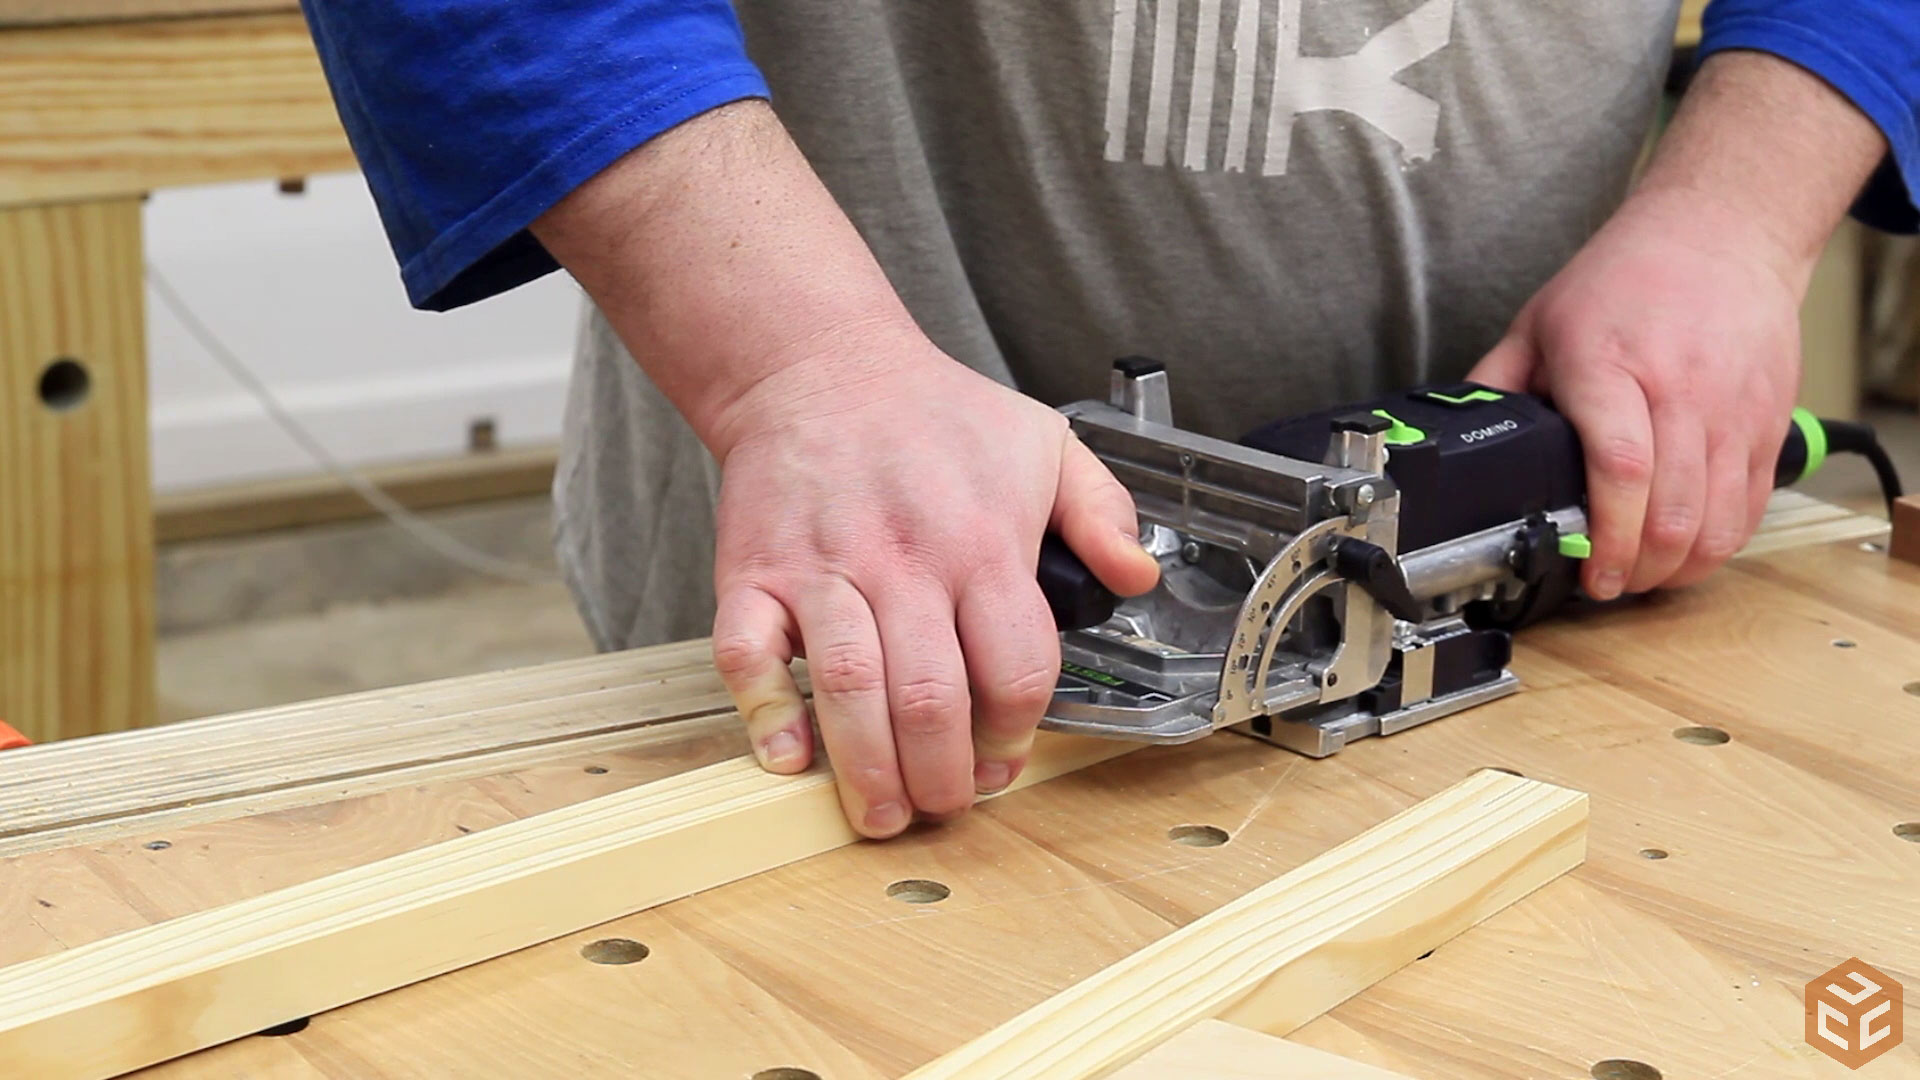
For the face frame joinery we chose to use floating tenons. Pocket hole screws or dowels are two great alternatives that will do the job just fine.
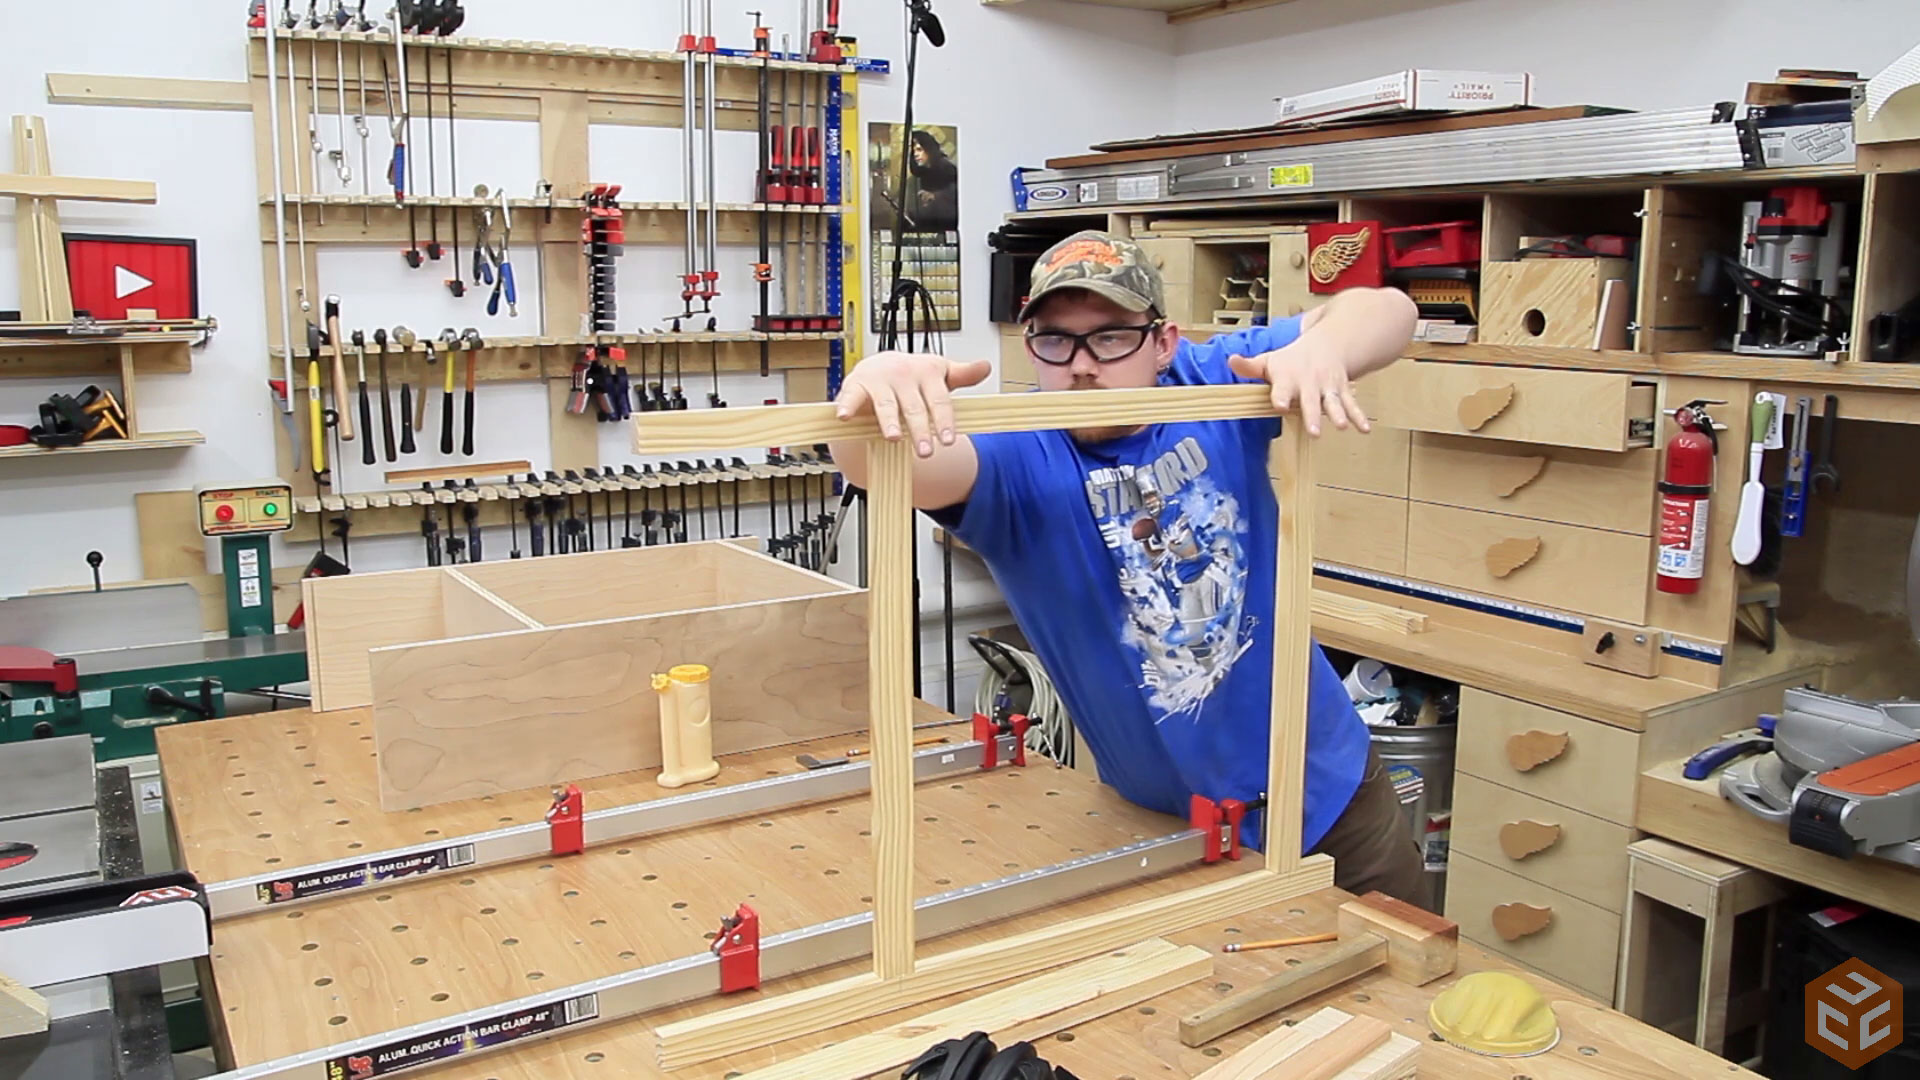
Then the face frame can be glued up. Can you spot the mistake? Somehow we both forgot about the top piece of the face frame. We ended up not catching the mistake until a few steps later.
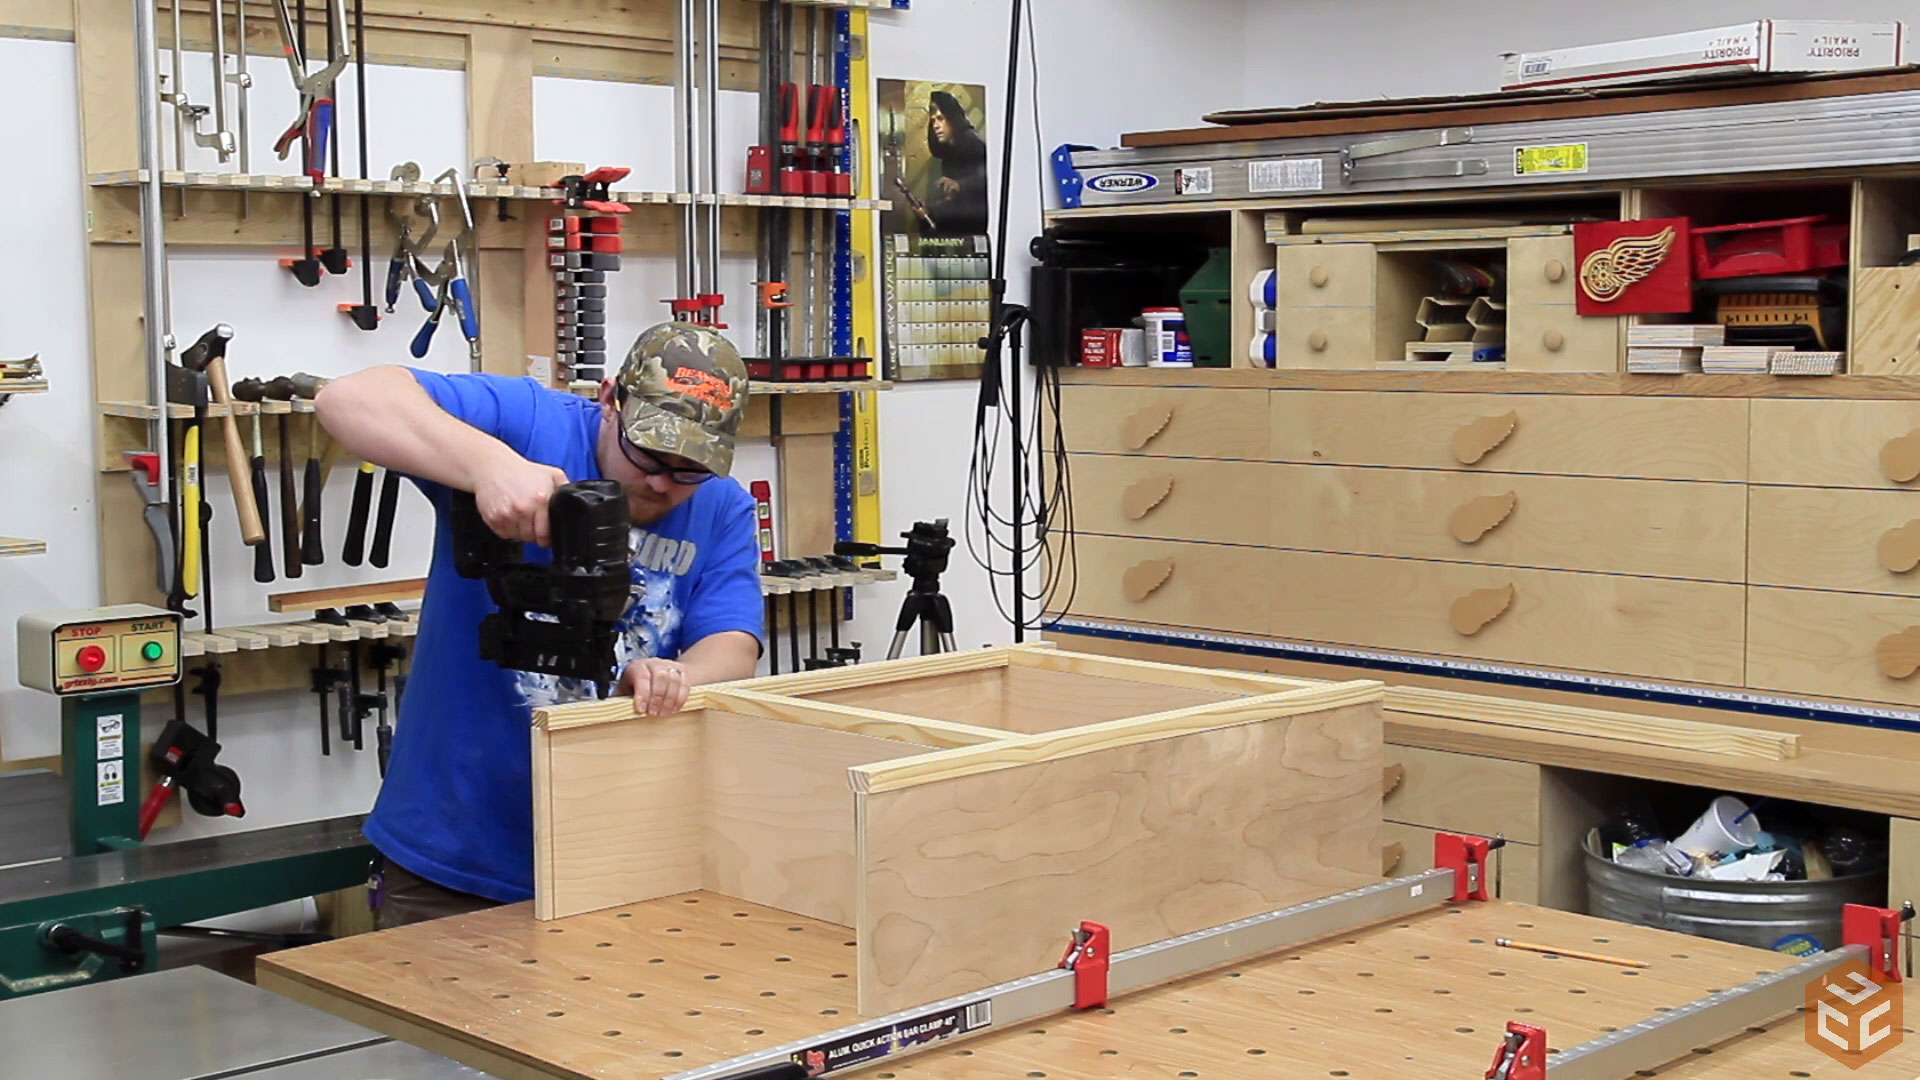
After the face frame had dried it was glued to the front of the cabinet. We made sure to size the face frame 1/16” or so proud of both sides.
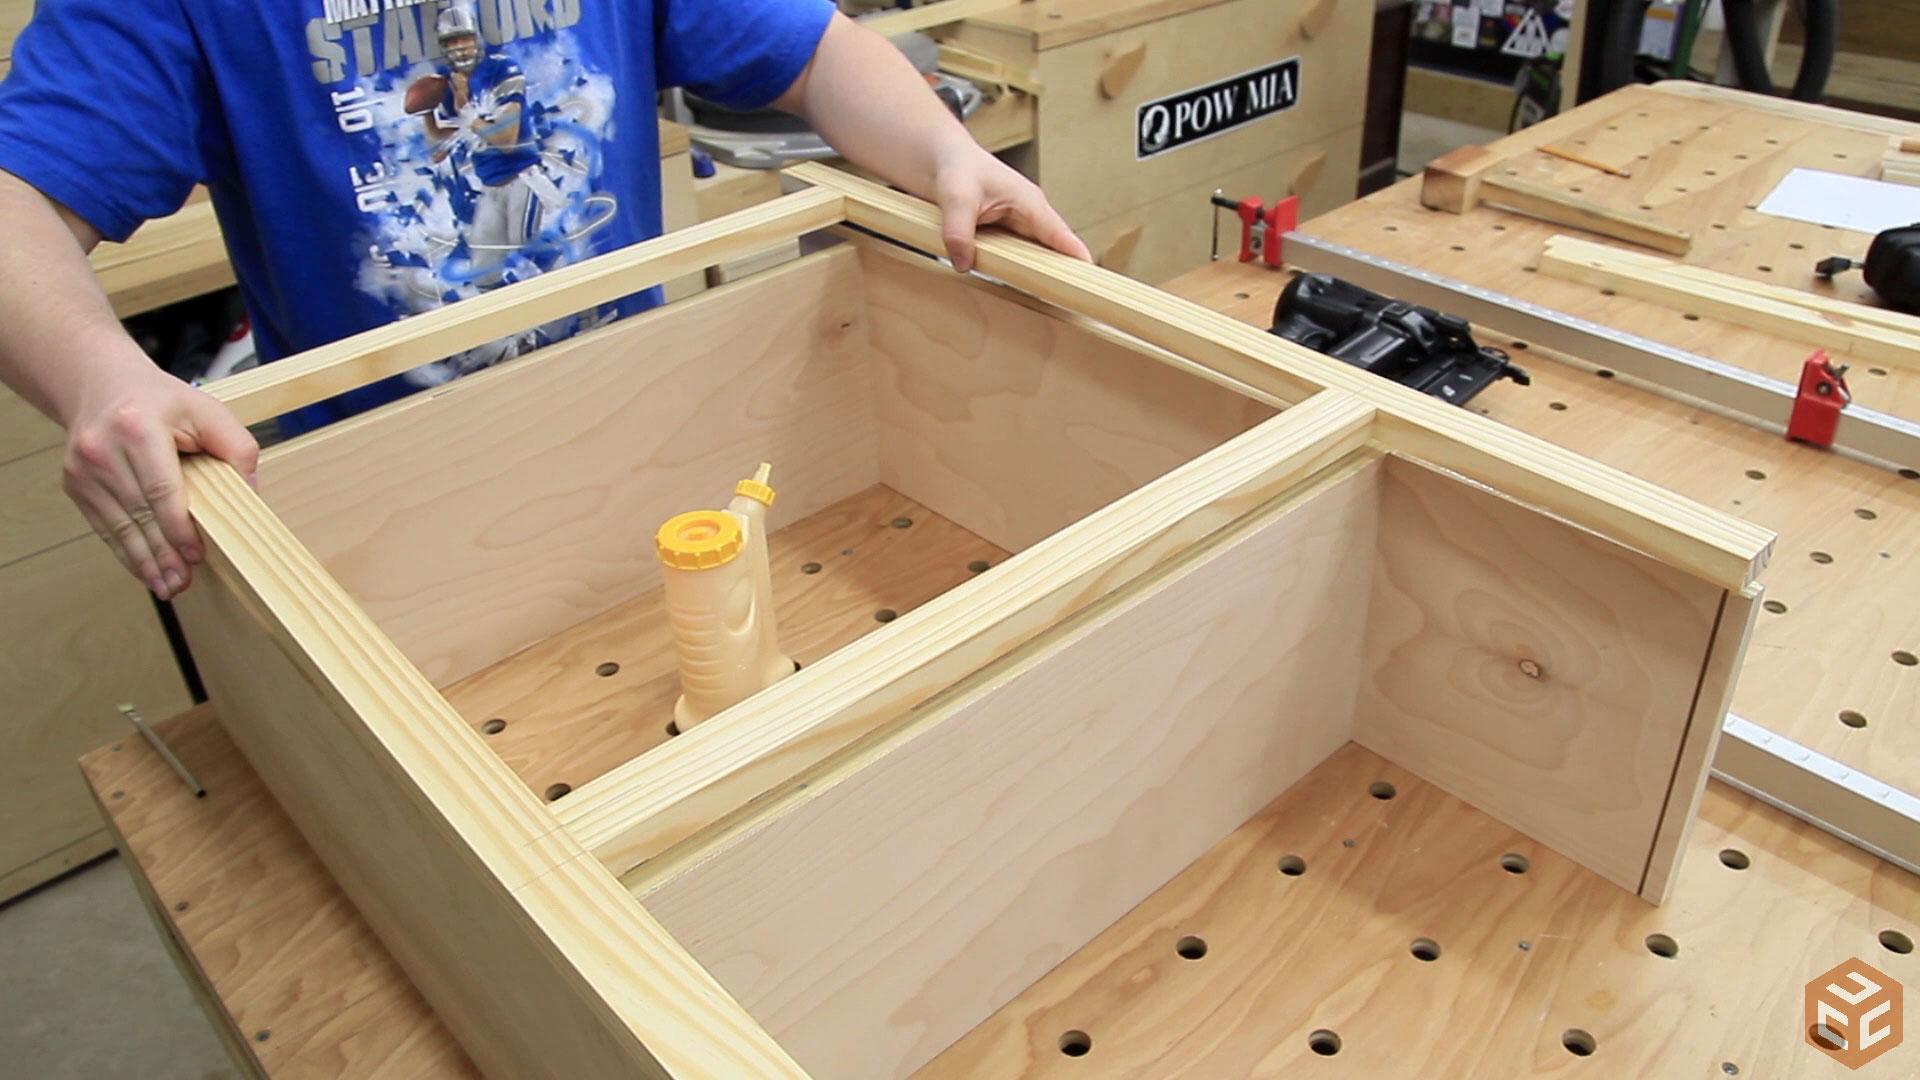
And the face frame was held in place with brad nails while the glue dried. At this point we still didn’t notice the mistake. It wasn’t until right before filling the brad nail holes with joint compound that we found our mistake. The solution was to just add the missing piece with pocket holes from the back side.
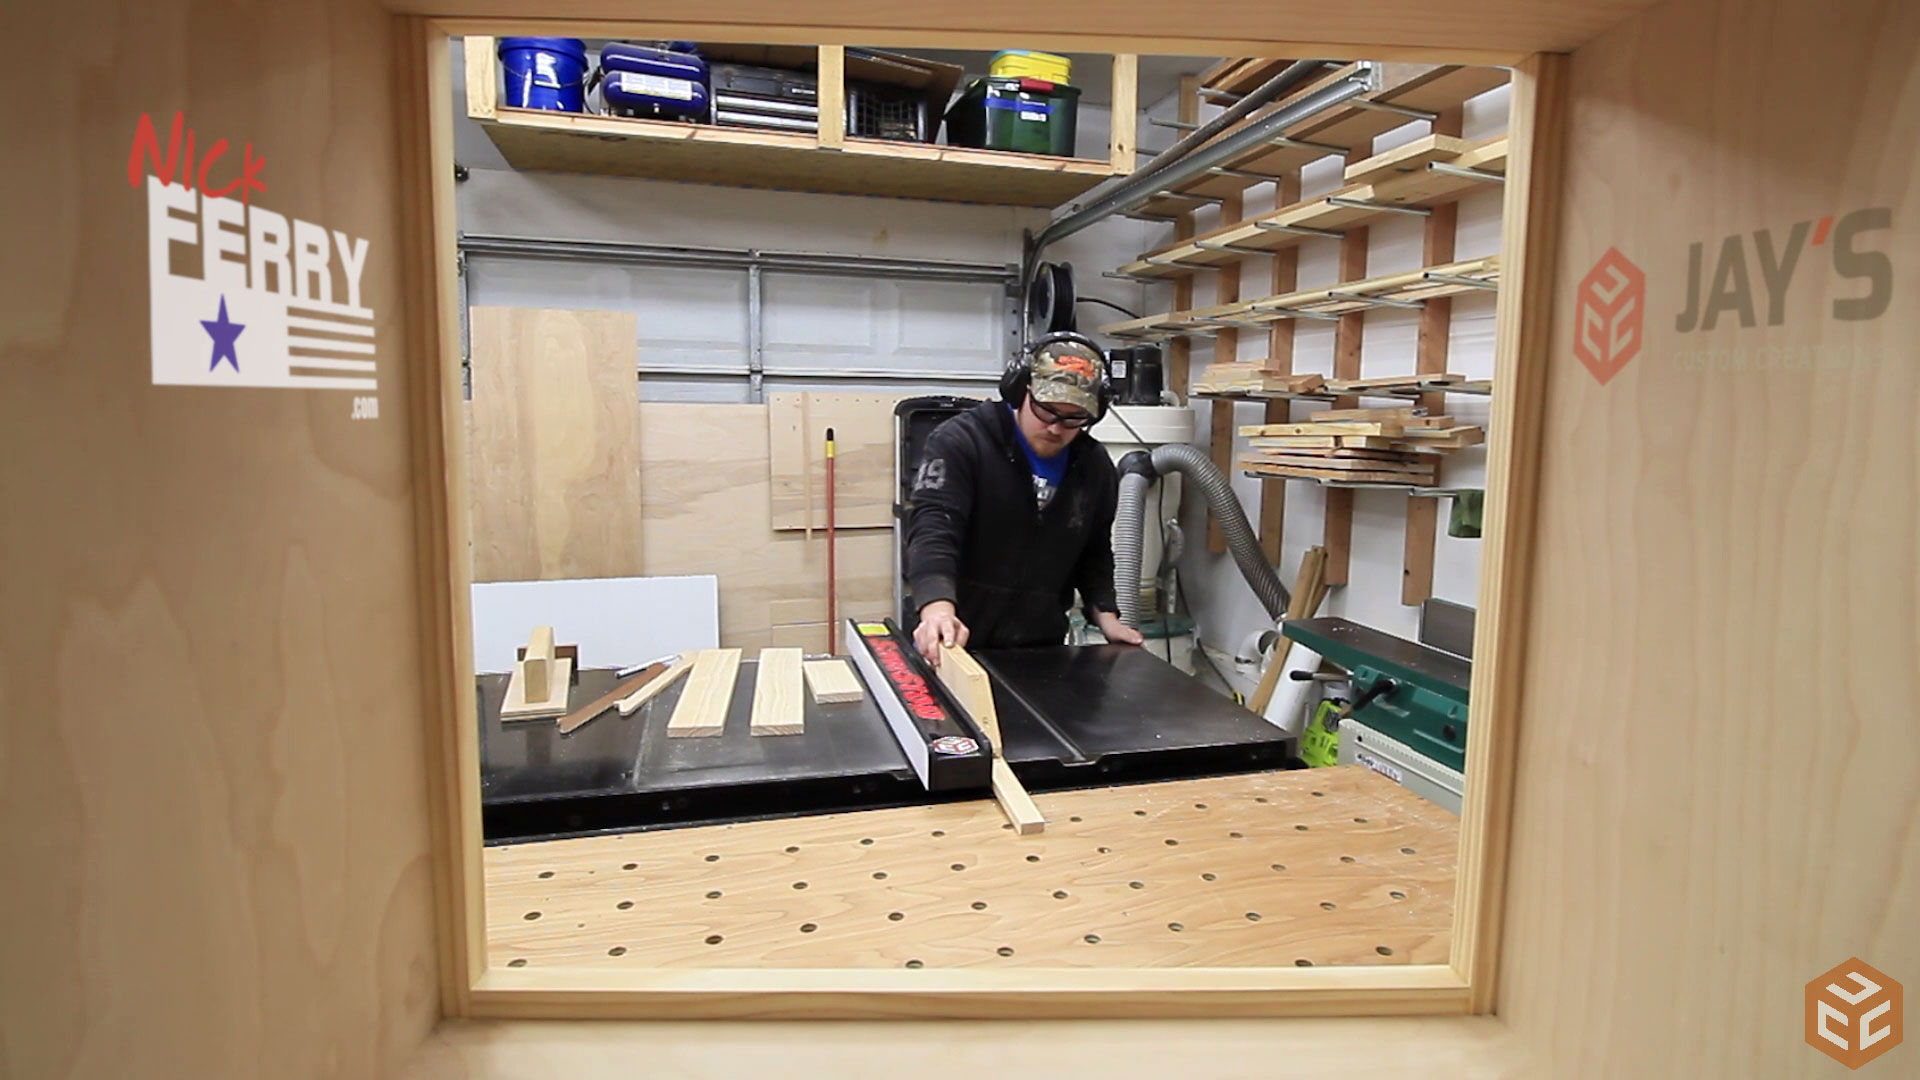
Next up is the front doors. I had a piece of really clear 1×4 select pine that we used for this step. First cutting pieces to length at the miter saw.
Then ripping the parts from the 1×4 sections at the table saw. I couldn’t resist putting the camera through the cabinet to get a shot or two.
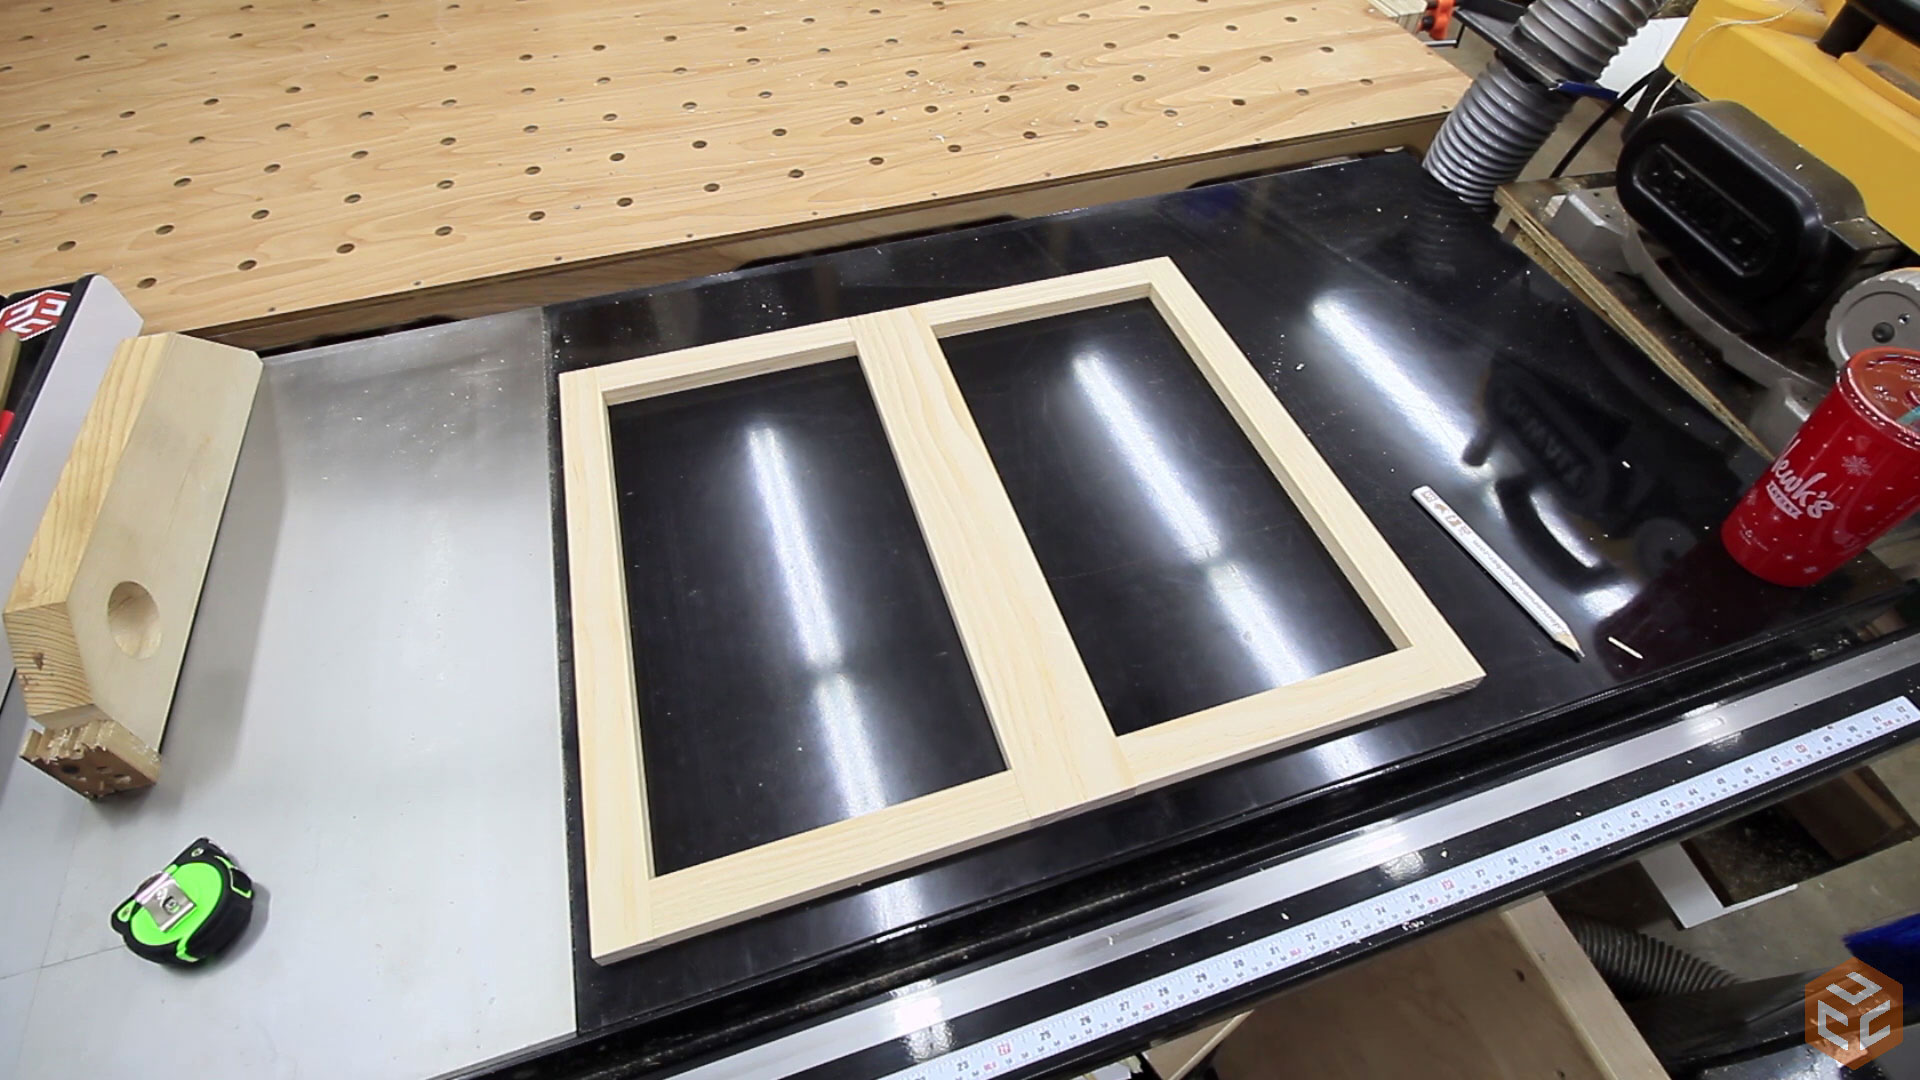
The resulting pieces formed a single door with two panels. The center stile is full length and is actually a little more than twice the width of the outside panels. This will eventually be cut in half.
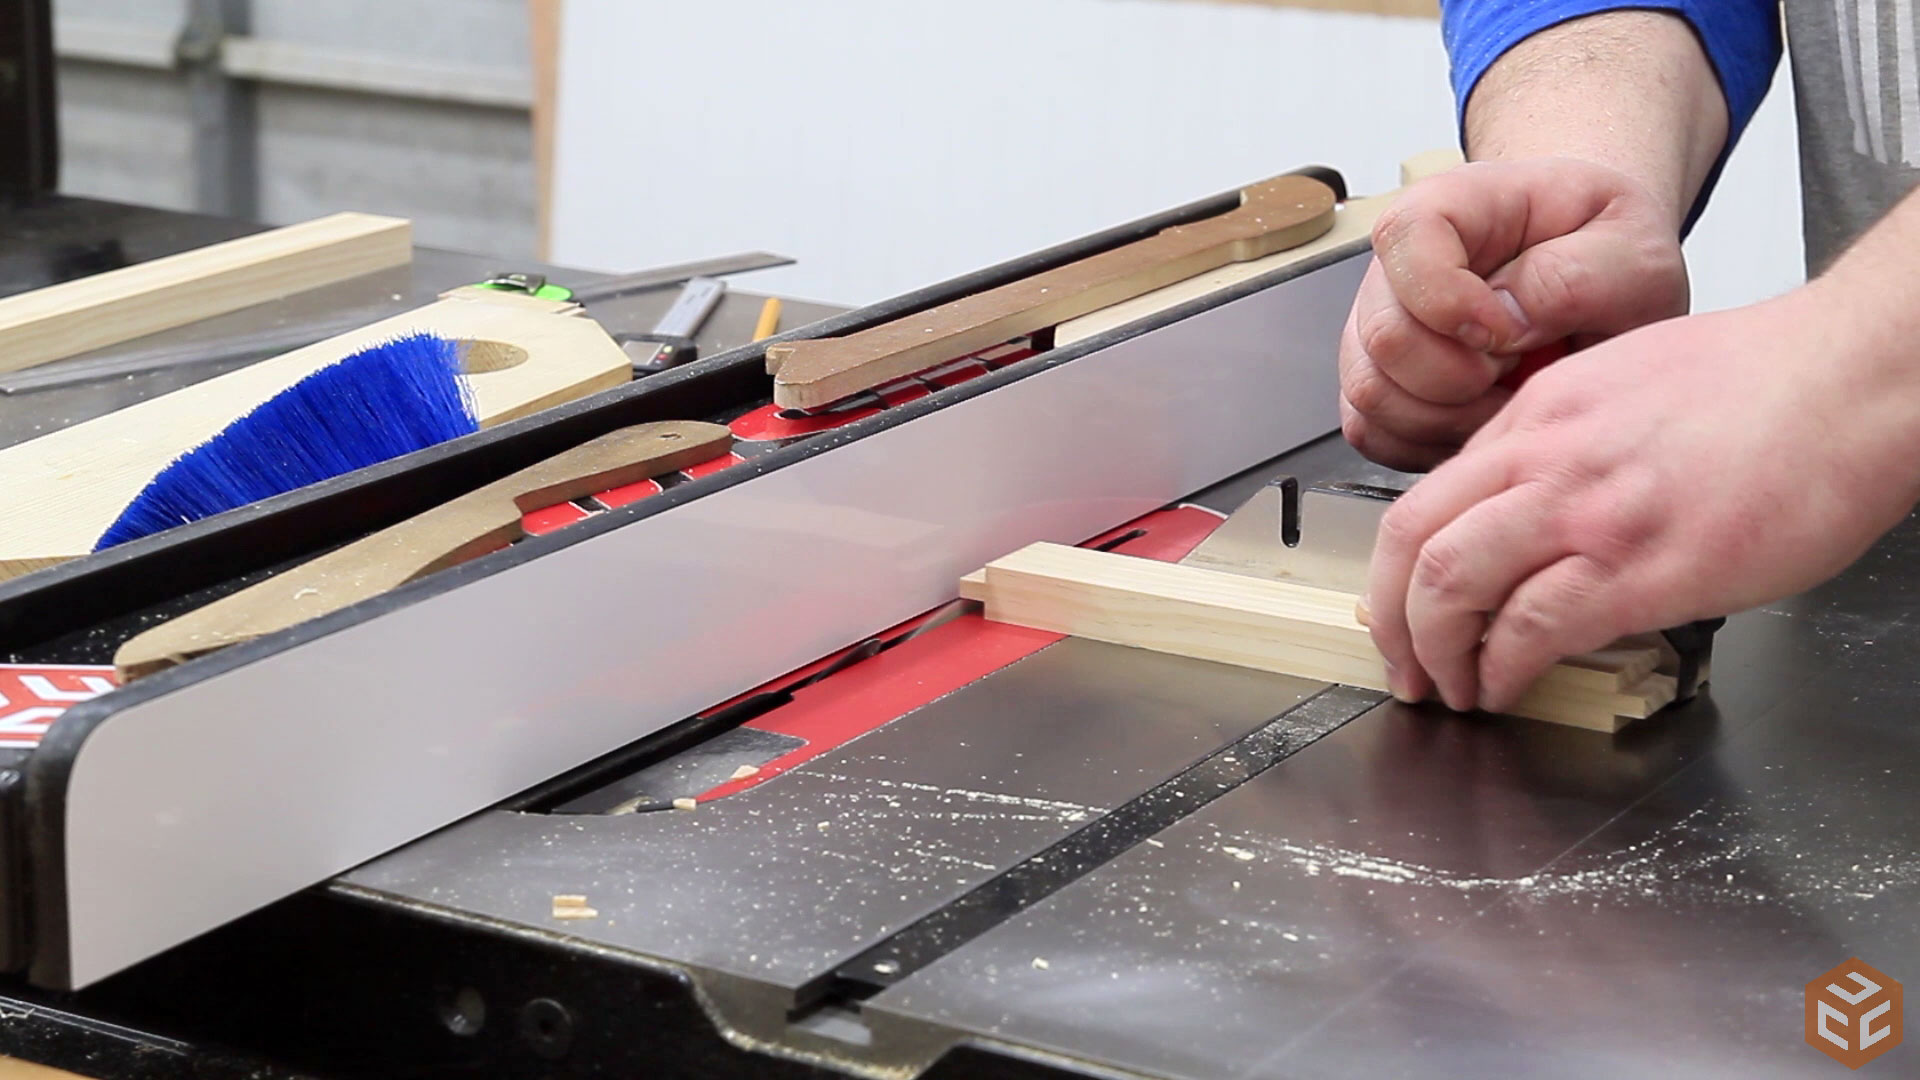
For the doors Nick cut tongue and groove joinery. He got it dialed in absolutely perfect. First it was the grooves.
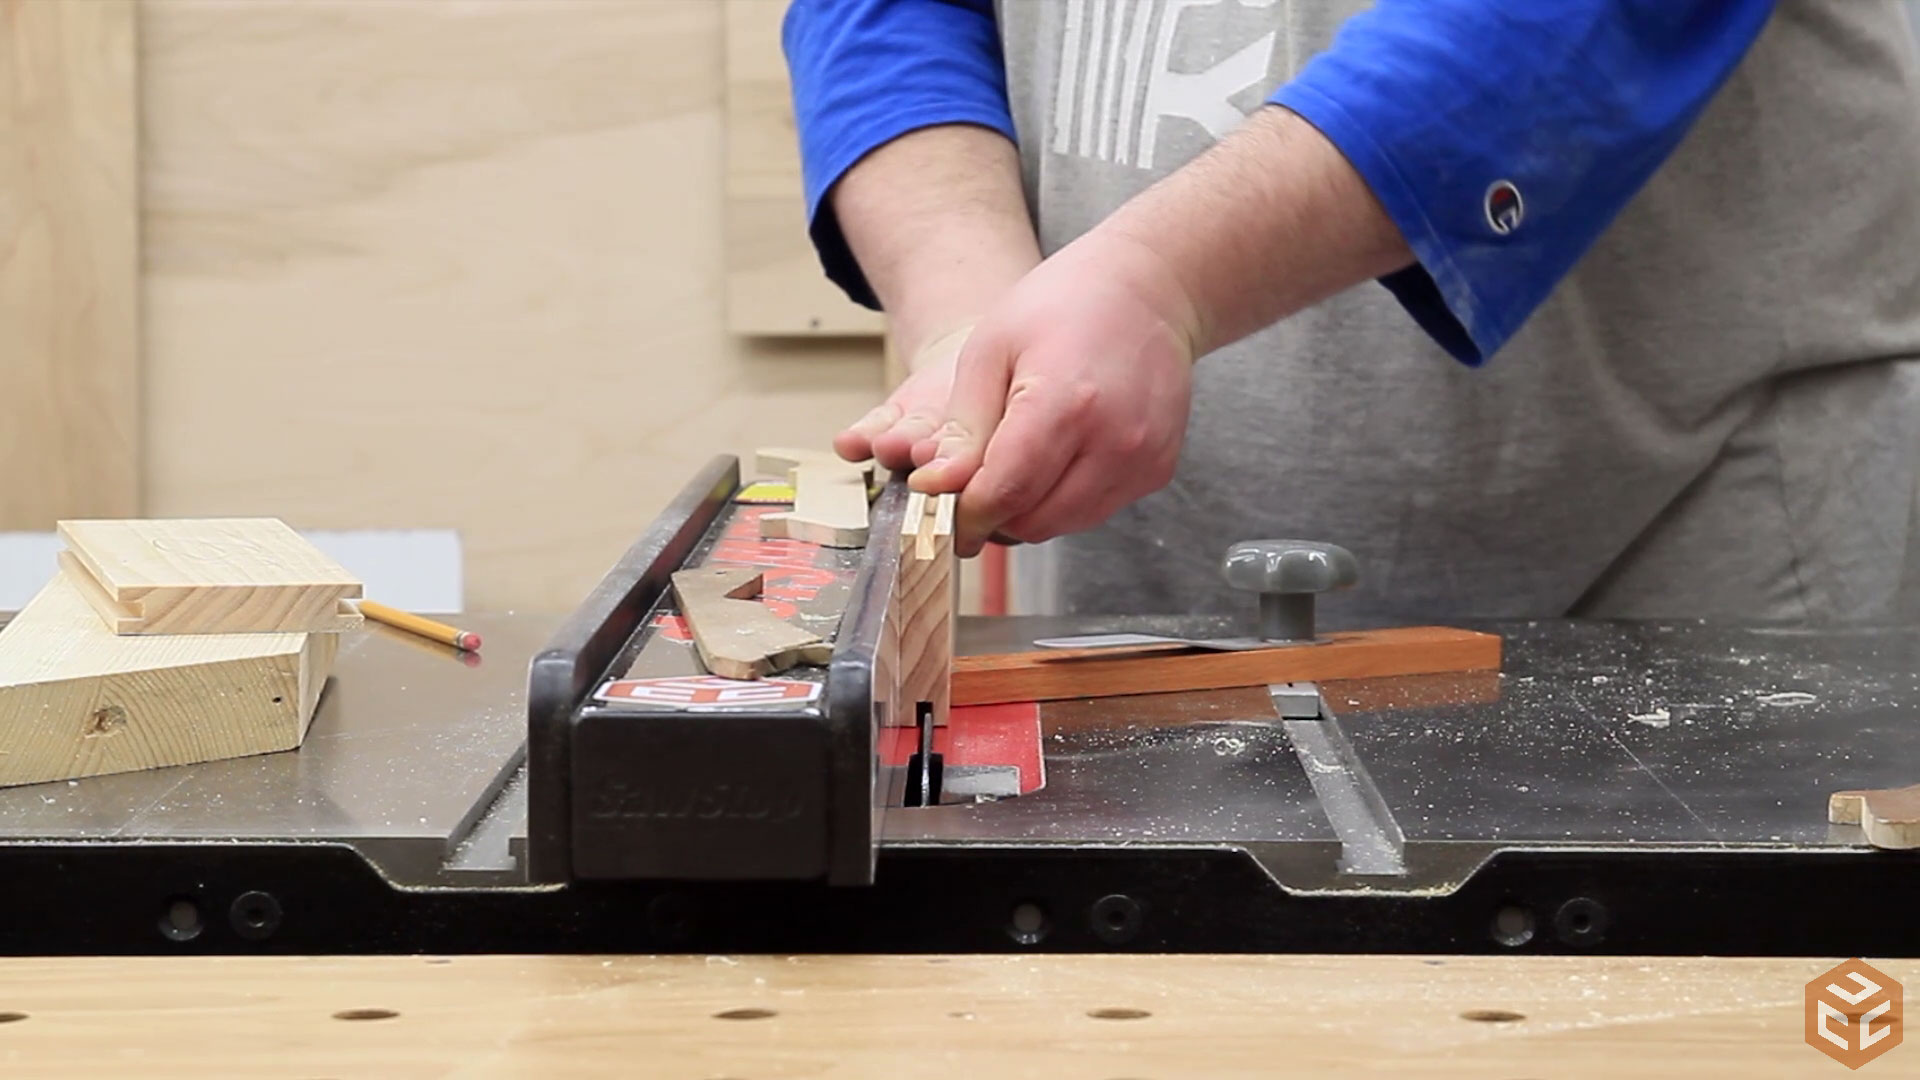
Followed by all of the tongues. All of this tongue and groove joinery was made with a regular table saw blade. No dado stack.
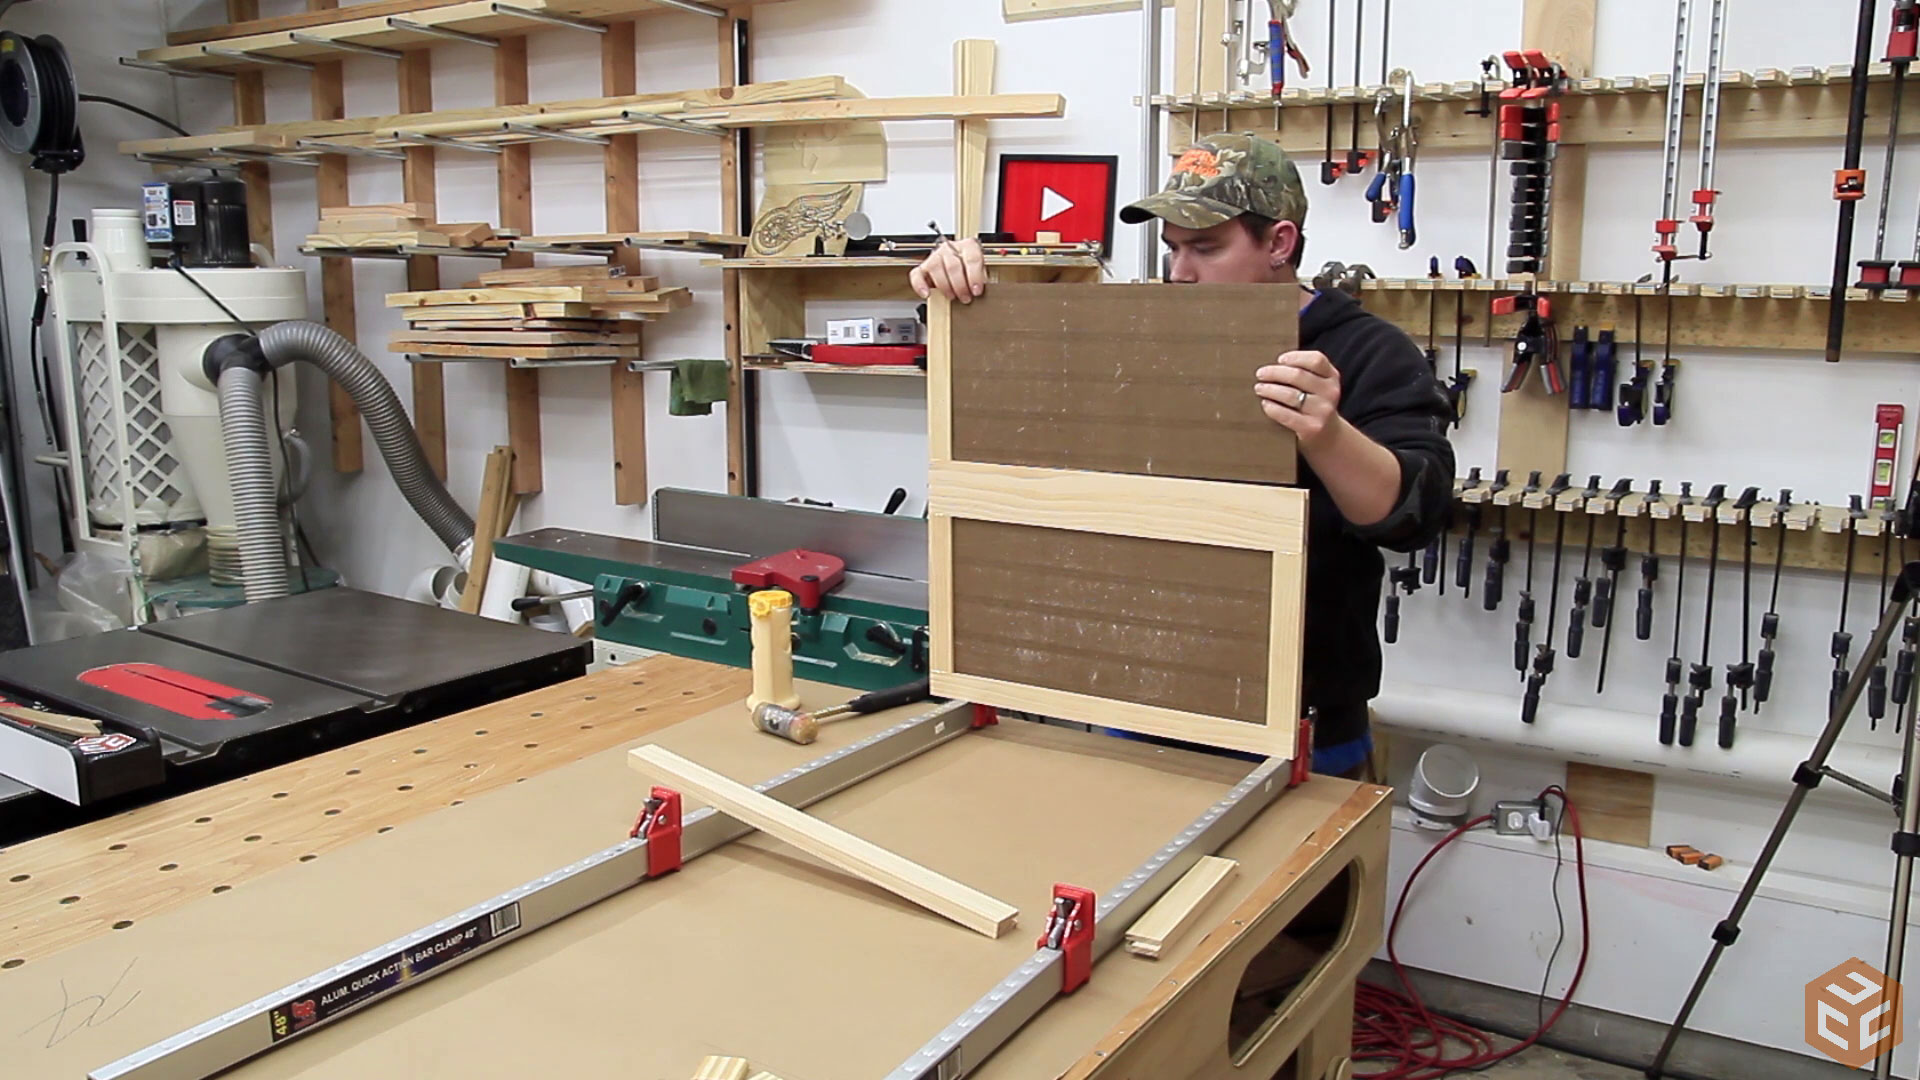
1/4” beadboard panel was used for the panels. It’s a super easy way to quickly add a simple visual detail. Two pieces were needed for the doors.

Here you can see the door going together. The joints were perfect so this process was uneventful. That’s the way you hope every glue-up goes.
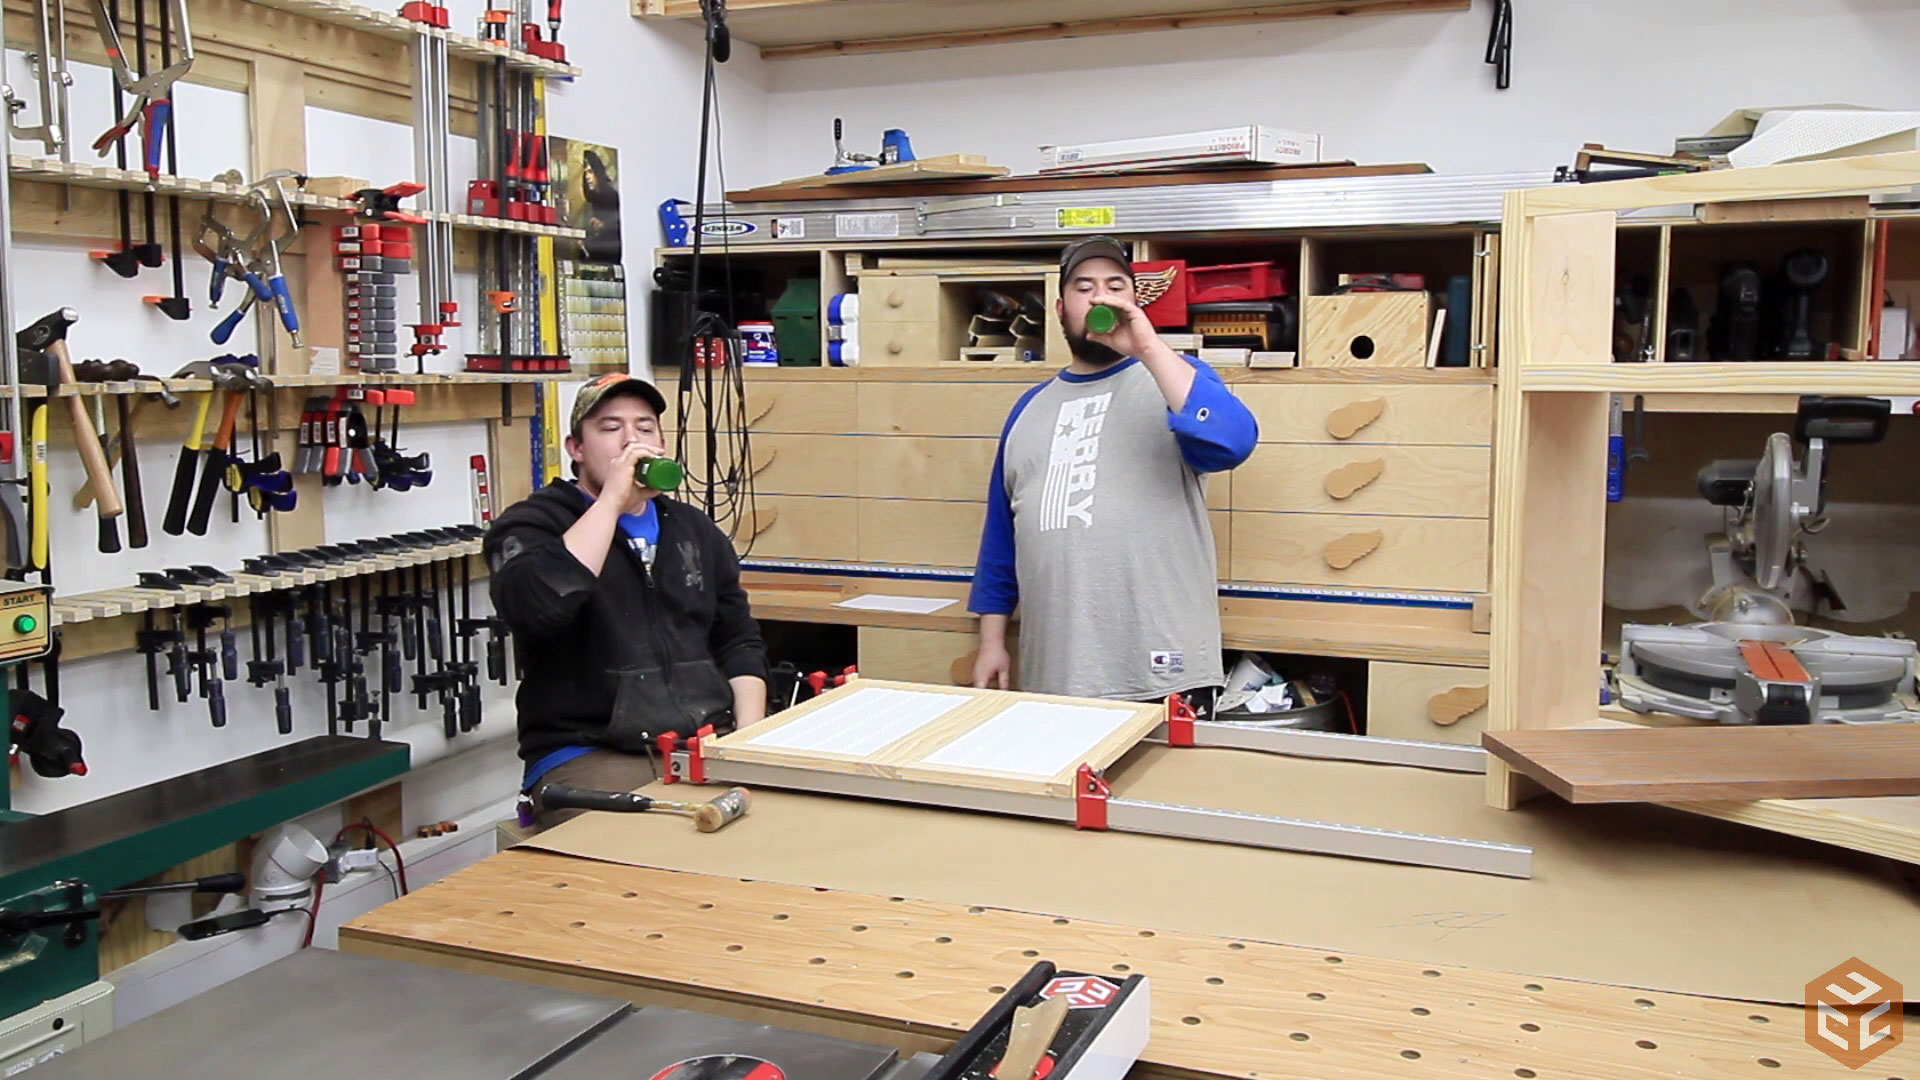
The best way to pass time waiting for glue to dry is to enjoy a cold one. In this case it was a glass bottle of Mountain Dew. The glass bottles of soda have a very different taste.
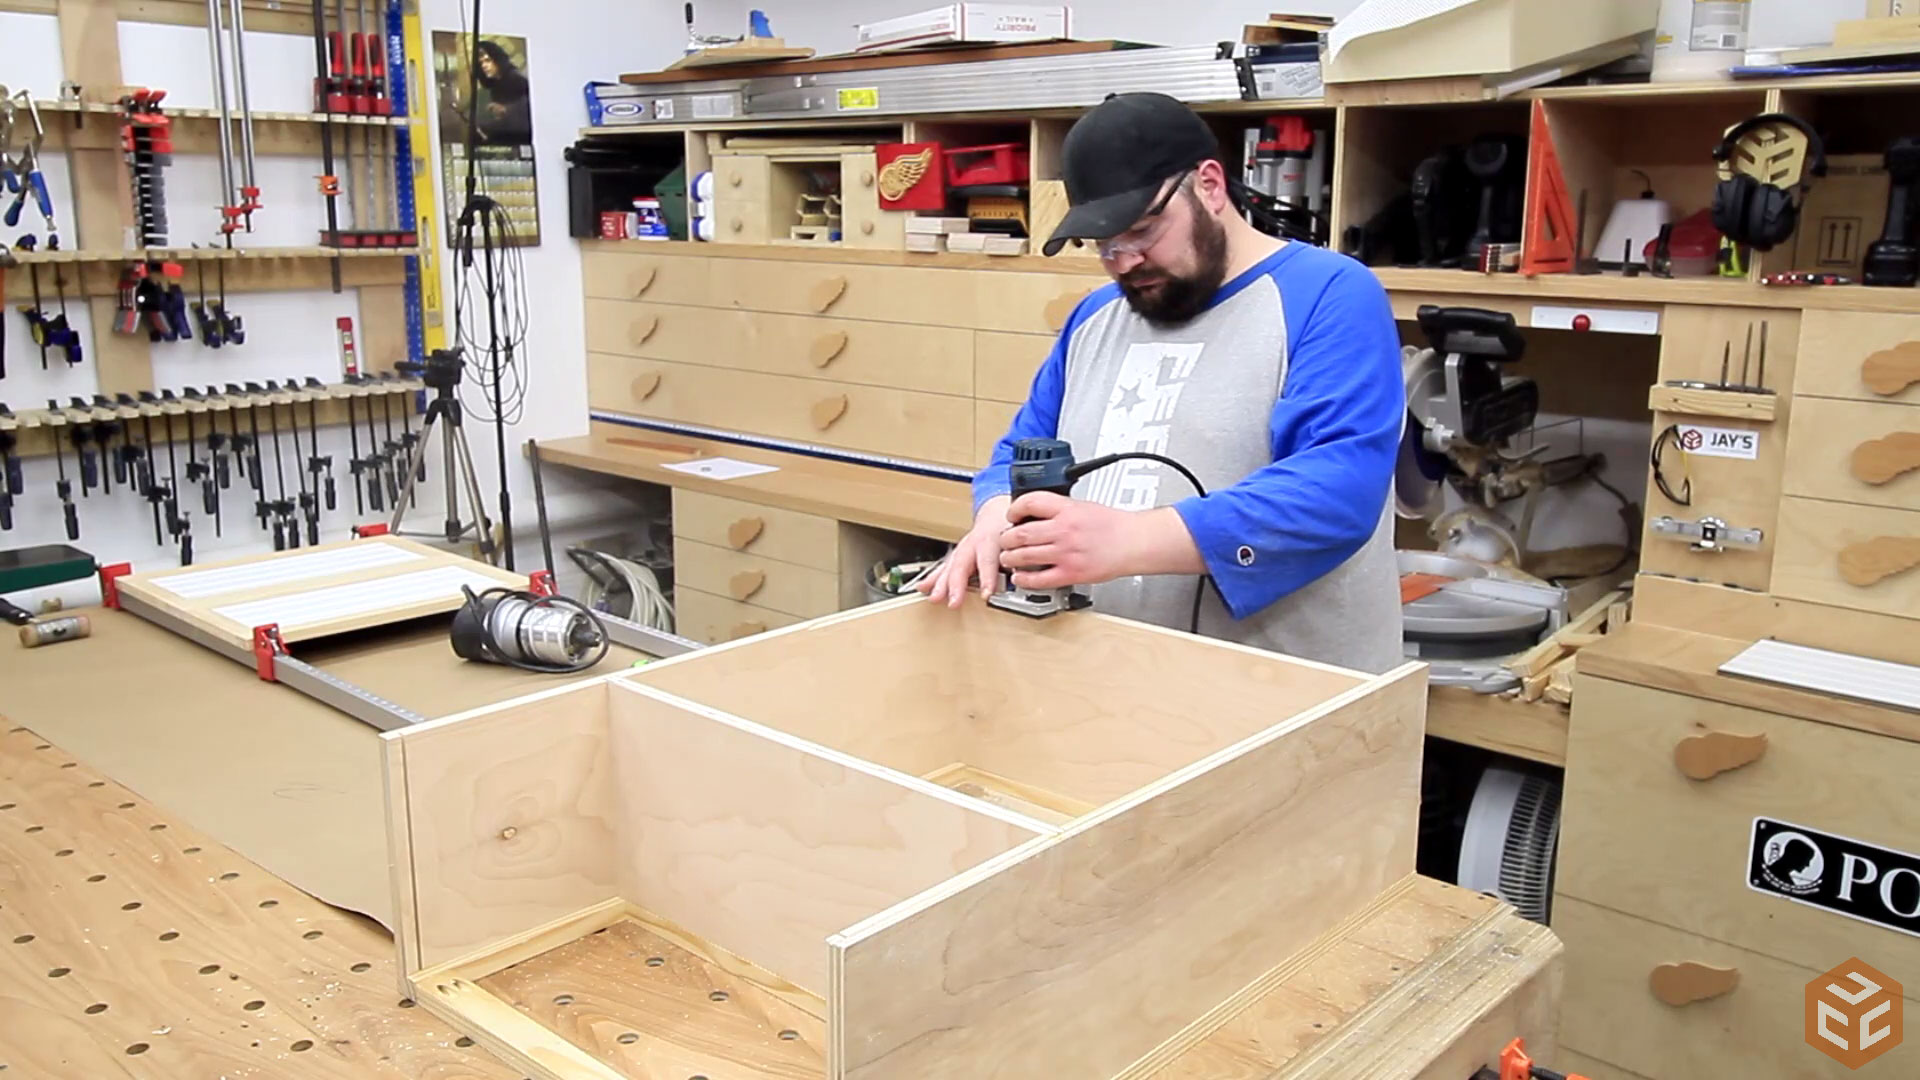
A rabbet is needed for the back panel. Again, beadboard will be used here. Nick used a router to cut out the rabbet.
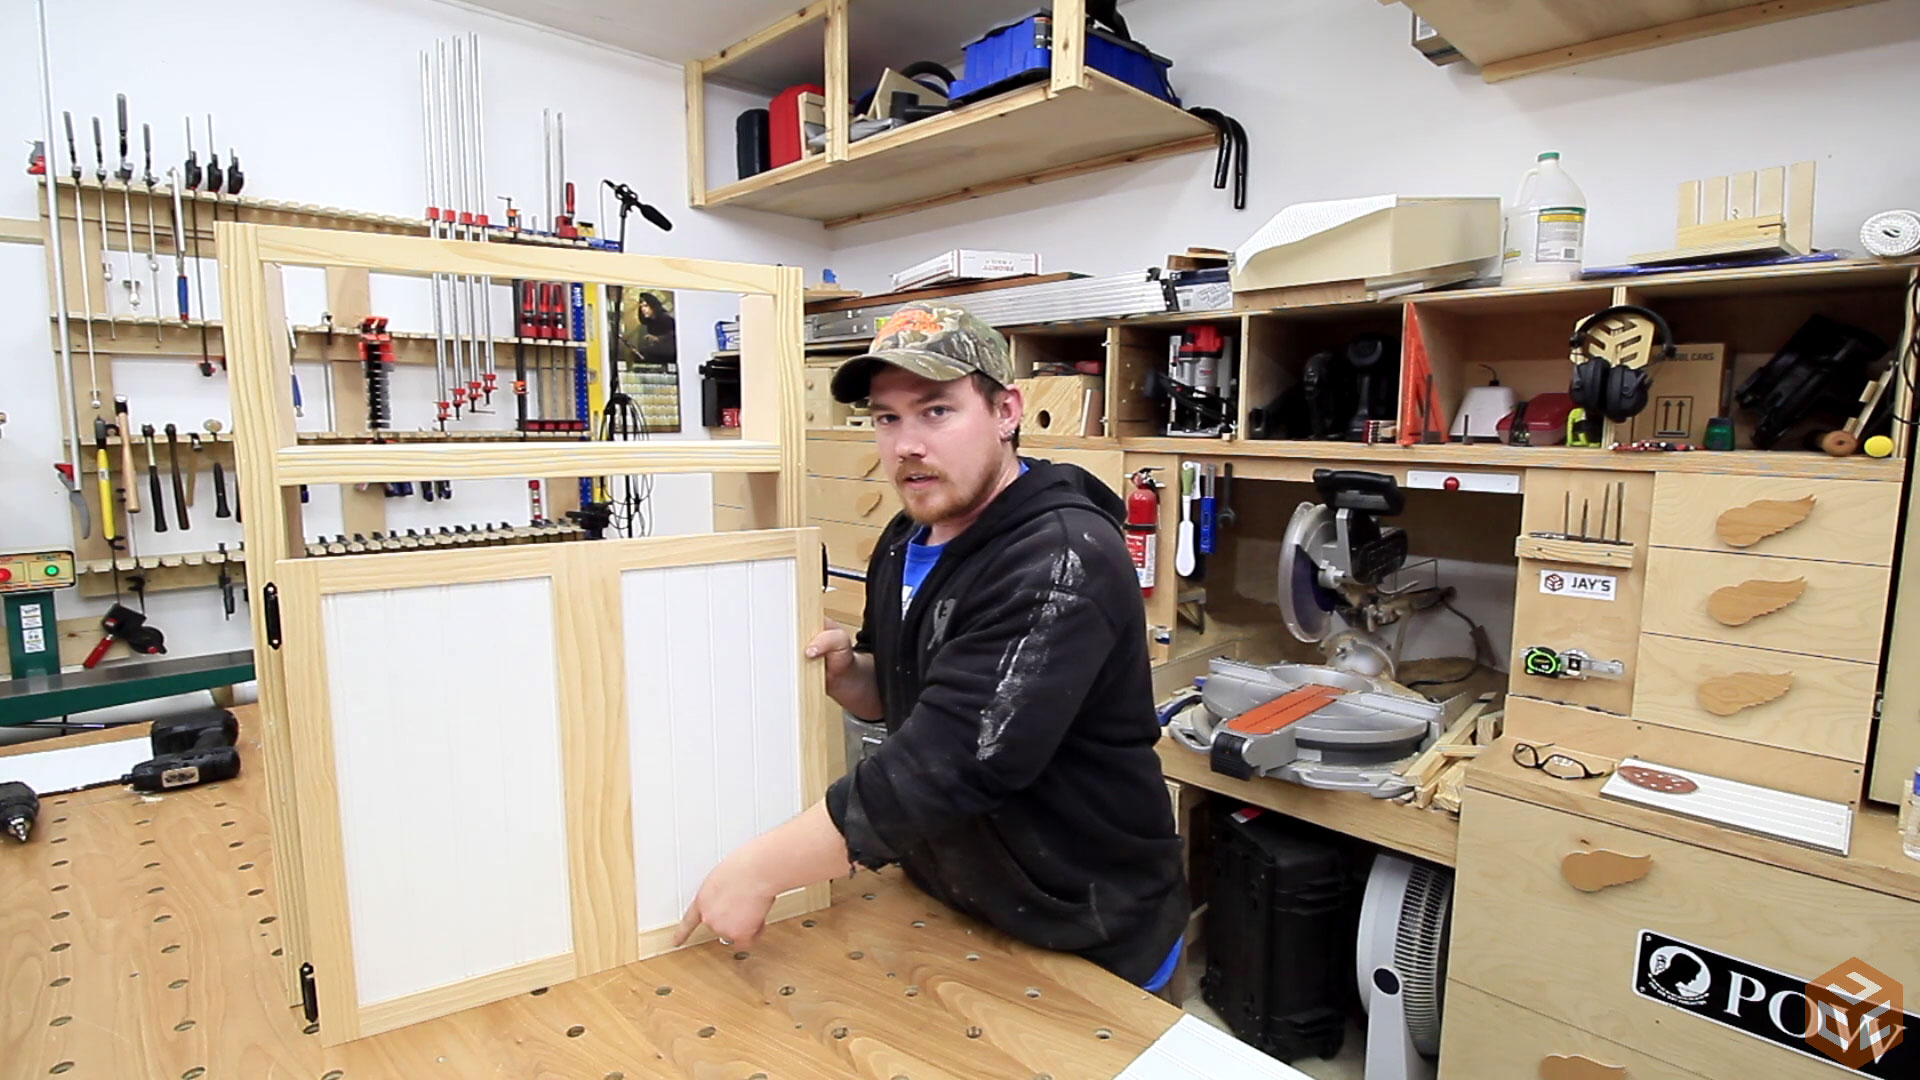
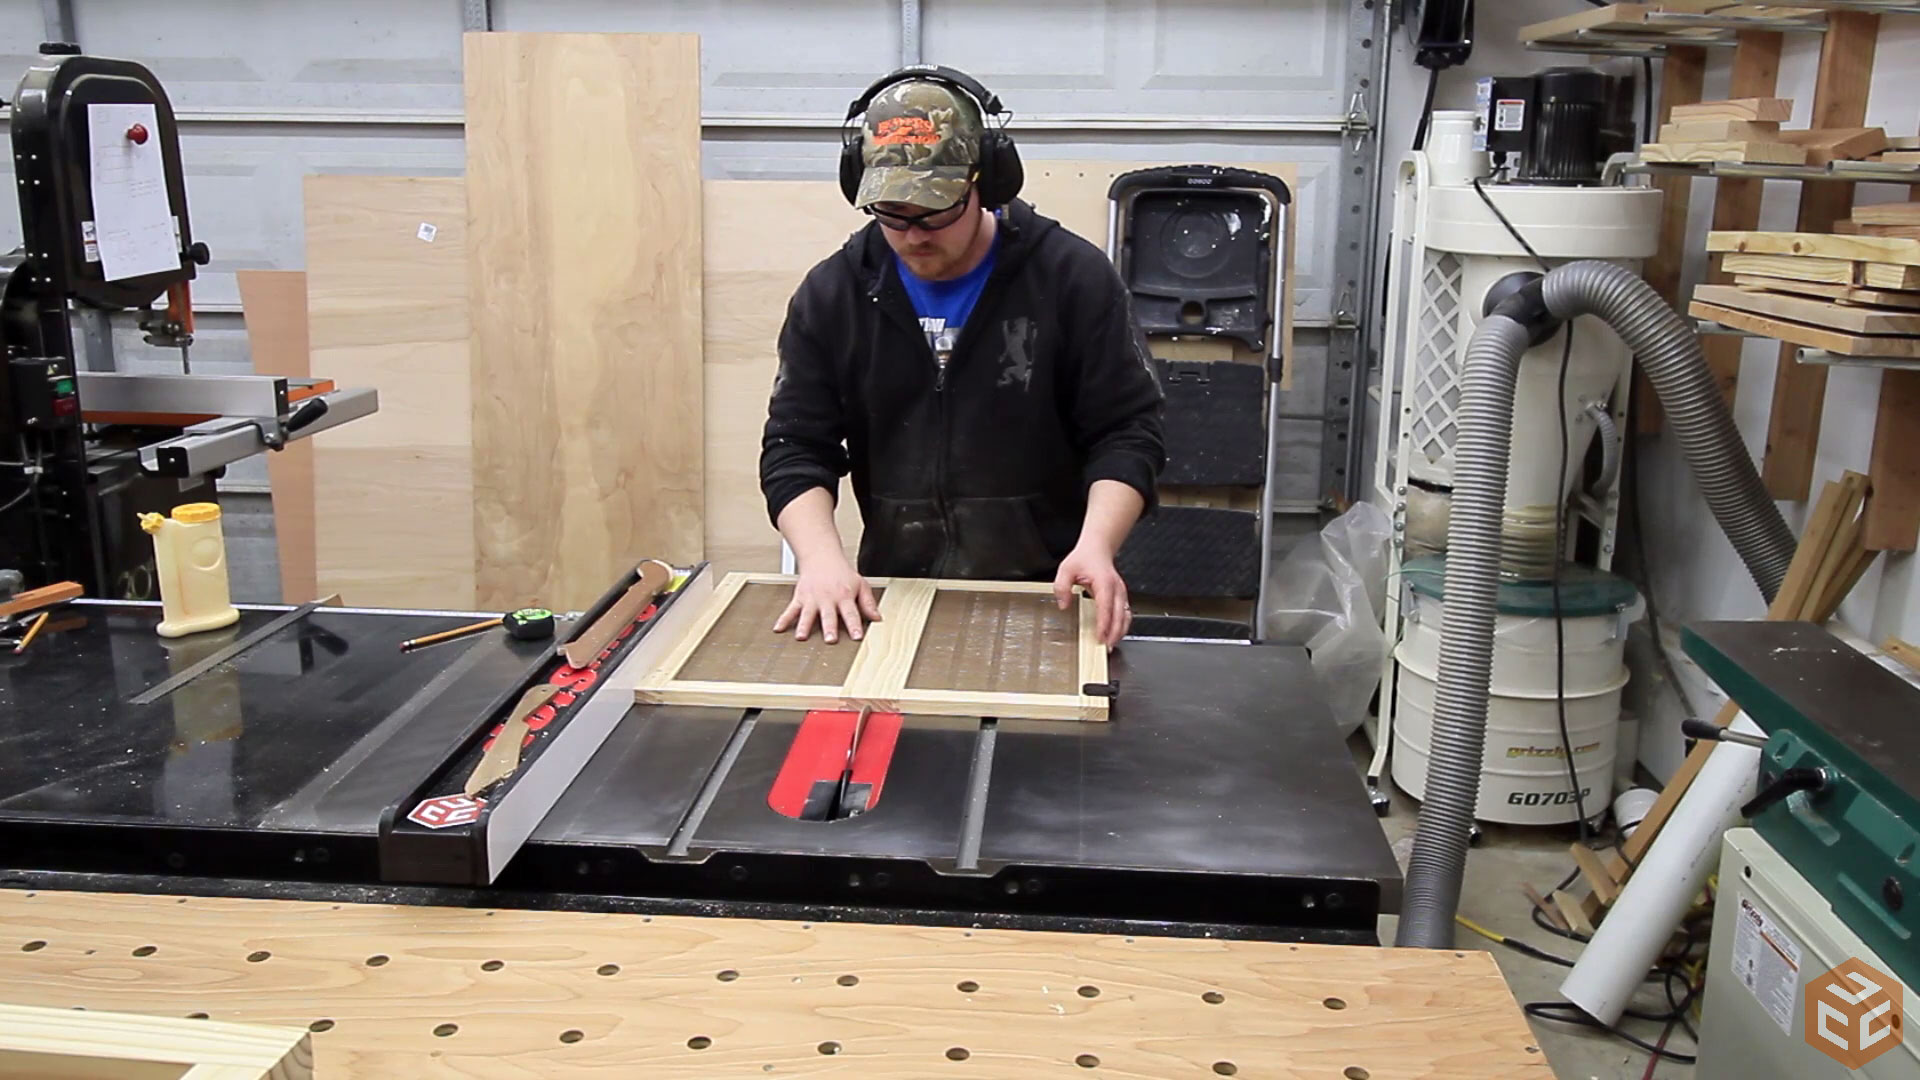
Here you can see the completed single door that will eventually be two doors. I’m not sure if this method saved any time or not but the objective is to mount the single door first to establish the hinge hole locations.
The hinges we used were overlay hinges. I actually took them off some scrap cabinet doors I had lying around. Doing so saved a little bit of hardware cost. I just had to spray paint them black.

After removing the door and one pair of hinges I carefully cut the door right down the middle and turned it into two doors. It’s a simple cut but a little nerve-racking as a simple error to one side might result in having to make the door again or add another step for a repair.
To cover the plywood and make everything look even we went with a satin white paint.
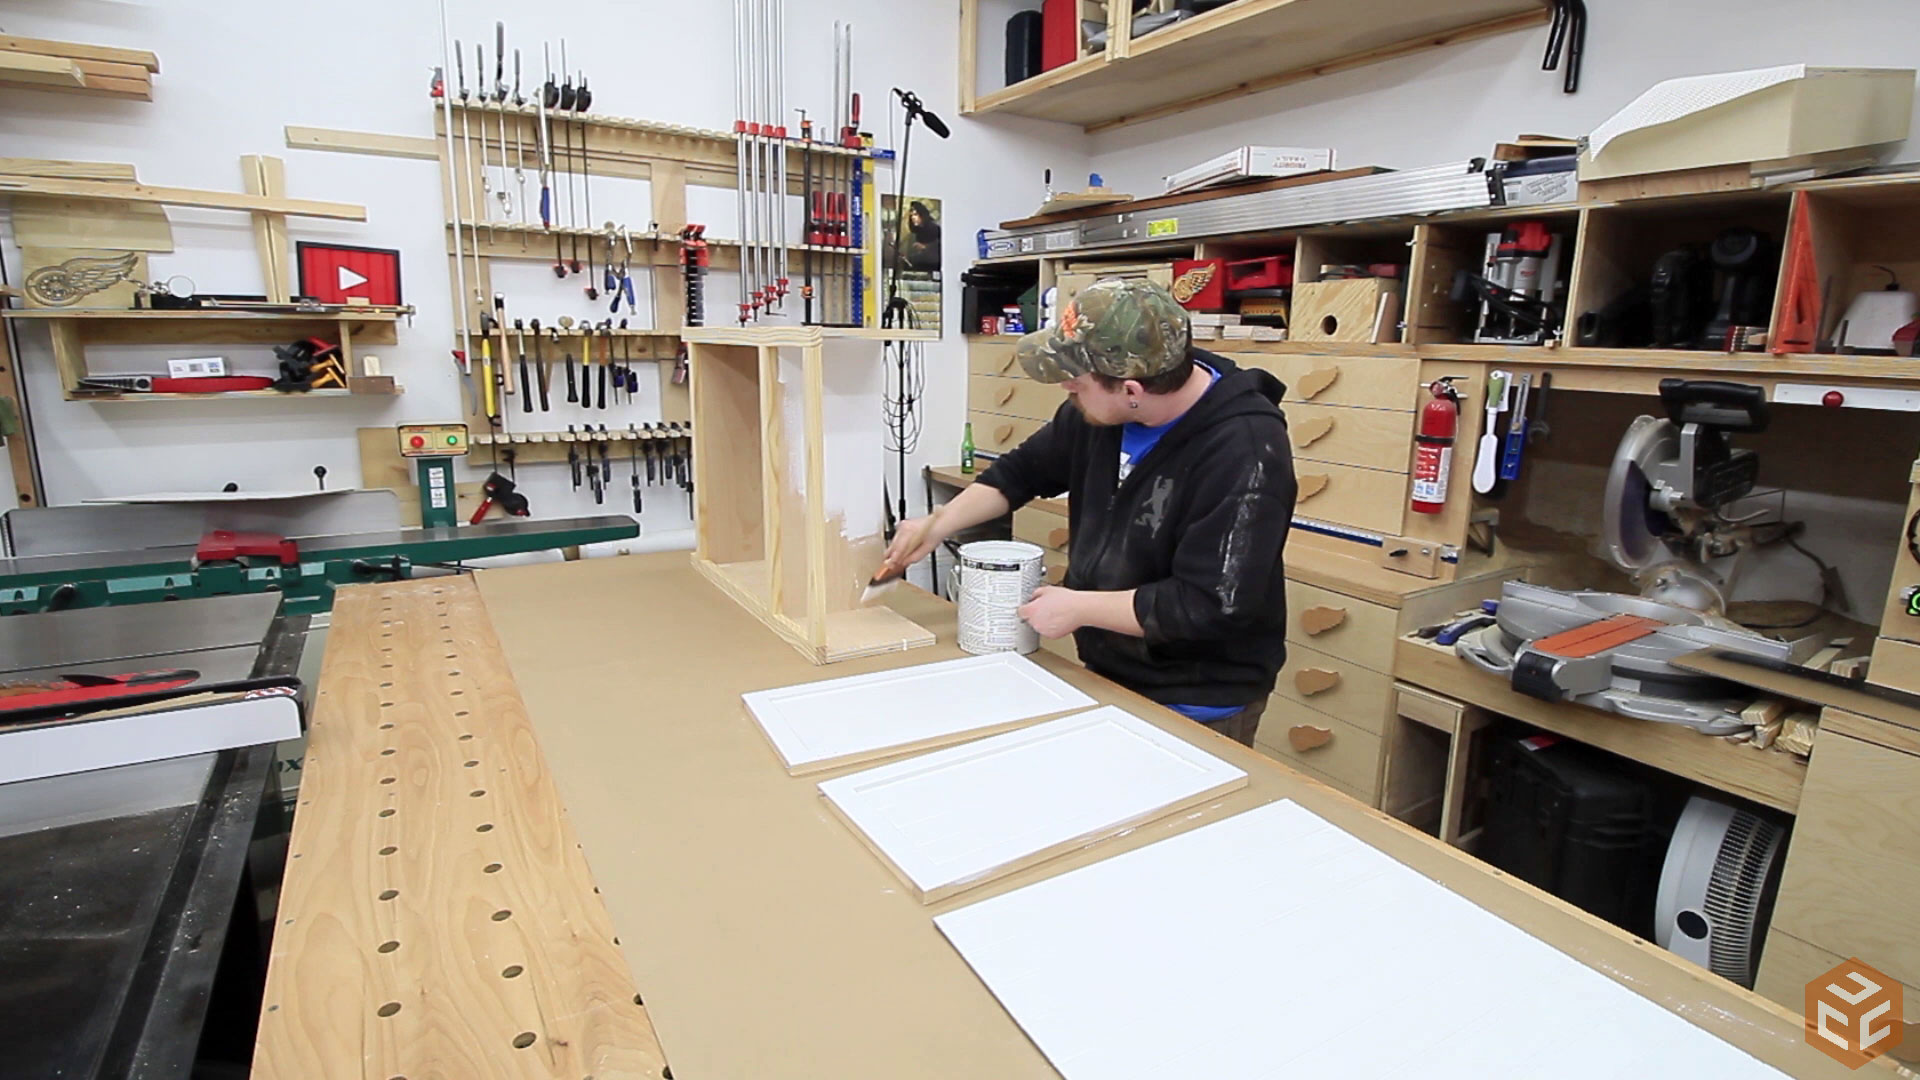
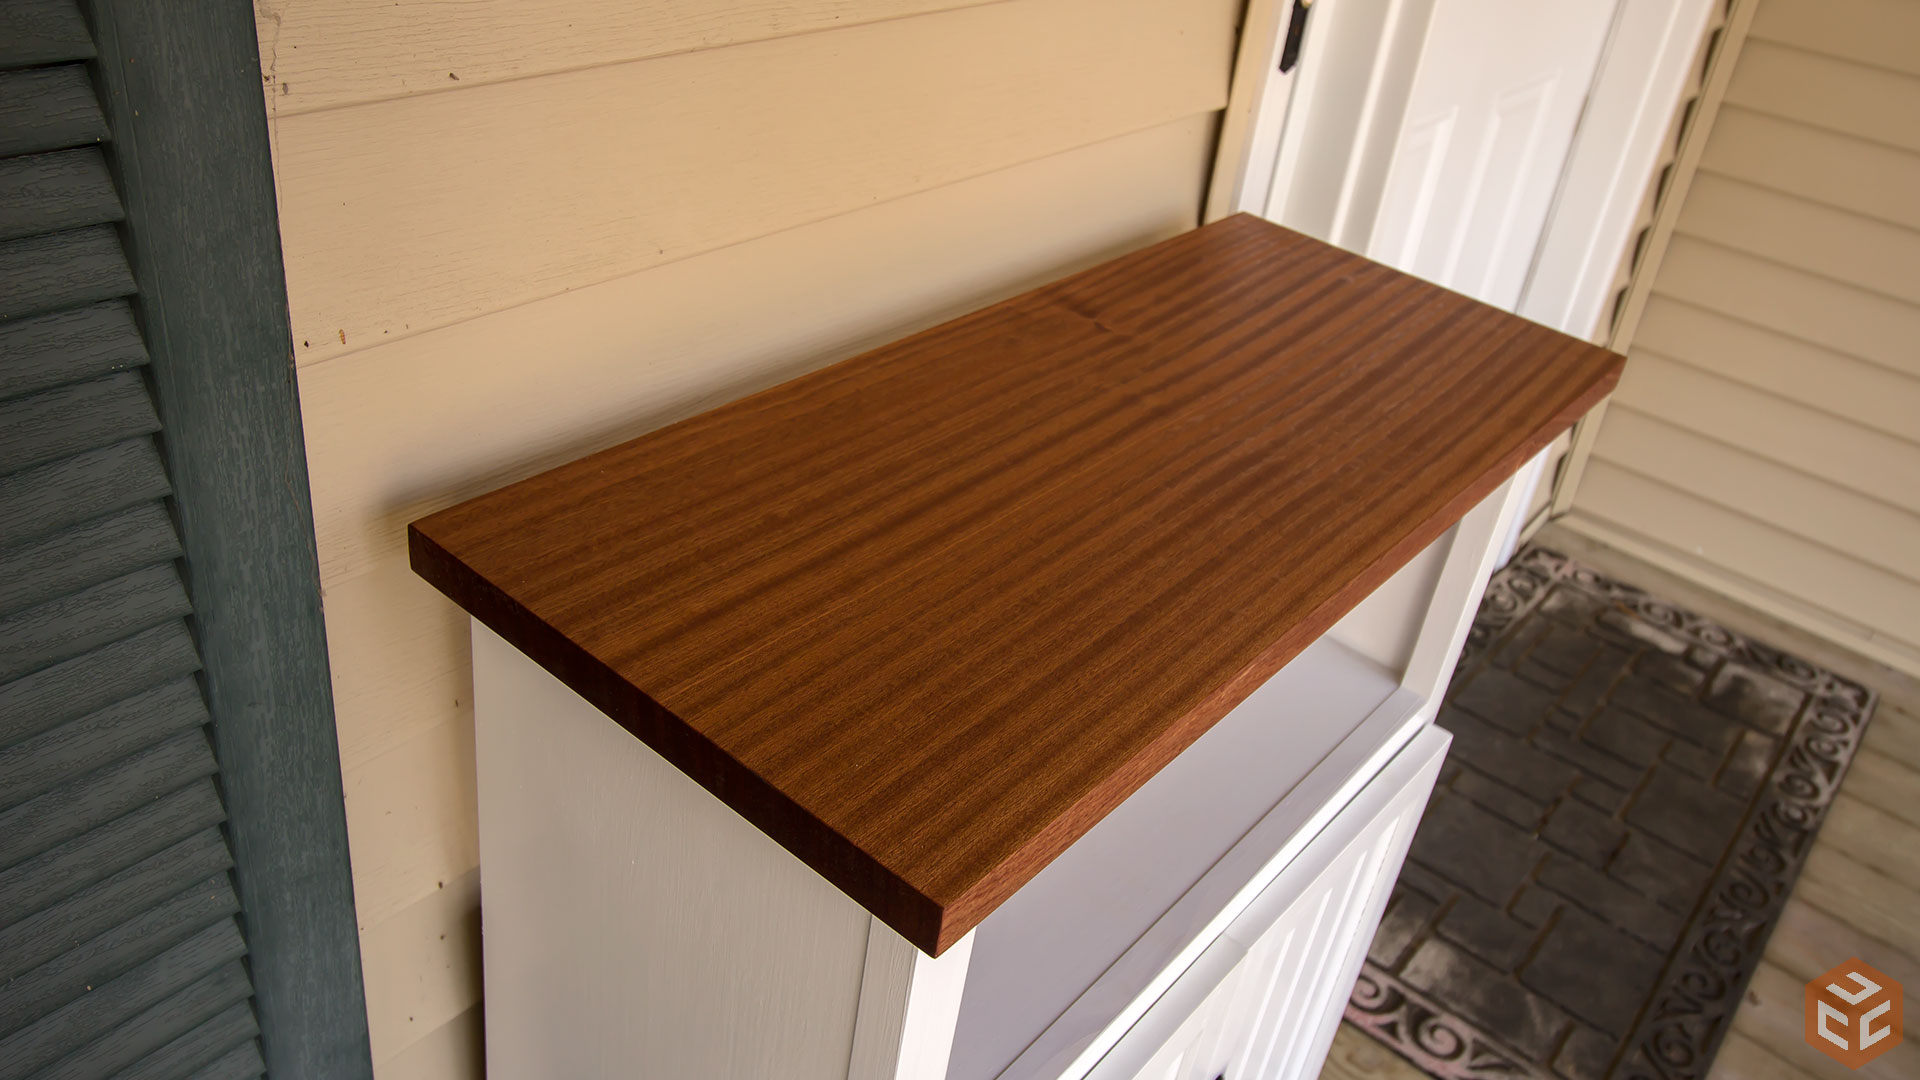
The sapele top was finished with a few coats of danish oil. I really love the way this top piece turned out. This image actually shows the bottom side of the board. The other side is a little more clear.

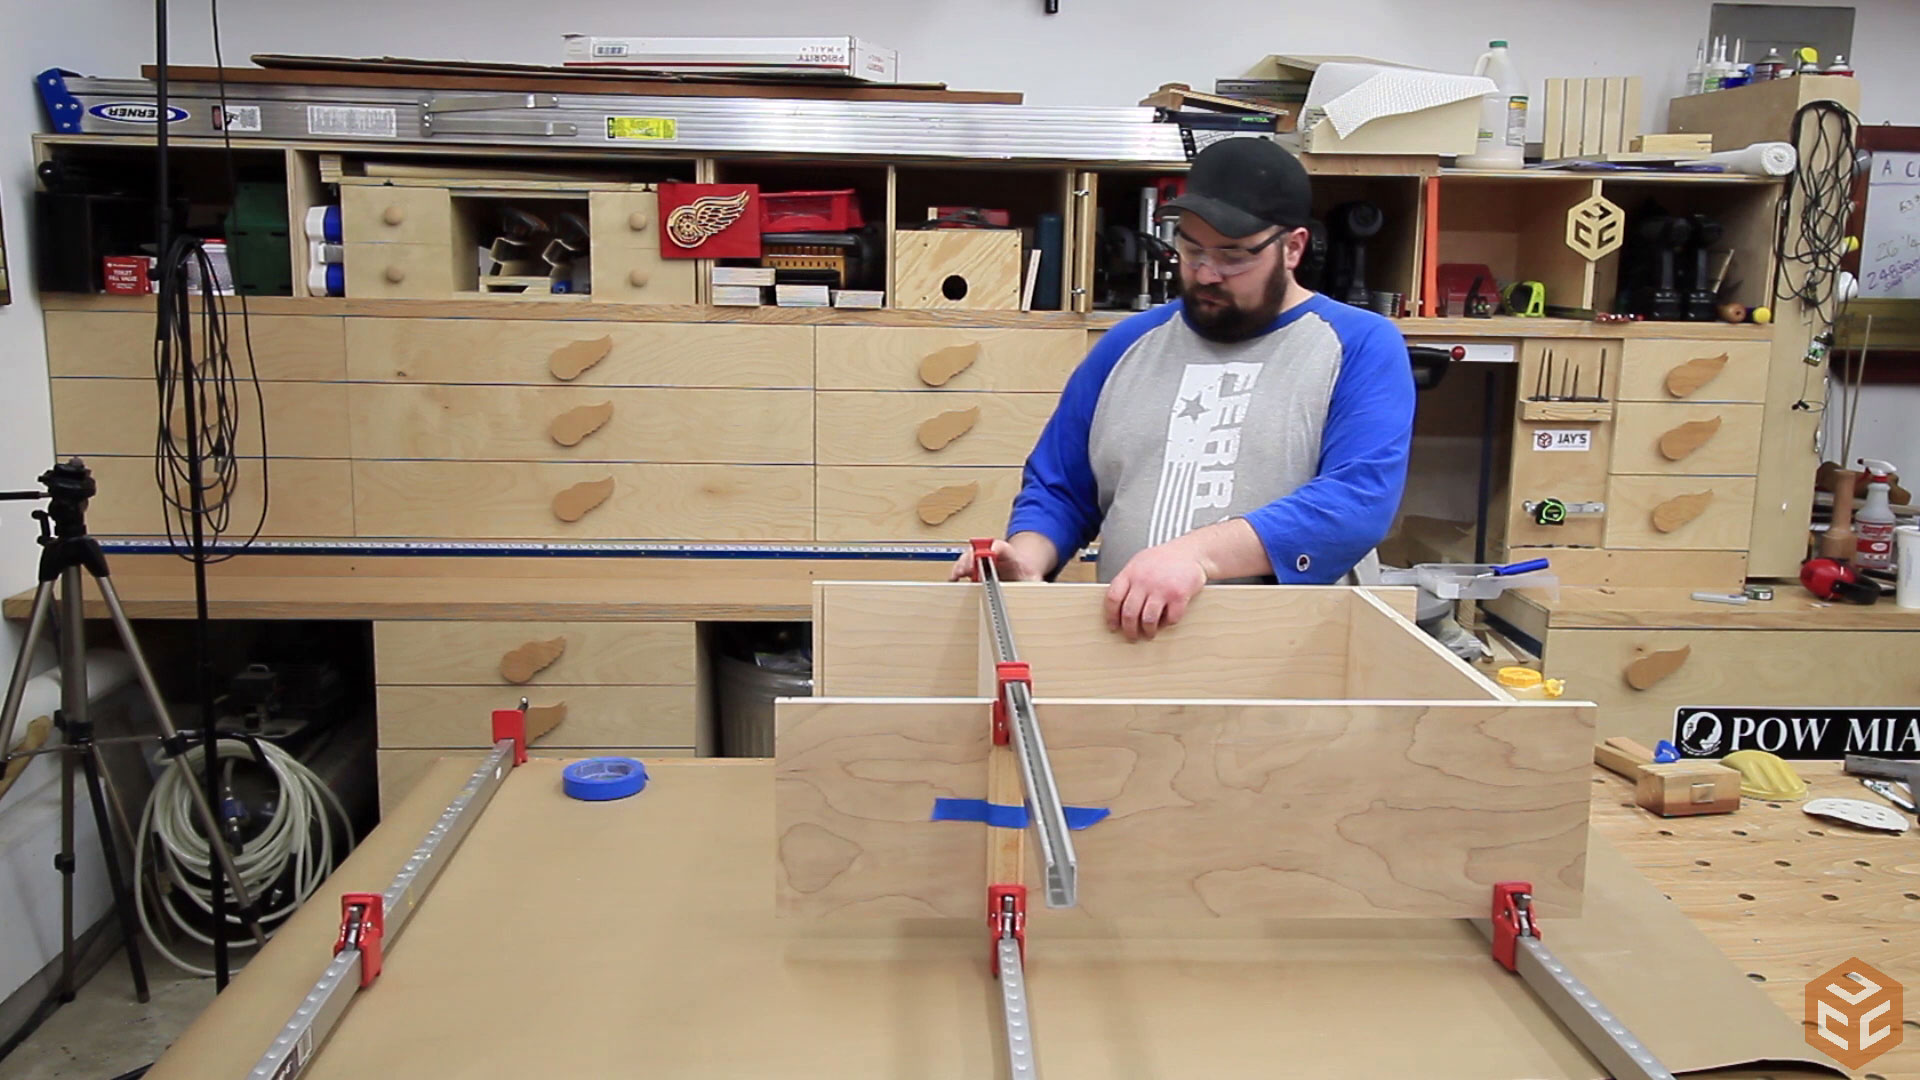
Finally the top can be attached to the base with some table top hold down fasteners. These are super simple to use and do a good job at letting the top move with expansion and contraction. If you don’t have enough room to use a drill you can put a regular hex bit into a 1/4” socket and use a ratchet to drive the screws.

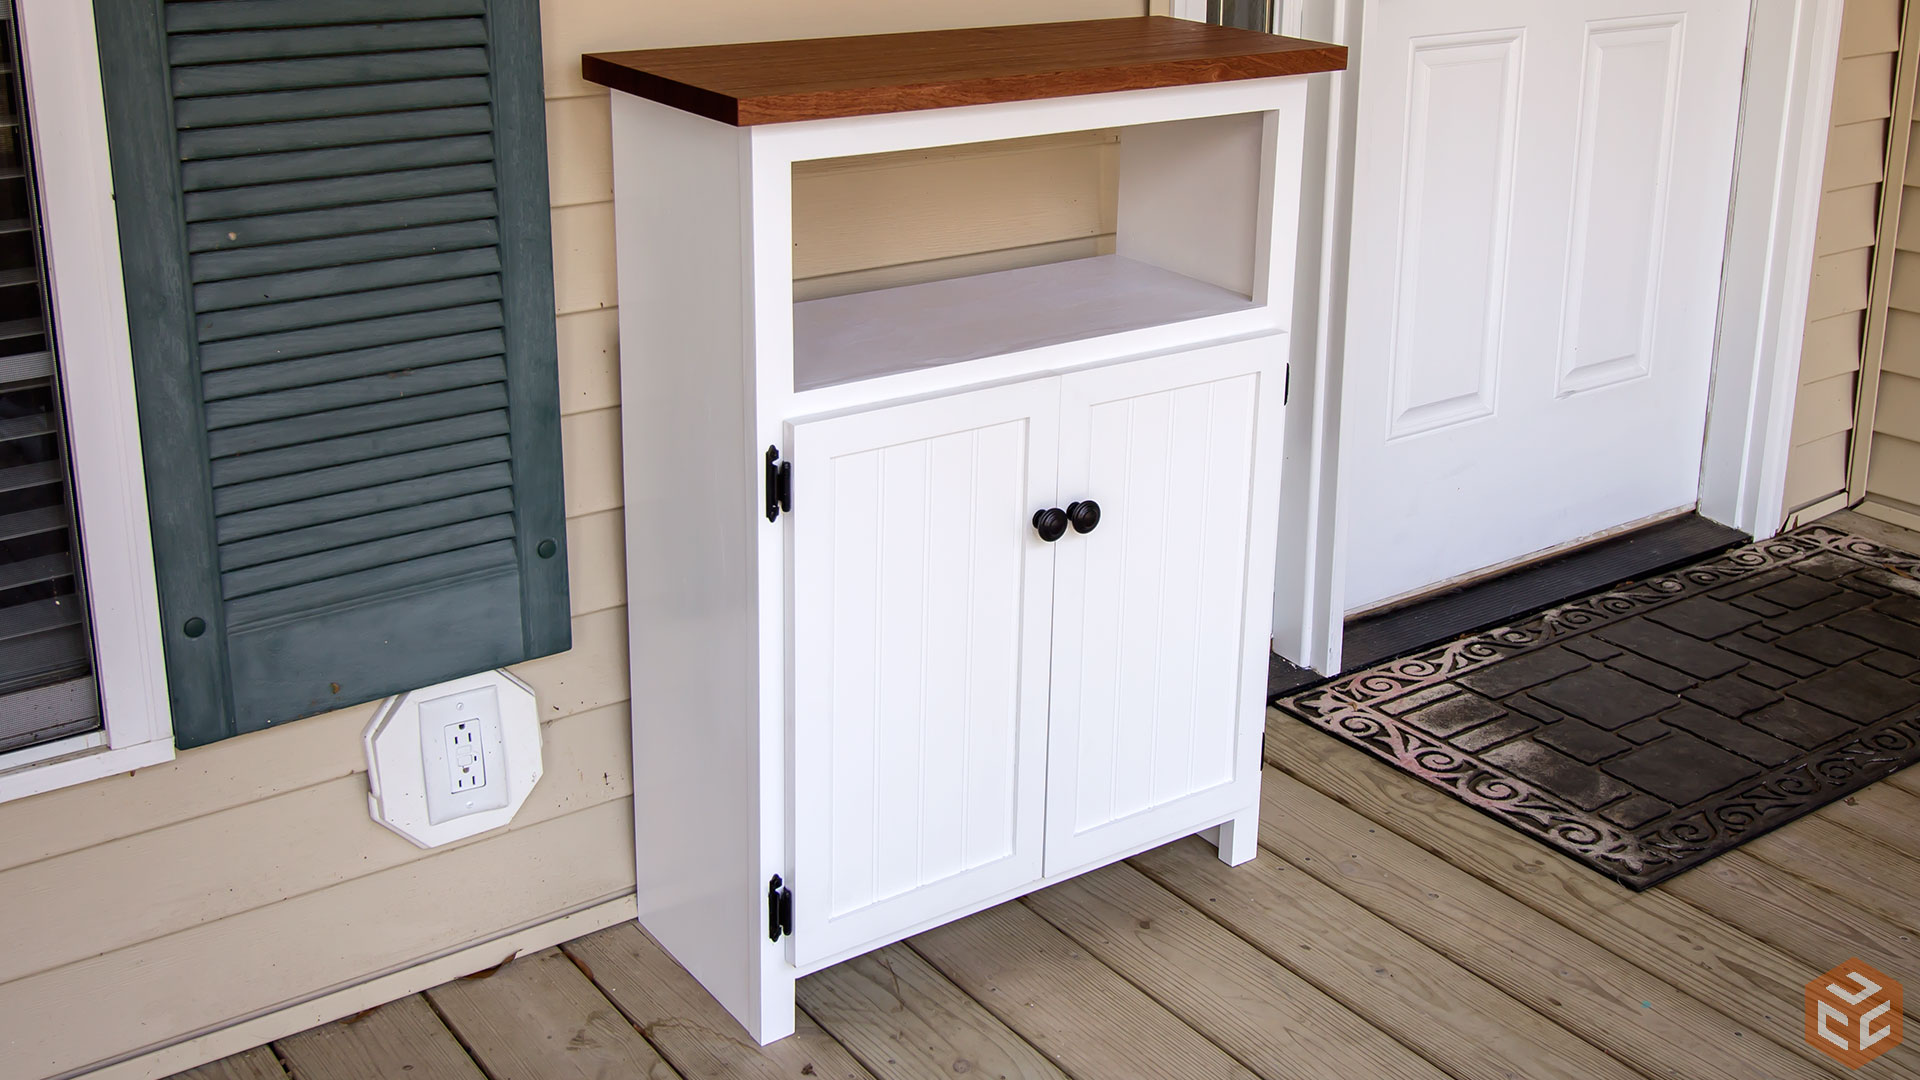
We finished it off with a set of reclaimed cabinet door knobs. Again, spray painted black. The completed cabinet turned out very well. It was a super simple build that looks really sharp and didn’t take up much as far as materials. I actually had everything on hand except the beadboard. That was the only thing I purchased for this project.
As I said earlier, I had Nick Ferry in the shop helping me with this one. Be sure to stop by his website and check out all of his projects and let him know what you think of this project.


WOW! The video production in this one Jay I think it’s your best. Everything was in sync with the music and overall, just amazing!
You and Nick should have your own show ;-)
Great job guys.
Agree. Your production quality is top notch.
Thank you.
Thanks Joey. I do appreciate it. I believe it’s the 6th or so video I synced to the beat of the music.
Learned a couple new tricks with this video.
This is why I keep coming back.
Been watching Nick for about a year.
Cool having you both on projects.
Glad to hear that Daryl. Thanks for stopping by.
do you plan on having a set a plans for this cabinet seems like a nice size.
Maybe if there is enough interest. I didn’t think there would be much interest in this one.
I’d be interested. I’m a noob at wood working so following some plan is how I am learning. Thx
You used a Biscuit Joiner to cut the mortise for the floating tenons? Perhaps you can give more details about this technique. Thanks for the Video.
Hey Felix. It’s not a biscuit jointer. It’s a Festool Domino.
Your videos are the best on the net. I even enjoy the interludes with glue drying and Doritos. Keep up the good work!
Thanks John. Much appreciated.
Beautiful job guys! You two do work well together and the videos have extra immaculate lately. Jay your overall skills seems to be flourishing with every build. Keep the good work going. Nick I’m waiting for your TV lift build because I’m also wanting convert my TV station to the same.
Thanks Edison. I do appreciate the kind words. I think Nick is waiting on a part or two for the cabinet. Should be out soon.
is there a cut plan?
Sorry but I didn’t make one. I didn’t think people would be interested in this specific cabinet.
the reason why i ask is because I can use something like that on my deck and making cabinets is not a strong part of my skills. I want to make the cabinet the way you did making the tongue and groves on the table saw and adding hinges. It would be a great skill builder for me. I can follow along your video’s but the cut list would help me greatly. Once i finish it then i have honed another skill in furniture building.
Thanks Jay for a great how to video and your partner Nick…
Mike
Excellent idea on the door install, removal, rip and reinstall. Makes perfect sense and looks great.
We ended up having to trim the joint where the doors meet a little. Other than that it worked well.
Agreed. I would have never thought of this.
Jay,
I’ve not had time to watch your stuff the last few months. So, for about the first ten seconds of this video I thought for sure you had grew a beard and put on some weight! LOL
Also, it’s a “quiet” front porch not a quite one! LOL Dyslexia? HAHAHA
hahahahaa. That’s funny. Thanks for the correction.
It would be a good look for Jay
You guys look like you have too much fun together. Great job, great video, and super fun watching you two working together.
It was definitely a lot of fun. Constant laughs.
it was almost too much fun – hoping Jay kept a lot of the bloopers!
Great piece, loved the top it finished awesome!! Love the look of the natural wood and paint finish. Keep the ideas coming.
Thx Jay,
It’s a great virtue to share. Be blessed.
Elvis
Jay/Nick,
Great video you guys! Love the team work. I know you said there would not be enough interest in plans for this project, however I believe a lot of beginner woodworkers would benefit greatly from a set of plans for this elegant yet easy project! Great Job and keep those video coming!
Let’s go Red Wings!!! Clap, Clap, Clap,Clap, Clap, Clap! and repeat!
-Kyle
Love your stuff Jay, new to your channel eh.
Appreciate the value you bring and share.
*Please put a waterproof cover on your exterior outlet, confident that it’s GFCI right :)
Learning, growing,
The Man, The Ant-Myth, The Bullet!
Fantastic as always, and the editing of the video’s only gets better & better.
Do you have plans for this project as I would like to pirate it for my wood shop class here at my high school where I teach in Wisconsin.
Thanks again, great work gentlemen.
Kevin
As of right now I haven’t made any.