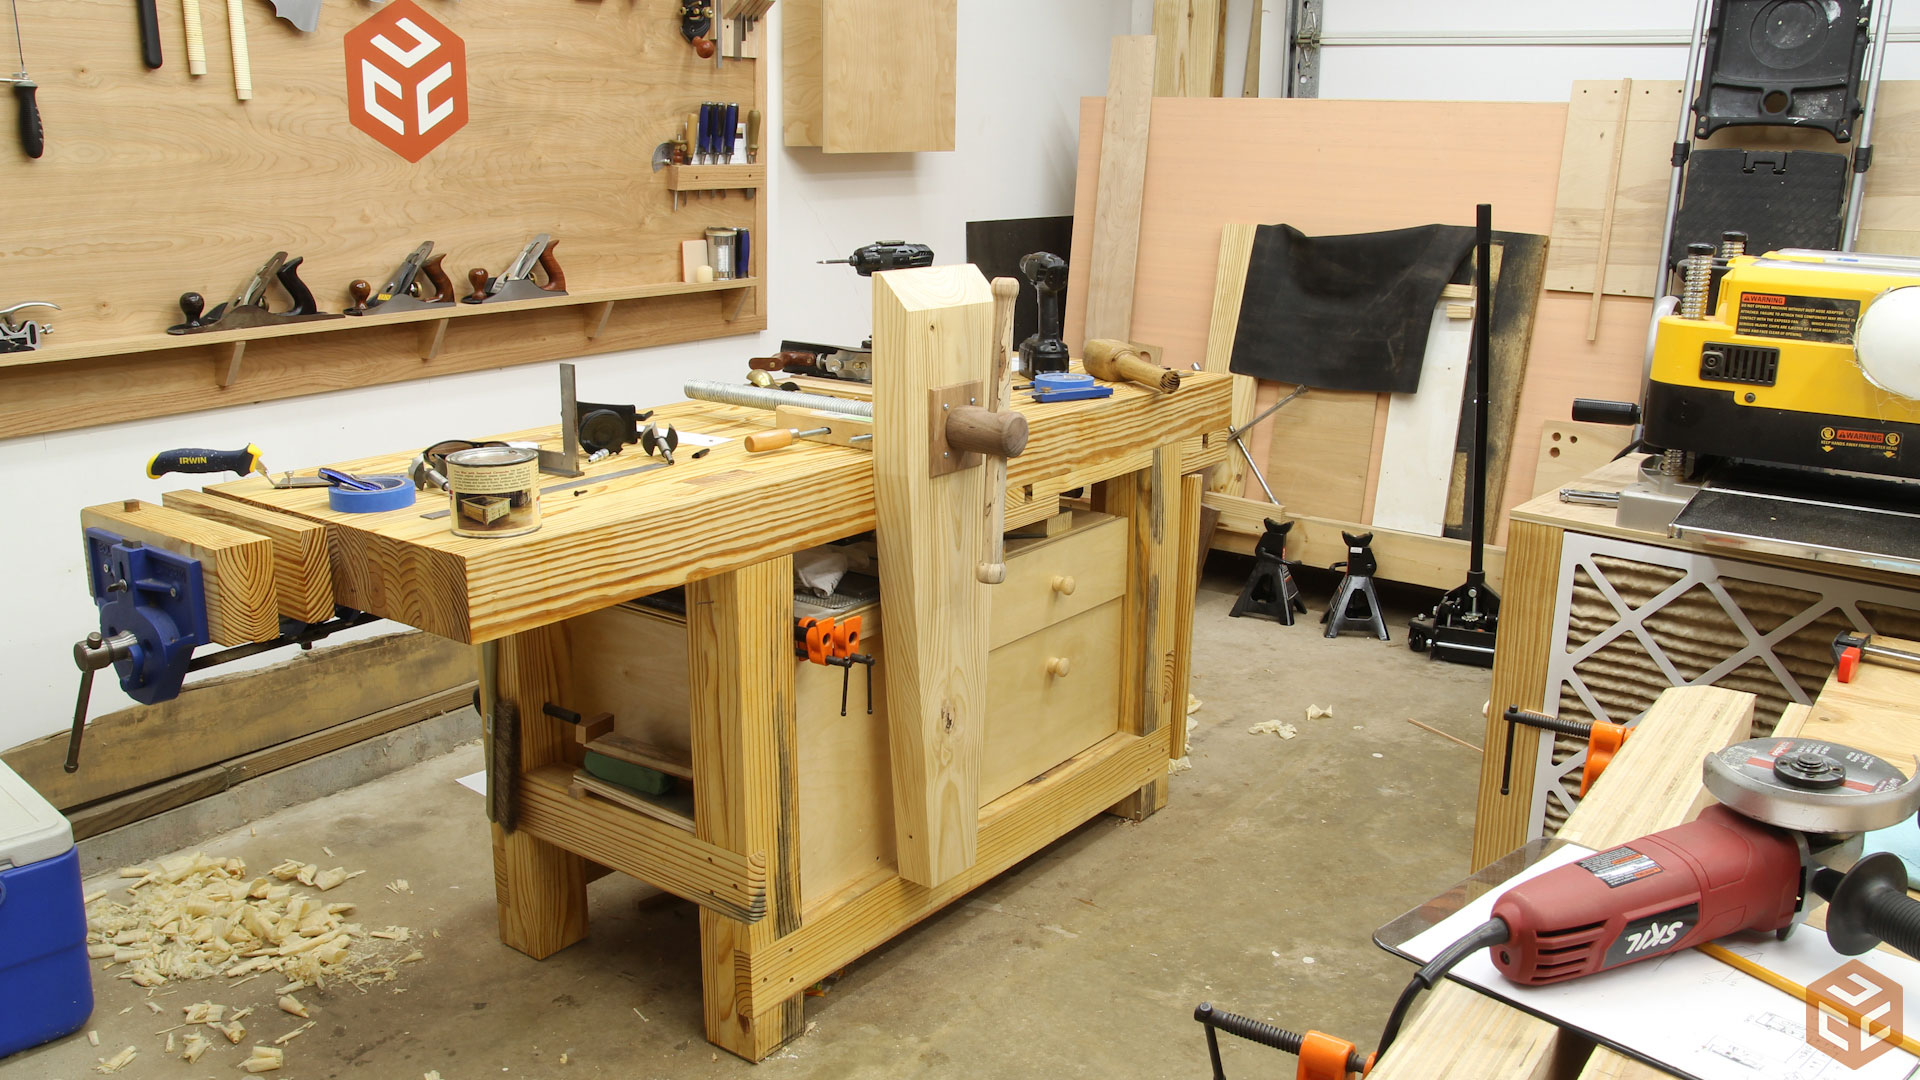
I built my workbench back in January of this year (2016). I love it. It’s my favorite station in my shop and my go-to area every time I enter the shop. My favorite feature on the workbench is a homemade leg vise. When I made that leg vise I used a screw kit from Dema Gamayunov as I didn’t have a lathe at the time to turn my own hub.
I have since acquired a lathe and had the opportunity to make another leg vise. This one isn’t for me though. Mine is still working fine with zero problems. The new leg vise will be made for my friend Shawn Stone. He lives close to me and I stop by his shop from time to time. Shawn has been wanting to make a traditional style workbench of some sort for a while now but just doesn’t have the room to do so. During my last visit I suggested he add a leg vise to the 2×4 utility style workbench that he has secured to the wall. He liked the idea and we came up with a plan.
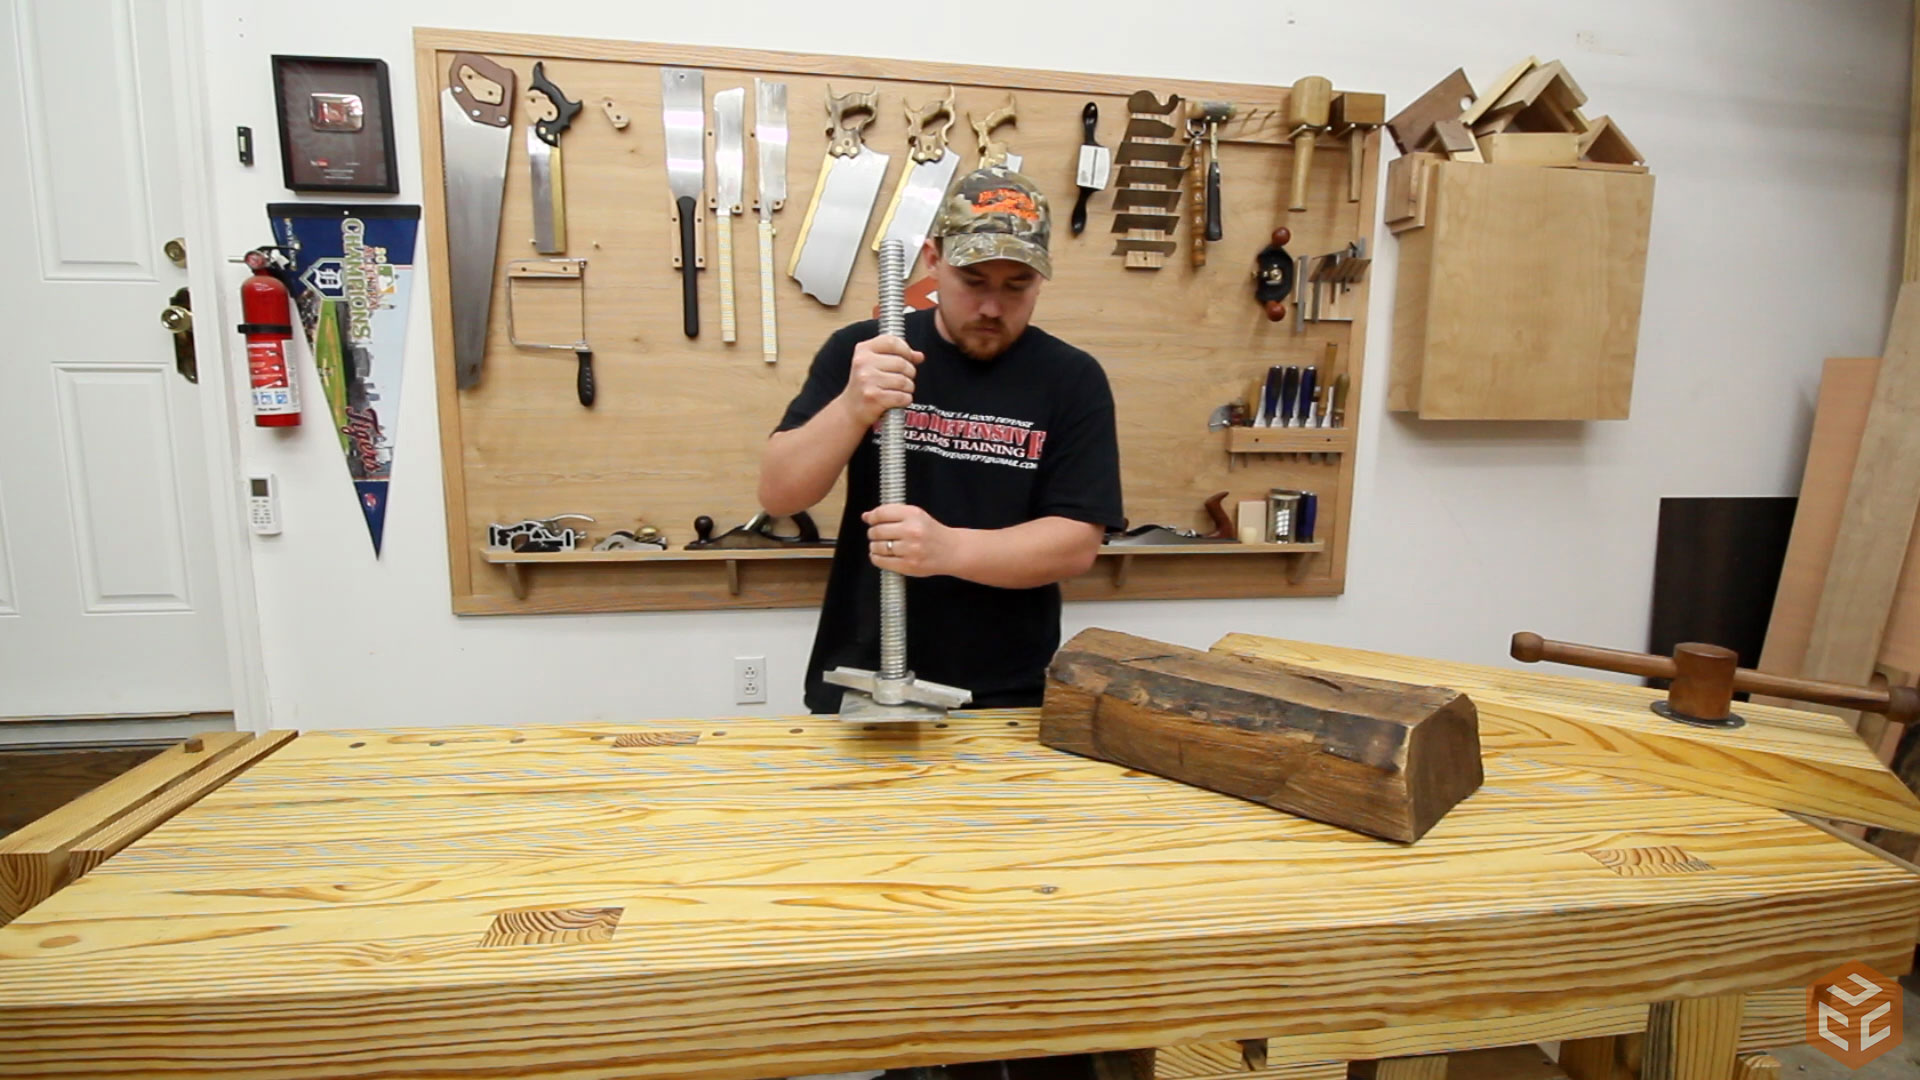
I thought it would be a lot of fun to make the vise myself so I decided to do so. I’m not trying to reinvent the wheel here so I literally used Dema’s design with a couple personal touches. Be sure to check out both Dema’s and Shawn’s YouTube channels. First up was to remove mine and use it for reference.

For the screw assembly I used a scaffold leveling leg that my friend Wayne Brown gave me and for the hub a chunk of walnut that Shawn acquired from Matt Cremona (another YouTube channel you should check out).
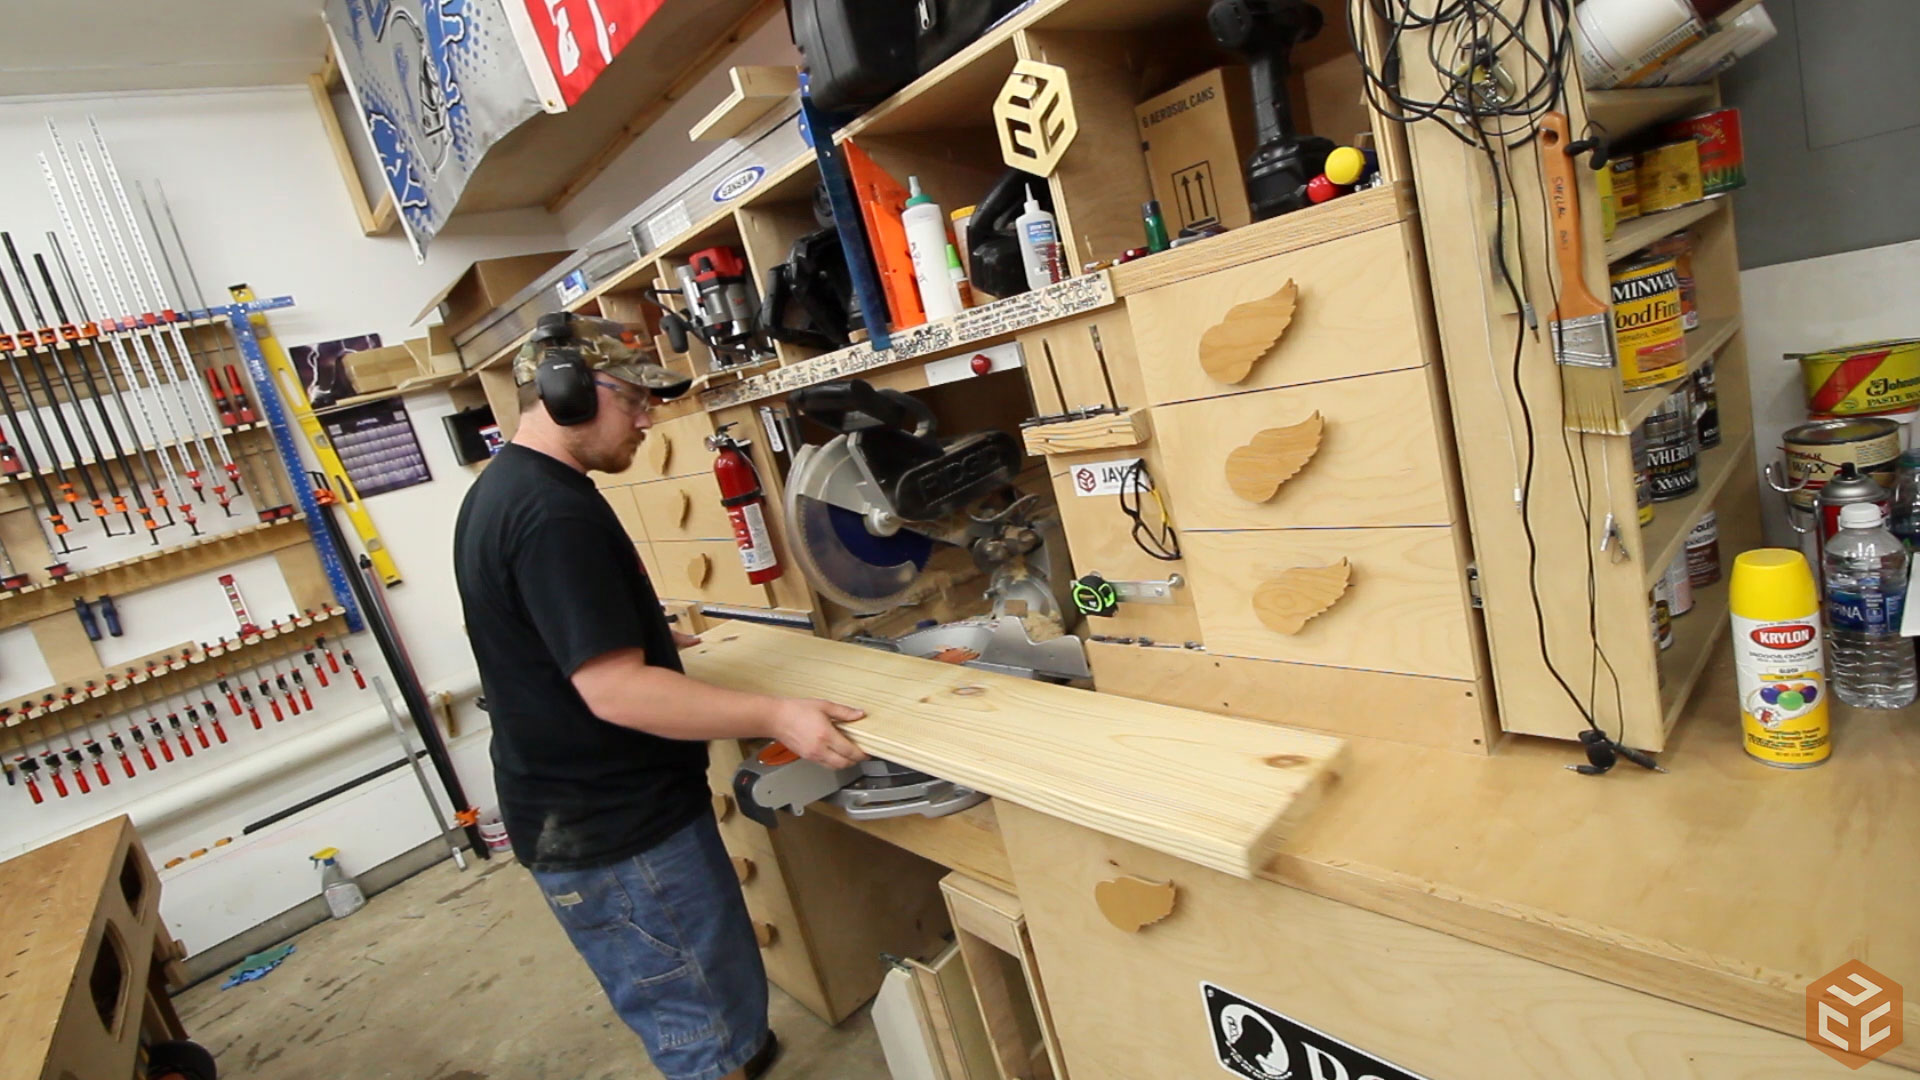
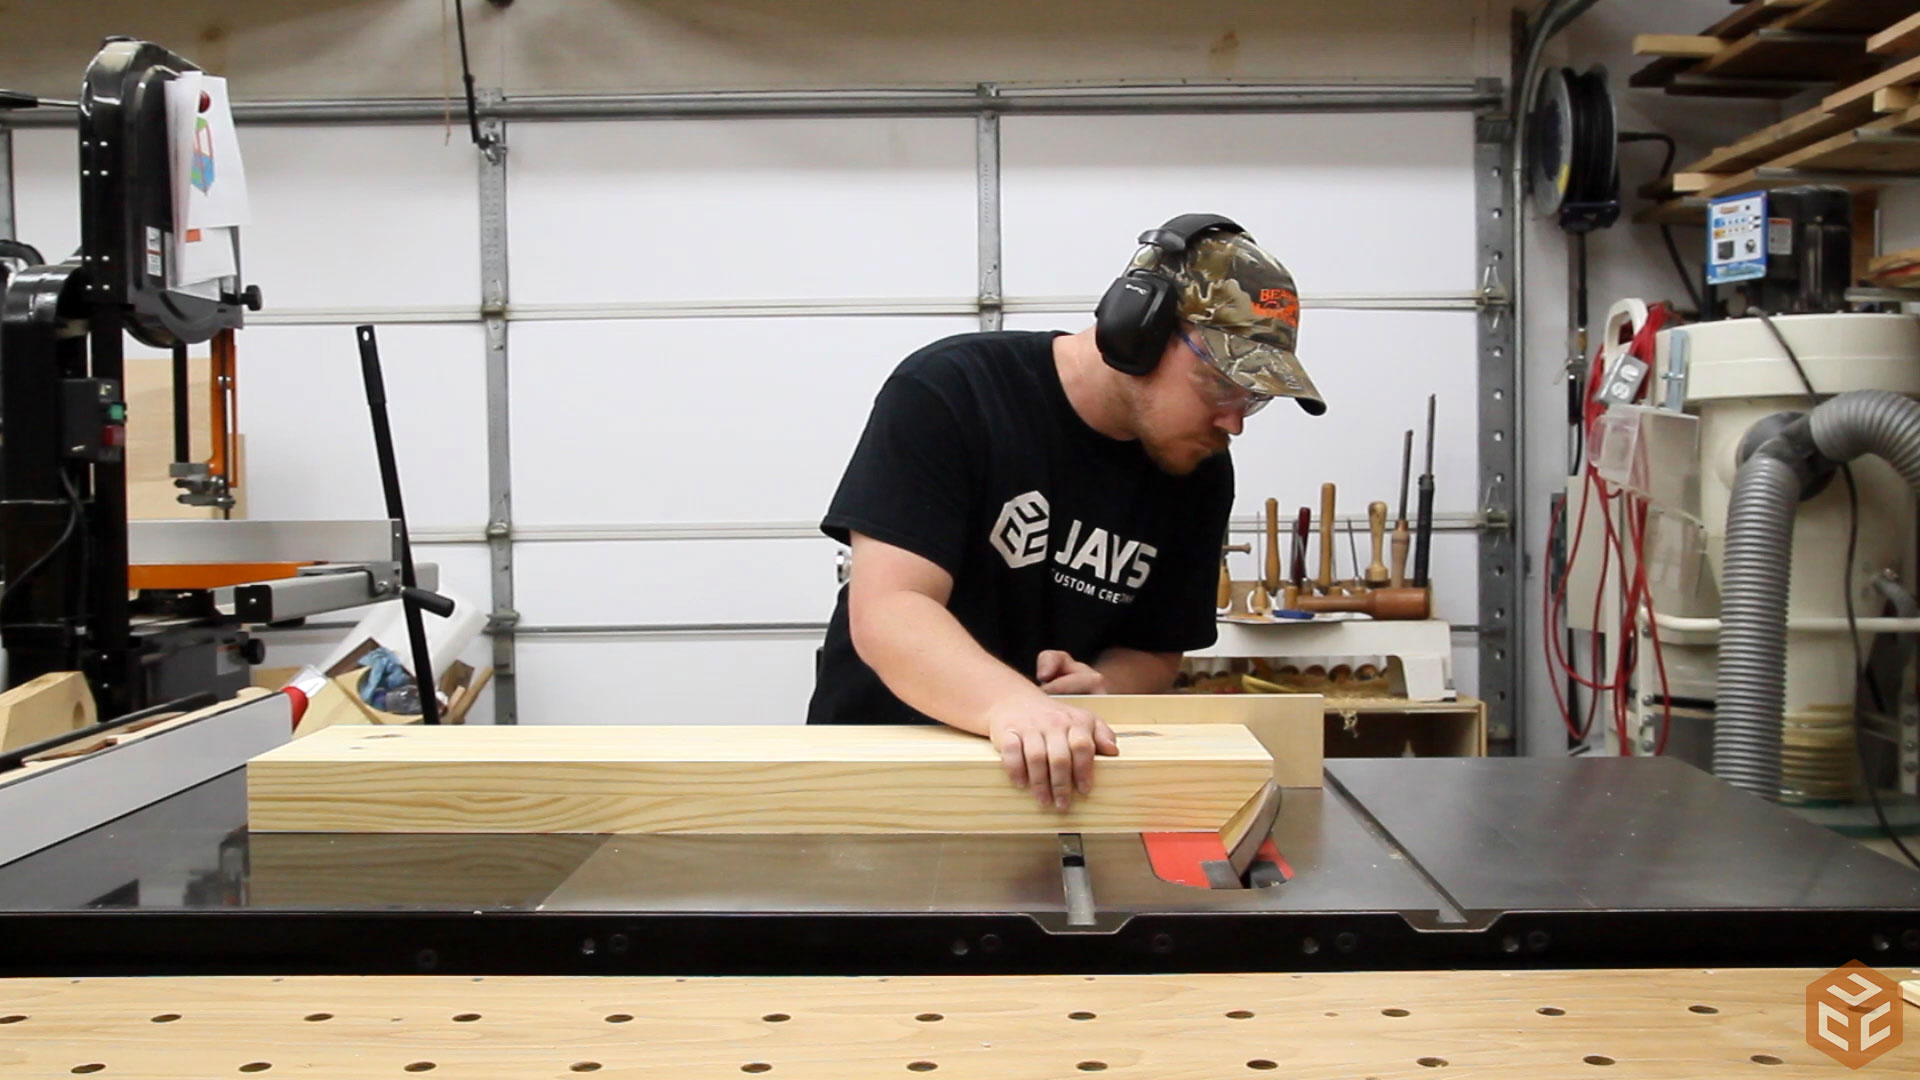
Before getting started on turning the hub I wanted to get the chop glued up in clamps. I used 2×10 pine for my chop and had zero problems out of it so again I’ll just duplicate that part on this build as well. I first cut two pieces at my miter saw station. I’ve said it a lot but having a dedicated miter saw area that has the capacity for not only wide boards but also lengths longer than 8′ is incredibly handy. And the storage is also awesome :)
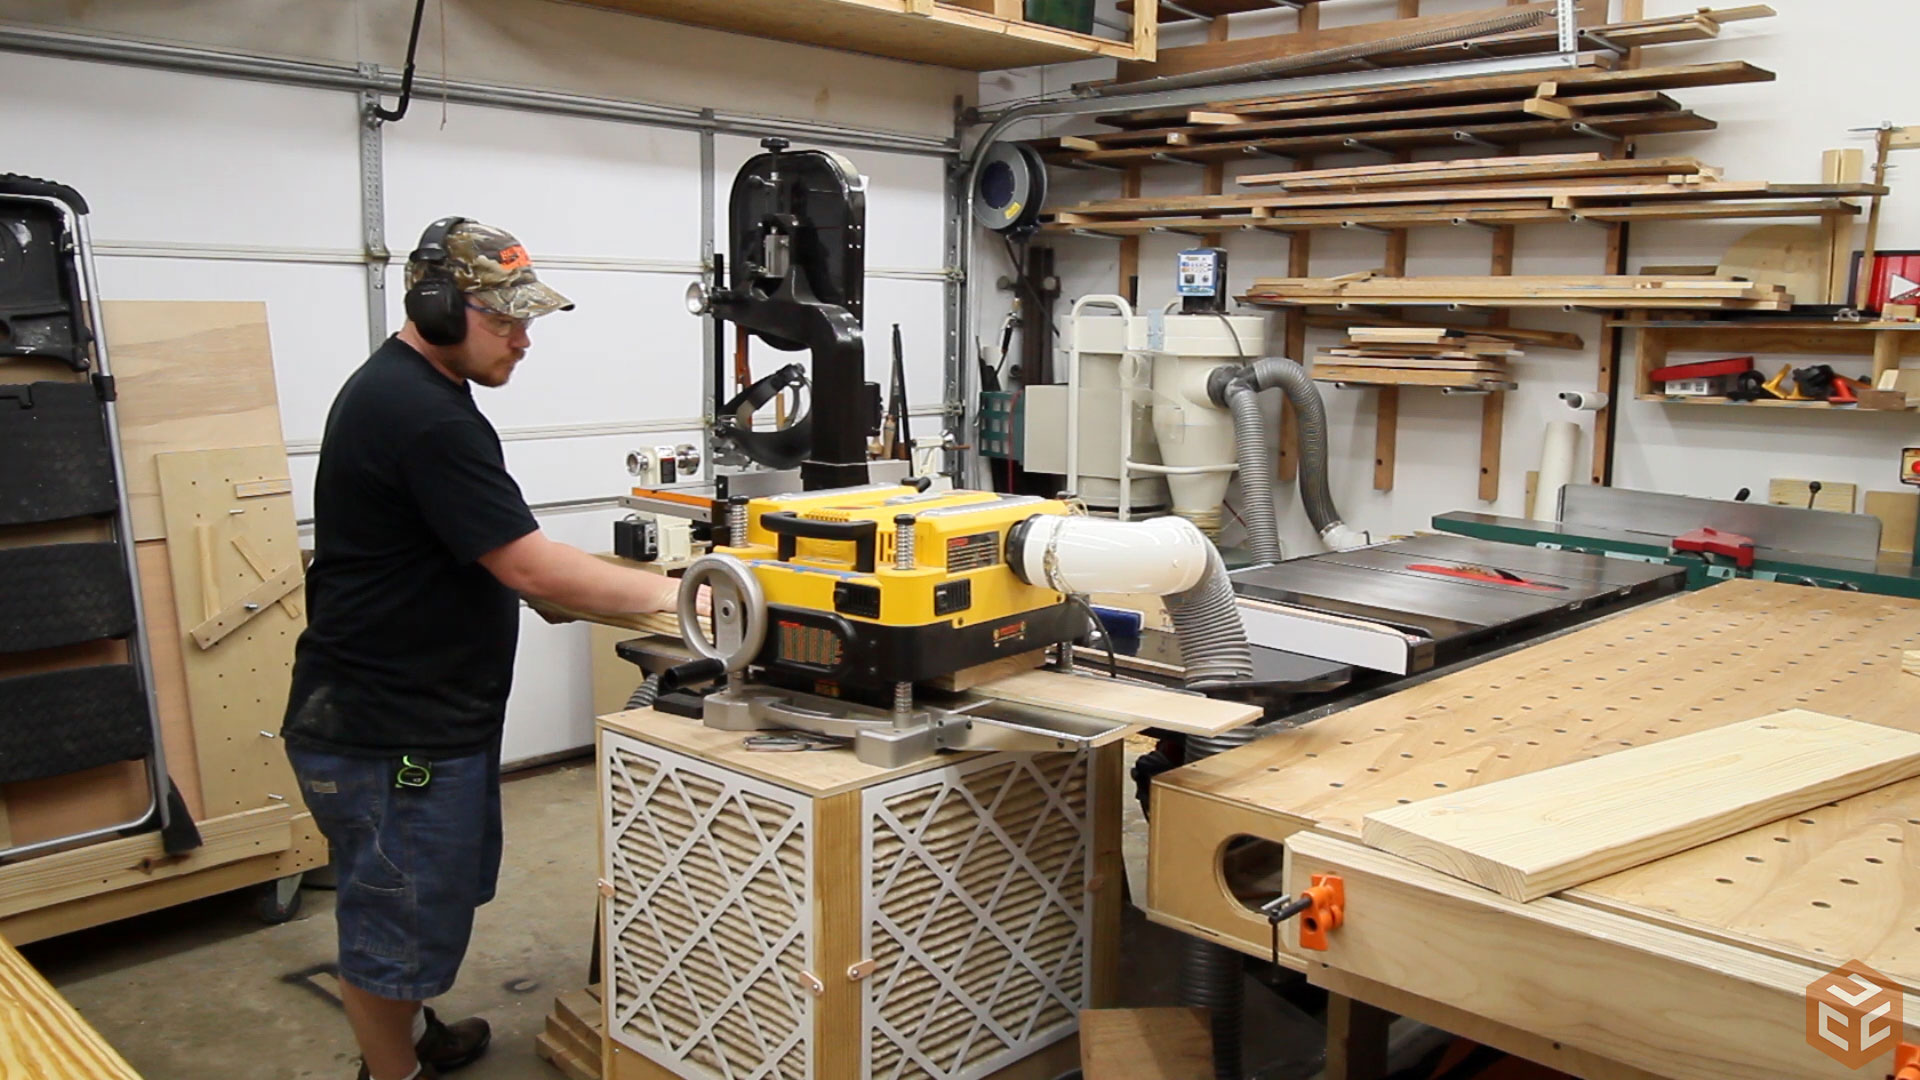
I wanted a nice clean glue joint so I started at the jointer to get the faces nice and flat. As you can see the board is wider than my jointer. I previously made a video showing how to joint boards wider than your jointer with a jointer and planer. The process is really easy and increases your jointing capacity.

The jointer basically makes a wide rabbet cut. With a piece of plywood down on the bed of the planer the jointed rabbet can ride along the plywood and plane the top surface flat and parallel to the rabbet face. Then the board can be flipped over and the rest of the original face will be planed flat and parallel.
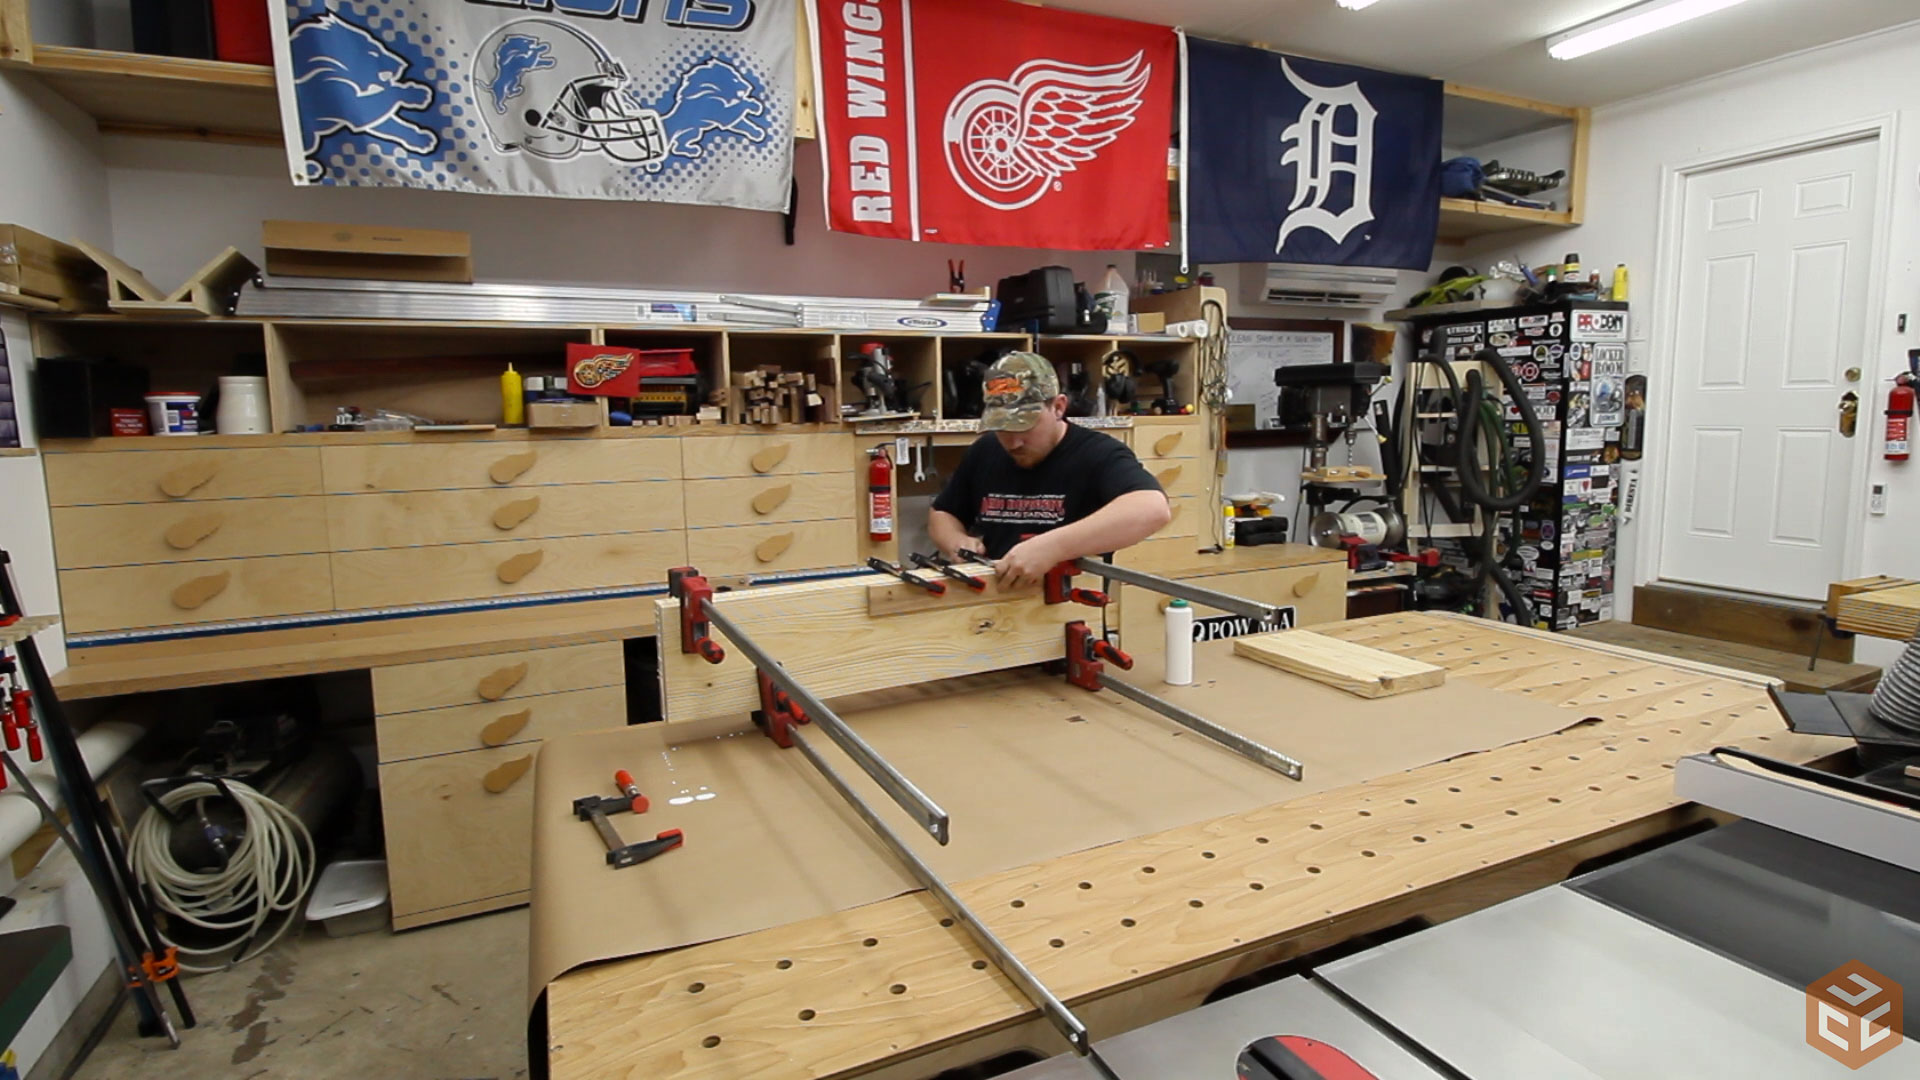
Gluing the chop is business as usual. Glue and lots of clamps. I used MPA II glue for this.
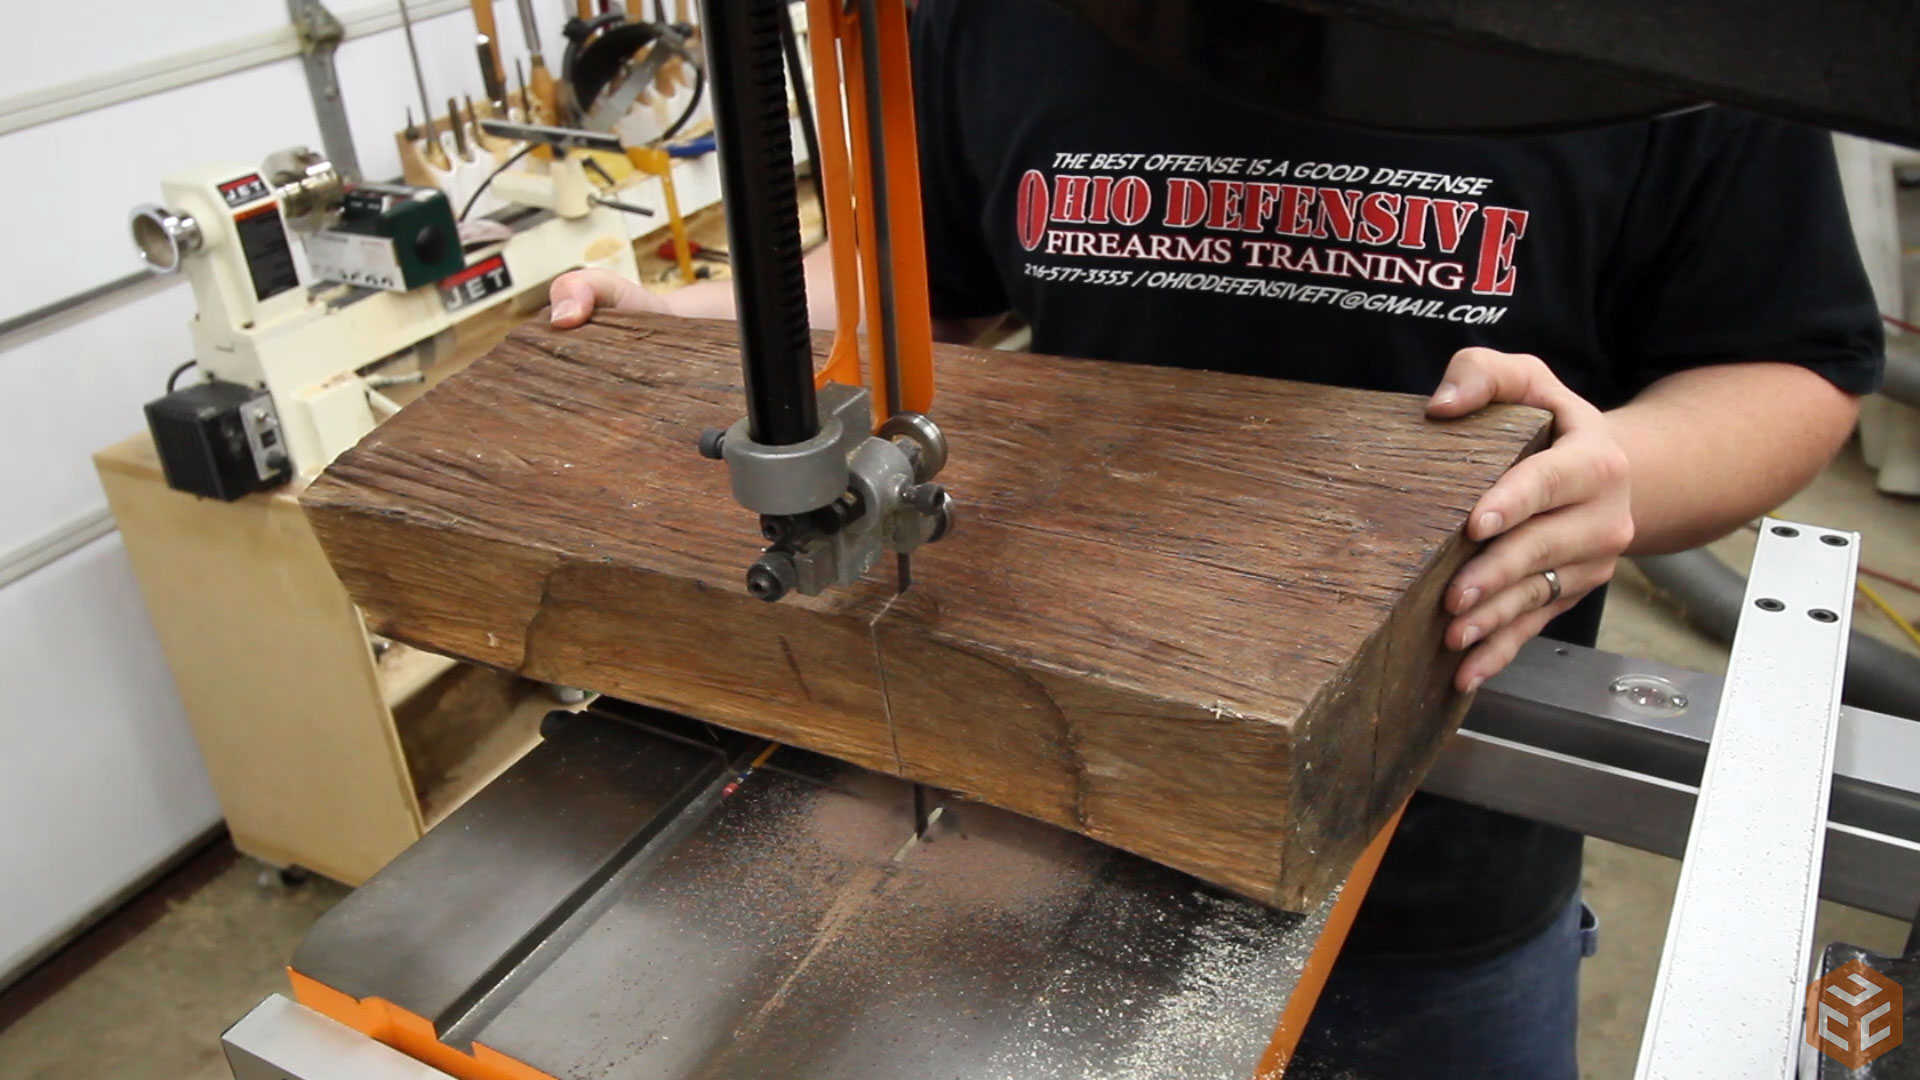
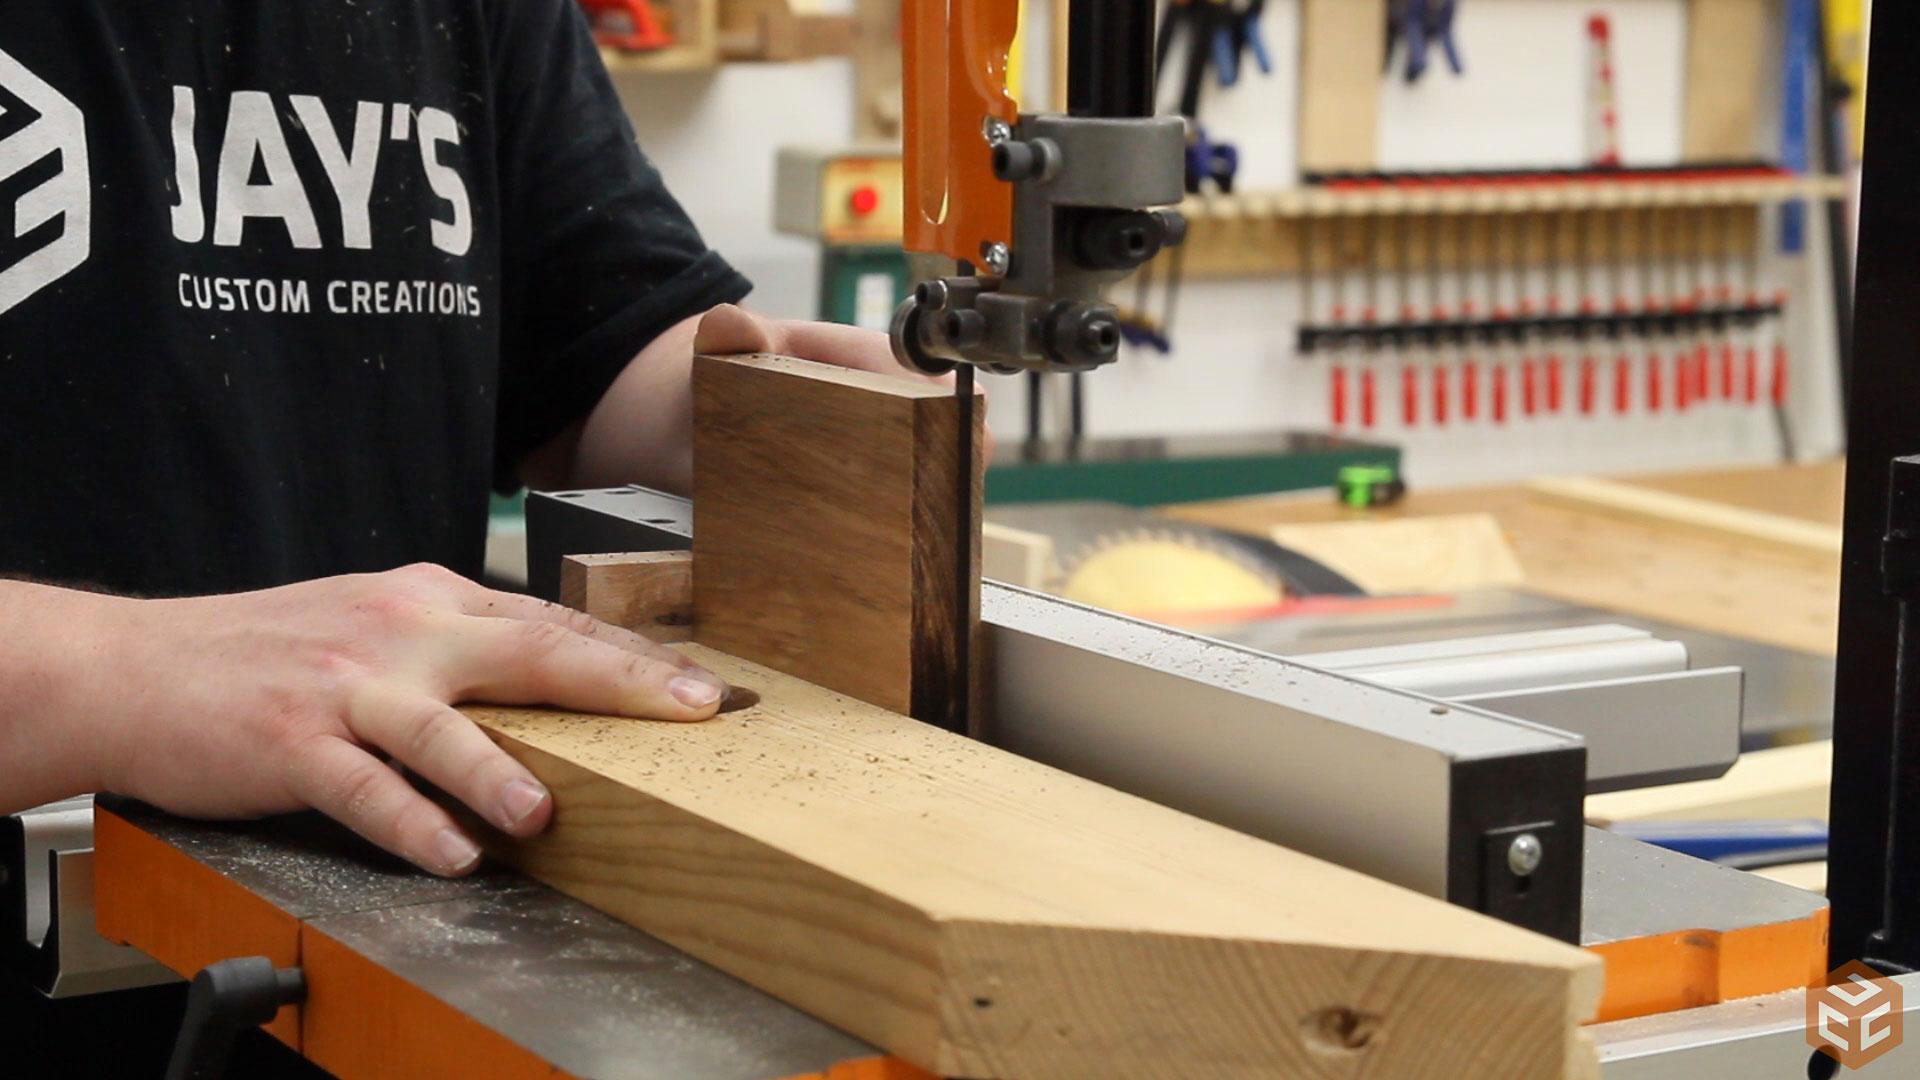
With the chop in clamps I switched back to the hub. Shawn wanted to use a nice chunk of walnut and provided me with a piece he already had. The objective was to remove as little material as possible as Shawn has plans for the rest of the chunk. I removed what I needed at the bandsaw.
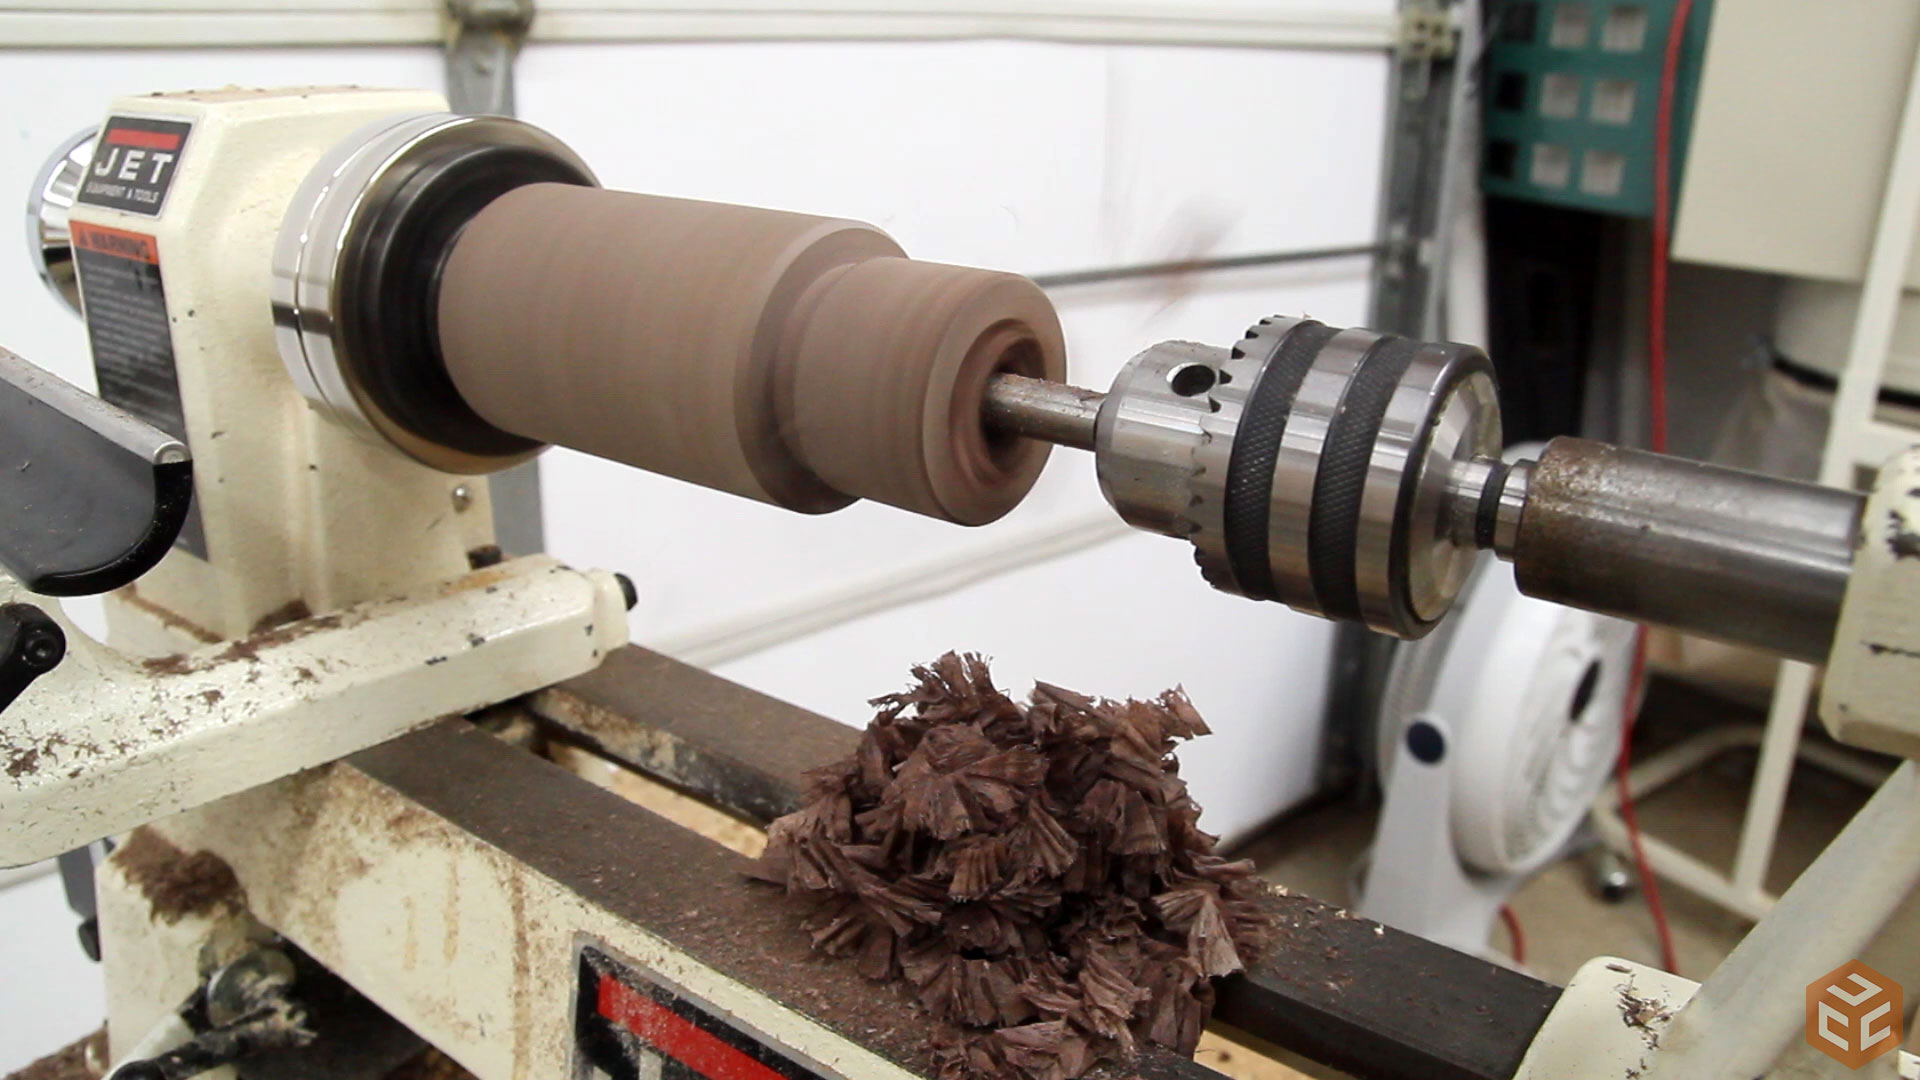
Before mounting it on the lathe I did clean up the outside faces so that they were flat and parallel. Once on the lathe I turned it round with a roughing gouge.

To drill the screw hole I needed it mounted into a chuck. To do so I used the parting tool with a caliper to cut an appropriate size tenon on one end.

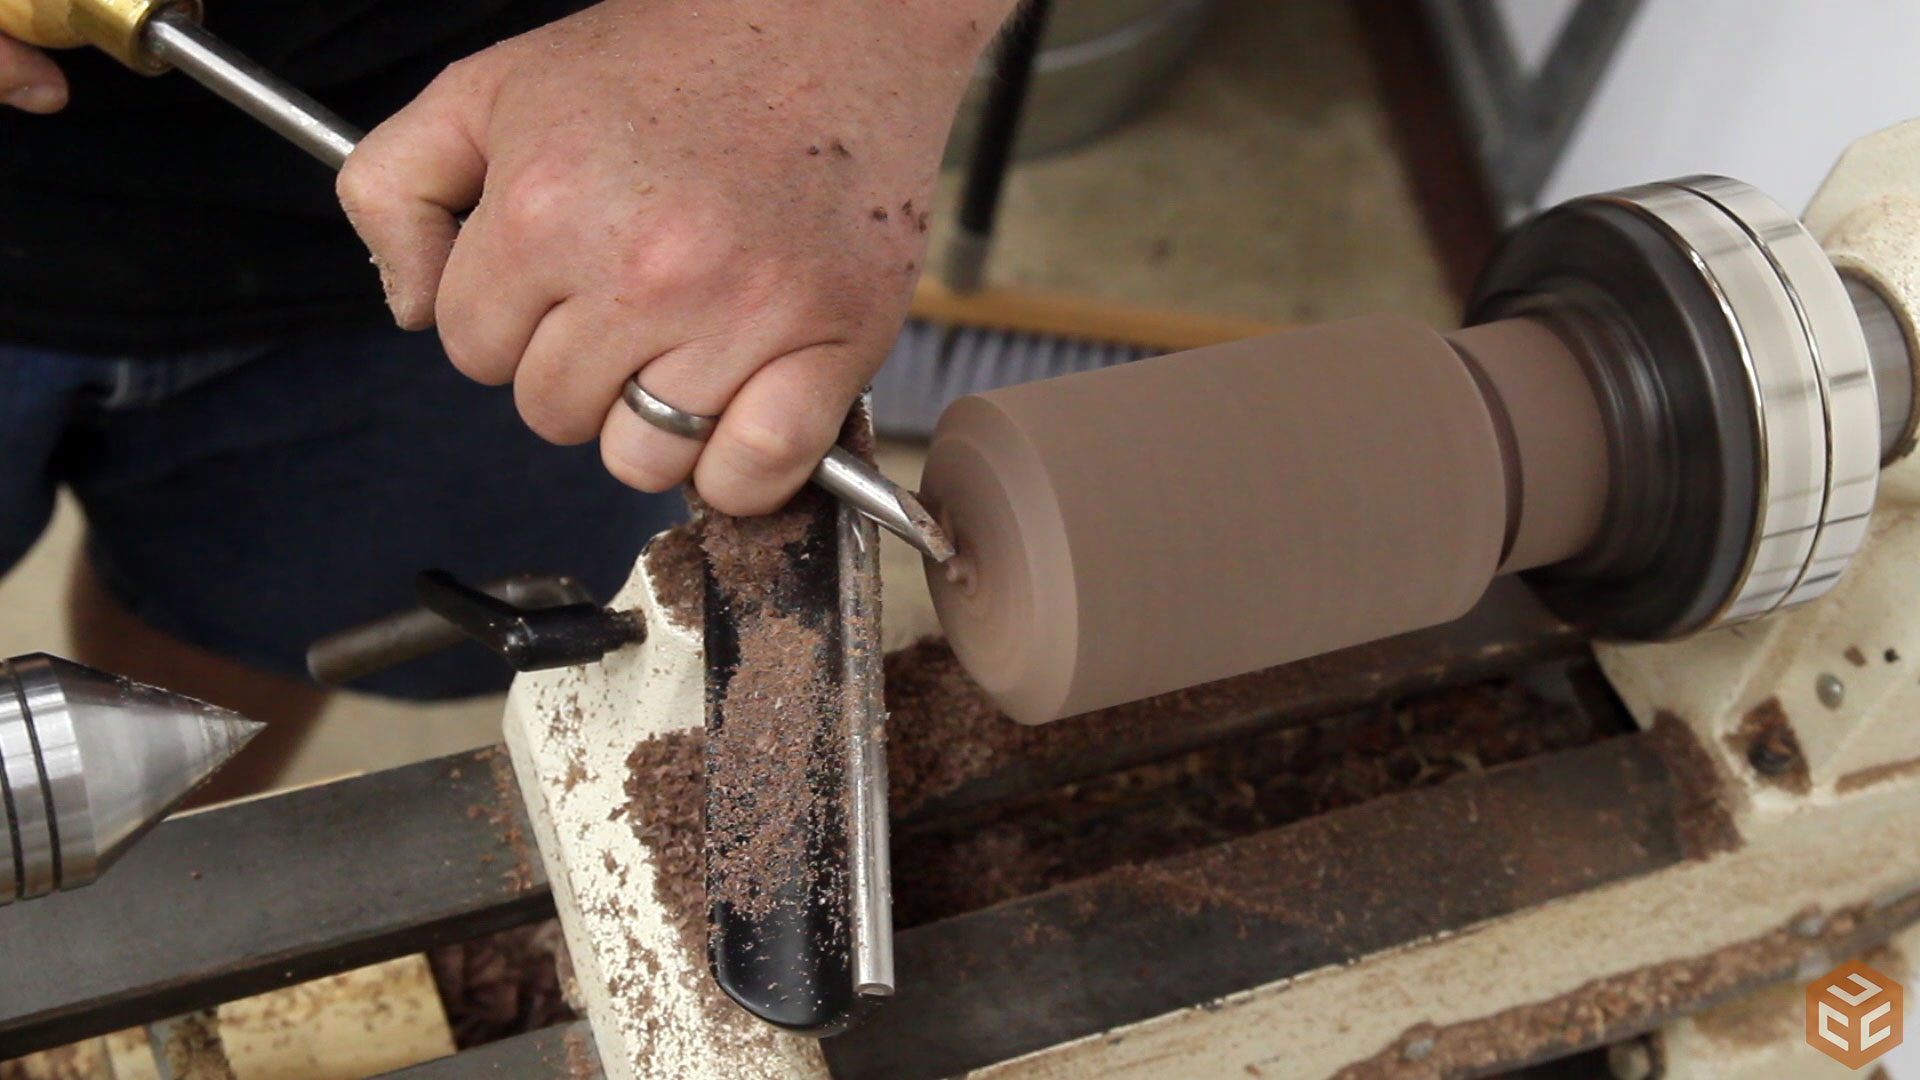
Once reversed and mounted into the chuck I used the parting tool to cut the other side. It consists of a tenon that will be recessed into the leg vise chop and a grove for the retaining ring.

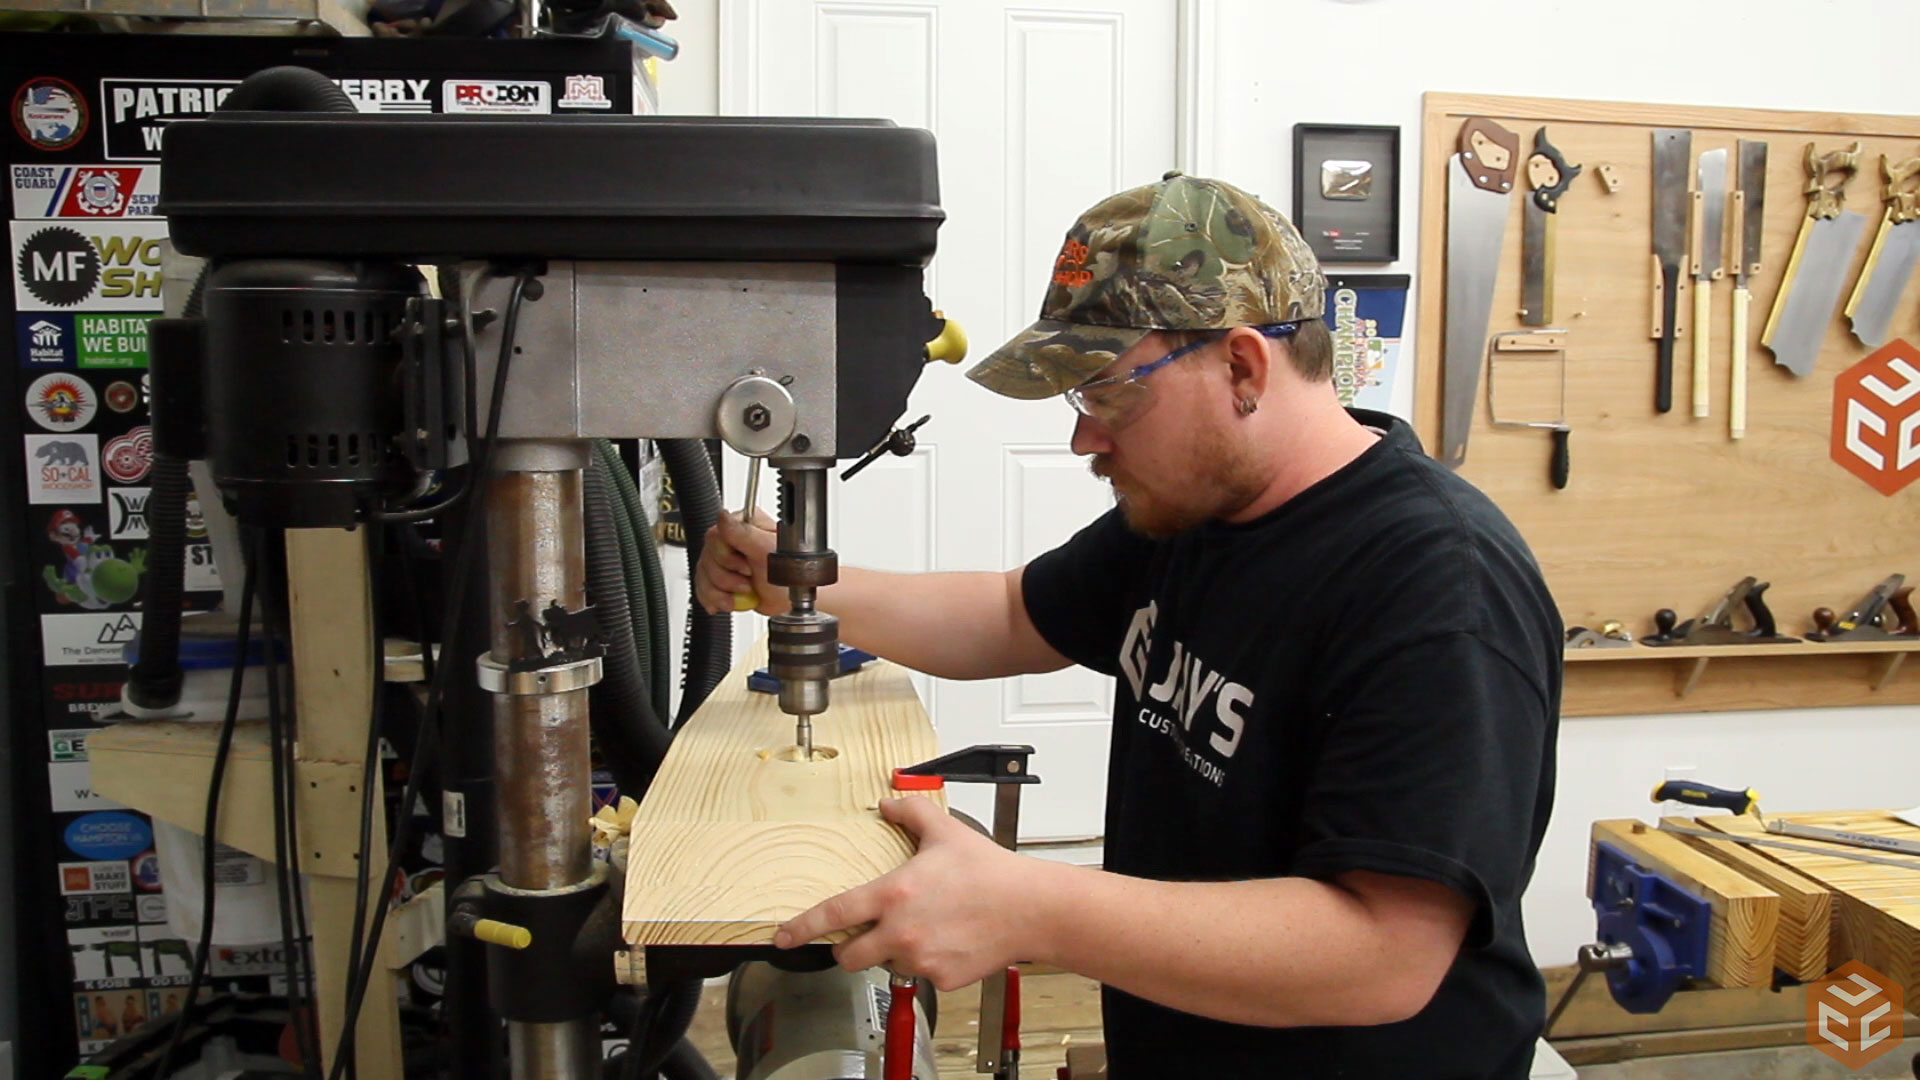
Finally the screw hole can be drilled. I ended up making this hole slightly larger than what it needs to be but it was the closest forstner bit I had. In the end it worked fine.
After reversing the material once again I could do the final shaping of the hub. I didn’t go crazy with it. Just a simple chamfer on the top edge.
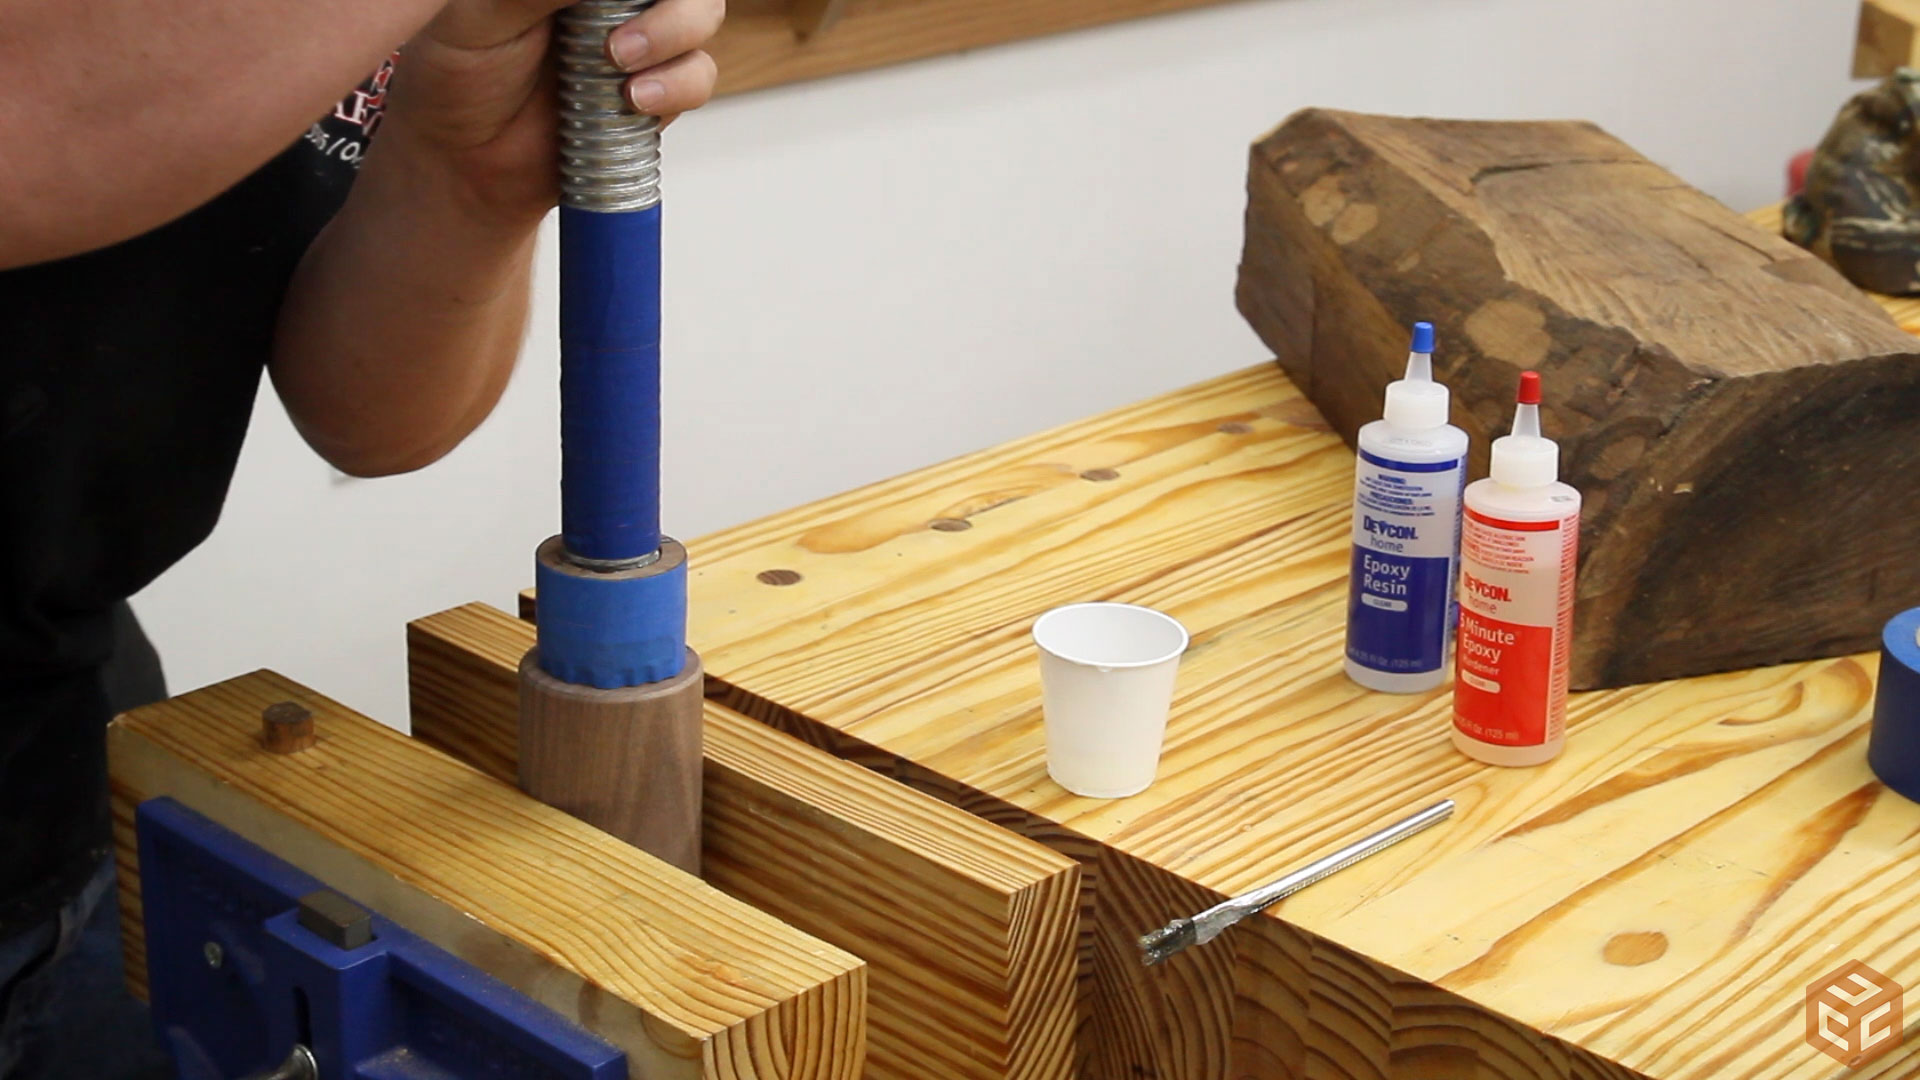
I screwed up here. I should have drilled the handle hole while the hub was easily manageable but instead I decided to glue in the screw. I used two-part epoxy for this.
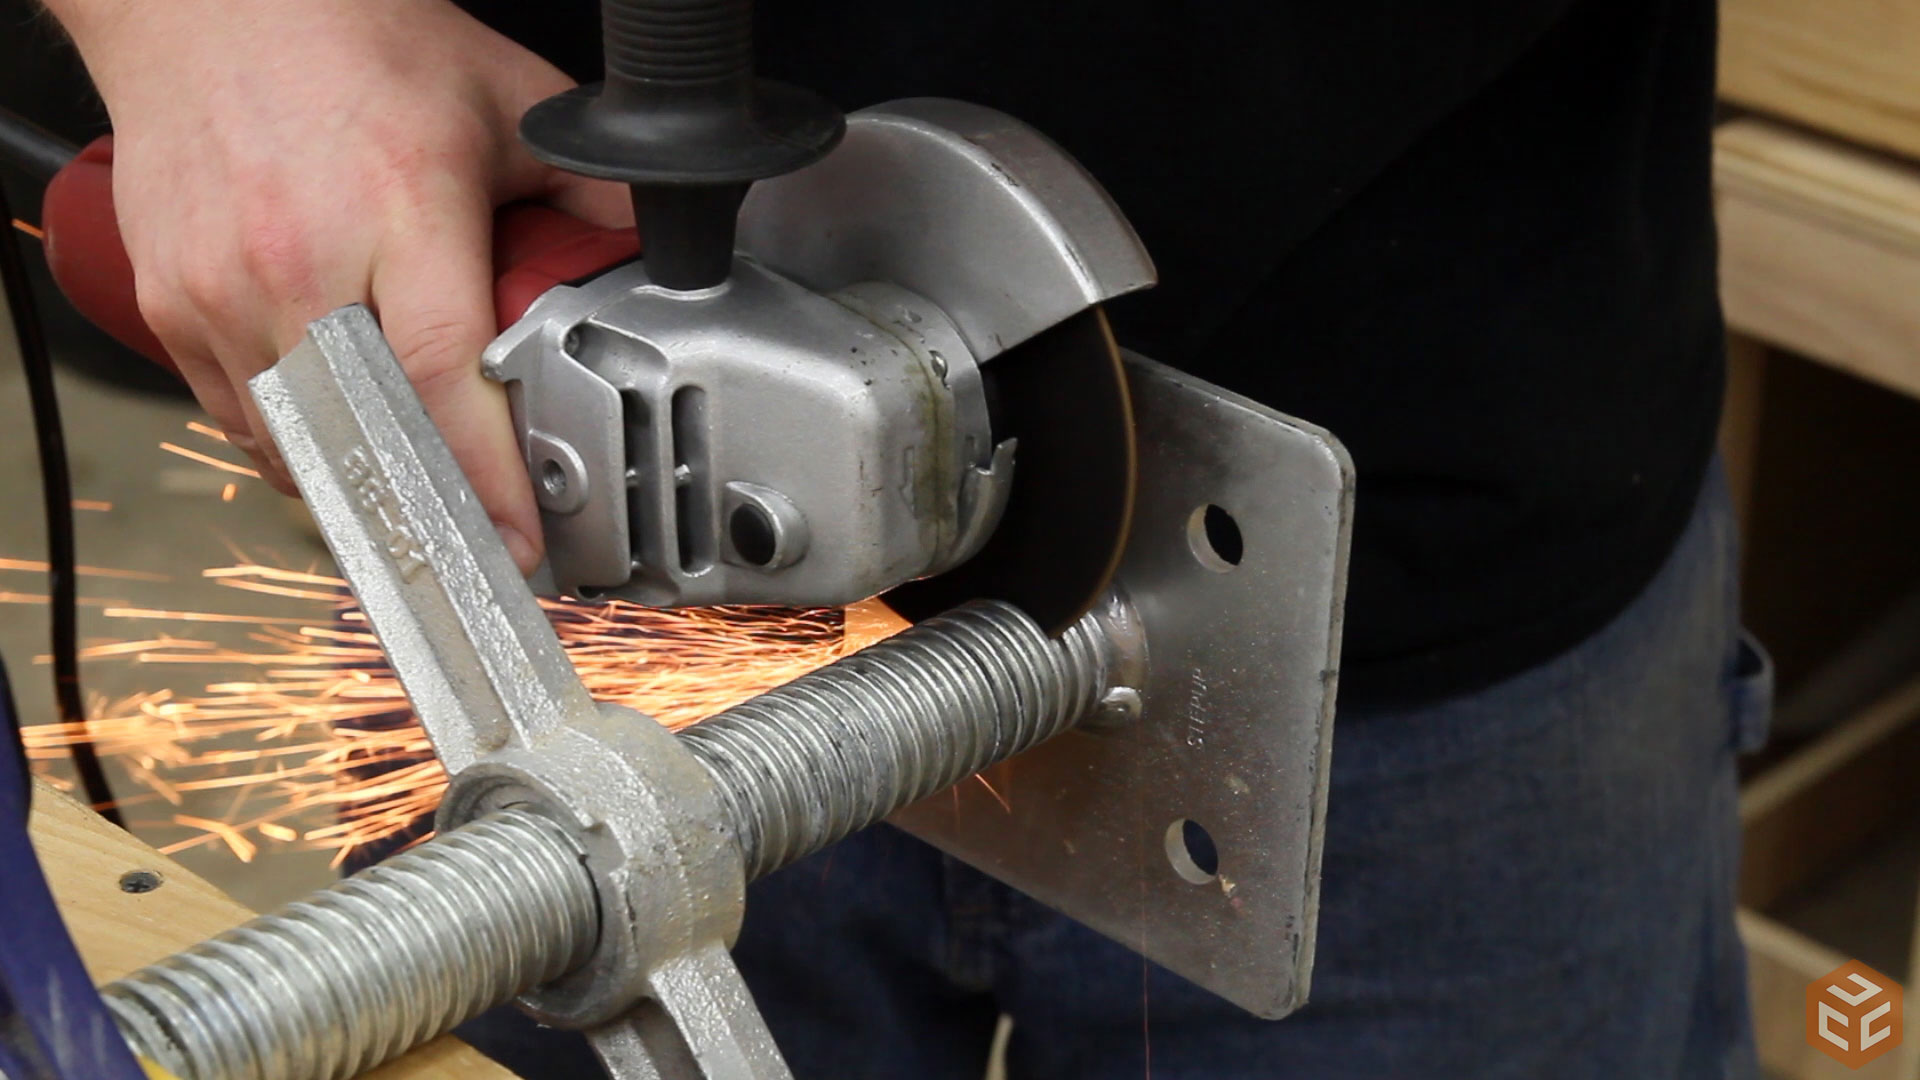
The other end of the screw has a base plate for use with a scaffold. This is not needed for the vise so I cut it off with a cutoff wheel in my angle grinder.
To give the screw and hub connection a little more strength I drilled a hole through the entire assembly for a metal pin.

The pin I used was a 8” spike. I’m not sure the diameter but it looked like it was the appropriate size for this application. Again, it was glued in with two-part epoxy.
While the epoxy cured on the spike I switched back to the chop. The planer left some snipe marks in the milling stage so I cleaned those off with a hand plane. Tasks like this are a great example of how handy hand tools are. Planer snipe can also be removed with sandpaper but the accuracy and speed are much greater with a hand plane. I used my WoodRiver #4-1/2 for this. It’s my most used plane by far.

The four short faces were trued up with the jointer, table saw, and miter saw. Then to allow more room on the front outside edge I cut a 45 degree chamfer at the table saw. This really helps in situations where you need to drop the front edge of a hand saw such as cutting half blind dovetails.
To help make the chop appear a little less bulky I cut two tapers on the left and right faces. I’m not sure the exact angle but I believe I came in two inches at the bottom and down 12 inches on each side and struck a line. I used the bandsaw to make these cuts.
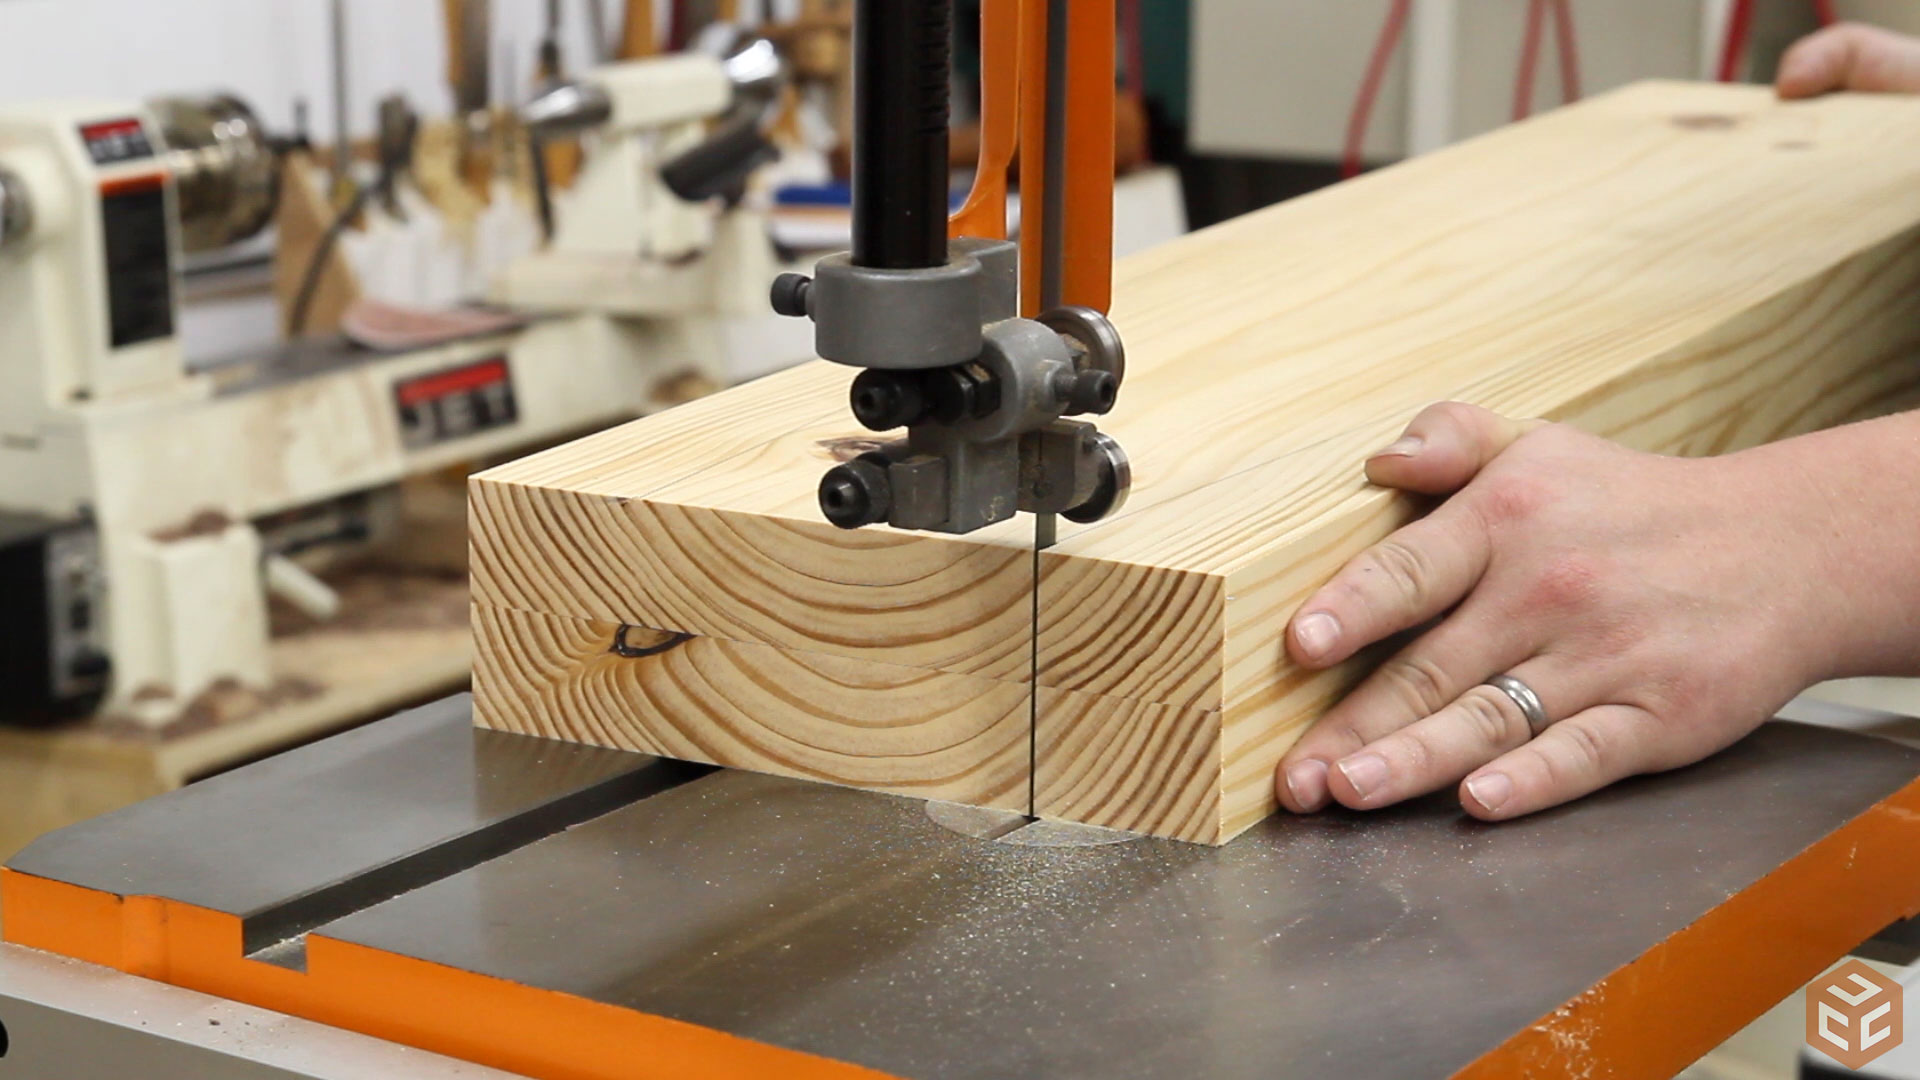
Then a few passes with a hand plane removes the bandsaw mill marks. Using the bandsaw and the hand planes is about the same amount of time as setting up a tapering jig or sled on the table saw except the results are much nicer with the bandsaw and hand plane combo.

In order for the screw and hub to mount in the chop a counter-bored through hole needs to be cut. The depth of the counterbore is critical though. The depth needs to be so that when the hub is tightened all of the pressure is exerted from the bottom of the hub and into the chop and not on the retaining ring. The retaining ring should not receive any pressure when advancing the screw as it’s only job is to pull the chop away from the workbench when the screw is reversed.
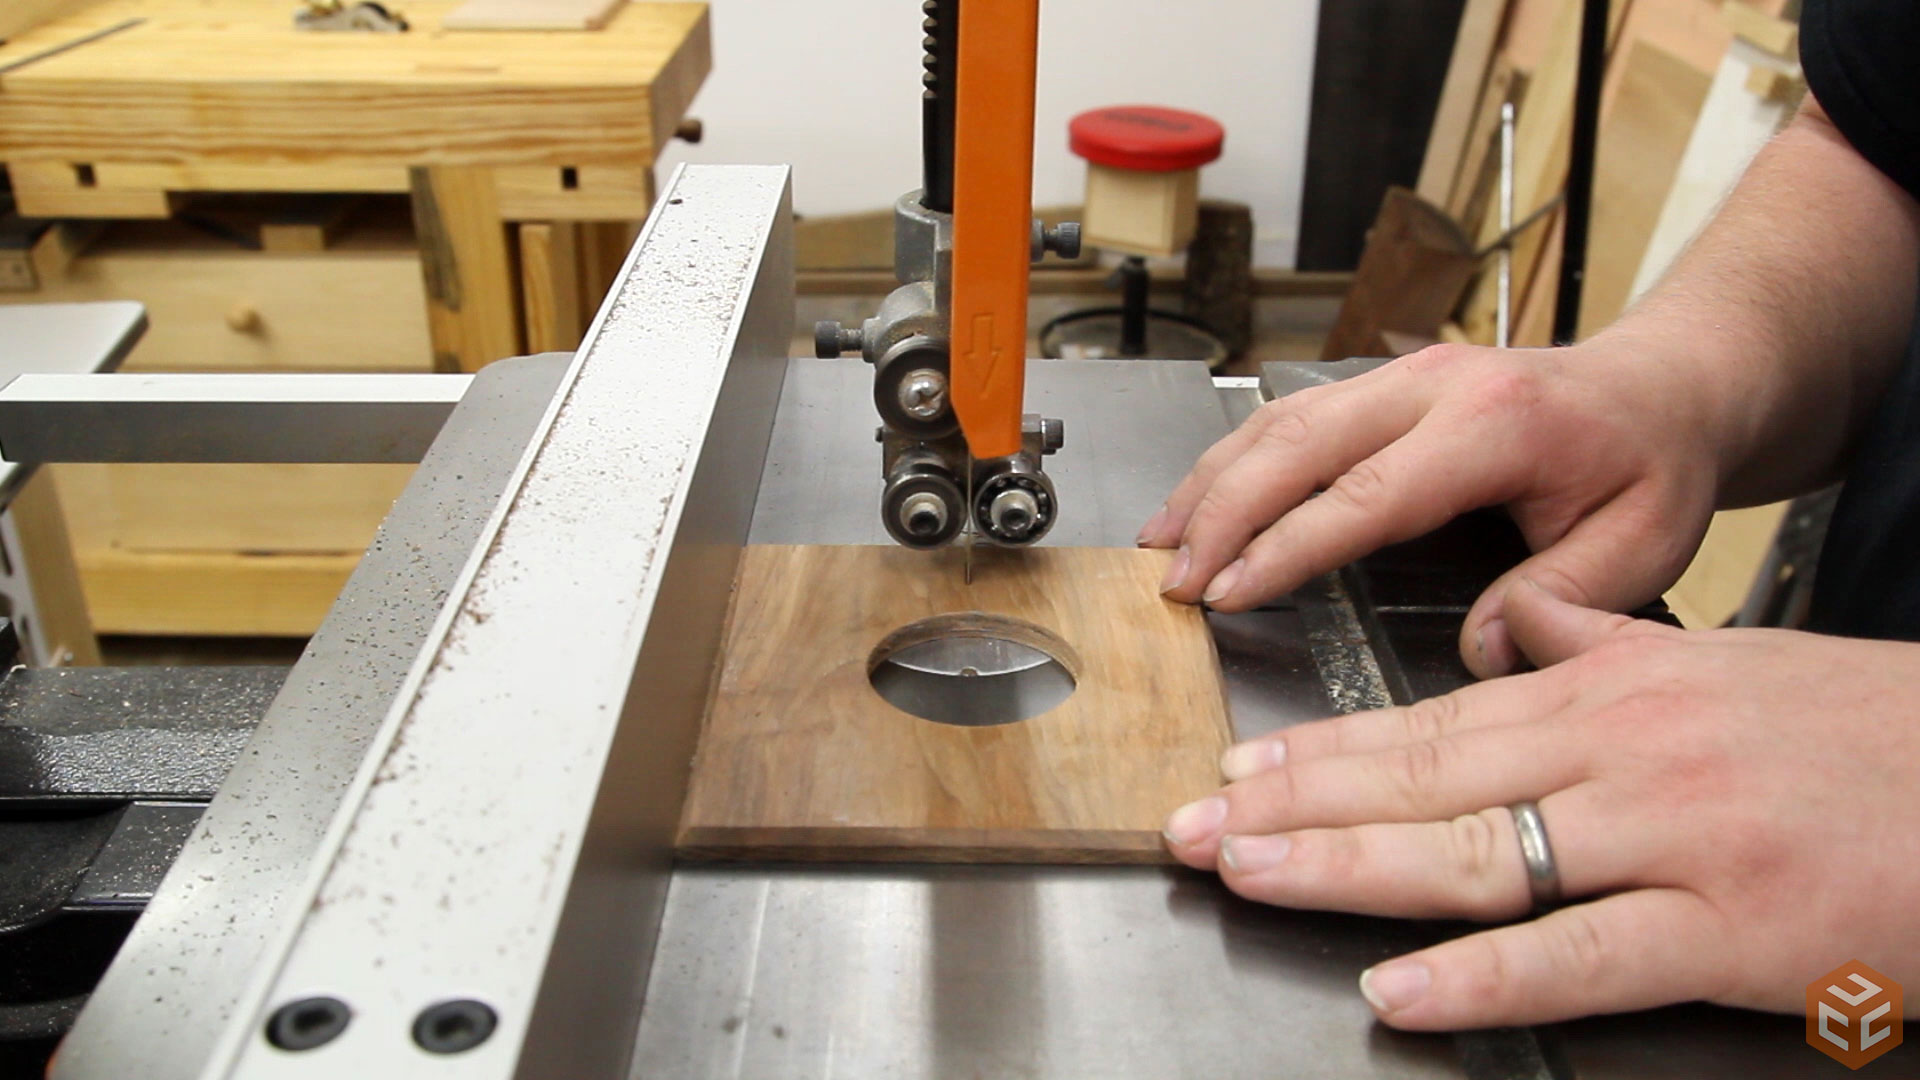
I wanted to use wood for the retaining ring so I resawed a small square of hickory at the bandsaw.
After resawing I cleaned the hickory with a smoothing plane, chamfered the edges with a block plane, and then drilled a hole in the center. In order to get the ring around the hub it needed to be cut in half. To make the cut as invisible as possible I cut along the grain so once it is put back together the cut will blend nicely.
For test purposes I used regular washer head screws to secure the ring to the chop. These will eventually be changed out for something that matches the finished product better. I also clamped a square to the side to make sure everything lined up properly.
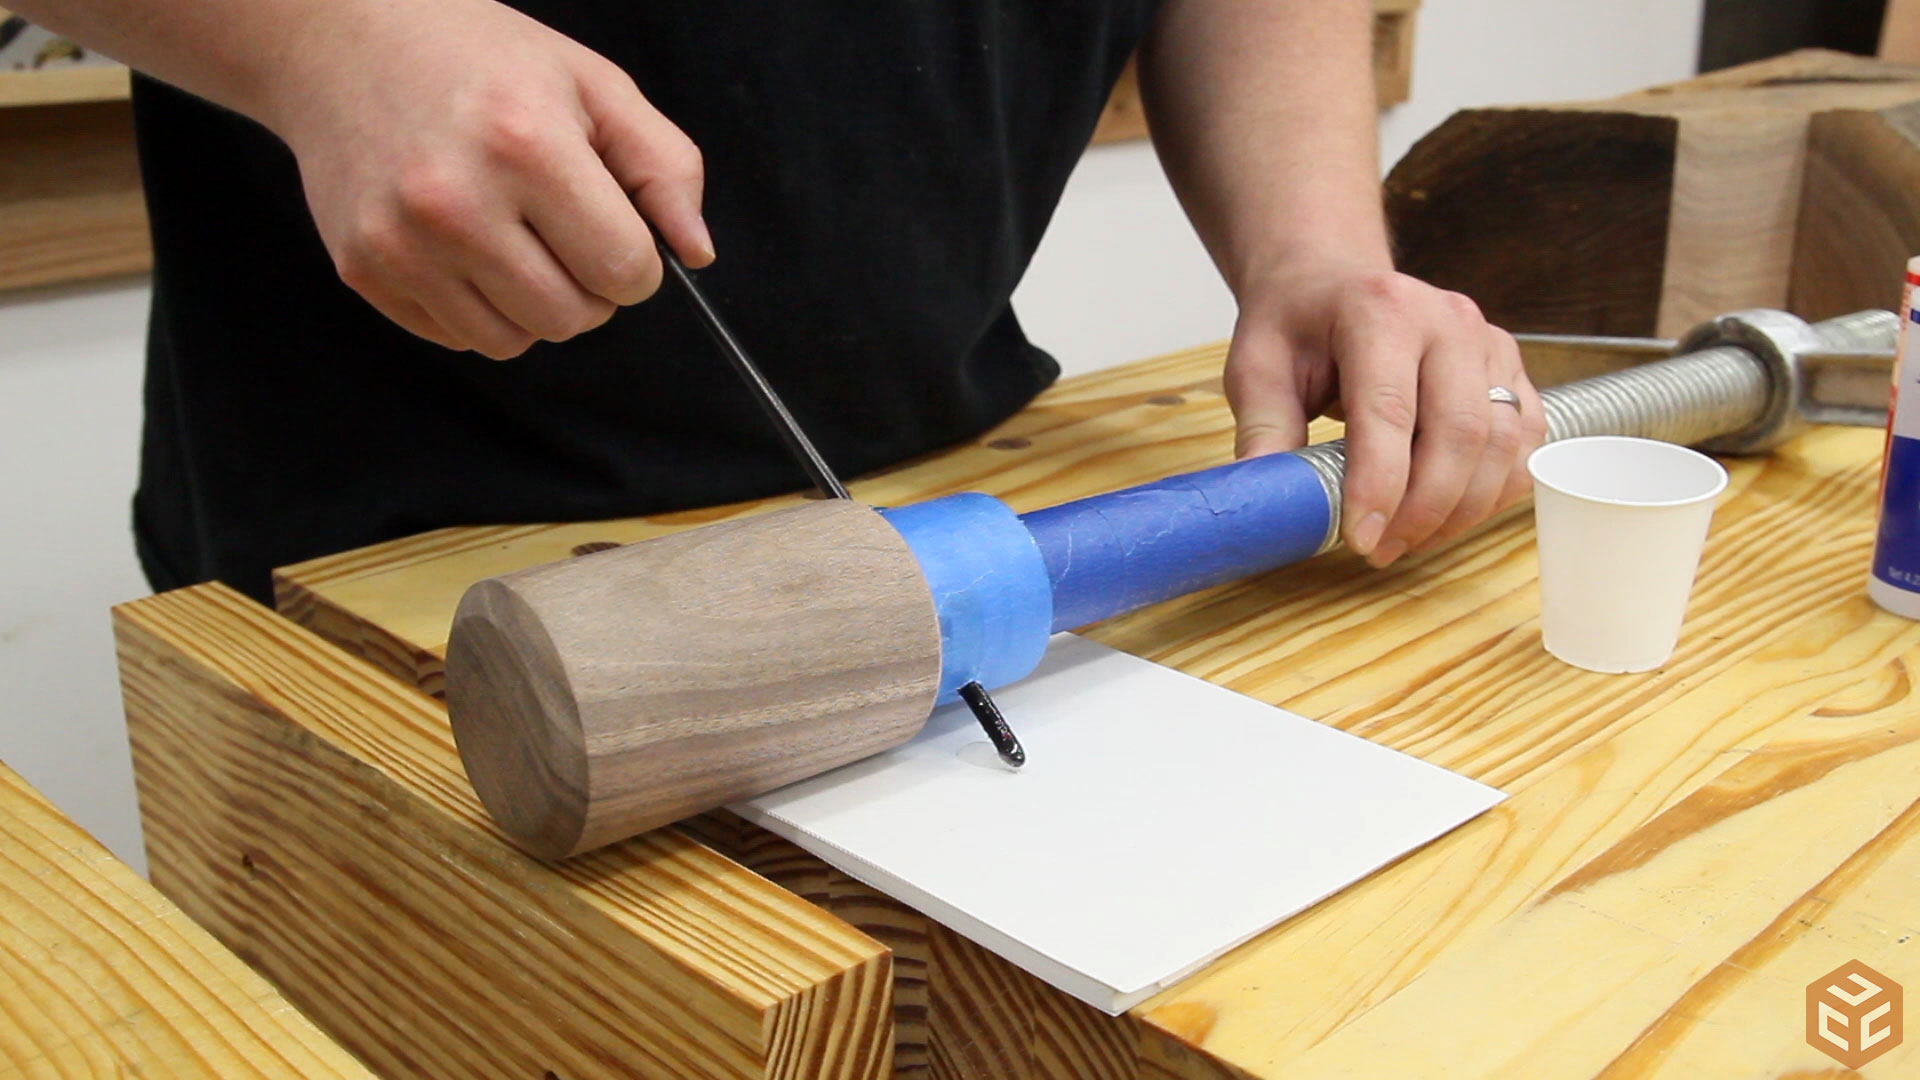
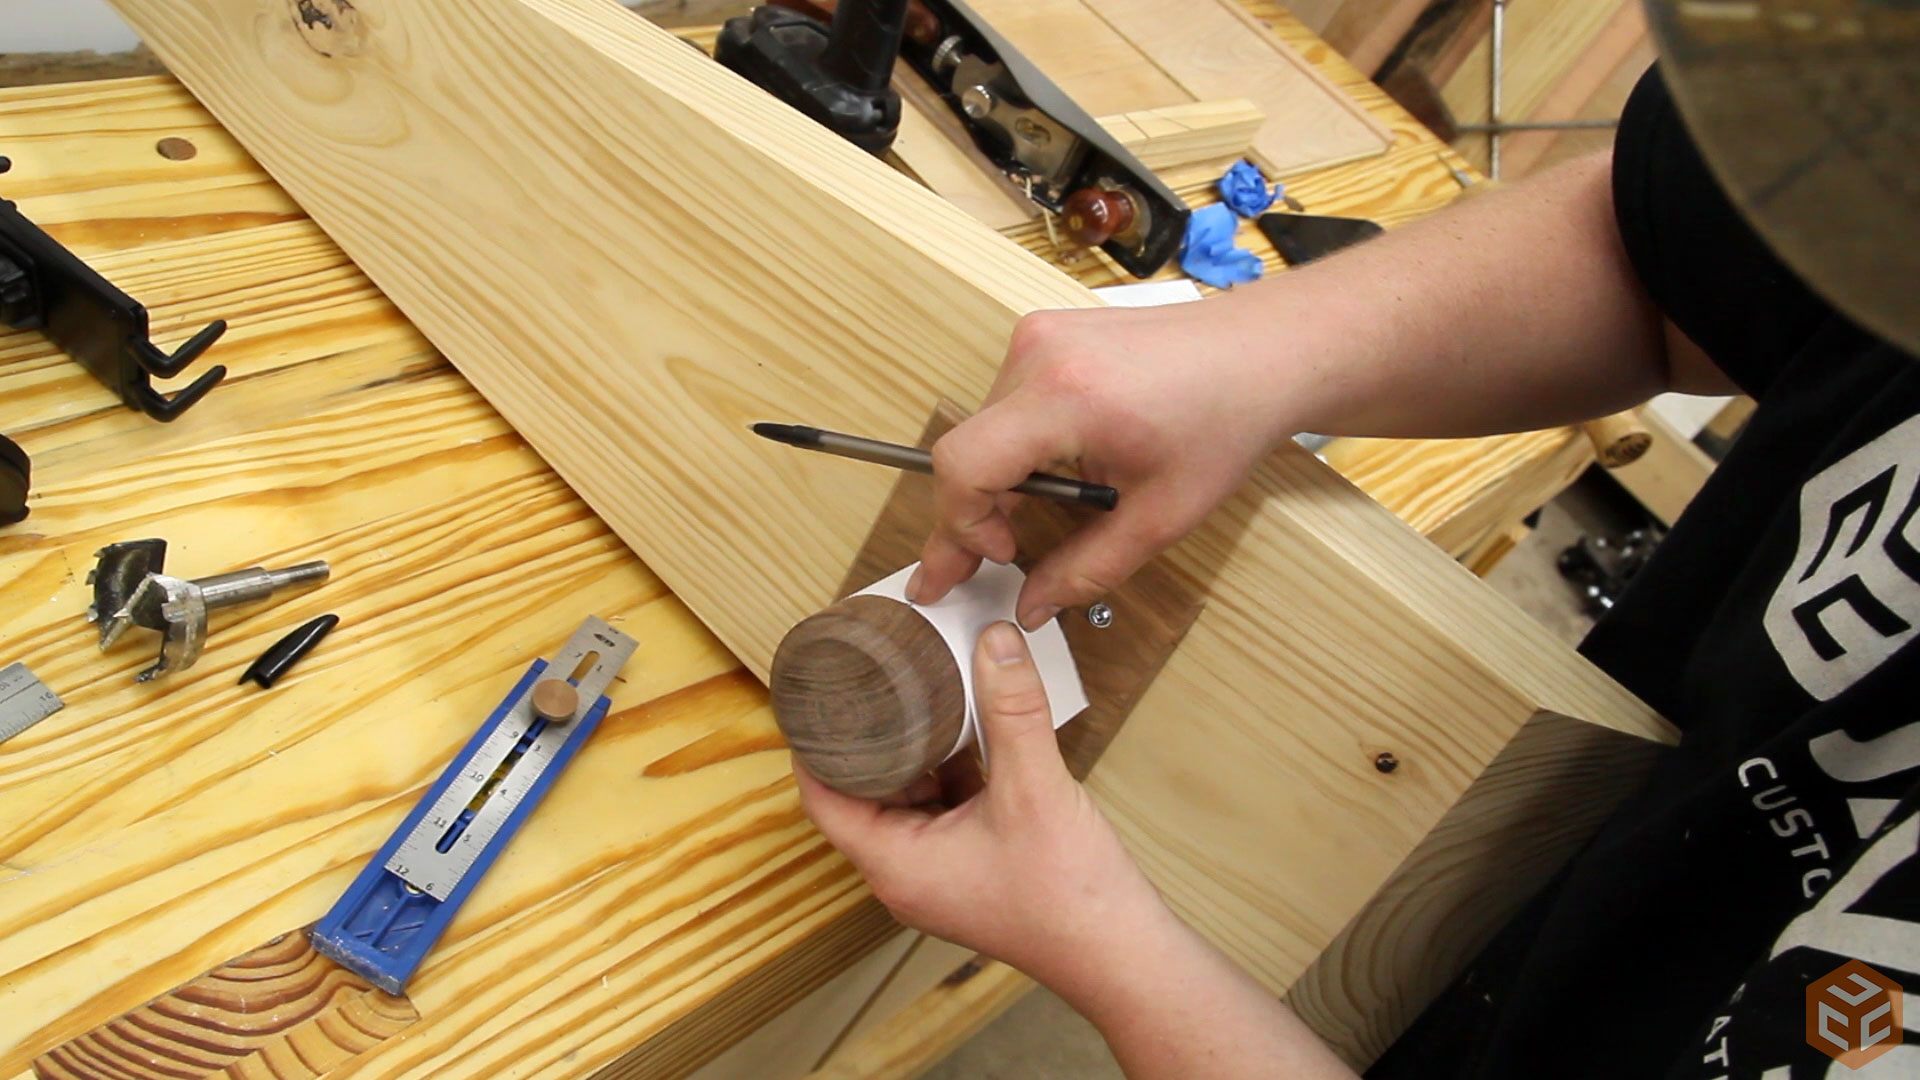
At this point I realized I should have drilled the handle hole sooner. Oh well. The handle needs to be drilled in half way from each side to prevent blowing out the other side as the drill bit exits. To mark the locations accurately I used a piece of paper to establish the circumference. Then the paper can be removed and the center point along the circumference can be located. Then with the paper wrapped around once more the exact center and end of the circumference can be marked.
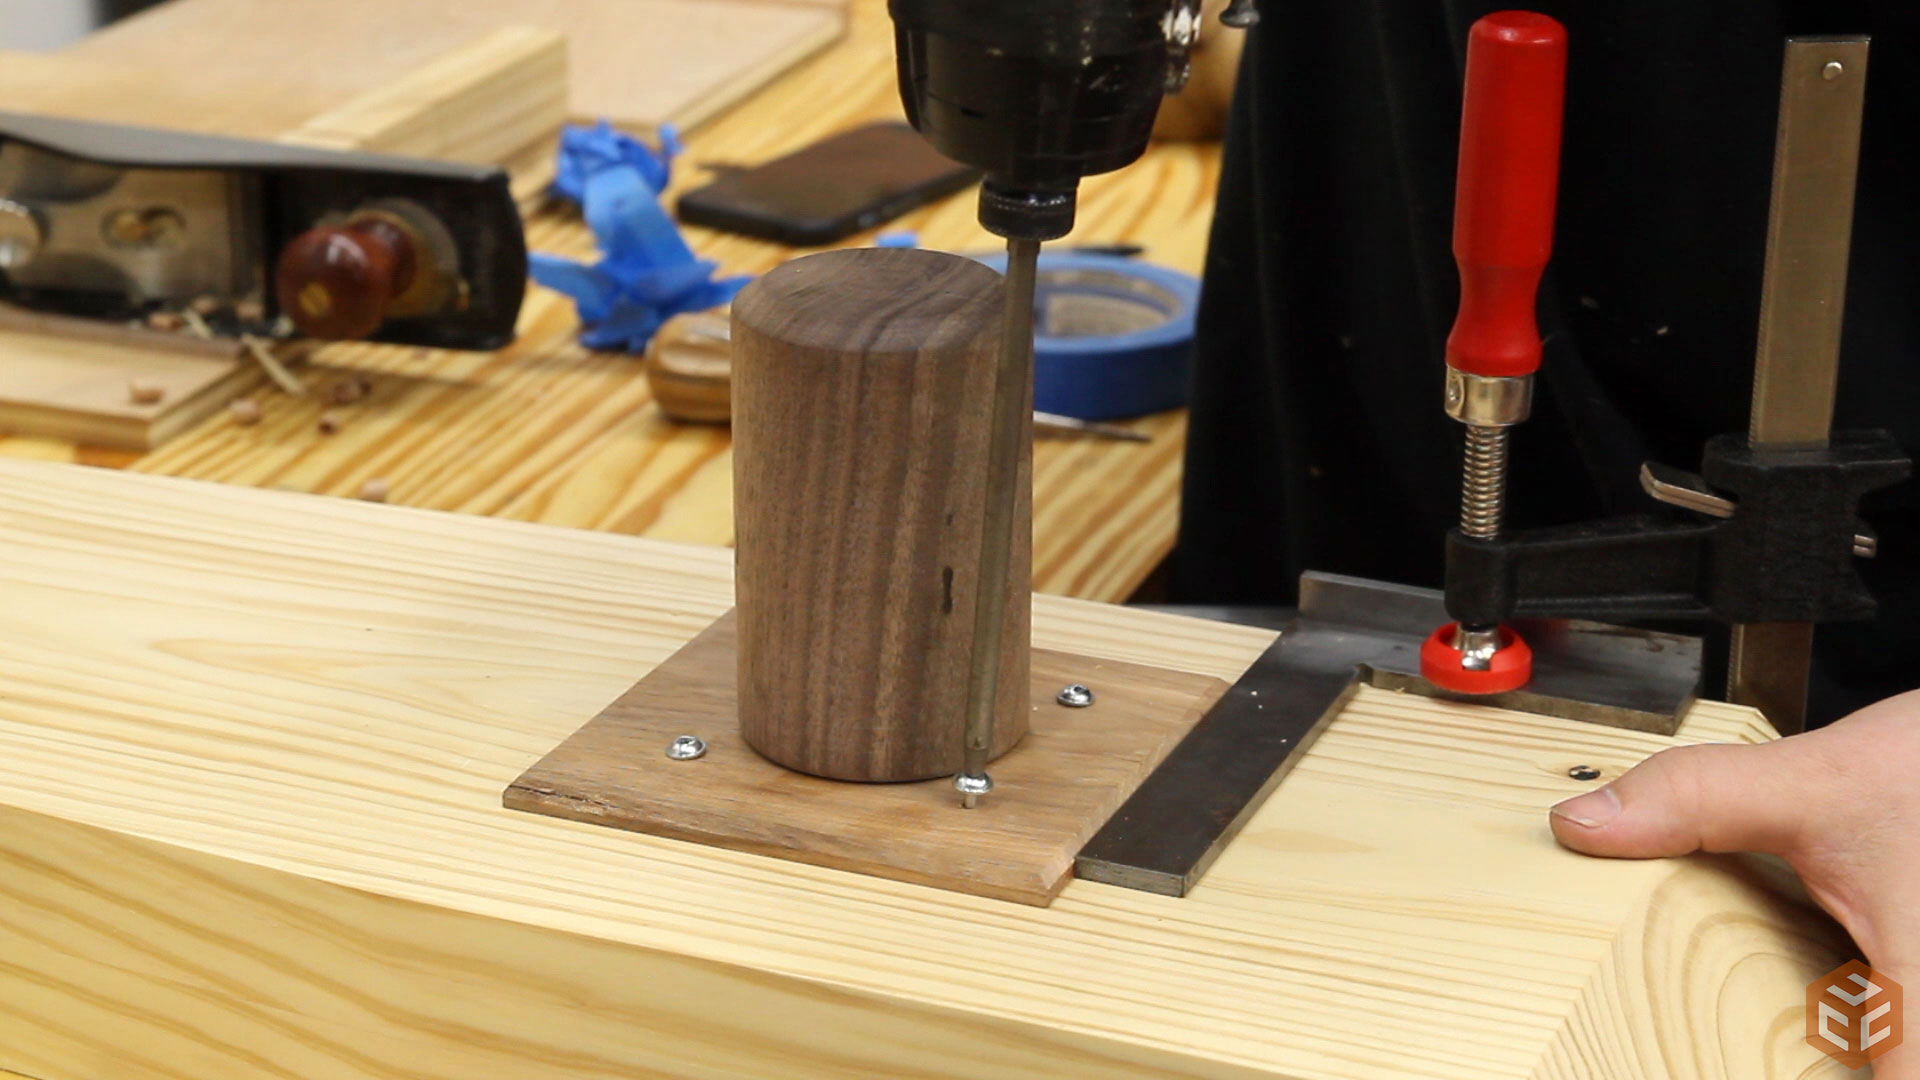
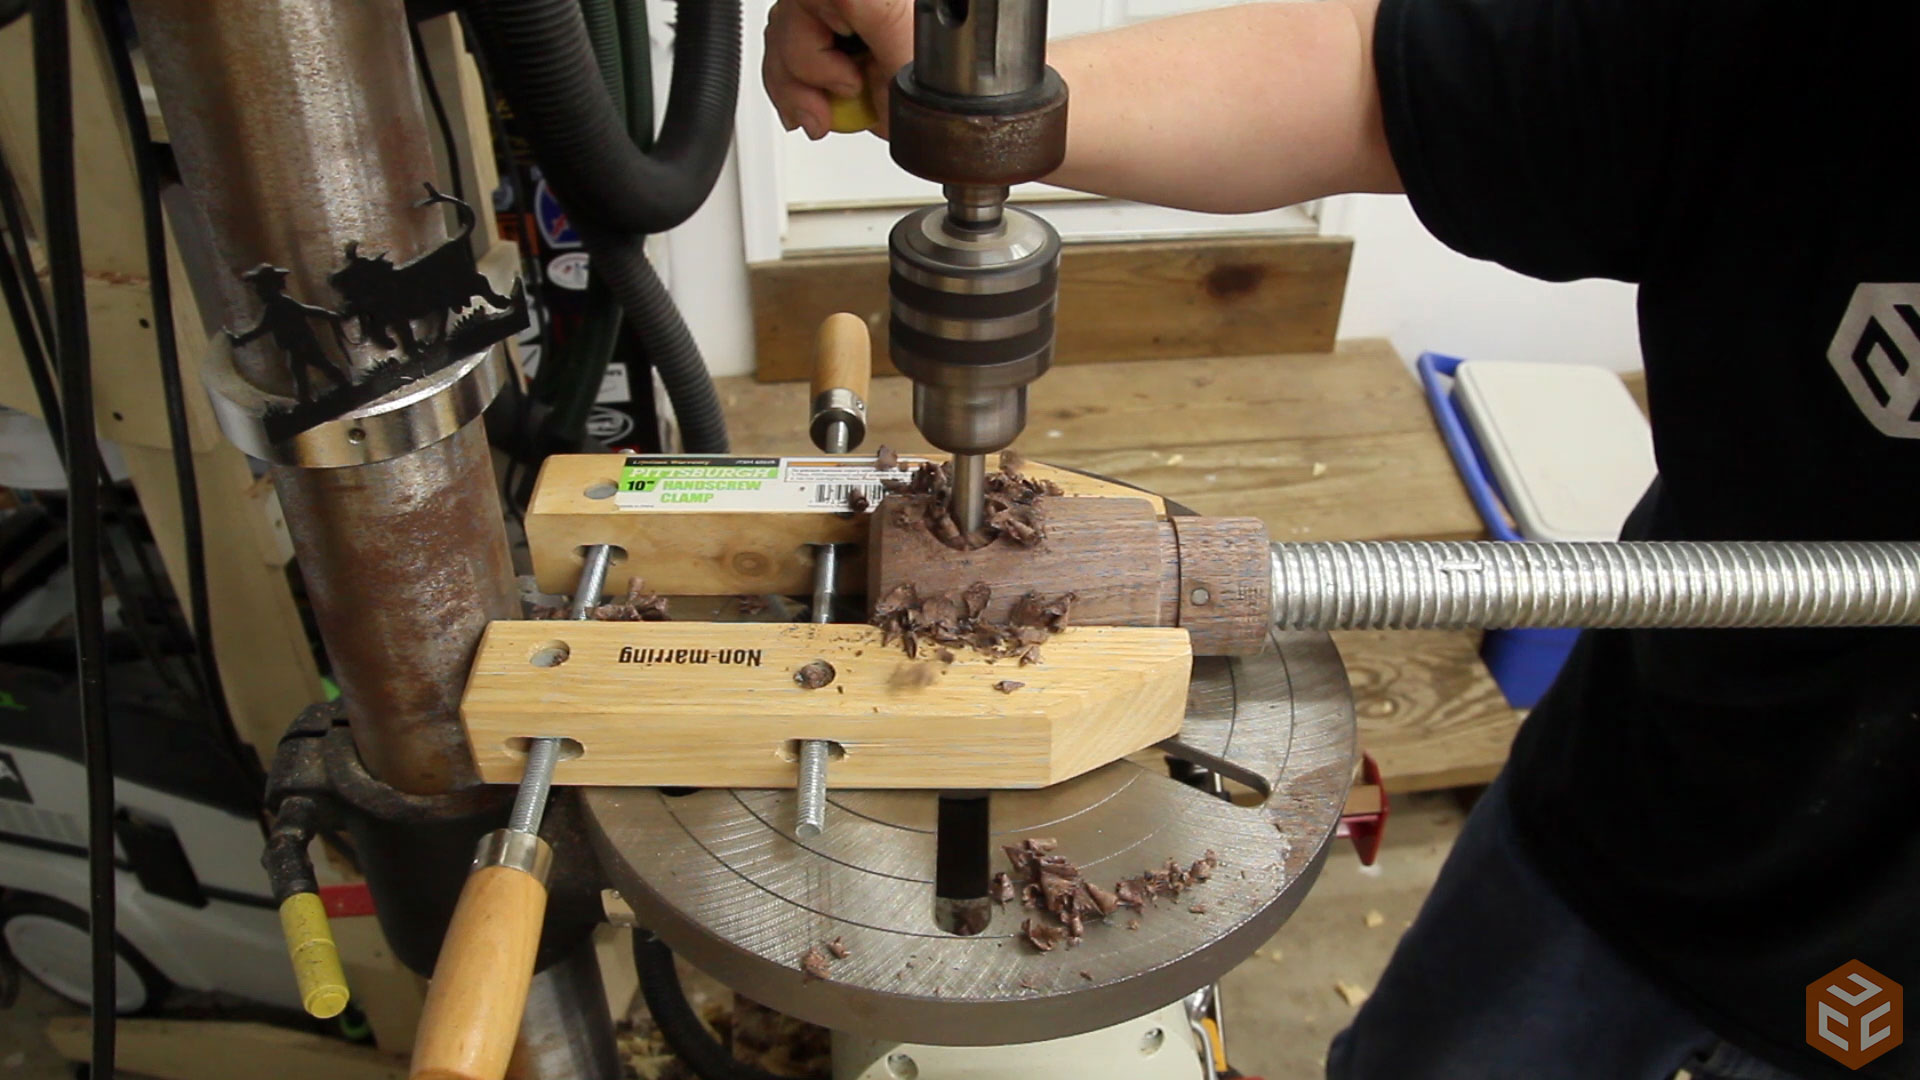
Drilling the handle holes was a little nerve-racking. I don’t have a self centering vise or an easy way to hold the handle where it needed to be due to the weight and length of the screw. I lined up everything by eye and hoped for the best.
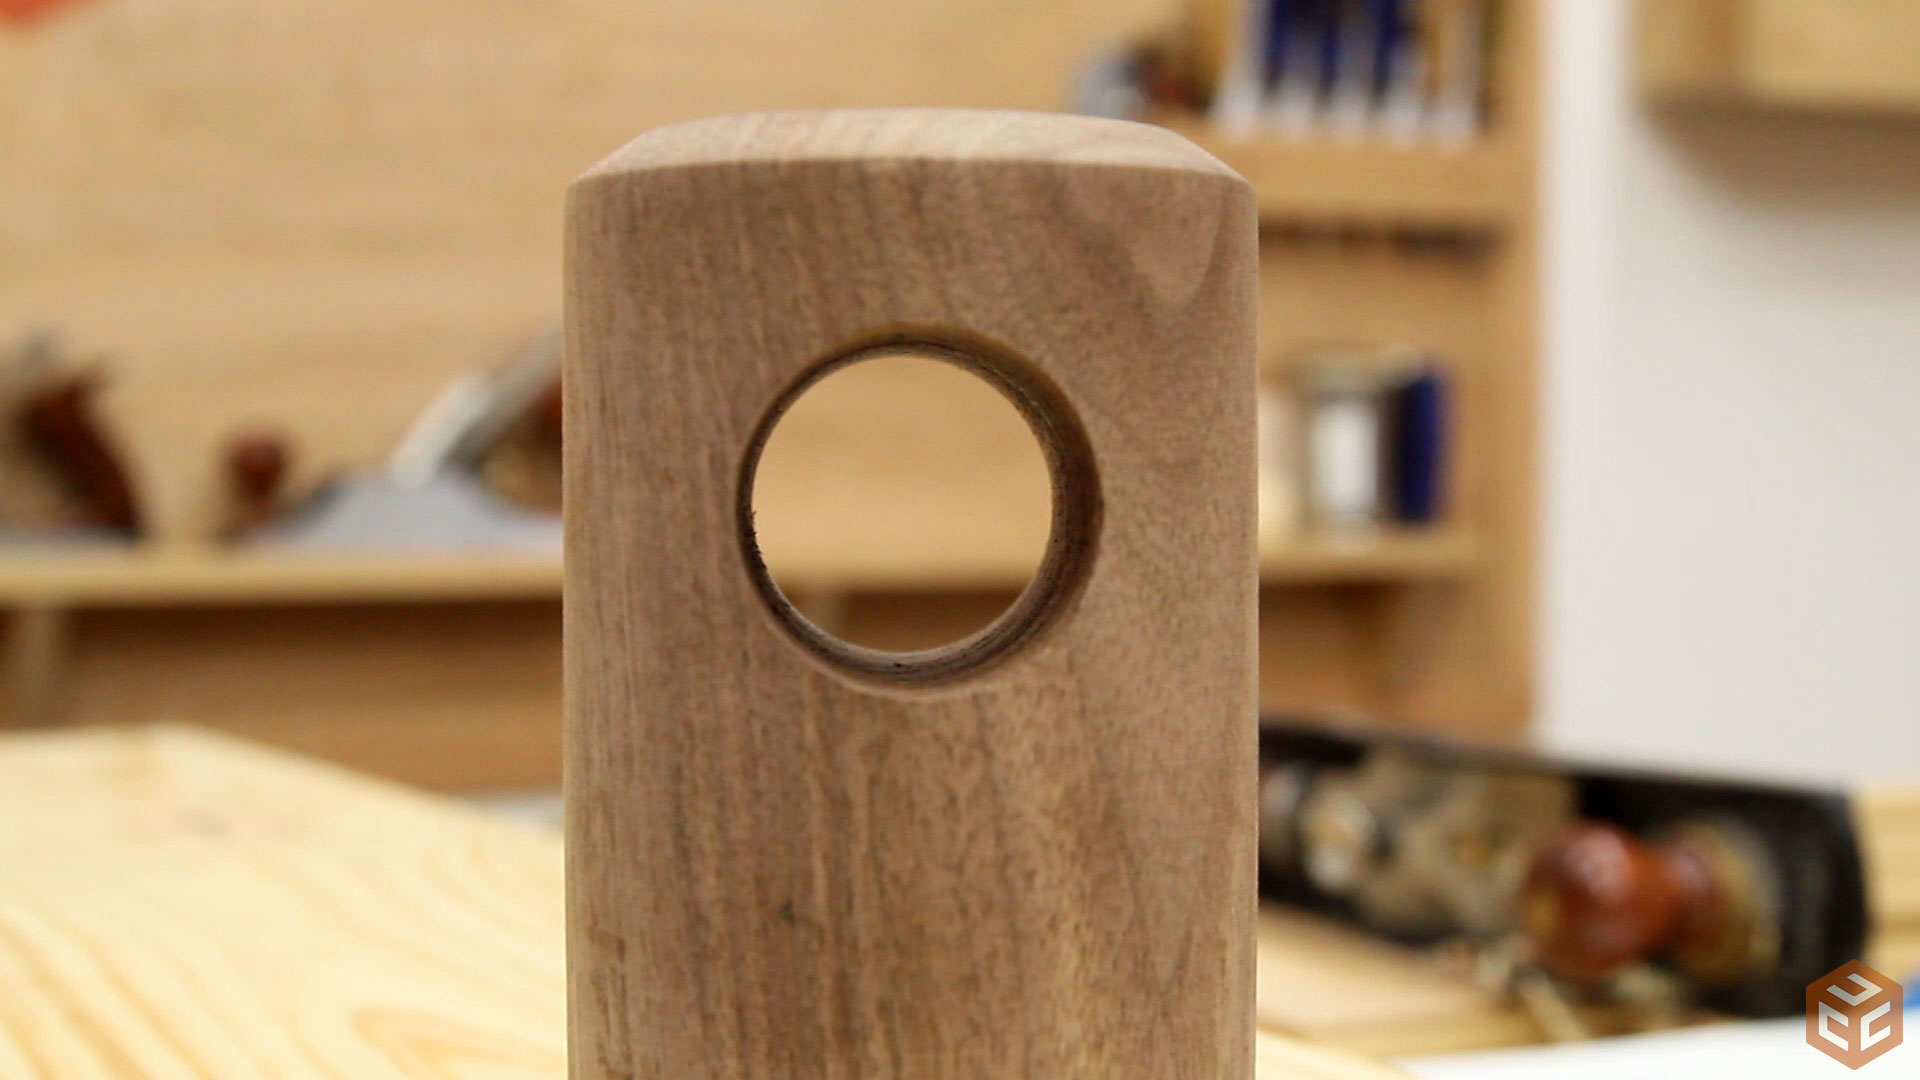
I was quite surprised that the through hole ended up being perfect. I love it when a plan works out.
For the handle I again used hickory. This is actually an offcut of the hickory slab I used for my dining table legs. Coincidentally, I received this hickory from Shawn as well. The handle is a simple spindle turning with two larger grips on the ends. I wasn’t perfect making the ends symmetrical but it turned out alright. One end needed to be cut off so that it could be inserted into the hub.

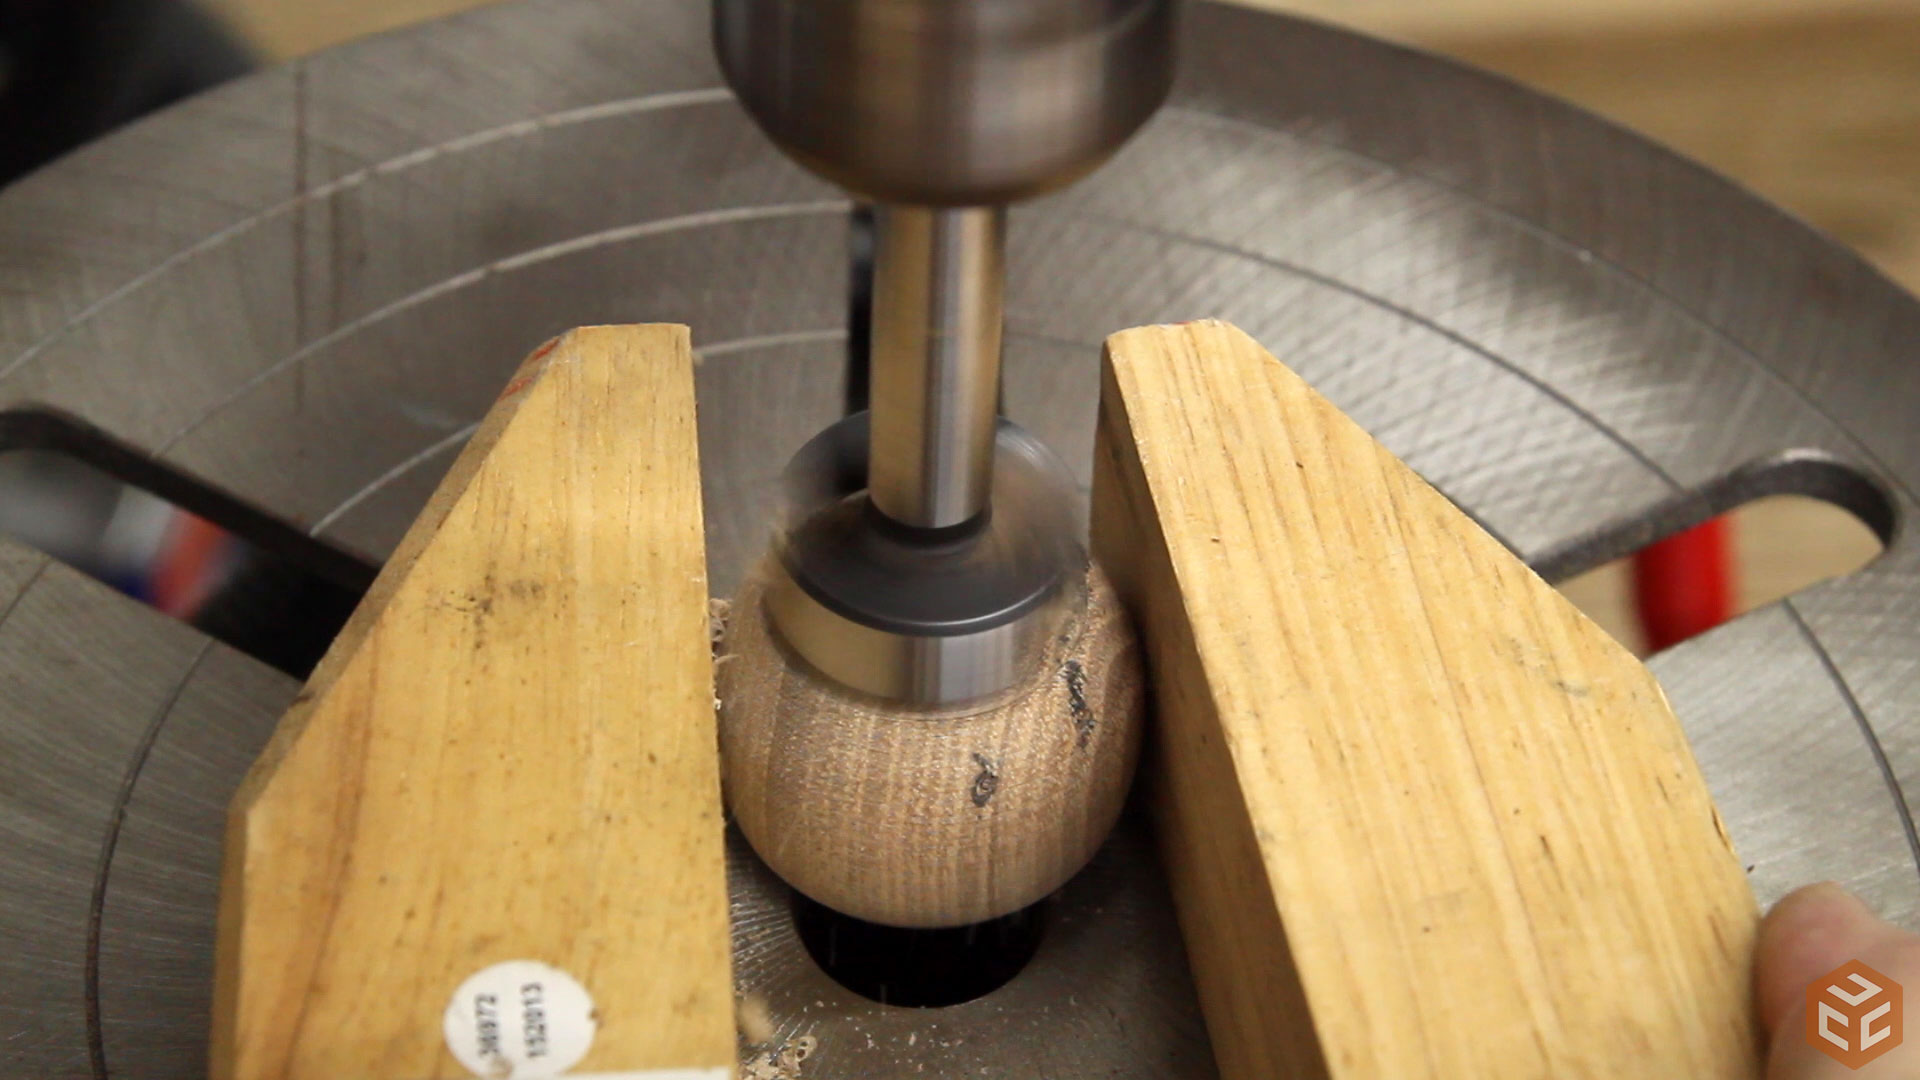
The cut off piece needs a recess so that it can go over the rest of the handle like a cap. A forstner bit at the drill press is perfect for this.
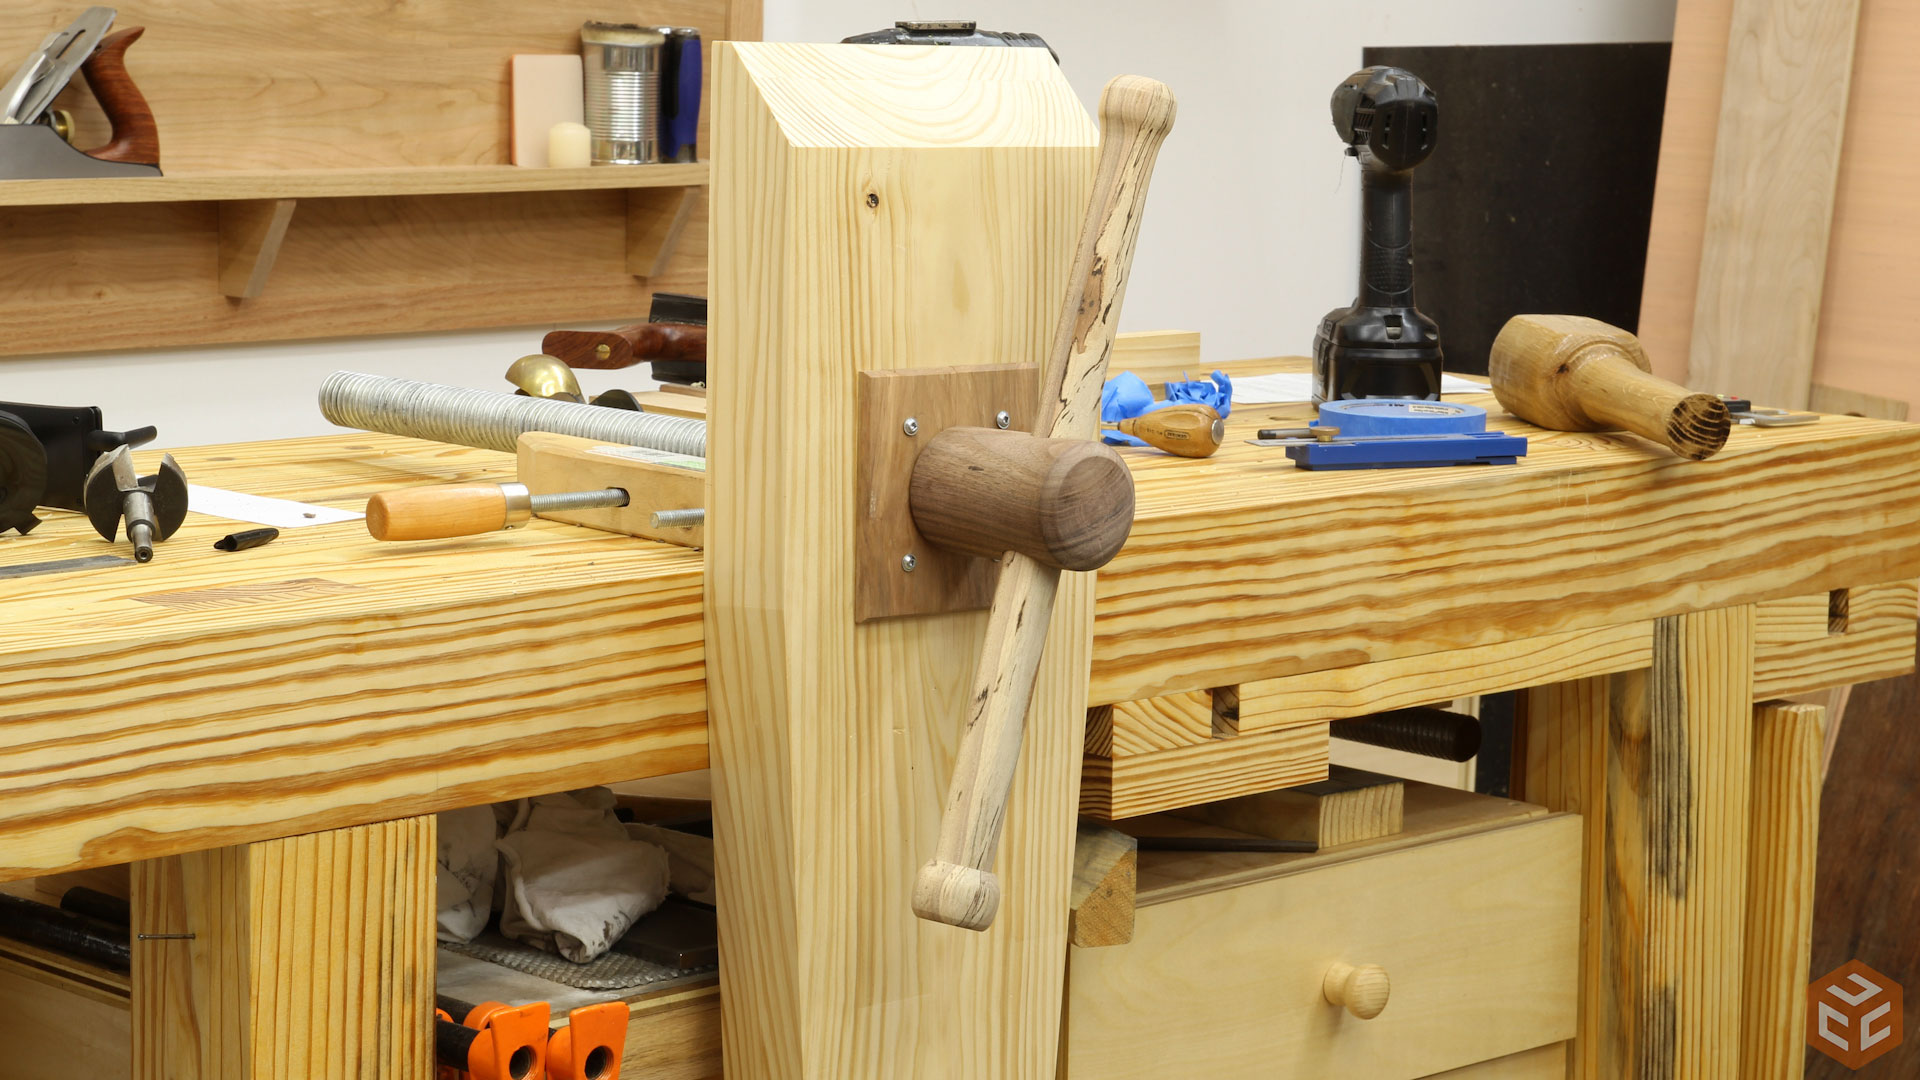
And finally the handle can be inserted and the cap screwed on with a regular wood screw. You can see some of the spalting in this picture. The handle really makes the vise look great.
At this point the leg vise is complete. All that’s left to do is swap out the ugly silver screws for something that will match the look better and then mount it in Shawn’s workbench. That will be another day though. Be sure to stop by next time to see it installed. Here are some completed pics to enjoy :)


Awesome videos and advice!
Thank you very much, Tim.
WoW! Nice job Jay. What was the time frame for completing the whole unit? I really like the look of the hickory retaining plate better than the metal ring. Your right it did give it a custom look to it,Thanks again and have a wonderful week!. ~Dolly
Thank you Dolly! I completed this over three days of shop time so that I could let the glue and epoxy dry over night. But I think I only had about 10 or 12 hours of shop work in it.
Really nice outcome. Things don’t always work the way we want, but they still work out and another job bites the dust.
I’ve seen the leg vise builds in several instances, but I’m not clear on how the vise is used. What is the advantage over any other type of vise. Since you’ve built it, what is the most frequent use of it?