
The goal of this shop tour series is to get a better look at how other people setup and use their shop space as well as to promote other creators. If you like what you see be sure to leave them a comment here and subscribe to any or all of their content links to see more. If you would like to be featured in this series along with your shop send an email with the subject FEATURE MY SHOP to jay@jayscustomcreations.com. Enjoy!
My name is Andreas, I’m a teacher and hobby woodworker from Heitersheim, in the south of Germany. I post woodworking videos in English on my YouTube channel, share my work on Instagram and also have a woodworking blog in German. In terms of my woodworking skill level I consider myself “lower-intermediate”: not quite a beginner anymore, but still having a long way to go. My shop is in the basement of our two-car garage. It used to be a garden shop and storage area when we bought the house and I’ve been slowly turning it into a woodworking shop over the last three years. My shop has come along quite a bit but also has a lot of unused potential that I’m trying to develop.
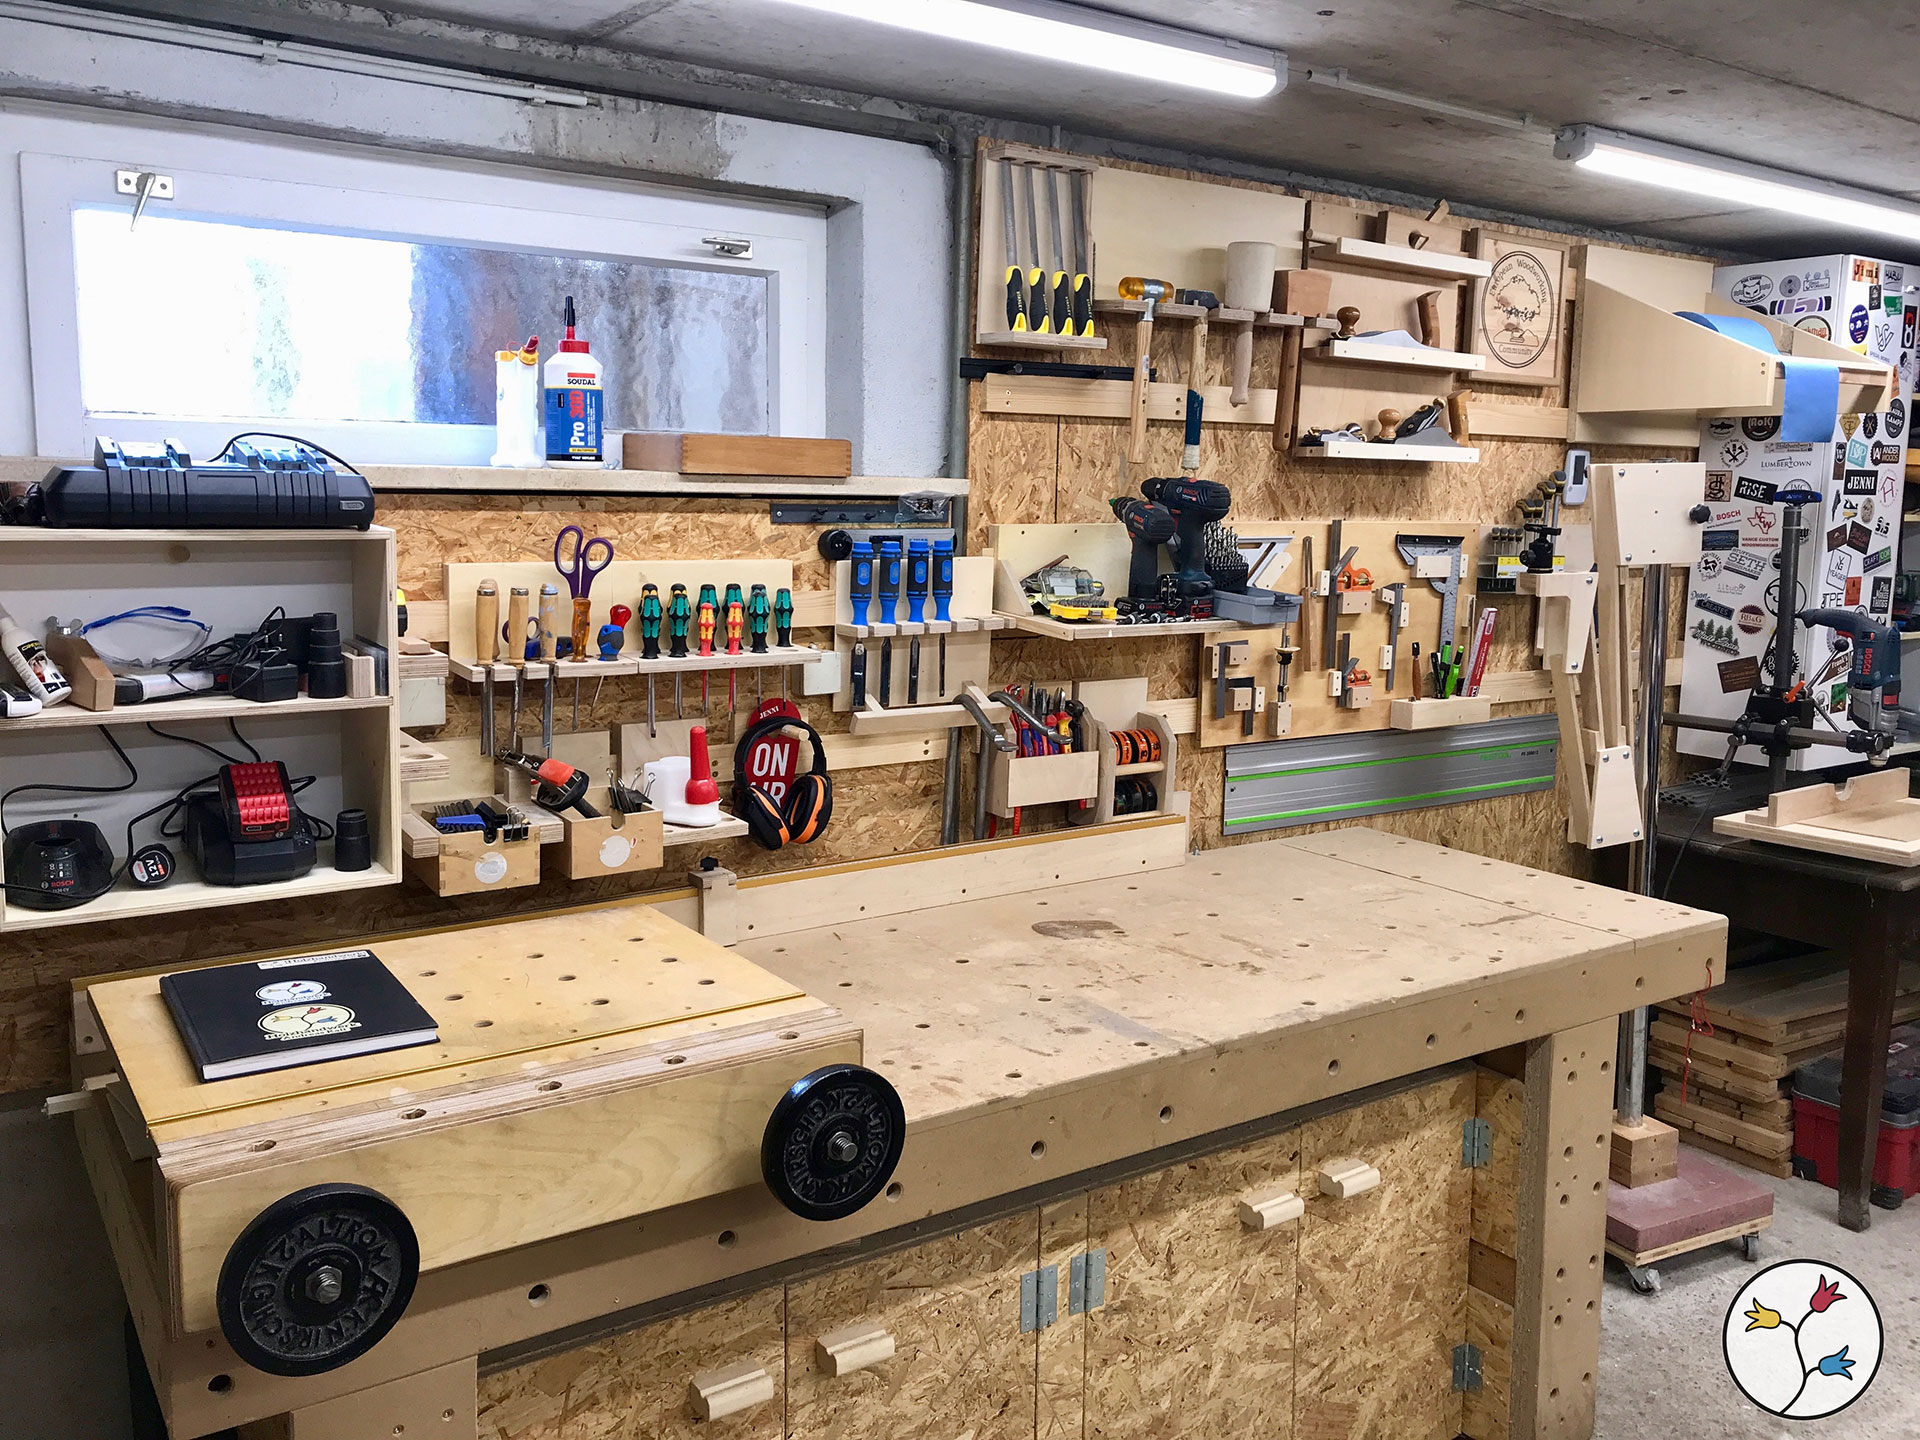
Here you can see the main working area of my shop. The workbench, the tool wall behind it and the table with my drill mount (instead of a proper drill press) in the corner. In the foreground you can see the table saw.
This is a closer look at my workbench and the tool wall. The bench was already there when we bought the house but it wasn’t a woodworking bench. I’ve added the cabinets, the holes, the moxon vise etc. to make woodworking easier. I’ve also added a fence system to my bench to be used with my plunge saw. This has helped me cope with the fact that I don’t have a mitre saw. I explain how I work with this system in a video about my plunge saw. Left of the bench (just out of frame) is the entrance door to the shop.
In the cabinets below the bench I keep various power tools that have their own cases. As the number of my power tools has grown, this space is no longer enough to store them all so I’ll probably change this storage system to a drawer-based one at some point with some extra storage elsewhere in the shop.

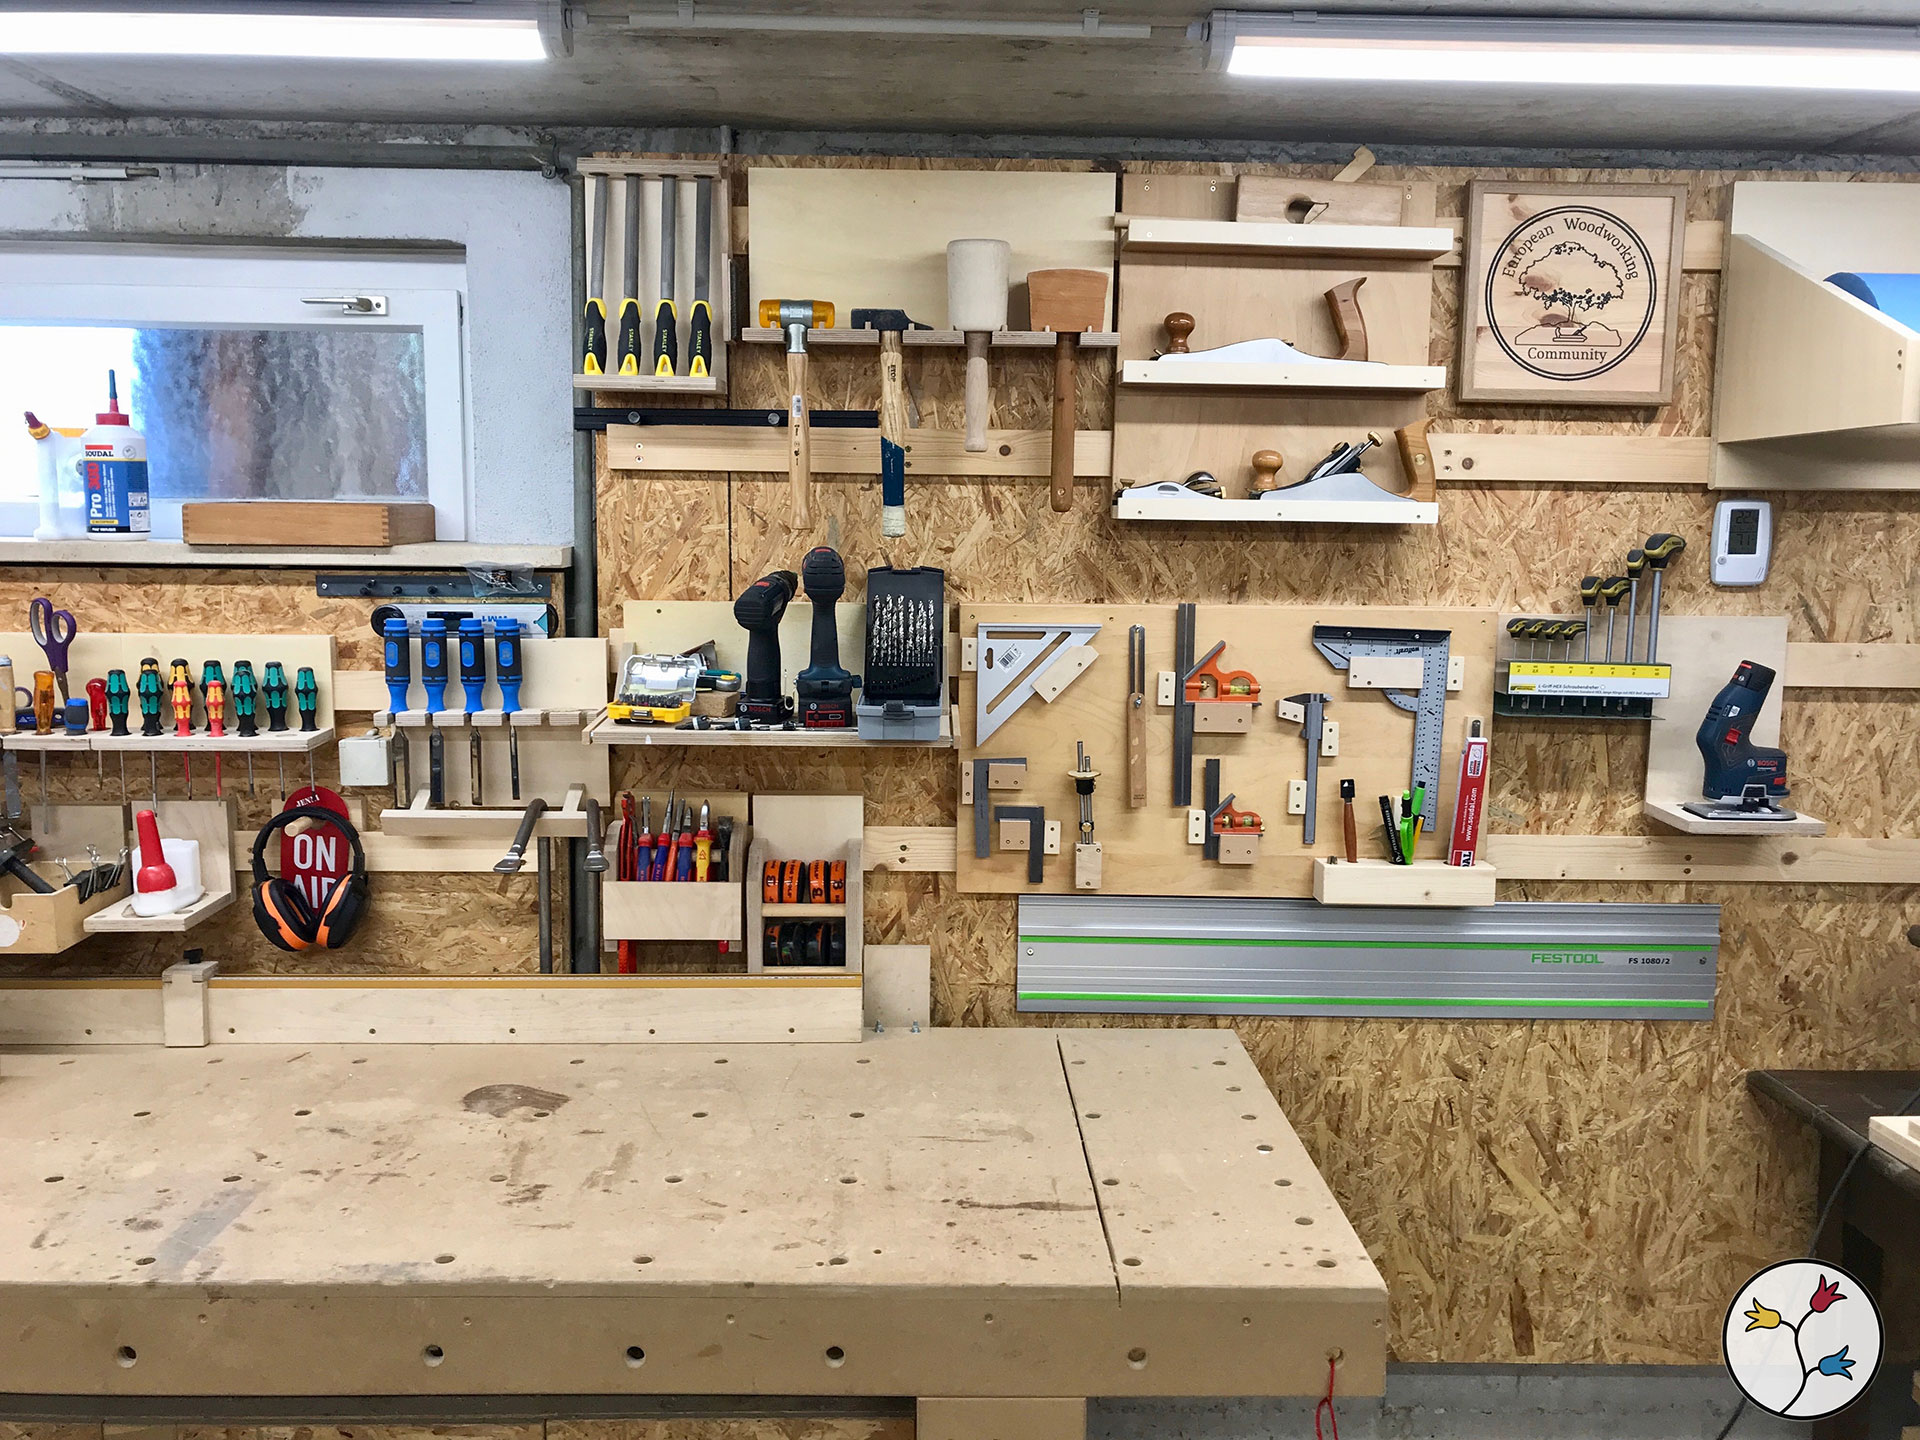
This is my main tool wall. I use french cleats to hang all the different tool holders. This system has been perfect for my needs because it has allowed me to adapt the wall to my growing tool collection and also to changes in my workflow that have happened over the last three years in which I have pursued woodworking in this shop more and more seriously. I made a video about setting up the french cleat wall and about building the main tool holders.
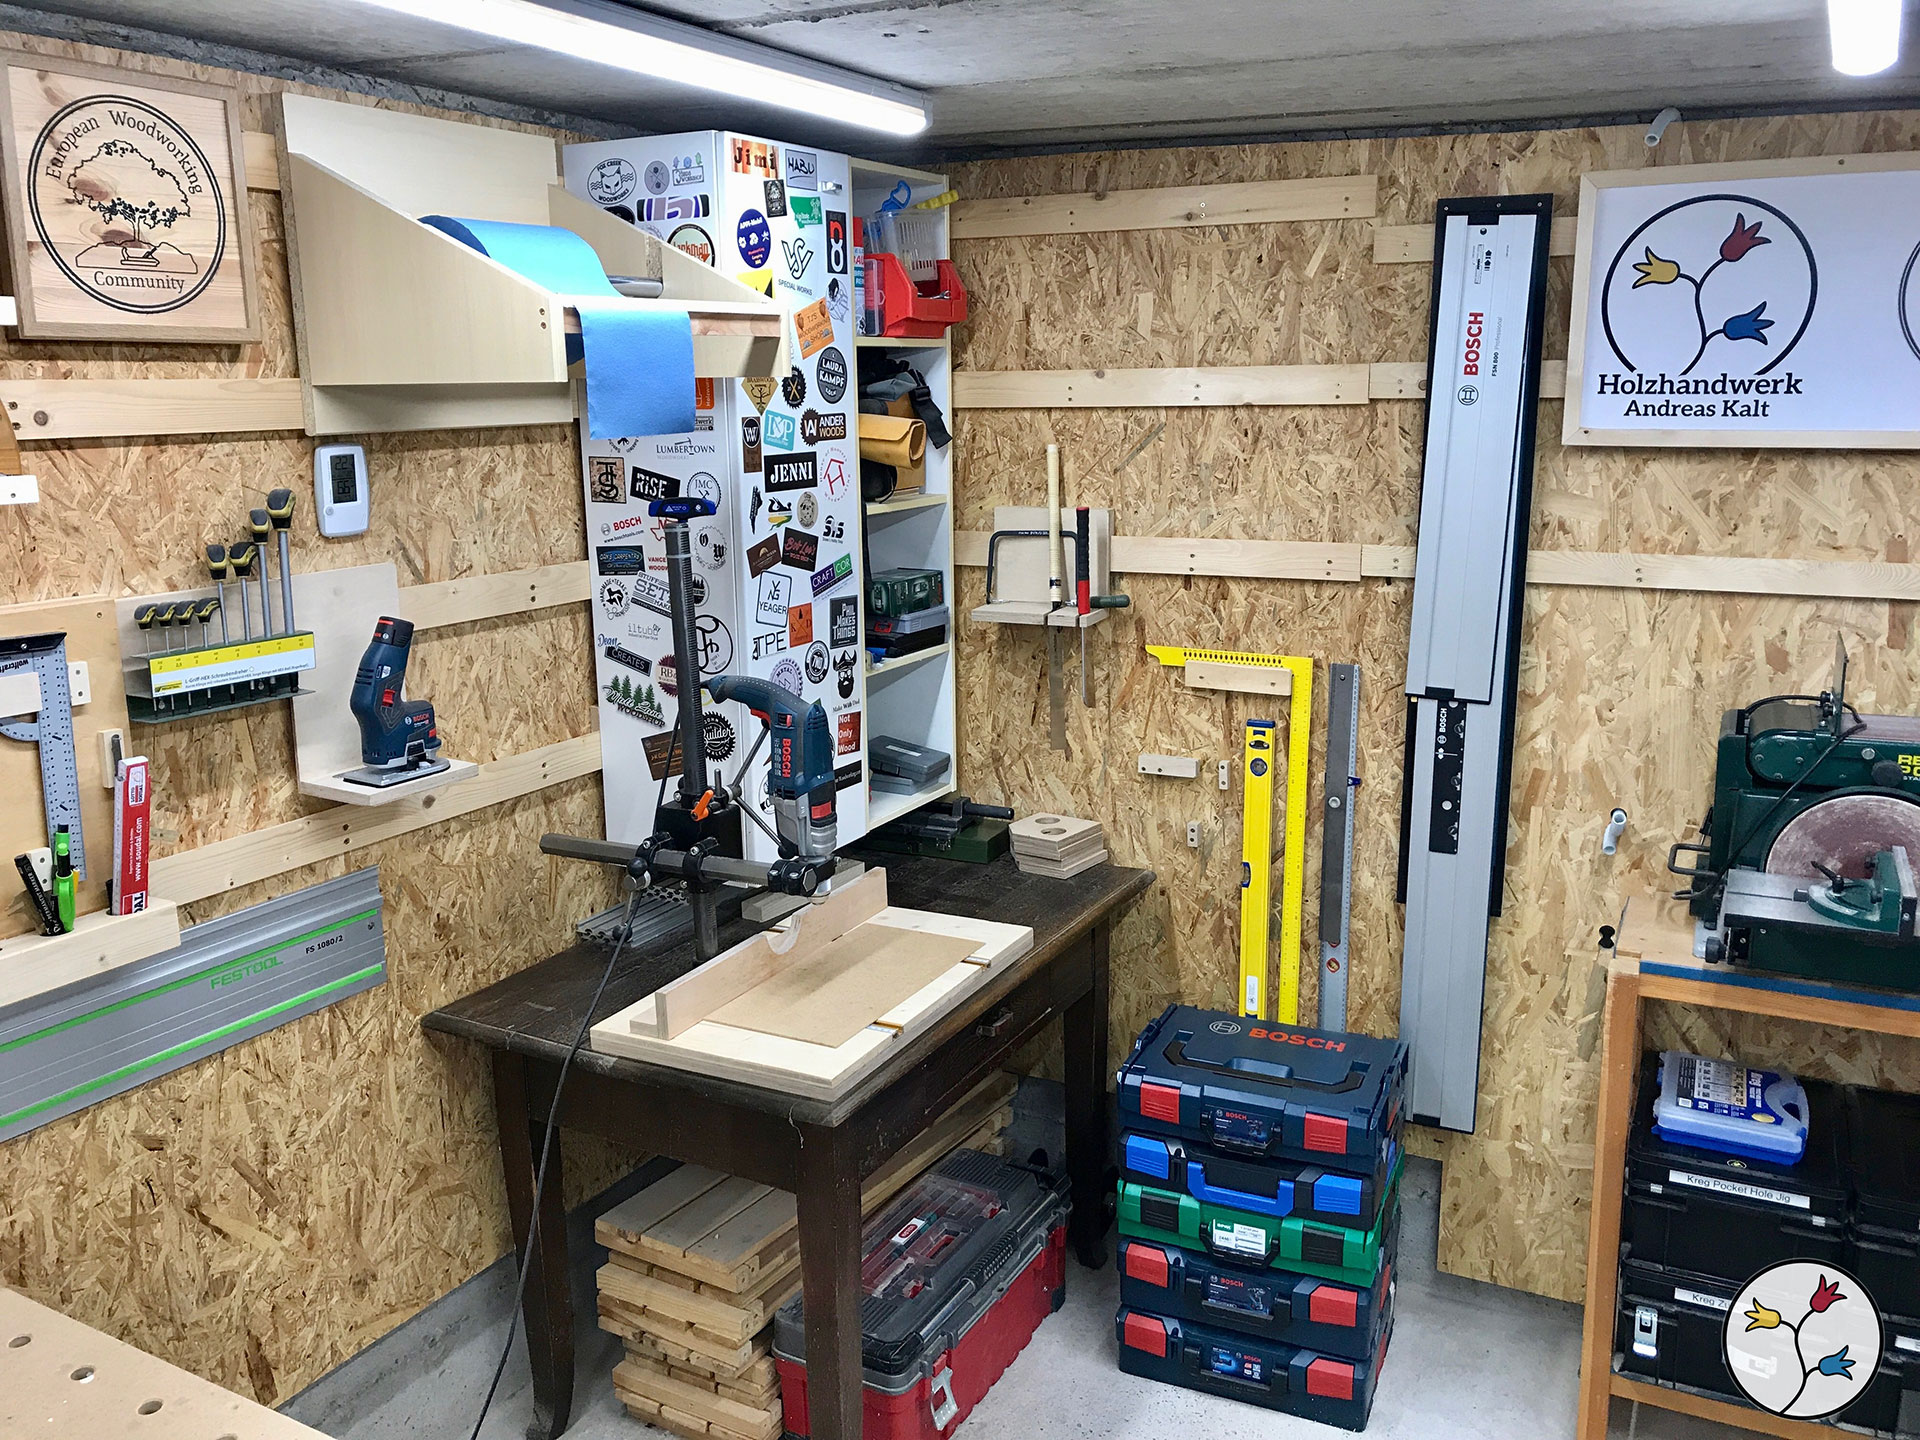
In this corner, I have my “drill press” which is a drill mount with a regular drill in it. This is, again, a solution that allowed me to be flexible and get projects done without spending a lot of money early on. The drill mount is not quite as accurate as a real drill press but one advantage is that you can turn the drill and use it horizontally if need be. I don’t need this very often but when I do (like in this project) it comes in very handy. If you’re interested in a detailed look at this setup, I explain the drill mount in this video.
The cabinet above holds glue, oils, small items and the like – and of course my sticker collection. On the floor you can see another sign that I’ve yet to get my storage in order. Those L-Boxxes should really get a proper place.
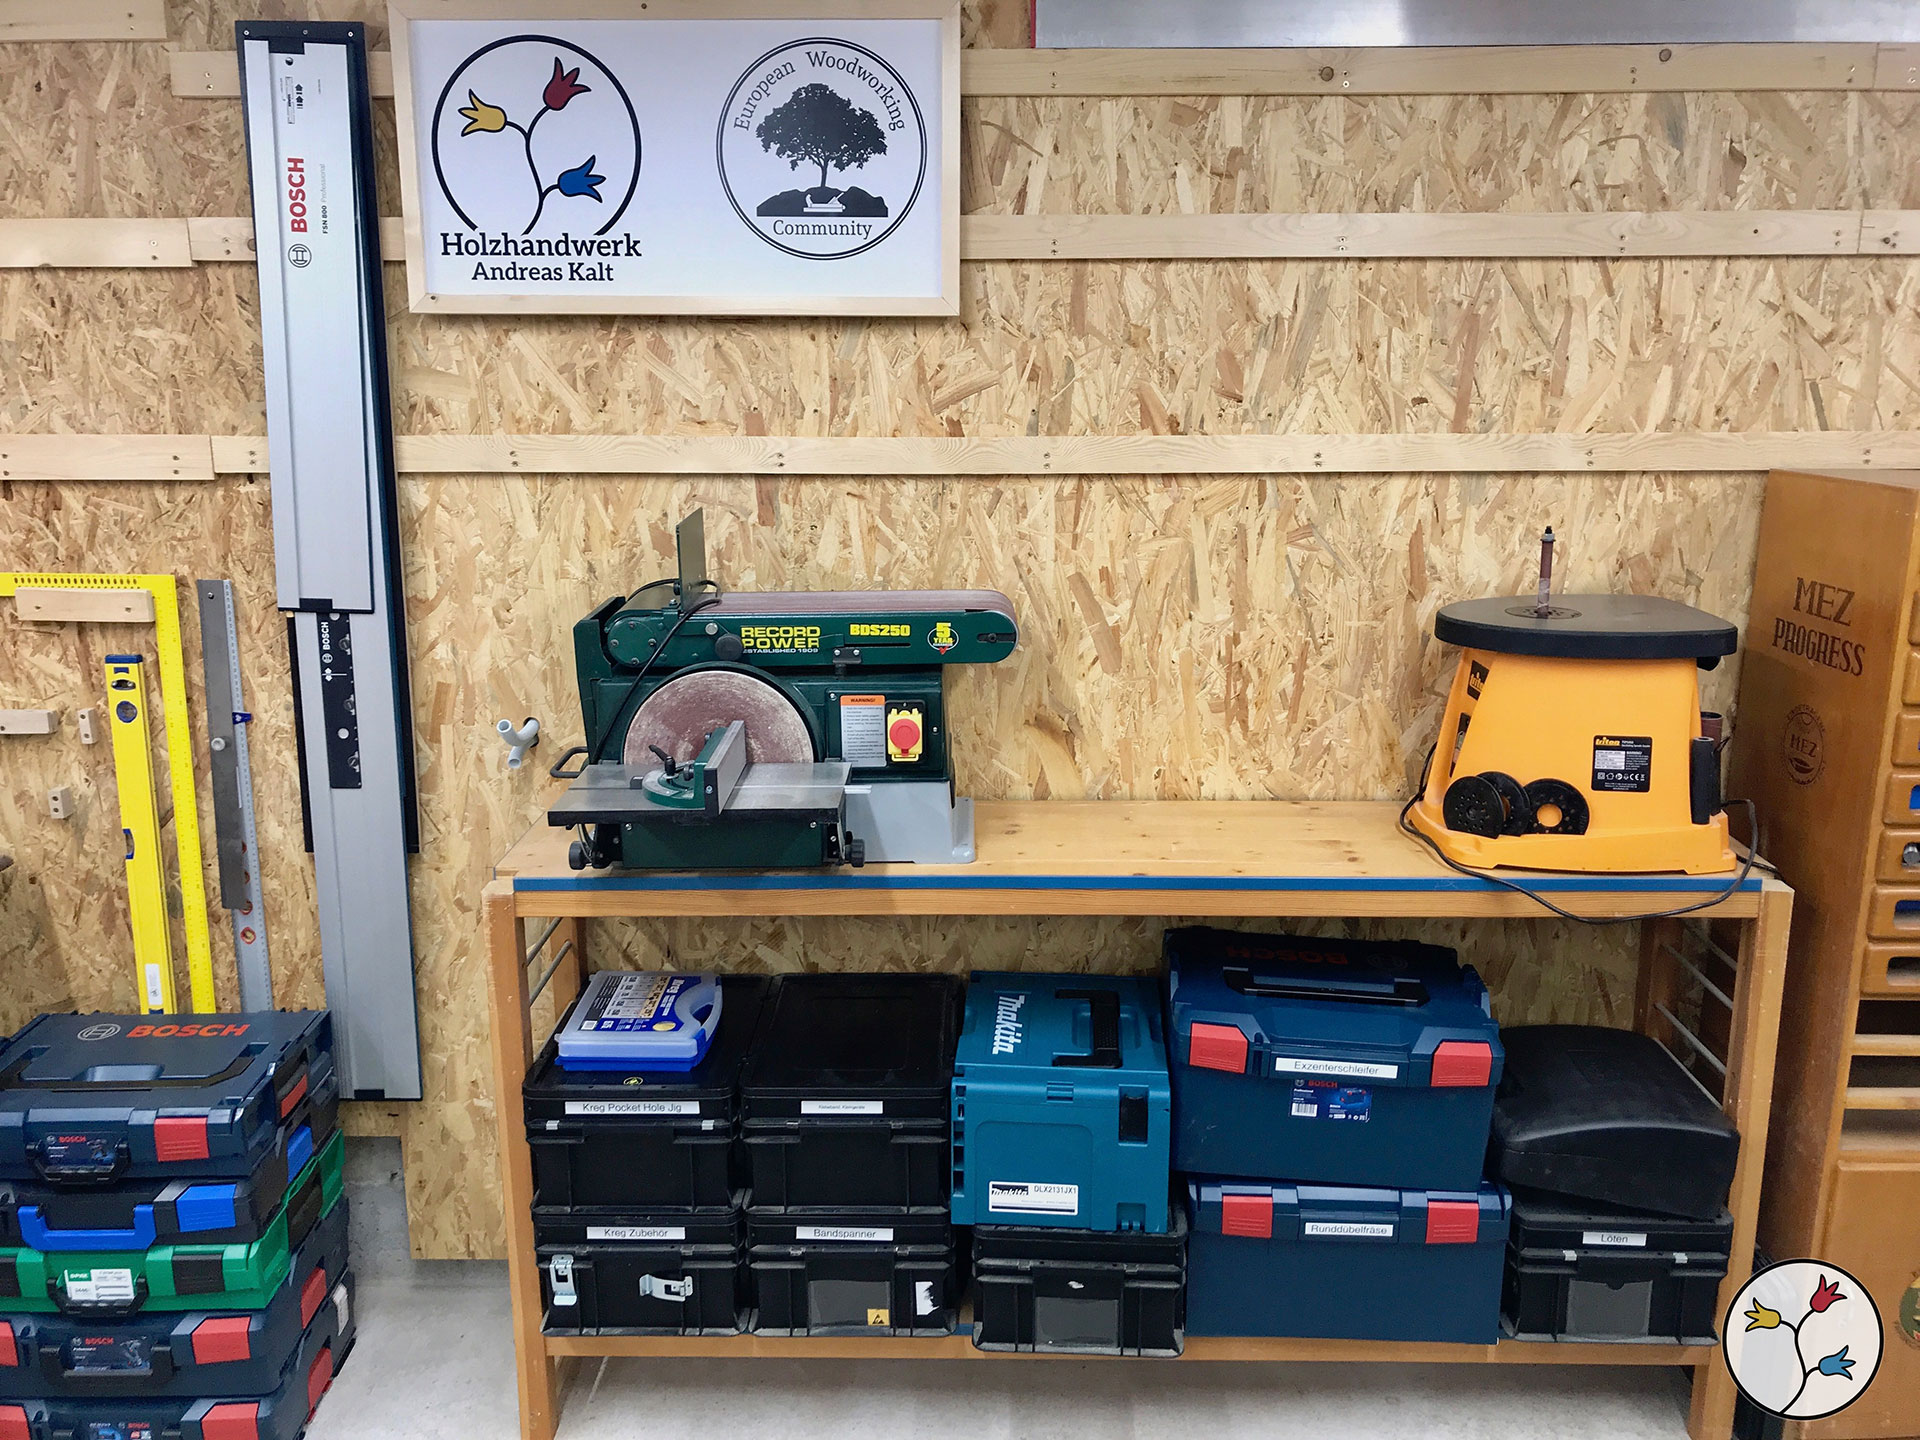
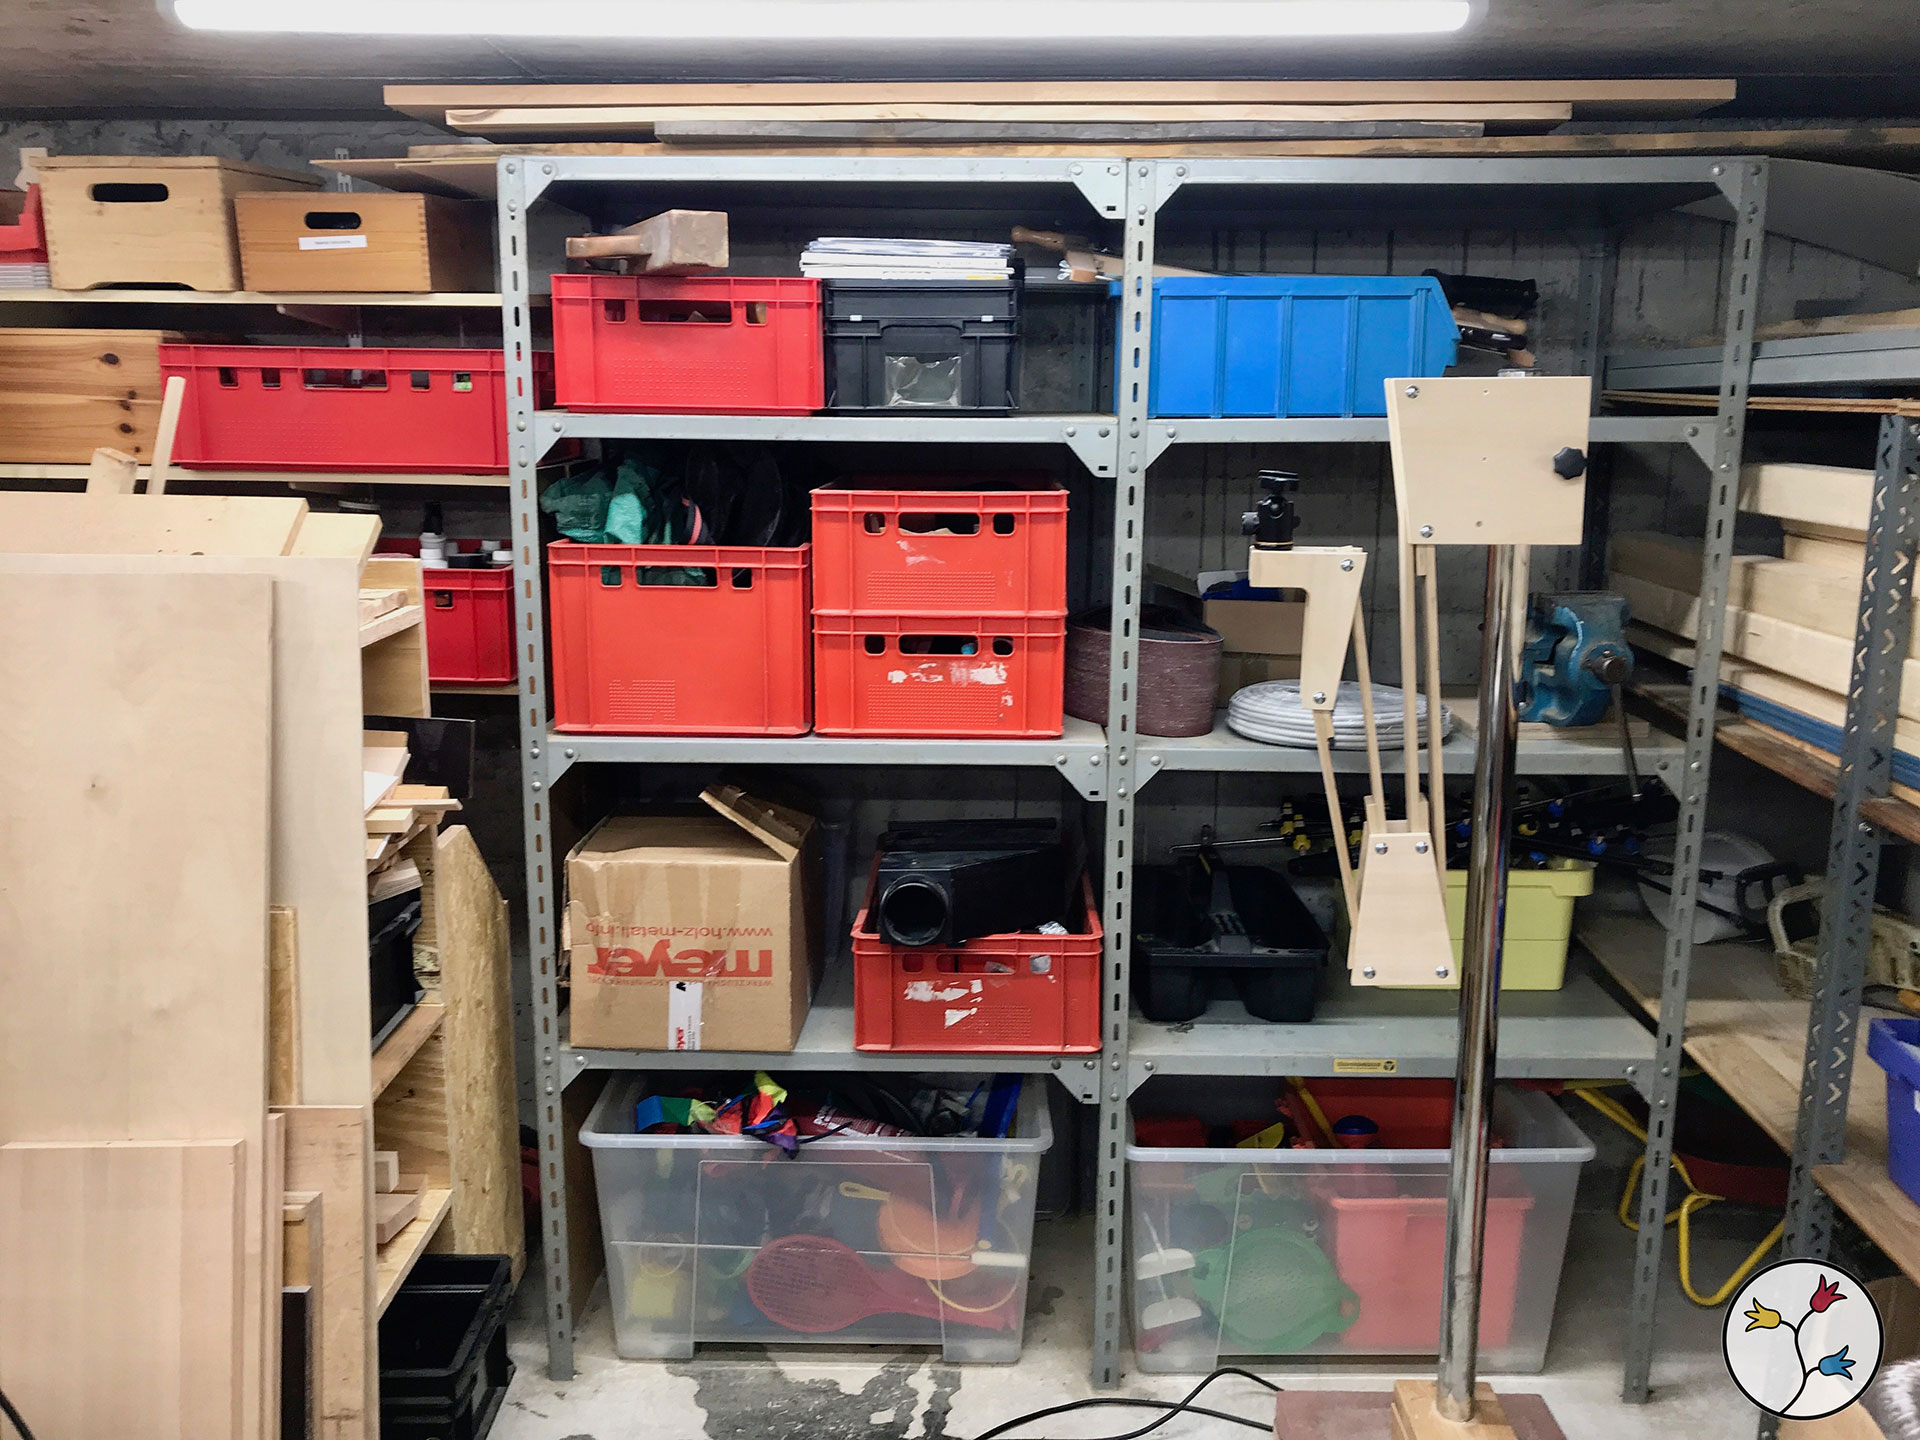
Over on this wall, there’s a provisional “workbench” which is really an old shelf. After I’ve just finished a large project recently that has taken me much longer than anticipated (a bunk bed) I’m now planning to build a new workbench to replace this shelf. It will be about 8 ft long and will have many drawers to hold all kinds of items that so far are either in those black plastic boxes or stored openly on shelves. This is supposed to be my “power tool bench” for the belt/disc sander, the spindle sander and the drill mount.
This is the “far corner” of the shop. Here, all kinds of things end up that are needed less often or haven’t found a proper place yet. You can also see some Makita garden tools. I have to store some garden equipment in my shop because we don’t have anywhere else to put them. I don’t like this, of course, but well … Hiding on the right there’s also a lawn mower and other non-woodworking tools.
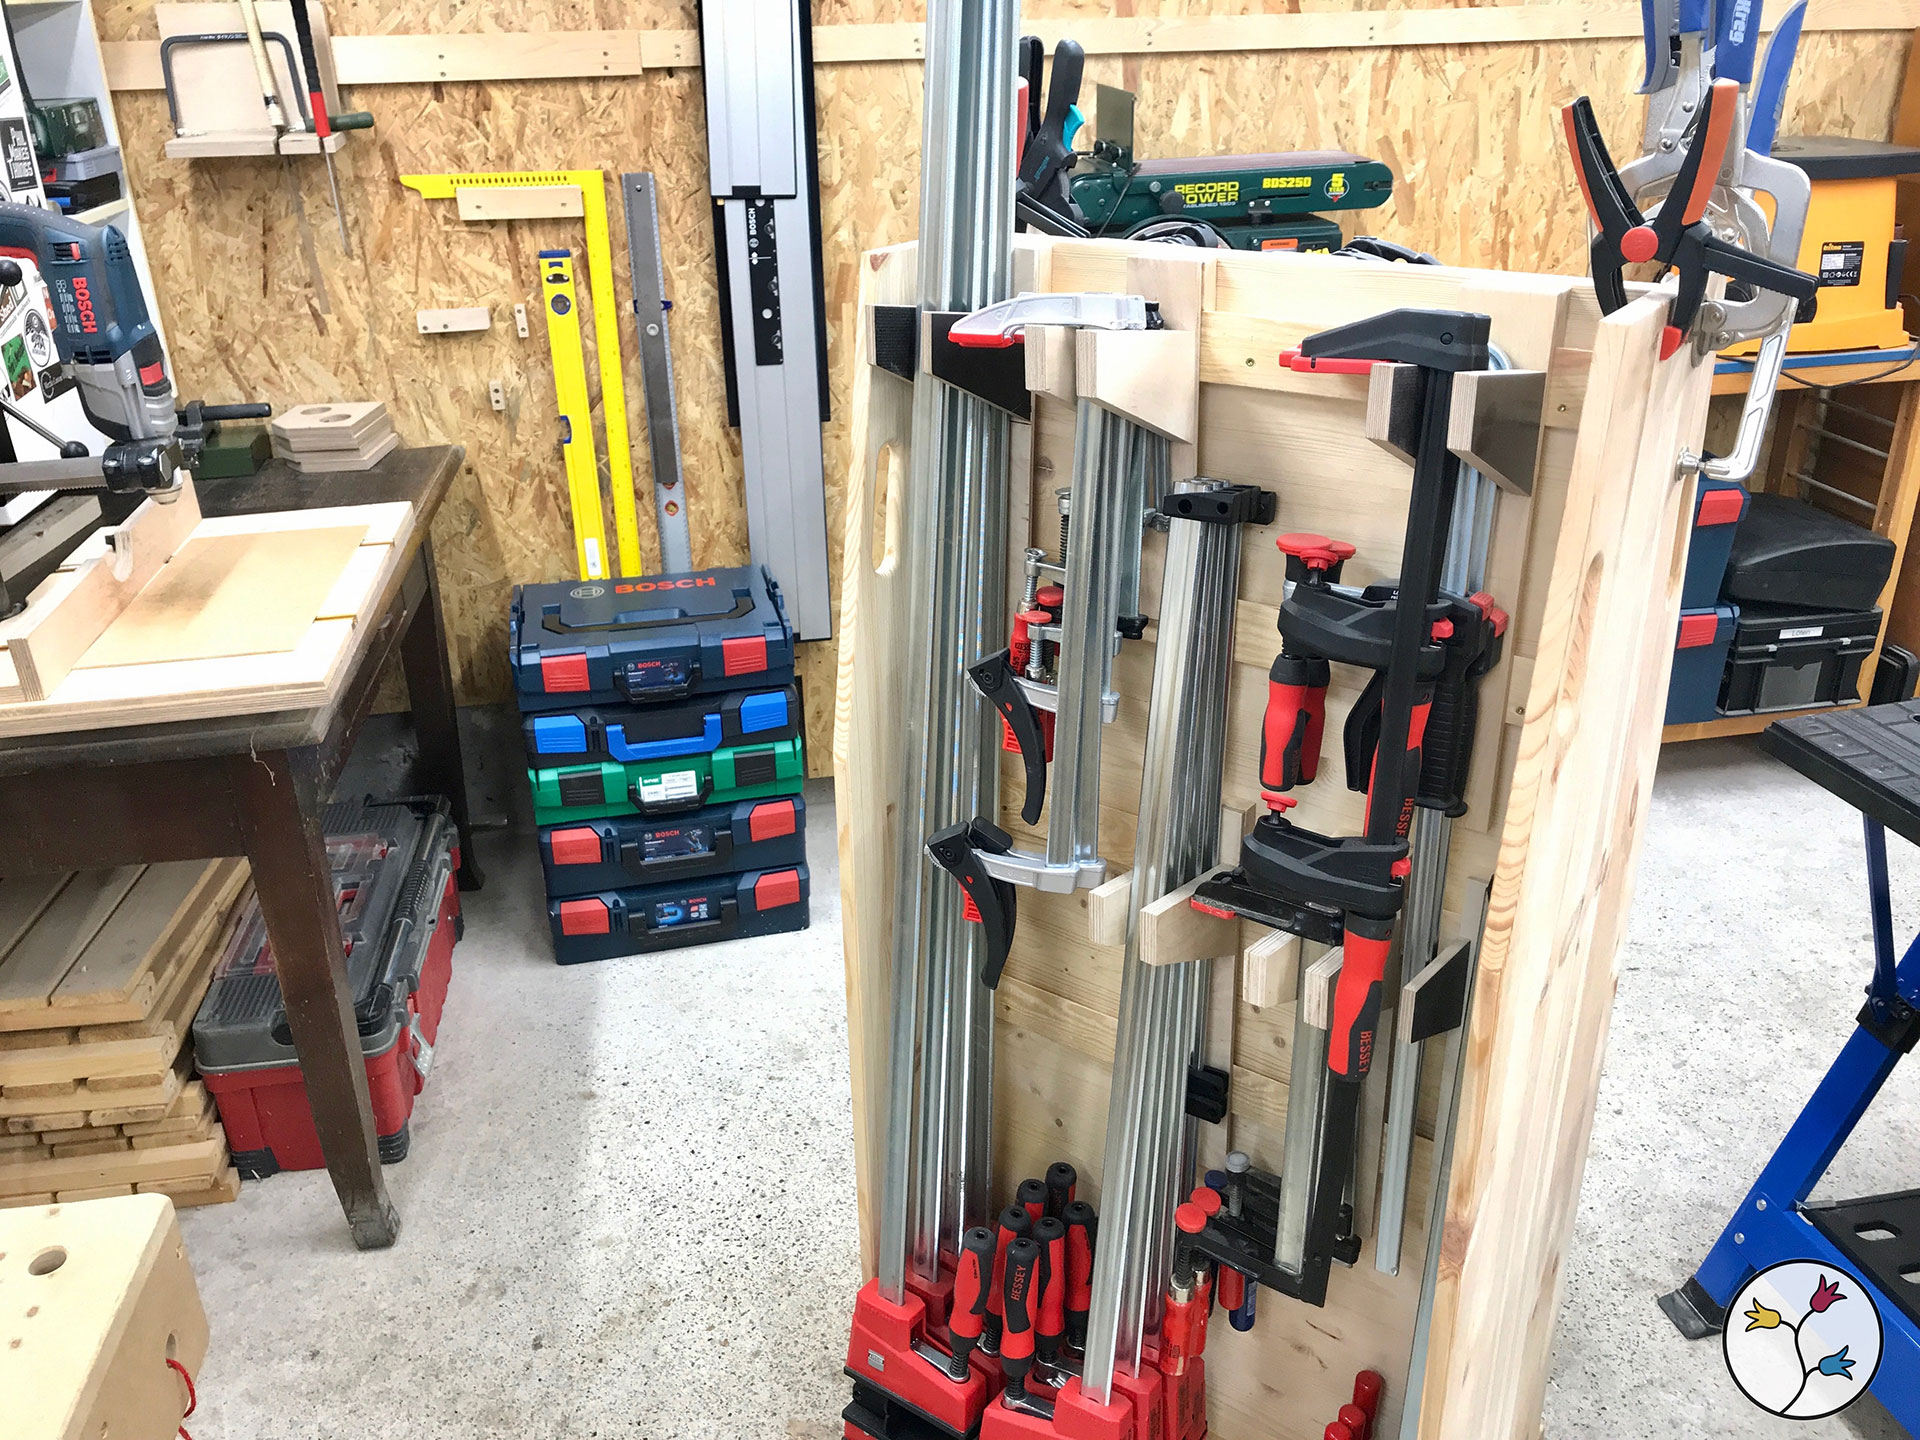
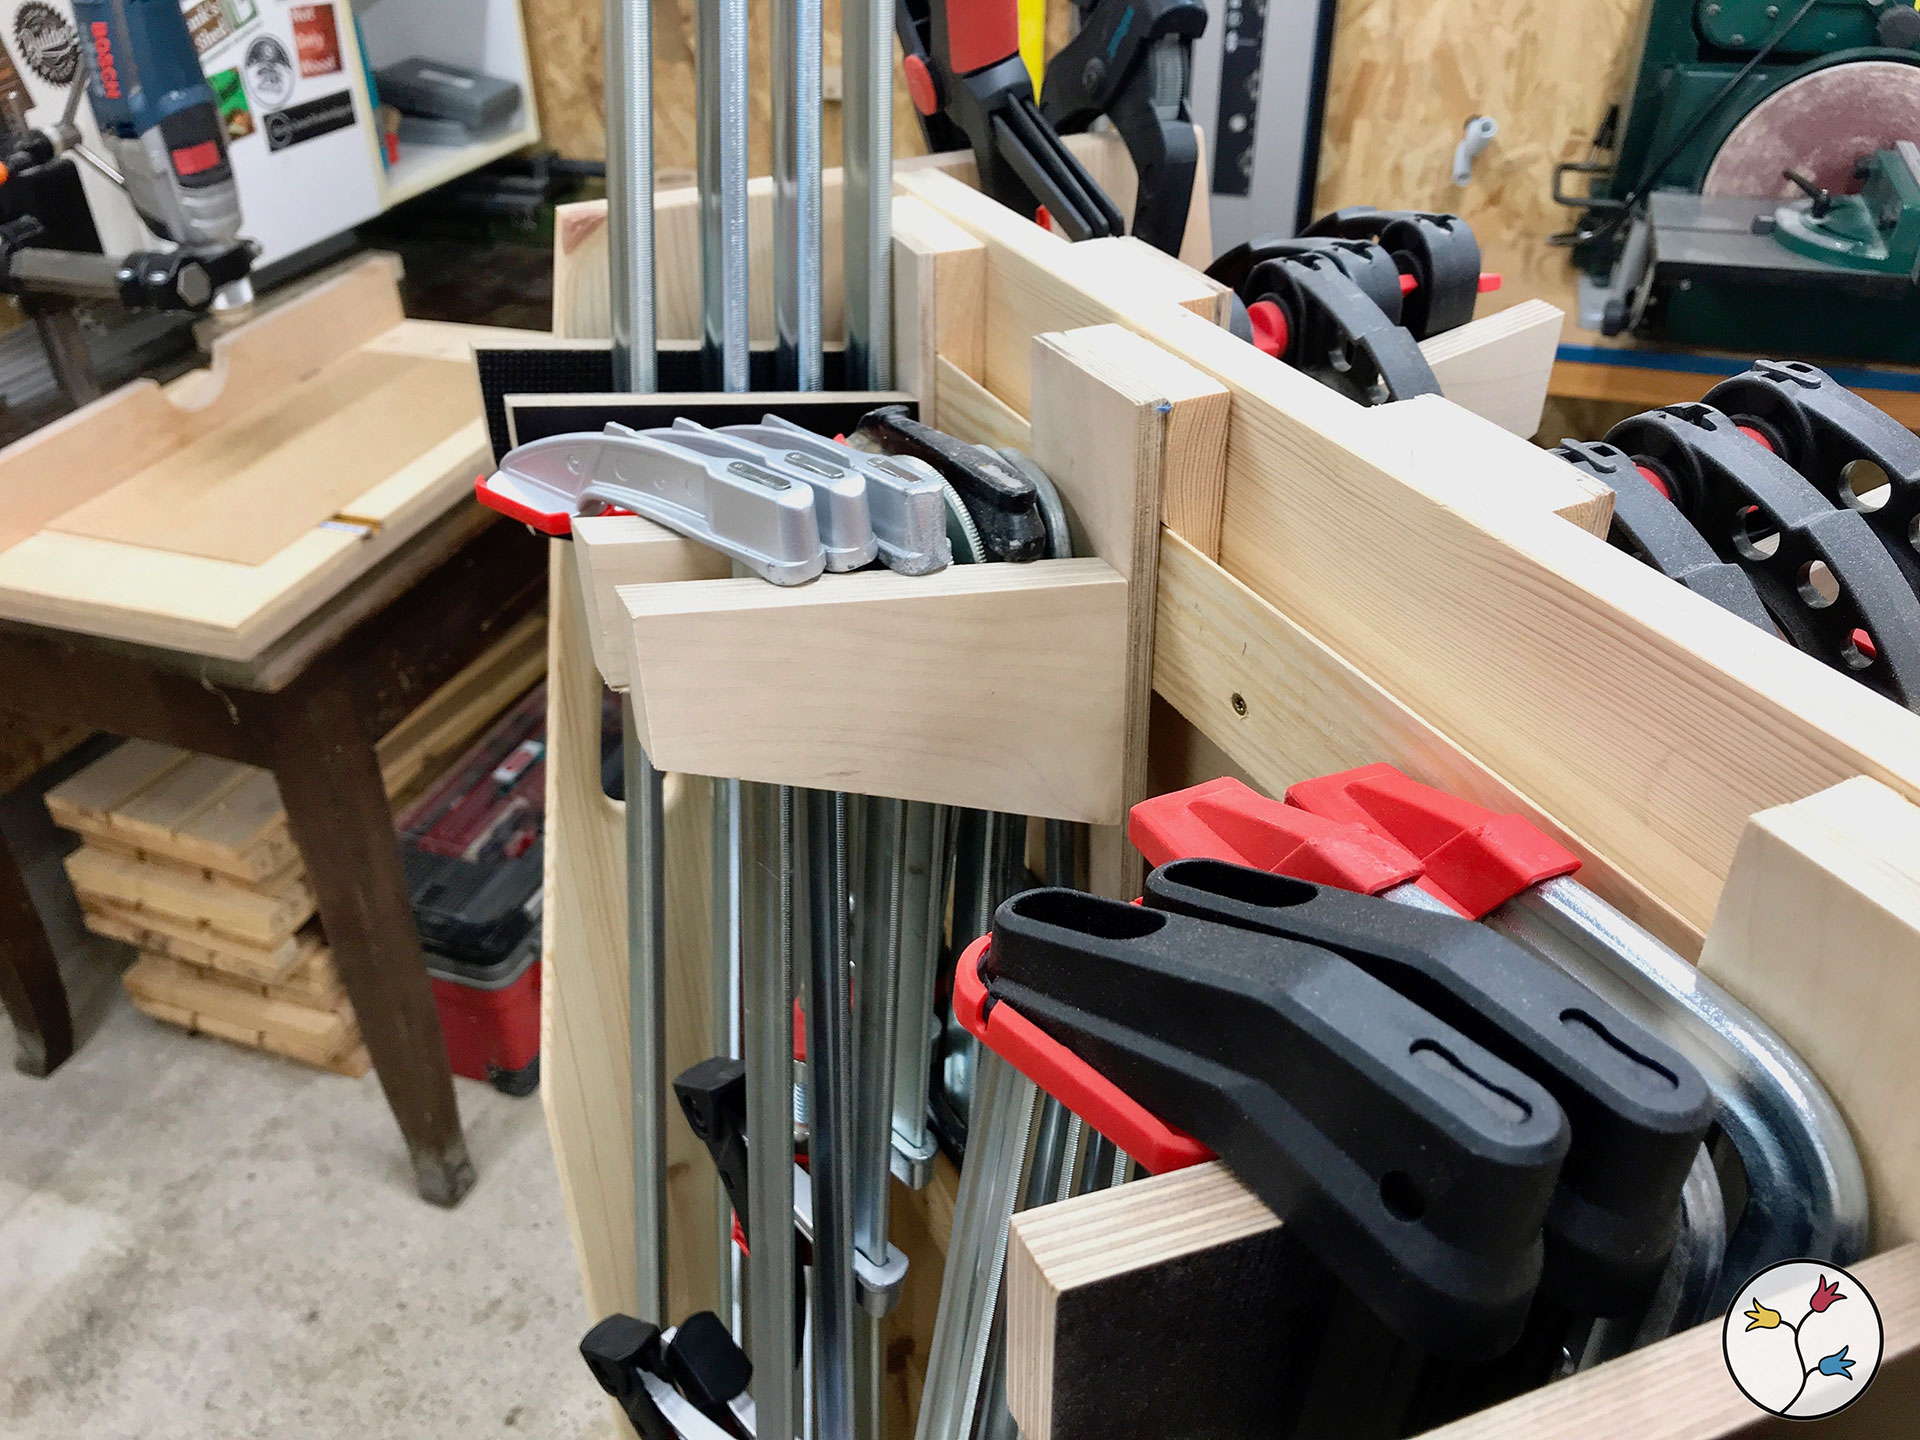
On the right you can see my clamp storage cart. As most other units in my shop I wanted to have it on wheels to be flexible. It is a combination of a storage rack and a french cleat system. If you’re interested, I made a video about building it.
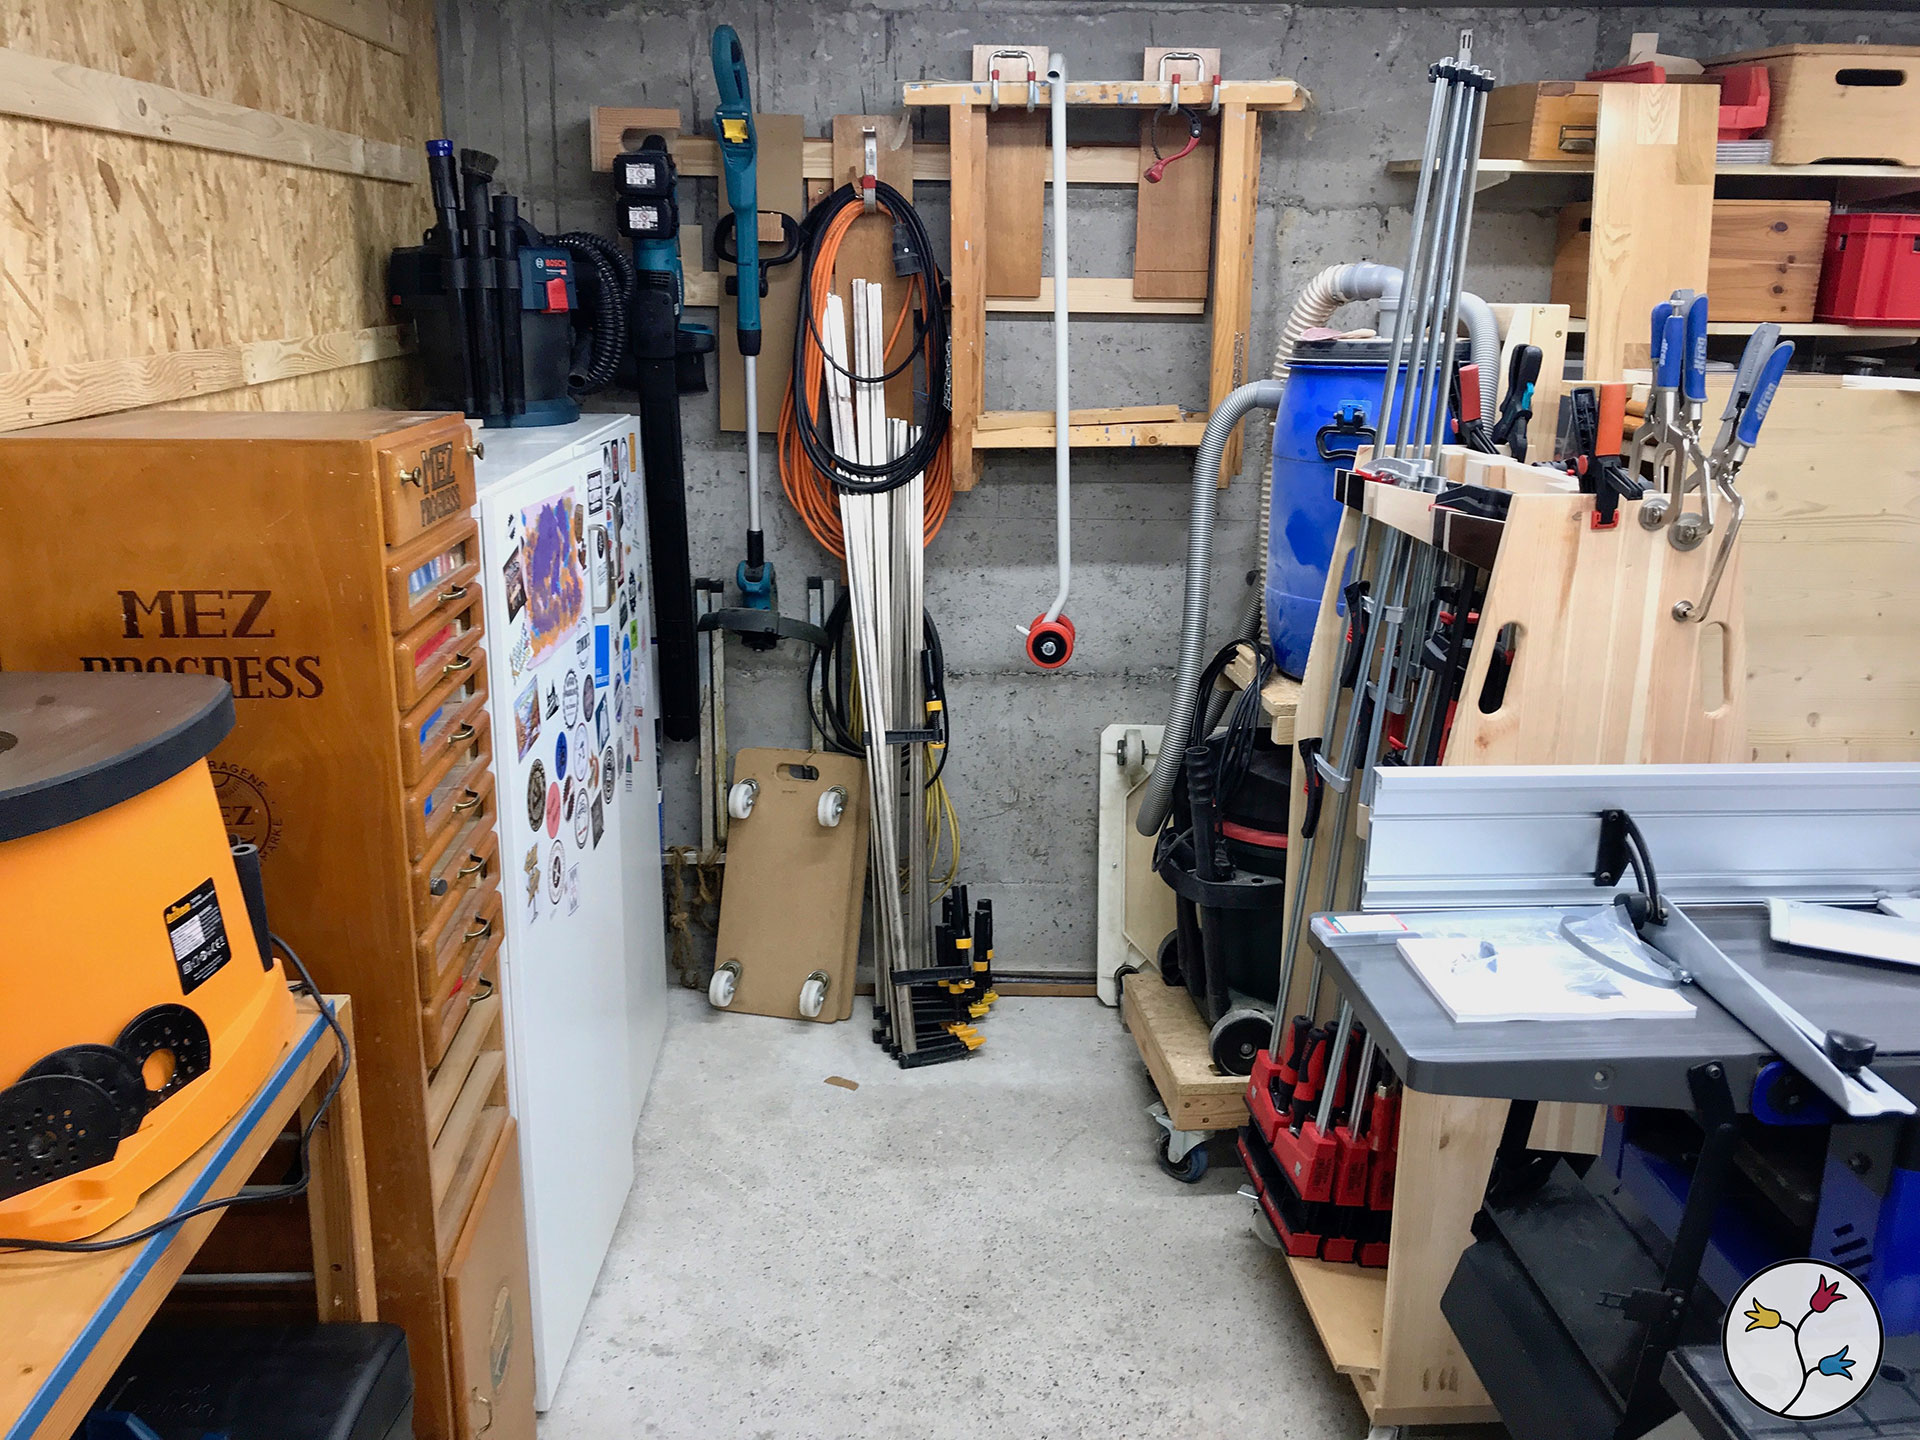
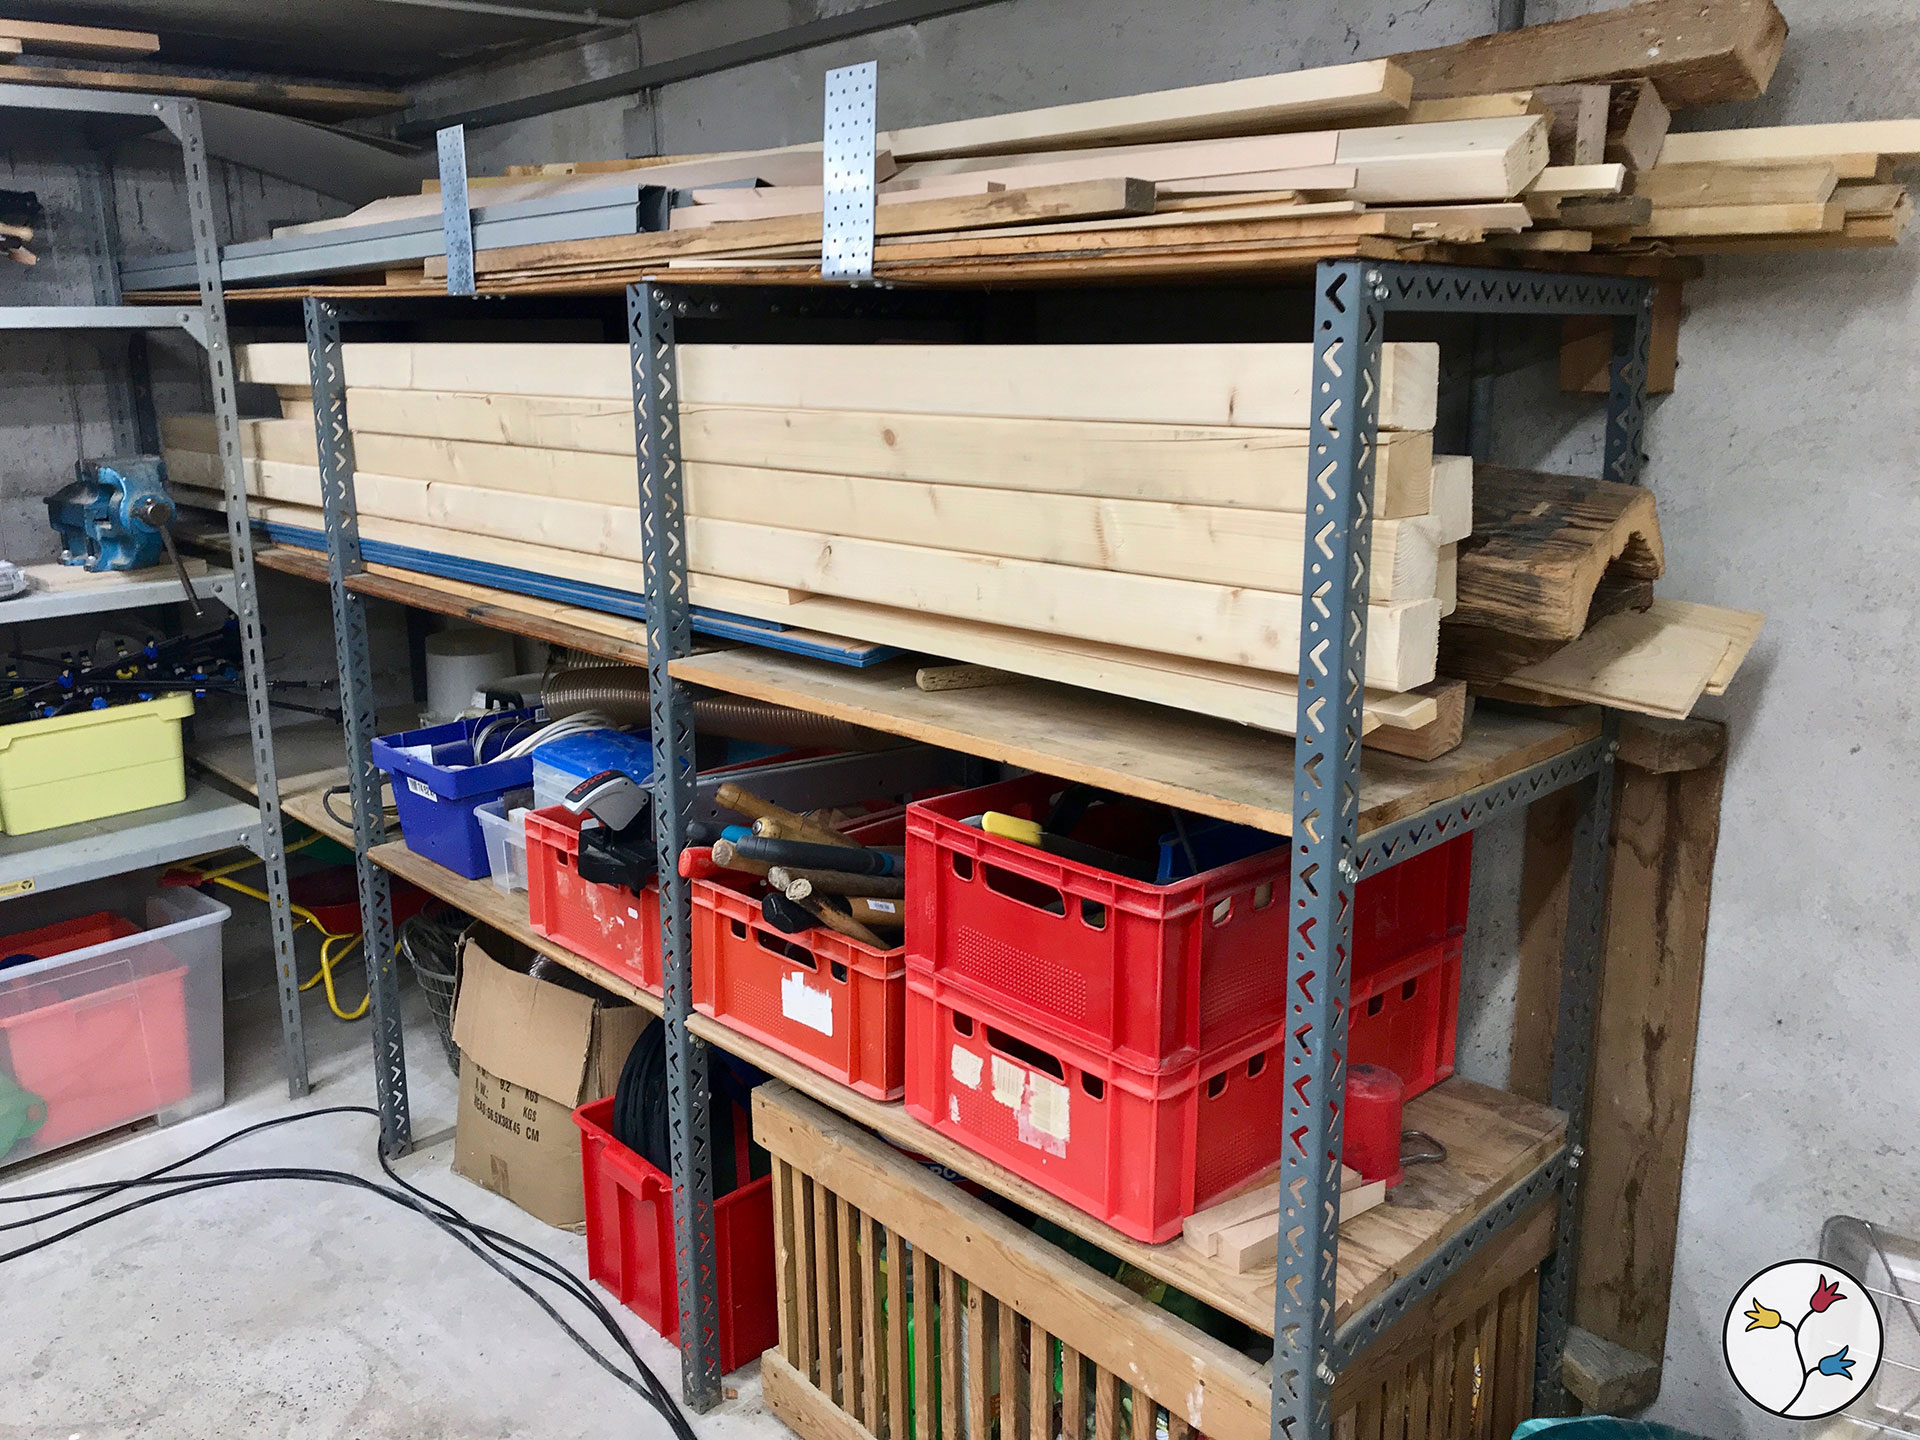
The next two images show two walls of my shop that I’m least eager to share because they are much more messy than I’d like them to be and they contain a lot of items that have nothing to do with woodworking: sand pit toys of the kids, more garden tools etc. Over time, I’d like to clear out this area and get rid of those metal shelves. The long-term dream is to build a mitre saw station on the rear wall and some proper wood storage on the the wall to the right. It will be some time before this comes to pass but, hey … a woodworker may dream … ;-)
What you can also see: extension cords on the floor. This is far from ideal but my shop doesn’t have many power outlets. I’m in the process of adding more power lines and outlets but there’s quite some amount of installation involved (the whole shop is concrete) so this takes some time and money to add them in.
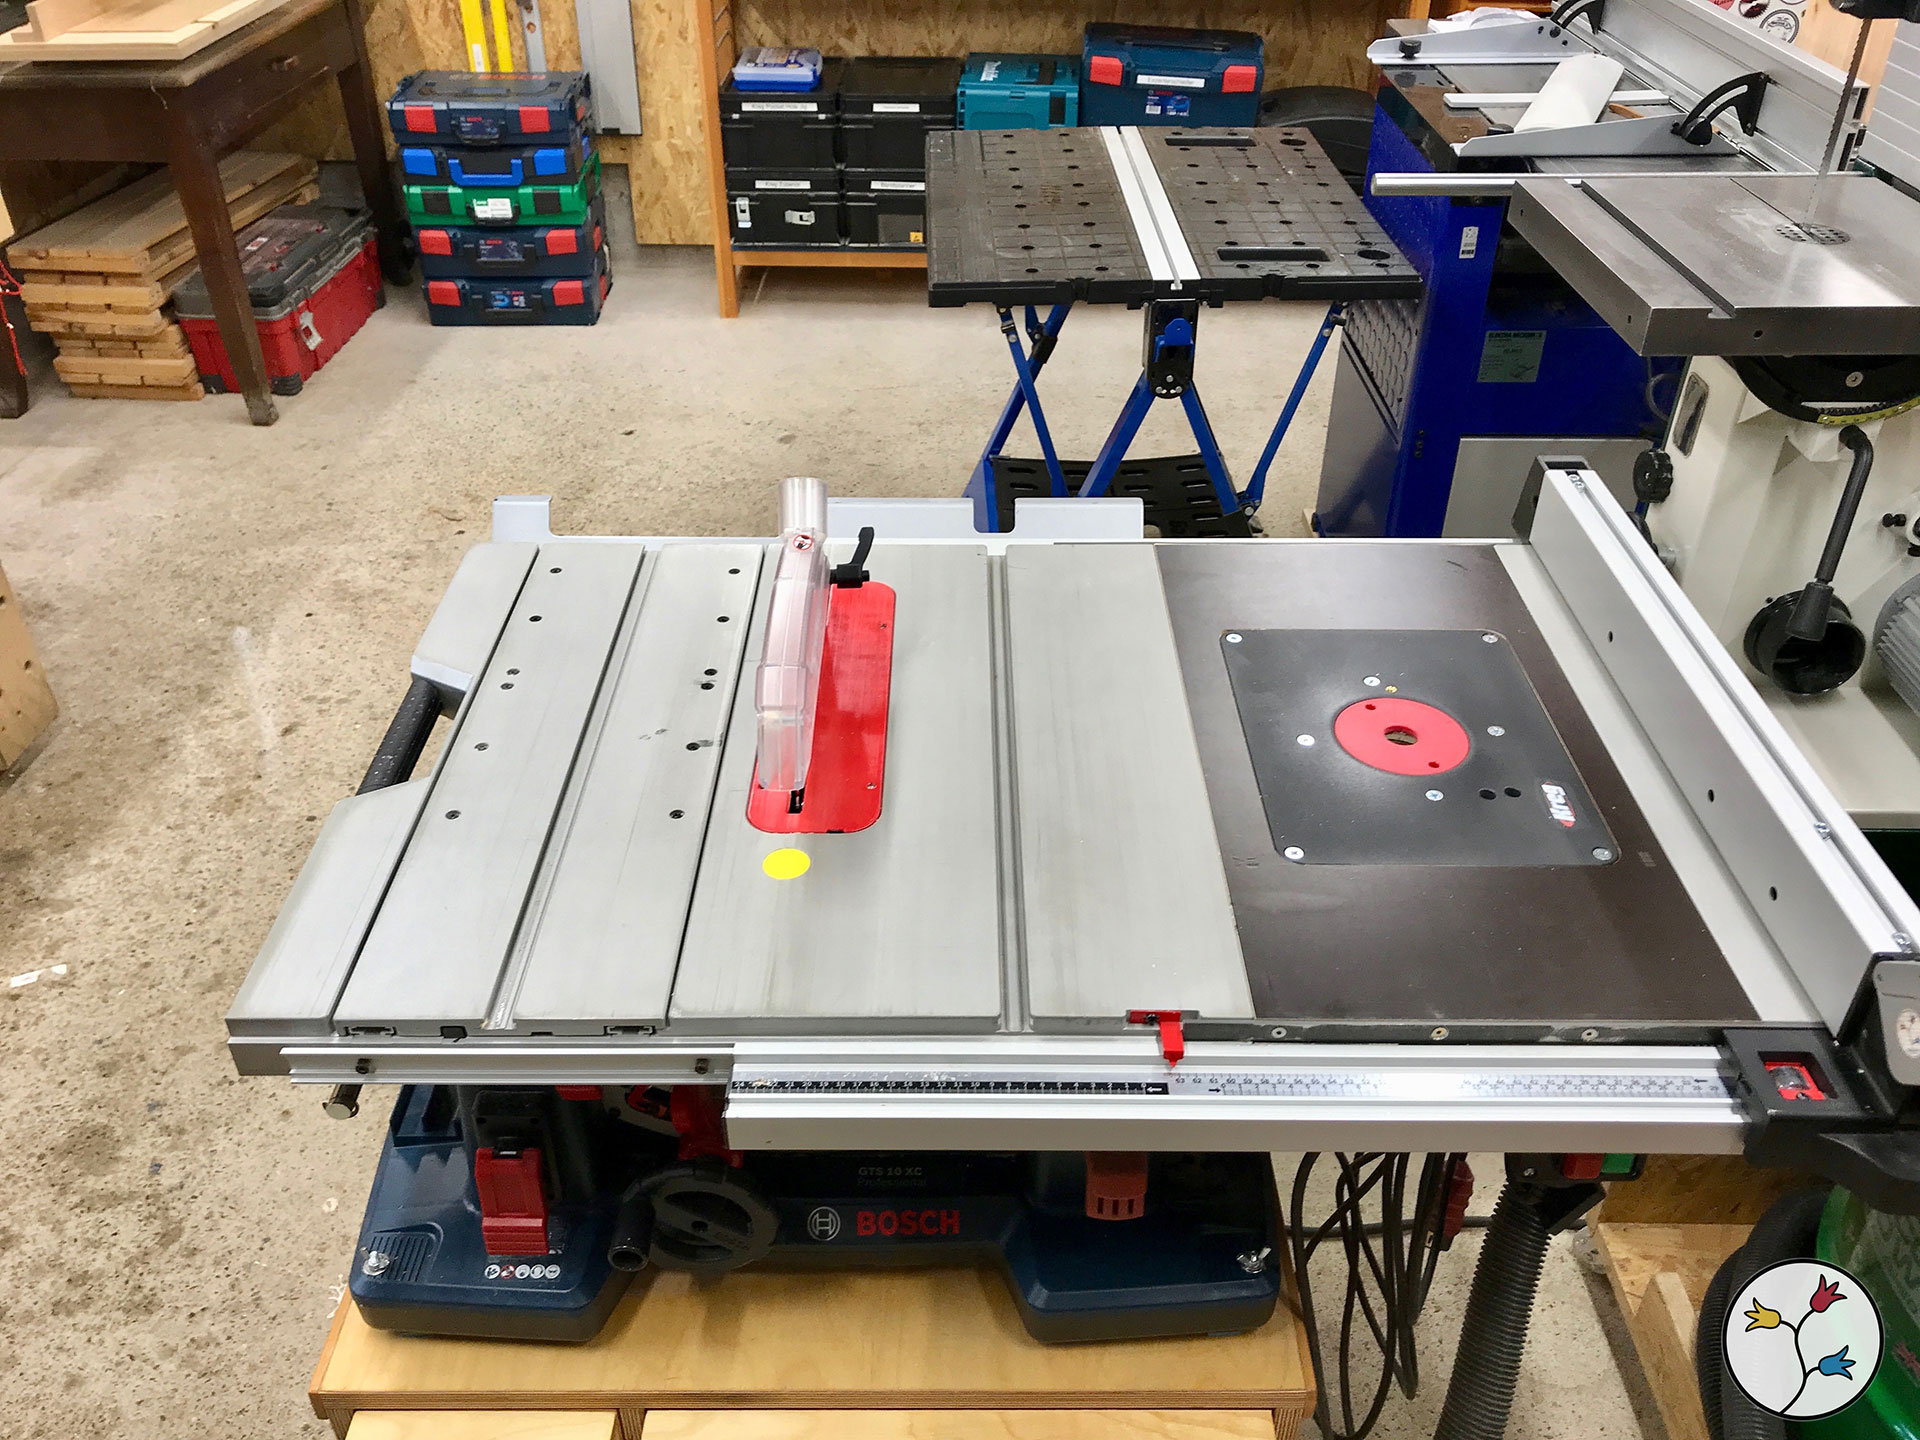
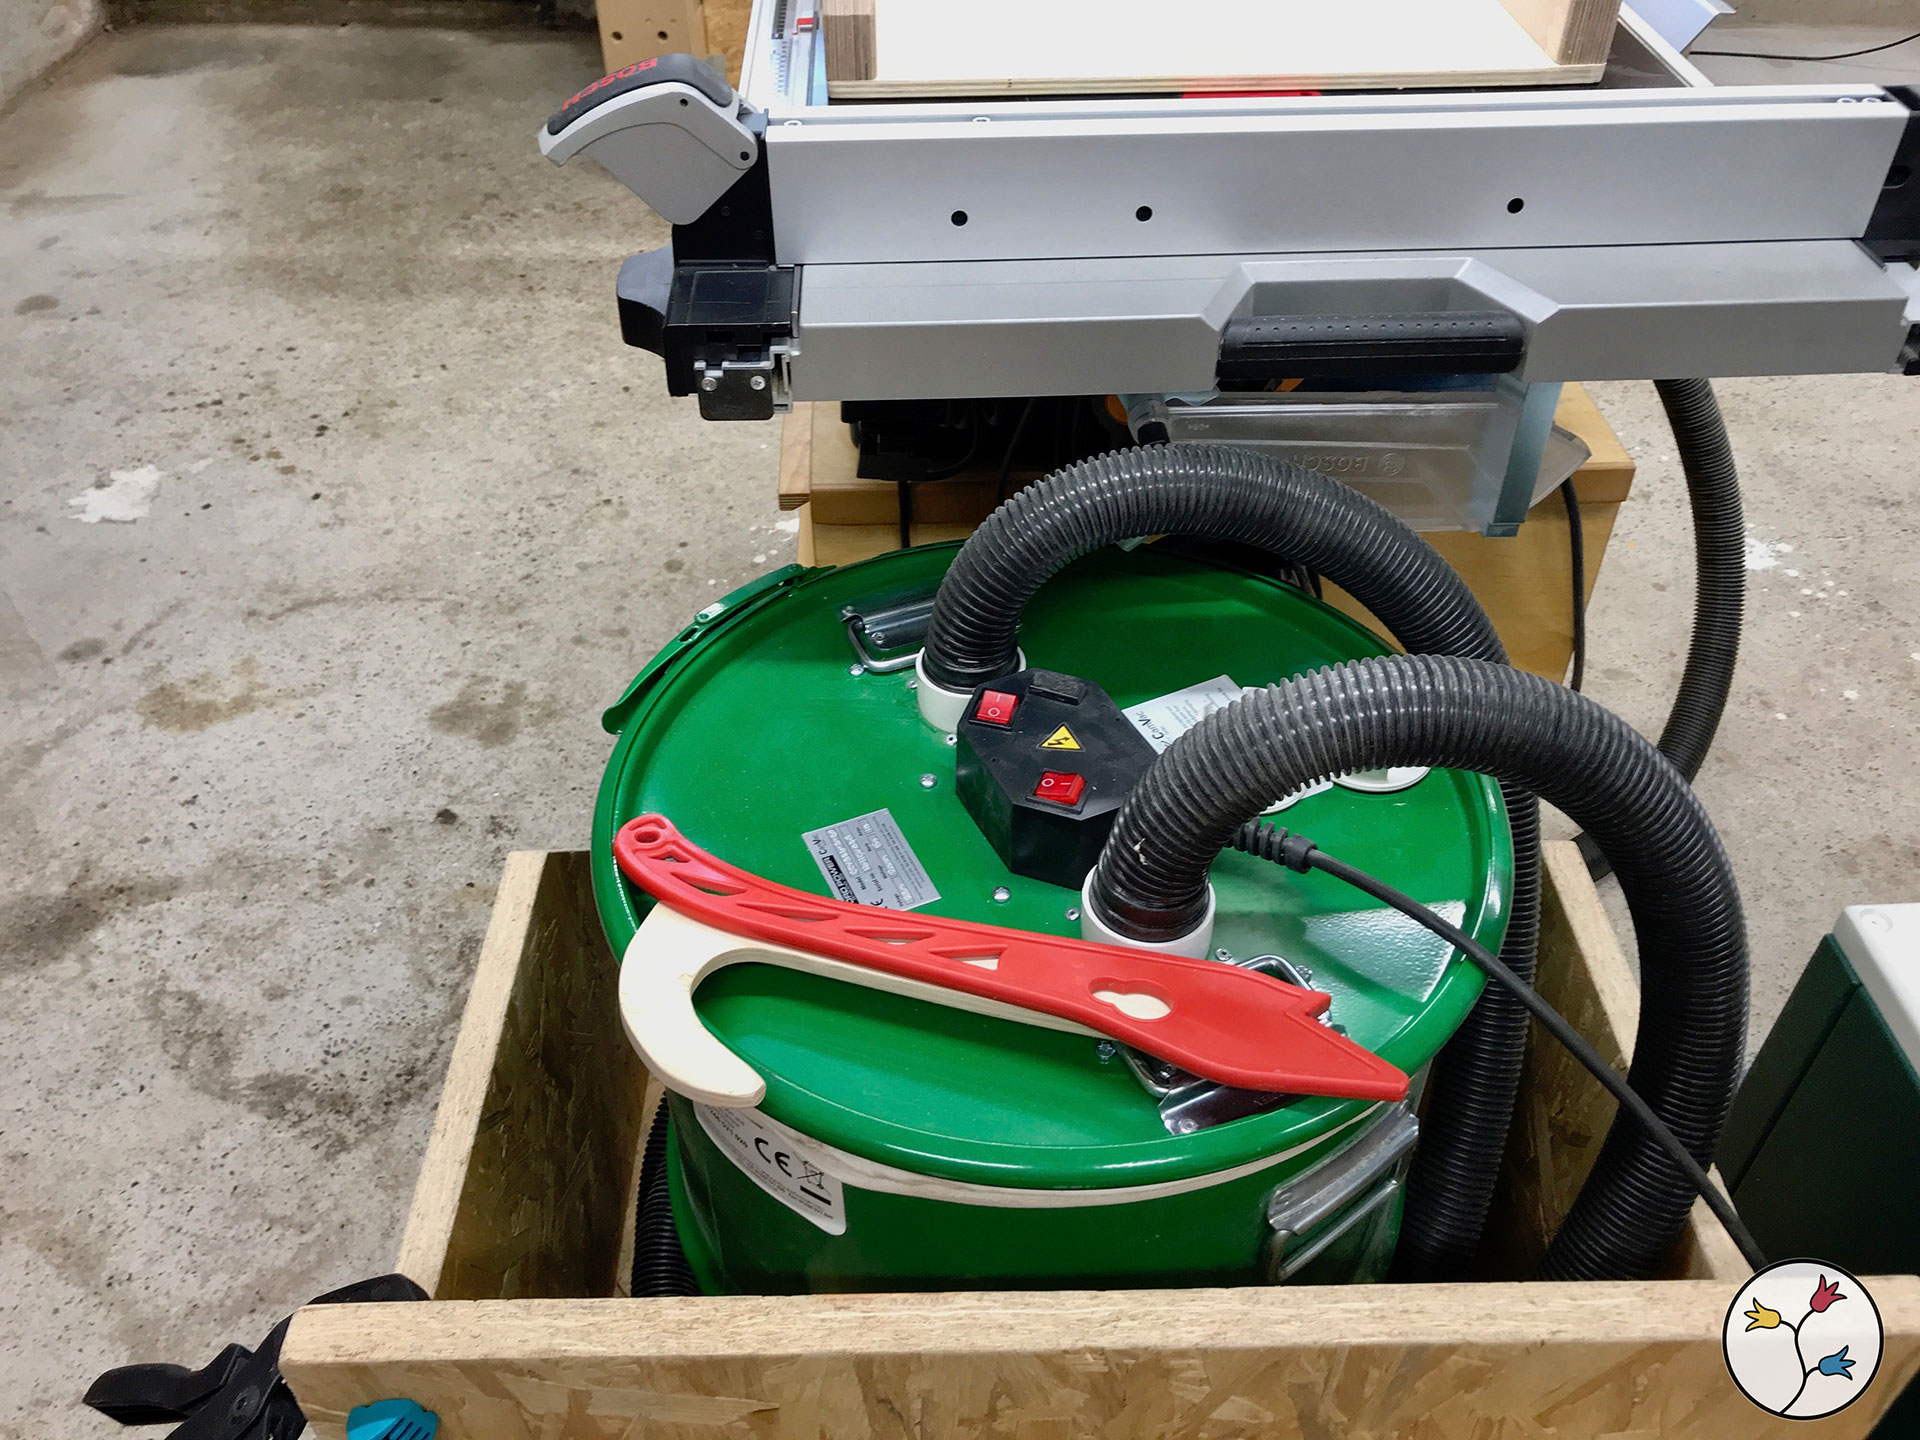
Now we’re in the center with the table saw as the main tool, a Bosch GTS 10 XC. It rests on a mobile cart which was one of the first proper projects that I’ve made a video about (the video quality is quite cringeworthy from today’s perspective). I’ve added a router table insert to the extension wing of the table saw and you can also see my dust extraction system which is a Record Power CamVac, a powerful cyclone system. I really like this one because it has as much power as a large dust extractor but I’ve mounted it on a cart so it can also be used as a regular shop vac. At the moment, it is only attached to the table saw but recently I’ve bought two new machines (a bandsaw and a jointer/thickness planer, see below) which will have to be attached to it as well. So improving my dust extraction situation is also a goal in the near future.


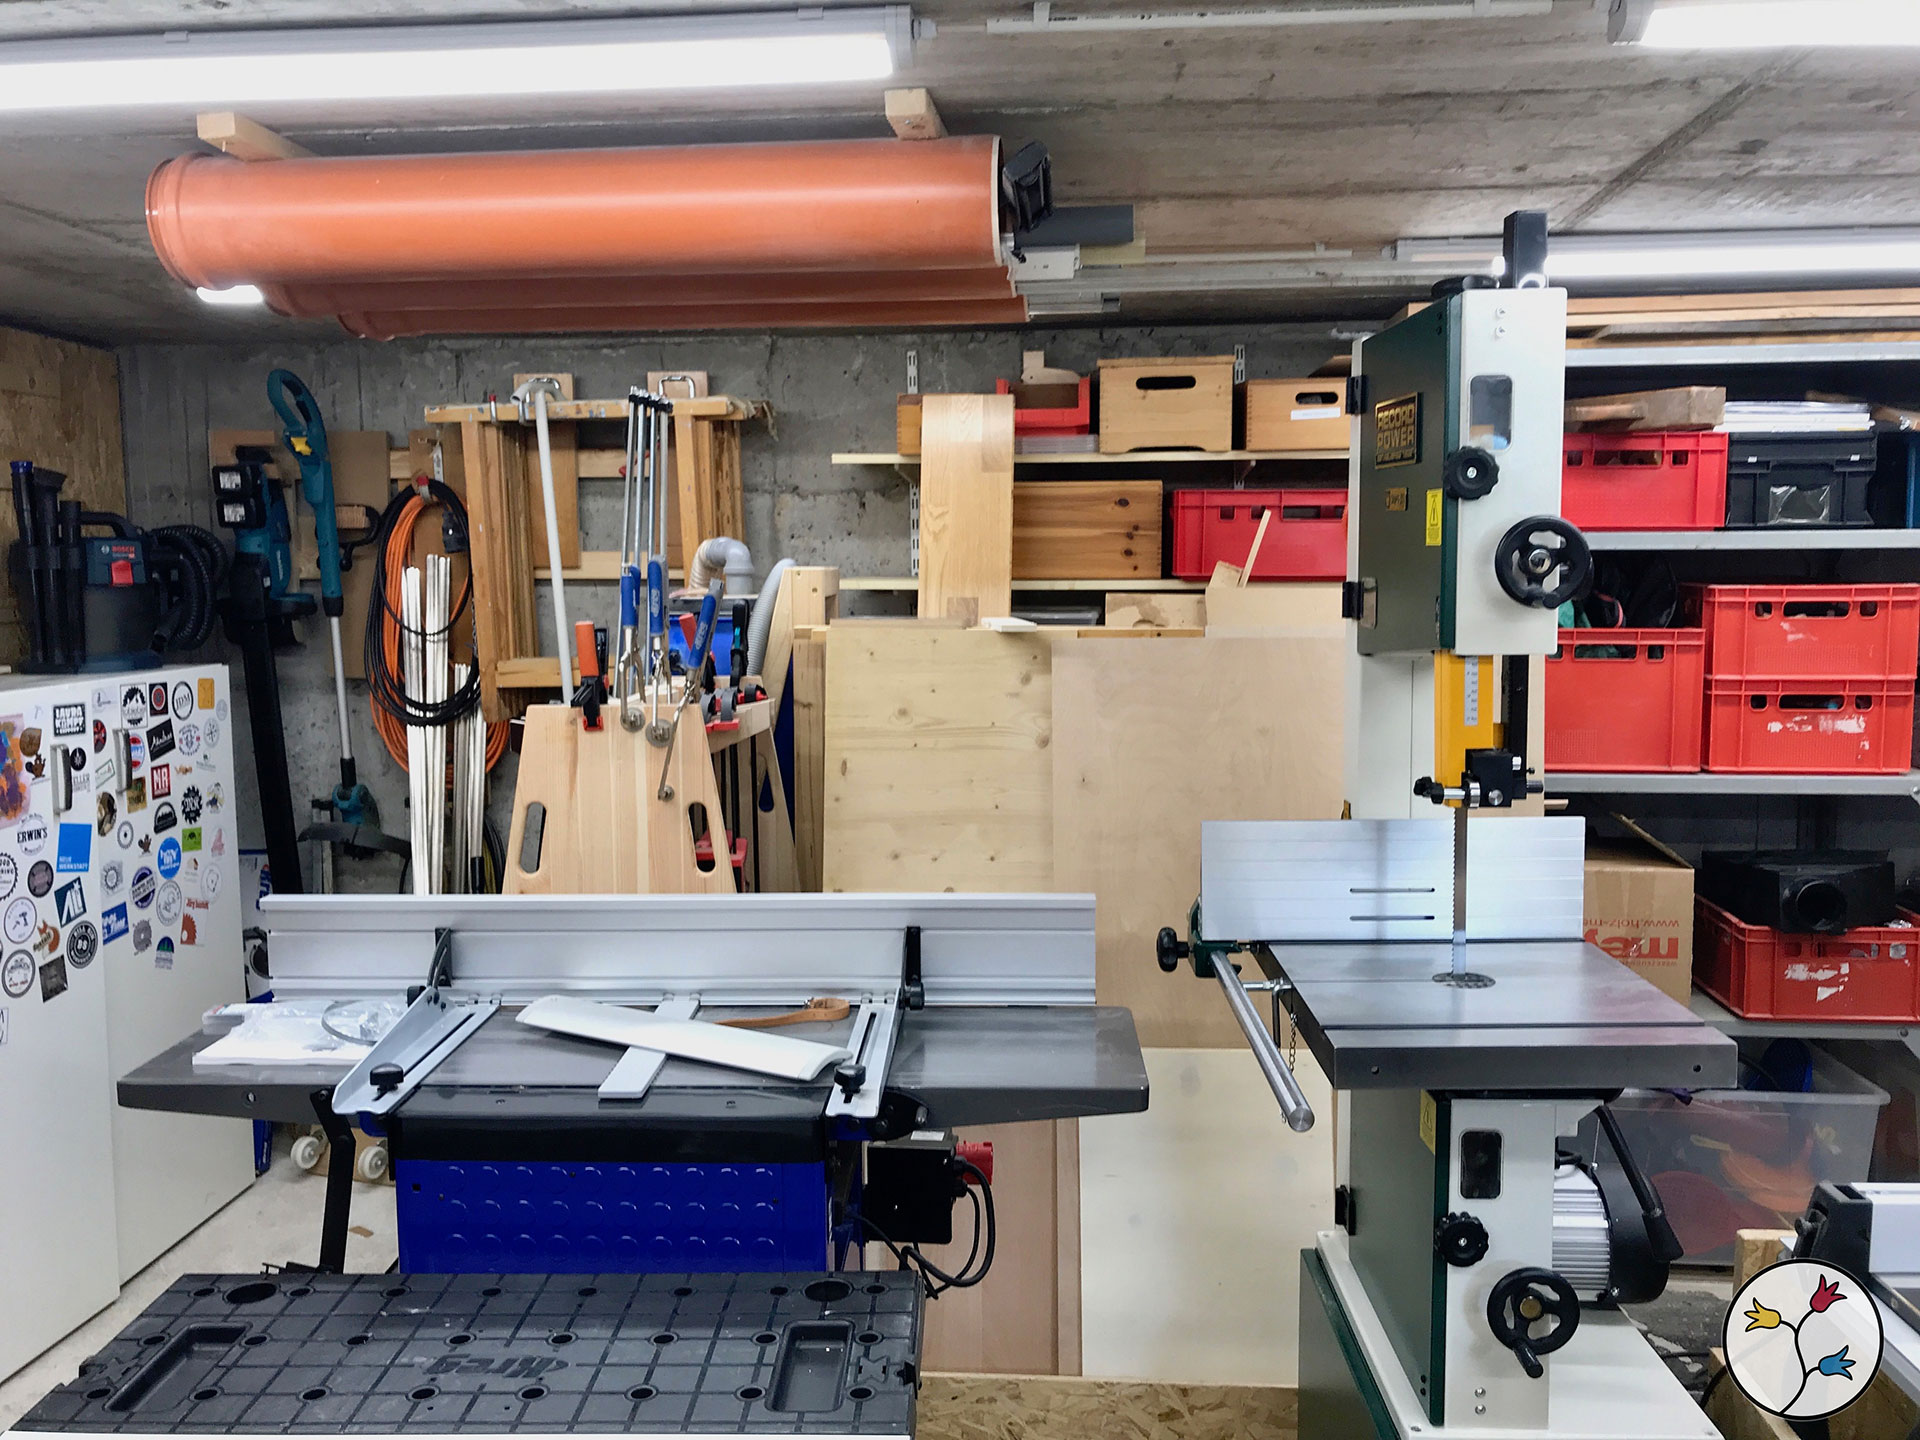
Finally, here’s a look at my two newest additions to the shop. My Record Power Sabre 350 bandsaw which I’ve just finished setting up a couple of days ago. And the jointer/thickness planer by German manufacturer Elektra-Beckum (HC 300) which I got second hand. I’ve yet to take this into service but haven’t had the time yet which is why it just sits there in a less-than-ideal spot. Those two machines will require quite some changes to my shop layout which I haven’t figured out yet. If you have any good ideas, I’d be more than happy to hear them!
So that was it, I hope you enjoyed the tour around my woodworking-shop-in-the-making. I’d love to hear your feedback and your ideas on how I might improve aspects of it. I think it’s great that Jay offers this series so that we can share in each others’ ideas and get feedback from fellow woodworkers.
Also check out my YouTube channel if you want to see my upcoming projects and the future development of the space you’ve just toured. For updates between videos, you can find me on Instagram as well.
Thanks for your time and thanks to Jay for giving me the opportunity to show you around!


")

Thanks Andreas for the tour
Thank you, Andreas for allowing us in your shop. Very nice!
I’m learning that dust collection is everything. The shops in these tours are very clean. My shop looks like a dust storm from Kansas sweeps through every night.
Thanks for your feedback, Mike. I try to keep my shop clean but also keep in mind, that Jay has this sentence in his instructions for the featured shop tour: “A clean, organised shop is a must” ;-) – So, obviously, I cleaned my shop before taking the pictures. Just so you know that it doesn’t look like that everyday ;-)
Thanks for the tour! I’ve been following your channel for a while now and have been enjoying it a lot. I like your honesty about your learning experiences. Oh and I just bought the same table saw, haven’t used it yet though :)
Thanks Reinier, I’m glad to hear it!
I appreciate your adding to an ever increasing number of sites that I follow.
Andreas, No need to apologize for the storage racks or the miscellaneous items that you store. The beauty of your system is that it works for you. Thank you for sharing your shop and your talents.
Thanks for your feedback, Jim-