There’s a reason why a lot of people like to make their own shop furniture or shop jigs. Making it yourself saves money and allows for greater customization. The same holds true for hardware. With a little bit of time and scrap wood I was able to experiment by making a few different drawer pulls. I didn’t have an exact use in mind for these as I was mainly trying to learn the process.

Before recording I ran through the process with a dovetail router bit. The resulting pull was a rather small dovetail knob. And with a few of them considered good enough to use I figured I was good to record.

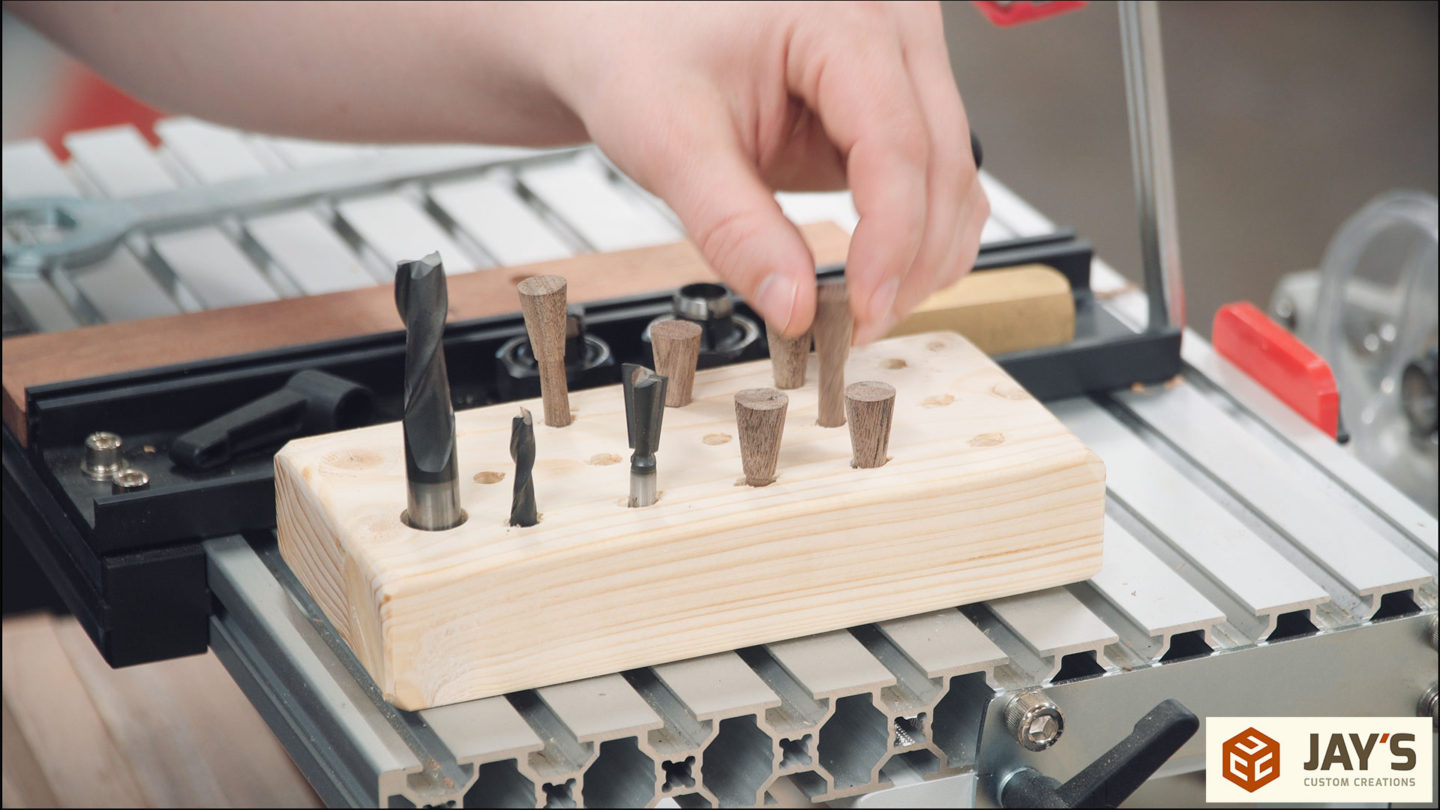
For my test pieces I used three bits. A 1/2” spiral bit to establish a 1/4” tenon or dowel. A 1/4” spiral bit to establish a hole or mortise for mounting the pull as it’s cut. And a 8 degree dovetail bit for establishing the profile of the pull.
What’s good about shop made pulls is that they require very little wood. In fact, nearly every project that I make has enough scrap from the same project material to make a few pulls if needed. I have a bunch of smaller boards I keep for pen blanks….but honestly, I rarely make pens so it’s more of an excuse to not throw away scrap.

The tool of choice for these pulls is the Pantorouter. There are a lot of different tool setups that can be used to make pulls but the process I was interested in learning involved the Pantorouter. The pulls are made from a single dowel template mounted center on the template holder. The inside of the template is for the mortise or hole.

And the outside of the template is for making the dowel or tenon. The outside surface of the template is tapered so that the size of the dowel can be dialed in perfectly.

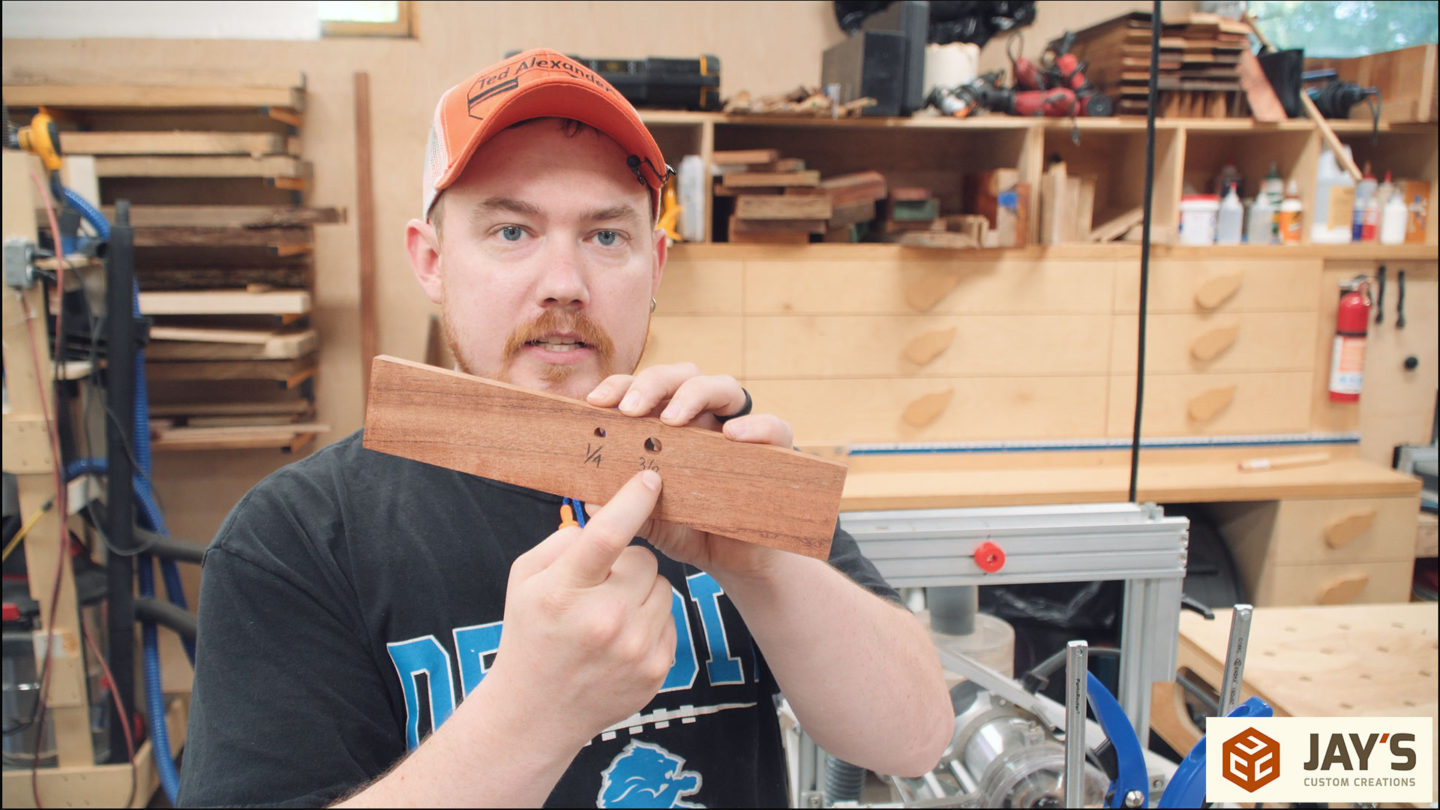
When working with the Pantorouter it’s best to make the mortise first. This is because it’s size is determined by the size of the router bit used. For this case I made a 1/4” and a 3/8” hole in a piece of bubinga. I wanted to use something really hard to reduce the chances of the holes elongating as tenons were tested over and over. I wanted to include 3/8” tenons in this experiment but in the end just stuck with 1/4”.
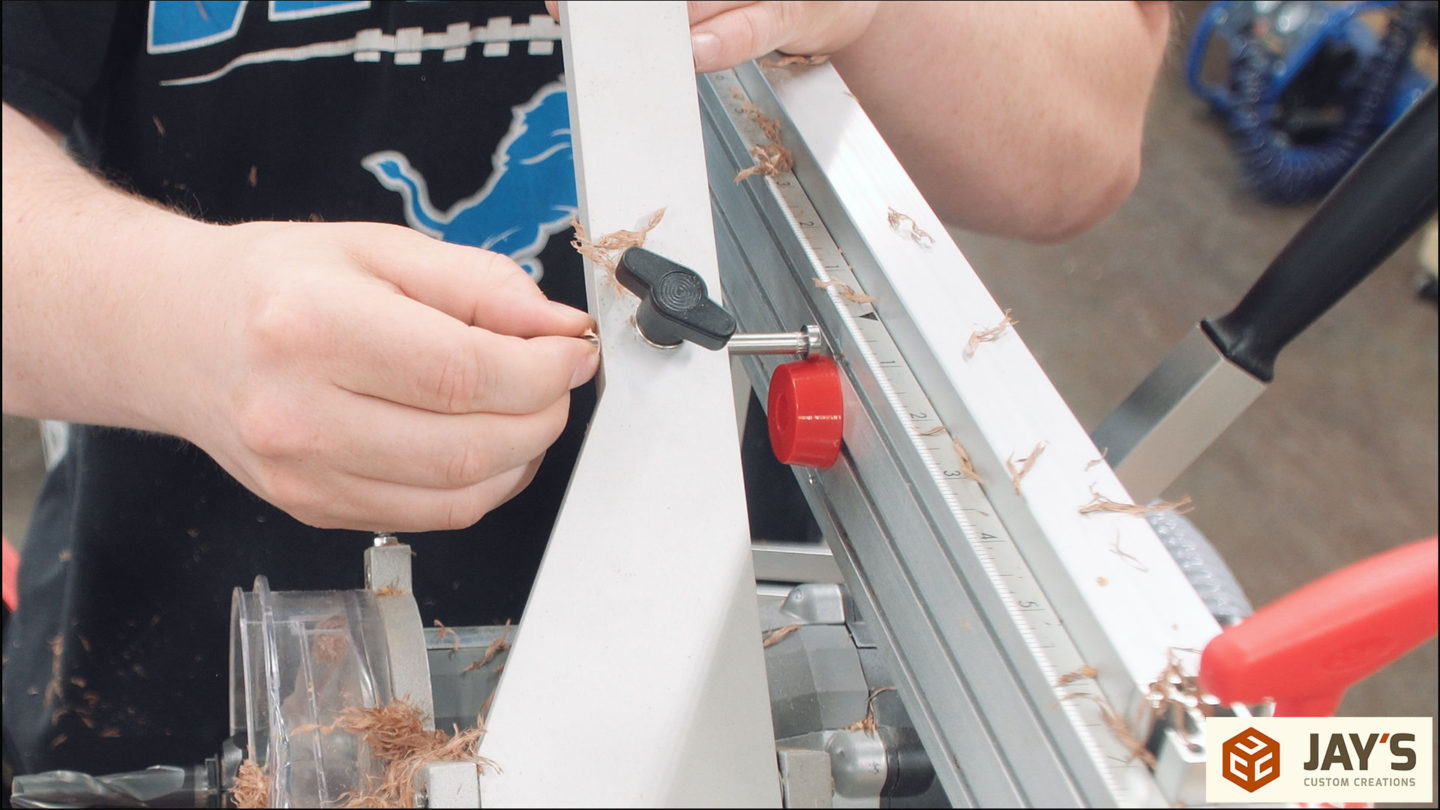
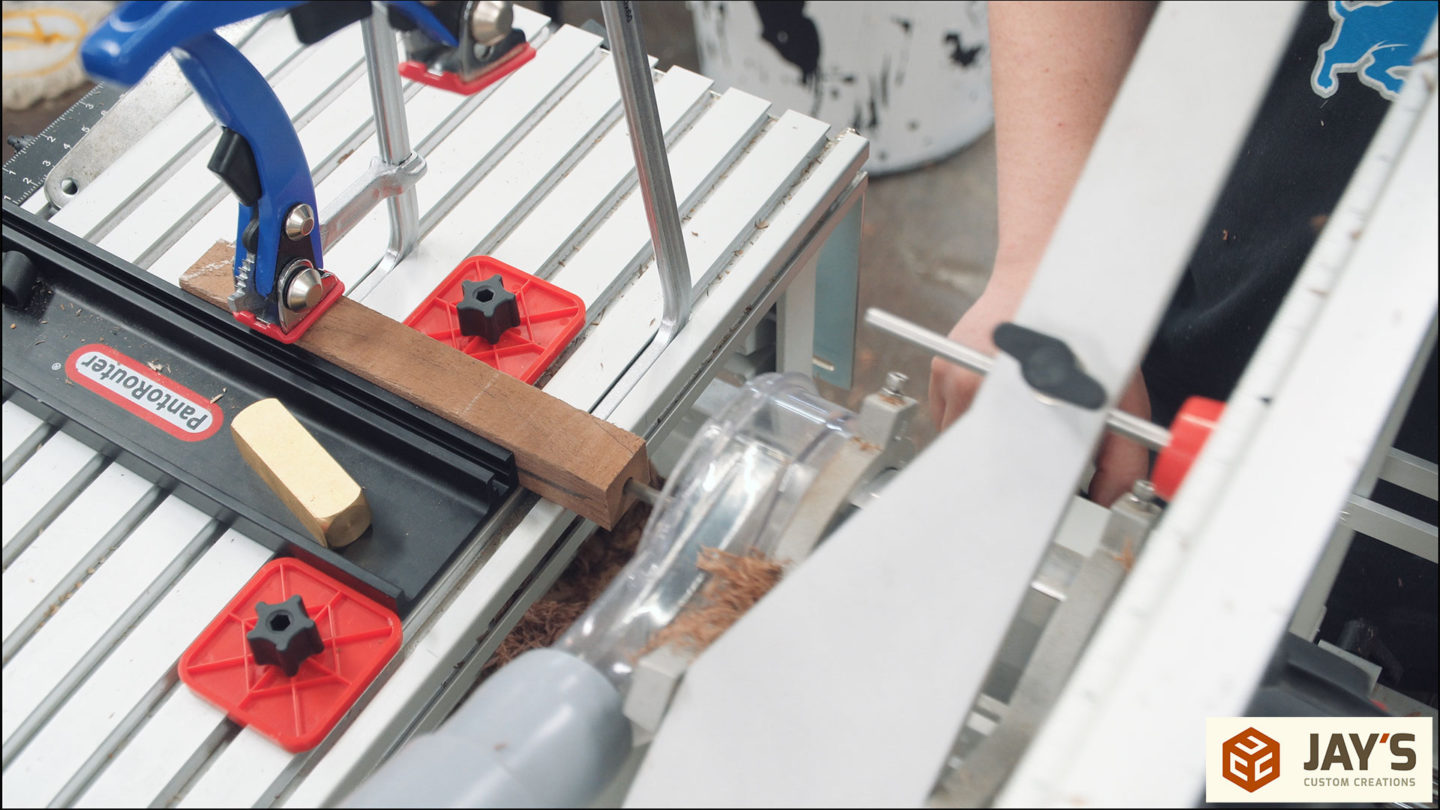
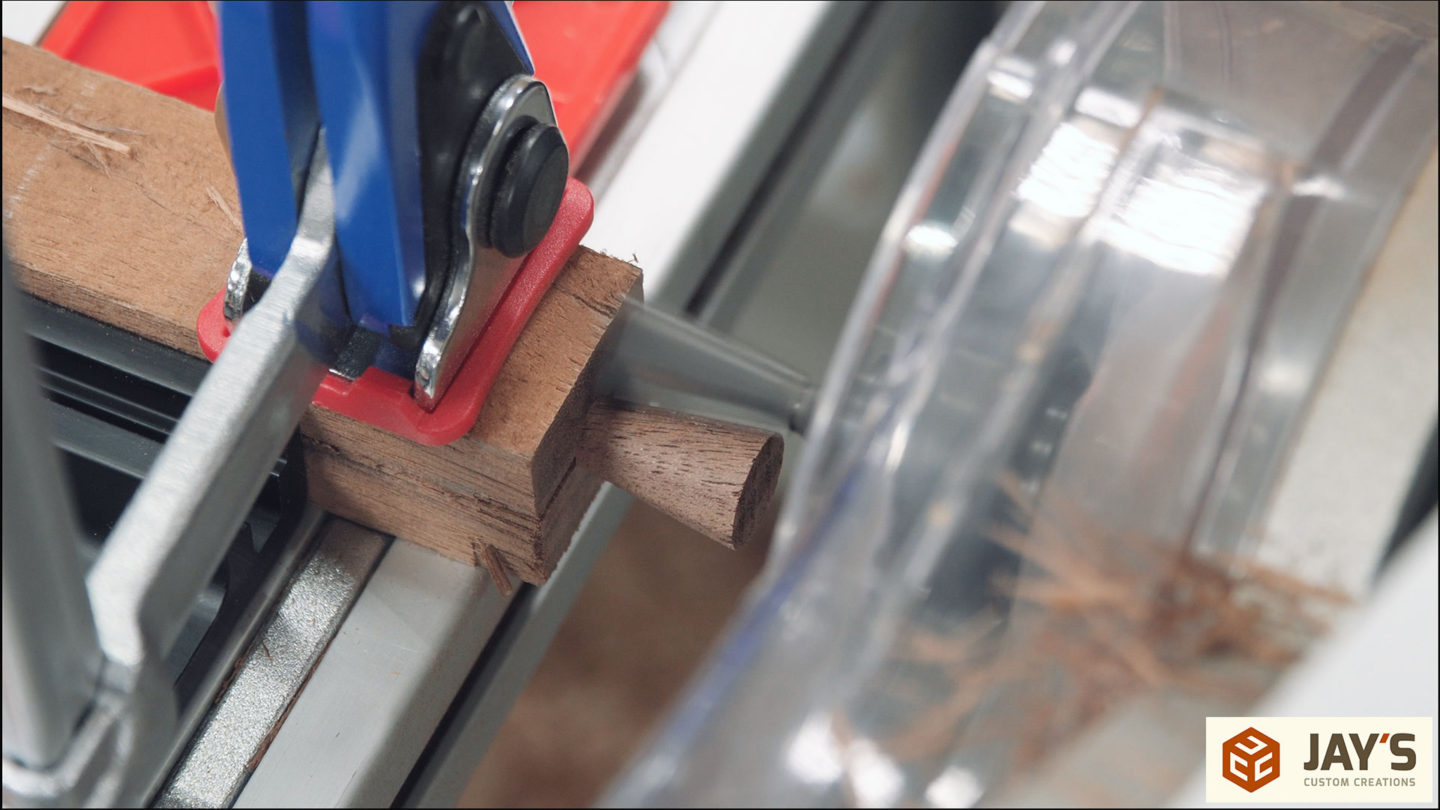
The first step is to cut tenons or dowels on the ends of the scrap stock. I was working with 1” square stock for this. The back stop on the carriage is set with the bit touching the wood and the front stop is set about 1” forward. This will allow repeat locating of new material up against the bit and a consistent dowel length of 1”, which should be long enough for any mounting applications.

The 1/2” bit is used to cut a test dowel and the size is dialed in by moving the bearing down the template and cutting again.

Finally the proper size dowel is established and verified with the bubinga block.
I repeated the process to make dowels on each side of the scrap blocks.
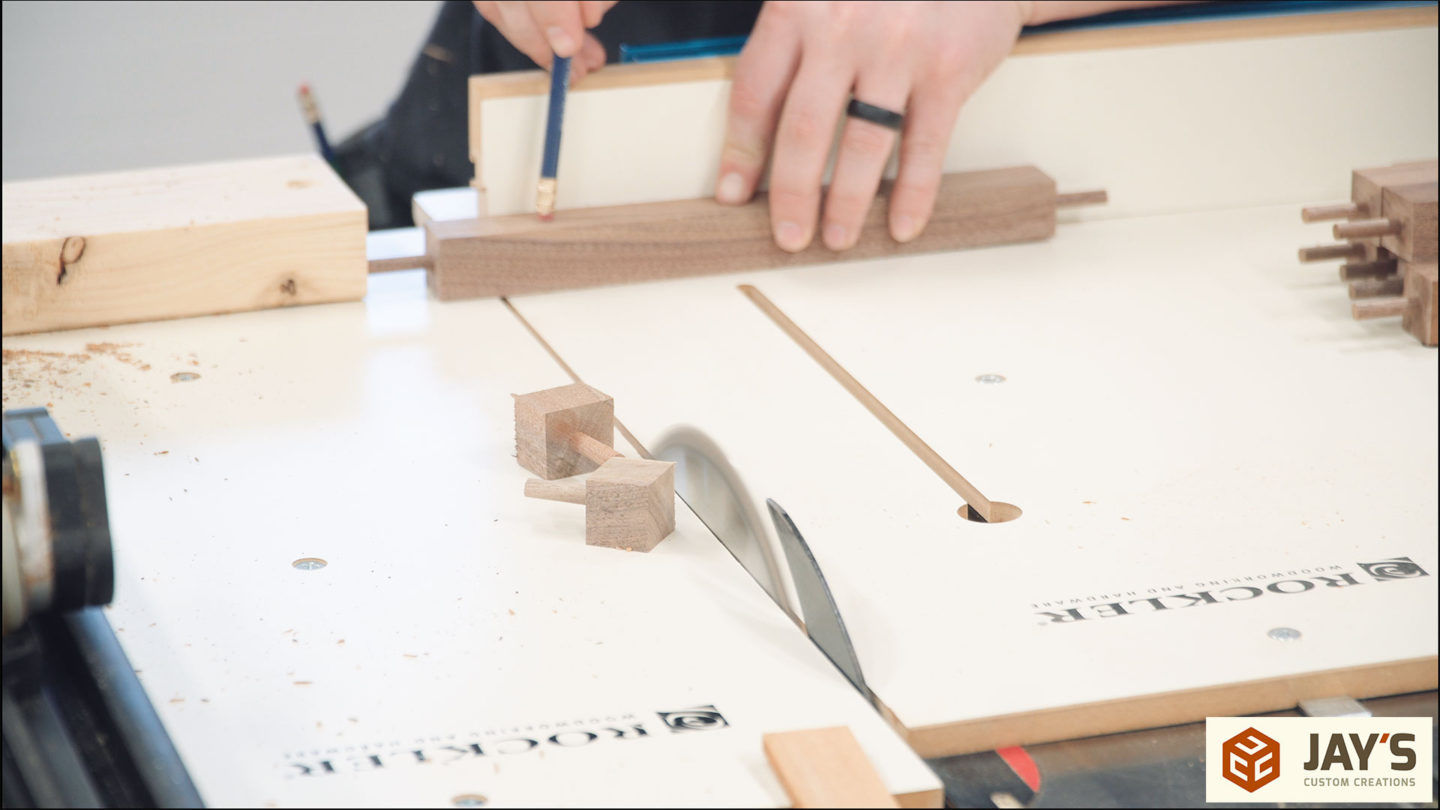
And cut them off to a relatively consistent length at the table saw.
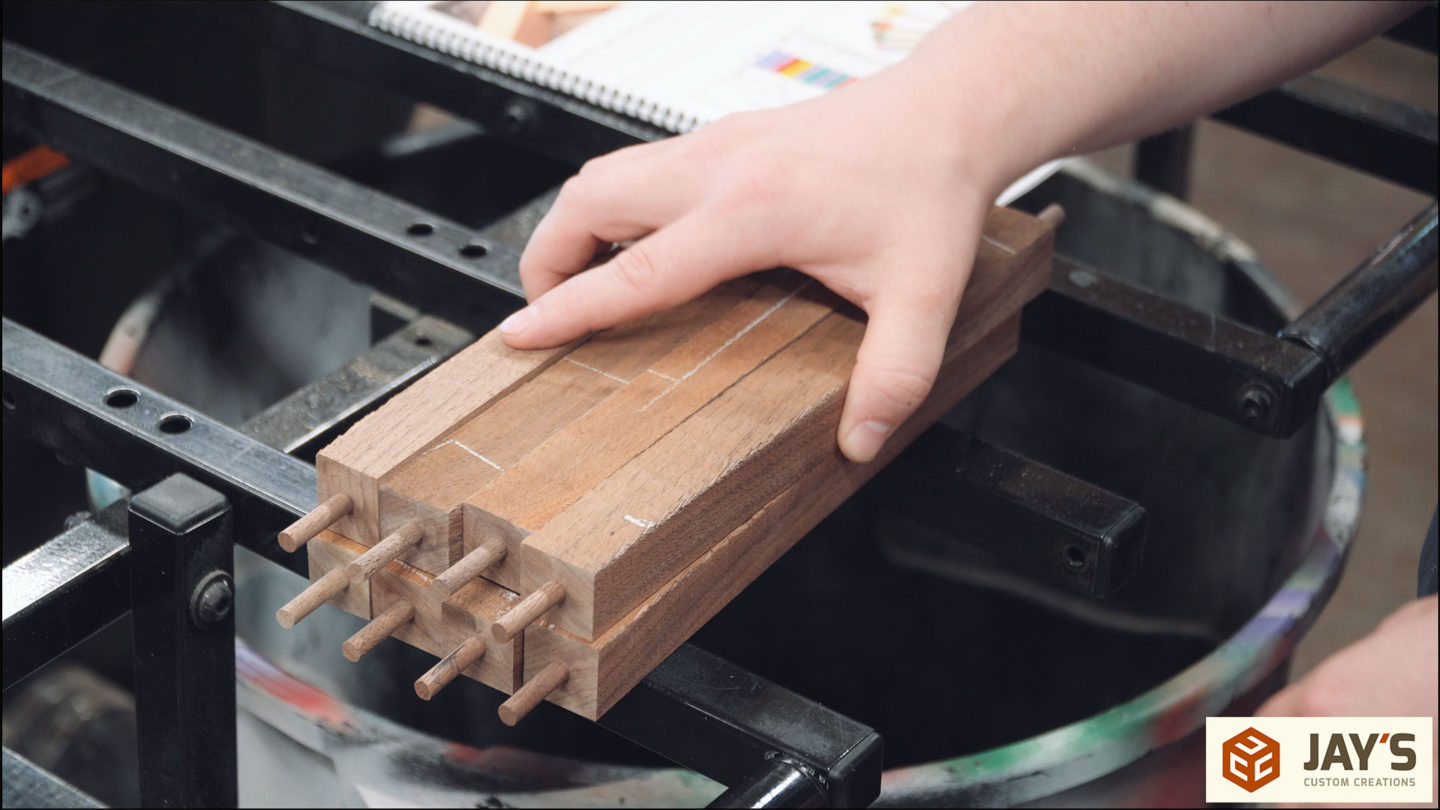
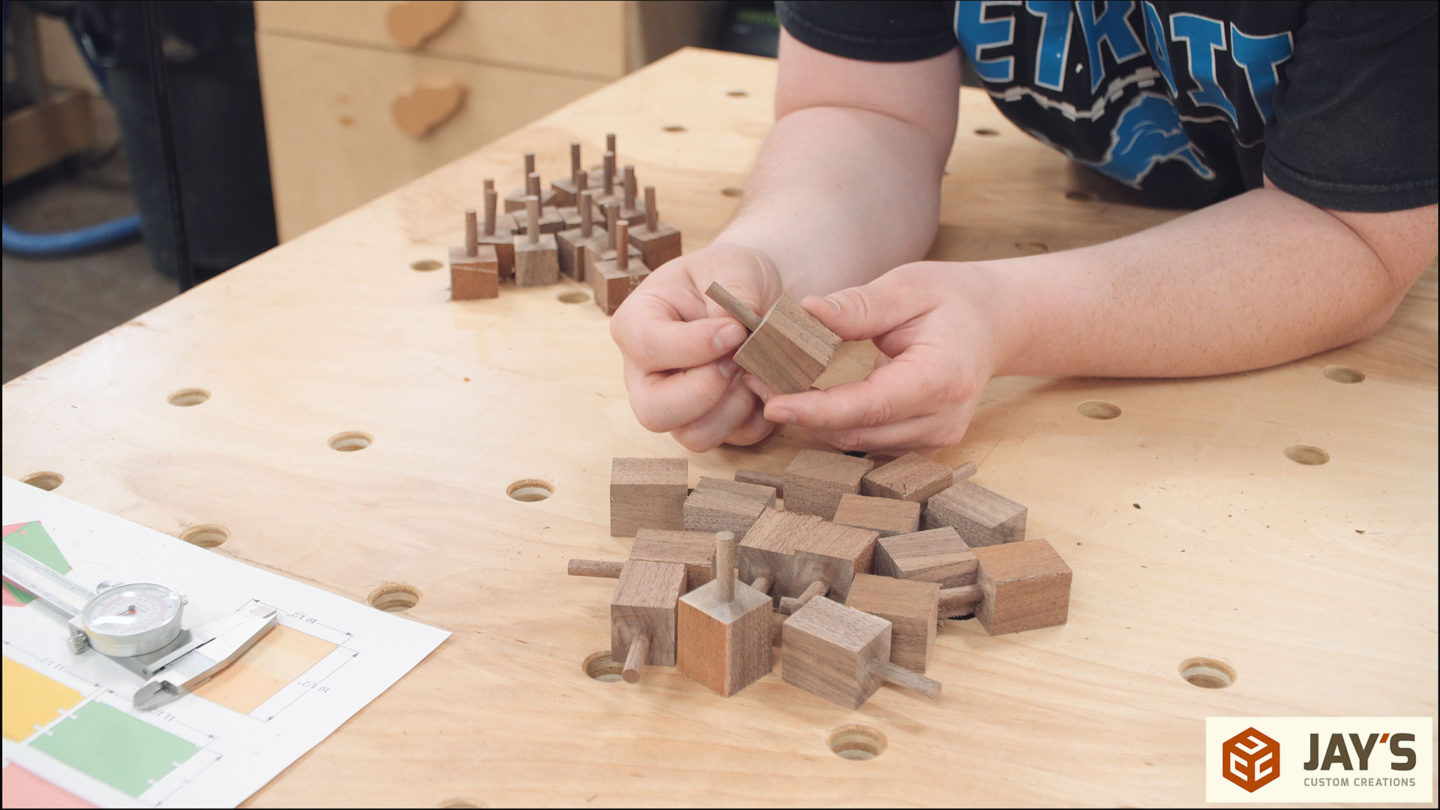
I repeated the previous two steps until I went through all of the scrap material I started with. The result was a pile of dowels with a 1” long block and a pile of dowels with a 1-1/4” block.
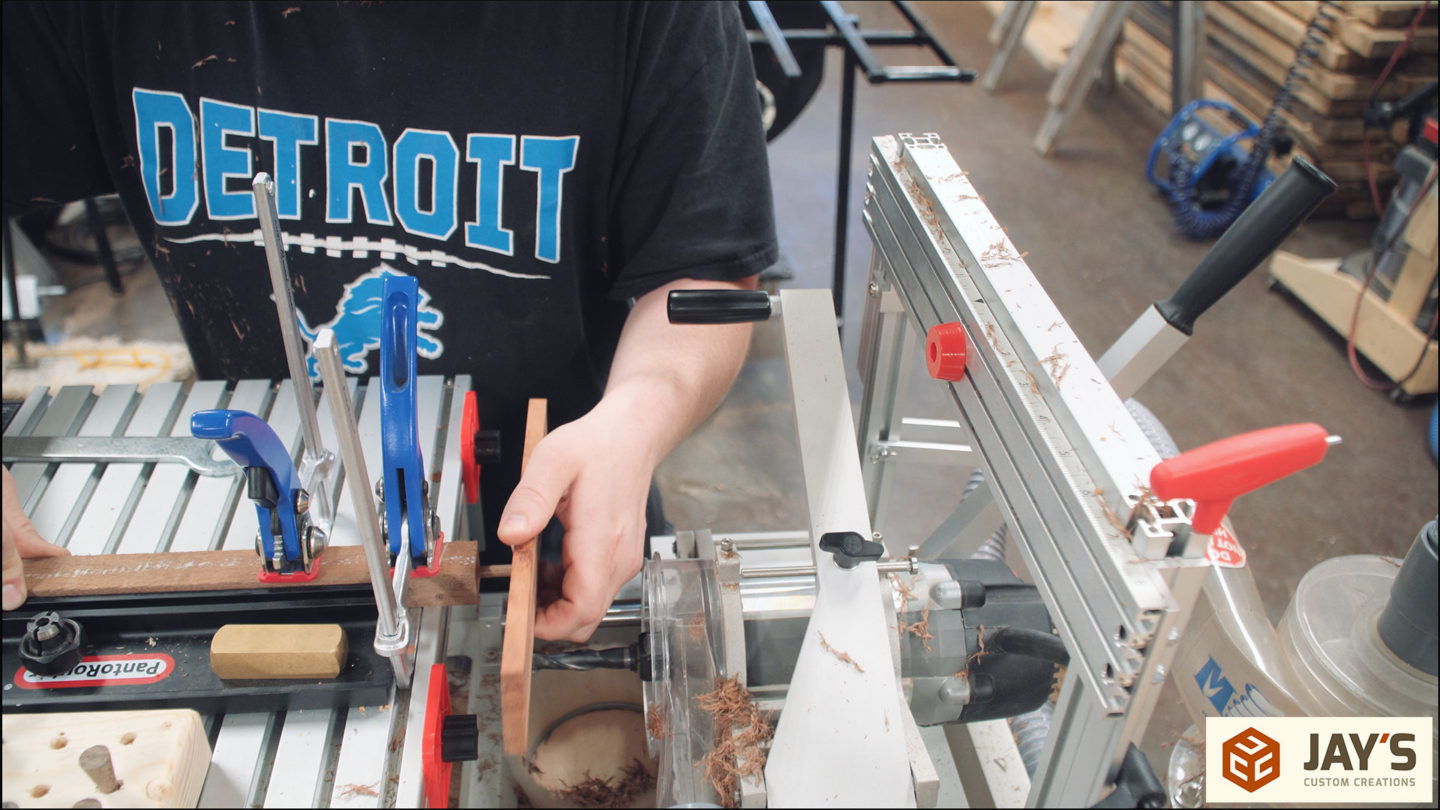
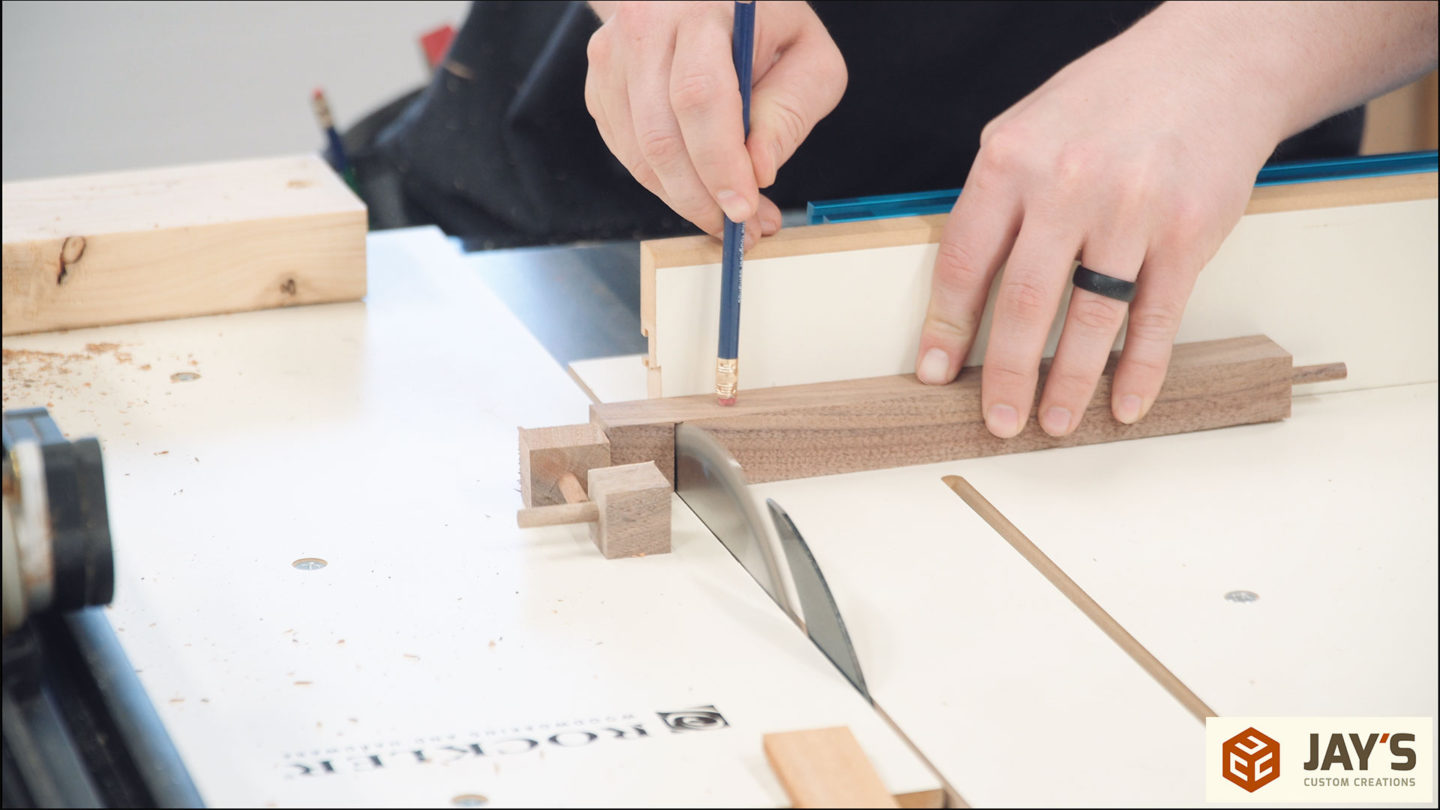
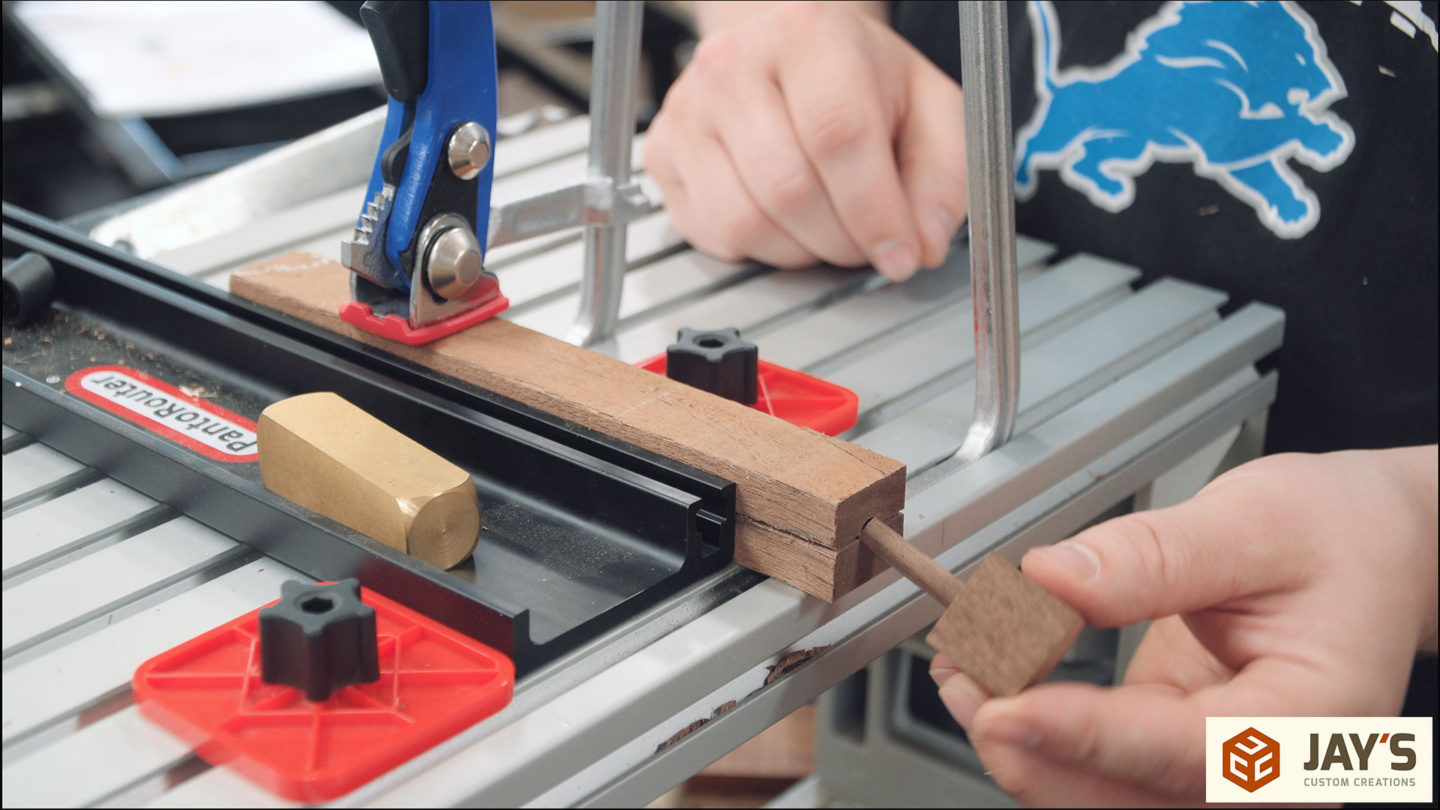
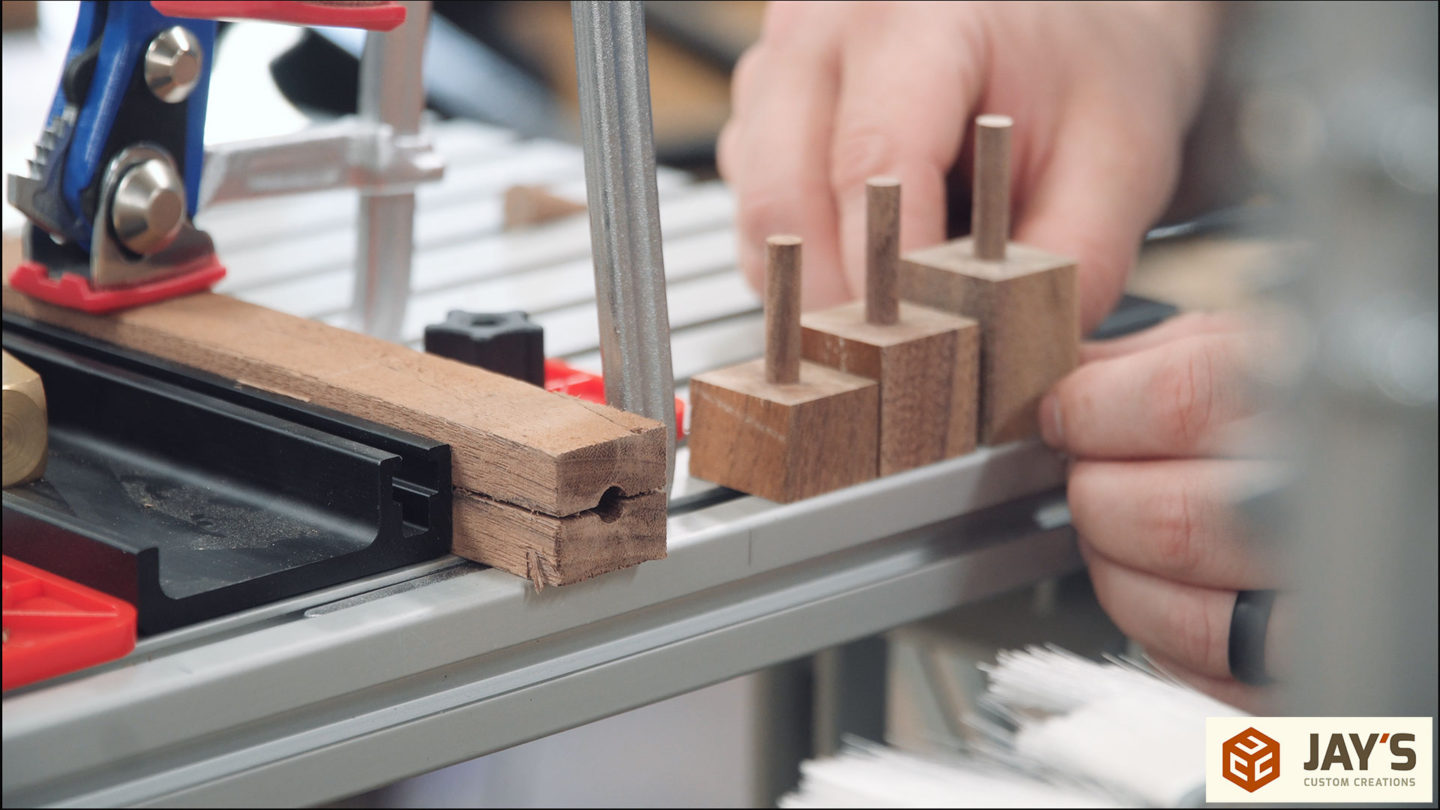
A jig is needed to hold the dowels. For this another piece of 1” square stock was used. This piece was located against the fence and movement was limited by mounting the table front stops to the back side of the fence and against the front side of the stock. Then the piece was clamped in place to secure it vertically.

And from here a hole is drilled I the end of the piece.
A relief cut is made right down the center of the hole at the bandsaw.
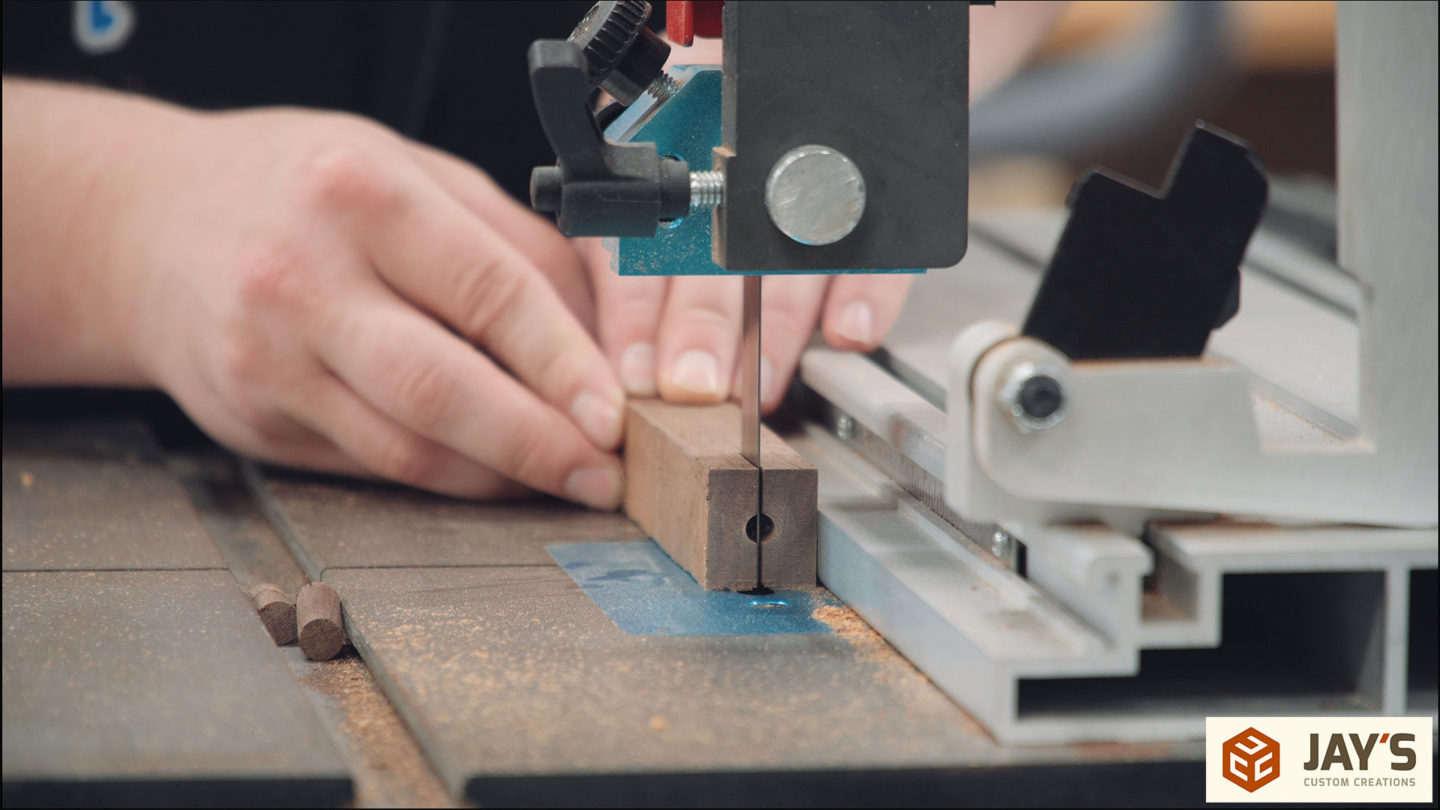
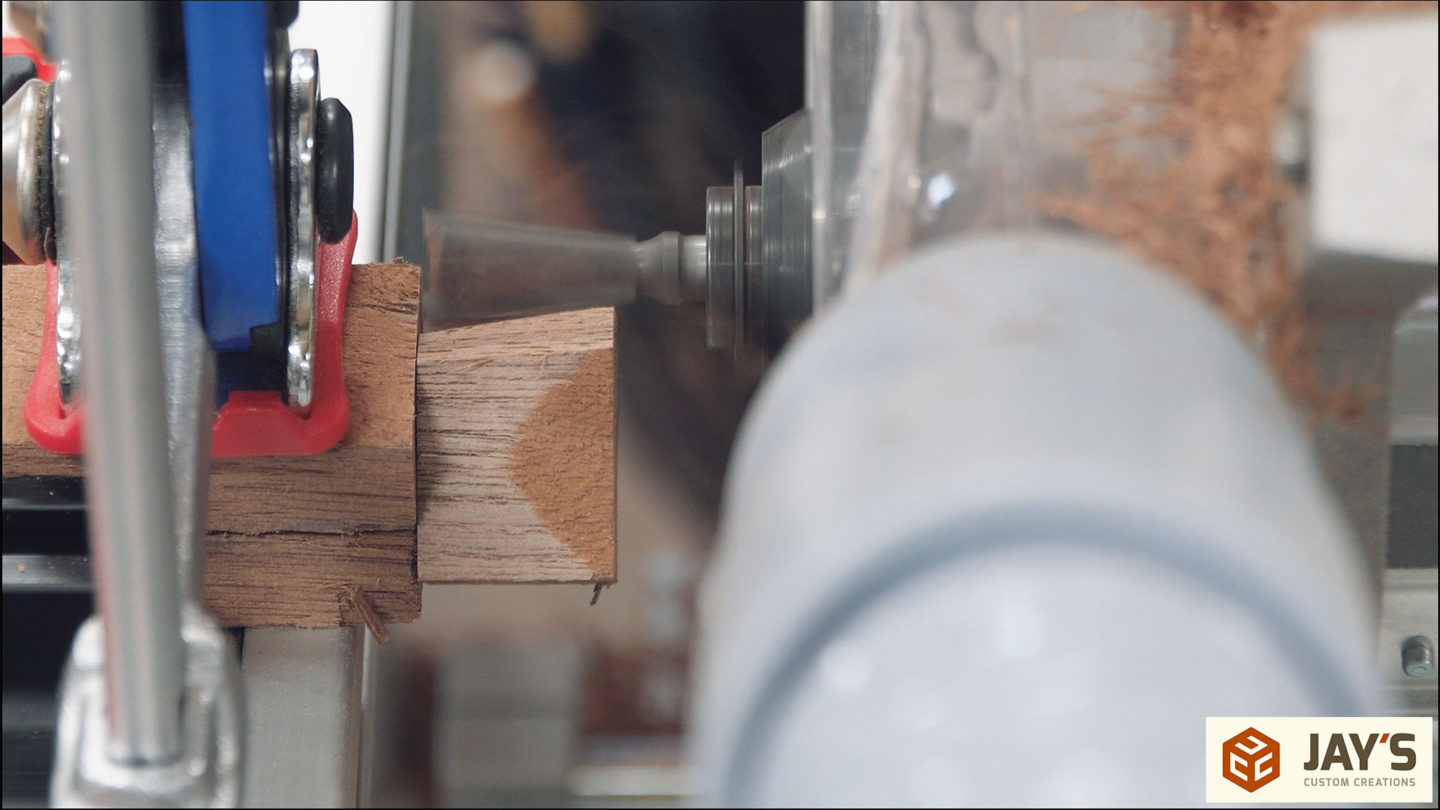
The dowel block is inserted into the hole from the front and is held in place with one of the table clamps. The kerf created by the bandsaw allows for the top of the scrap block to push down and clamp the dowel under the clamp pressure.

The first step was to establish an exact length of all of the blocks. I was somewhat close with the table saw sled but wanted a little more consistency. Also, my dovetail bit had a length of cut that was smaller than the length of the blocks so I had to clean them up anyway.
I ended up getting three different lengths to play around with.
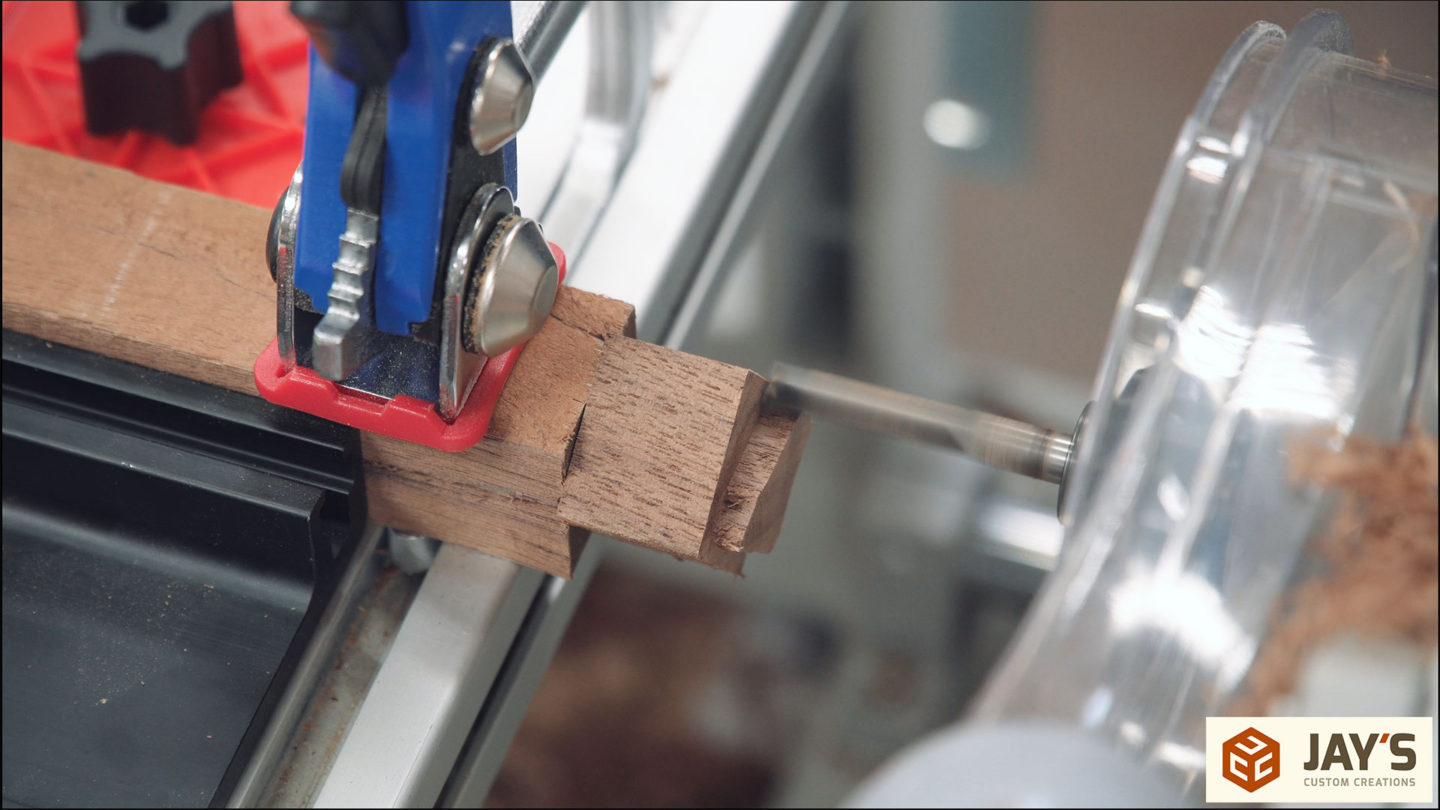
With the shortest pieces mounted I used the short dovetail bit to create small dovetail pulls. It’s important at this step to not take too large of a bite. I did on a couple of them and ended up breaking one. But that’s basically it. After that the pull is ready to use. It’s a pretty simple process and relatively quick to batch out a bunch of them.

To save a lot of repetition I only recorded the small dovetail process. Any other bit setup can be used but the steps involved are exactly the same. Here’s a look a few completed pulls. First, the small dovetail. This would be great on a jewelry box. Something small though as the pull is only 1/2” in diameter and about 3/4” long.
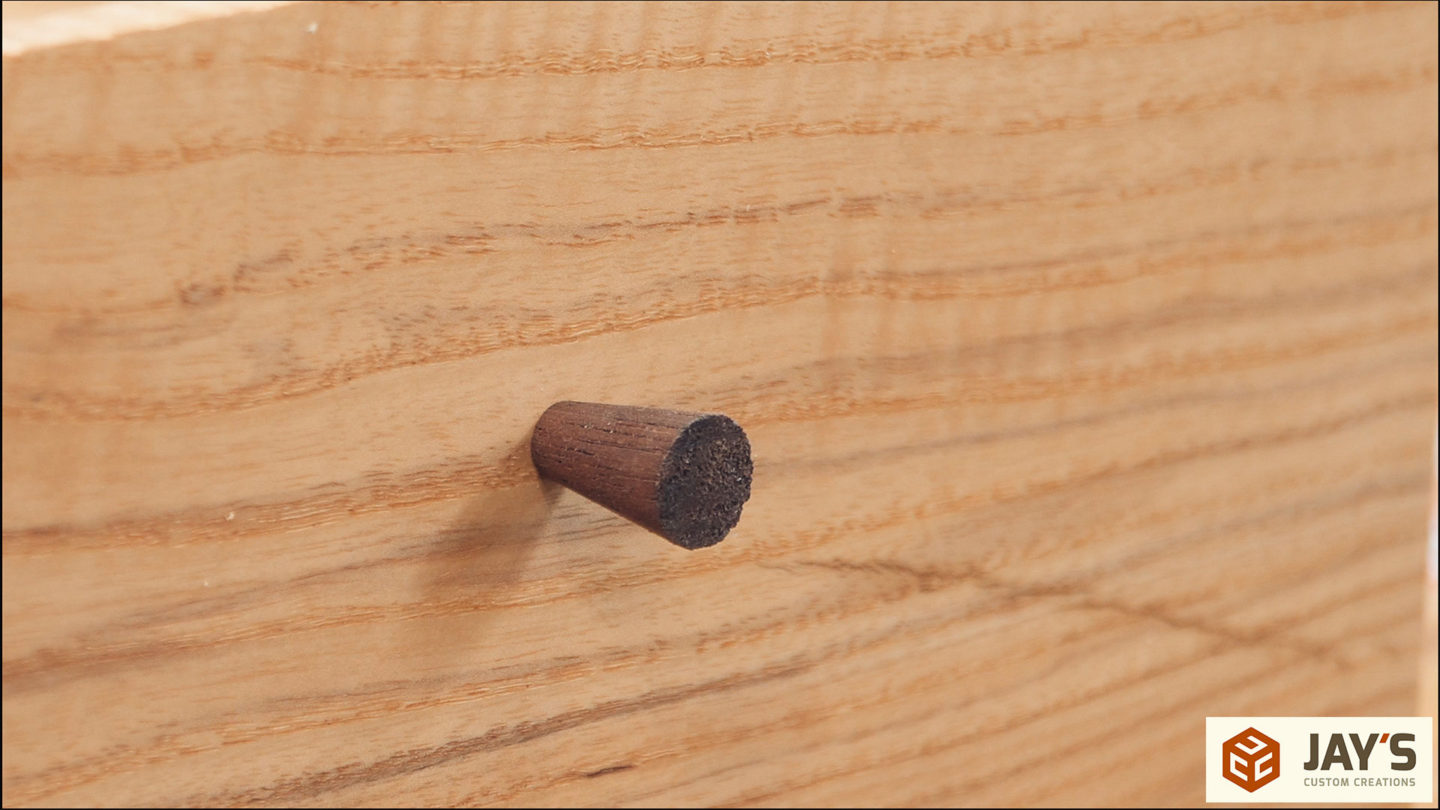
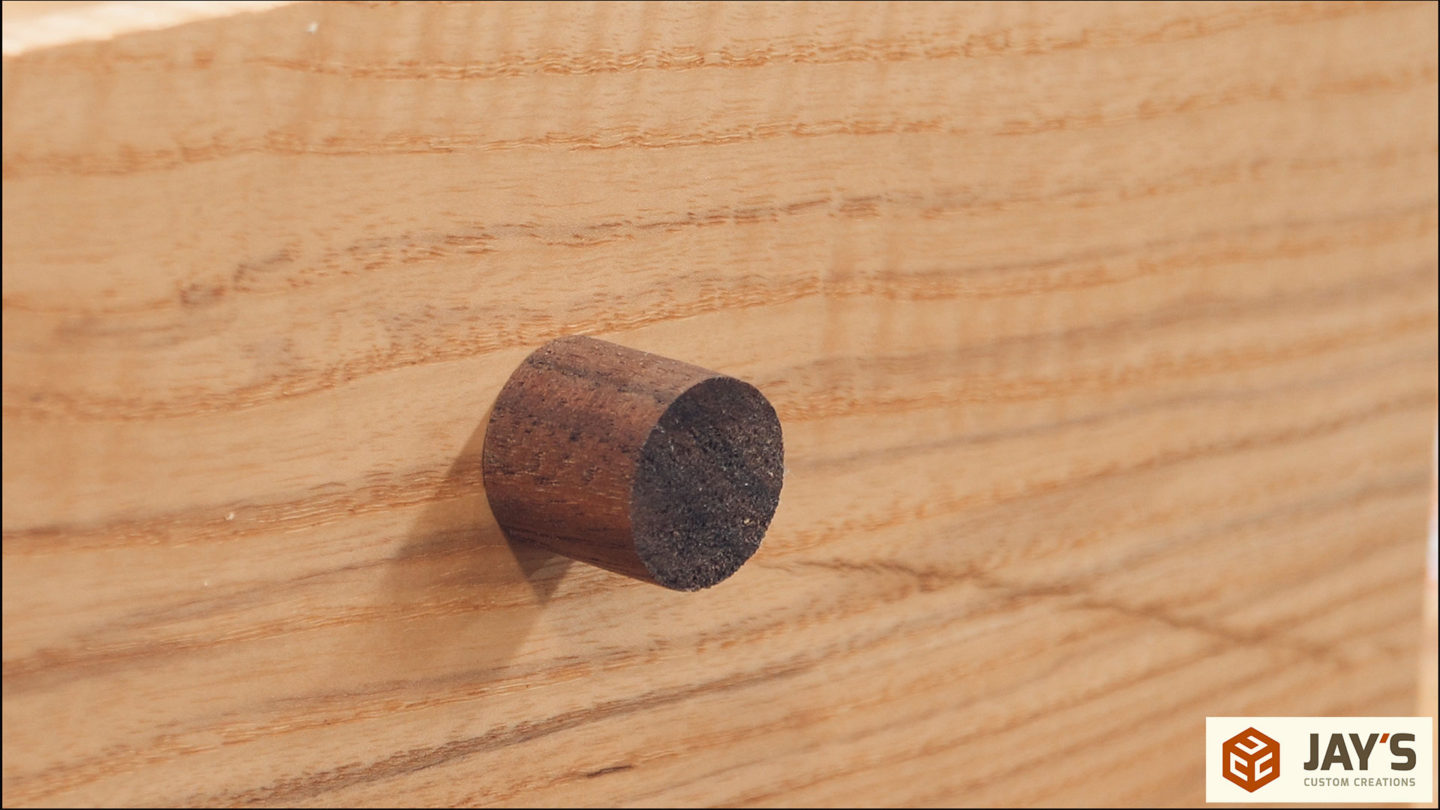
The second pull is a basic cylinder shape. Although it’s larger diameter is around 3/4” the dowel to attach it is still 1/4” in diameter. I suppose a regular 3/4” hole could be cut for a full size dowel instead of this but making a pull with a smaller mounting diameter will eliminate the possibility of tearout from the hole being seen.
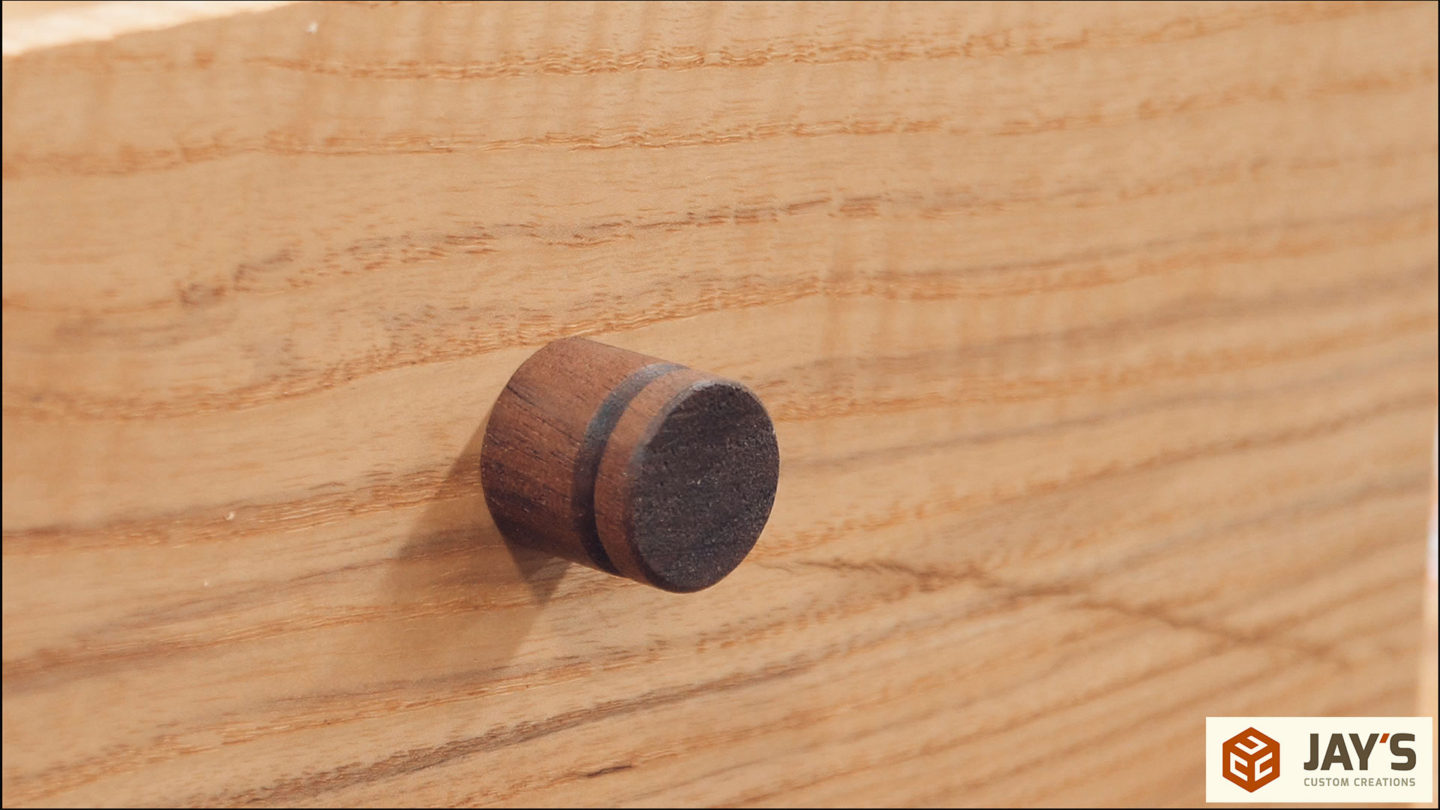
On the third pull I cut a tapered ring around the pull with the corners of a chamfer bit. I also chamfered the end very slightly.
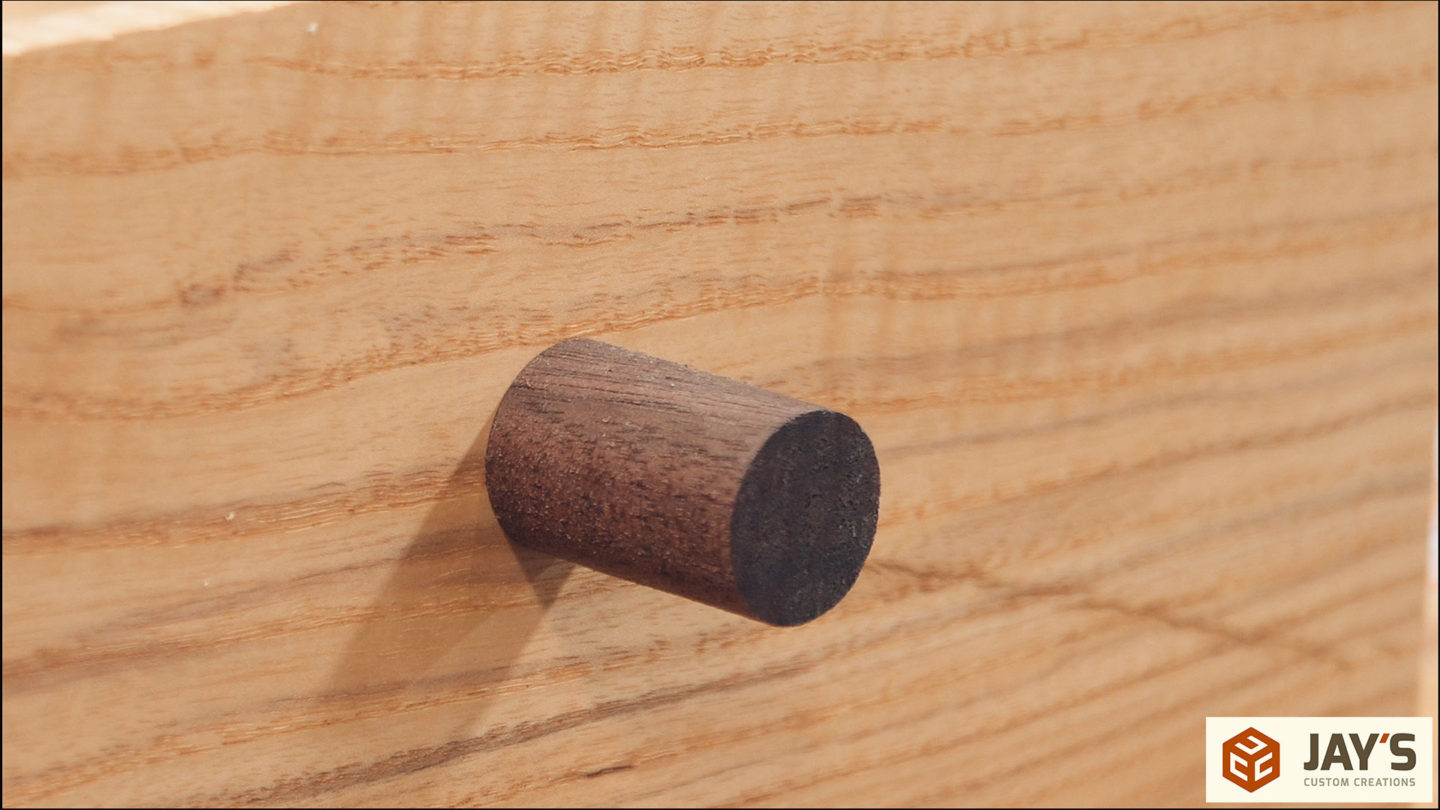
The fourth pull is just a longer dowel look. Pretty boring.
And the final pull is a larger dovetail. This one is large enough to use on a dresser or a chest of drawers.

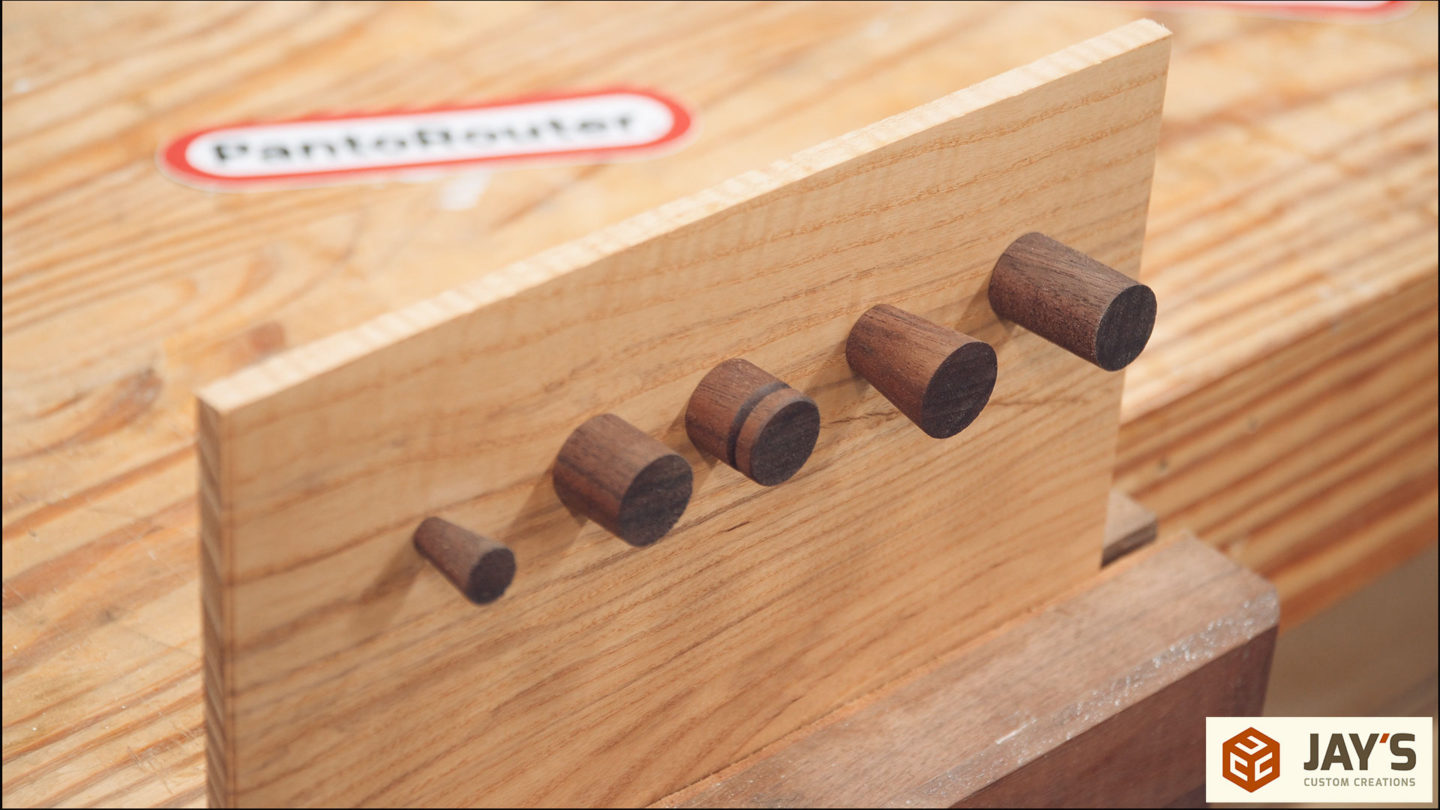
And here they all are together. These pulls, or the method to create them, aren’t spectacular by any means. But it was a process I wanted to learn and share with all of you. At the end of the day I got something useful out of scraps and I now know I can create some basic pulls to match any project in less than an hour.
Links:
- Wood pantorouter & plans: https://woodgears.ca/pantorouter/index.html
- Save $150 on the metal pantorouter with code JAY. https://pantorouter.com/
- Router bits – Use the code JAYBATES to save 10% on your router/cnc bit purchase from Bits & Bits – https://bitsbits.com/


I assume that was your case hardened walnut?
Good use for it!
Perhaps an auxiliary table using the Matchfit system. That should provide straight down pressure. I’ve seen other makers using the Pantorouter and a Matchfit table. I plan on doing that when I get to the point where I know how to use my Pantorouter.
Very creative. I thought sure you’d use a lathe though. Seems like you’d use those style pulls on Scandanavian type furniture possibly.
Not having the luxury of a Pantorouter, I do the same things on my lathe. LOTS of small wood scraps and epoxy casting pieces get turned into small drawer pulls for boxes. I keep a supply of 15-20 on hand at all times.