Tools used:
– Katz-Moses Dovetail Jig – http://bit.ly/JBkmstore
– Great inexpensive fret saw – https://lddy.no/n621
– Marking gauge – https://lddy.no/n7jq
– Narex marking knife – https://lddy.no/n5o8
– Layout dividers: https://lddy.no/n4d3
– Use the code JAYBATES to save 10% on your router/cnc bit purchase from Bits & Bits – https://bitsbits.com/
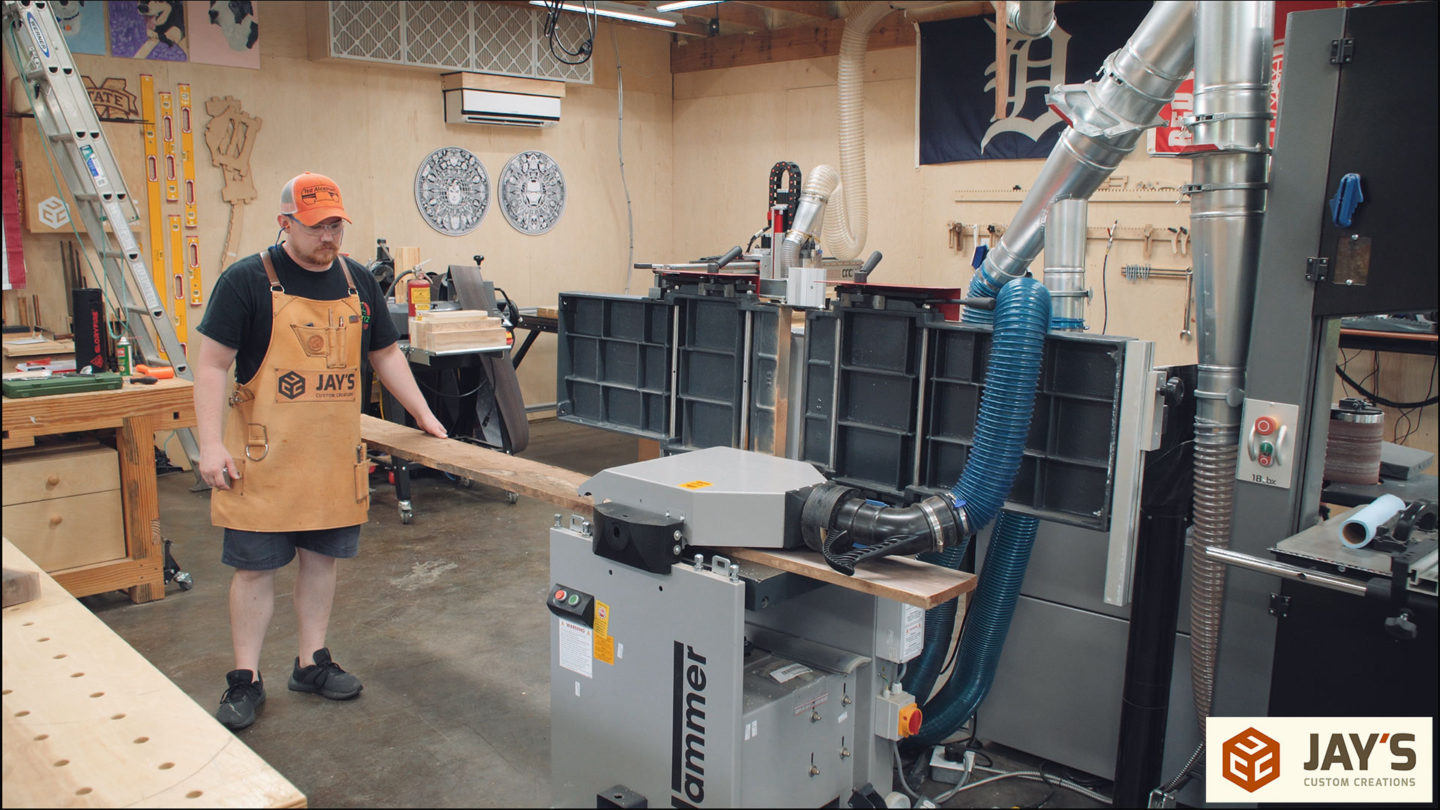
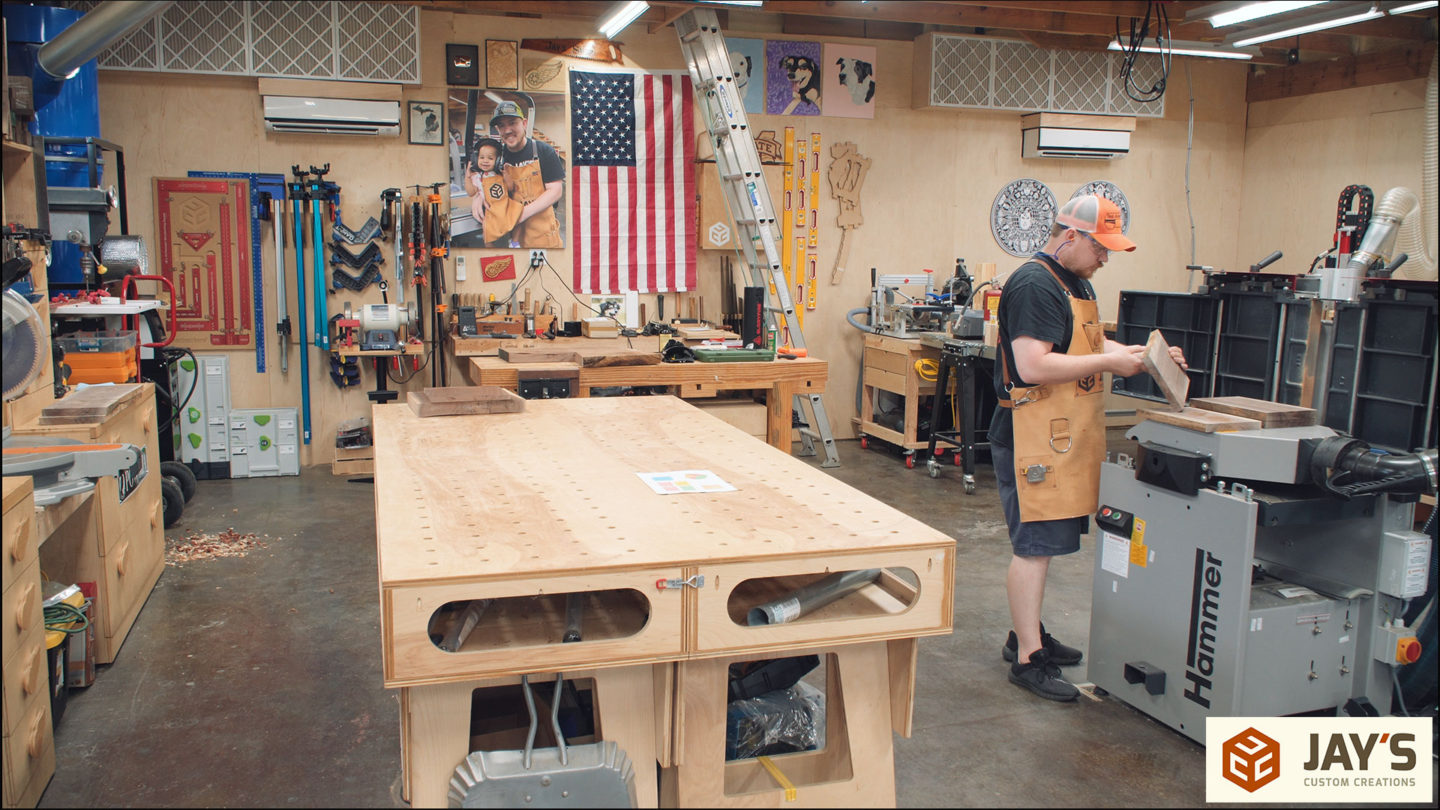
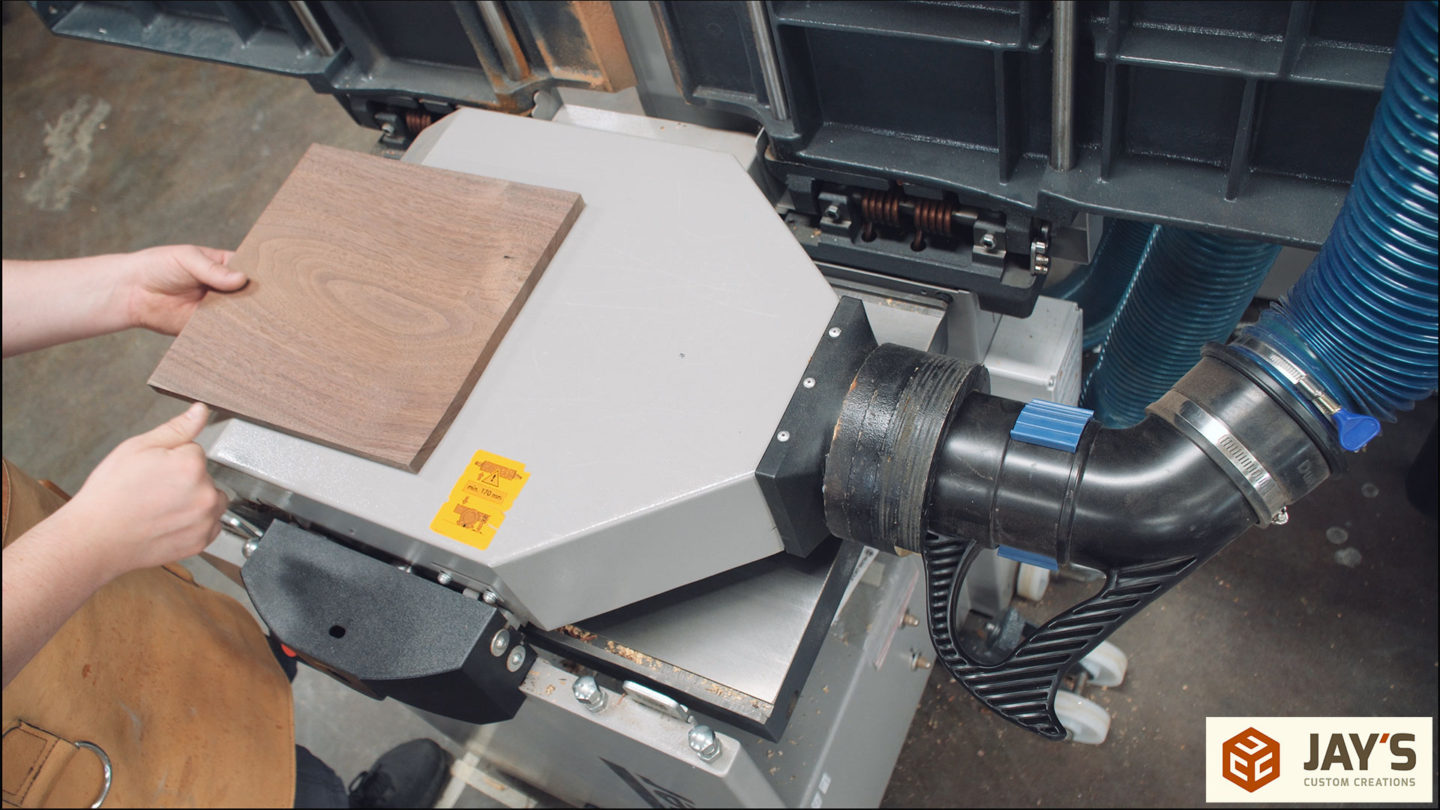
Unlike 99% of all other projects, I started at the planer for this build. The single walnut board I picked up was pretty straight and flat to begin with so skip planing is all that was needed. I really just wanted to get a better look at the grain before I started locating pieces.
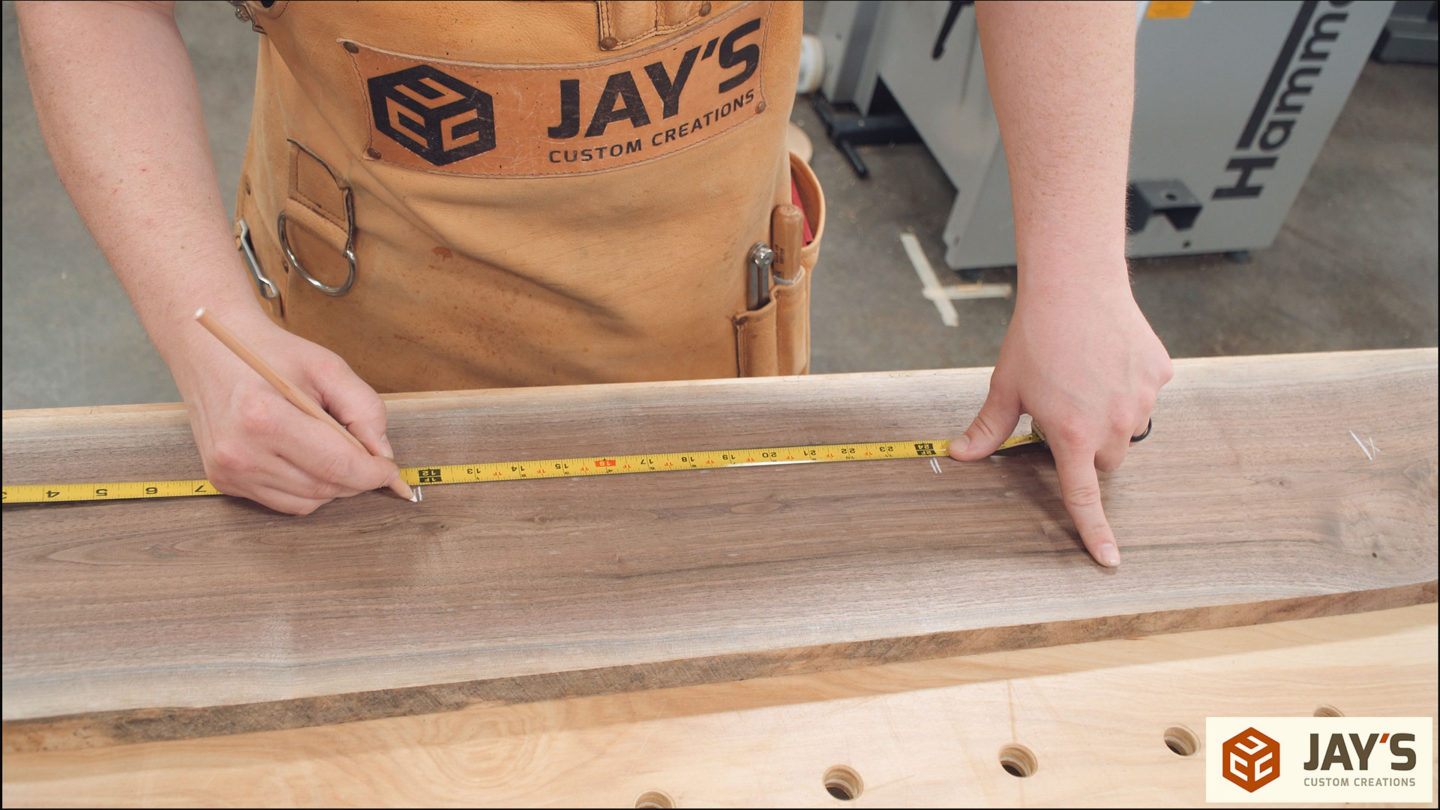
And with the beautiful walnut grain exposed I laid out for all of my rough cuts. The box is a square so all I need here is four equal length sides with as few defects as possible.
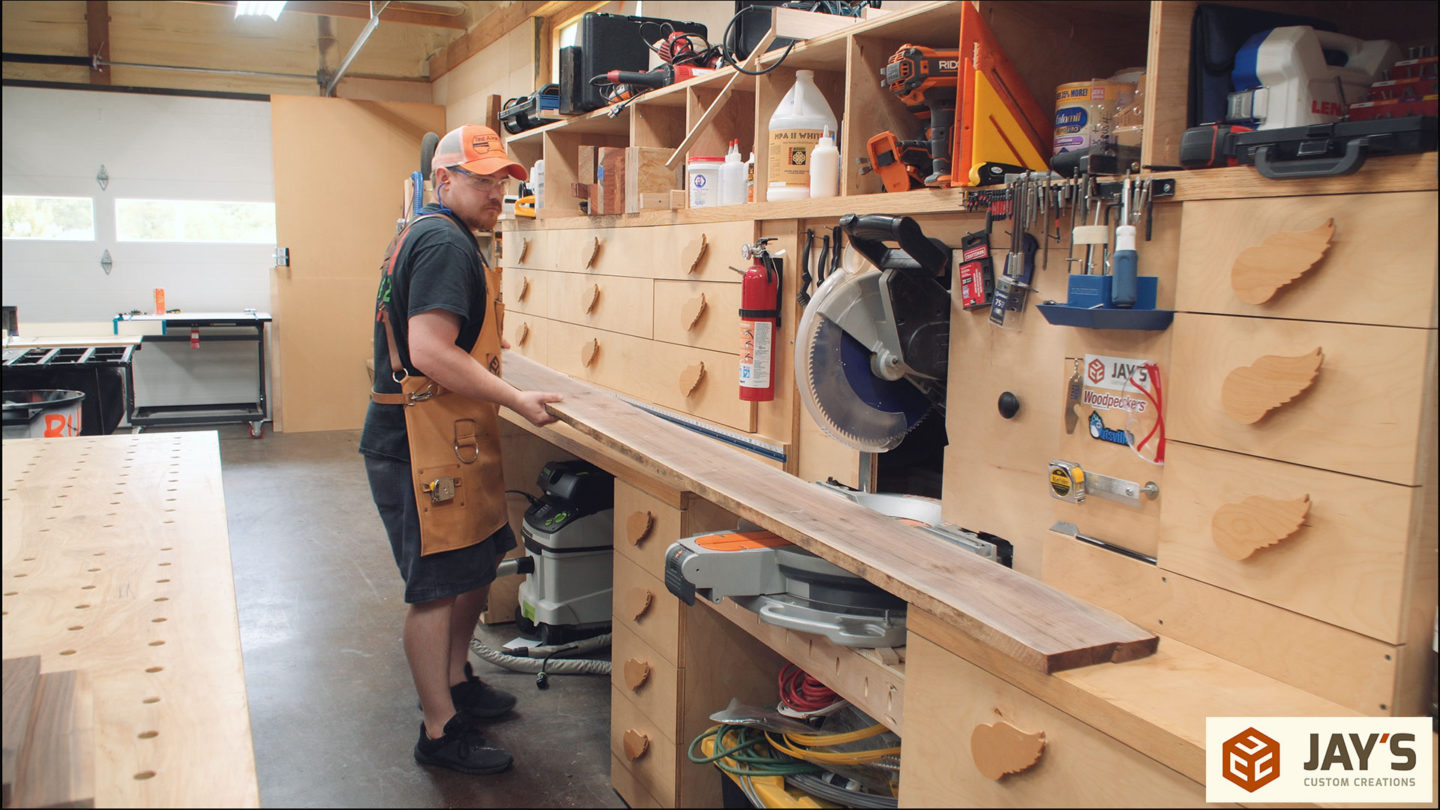
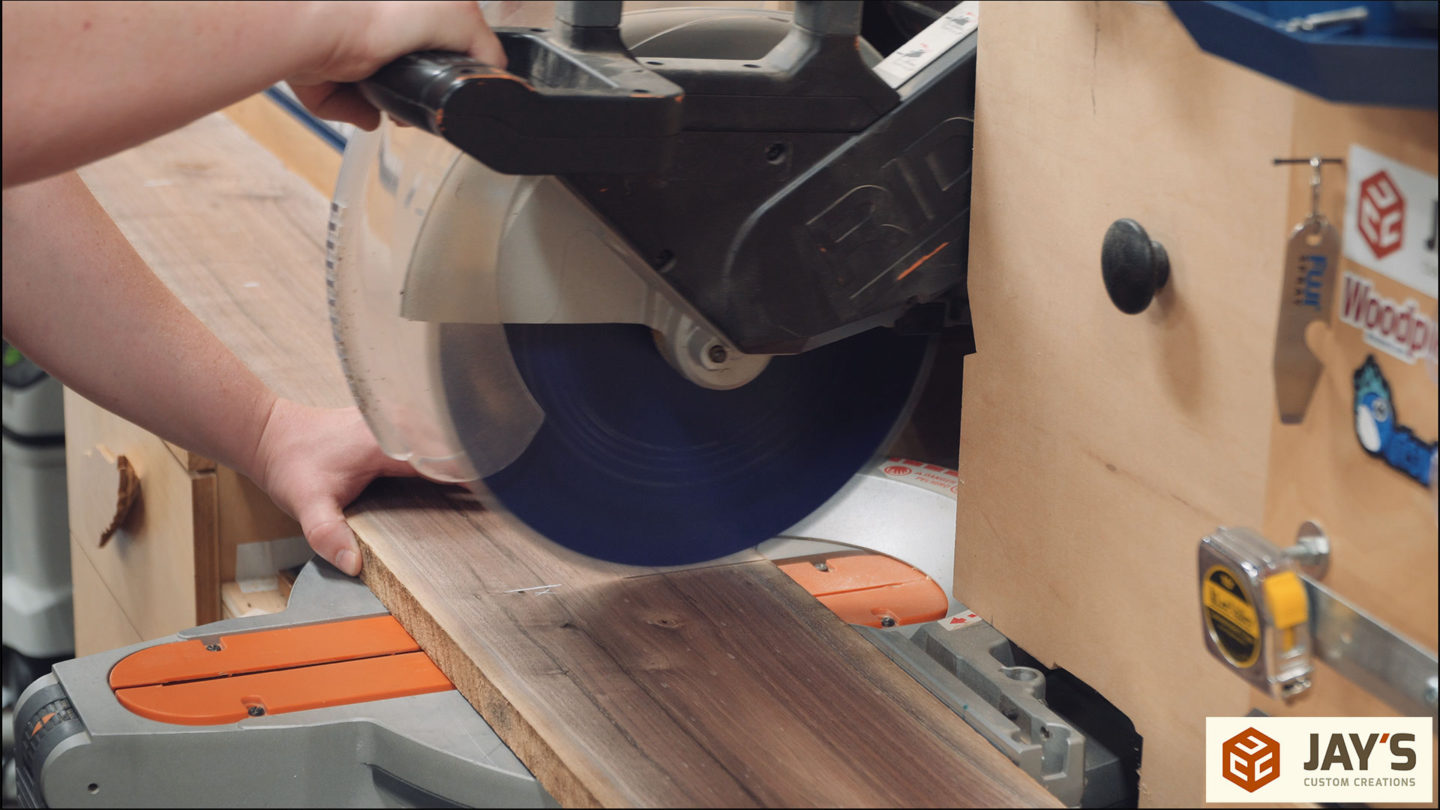
Rough crosscutting is done at the miter saw station. I typically leave 1/2” to 1” extra length here.
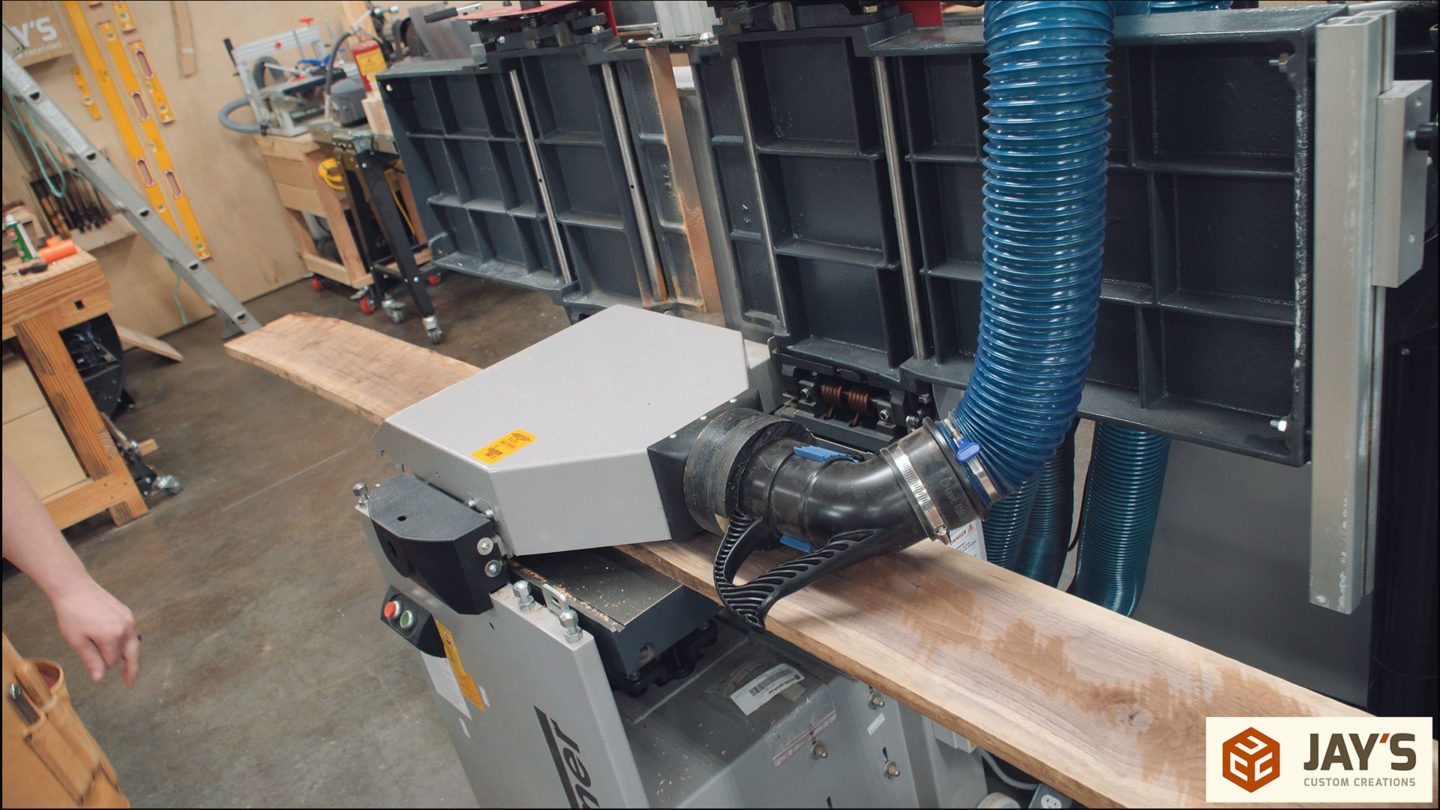
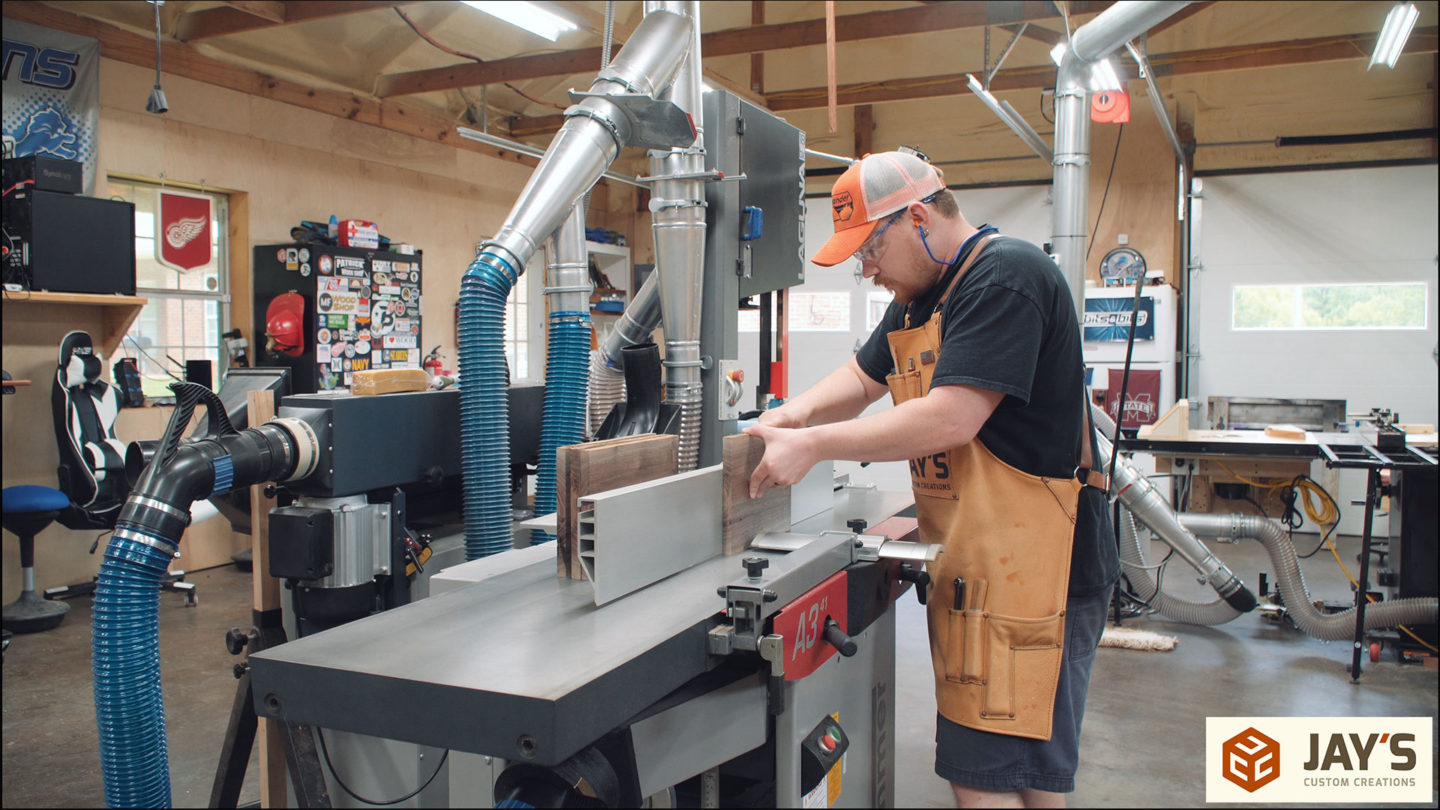
Back to the planer plane down to final thickness of 5/8”. Here you can see my technique for drastically reducing planer snipe. Each board is pushed through without any gaps and the first board is rotated into the lineup to also be the last board through. With this rotation technique you can nearly eliminate snipe on smaller pieces. Even better would be to use a sacrificial board first and last.
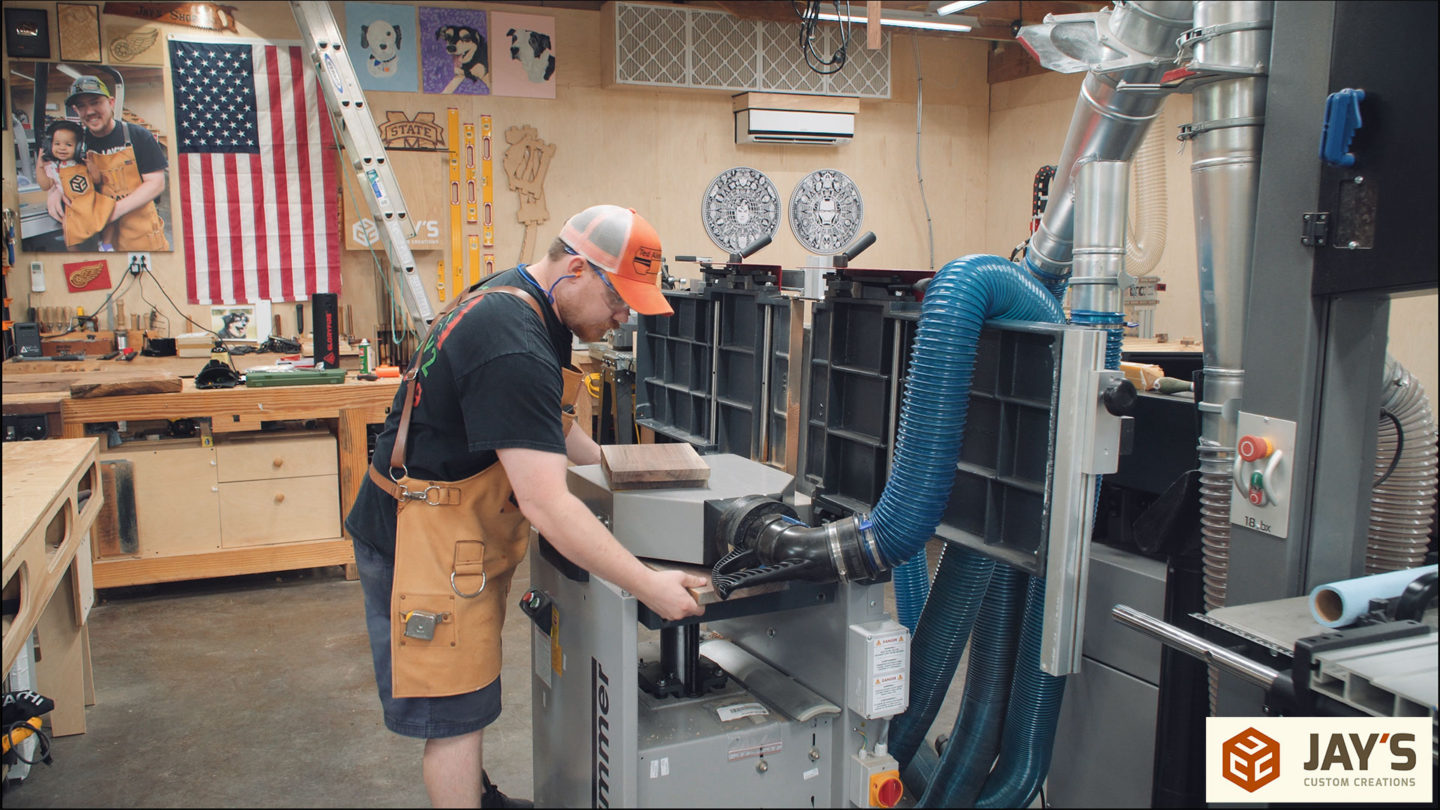
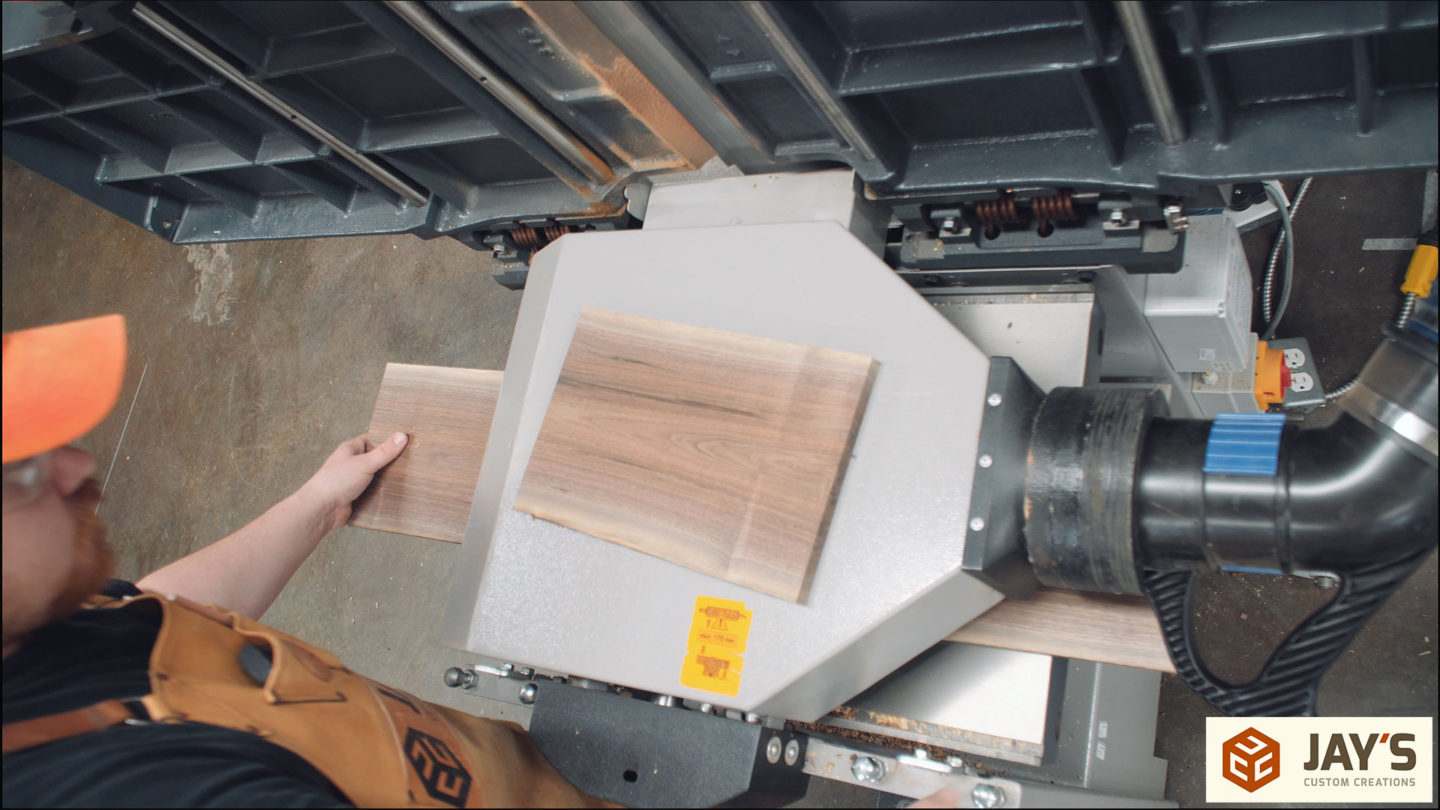
With the machine in jointer mode one narrow face is flattened square to either wide face. It’s best to do the narrow face jointing after both wide faces have been planed so that you have direction options and aren’t forced to cut uphill.

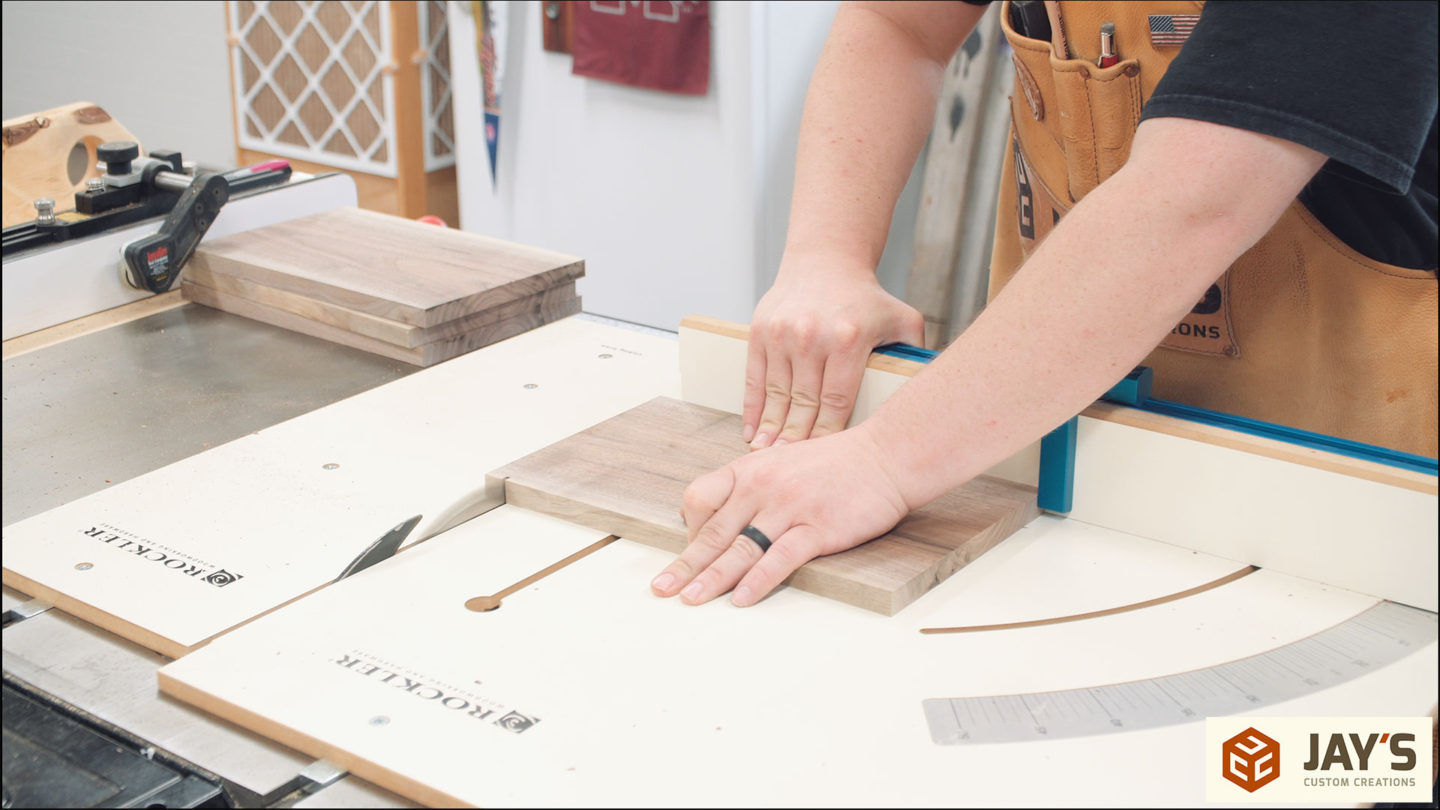
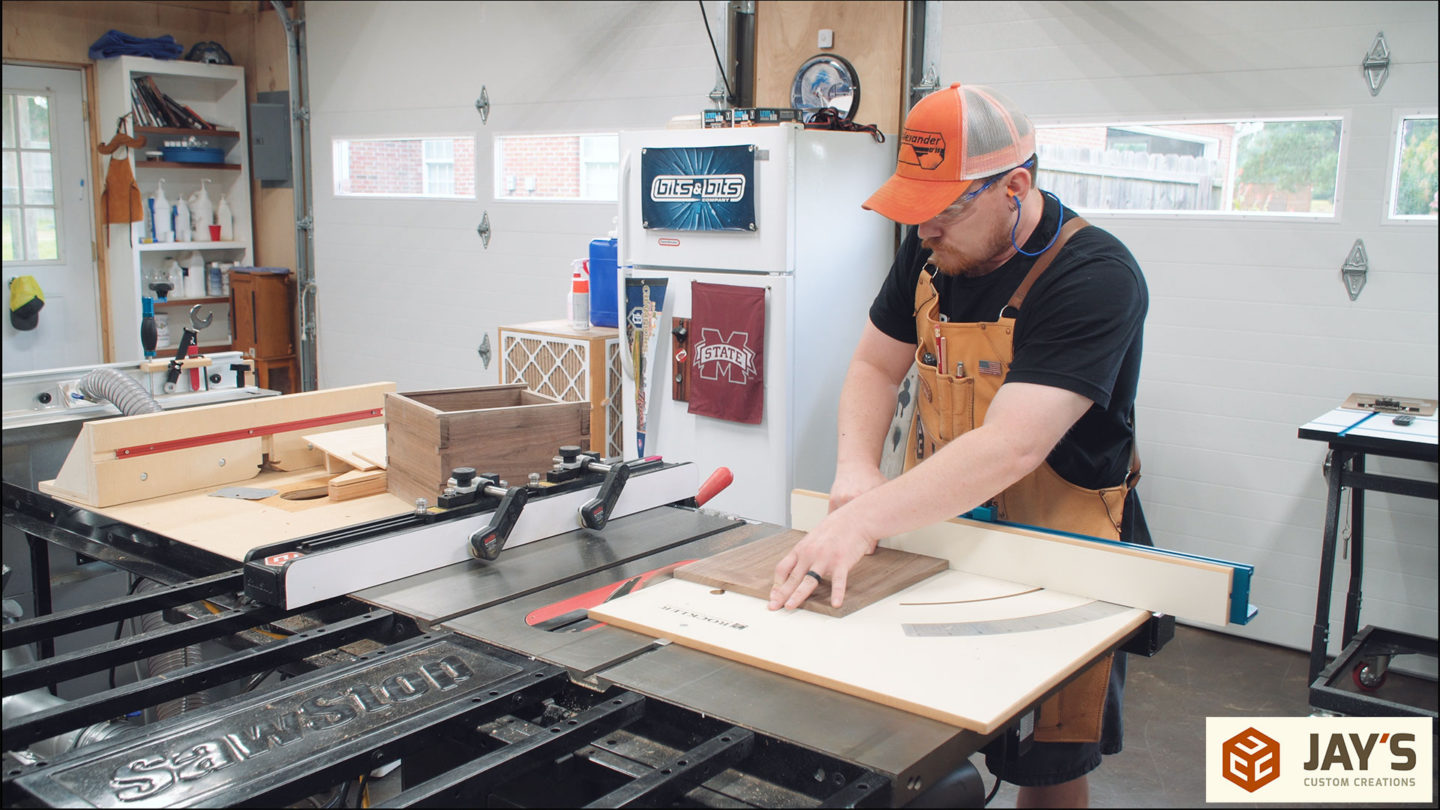
The final width is established at the table saw.

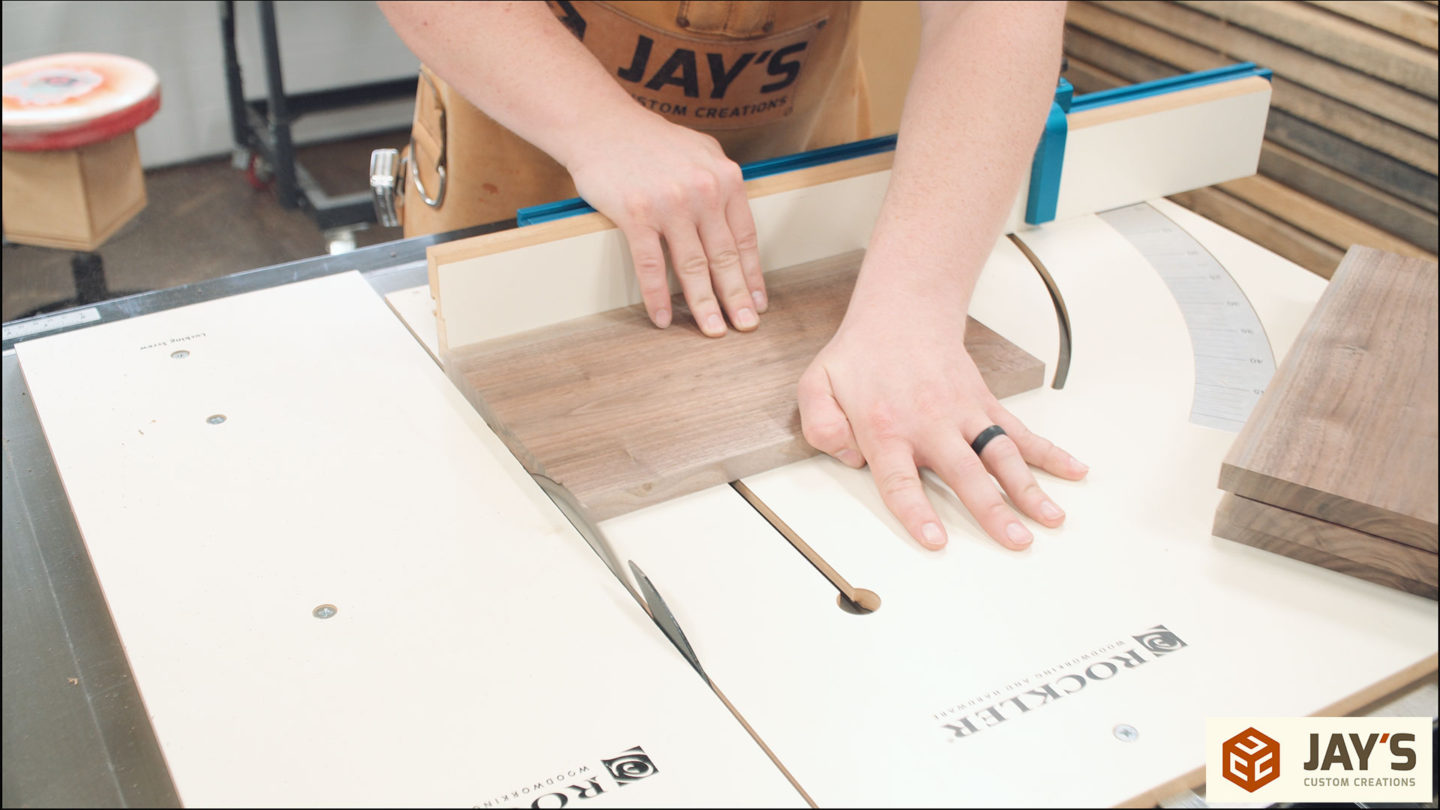
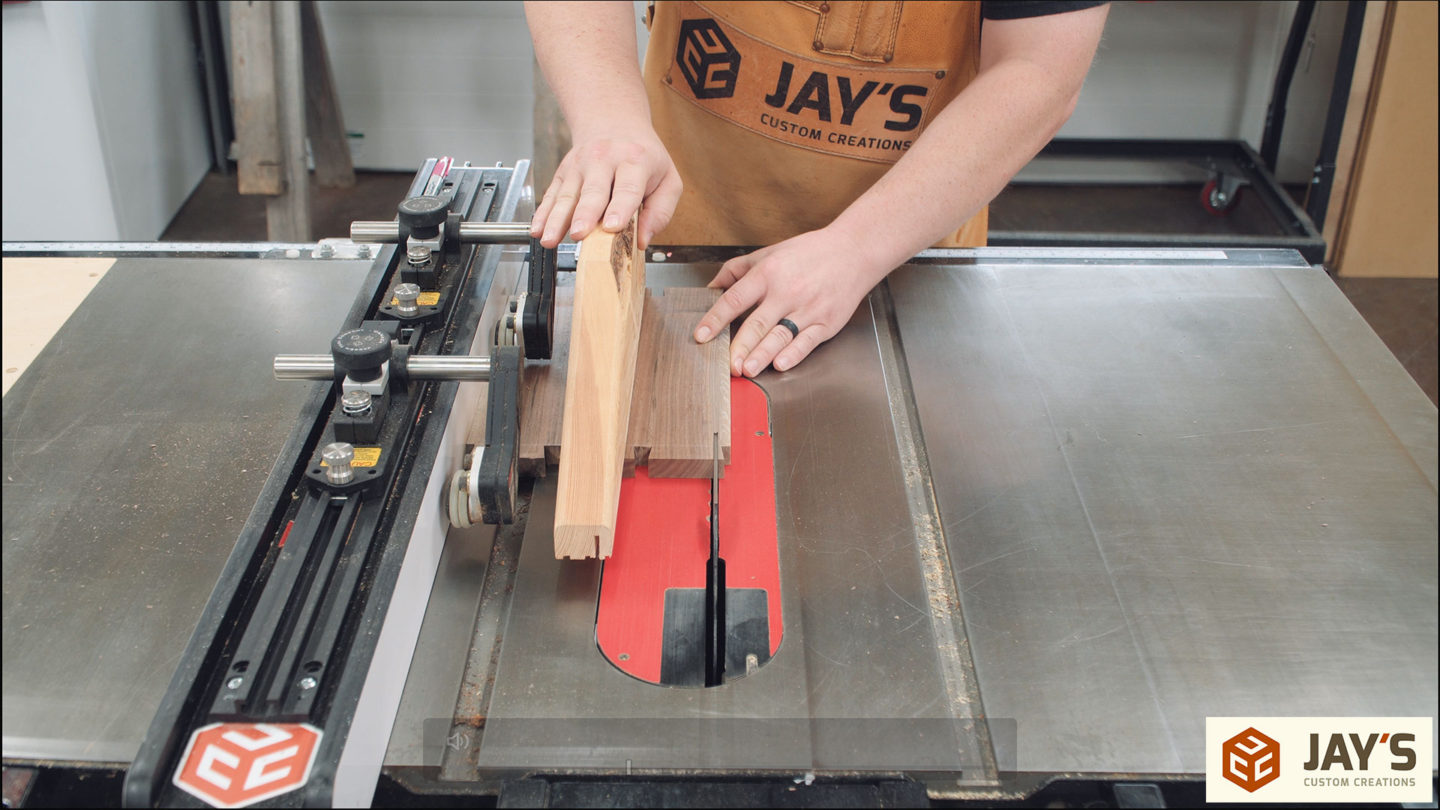
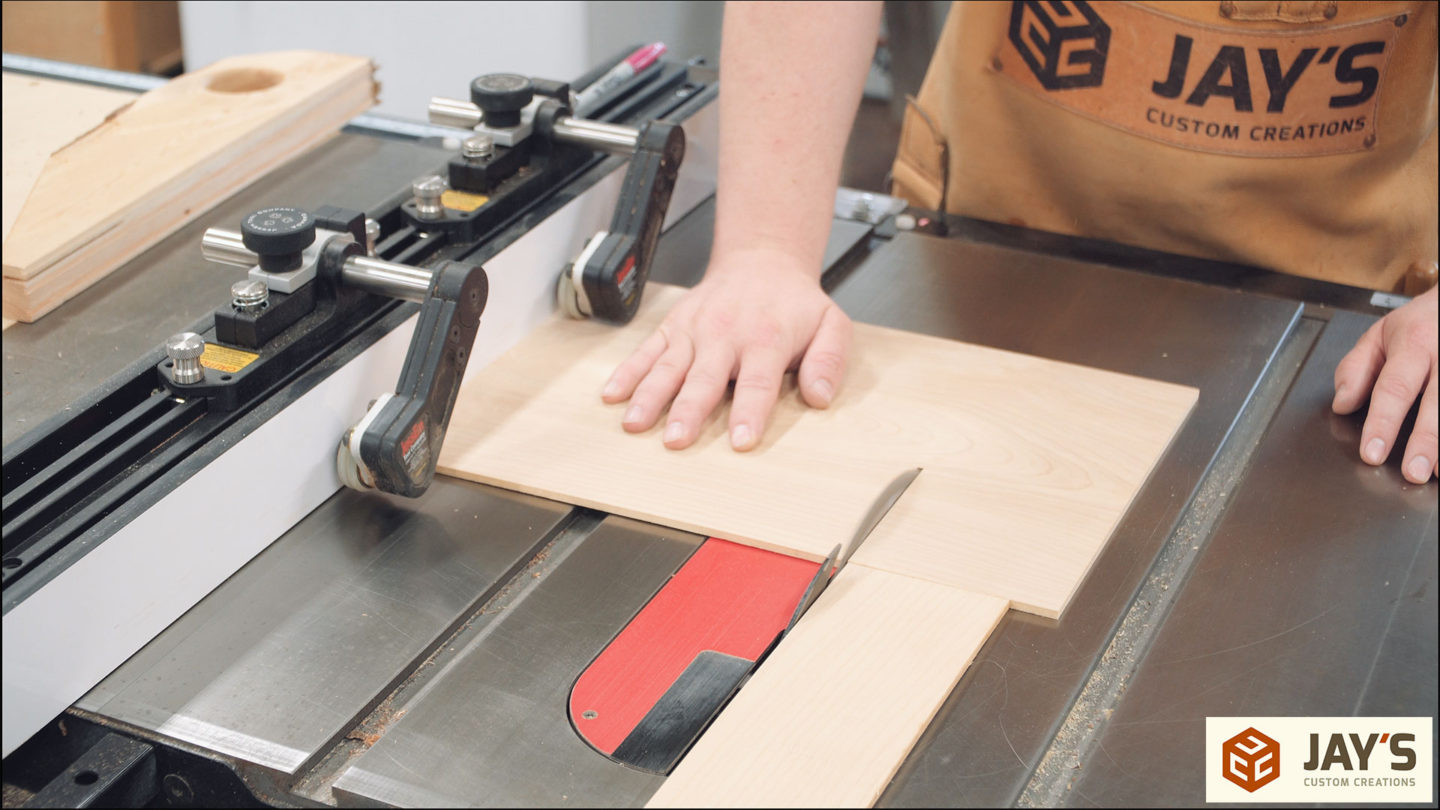
And the final length is established with two cuts at the table saw with a crosscut sled. For precise cuts like this I prefer to use the crosscut sled vs my miter saw because my miter saw has developed quite a bit of slop over the years. It’s definitely not as accurate as it once was.
With all the sides at their final dimensions I can get a better idea of grain appearance and determine what piece will go where.
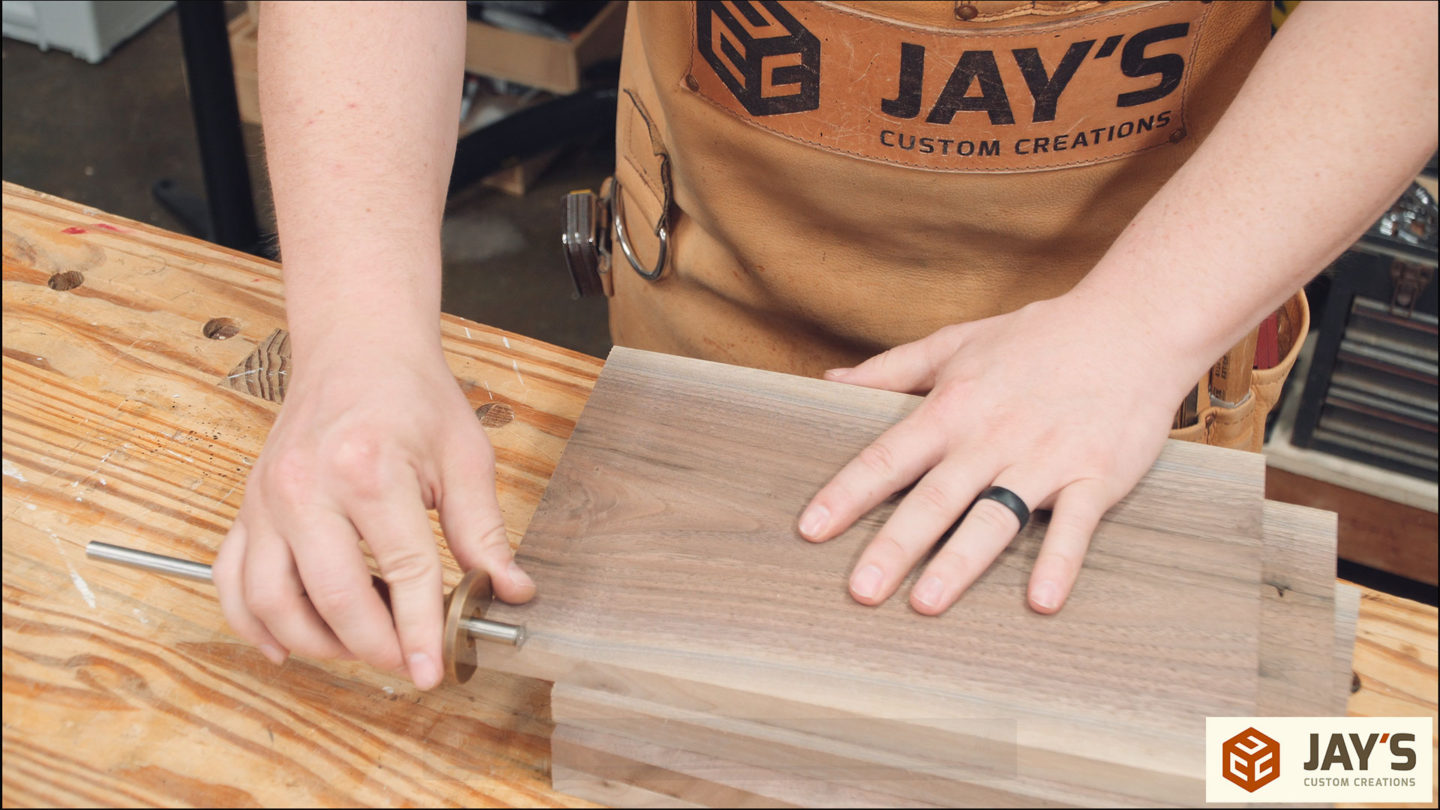
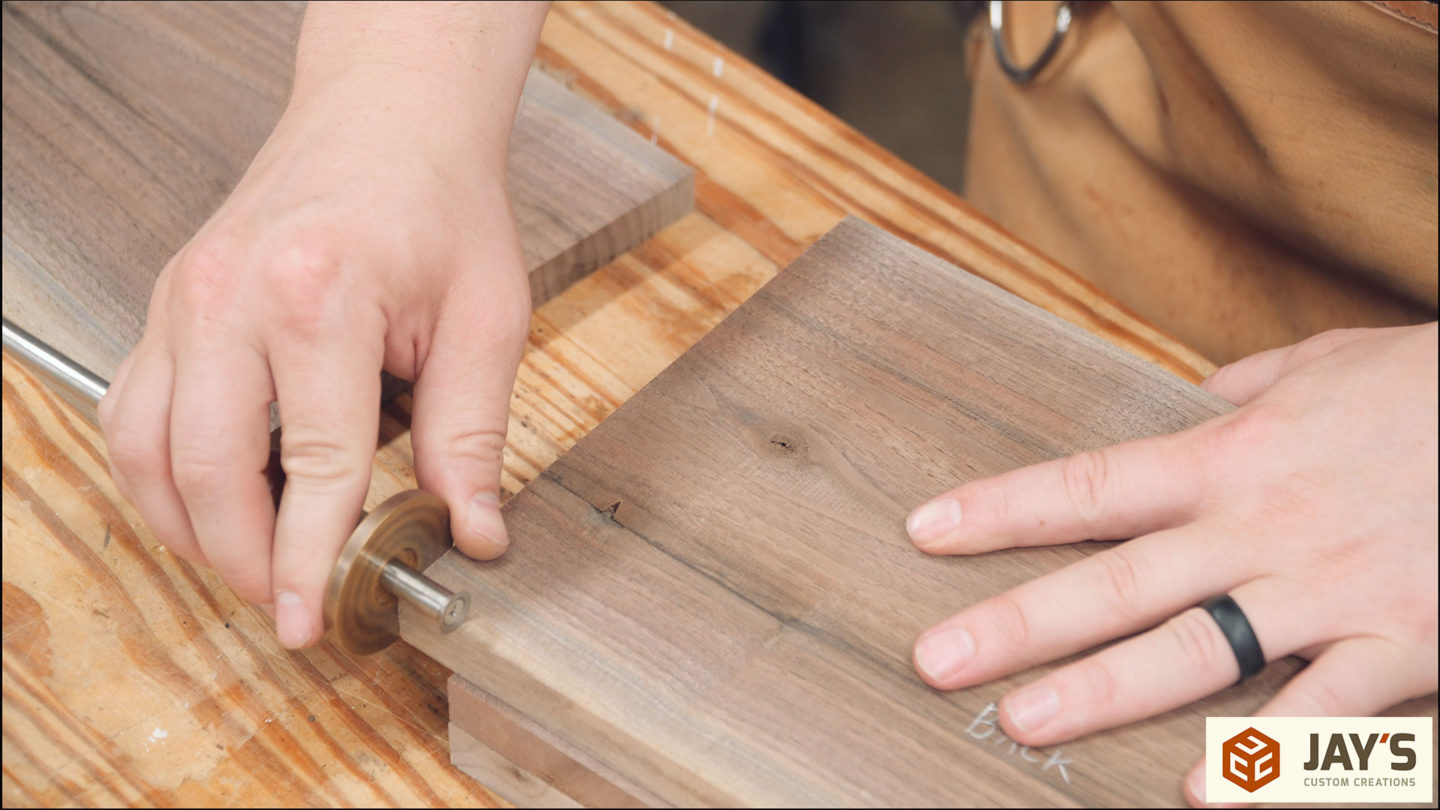
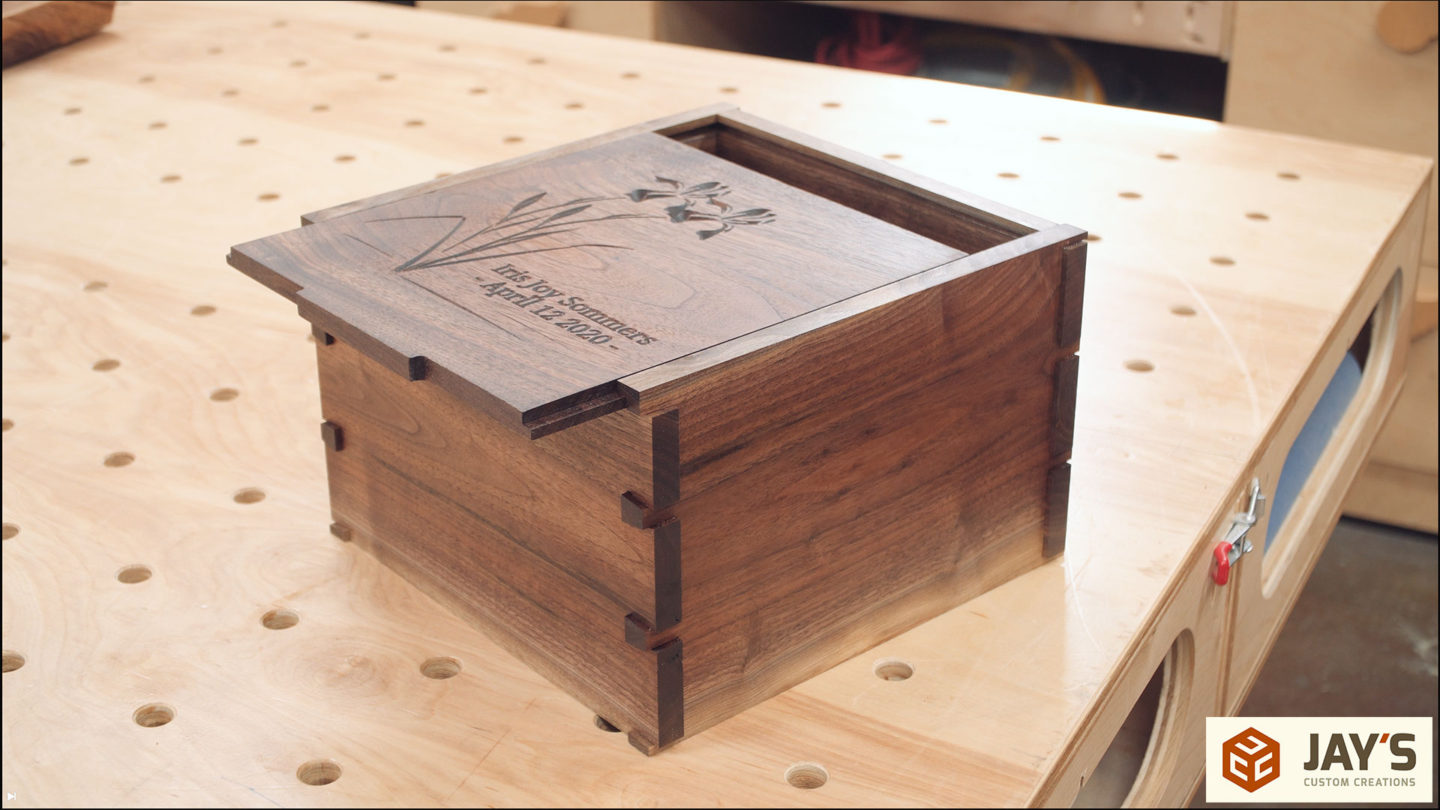
The recipient requested proud, through dovetails for the box. The process starts with a marking gauge set to 3/4”. The material thickness is 5/8” so after assembly the pins and tails will be 1/8” proud of the side surface.
I like to cut the tails first and to save some time I clamped both tail boards together to be cut together.

A pair of dividers make layout extremely easy for dovetails. No math required. If you’ve never used them before the process is quite easy. I have an older video explaining the process of using dividers that you can see here.

This is the Katz Moses magnetic dovetail guide and it’s the best one I’ve used. The top section of the guide has four different faces with magnets embedded in them. When cutting the tails, the post keeps the saw teeth running perpendicular to the wide face of the board and the magnets keep the saw itself tilted at the appropriate angle for the tail cuts.

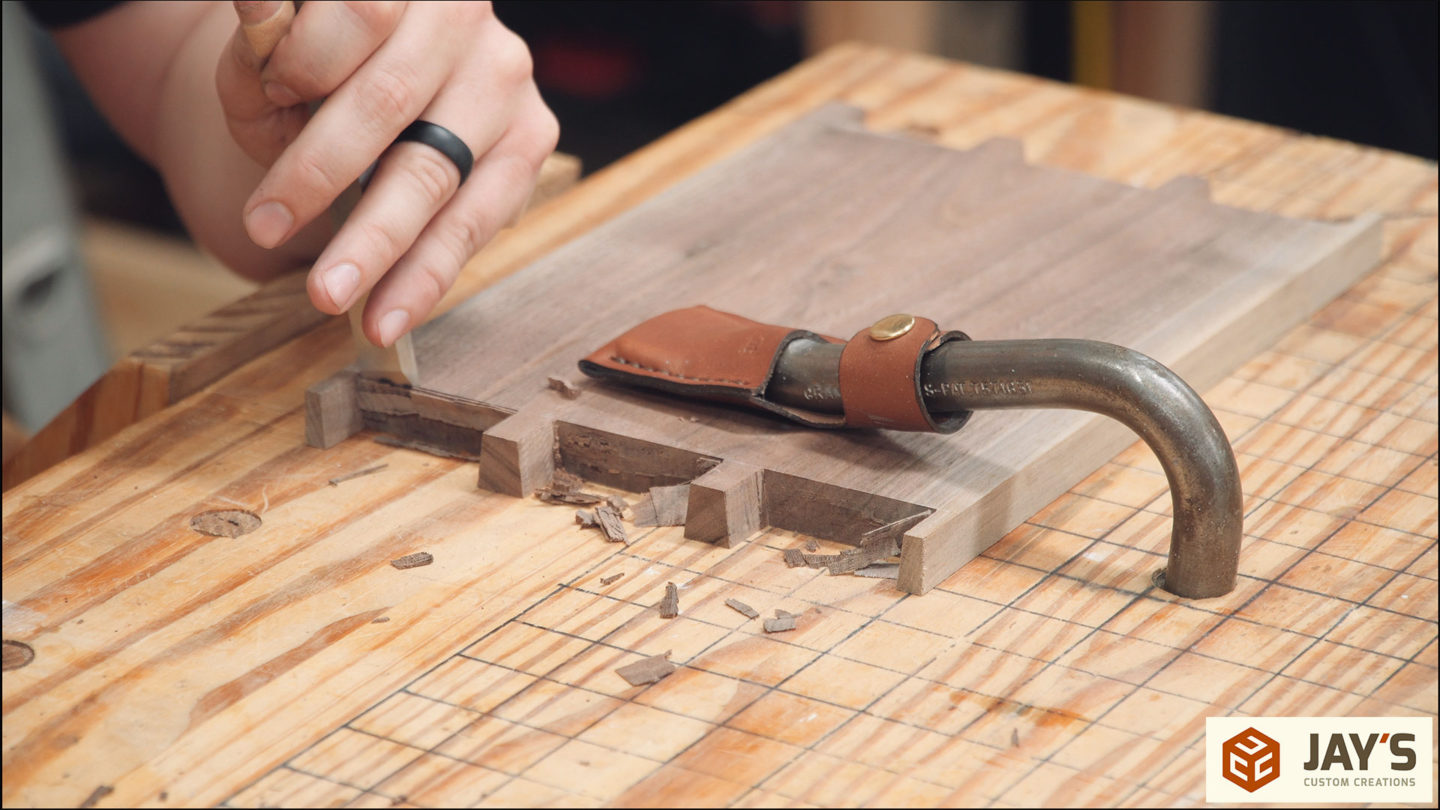
I like to use an inexpensive fret saw, or jeweler’s saw, to remove the bulk of the waste. The closer you get to the marking gauge line the less work you have to do with the chisels but you also risk going past the line if you’re not careful.

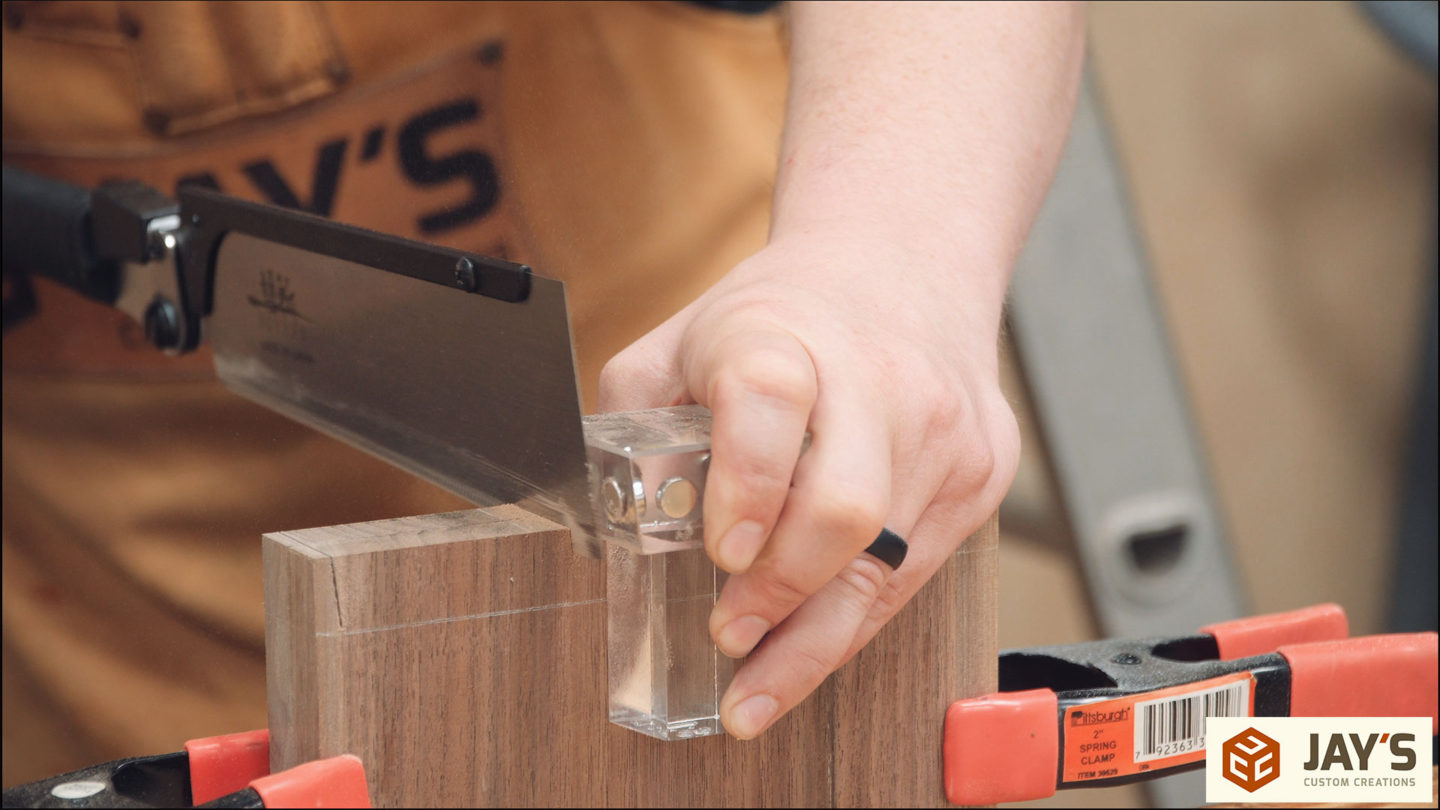
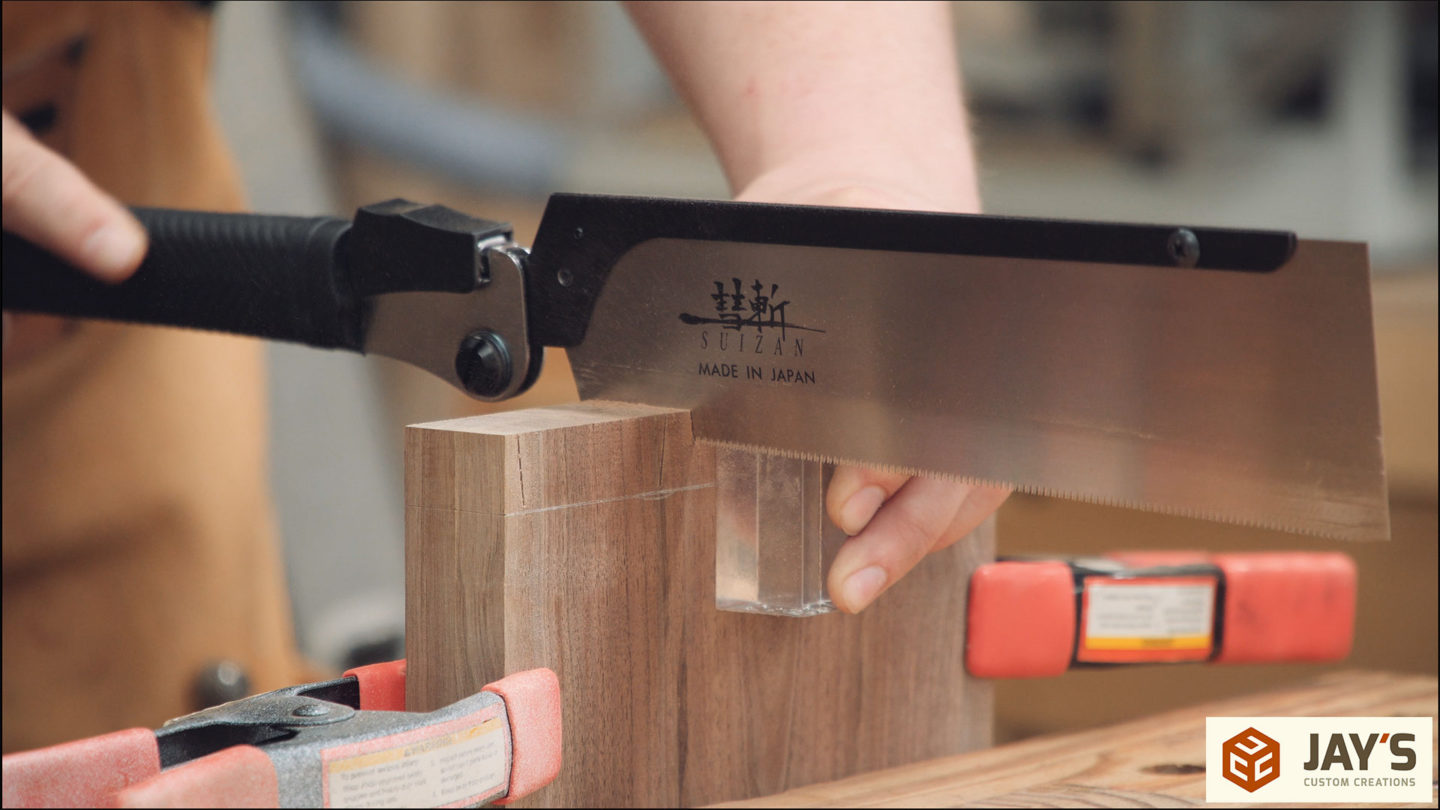
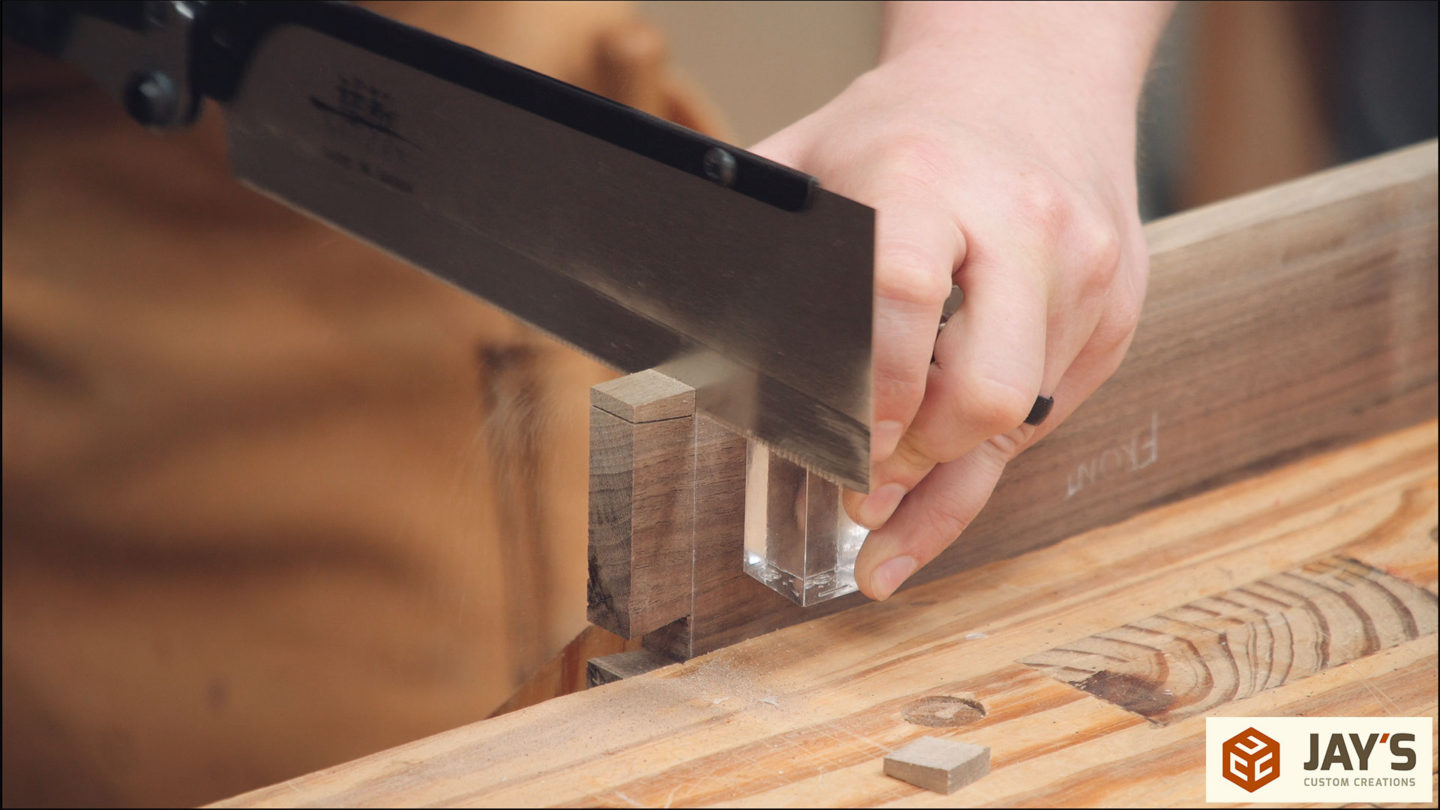
On the sides of the tail boards is a half pin that needs to be cut off. There’s a dedicated 90 degree face on the magnetic saw guide for this very reason. Just line up the outside of the saw teeth with the waste side of the marking line and make the cut. Simple and precise.
The front tail board needs to be cut down by 1/2” to allow room for the sliding lid. I chose to do this after cutting the tails just to make that process a little less complicated.
Here you can see the slightly shorter front board in place.

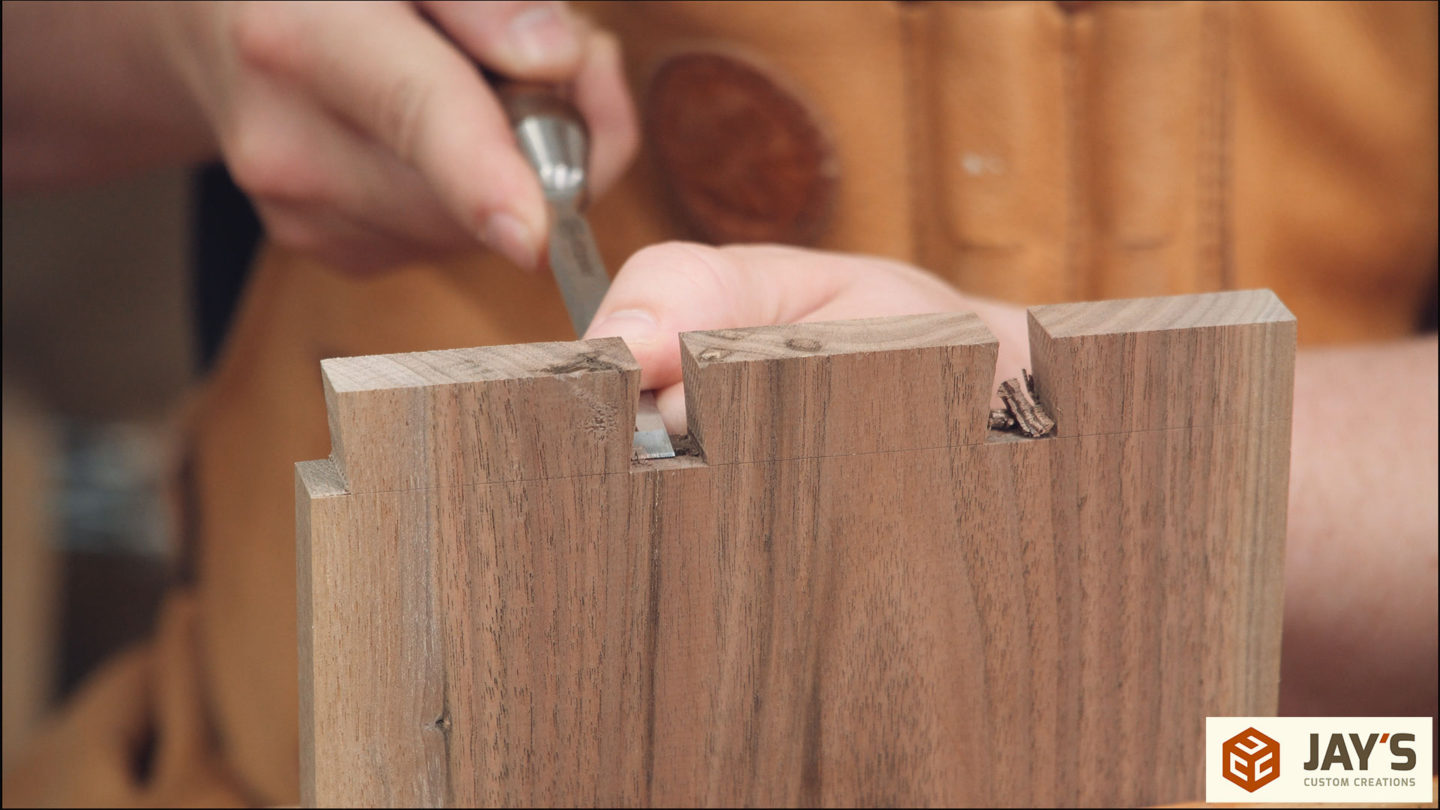
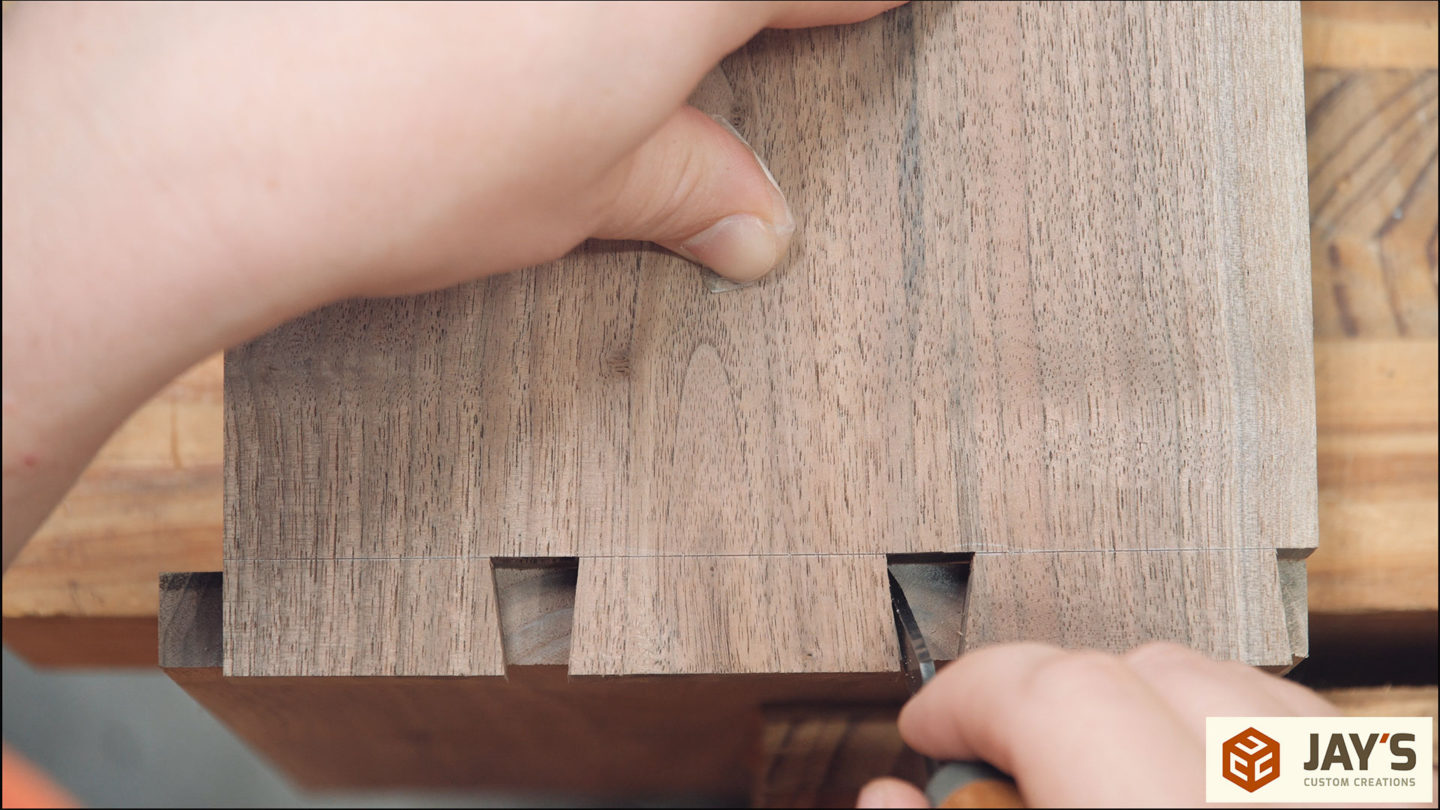
Now the waste on the tail boards can be removed. I like to make multiple chops back to the marking gauge line and only cut half way through from either side. This will prevent blowing out the other side of the cut with the chisel. I also like to lean the chisel slightly so that a slight undercut is made on the shoulder surface. A slight undercut guarantees no high spots to obstruct the joint from closing properly.

If needed, the inside corners are cleaned up with the board vertical in a vise.
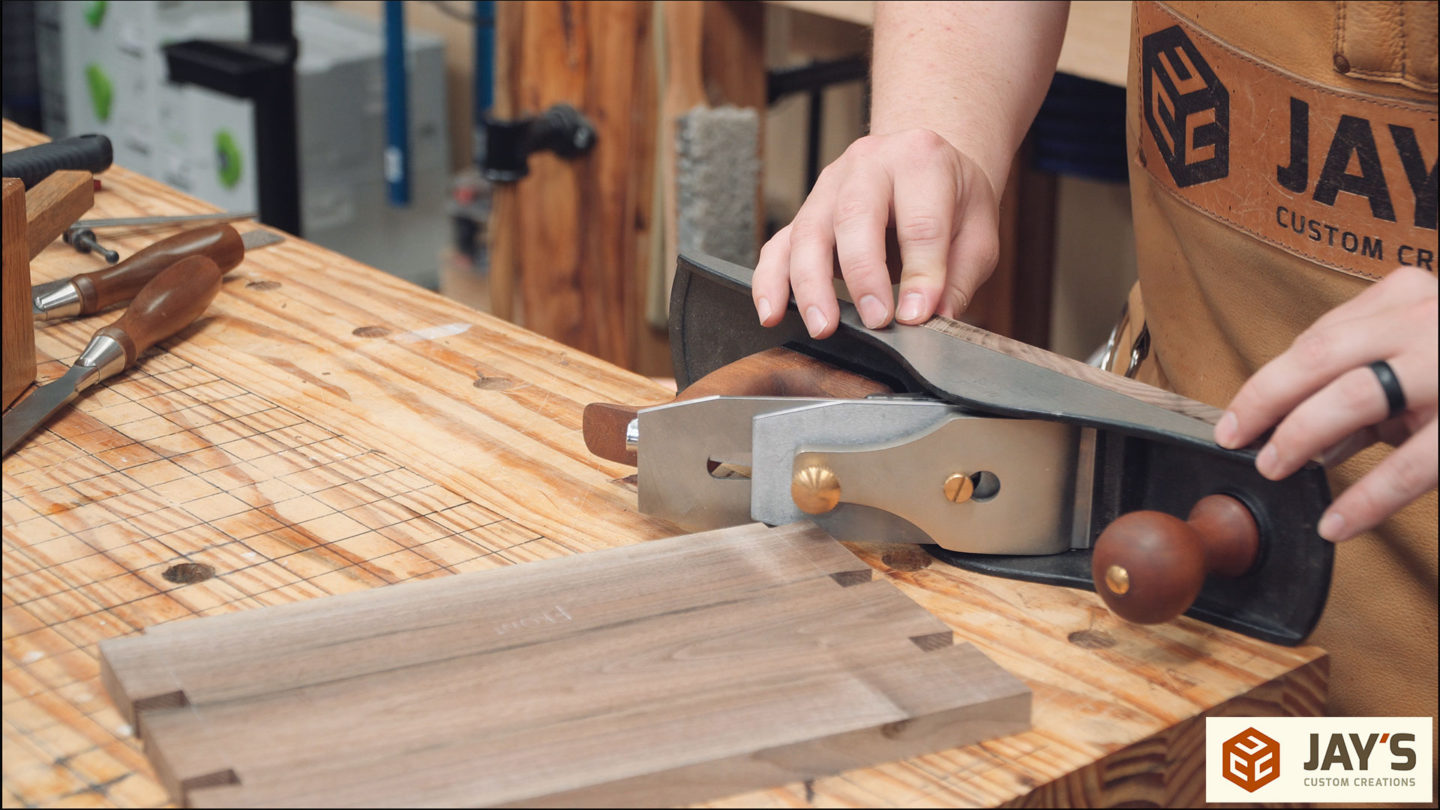
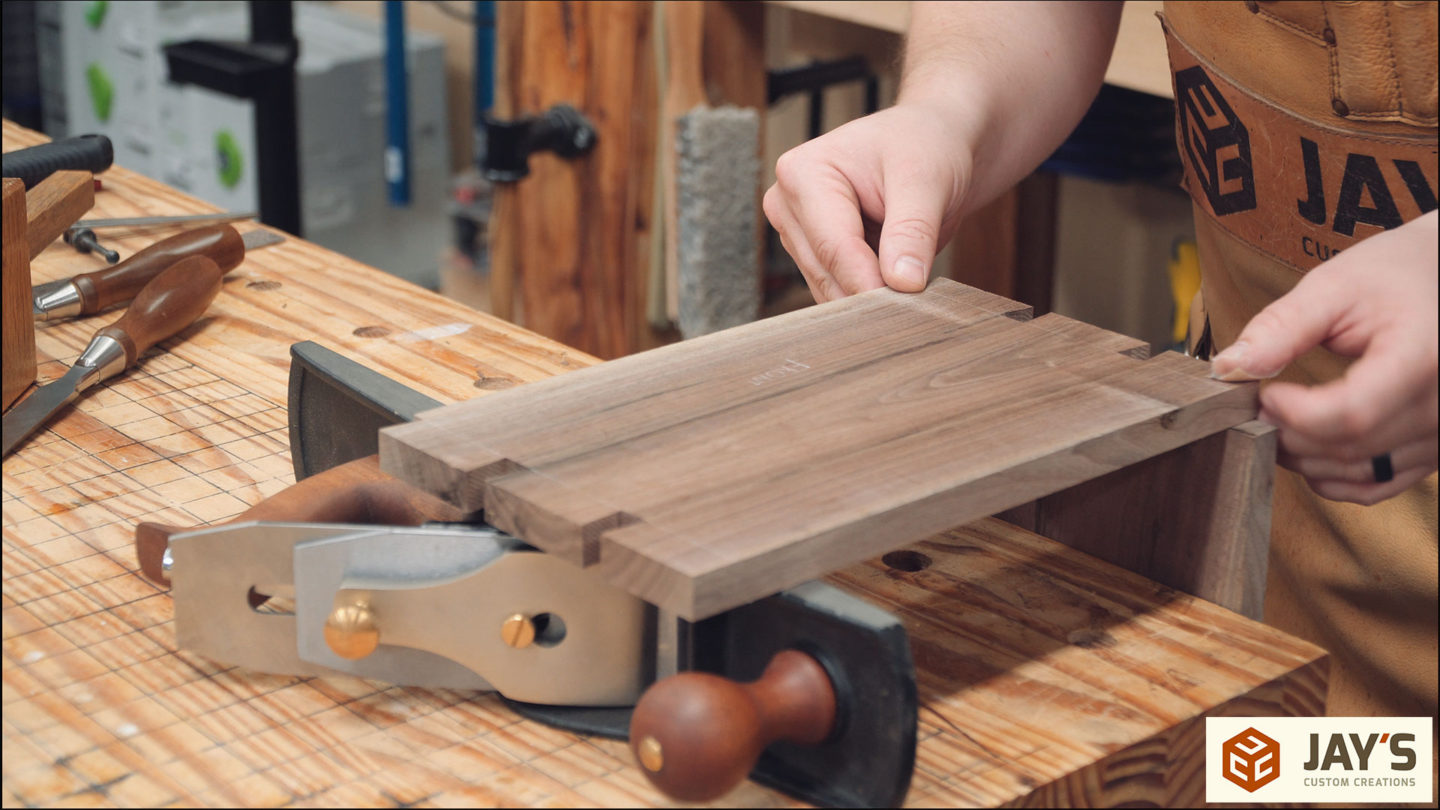
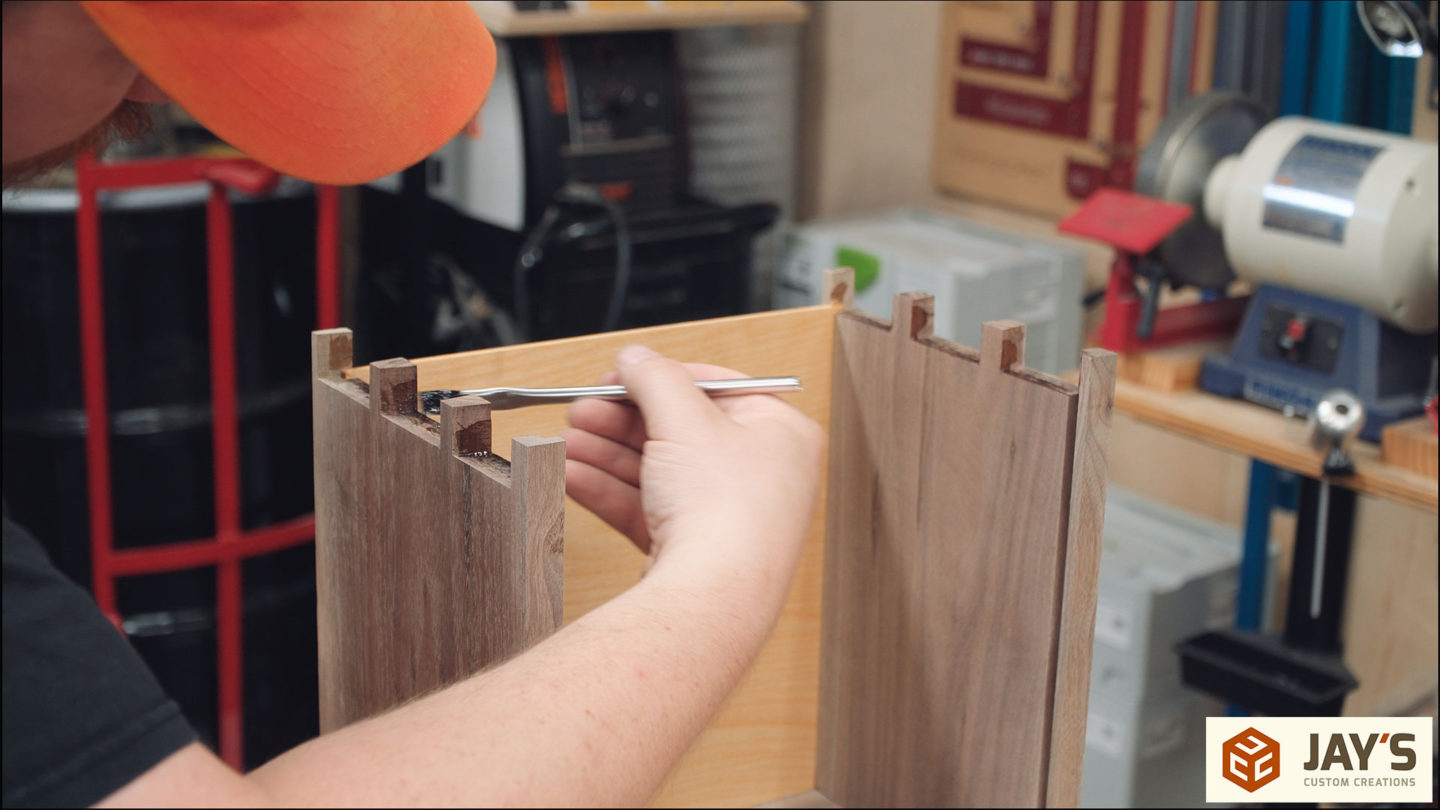
After all the tails are perfect the geometry can be traced onto the pin boards. The easiest way to line up the boards is to set the pin board in a vise at the same height as a hand plane. Then use that same hand plane to elevate the other side of the tail board. Line up the shoulder of the tail cuts with the inside edge of the pin board, hold it down firmly, and gently trace the tails with a marking knife. The harder you press with the marking knife the more likely you are to go off track. A couple consecutive light passes with the knife is all that is needed.
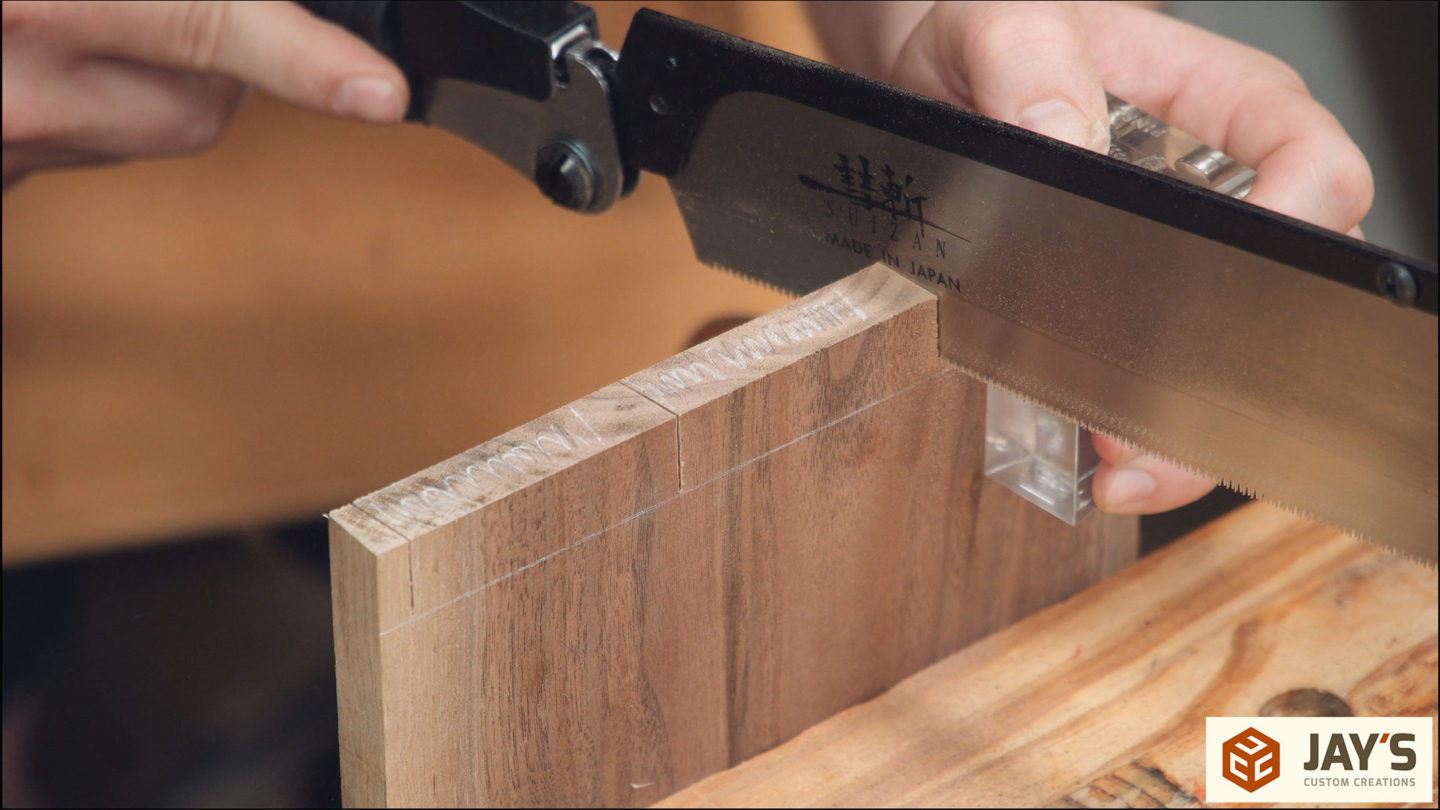
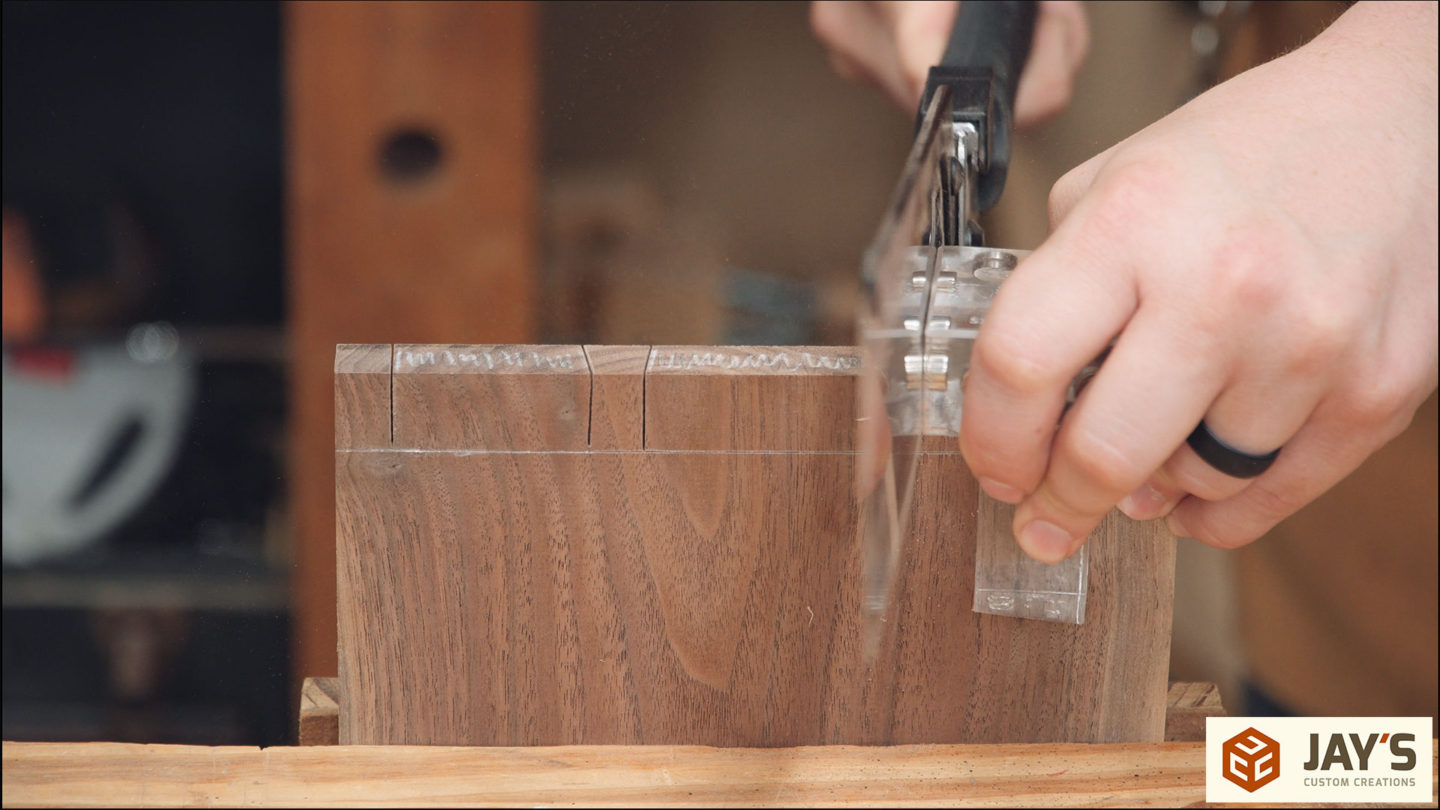
Just like with the tail cuts, the magnetic guide does the majority of the work. All you need to do is make sure that 100% of the saw teeth are on the waste side of the cut and that the edge of the saw teeth is touching waste side of the marking knife line. For the pin cuts, the guide keeps the saw blade perpendicular to the end grain face and rotated at the same degree as the tails.
Once again, the fret saw removes the bulk of the waste and chisels refine the shoulder to complete the pin boards.
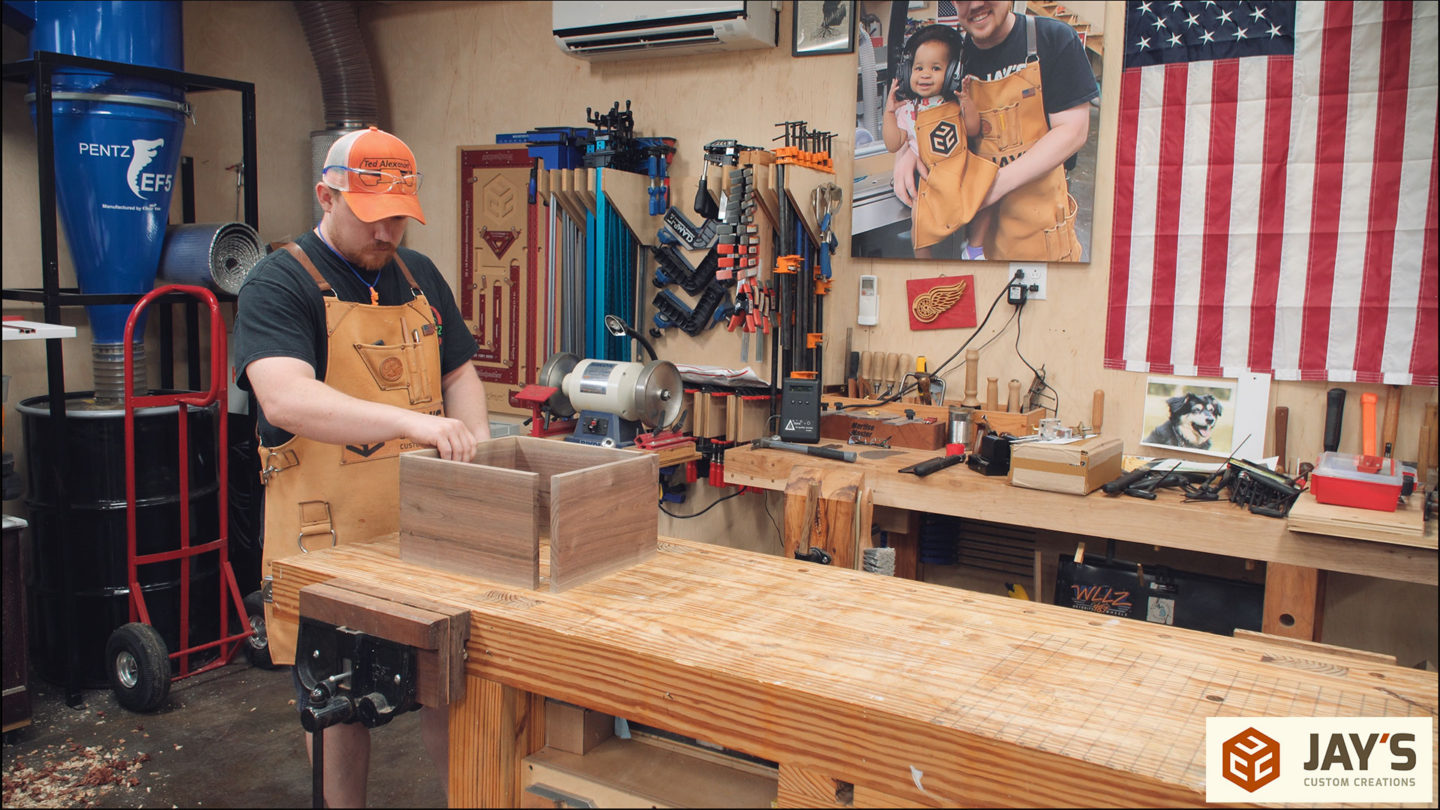
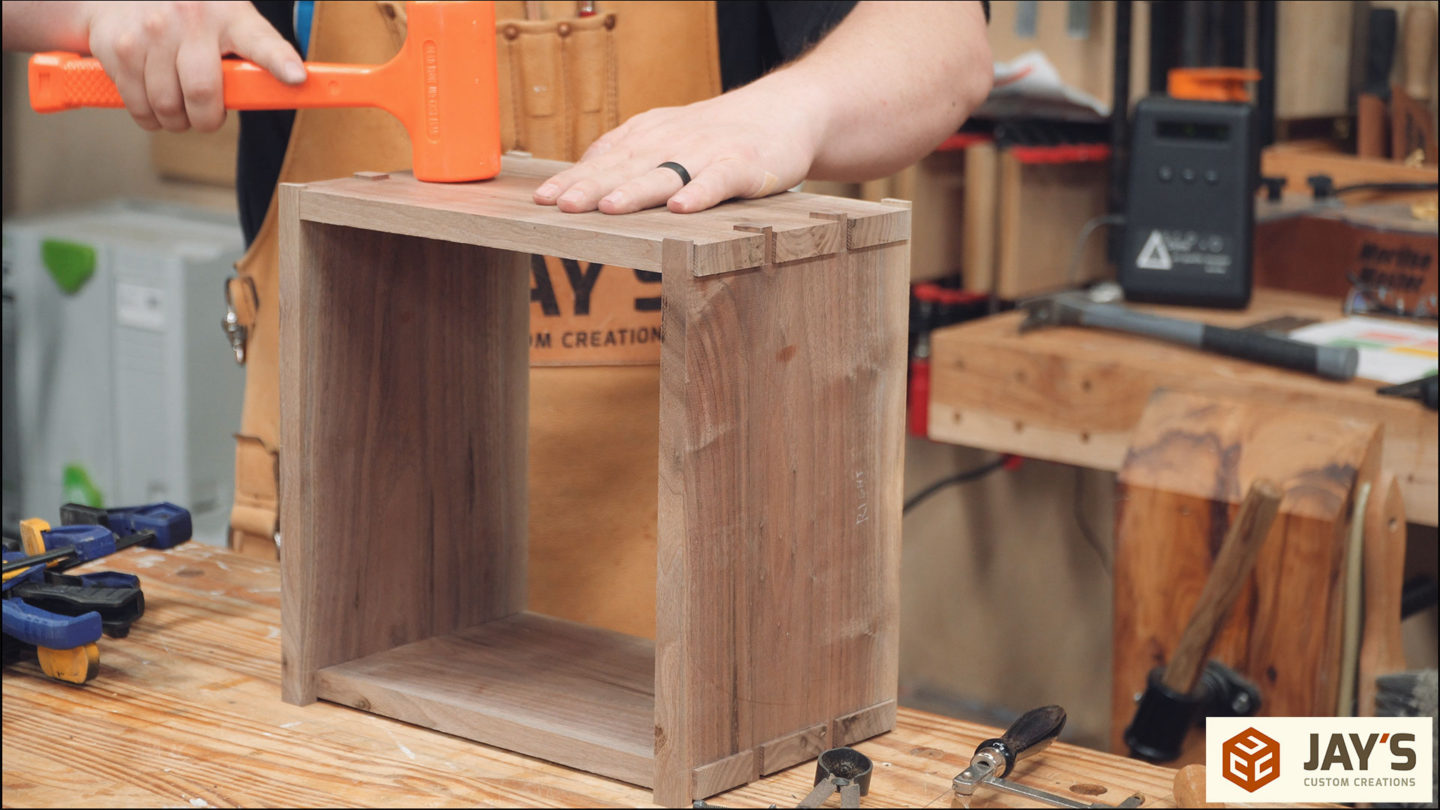
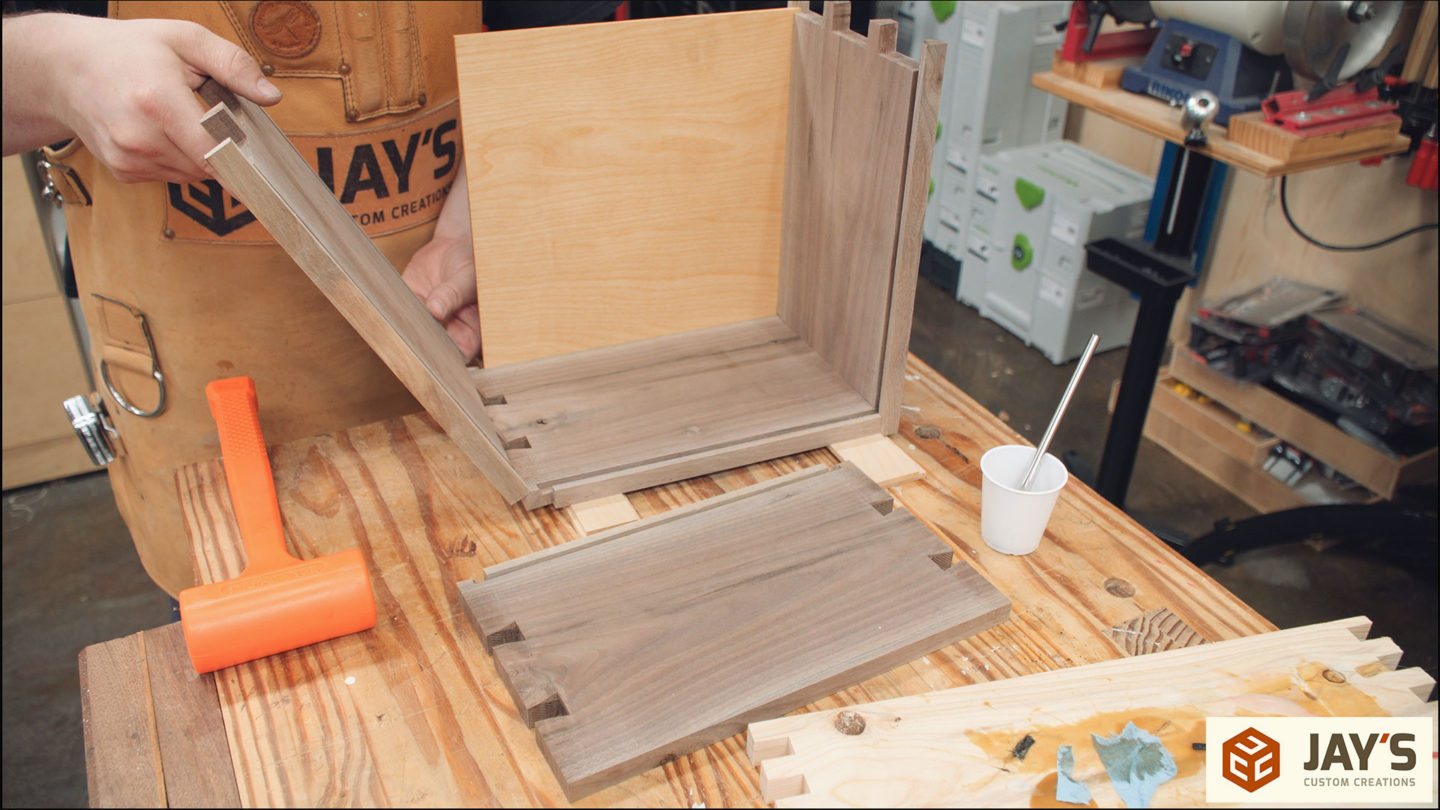
There should be no necessary adjustments so long as you cut on the right side of the line every time. The first dry fit should be a nice satisfying assembly.
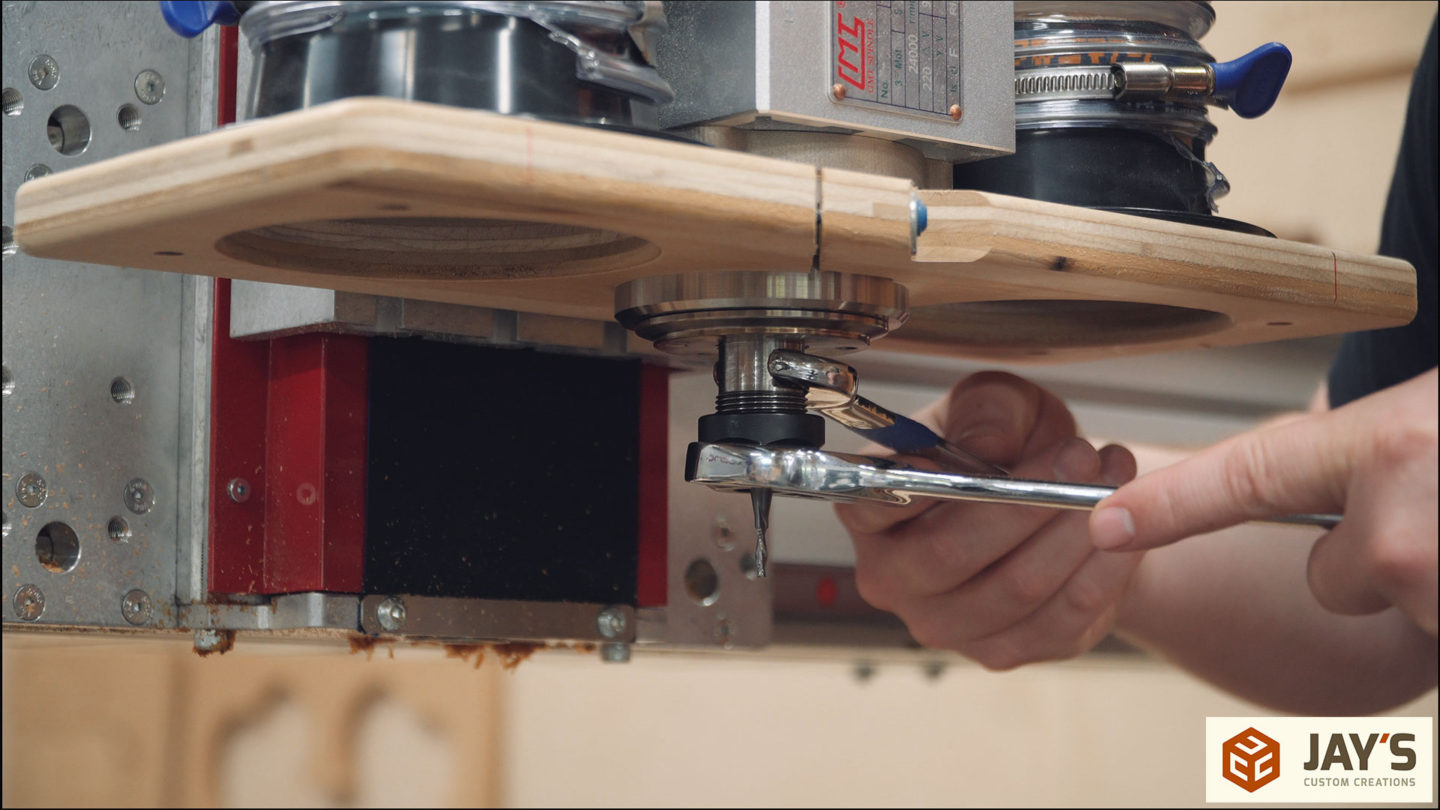
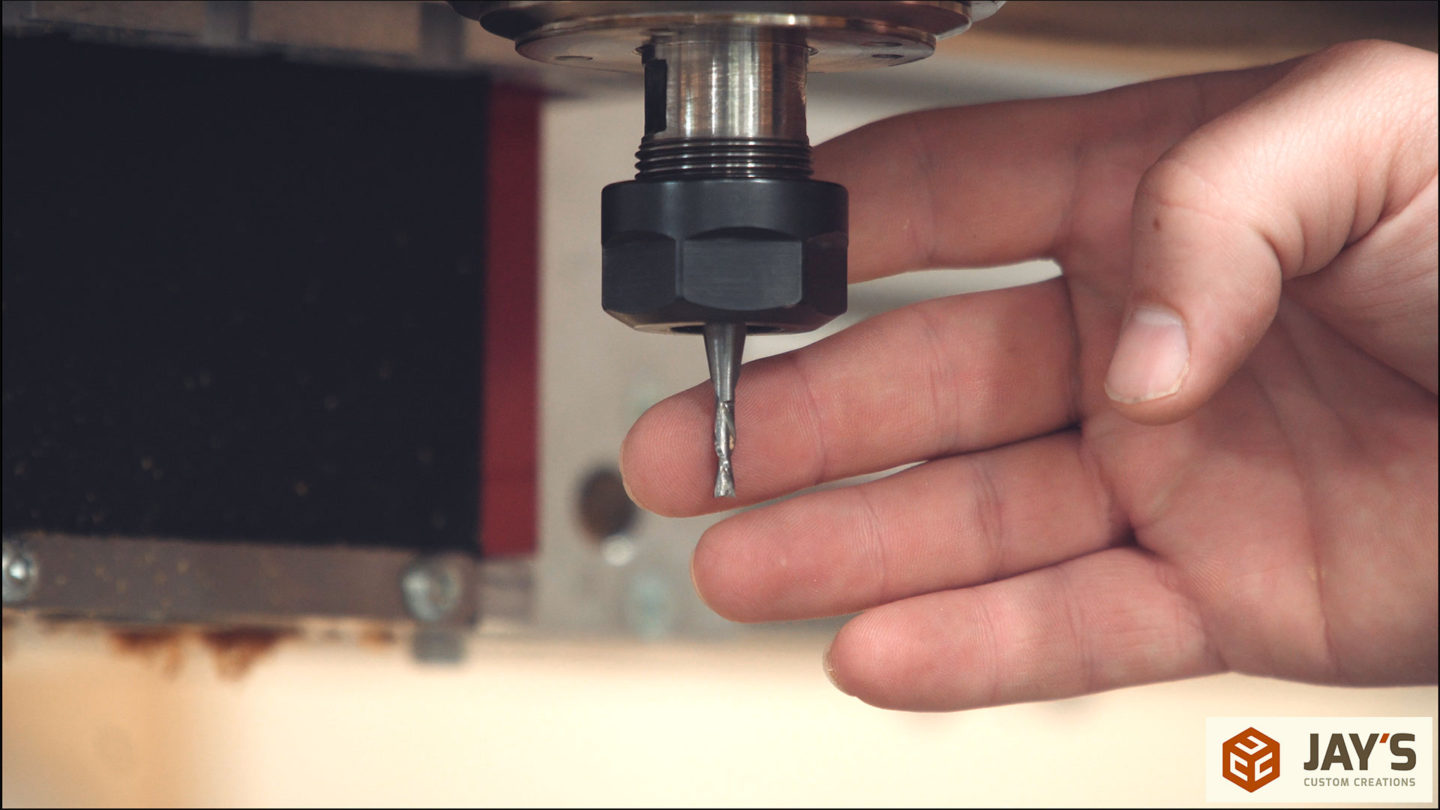
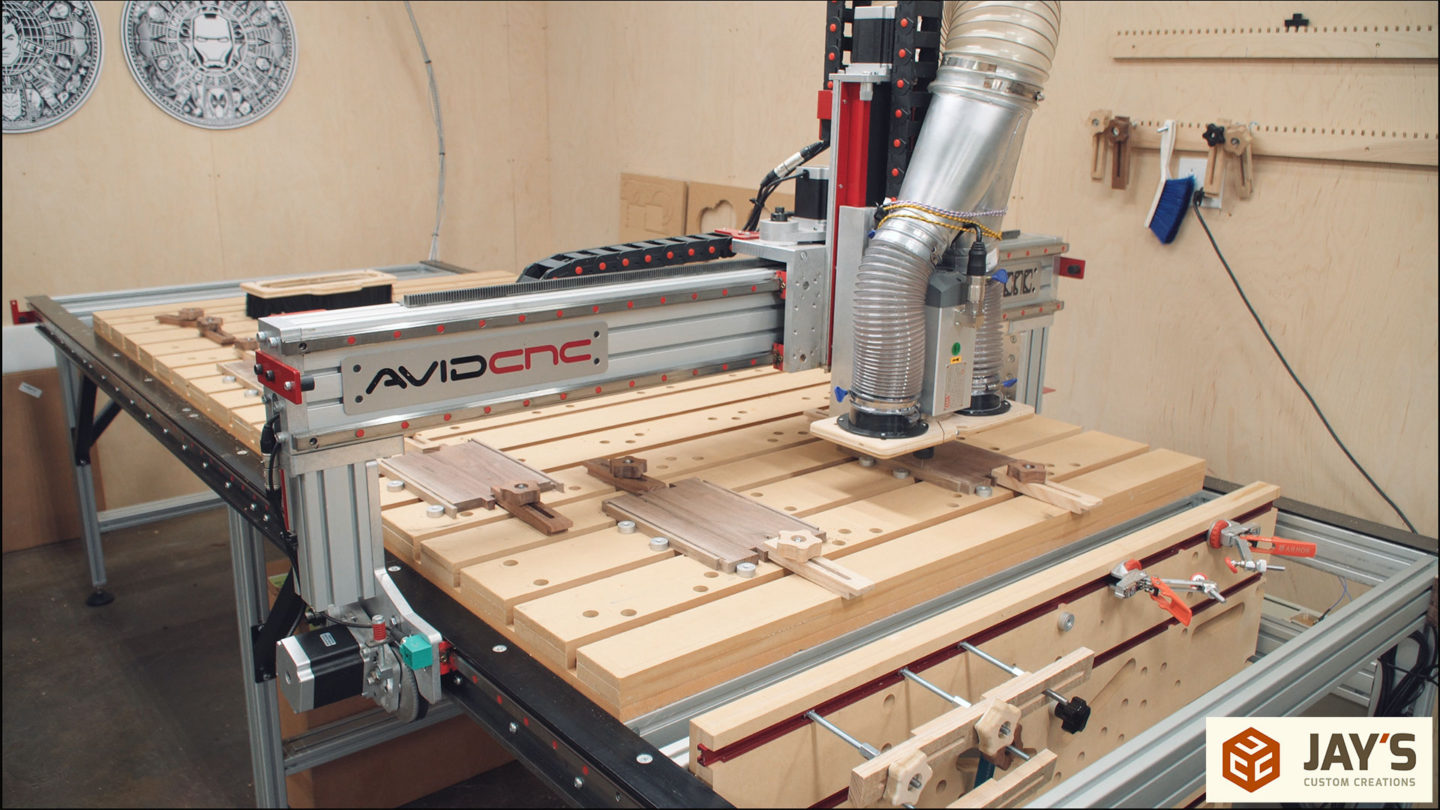
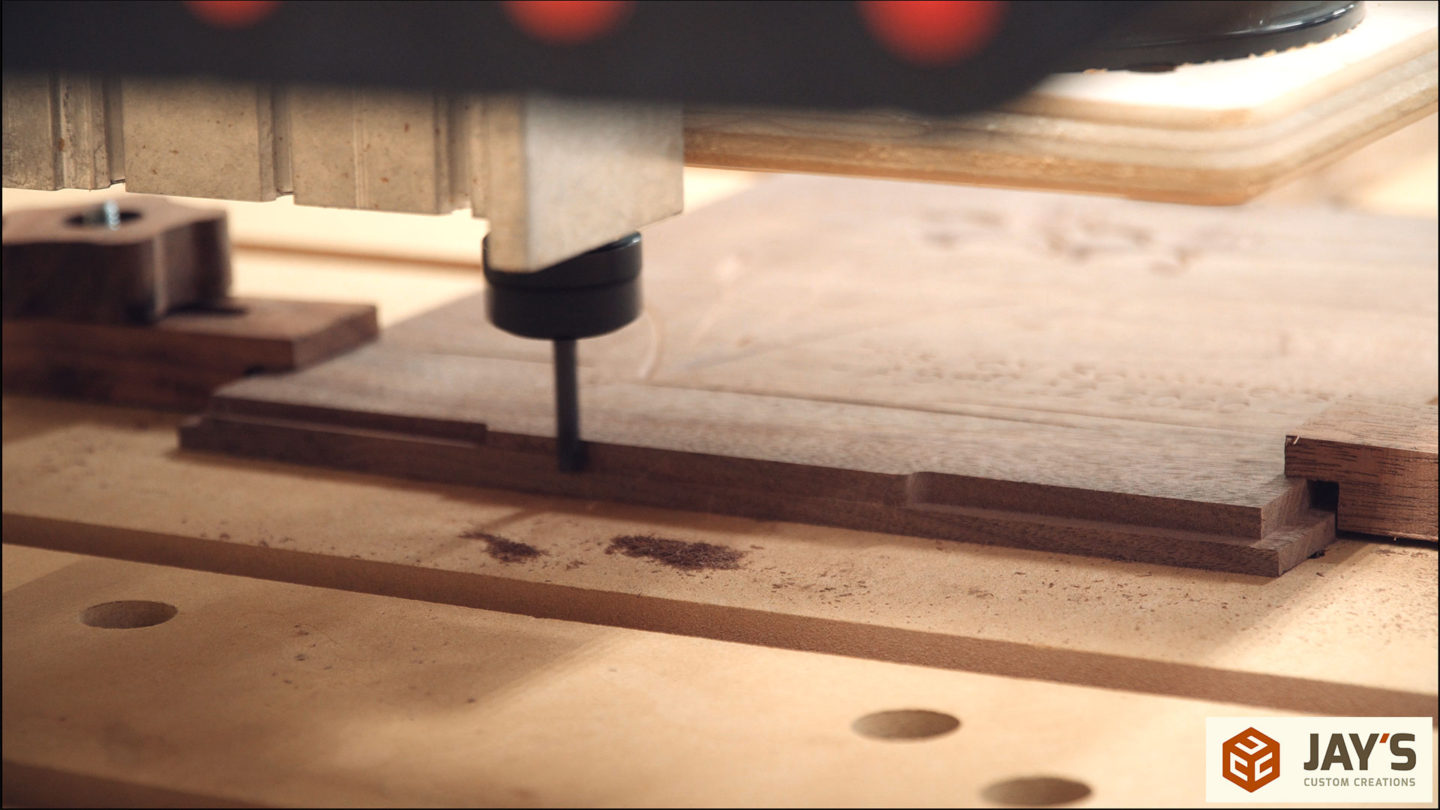
Next up is the bottom panel dados and the sliding lid dados and for that I decided to use a 1/8” diameter bit on the CNC. The bottom panel I chose to use was about 3/16” thick. A single pass with a 1/4” diameter bit on a router table would be too wide and a couple passes with a 1/8” bit on a router table would increase the opportunity for me to make a dumb mistake and screw up. Also, it was a really quick process to mount all four pieces, program the cut in VCarve, and watch the precision happen. A CNC machine is the most versatile and capable tool (minus YOU) in a modern woodworking shop.

The plywood bottom panel is cut to size and a test fit confirms that it fits.

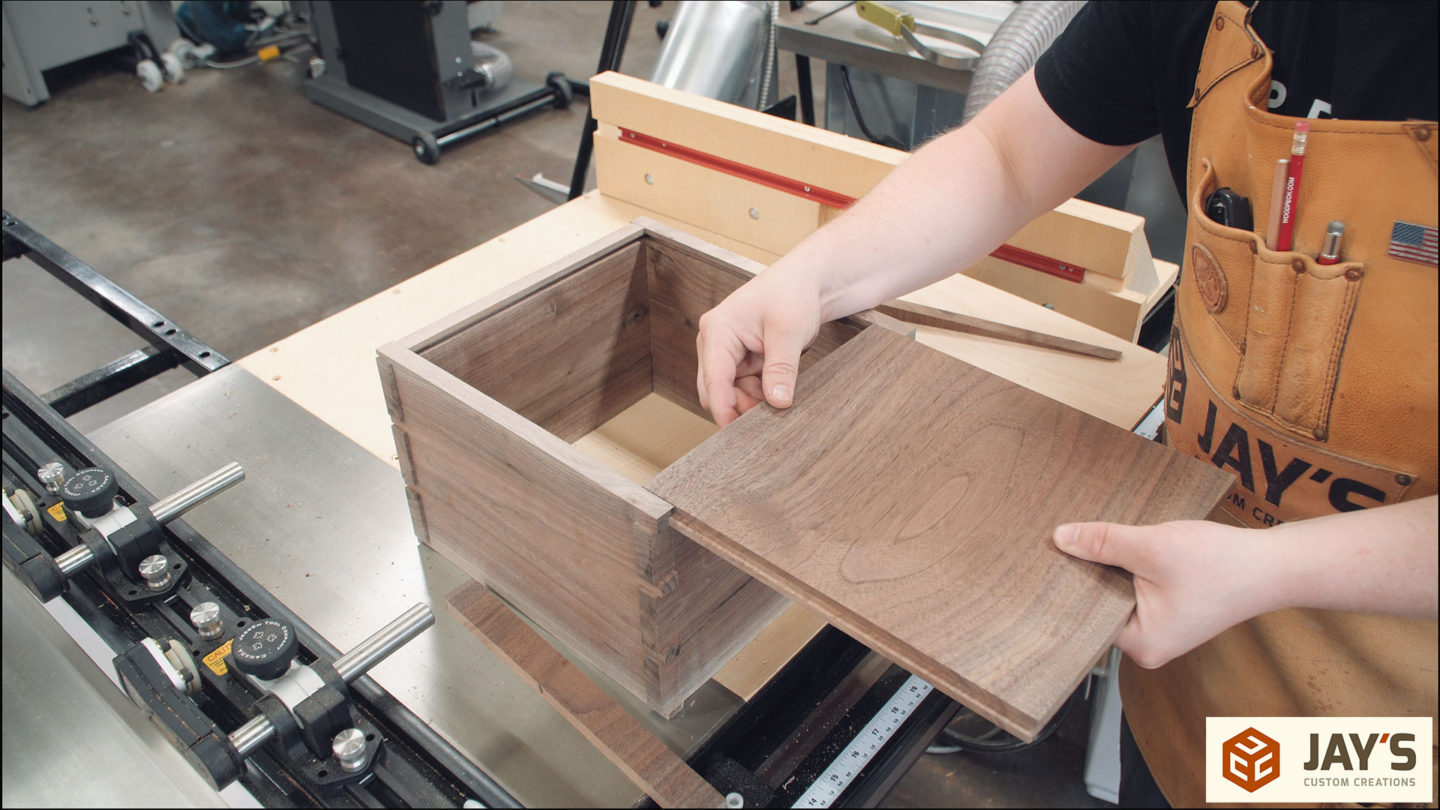
For the lid I had one wider piece of walnut in the scrap bin that was really close to the size I already needed. So I planed it down to final thickness, squared it up at the table saw, and sized it to the width of the lid opening.
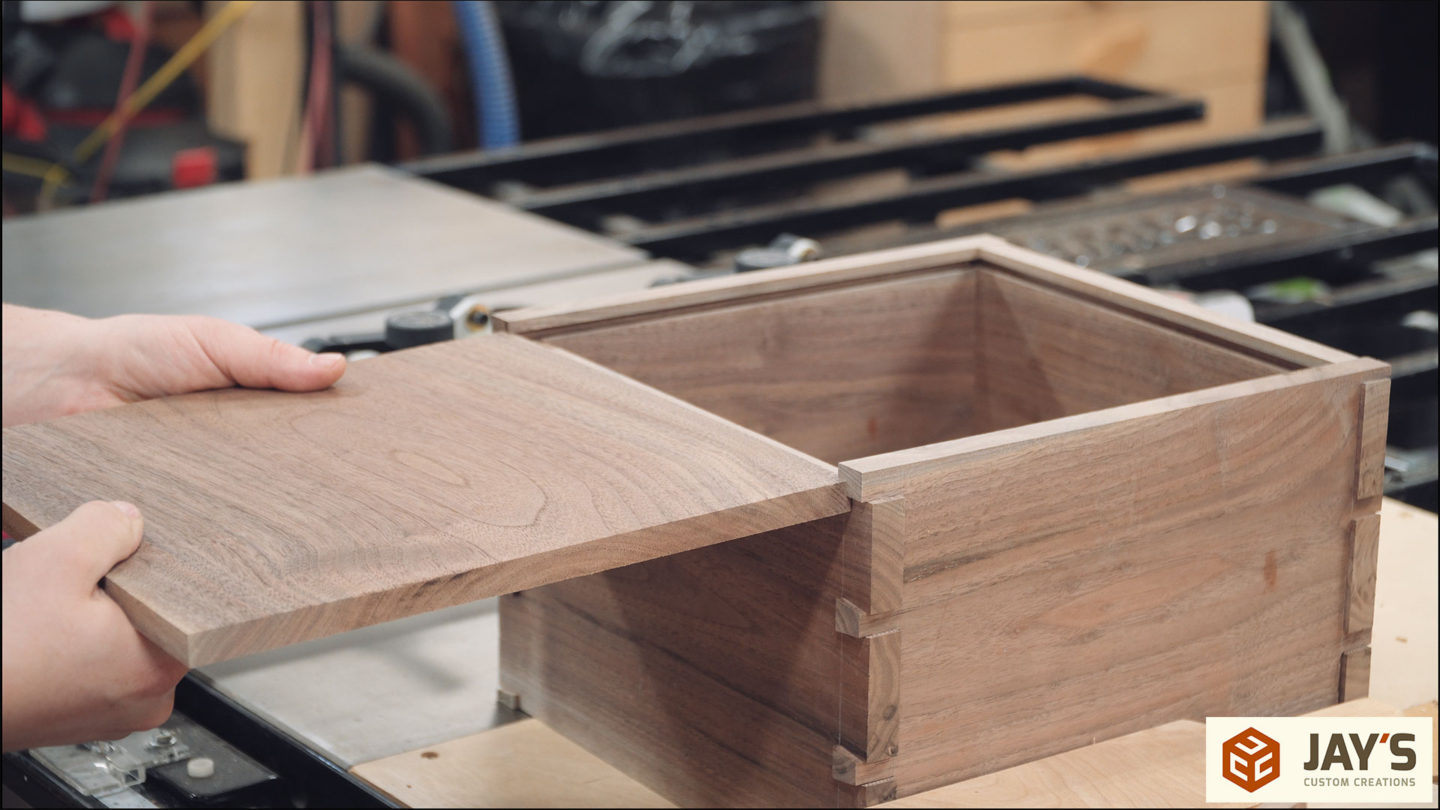
A rabbet is needed on three sides of the lid to match the dados in the box. To make these I used a 1/4” bit in the router table and made tiny adjustments to both the bit height and the fence position until I got a rough fit for the lid. I sized it a little tight at this point so that I could get it perfect with a hand plane after final assembly.

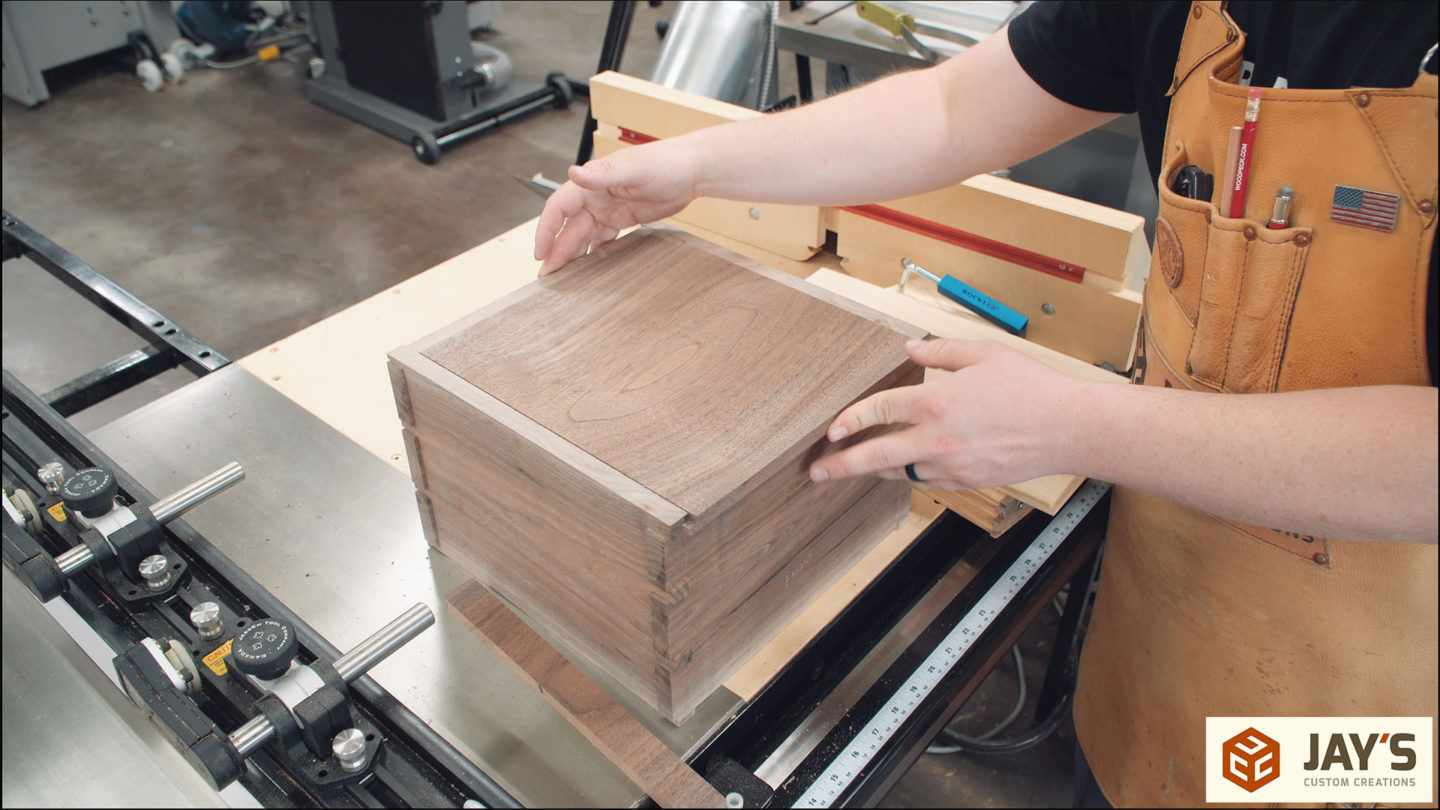
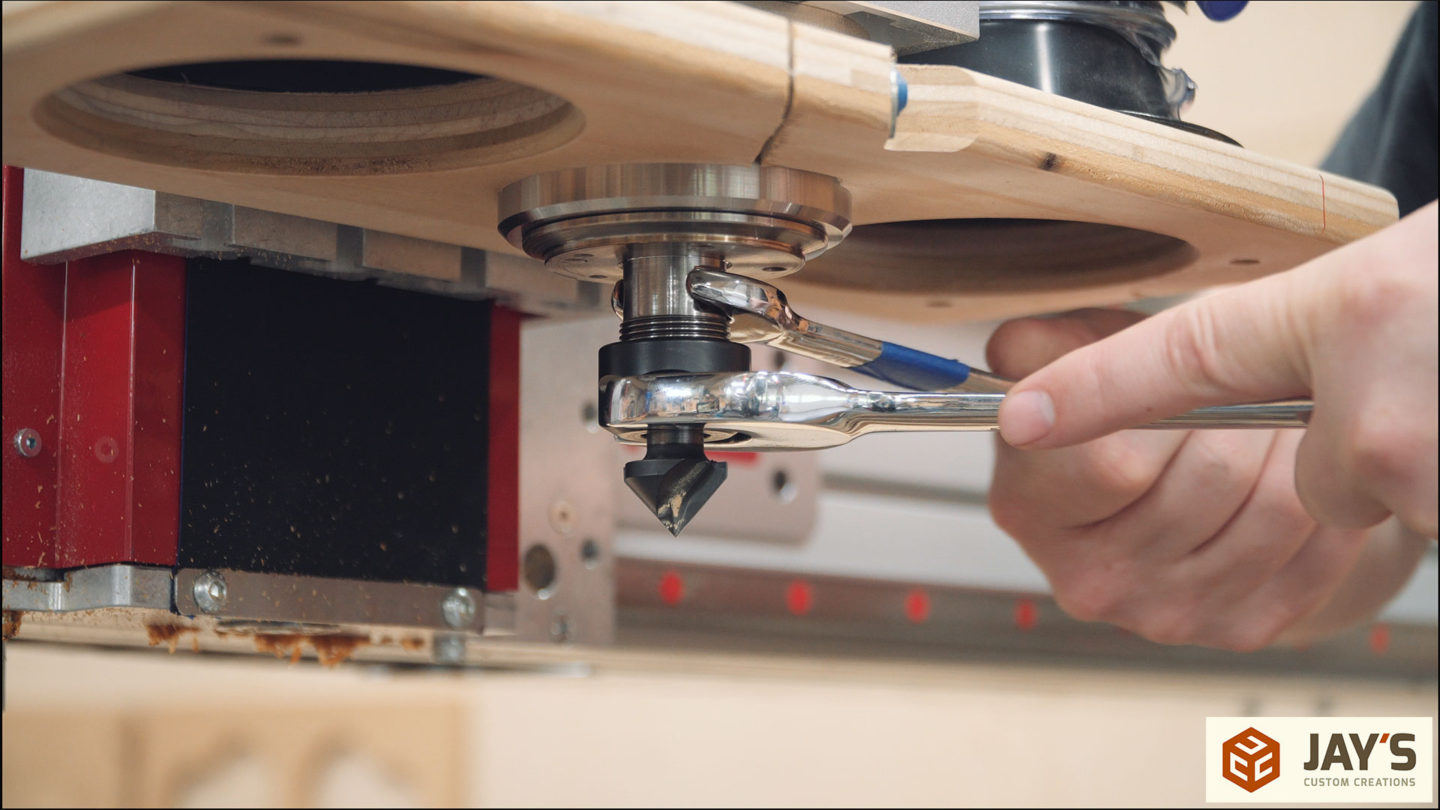
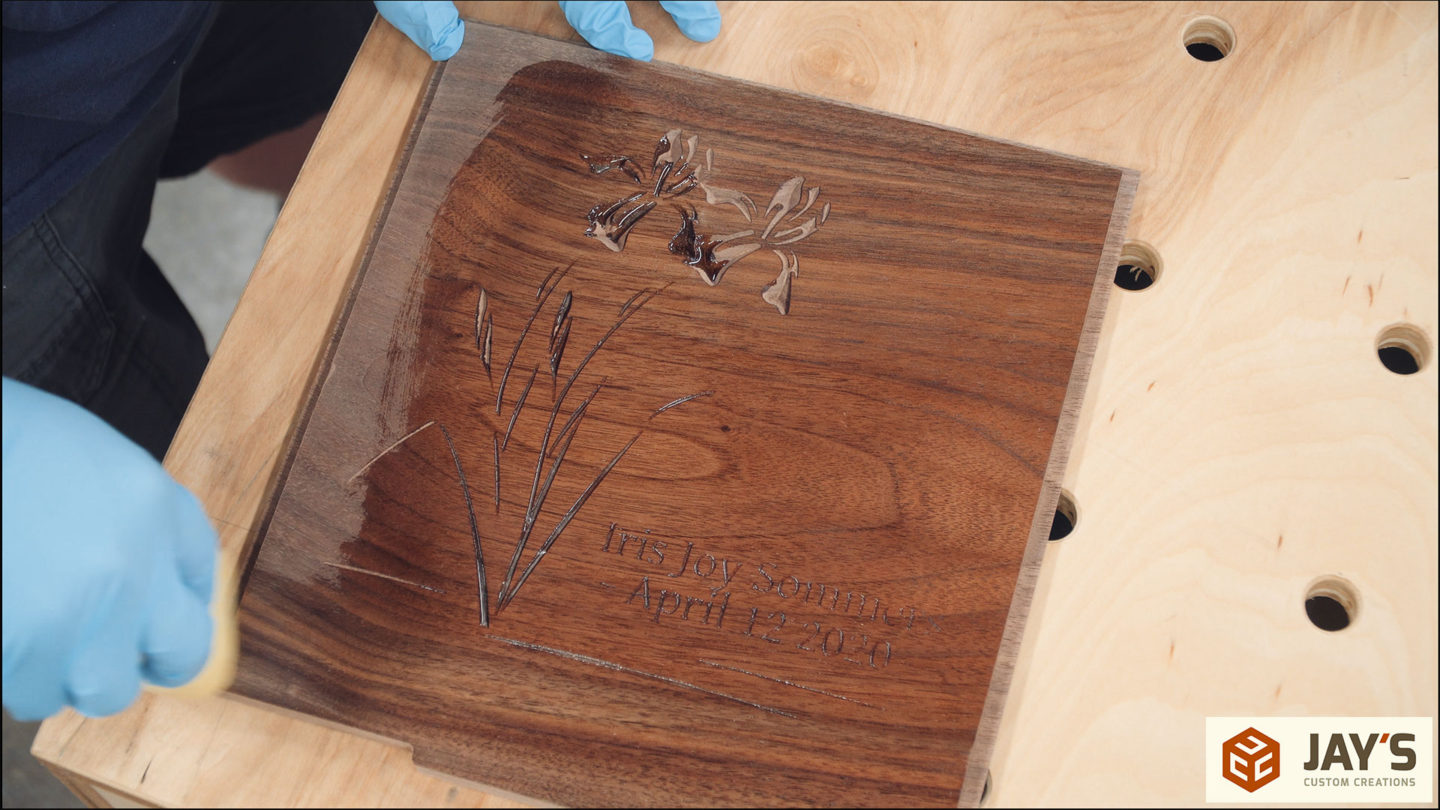
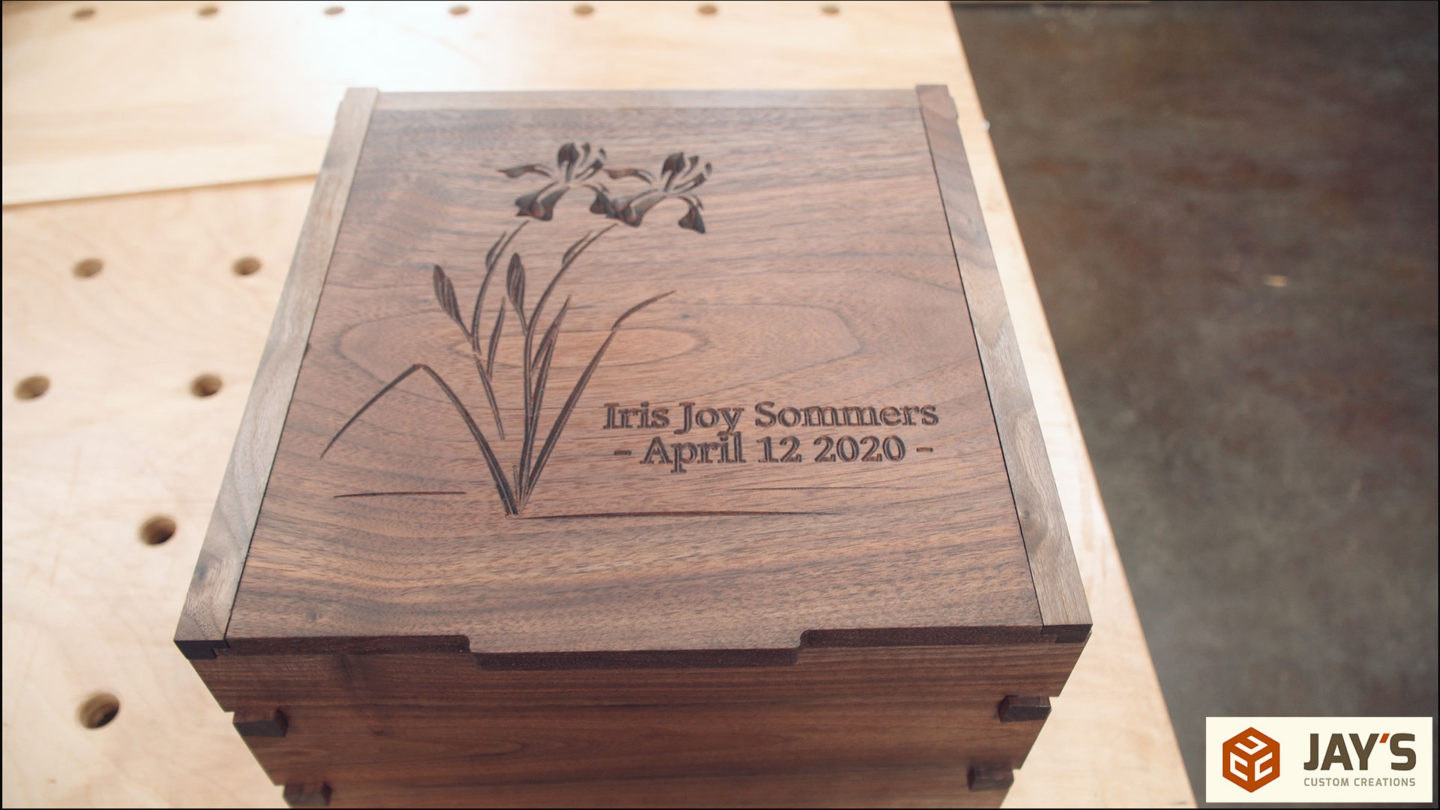
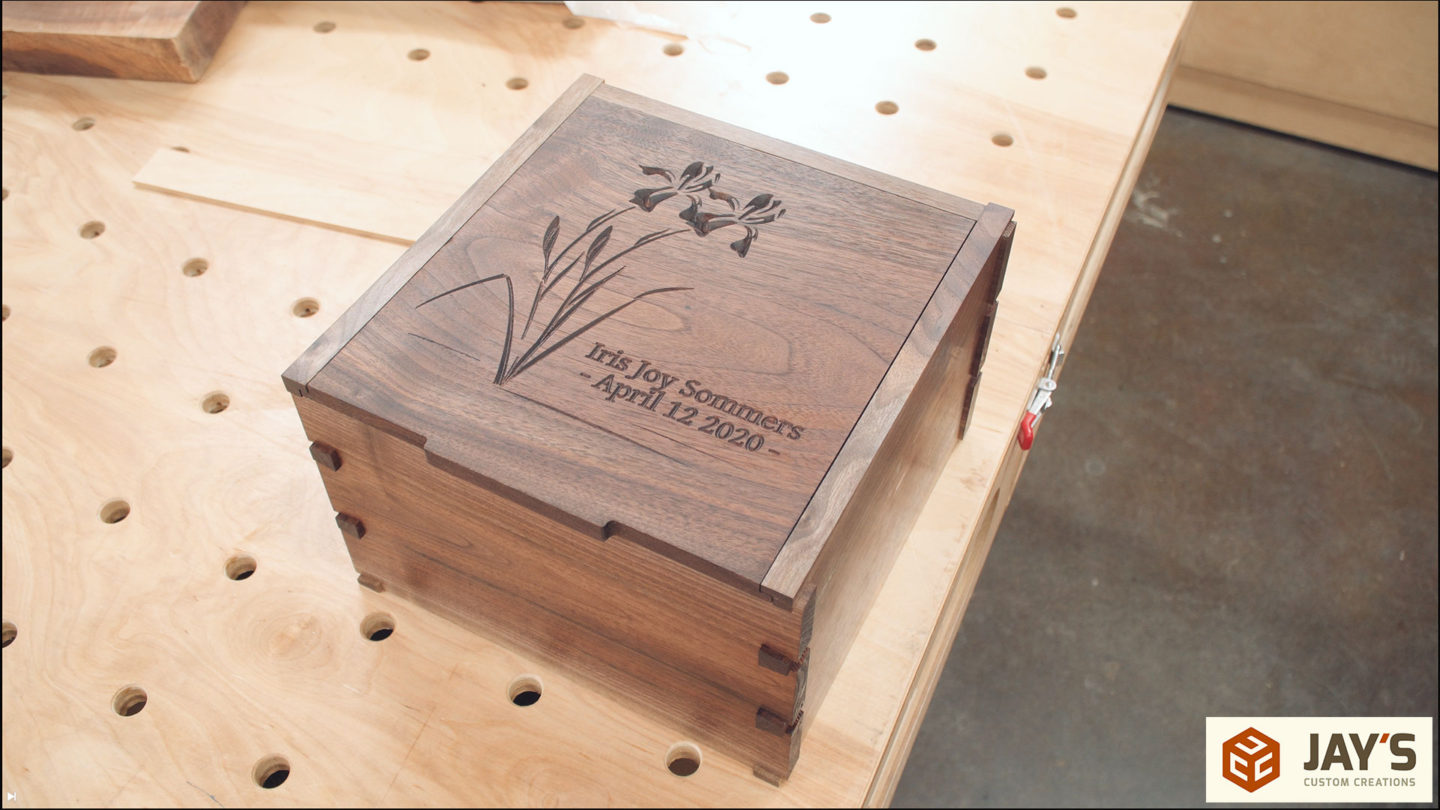
With the lid at it’s final size a personal touch can be cut into the top surface. A 90 degree V bit was loaded into the CNC and the design was cut. Without finish applied, it’s hard to see the design right off the machine. It turned out great.
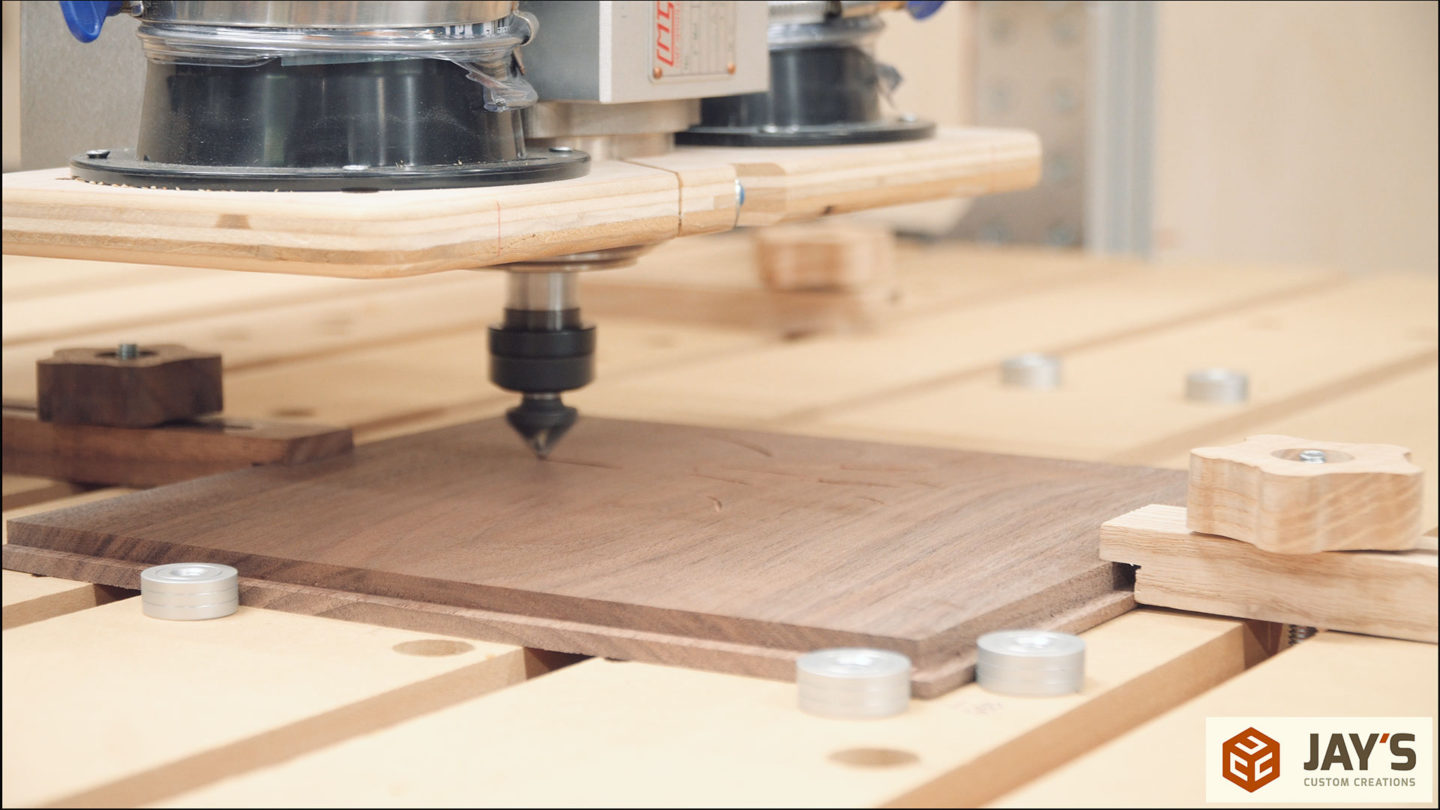

It was also convenient to shape the integrated handle while I was at it.

Finally the box is ready to be sanded. It’s much easier to get the inside and all of the tails and pins sanded before assembly. Of course, making sure to not remove too much material on the inside faces as It would affect the fit of the joints.

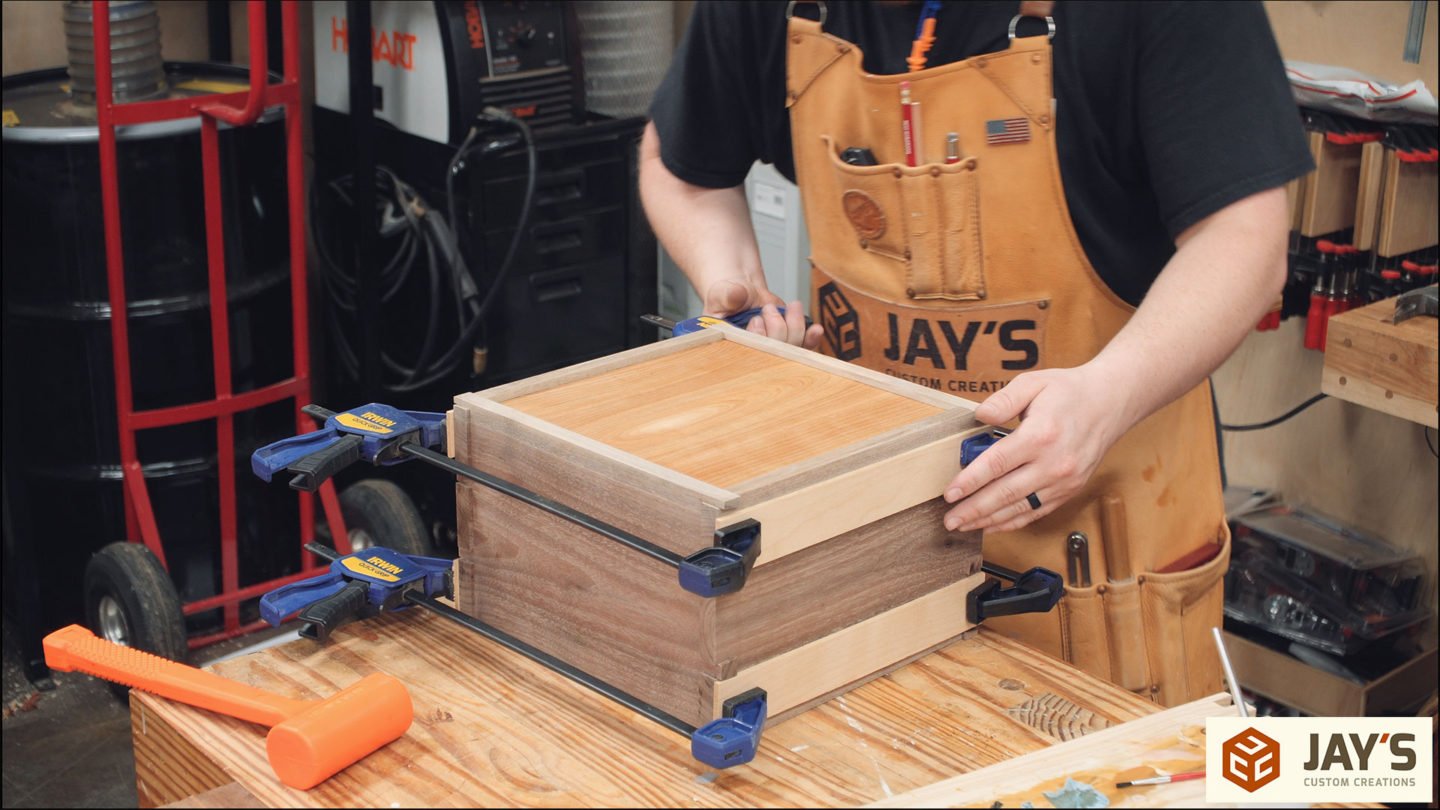
I chose to use epoxy for it’s slow setting characteristics and also because it dries clear. It wouldn’t stand out like a sore thumb if some did squeeze out. Because the fit was really tight without any glue I only applied the epoxy to the inside quarter of the pins. This little amount of epoxy combined with the mechanical connection of the joint is plenty strong enough to keep this box together long term.
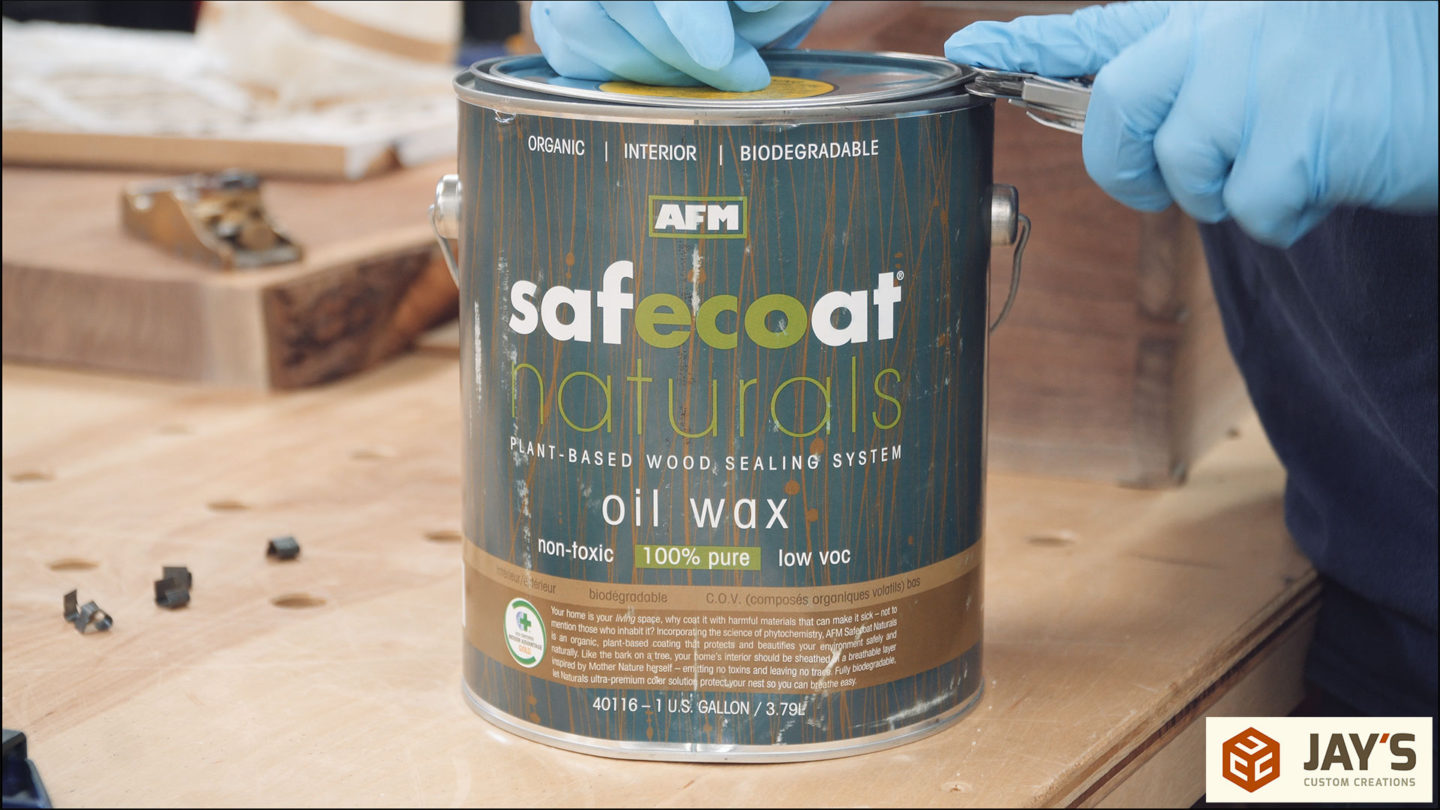
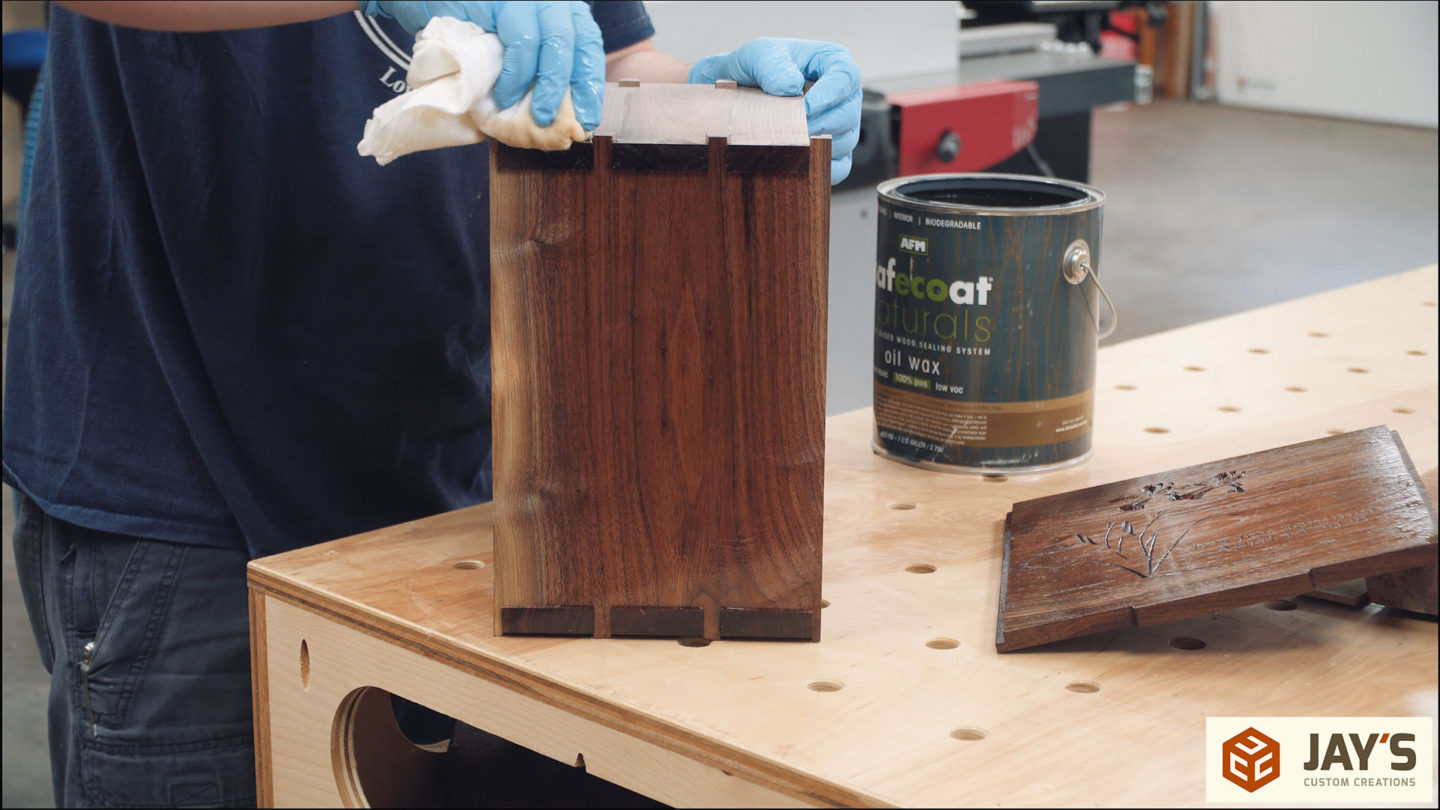
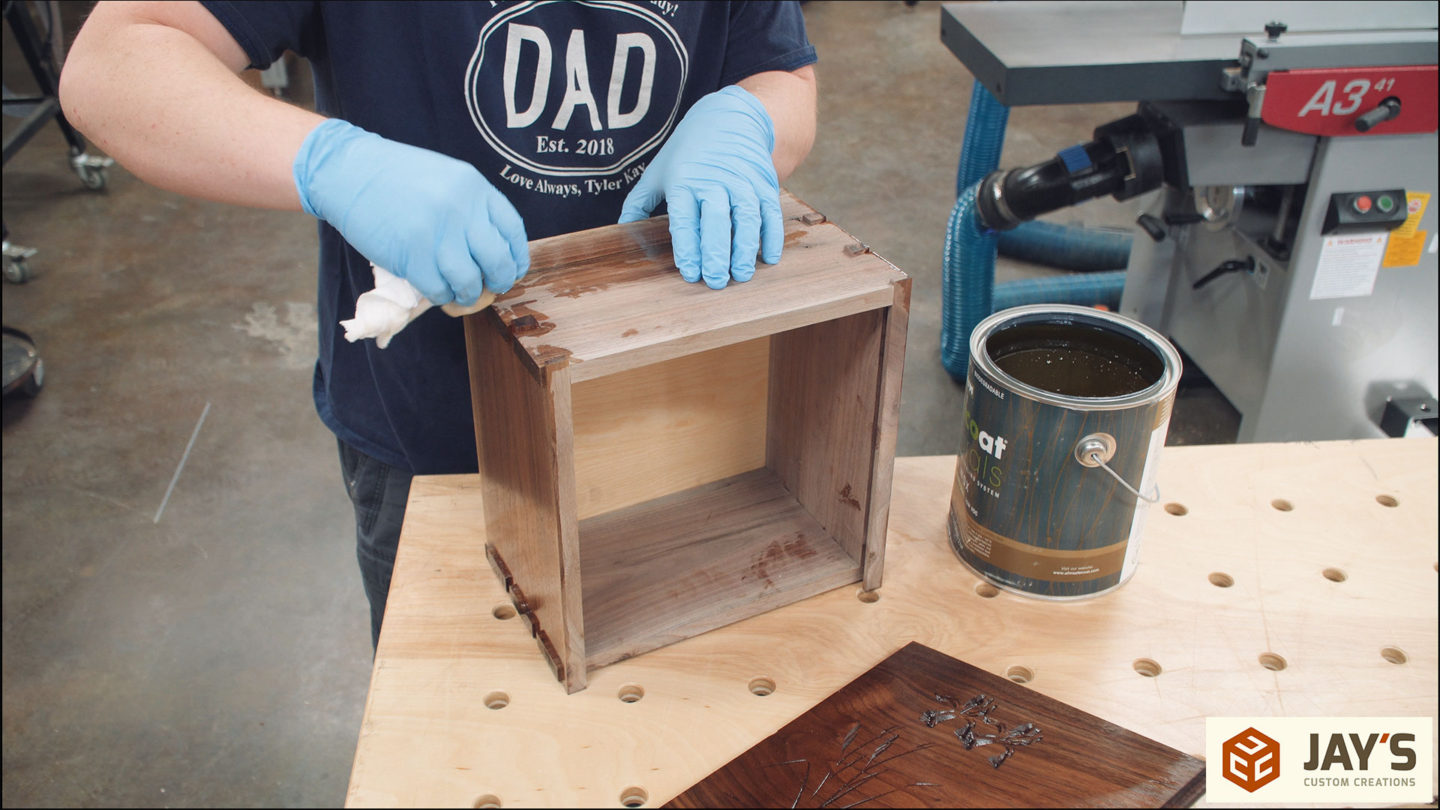
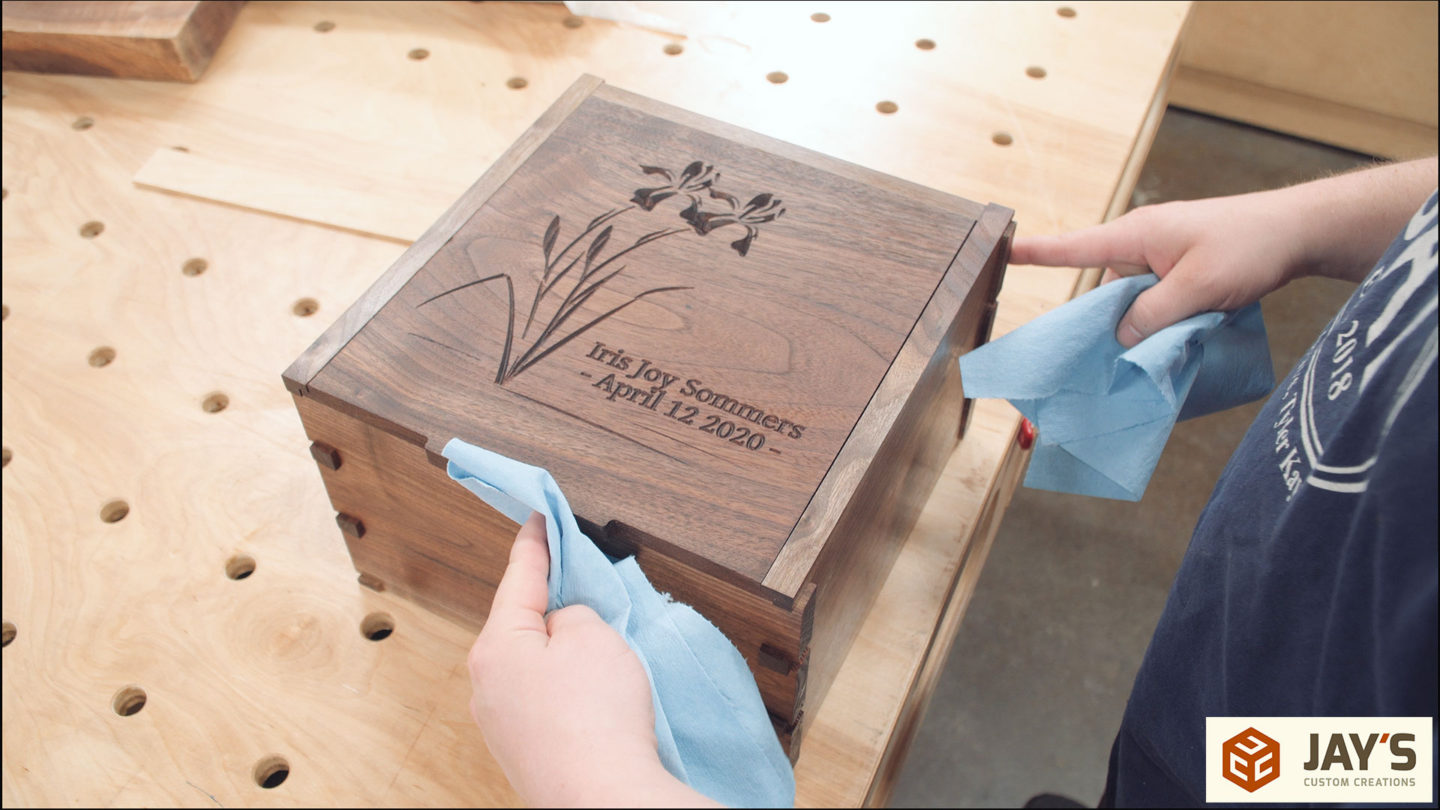
I tried a new finish on this piece. I wanted something natural and something easy to apply. Something that would feel as close to bare wood as possible but still offer some protection from the oils of hands. This is a simple wipe on oil wax mix. Wipe it on, let it sit for 15 minutes or so, and wipe the excess off.

This project was for a family that had to experience an unfortunate event. I was given the interior size, the joinery type, the wood color, with a request to personalize the lid. I think all the requests were met, it feels good being able to complete this task, and I hope the box is something that can offer some peace.


Looking good. I like the proud dovetails on small boxes like these.
Excellent work, Jay. It is a beautiful design and I am sure it means a lot to her loved ones. Good on ya!
Excellent work and presentation as always. The T-shirt you were wearing while applying the finish was so appropriate for this project. God bless.
Beautiful piece, Jay~! Not that I would expect anything less. :-)
Beautiful Box Jay. Sorry for the loss of the family. That is never easy at any time. Good on you for the beautiful project.
Although I admire your work and have looked forward to each post, in recent months your shop has become a wish list of fabulous tools. Unfortunately as time goes on I have realized that I could never do the projects you created due to the low end basic nature of my shop. Due to circumstances I am forced to use creativity for lack of a high end shop, the latest and greatest tools and unlimited space. With the passing of time I find I am visiting your blog less and less frequently. You might want to consider creating separate video blogs based on those that have high end shops and those average guys that are forced to use low end, basic tools and a lot of creativity.
My goal has never been to try and make everyone happy. I’m simply sharing my woodworking journey and presenting it in such a way that provides for my family. I’m pursuing what I find interesting and encourage you to do the same. If what I’m doing now is of interest to you then that’s great. If it’s not of interest to you then that’s great. Have a good day!
Go back in the video history and check out when he was working in a spare apartment! Thats when I joined Jay’s journey and its been great seeing the evolution :D