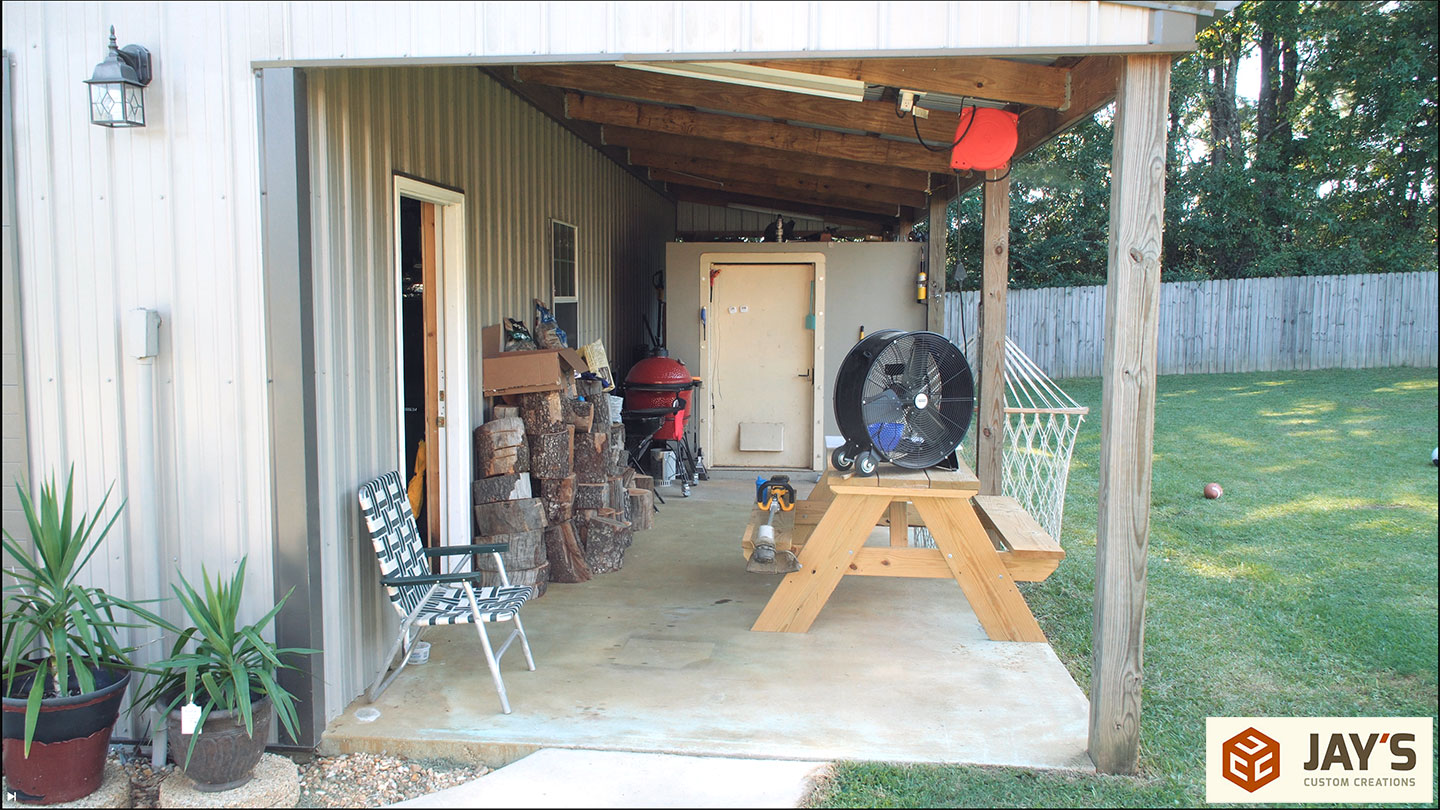
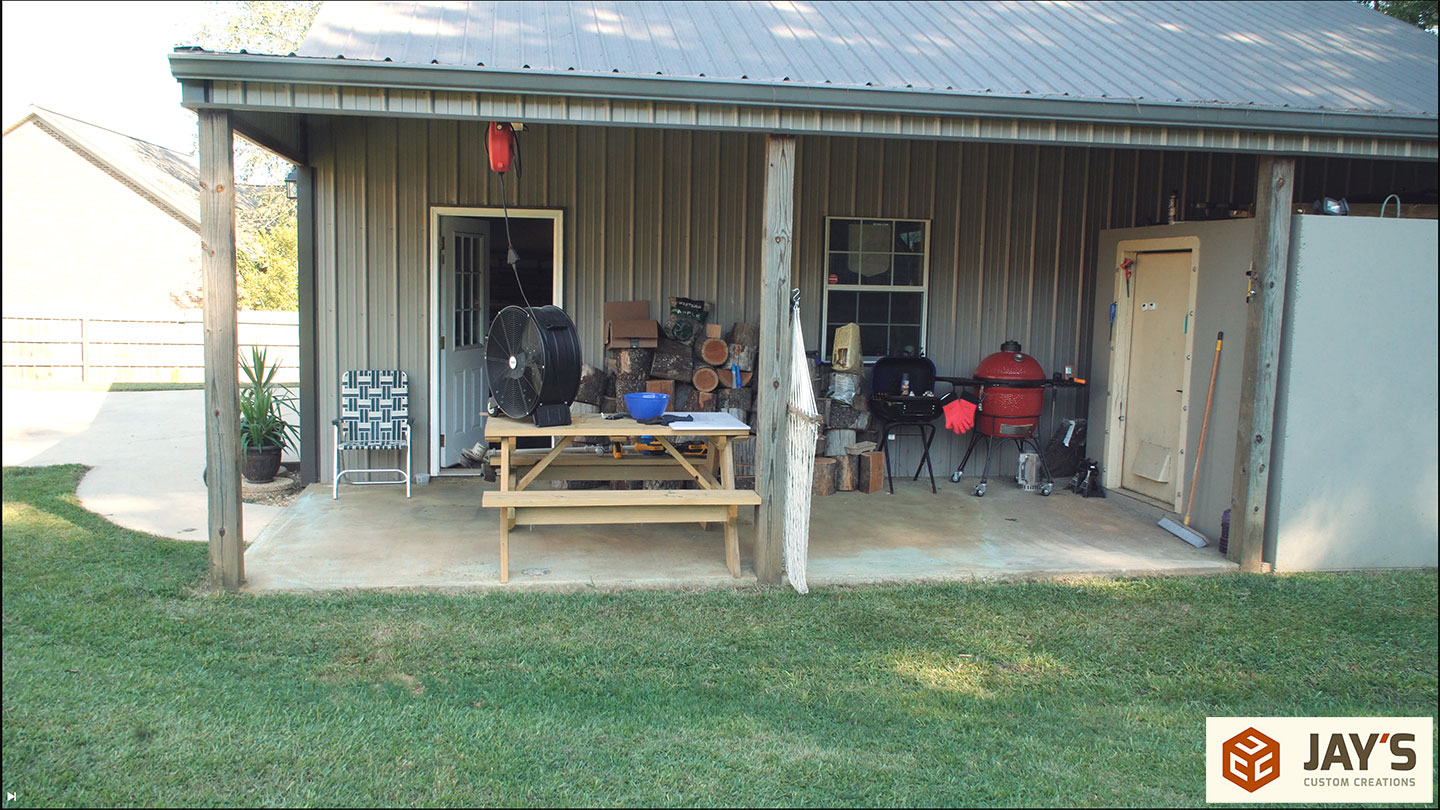
My shop sits on a 40′ x 40′ concrete slab. The perimeter of the shop is 30′ x 40′ which leaves roughly 10′ x 40′ on one side for a full-length lean-to. We’ve been using the front of this space for grilling and entertaining when we have friends and family over. There’s just more elbow room out here than in the house. This space is divided into a front and back space by an above-ground concrete tornado shelter. We have tornadoes in Mississippi so this is definitely one of those things that you’d rather have and not need than need and not have. It’s reinforced concrete, it was put there by a crane and it’s not going anywhere. Moving it is out of the question.
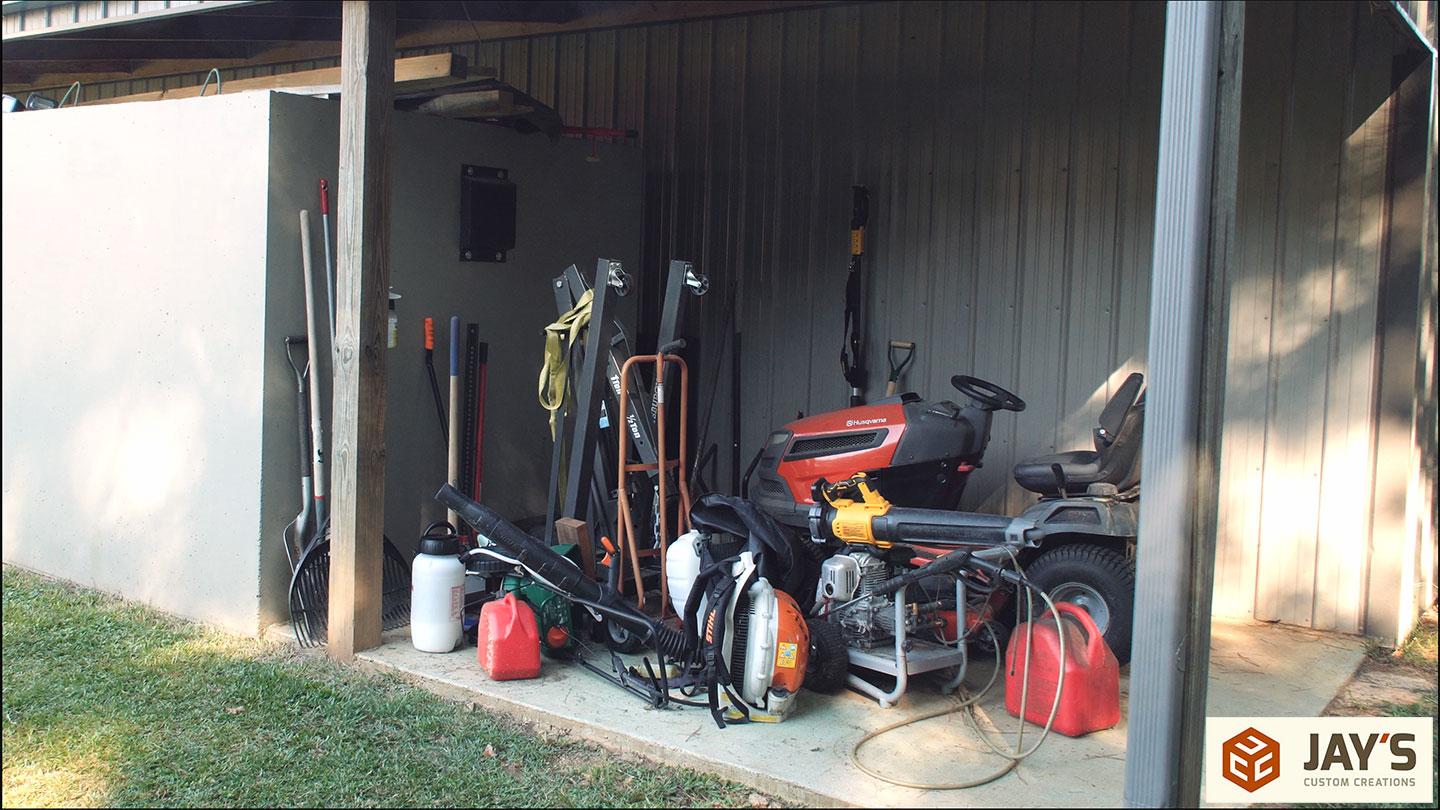
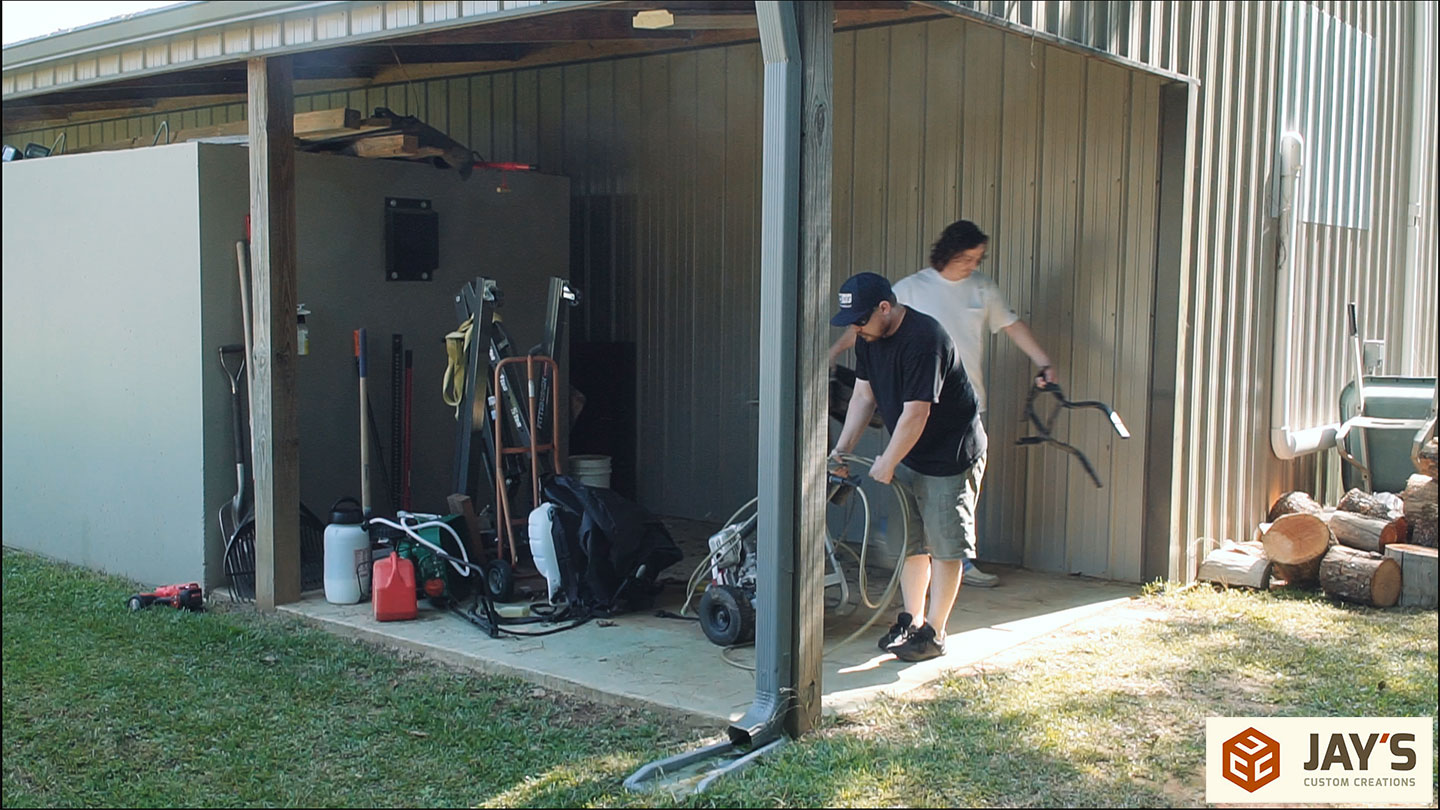
Behind the tornado shelter is where I’ve hid all of the lawn and garden or utility stuff since we moved in. I never put any effort to organizing it and it’s just a pile of clutter. The goal is to organize this space with some basic utilitarian shelves.
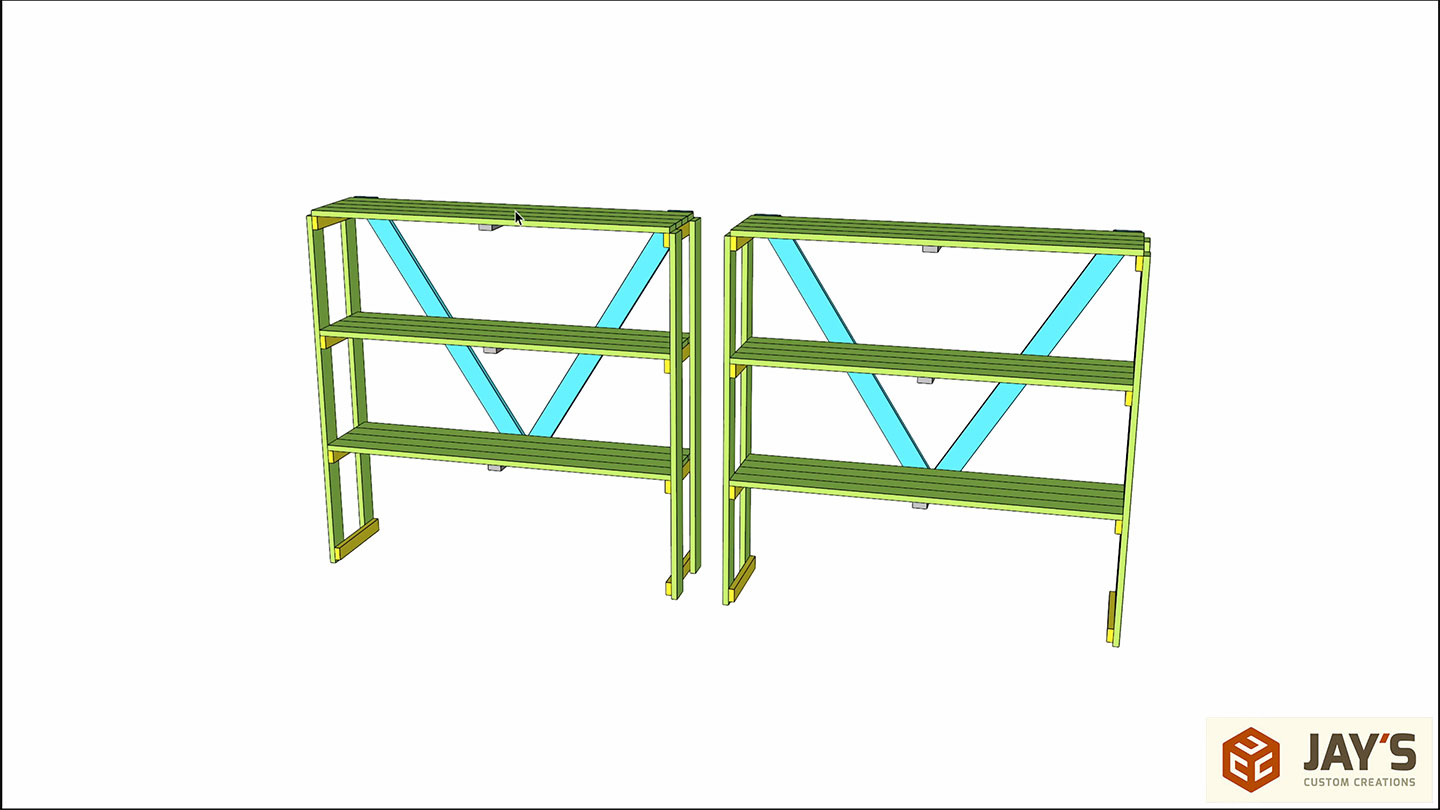
The shelves do not need to be pretty or to have fancy joinery. The goal is just basic, multipurpose shelves with no specific holders. I wanted these to be fast to put together so both the shelf length and side height are 8′. This means very few cuts. There’s some diagonal bracing on the back to stop racking and to add a little support to the longer span.
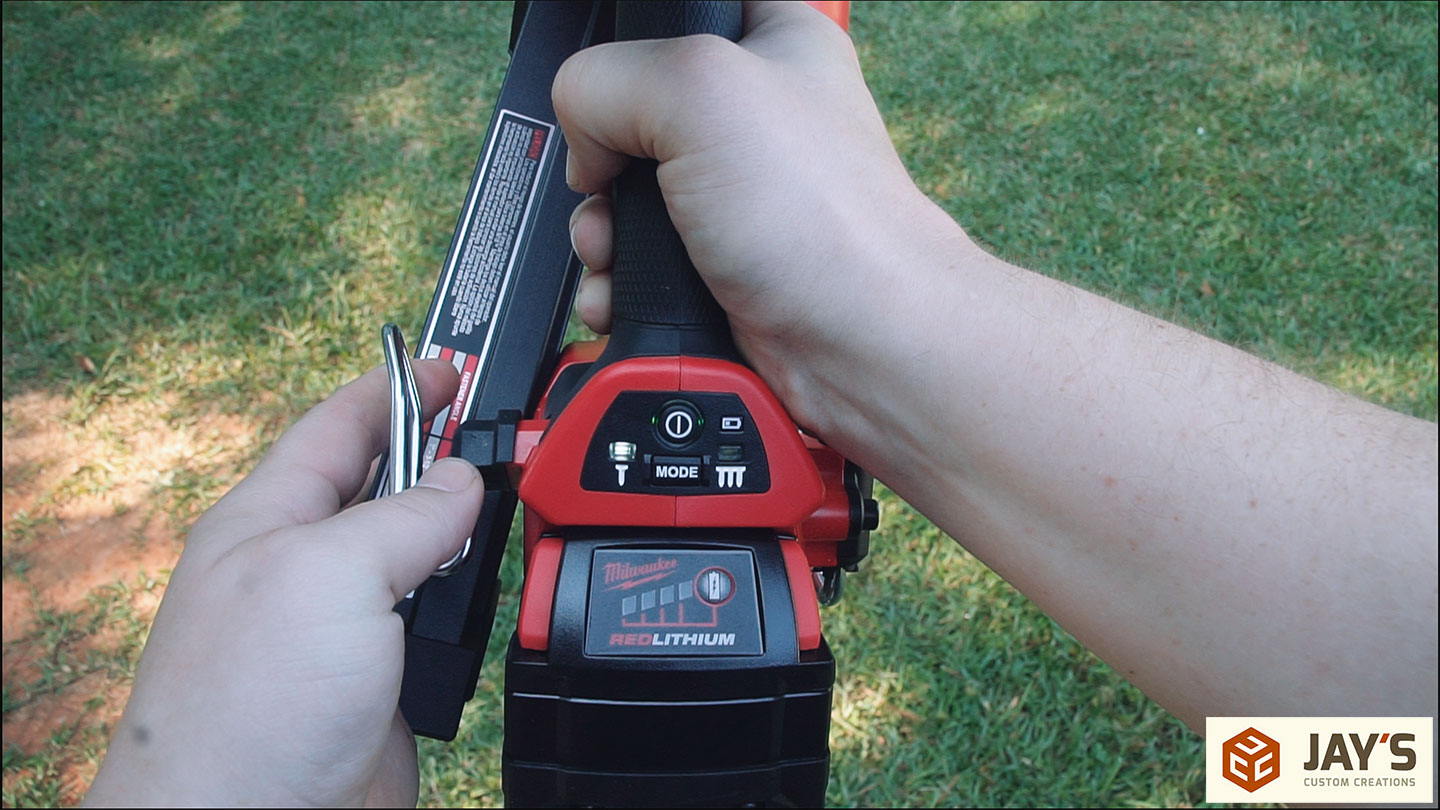
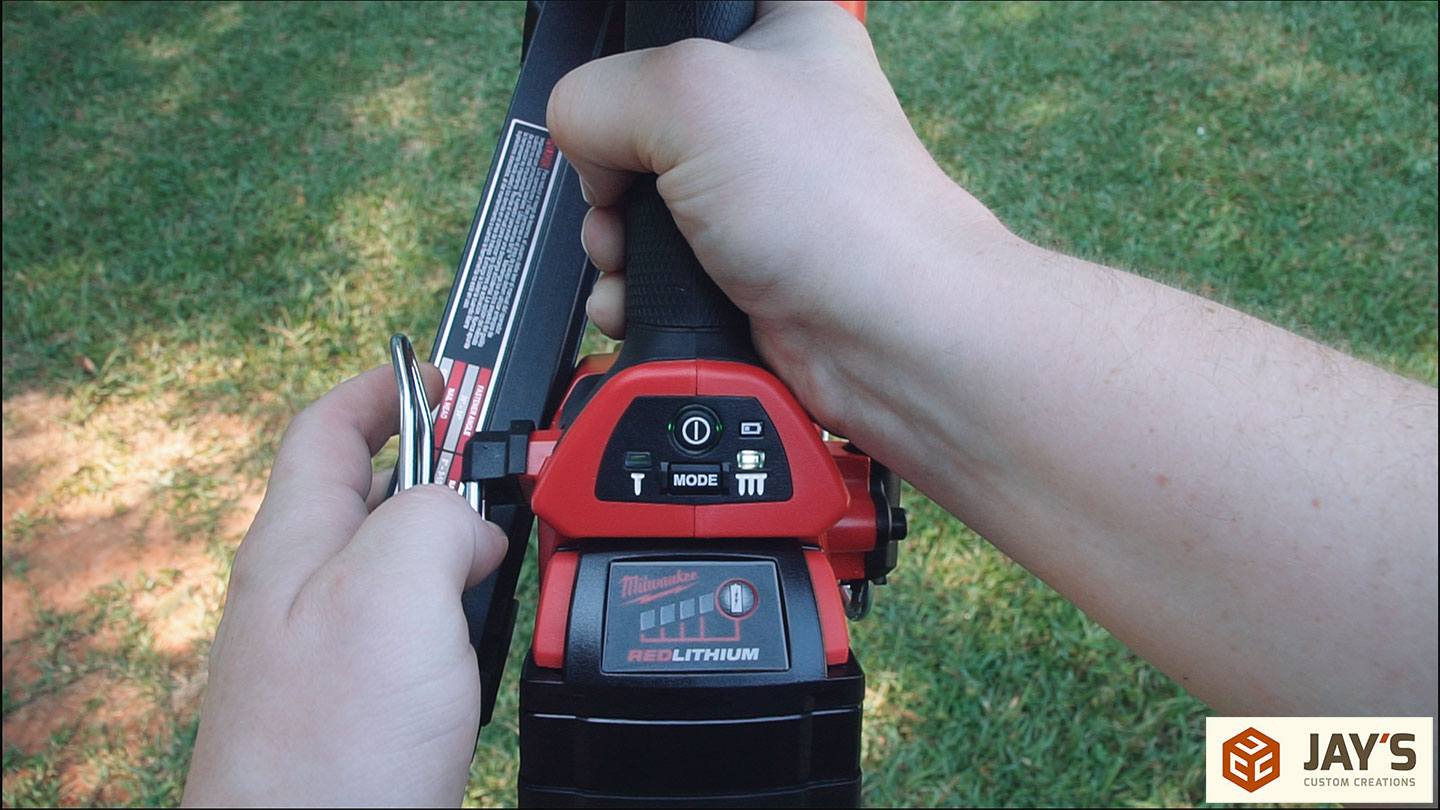
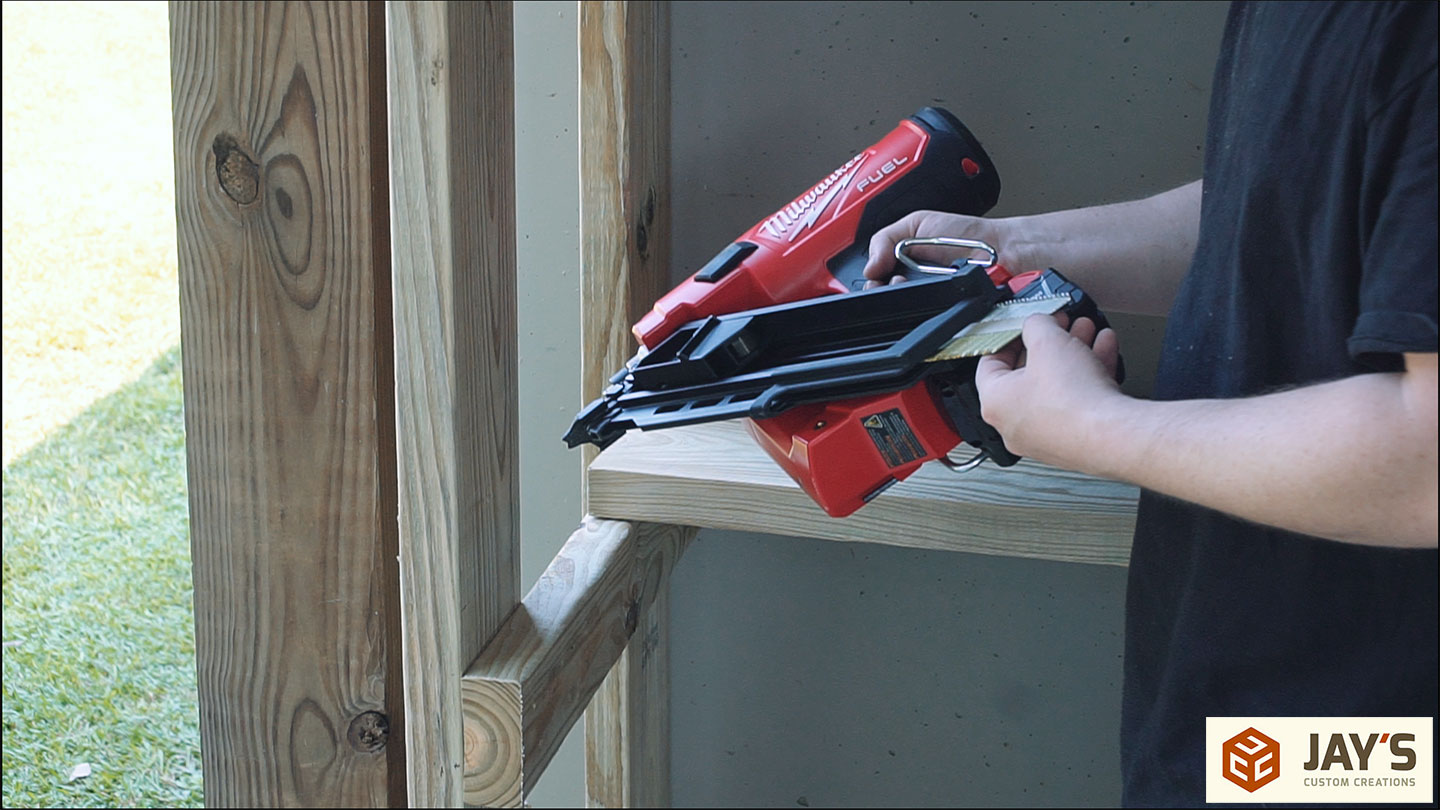
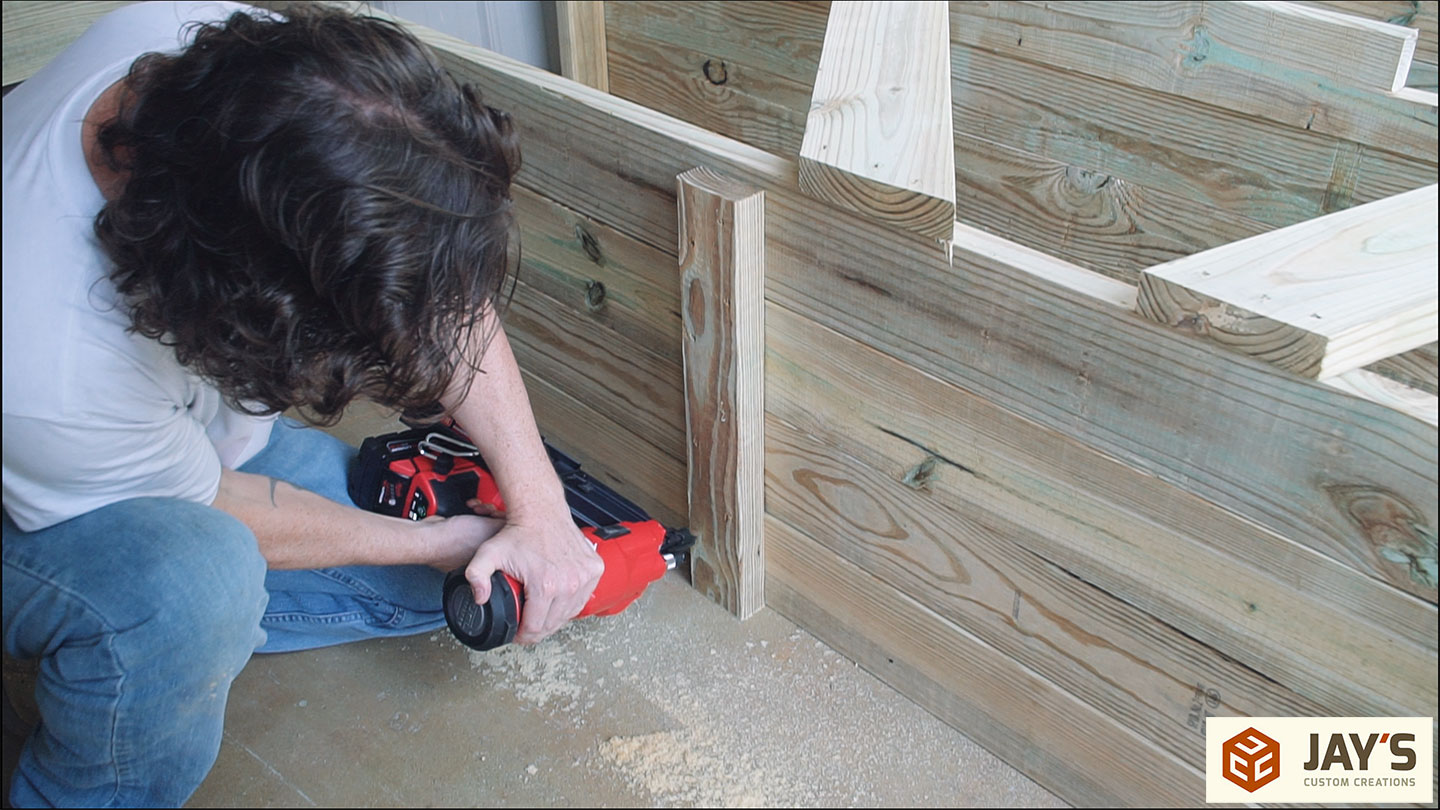
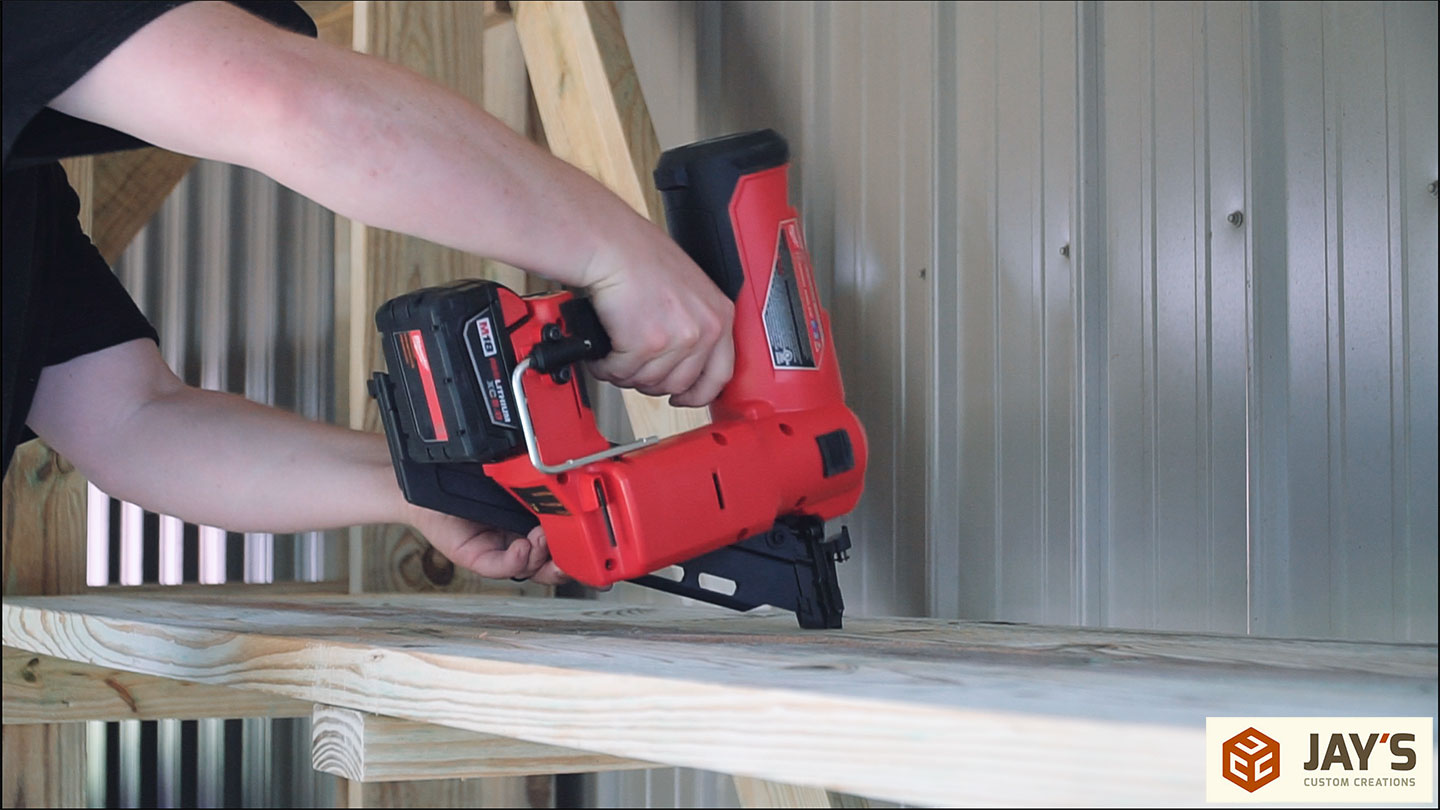
The Home Depot sent me this Milwaukee 18v framing nailer as part of their #HomeDepotPartner and #THDProSpective program. I’m using a 5ah battery for this build and by the end of the day it was down to 2/4 bars on the battery life indicator.

There’s a dedicated power button so the nailer can’t accidentally be fired if it’s turned off. And you have the option of single fire or bump fire mode. We used bump fire mode for this entire build. Not only is it faster but, honestly, it’s just a lot more fun :)
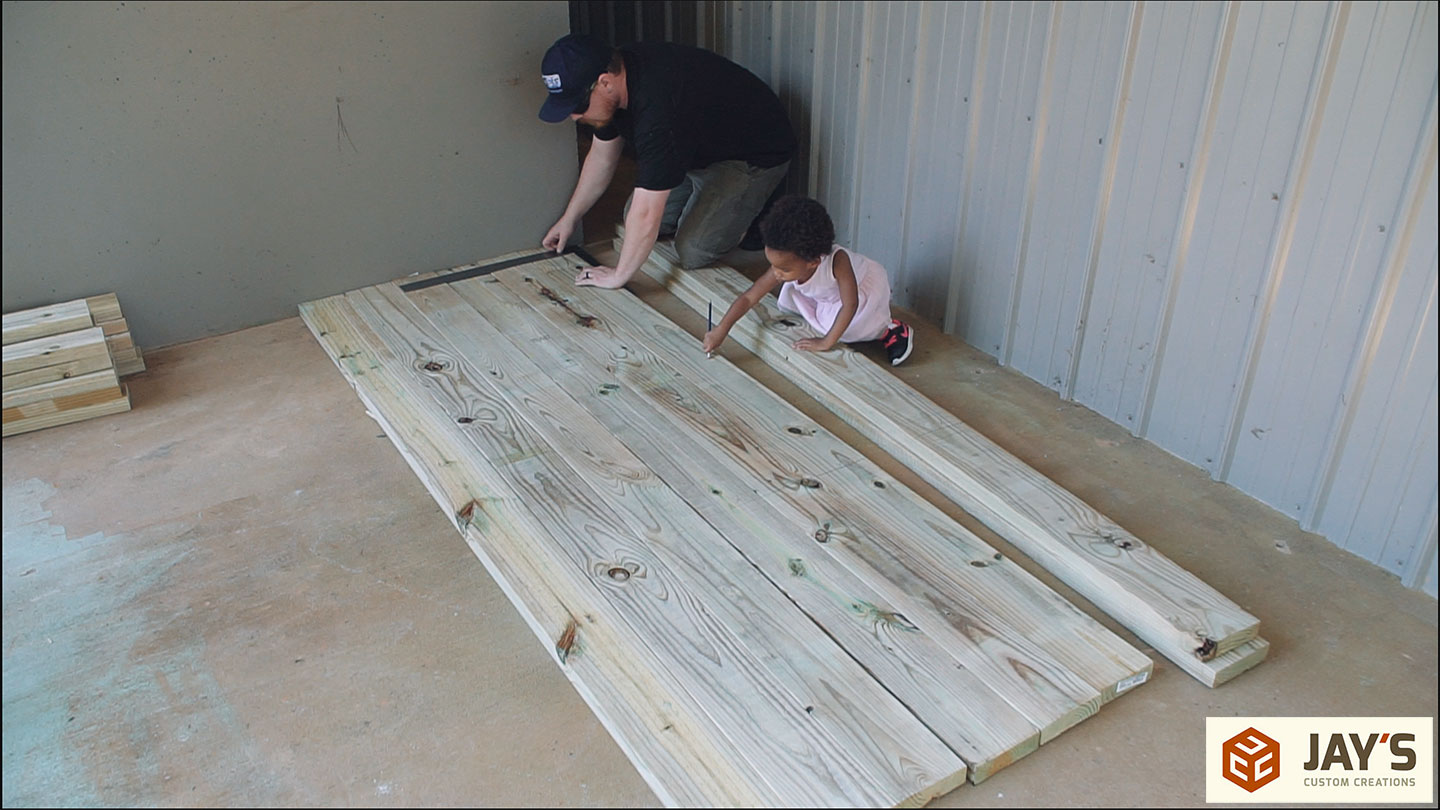
Step 1: remove all the junk. It’s crazy how fast stuff can pile up when you don’t have an organization solution. Normally I call situations like this “controlled chaos” but there was no control here.
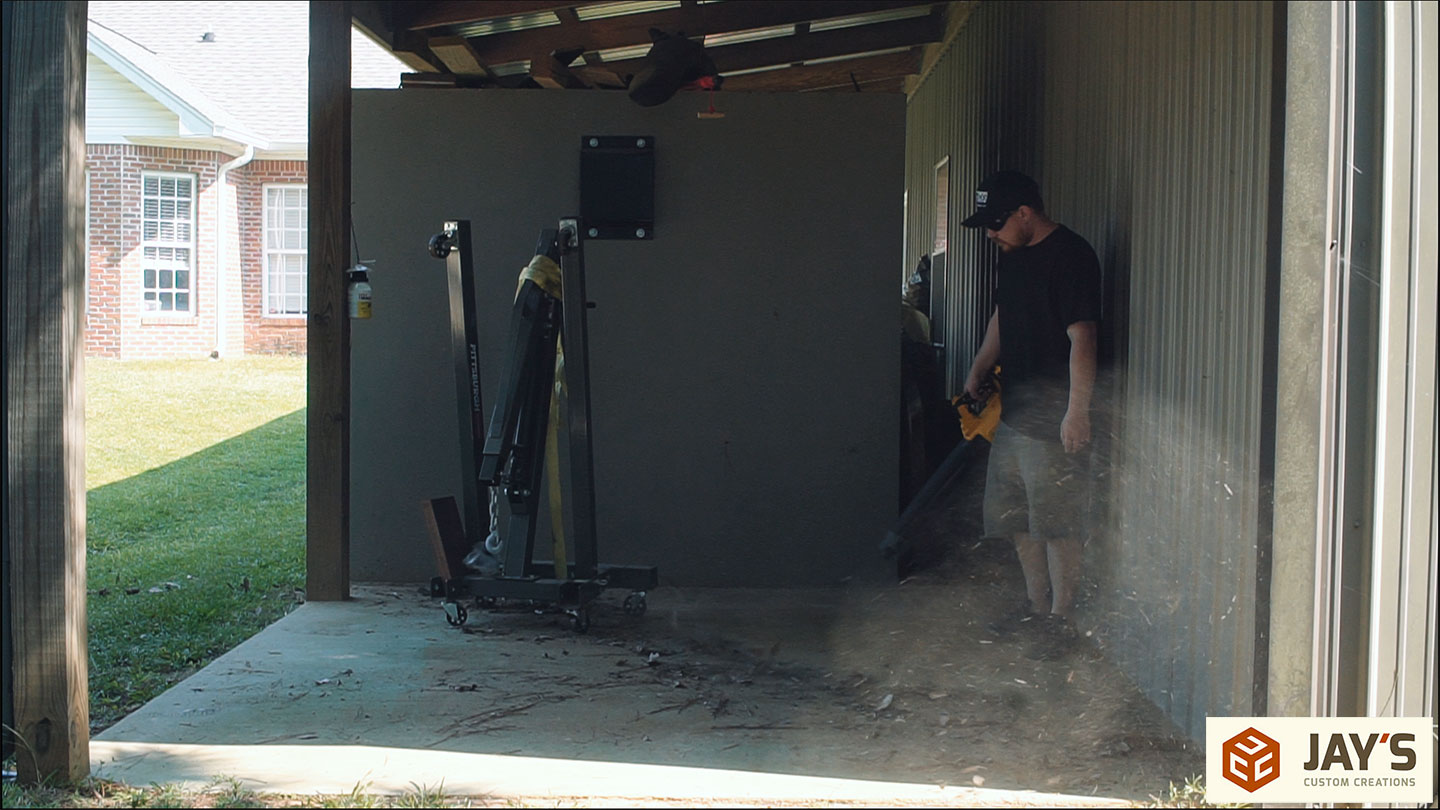
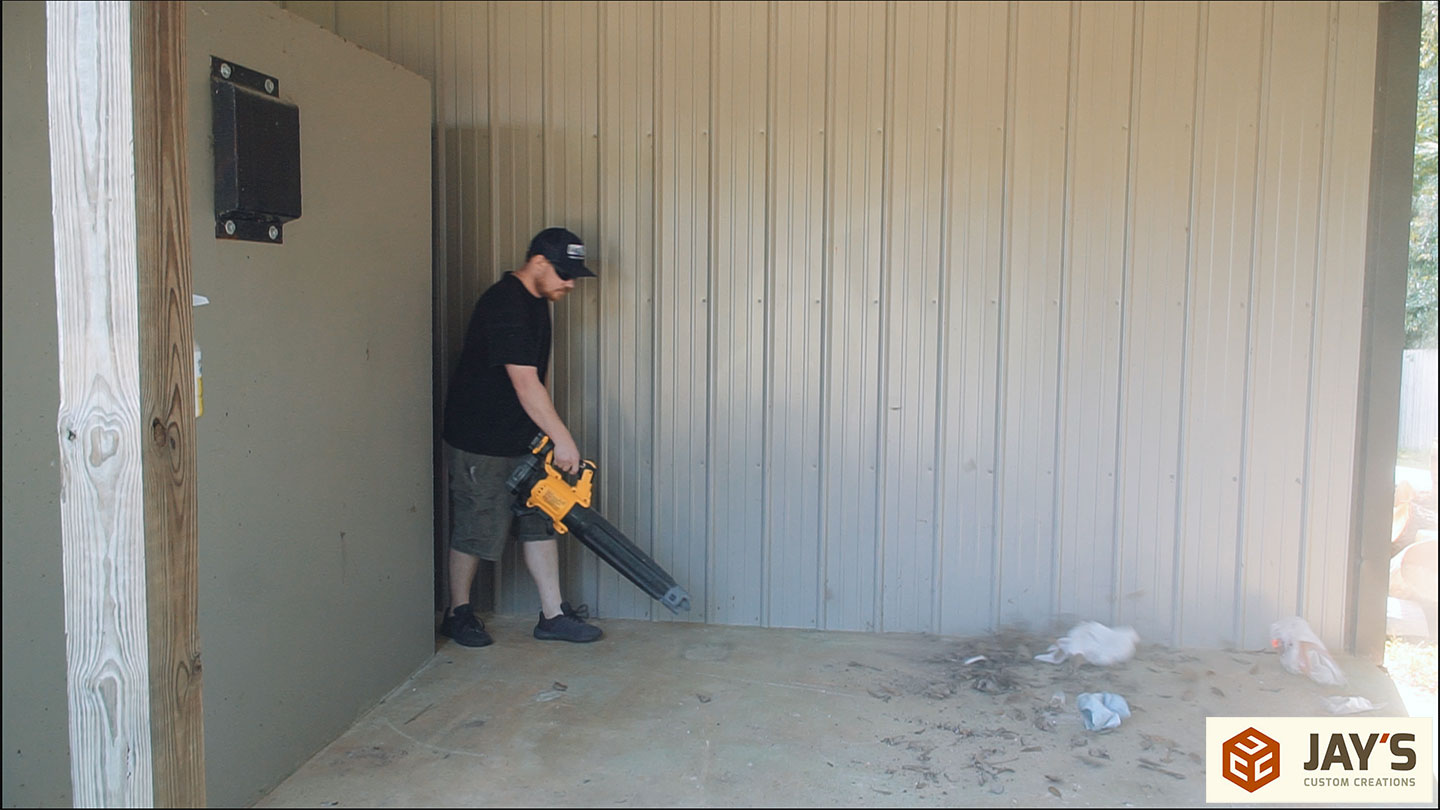
One of the main reasons why I don’t want a lot of clutter on the ground is it’s much easier to blow out all the dust and grass clippings with nothing in the way.
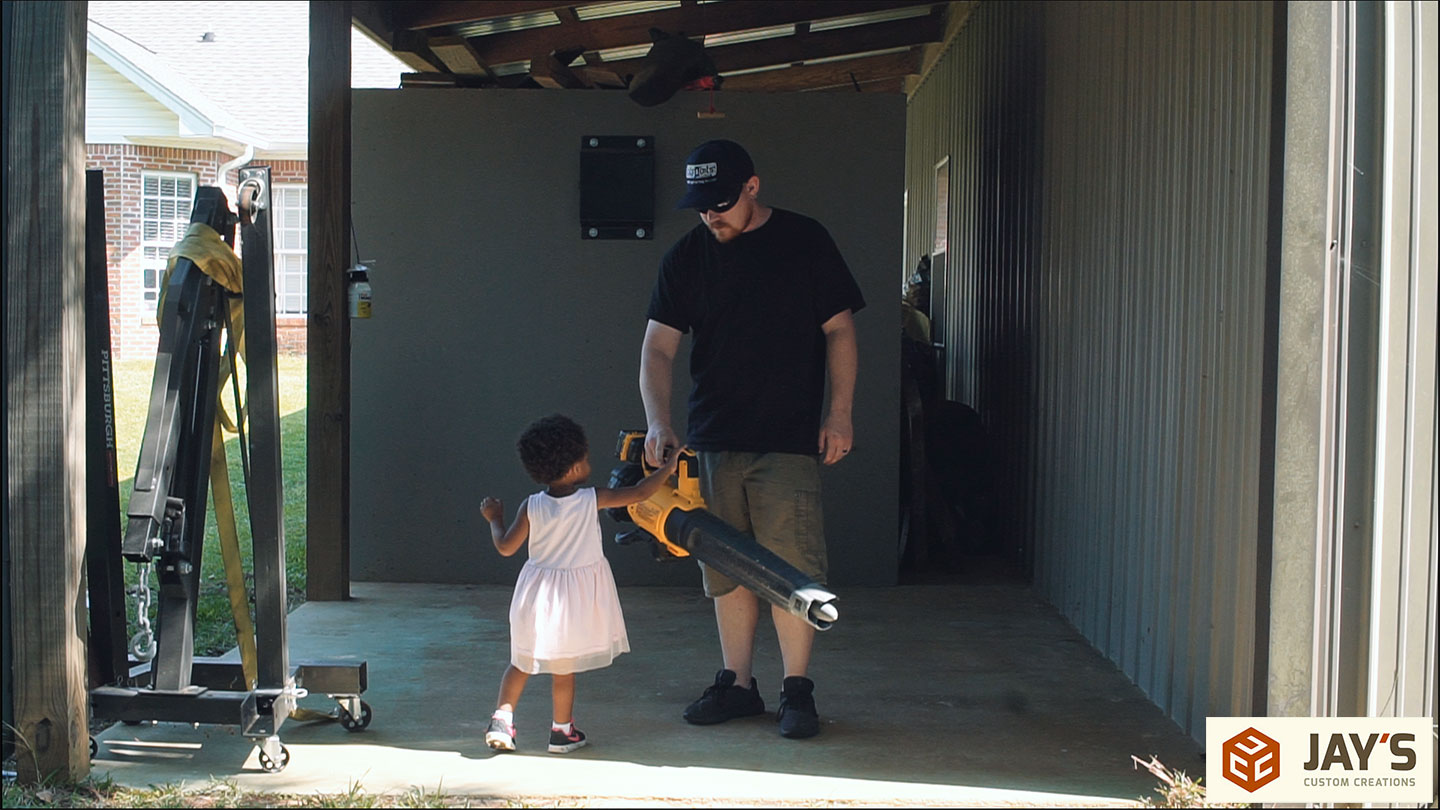
Speaking of the leaf blower, my daughter loves this thing. She always comes running when she hears it being used. She loves anything that makes noise.
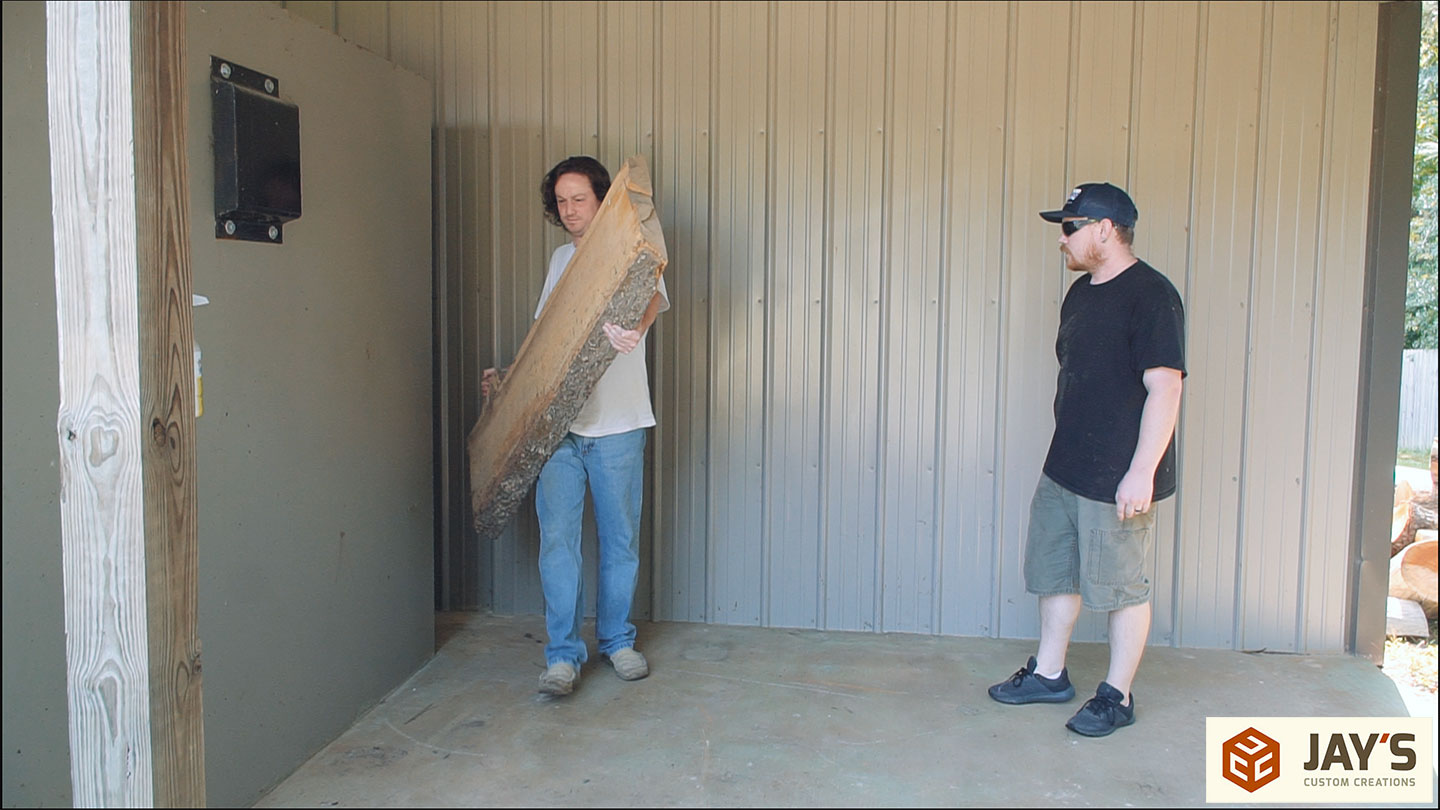
Next up the slabs can be unburied from the walkway between the shop and the tornado shelter. I’ve got a nice pecan crotch slab, a curved osage orange slab, and a decent size hickory slab. One thing I want to do is stop using this space. I’ve realized that this small storage space is the place where things go to die and never be seen again. The last time I saw these slabs was when we moved in and I put them there.


Oooo look! More trash and debris.
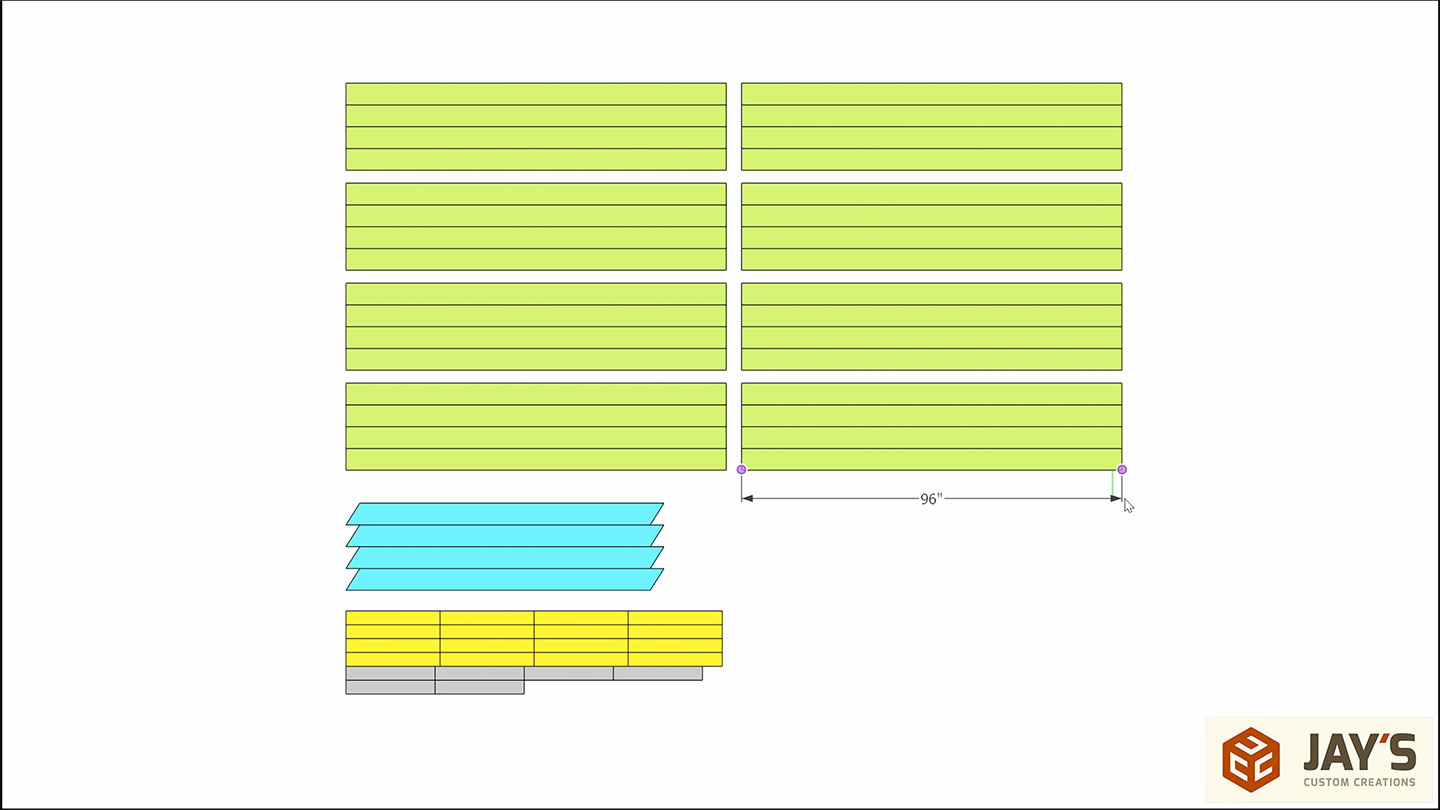
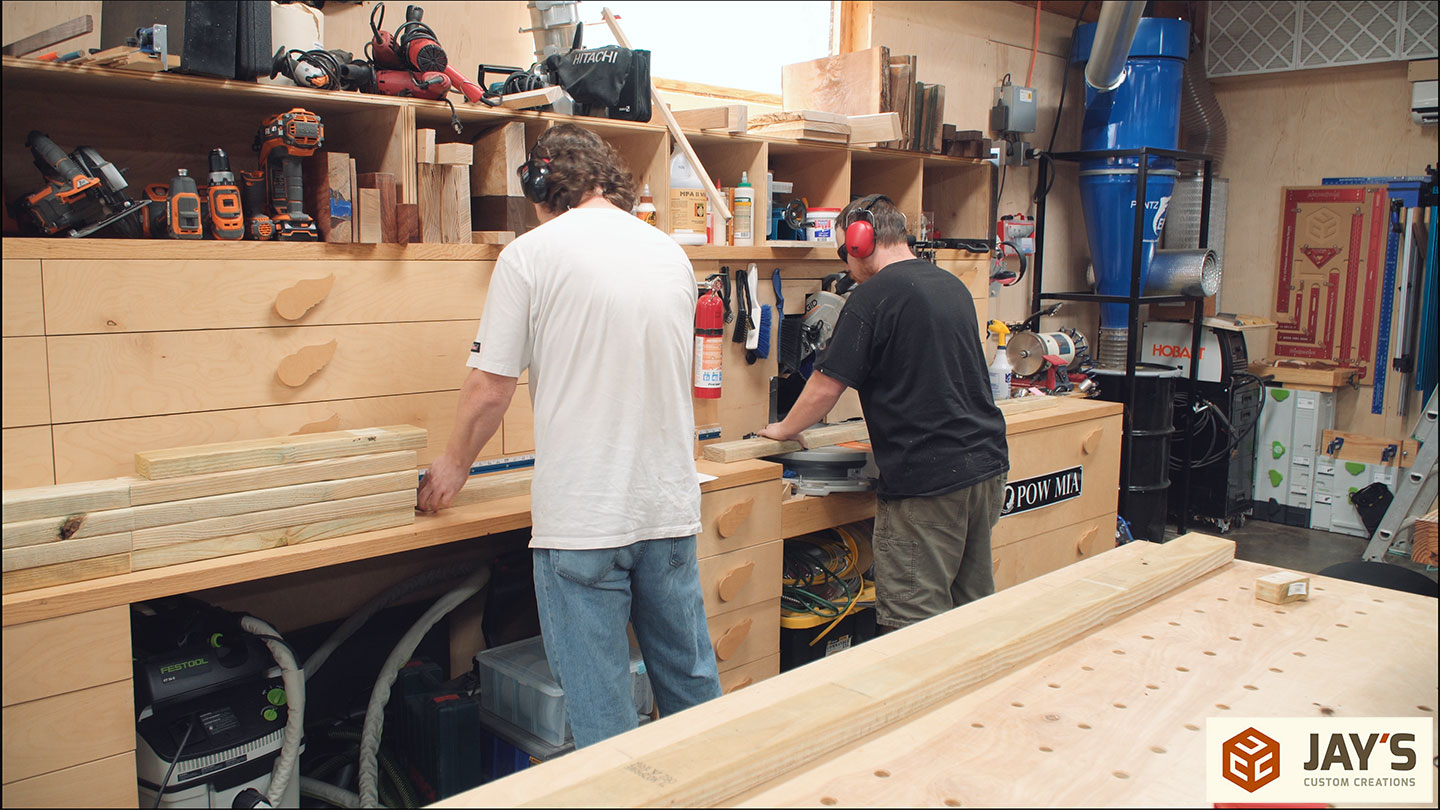
With the outdoor workspace clean we can take the 2×4’s inside and make all of our cuts. We need sixteen shelf end supports and six middle shelf supports. Batching out these cuts was the only work done inside the shop for this project.
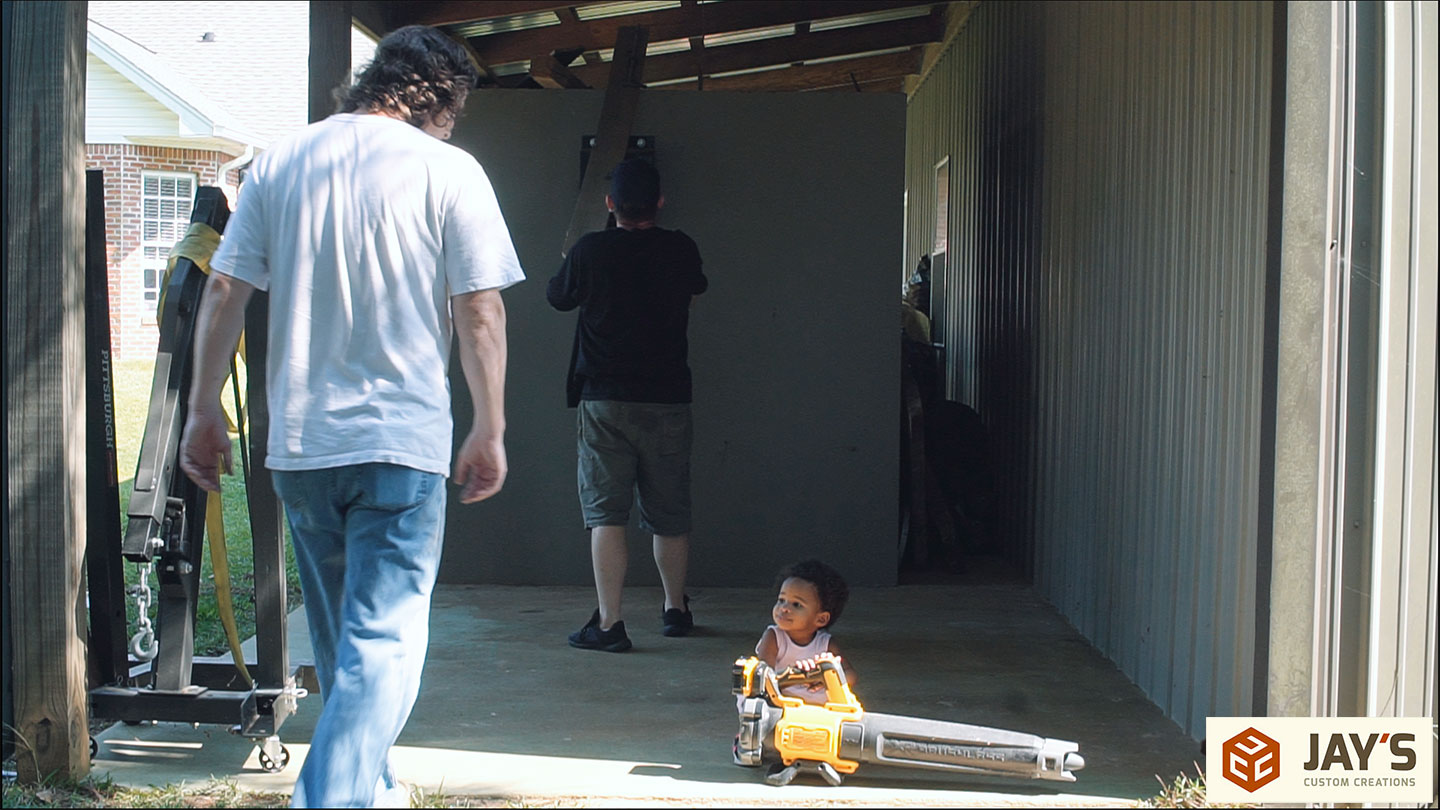
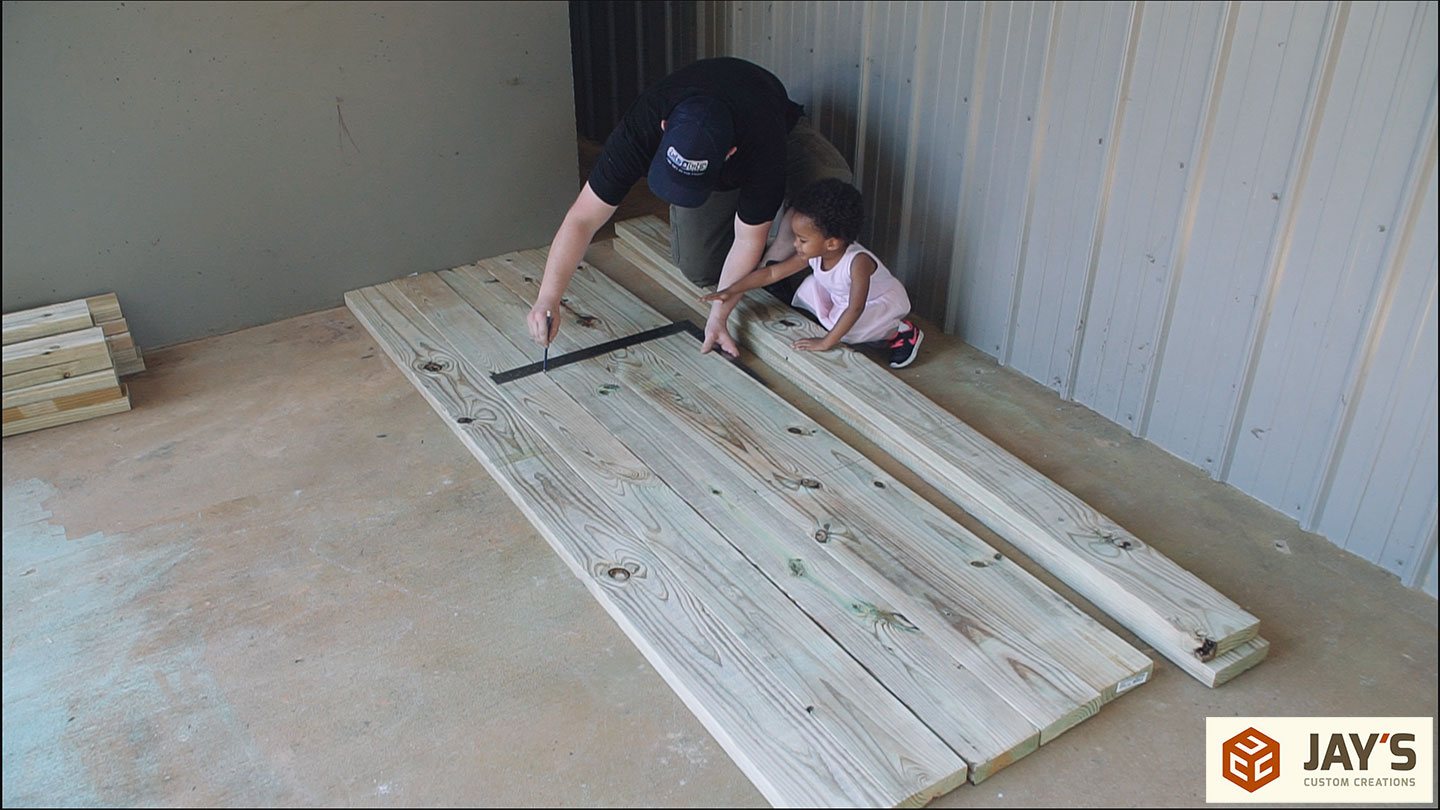
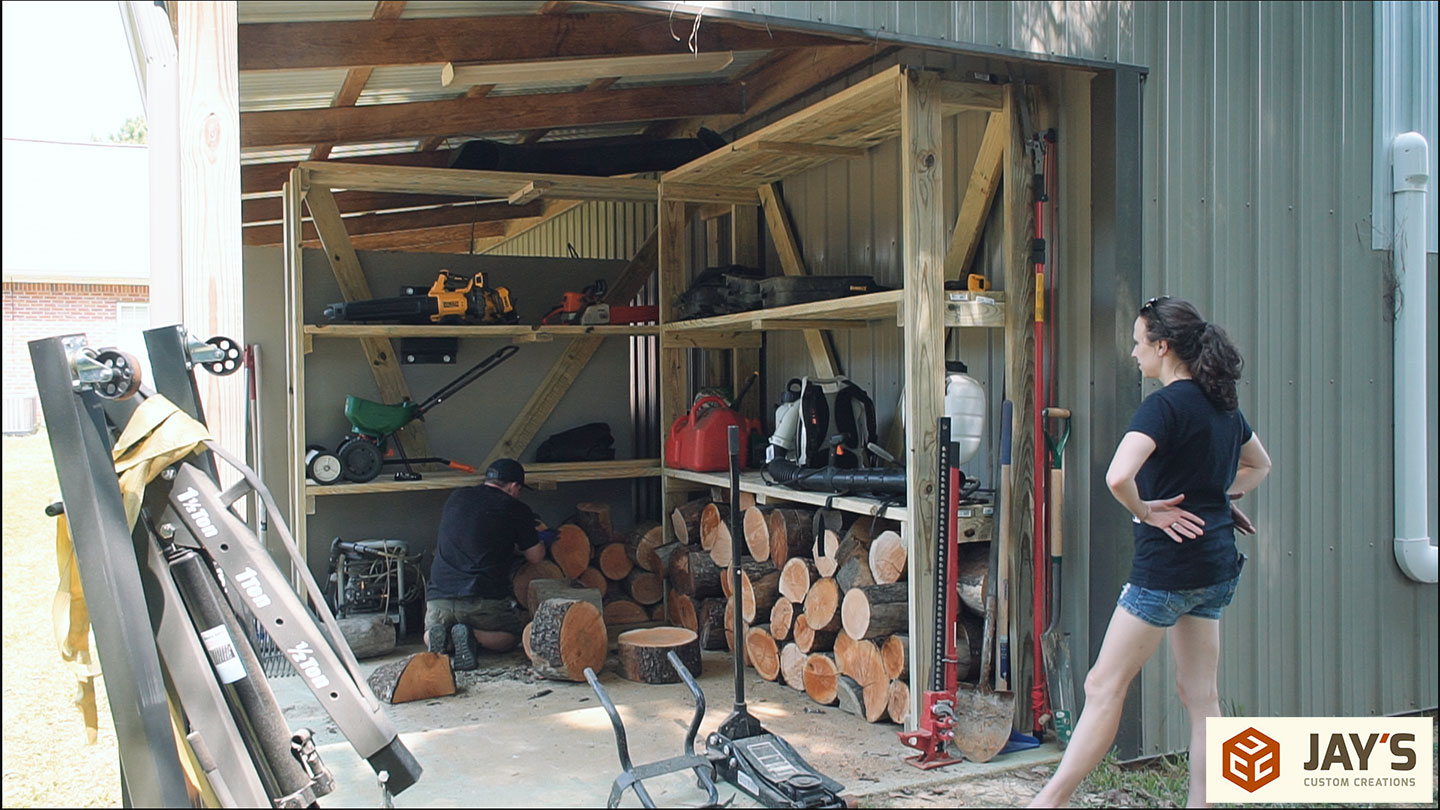
Rather than measuring a bunch of times, I laid out the location of all the shelf supports on one 2×6 and used a square to transfer the location to all of the leg pieces. And of course, the boss lady needs to supervise. This is the first actual project where she really wanted to get involved, which is pretty exciting to me. Of course, I want her to take her own path but the interest she is showing in doing what daddy is doing really makes me feel good.

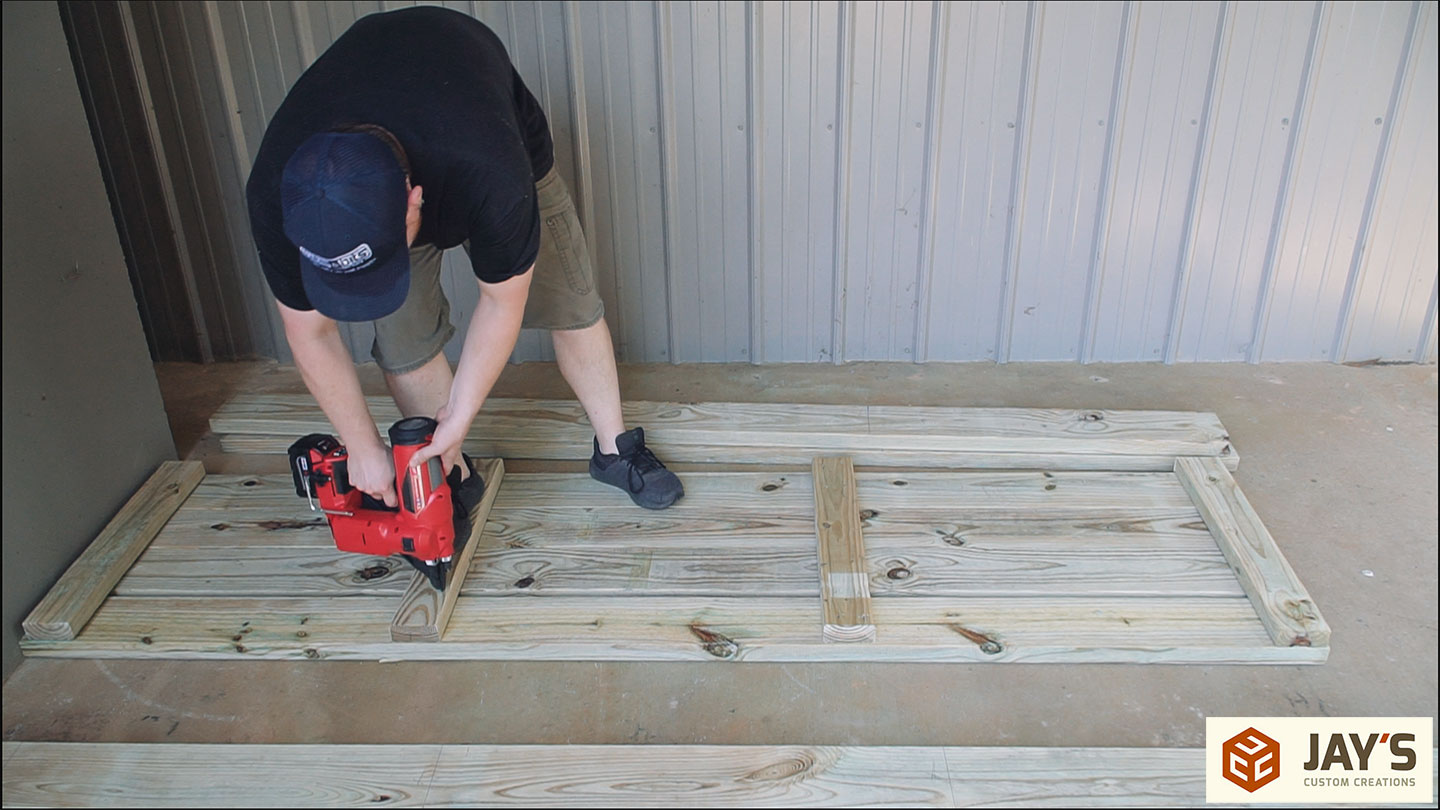
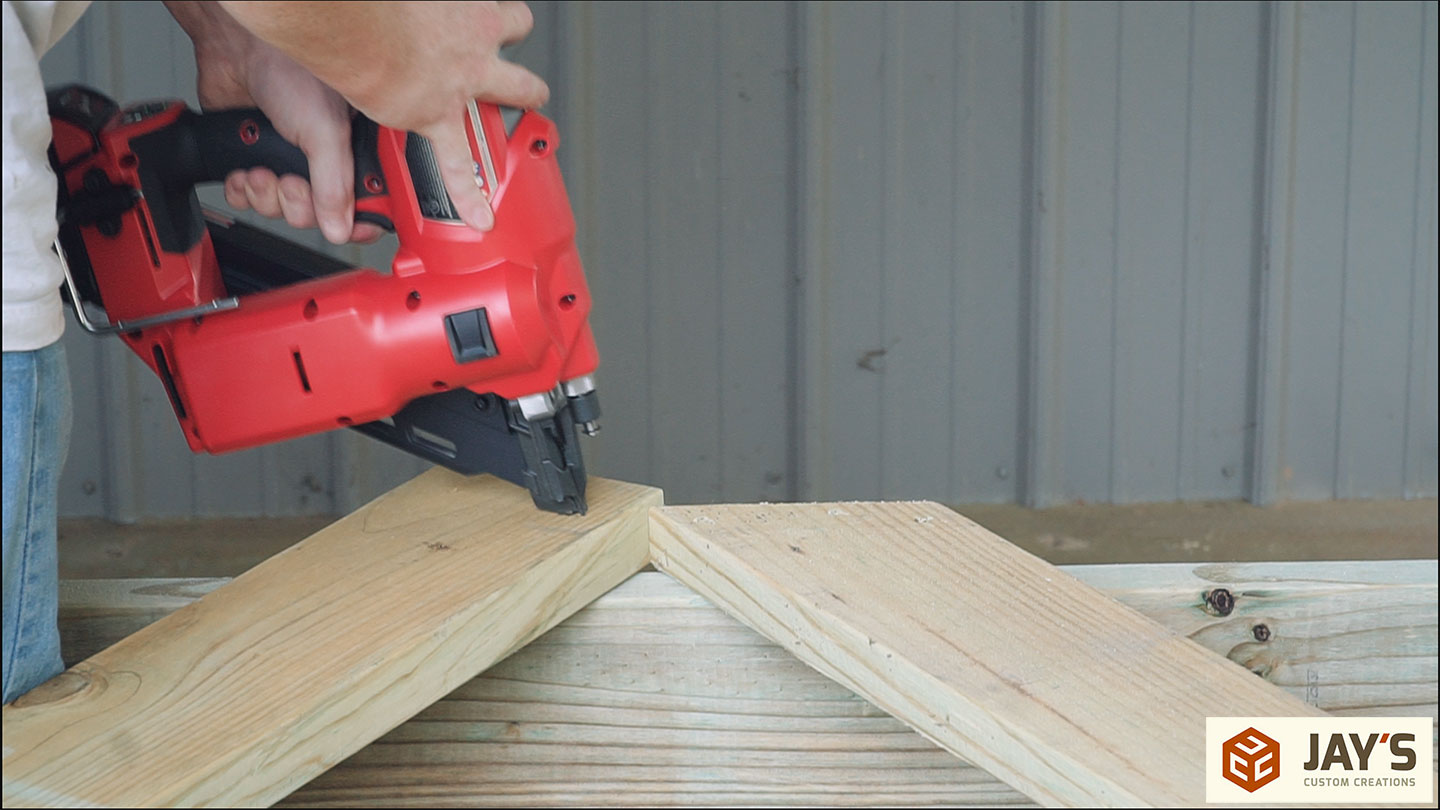
With all the legs marked I started adding the shelf supports. In this situation, I’m only nailing the outside 2×6’s. The middle two are just there because there was no need to move them after marking.

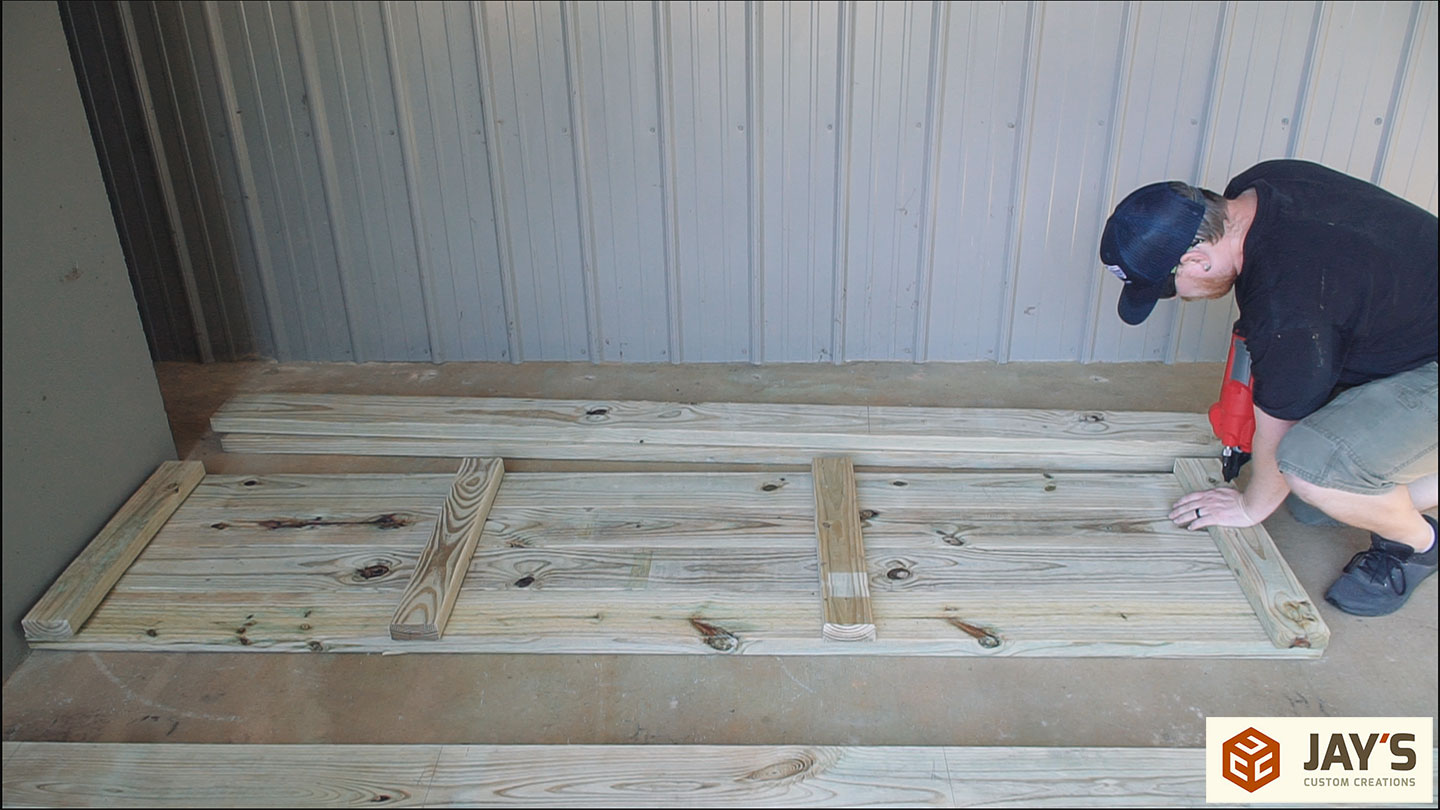
On the second leg assembly, I attached the shelf supports with one nail first so that I could use it as a pivot point to make sure the arm was square. I should have done this on the first one but this is one of those builds that the knowledge of doing a process once allows you to streamline or make the next one more efficient.

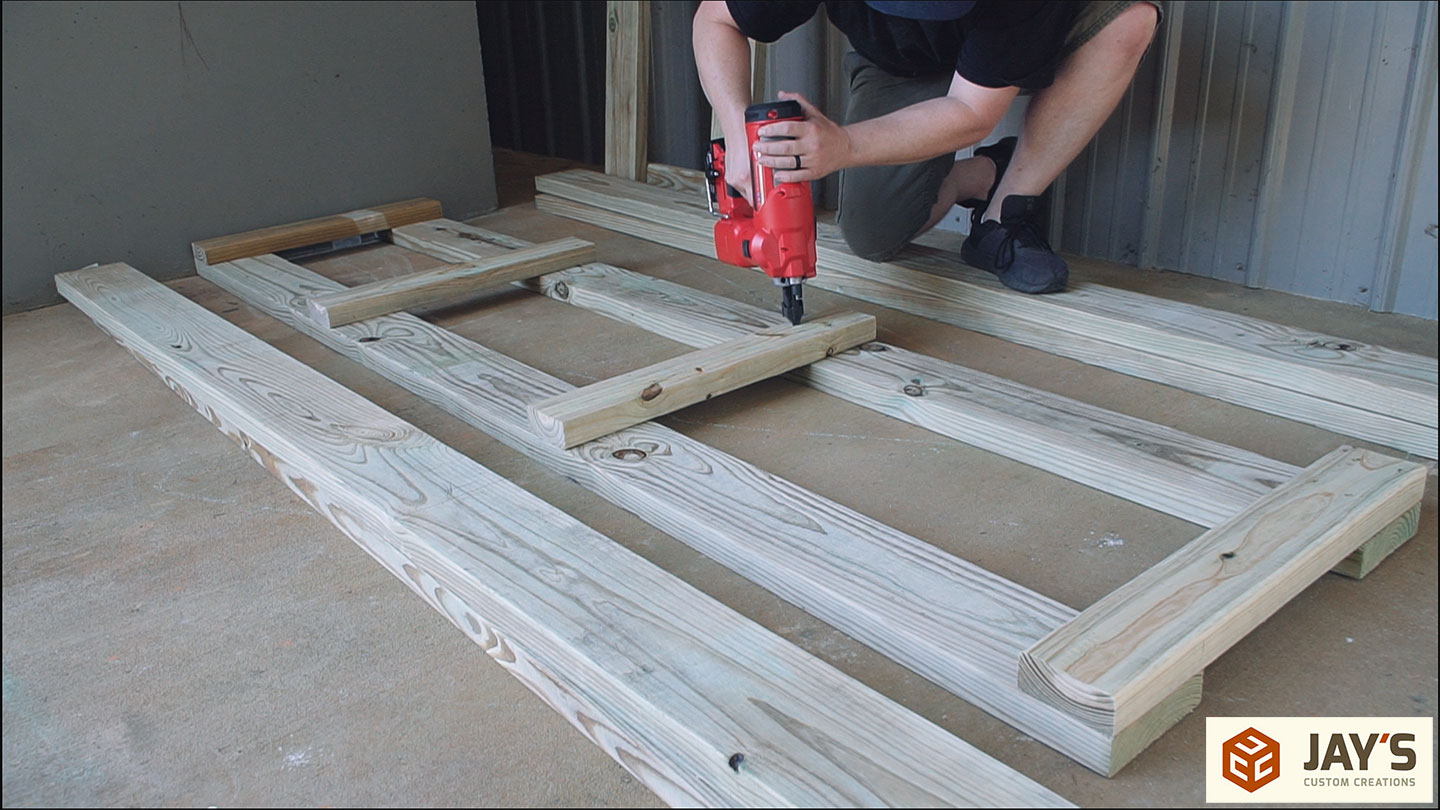
Now, if the supports are secured and square all we need to do for the other leg is make sure it lines up with the ends of the shelf support and nail it in place.
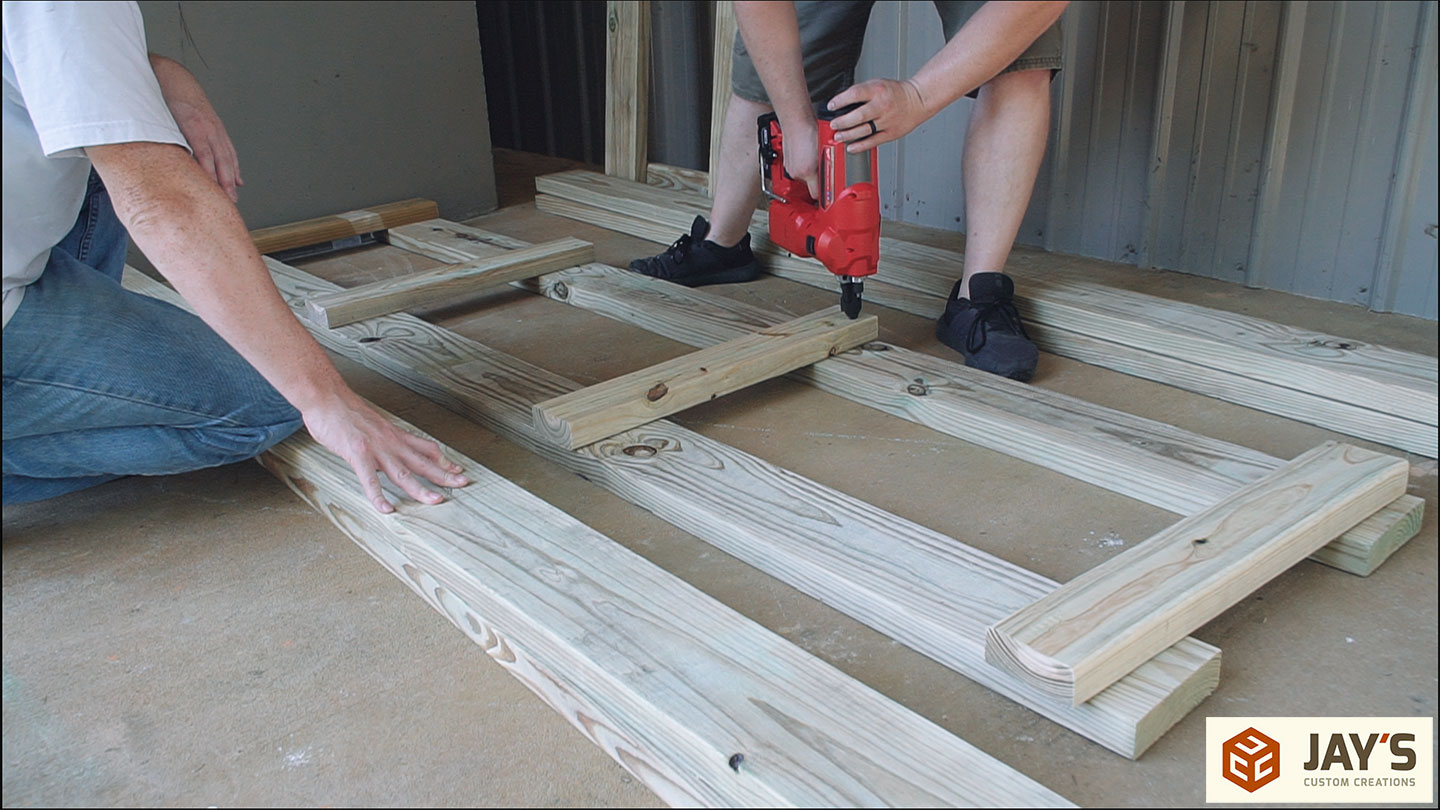
Rinse and repeat for the last two leg assemblies.
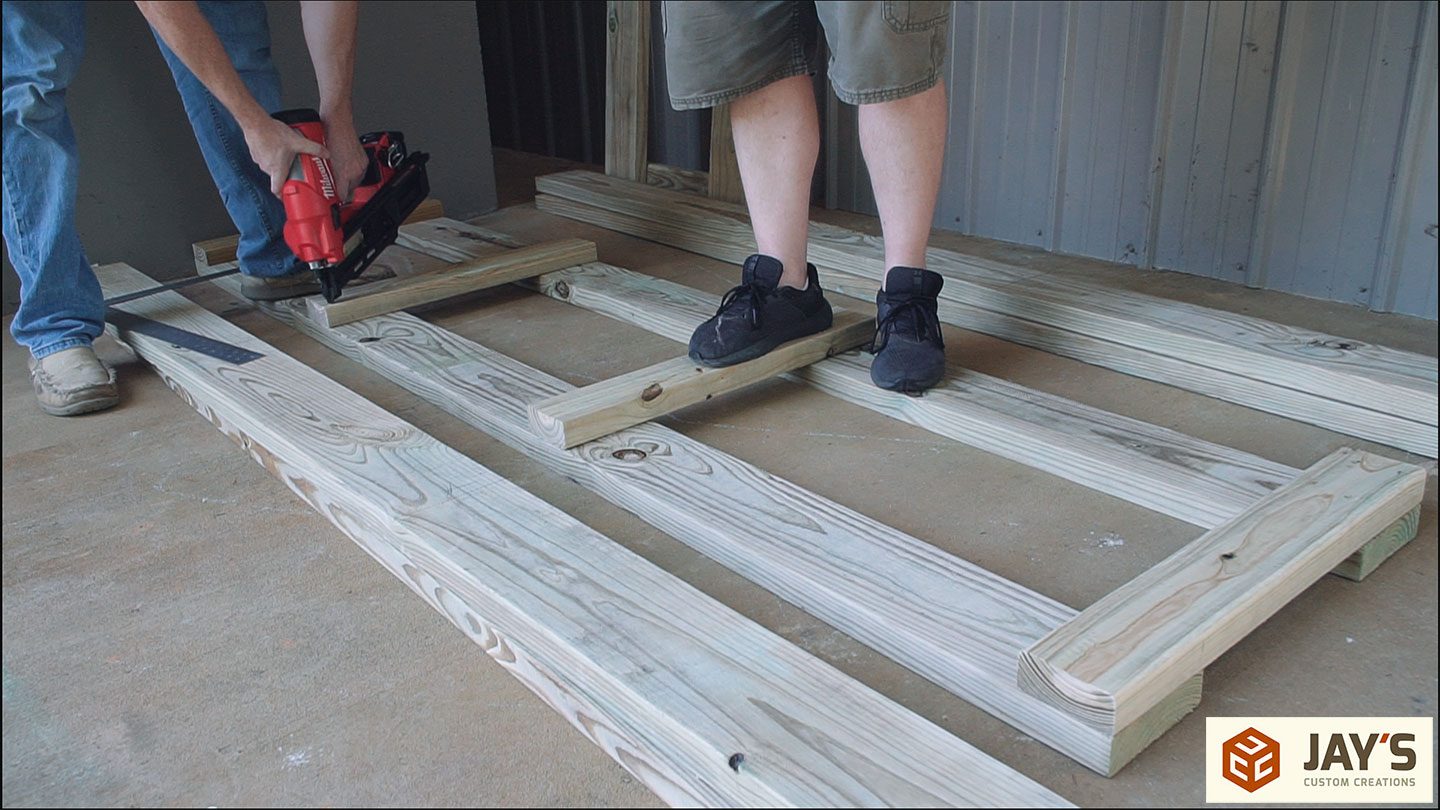
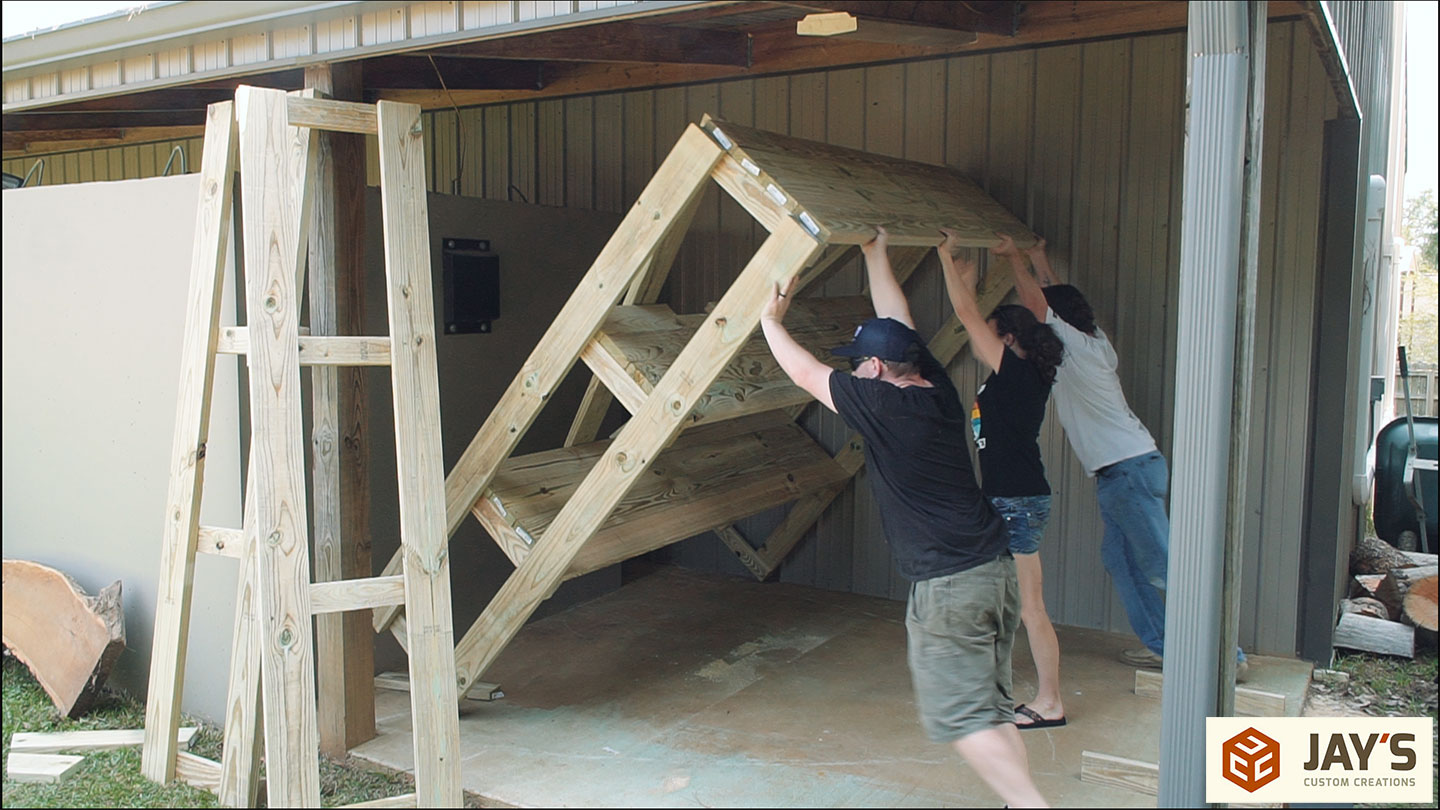
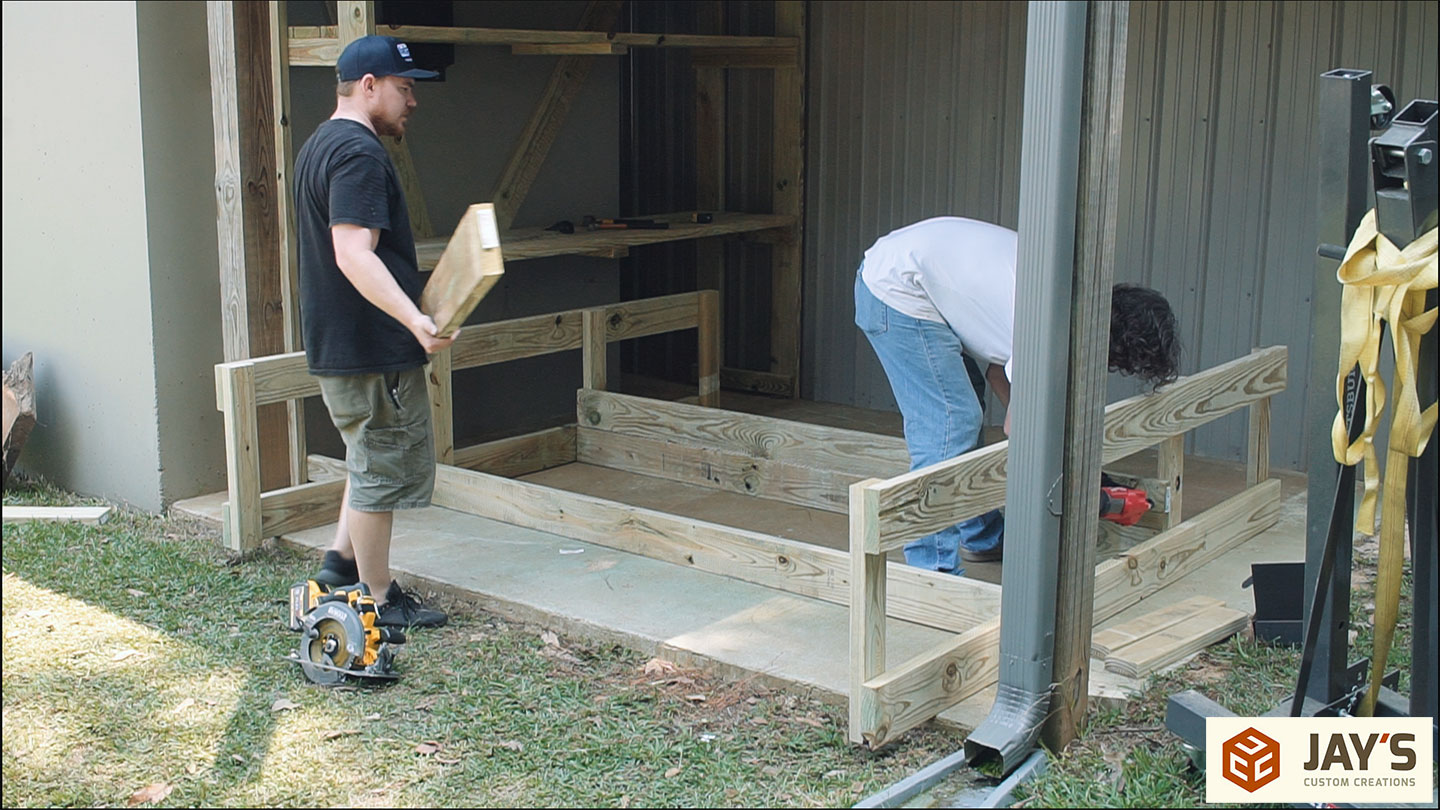
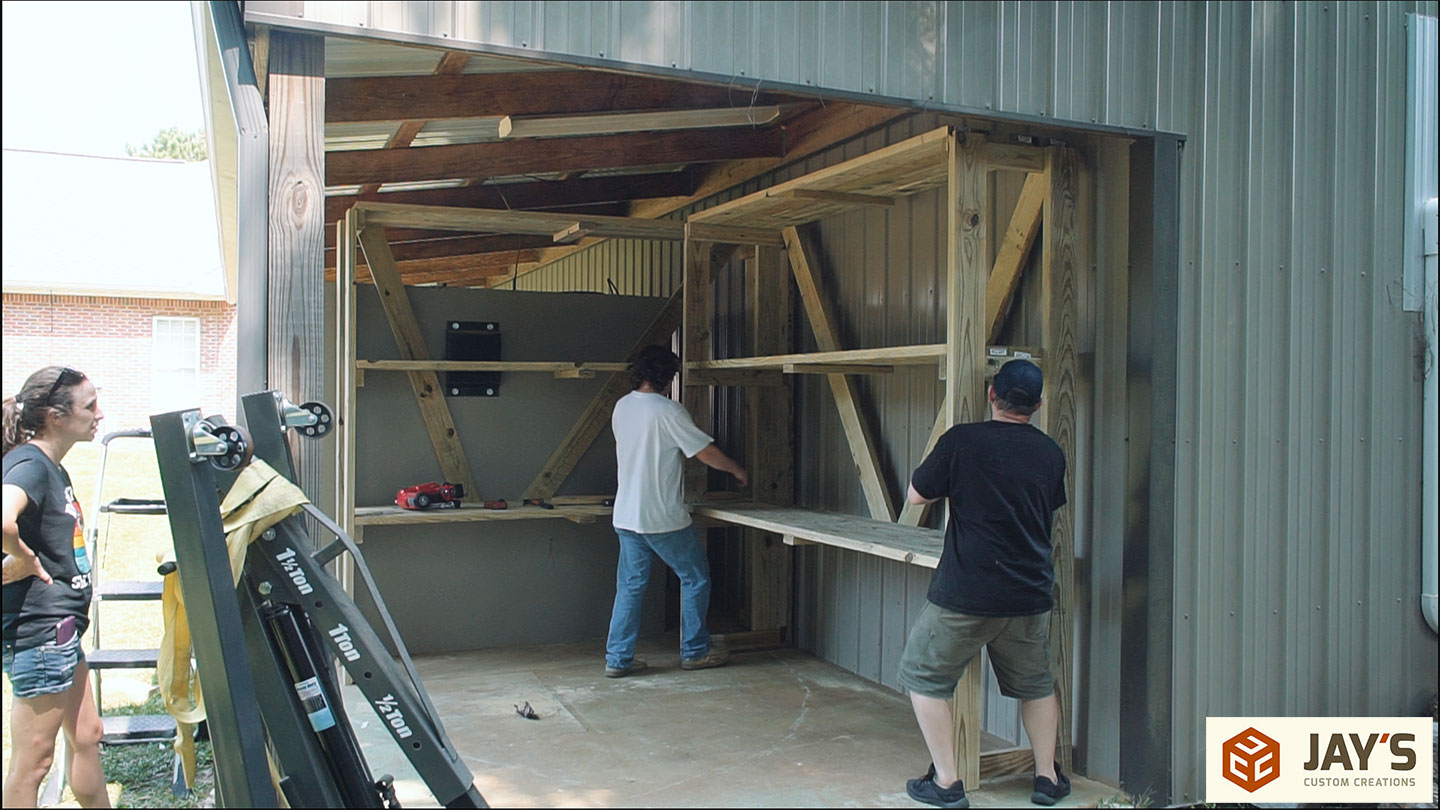
Time to connect the legs with the shelves. Again, we’re learning how to do it the hard way first by trying to assemble it standing up. Luckily we had a pole to lean against on one side.
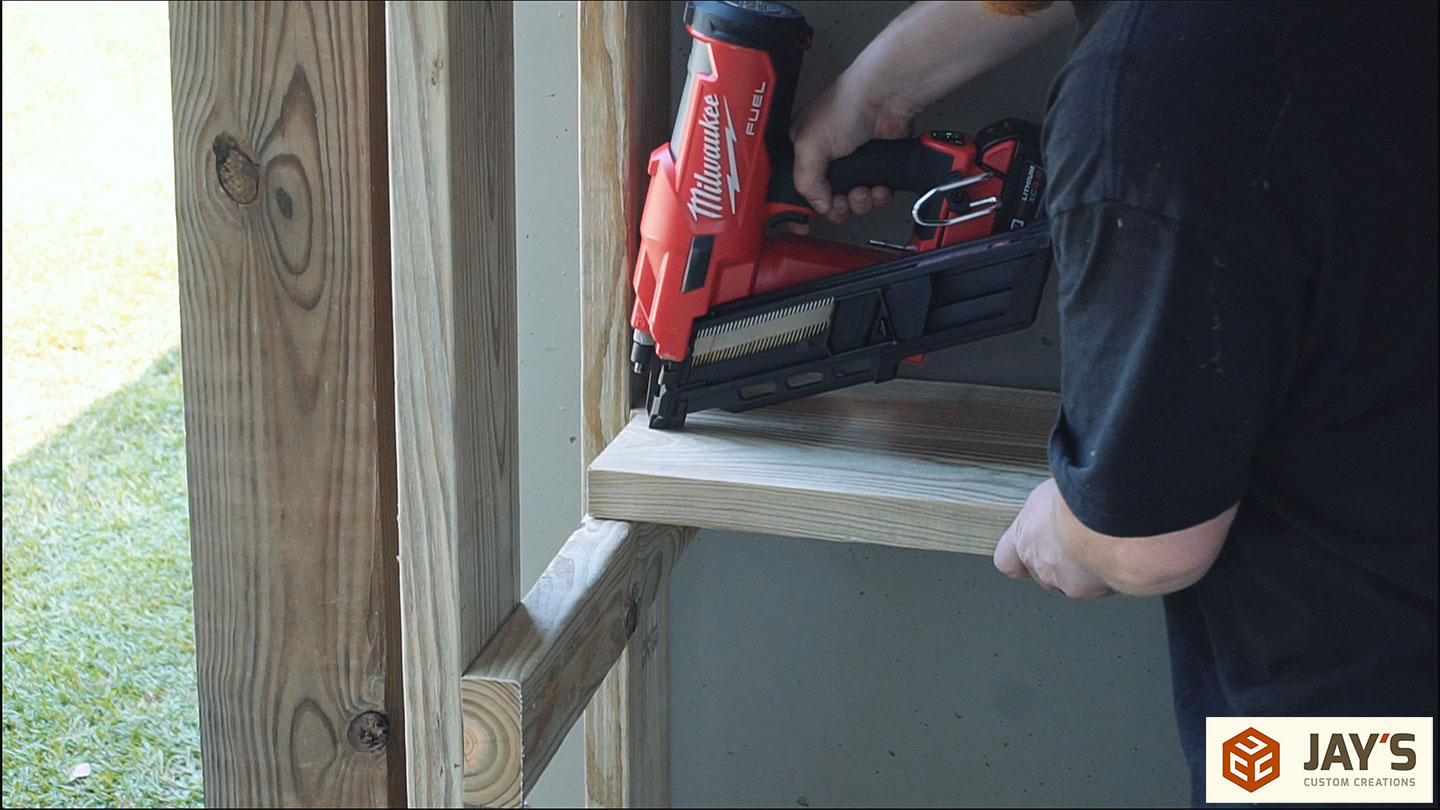
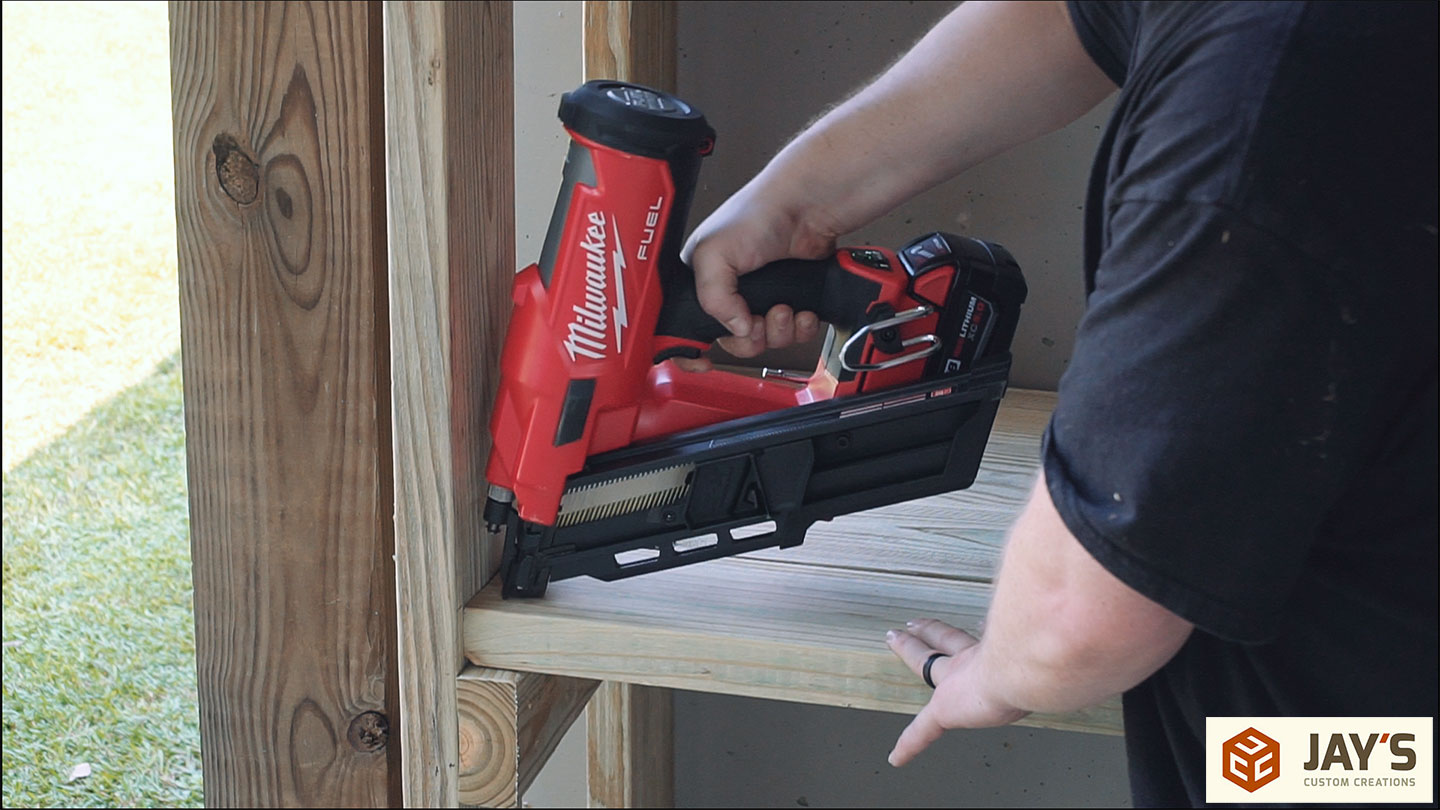
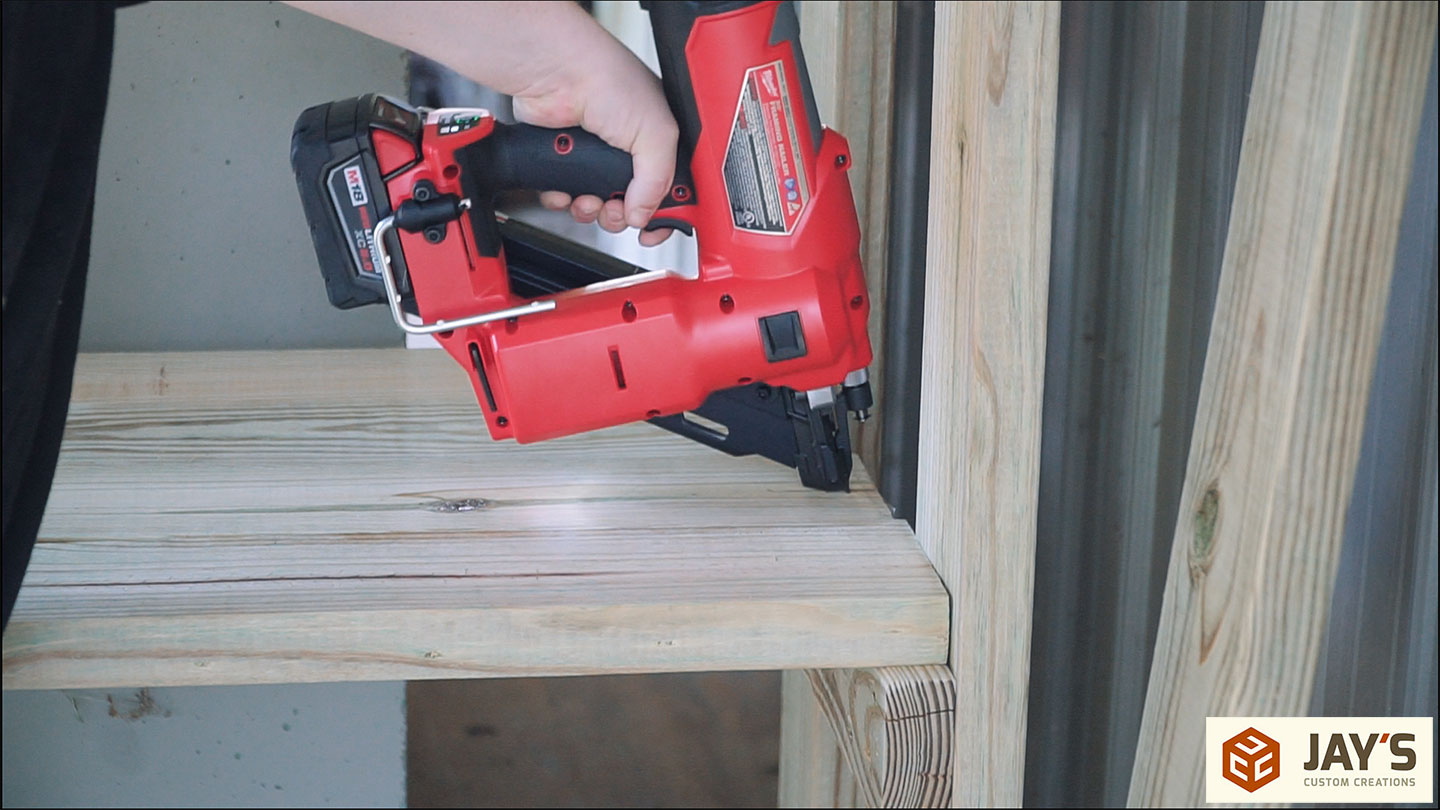
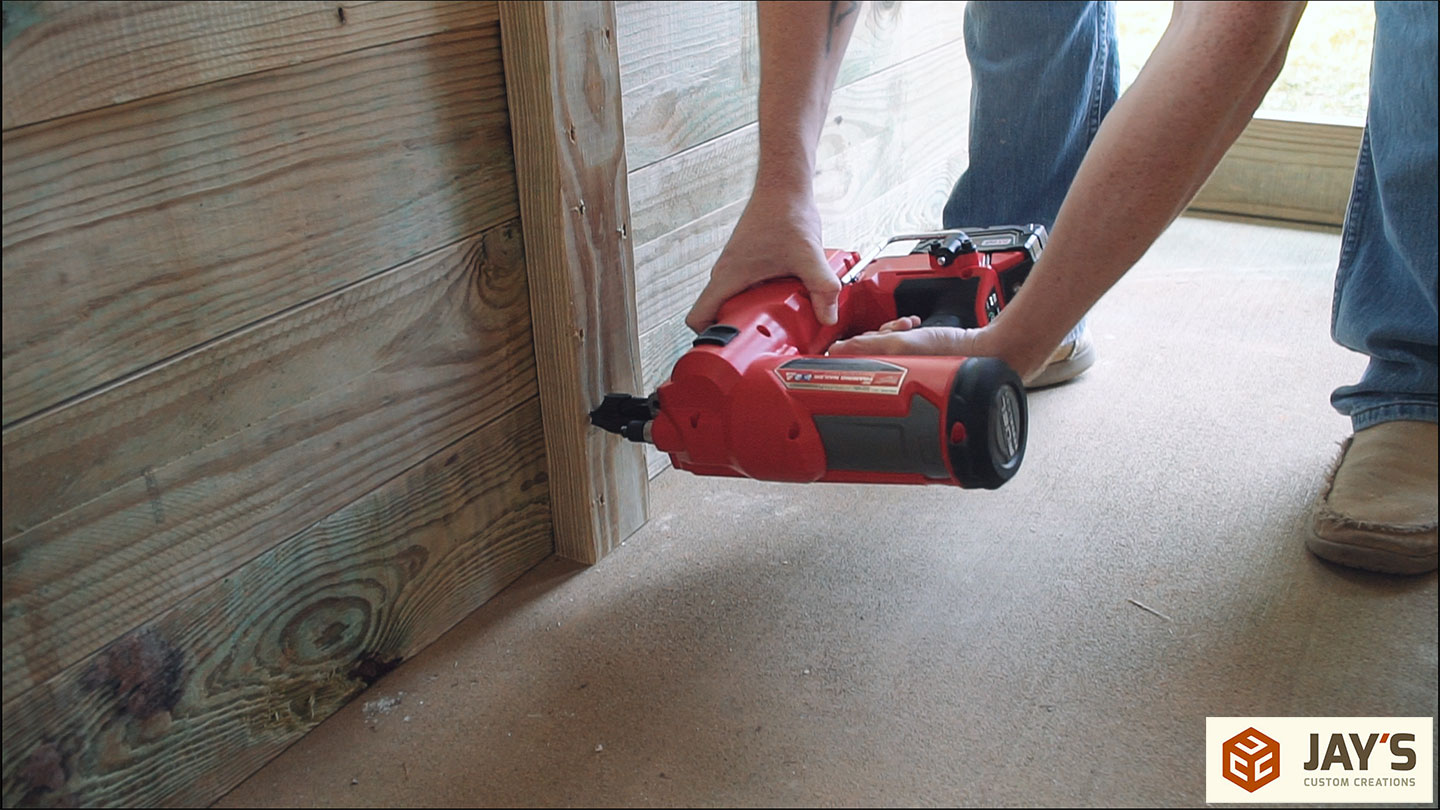
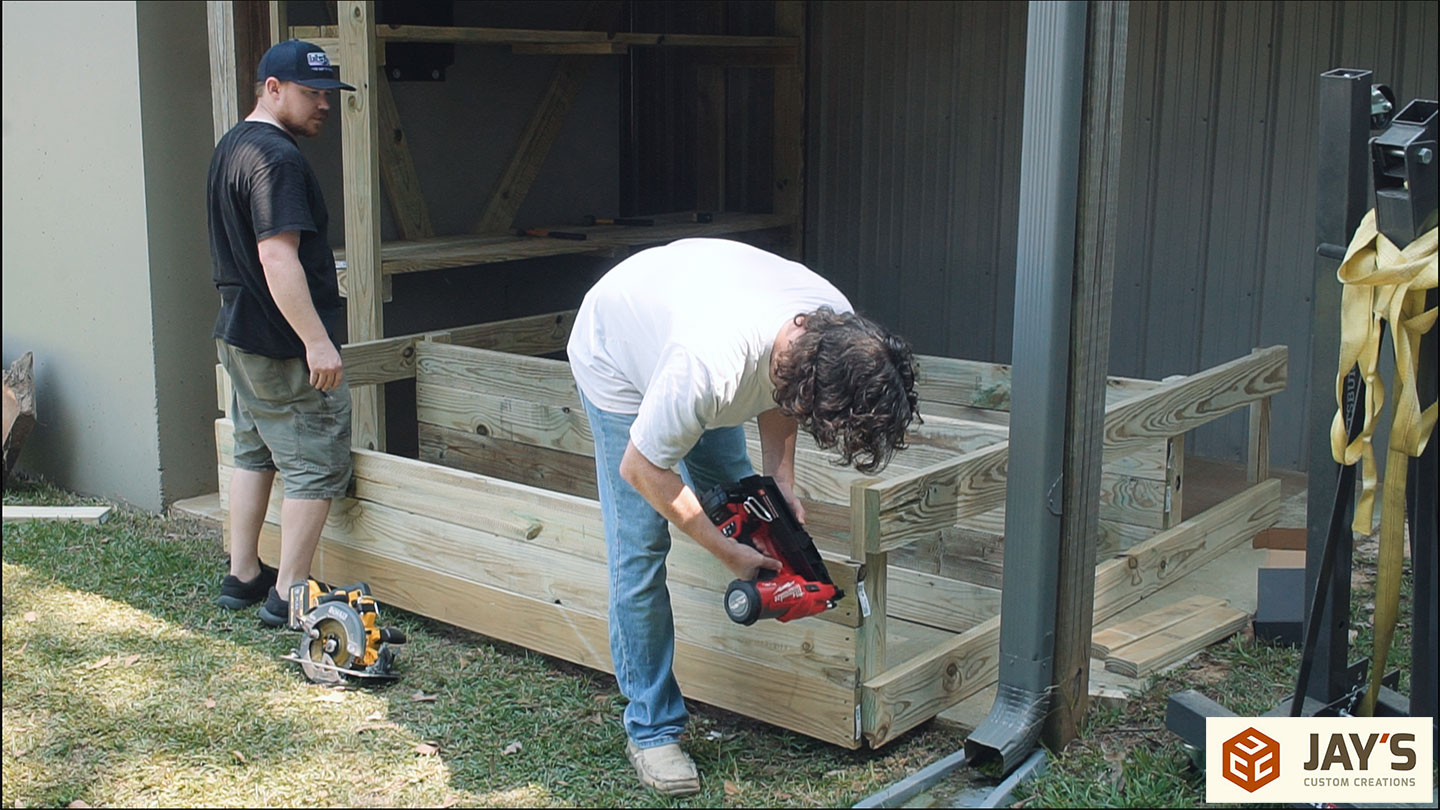
The shelf boards are just nailed on with three nails per board. Also, it’s crazy how fast we were going through nails. But with that said, we didn’t have a single misfire or nail that wasn’t driven all the way home, which was pretty nice. My battery powered brad nail gun doesn’t have this kind of consistency.
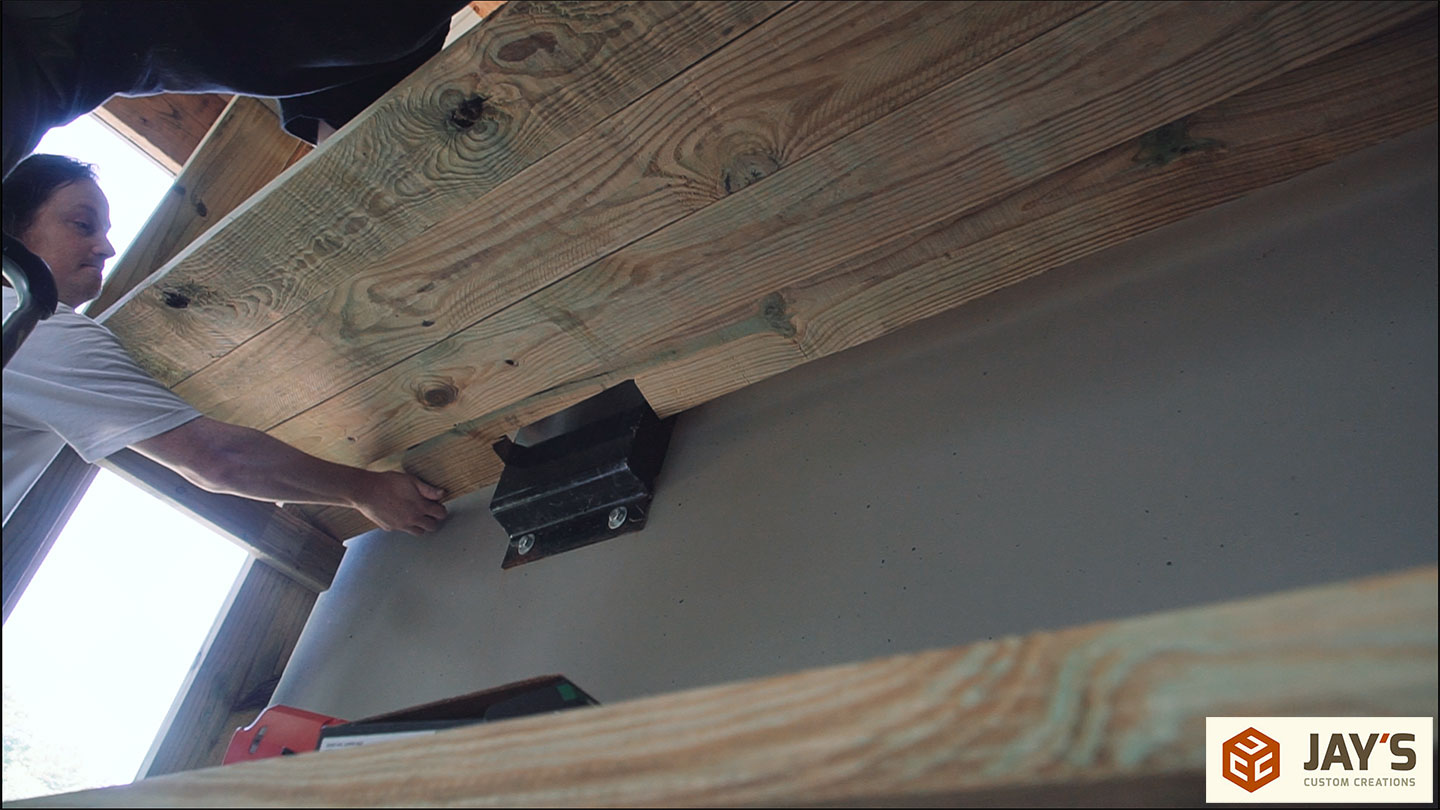
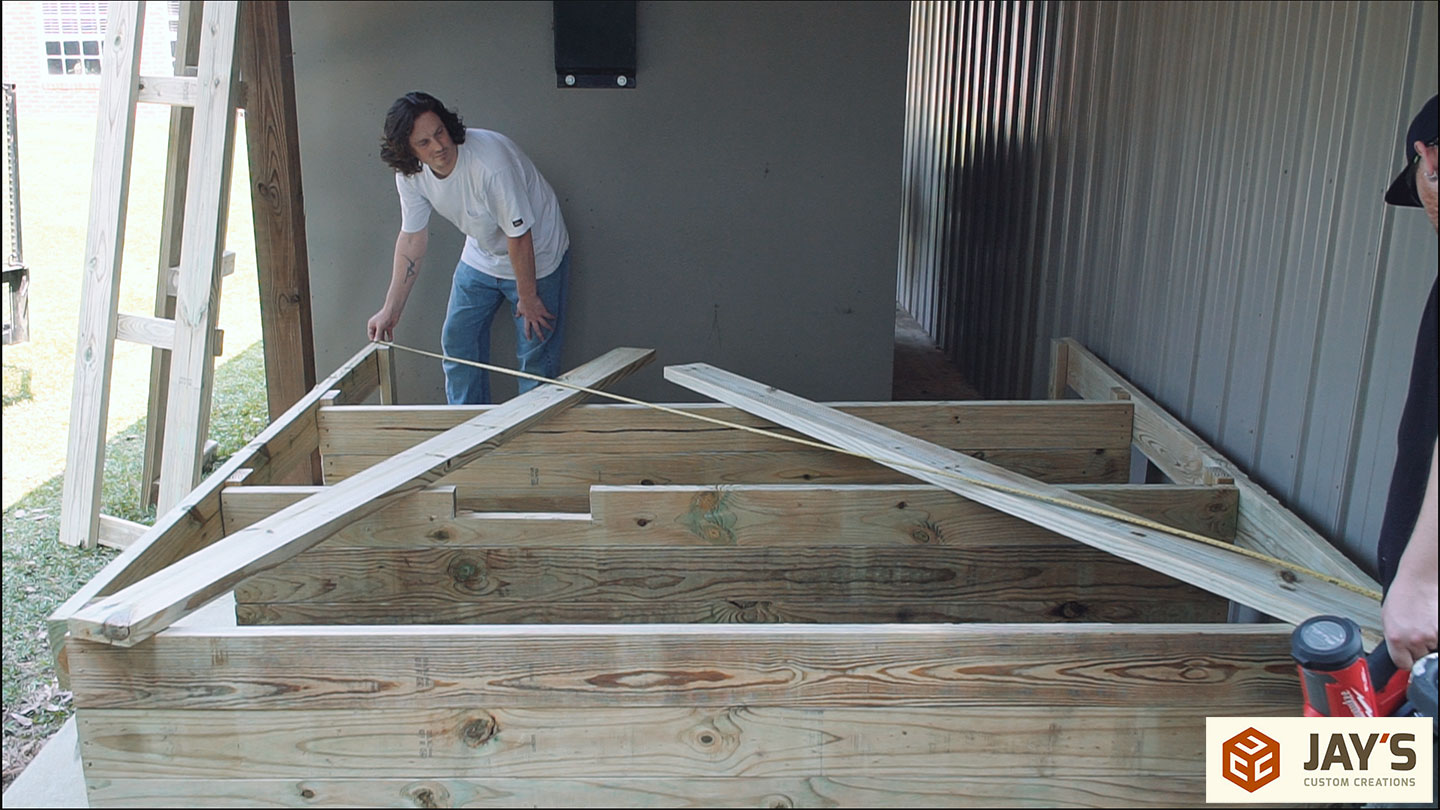
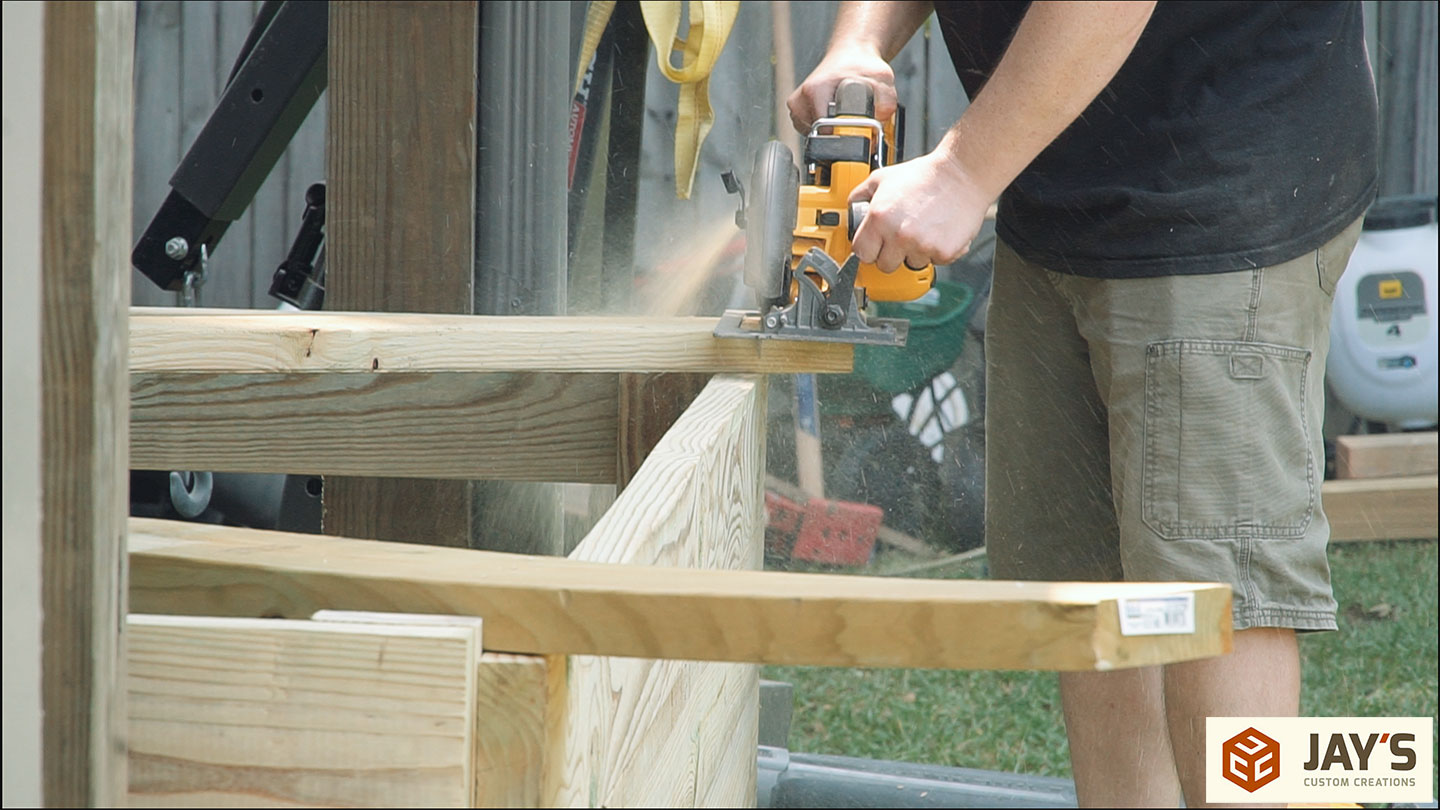
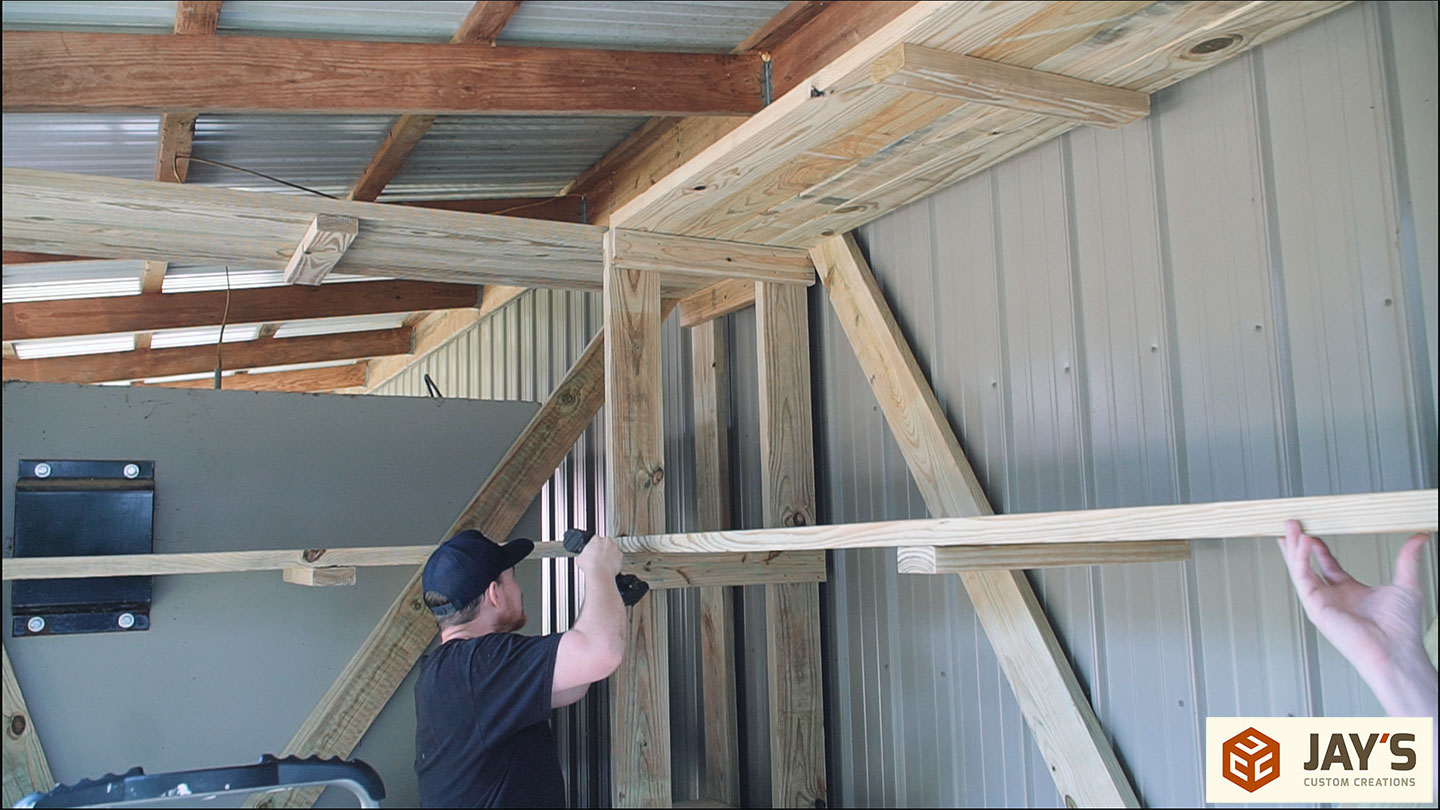
With the first shelf in place, I went up to the next level where I instantly realized a roadblock. I wanted these shelves to but up against the back of the tornado shelter but failed to take into consideration the plate over the air vent. I also realized we were building it backward with the brace gap facing outward.
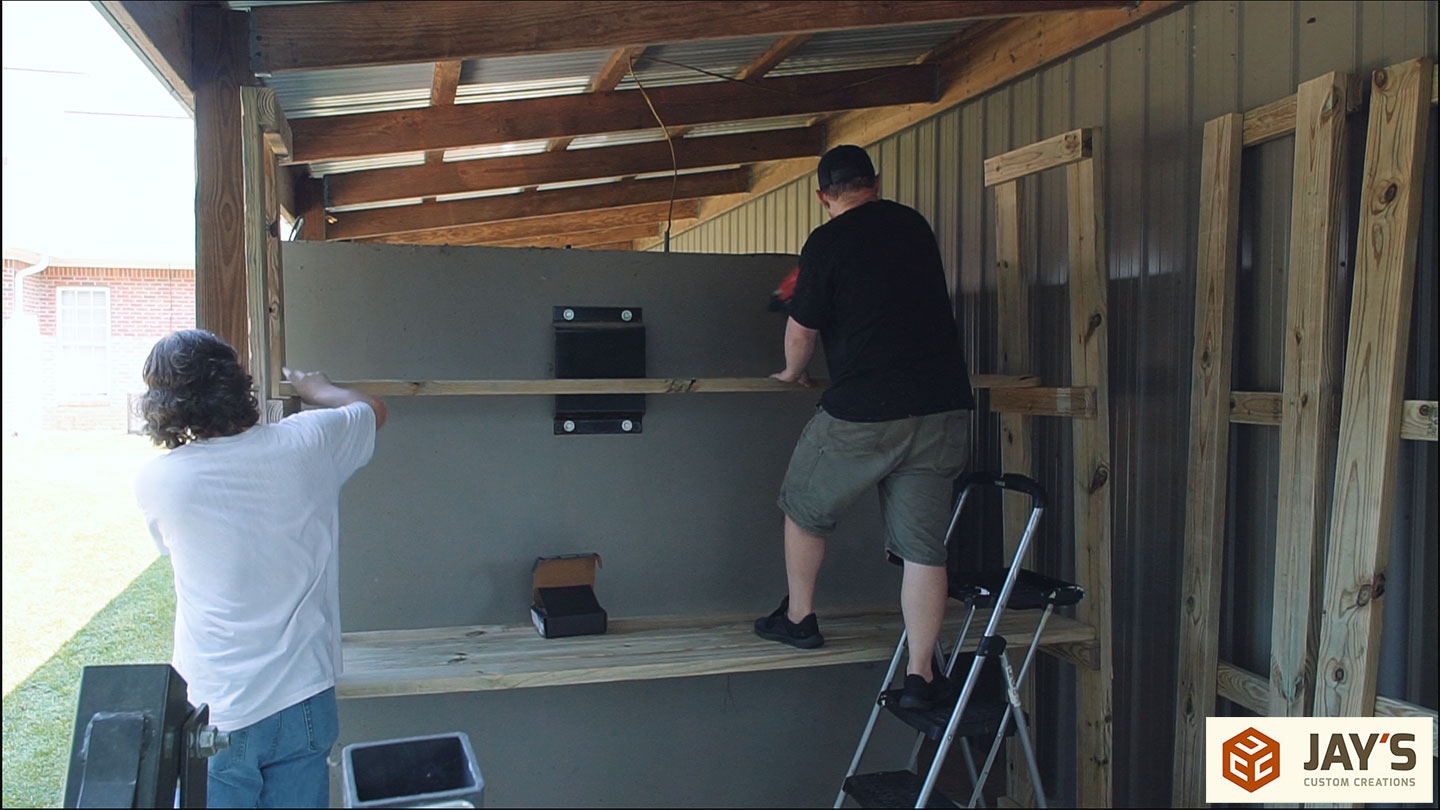
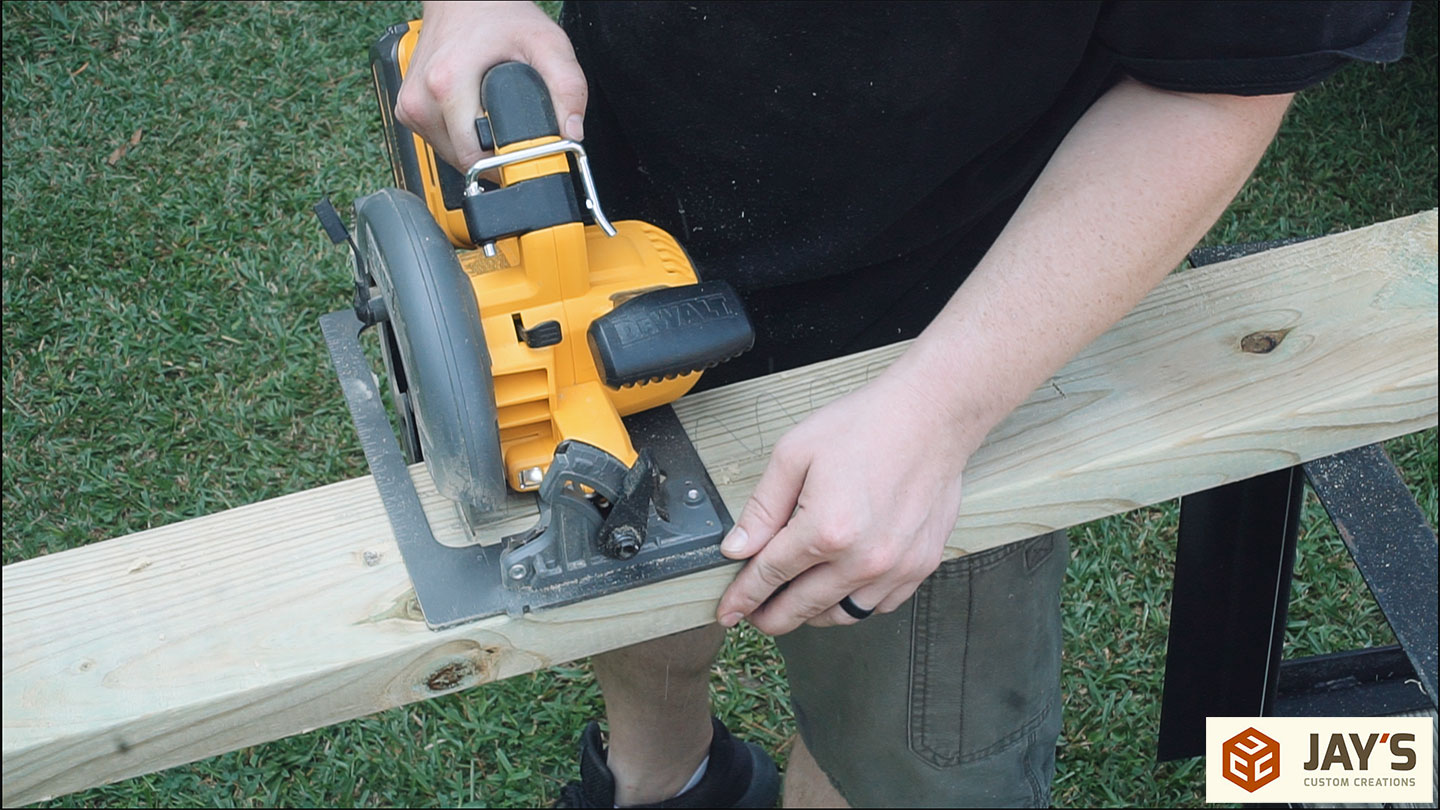
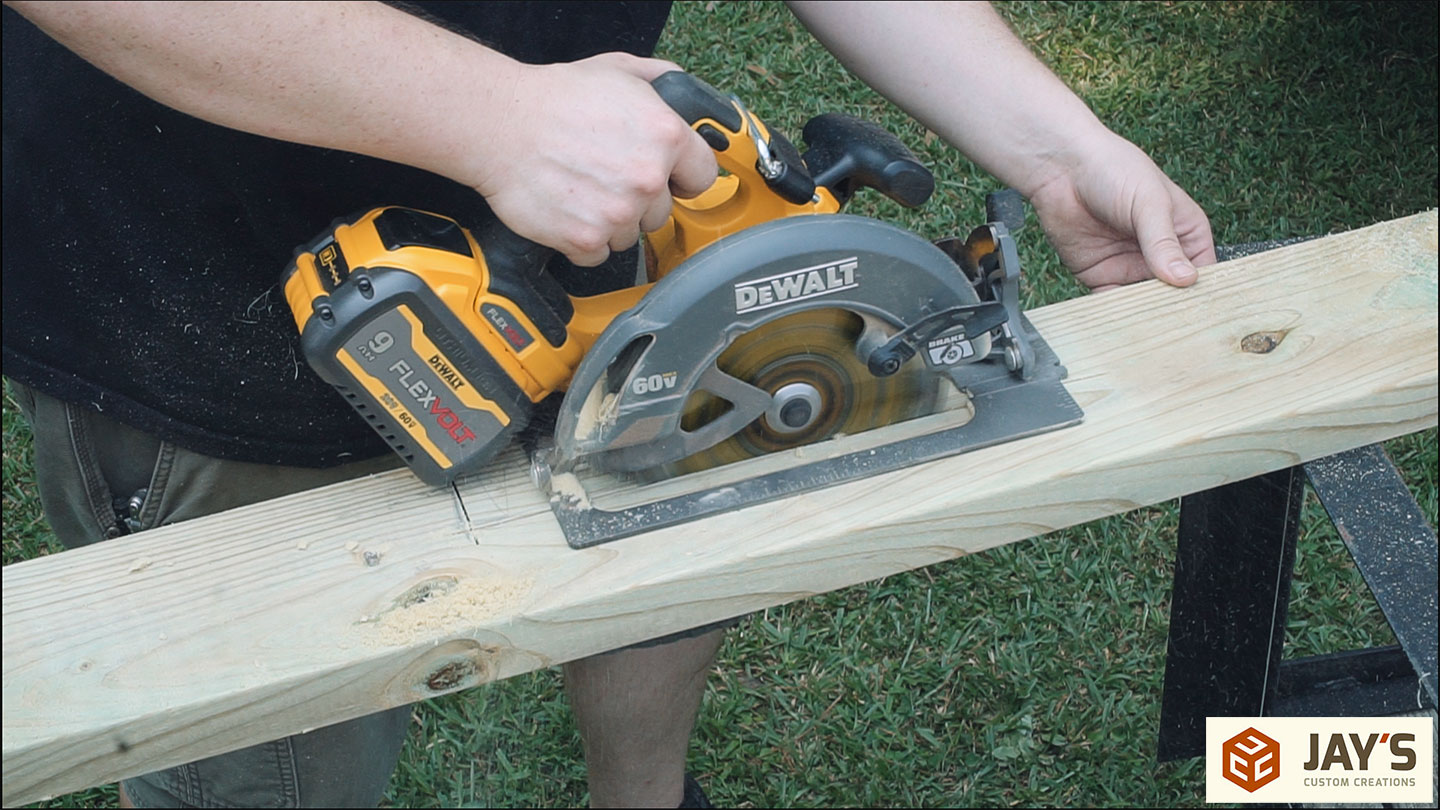
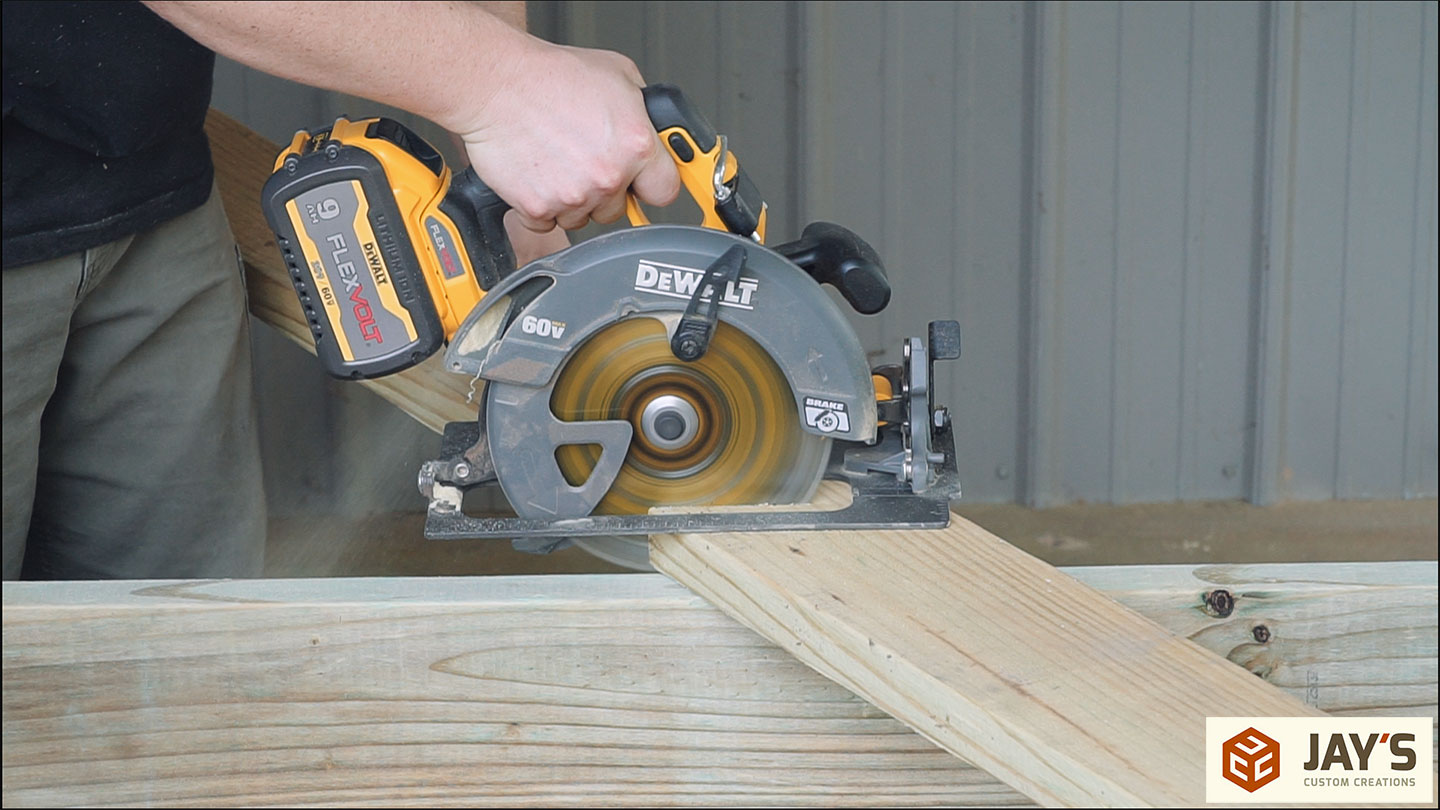
After twisting the shelf and measuring for the air vent a notch was cut with a circular saw.
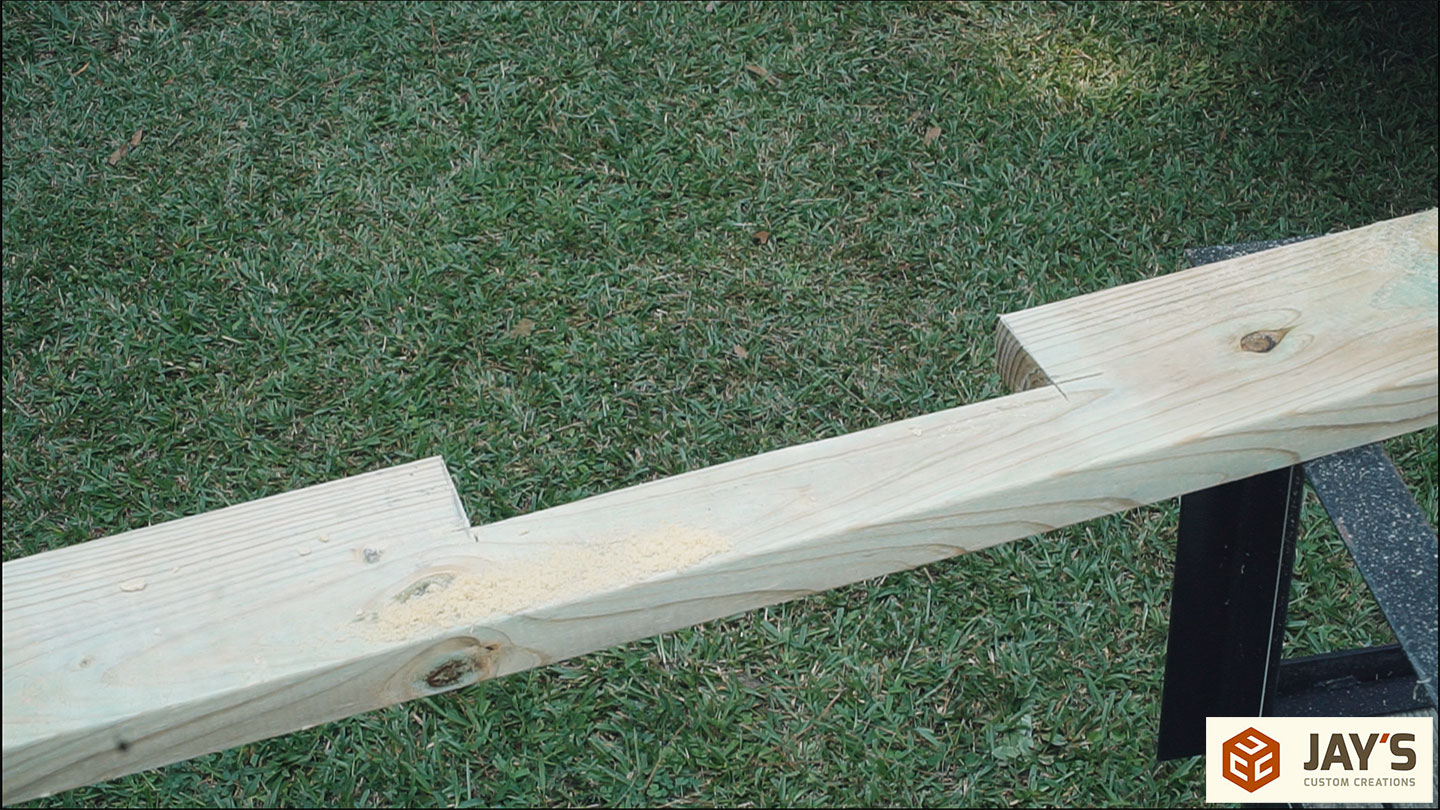
Not quite a precision mortise and tenon, but it worked.
Here’s where we realized that laying it down would have made the entire process a lot easier.
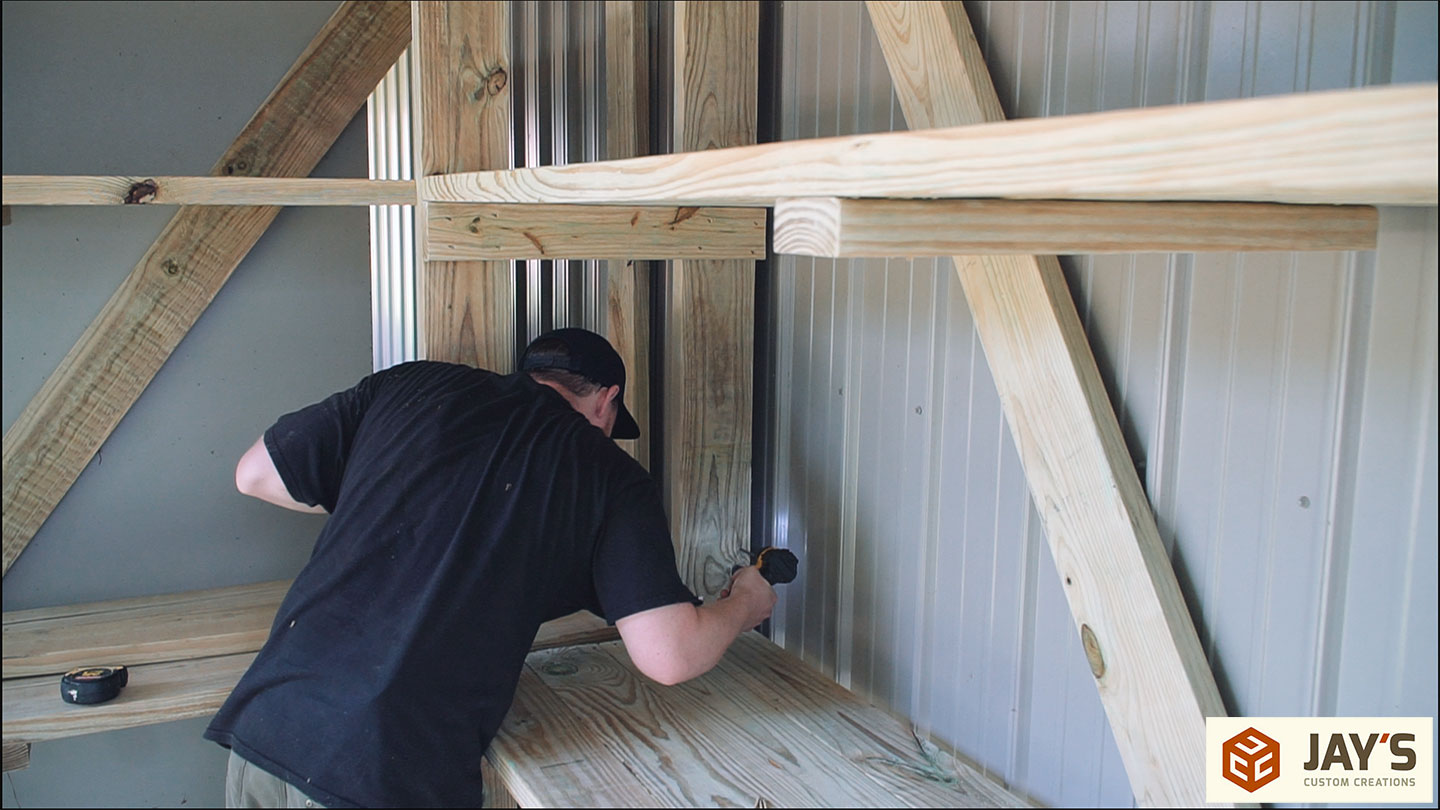
The top shelf is installed first.
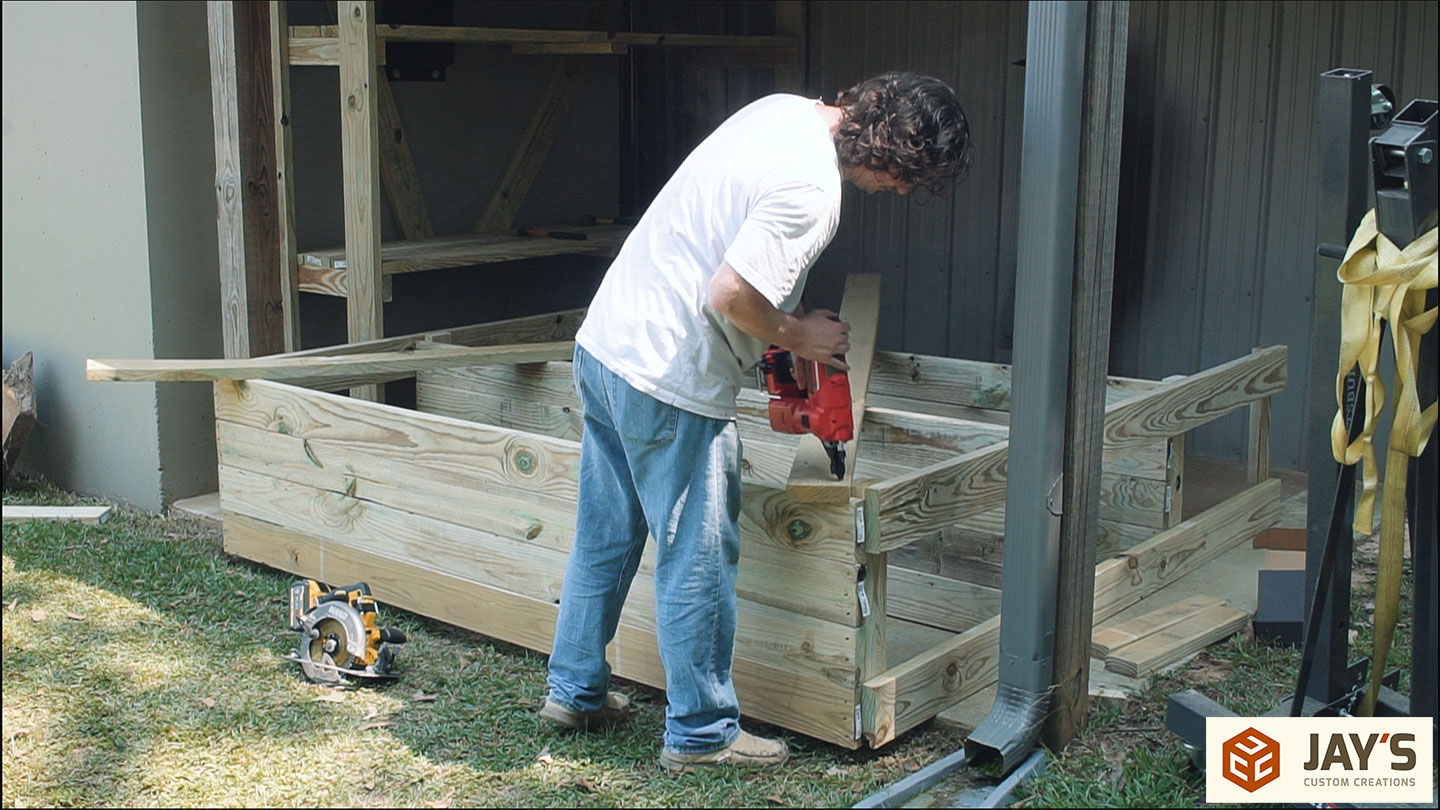
Followed by the diagonal bracing. The bracing is added after measuring corner to corner to verify the assembly is square. I wanted the bracing to be symmetrical but as you can see the air vent is in the way so we had to skew them slightly.
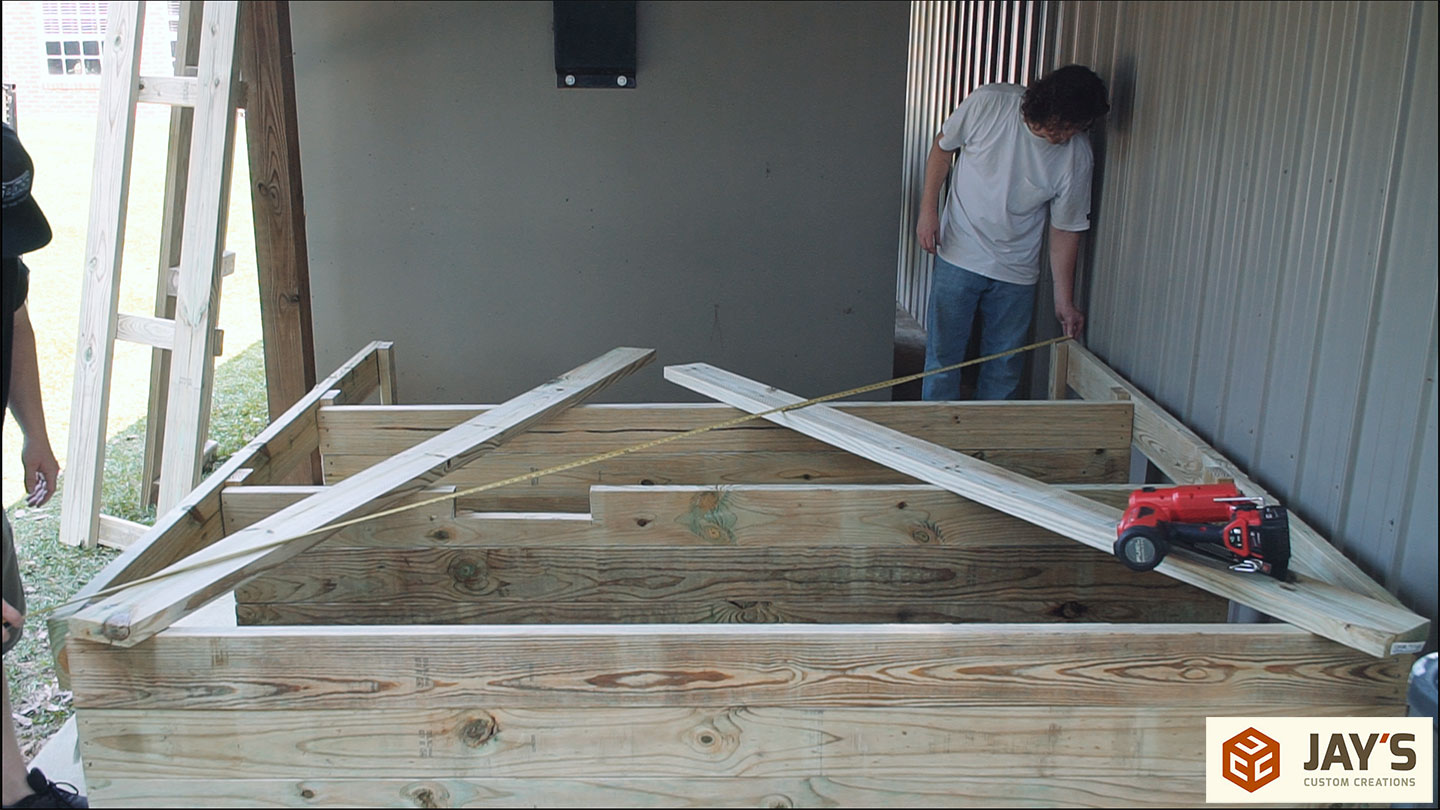
Three nails per attachment point and a quick trim of the excess with a circular saw.
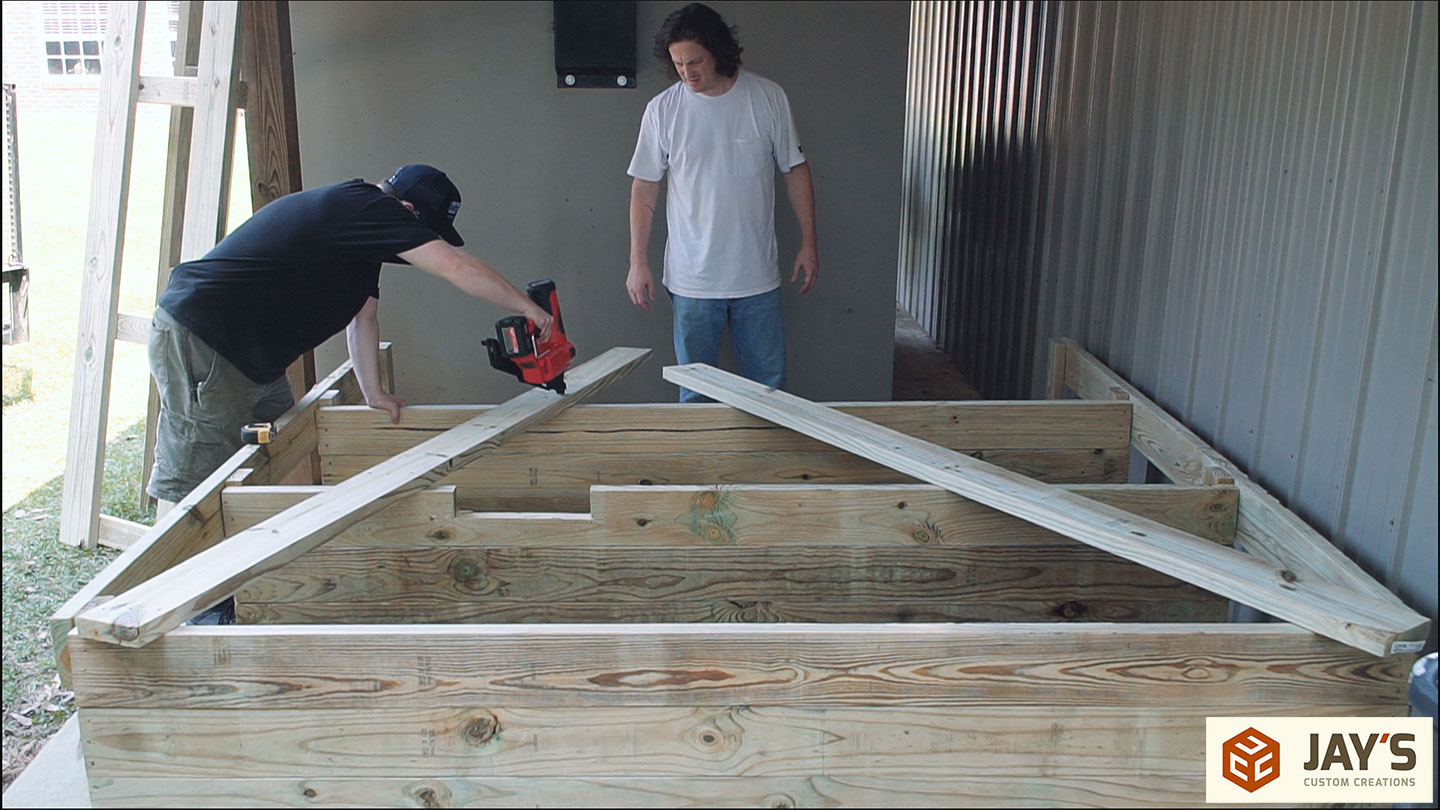
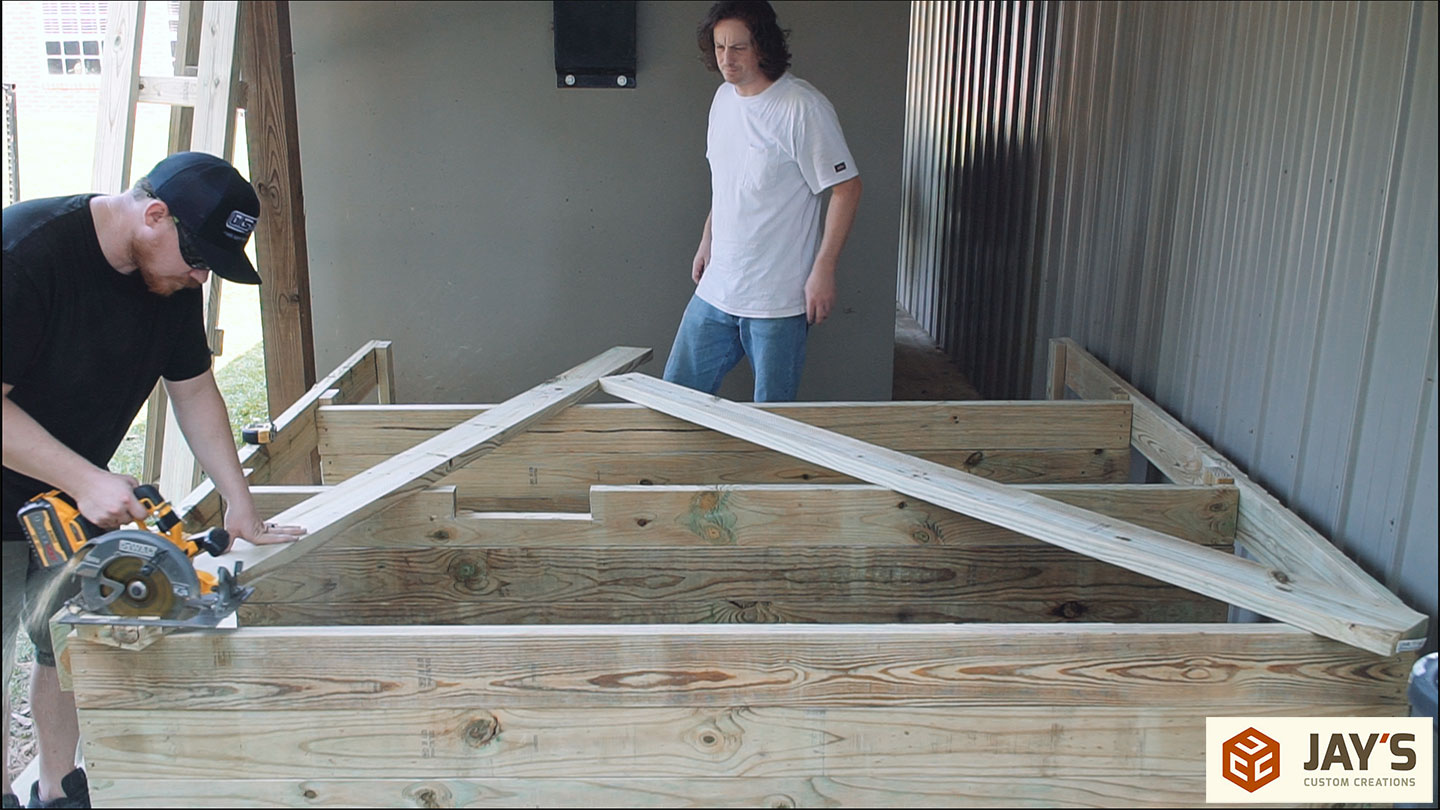
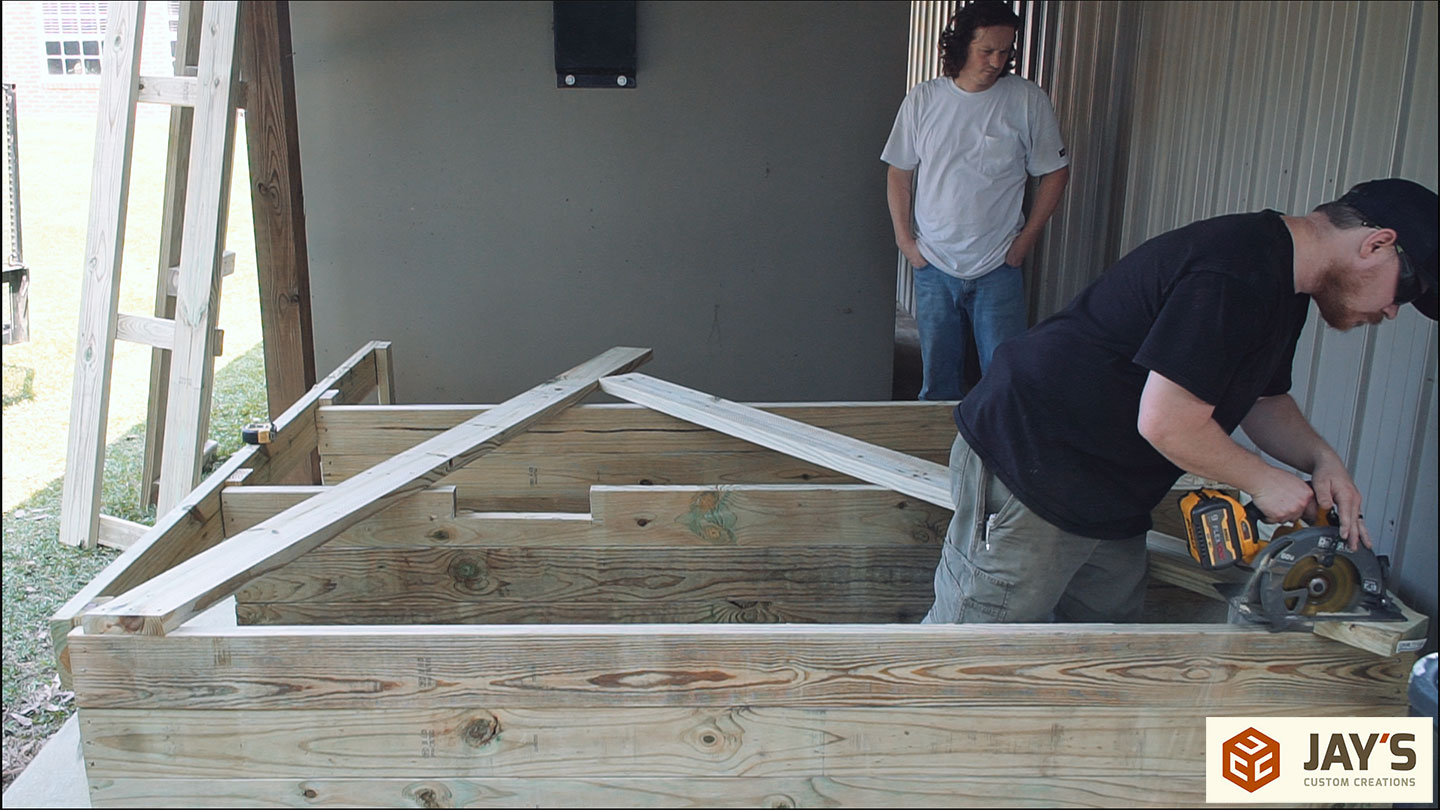
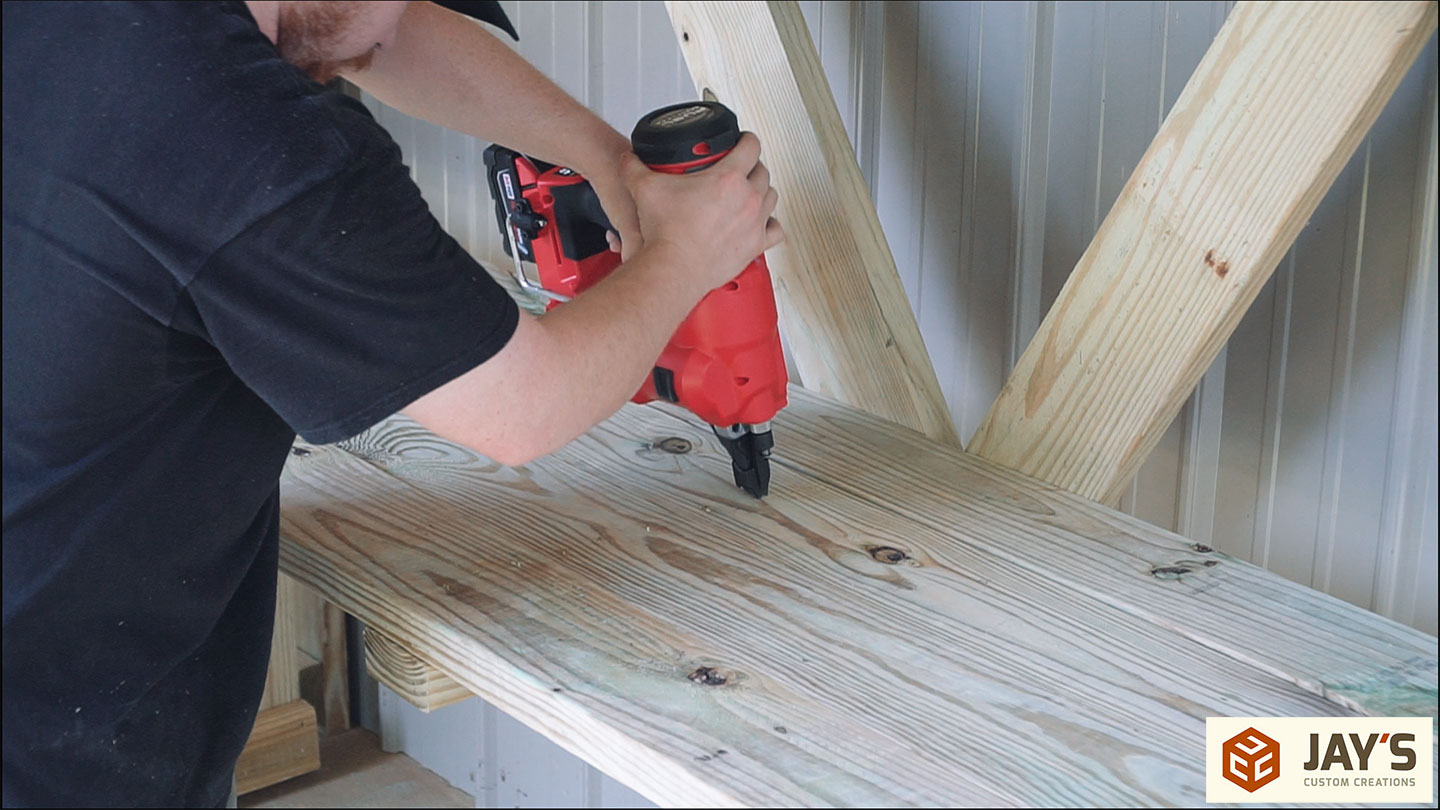
Now the middle shelf supports are added. These are just nailed on with a few nails from below. After the shelves are upright I’ll add some nails on angle from above.
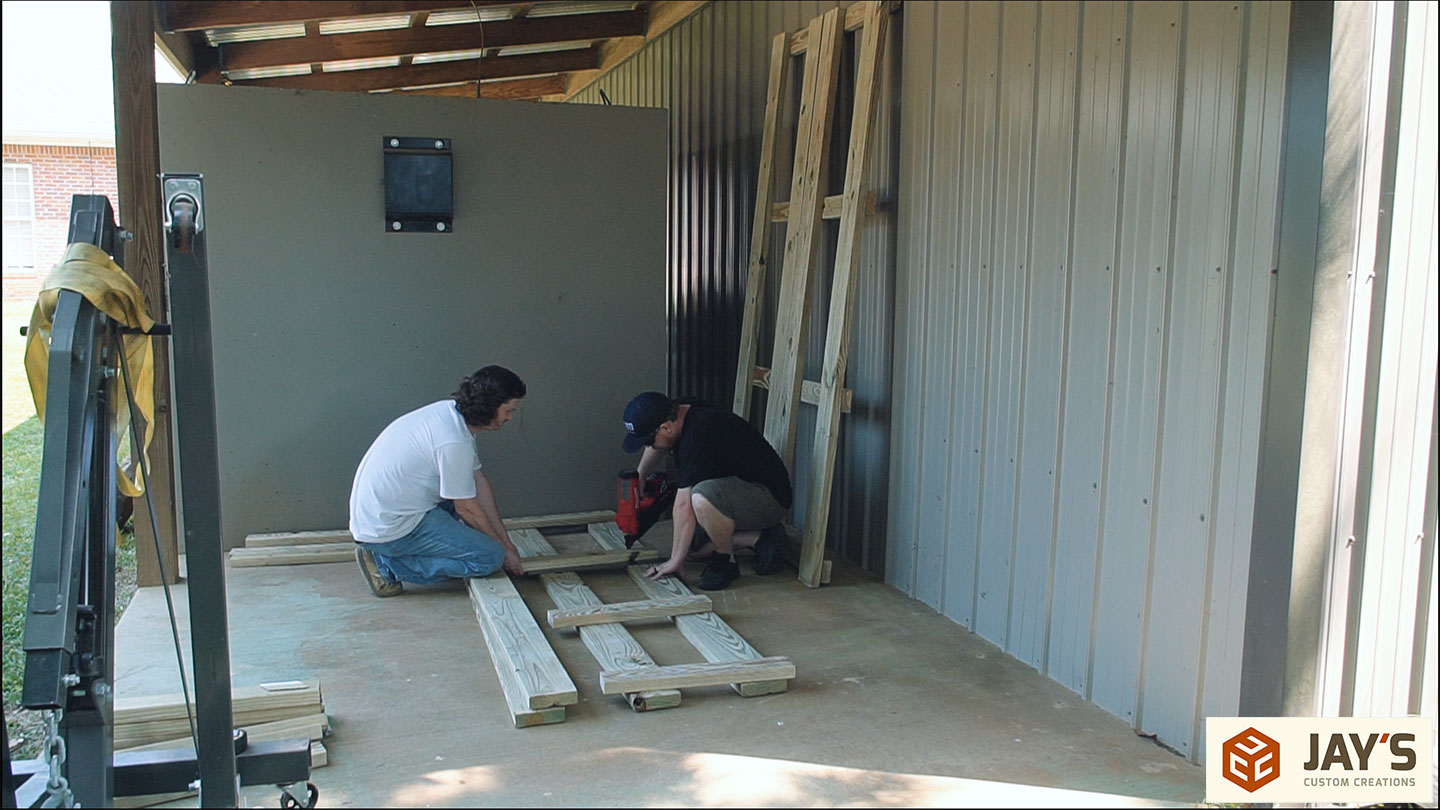
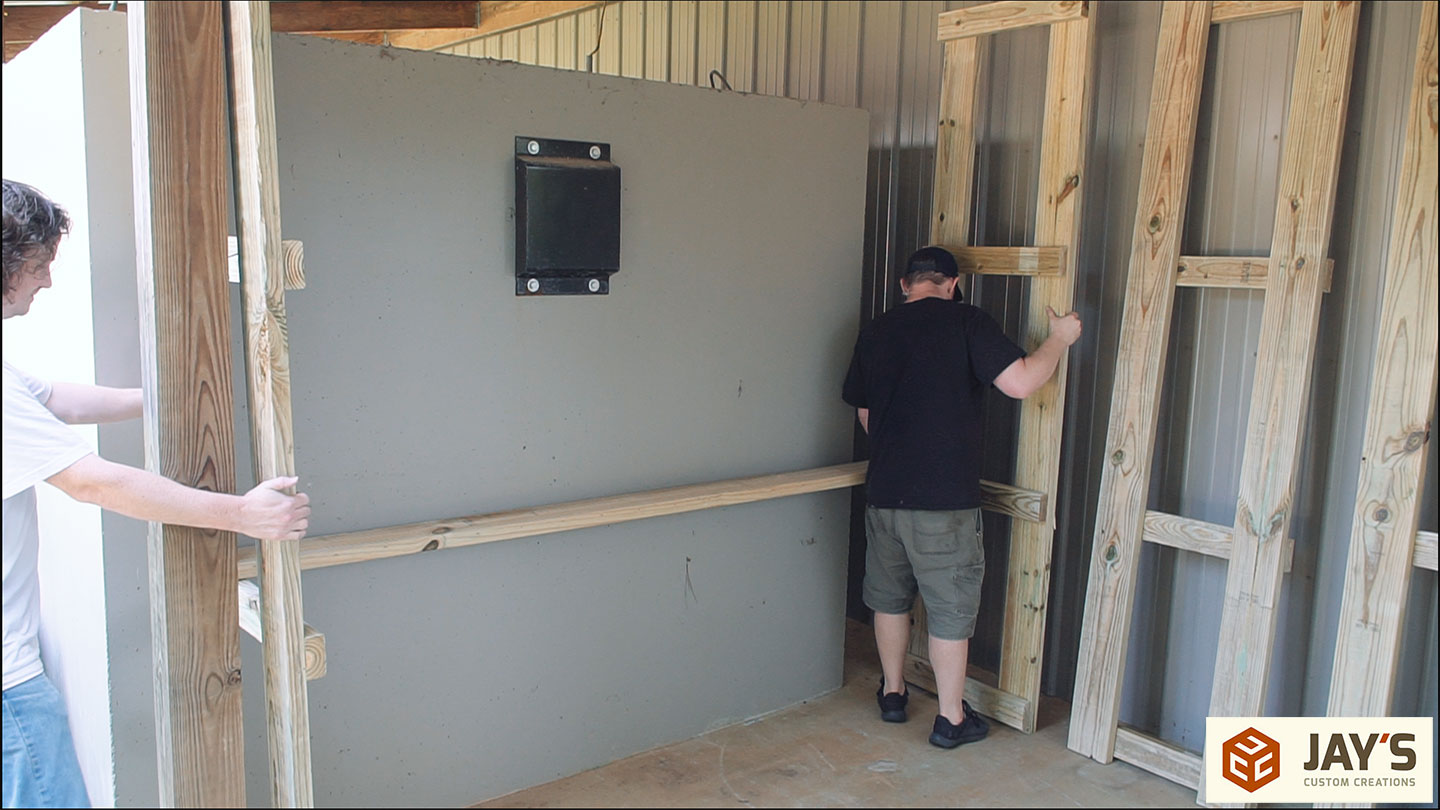
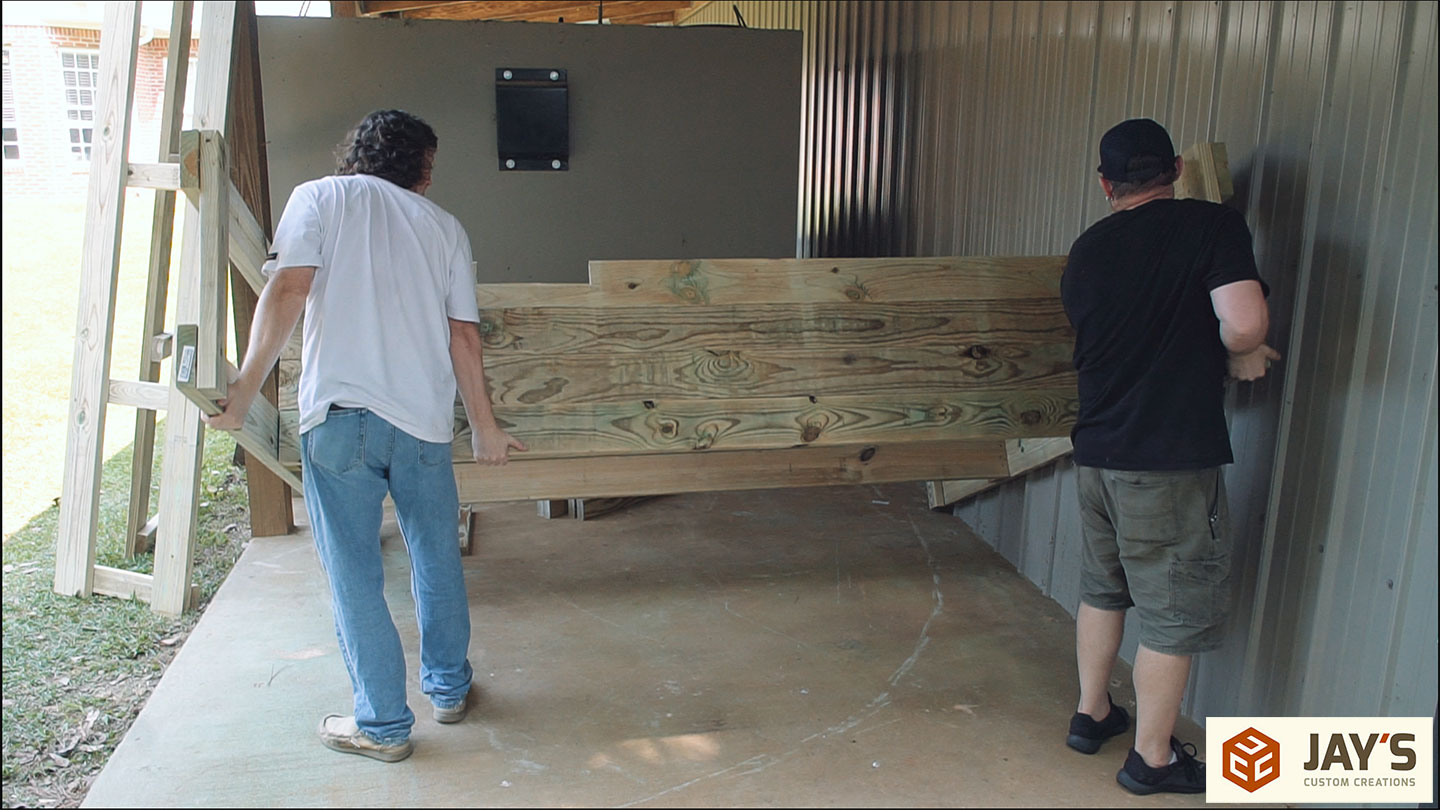
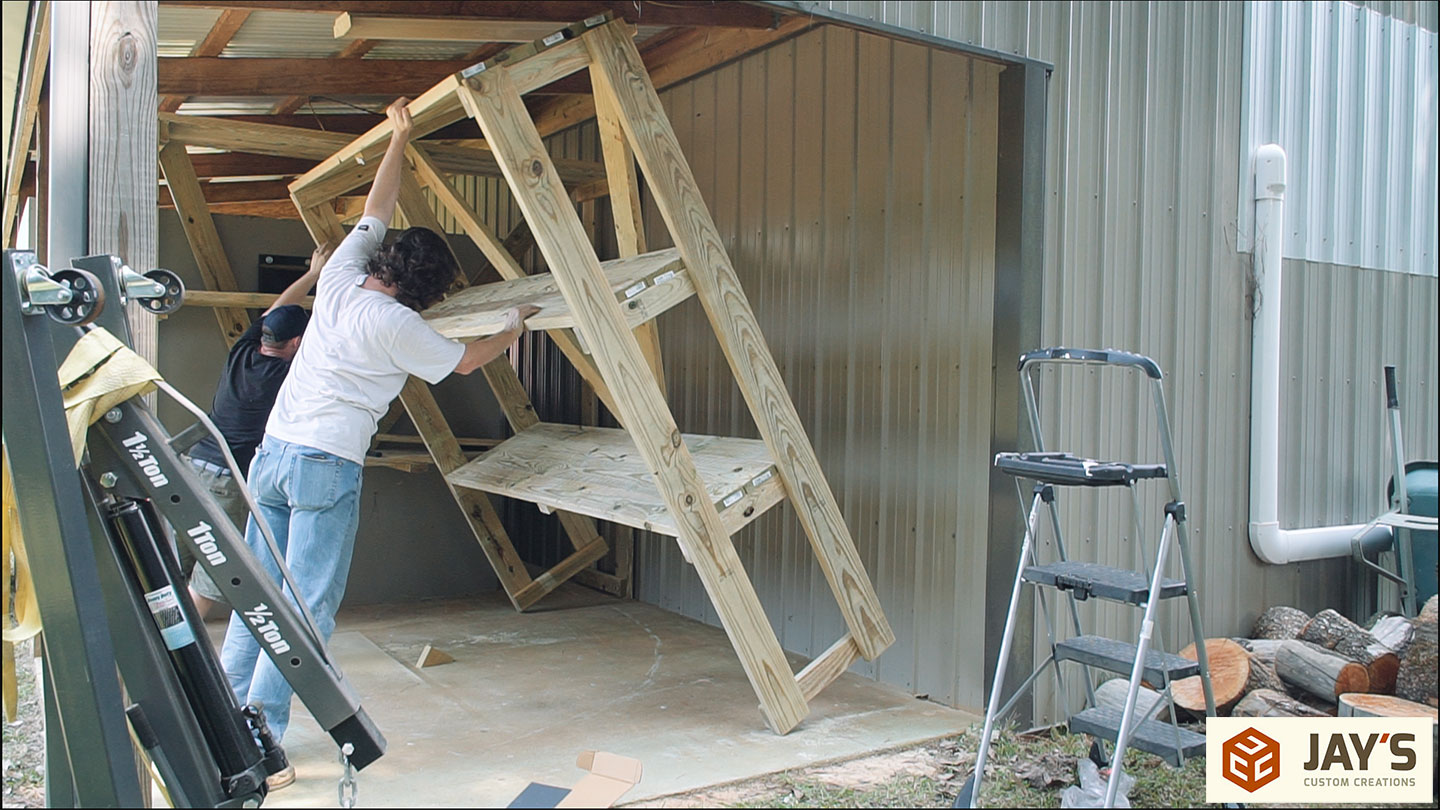
Time to lift it in place. I’m not sure how much it weighs but it was heavier than I expected.
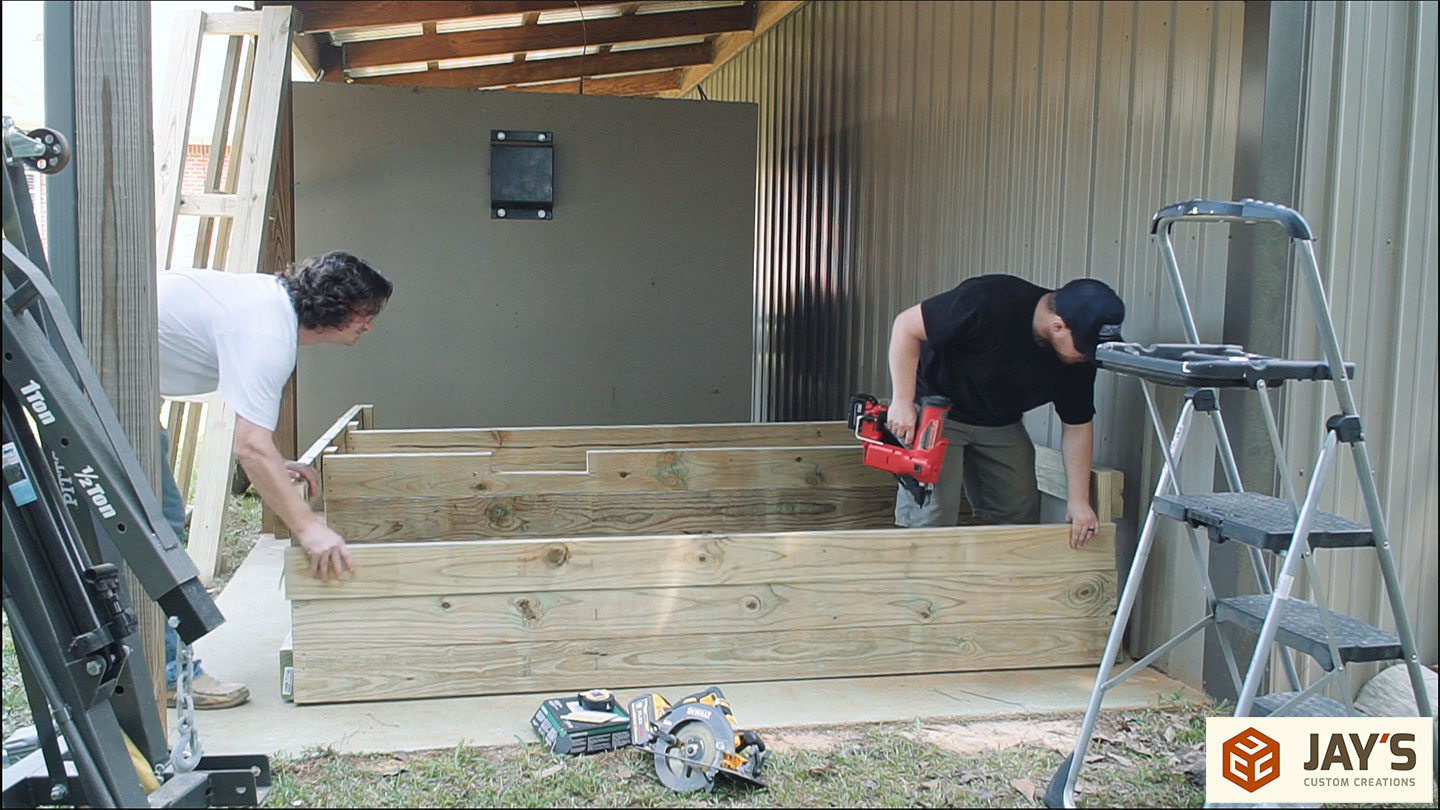
The second one was assembled completely on the floor and a million times easier. This is when I also realized my friend John wasn’t wearing any safety glasses. So shame on me for not noticing earlier. I passed my safety shades to him and let him do the easy work of nailing while I brought over the rest of the lumber for the shelves.


The same process of nailing the diagonal bracing with three nails per connection point followed by trimming the excess off with a circular saw.


The last piece of the puzzle before standing it up was to add the center shelf supports.

The second assembly probably took about half the time of the first. It was definitely a “do it the hard way first” kind of project.
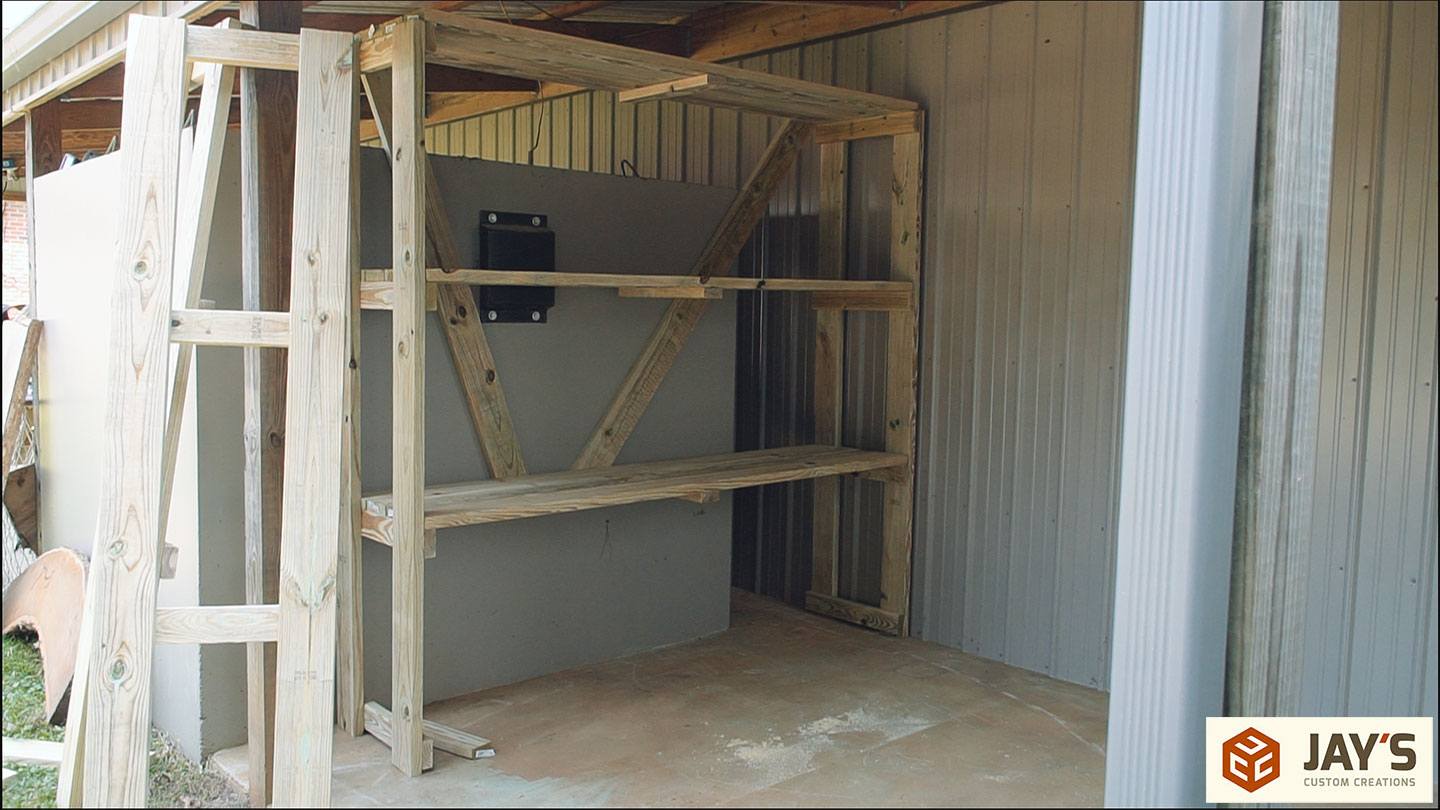
Once upright I added more nails to the top side of the center shelf supports.
Once we wiggled them into place I locked them together with a couple of long screws. I chose screws here just in case I wanted to change the orientation of the shelves in the future. I doubt that would ever be something I will do but removing a screw would be much easier than a framing nail in this situation.
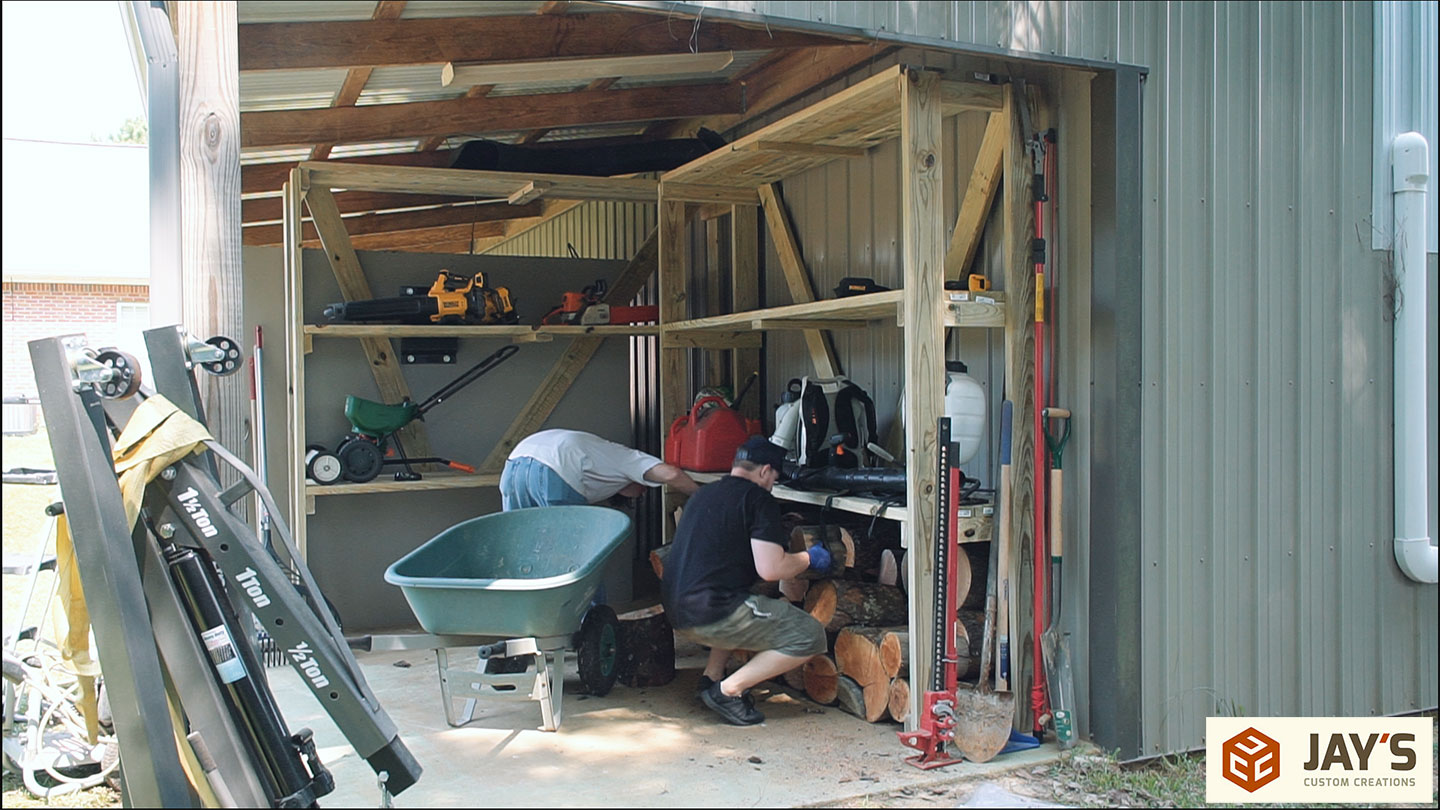
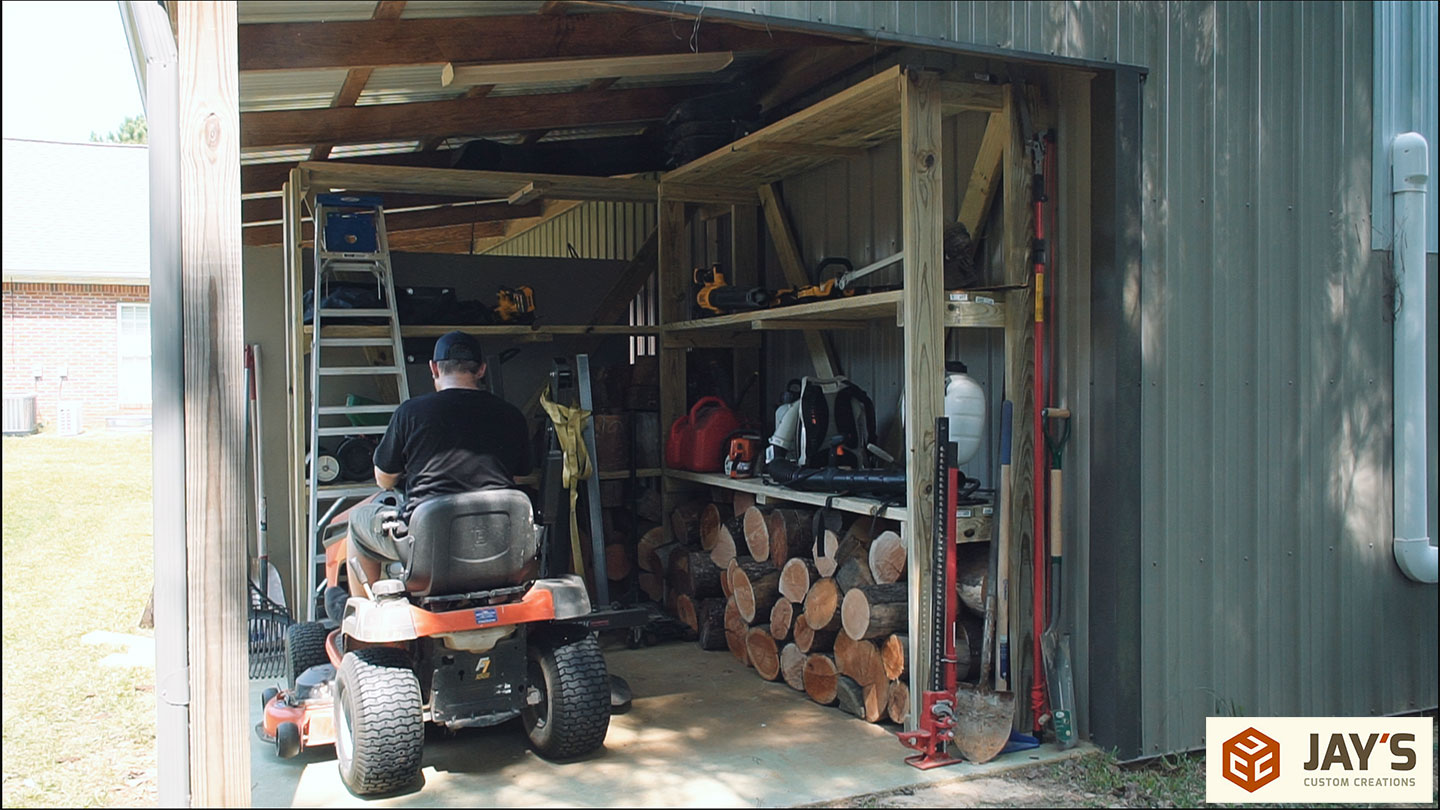
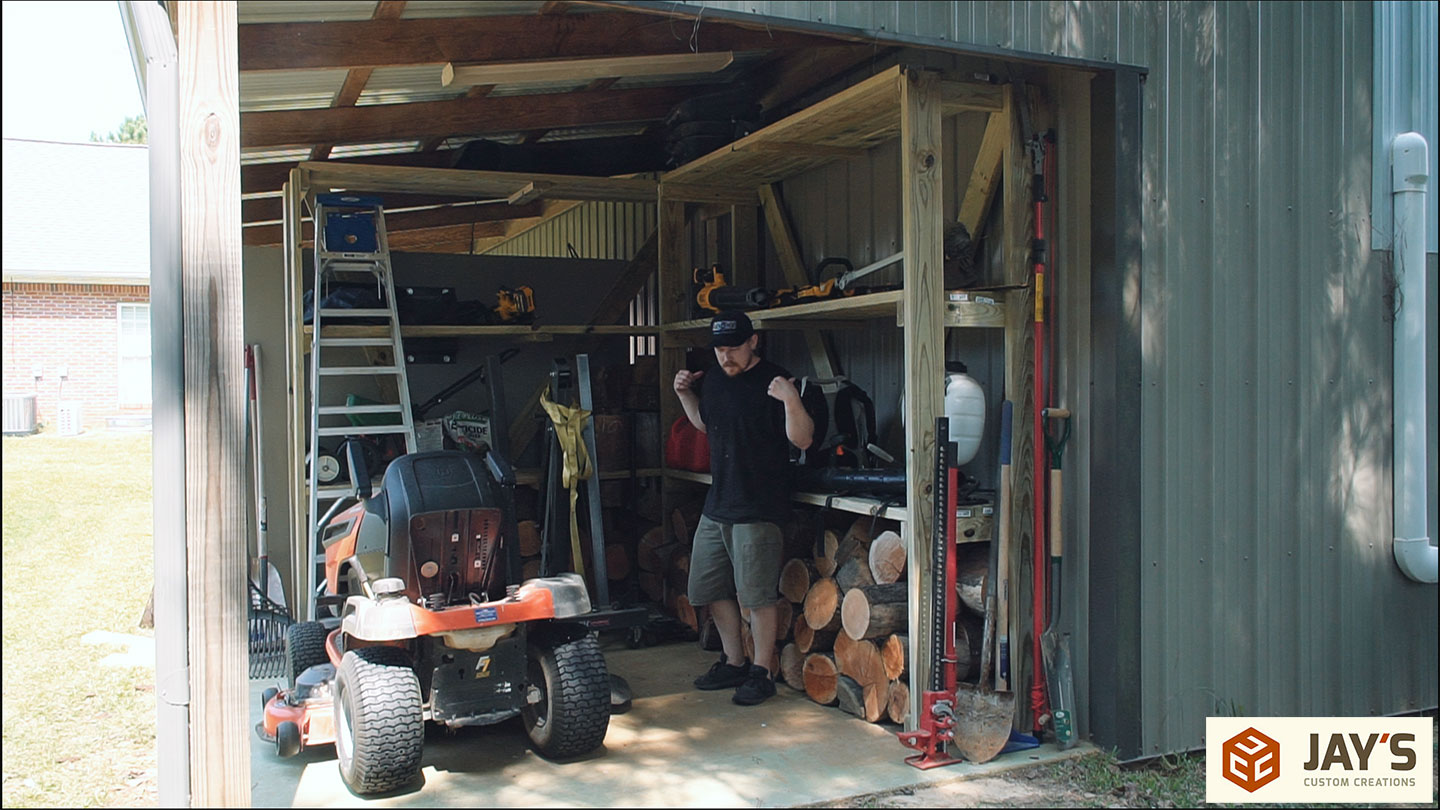
And lastly the fun part of loading it up. Keep in mind that these are just basic storage shelves so some items aren’t exactly optimally stored. For example, I have a shelf for my battery powered string trimmer and hedge trimmer. It would probably be a better use of space to store them vertically but I didn’t want anything specific. This gives me the greatest long term flexibility as things change. The top shelf is 8′ tall so it’s for long term storage. The middle shelf is for stuff that isn’t heavy to lift, as I already have one bad shoulder. The lower shelf is for common stuff and heavy tools. I also chose the height of this shelf to aid in putting on and taking off my backpack blower and sprayer. And of course all of my grilling wood can go on the ground below the lower shelf. I also need a spot on the ground for my pressure washer. The vertical space to the side of each shelf system is to lean up rakes and shovels and such. These are grab and go items that don’t really require an organization solution in my opinion. Just a small enough space that they all fit and nothing gets buried.
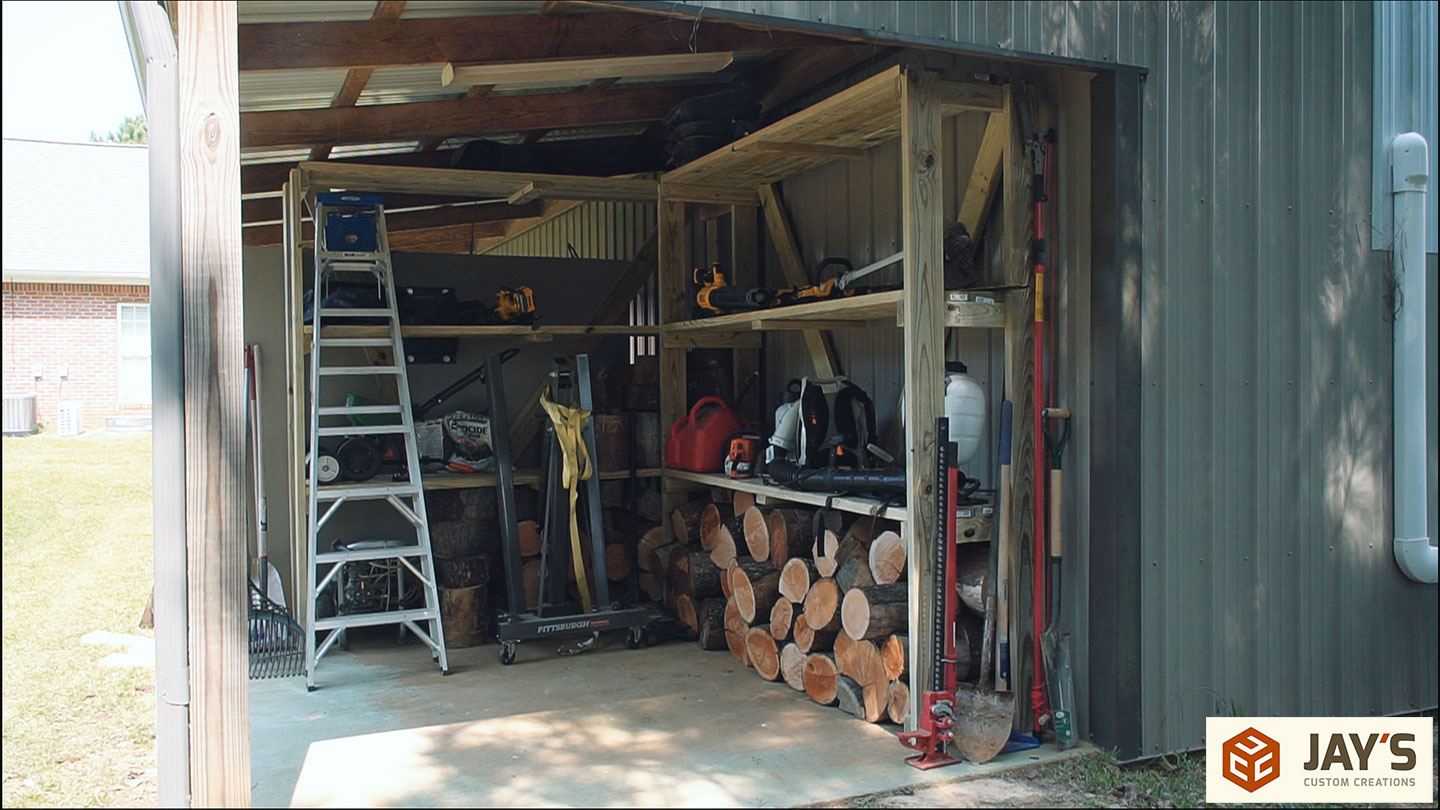
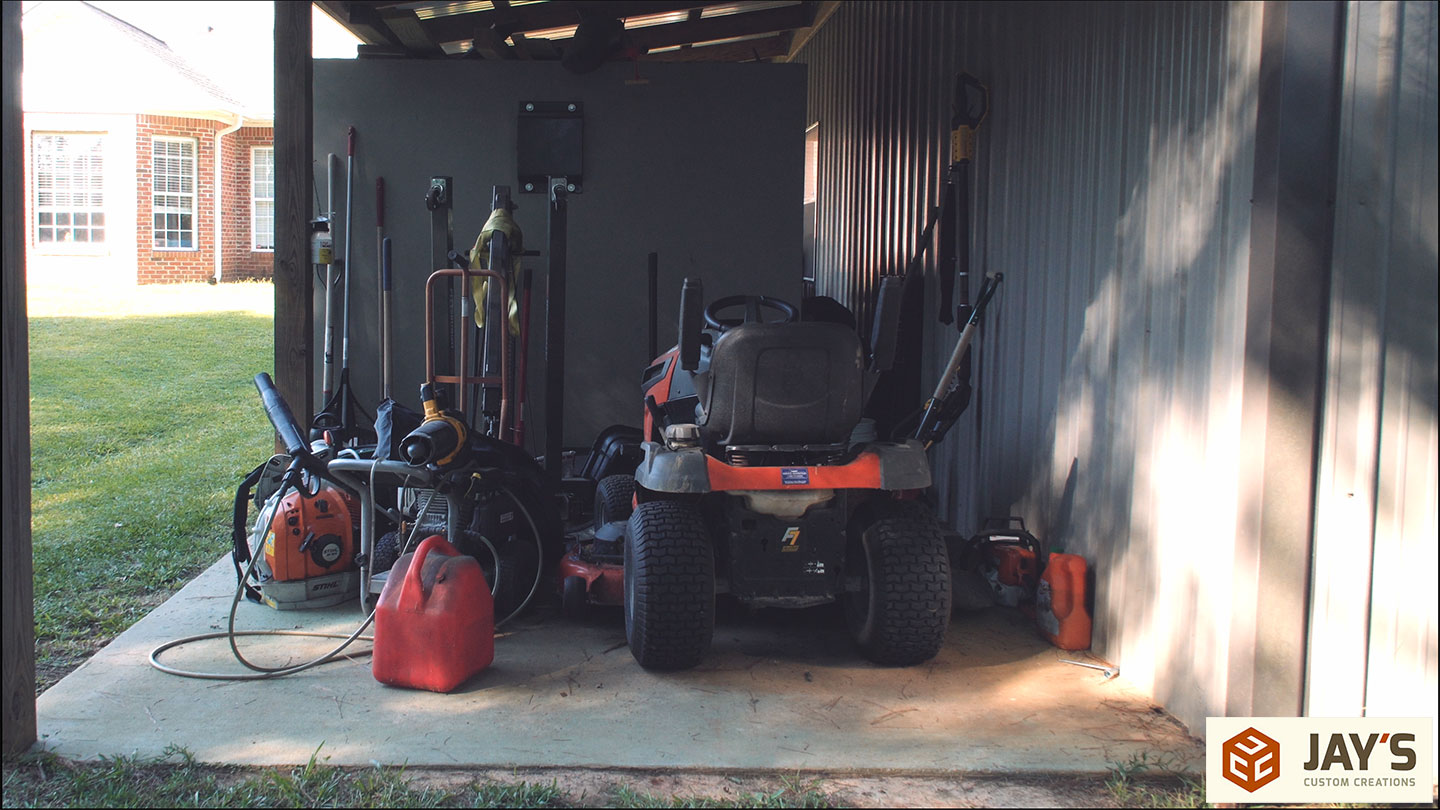
With everything loaded up there is enough open space to not only store the lawnmower but also to have a walkway to easily access everything on the shelves.
In case you are wondering, it takes longer to smoke a rack of ribs on the grill than it did for us to do all of this work. We started the day by putting some ribs on the grill and finished the day by eating them. This is a very basic design that I’m sure you can figure out on your own but if you would like the SketchUp file for this then click here. The link will download a .zip file containing the SketchUp file saved with the SketchUp version 8 format. That’s it. Have a good one and I’ll talk to you later!


Thank you for posting this informative article. It never ceases to amaze me how many times I’ve finished a project only to call it a “prototype” and make a better one.
Great how-to uncluttering and organizing space video.
That little Boss Lady might give you a run for your money when she gets older. Treasure the time with her, for time passes very quick.
It’s already passing by so fast.
great job Jay as usall.
Paul