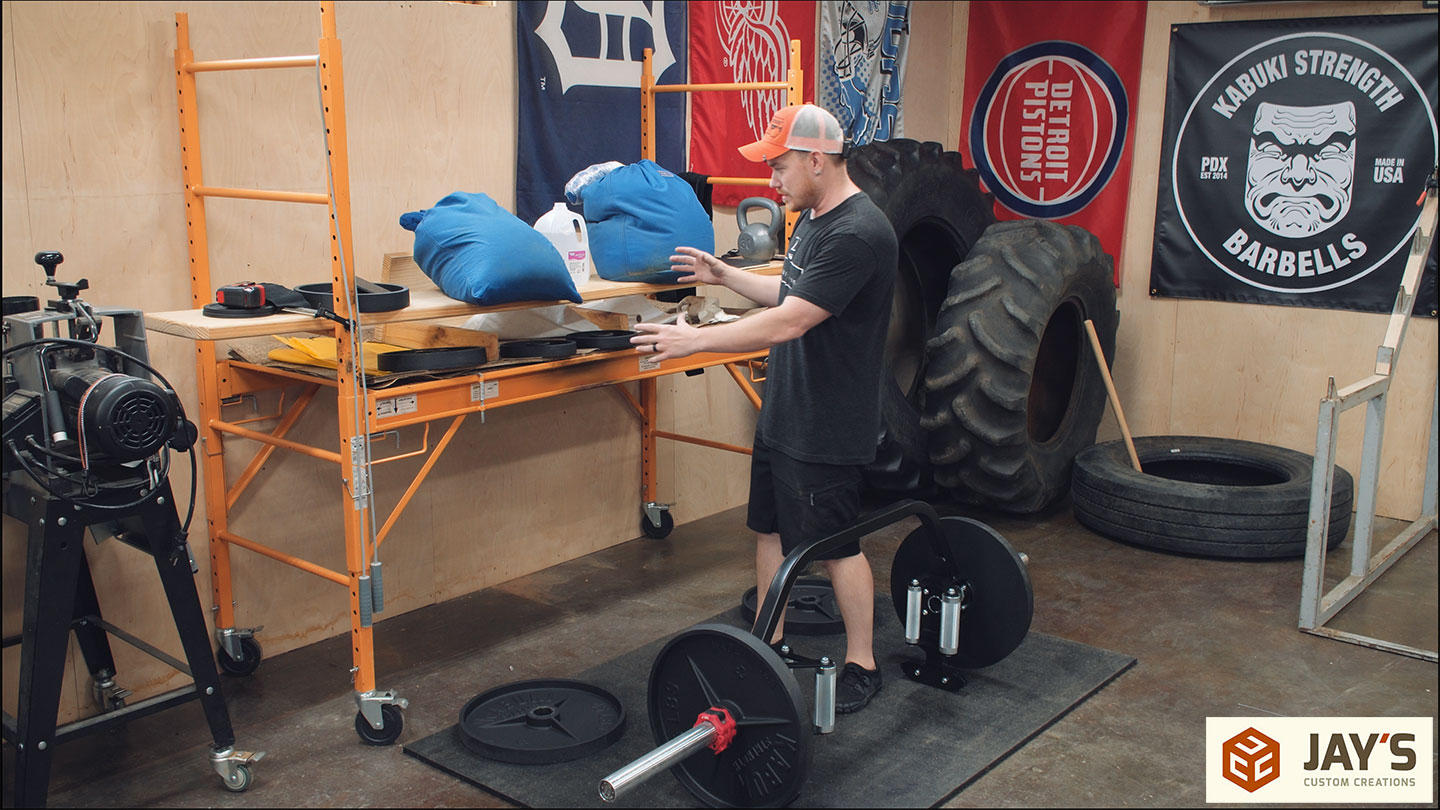
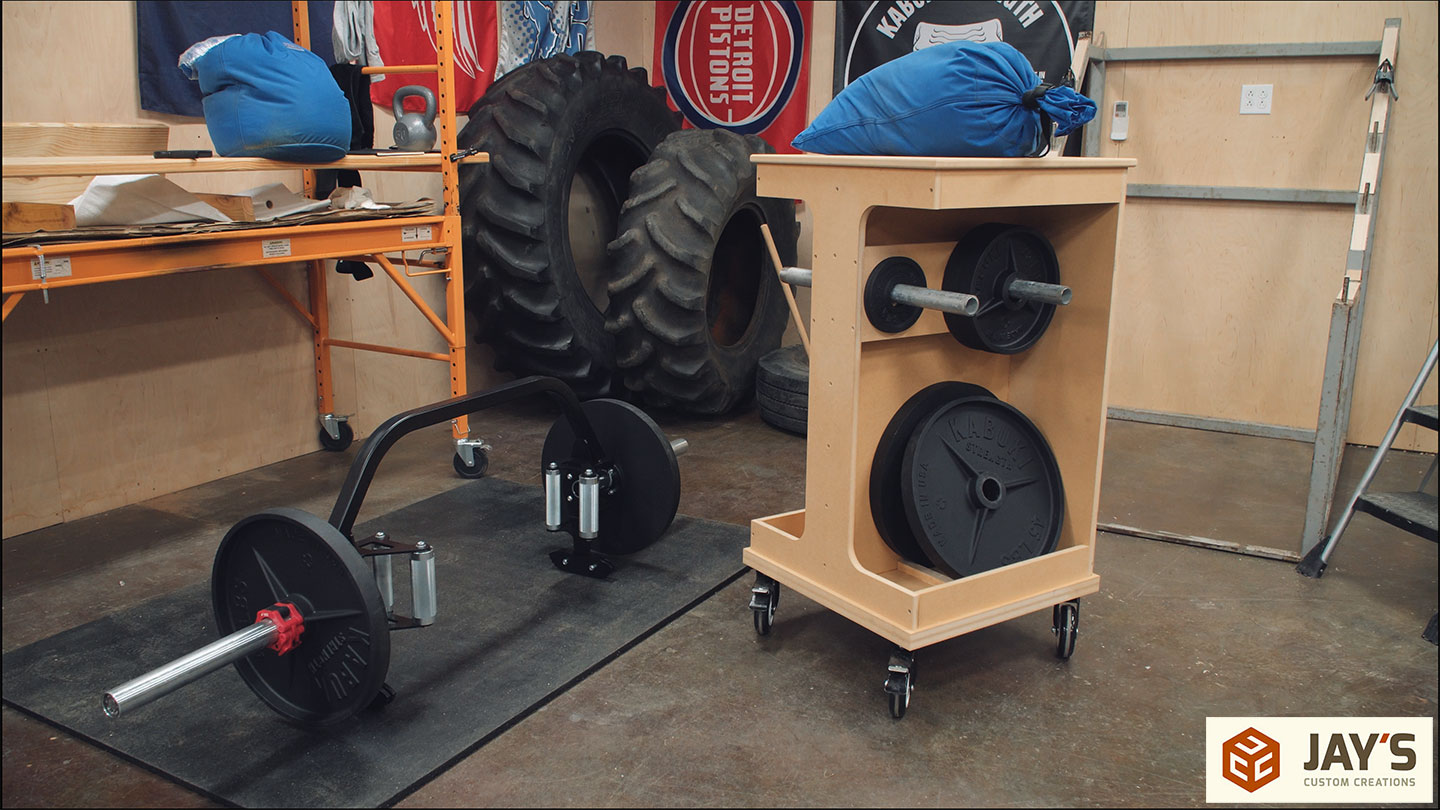
I’m in the process of building a home gym in my shop and my most recent order has arrived. A Kabuki Strength Trap Bar HD and some Kabuki weight plates. The Trap Bar HD is an incredibly versatile bar and anyone in the fitness realm should definitely give it a look if you haven’t already. It’s a topic for another day though. Today’s agenda is to give the weight plates a home. To replace this scaffold, and take up much less space, I designed a cart that will double as a sandbag platform.
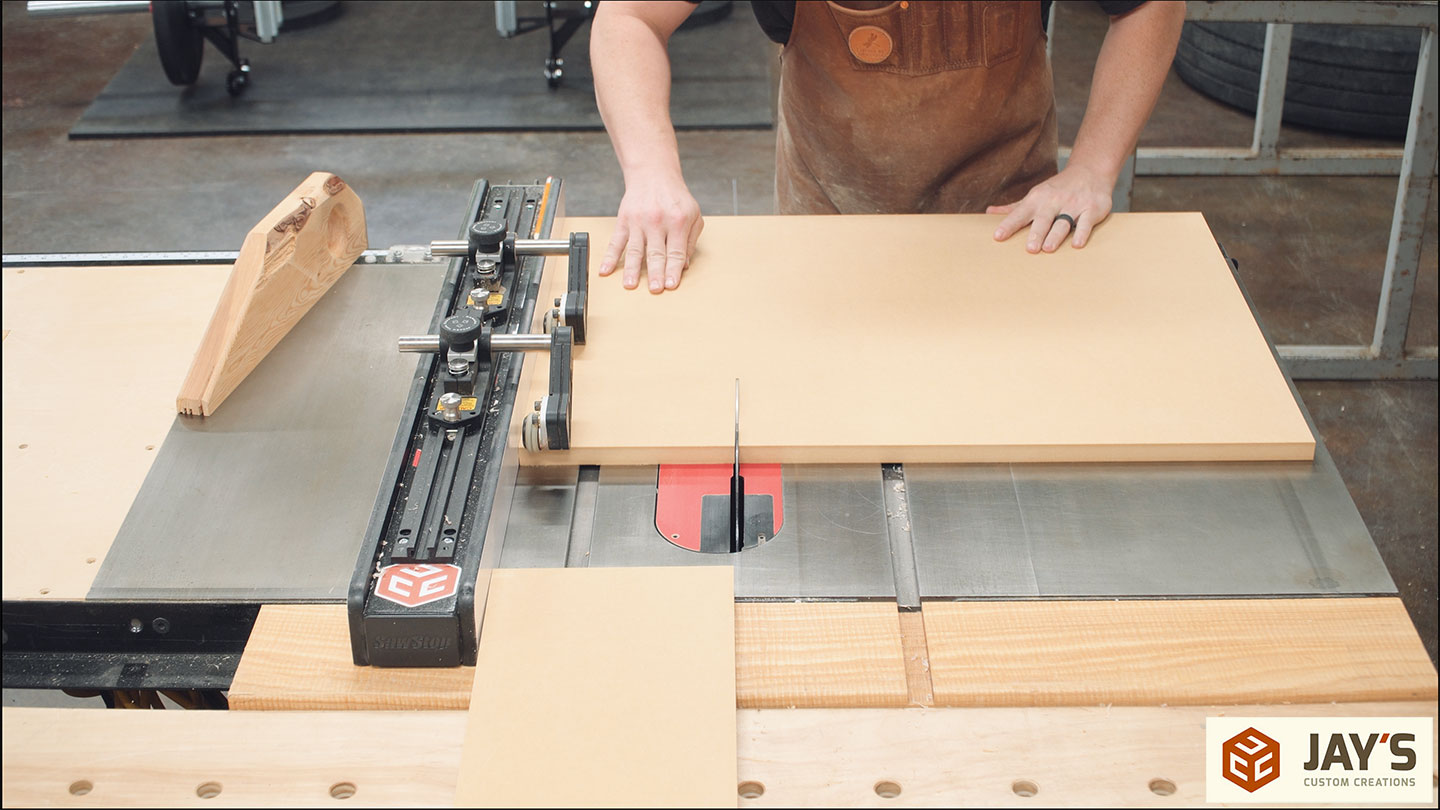
The build is pretty easy. Nothing complicated. I’m using MDF for this as I have a few extra half sheets on hand. For utilitarian projects, I generally say that the best material to build with is the one you already have. No need to spend a bunch of extra money on materials if you don’t have to. In total, it took 1-1/2 full sheets of 3/4” MDF for this build. All of the pieces were broken down at the table saw first.

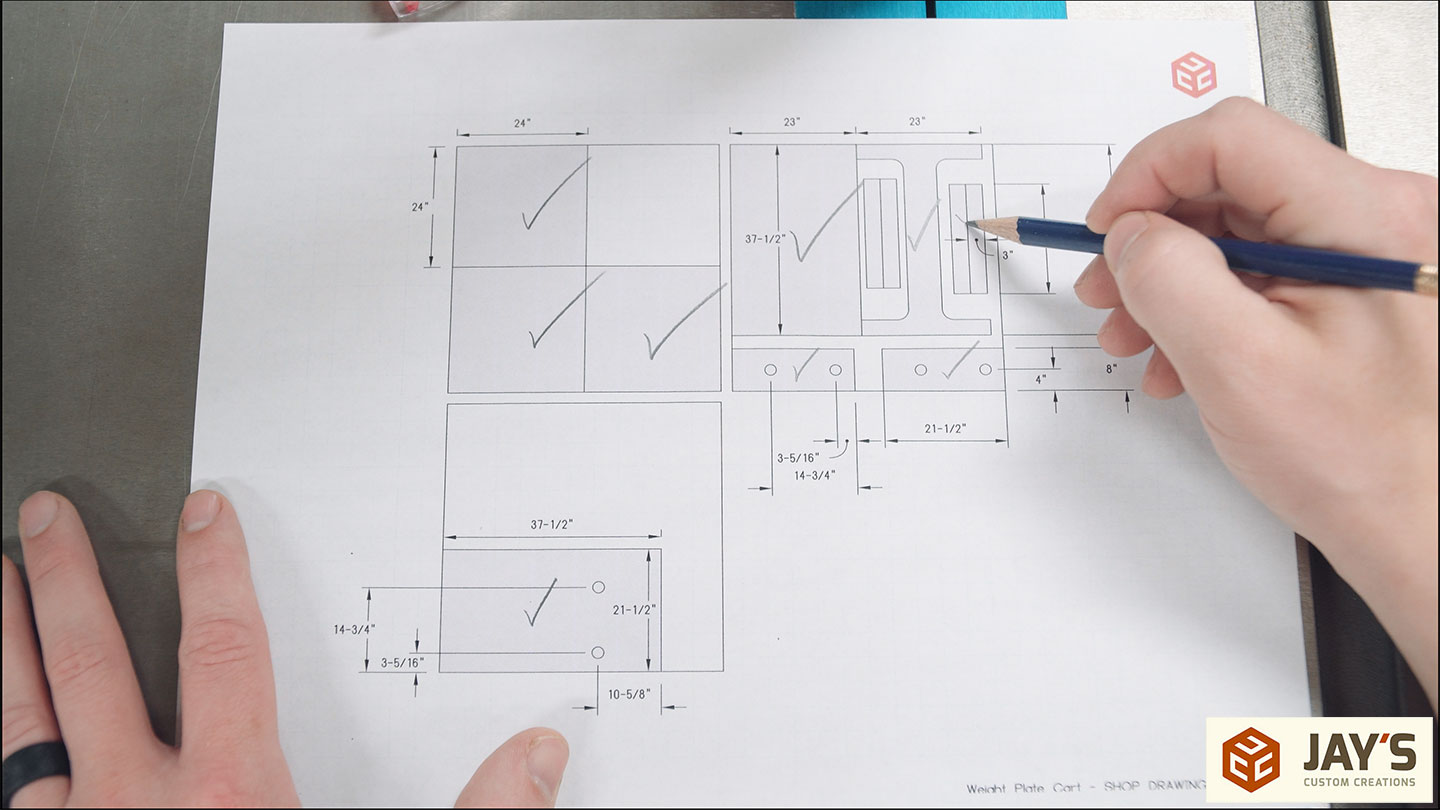
Speaking of all the pieces, click here to download my shop drawing file for the cuts. It’s not a full-blown assembly diagram but it does contain all of the dimensions necessary for the build if you are interested. Correction; I see that I never added the cutout dimensions for the front piece with the cutout. On that piece the top and bottom are left at 3” and the center section is 6” wide.
For the front cutout, I used the CNC machine.

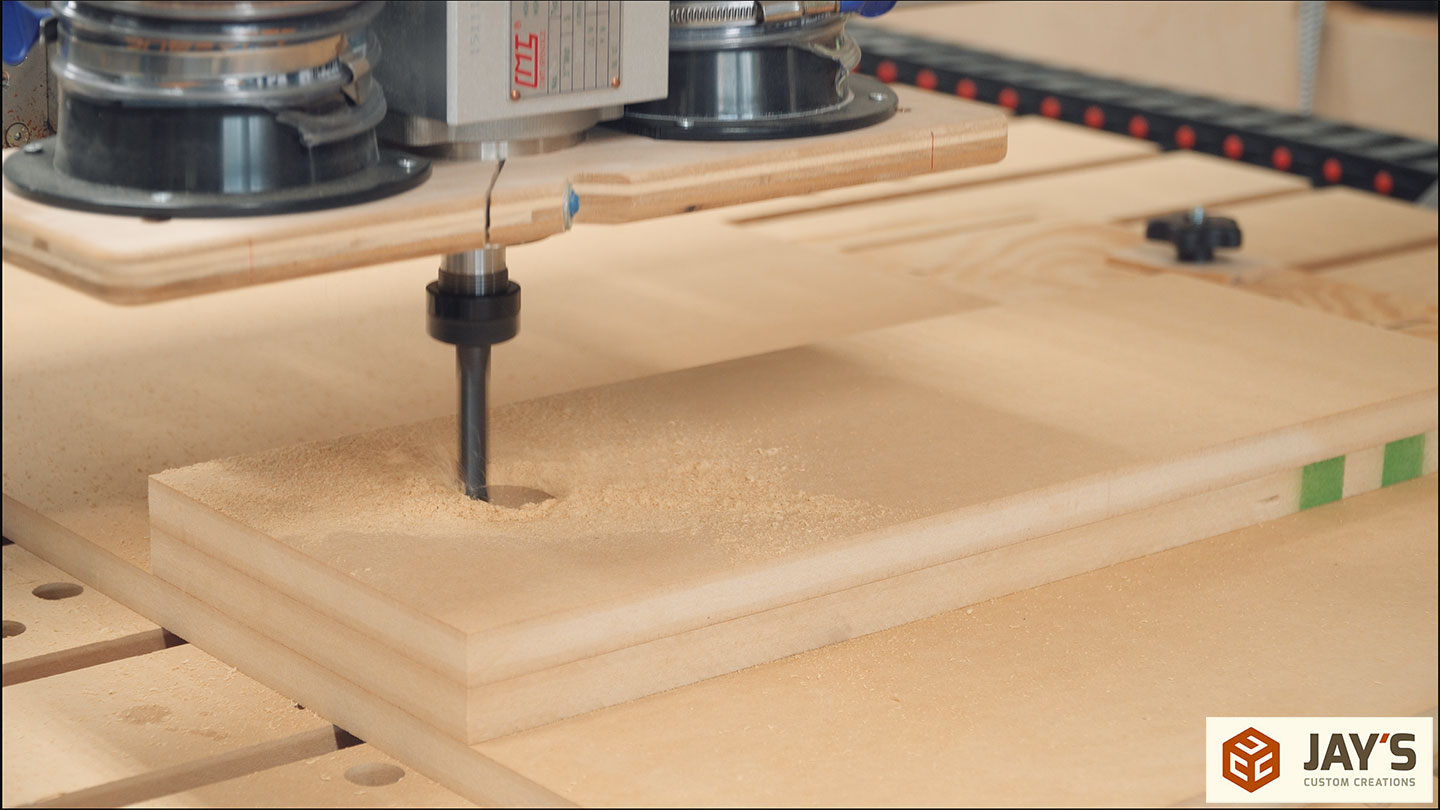
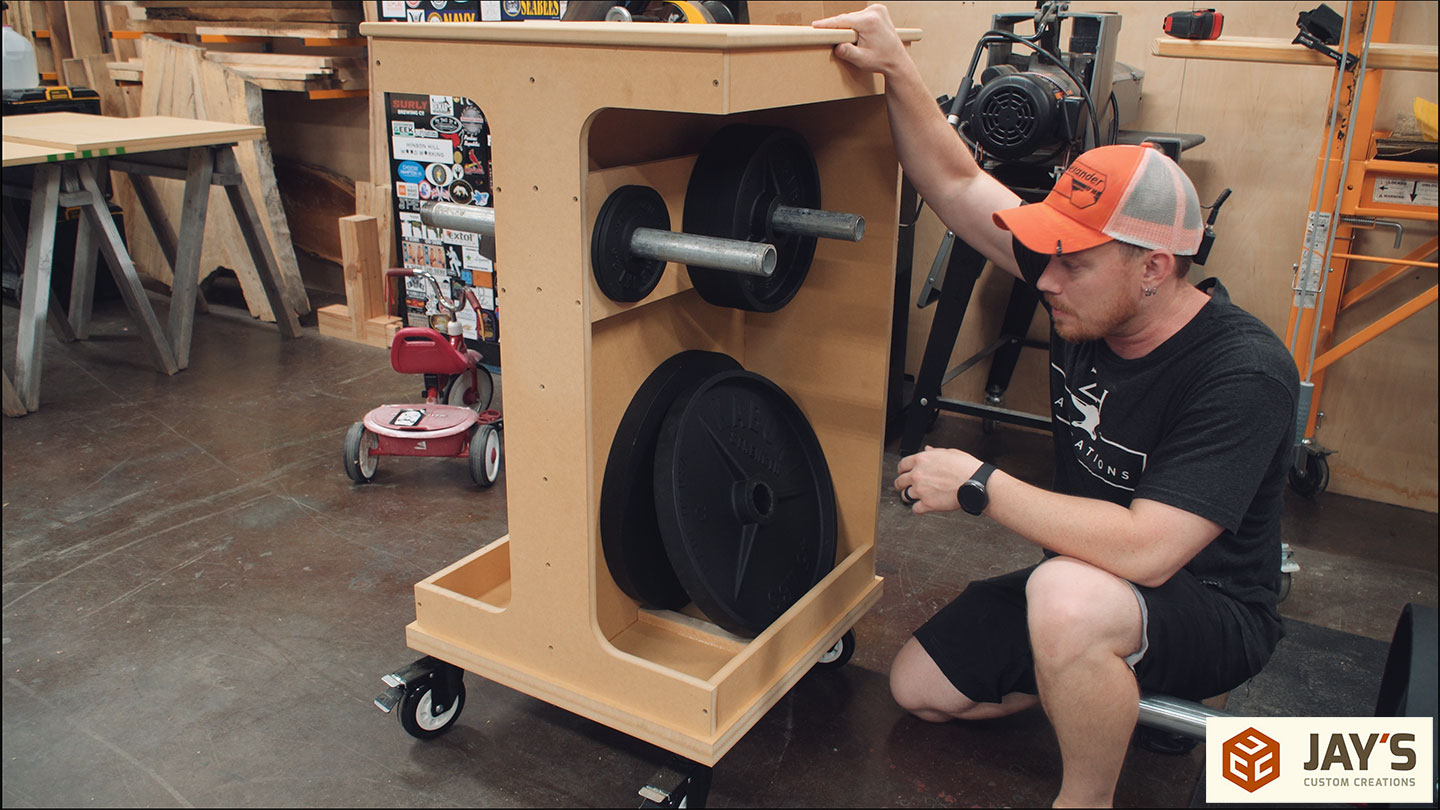
The larger 45lb plates will rest on the bottom of the cart. The 25, 10, 5, and 2.5lb plates will hang from pipes. To add stability to the pipe I wanted it to pass through three layers of the MDF. The three layers will eventually be spaced out but I stacked them to be cut at the same time.

The CNC again for the holes. Of course, a drill or a drill press could be used for this but my CNC workflow is pretty darn fast so that’s the route I went.
Then the pieces can be pulled apart. Pin nails were used to secure them so they pulled apart relatively easily.
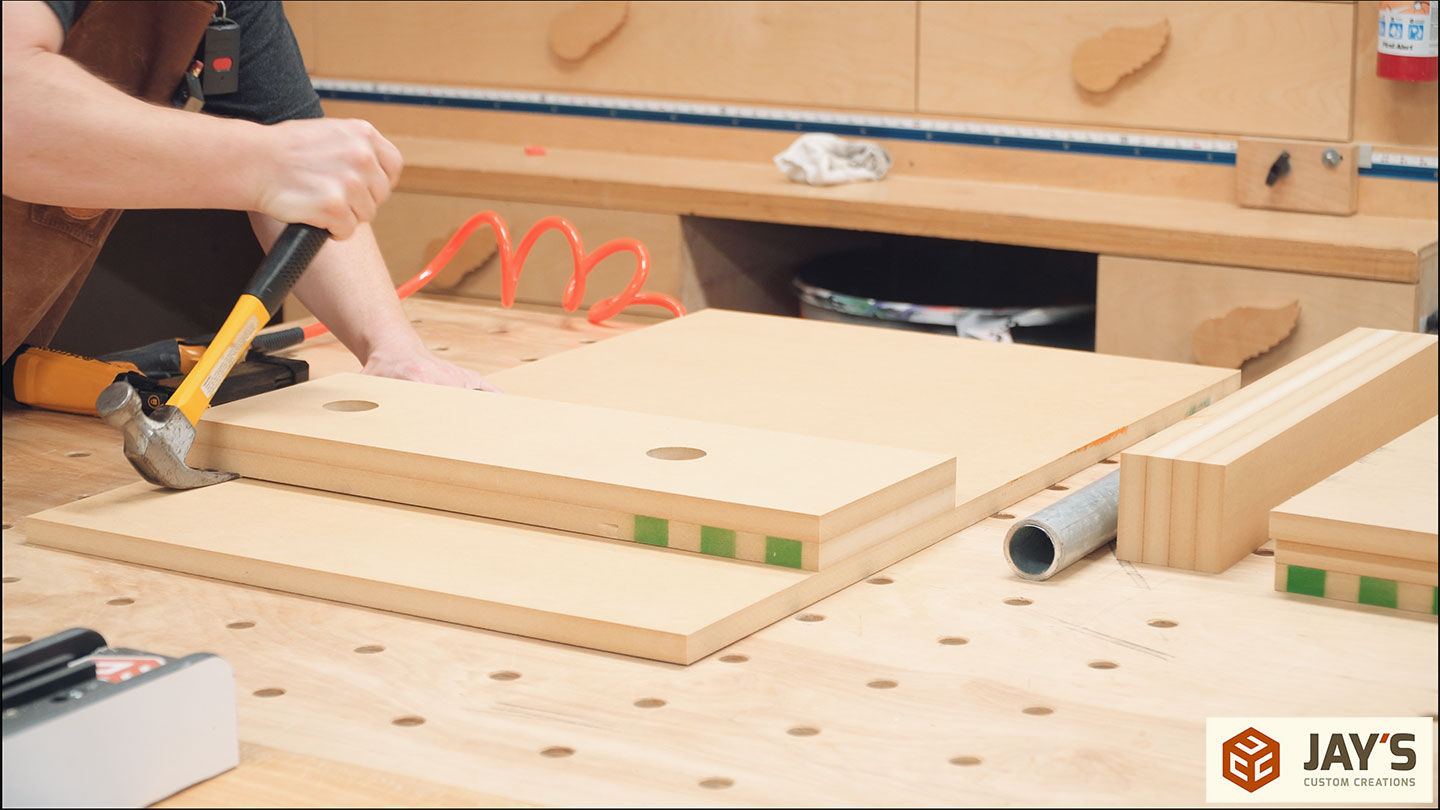
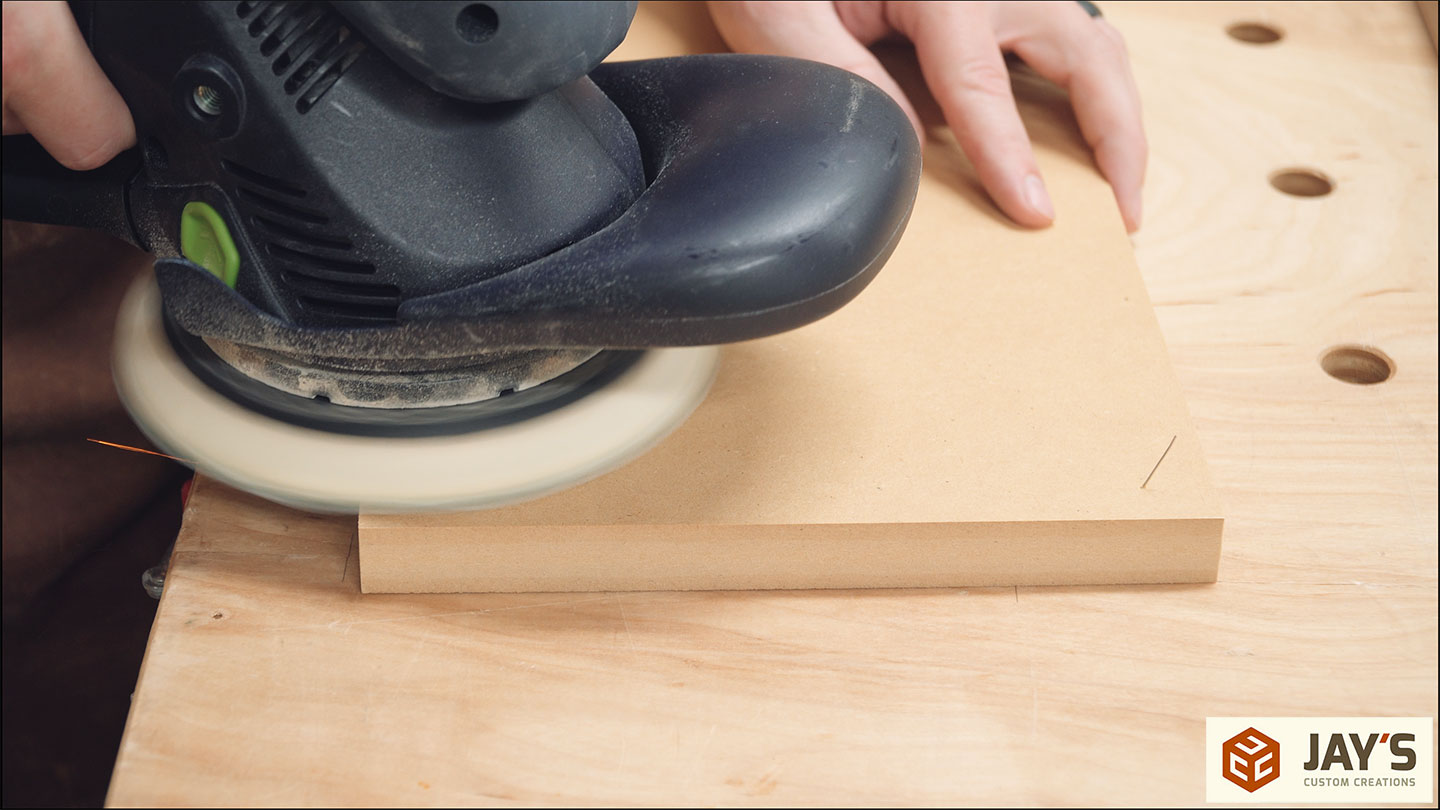
If it’s a utilitarian or a paint grade project then I usually won’t pull the nails. It’s much easier to just sand them off and you don’t risk any blowout from the nail pulling on the surface.
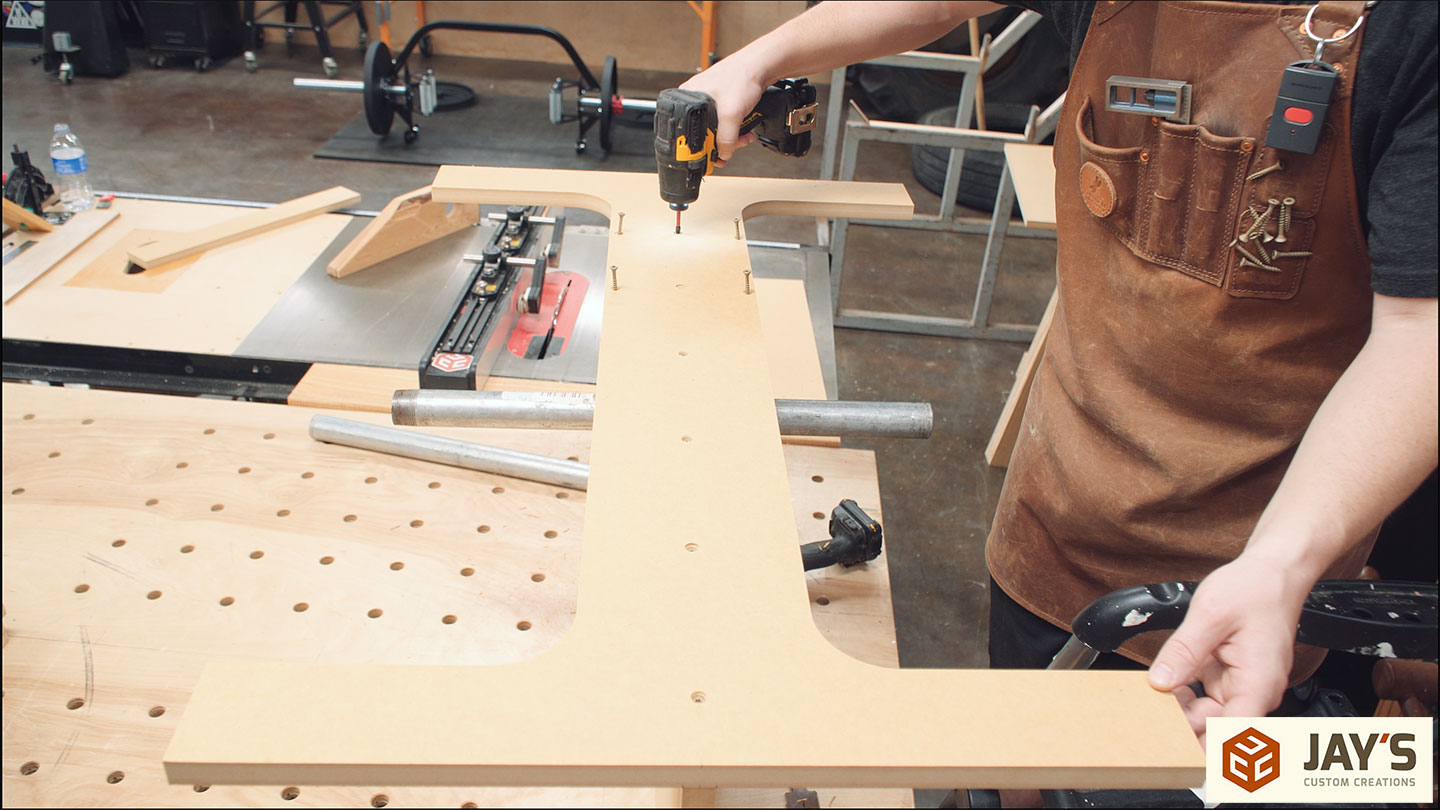
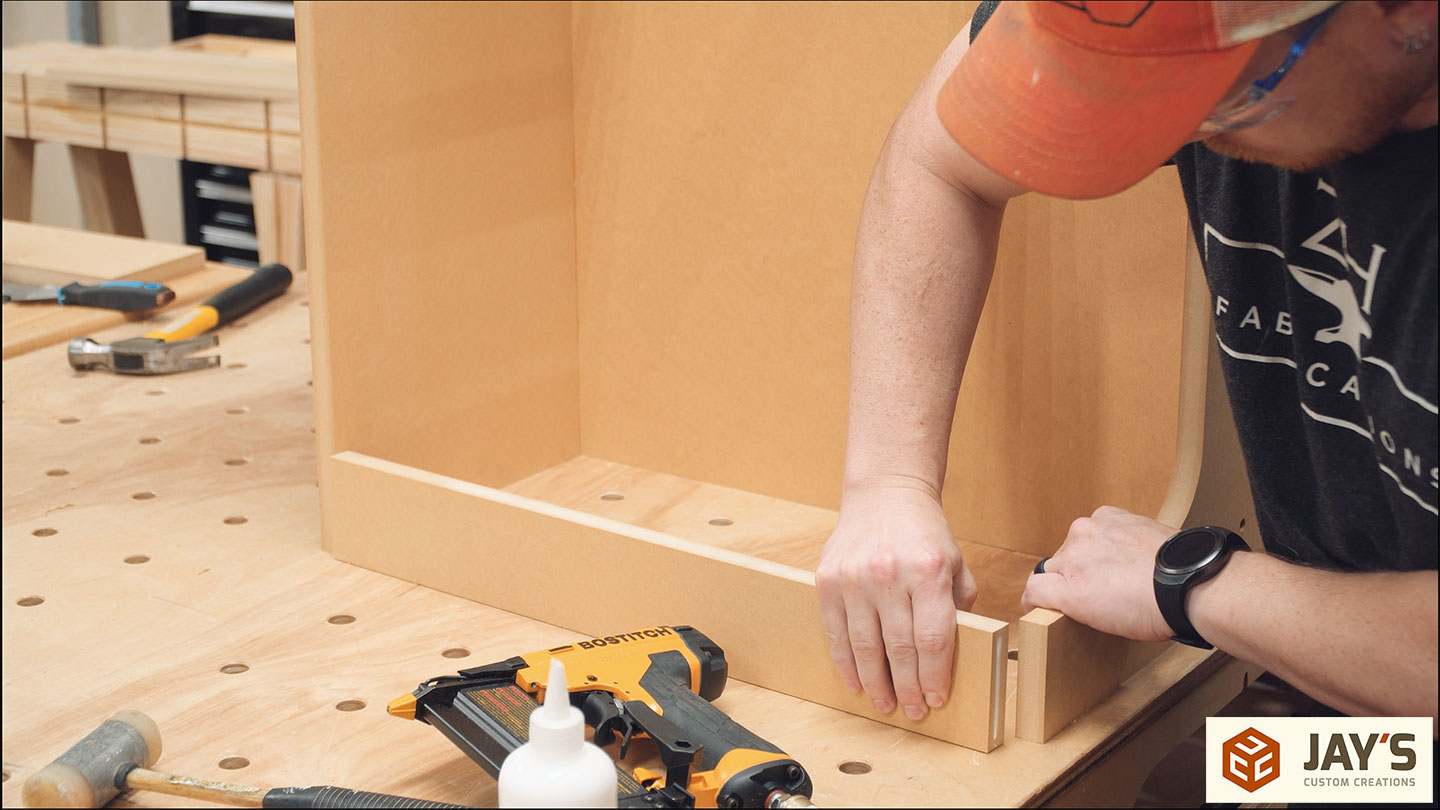
Time for assembly. First, the pipe is inserted between the center divider and both pipe support pieces. Glue is added to the edges.

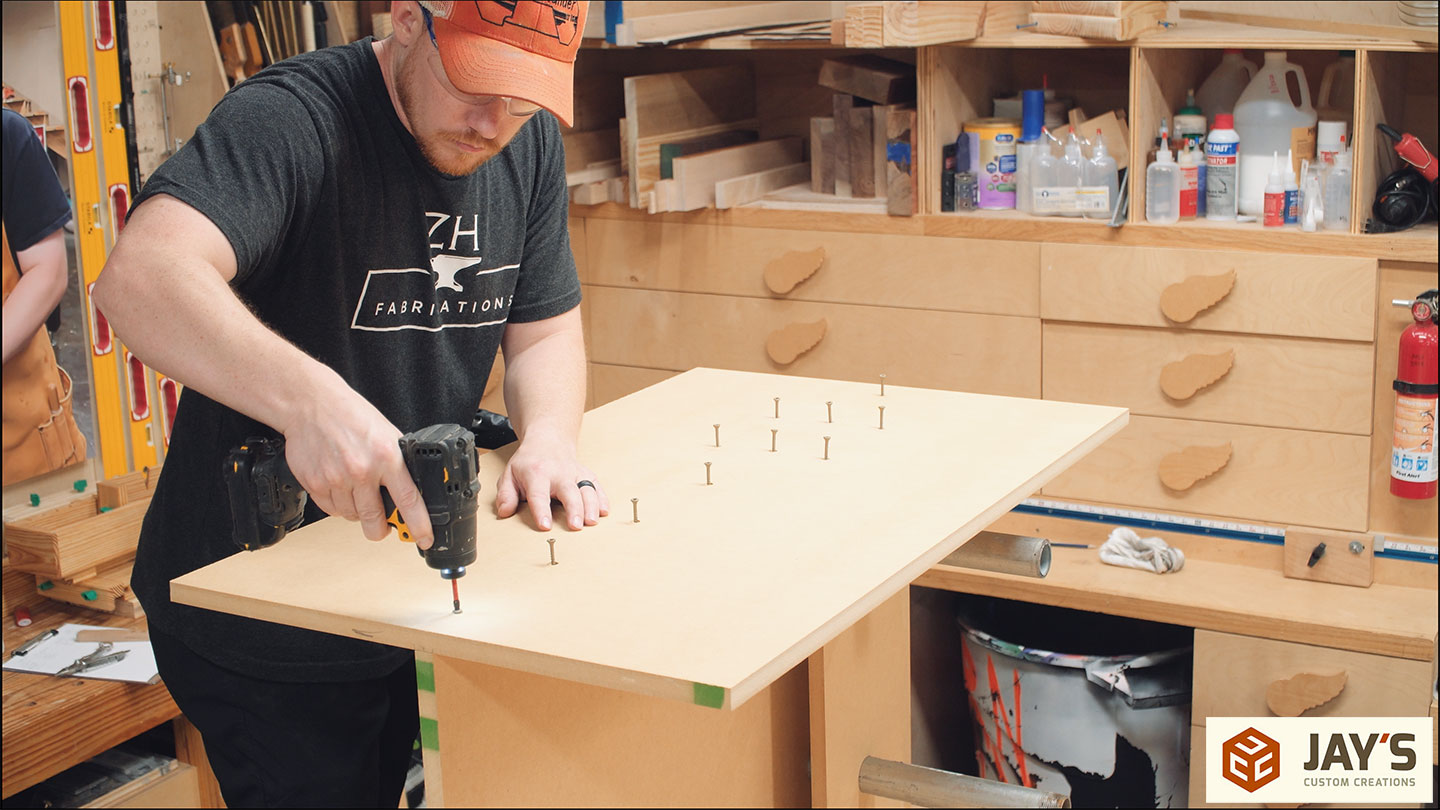
Pin nails at first to prevent shifting and then screws are added. Predrilling to prevent splitting of the MDF.
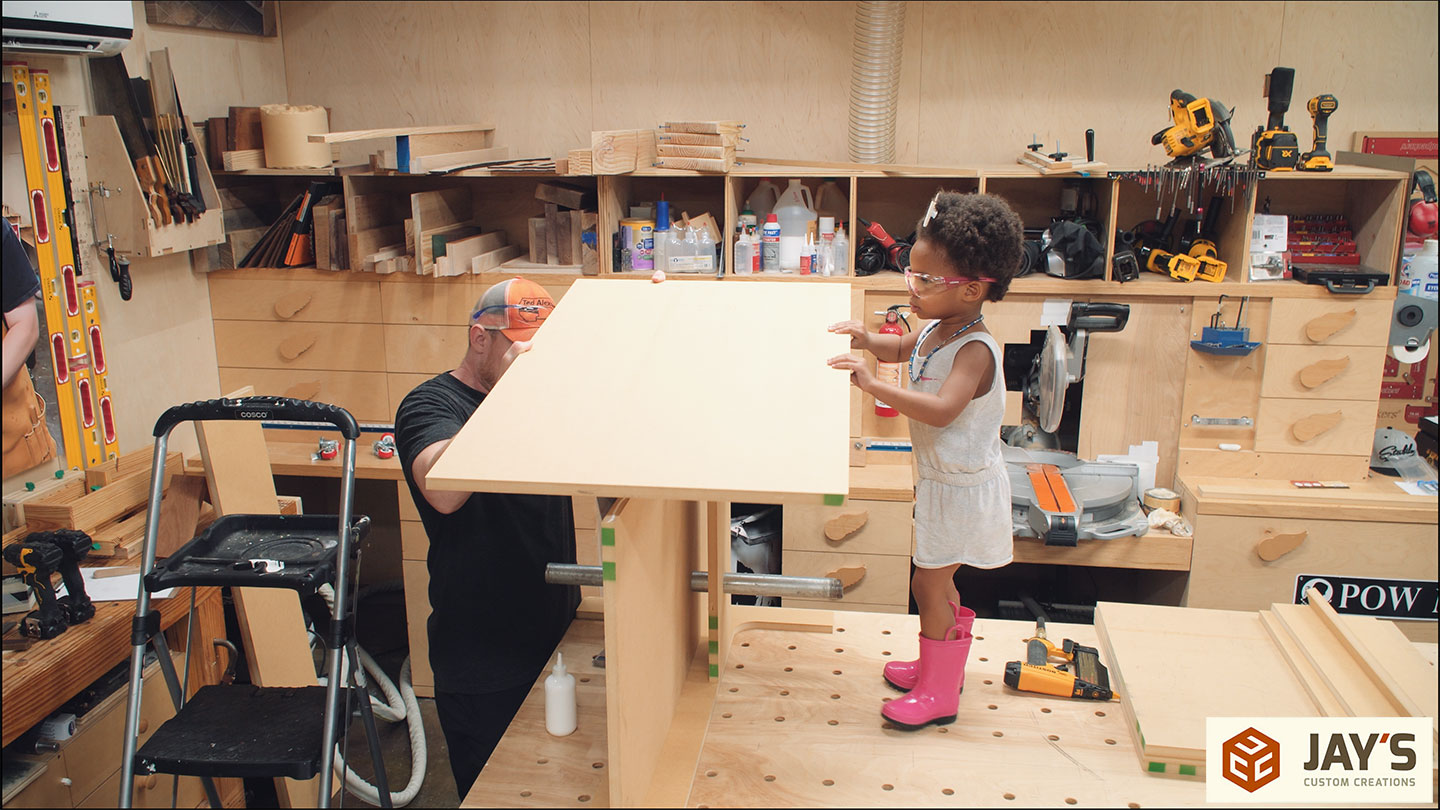
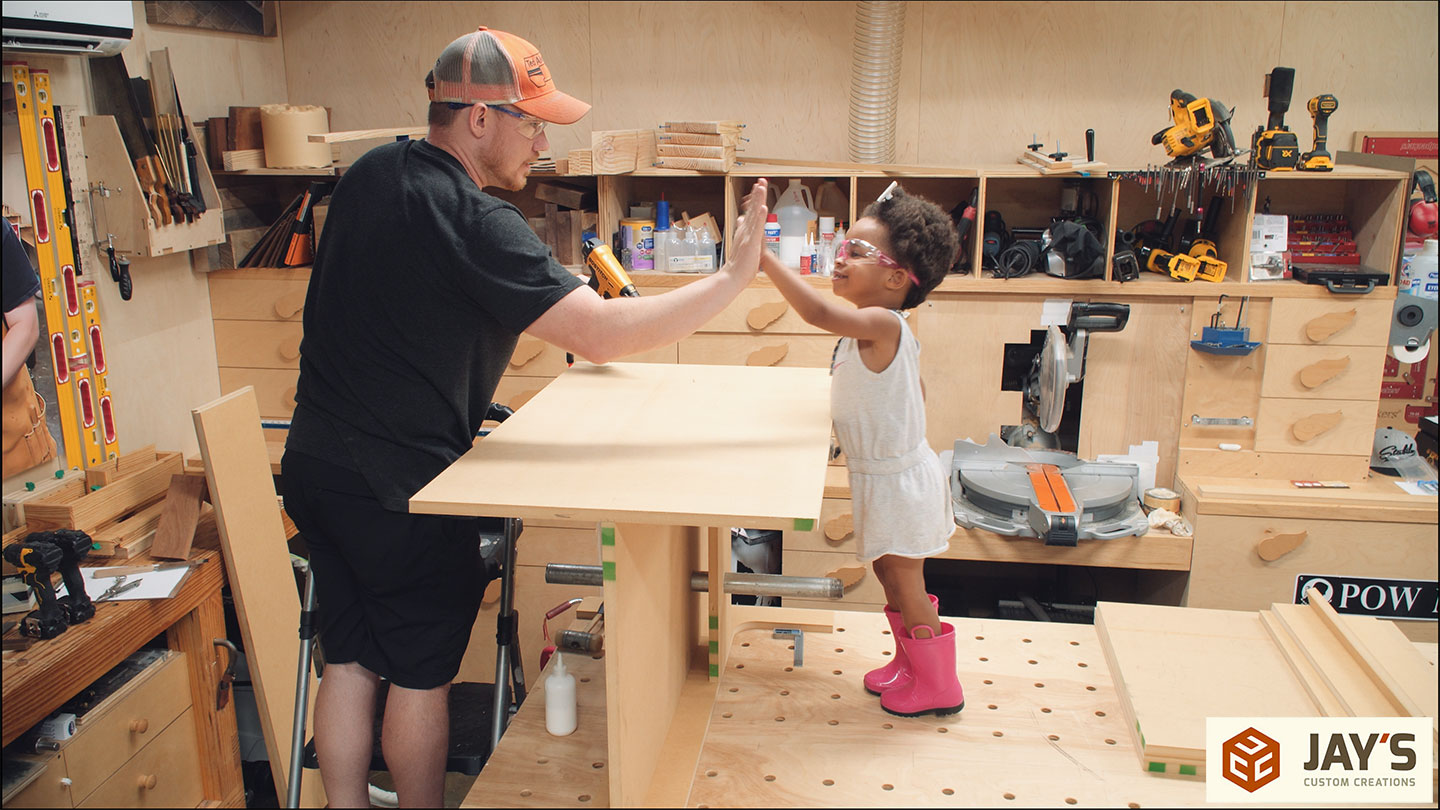
My daughter wanted to help :)
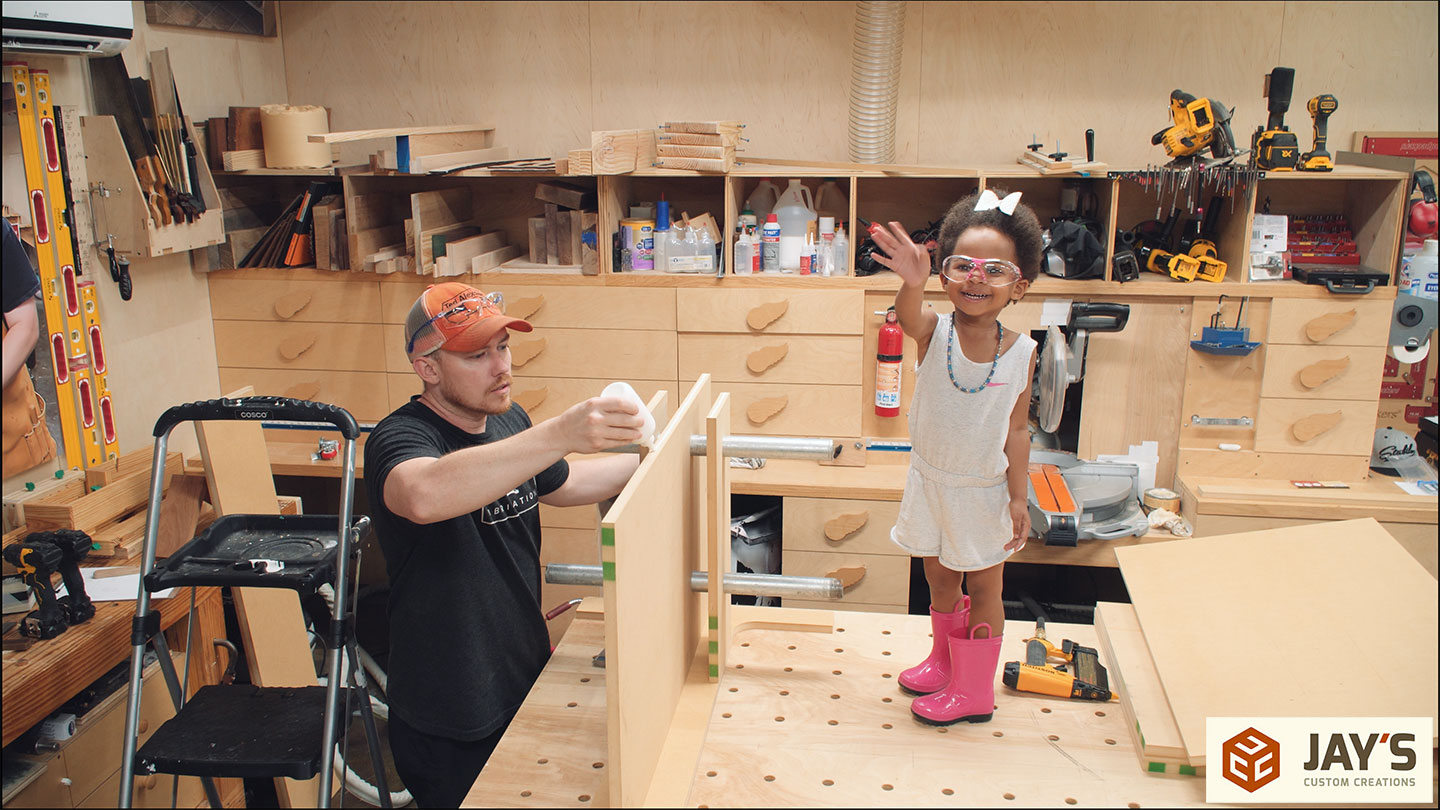
She’s starting to understand how certain tools work and really enjoys spending time in the shop.
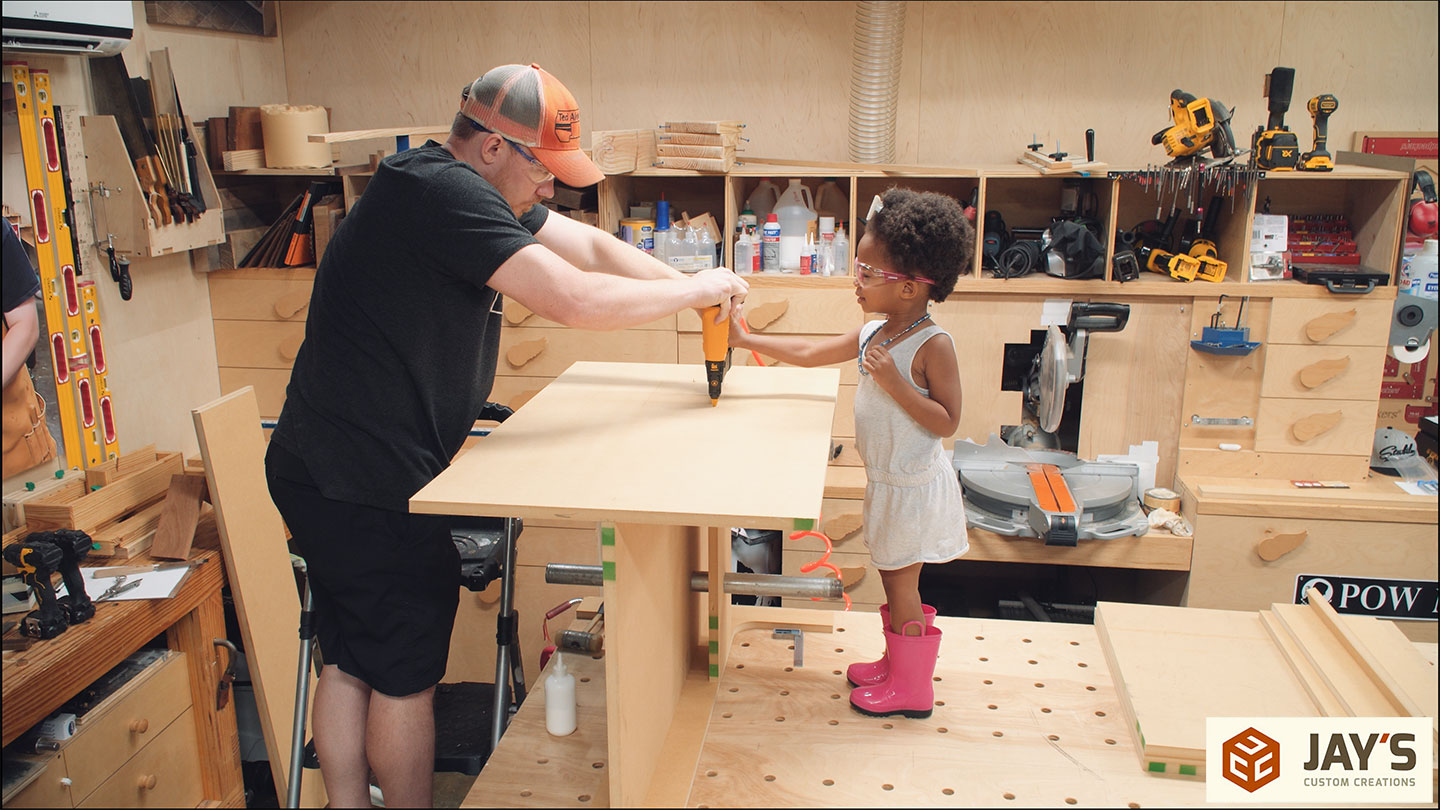
After positioning the pin nailer each time I let her pull the trigger. I’m really glad to see her enjoying interacting with tools that make noise and not being afraid of them. I suppose that can be both a blessing and a curse in a shop full of power tools. But I keep a watchful eye and we discuss what and why we don’t mess with certain items.
Then this side is attached the same way with screws.
To connect the front and back panels a 3” wide strip is added. Pin nails top and bottom and a screw in the center.
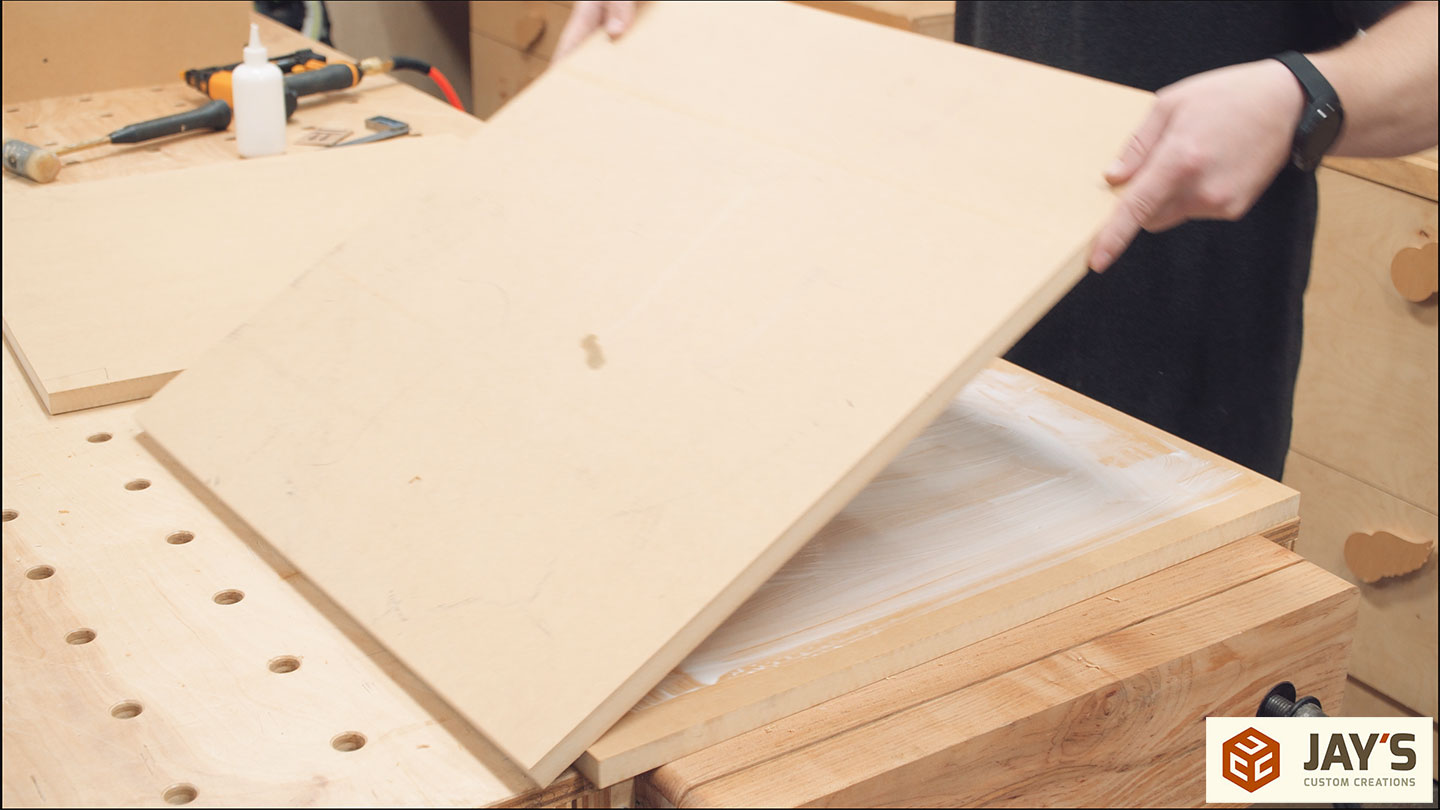
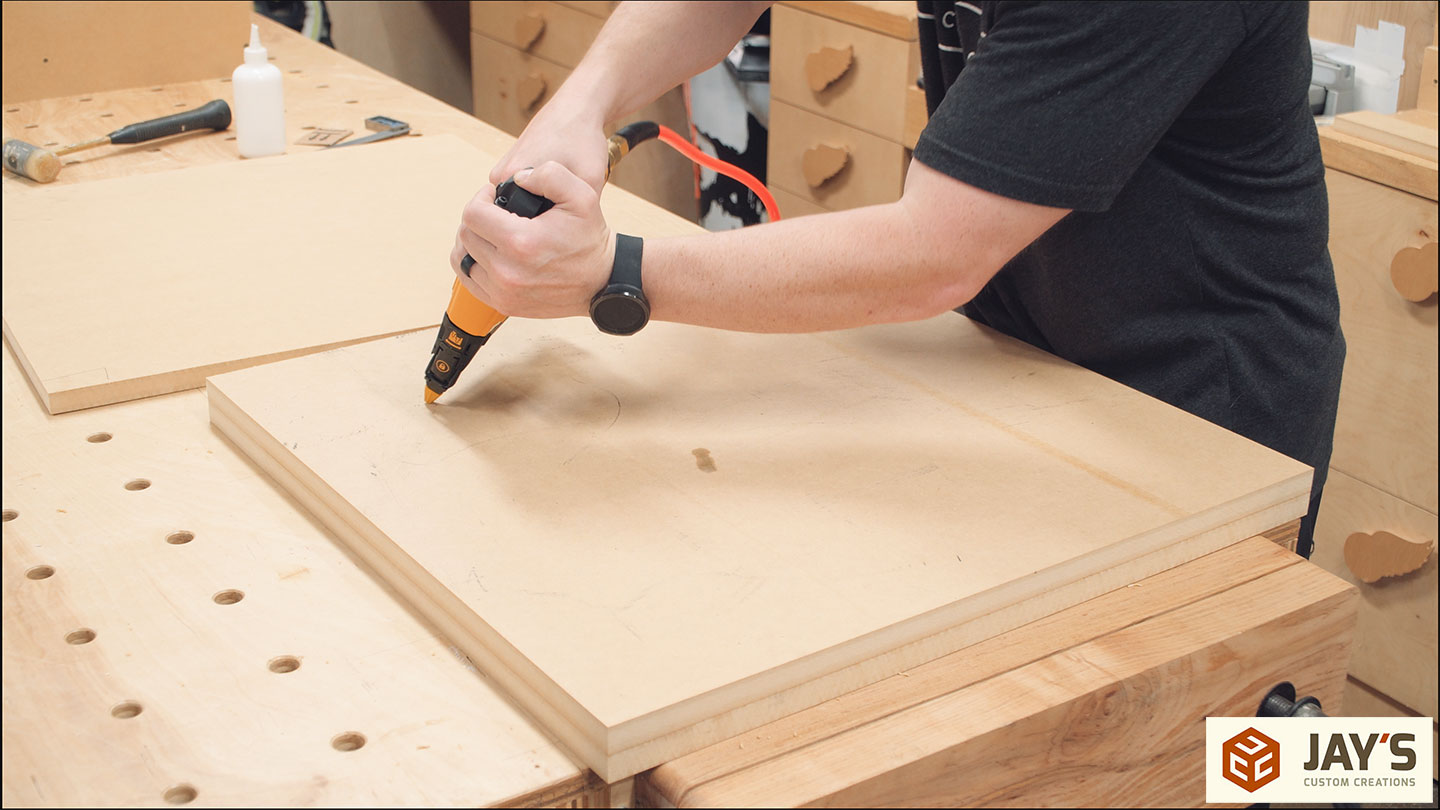
I didn’t want the bottom panel to sag so I decided to double up the bottom. A thin layer of glue was added and then the two pieces were held together with a bunch of pin nails while the glue dried.
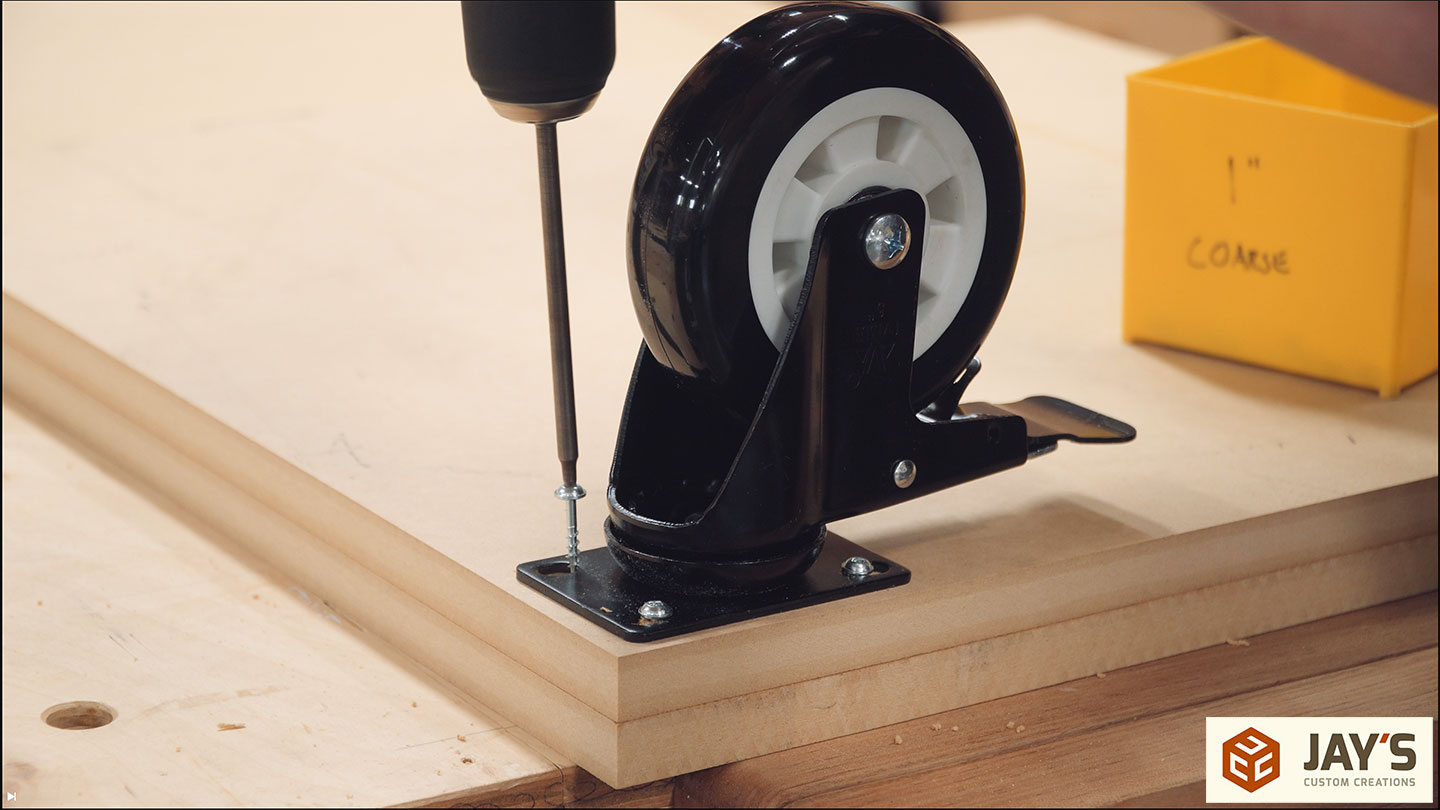
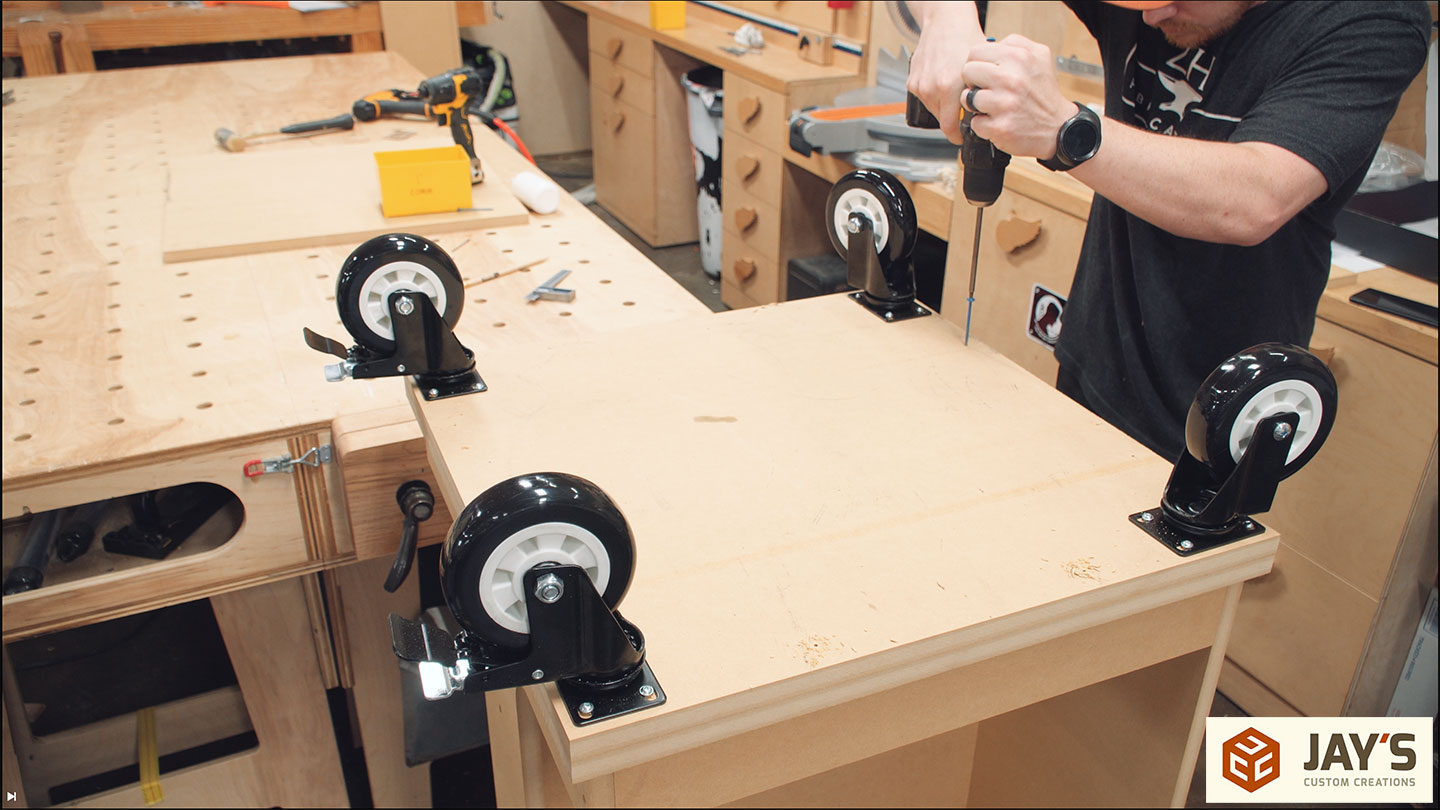
I went with 5” casters for the cart. Pro tip; 5” casters contain a 5” wheel and overall are higher than 5”. I knew this but for whatever reason, I used the dimension of 5” for the entire caster when modeling the cart in SketchUp. This meant that my completed cart was a little higher than I wanted.
The bottom panel is held in place with glue and screws.

Right before adding the top panel, I realized I goofed up. A pretty big goof-up, actually. I installed the front and back panel backward. This means the pipe offset was backward, making one of them useless for anything other than the 2.5lb plates. Ooopps! The solution was to remove the screws, break the center pieces free, rotate them around, and secure them with glue and screws once again.

Luckily, it worked! It was a good learning moment as well. I was pleasantly surprised at how well the MDF end grain adhered to the wide face of the adjacent piece. The top was added the same way as the bottom but only after getting a 1/4” round over on all the edges.
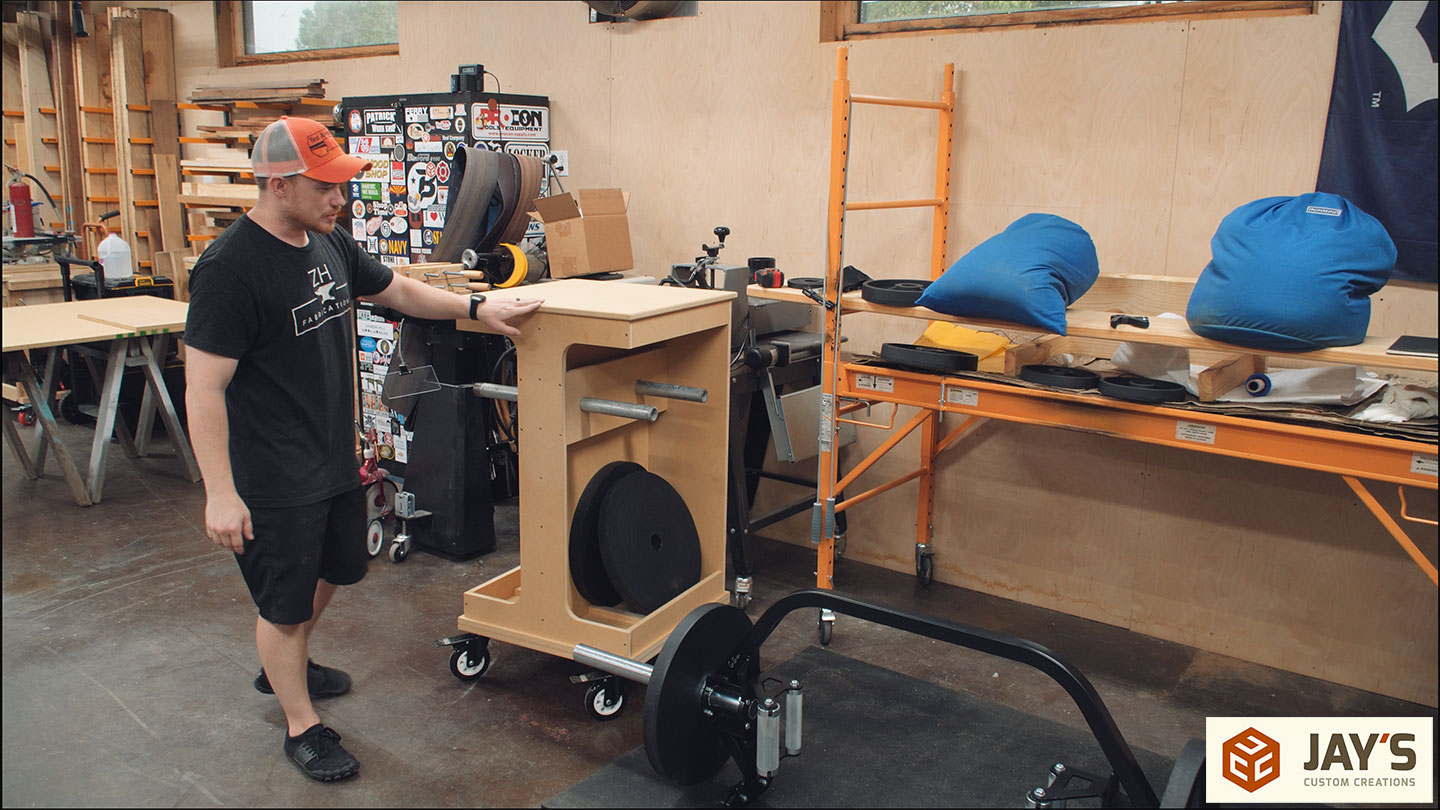
The 45lb plates to on the bottom. I added a cleat to the bottom to keep them pushed against the back panel. I also realized that the 45’s need to lean inward slightly so they don’t rattle out when moving the cart. 25’s and 10’s go on the back pipe. 5’s and 2.5’s go on the front pipe. There’s even some room on the bottom in front for something else, like barbell collars or a jump rope.
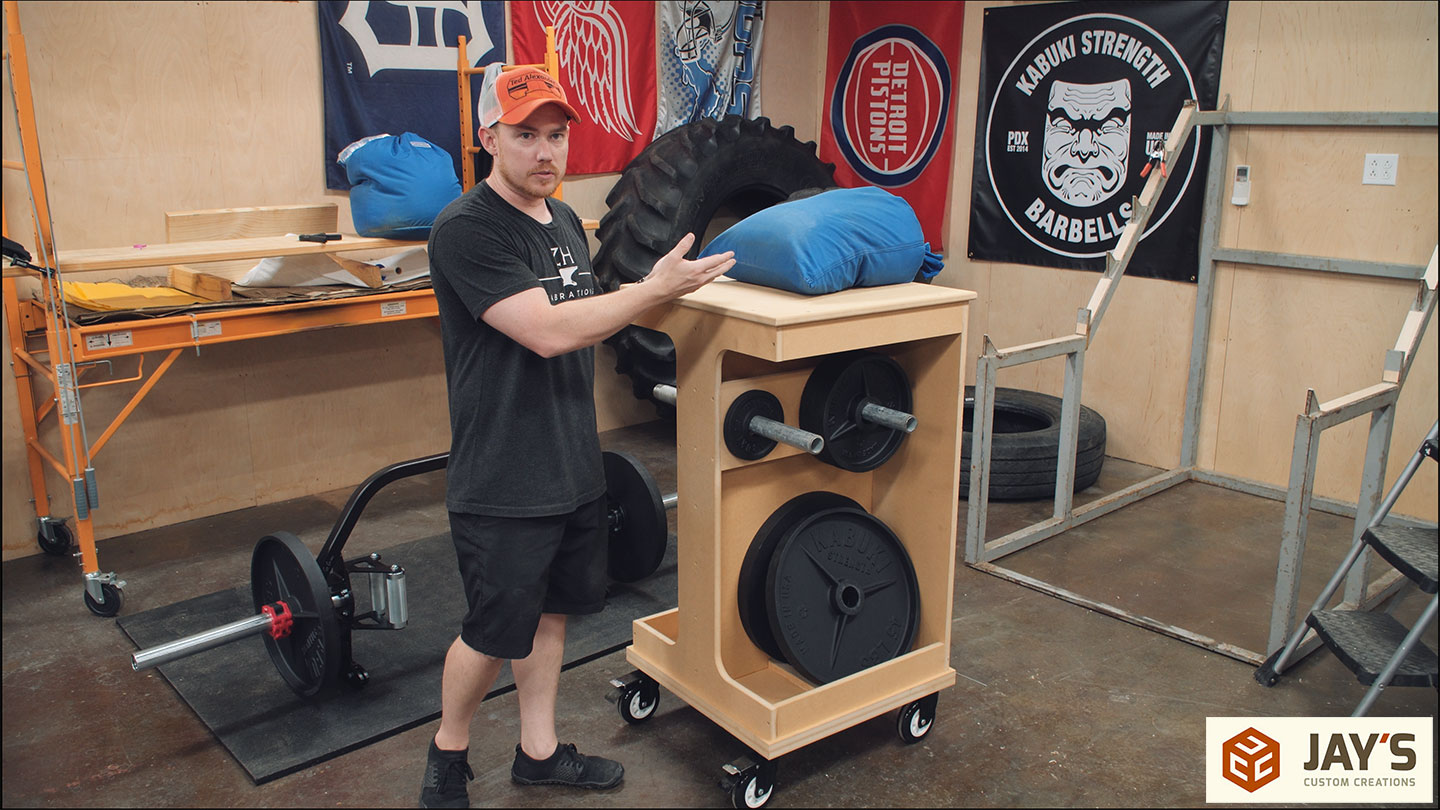
How does the top platform work for sandbags? Just fine. The only problem is that I’m only 5’6” tall and I accidentally built the cart a couple of inches too tall. That’s not a big deal. I can still lift the bags on top of the cart and if needed I can always stand on a platform or something to reach it better. It sure won’t be the first time I’ve needed to do that..


I have enjoyed your builds for years, since your kitchen days. Question. What prospers you the most? My watching these on this page or on YouTube. I think you have told us before, but I don’t remember.
Thanks, Jay
Watching on here generates 10x the revenue as YouTube…literally 10x. Thank you for watching after all these years.