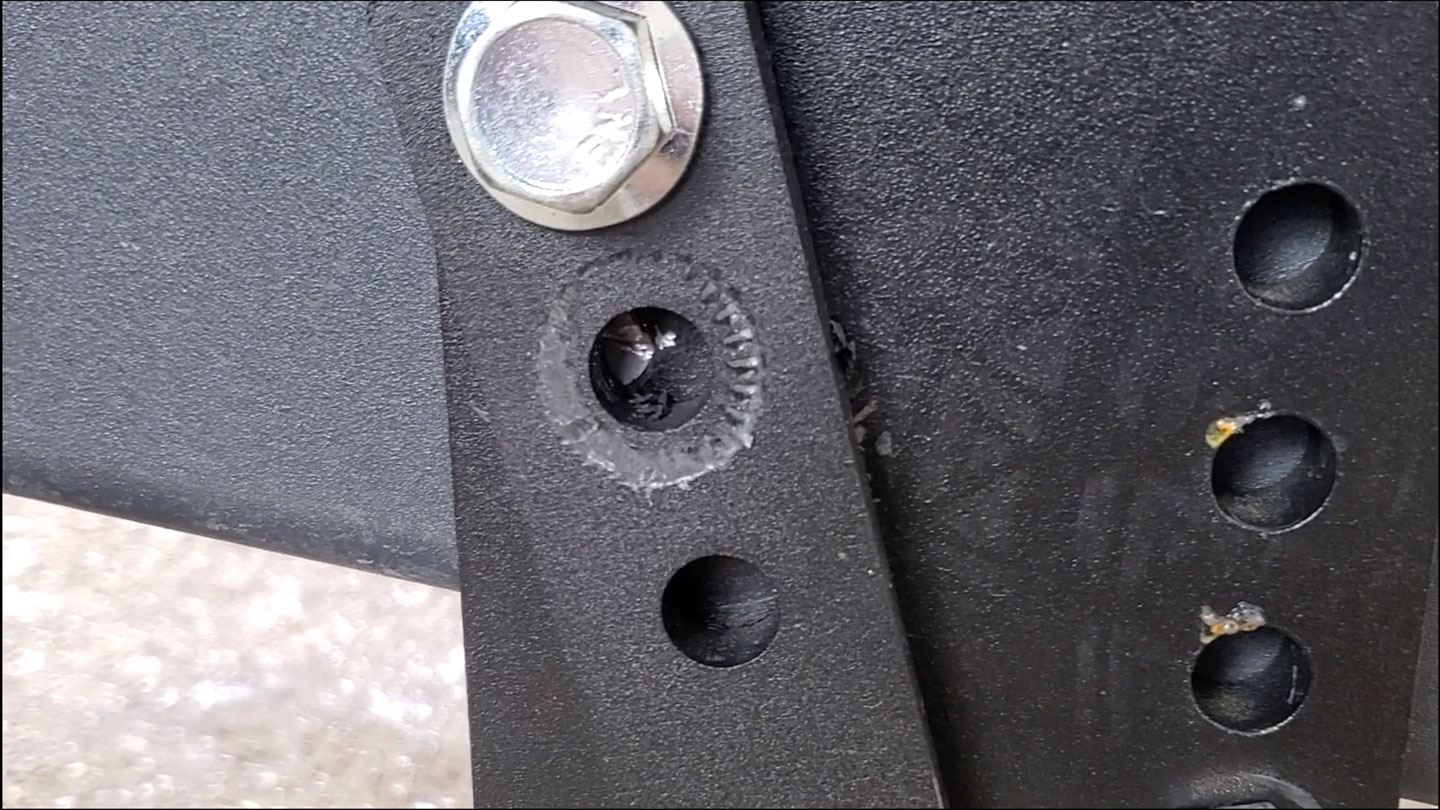
This article and video are supported by ProPride Hitch company. After a few crazy trailer sway moments and a failed bolt with our first weight distribution and friction-based sway management hitch on our first few trips, I looked into sway elimination options. The best way to combat trailer sway is to eliminate it, not manage it. This led me to the most current and advanced Hensley style hitch system, manufactured in the USA by the company ProPride.
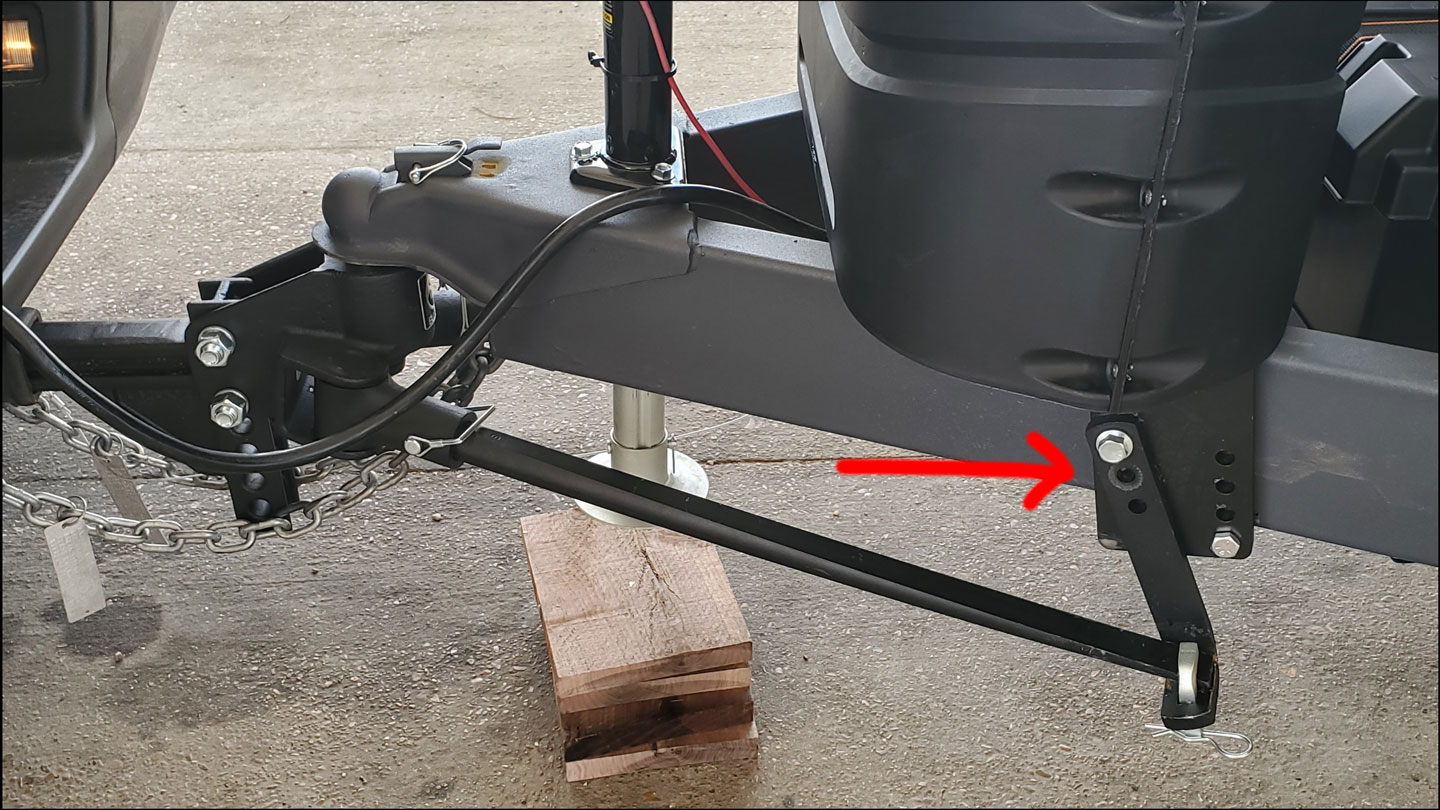
This is the ProPride 3P hitch system. I have an install video on my vlog channel for those who are interested. 3P stands for Pivot Point Projection, meaning it removes the pivot point from the ball and projects it forward, near the rear axle of the tow vehicle, making it feel like you’re towing a fifth wheel rather than a bumper pull.

The way it works is by using a pair of linkages rather than the ball for movement. The geometry and spacing of these linkages are so that it only allows the pivot to be initiated from the tow vehicle rather than the trailer. This means neither natural wind from the weather nor wind blowing off the front of a passing vehicle can create trailer sway. Instead, if the wind is great enough, it will only push both the tow vehicle and trailer together as a solid unit. Push is easy to deal with. Sway, not so much.
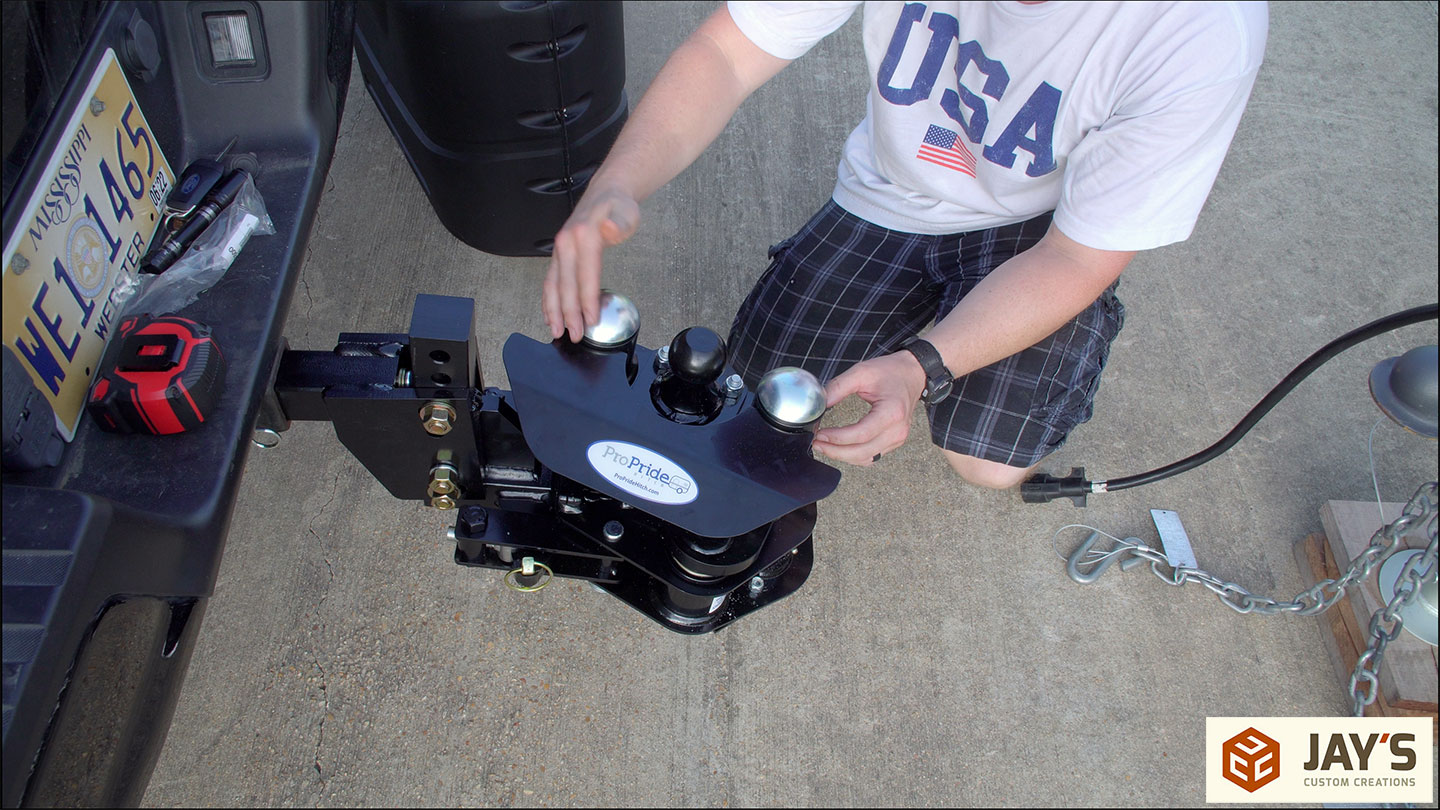
Our first tow with the 3P sway elimination hitch was a night and day different experience compared to our previous hitch. A confident one-handed drive experience vs a white knuckle stressful drive constantly slowing down and speeding up to deal with the sway. One secondary benefit of the hitch was an increase in fuel economy because we weren’t constantly speeding up and slowing down. We could actually use cruise control confidently, which was great.
If you’re towing a kite, I mean, an enclosed trailer of any kind, and are tired of stressful and dangerous trailer sway experiences, check out my friends at ProPrideHitch.com. You’ll find a ton of information and education, as well as the story of how the Hensley system evolved into the current 3P hitch. Alright, now on to the projects.
![]()
Project number one is a chalkboard and key ring holder. Later on, when I install it, you will see how practical it is for us.
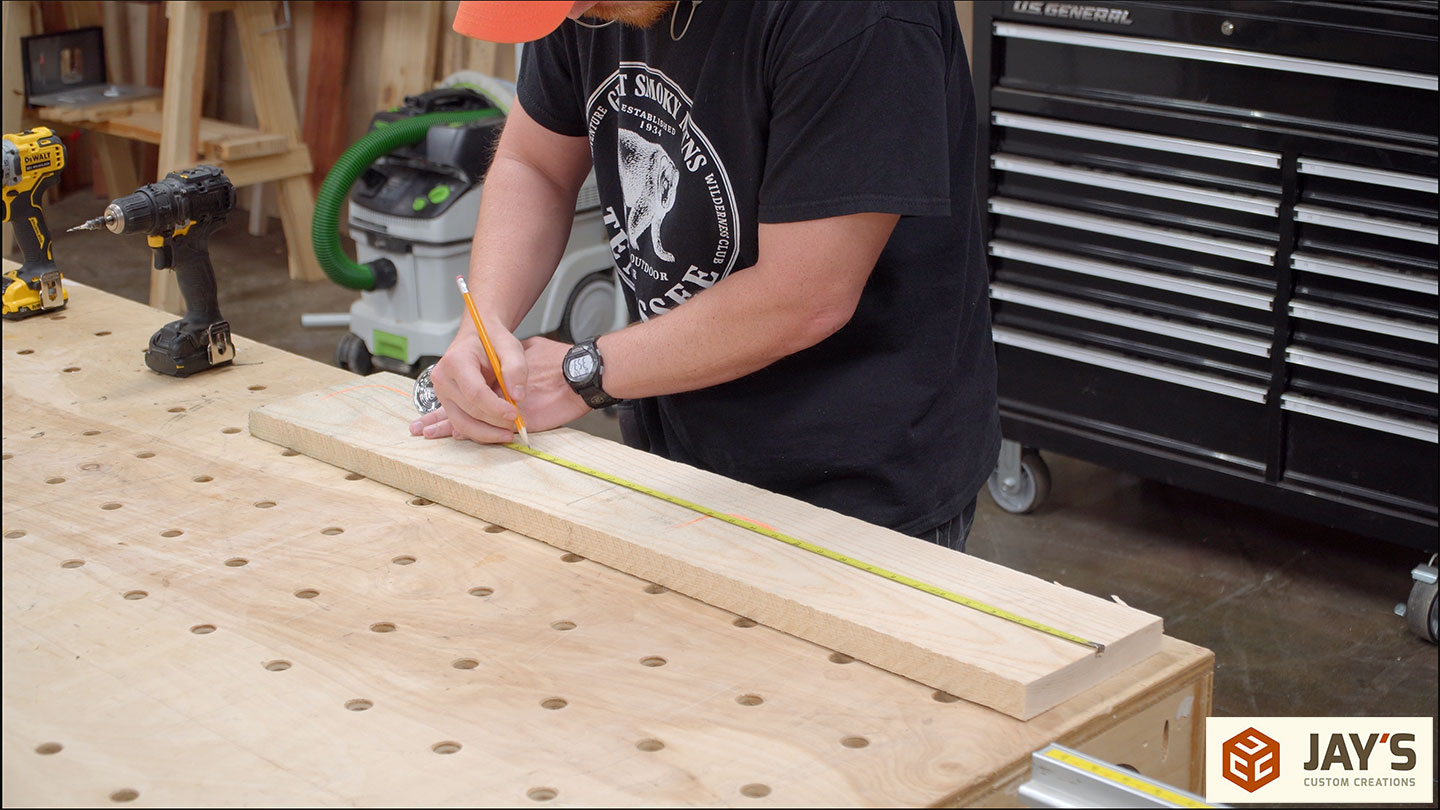
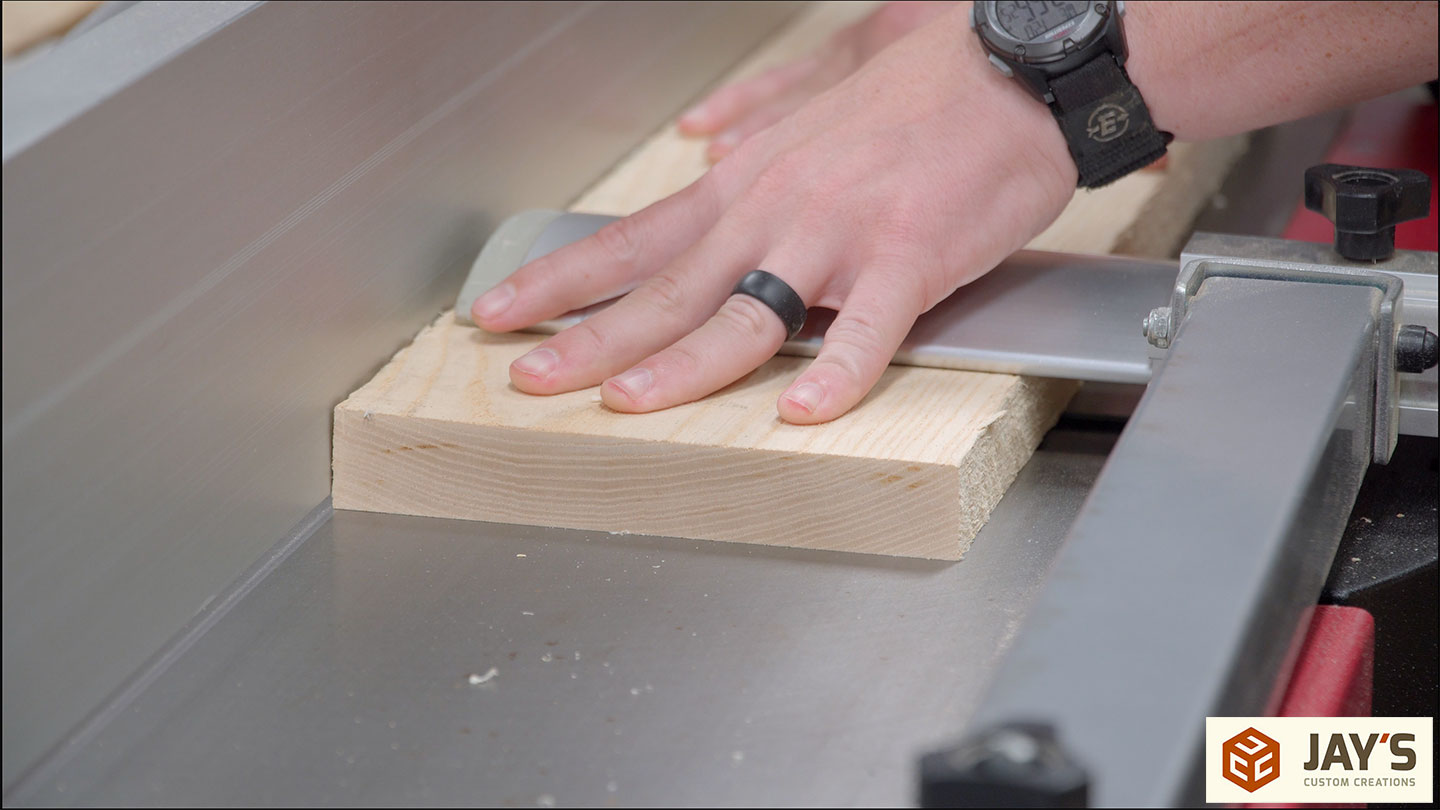
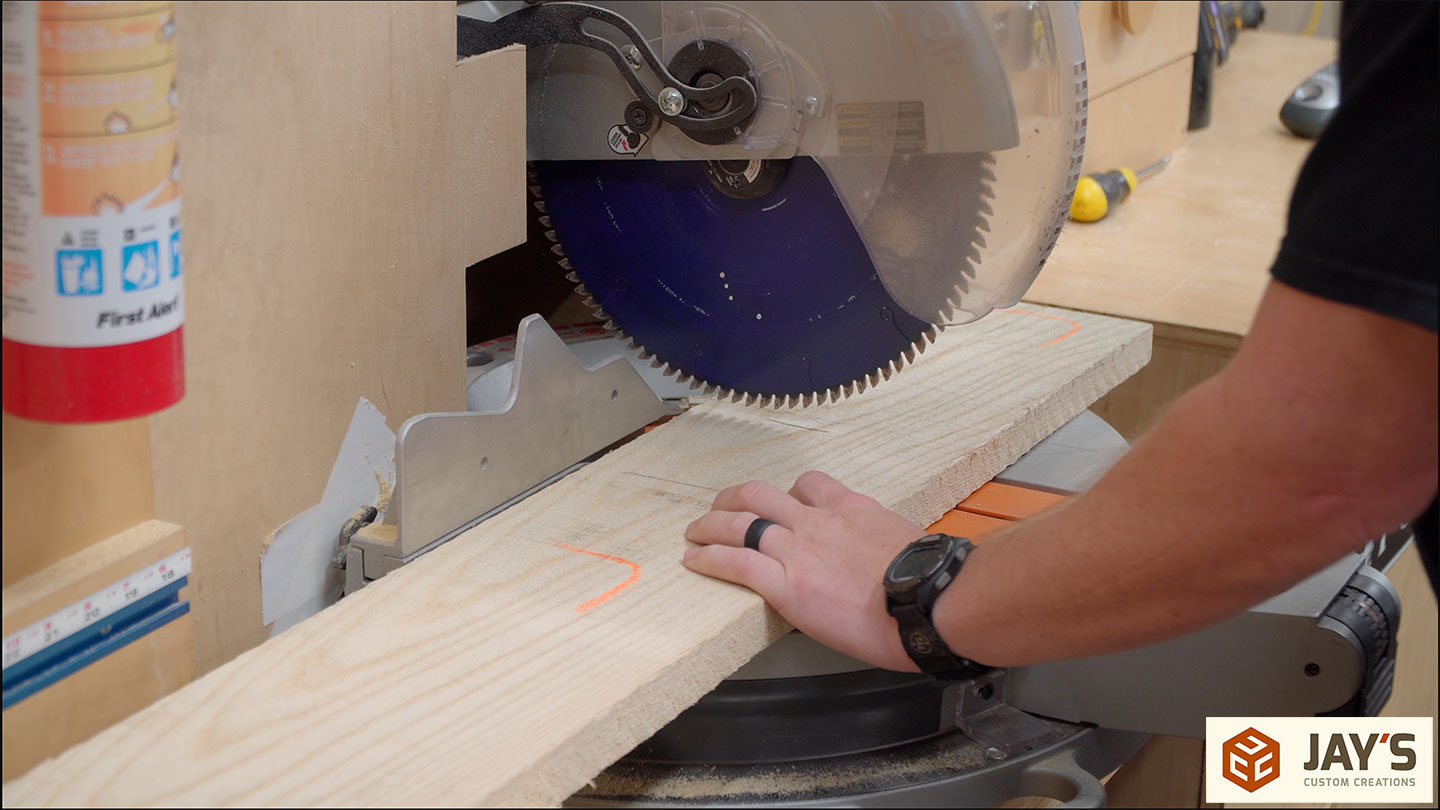
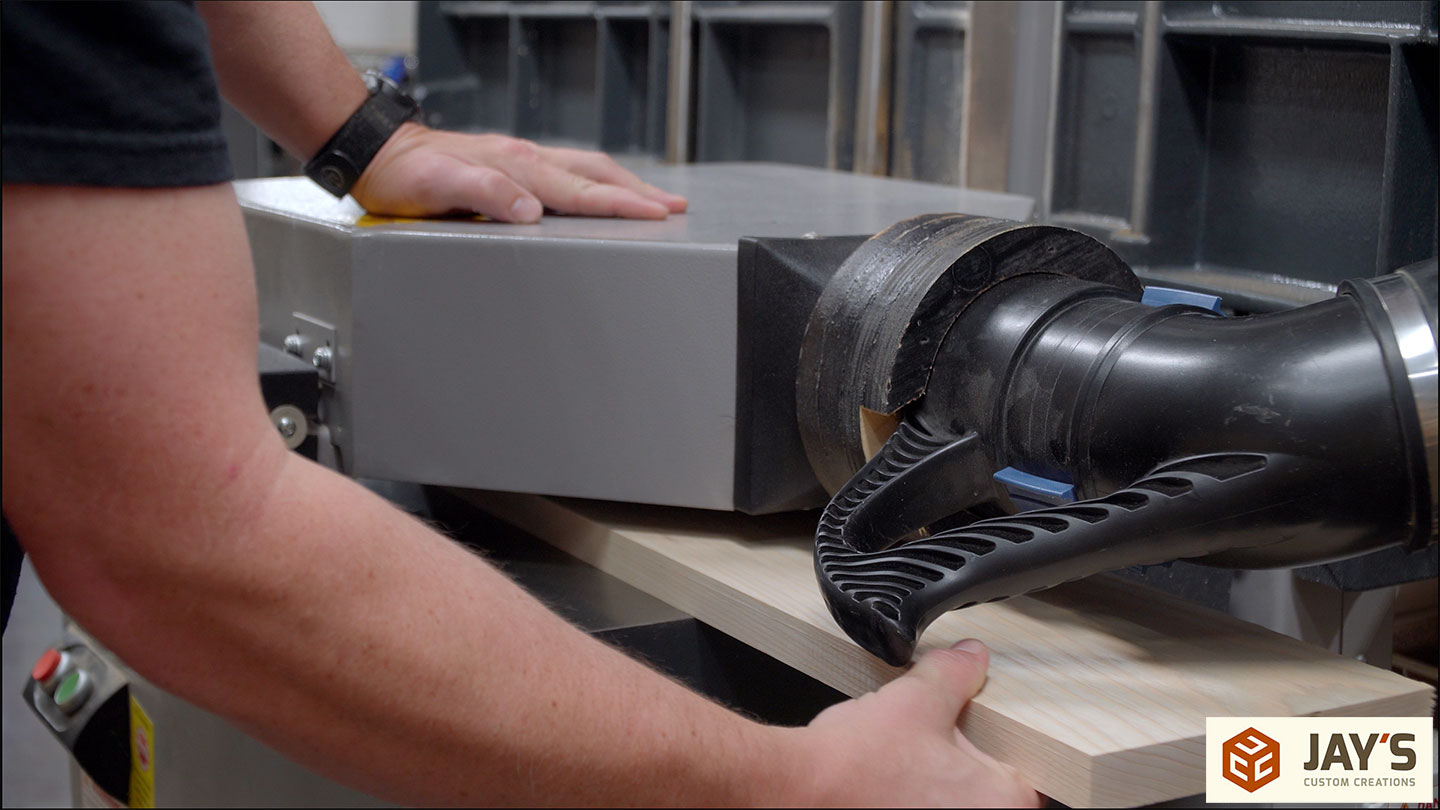
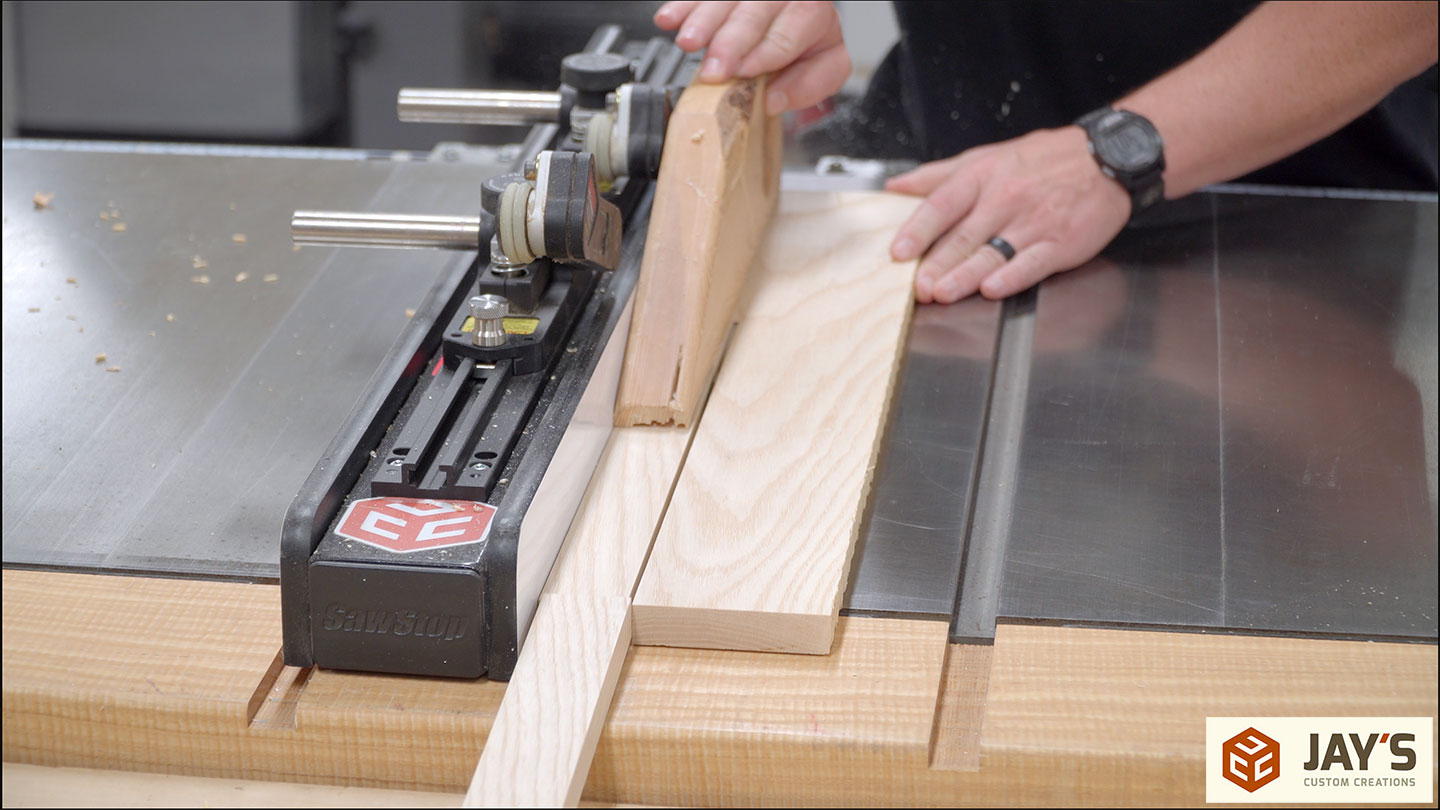
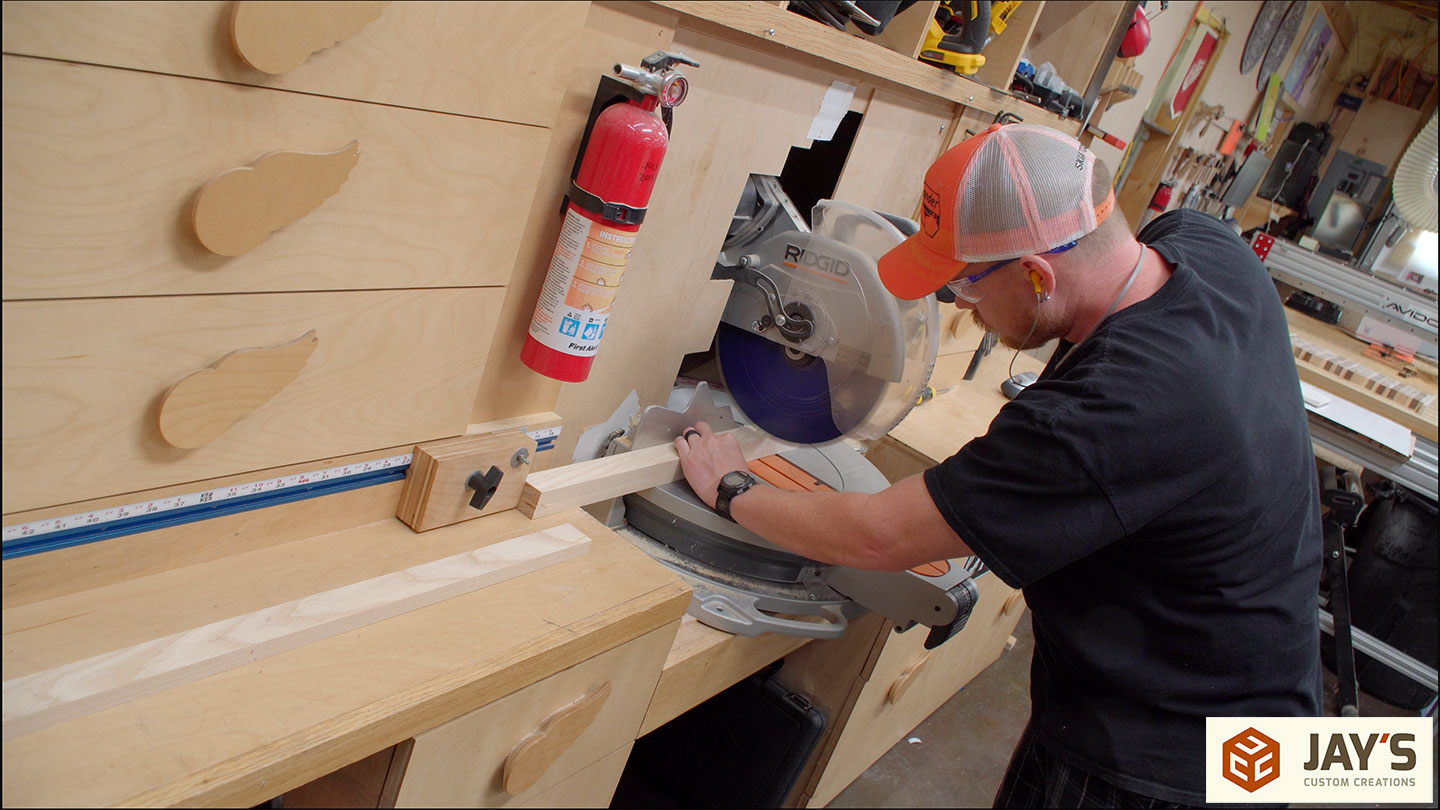
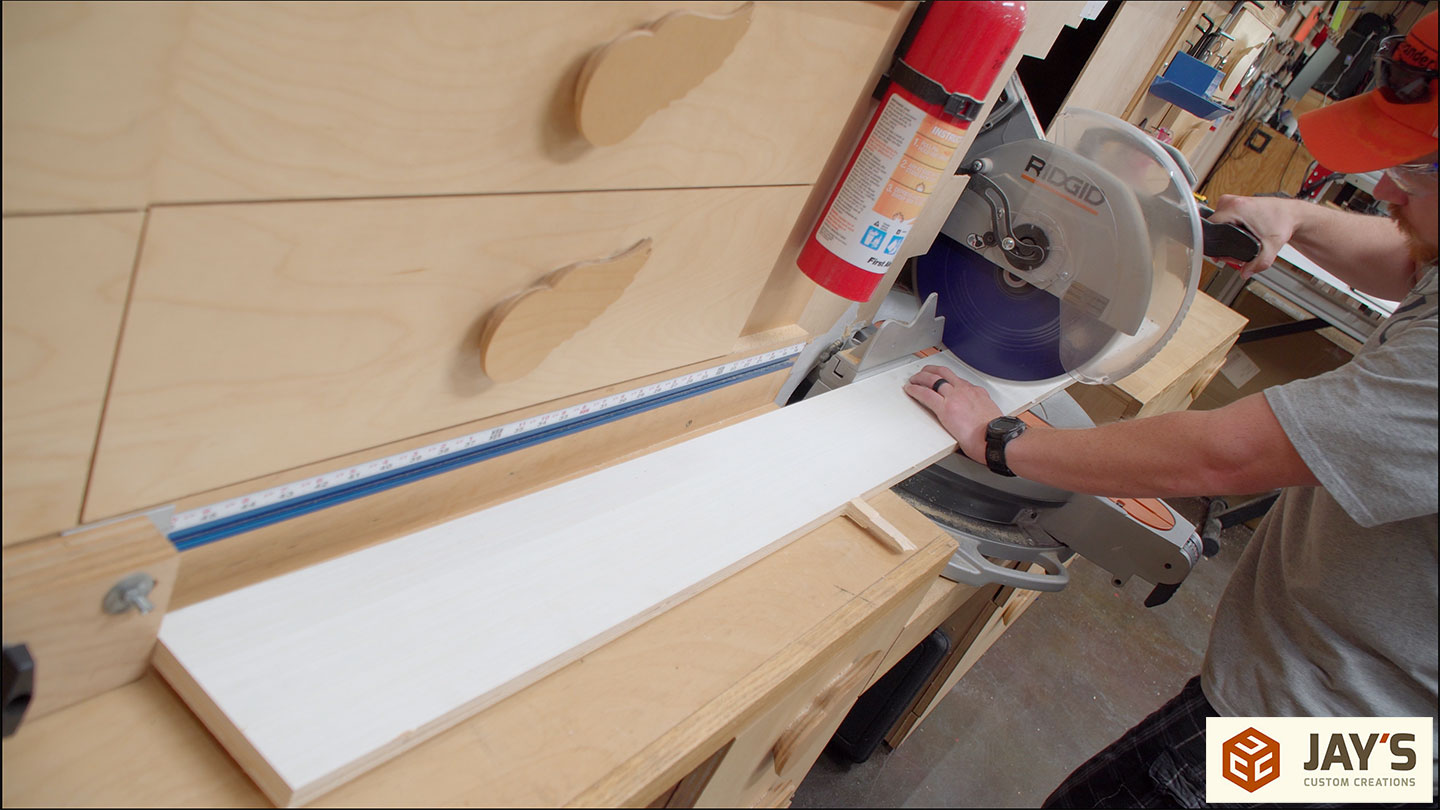
I will be making this out of ash and sizing it to a standard size of 1×2 stock. So 3/4” thick by 1-1/2” wide. It’s a basic frame and panel, so if you don’t have many tools, you can easily make this with box store 1×2 material secured directly to a piece of 1/4” plywood. After the normal routine of crosscutting, jointing, planing, and ripping to final width and crosscutting again to final length, I’m left with four pieces for a frame.

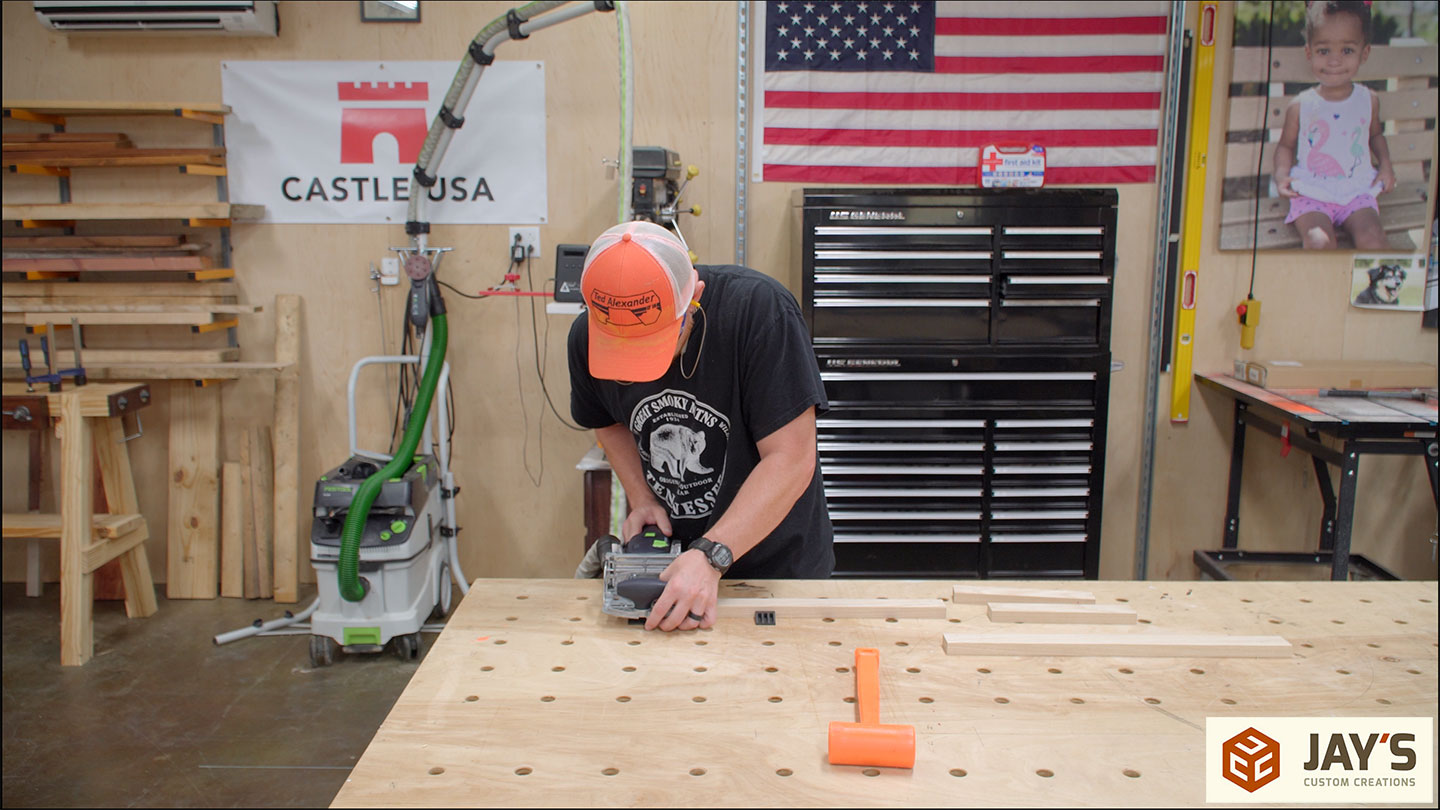
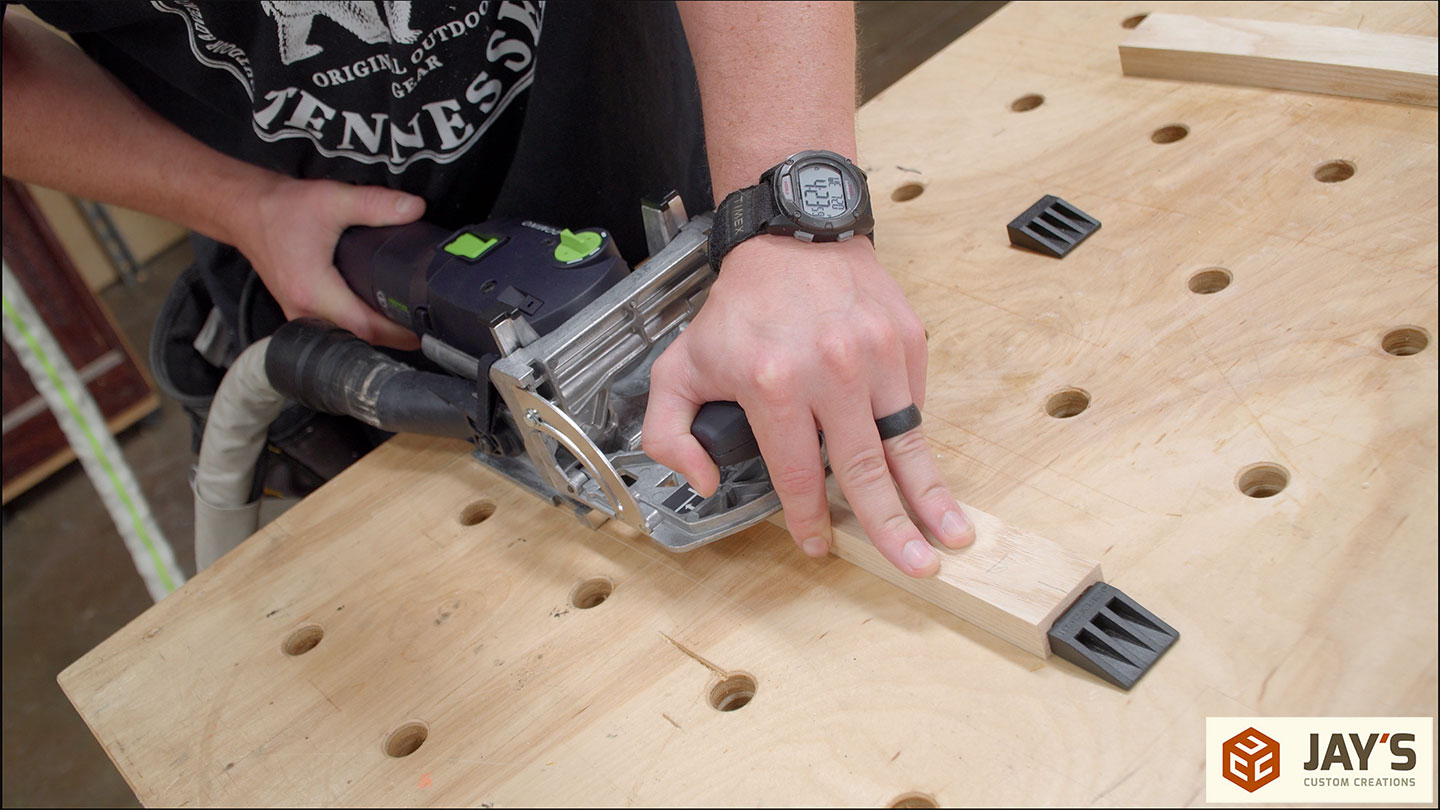
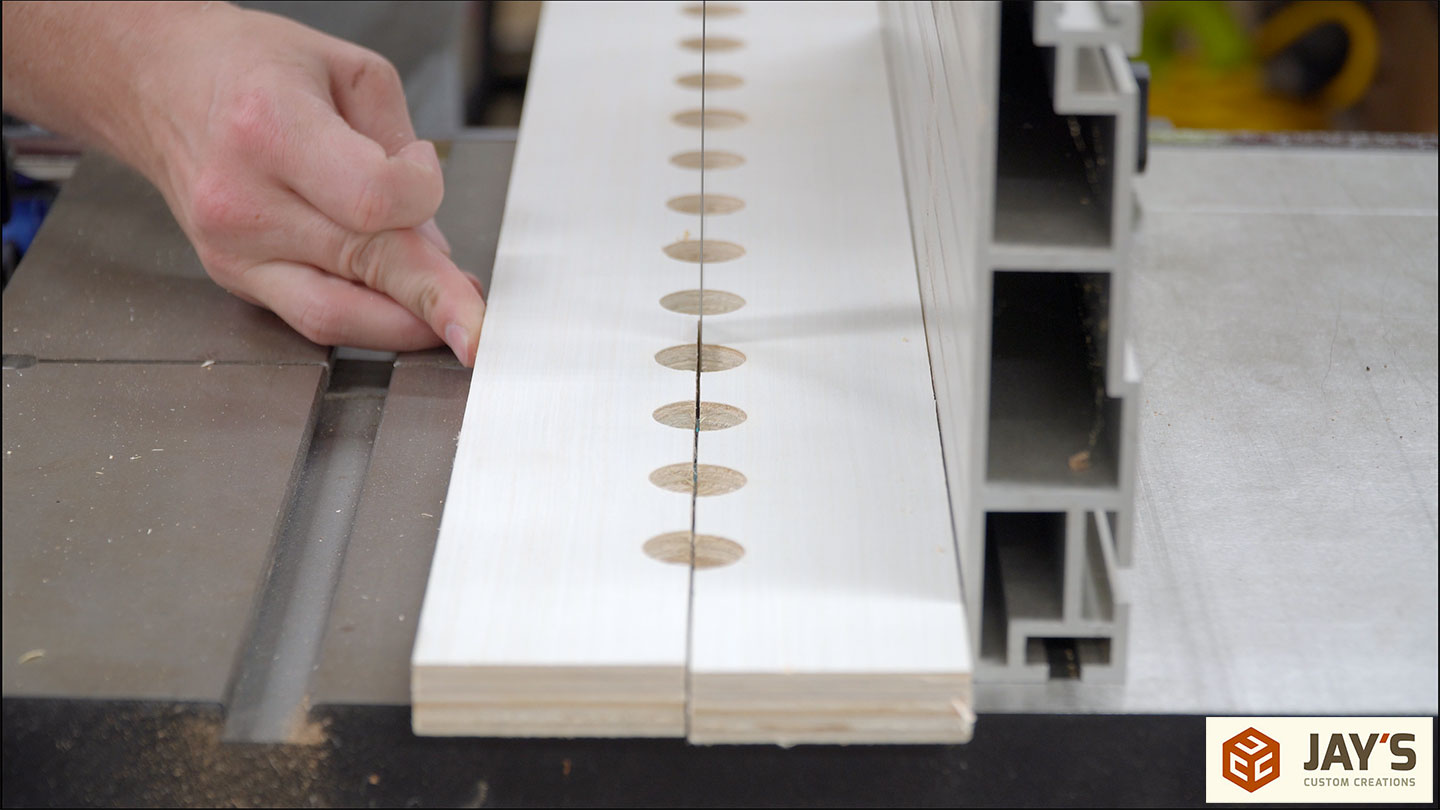
For the joinery, I’m using floating tenons. I initially was going to use pocket hole screws but didn’t want them to interfere with the back panel rabbet that I’ll cut later.
Super simple glue up for this one. Glue on the floating tenons, assemble with clamps and whack the rails with a mallet until the pieces line up on the perimeter.


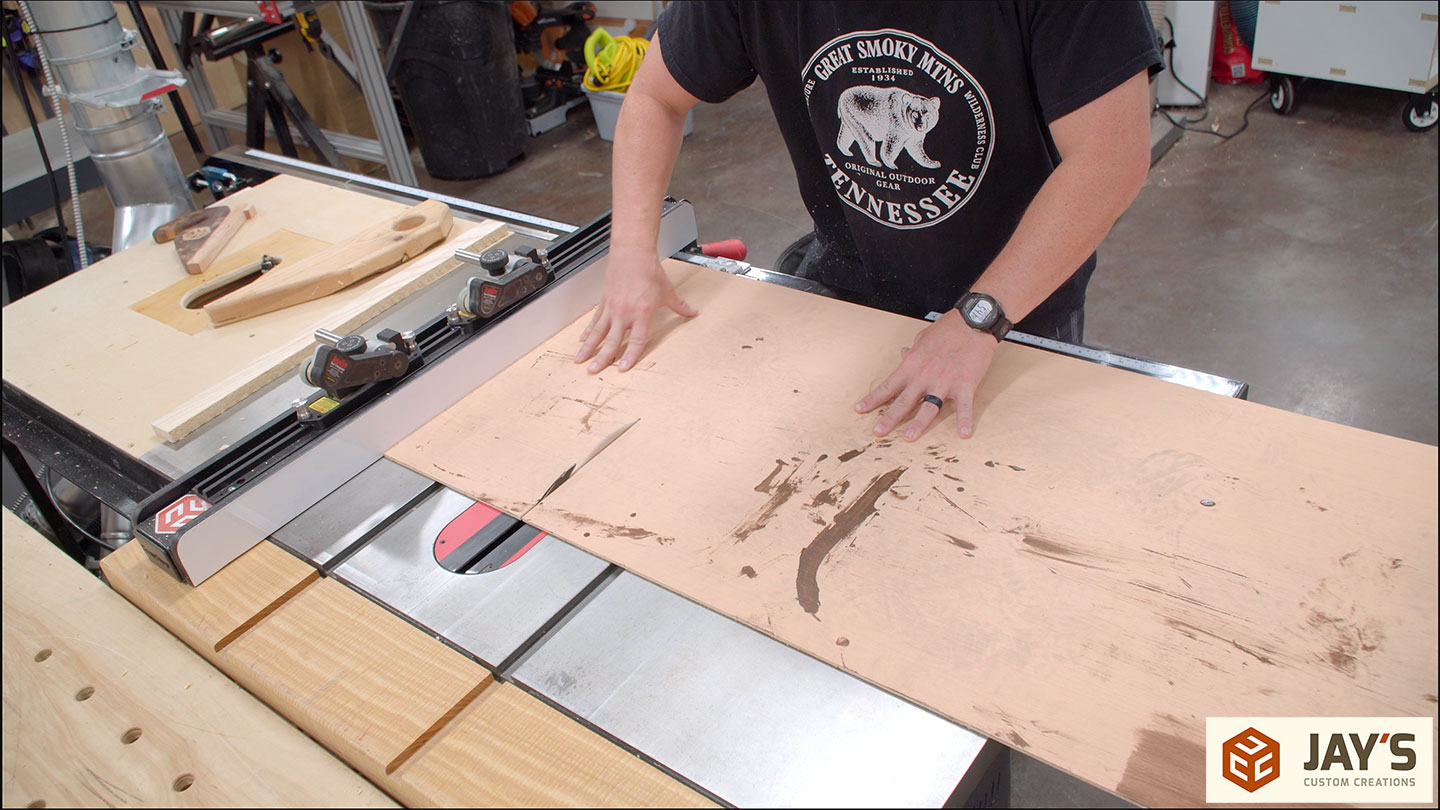
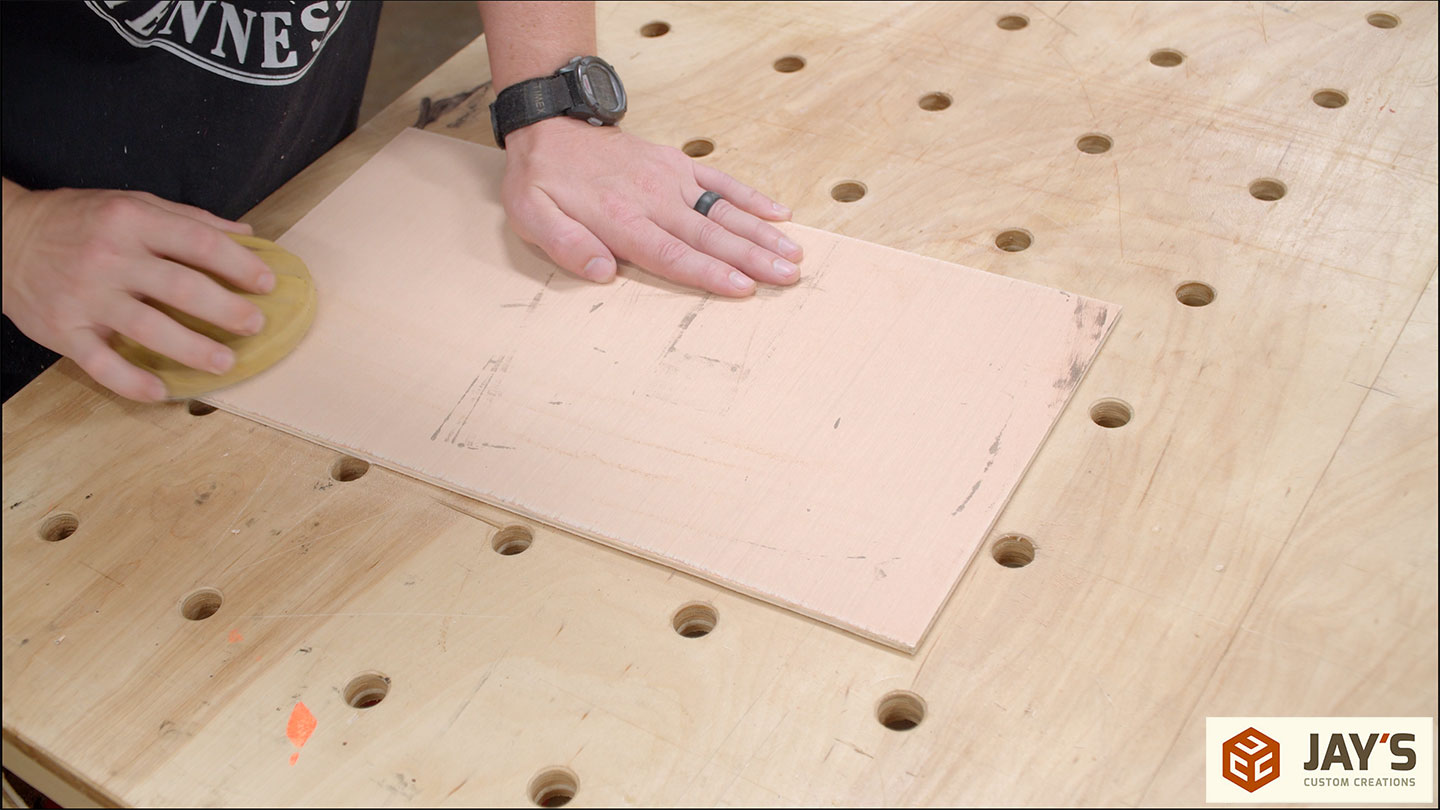
1/4” plywood is used for the panel. Specifically, this is some scrap 5mm hardwood underlayment plywood. I’ll cut it to size with the table saw and then tidy up the edges with a little hand sanding to remove any fuzz.
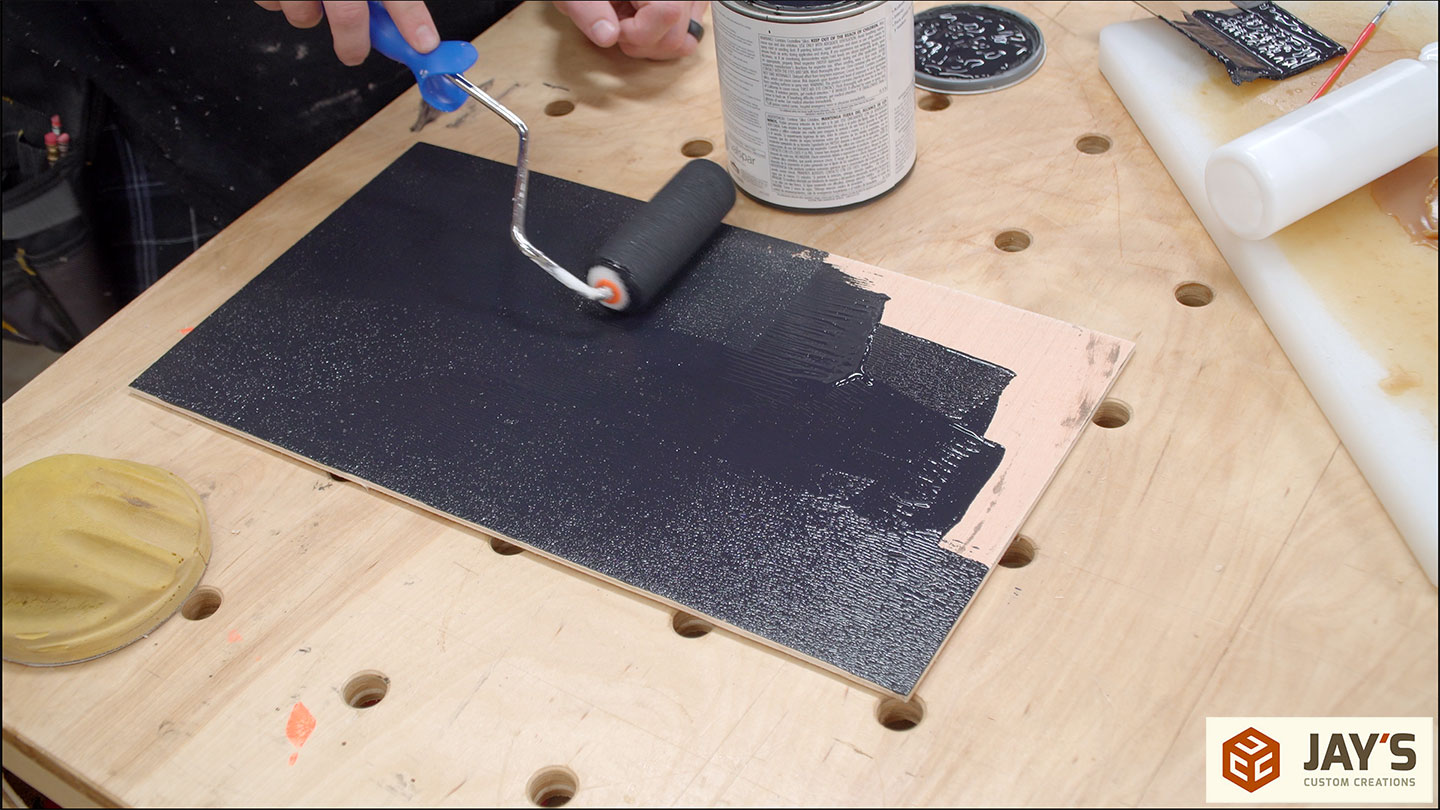
To make this panel a chalkboard, I’m using an old can of chalkboard paint. I’ve had this same can since 2015, and it still worked great. Two coats, with proper dry time between coats, were necessary.
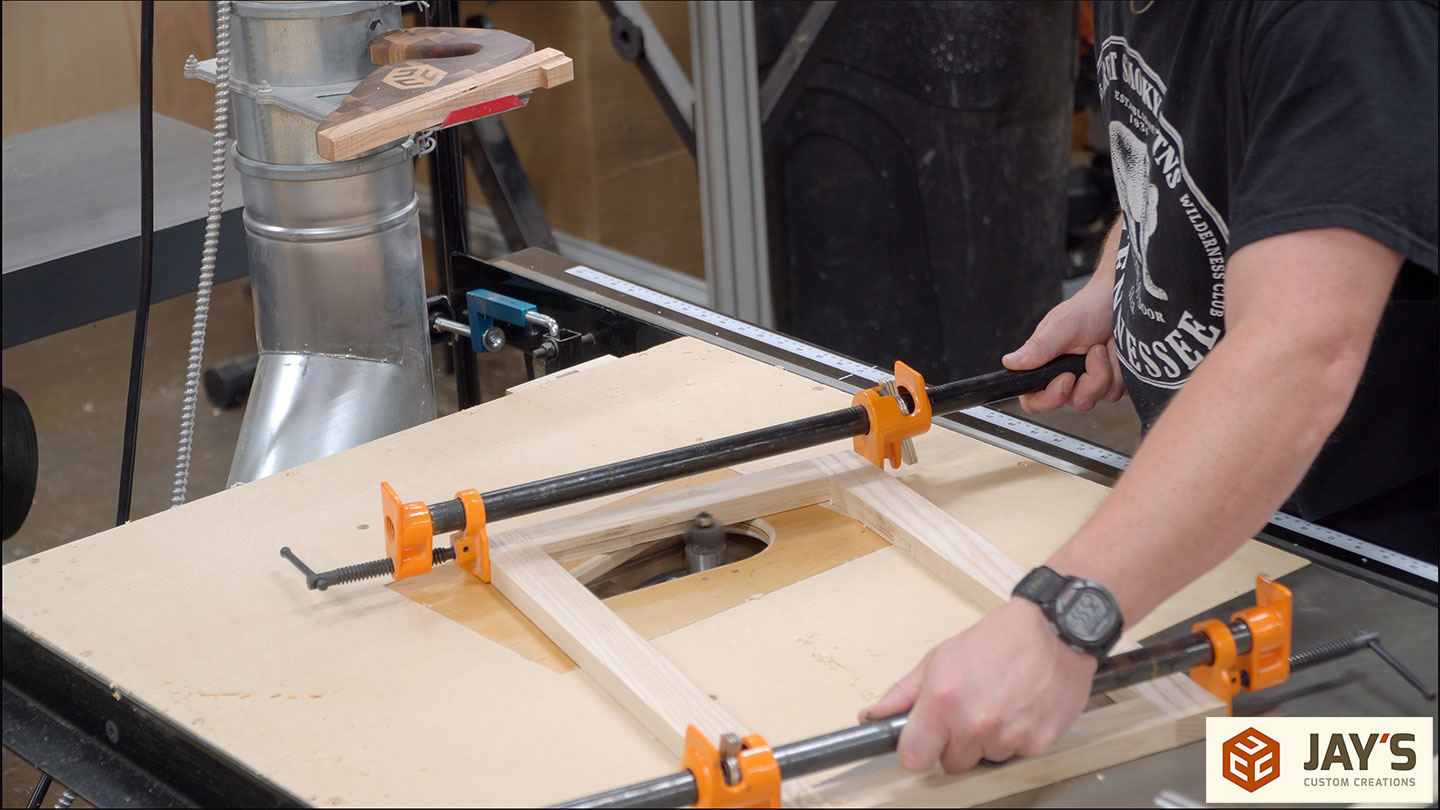
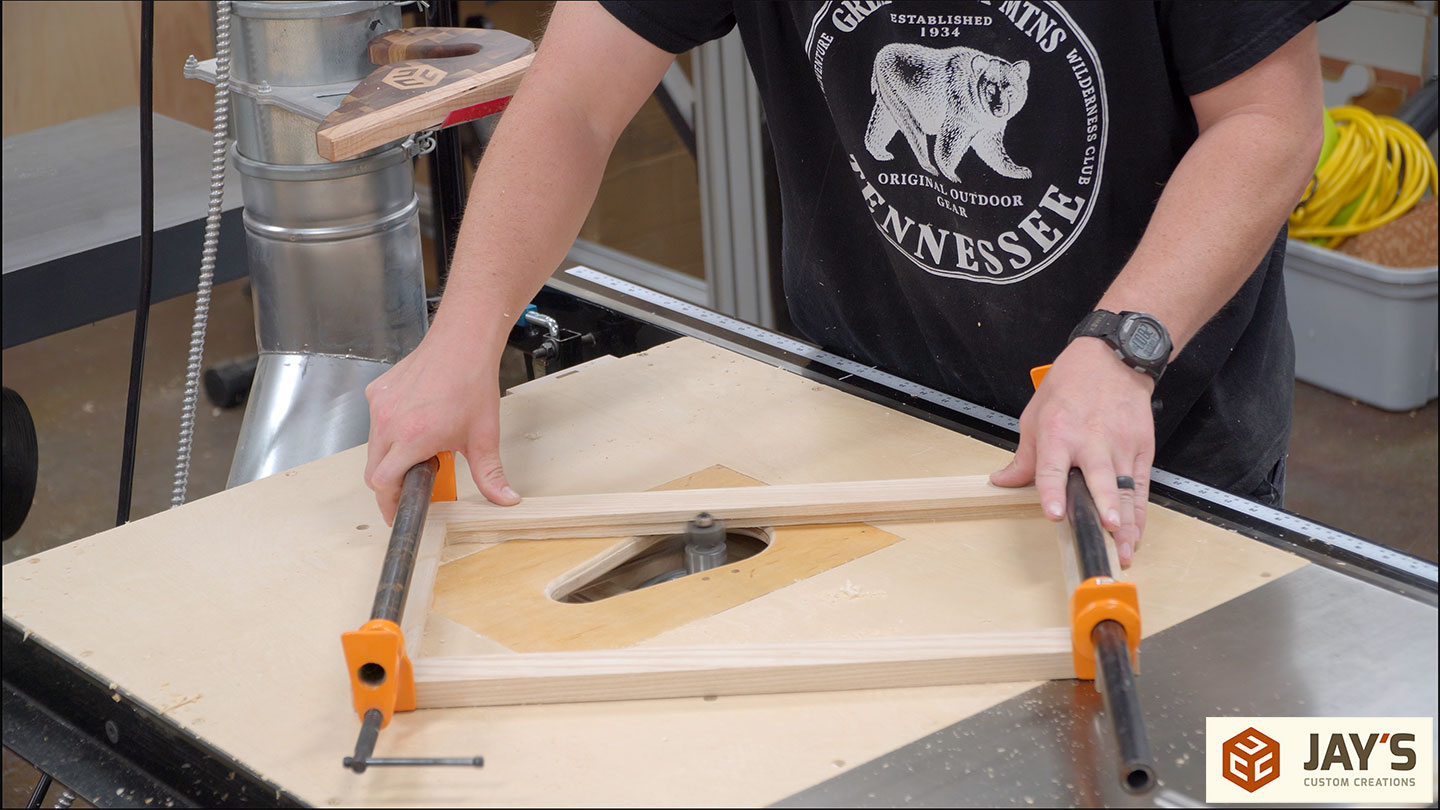
I used a quick setting glue on the frame, so by now, I can handle it. A rabbet is needed on the back to accept the panel, so I’m using a rabbeting bit at the router table. There are a couple of things going on here. First, I’m using a pair of pipe clamps to act as handles. Second, I’m making the cut in two passes. A shallow climb cut all the way around followed by a full depth conventional cut. The climb cut establishes a perfect edge on the interior of the rabbet and eliminates the opportunity for tearout when cutting the full depth of the rabbet.
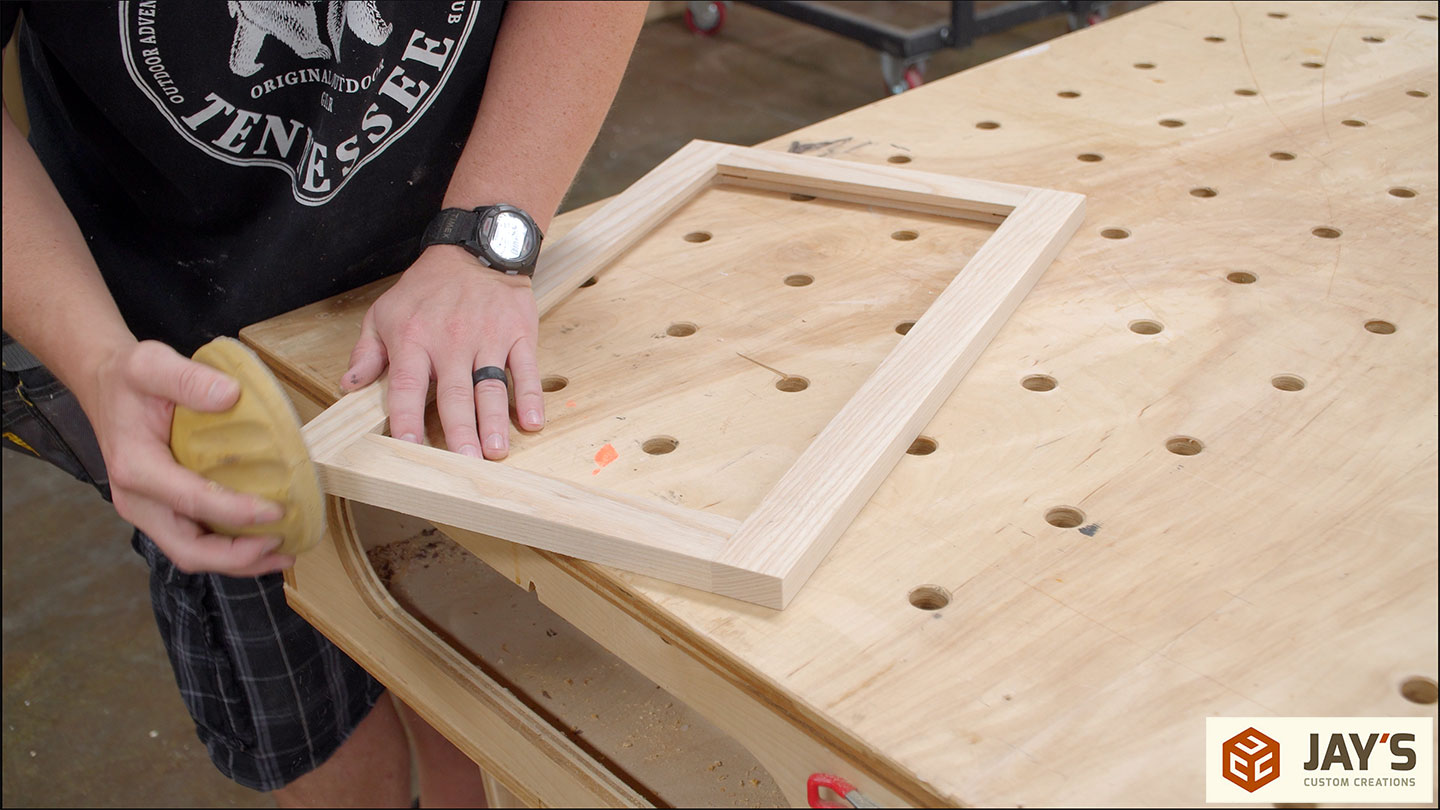
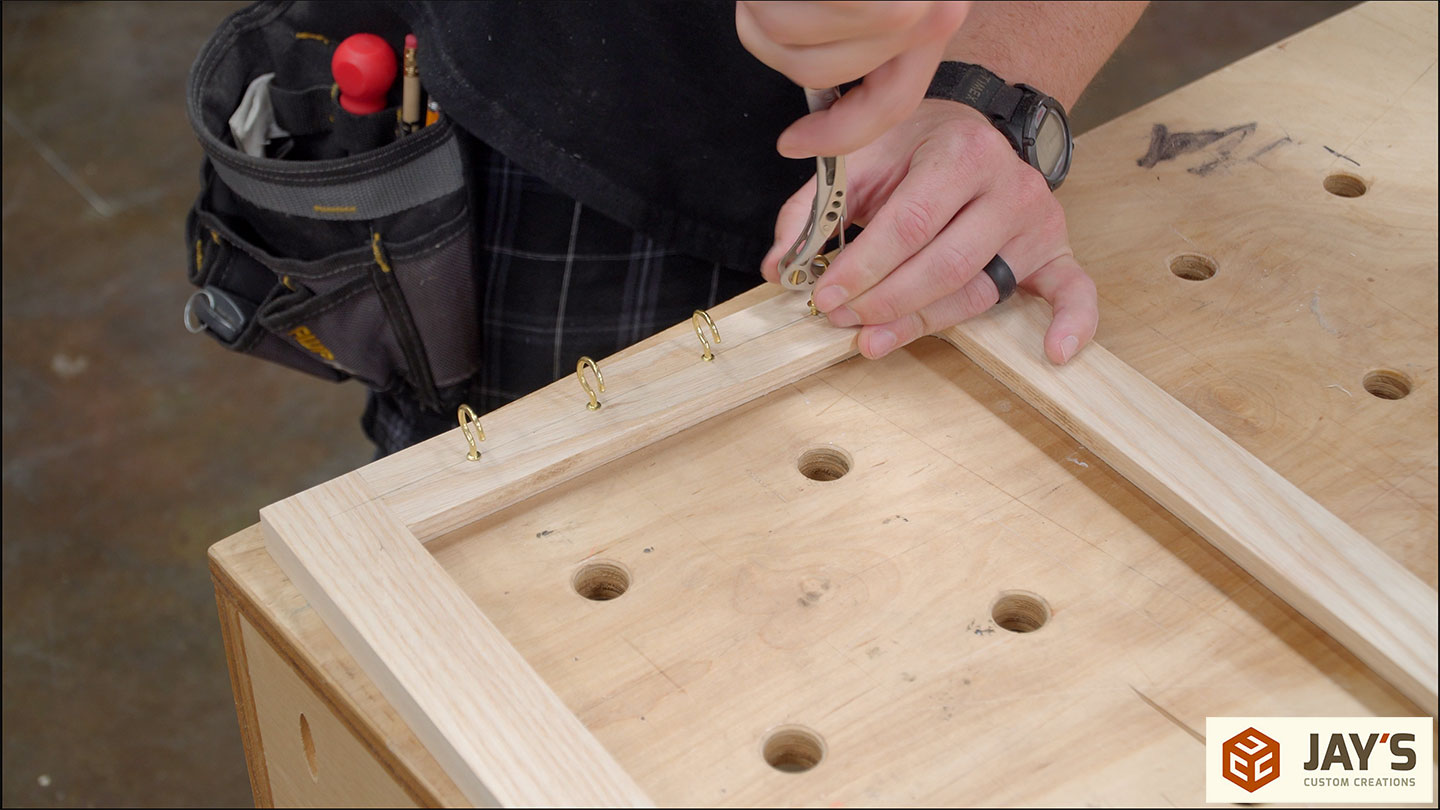
More hand sanding to eliminate any fuzzies and to break the sharp edges, followed by adding four cup hinges for key rings.
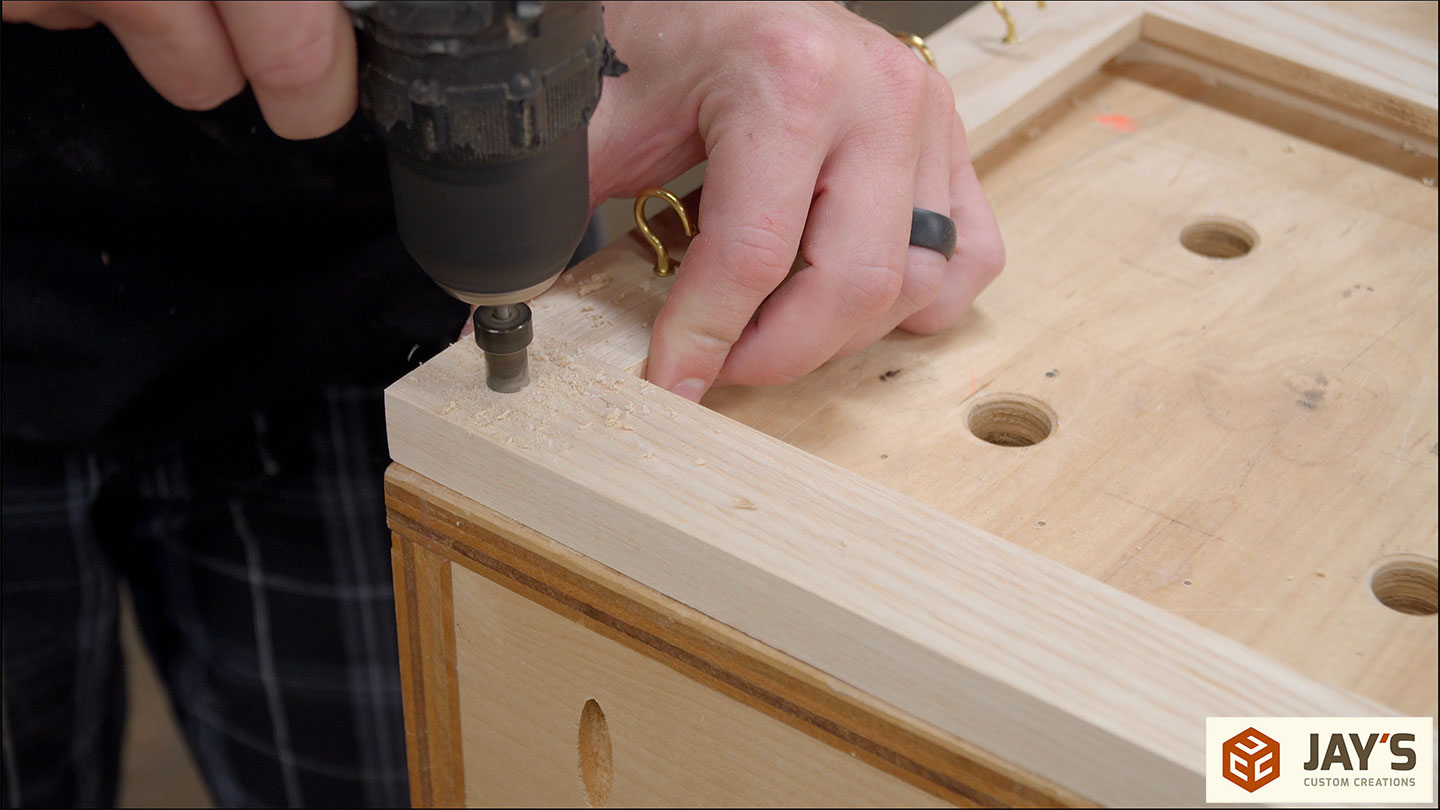
A hole is drilled at each corner for screwing the frame directly to a cabinet.
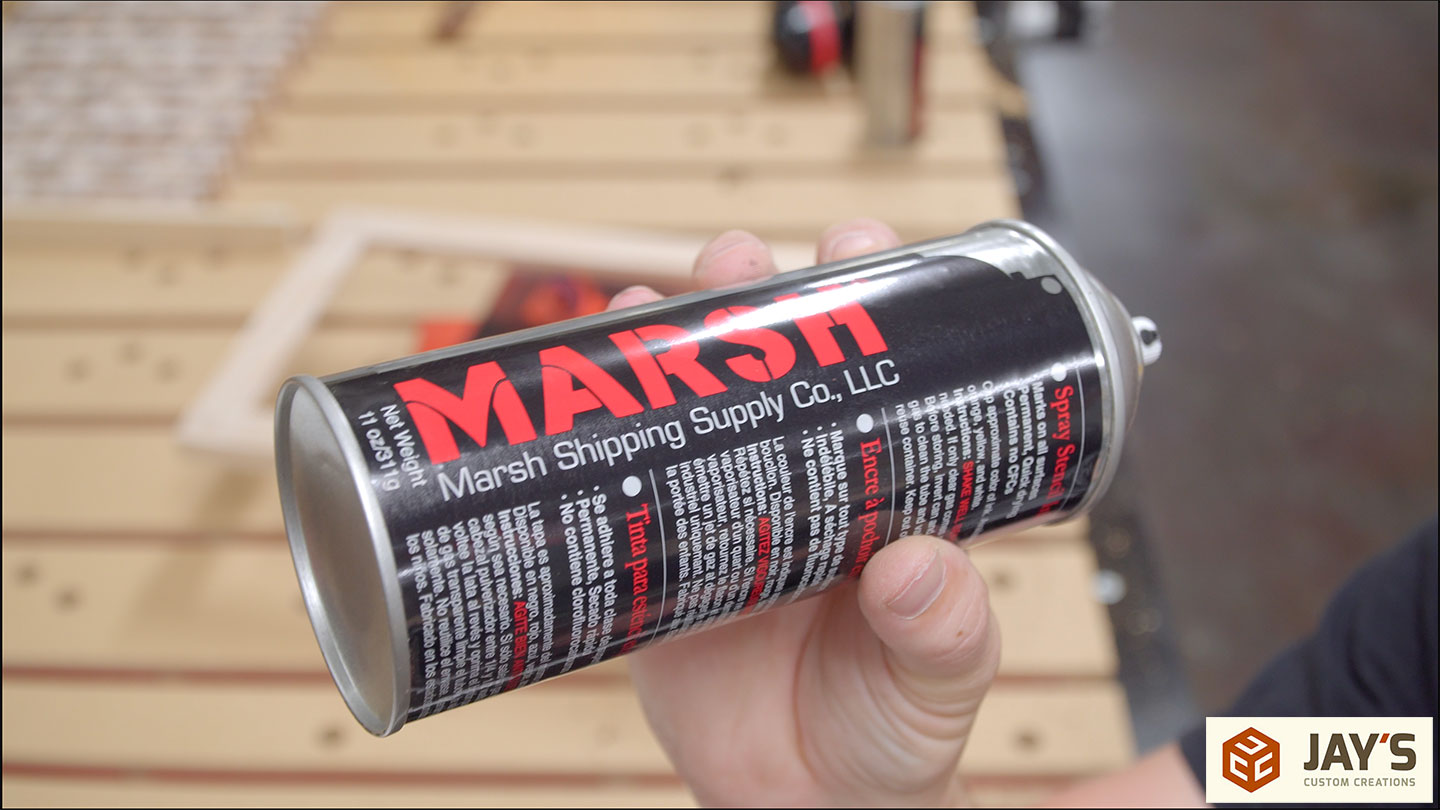
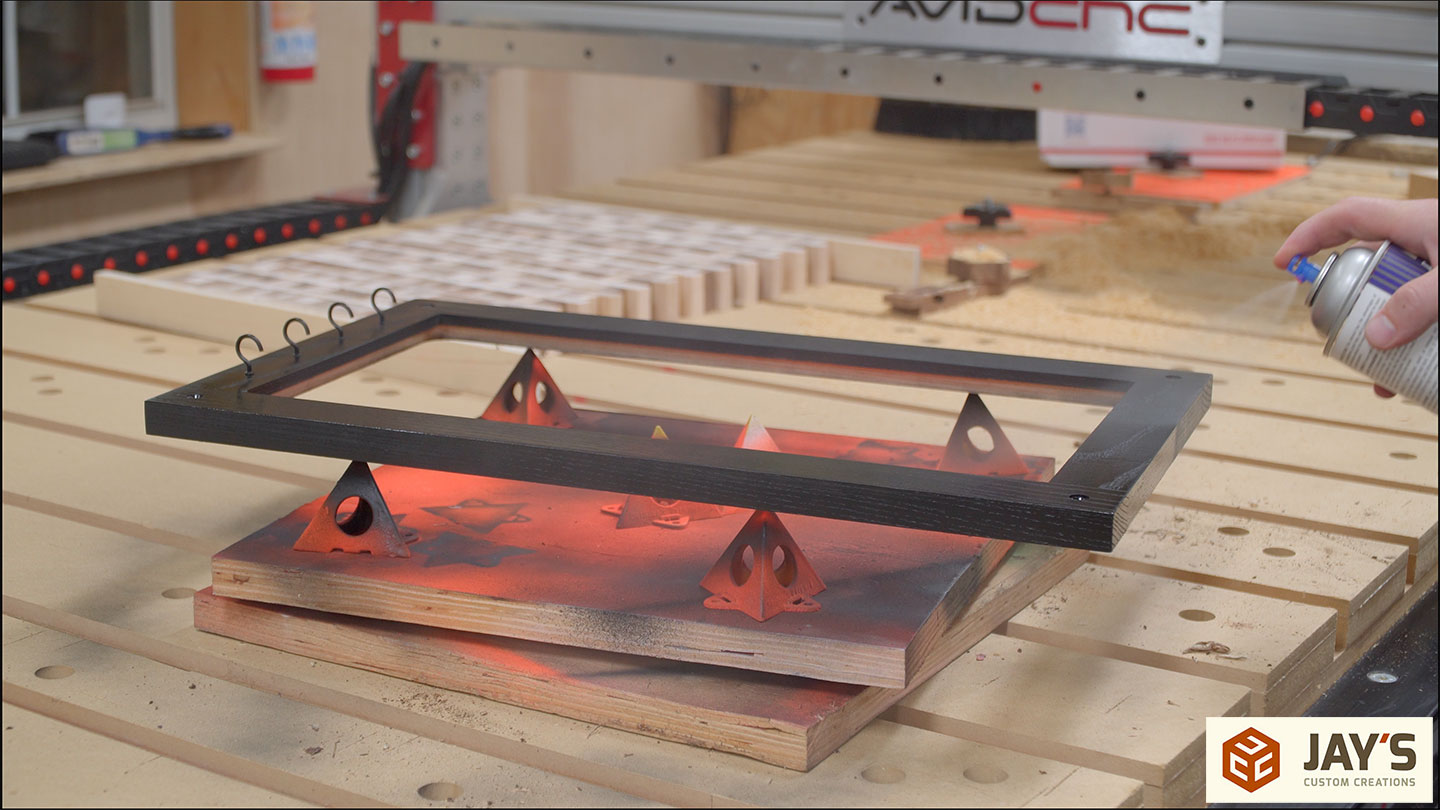
Marsh brand spray stencil ink is used to color it black. I really love this product as the coverage is excellent. It soaks in rather than covering, so you still see the look of the wood grain. And because the interior trim of our camper is black, it makes any wood project we add to the camper look like it belongs.
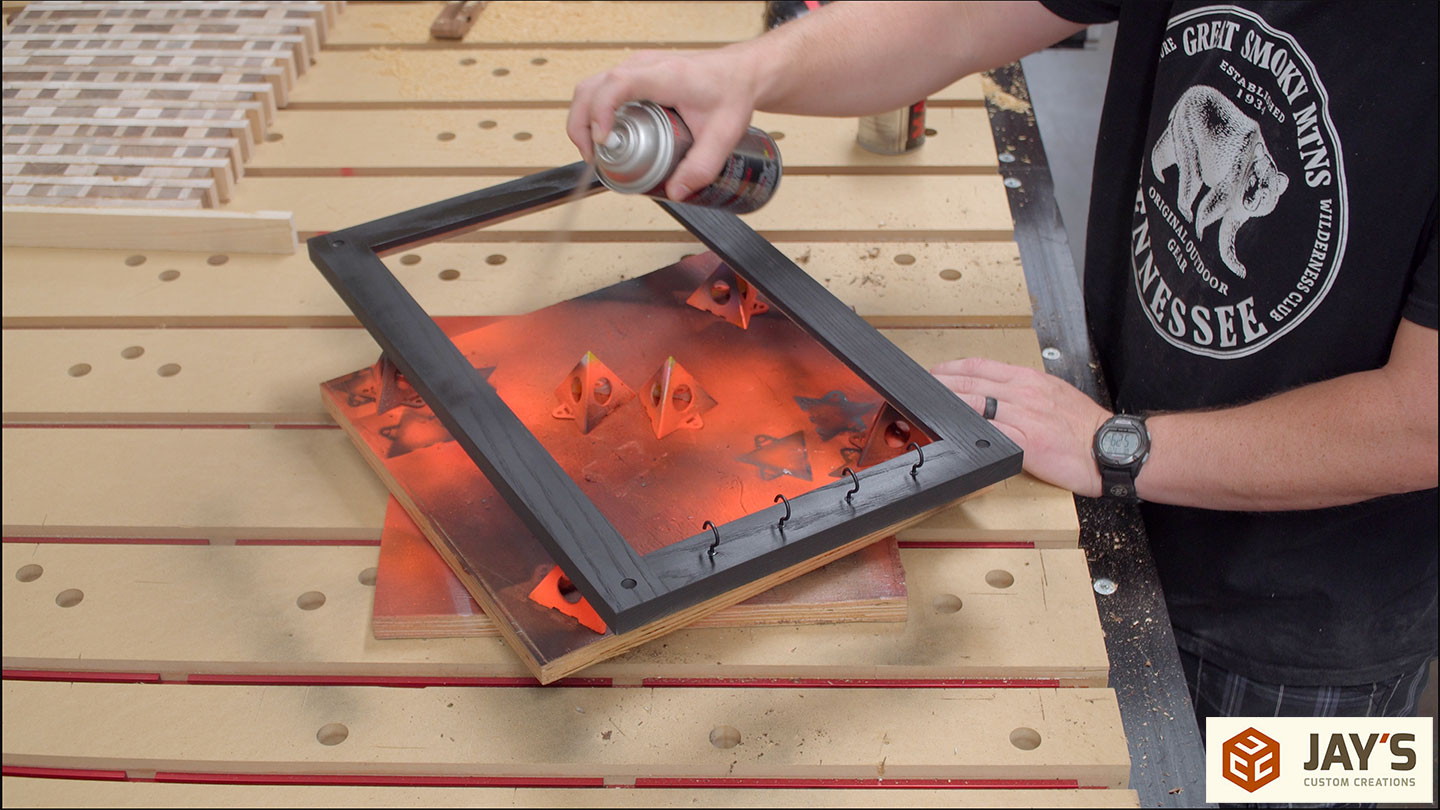
I don’t have any black cup hooks on hand, and I really want these to be black. So I tested one by spraying it with ink. Of course, I can rub the ink off with my fingers, so leaving it as is won’t work. The solution is to spray a clear coat to lock the ink in place. I’m hoping this works long-term, but if it doesn’t, I can easily pick up a pack of black cup hooks and replace them. I’m mainly trying to use up items in my always-expanding hardware stash.

With the finish and panel dry, I can add the back panel. You can see I rounded the corners of the panel to fit the rounded corners of the rabbet. To install it, I’m using some blocks to keep downward pressure while I apply hot melt glue around the panel.

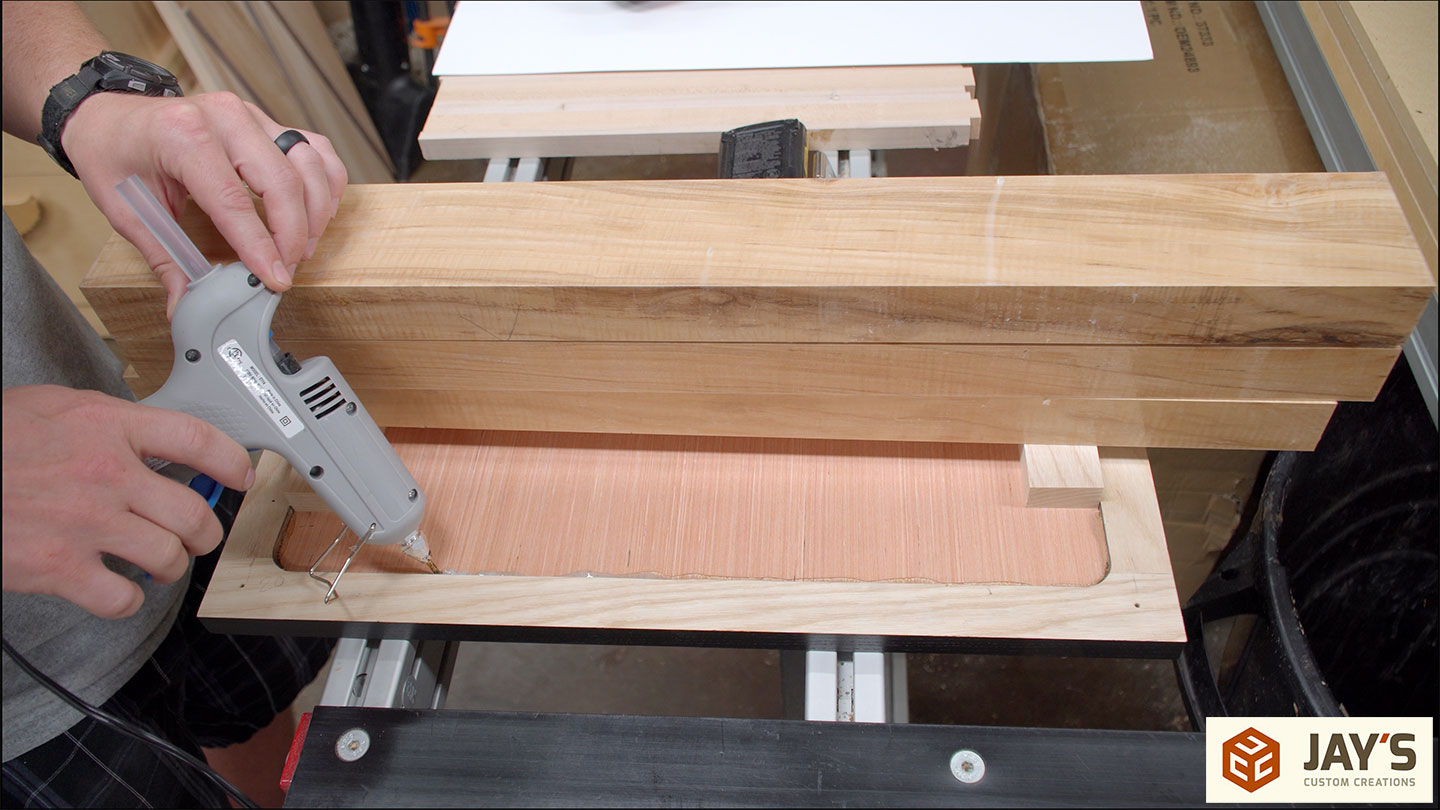
The hot melt glue cools in just a few minutes, and the panel is locked in place. This isn’t a great technique for a door panel where you will see the backside but for something that will be secured to something else, this back side will never be seen.

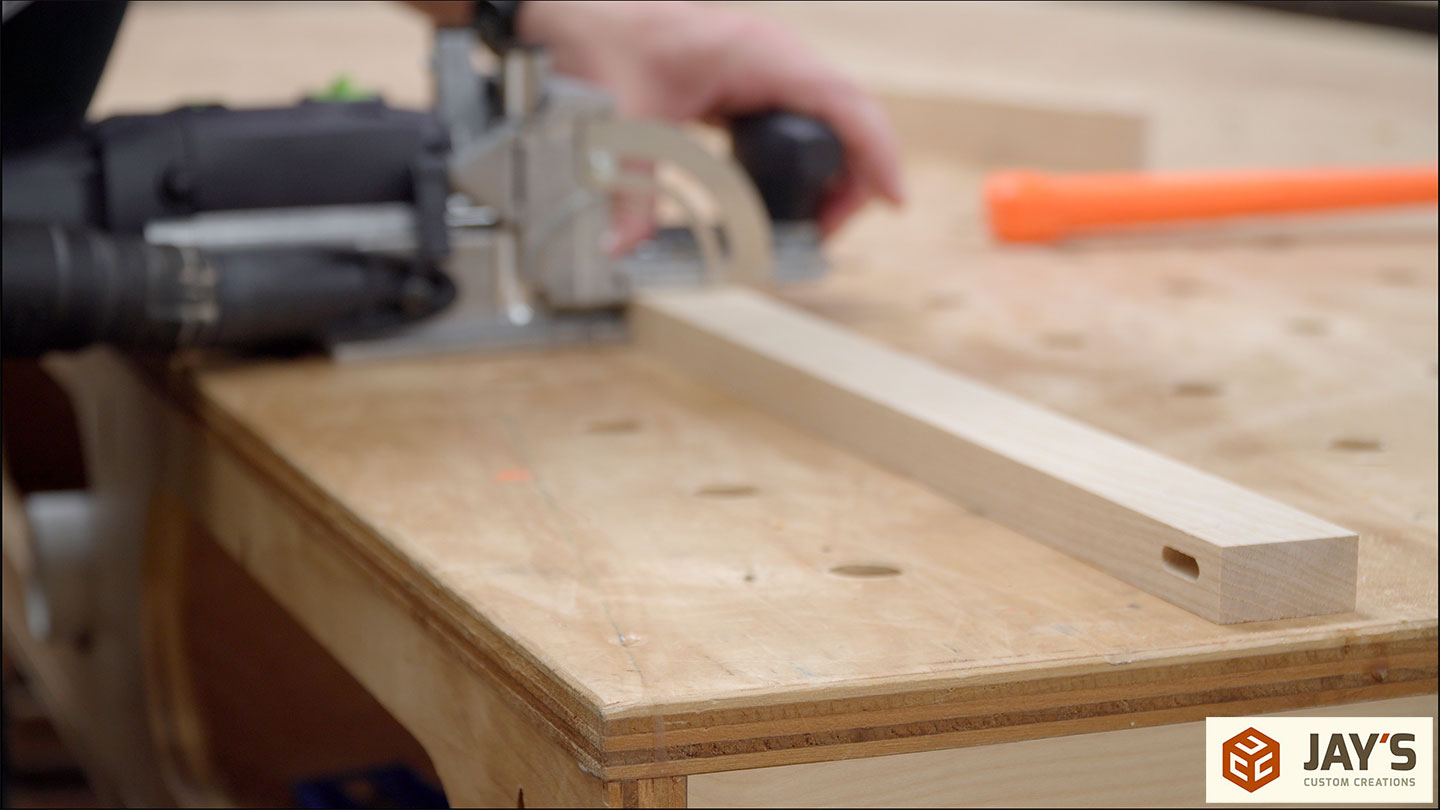
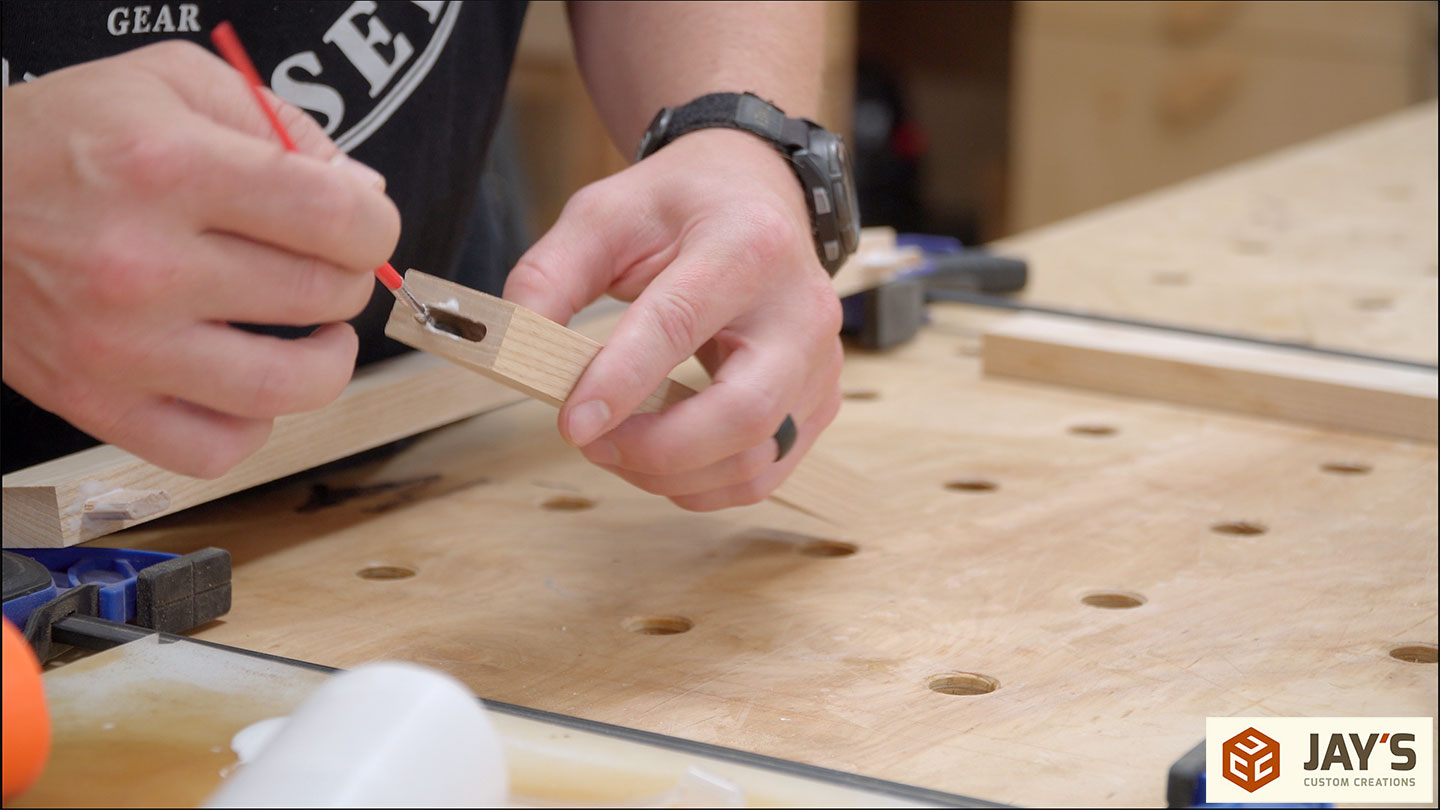
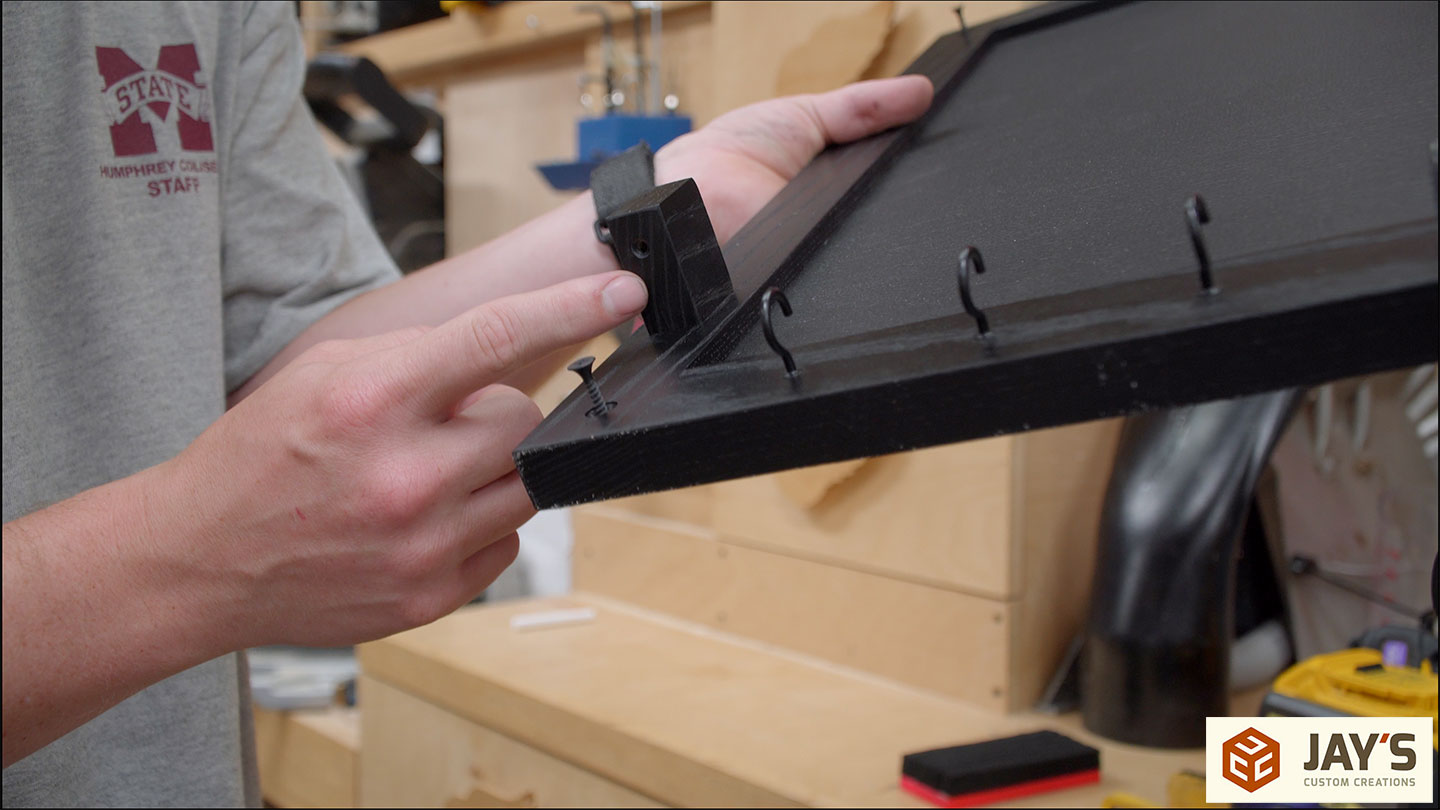
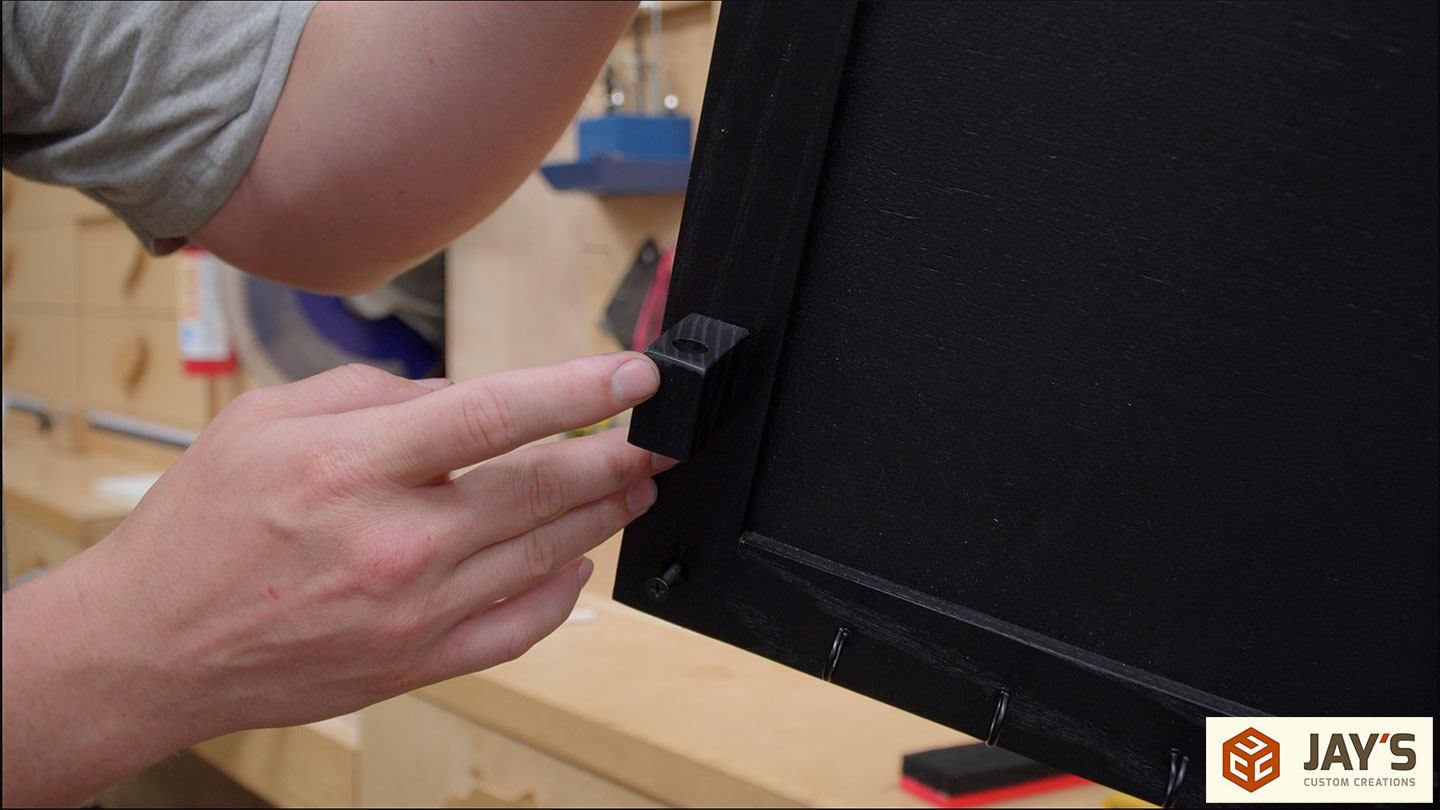
Fast forward a little bit as I completely forgot about the chalk holder. I went simple with a small block. The bottom of the block has a 1/8” hole that will allow me to remove a small broken chalk piece, and the top of the block has a hole to allow the chalk to sit vertically. This should be plenty enough to keep the chalk in place while bouncing down the road. It’s secured to the frame with a screw through the backside.
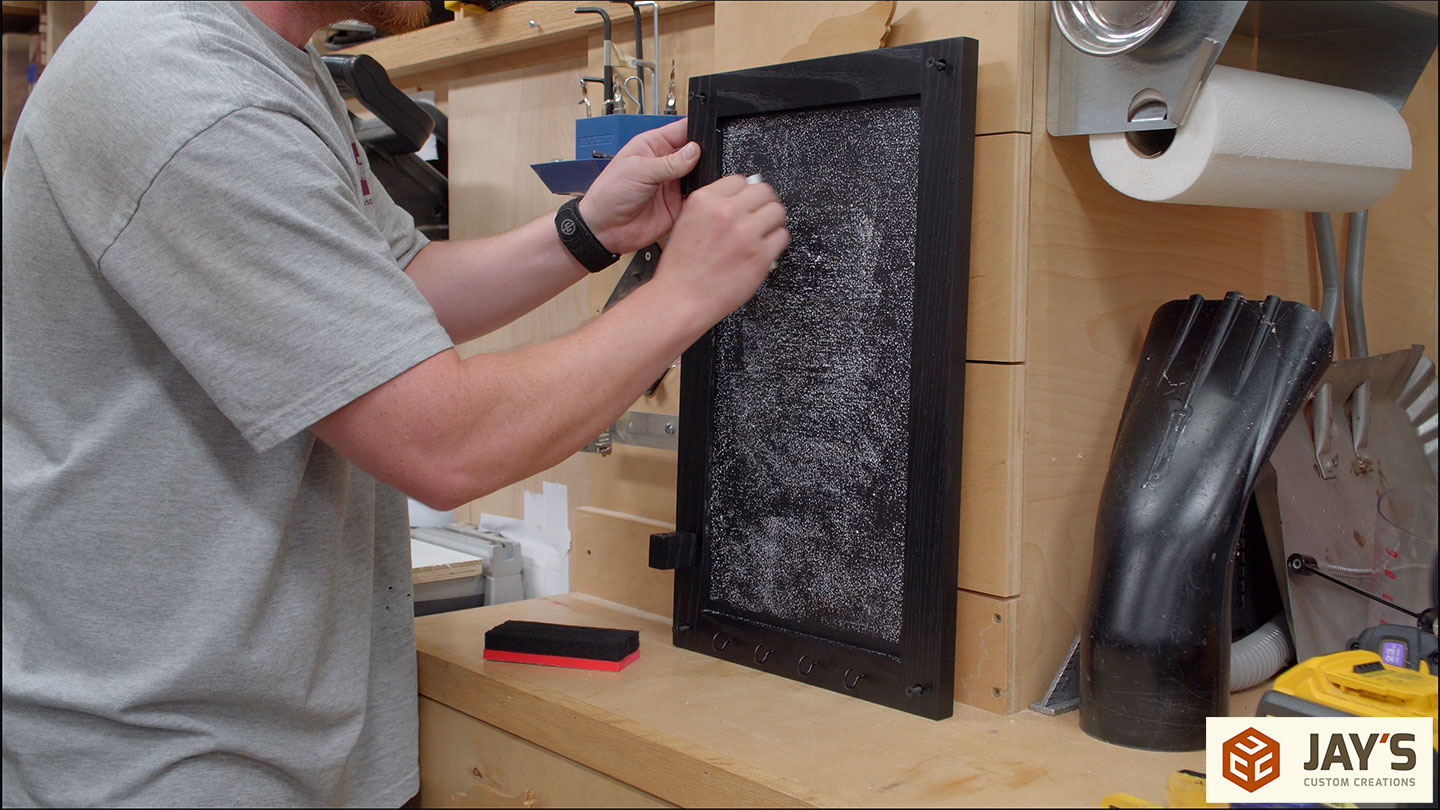
One final thing to do before installation is to prime the chalkboard. Covering the entire chalkboard like this first prevents the first writing from ghosting or showing through after erasing. I typically wake up and get out of the camper before everyone else, so being able to write a note and leave is something that will be handy for communication.
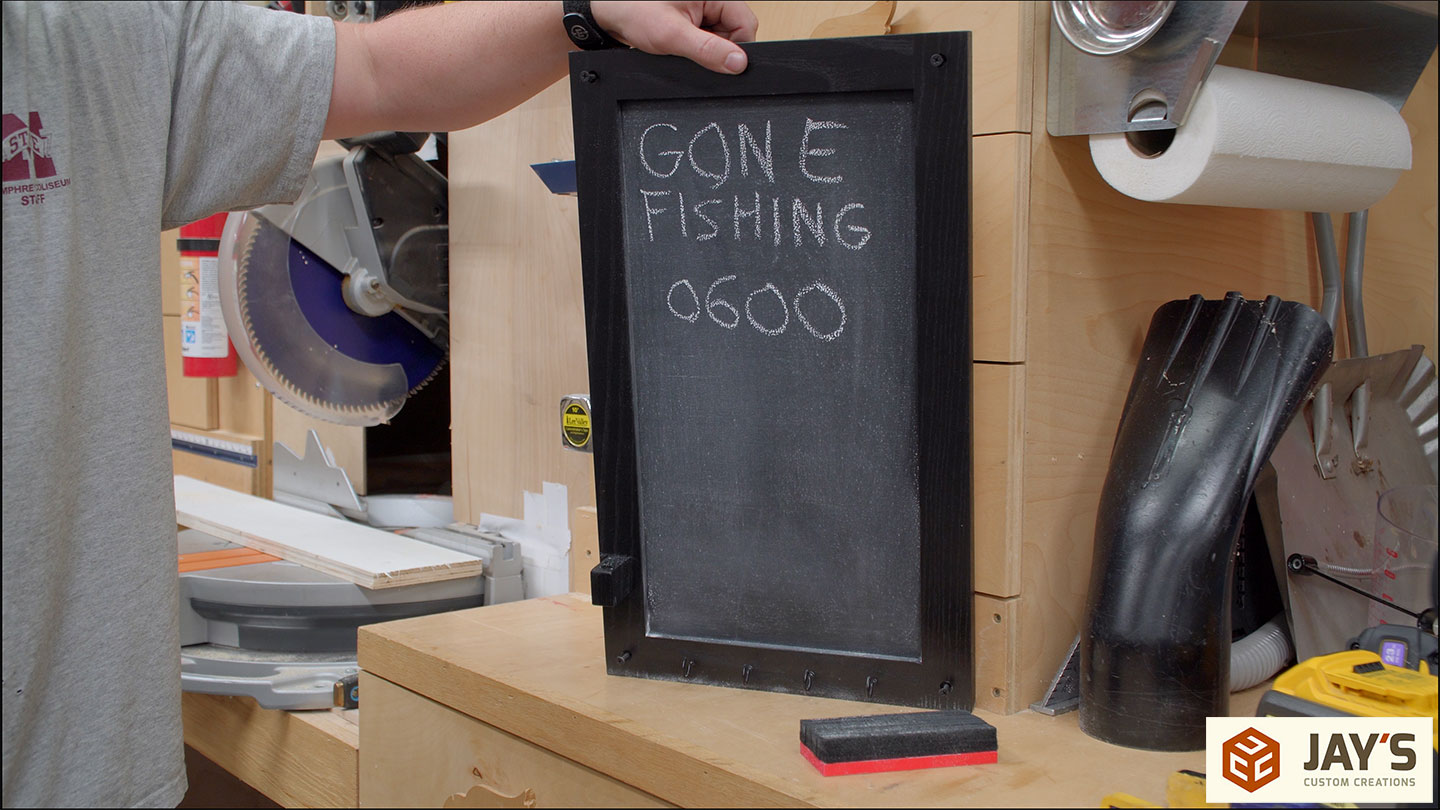
Immediately to the left when you walk into our camper is a row of upper wall cabinets which is a perfect location for this project. Both for a note as well as a place to hang the truck keys. Also, check out how well it blends with the cabinet. It looks like it was always part of the camper, which is what I was after. I have a GMRS radio license for communicating when we don’t have cell signal, and this is also a great place to keep my GMRS callsign for my wife to reference. Side note; a GMRS license is purchased, no testing required and covers you and your immediate family.

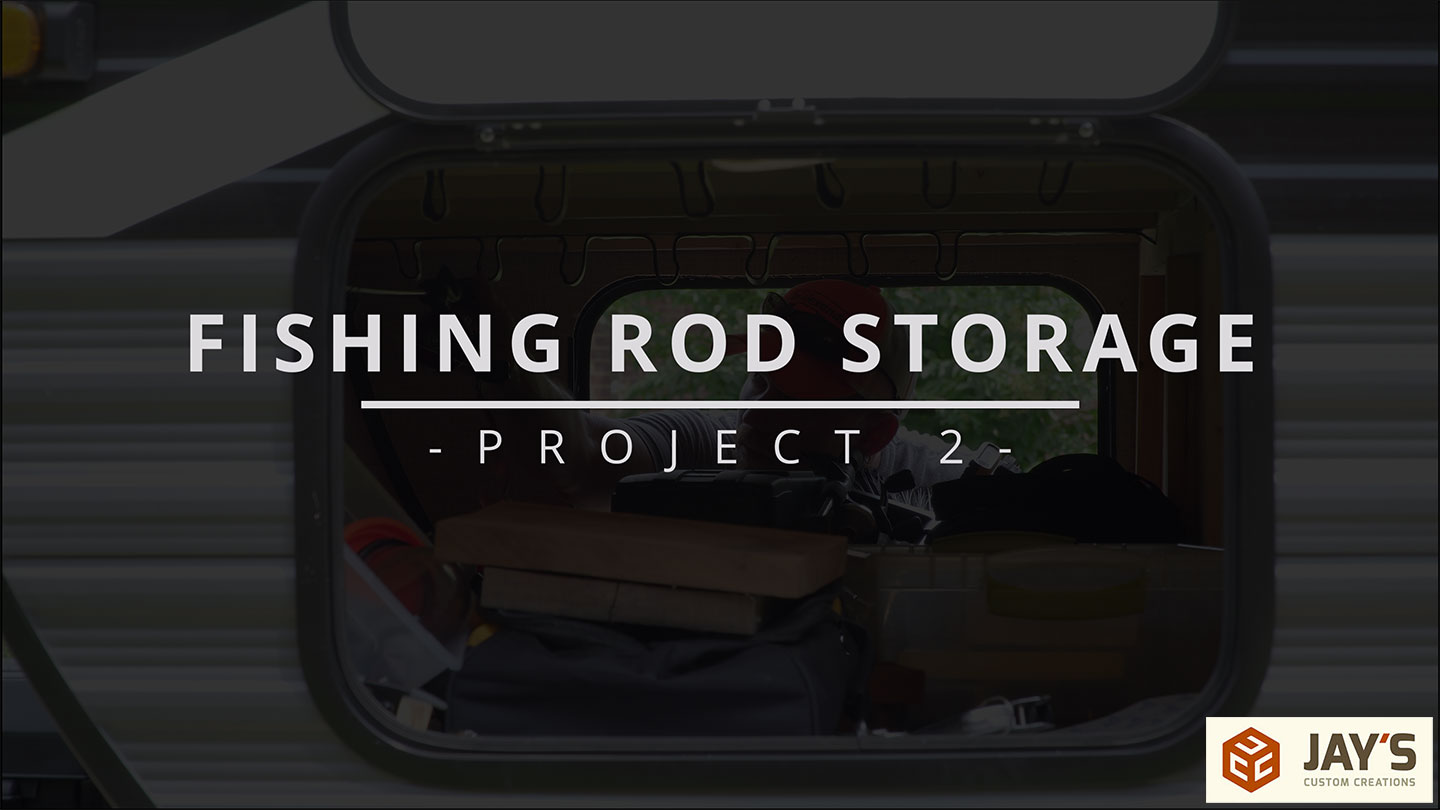
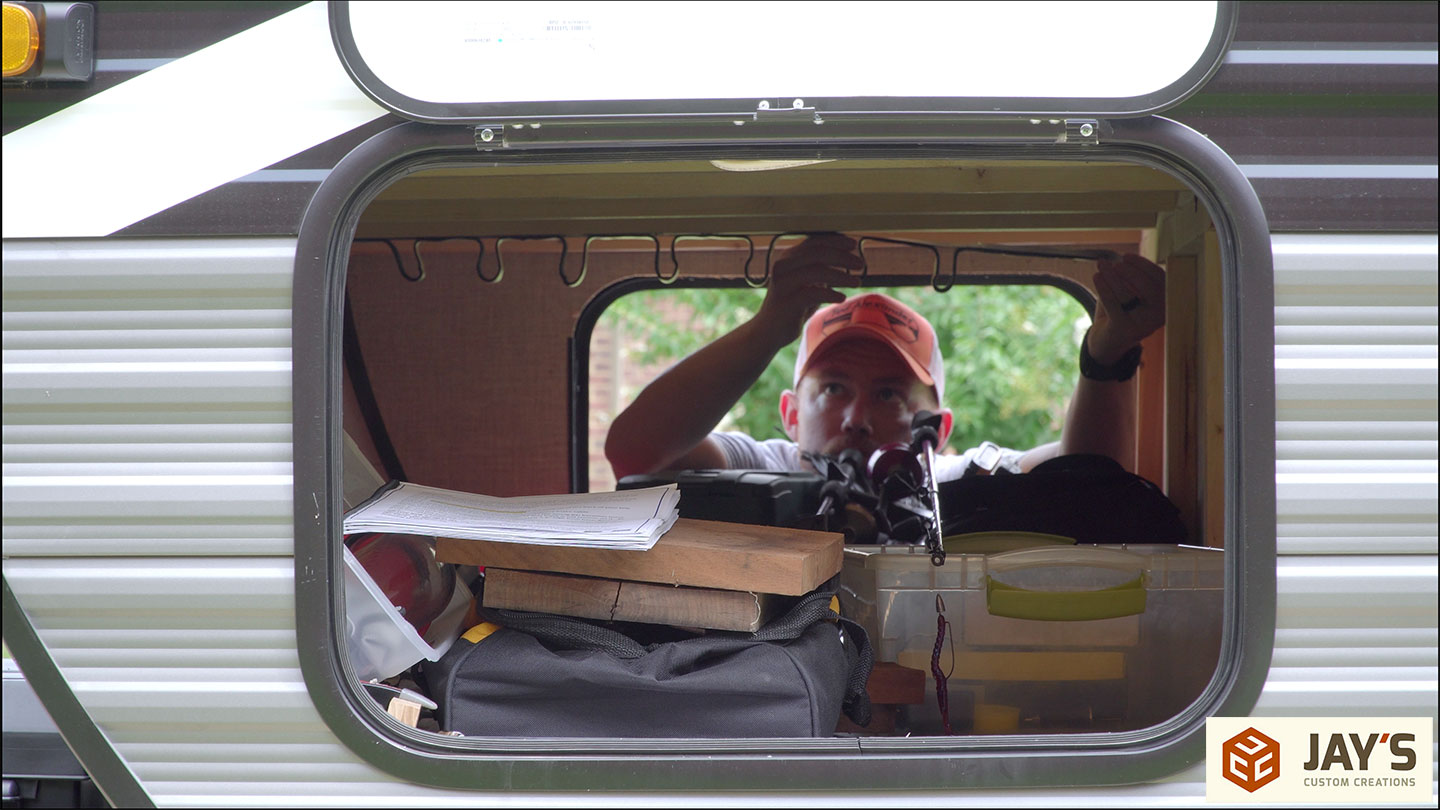
Project number two is fishing rod storage in the camper pass-through storage area.
I was given a bunch of double-sided velcro a while ago, and this will be a perfect use for it. Some of it is 2” wide, which is wider than the wood I’ll be mounting it to. The other roll is more narrow, and I think better suited for this use.

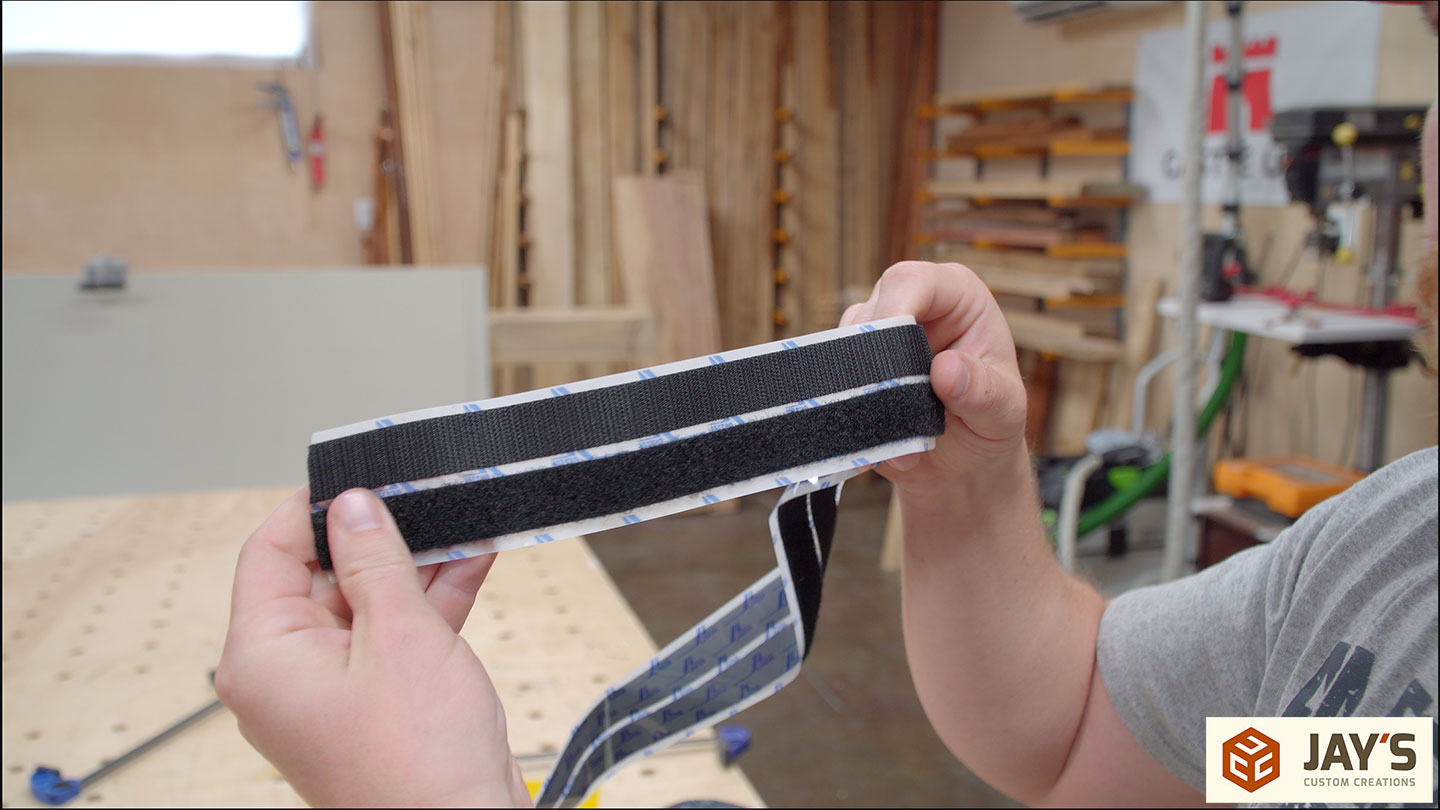
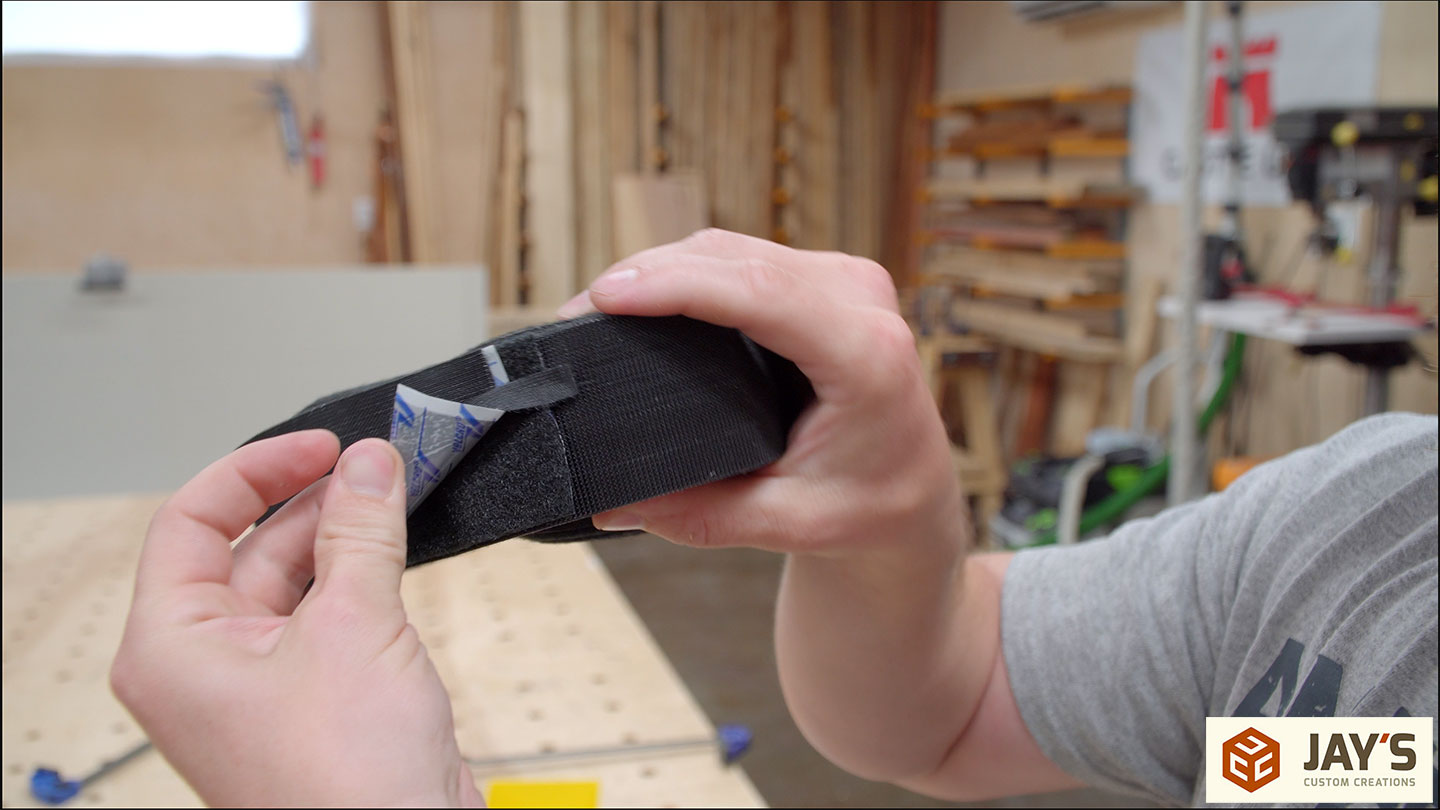
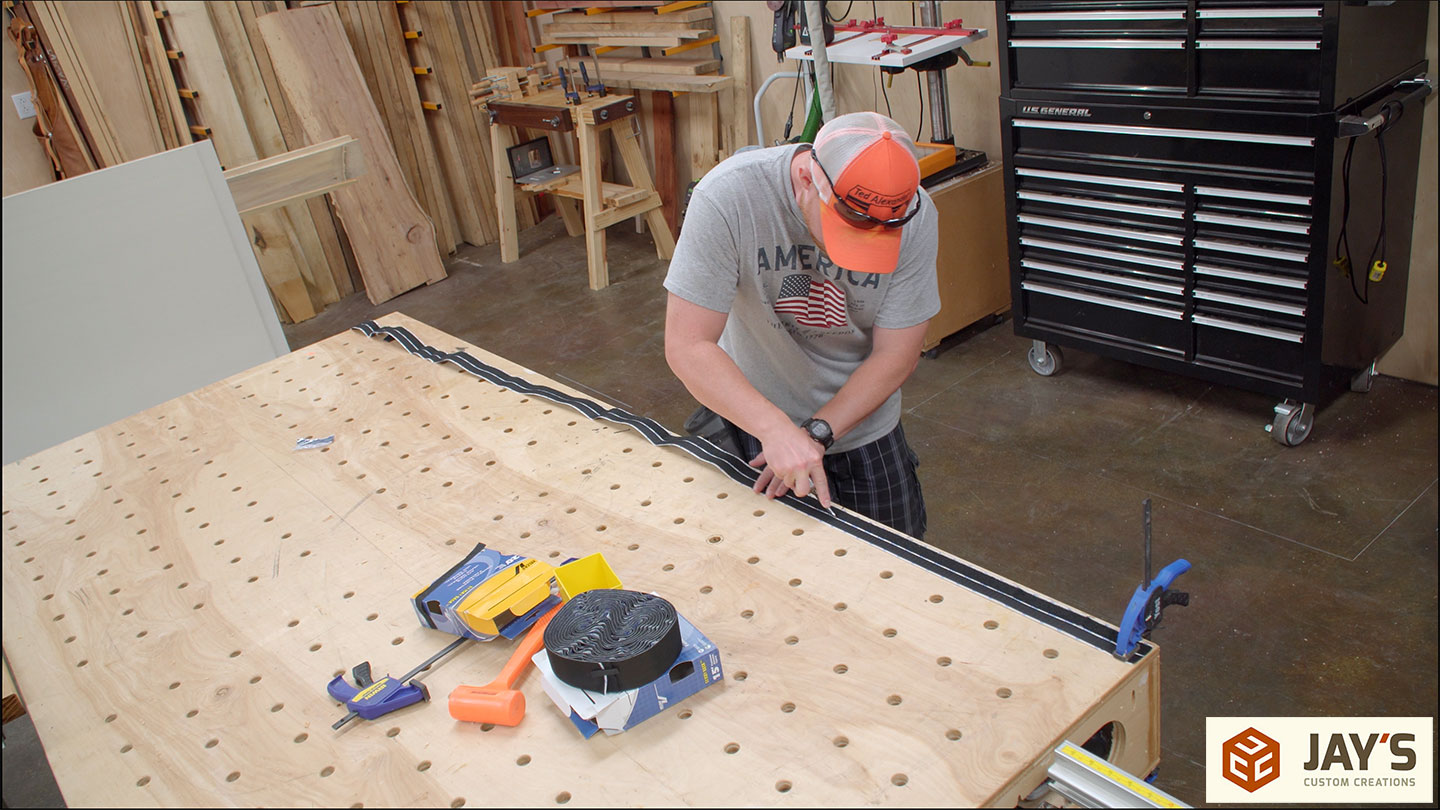
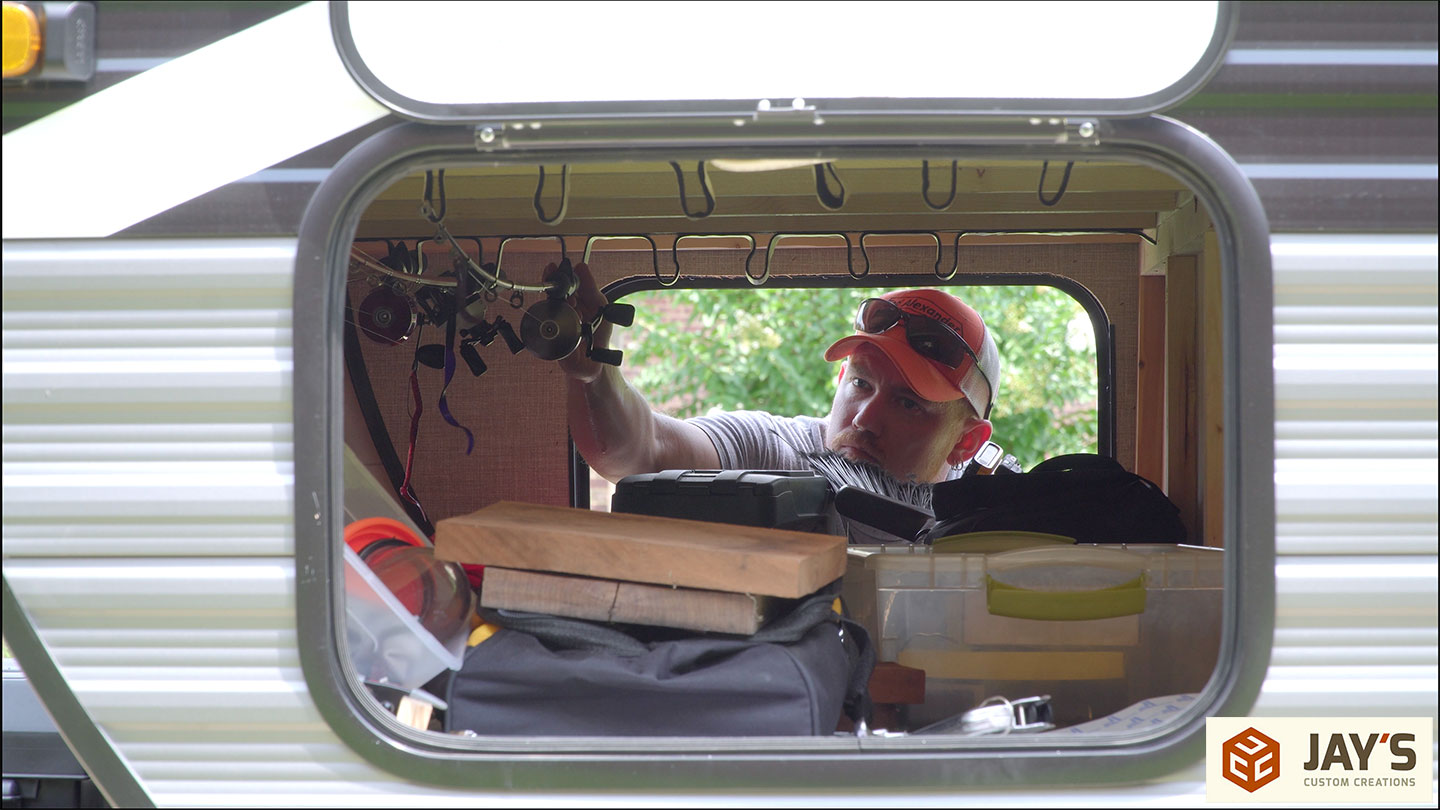
First, I’ll separate the two sides and then cut one side to the length needed. Then I can clamp the stationary side to the table and start laying out the hanging side. I’m using a four-finger width left and right and a three-finger width vertically. This arrangement gives me a bunch of loops to hang the fishing rods.

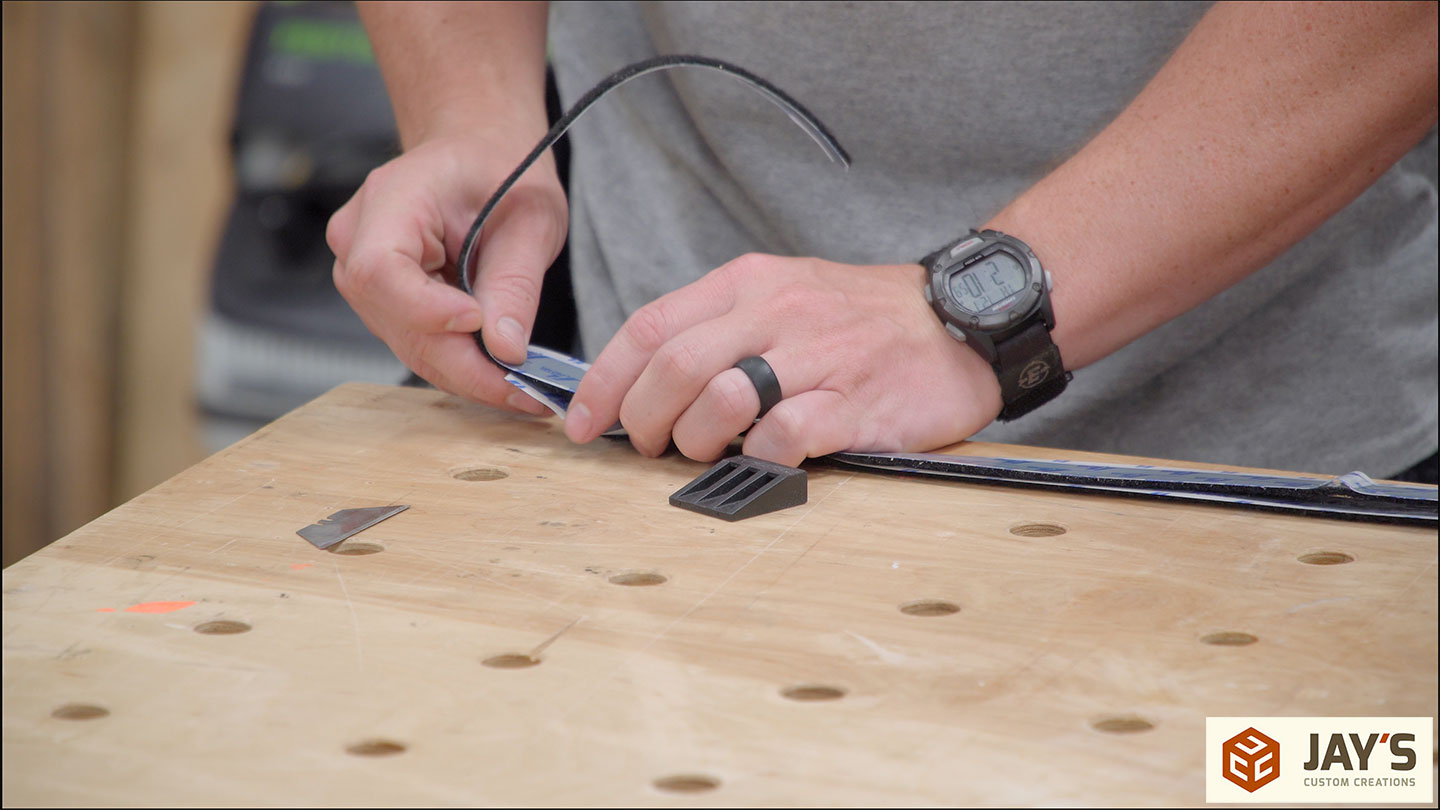
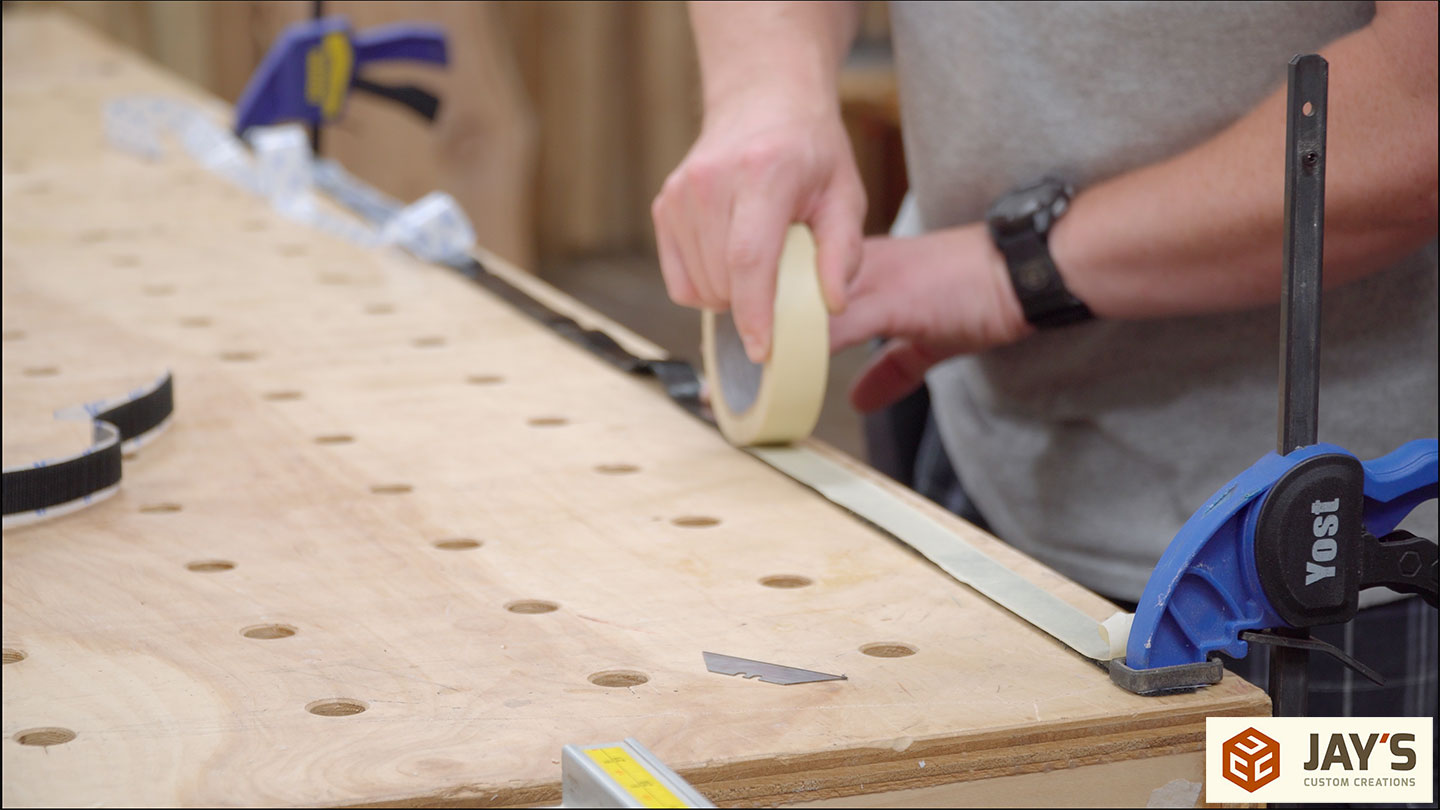
With one done, I can pull them apart and use it as a template to cut the next two pieces to length. Also, I’ll utilize the sticky backing on the stationary side, but on the flexible side, I want to eliminate it. The easiest way to do that is to cover it with tape. If I left the plastic backing, the heat would likely cause it to fall off.
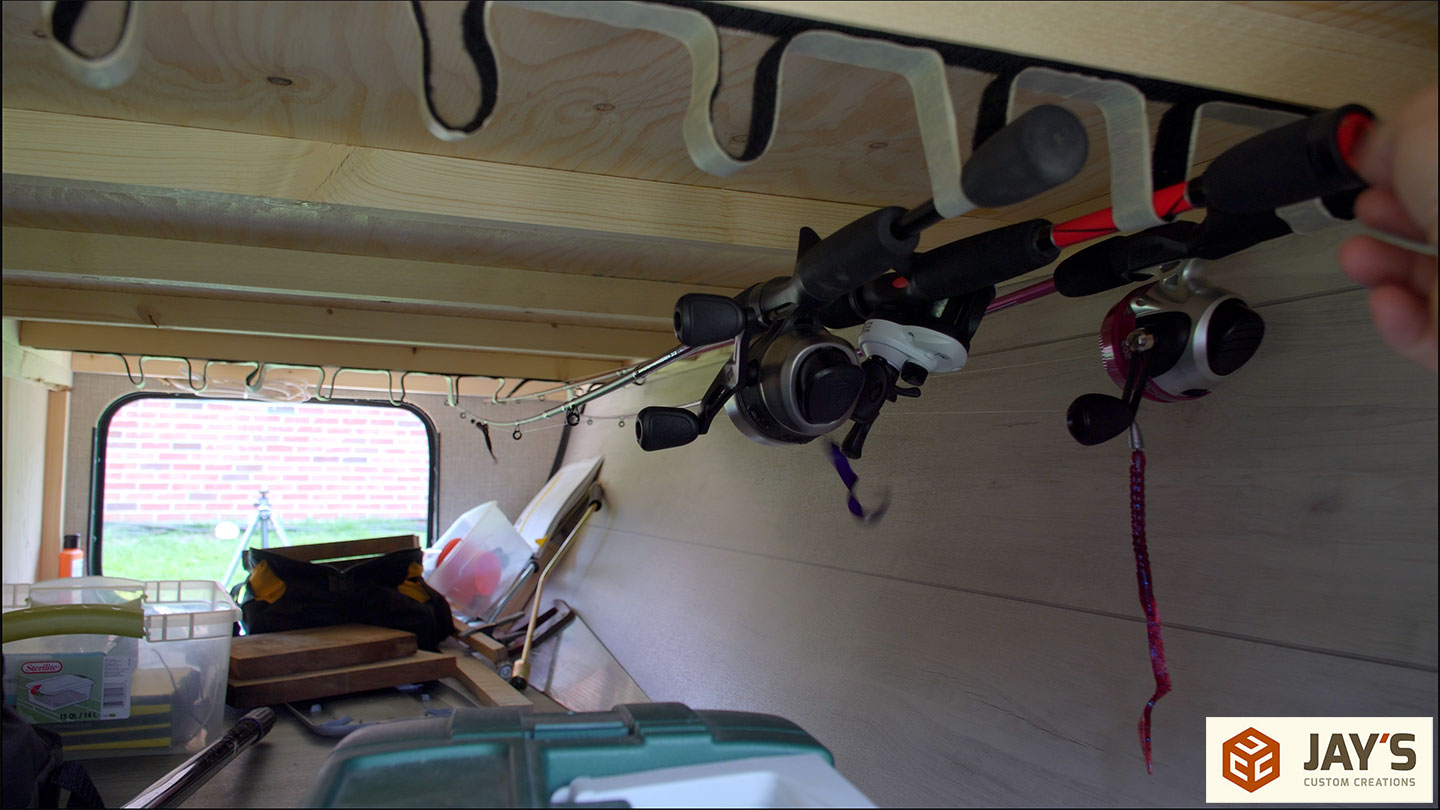
And now for the super simple installation. Peel and stick to the wood framing and a couple of staples for good measure. This system is incredibly simple, and one of the benefits of it is that I have a system in place for hanging stuff above. If I no longer want to store my fishing rods here, I can easily use them for something else. Also, I’m not concerned with the sag that the poles have, as this isn’t a long-term storage solution. I’m just using these for transportation. Another strip of velcro can be added to the middle to eliminate sag if needed.
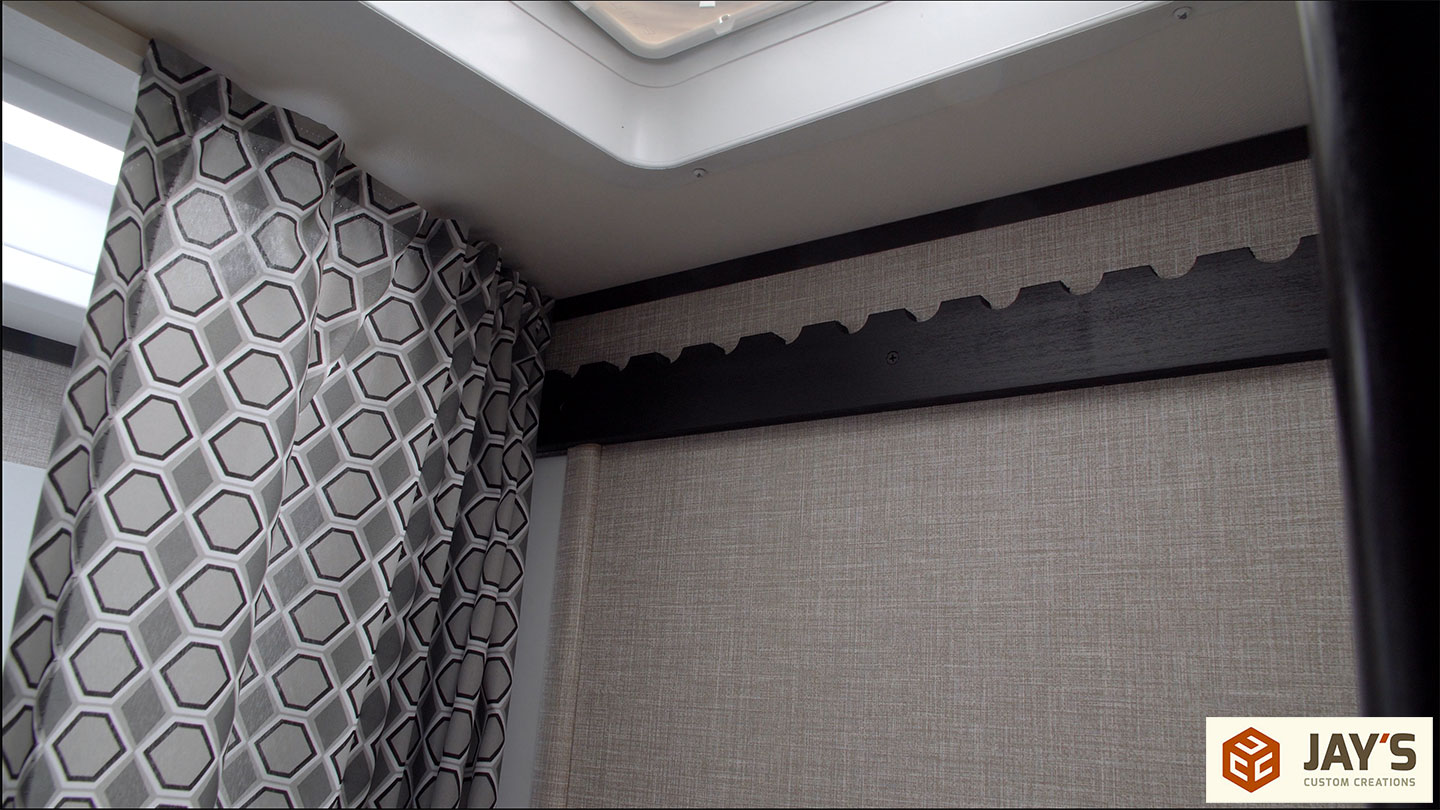
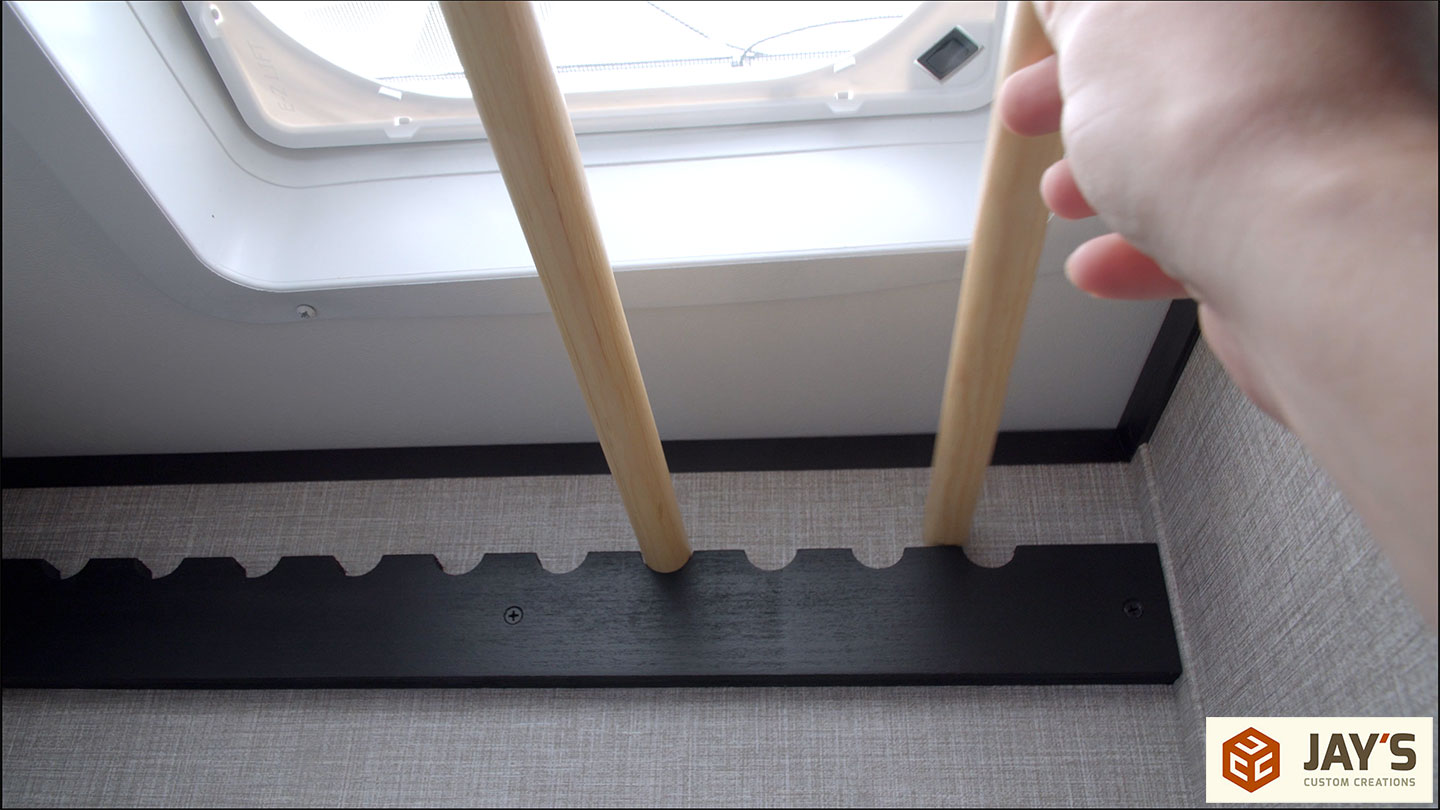
Project number three is a multi-use and adjustable towel bar system.
This is the side of our incredibly tiny camper bathroom. The goal is to add a rack to both sides of the bathroom, as you can see here on the side that’s already installed.

Jumping back to the past, this project starts with some scrap plywood. Cutting it to length and width to square it up and get the oversized rectangle needed for both sides.
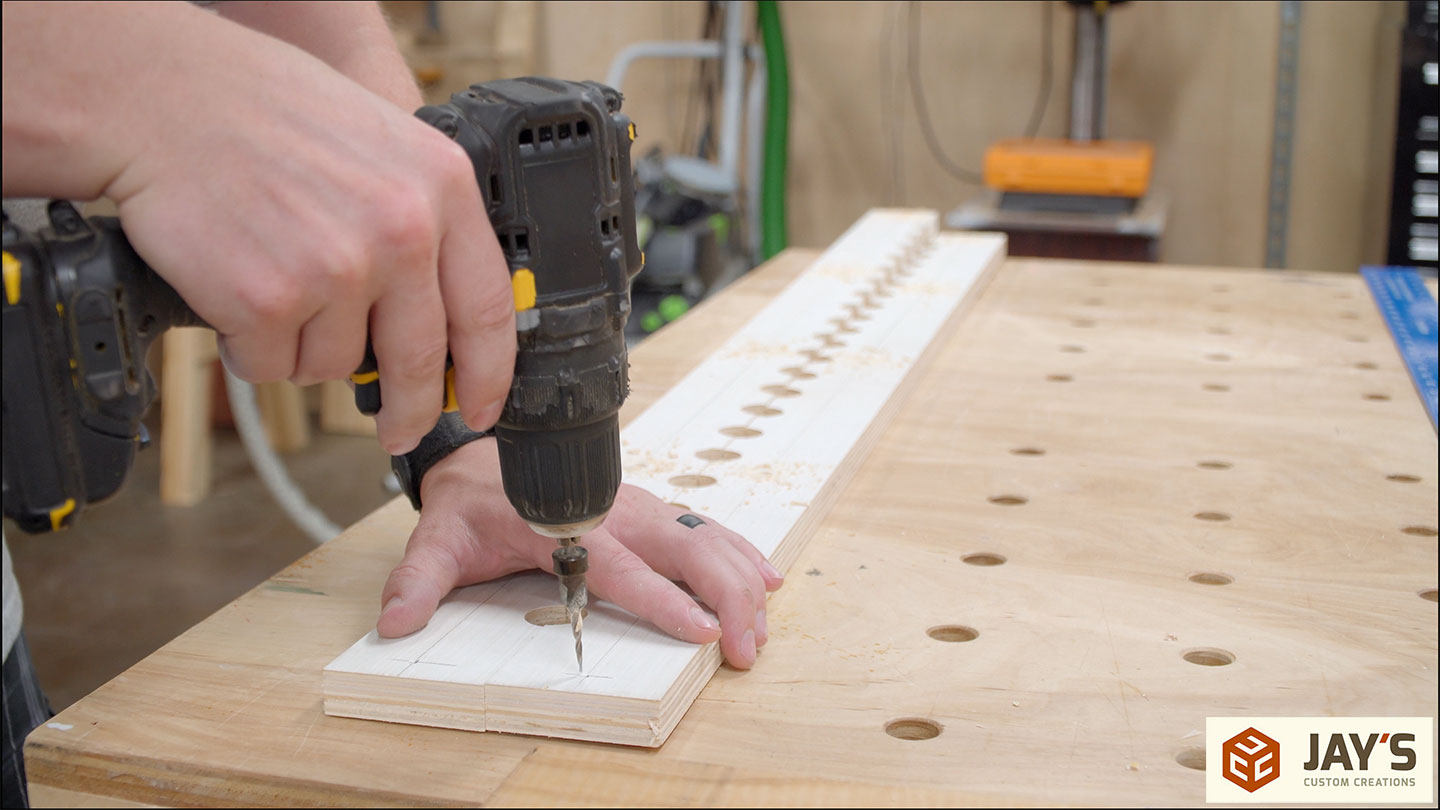
Then some layout for a bunch of holes to be centered and symmetrical left to right.

The dowels I’m using are 15/16” in diameter, so I’m going with a 1” hole. I’m using a Forstner bit in a drill press, but a spade bit in a hand drill would do the job as well. Lots of holes and a lot of smelly plywood chips.


One board becomes two with a rip cut right down the middle.
Here you can see how this will work. One rack on each side of the bathroom and the dowel cut to the maximum length to span the gap.

The wall stud spacing is a little inconsistent in the bathroom walls, so I just drilled five holes symmetrically on each rack. Five screws per board and a full-length strip of double-sided tape on the back should be plenty enough to hold the weight regardless of if I hit studs or just the paneling.
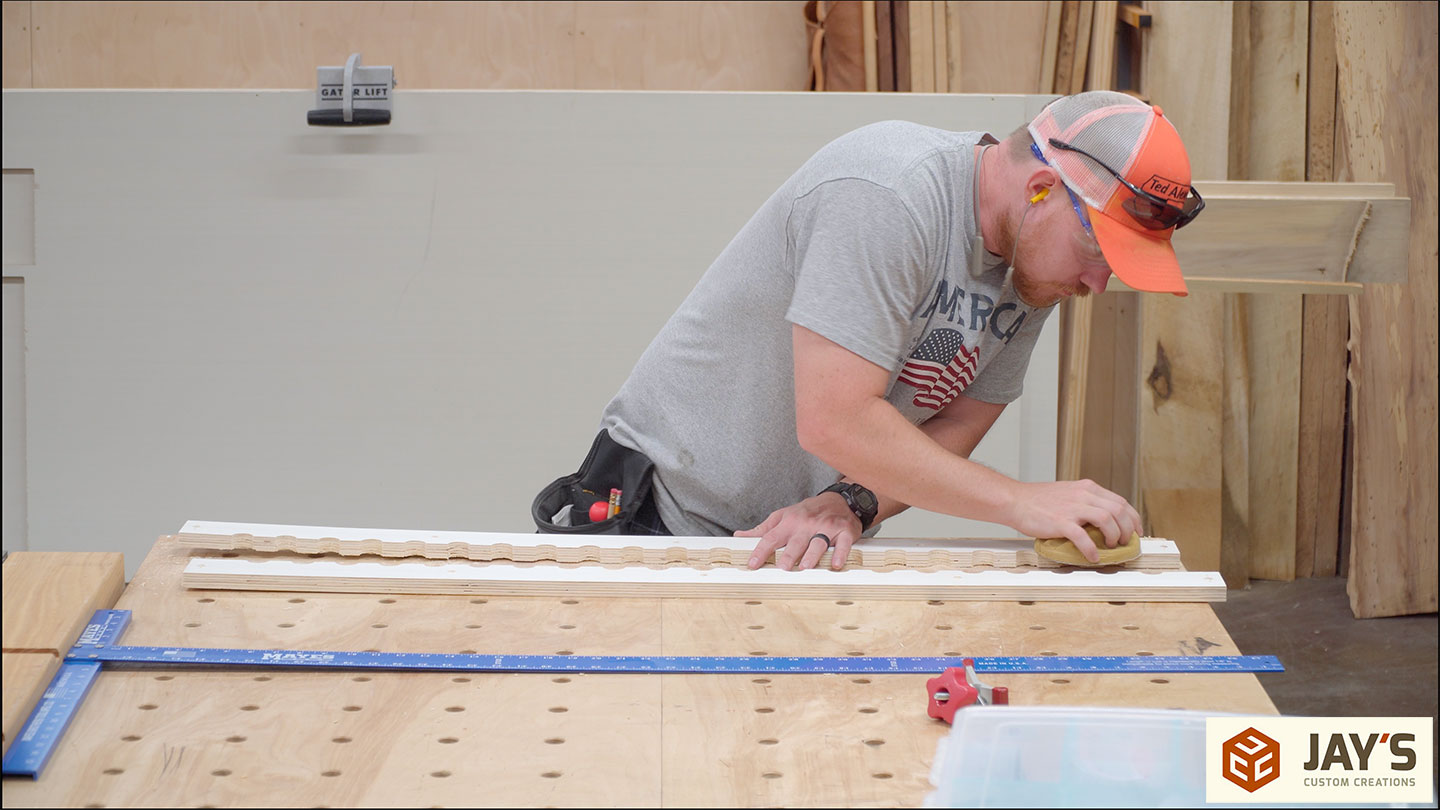
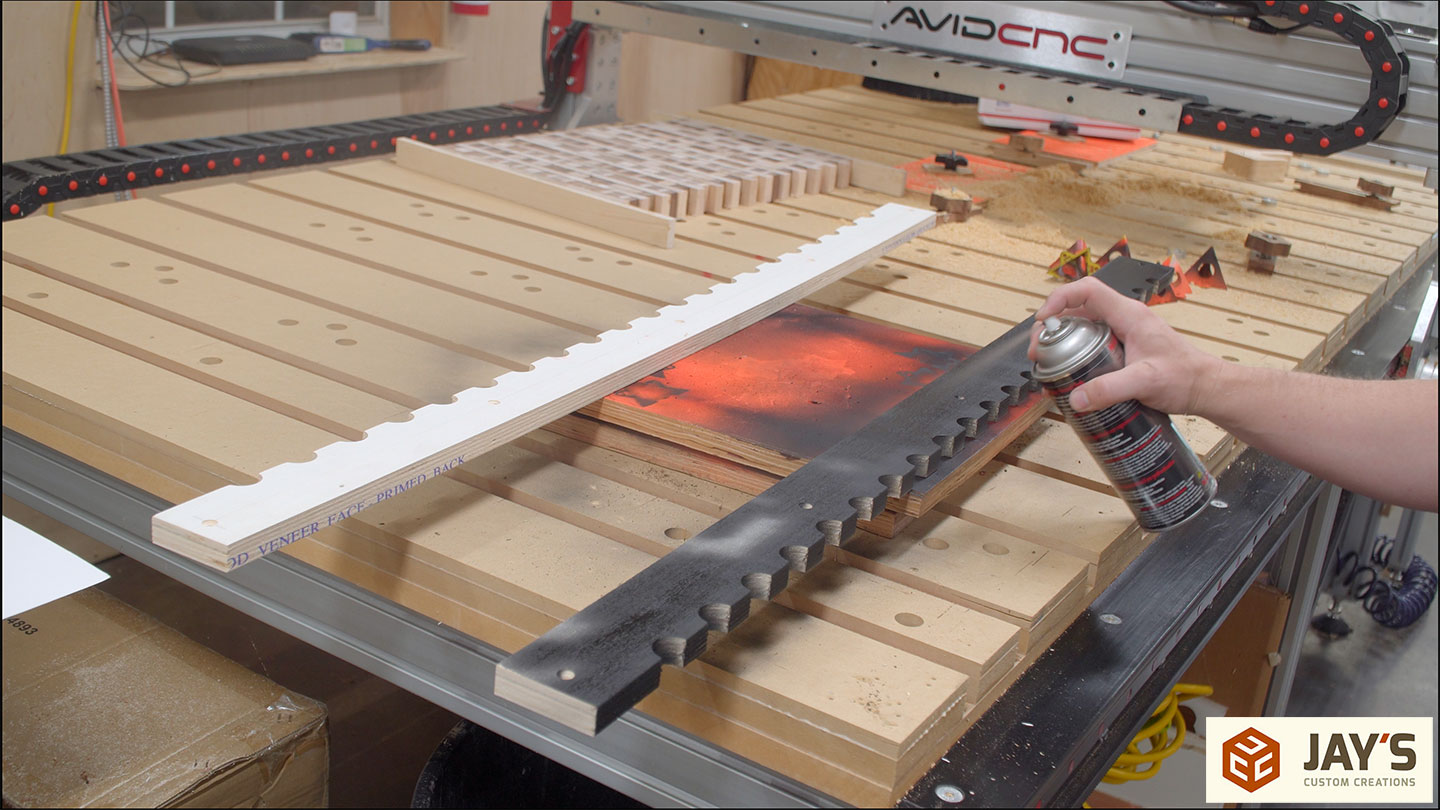
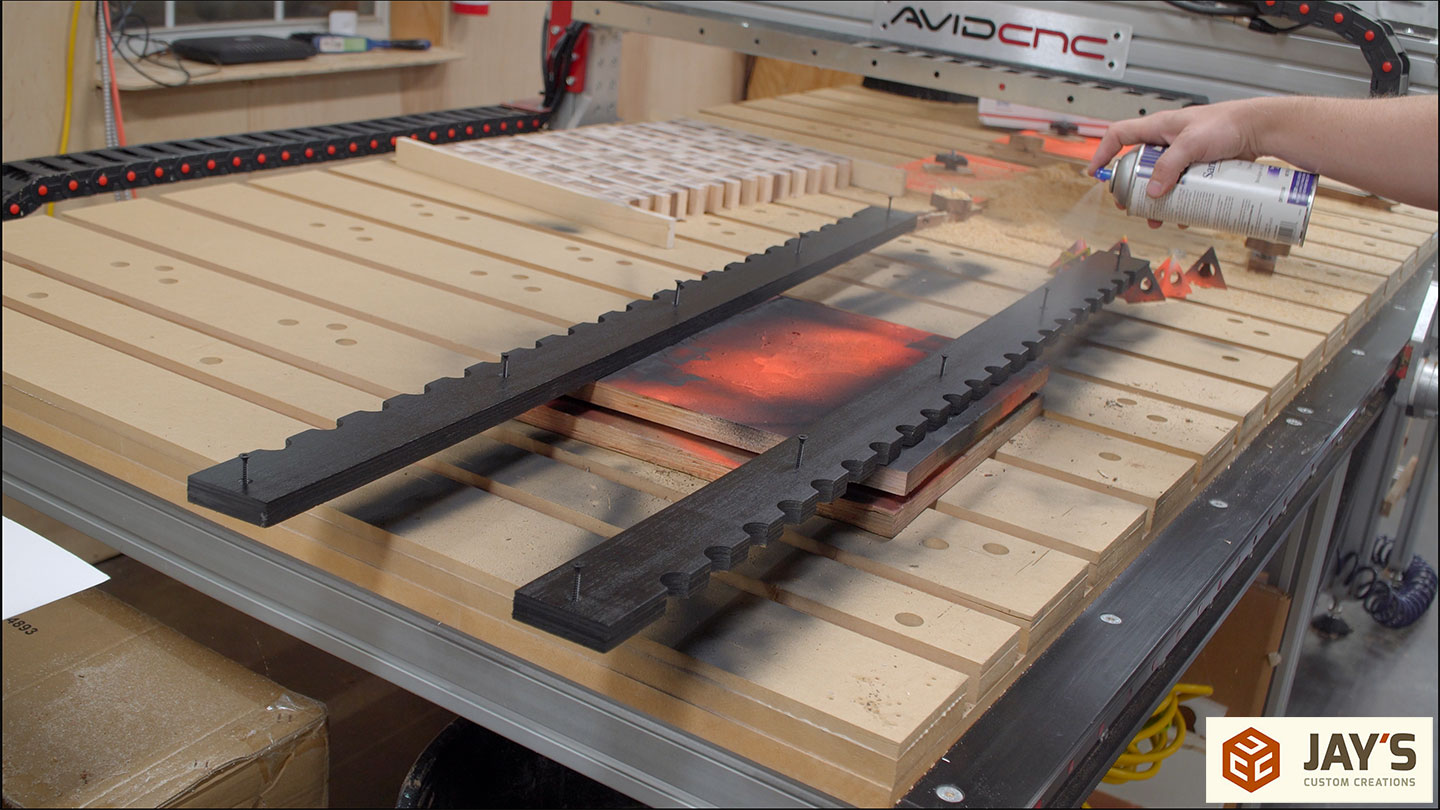
A little more hand sanding, and then it’s time for more spray ink and a spray clear coat. Because this will be in the most humid area of the camper, I made sure to have the screws in the holes before spraying so they will get the clear coat protection as well.
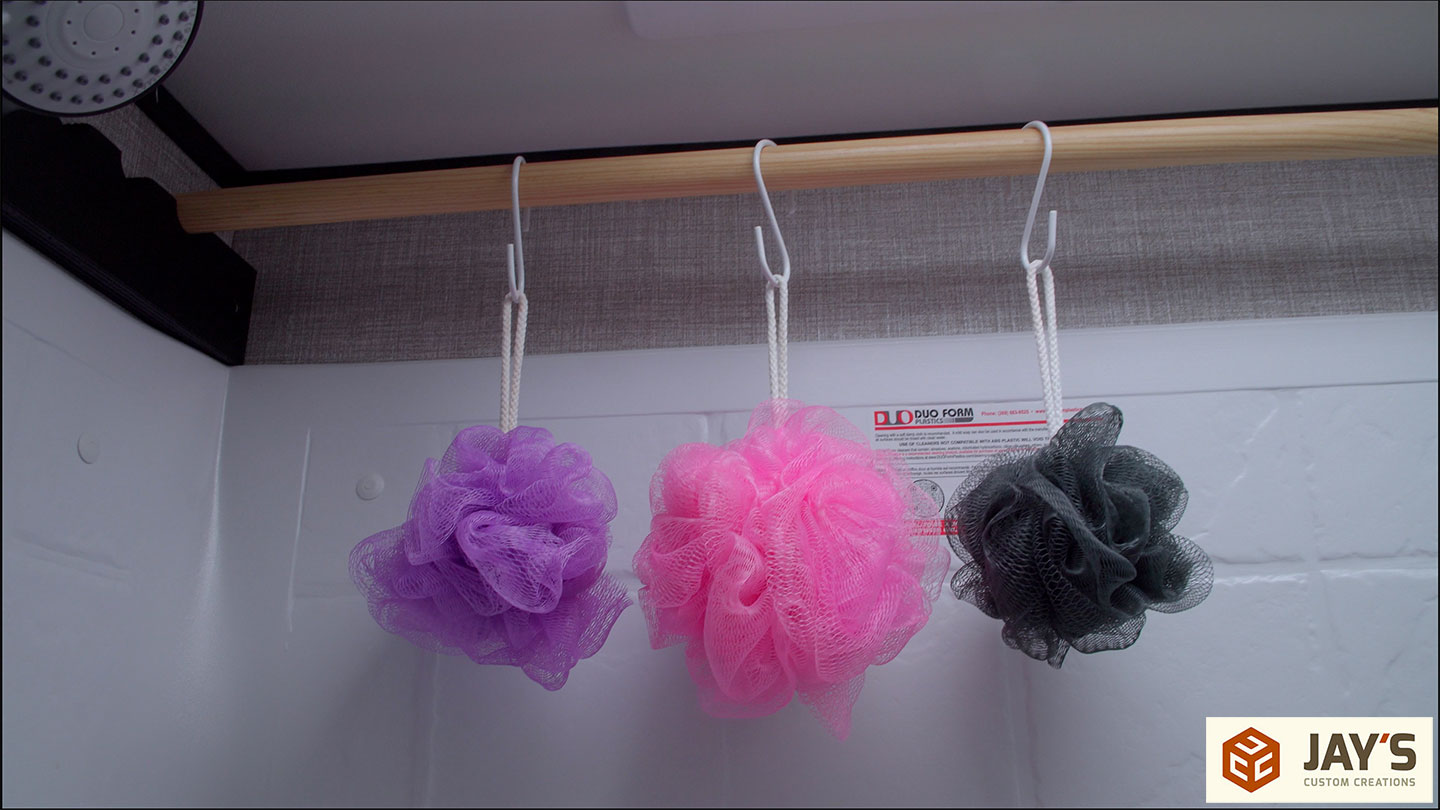
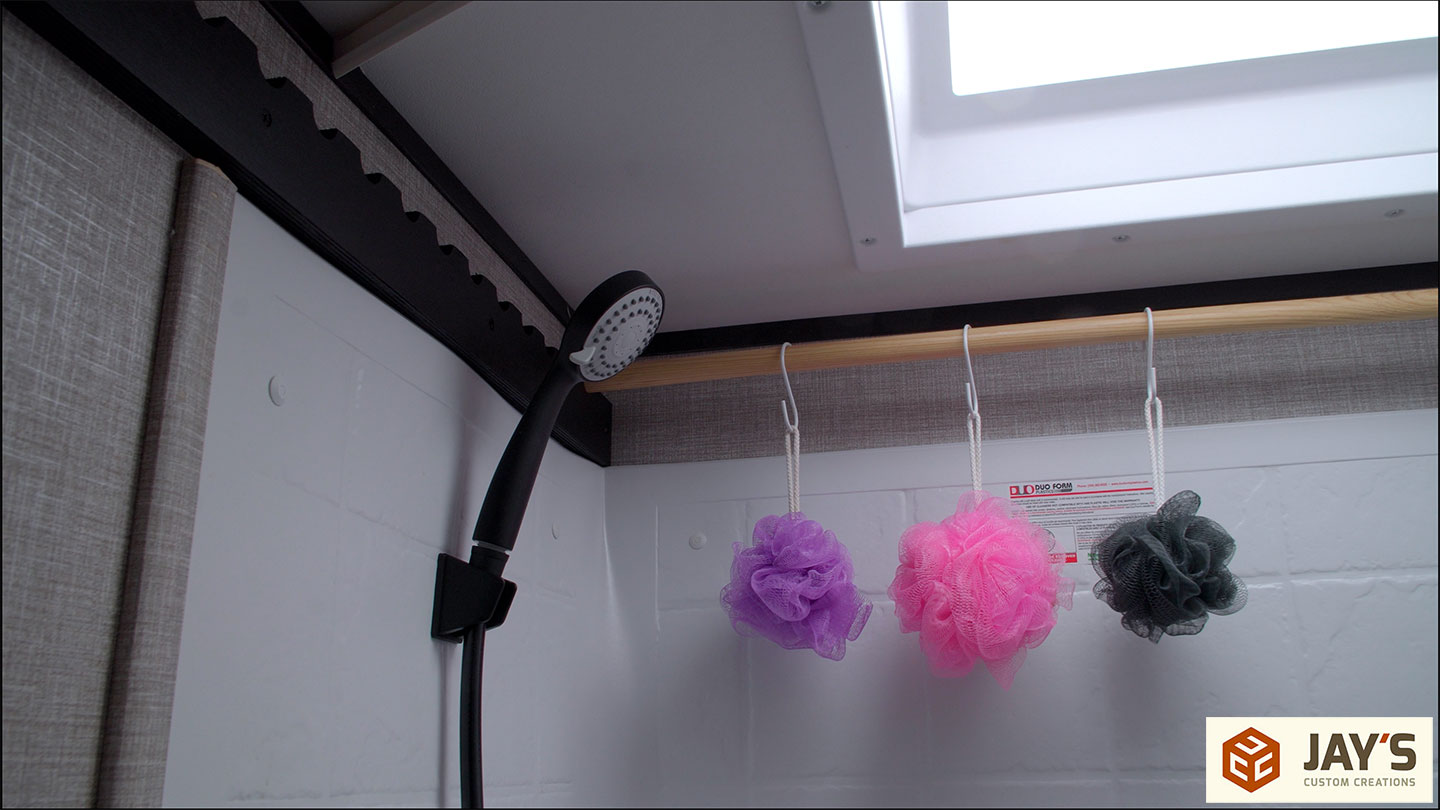
And here, you can see them installed and why I wanted these to be the full length of the bathroom. With a few S hooks, we can now hang all of our body wash spongy thingies to dry inside the shower surround. This is much better than hanging them in the way on the tub spout. On the other side of the bathroom, we have two more dowels that provide a good place to hang damp towels or swimsuits to dry. We can also put one of these a little more centrally located to hang clothes as needed.
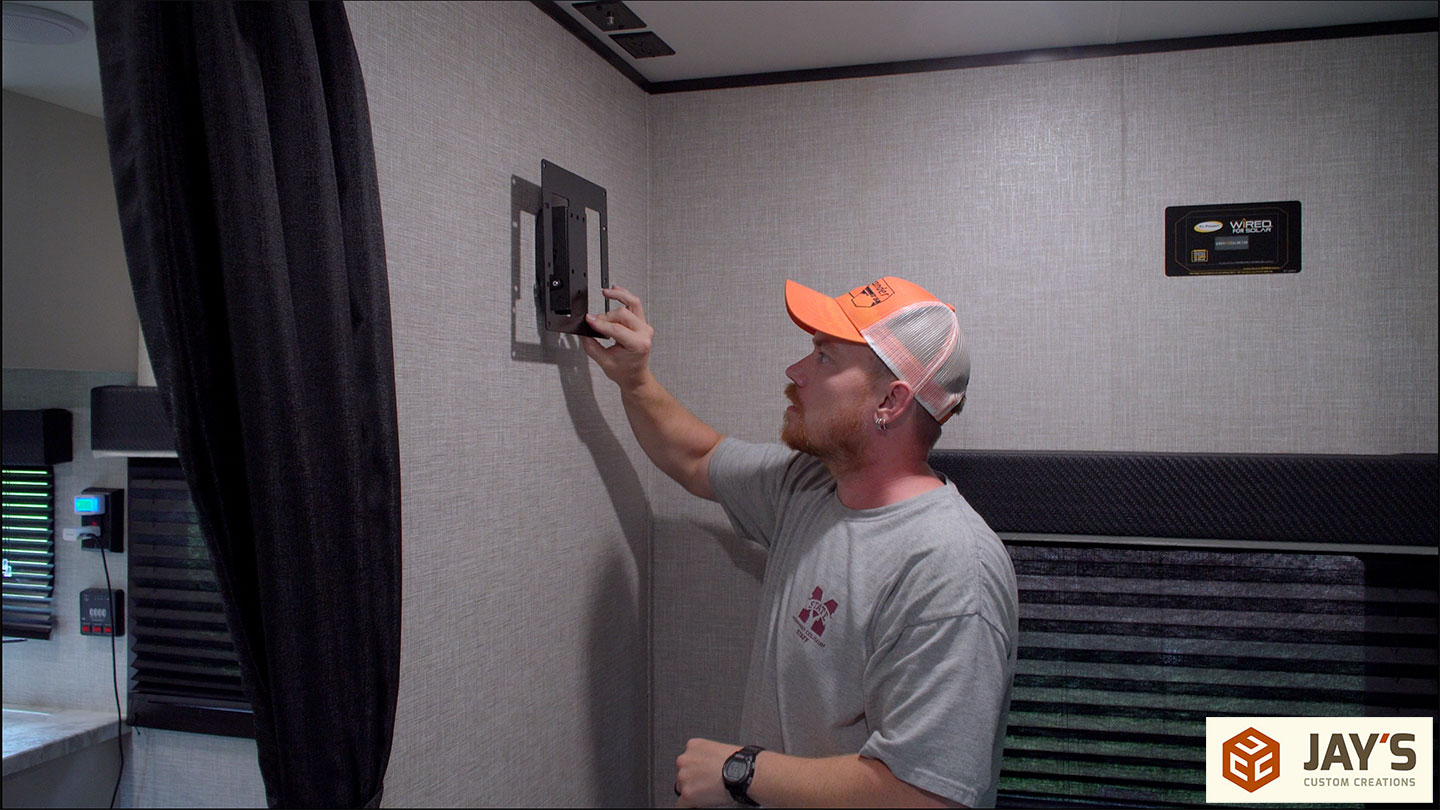
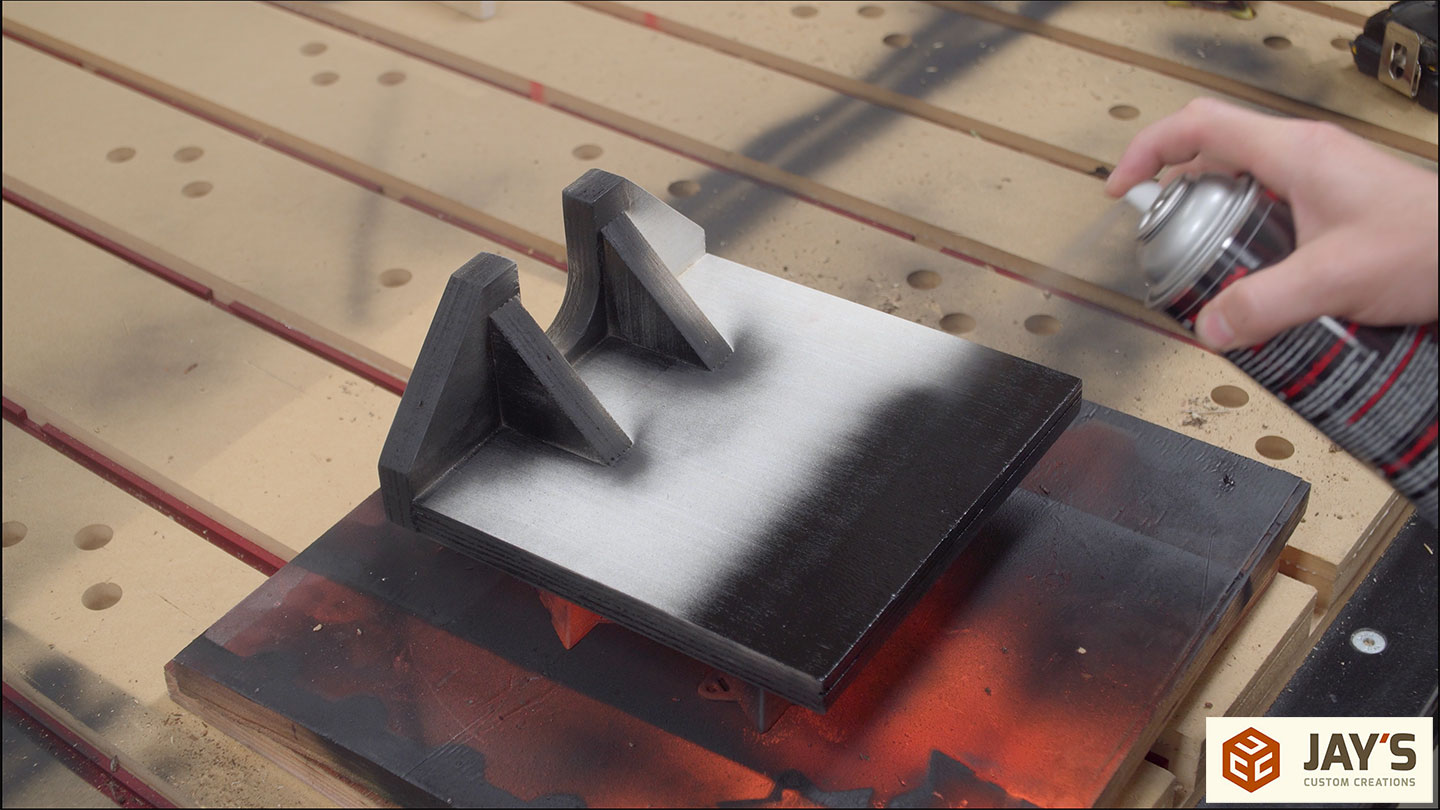
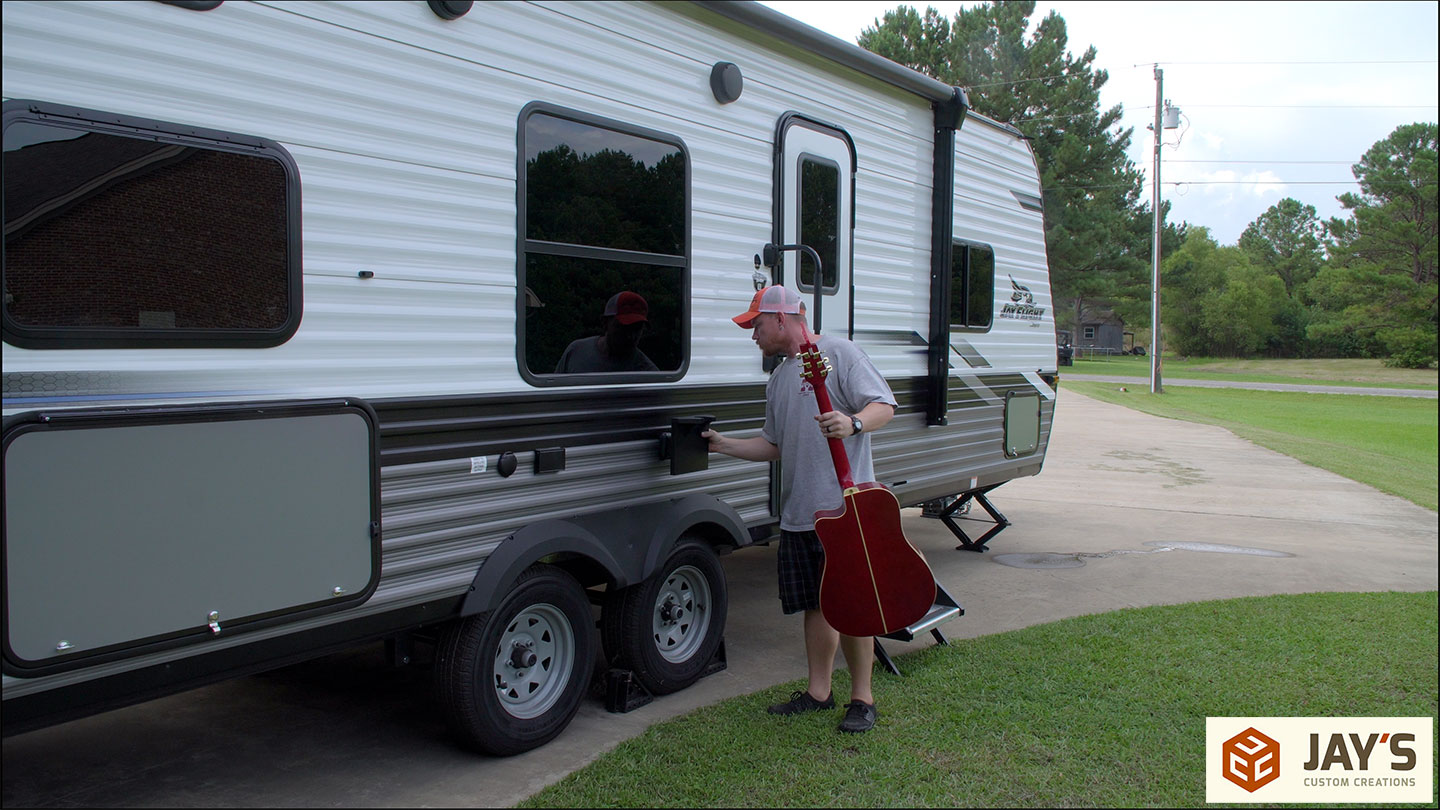
Project number four is a guitar holder. The more time spent making memories, playing and singing as a family, the better.

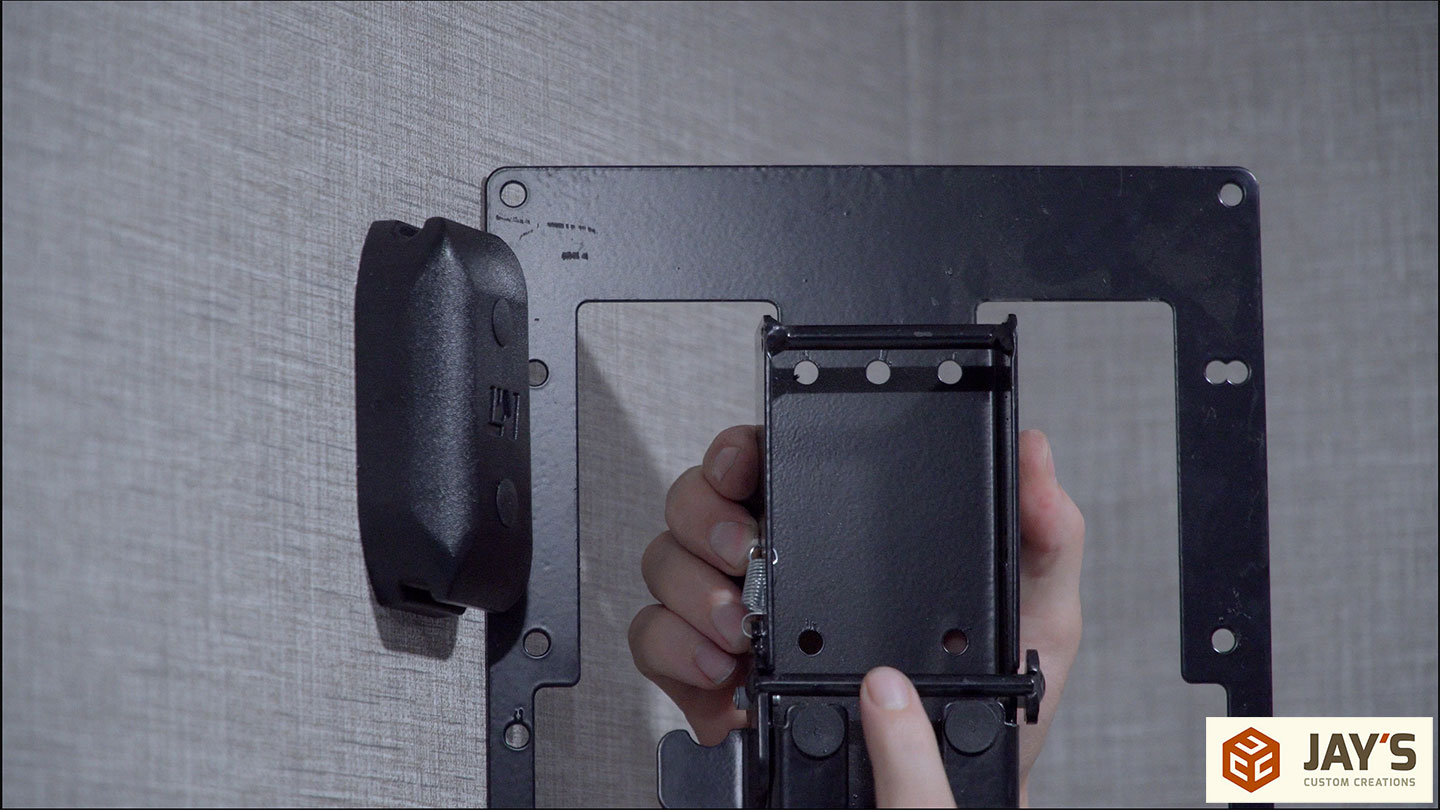
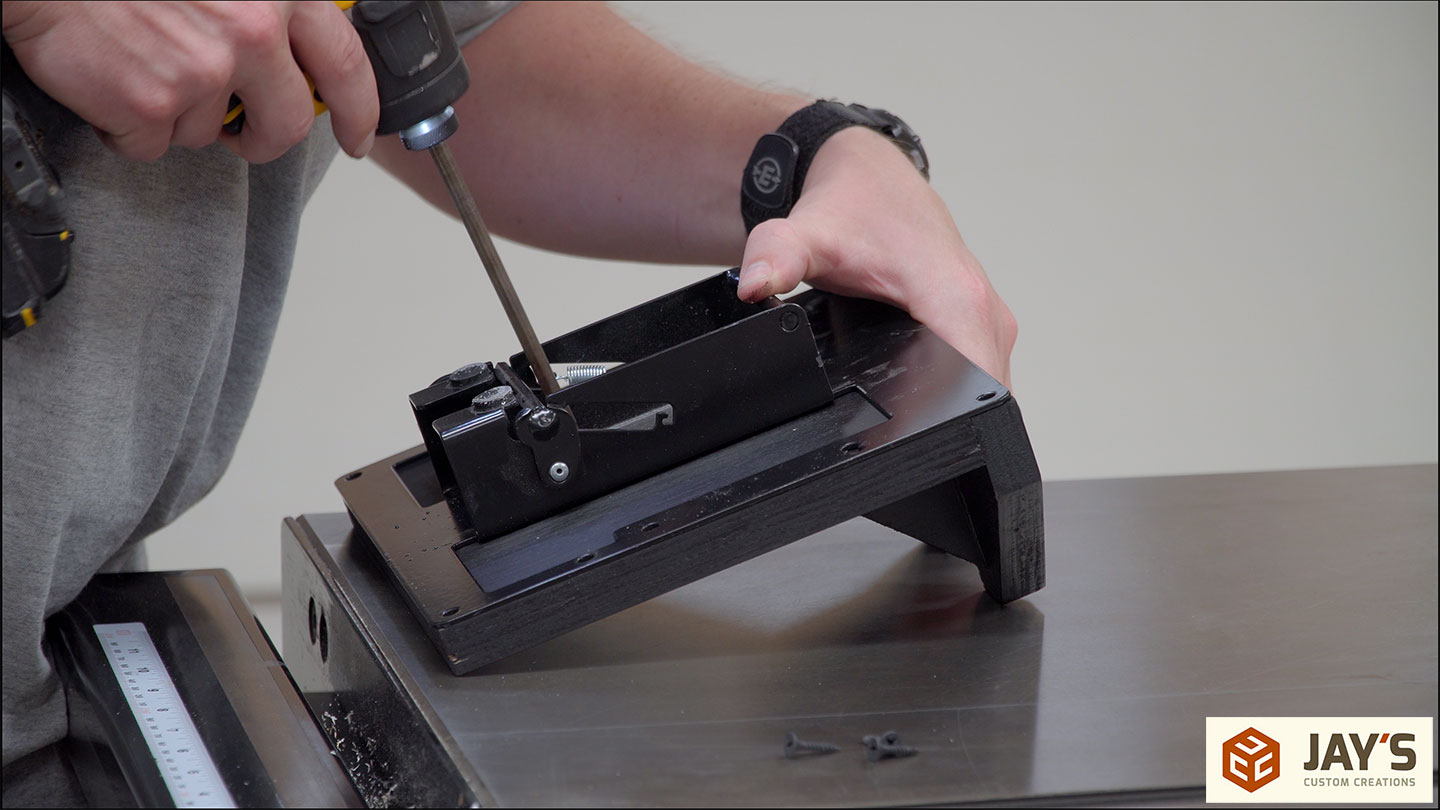
This is a KeBloc with a television bracket. On both, the top and bottom of the KeBloc is a groove for different attachments. The TV bracket has a fixed bar on top and a movable bar on the bottom. The top bar is placed in the top groove, and the bottom bar latches in place. This system is pretty interesting and useful for much more than a TV.

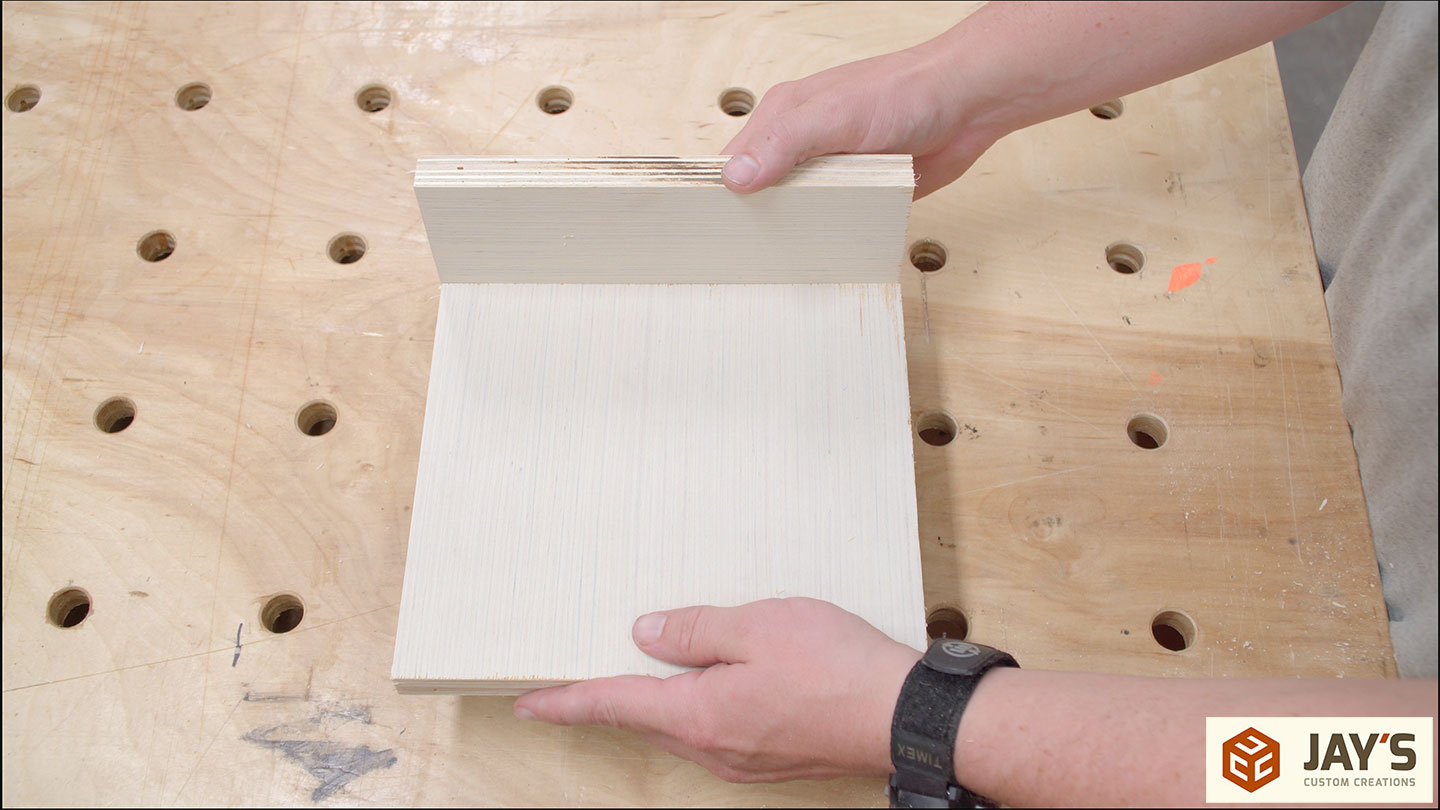
More scrap plywood for this project. After a few cuts at the table saw, we are left with the main two pieces of a guitar holder.

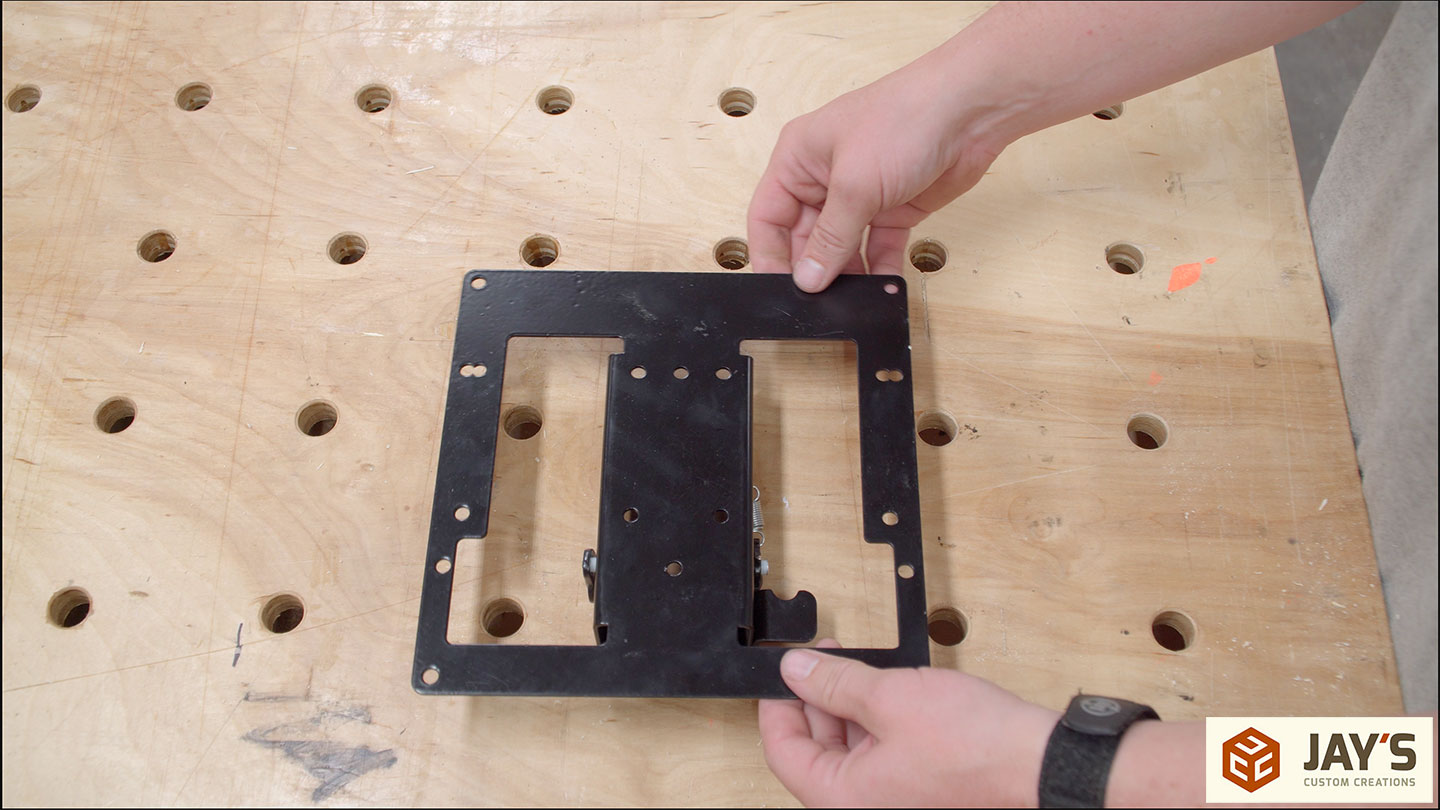
The larger rectangle will get secured to the bracket, and the smaller rectangle will be secured to the edge of the first piece. Combined, they make an 8-1/2” square, which is the same size as the bracket.
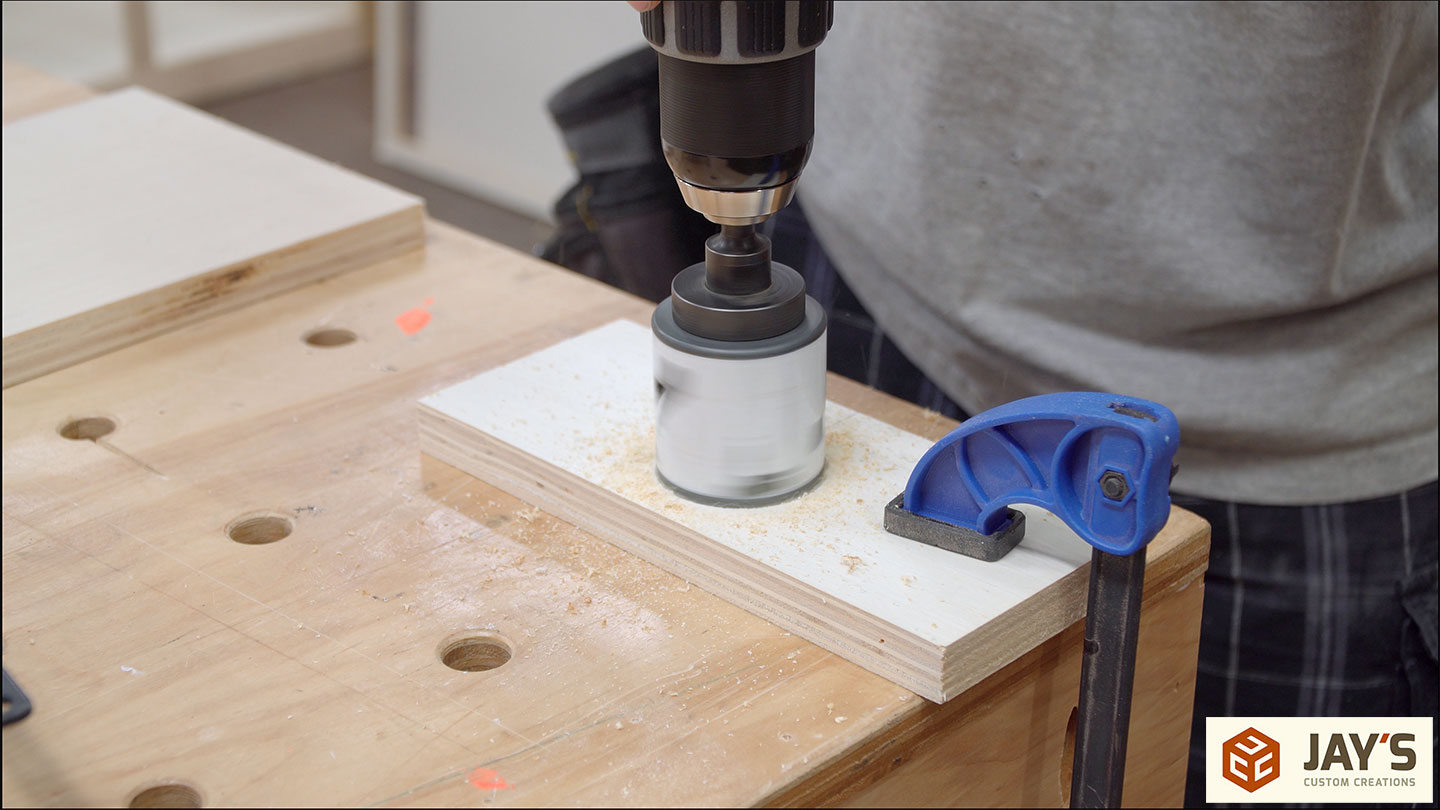
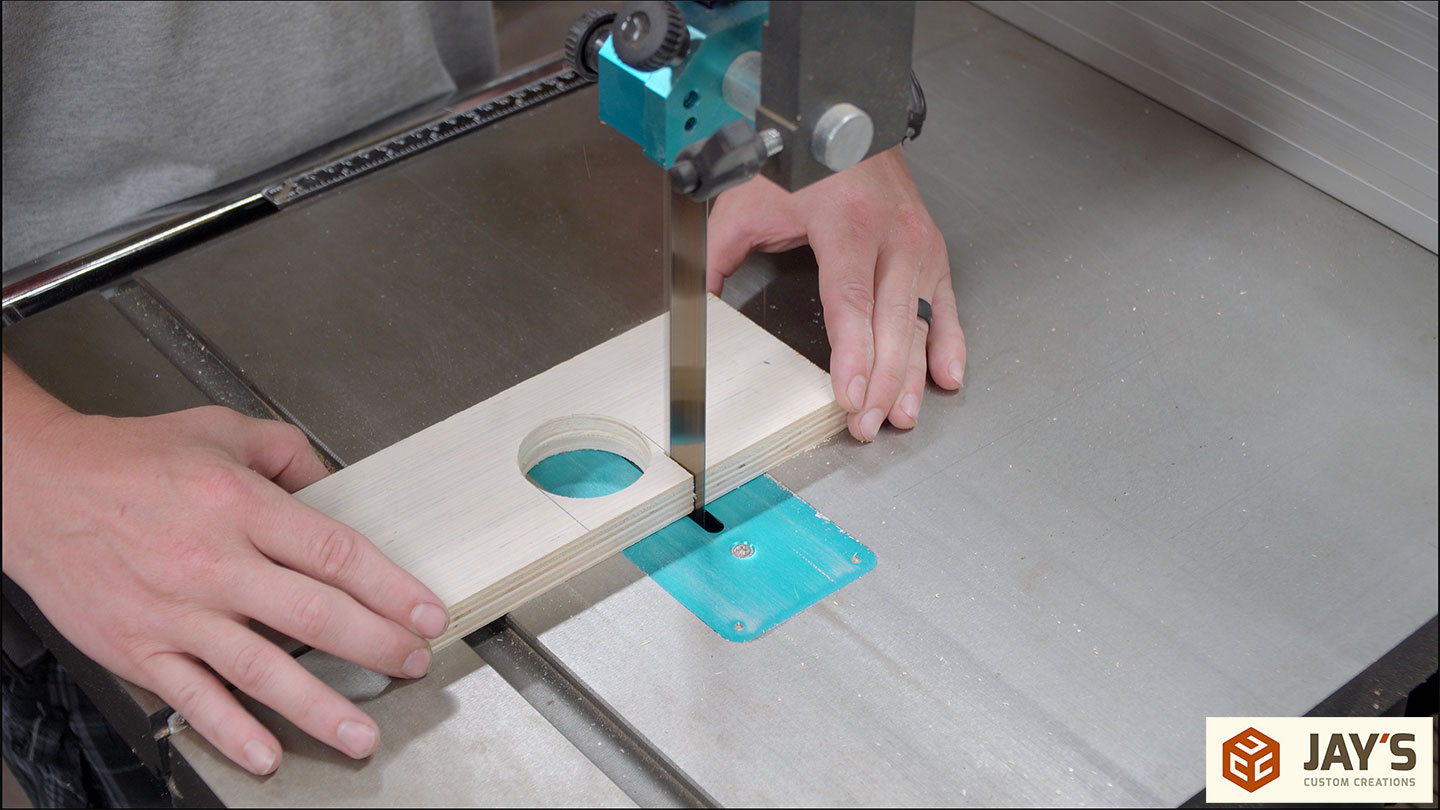
A 2” slot will be perfect for my guitar so I start by making a 2” hole in the smaller rectangle.
Two cuts at the bandsaw turn the hole into a rounded slot.
A little file work blends the hole and bandsaw cuts.

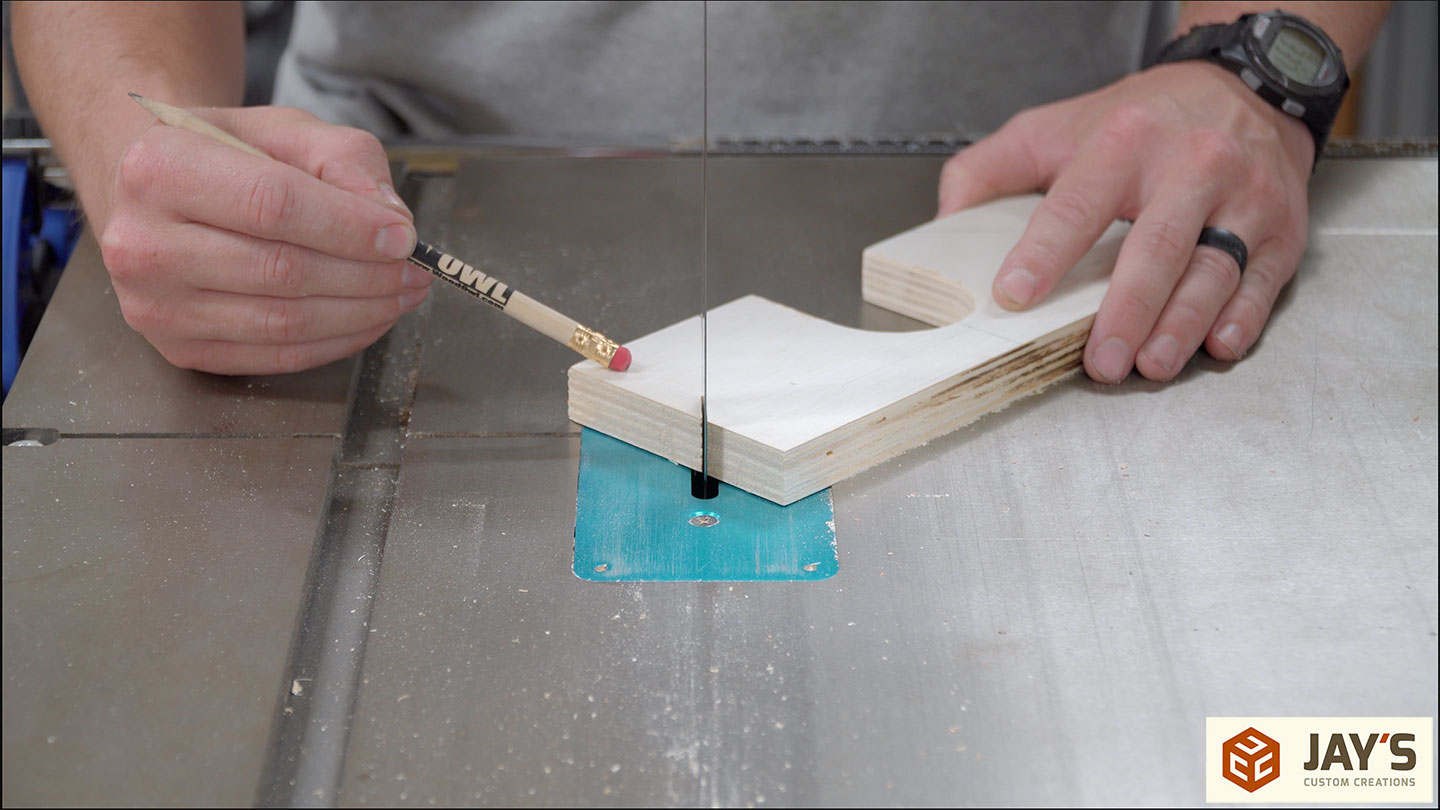
To provide more support and make the holder a little less bulky looking, I start by drawing a 45-degree line 1” away from the slot on either side.

Back to the bandsaw to cut off the 90-degree corners.
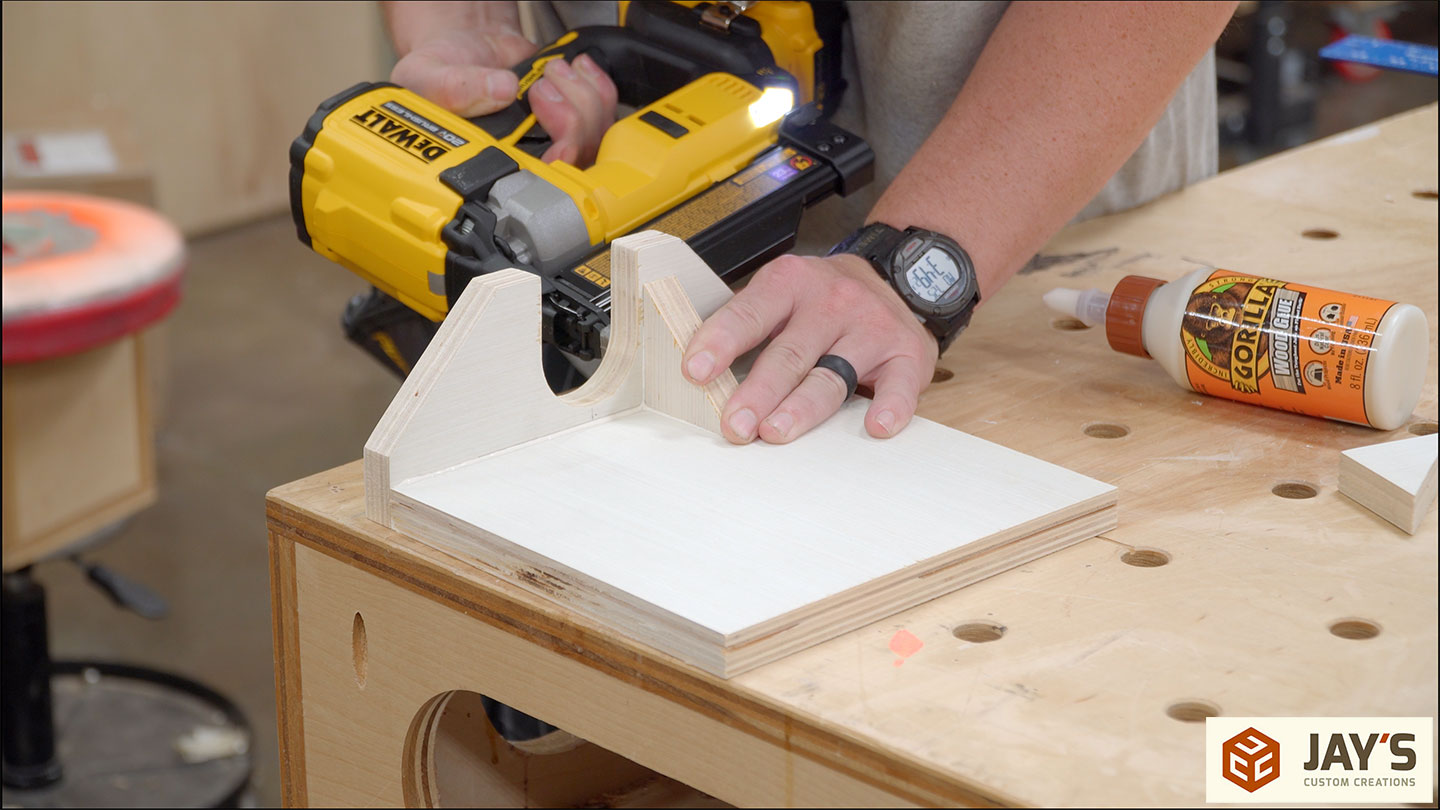
And then assembly can begin. Glue and pin nails to secure the two larger pieces.

 Then more glue and more pin nails to add the corner offcut pieces to help brace the top.
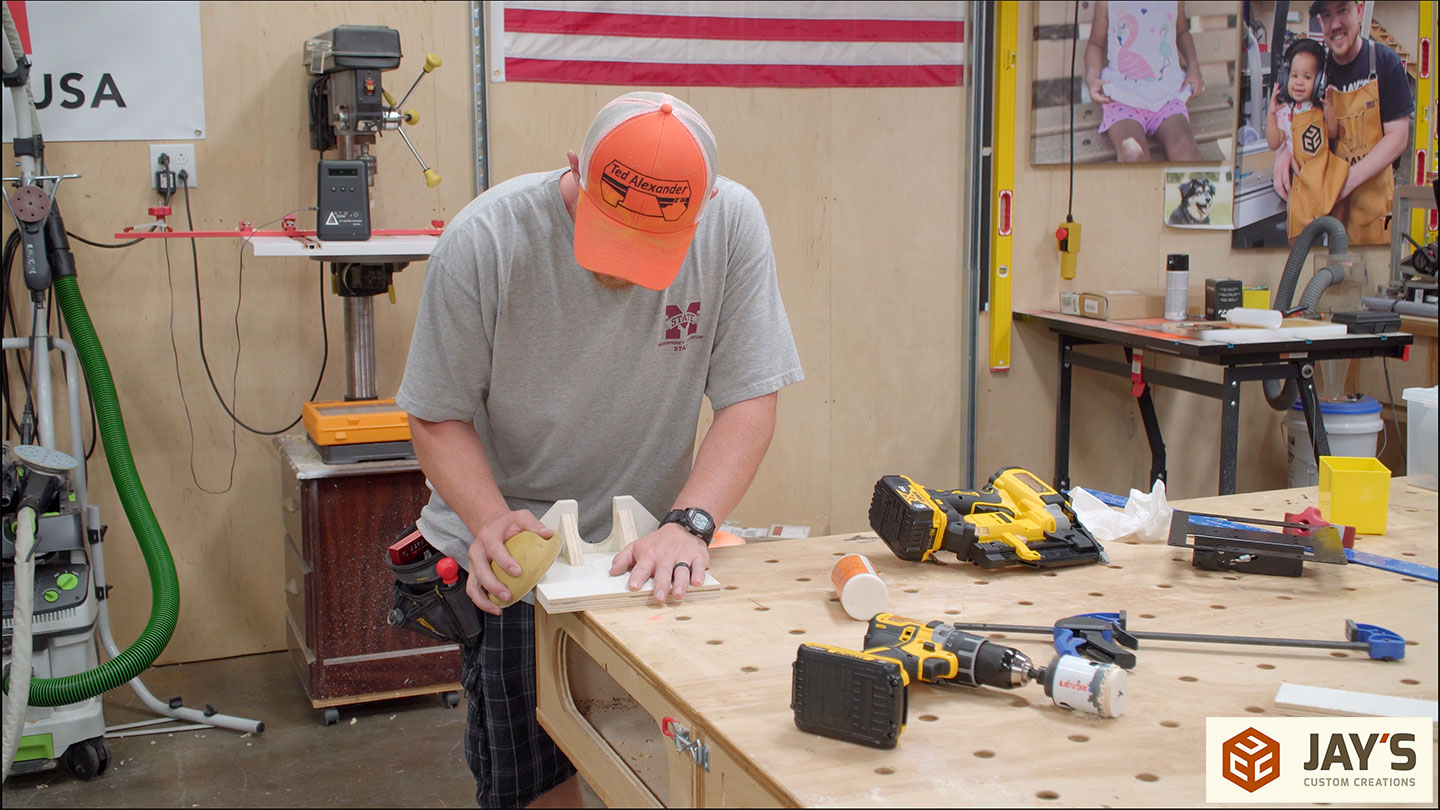
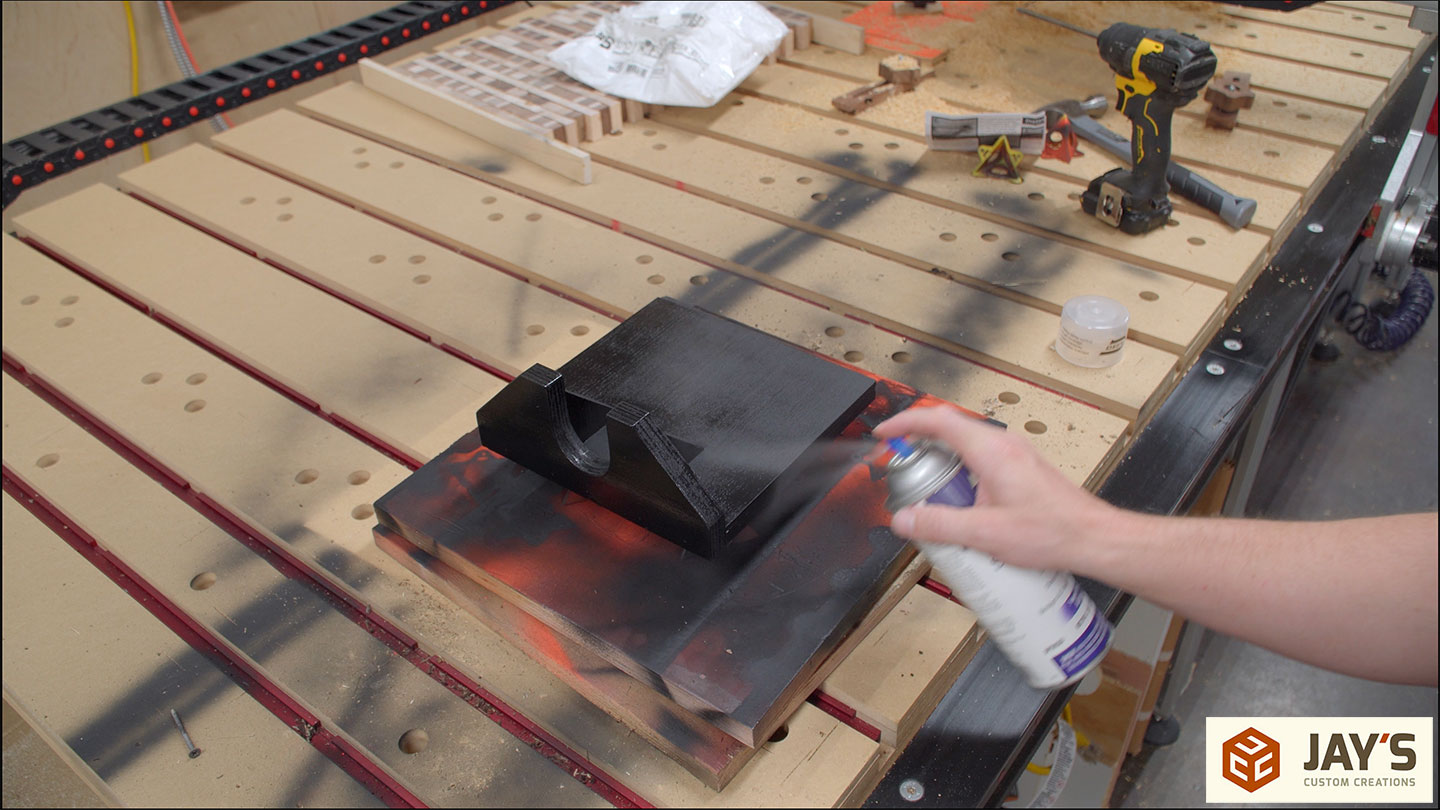
A hand sanding for the fuzzies and then the same treatment of black ink and a clear coat.
After it’s dry, a couple of screws through the back side will hold the mount to the bracket.

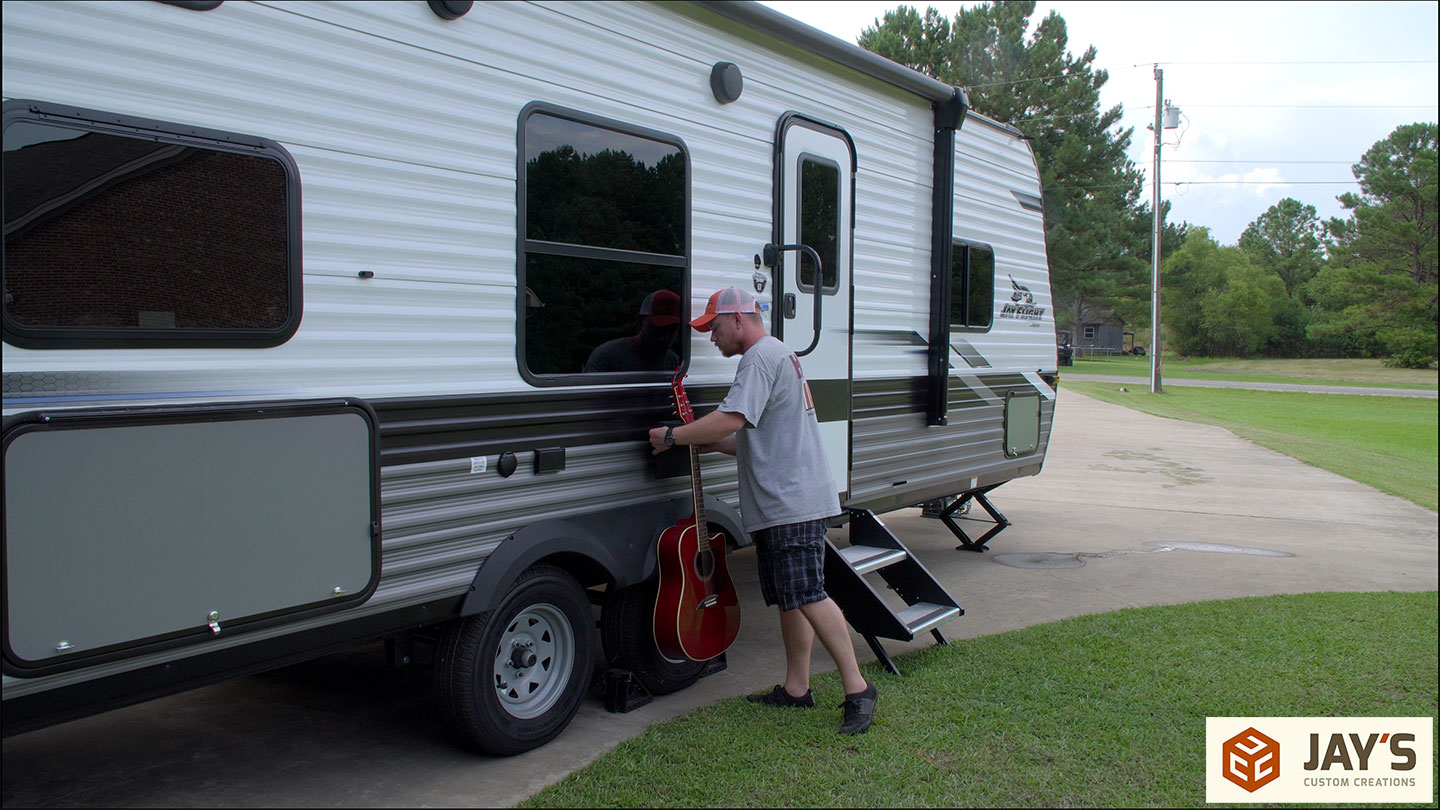
Now it’s time to test it out. It holds the guitar just as expected, but I’ll definitely have to add some kind of Bungie to keep it in place if I decide to use it while traveling. I doubt I will, though, because for the last 4 trips, I just set it string side down on the bed, and it rode fine.
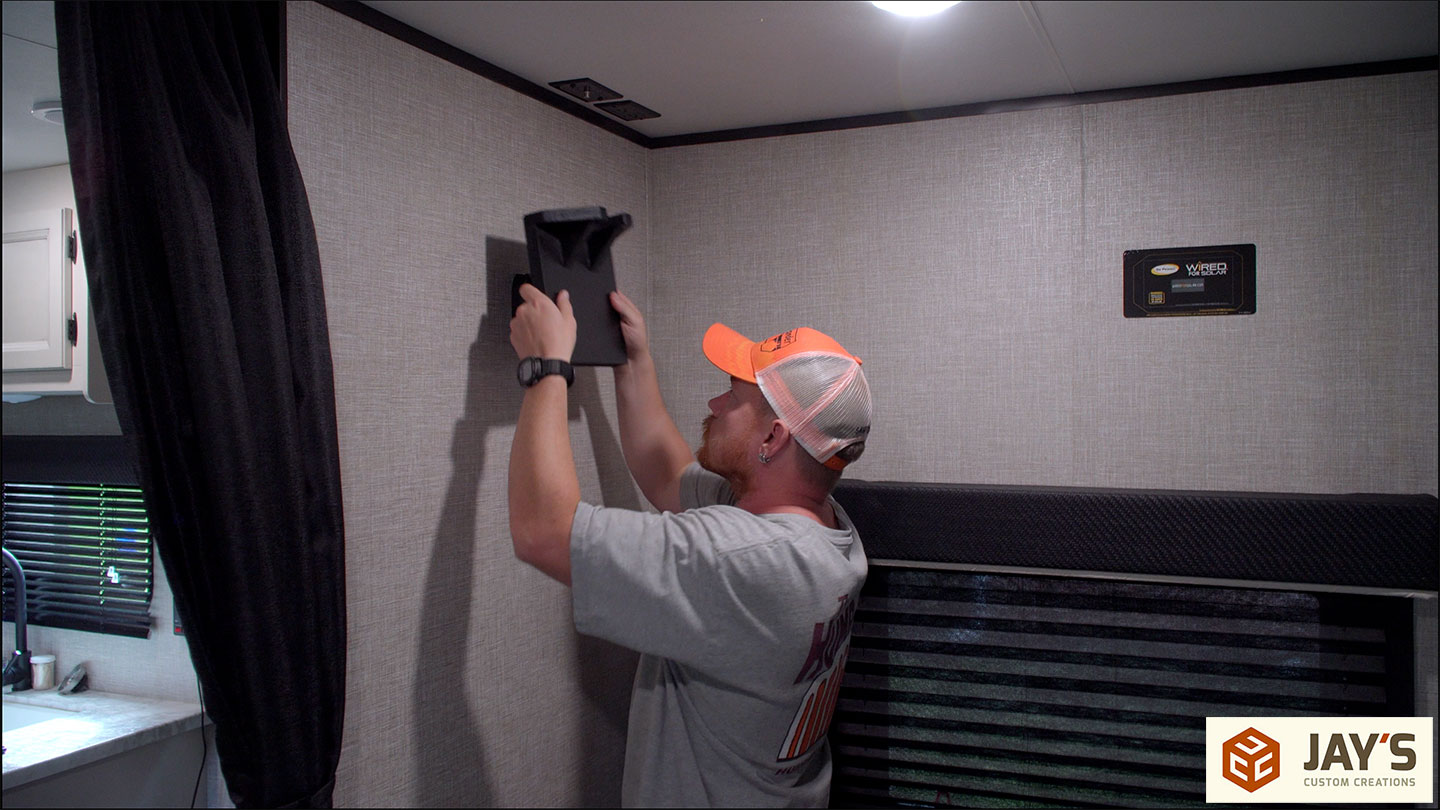

One really cool aspect of this KeBloc system is you can have a few located in different spots to move stuff around. This camper came with one already mounted, which will be handy for a quick access daytime spot.
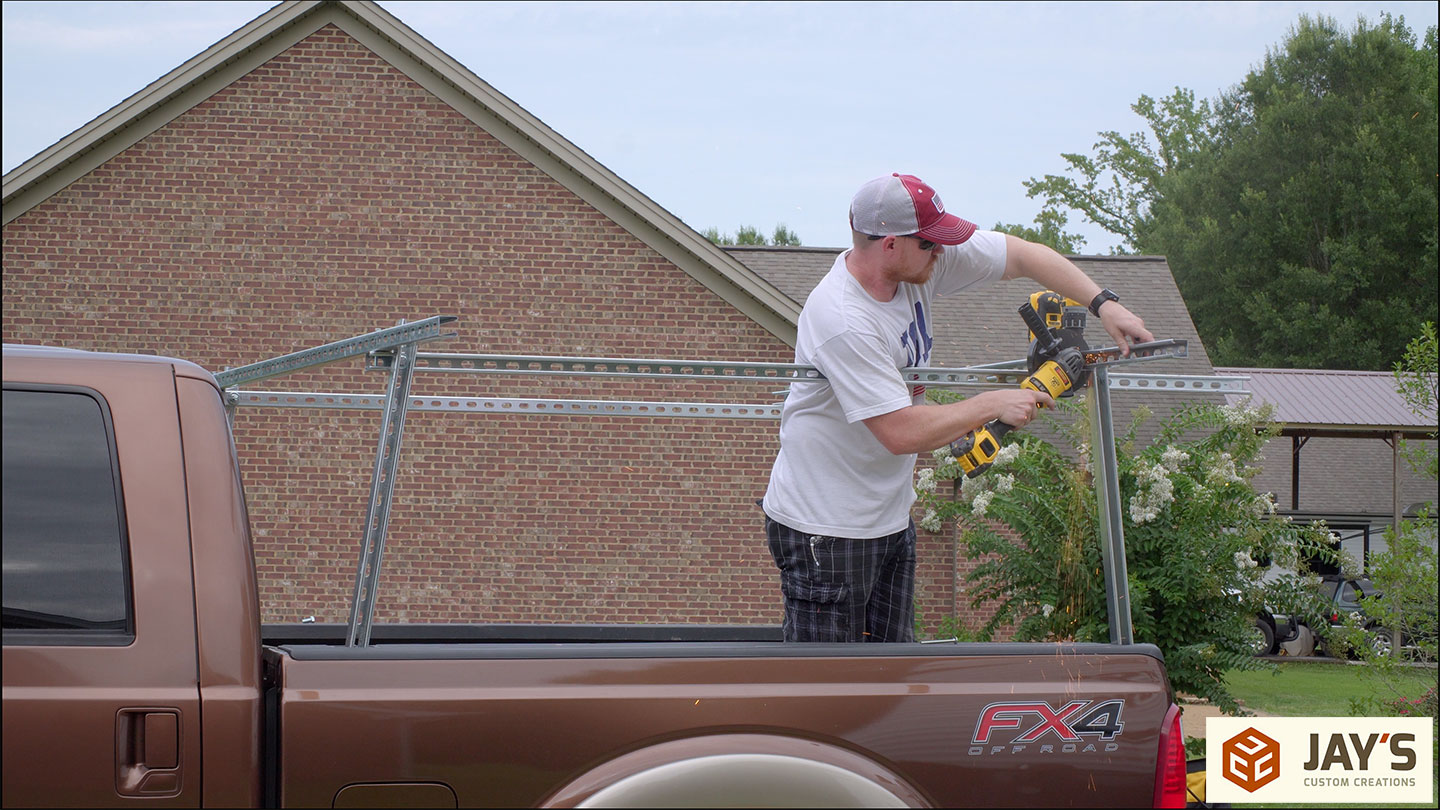
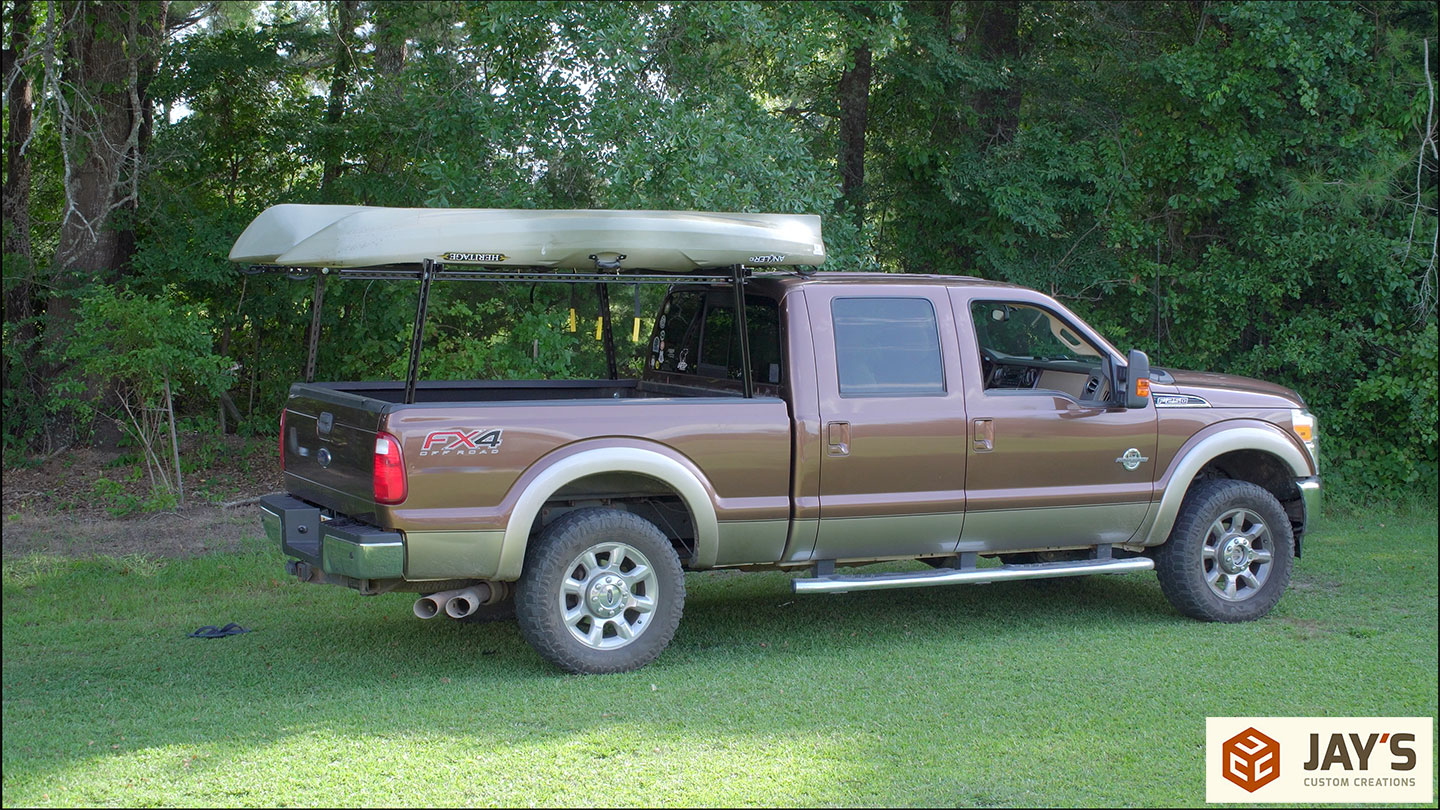
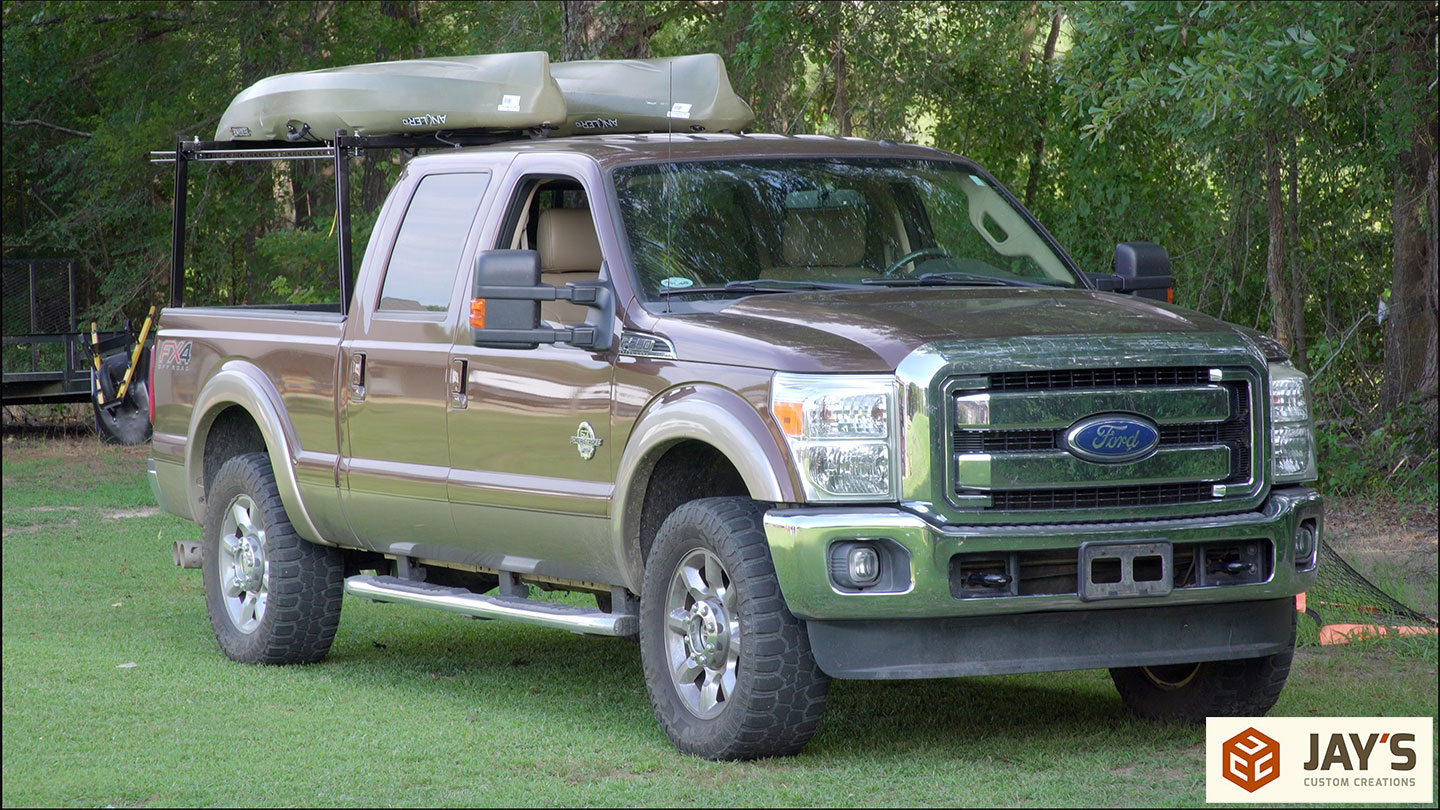
Project number 5 is a Kayak rack for my truck. Speaking of trucks, you’ll notice that we changed tow vehicles. More on that in a different video.
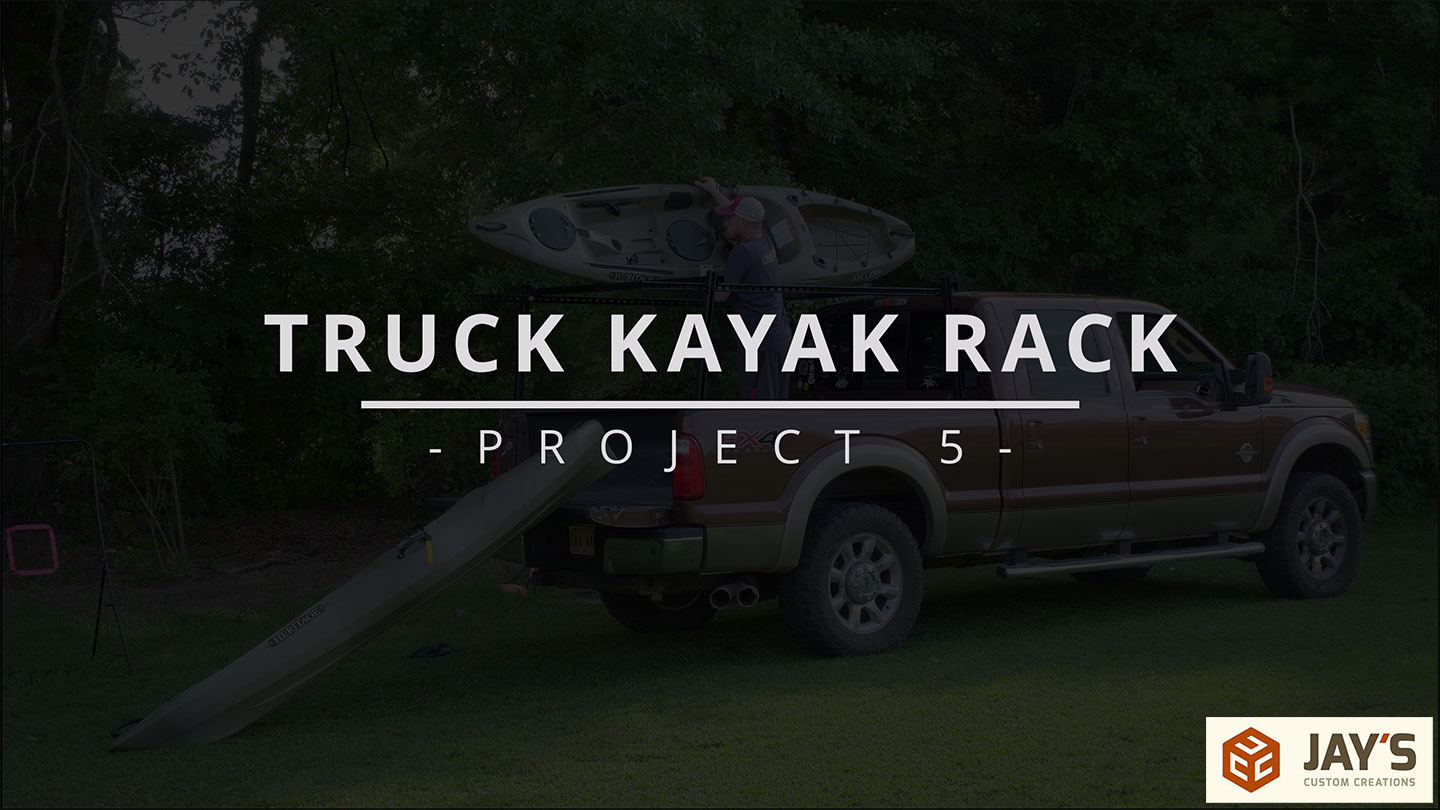
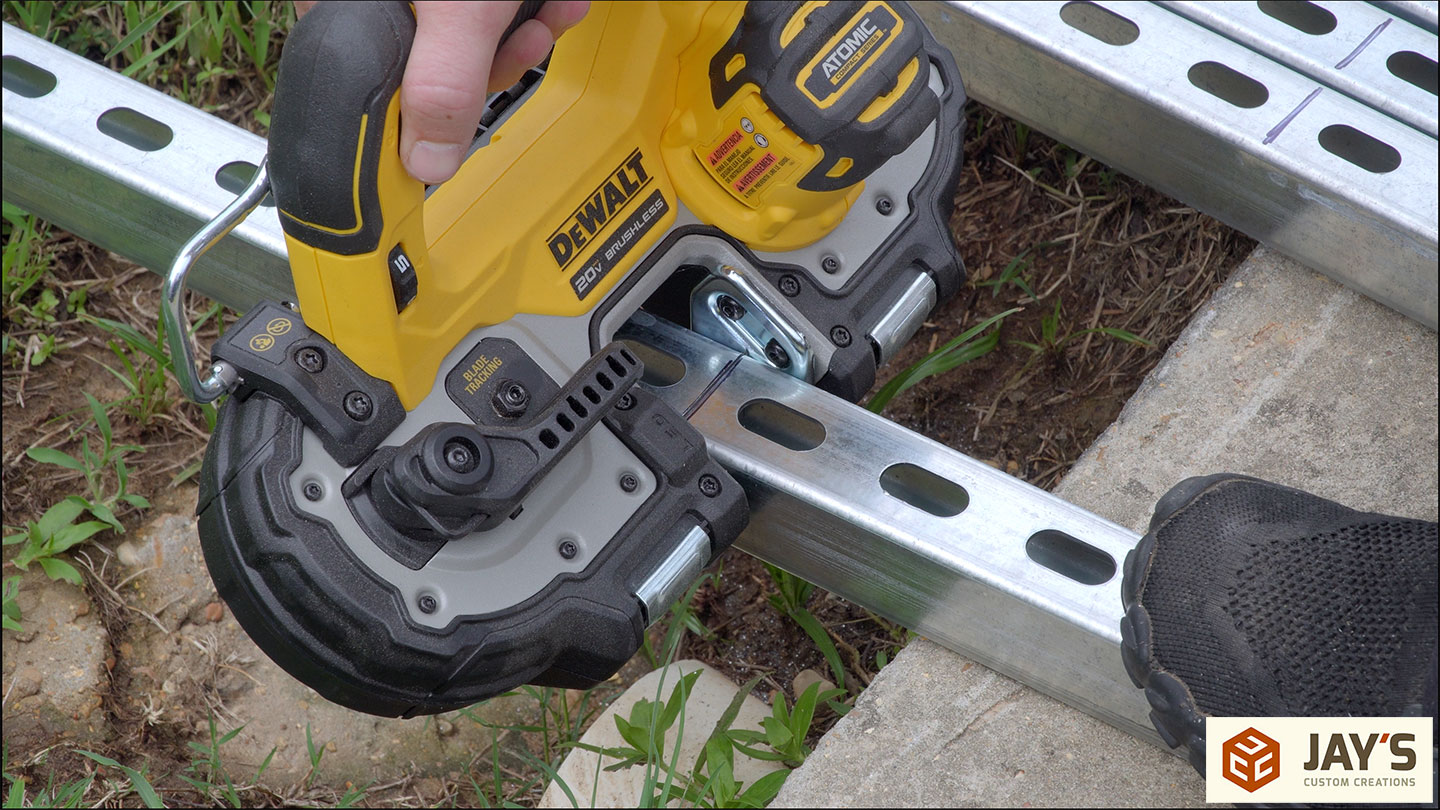
I’ve seen many beautiful overland racks made out of SuperStrut, so that’s the route I’m taking. Four 10′ sticks of SuperStrut were needed for this.

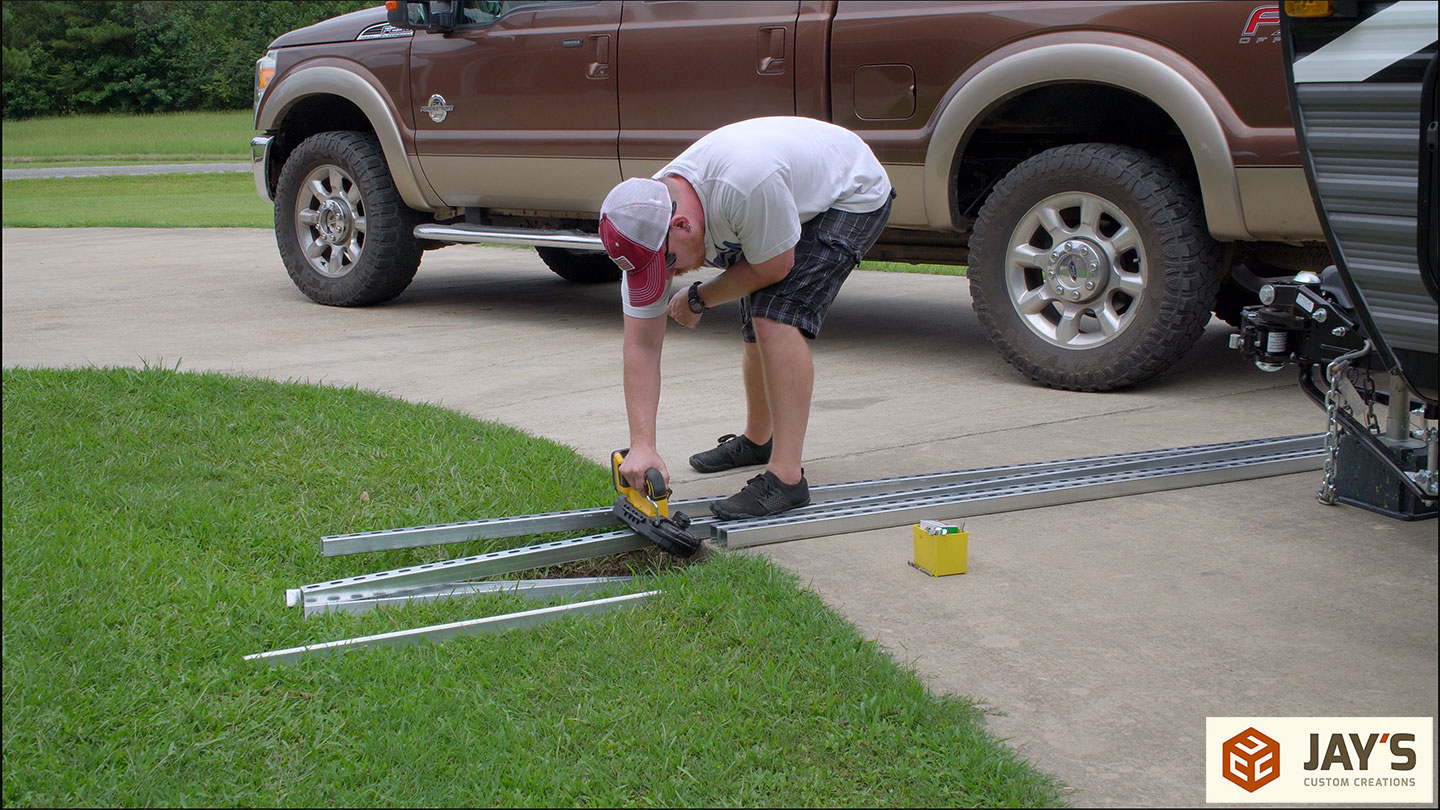
I had a scrap piece on hand from my DIY elevator build, so I used it to determine the correct height needed to get the kayaks over the cab of the truck.
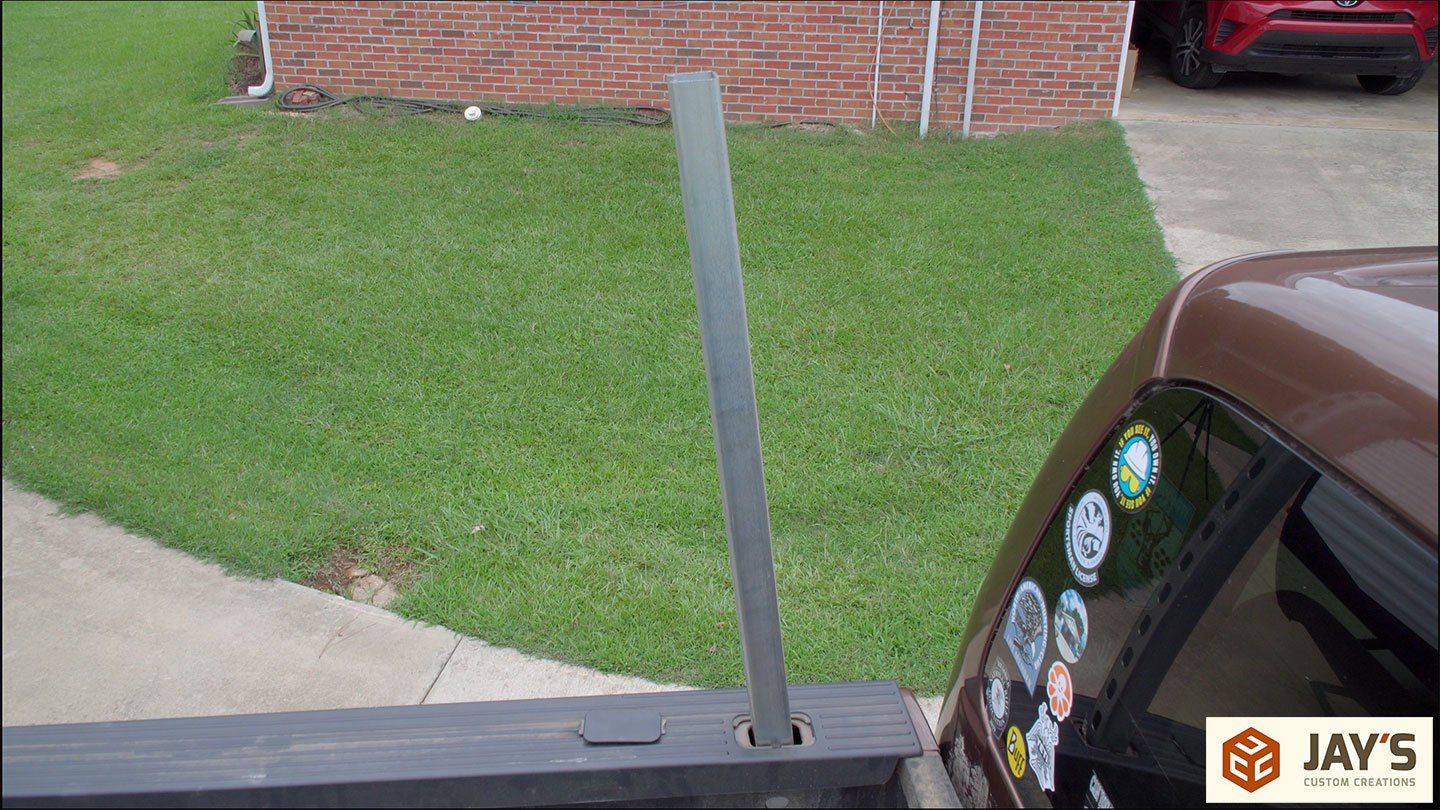
I used that piece to cut four small legs off of each 10′ stick. A portable metal cutting bandsaw is super awesome for tasks like this, but a grinder with a cutoff wheel will do the same thing.

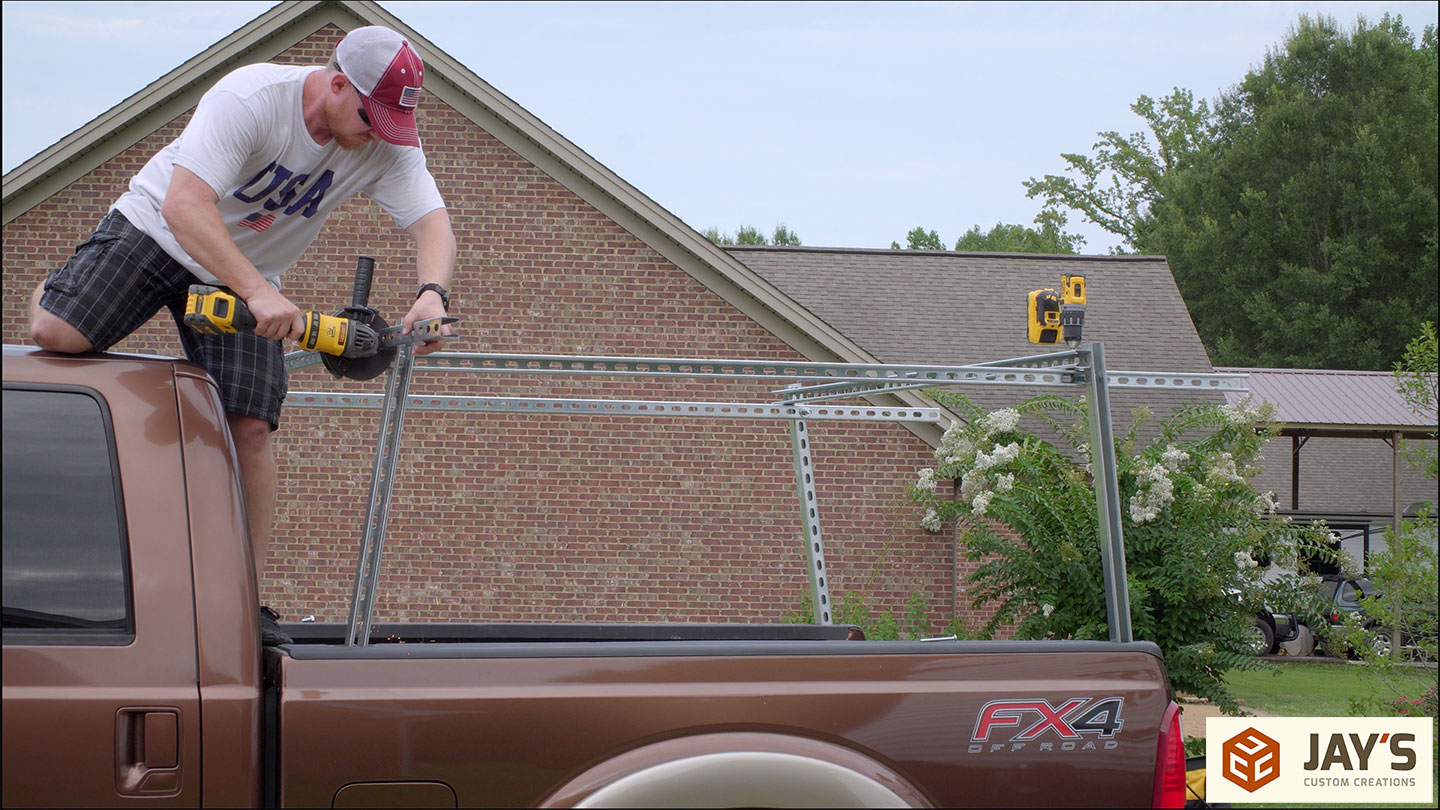
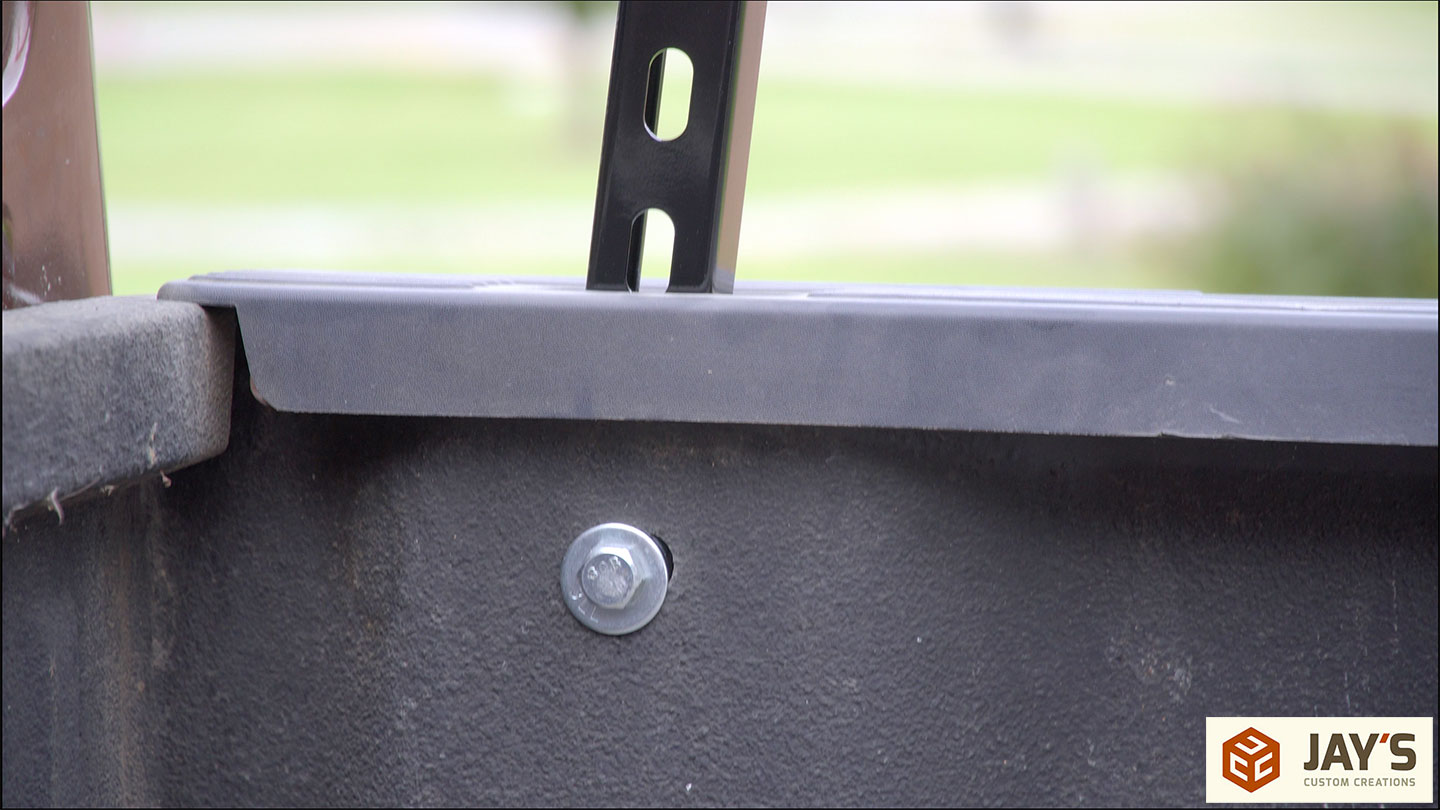
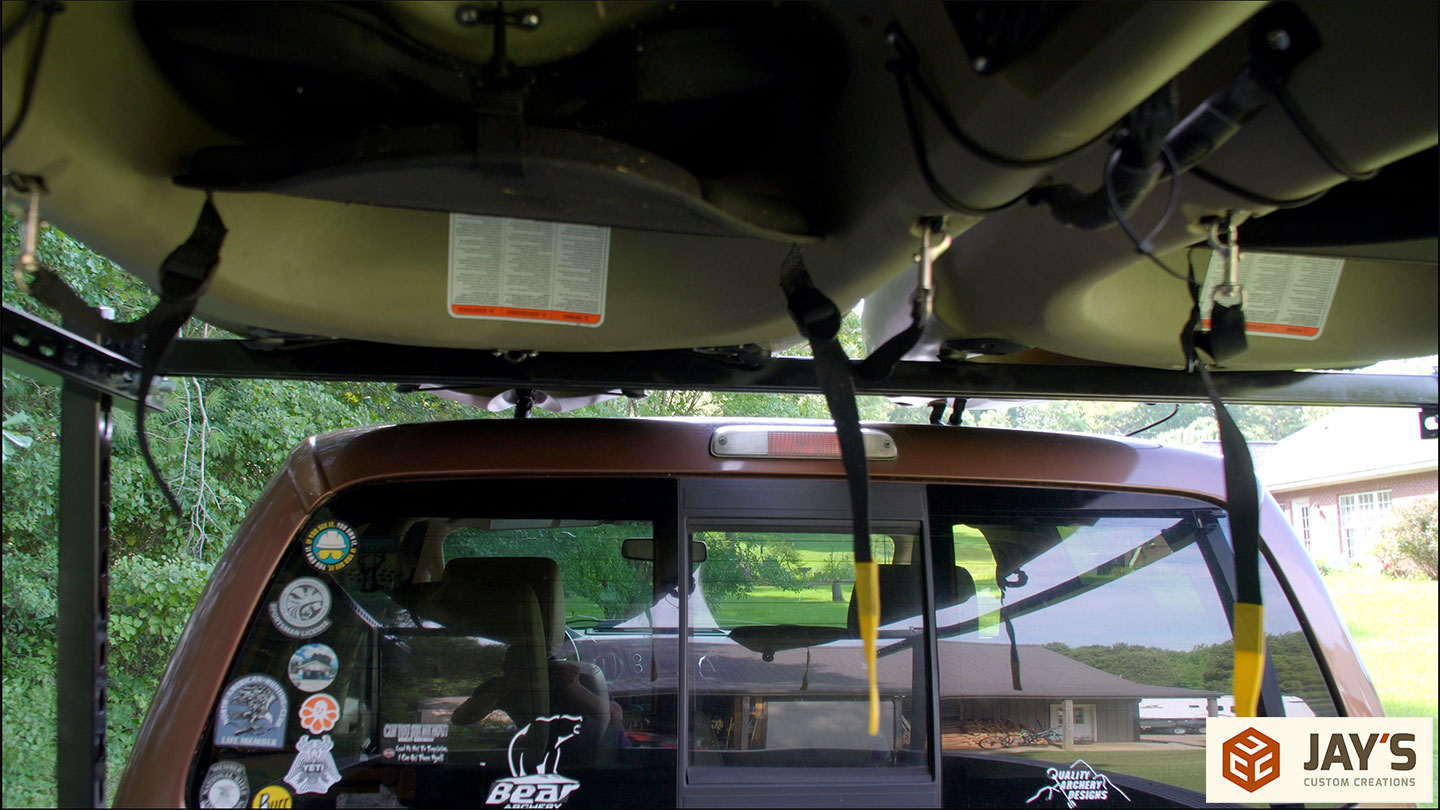
Now the legs can be put into the stake pockets. Here you can see how they will be. The front two will be angled back as far as possible, and the back two angled forward as much as possible.
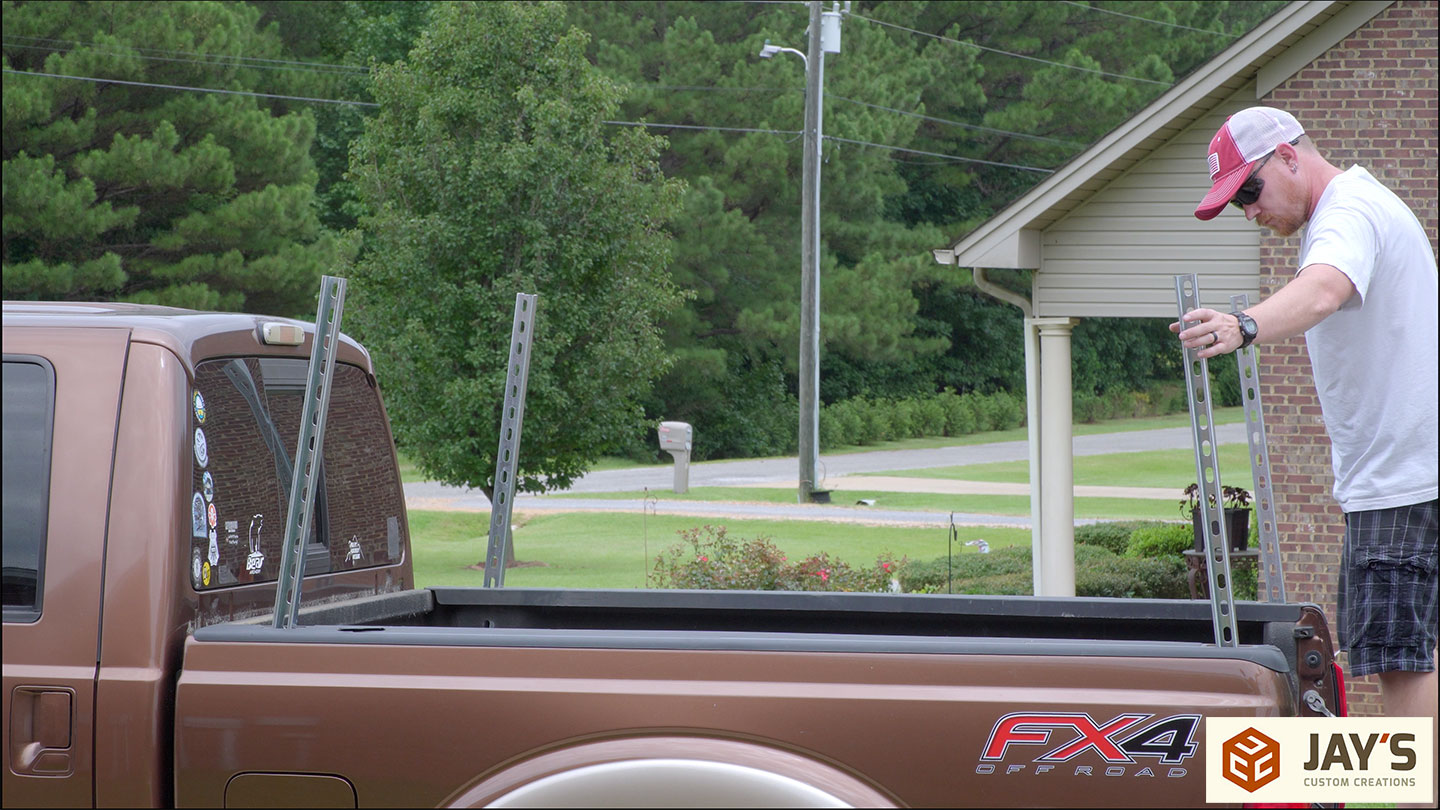
Starting with the sides, the horizontal pieces are bolted to the legs with 1/2” diameter bolts. Then the front and back vertical pieces are set on top with both of them in front of the adjacent legs.
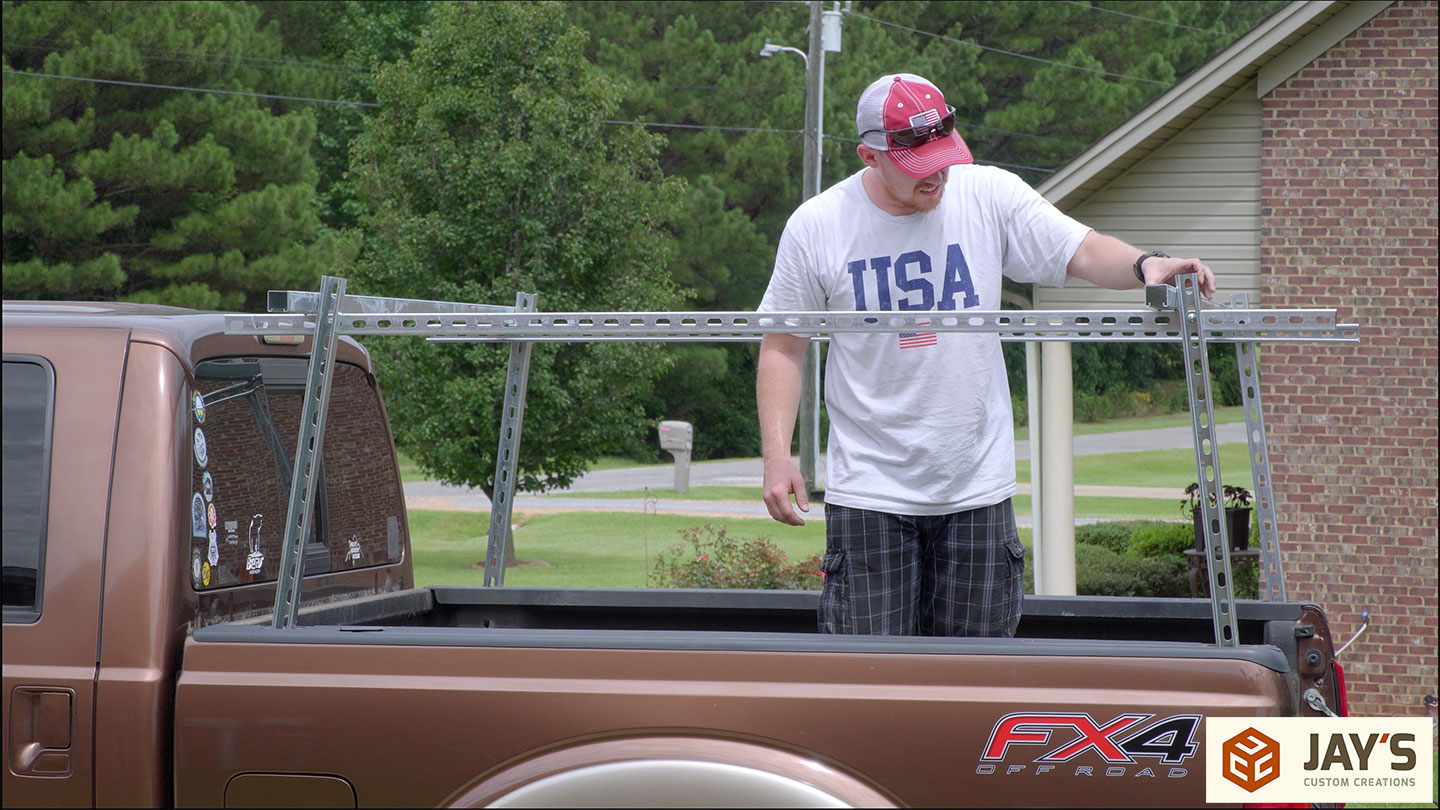
I shifted all the horizontal pieces as far back and left as I could. This puts all of the overhangs on the driver’s side to be cut off. I didn’t worry about cutting off the rear overhang, which turned out to be helpful later on. And the cutoff wheel in a grinder let me get closer to the leg, so I used it here.
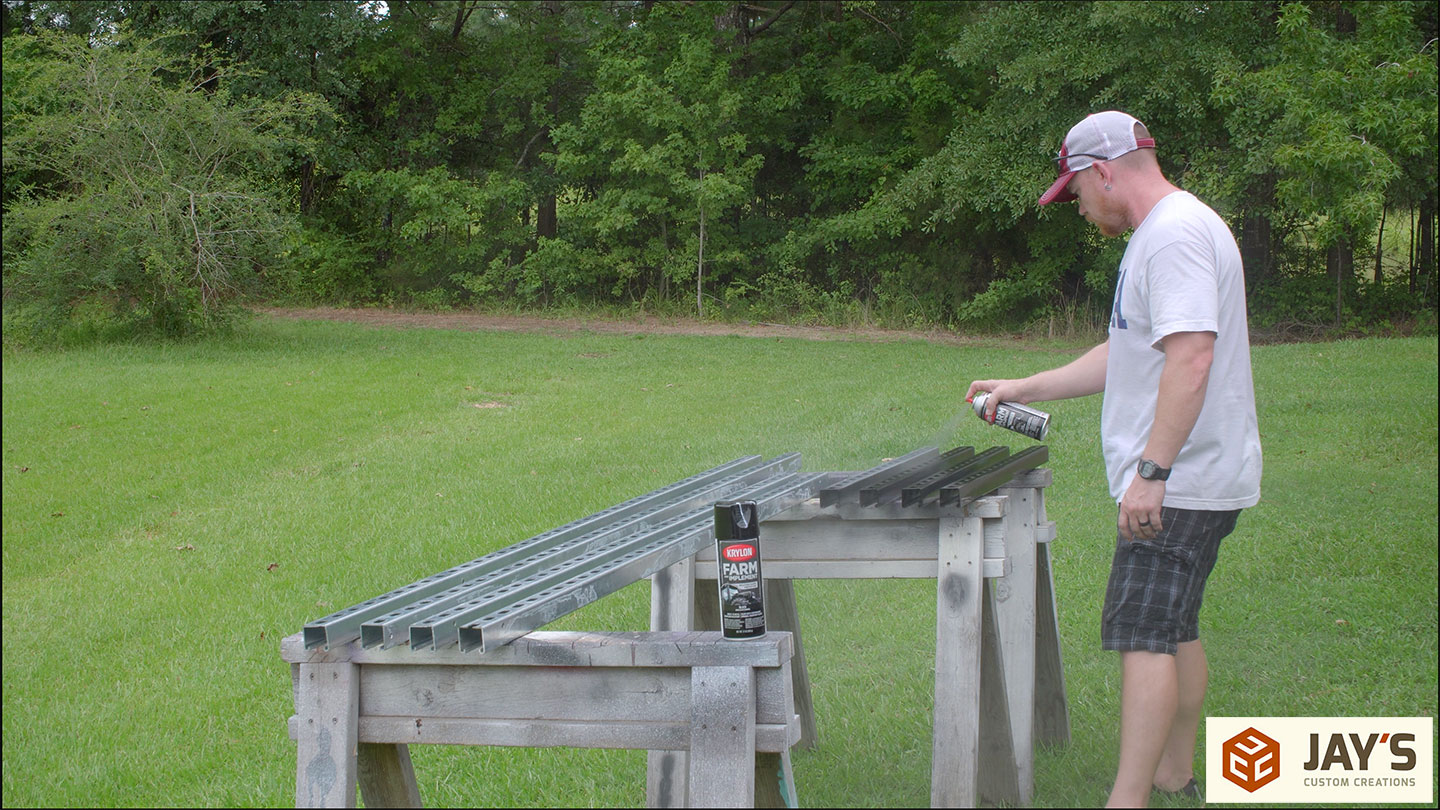
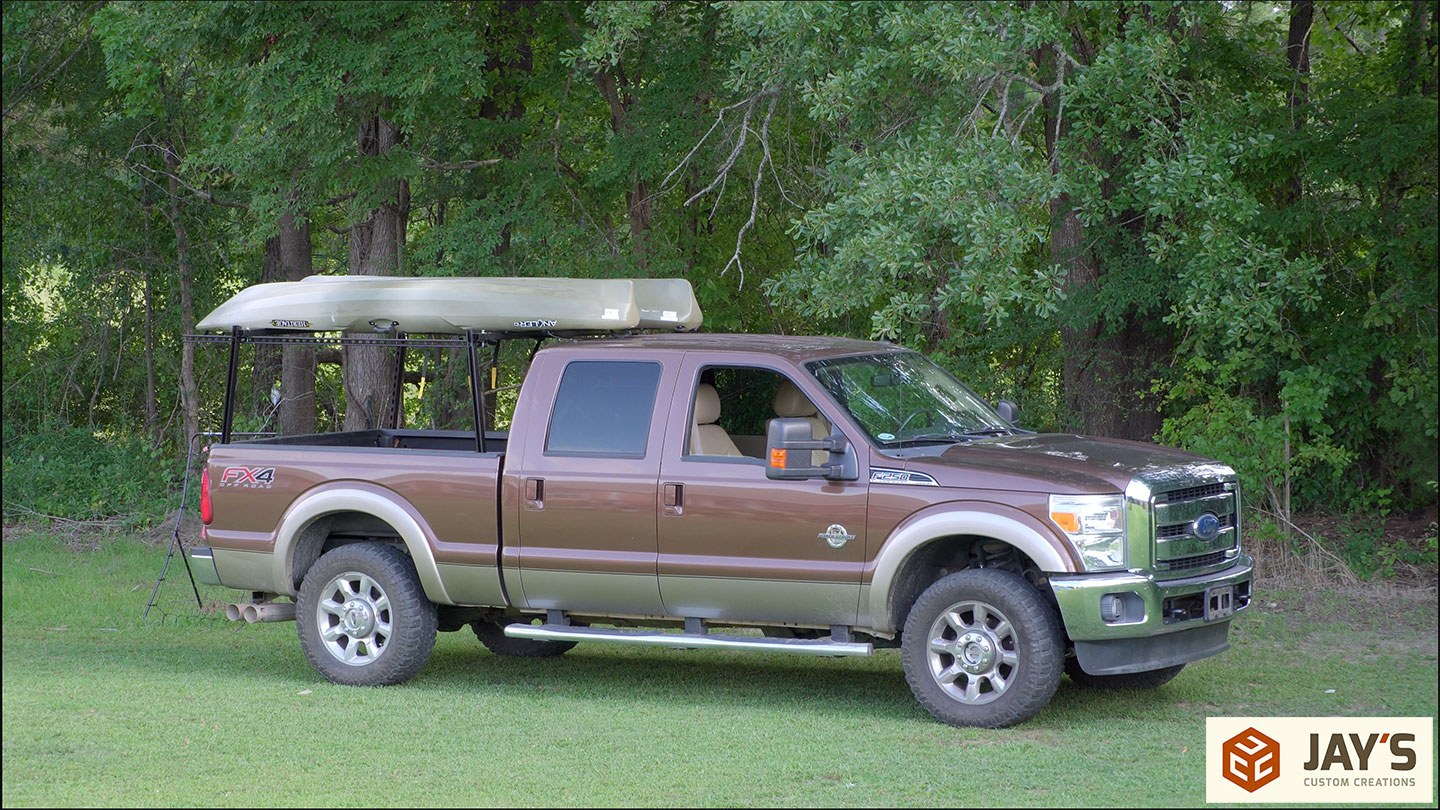
Painting everything black will make this project appear a little less DIY. For obvious reasons, I’m using paint instead of ink here. Two coats with a slight breeze pulling the fumes away from me.
And here, it is installed after some dry time for the paint. I’m not entirely happy with how it looks, though. It doesn’t look as professional as I’d like. Maybe a little too much DIY to the appearance, so I may end up taking this off in the future.
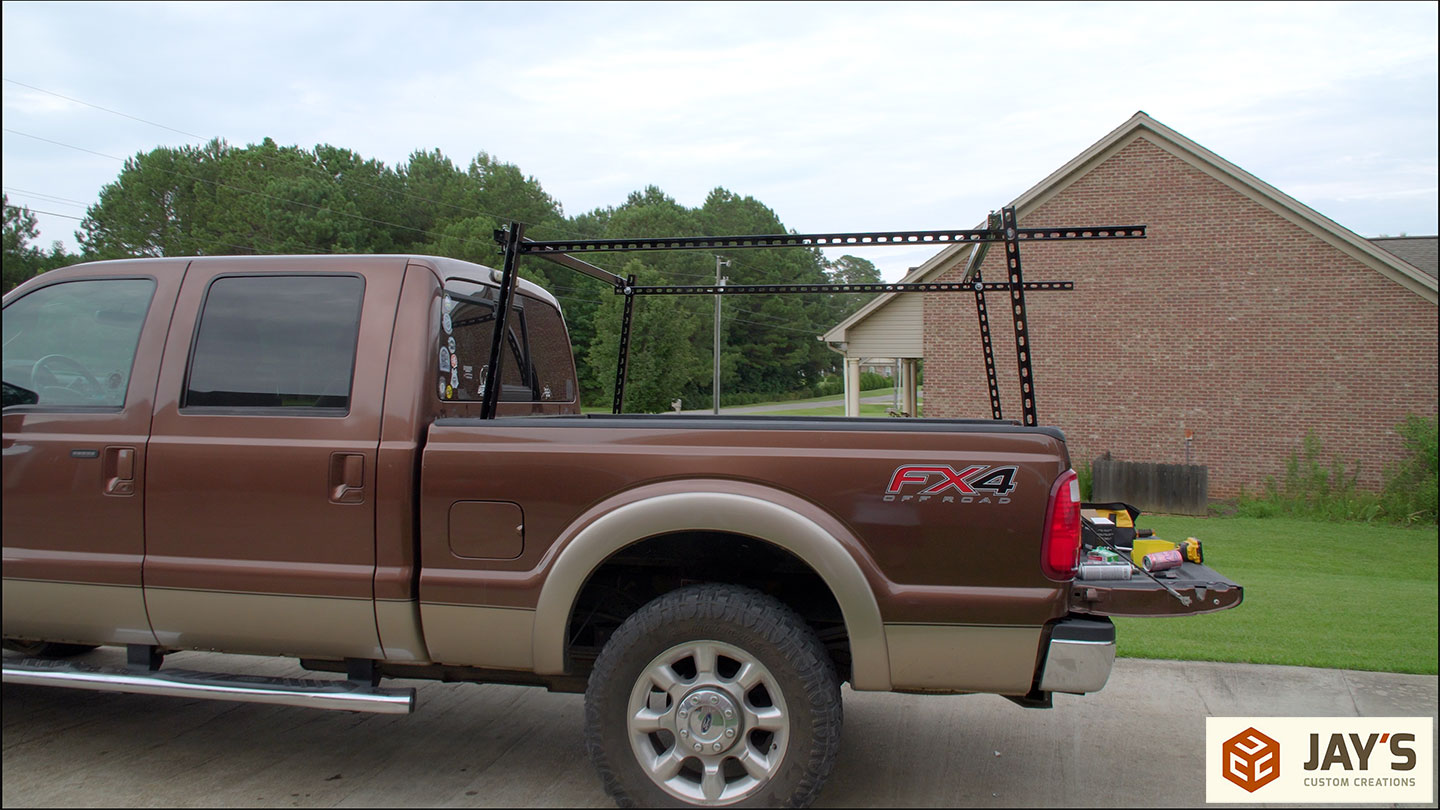
I forgot to mention earlier that the legs are bolted to the truck via the factory stake pocket holes. When traveling, I’ll add a strap from the leg to the tie-down loop in the truck for a second securing method. Also, all of the hardware needs to be swapped out for grade 8 hardware. After I do that, I’ll paint the bolts in place.
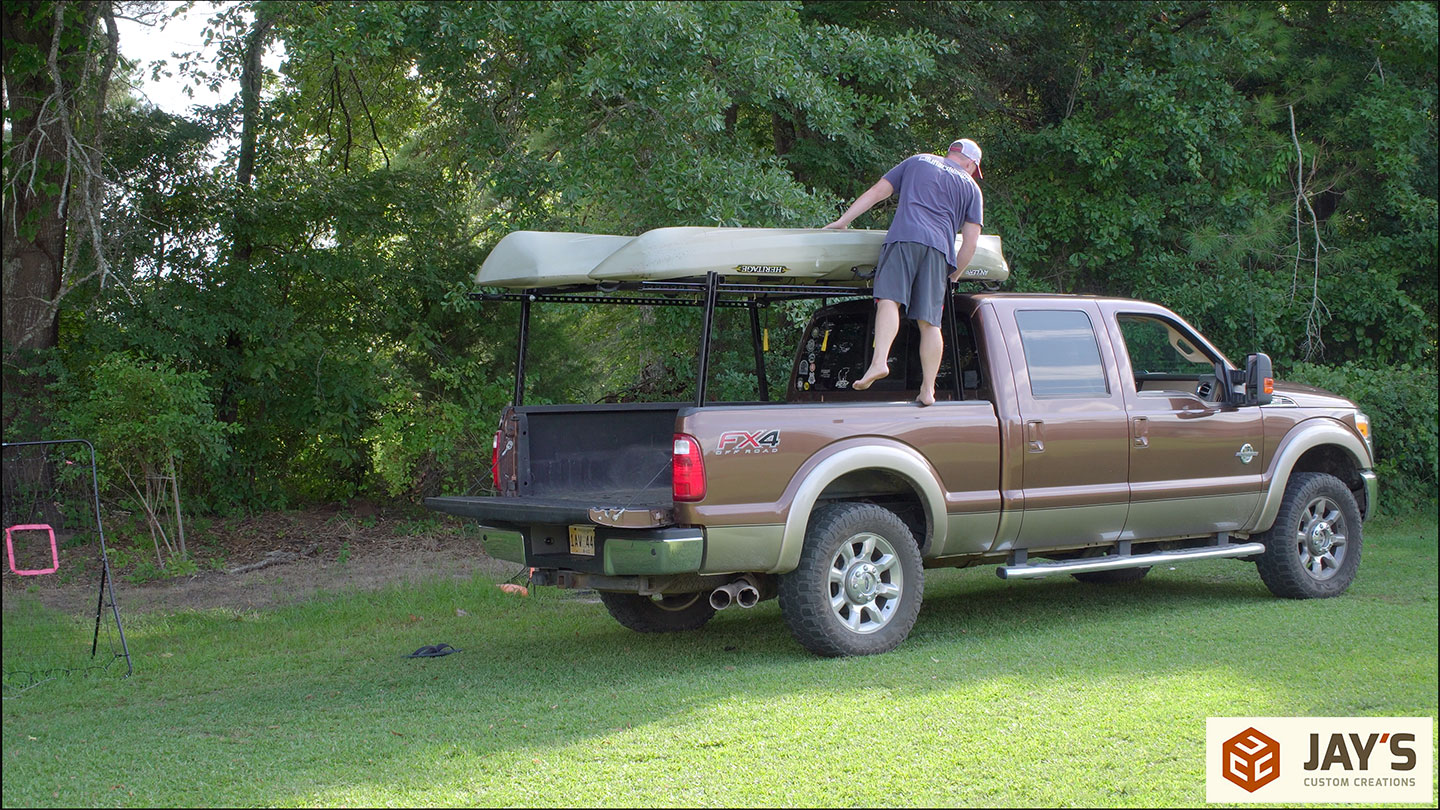
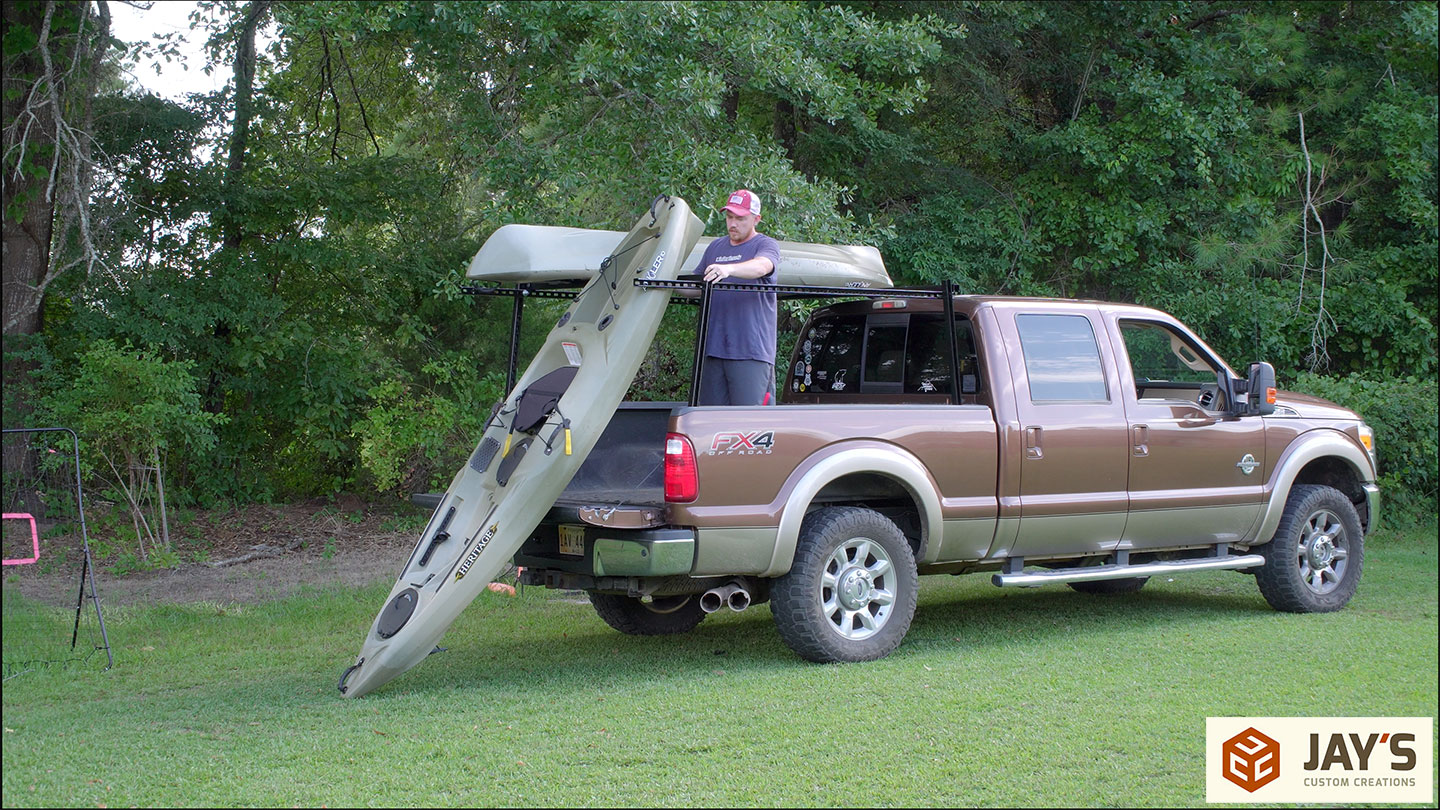
So does it actually work as intended? Yes, and I think so. Yes, to actually holding the kayaks. Each of our kayaks weighs about 70 pounds, so it’s not too difficult to get them on top of the rack by myself. It will be much easier with a second hand. The spacing is perfect for feeding tie-down straps or rope through the scupper holes (the holes that go all the way through the kayak top to bottom) and securing them to the many holes in the SuperStrut. The “I think so” statement is because I’ve yet to strap them down and hit the road. I don’t think there will be any issues due to the amount of SuperStrut racks online that are very similar. But I’m most curious to find out how much wind noise it will create. Subscribe to my Jay Bates 2 vlog channel if you want to hear what I have to say in the follow-up video.

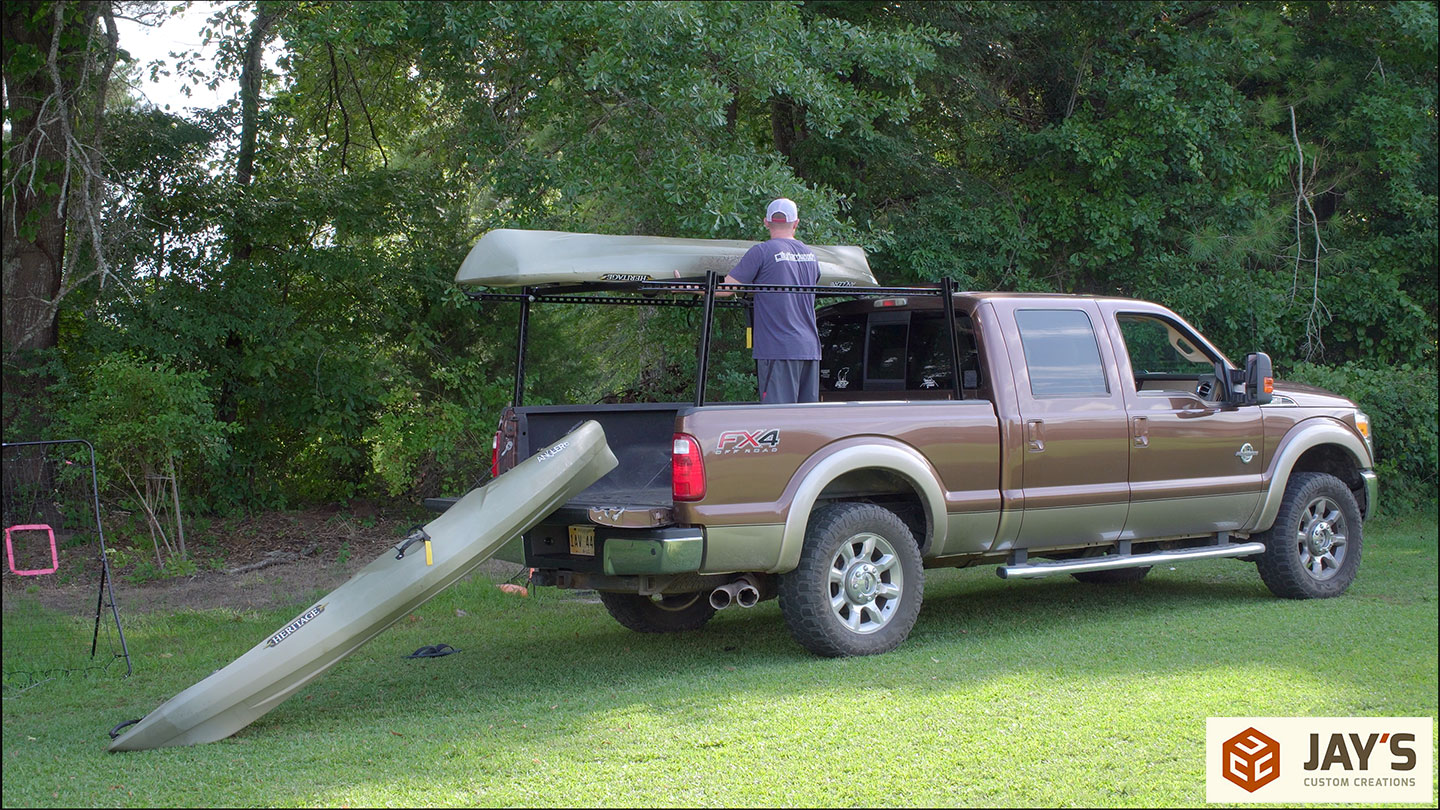
Getting them off is equally as easy. Not cutting off the rear overhang on the side horizontal pieces ended up being a good call. It creates a handy corner to lean the kayak into when loading and unloading.

That’s it for this article. Check out ProPrideHitch.com if you’re interested in learning more about the 3P sway elimination hitch. Got to my website jayscustomcreations.com/newsletter to sign up for my email newsletter, so you don’t miss anything that I publish. Have a great day, and I’ll talk to you in the next one.


Thanks for the camper ideas! I have a Jayco too. I got the camper to get away from home and diy projects. I can see that worked out well for you too!
I love the dowel idea.
I added peg board storage along the bed side of the basement storage. It helps keep everything I use all the time very handy.
I’m a huge DIY fan but there are times when it’s probably better to go with an off the self product or modify a product to better suit your needs.
The kayak project while good first pass, one might be better served to pick up a Harbor Freight aluminum rack for around $200 on sale (ITC). I went through the same exercise with superstrut. The HF with an 800lb weight rating is far superior to a DIY solution.
Love and appreciate the variety of content. Keep it coming.
Very cool sir. Your family will have many great times in that camper but I bet you will find lot more DIYs to do! Stay safe.
Best wishes for good camps.
Cross your chains.