Links:
- BitsBits tongue and groove bit (use code JAYBATES for 10% off) https://bitsbits.com/product/whiteside-3373-tongue-groove-router-bit/
- Drawer slides https://amzn.to/3bRGODt
- Coping sled https://amzn.to/3wxk96F
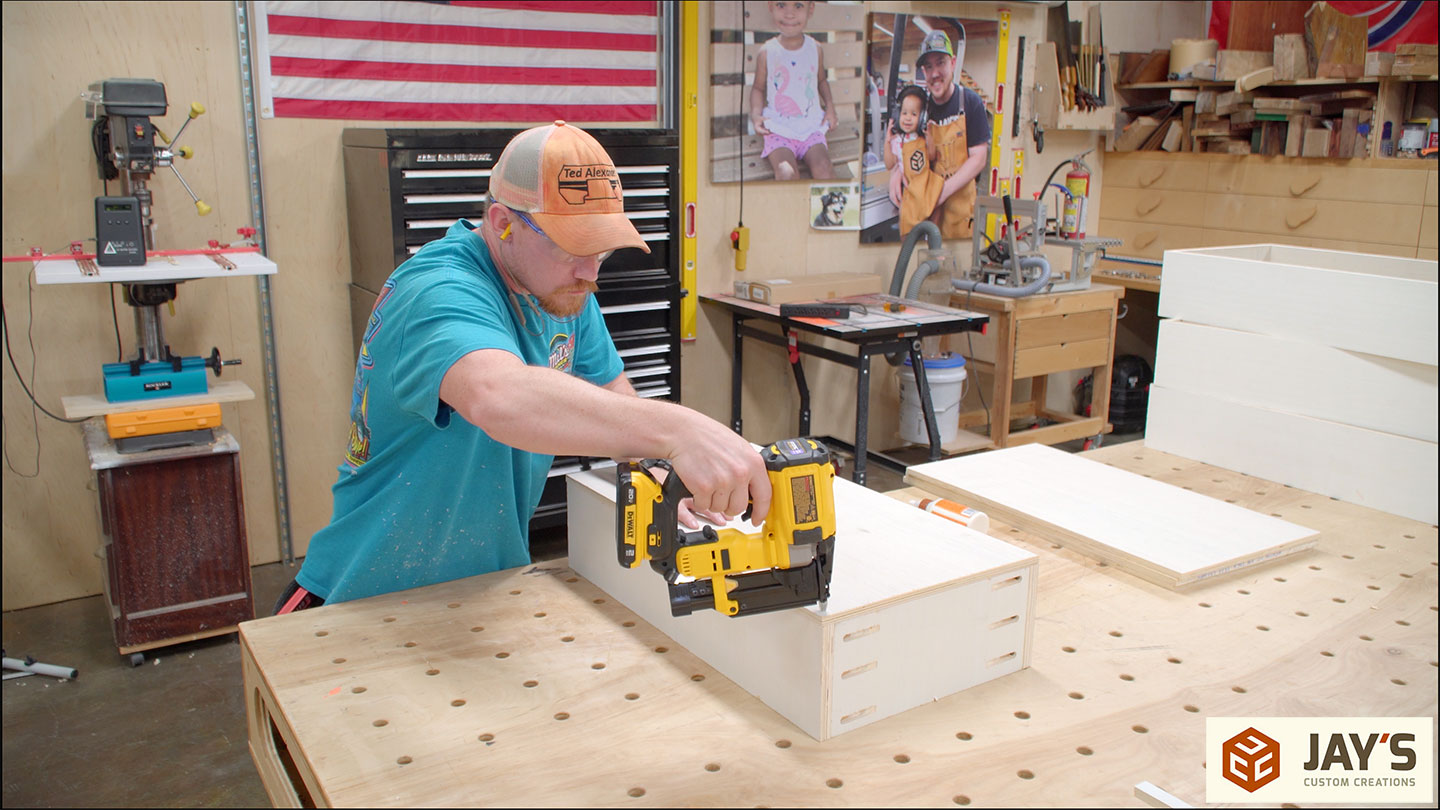
Day three of the outdoor kitchen island starts with the drawers. Basic drawer construction here. A long time ago, in a galaxy far, far away, I made a video on how I prefer to make drawers. Even after all this time, the method remains the same. Three to four pocket holes on the front and back of the drawer connect the full-length side pieces. I’m also using some 23ga pin nails to hold the part alignment before driving the screws.
I like this method for non-fine furniture applications where the only concern is long-term durability. I’ve never seen a pocket hole joint fail outside of testing scenarios where it was tested to failure in an application where pocket holes should never be used in the first place. Also, because the pocket hole screws are installed on the front of the front and the back of the back, the pocket holes will never be seen. The decorative drawer front will obviously cover the front of the actual drawer.

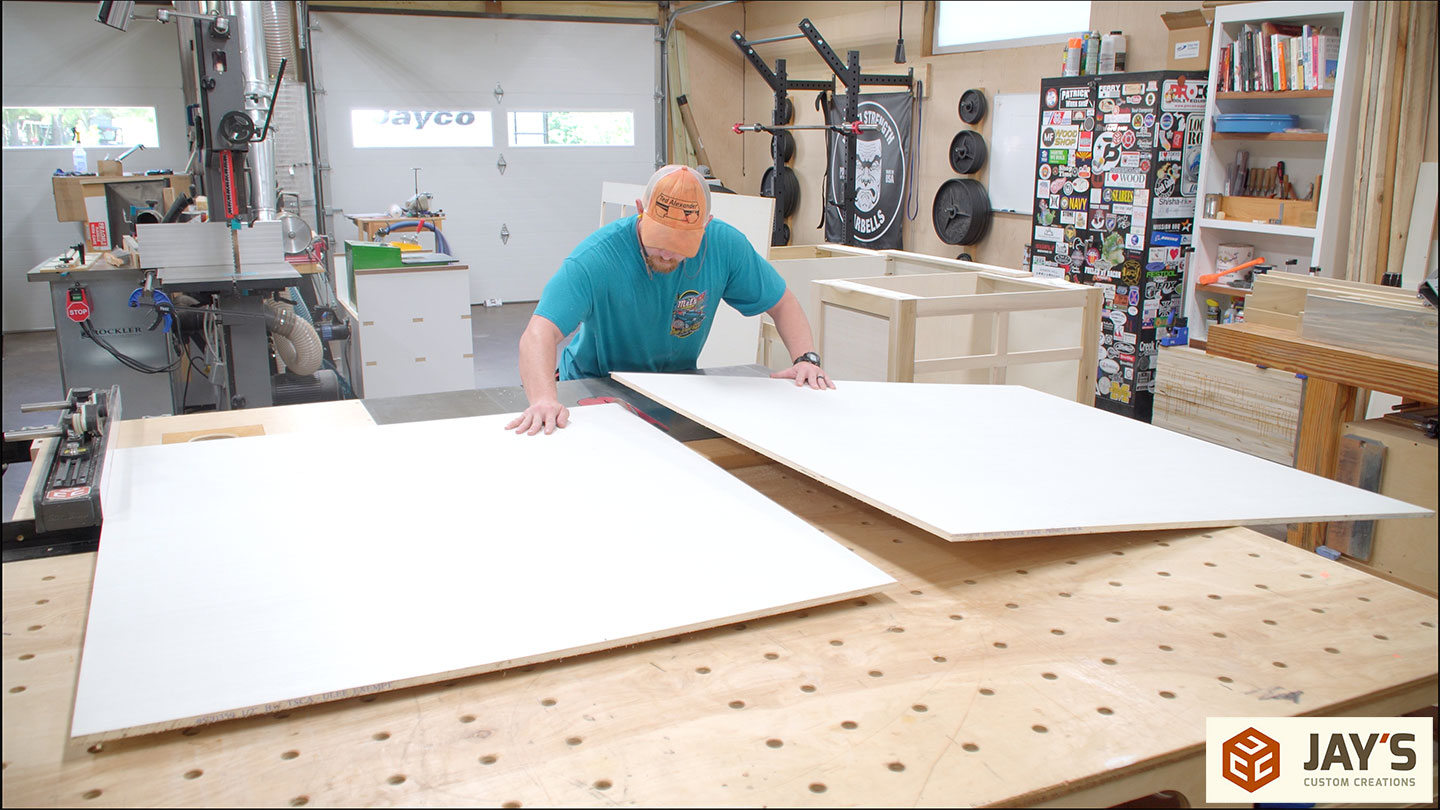
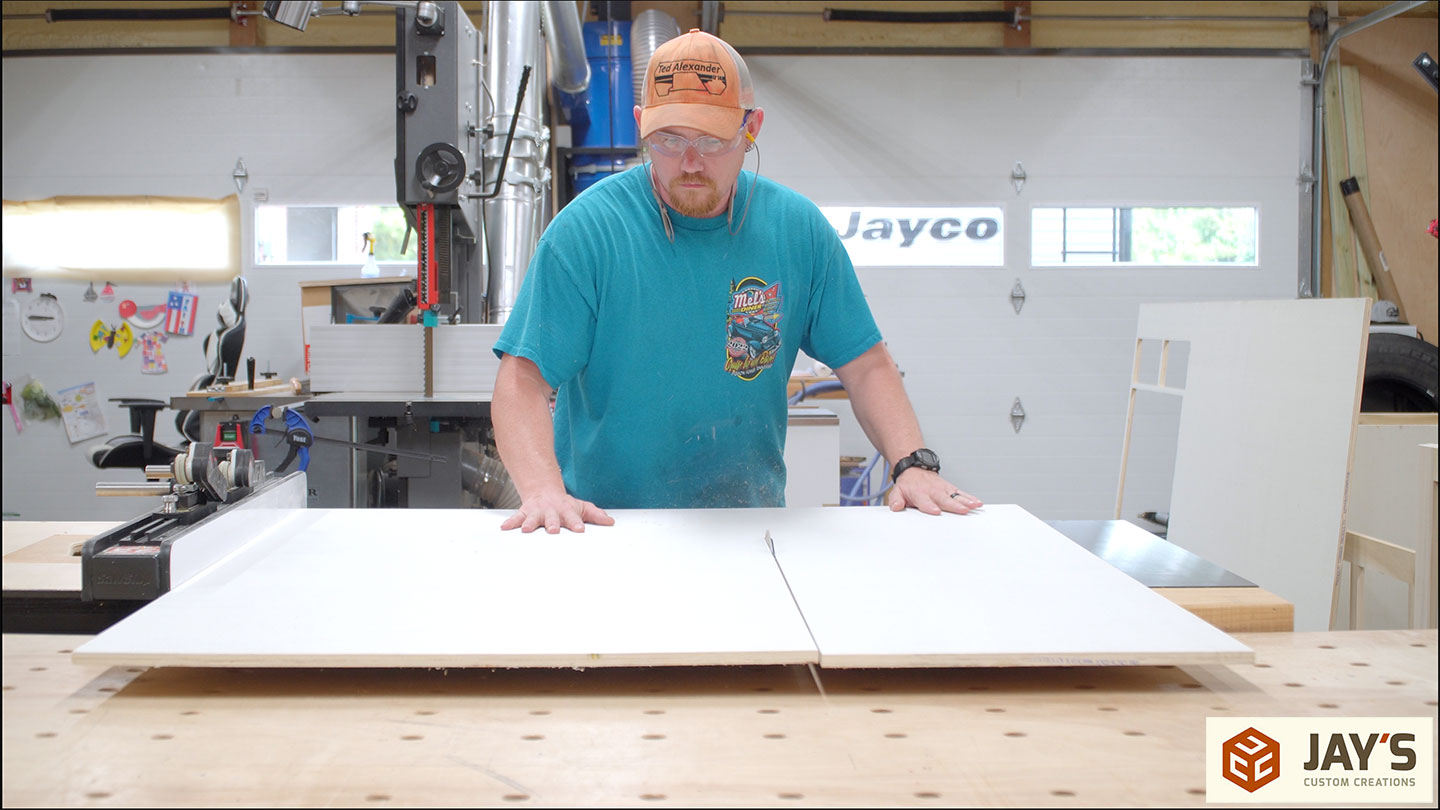
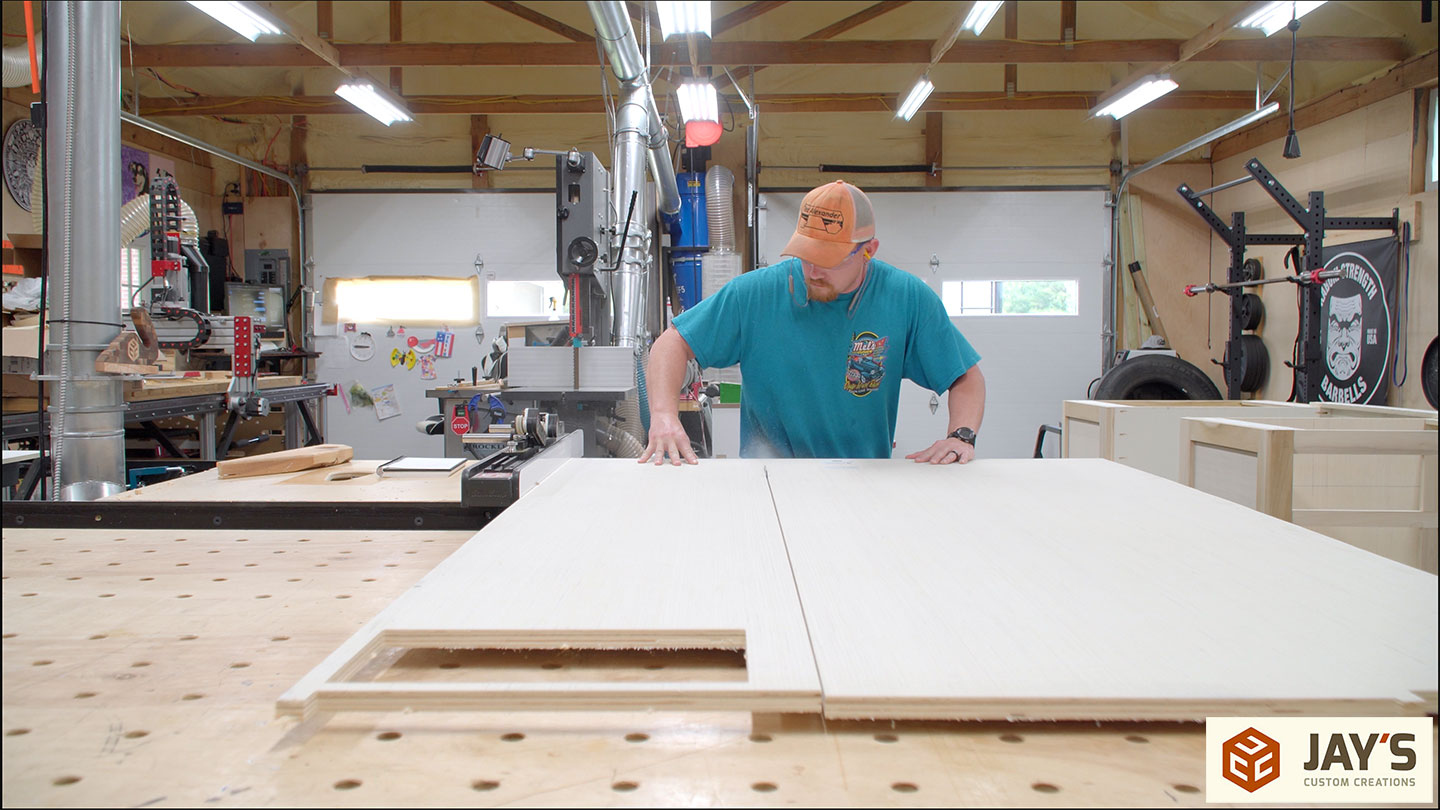
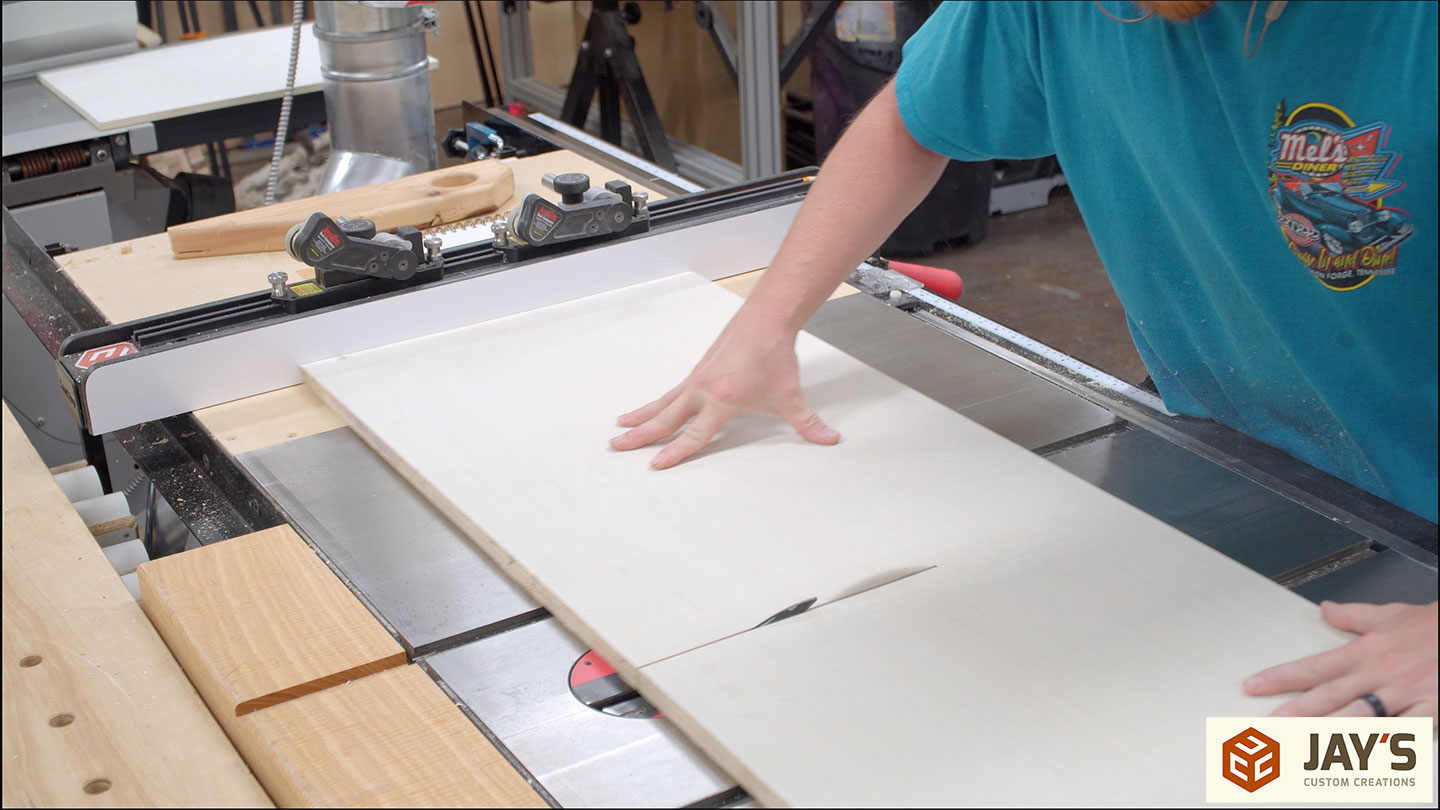
The drawer sides are 3/4” plywood, and I’m cutting some 1/2” plywood for the bottom. So check this out… I’m pushing a full sheet of plywood over the table saw with a large outfeed support. All is well, right? Wrong. I failed to consider the left side outfeed support. At first glance, I thought more than 50% of the offcut would be supported, but as you can see, nope! Not only did I nearly drop the offcut, but in the attempt to save it, I nearly pushed the panel back into the blade. No matter how much experience you have, it doesn’t prevent you from having a lapse in judgment sometimes.
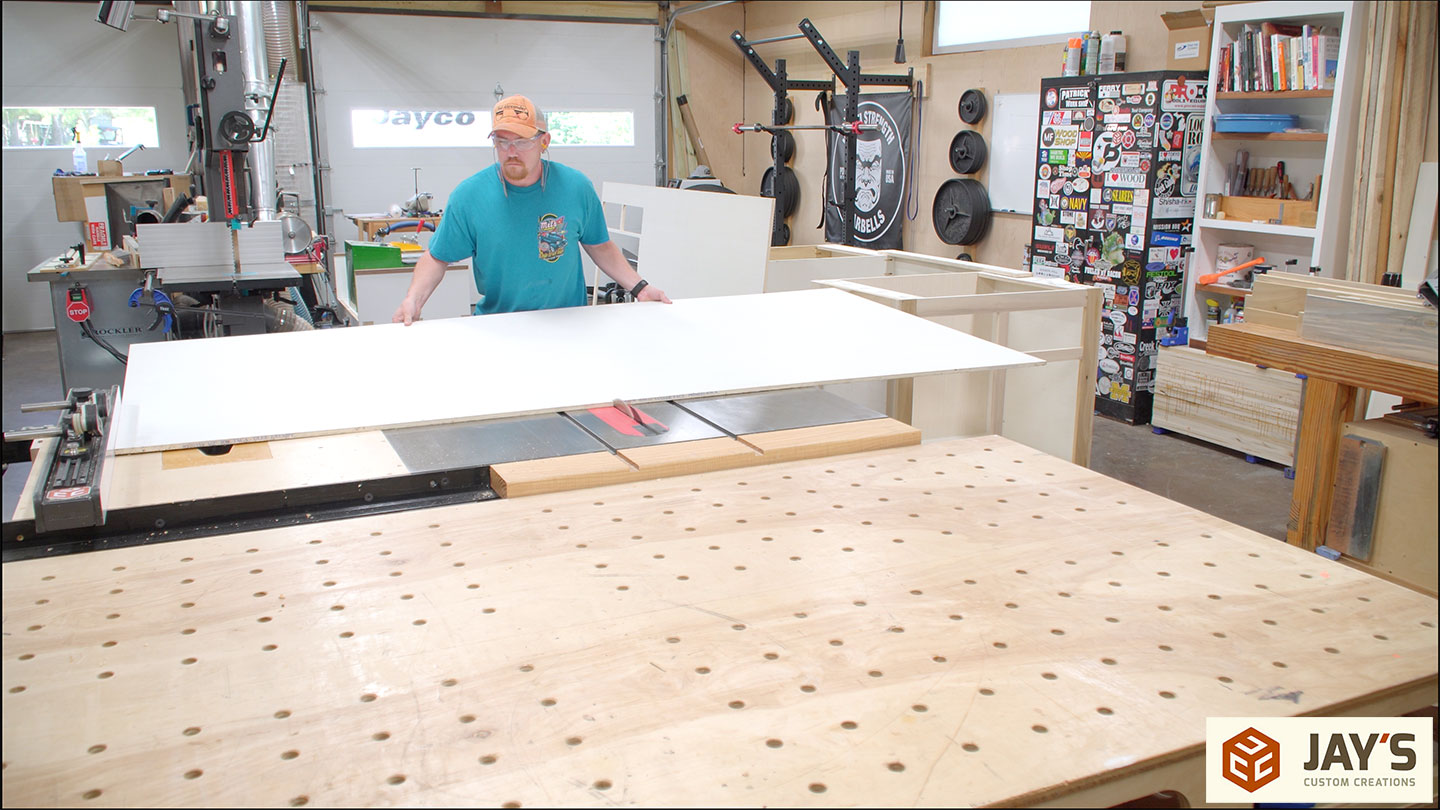
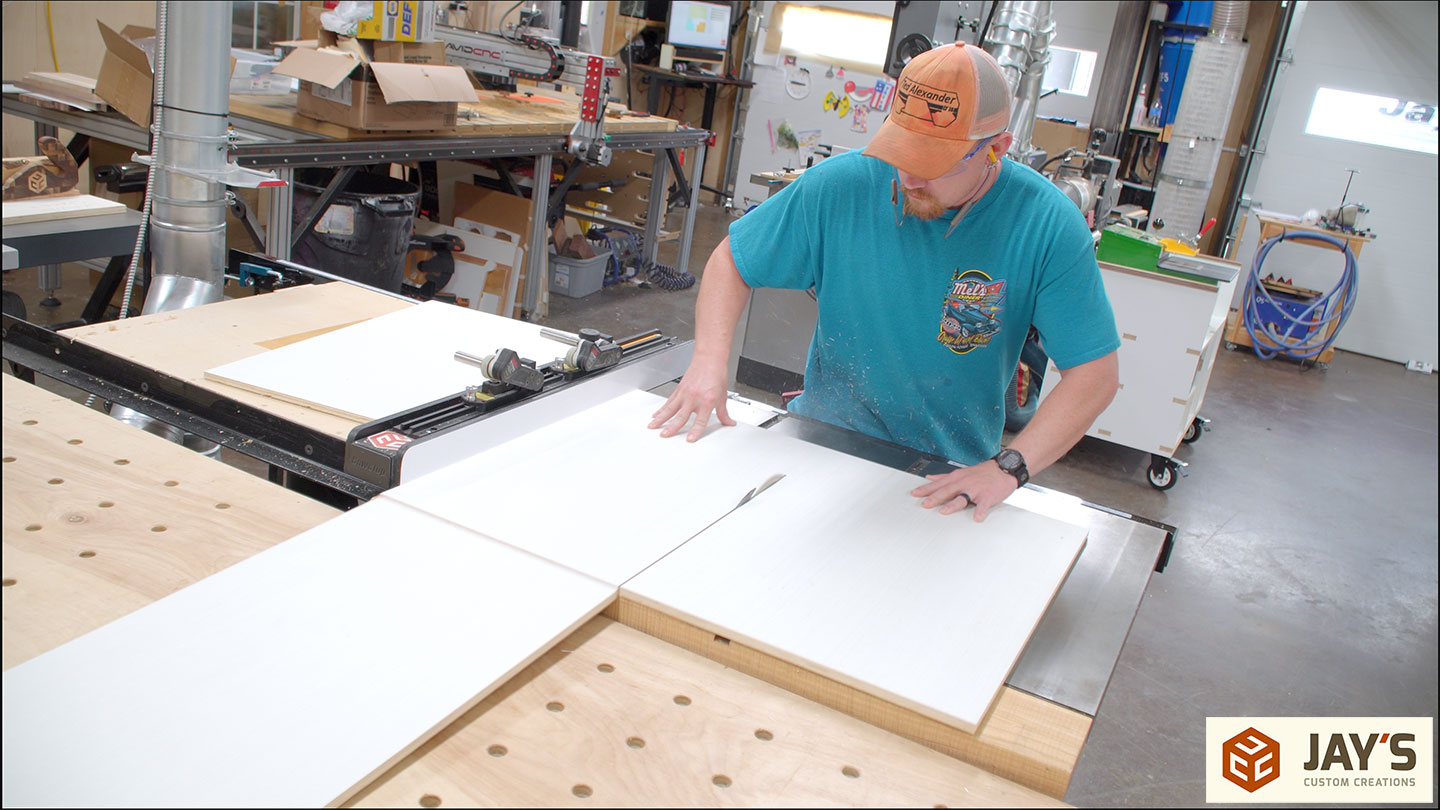
Of course, smaller pieces are easily managed on the table saw. This is why so many people prefer to make the first cut on the floor with a track saw or circular saw.
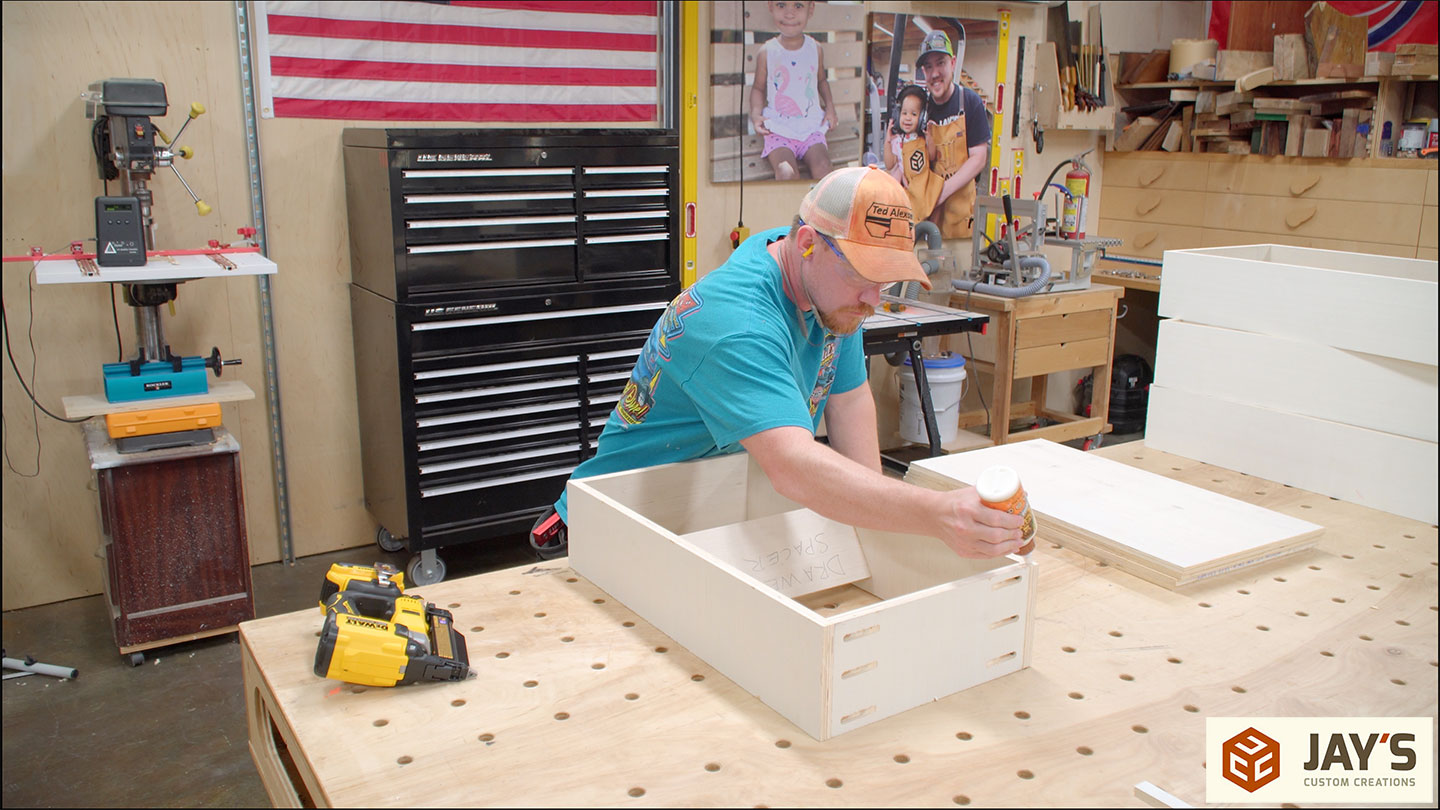
This is a drawer spacer. It’s just a scrap block the same length as the front and back panel. Because of the poor quality of this plywood, I had to install the drawer sides with an inward bow and then use this piece to spread them out the correct distance while attaching the bottom panel.

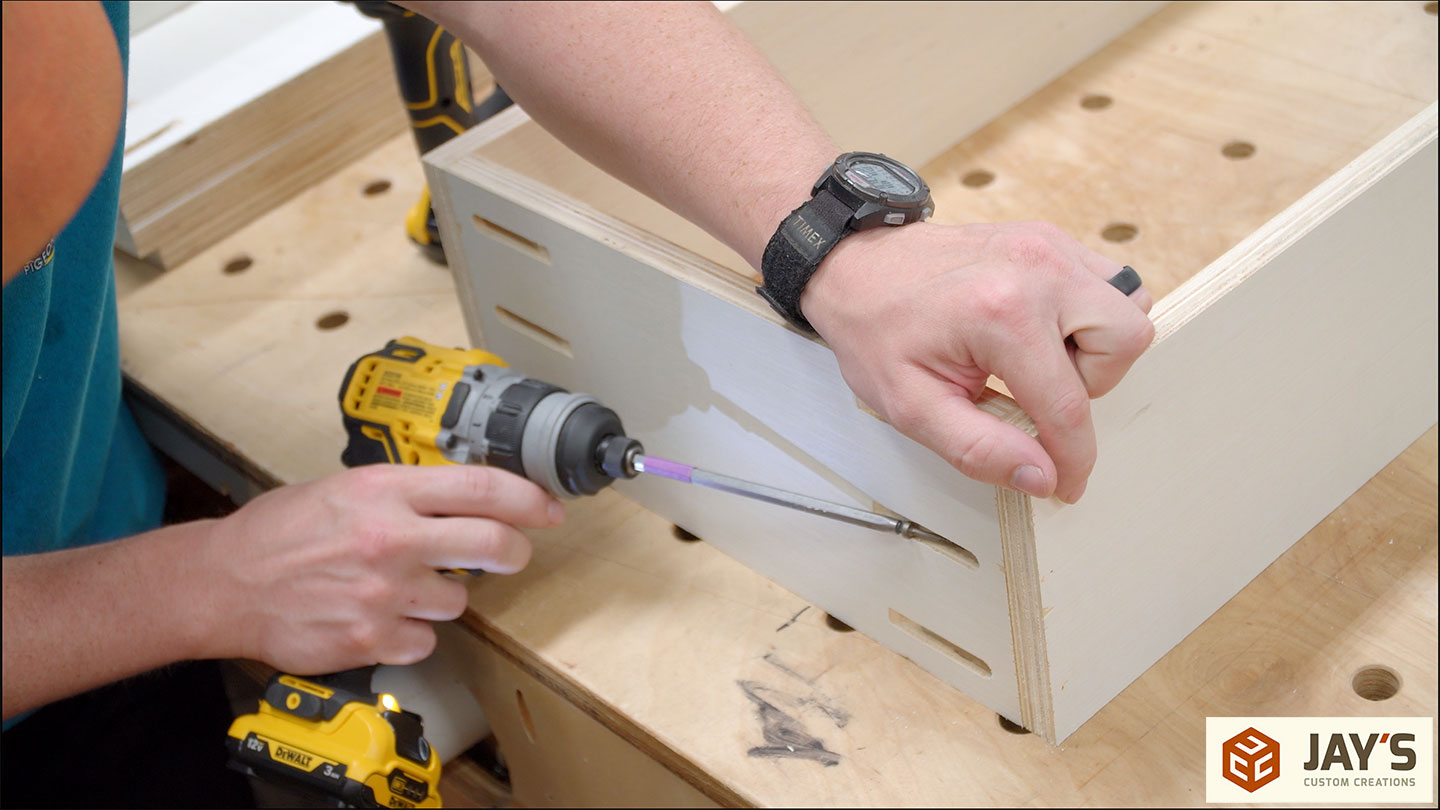
Glue, a few pin nails to lock the position, and screws to attach the bottom directly to the sides. Glue is really all that’s necessary, so the screws are basically only used as clamps.
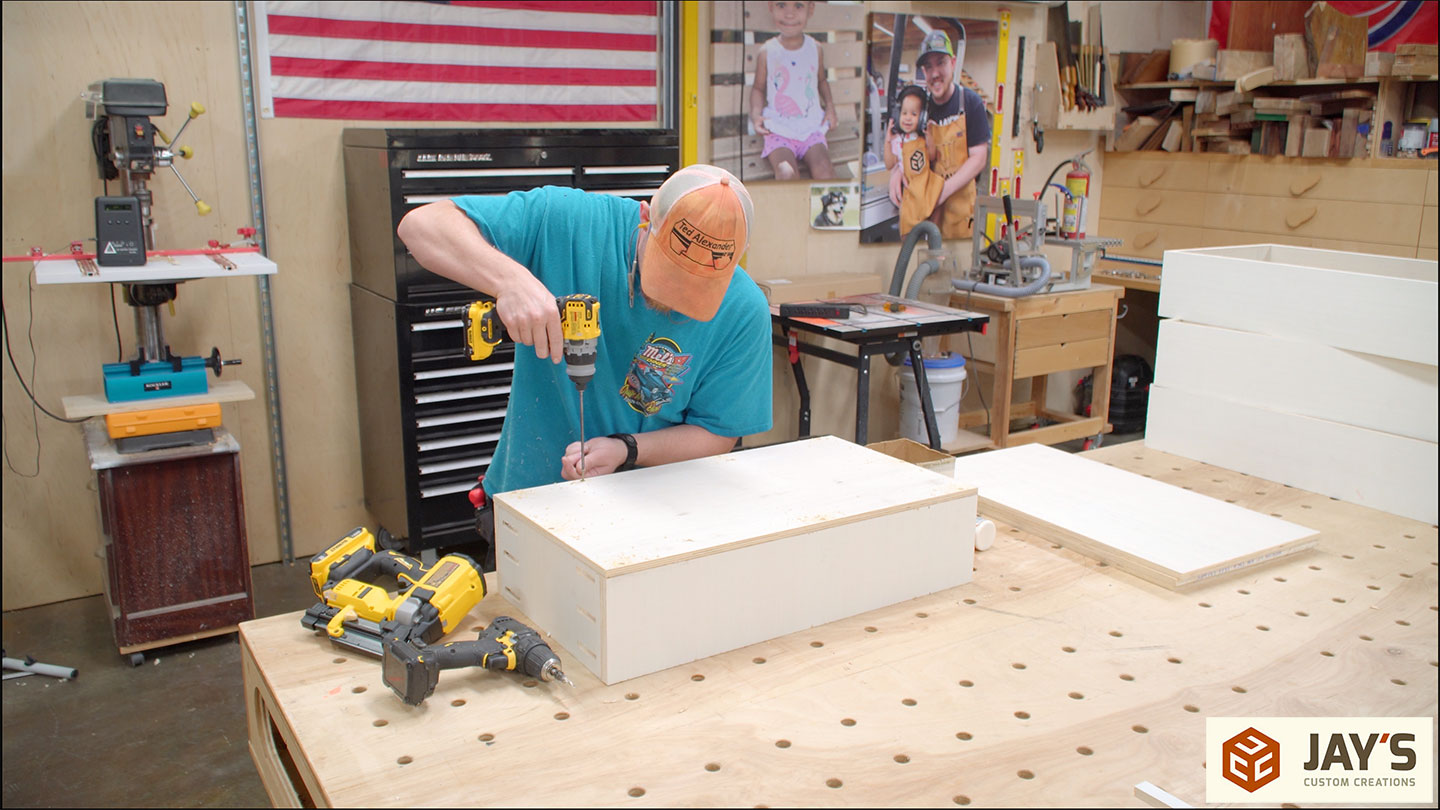
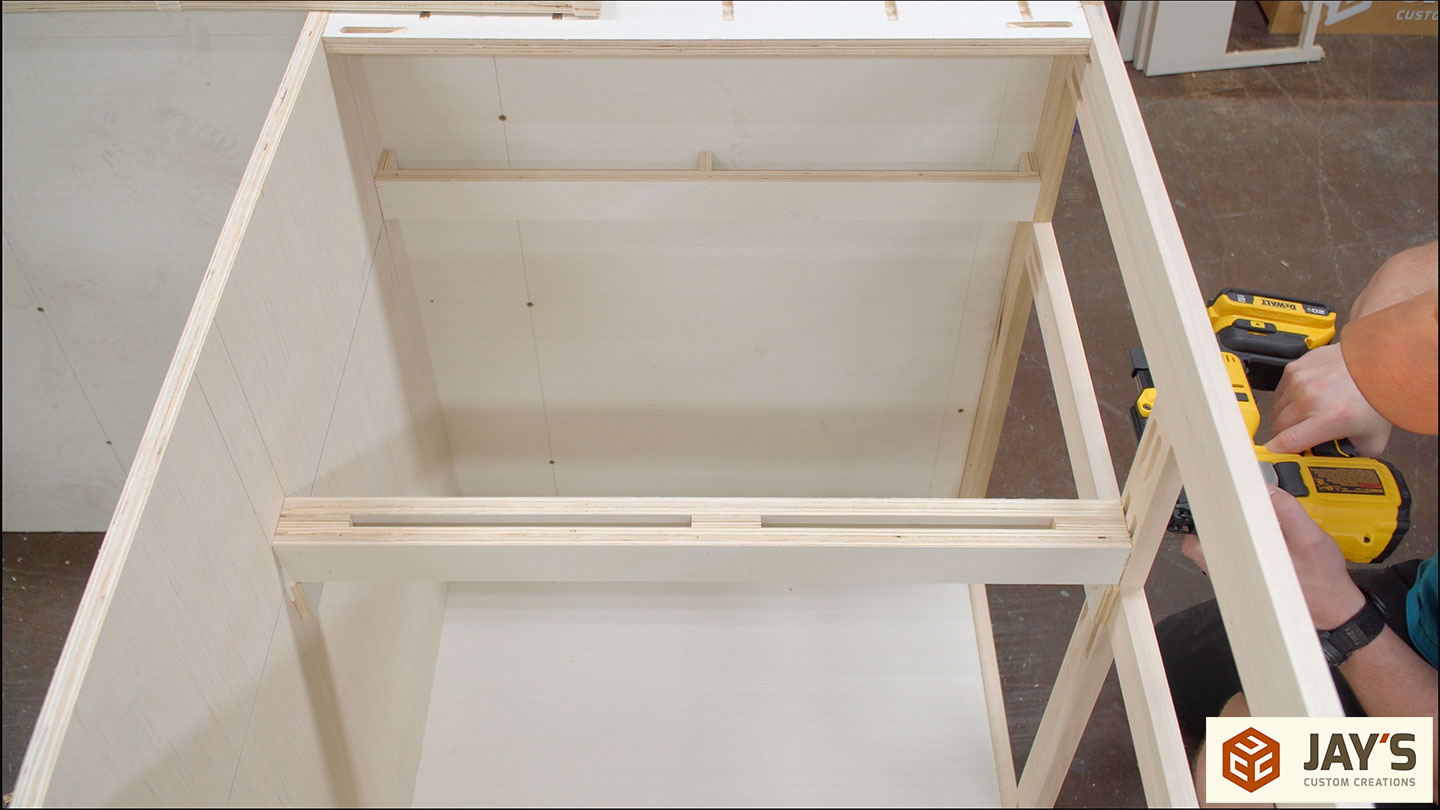
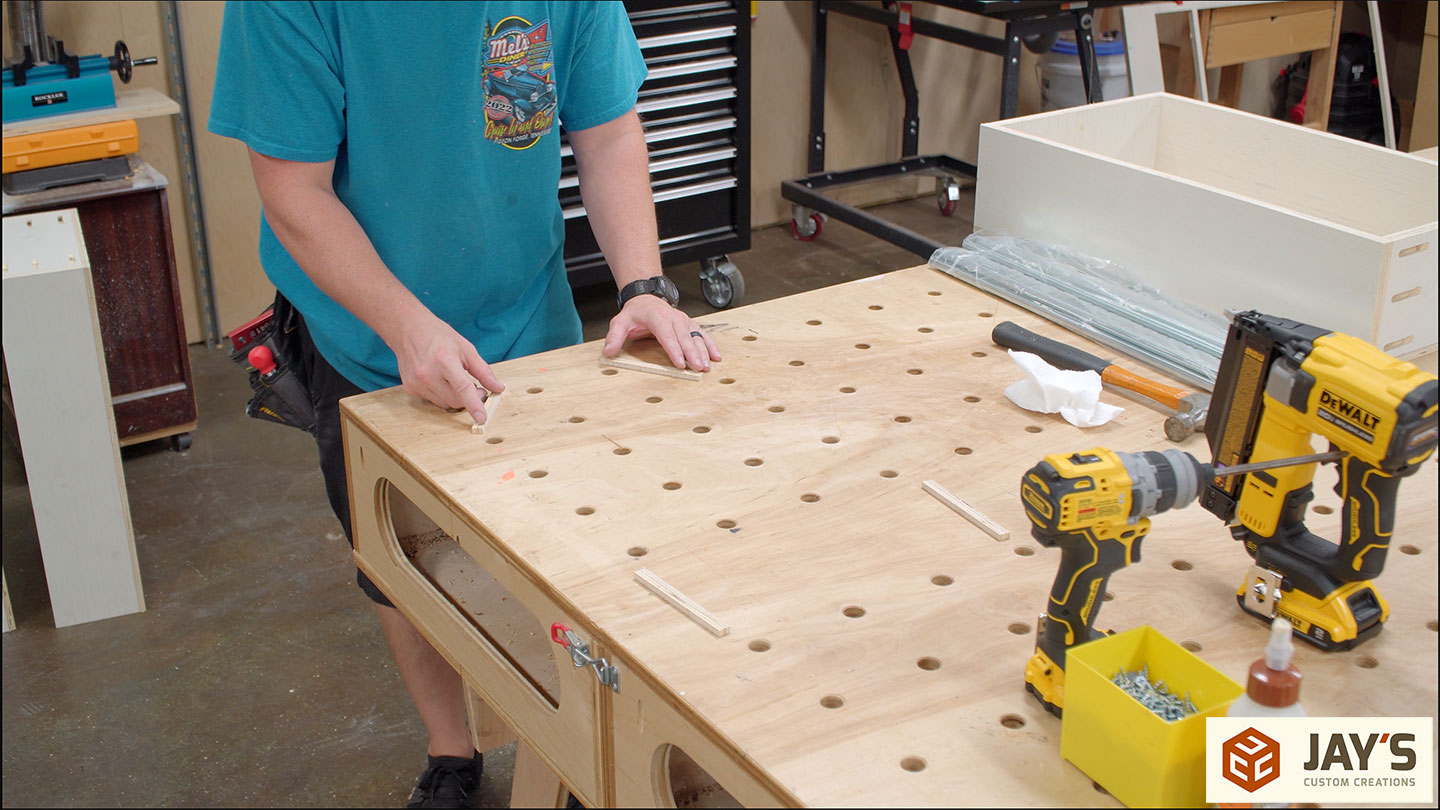
The drawers need something to mount to. To locate those mounts, the front drawer opening dimensions are transferred to the back panel.

The actual strips the drawer slides will mount to are 2” wide strips of 3/4” plywood. Two for each drawer, so eight total
Then a bunch of spacer blocks from 1/2” plywood. This is pretty convenient because two 3/4” pieces plus one 1/2” piece is close enough to the 2” width of the face frame stiles. Close enough because plywood is a tiny bit thinner than the nominal thickness.
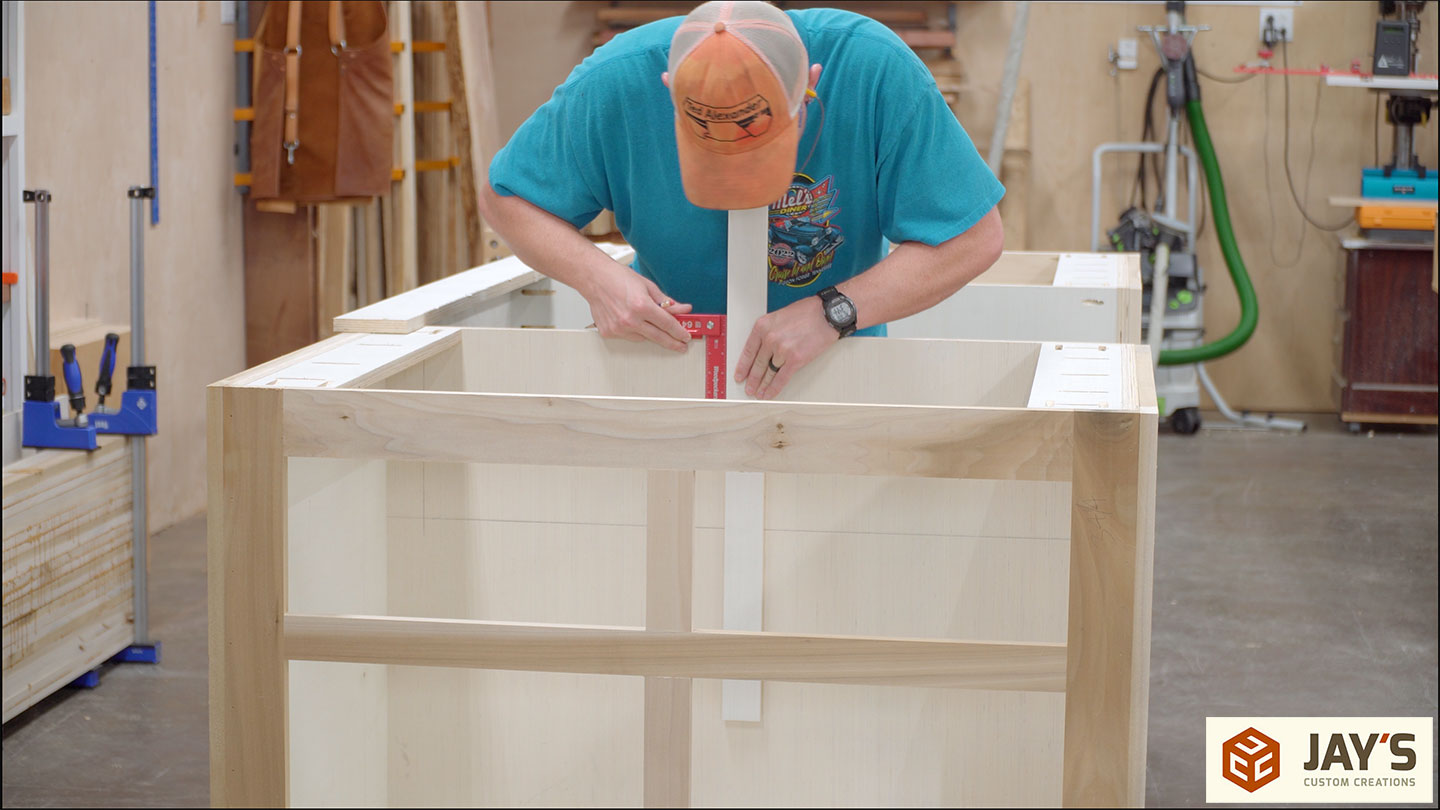
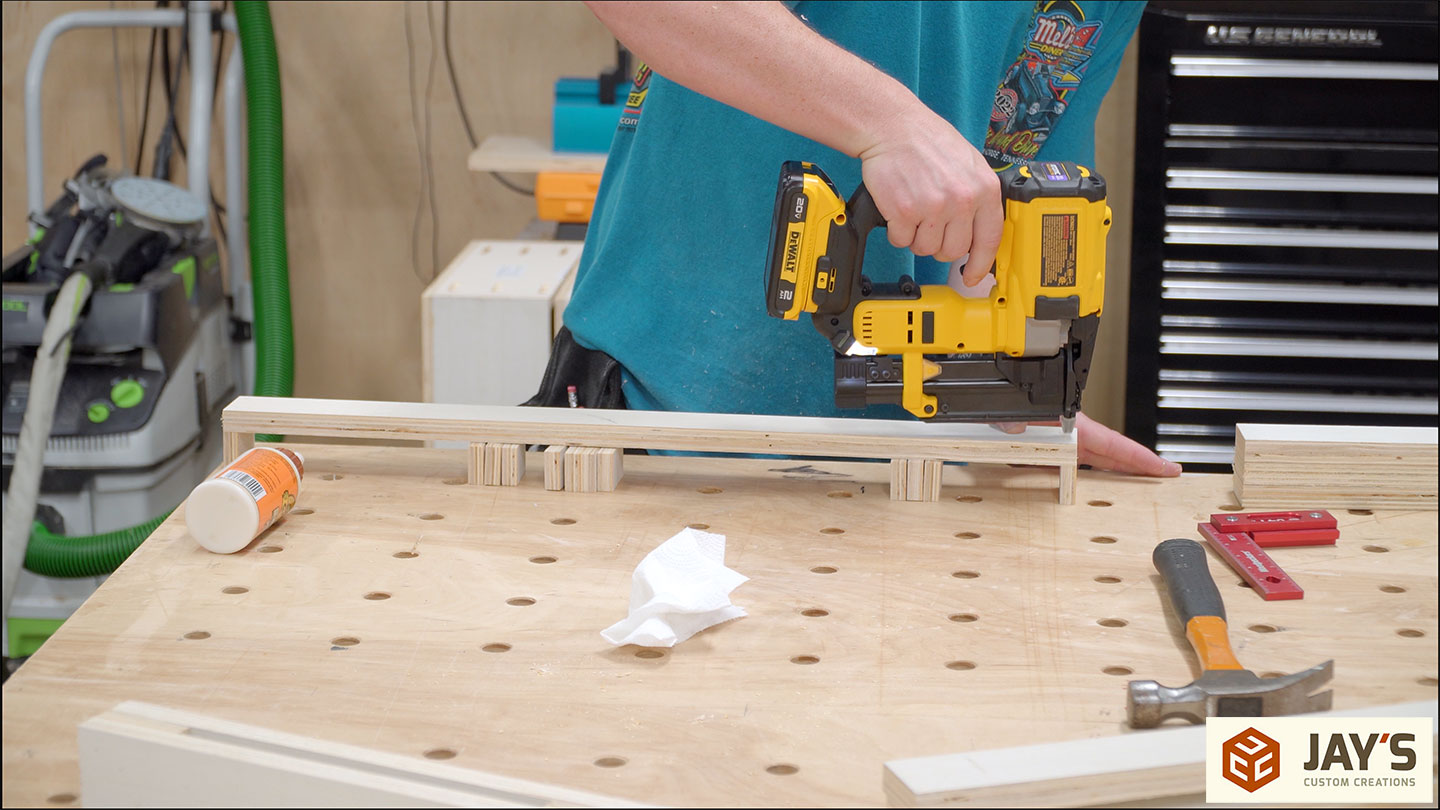
The structure between the drawers will be a pair of 3/4” strips with 1/2” blocks glued and pinned in place, making sure the strips are square, and the ends line up.

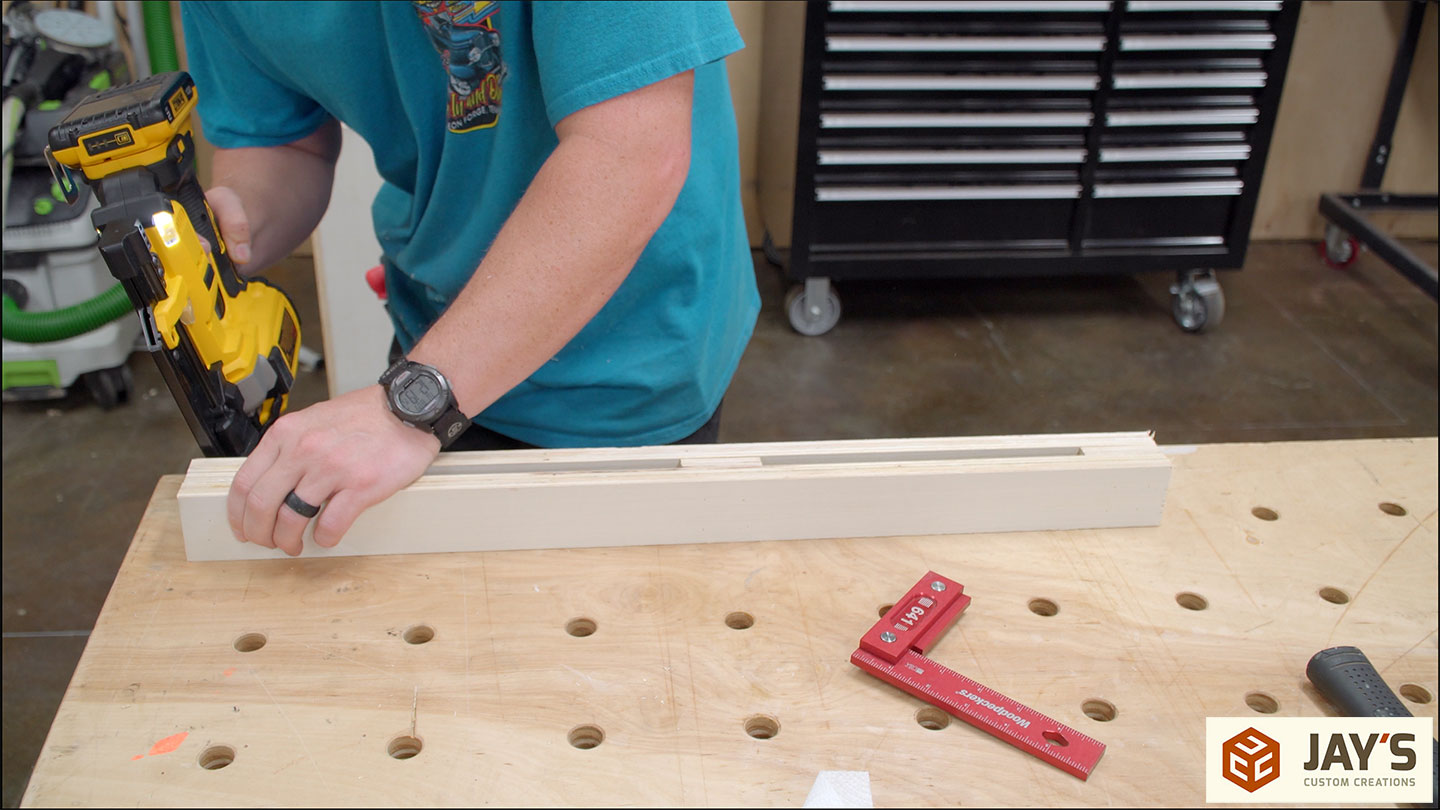
Smaller pieces are needed for the side pieces. These pieces will be installed perpendicular, though, as they are only needed to space the longer strip away from the sides. Glue and pin nails to hold while the glue dries.

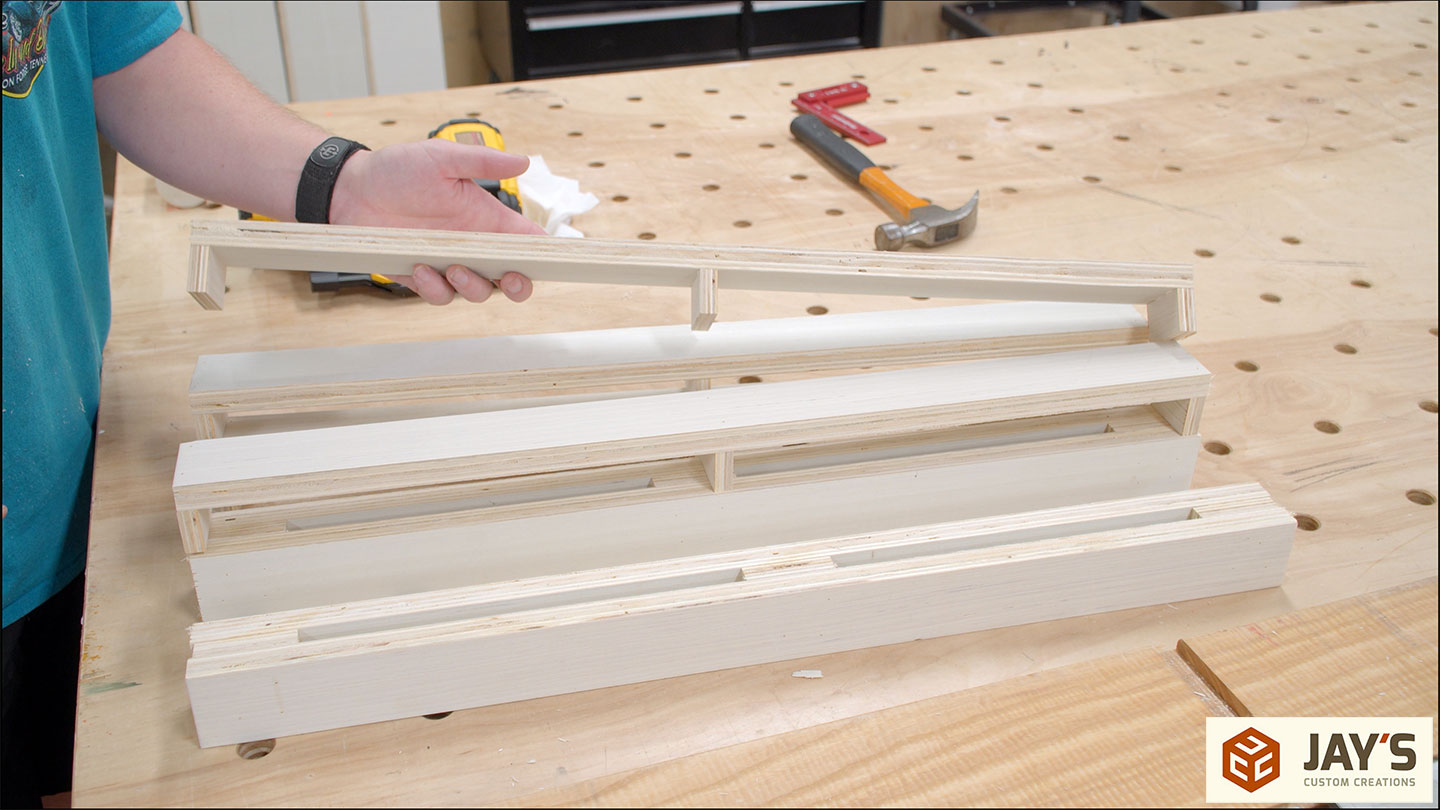
That makes two two-sided mounts and four one-sided mounts.

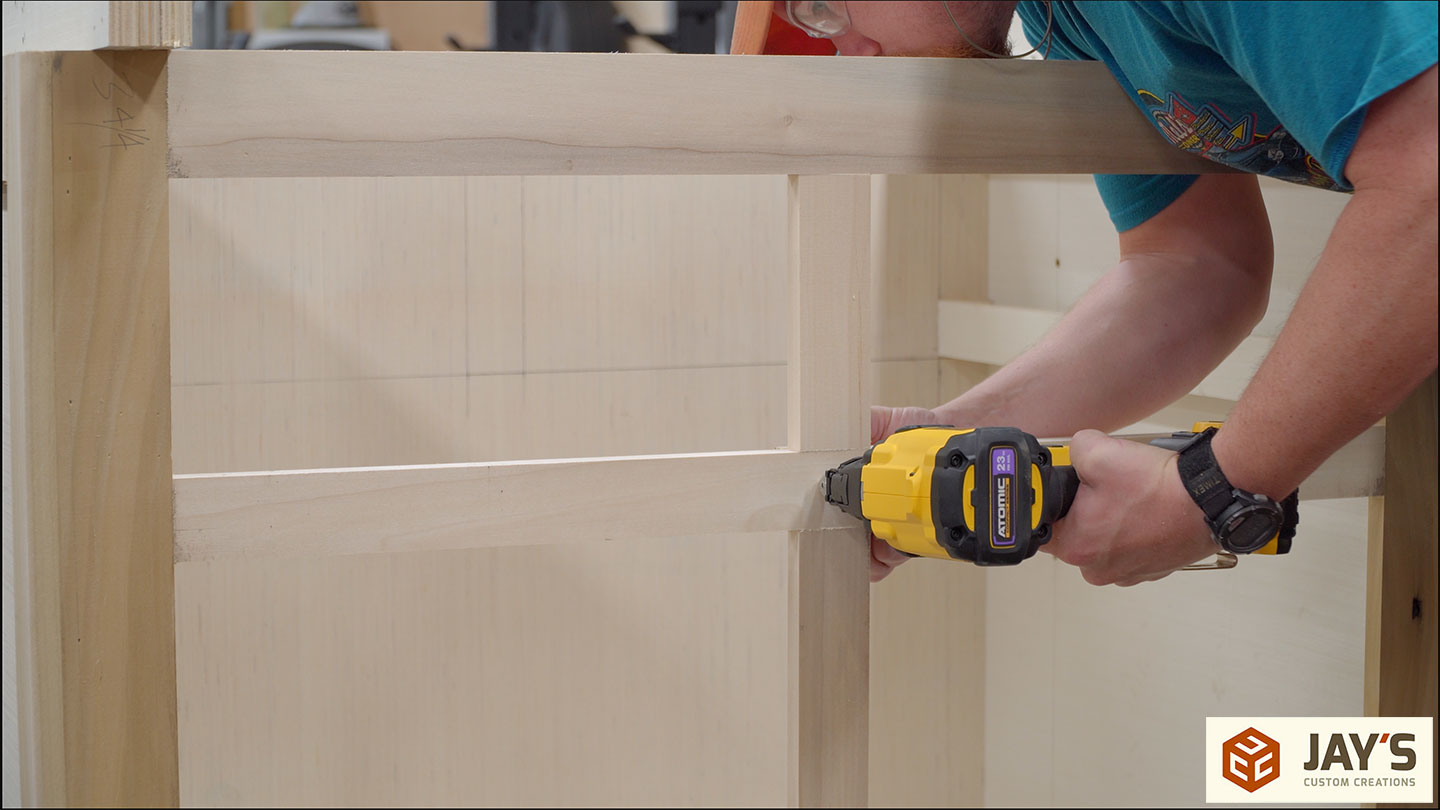
The side mounts are installed with plenty of glue and a bunch of pin nails referencing off the pencil lines in the back and the lower corner of the drawer opening. Pin nails again for immobilizing while the glue sets up.

A lot of surface area on the back of the center stile is missing due to four pocket holes in a small board, so I glued on a scrap plywood block on the back of the face frame and the back opening. This will provide a shelf to help support the center drawer slide mount as it is glued in place.

And of course, gluing and securing the center drawer slide mount is next.
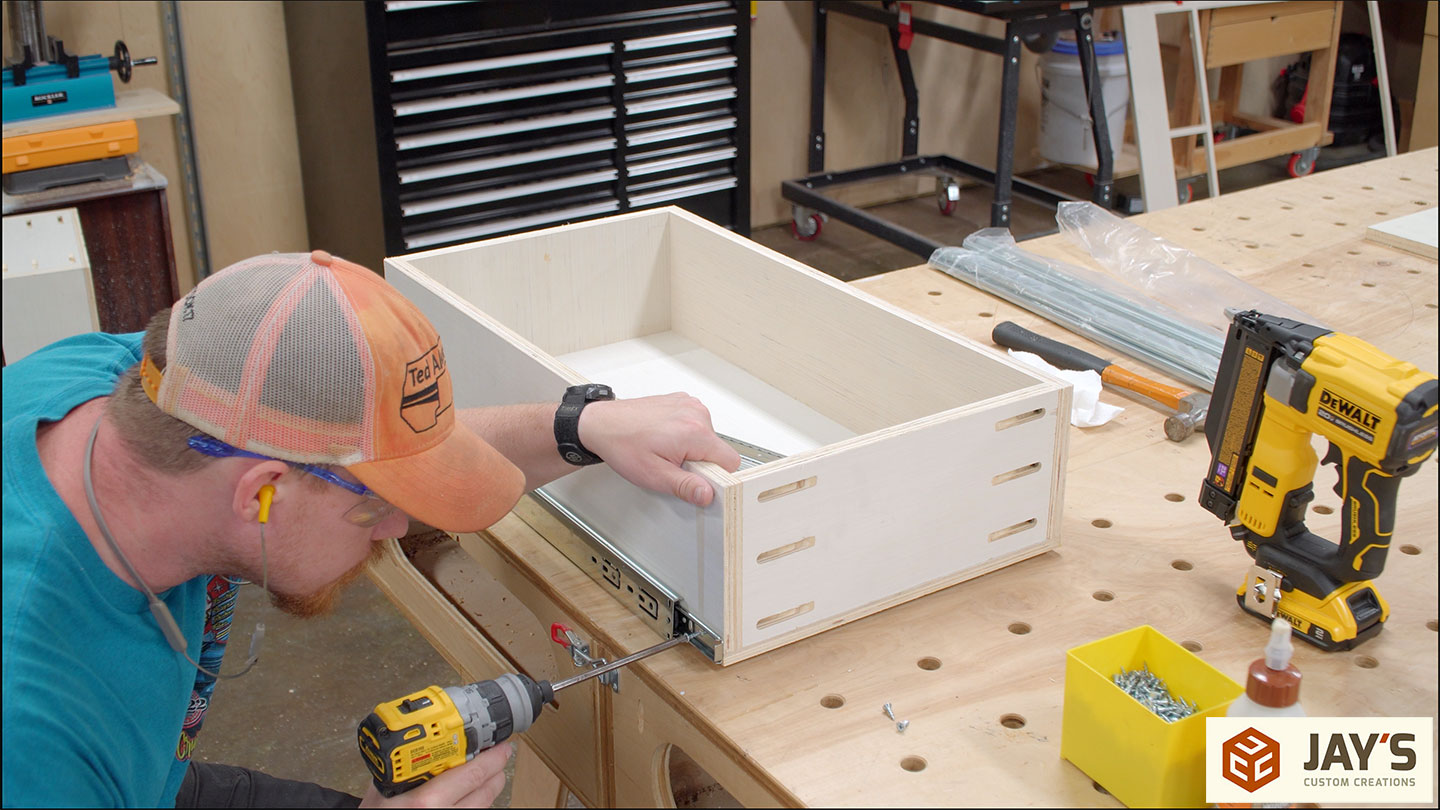
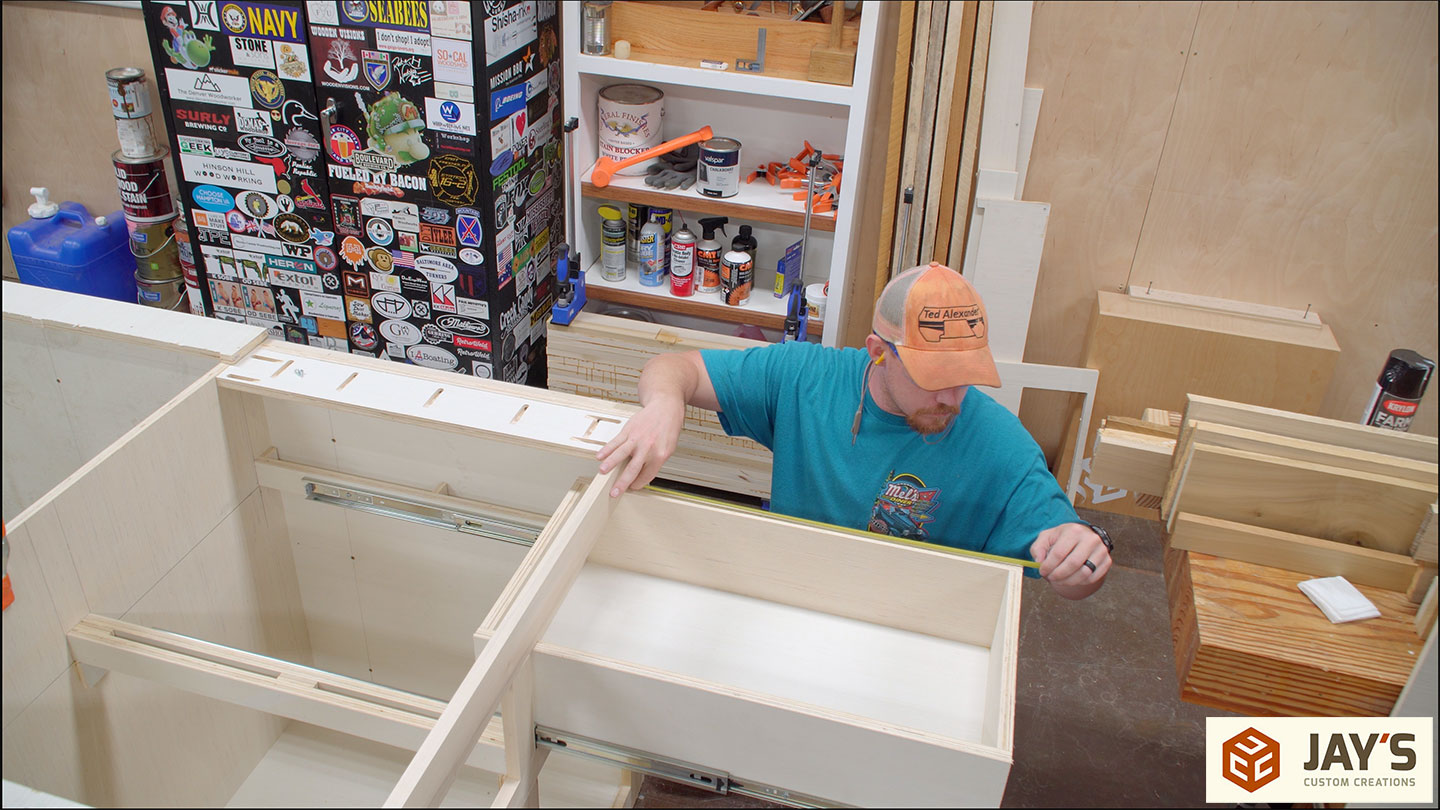
It’s time to install the drawer slides on the drawer. To start, I use 1/4” thick spacers to elevate the drawer off of the work surface.
Now the drawer slides can be attached directly to the side of the drawer with the slides resting on the work surface.

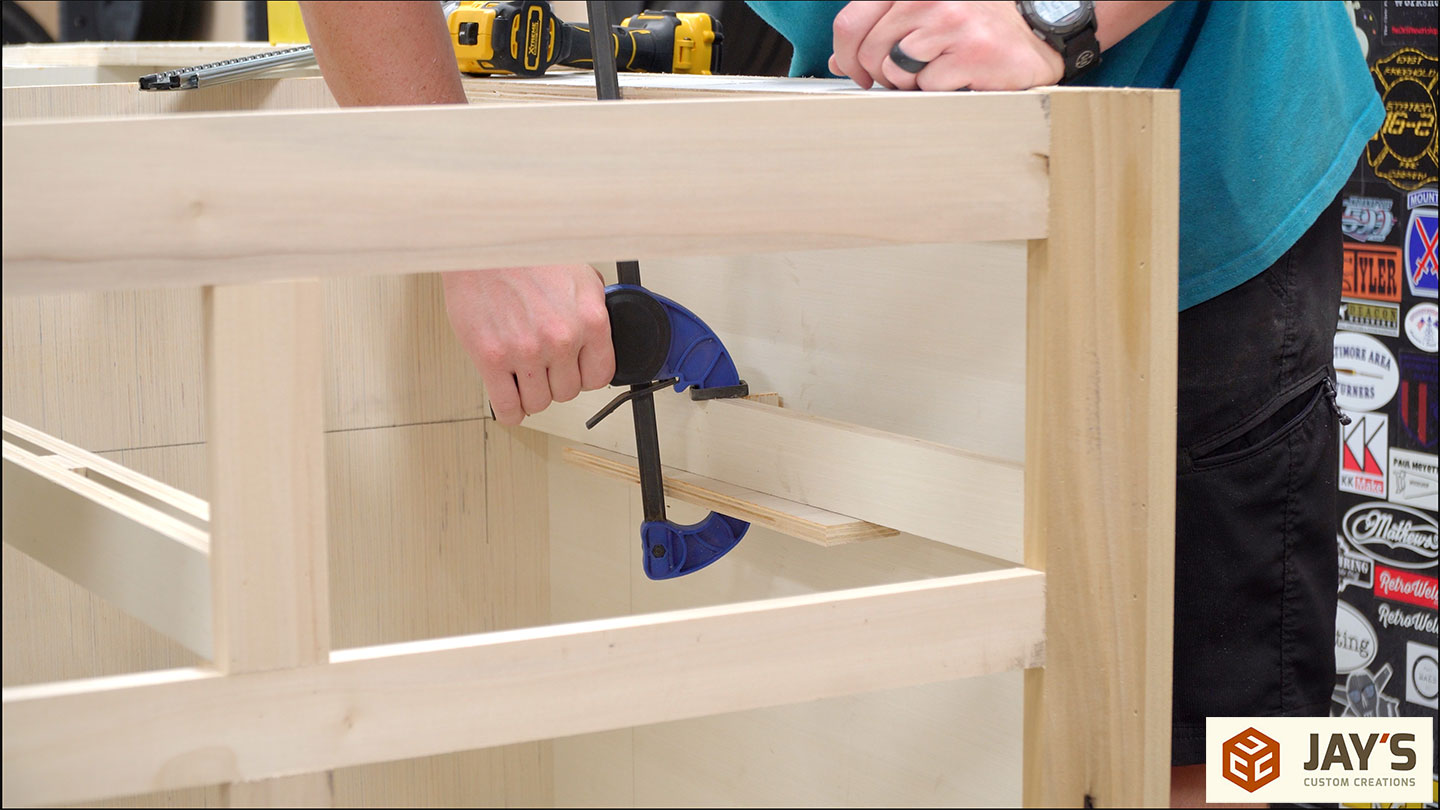
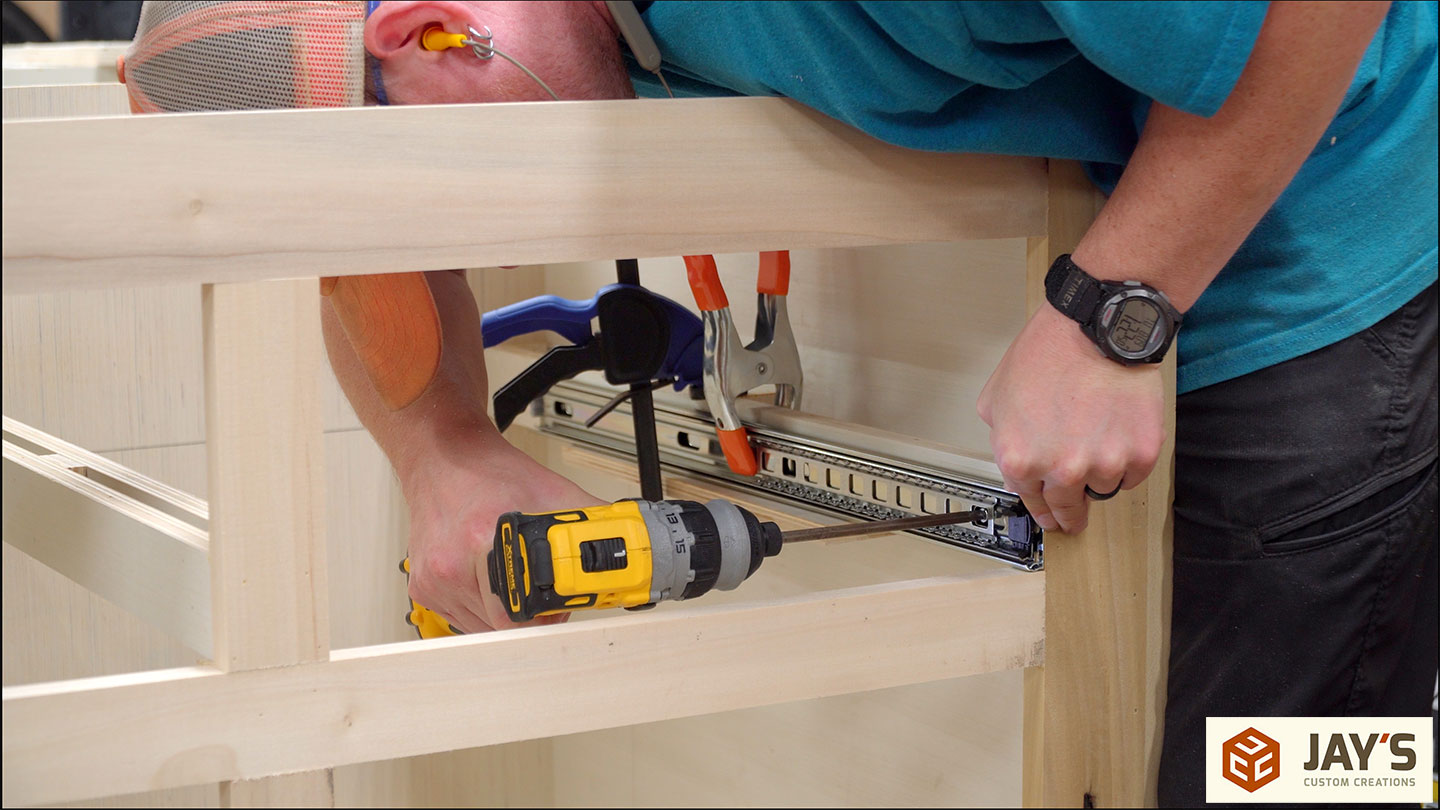
To mount the drawer slide to the cabinet, I start by clamping a block to the bottom of the drawer slide mount. Then the slide can be inserted, resting on the block and the front face frame. Once in position, a few screws will secure it. These economy full extension drawer slides are the best drawer slide value, in my opinion. Not quite as smooth and super nice as the Blum slides but also nowhere near as expensive, while still operating much better than cheap under mount slides.
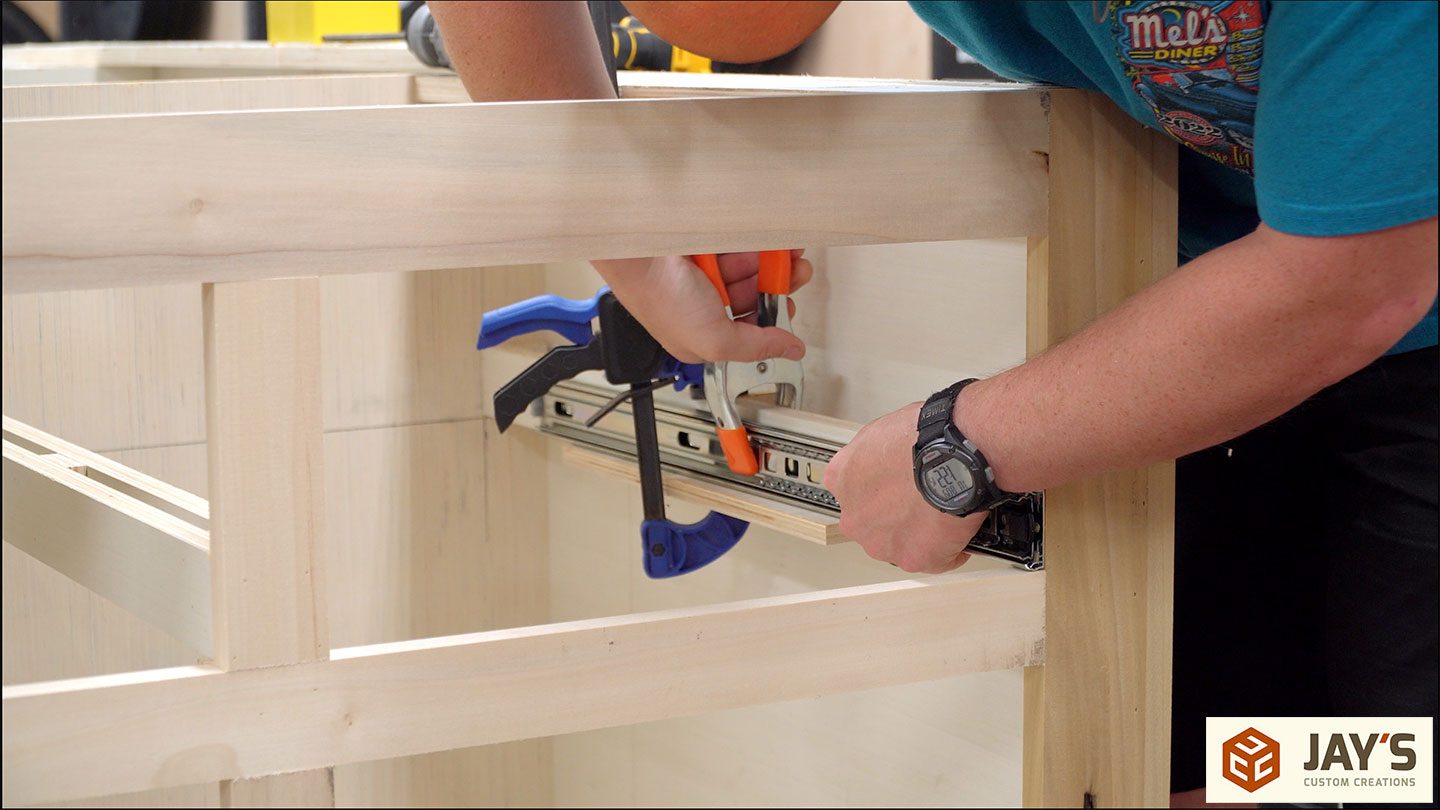
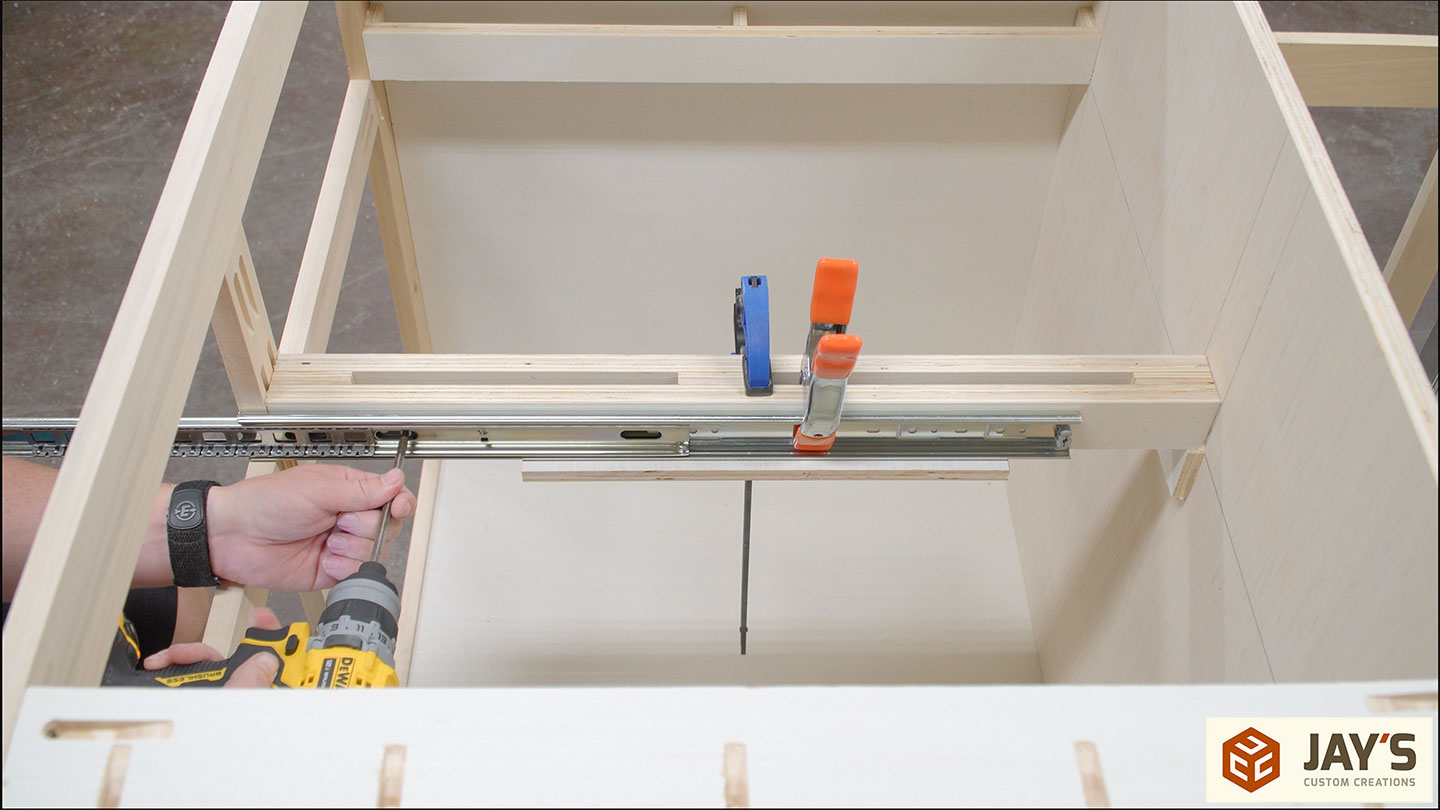
The center slides are attached the same way. A spring clamp is sometimes pretty handy to hold the slide while you secure it.
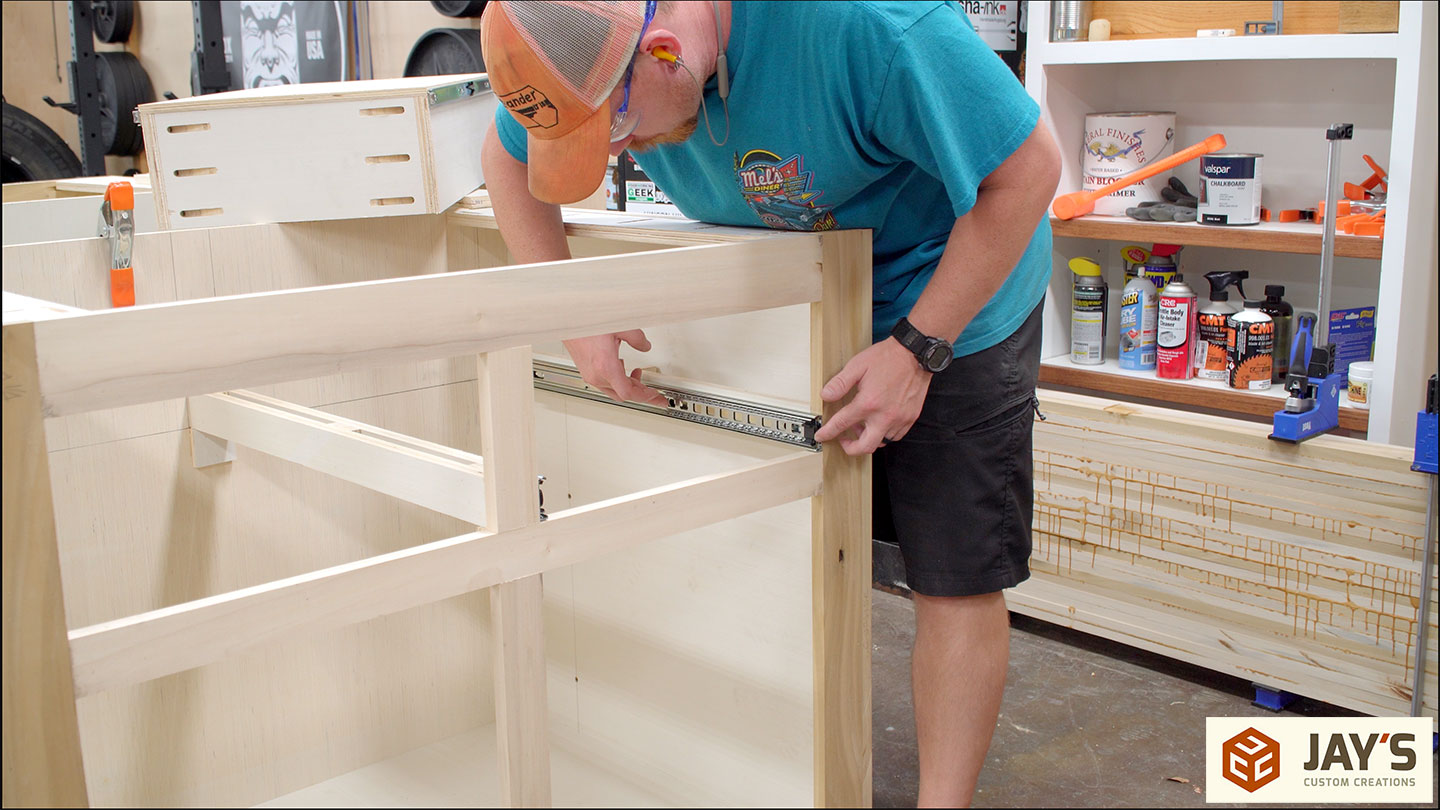
To mount the drawer, collapse the cabinet side of the slide and move the bearing tray to the front. Then line up the drawer piece into the guides on the slides and push the drawer all the way back. It will be pretty tight the first time as you are pushing the pieces together without the assistance of the ball bearings at first. Then operate the drawer a couple of times to position the bearing tray properly.
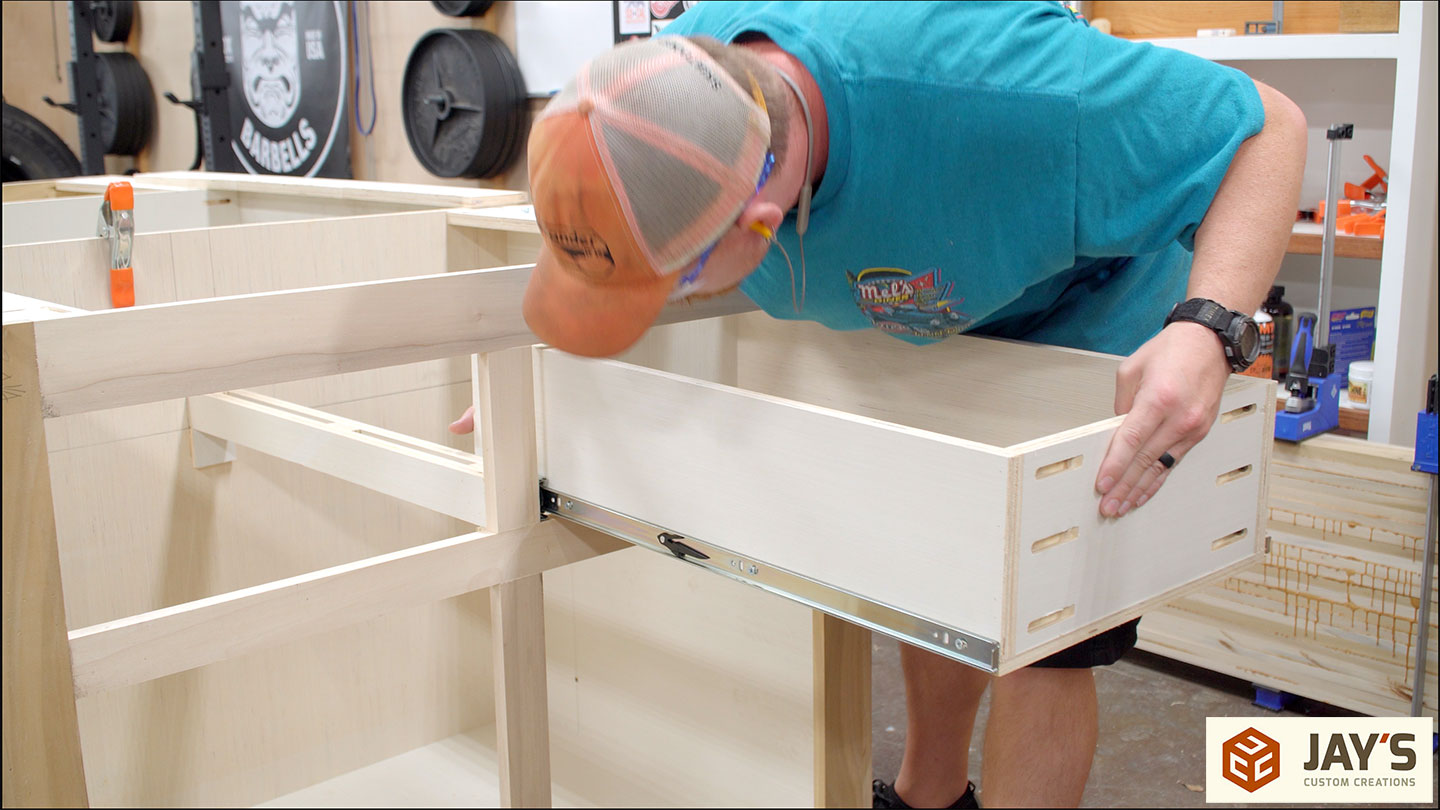
This combination of drawer construction and drawer slides is just so easy to create. Just make the drawer 1” less in width and 1/2” less in height than the drawer opening. I used 24” slides on a 27” drawer, and I’m left with 23-1/2” of interior drawer space wide open when the drawer is pulled all the way forward. I could have used 27” slides, but the extra cost isn’t justified here.
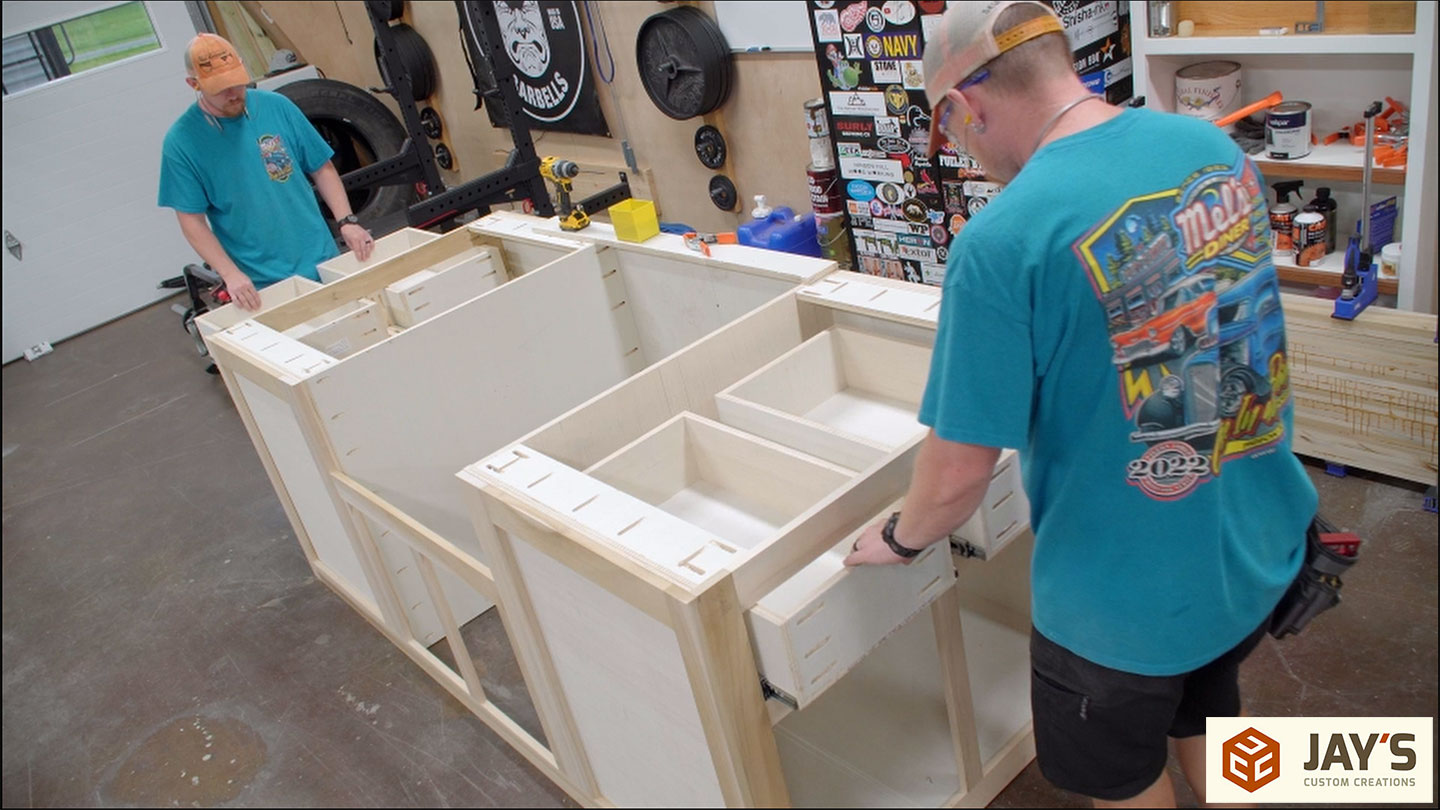
Rinse and repeat for the installation of the rest of the drawers and then take a moment to make sure everything is working as it should. These drawers are much bigger than I had imagined, but I did size them to easily hold a few rolls of wide heavy-duty aluminum foil.
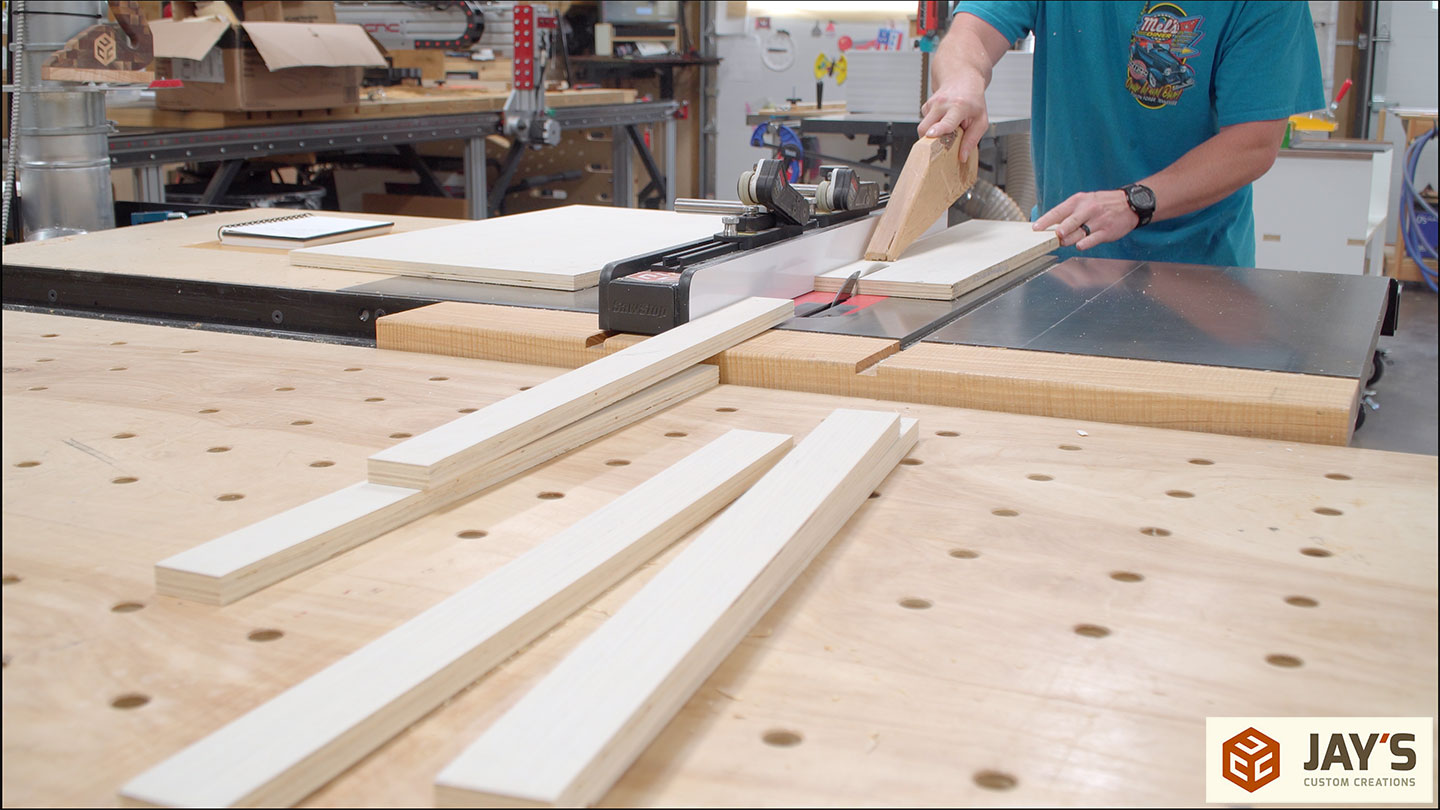
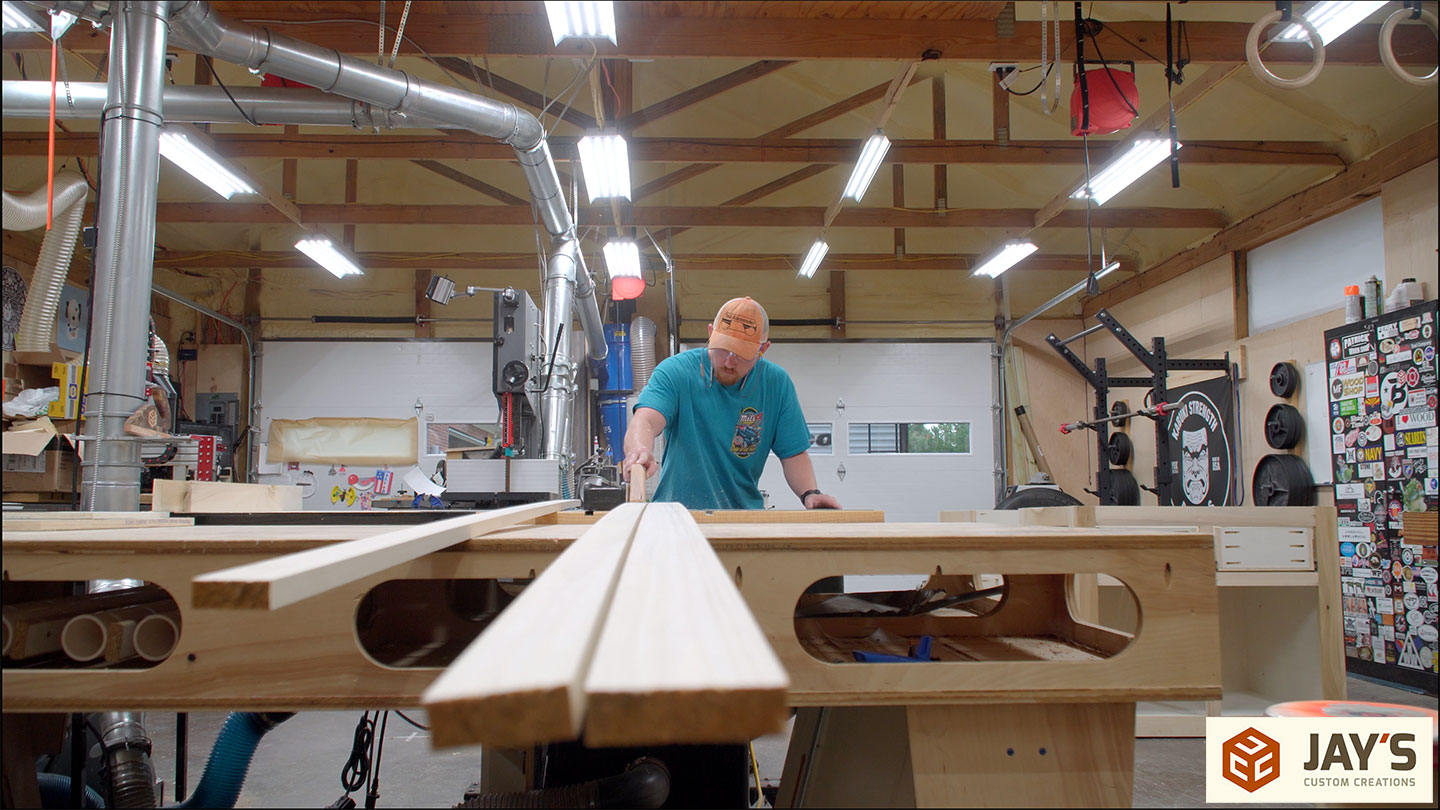
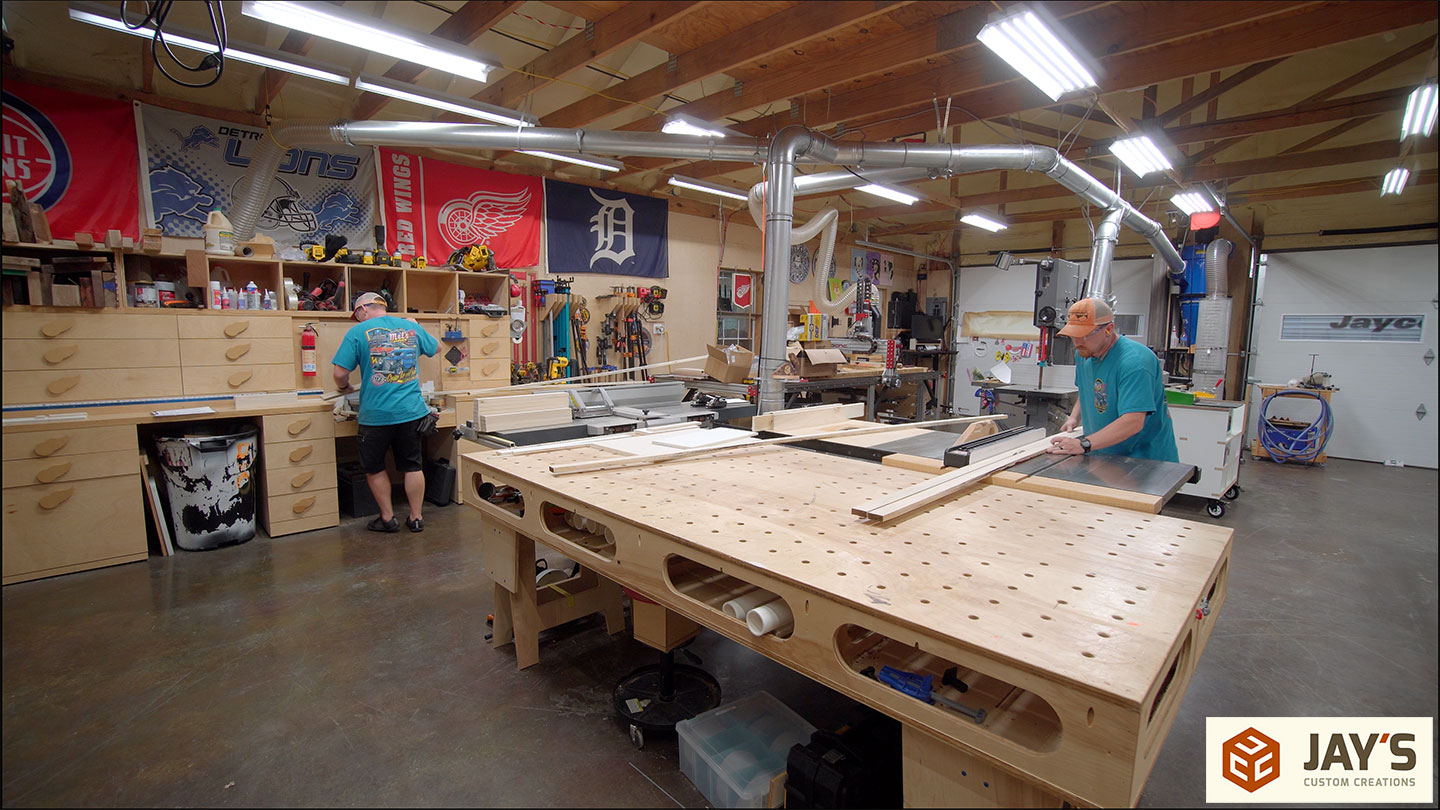
Back to some solid wood to start on the door components. First, ripping a bunch of 2” wide strips at the table saw.

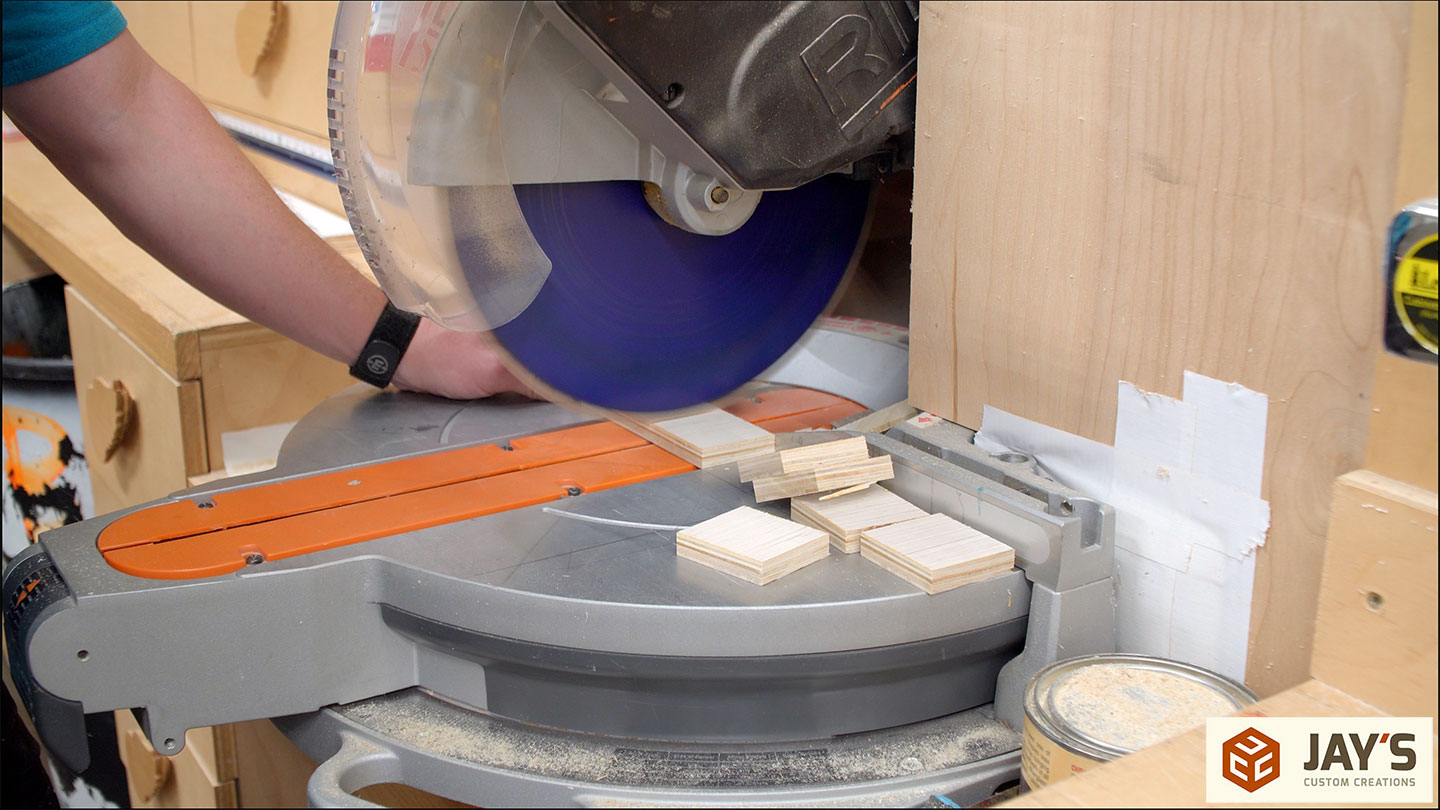
Then crosscutting at the miter saw starts by batching out the longest dimension first.

Rinse and repeat the two-station shuffle until all the door parts are accounted for. Eight pieces at 20-1/4”, four pieces at 19-1/4”, sixteen pieces at 13-3/4”, four pieces at 12”, and eight pieces at 8”.
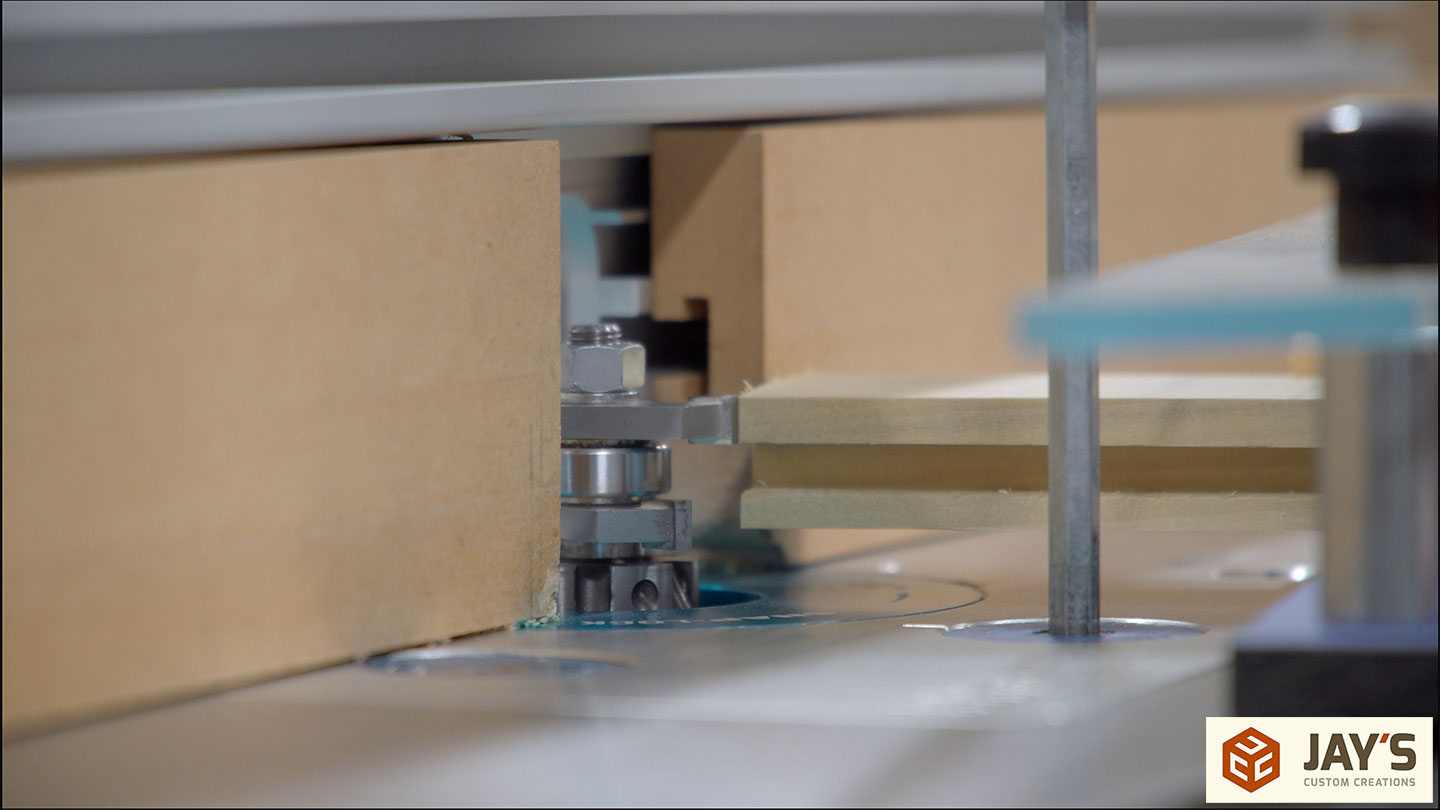
For the door joinery, I’m using a tongue and groove bit in the router table. Normally you try to get these joints perfectly centered on the thickness, but in this case, I wanted the top of the groove to be the same height as the thickness of 1/2” plywood. That way, I can cut a rabbet on the plywood and have the interior face of the plywood flush with the back of the door or drawer front.
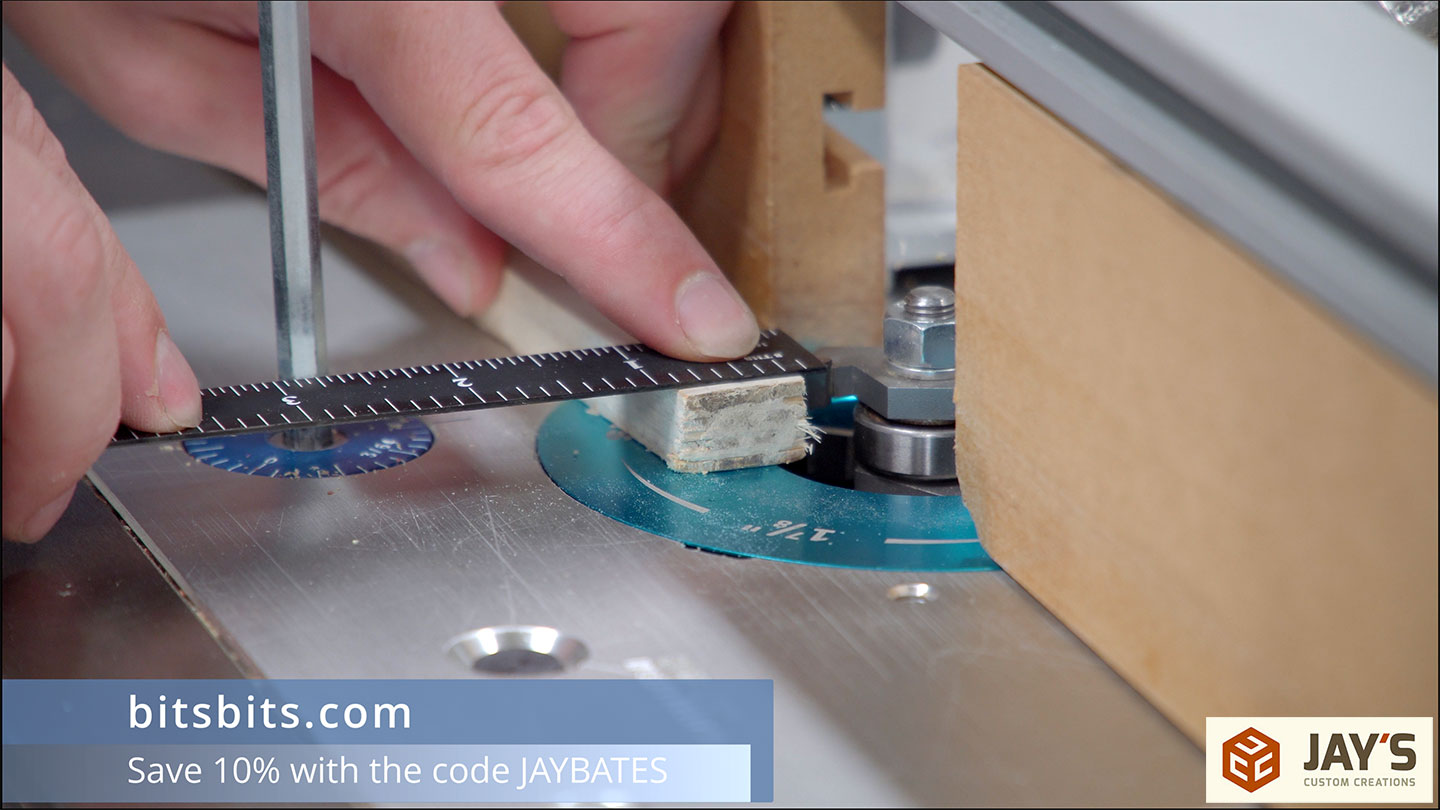
A test groove is cut, and here you can see how much it ended up being off center. The thicker part will be on the outside.

I like what I see on the test piece, so every one of the door parts gets a groove cut on one long side.
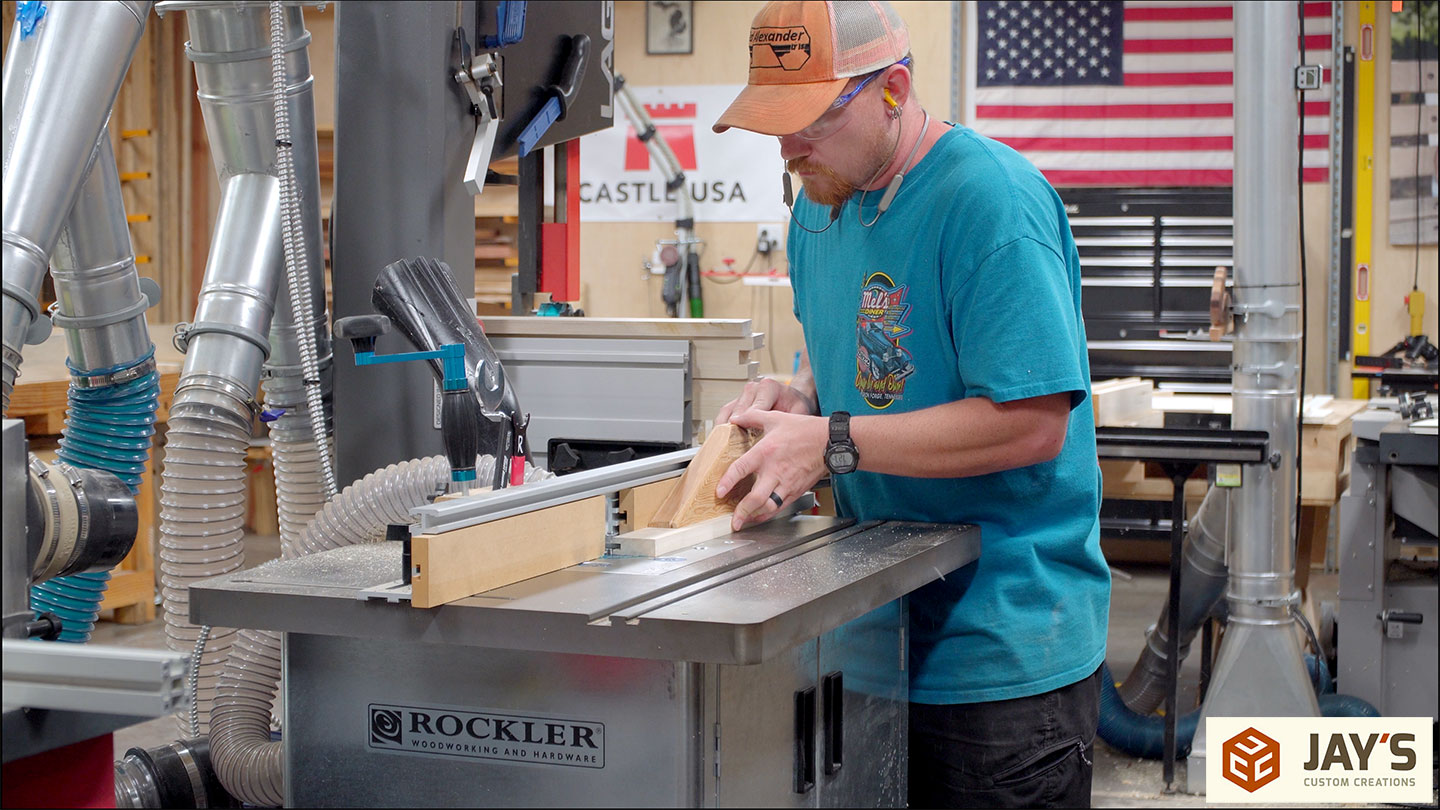
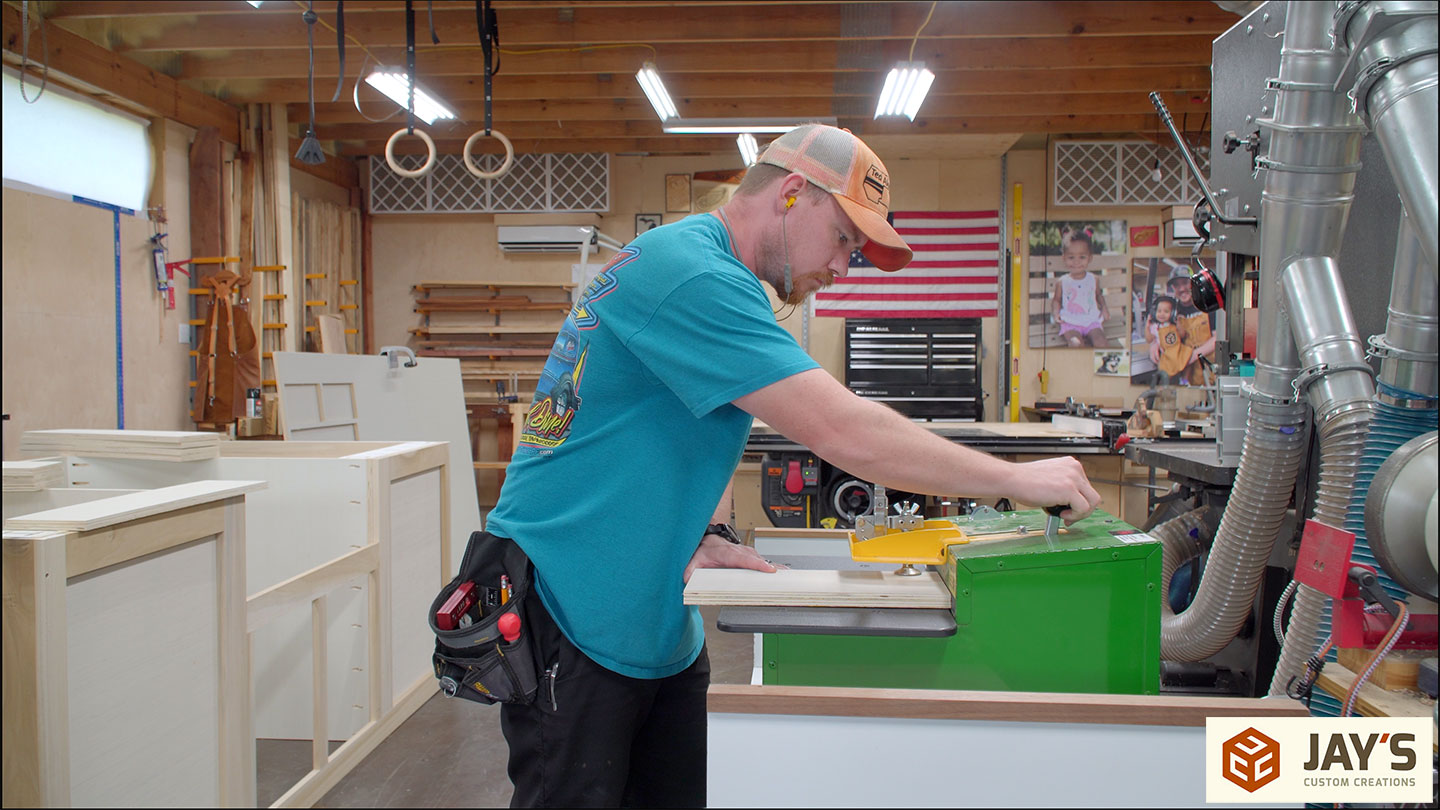
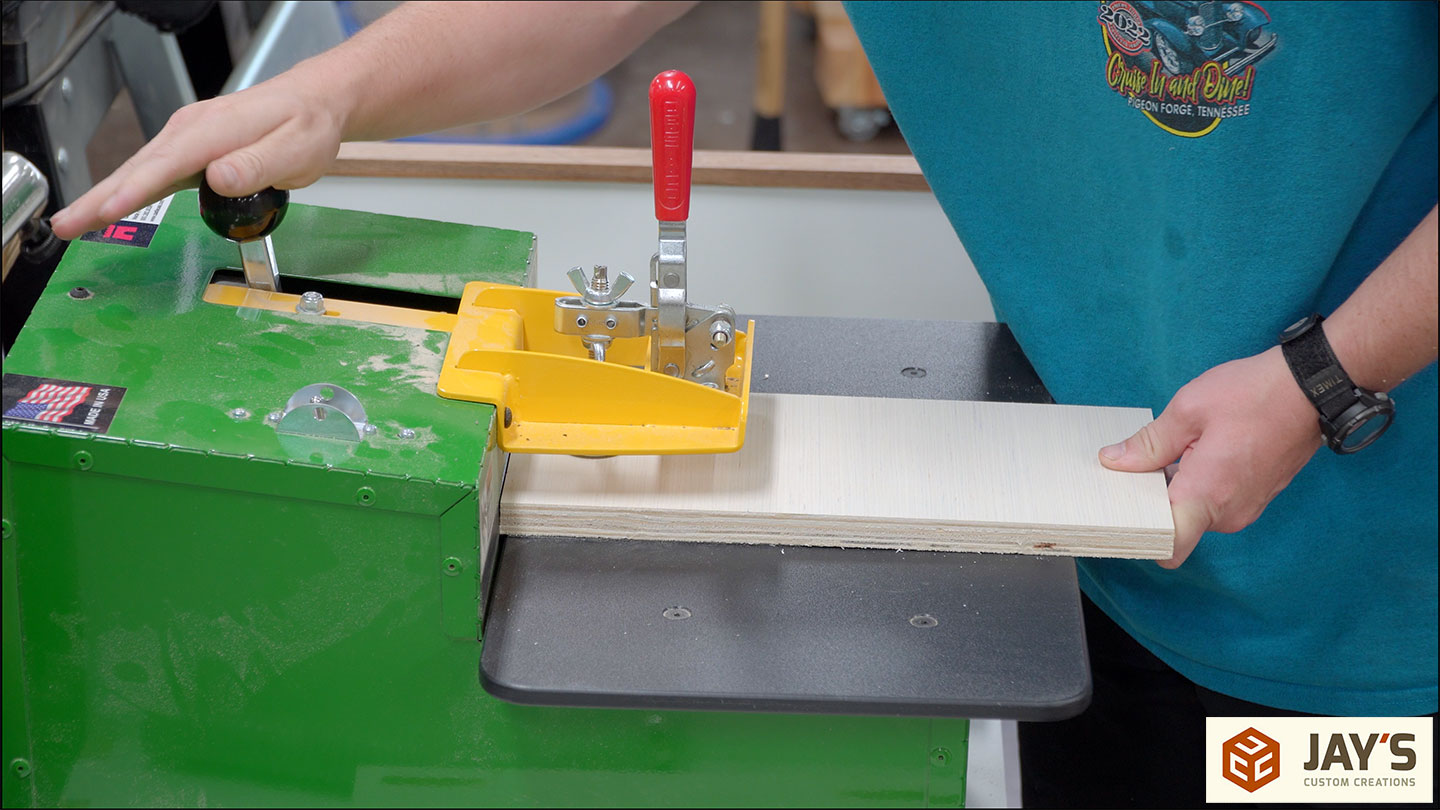
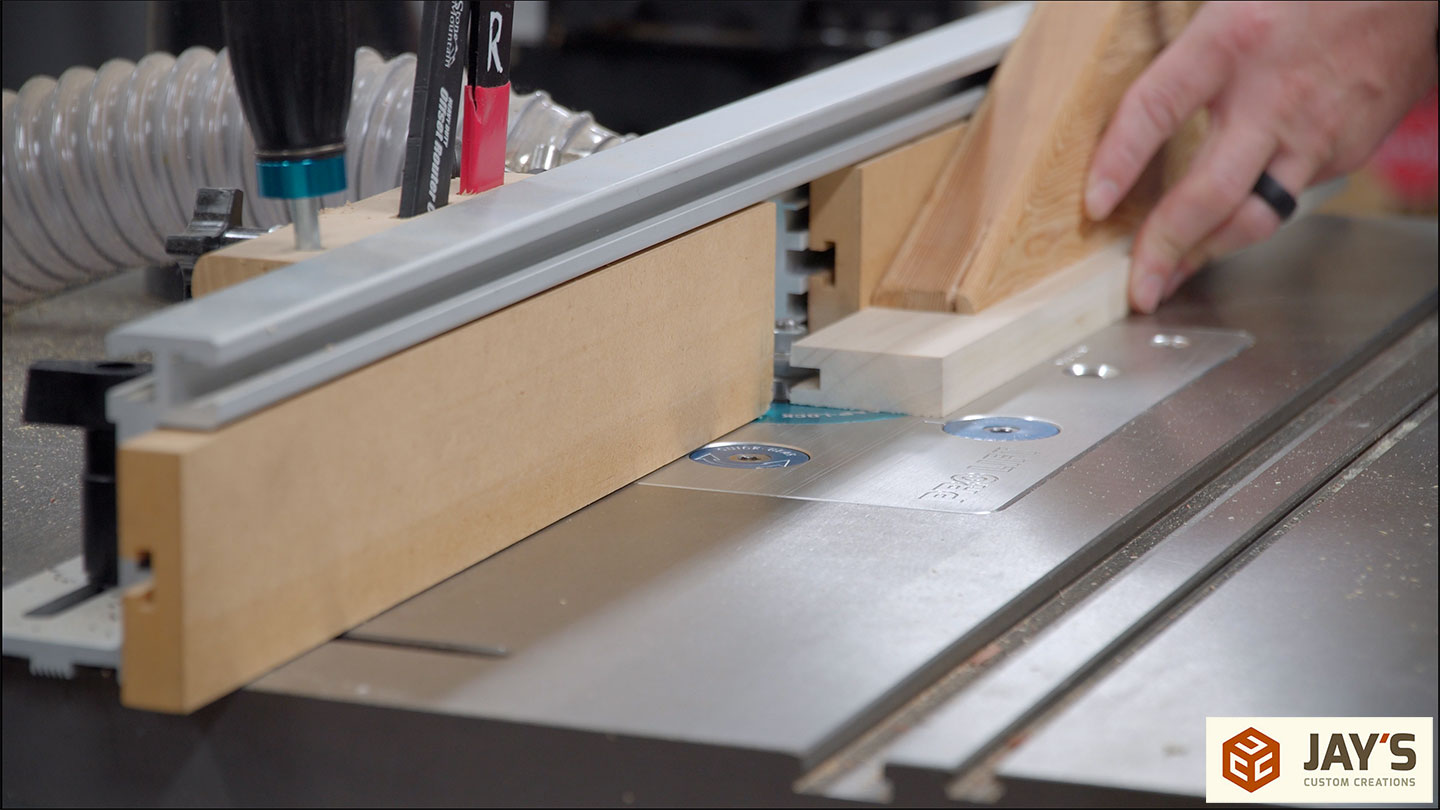
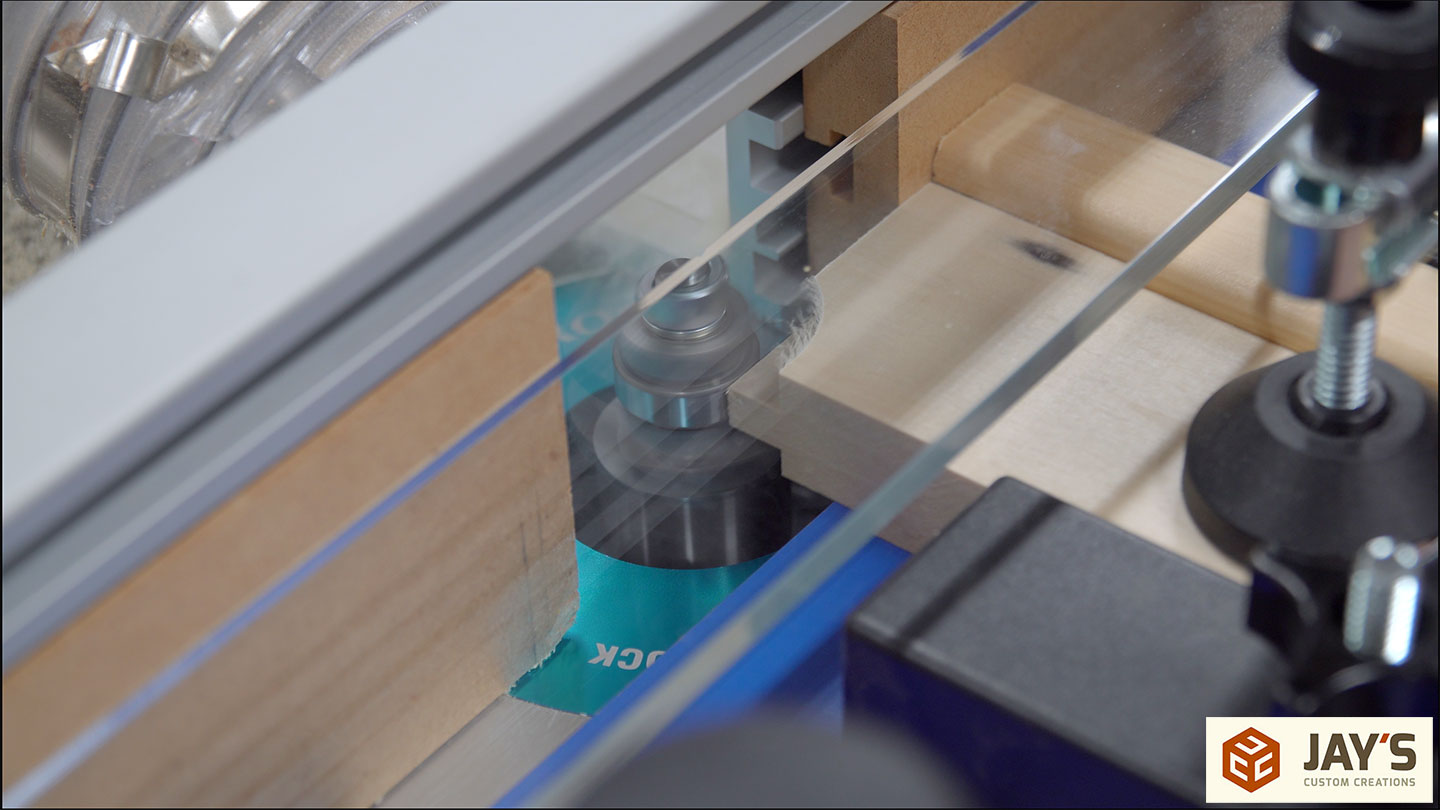
For the tongue cuts, I’m using a coping sled. The clear acrylic runs against the router fence, and the material is clamped in place perpendicular so the cuts can be made on the end. If you’re making doors at a router, a sled like this is almost necessary.

Unfortunately, the sled was in the way of the elevation adjustment, so I had to push the piece way further than it should to be able to raise the elevation and get the bottom of the top cutter lined up with the top of the groove.
I didn’t go all the way through on the first cut with the scrap piece because I didn’t want to cut the backer board just yet. The backer board acts as a zero clearance, and I didn’t want to cut it until I knew the setup was dialed in.

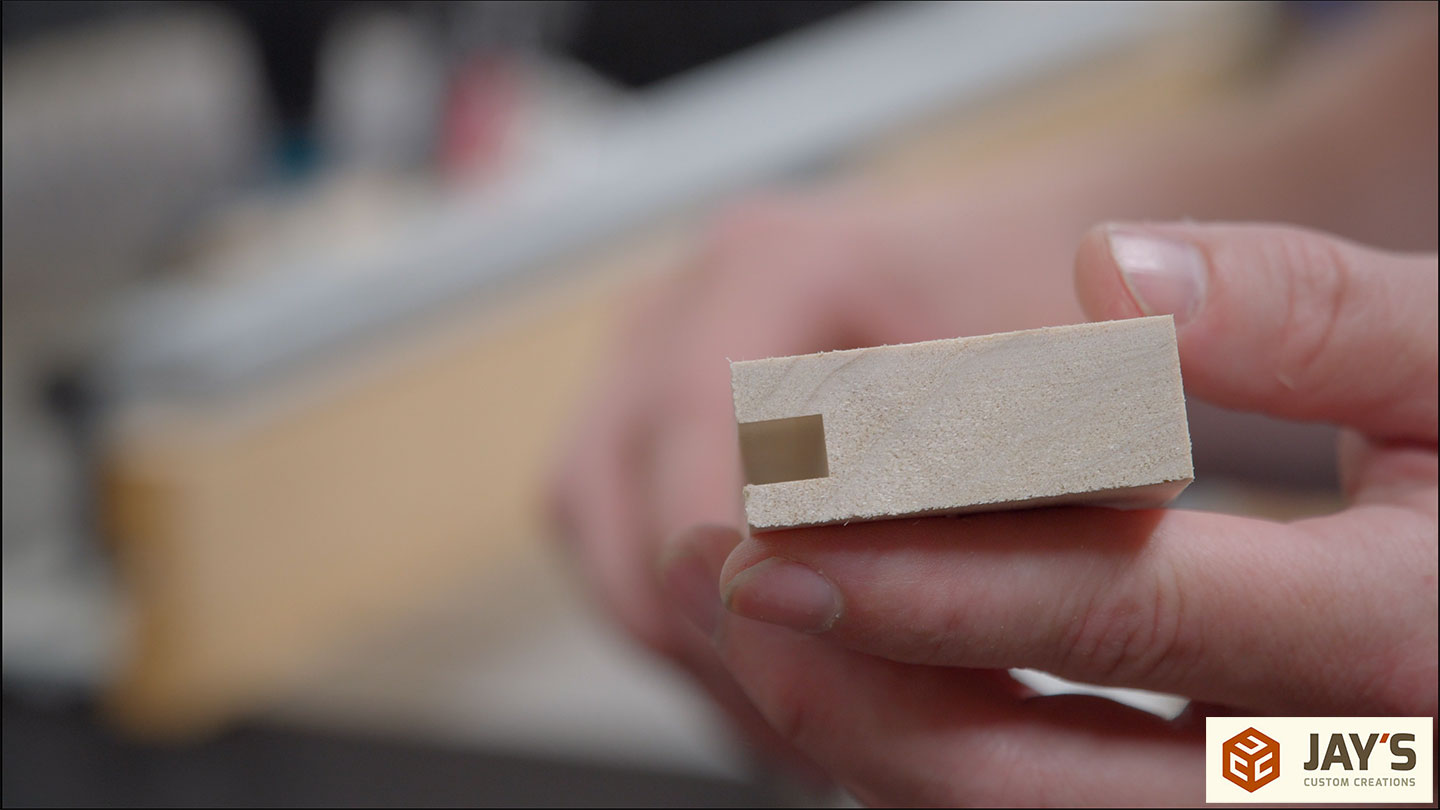
The first test fit was perfect, which is pretty rare for me. But I’ll take it.

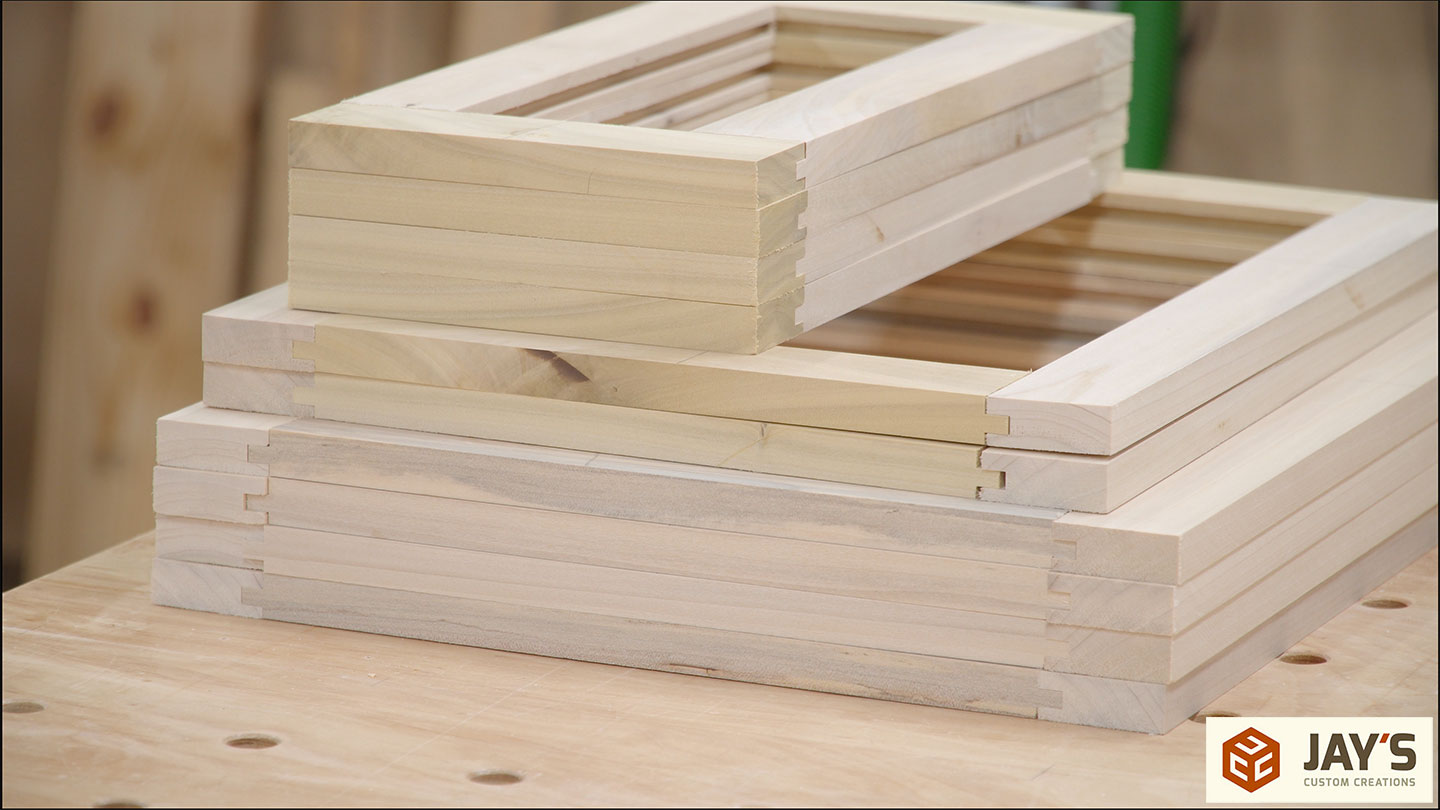
Now the rest of the rails can be cut. Each piece gets each end cut, making sure to have the outside face facing up with all cuts. I made a witness mark on the top of all the boards before beginning so I would be less likely to mix up the top and bottom.


One final step for the day was to take inventory of all the parts and verify I didn’t screw anything up by making a dry assembly of all the parts. And once confirmed, work day #3 was over. As I said in the last video, this isn’t a priority build, so I’m just spending a day here and there working on it.
That’s it for this one. I’ll talk to you in the next video.


I’m switching over to your method now.. rabbets be damned! Thanks Jay. P.S. Just a work flow question in regards to your posts like the one above. Have you dialed in a quick method for your screen grabs? I’m using the old-school Print Screen, paste into “Paint”, crop then save as a JPG, but thats not very efficient. Cheers,
BK