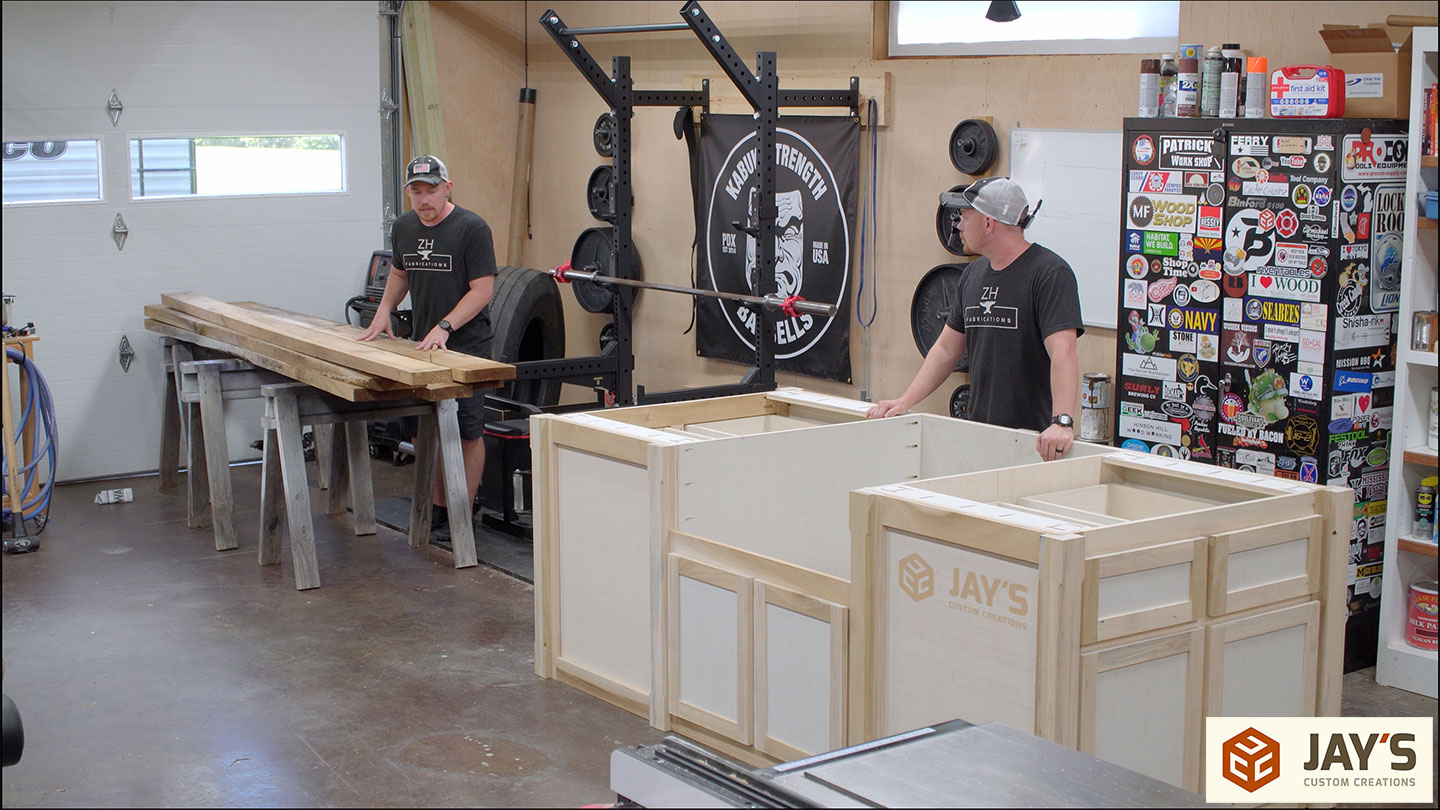
When I initially designed our outdoor kitchen and patio area, I included a farm table that would match the sink island. In this video, I’ll cover the base construction and show a joinery method that doesn’t require clamps; sliding dovetails. The sink island and farm table will have a matching base and a matching top. The entire base for this table will be made from 8/4 poplar.
The shortest pieces are the legs, and to make them, I’m starting with the boards that have the most bow and twist. Remember, the more warped the board, the more material will be removed when flattening. This is more exaggerated the longer the board is. You can cheat this a little bit by making the boards shorter before milling them.
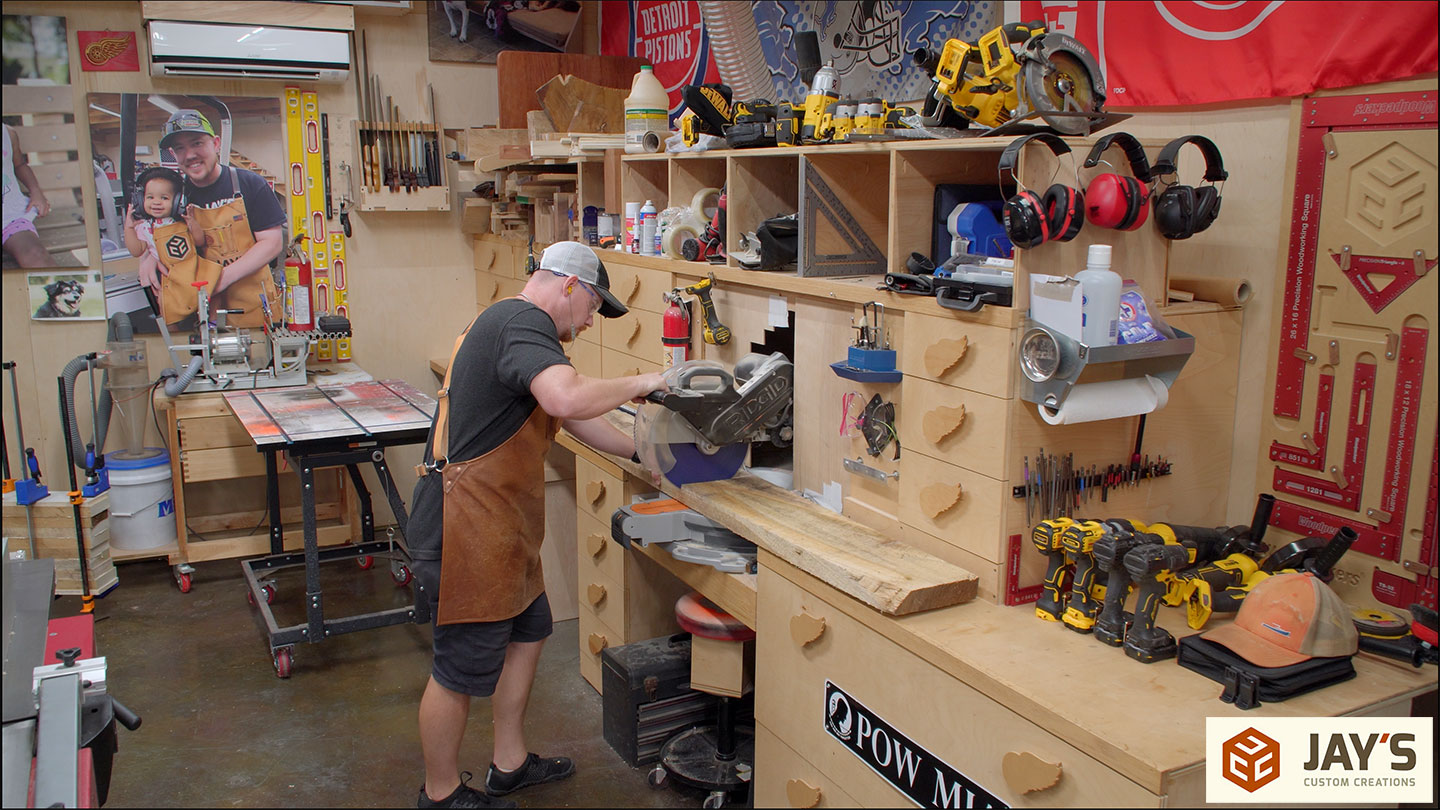
With that in mind, I will chop up the most warped boards for the legs. First up, crosscutting to slightly oversized leg blanks.

Jointing two faces flat and square at the jointer.
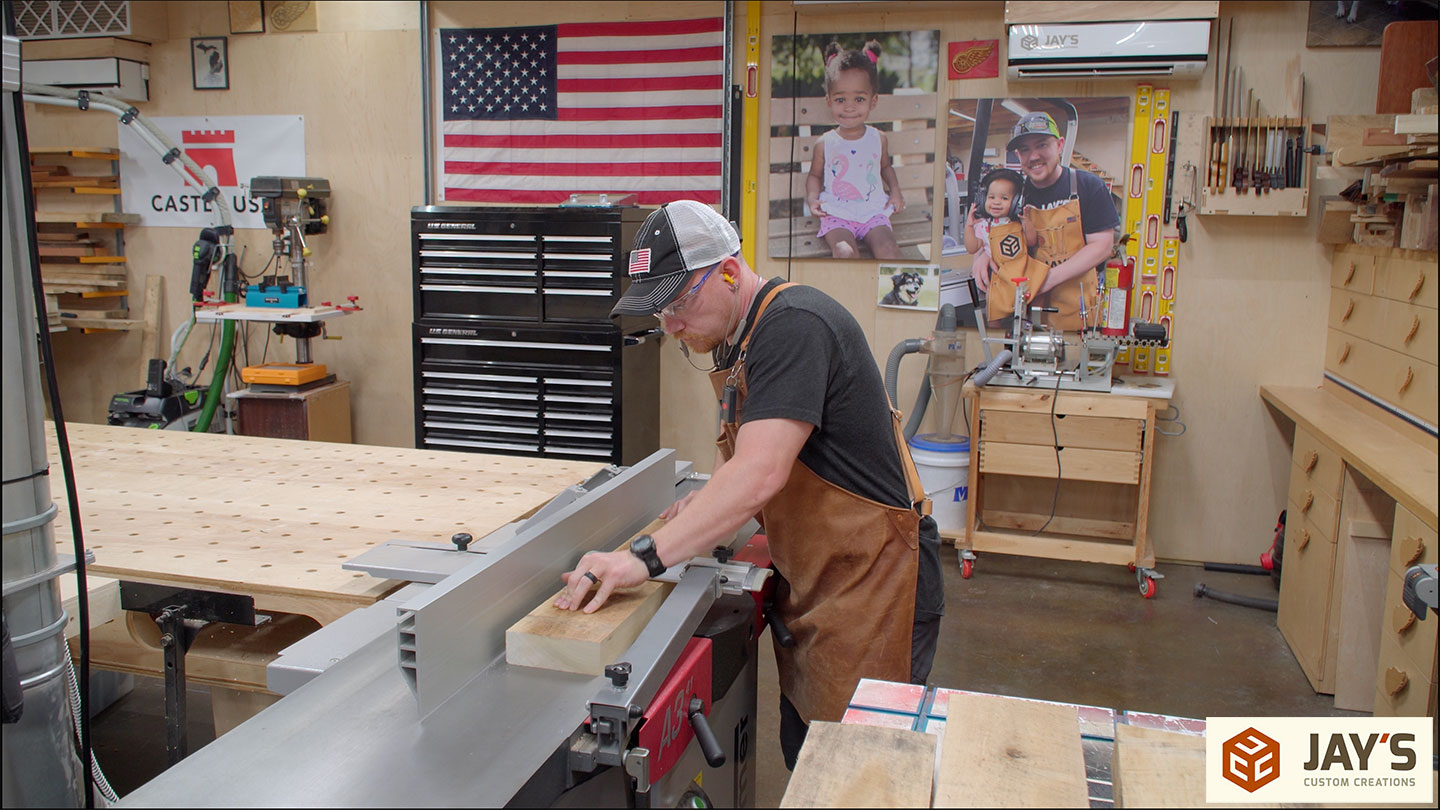
And planing to maximum thickness at the planer. The thicker these end up, the better.

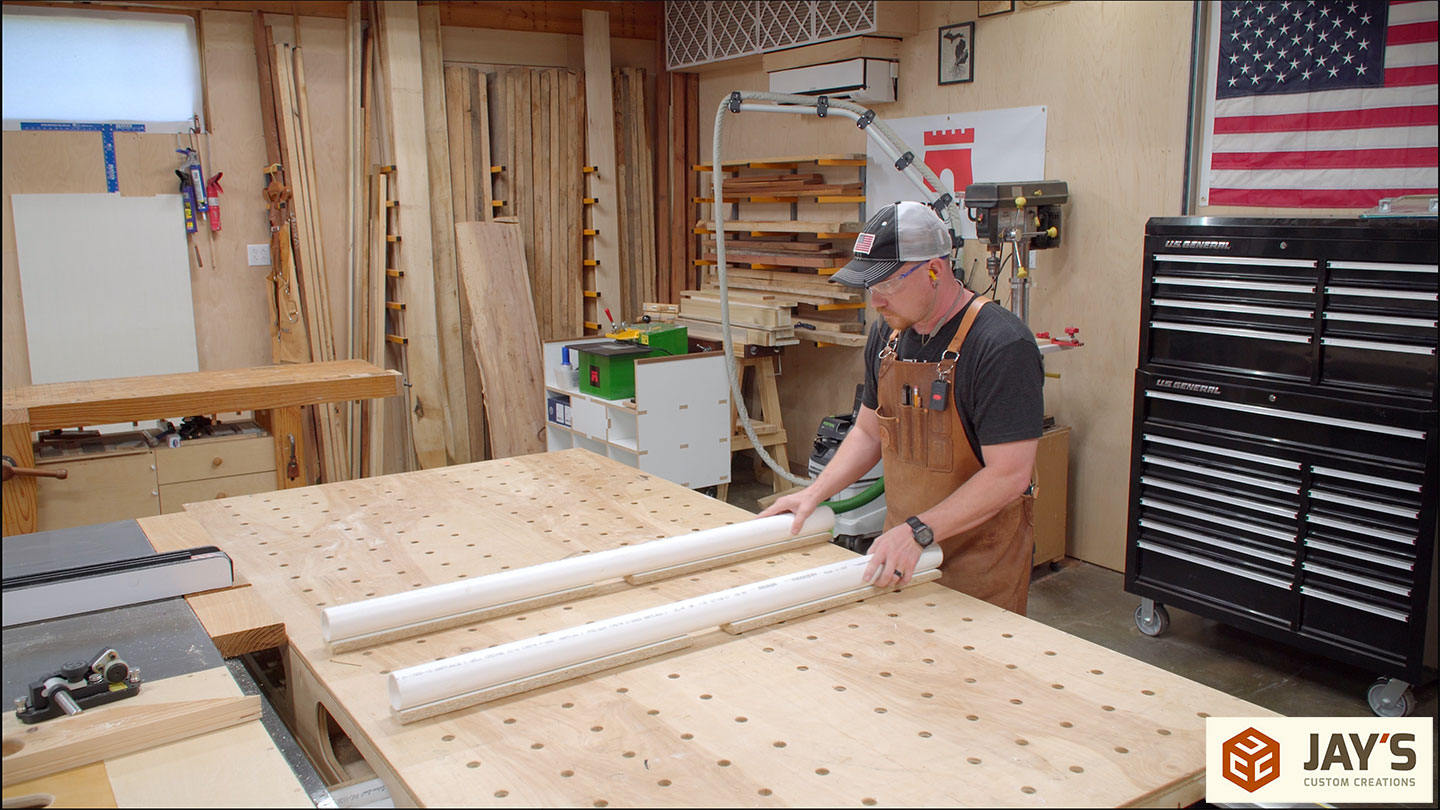
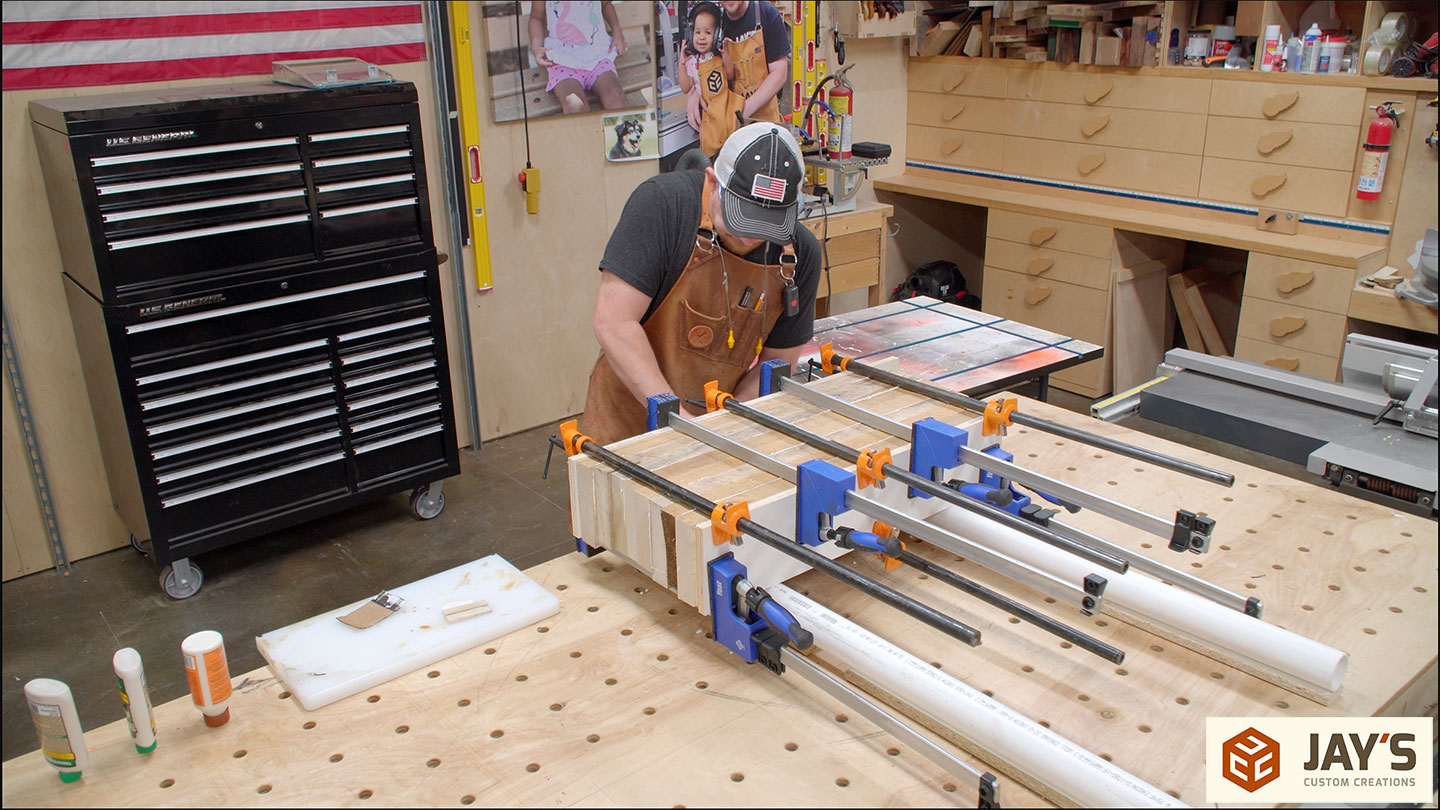
Here’s a great tip I can pass along to you. I found this idea while watching MTM Wood on YouTube and then made my own video on the topic. Take two 3” PVC pipes and secure some flat stock to the bottom to prevent them from rolling around. Now you have an inexpensive and GREAT glue-up platform. This allows you to get clamps on top and bottom without flipping. However, I still flip the glue up if I can.
Each leg blank will be a lamination of two boards. So eight boards total in this four-leg glue up.
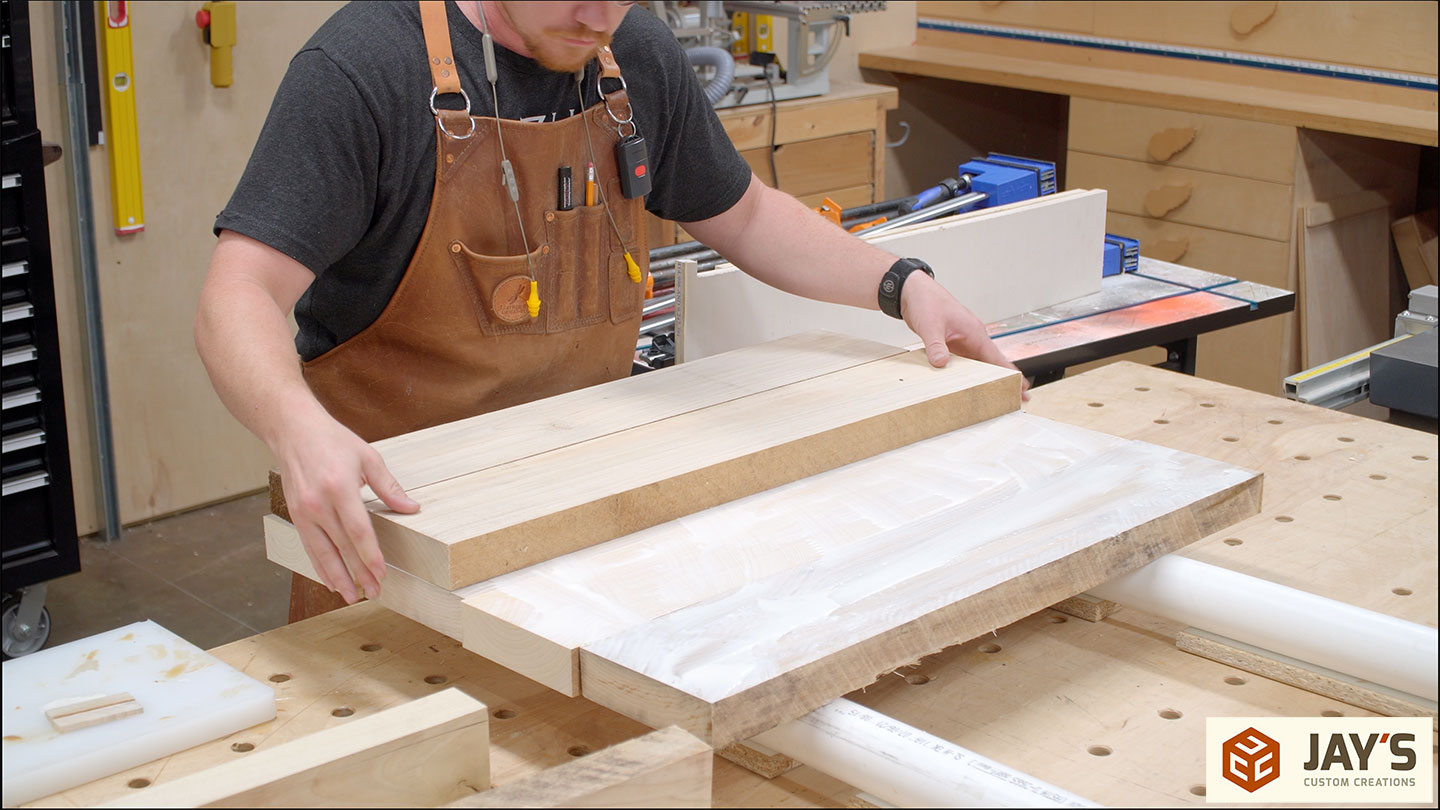
Because the wide faces of the boards are already flat and parallel, I added a piece of plywood to each side of the glue up. These plywood pieces will get dented from the clamps rather than my already surfaced leg parts.
While the leg blanks sit in clamps, I can start the milling process once again for the rail pieces. The first step is almost always crosscutting at my miter saw station. I am approaching the end of year seven with this miter saw station and couldn’t imagine my shop without it. It’s primarily a storage wall that happens to have a miter saw in it.
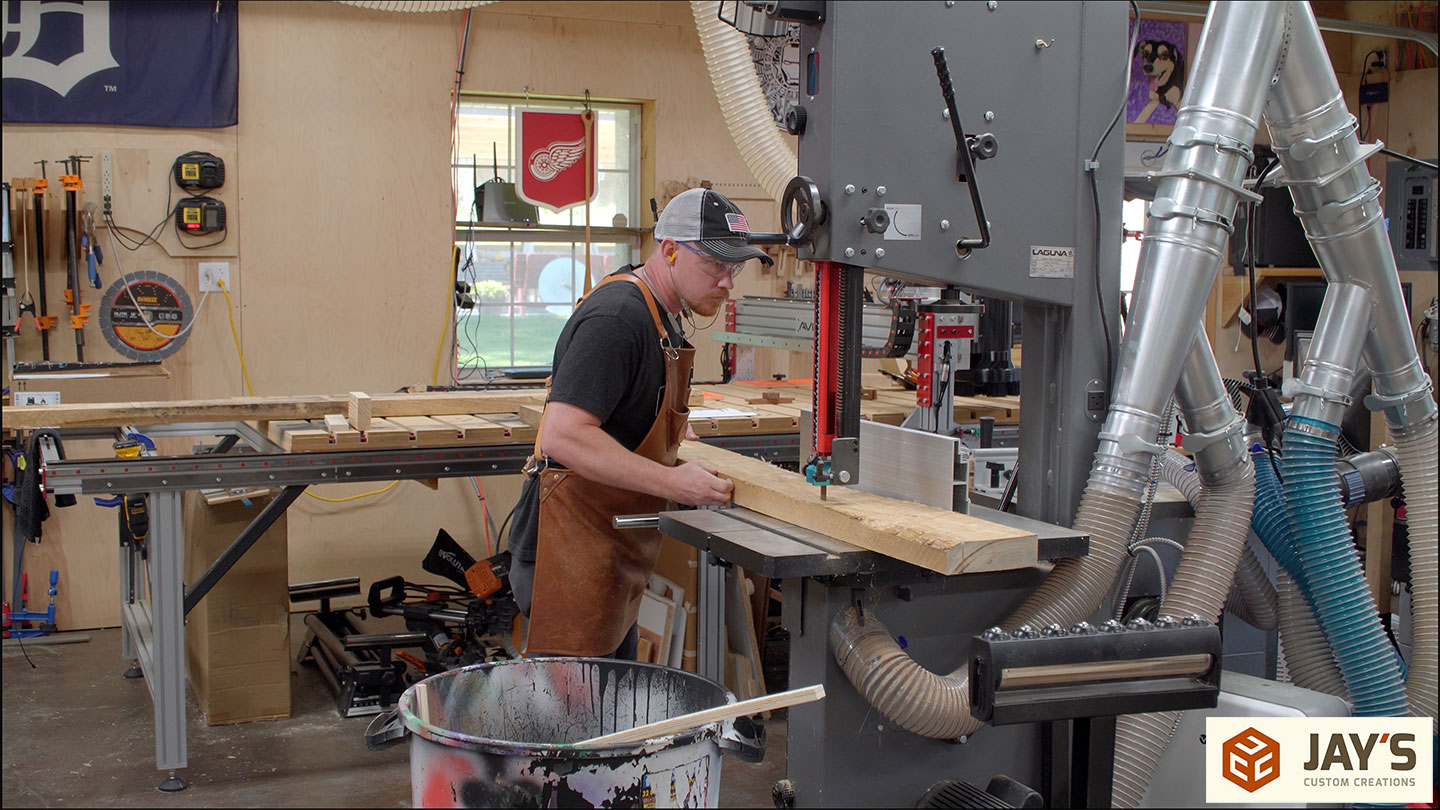
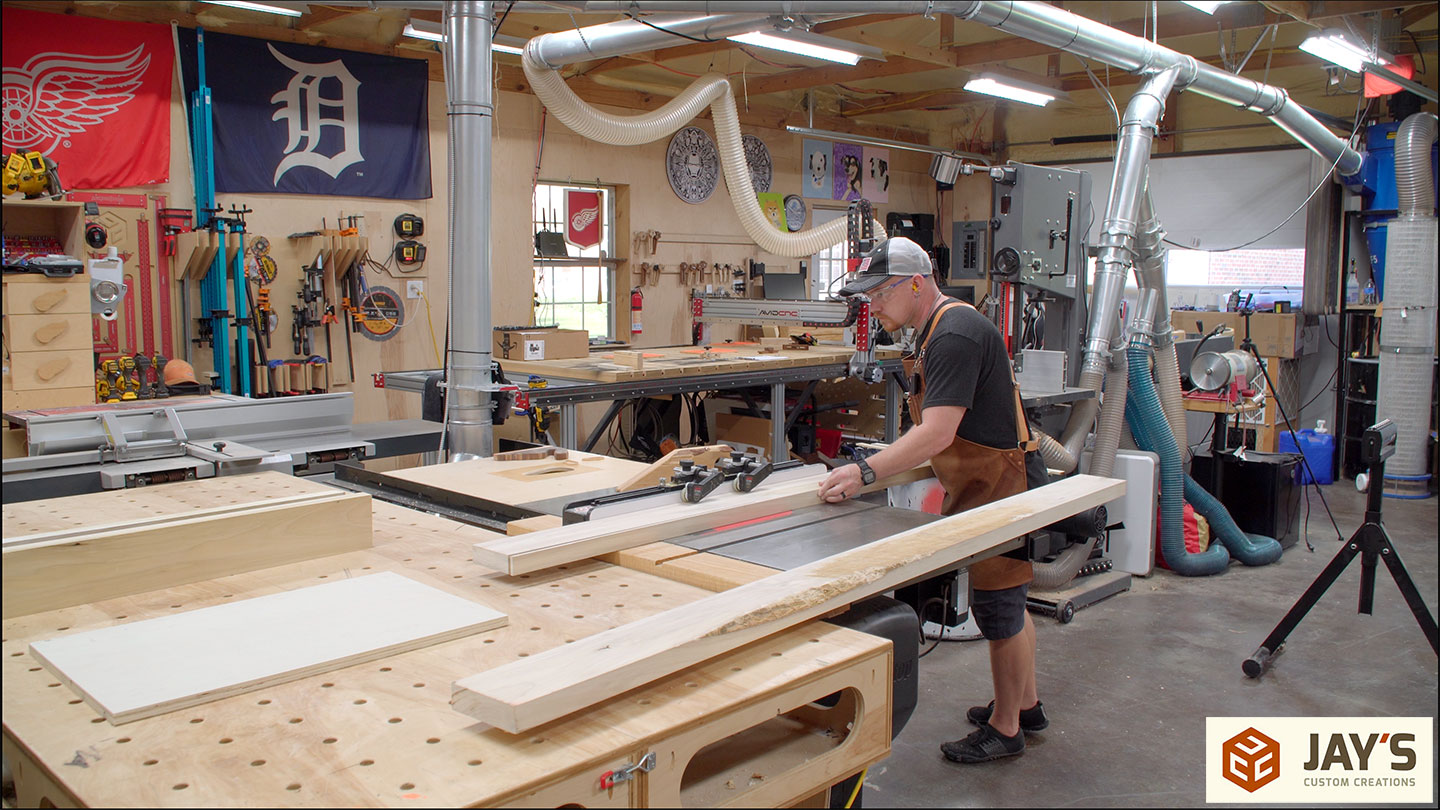
I prefer to use the bandsaw when possible for ripping rough lumber. If the board has any cup or twist, I don’t recommend using the table saw as the material can shift easily when it’s cut.
Jointing the long stock at the jointer isn’t as difficult as it may seem. Some people have asked about the “short” beds on this jointer, and I can’t complain, to be honest. These tables do the job just fine for longer stock, and I can always use a roller stand if needed. This board is 85” long.
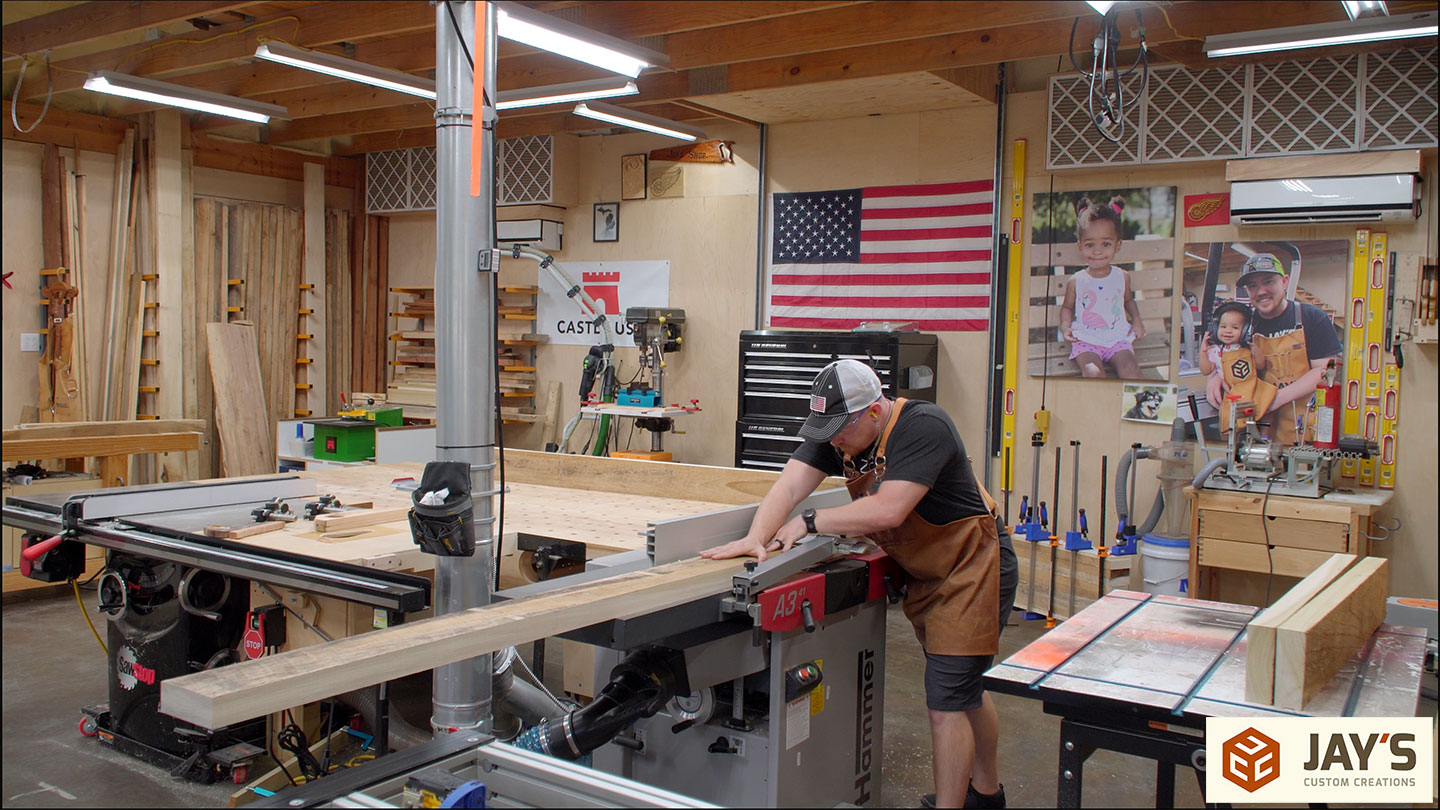
After the jointer and planer, I can rip to the final length at the table saw. These JessEm roller guides have been super helpful at keeping the stock down and against the fence. Not a requirement by any means, but indeed helpful.

Again, roller stands are your friend with longer stock. You can see one behind me here. It was set up for use at the bandsaw.
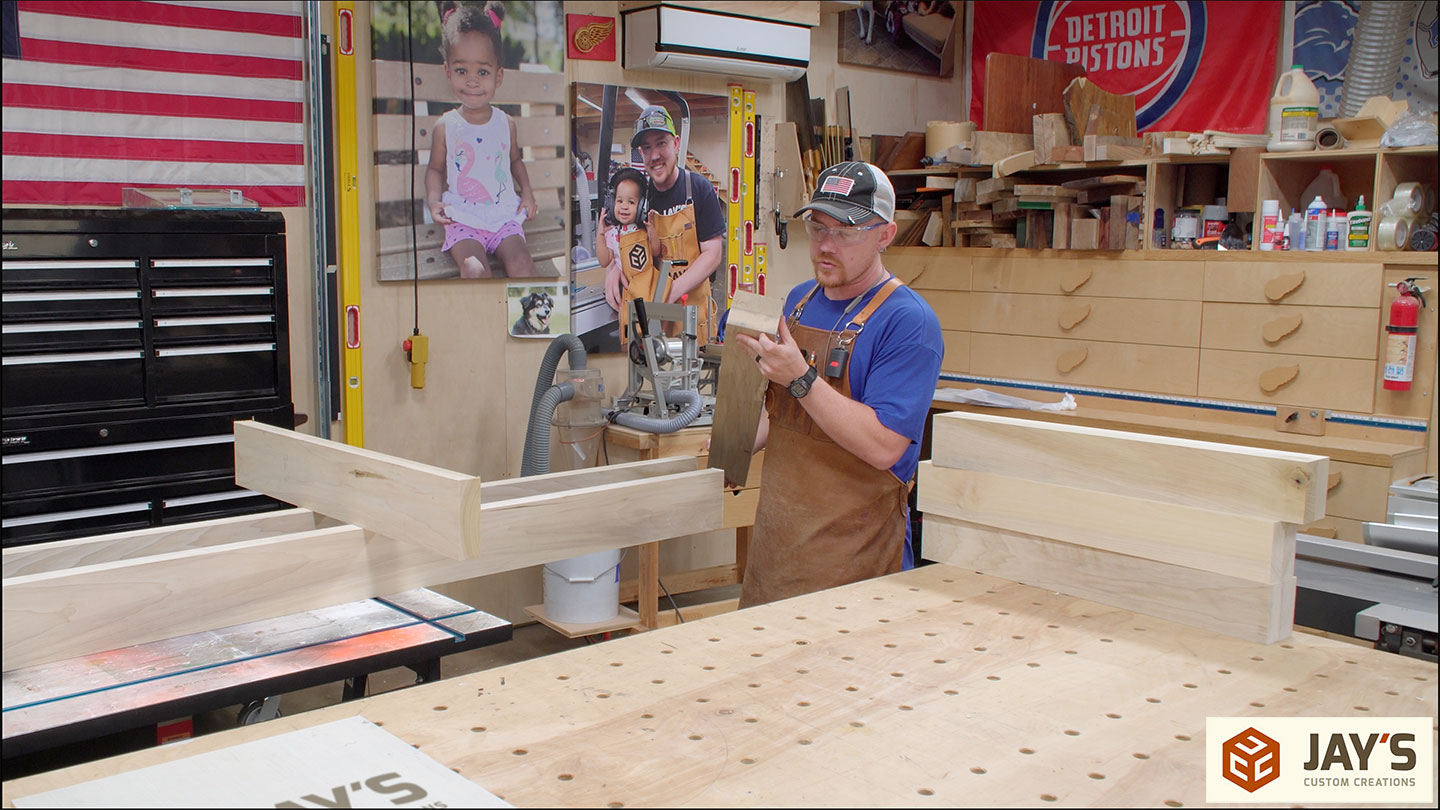
The next morning I was a bit productive off-camera. I took the leg blanks out of the clamps and got them square on four sides to their final width and thickness. My original design called for a 3-1/4” square leg, but I ended up going with a 3-1/4” x 4” rectangle. I just couldn’t bring myself to cut off 3/4” for no reason other than keeping the legs square. Looking back, I’m glad I made this decision because I think the rectangular legs complement the rectangular table.
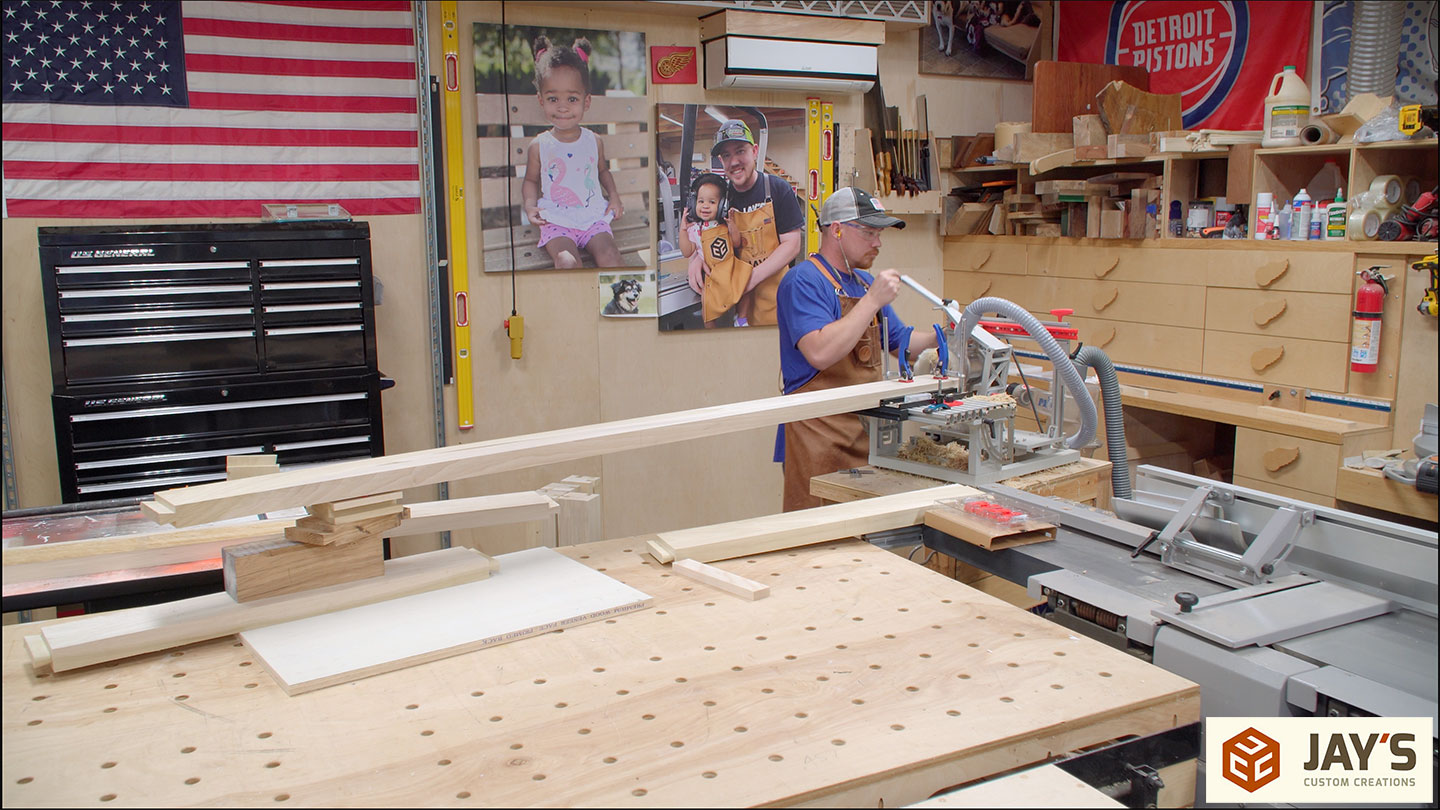
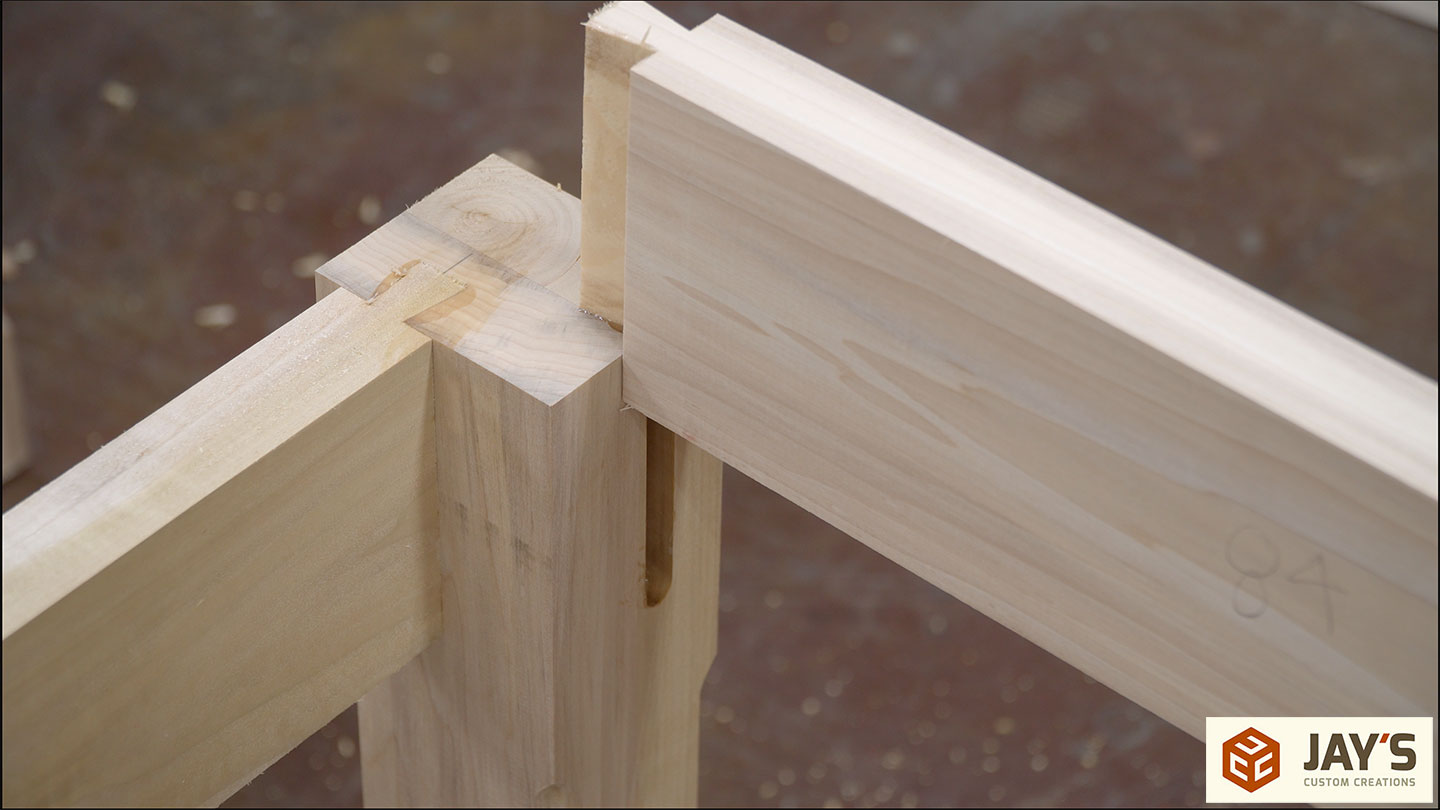
For the joinery, I’m using the Pantorouter. It’s an incredibly versatile joinery machine. Basically, it’s a pantograph with a router attached. It traces templates at a 2:1 reduction from the template to the wood. So if you have a 10” template, you will get a 5” joint. Mortise and tenon, sliding dovetails, rabbets, dados, box joints, dowel joints, regular dovetails, you name it, and this thing can do it (for the most part).
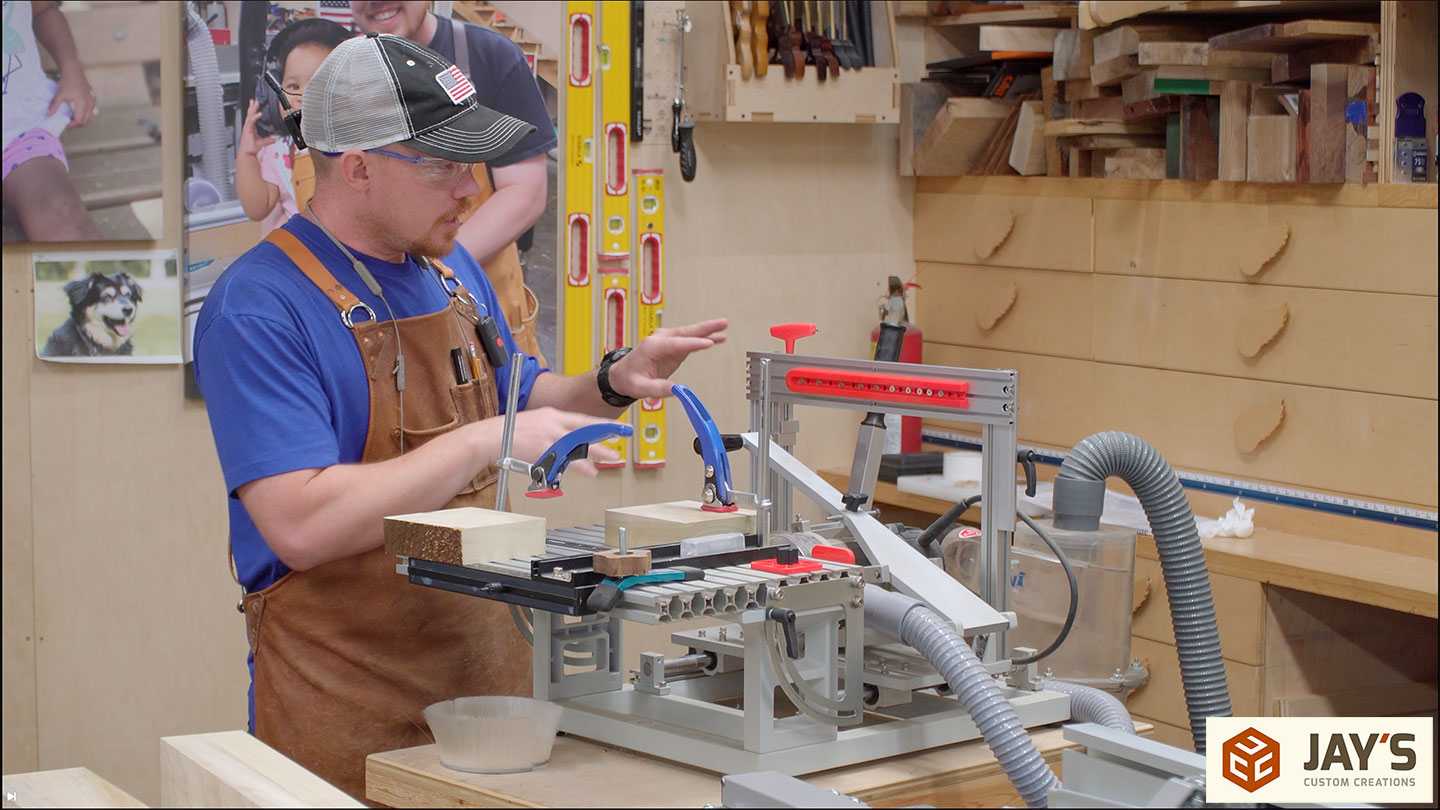
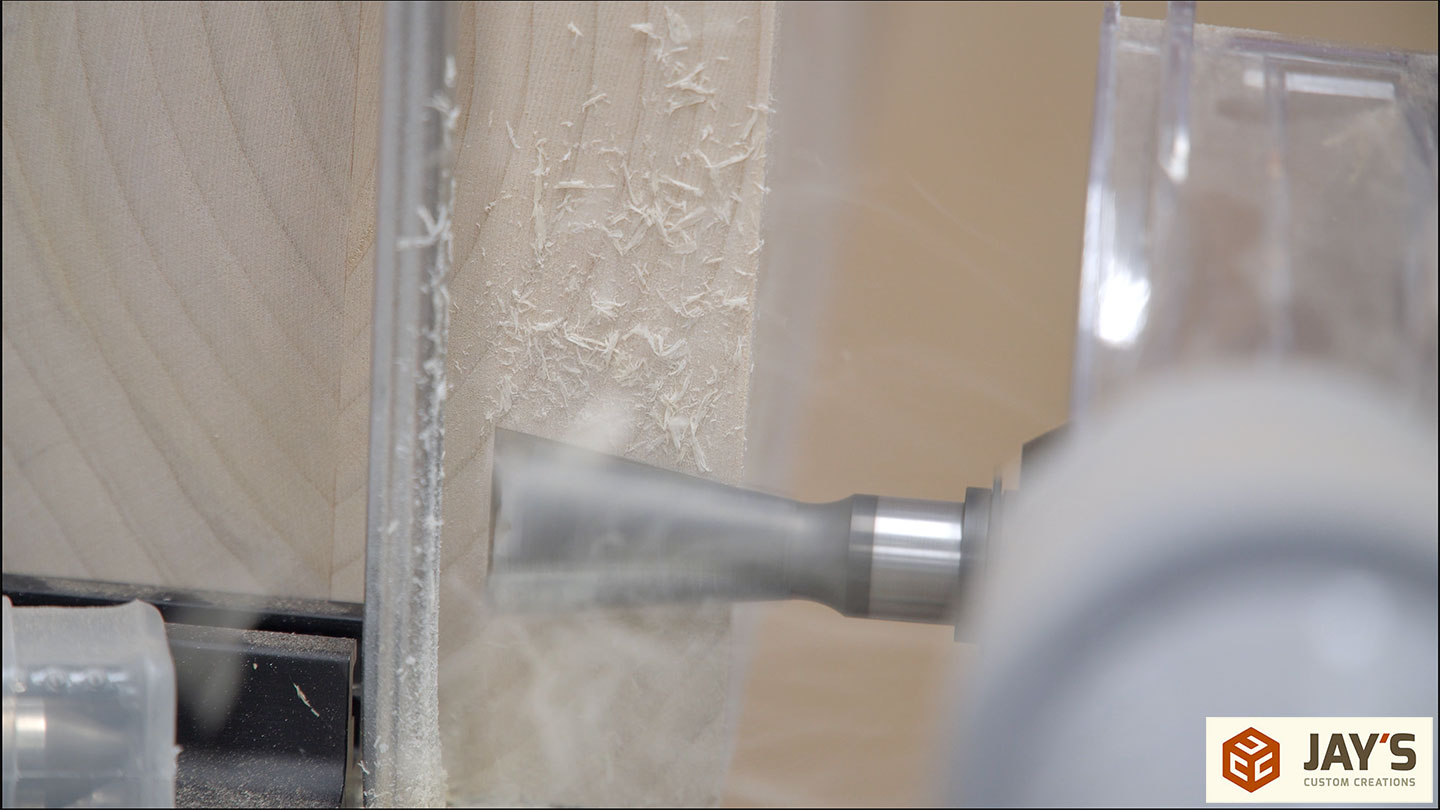
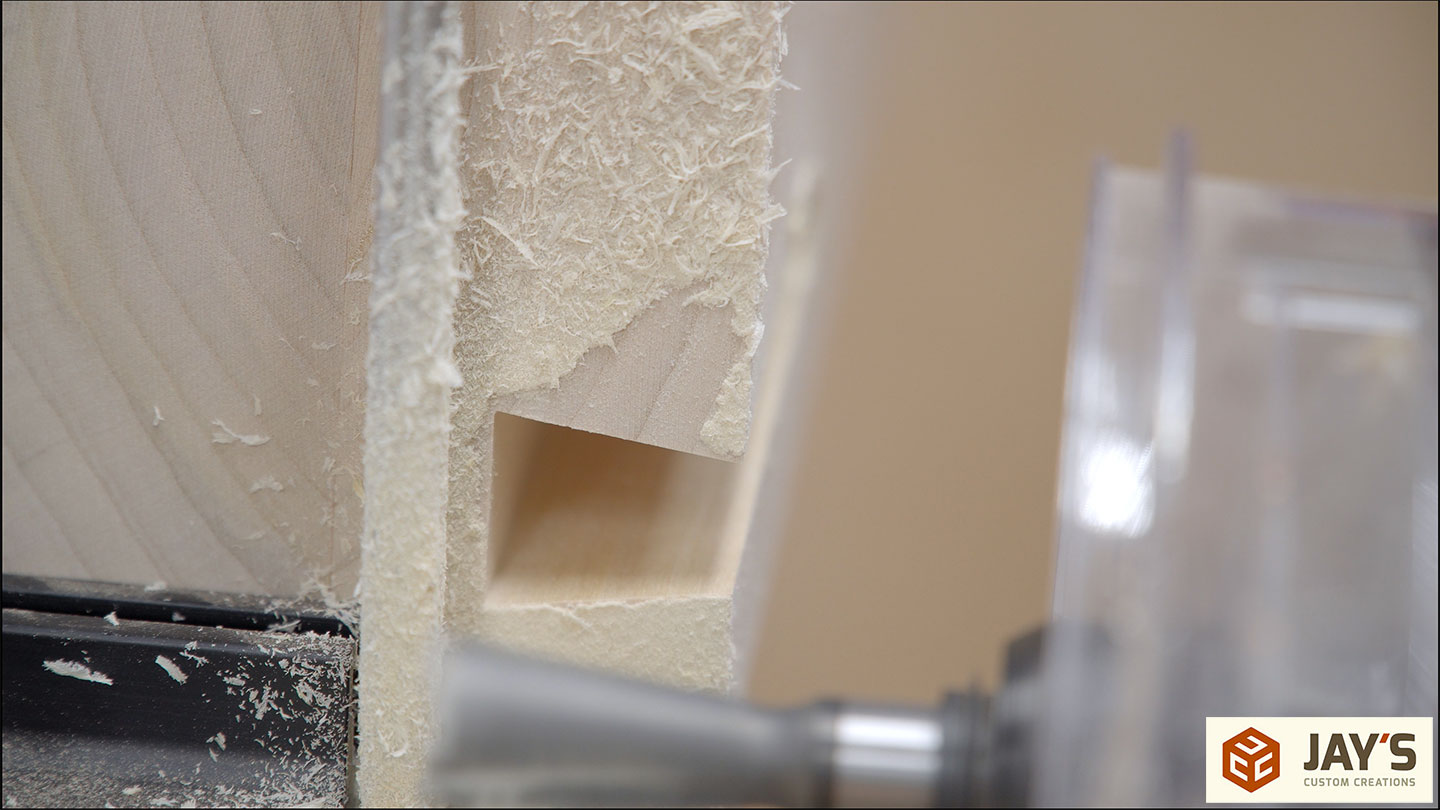
For a sliding dovetail, I have a stopped slot template installed. This is actually a segmented template with three parts. The closest to me is a rounded template end segment followed by two longer straight template segments. This allows me to capture the bearing follower inside the template for the female side of the joint and not risk accidentally dropping the router onto the table surface. The template allows me to plunge into the top of the leg and stop at a specified distance.
The female side of the joint takes about 24 seconds to cut, according to my video clips. The dovetail bit I’m using has a 13/16” bottom width, and I set the machine for a 1” deep cut. That’s a decent amount of material to remove in one pass, especially considering I’m plunging into end grain. The bit and machine handled it with no problem.
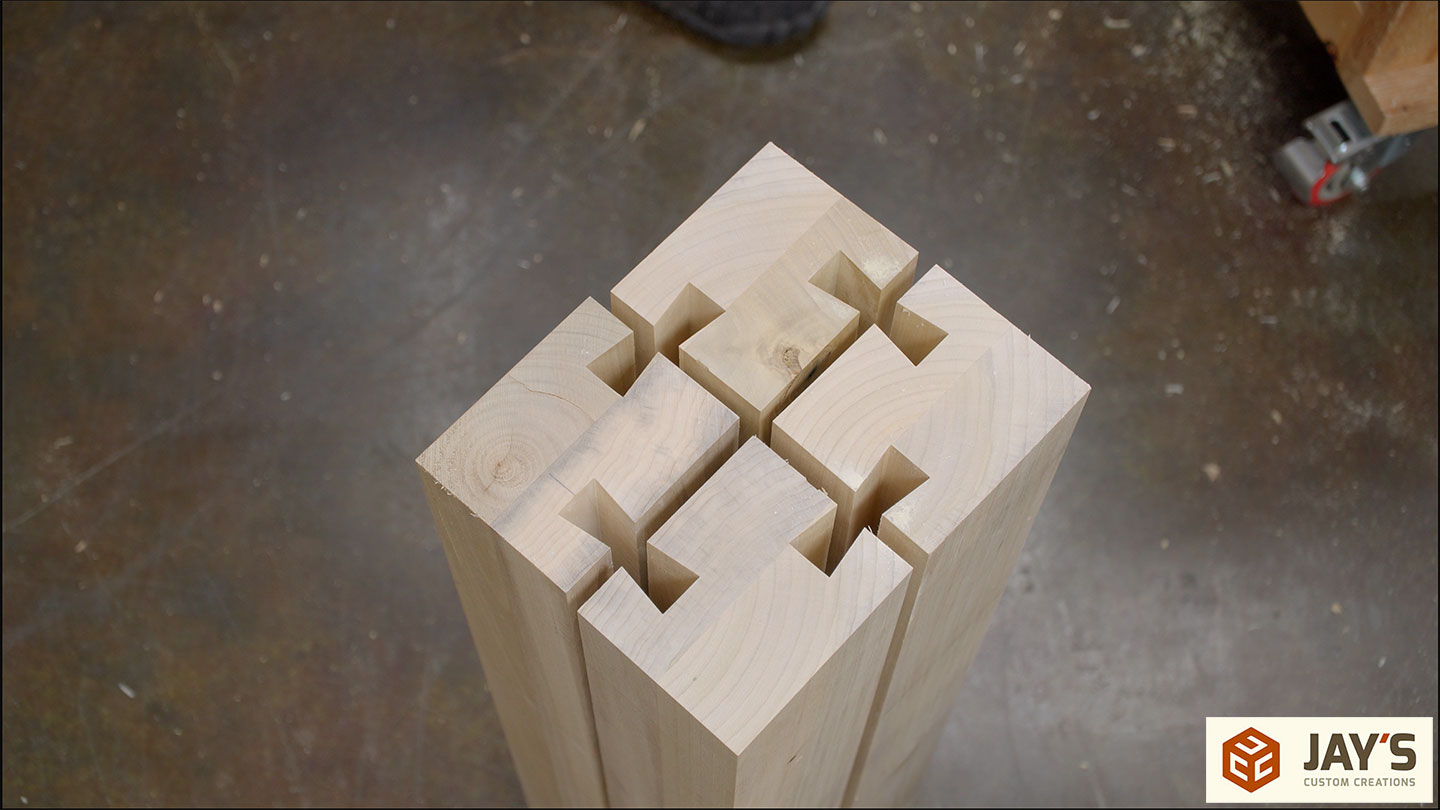
This was a fun-looking shot, so I included it in the video. The four legs with the eight dovetail slots.
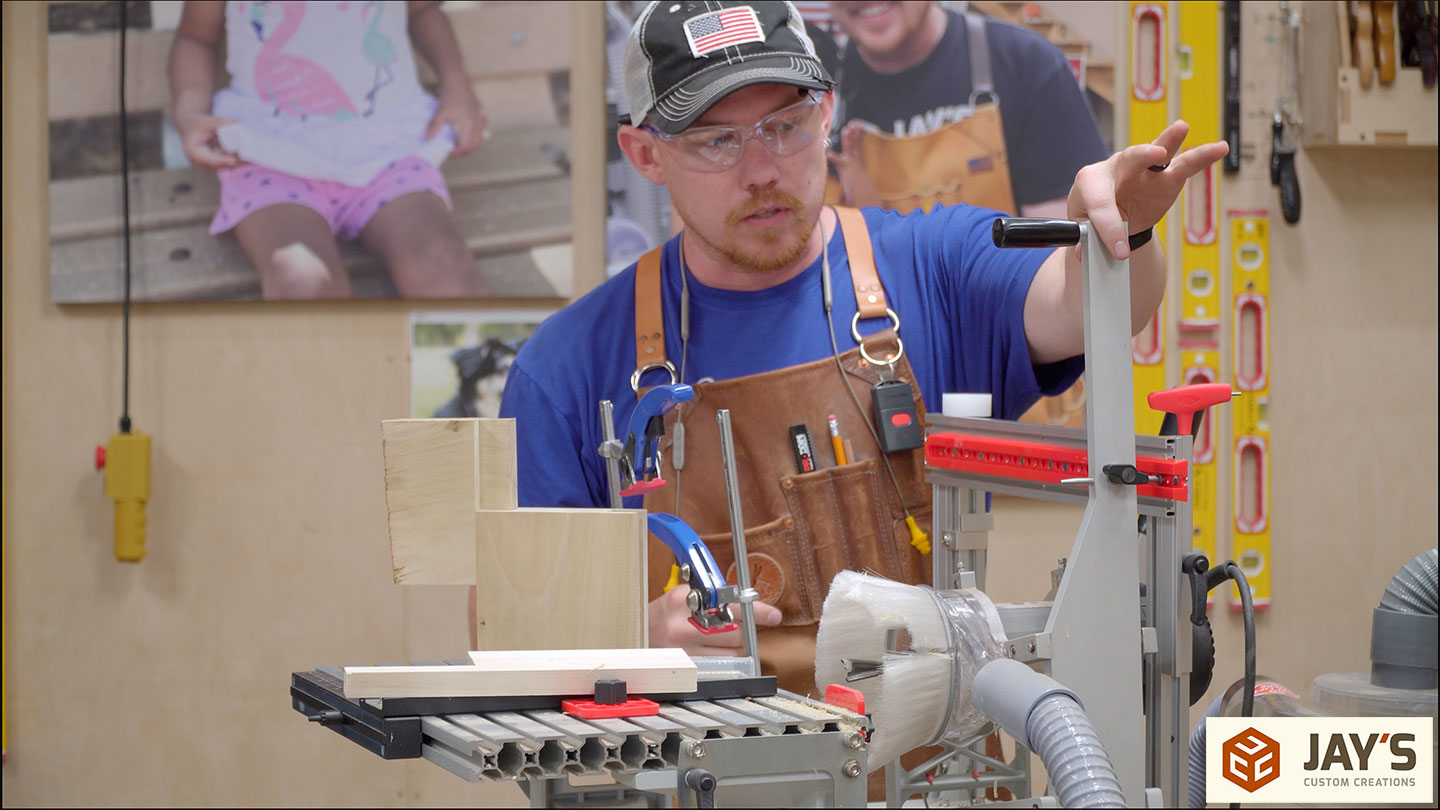
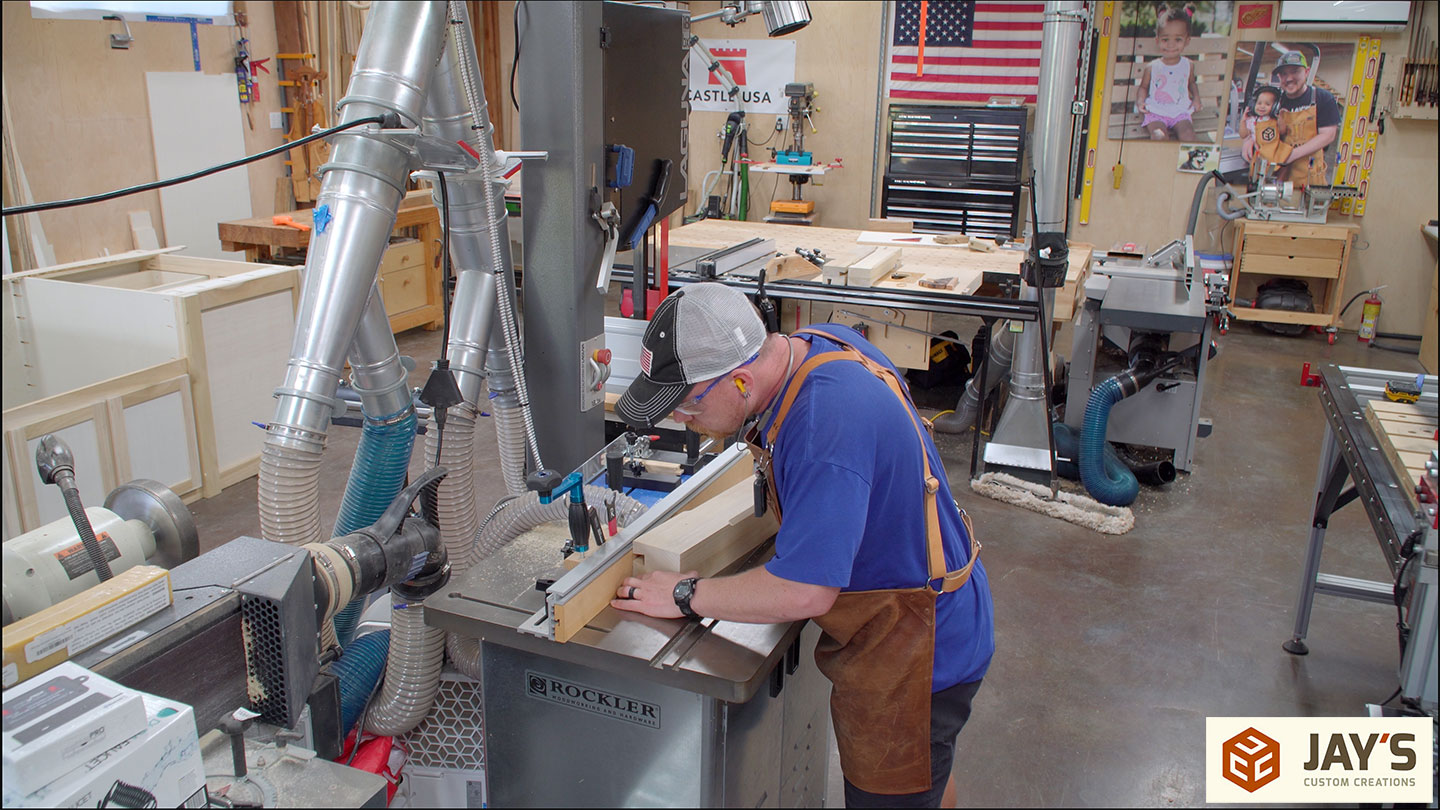
Next up, the male side of the joint is cut with the Pantorouter follower on the outside of the template.
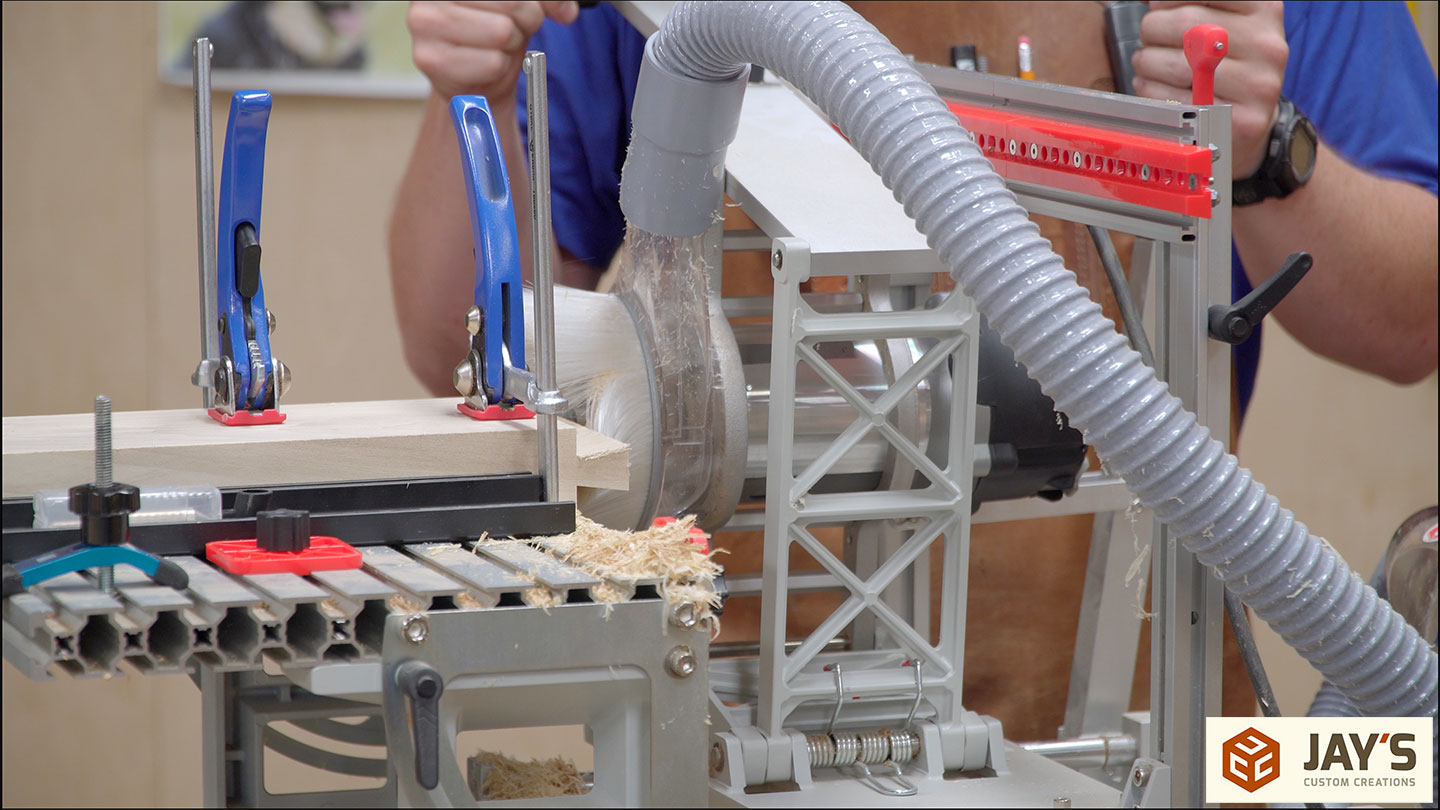
This is where the Pantorouter shines. I have a vertical table on my CNC machine, so I could technically cut these joints. But NOT on the long rails. The height of my CNC spindle is the limiting factor for end grain work. In this case, you can set up material support on the opposite end of the board and cut a virtually unlimited length.
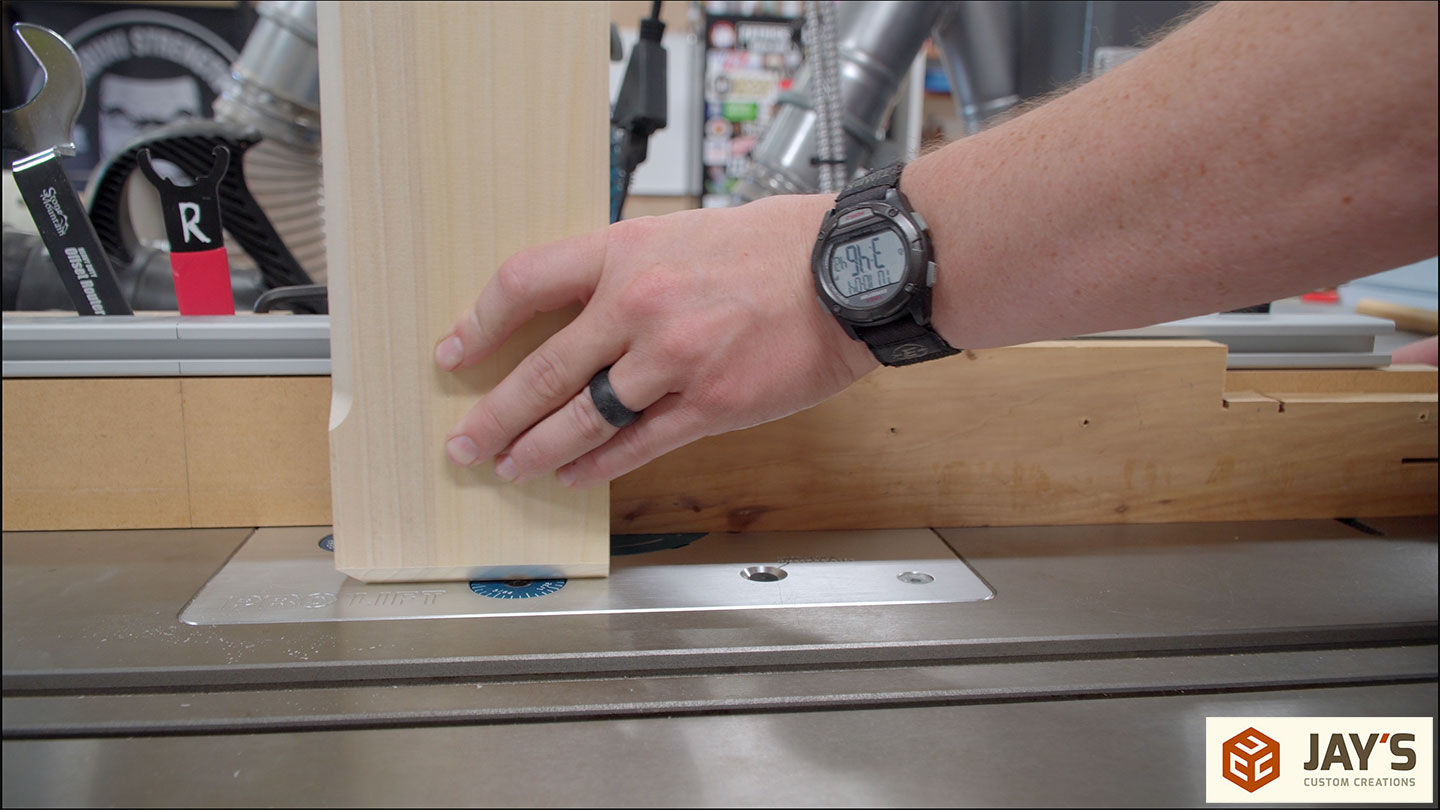
This table will be a pretty basic design. A simple, bold look is what I’m after, so stopped chamfers on all of the edges are all that I’m adding. With a start and stop line marked on my router table, the chamfers can be cut easily at the router table.
While the legs won’t technically touch the concrete, I’m adding a chamfer to the bottom of the legs anyway. ALWAYS chamfer or roundover the bottom edges of your chairs and table legs. Basically, any piece of furniture that has legs needs some kind of relief cut on the perimeter of the leg to prevent splintering when drug across the floor.
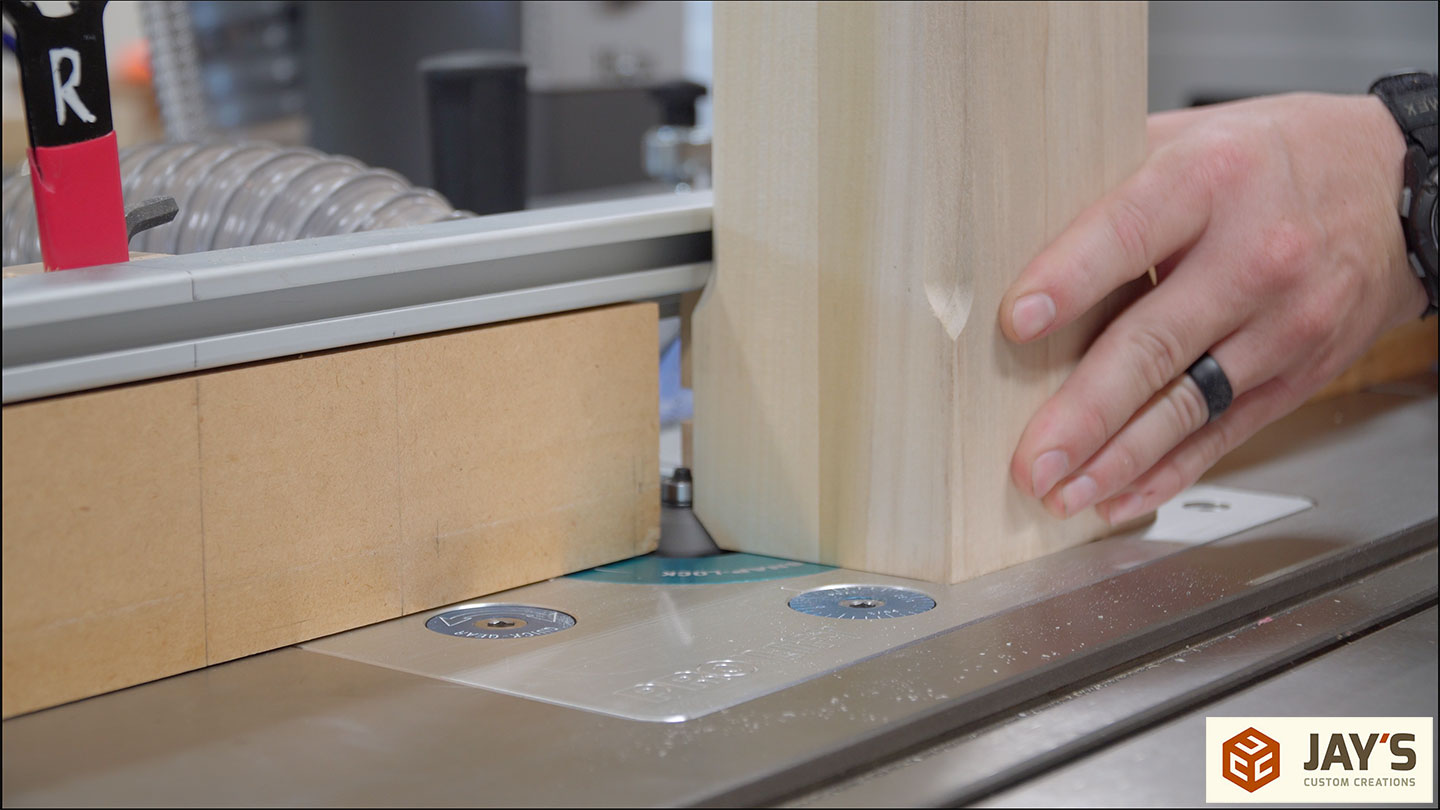
It’s also a good idea to use a backer board to prevent tearout.
Here’s where I ran into a bit of a snag. I have a nice set of wood taps that I like to use whenever possible. However, the taps running through the poplar end grain resulted in torn fibers. Poplar is just too soft to be tapped on the end grain. All of my threads were ripping out with a 1/2” bolt. I planned to use these 1/2” bolts as leg levelers.
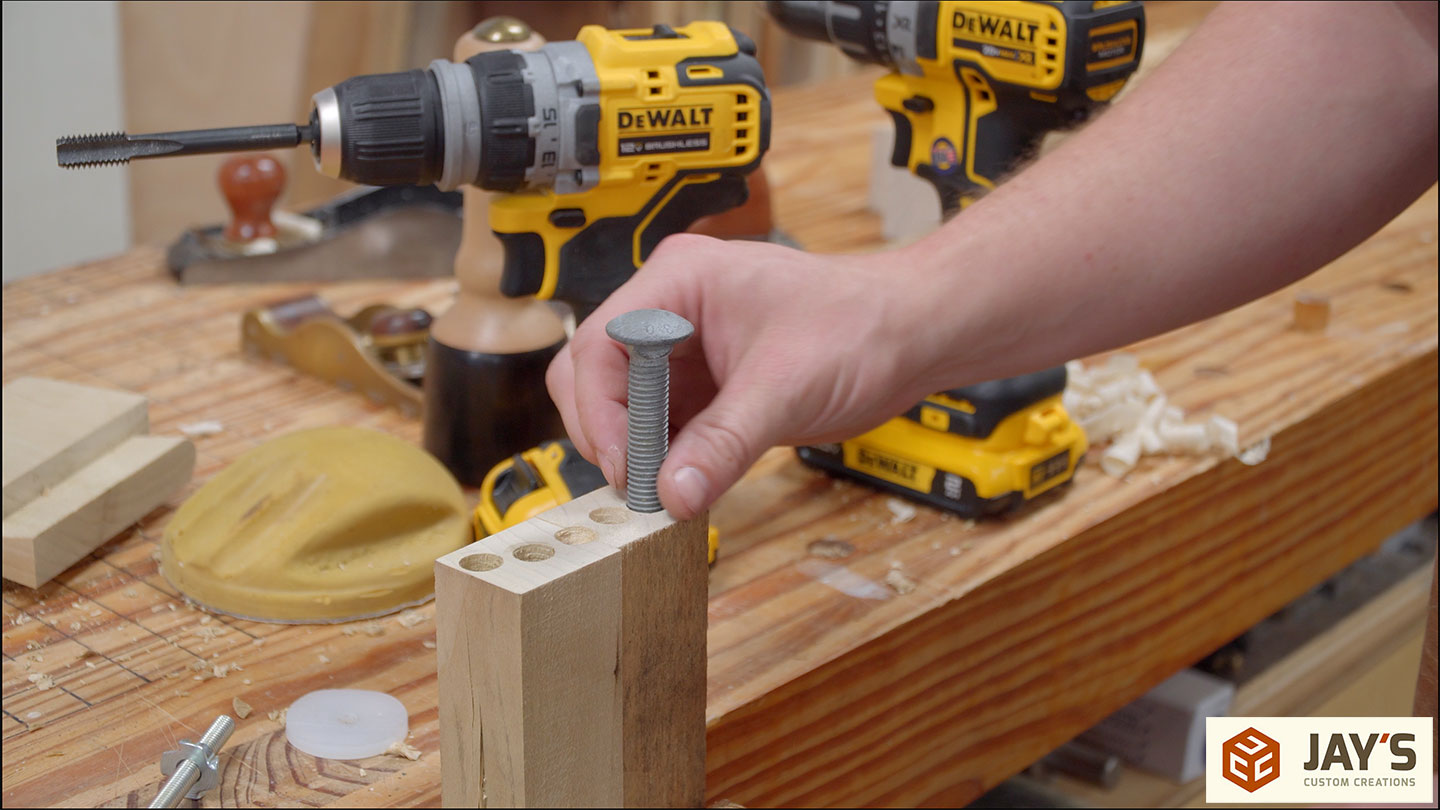
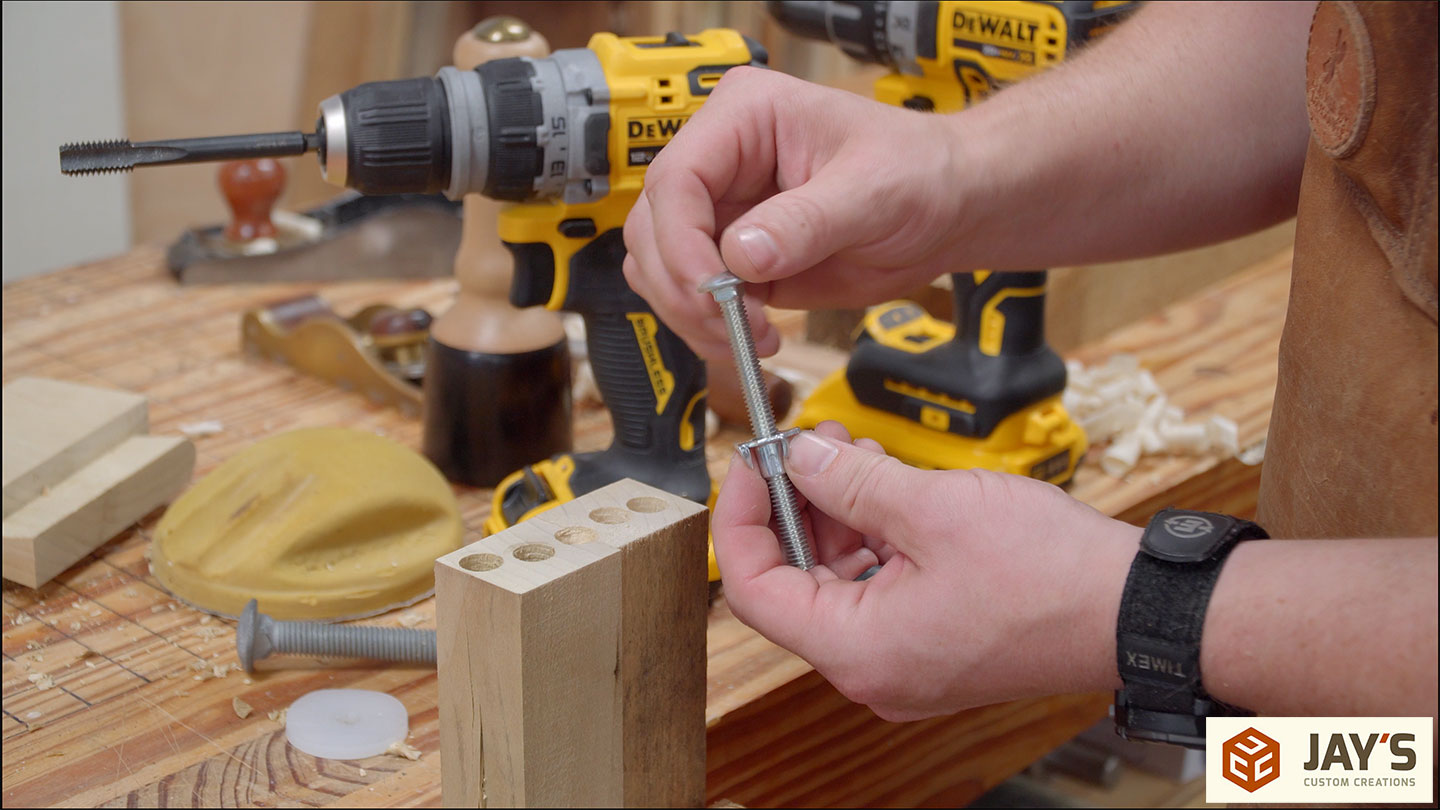
Plan B was to use my old trusty. A 5/16-18 T-nutt with a 5/16-18 galvanized carriage bolt is what I typically use. In this case, I’ll have to use it here. This is the least expensive option I know of for foot leveling.
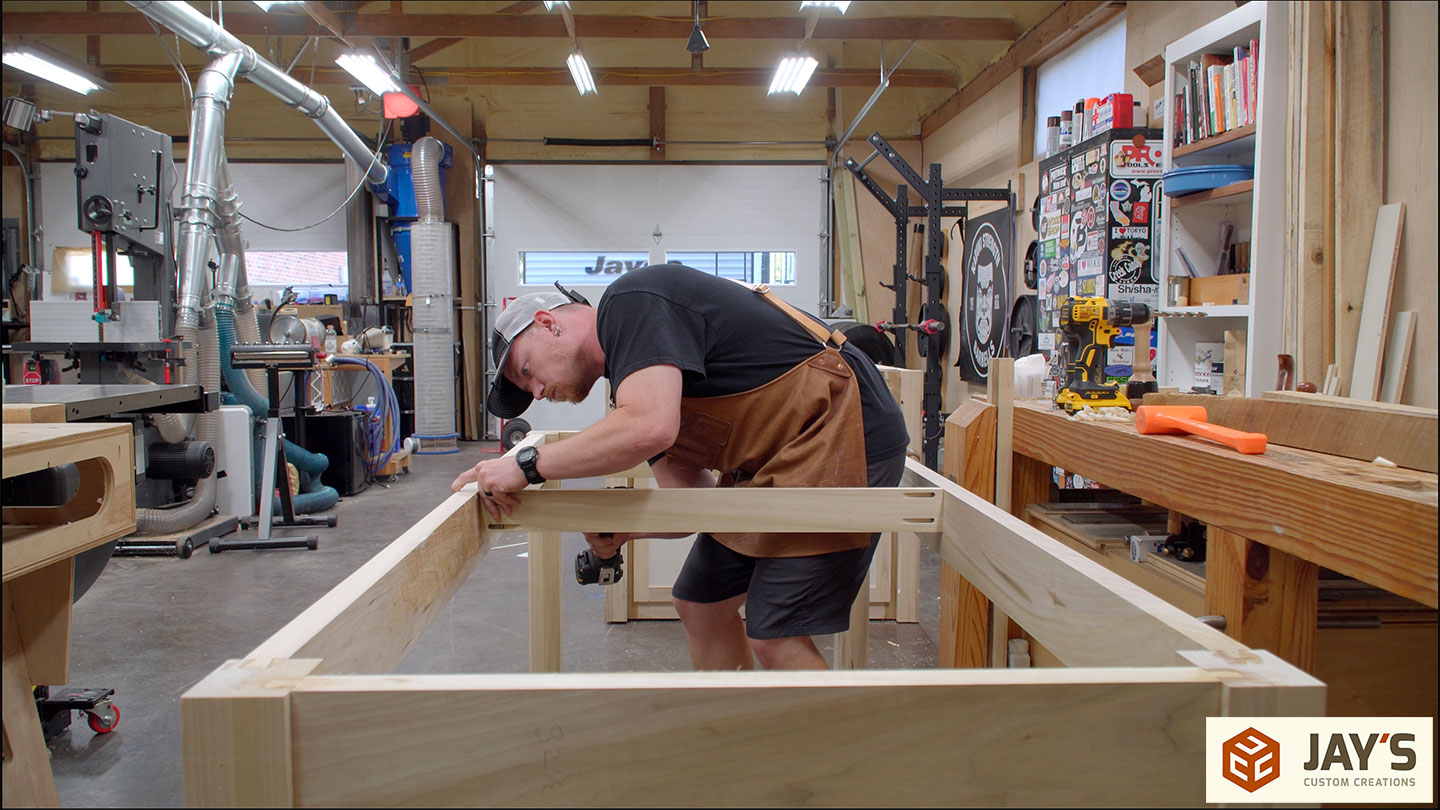
Time for assembly of the table. I set the Pantorouter to produce snug joints right off the machine, so PVA glue was not an option. PVA glue (Tightbond and similar) is water based, so it will swell the joint during assembly. On an already tight joint, this is not what you want. Instead, I went with epoxy. It lubricates as it goes together, so there’s no need for excessive force to seat the joint.
The main motivating factor for me to use sliding dovetails for the joinery was the fact that no clamps were necessary. I didn’t have clamps long enough to attach the long rails, so I would have had to connect a few together to get everything installed. Sliding dovetails were much easier. “Look, Ma. No clamps!”
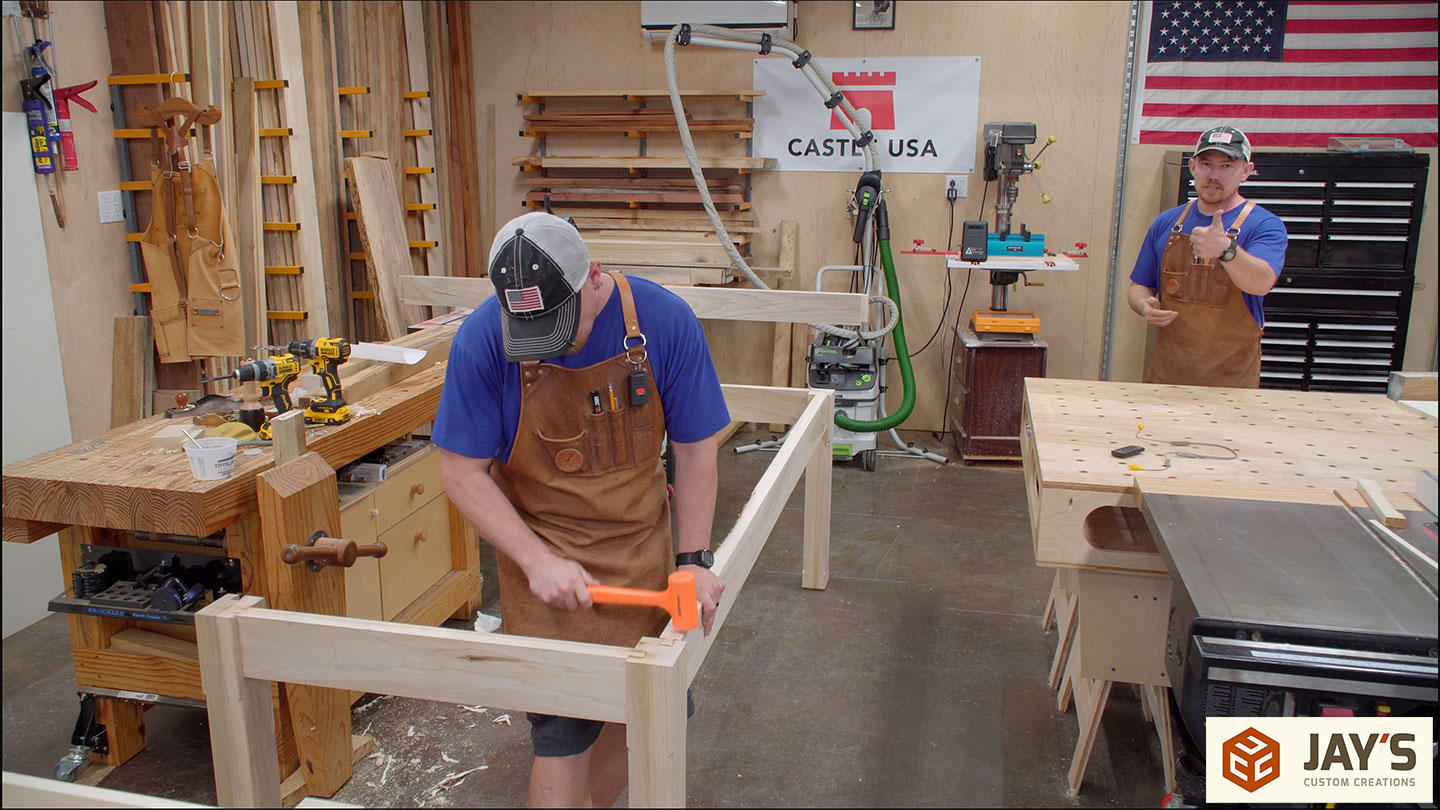
And no fussing with a BFH to get everything seated properly.
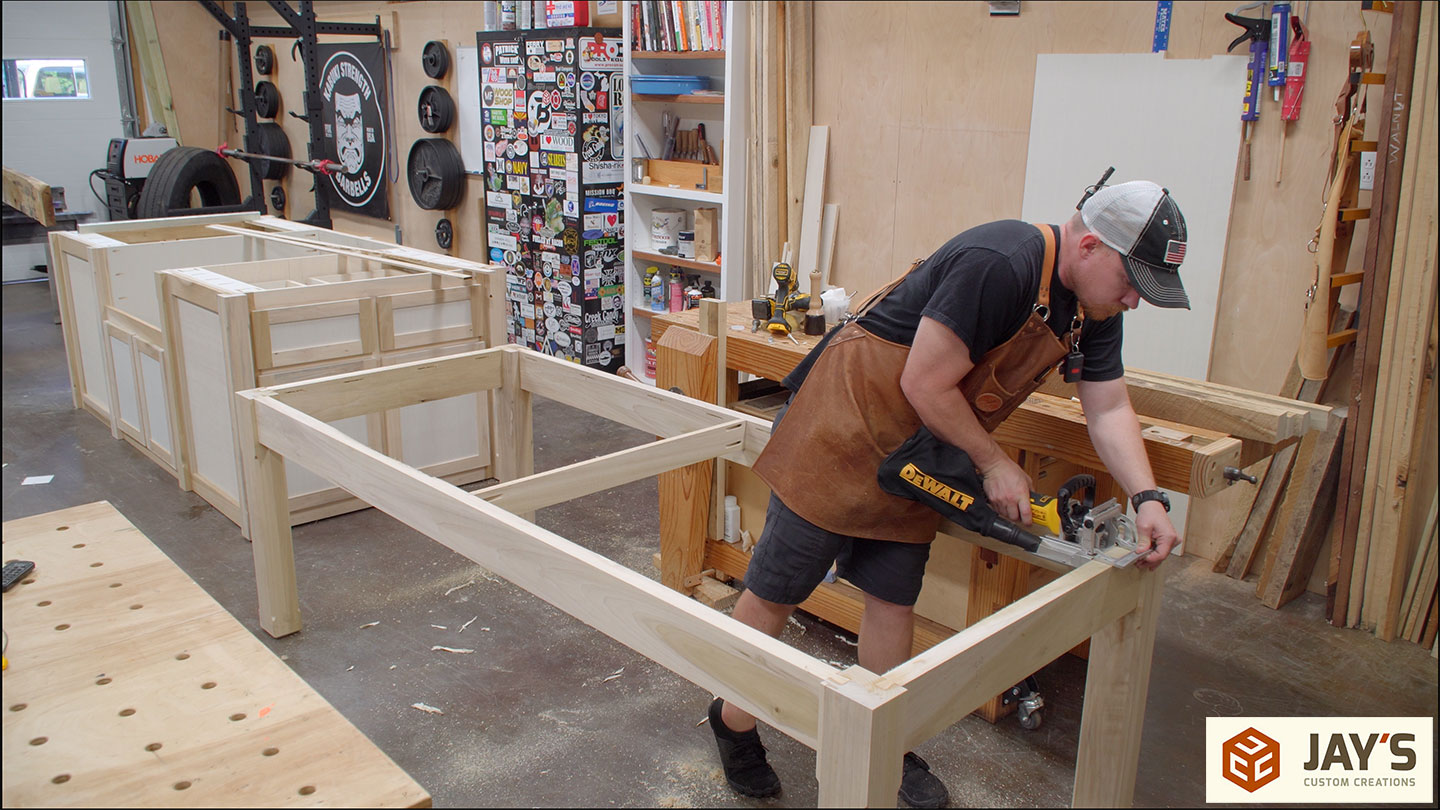
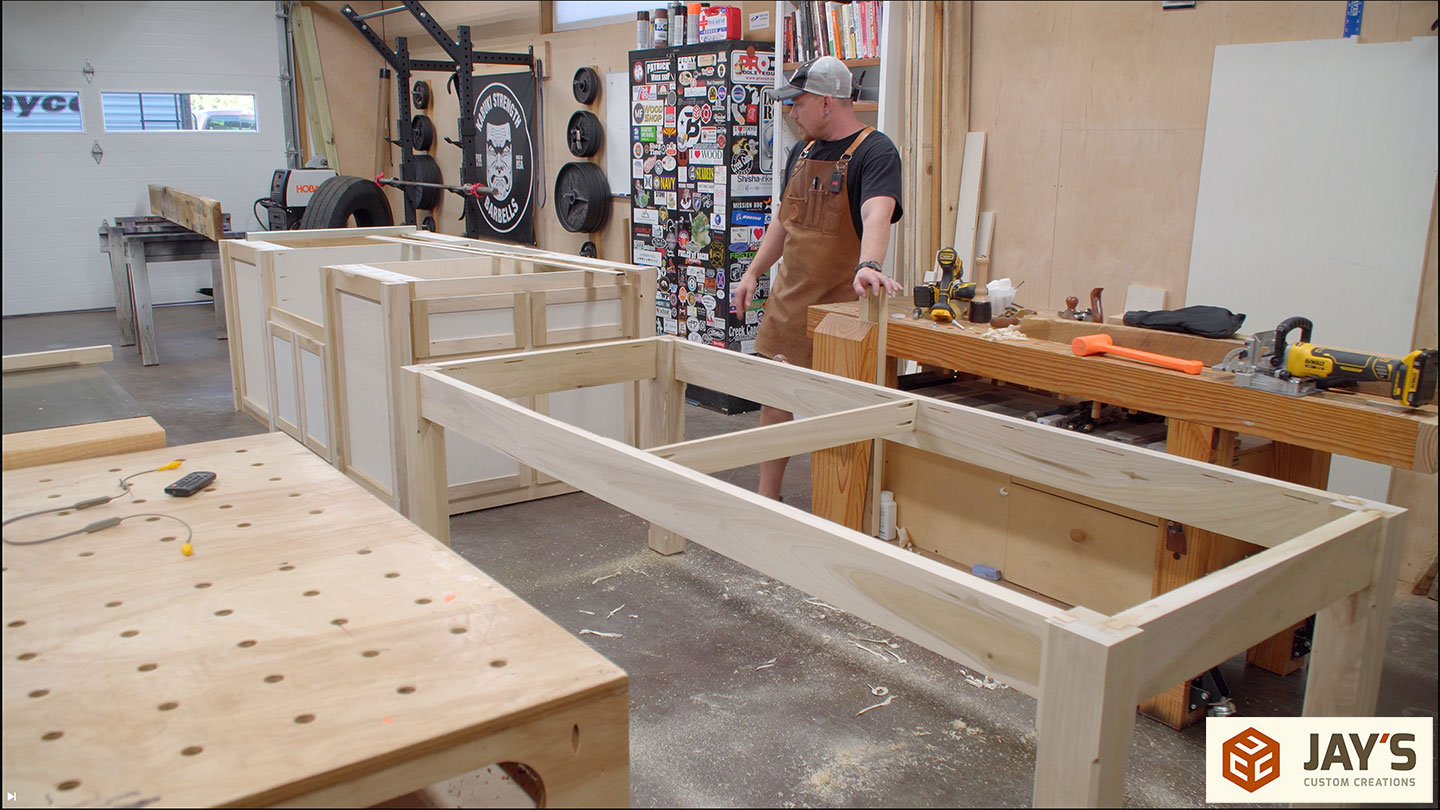
The final piece of the base is a center support rail. This not only helps support the top but, more importantly, keeps the long rails parallel. Without this board, the long rails could either bow in or out over time. This rail locks the long rails in place.
Here’s a tip for you. If you have the option to do so, position the long rails so that they bow inward during assembly. That way, the center rail is sandwiched between the long rails, and the pocket hole screws that hold it in place are just locking the position. If you have the long rails positioned bowing out, then you will have to install the support rail with clamps and screws. When the clamp is removed, the screw threads do all the work to keep the long rails parallel.
A biscuit joiner is a perfect tool for tabletop hold-down clips. I used these clips for every table that needs to be attached to a base where expansion and contraction are necessary. See the video for a better visual explanation.
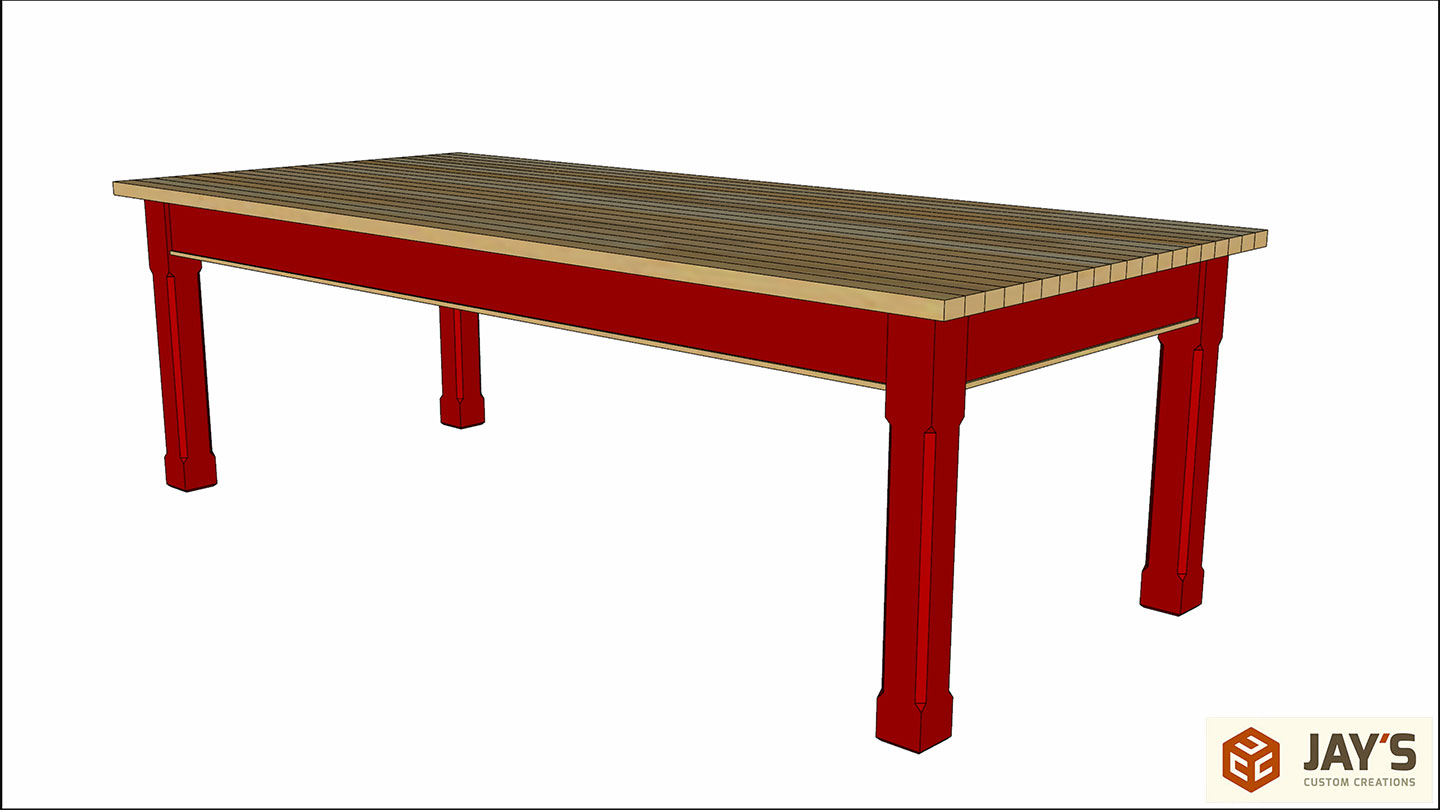
And that’s it for the table base. I wanted to shift gears from the sink island to this table base because they will be finished with the same Tuscan Red milk paint from General Finishes.
I’ll leave you with the SketchUp images of these two pieces of furniture. As you can see, the bases are the same, and the top panels are the same. The island will get door and drawer pulls that match the top, and the table will get an additional trim piece below the rails that matches the top. Stay tuned, as these pieces are already nearly complete. The color turned out GREAT!


Jay.. Where can we find a Pantorouter? I live in Iowa and watch your video’s all the time. I am hooked on woodworking and your video’s are great to watch and we learn from them. I am not a professional, but enjoy trying to build something and enjoy learning from you.
Thanks and waiting to see your next project.
Gene
Hey Gene Stewart, maybe we’re related!
What a great tool! I love mine.
Go to: https://www.pantorouter.com
There are tons of great vids on Youtube to help you get started.
https://www.pantorouter.com/