Just two more shop projects that I want to knock out before starting in on a bookcase for my wife. The first one is a clamp rack for the pile of unorganized clamps that I have been neglecting for way too long. After this (hopefully) will be a rolling plywood cart to fix my plywood rack mistake project.
Like many of you out there I don’t have a complete set of one style clamp. I’ve got a random clamp collection. Even numbers of this, even numbers of that, and a few of those thrown in. When shooting the video for the project I originally designed a holder that would work with 5 clamp styles. Now that it’s completed I can say that this one design works with every one of my clamps which turns out to be 10 different clamp profiles.
The clamp holder has a 7/8” wide slot that extends 2-1/4” in from the front to accommodate my 1/2” pipe clamps and larger aluminum wide bar clamps. And then a 3/8” wide slot that extends 6” in from front that will accommodate all of my various size bar clamps.

I didn’t want to spend any money on this build as I have a lot of left over materials from other projects in the shop. All of the holder material was cut from the 3/4” plywood top that was on my previous work table. I really don’t care how ugly this thing turns out.
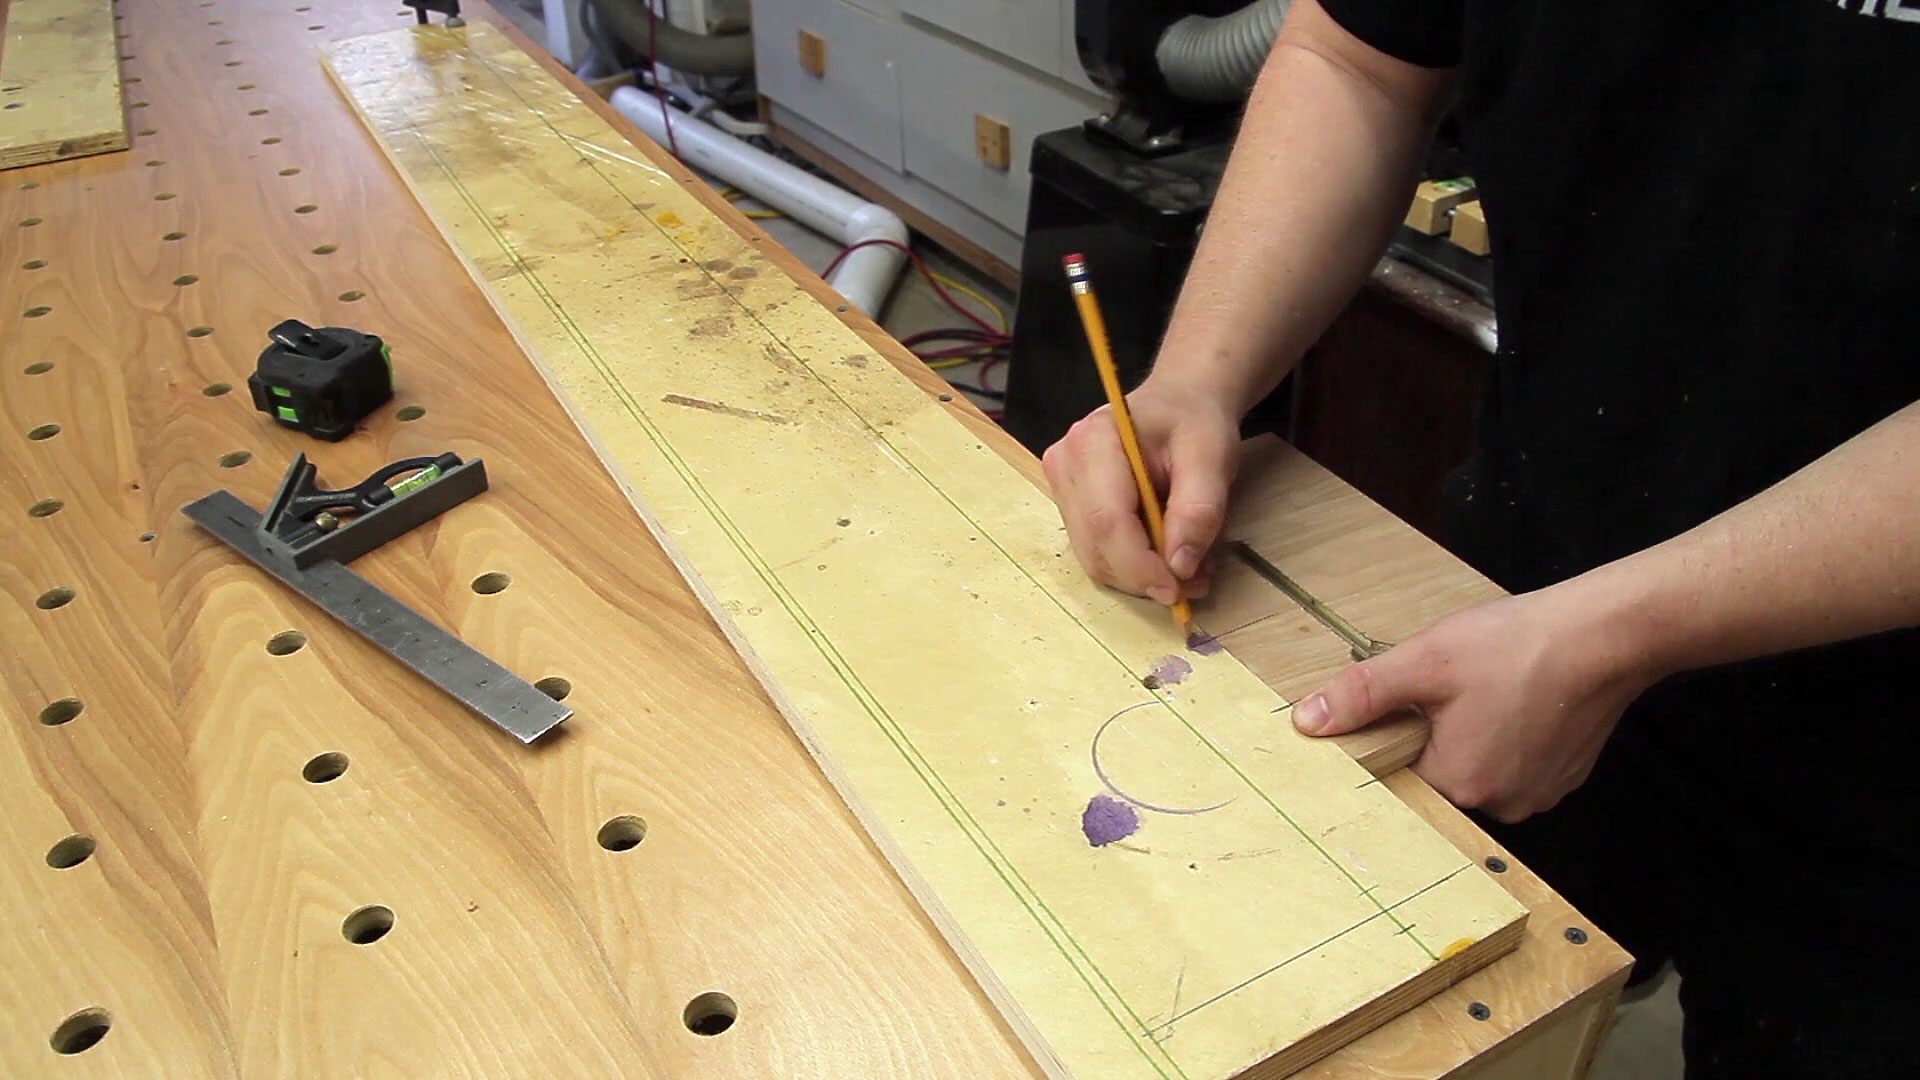
There will be four (five initially) rows for clamp storage but there is no need to mark every piece of plywood. Find the center points for the holes to establish the slots on one board and use it as a template for the rest of the pieces.
After clamping the multiple plywood strips together my intention was to use the drill press for the multiple holes. This didn’t work out as planned though. My drill press chuck kept falling out on the return stroke once the hole reached max depth. It wasn’t because of all of the chips as after hole #1 I made sure to clear the chips every so often. I believe the problem was that I had so much material cantilevered to one side of the drill press causing the drill to bind slightly and grab the bit on the return stroke. Regardless, I was frustrated so I shut down the shop for the night.
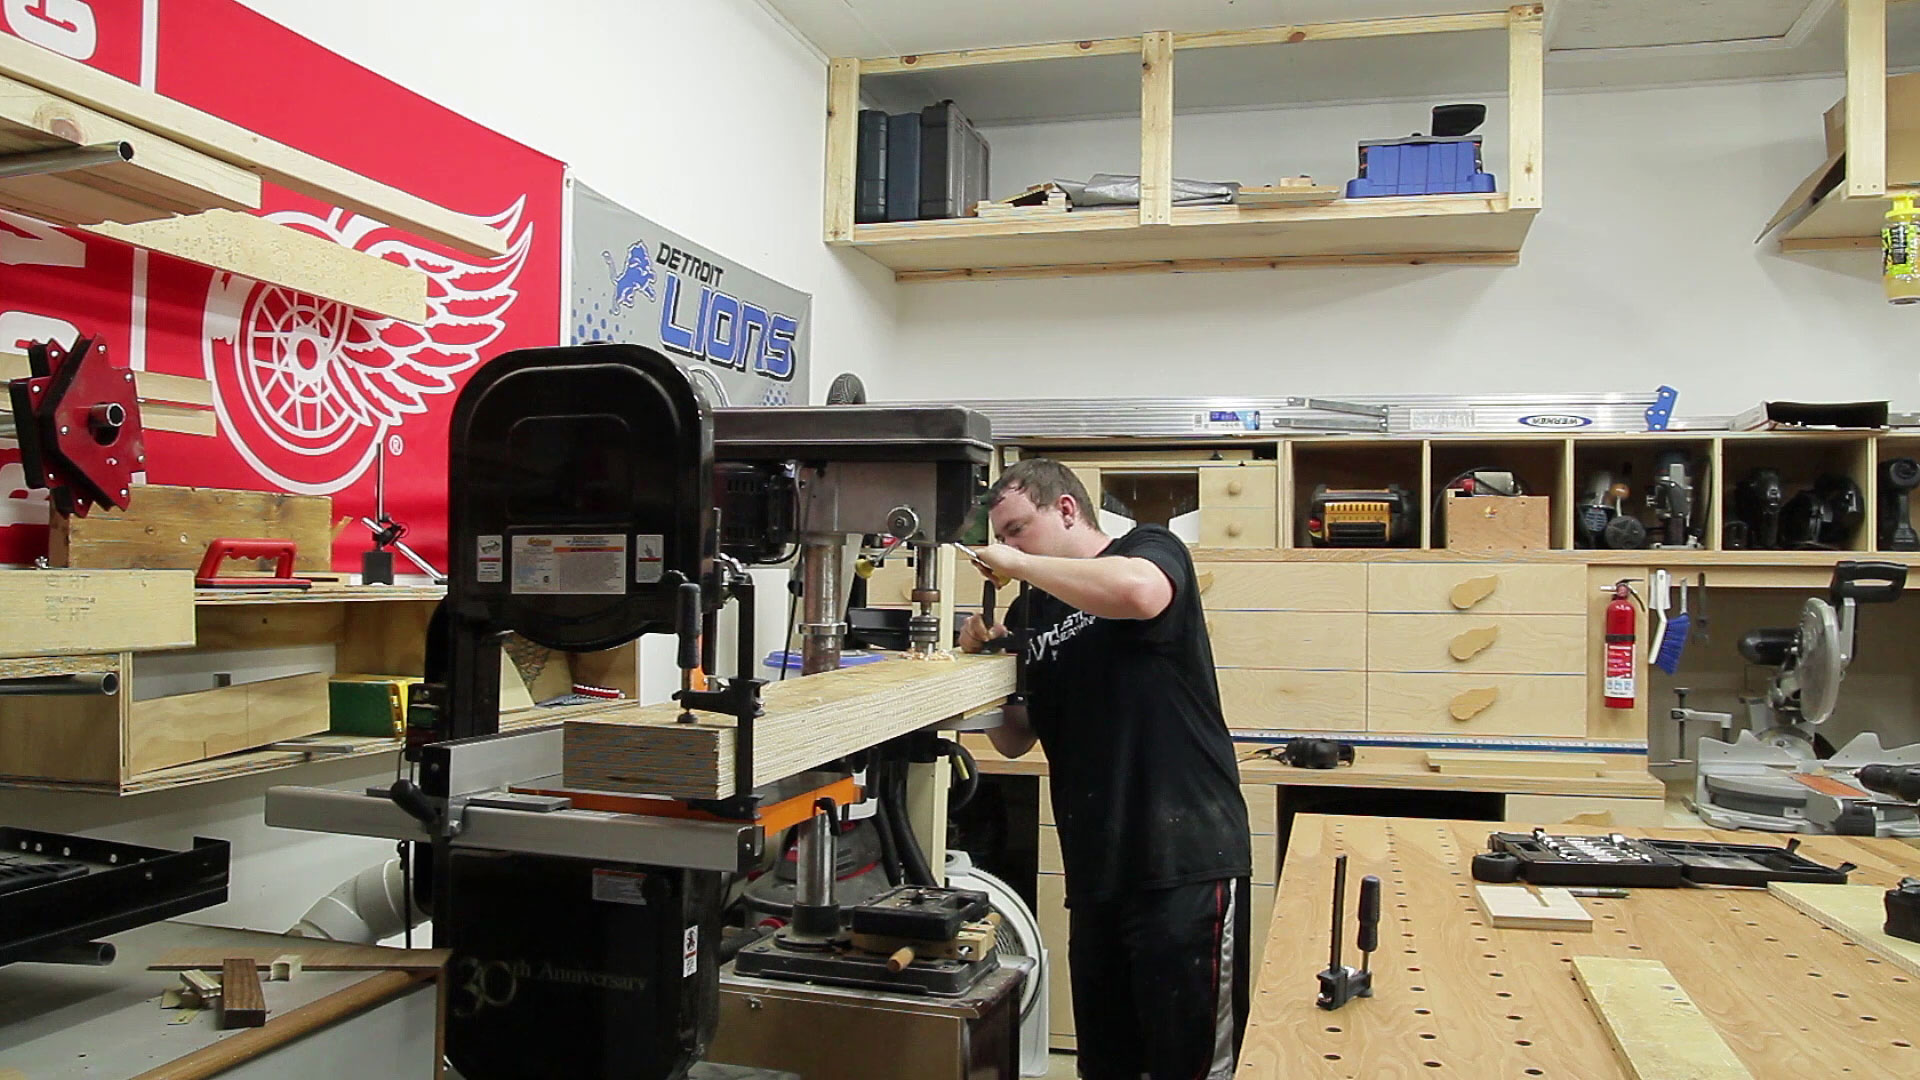
And the next morning I completed the holes with a hand held drill. It wasn’t that bad of a process. Just time consuming.

All of the previous holes were with a 7/8” forstner bit. For the longer more narrow slot I used a 3/8” bit. This bit was an electricians bit with an auger tip that really made the process much faster. The cuts weren’t as clean but who cares, it’s just a clamp rack.

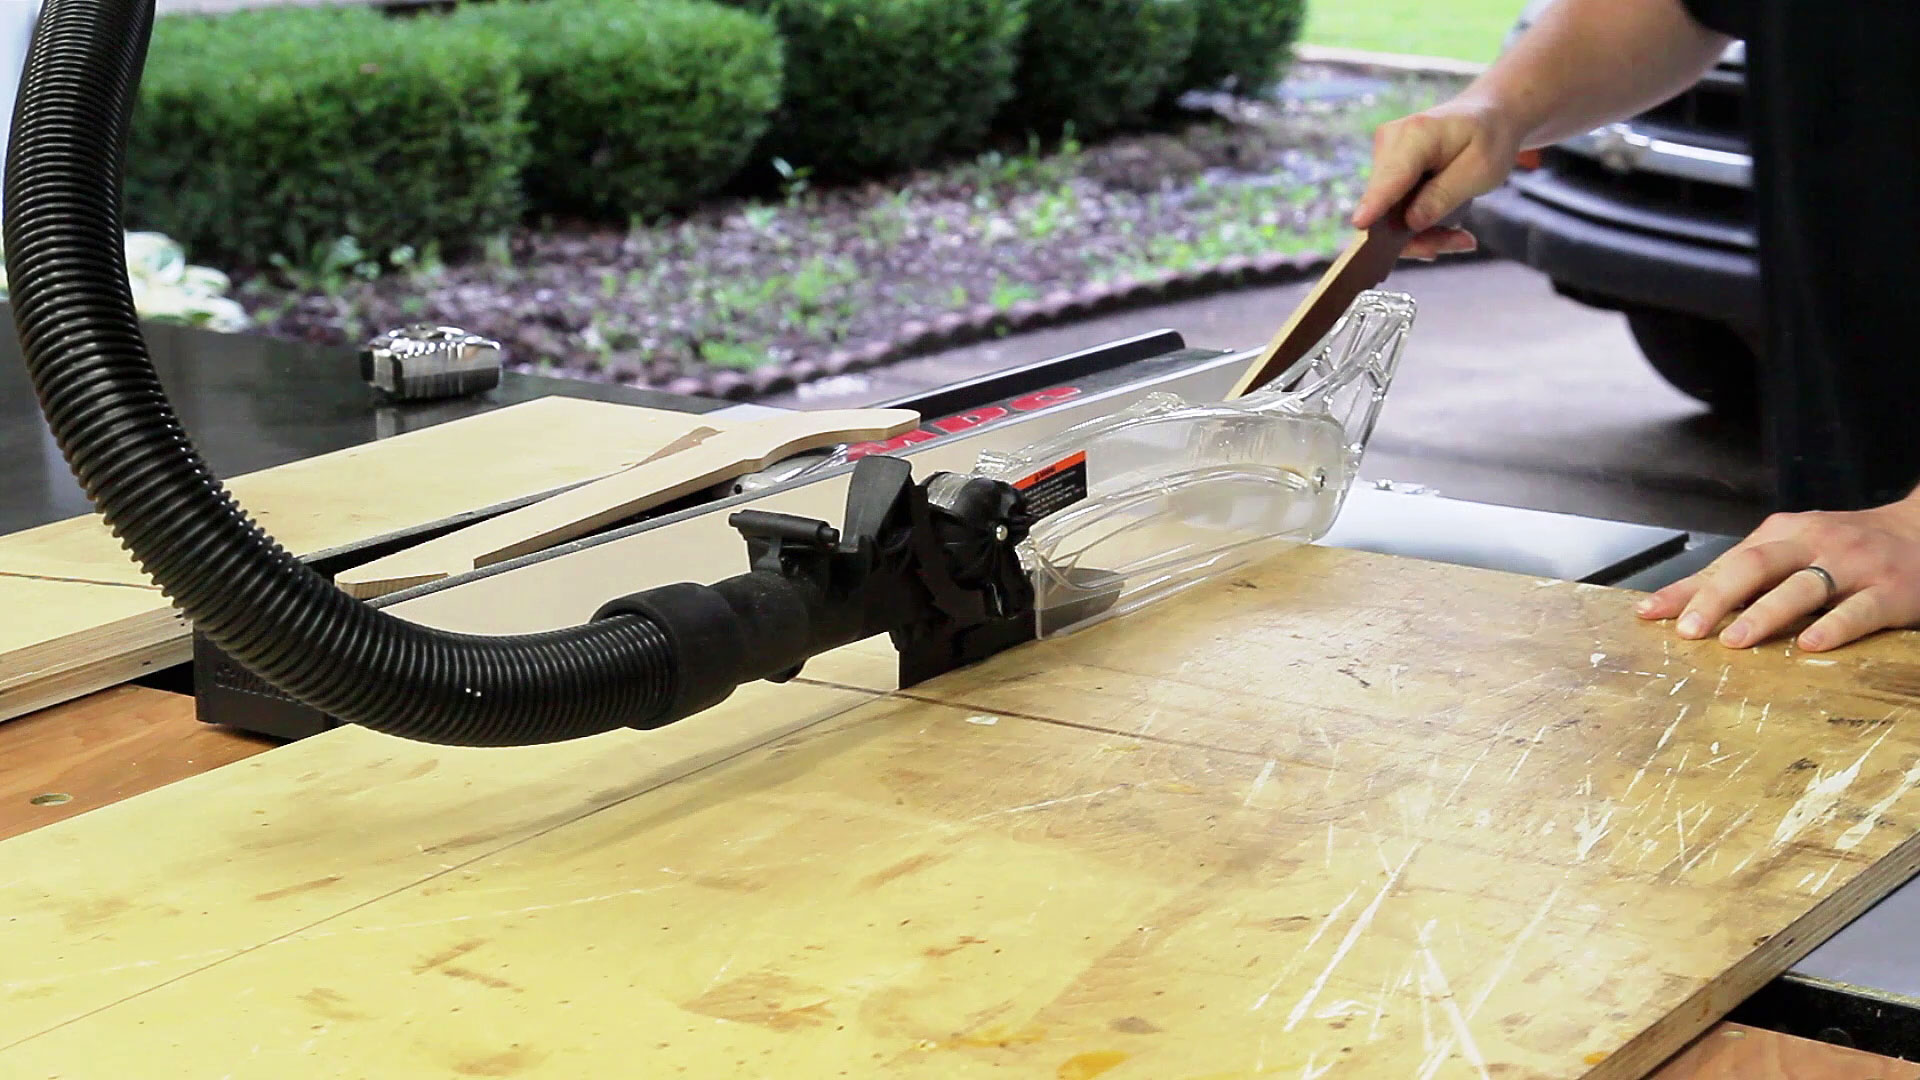
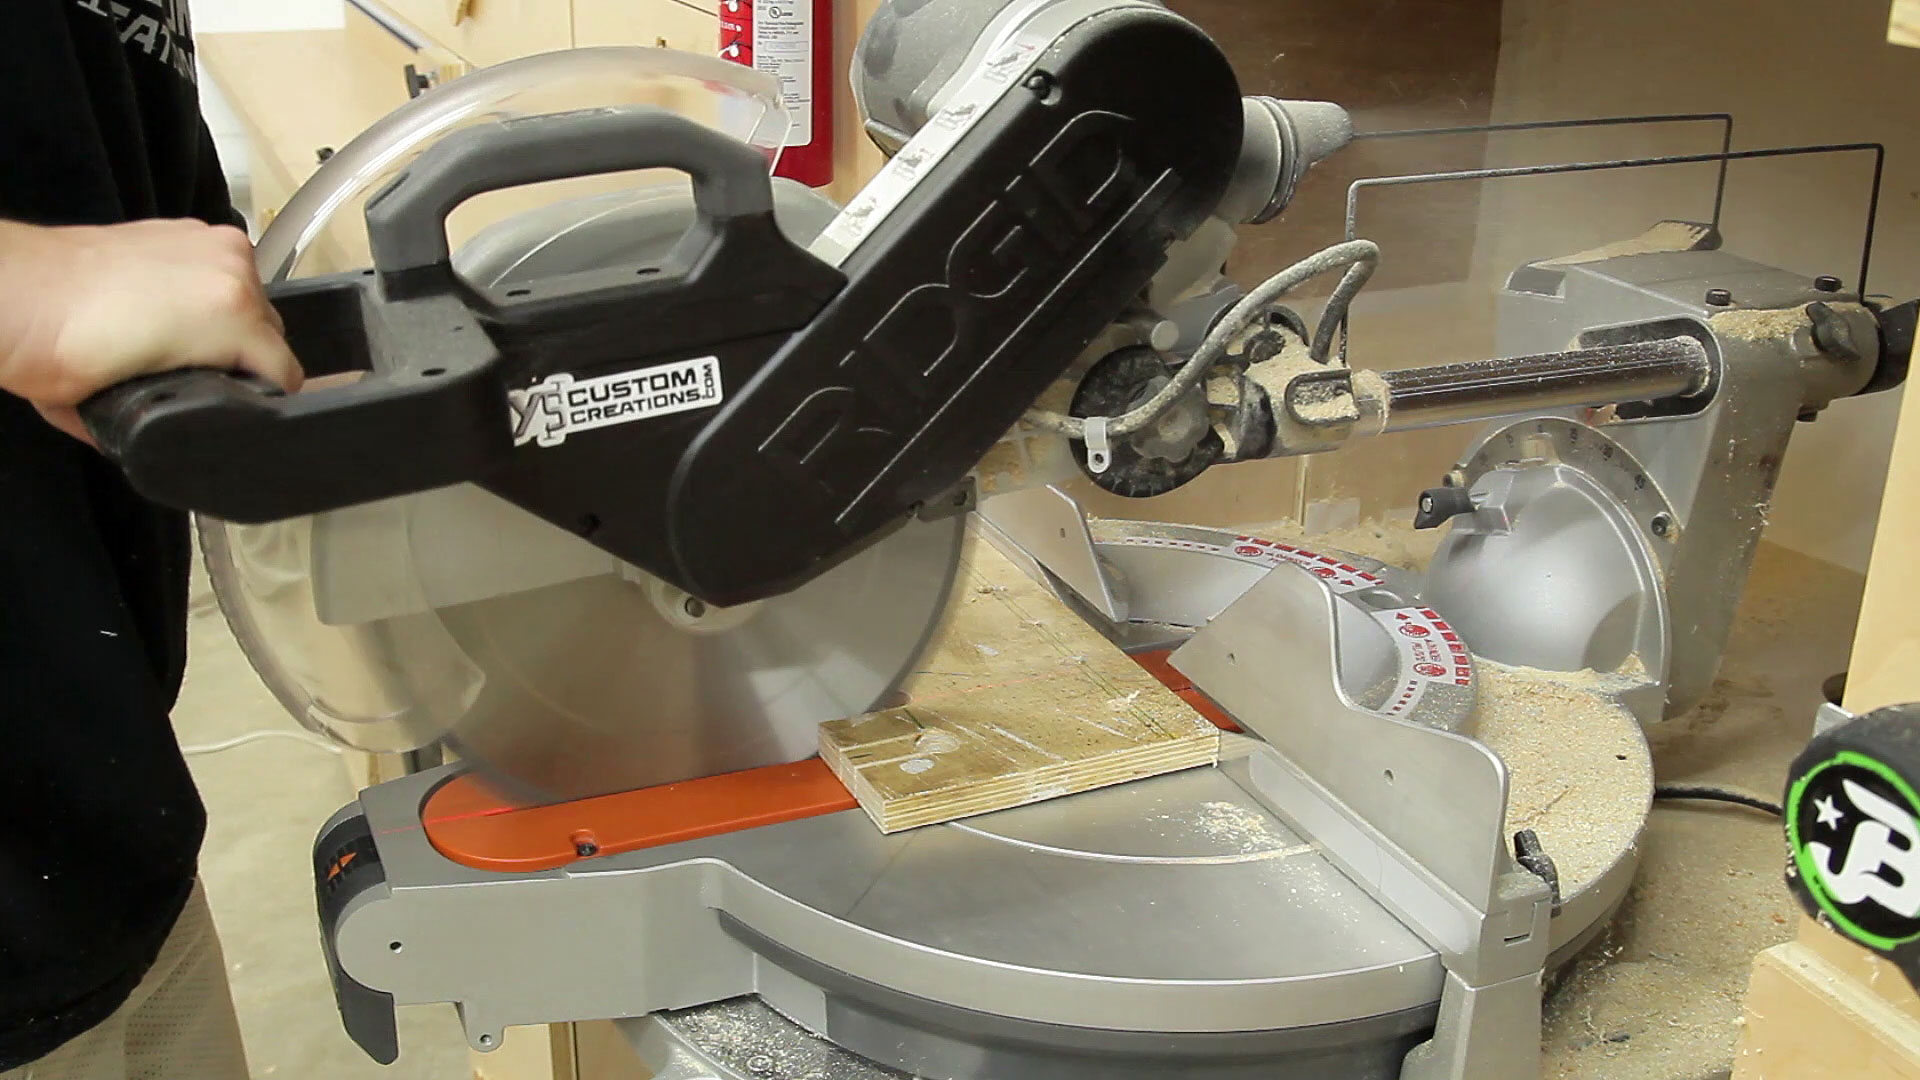
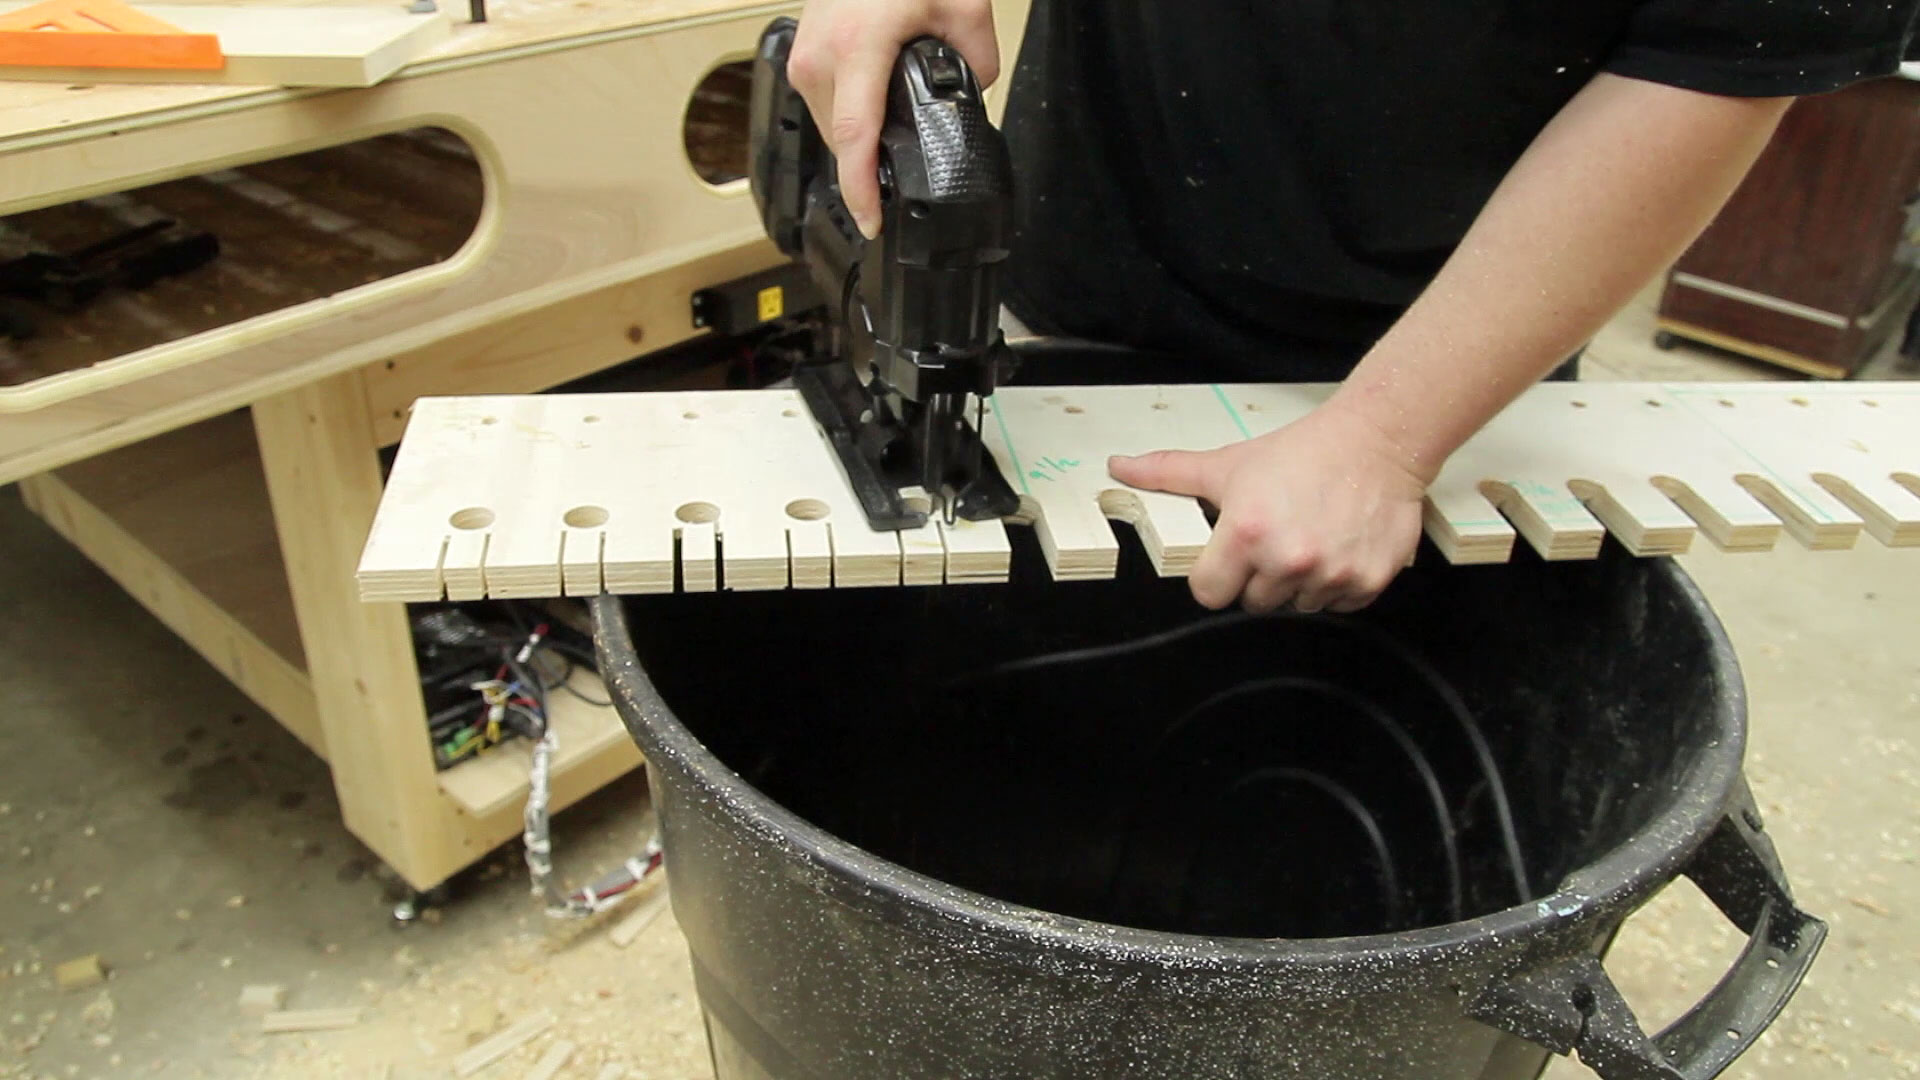
To establish the sides of the slot I positioned my miter saw with the depth stop and a lock on the sliding arm so that I would only cut half way through the 7/8” hole. It was just up to me to make sure the kerf of the saw lined up with the edge of the hole.
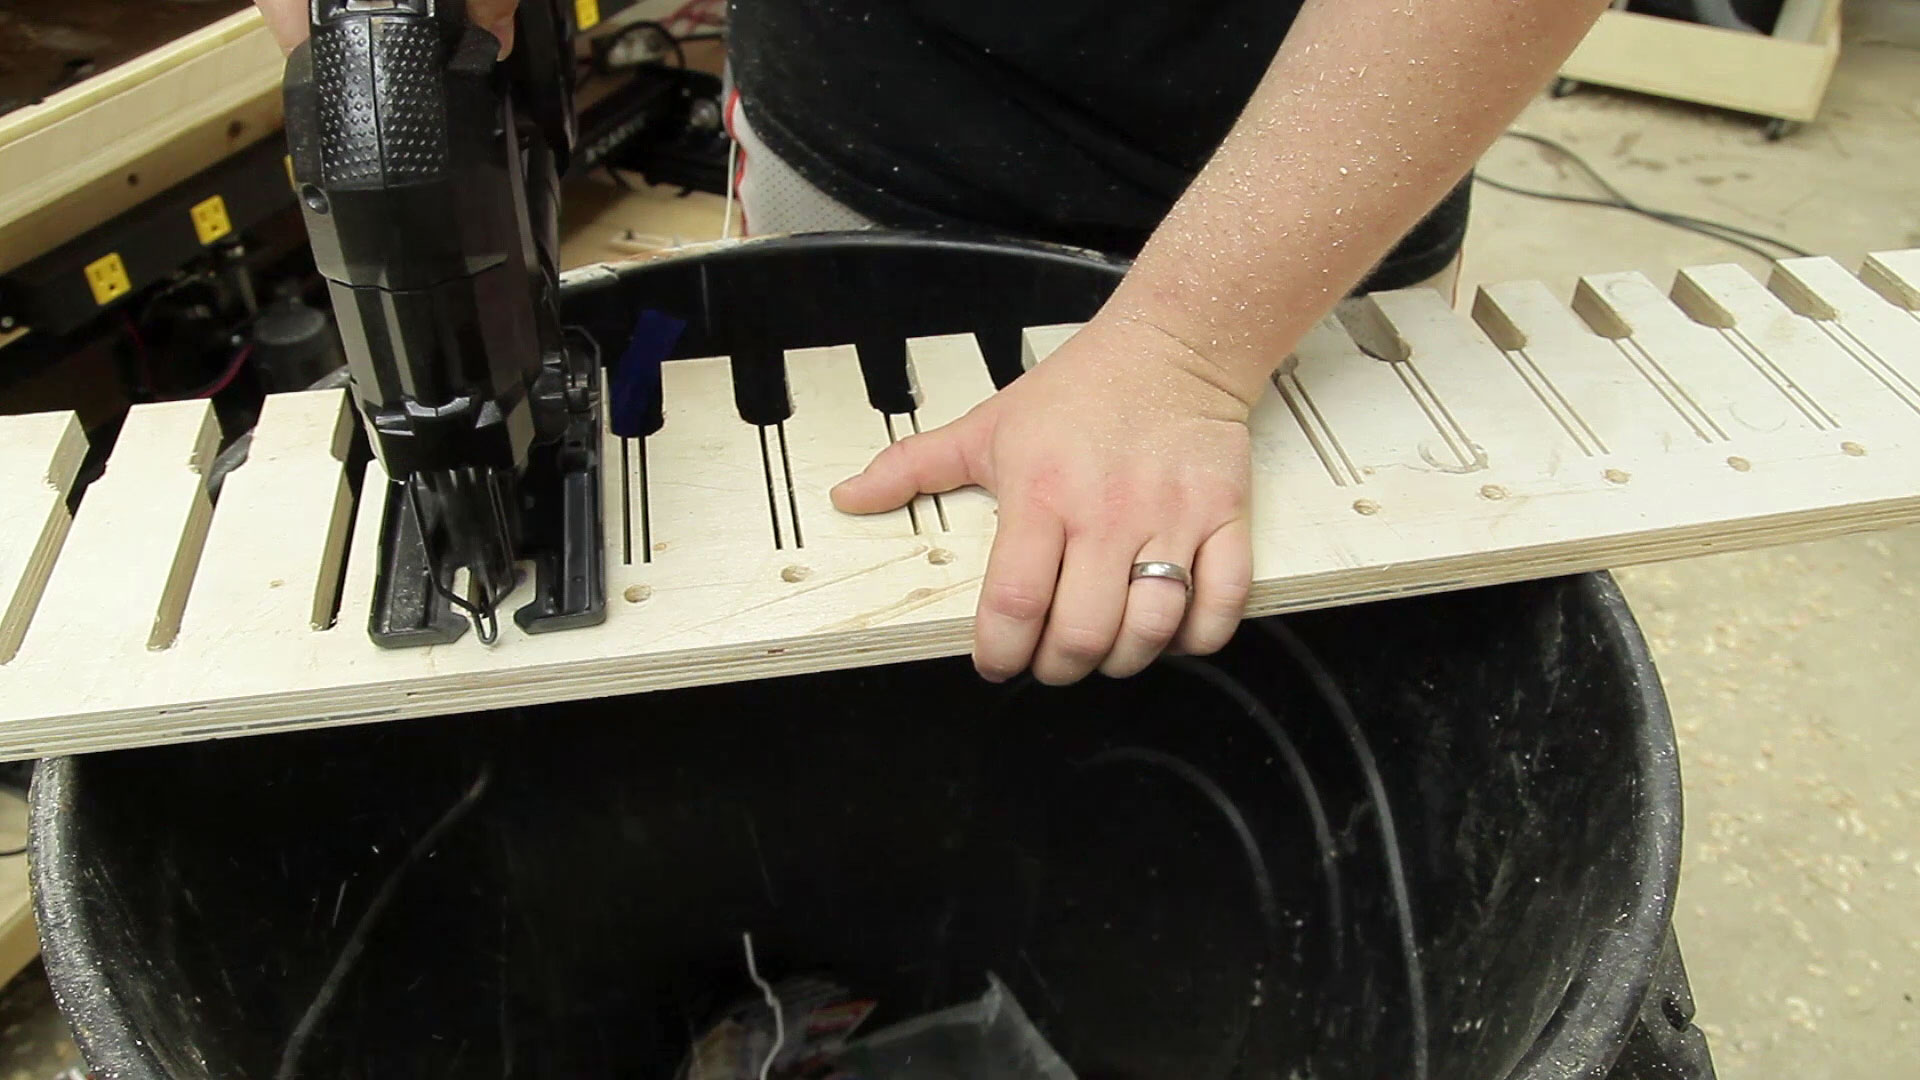
Due to the radius of the miter saw blade I couldn’t completely cut through the entire thickness of the plywood at the end of the cut. To clean up the slots and remove the slot material I finished the cuts with a jigsaw.
The longer slots were cut the same way but it took a little more effort to get everything lined up at first. This is one of the few times that a laser on a miter saw is beneficial.
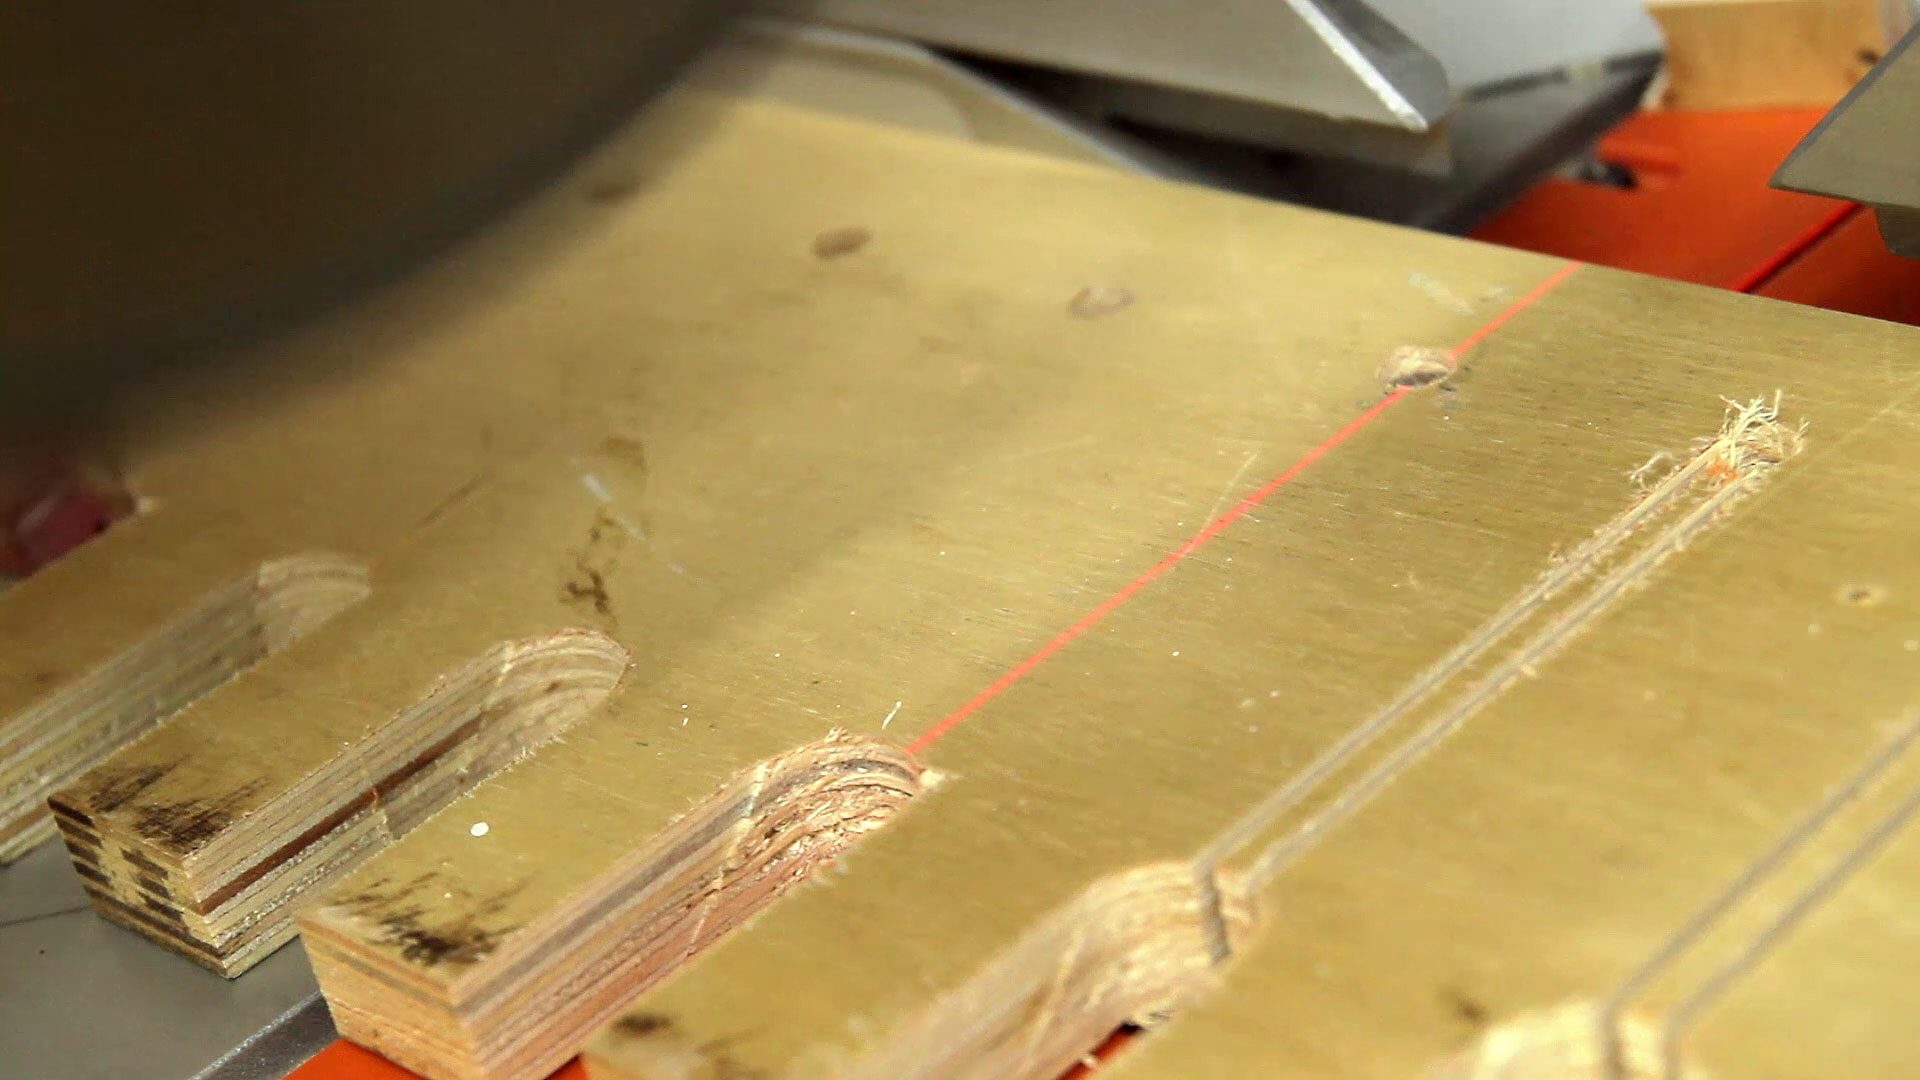
And of course the longer slots are cleaned up the same way. But this time I cut into the hole as opposed to out of the hole like before.
I really didn’t want to spend much time with joinery on this project. Just simple butt joints will be fine. I secured the plywood pieces to some pine 1×4 furring strips to form an L shape. After completing this step I realized that five rows of these pieces would be too much so I eliminated one completely.
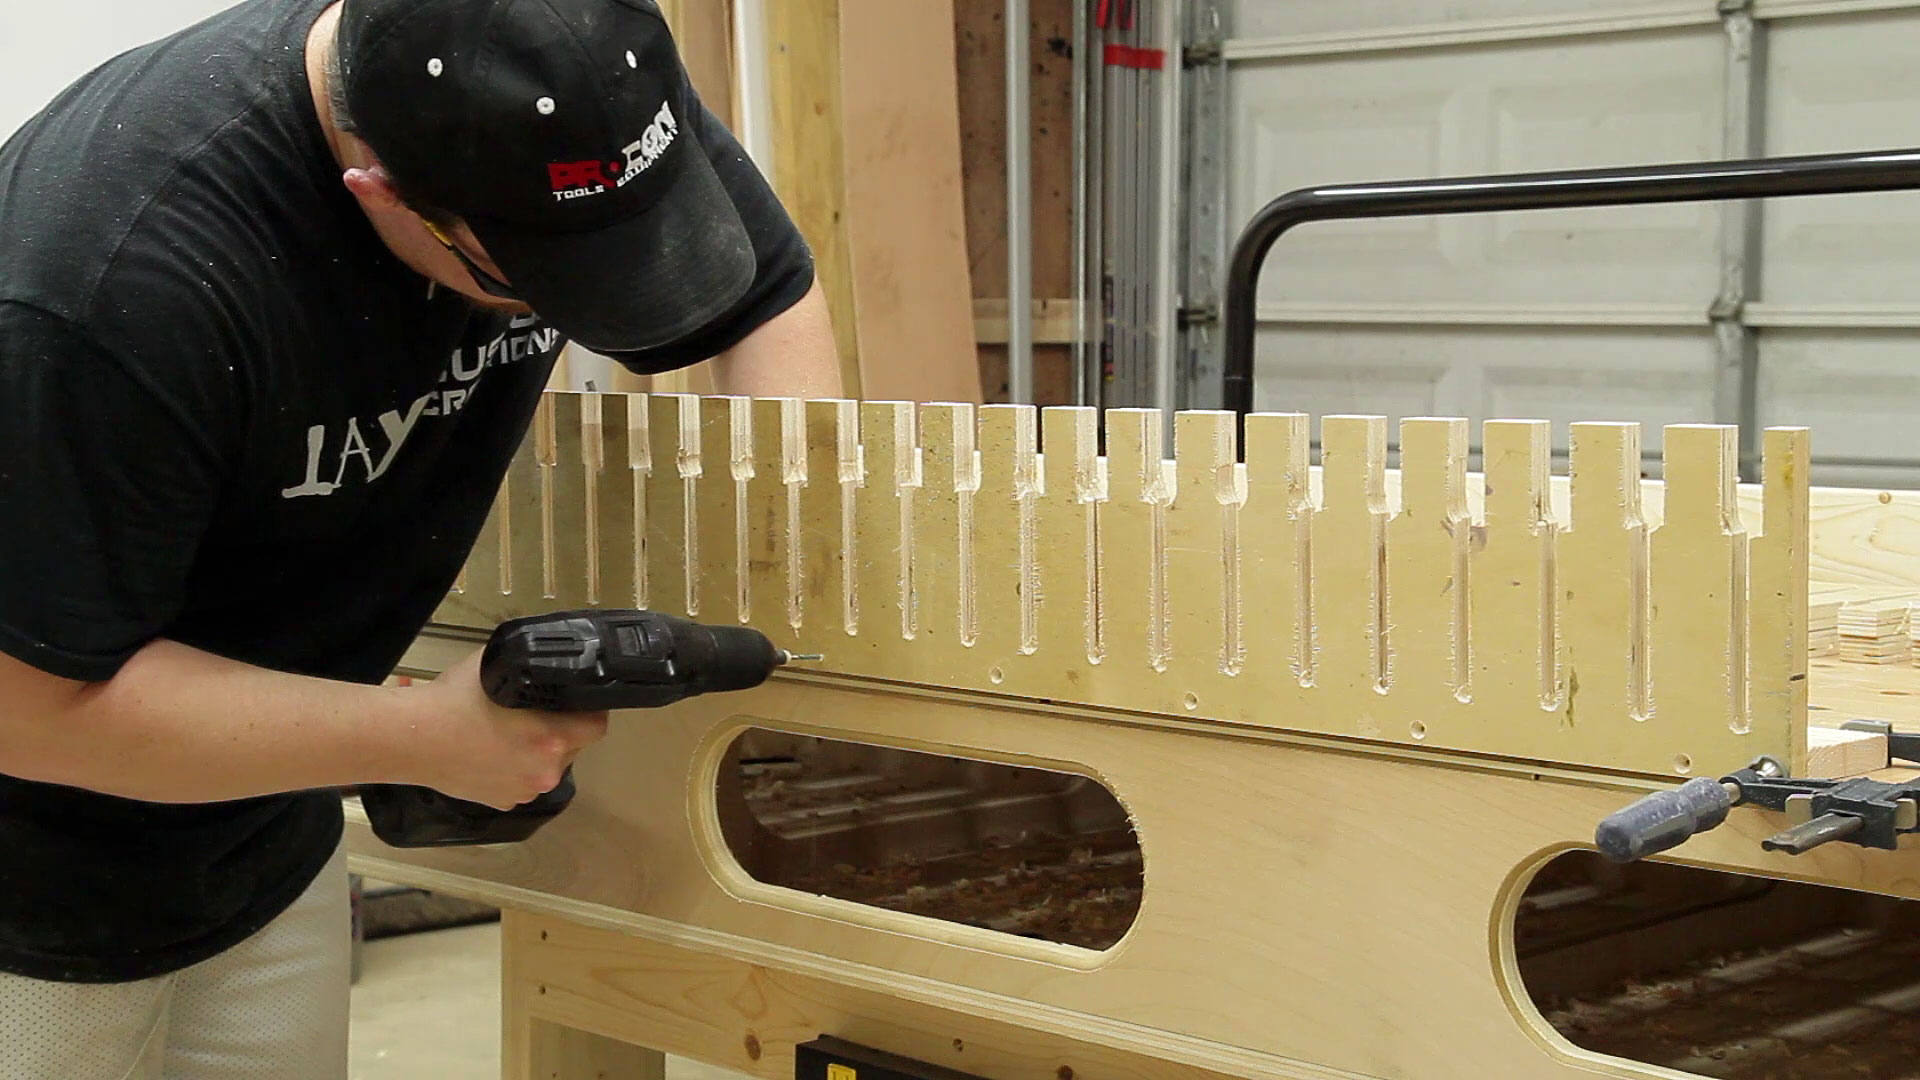
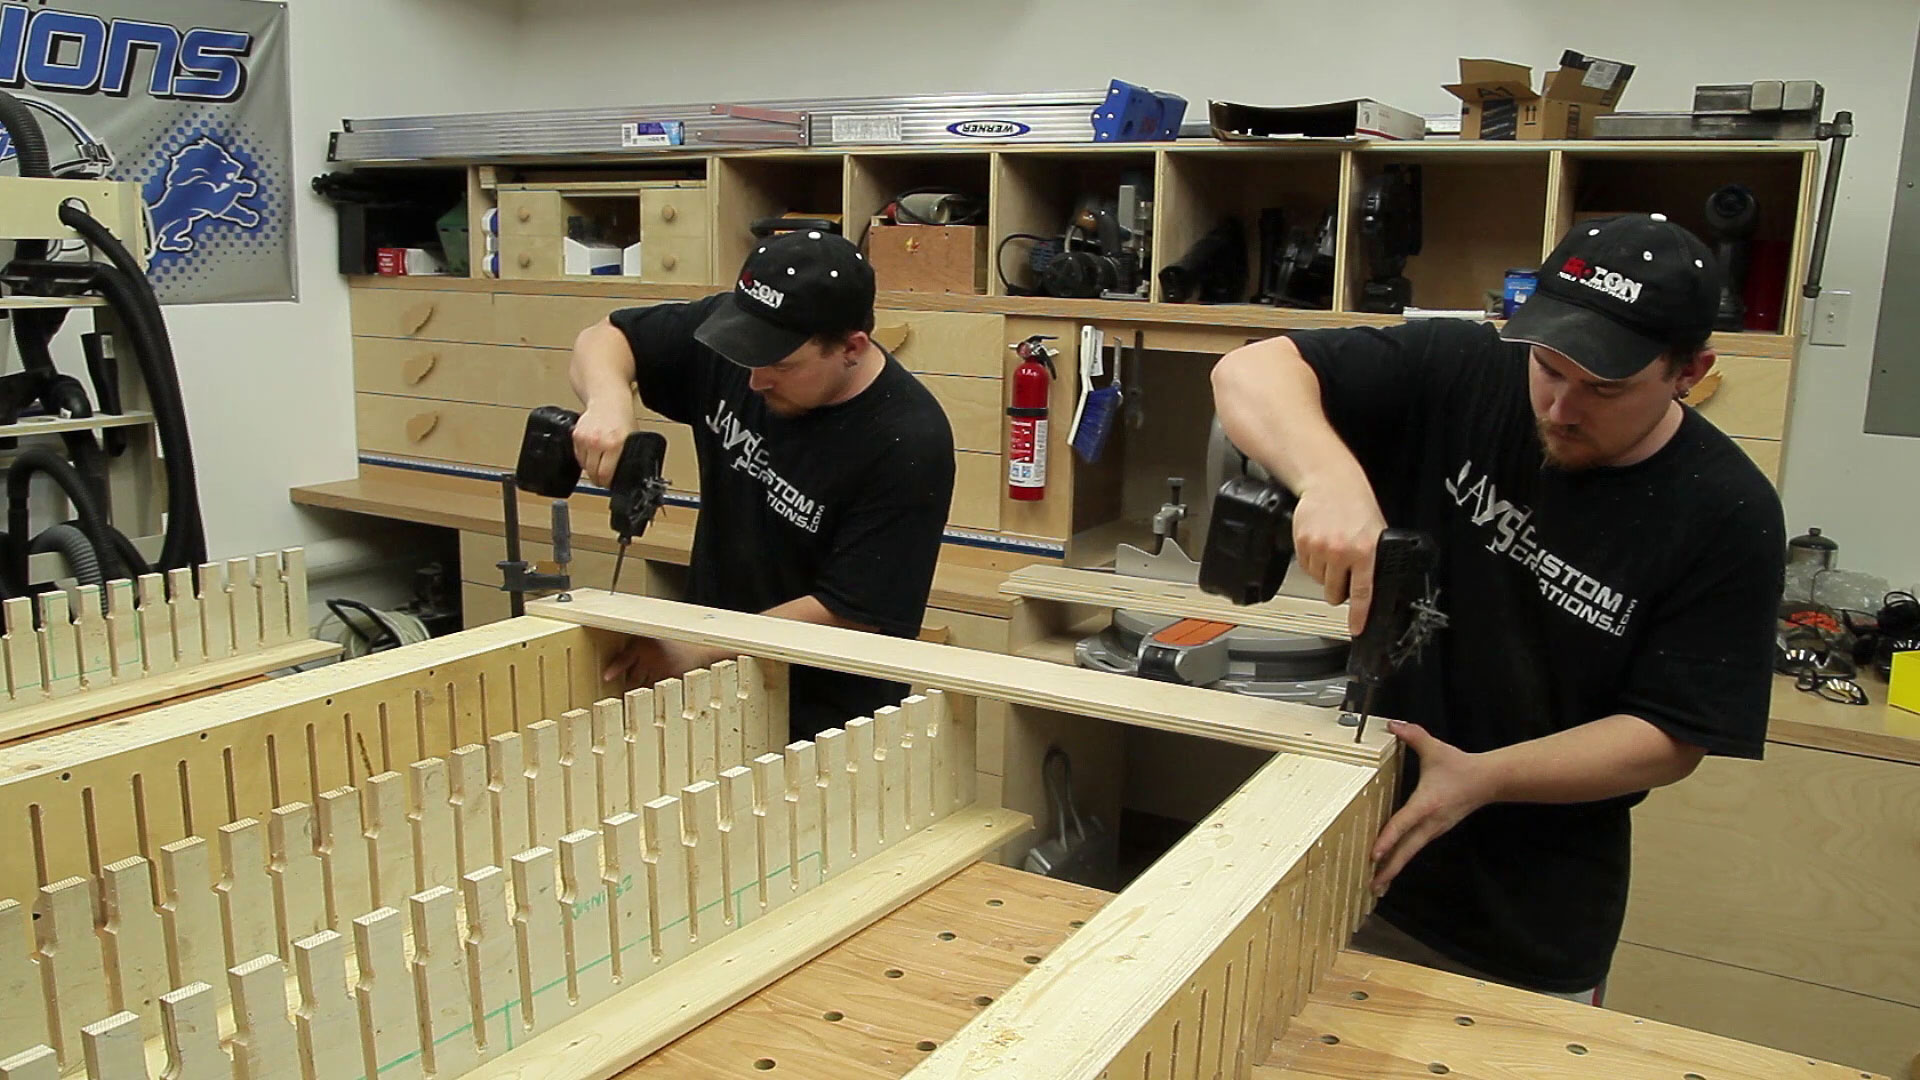
Me and Myself are back again so I put them to work. I flipped the assemblies over starting with the top and bottom and used another scrap strip of plywood to secure them together. No glue in this entire project by the way. Just four drywall screws at each connection. I used three vertical strips of plywood to connect everything.
To hang it on the wall I used a french cleat. I already had a french cleat on the wall so I just needed to cut one for the back of the rack. If you are not familiar with a French cleat it is nothing more than two pieces of material (typically 3/4” thick) with a matching angle cut on each one. One piece is secured to the wall with the angled edge facing up and sticking out to act as a hook on the wall. The opposite piece is attached to whatever it is you are trying to hang with the angled edge facing down and out. Then whatever it is you are trying to hang can easily be lifted up and hooked onto the piece on the wall.

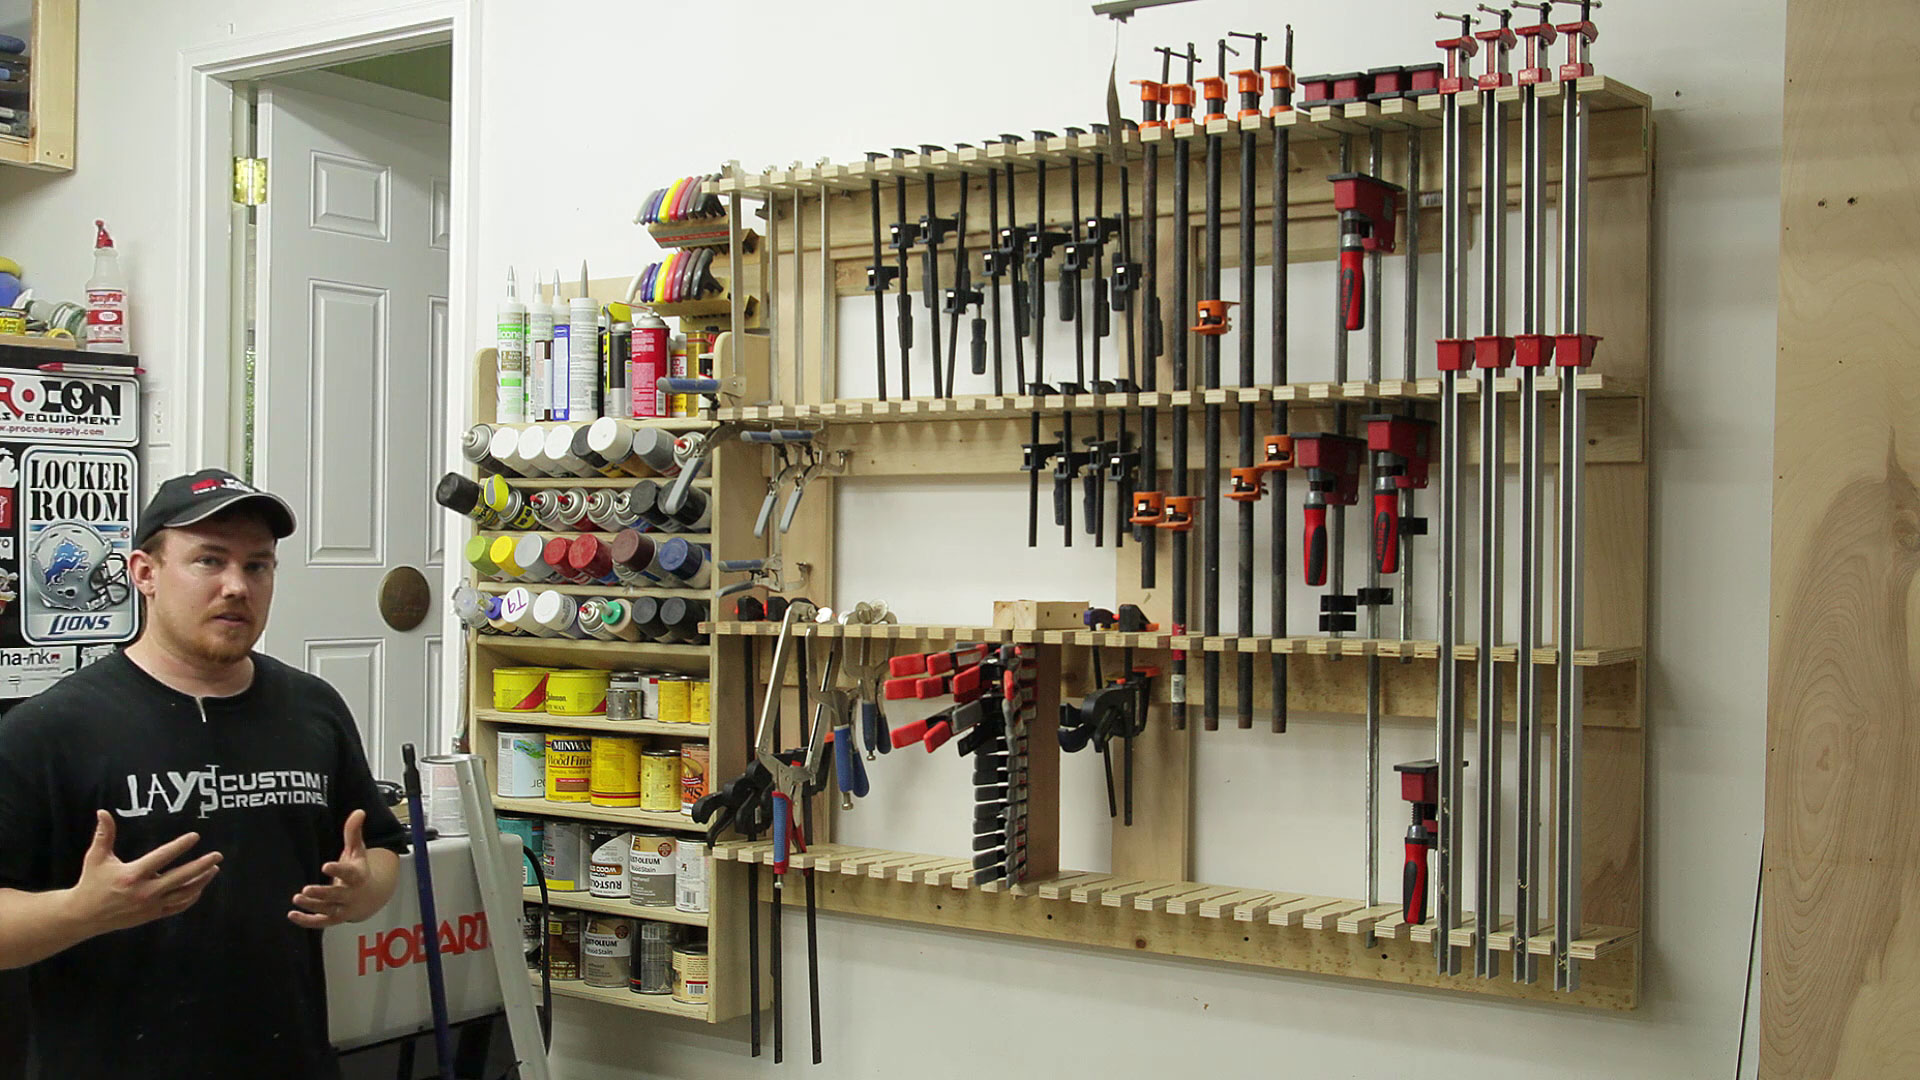
I screwed the cleat onto the back of the rack and I also added a scrap piece of material to the back side of the bottom clamp row to keep the entire unit evenly spaced off the wall. Then it’s time to hang it and fill it up. Here’s where I realized I had more clamps than what I initially though. But even then I still didn’t fill it up. Some of the larger clamps in this orientation are using multiple clamp locations but that’s OK as I don’t have the immediate need for those slots at the moment. If the need arises I can always move the longer clamps down exposing open slots for more clamps. I hope you enjoyed this build and are able to put the design to use regardless of how large or small you make it. Have a great week folks.


I’m calling it right now. You are just taking credit for awesome editing work and really have a twin, kind of like in the movie “The Prestige”.
hahahahaha. That’s funny. But thanks!
Once again you have taught and helped me with a problem in my shop.
Keep up the great work
MOLON LABE
Very cool Gregg. Glad it works for you.
Nice job on the clamp rack and the video, you’ve solved two problems, clamp storage and you’ve created a clone. where is the video on how to create a clone?
Wayne
Search YouTube for overlaying videos with a mask in premiere pro.
very nice Jay
Thanks Nino
I have been thinking about clamp rack designs and really like what you came up with. You have another winner, thank you.
Thank you Phillip.
Jay,
Thanks for all your great Vids. Awhile backI think you said you were using Sony Movie Studio Platinum Suite 12, are you now using Adobe premiere pro? Can this type of overlay be done with Sony Platinum Suite 12?
Thanks again
Yes I am using Premiere Pro. It’s included with my CC membership so I figured I would make the switch. It’s much more difficult to do in Sony Movie Studio. I think you can only do a vertical split and it always shows.
How wide did you cut the board before you cut the slots? I can’t tell if it is 6 inches, 8 inches, or more.
I think it was 7″
Thanks Jay – great clamp solution that I can use!
v/r, duna sends…
Super praca wykonana przez ciebie gratuluje
Jay, nice job, I need one too. About your chuck falling out on the drill press, I had that problem also. What you need to do is clean bot the chuck and the taper that it fits into really well. Make sure that they are supper clean and dry, that should solve the problem
Mike
Great Job Jay…
I hope that I can do as good a job when I do mine…
Love your work man
You are a GREAT person
Thanks
Mike
Jay you are way to hard on yourself. You solved 2 problems in one project. You created an awesome rack, Which I will be making on a smaller version, and you got rid of old stock. Really, who is going to get so close to the rack to criticize a slight off cut or if there is paint on it from when the wood was used for something else??? You “both” did an awesome job AGAIN!!
I wasn’t being hard on myself. Just simply pointing out the obvious. It’s ugly :) Thanks again Dolly :)
Nice Rack man! Having a similar problem in my shop finally…I have a question about the Black bar clamps with the grayish handles… Are those from Harbor Freight? I had bought quite a few of them myself a while back but have found that for “hard clamping” the bars just are NOT strong enough. Is this a problem you have encountered with those as well?
For hard clamping most all F style clamps aren’t the best option.
Looks like your shop helper skipped out on you before the project was finished. It’s so hard to find good help these days.
It’s like a stray animal… I fed him… he’ll return.
Another fun video to watch and learn from. I wish my “Function over fashion” was as good as this.
That’s a project I need to take on here soon. Just an FYI and maybe some food for thought, I’ve loved my rolling wood cart but it sure does take up a lot of room. Plus I always end up getting stuff in front of it that has to move if I ever need to roll it out to get something off the back. Oh.. and put more wheels on it.. get a few sheets of plywood along with a bunch of other miscellaneous wood and this thing won’t want to move.
I’ve had mine for a few years now if you want to chat about what I do and don’t like.
http://blog.monolocoworkshop.com/2012/12/wood-storage-cart.html
Mine will be a little smaller. Just a plywood cart: http://images.meredith.com/wood/pdf/SheetGoodsRackPlan.pdf
Very nice. Happy summer…stay hydrated. p.s. – I’m utilizing the garage shelves you did a while back in my shop as I try to get it into working shape. Rock solid and really helping to open up the space, so thanks.
Thanks Josh. Water is my friend this time of year.
You really put some thought into that rack and designing the holding system. Really believe this rack system is a much better design than most I have seen and even duplicated. Thanks for the ideas you come up with.
Watched a ton of YouTube videos and clamp racks. I have to say your design by far is the most versatile hands down. I am still a newbie so this rack system will be ideal. Thanks for sharing. Very helpful.
Your “double self” shots make me laugh…. Remembering the old Michael Keaton comedy “Multiplicity.” If you haven’t seen it save it for when you really need to laugh!
Jay you’re doing great. Keep it coming. I appreciate your detail and explanations.
Thanks.
Loved the design and just finished building one sized for my space. One thing I bumped into that I thought I would share for the benefit of others. I have a pair of the Jorgensen series 8000 cabinet maker K clamps whose bar thickness challenges the small slot width. I erred cutting too snug to the parallel lines drawn from the 3/8″ holes. Lesson learned. Always test for fit when following plans before final cutting/assembly.
Another great, and entertaining video. BTW, did your wife get hold of the footage and add a subtle hint?? :) Priceless! Mine would just tell me I have no time to make one and go buy it. :/