Not every shop project has to increase productivity. This one actually does absolutely nothing to increase productivity. It’s just a simple build to increase the fun by getting lose and throwing a few darts on down time. Or in my case, another one-time-cost item to provide a lot of future entertainment for my wife and I. A simple dartboard cabinet.
So the long term entertainment will be consumed by my wife and I Nick Ferry and I actually planned this project for earlier on in his visit to Mississippi. We didn’t get around to making it until his last day though. If you don’t know who Nick is, he’s a fellow woodworker and online content creator. Check out his website at NickFerry.com and be sure to subscribe to his YouTube channel so you don’t miss any of his future builds. He’s a funny dude and has a ton of great ideas.
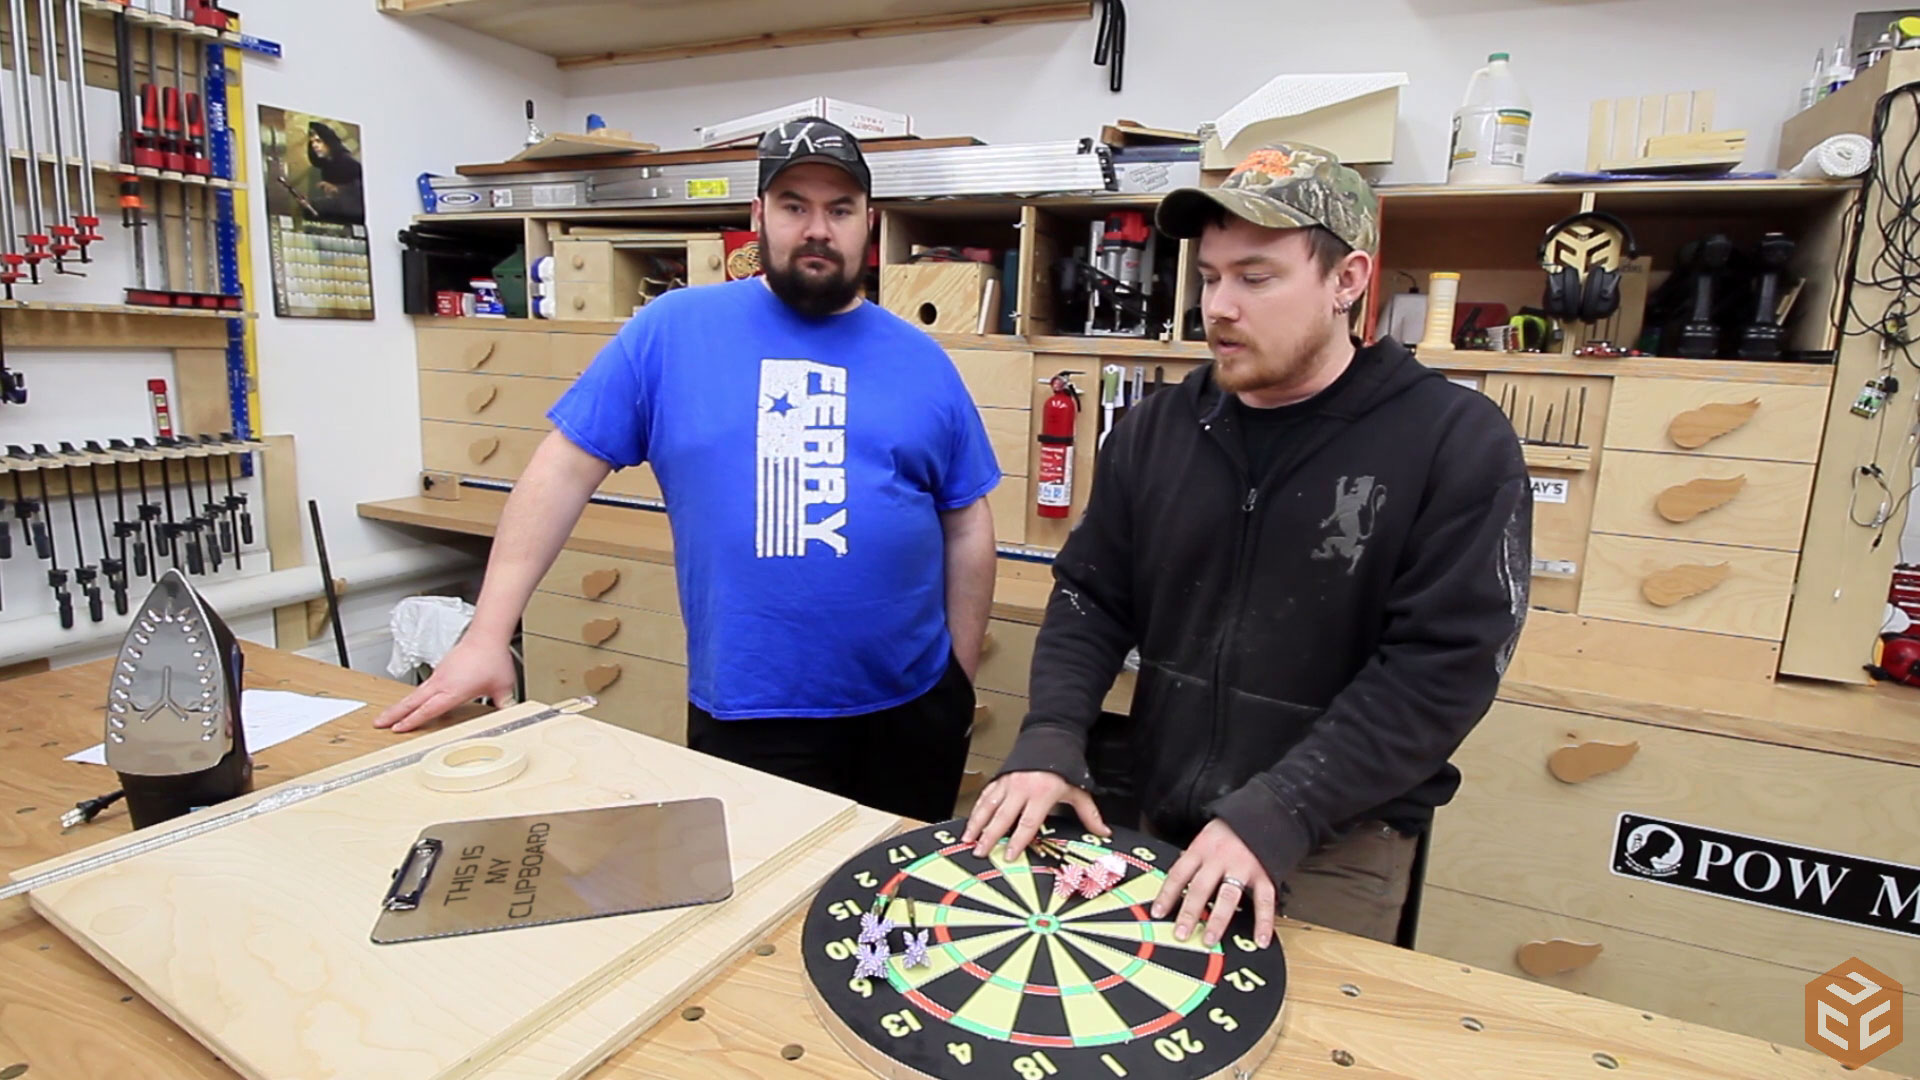
As I said, this is a simple dartboard cabinet. A few scraps of plywood, the dartboard itself, a piano hinge, and some iron on edge banding is what we will be using. Oh, and a clipboard.
The cabinet itself will be 3/4” and 1/2” plywood. I had three scrap squares on my plywood cart that were just larger than what was needed for this project. It worked out great. The plywood itself is birch PureBond hardwood plywood. I’ve been using it for every plywood project since building my miter saw station and have been very pleased with the results. It’s made in the USA and formaldehyde free as well. Two added bonuses. For the sides of the cabinet four oversized strips were cut from the first scrap square.
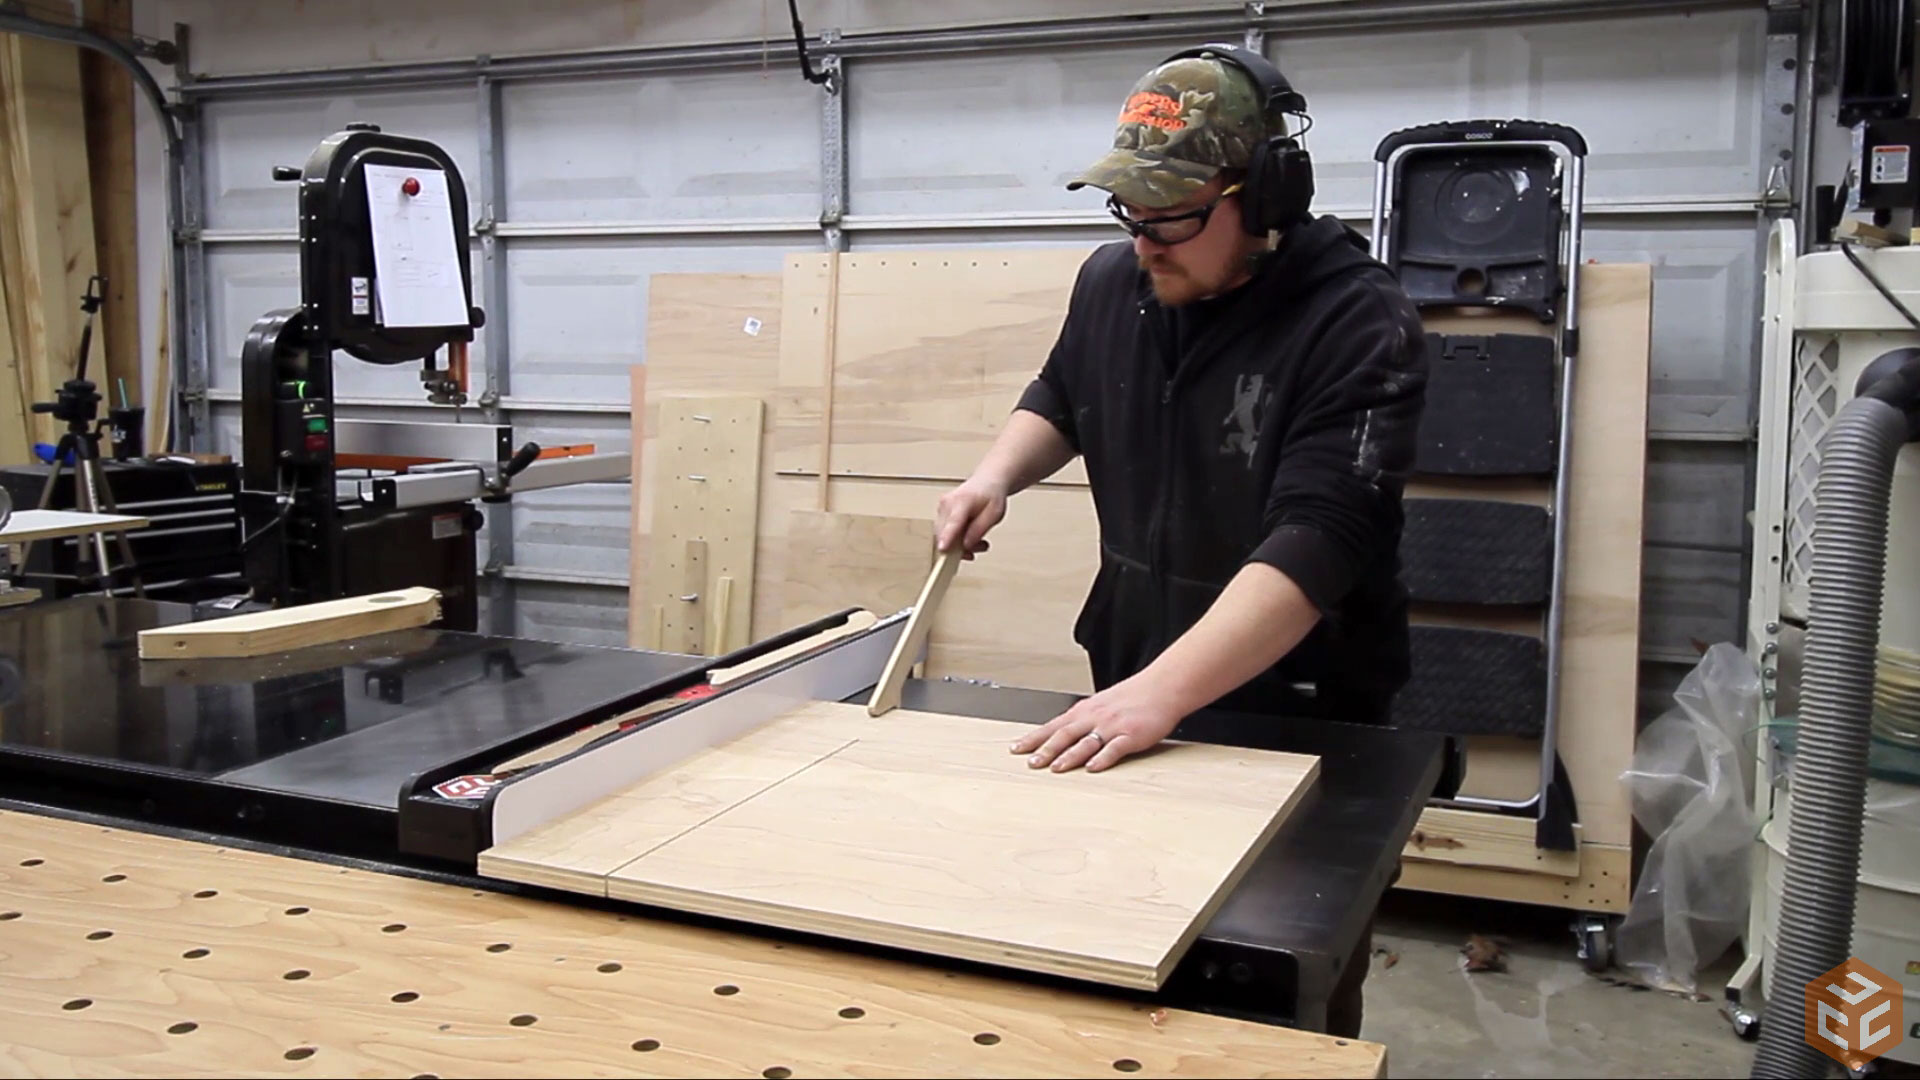
I wanted to use the three scrap squares that I had instead of cutting any more from a larger sheet. One of the squares was 1/2” plywood so we opted to use it for the back panel.

As I mentioned previously, working on projects with someone else often times leads to you trying new things that you haven’t done before. This was one of those cases. With all of the plywood projects I’ve made I’ve actually never used iron on edge banding before. After working with it here I’m not sure why I haven’t. It’s actually pretty convenient. Nick started the process by ironing on the banding.
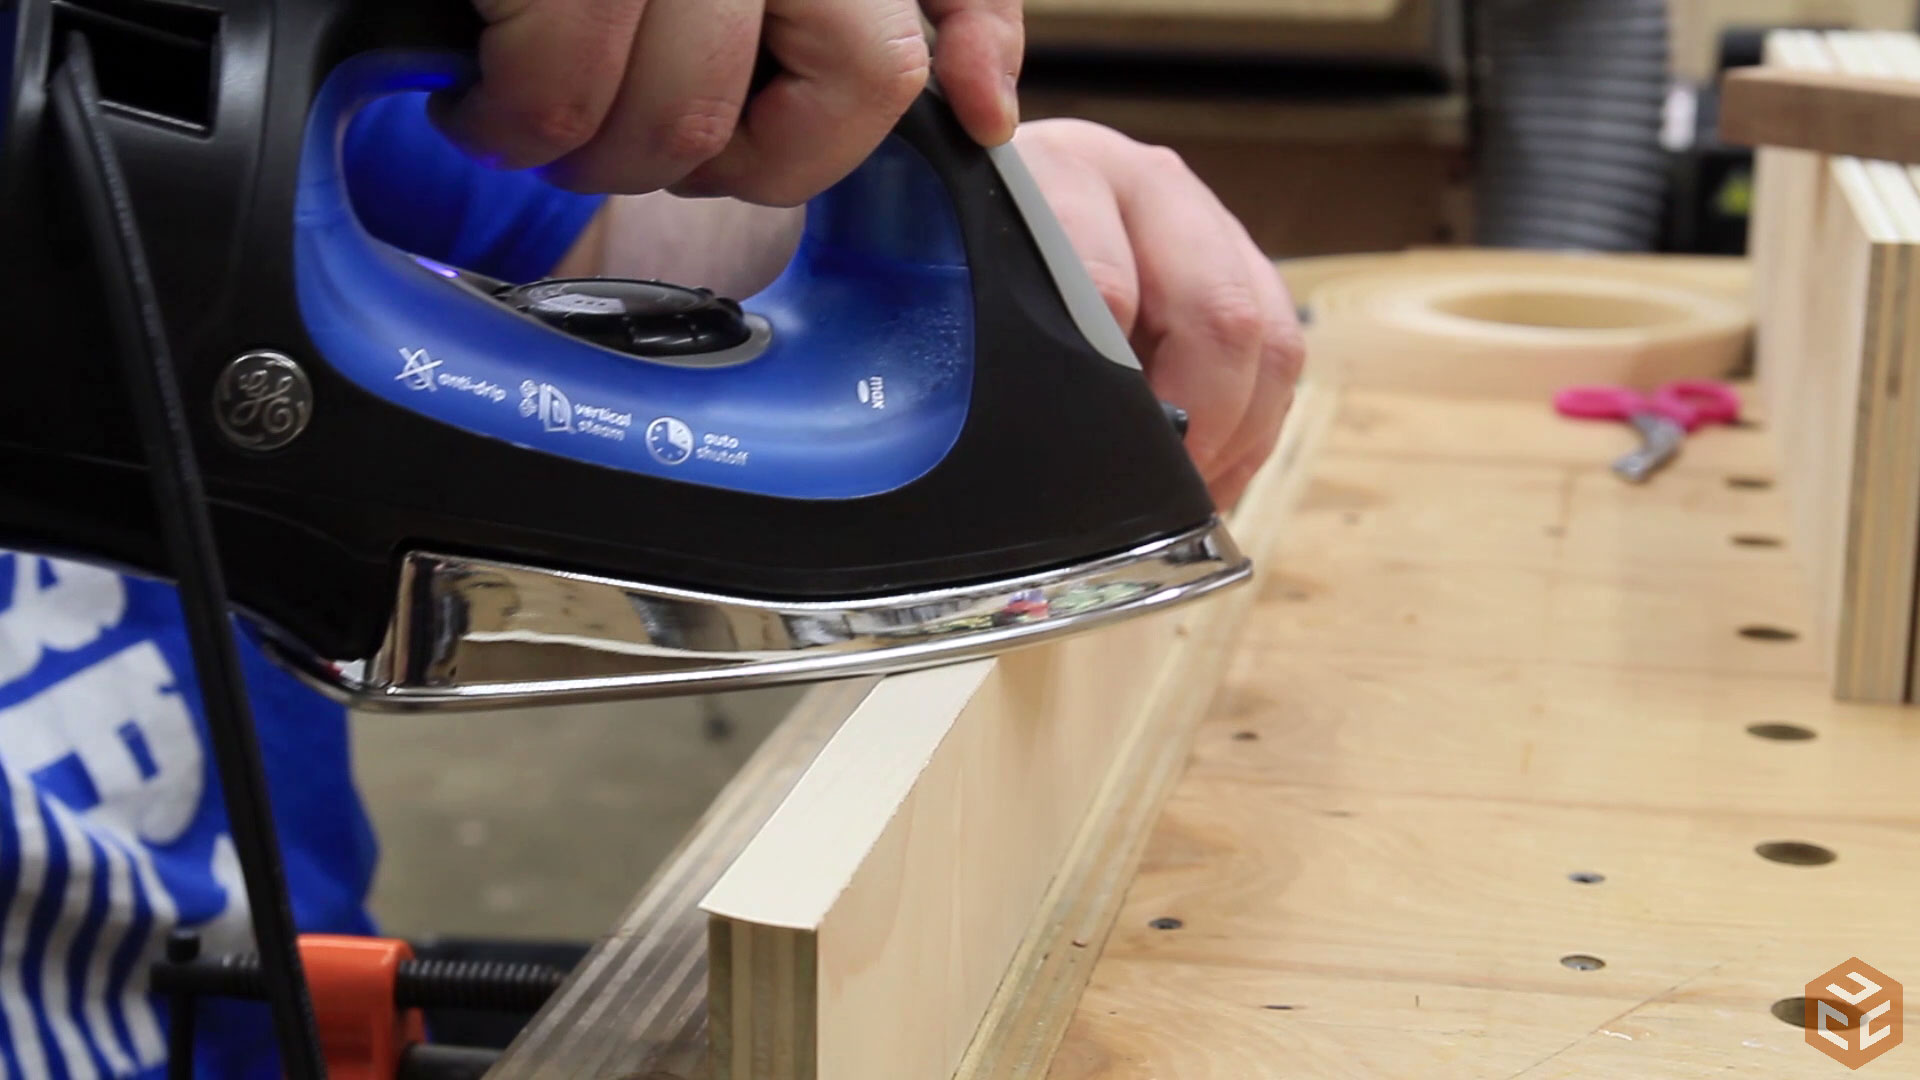
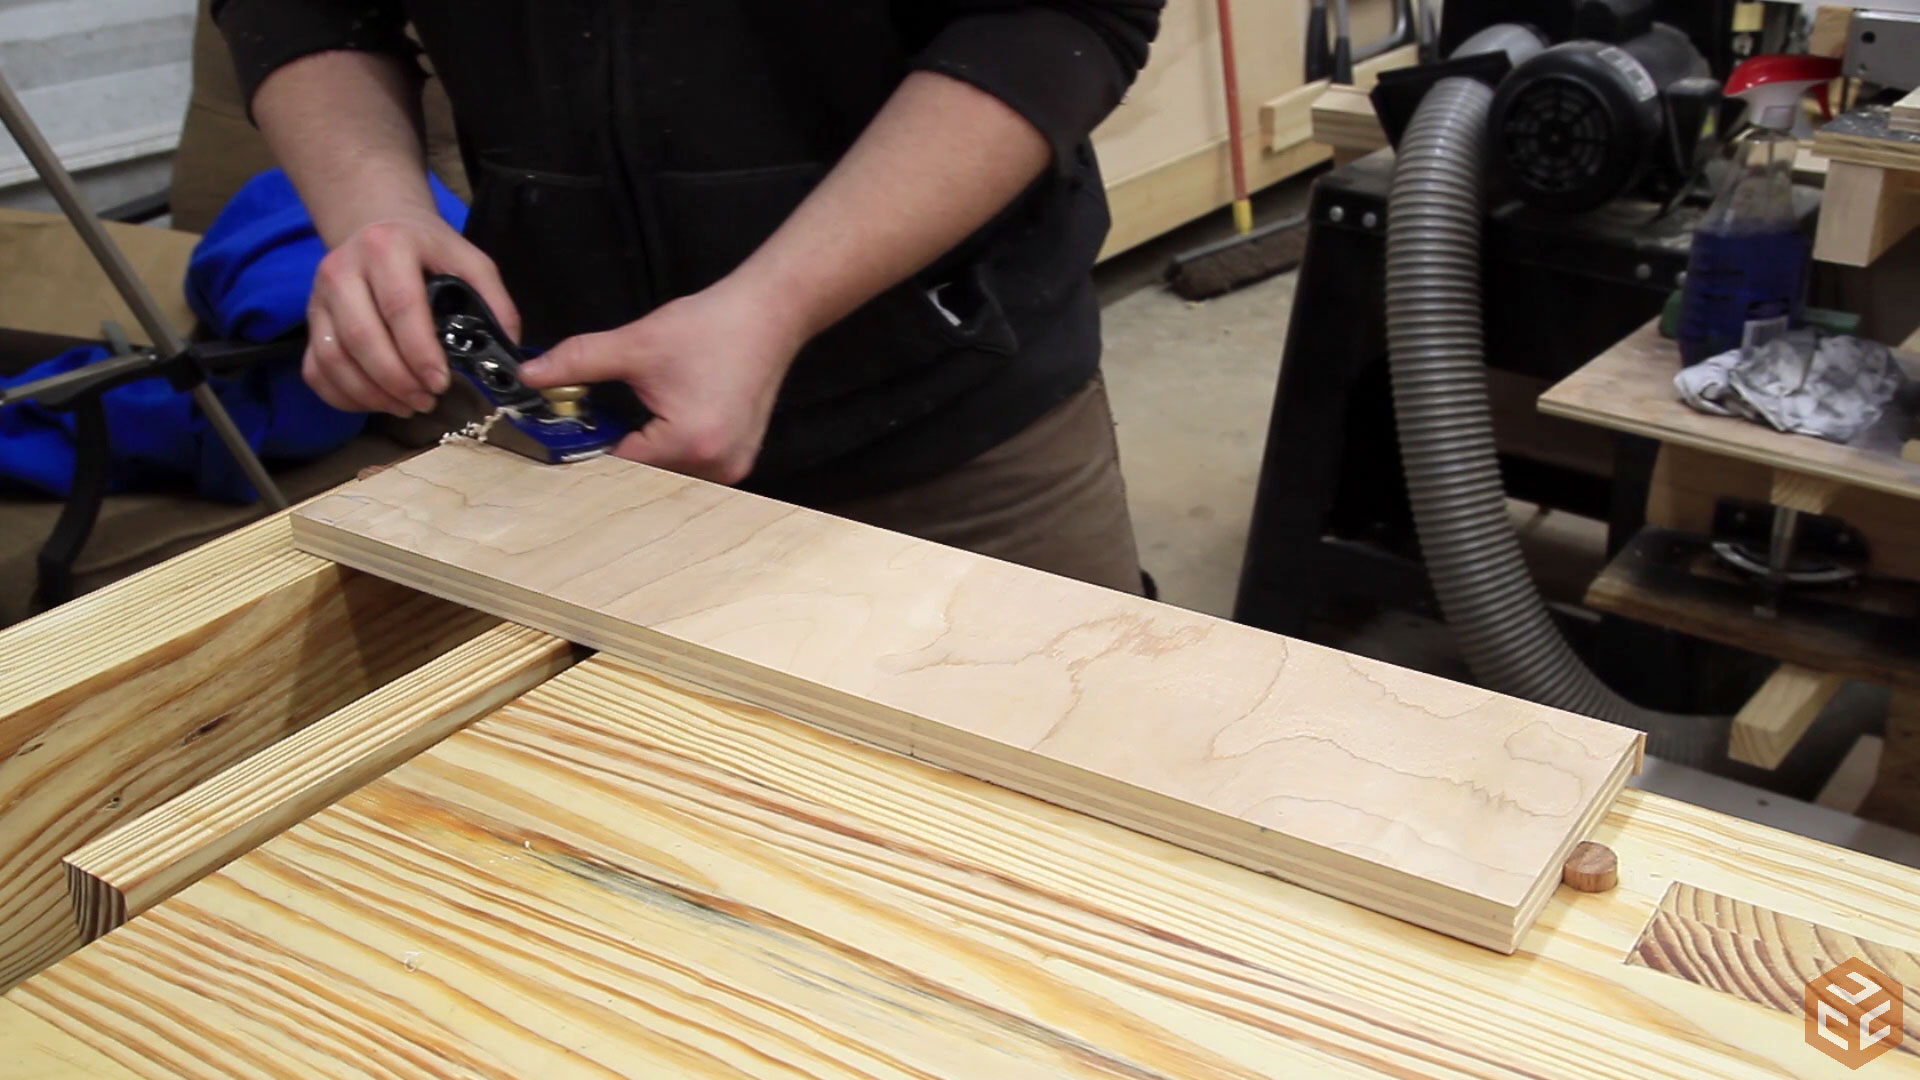
And as soon as each one was done I used a block plane to flush the banding with the plywood panels. These are the side panels by the way. It makes more sense to apply the banding before cutting the joinery.
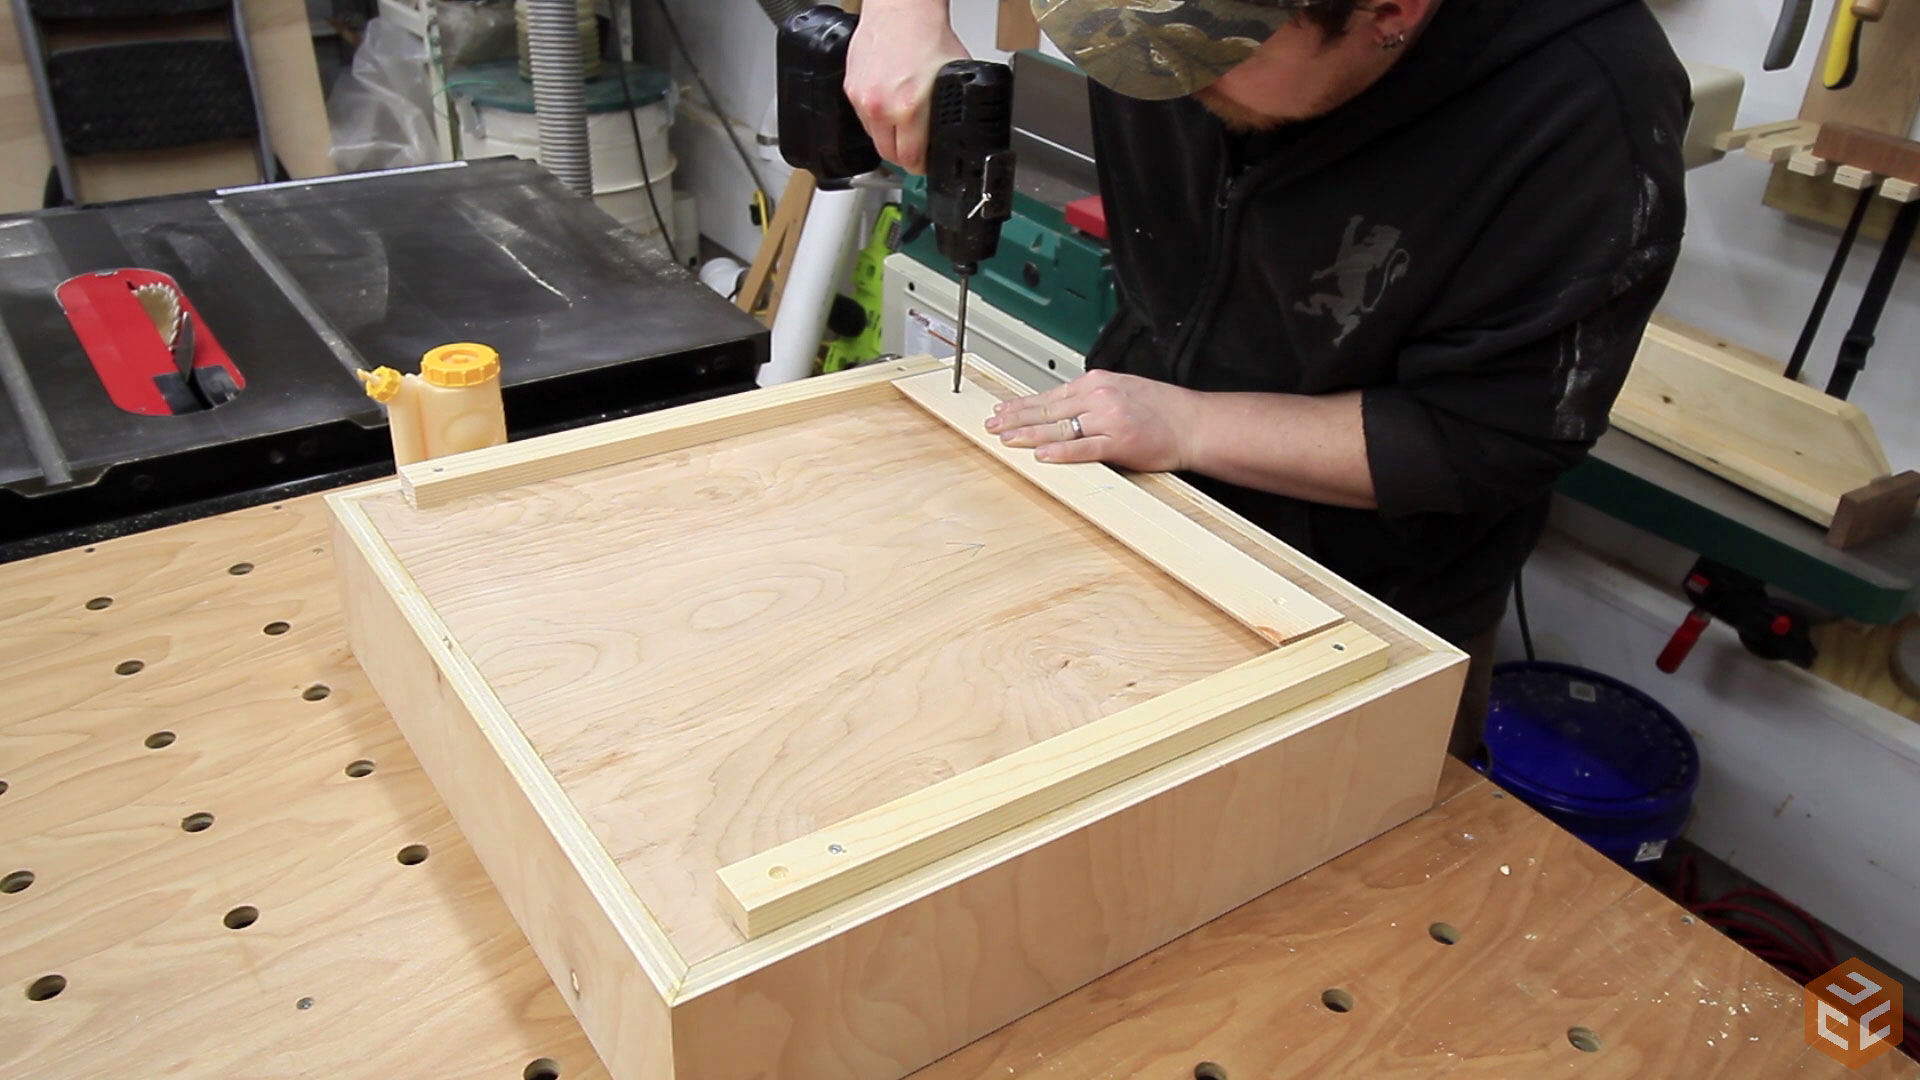
For the joinery of the cabinet Nick suggested we use mitered corners. And to make those cuts accurately and clean without much tearout I pieced together a quick miter gauge sled to give me a zero clearance 45 degree cut. This worked great. The cuts were absolutely perfect with zero tearout.
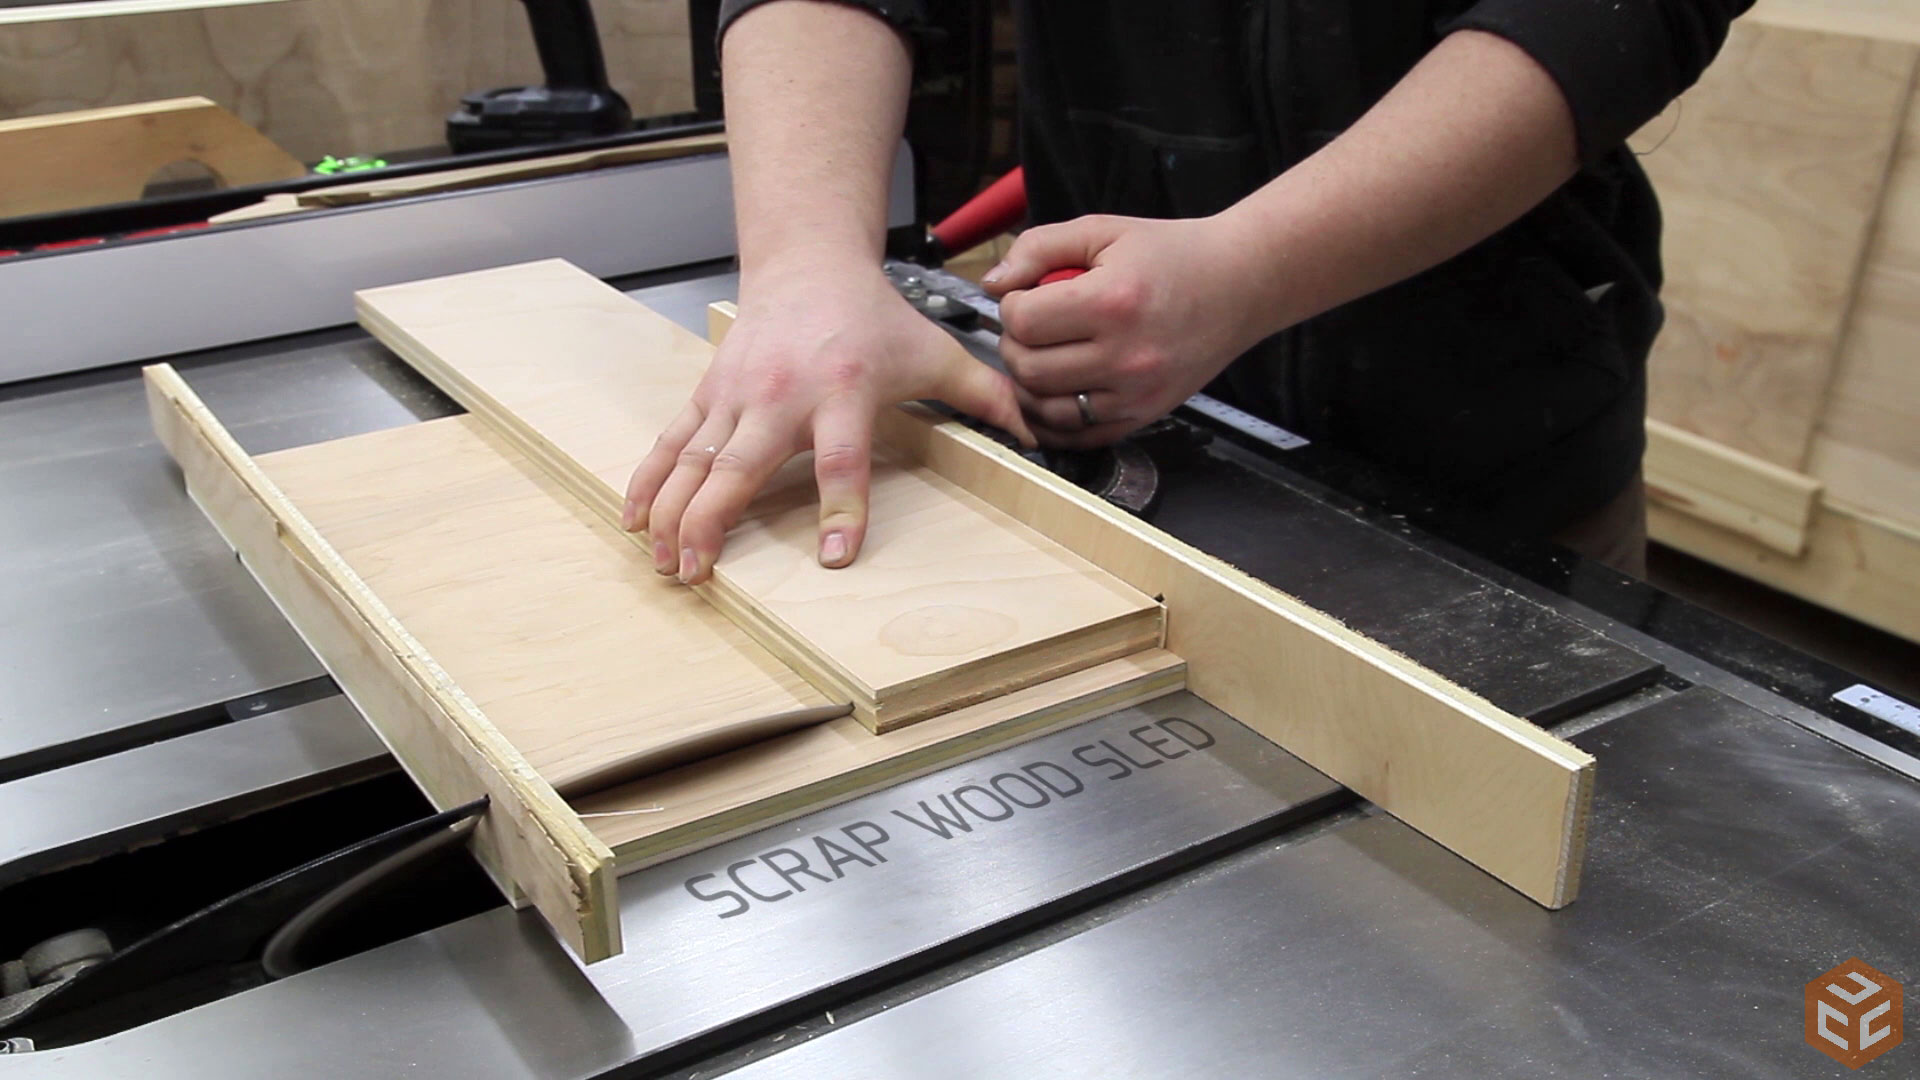
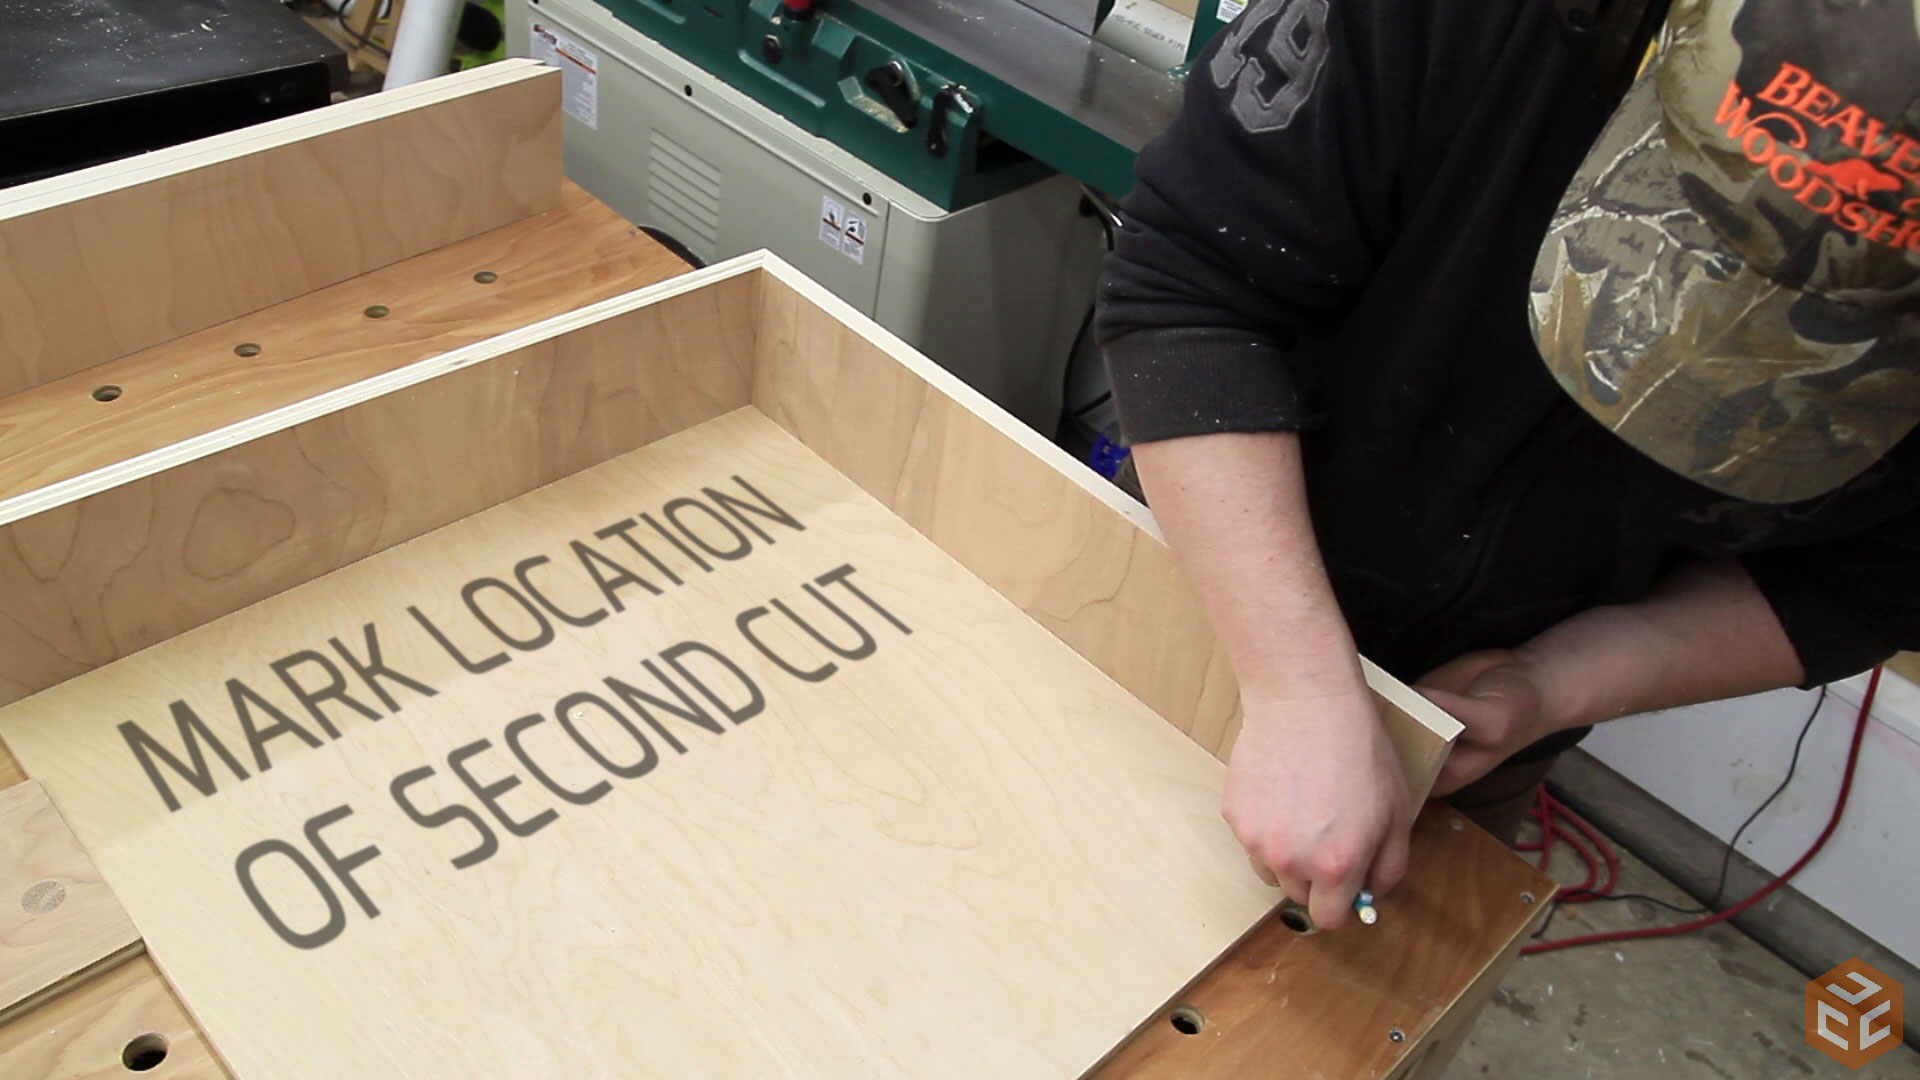
I started making all the miter cuts by first making one miter cut on the same side of each side panel. Then I could use two of the cuts to form a corner and then mark the opposite cut location on the panels.
One by one I worked my way around the cabinet until all four corners were perfect.

It was Nick’s idea to make the mitered corners so was nominated for the glue-up. Again, it’s very interesting working with other people. Mitered corners wouldn’t have been my choice if working alone. And I wouldn’t have used a band clamp for the glue-up either. But those two things are what Nick decided on and they both worked very well.
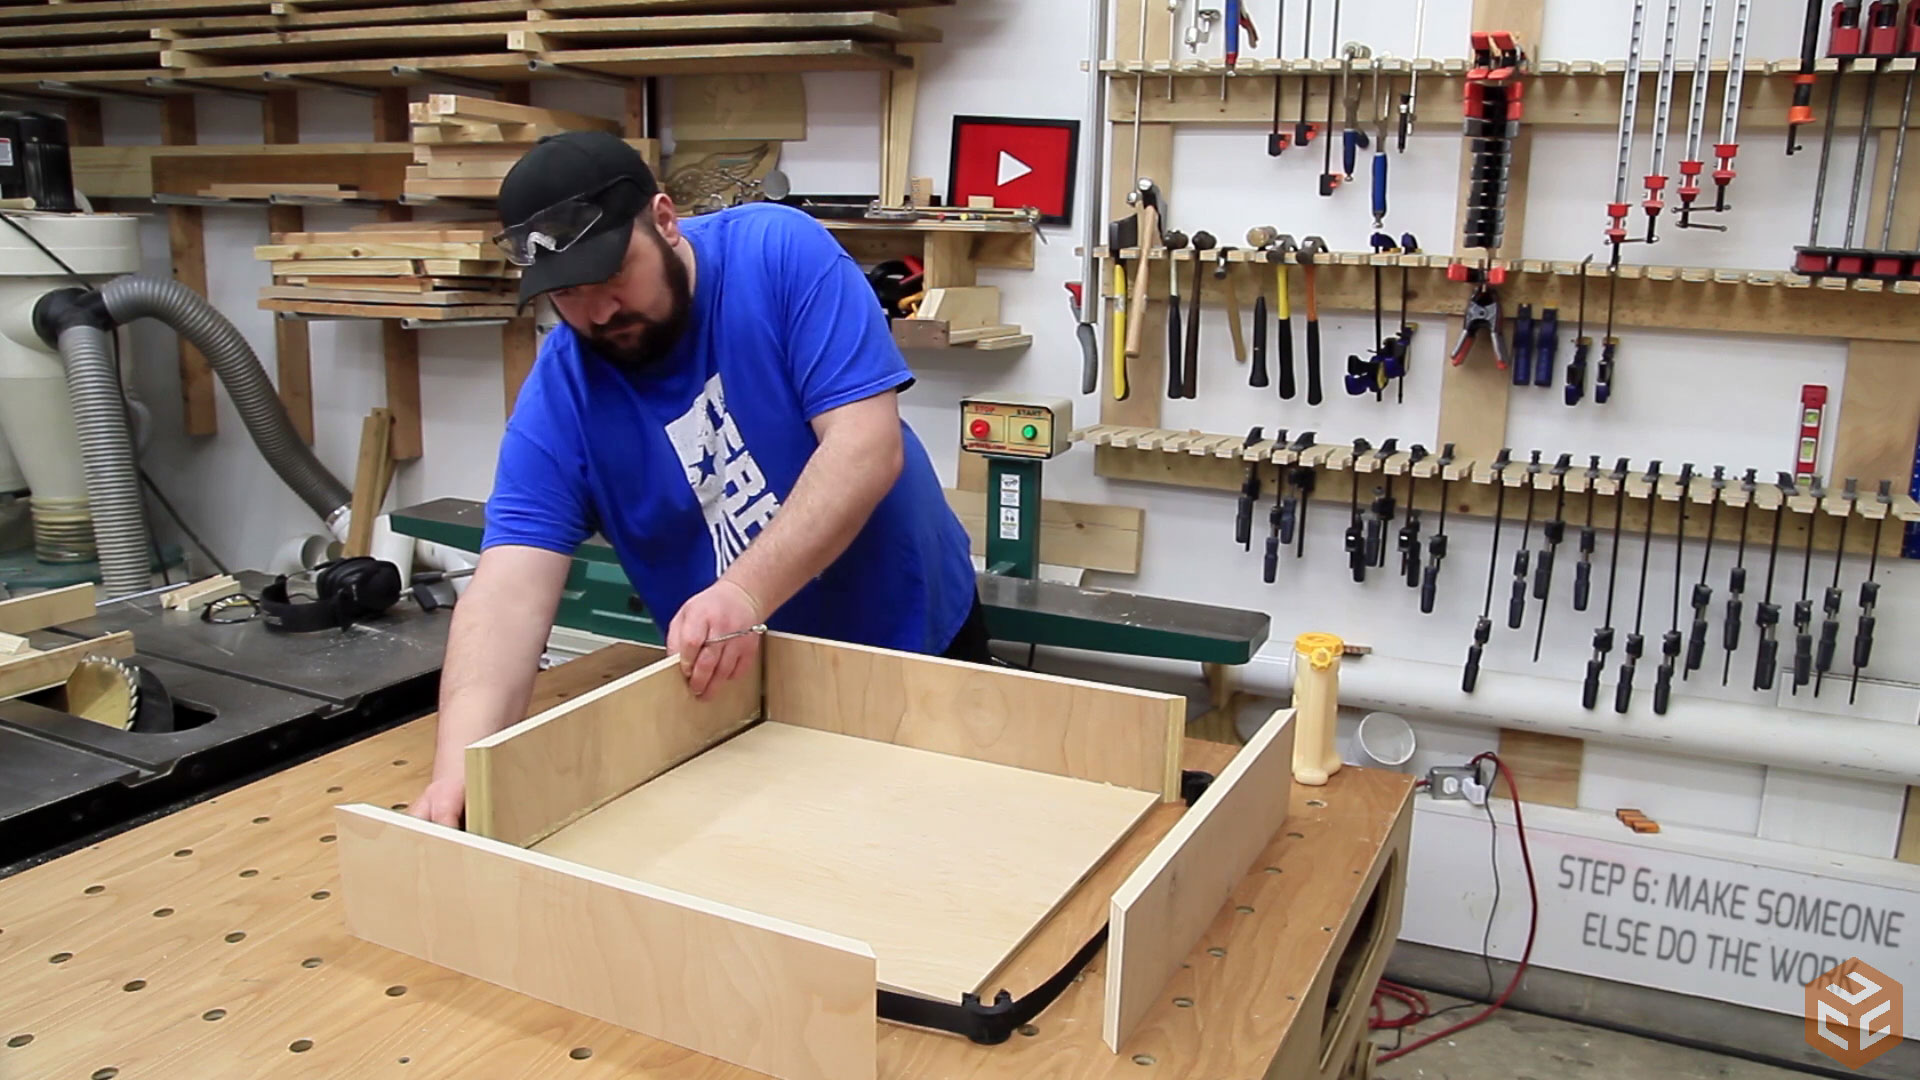
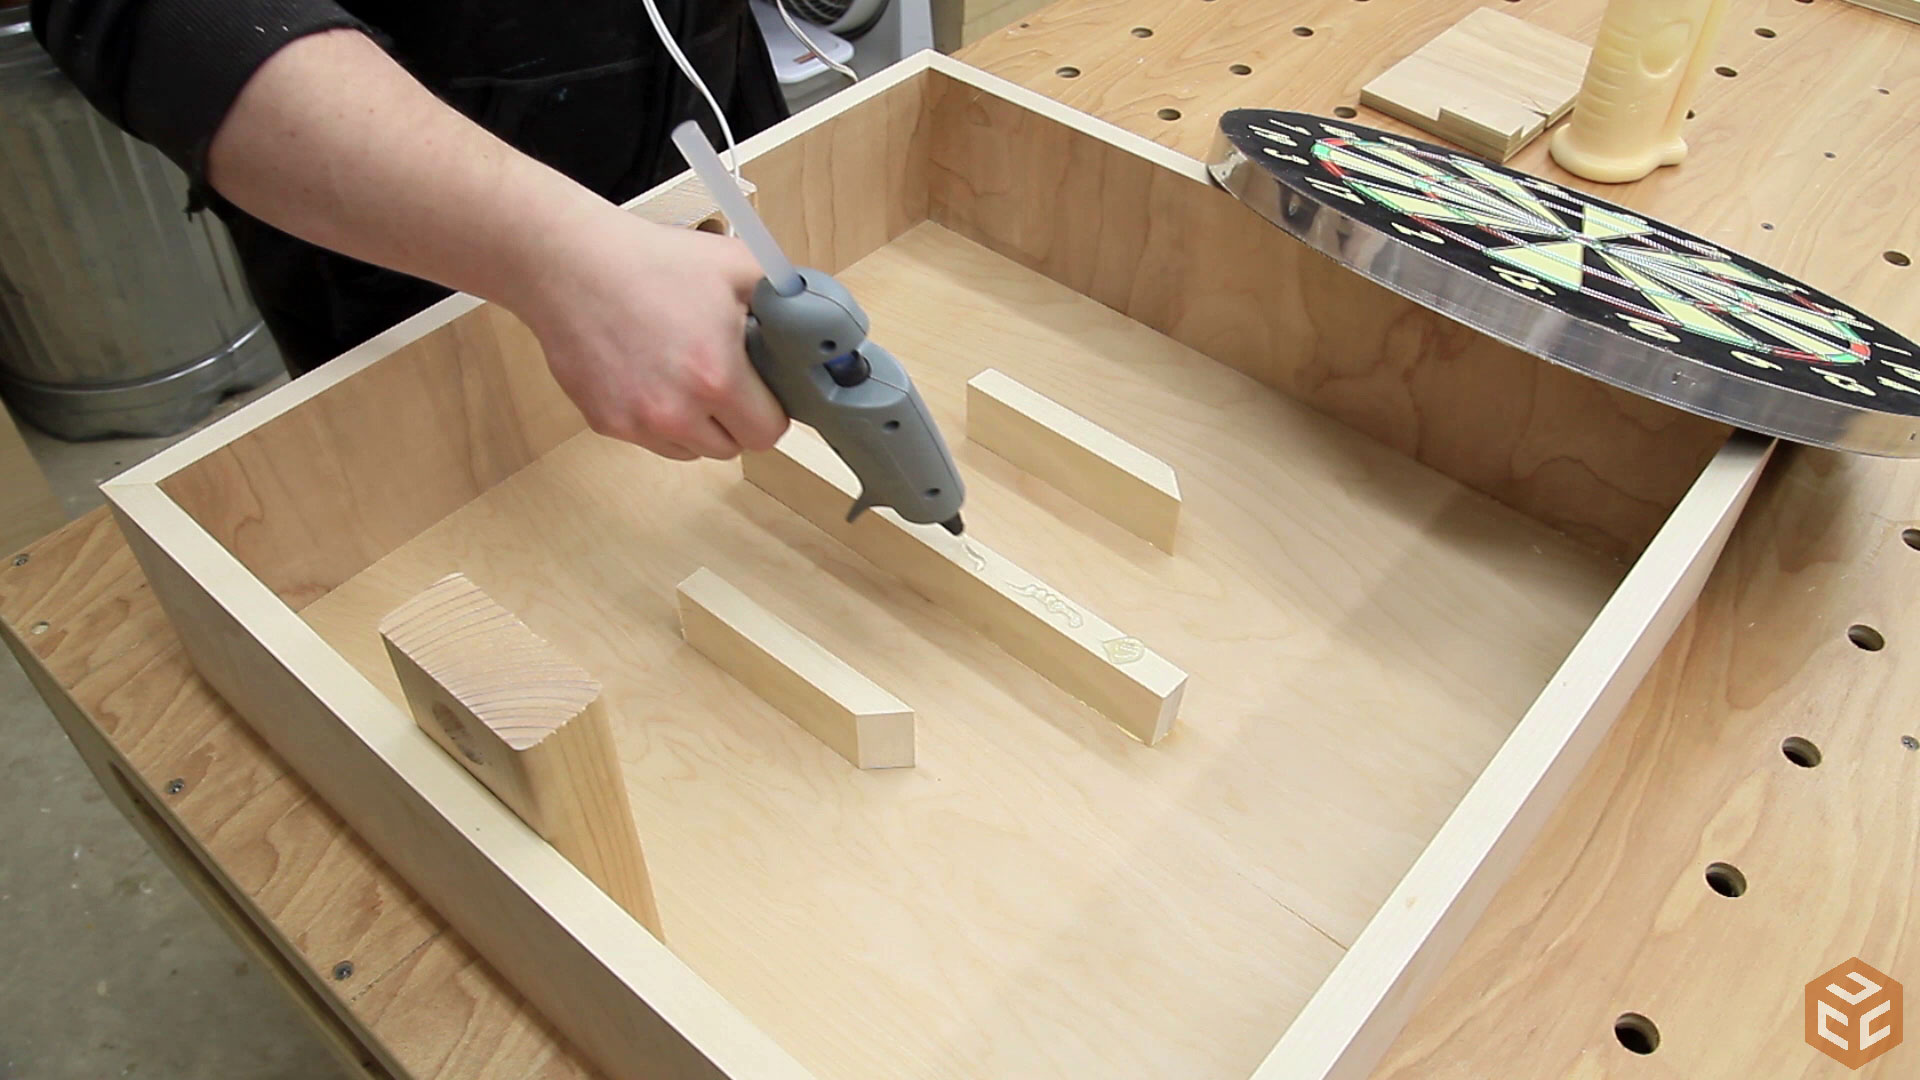
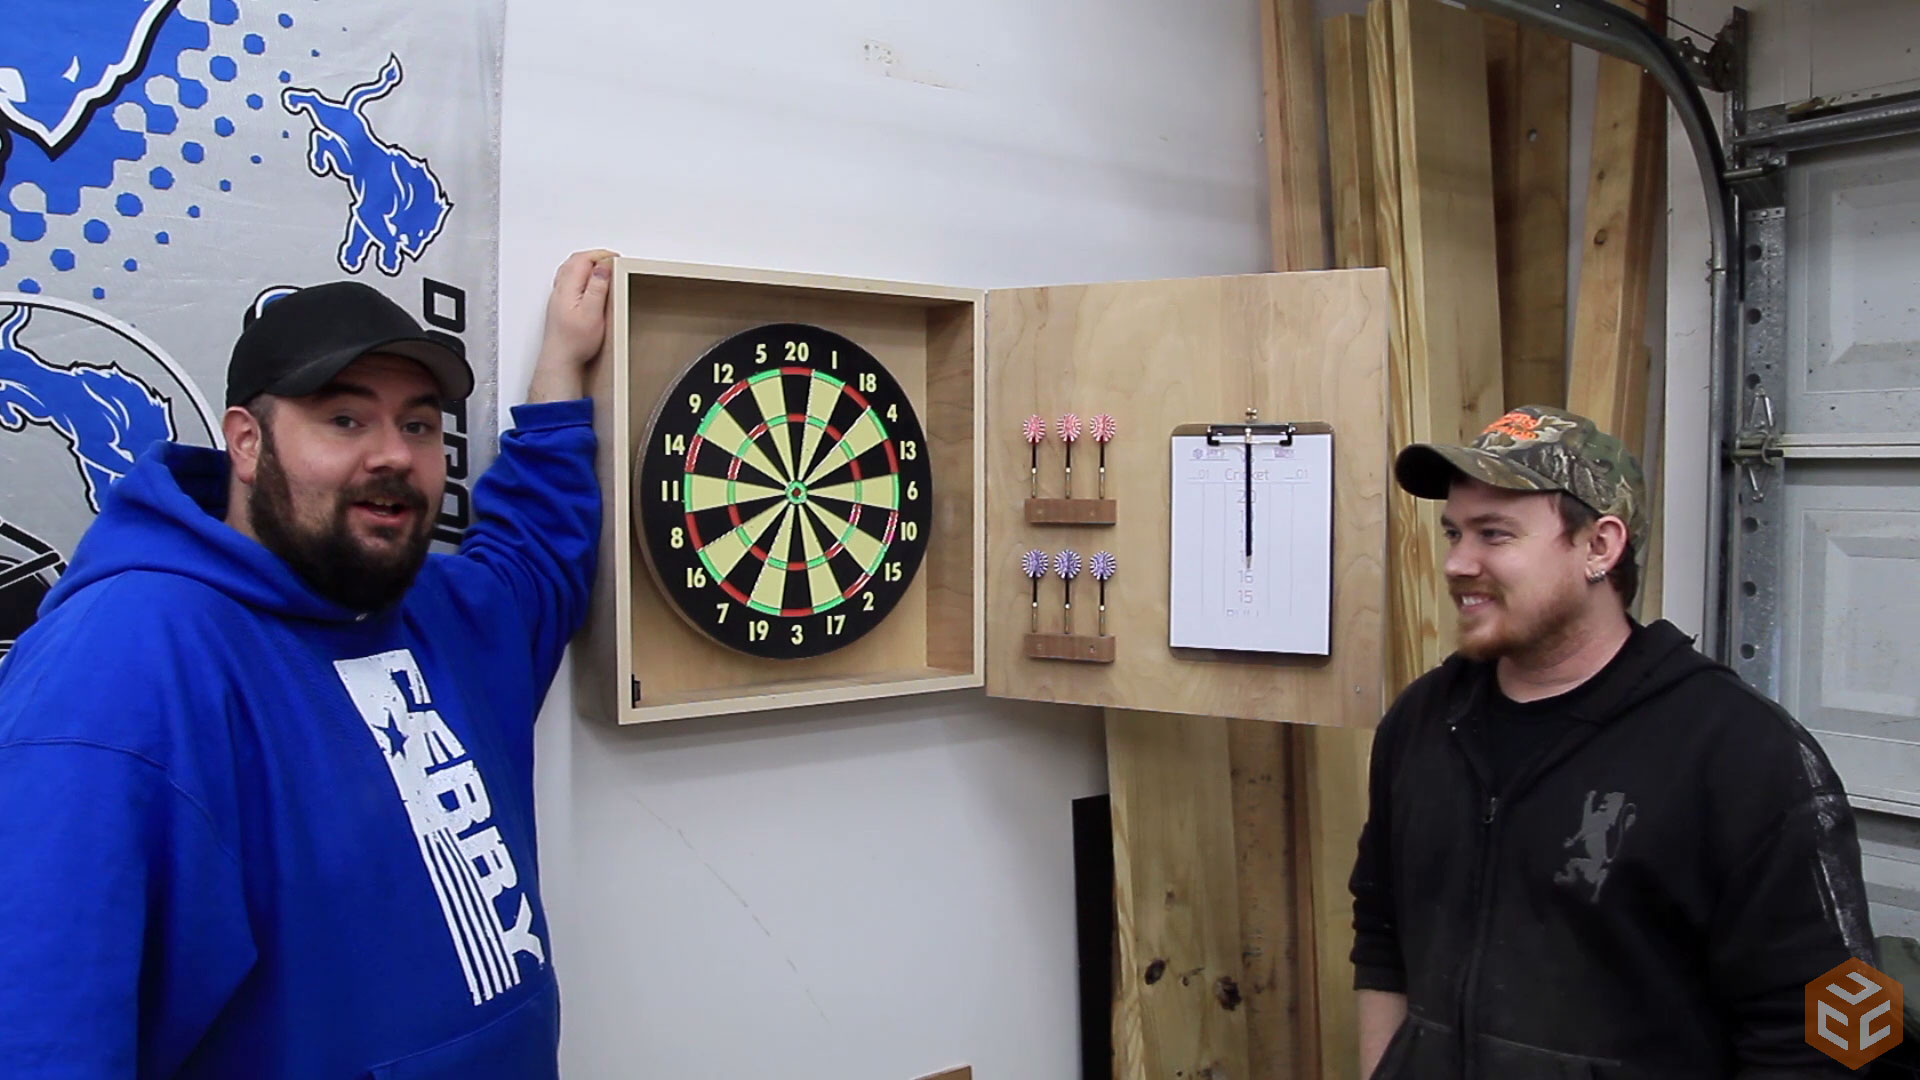
With the sides and back glued together I could mount the dartboard. After setting the dartboard into the cabinet I felt that it was too far back and just didn’t look right. So to add some depth and literally make the dartboard stand out a bit I glued a couple riser blocks to the back of the cabinet and hot glued the dartboard directly to the blocks. I used hot glue on the dartboard so that when the time comes to replace it the dartboard can just be ripped off and the glue residue chiseled away. The interior dimensions of cabinet were sized to be 1-1/2” larger than the dartboard. This was so that a scrap piece of 2×4 can be used to evenly center the dartboard.
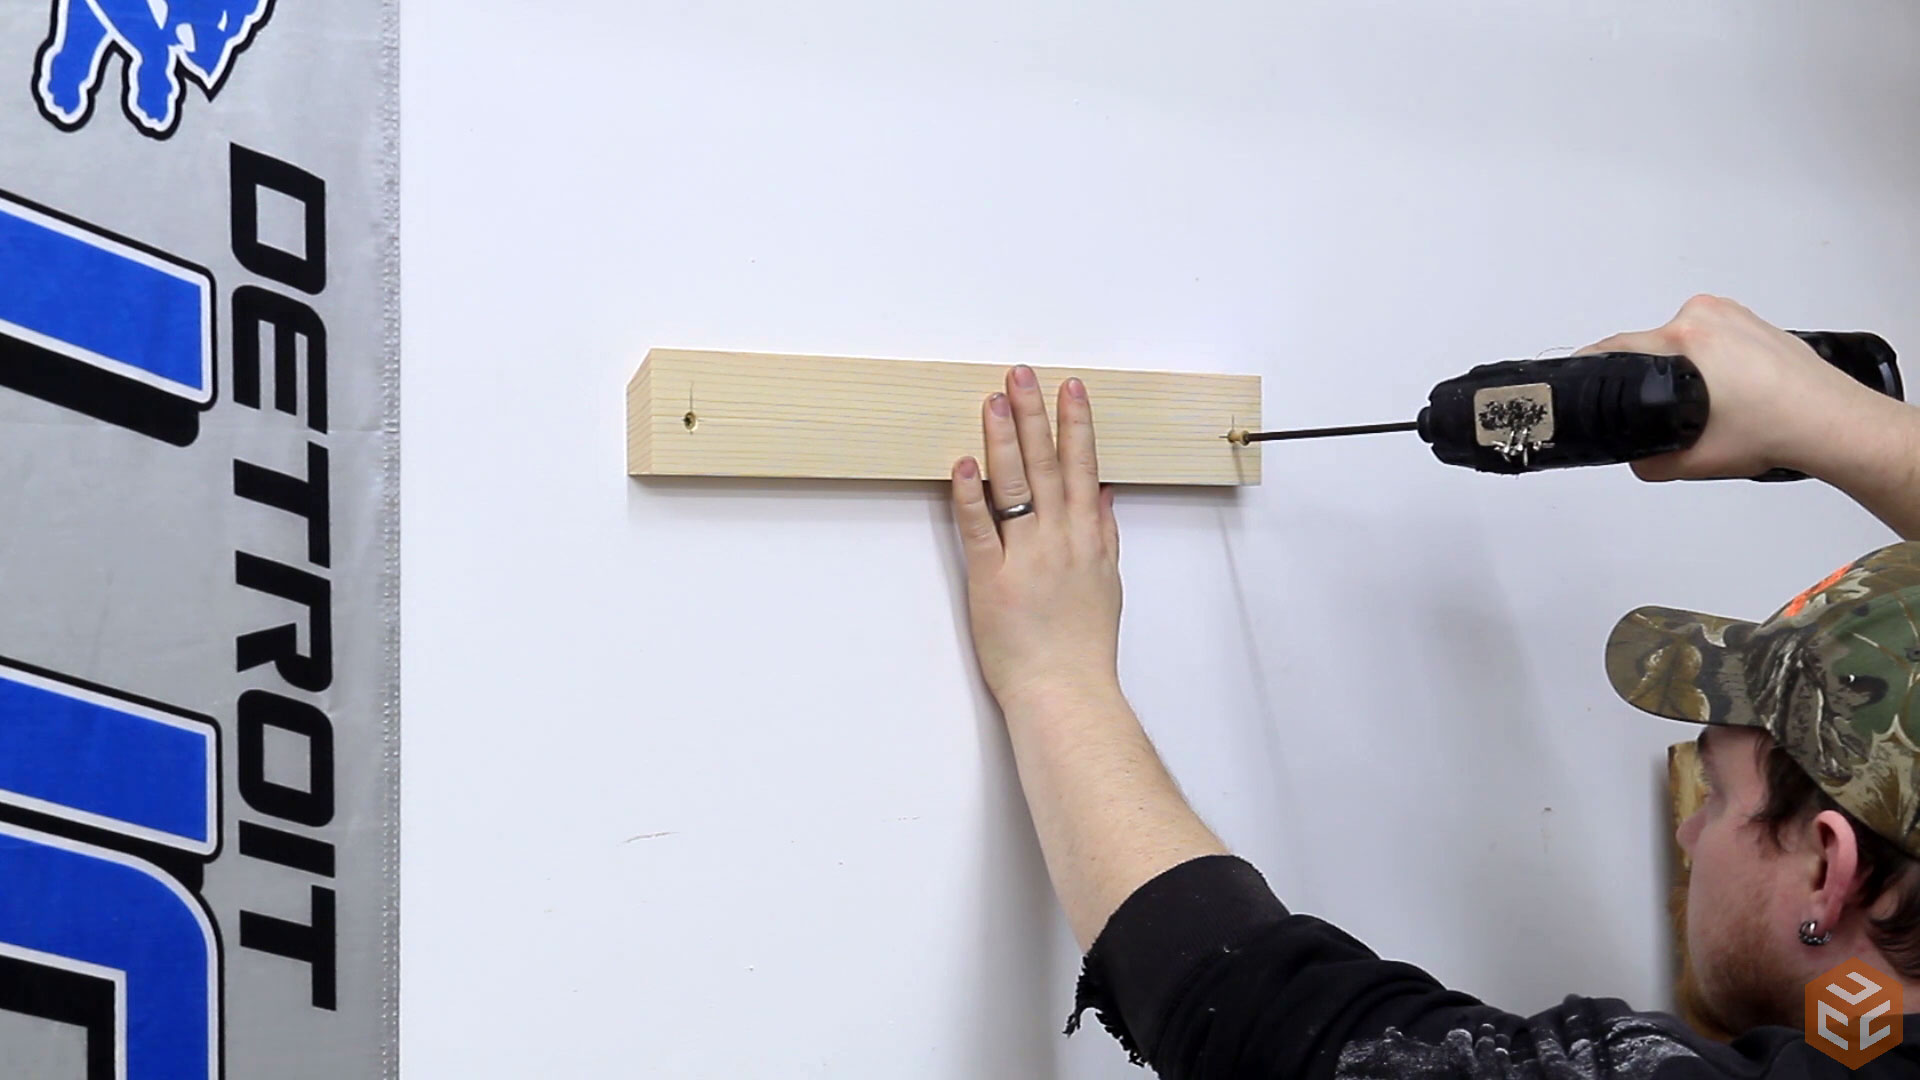
It’s much easier to hang individual cabinets with individual French cleats. When using a French cleat you mount one cleat to the wall and one matching, but upside down, cleat to the cabinet. Then simply hang the cabinet on the cleat. It’s a very easy process. In this case though I didn’t want the cleat and a typical lower spacer block to be seen from the side of the cabinet so I opted to use two vertical spacers with the cleat hidden in the middle. This will give the cabinet a nice shadow line around the entire cabinet.
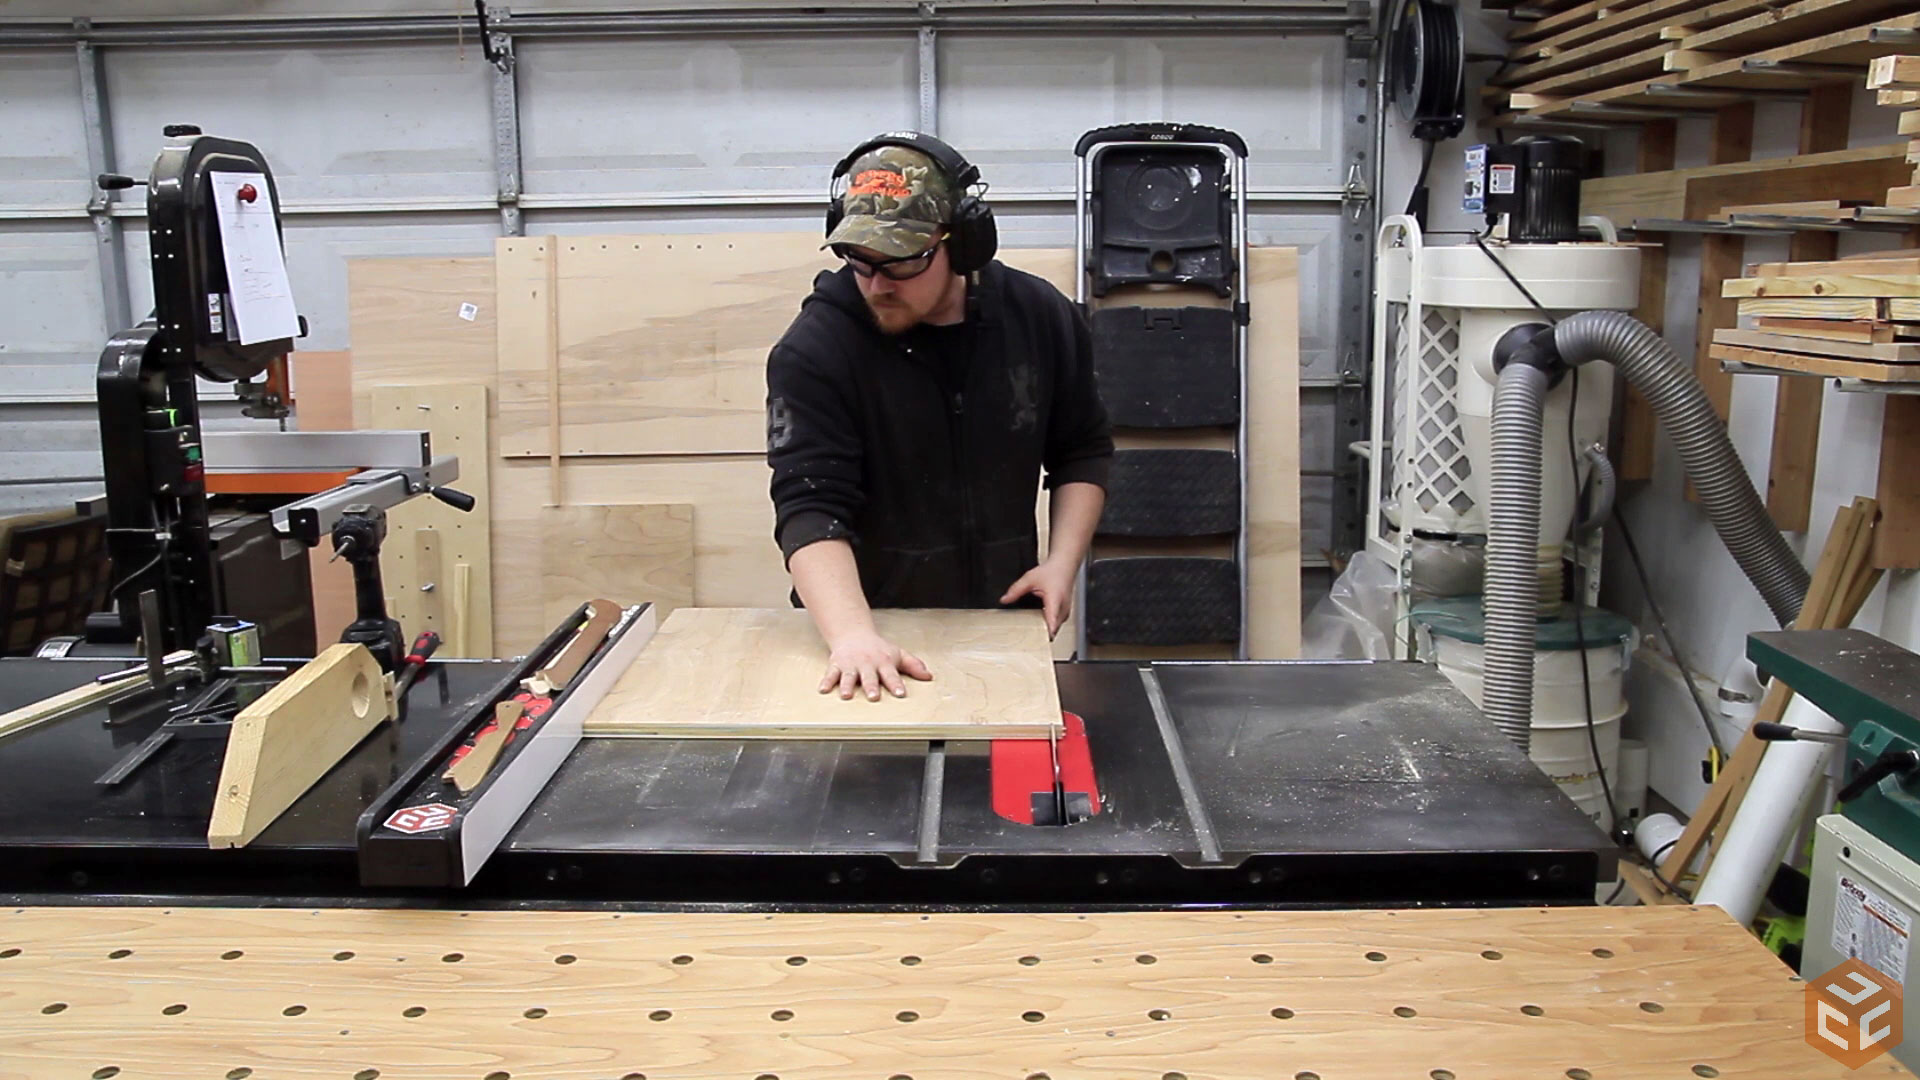
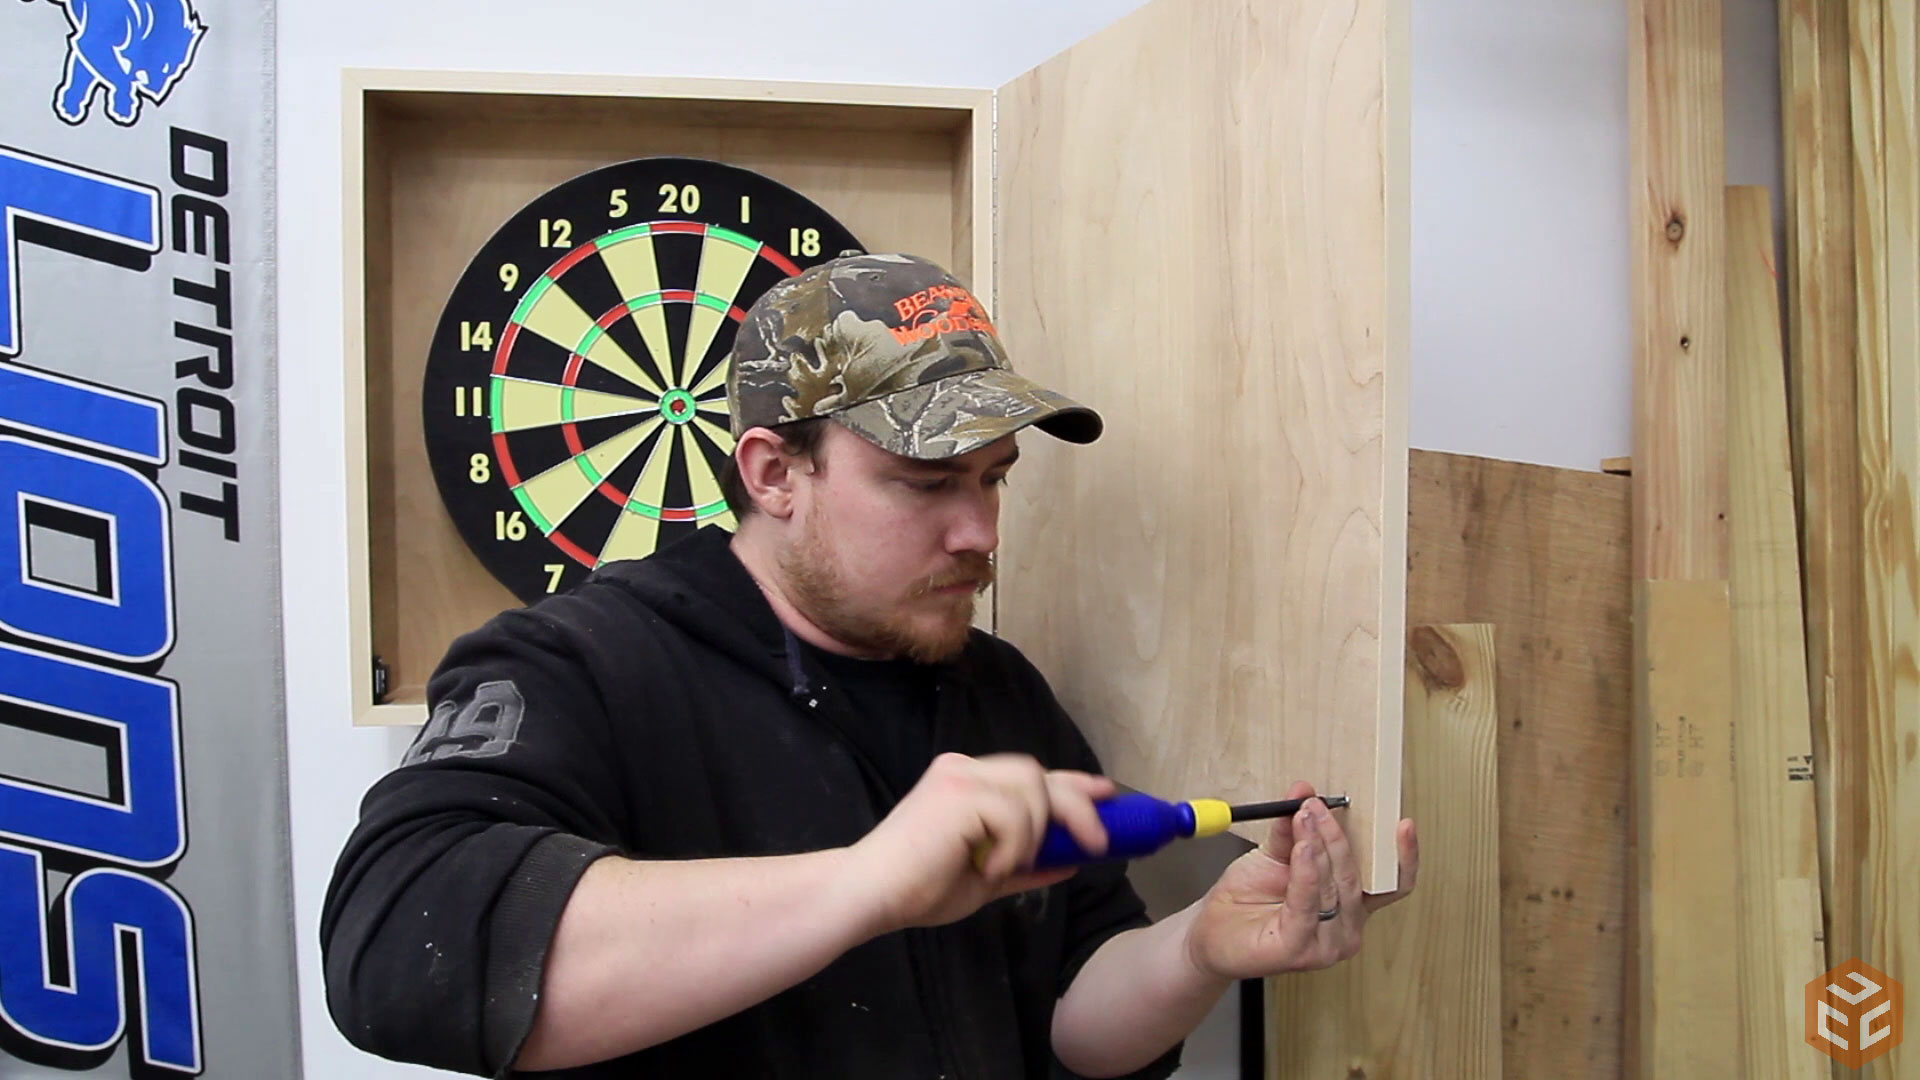
Finally the door could be cut to size. This was the final 3/4” scrap plywood panel I had.
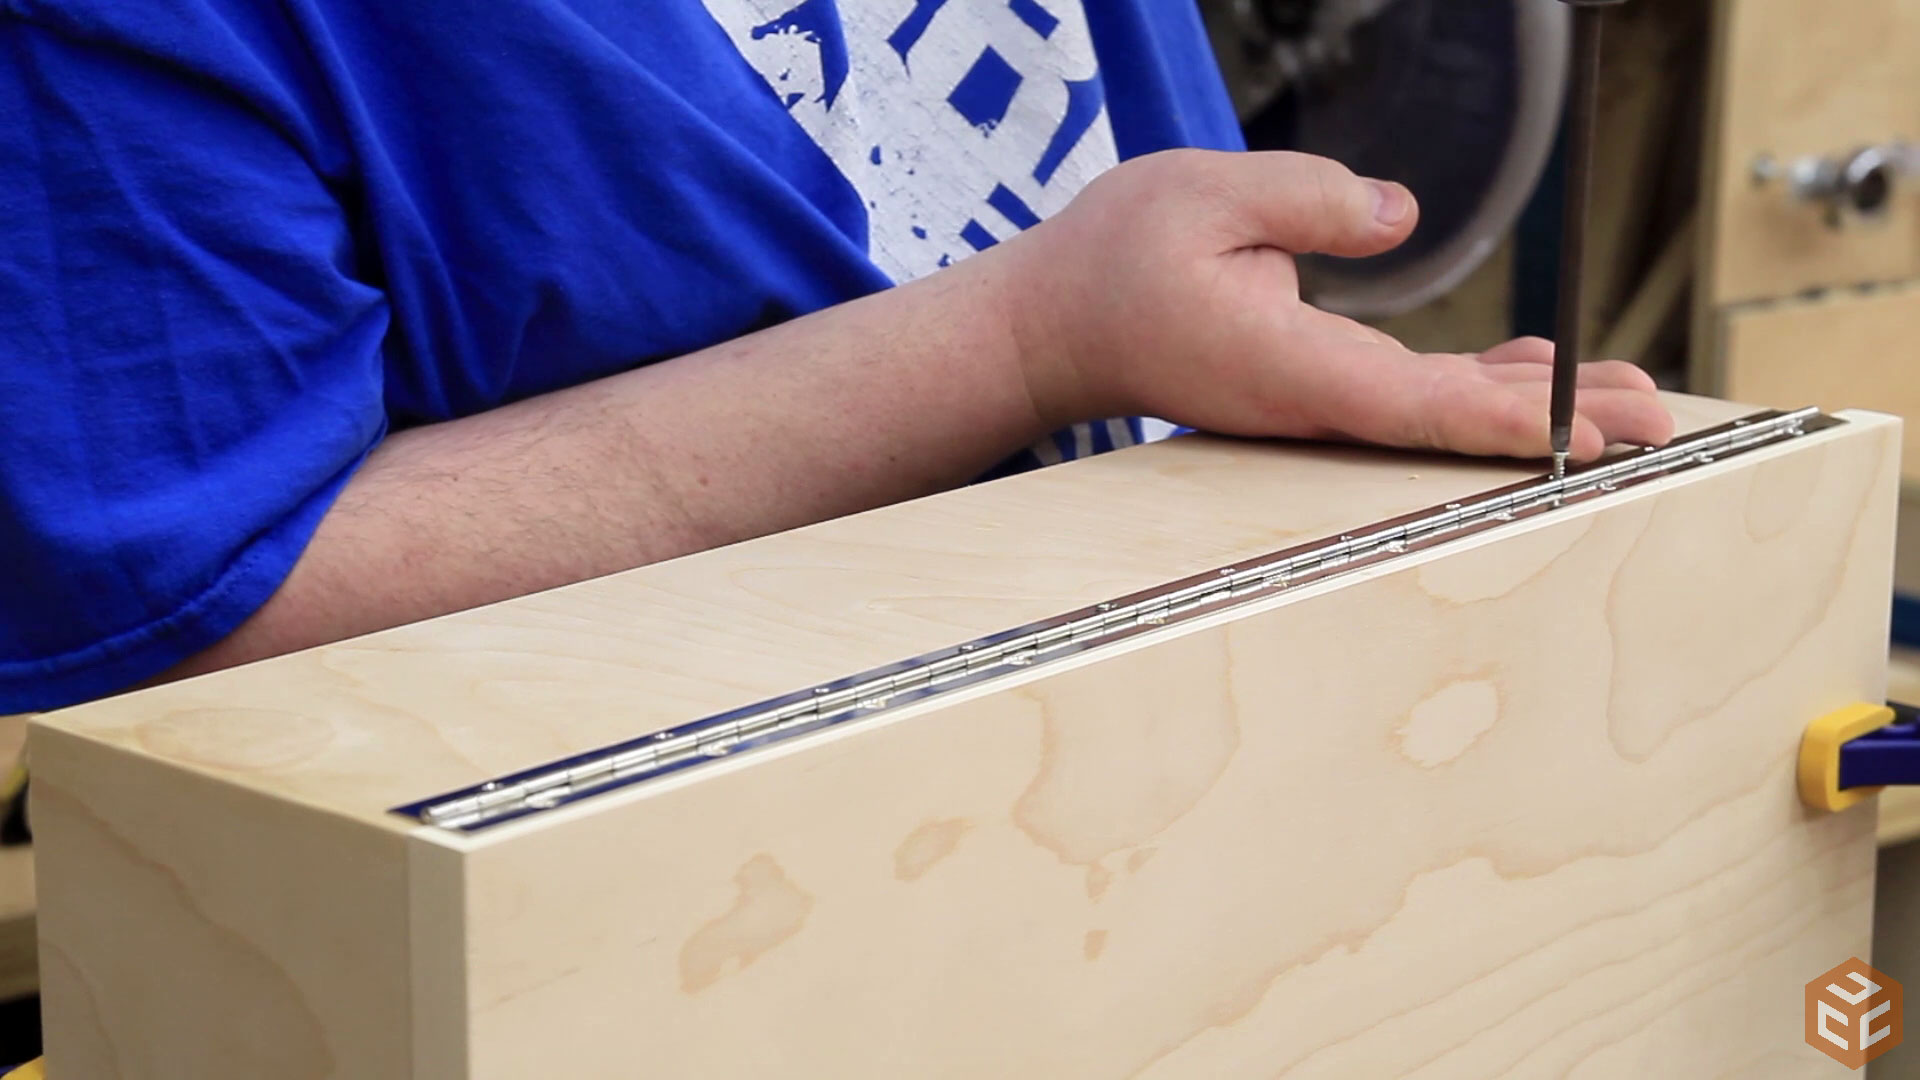
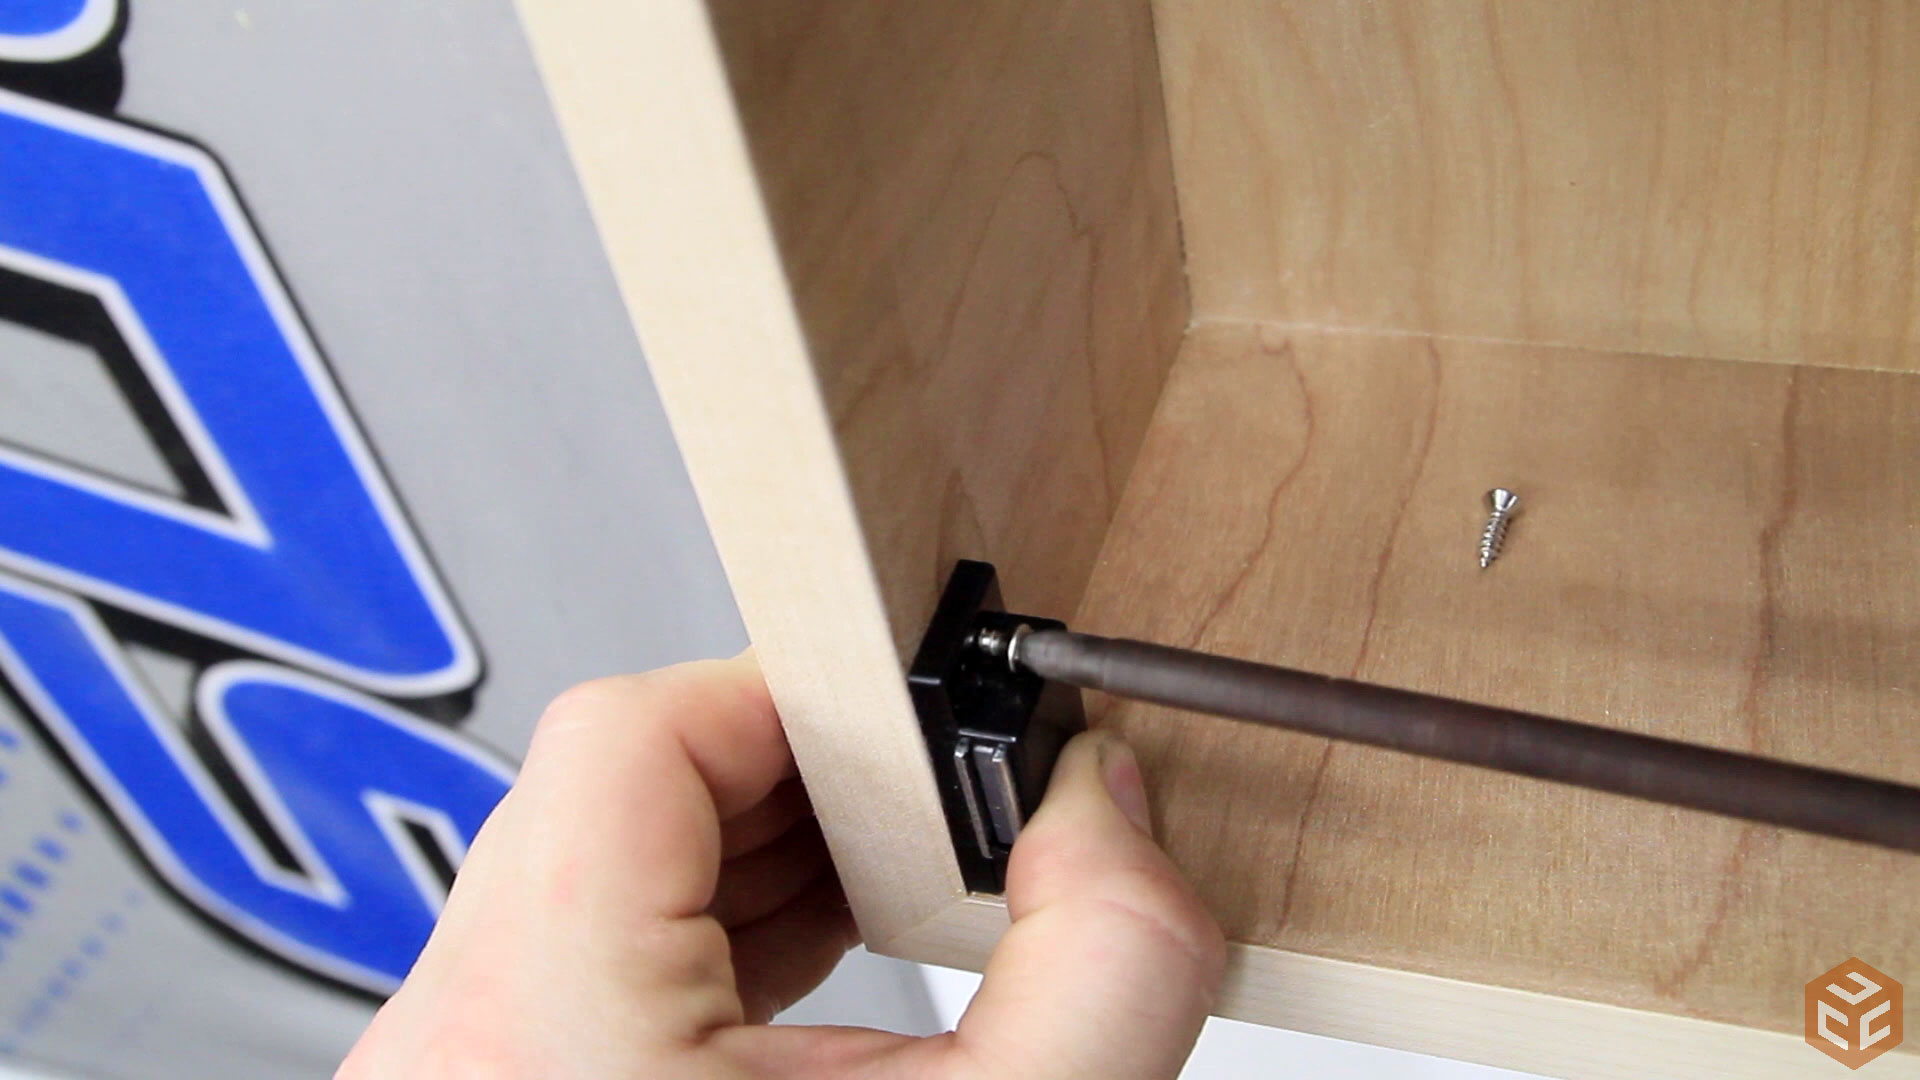
After edge banding the door Nick attached the door to the cabinet with a piano hinge. We chose to mount the hinge entirely on the outside of the cabinet so that when the door is open there will be less hinge surface area exposed which should reduce the chances of a stray dart hitting the hinge. Nick was being clever and used the darts to mark the center points for the hinge screws.

And then secured the hinge with the included screws.
This is where the French cleat system shines. It’s much easier to hold this one cleat to the wall and secure it than it would be to wrestle a larger cabinet against the wall while trying to secure it.
The cabinet simply slides over the cleat and gravity does the rest.

To hold the door shut I found a magnetic catch in my junk hardware drawer. Only one is needed for this small of a door.
I used a single screw in the door to grab the magnetic catch. It works very well.
To add some contrast, Nick machined a couple simple sapele blocks to hold the darts and held them in place with brass screws. He also added a cup hook to hold a clipboard for score keeping. I chose to go the clipboard route instead of a chalboard as I find it more convenient to have the person who isn’t throwing the darts to keep score as the other person is throwing them. This is easily done by bringing the clipboard back to the standing area.

On Nick’s first turn he threw a stray dart into the top of the cabinet edge banding. So much for that being nice and perfect! It’s OK though. Since making this my wife was the first to hit the Lions flag.
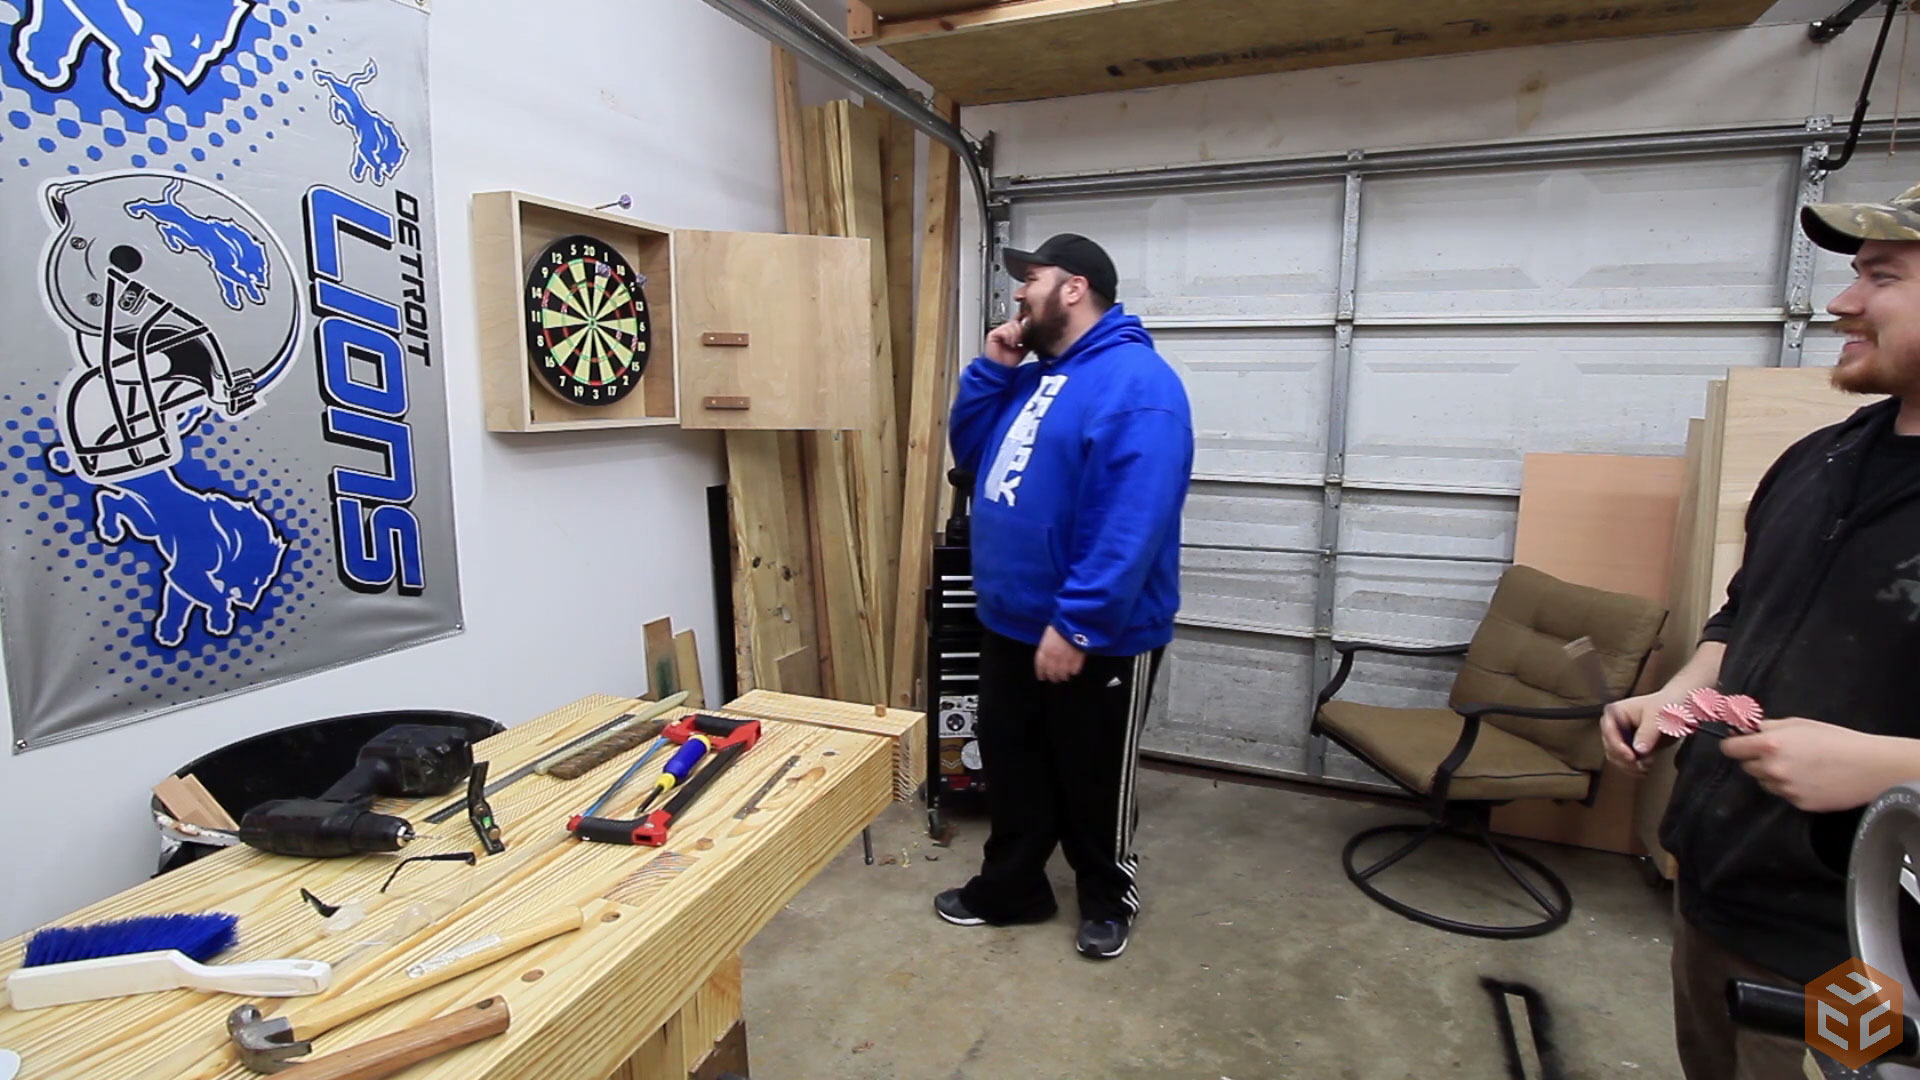
So there you have it. A simple but functional break time dartboard cabinet. It was somewhat a fitting way to cap off Nick’s trip to Mississippi. He stayed for a week and it was a blast getting that much shop time with someone else as interested in woodworking as I am. We didn’t get as much done as we had hoped for but it’s very easy to overdo the planning stages. We made up for it in behind the scenes laughs though. Maybe I’ll go through all of our footage and make a bloopers video from the trip. Again, if you aren’t familiar with Nick be sure to check out his website at NickFerry.com and subscribe to his YouTube channel. Thanks for stopping by folks. Talk to you soon.


Hey look, more space to apply stickers!
The reason Nick was throwing so bad, is because he was using the wrong hand. LOL
Another great work of wood art. Two thumbs up.
Thank God Ferry is and excellent craftsman and not a brain surgeon.
Great job guys .
As always I learned something and was entertained
download “Darts Scoreboard” to your phone or Tablet. Much easier to keep score.
Nice job! Think I’ll make one for my son.