My first real job out of high school was in a photography studio in a furniture factory. The company realized it was much less expensive in the long run to build a studio and hire a professional photographer for all of their marketing images rather than ship the furniture to a studio and hire out photography for everything they needed. I wasn’t the photographer. I was the manual labor who built the room scenes and moved way more furniture in and out of each scene than most people will move in their entire lives.
I inadvertently learned a lot while working there for three years. I learned how to use Photoshop (version 7!), move heavy furniture without hurting yourself, how much of a pain in the butt moving a bunch of lights for every shot really is, and how having a decent stand makes a huge difference. We shot 3×4 (or 4×5?) film with long exposures. Sometimes 20-30 seconds. To prevent the camera from moving easily during the long exposures we had a huge studio camera stand. A large diameter center pole stand with a heavy, low profile three leg base. It was a beast and also where the idea for this project originated.
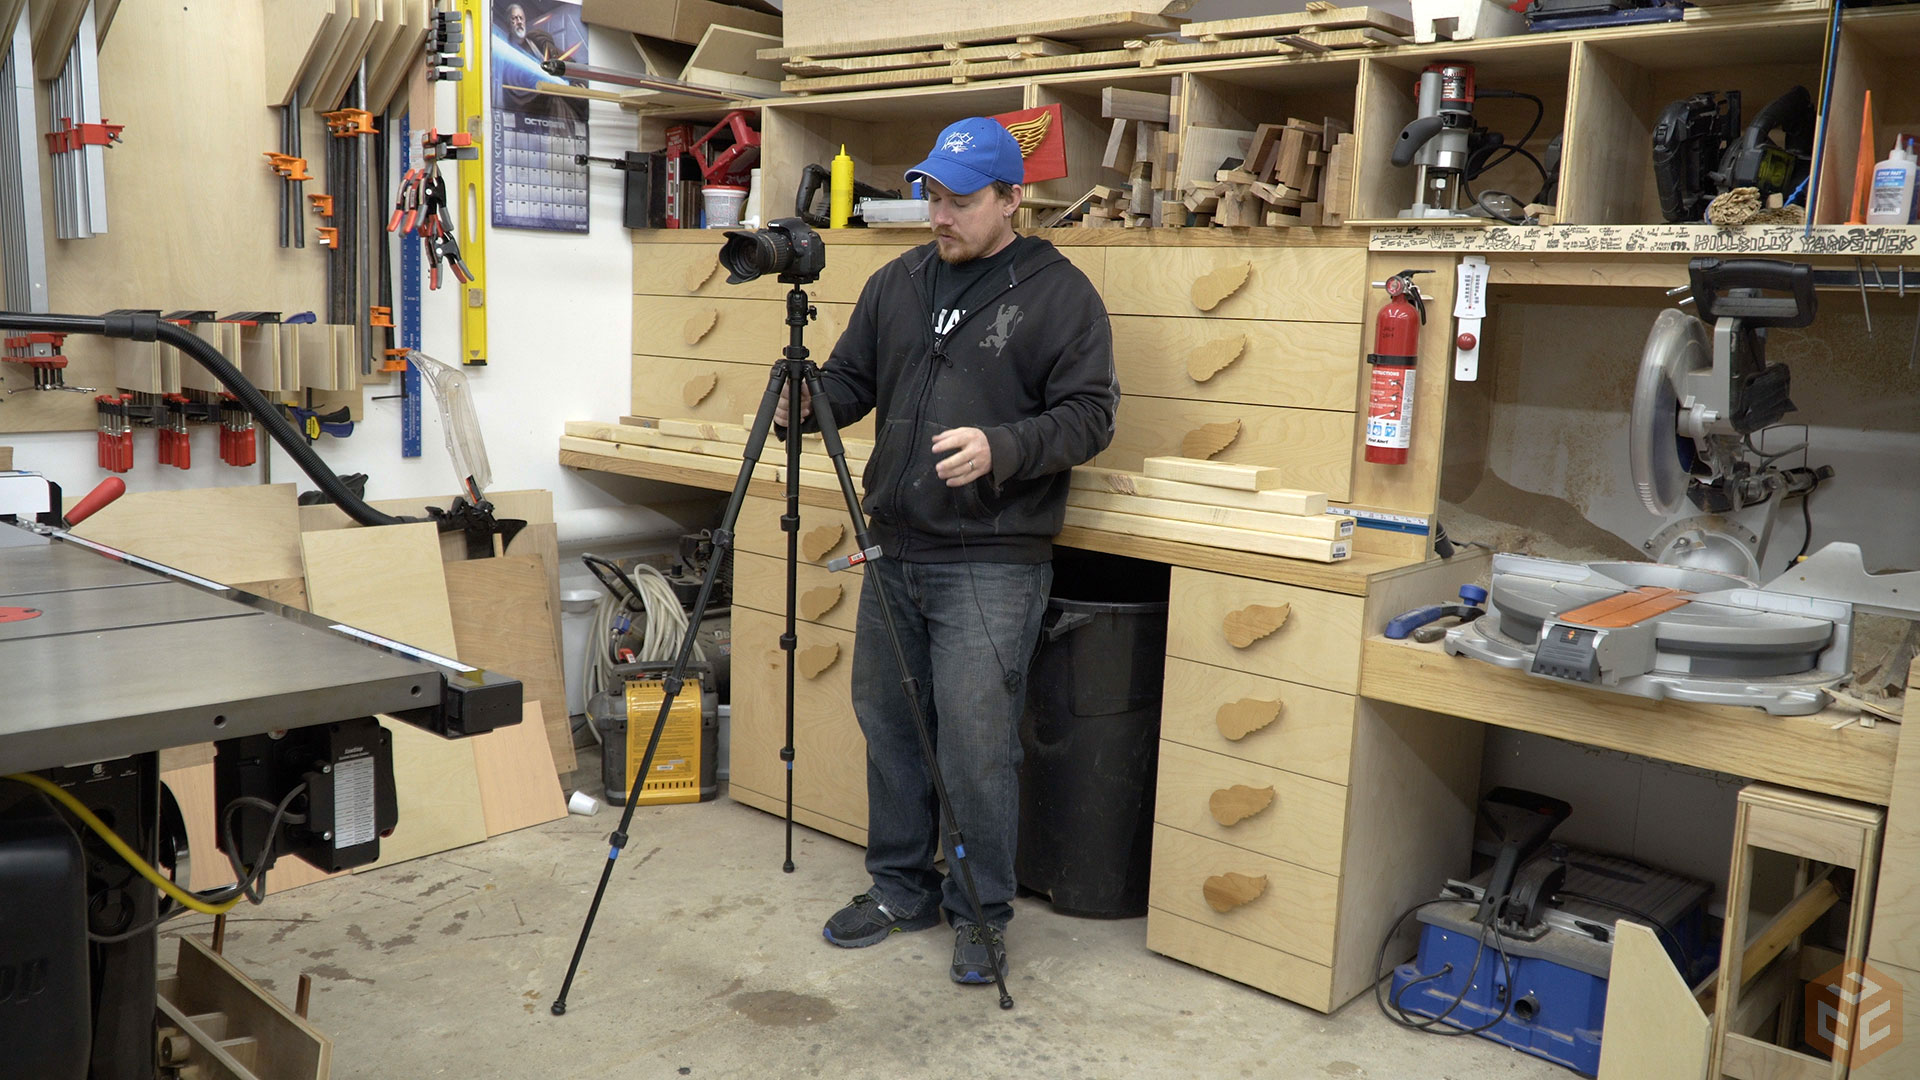
Fast forward to today and three really crappy tripods later. I need to either buy a new tripod or make an alternative. I can’t see myself spending $300 or more on a nice tripod that I know will take the daily abuse I’ll give it and I really don’t want to continue the cycle of buying and breaking cheap tripods. Before I get into the build lets look at my current tripod. It’s a cheap Proline brand that I’ve had for about a year now. One of the top leg clamps completely broke off so I’m using a spring clamp to keep it supported. All of the lowest leg clamps no longer exert any clamping force so I have those sections permanently in the out position with some blue tape. And something I didn’t mention in the video is that the ball head where the camera mounts is wore out to the point that I have to use vise grips to tighten it sometimes.
What I’m making is called a studio camera stand. A central pole weighted at the bottom to mount some kind of camera arm to. Jeremy Schmidt recently made something very similar on YouTube so be sure to check out his design as well if you are interested. The base I’m going with though is aimed at being easier to make and will have a smaller footprint in the shop. To start I cut two pieces of 2×4 at 10-1/4”, four pieces of 2×4 at 13 1/4”, and two pieces of 2×4 at 16-1/4”.
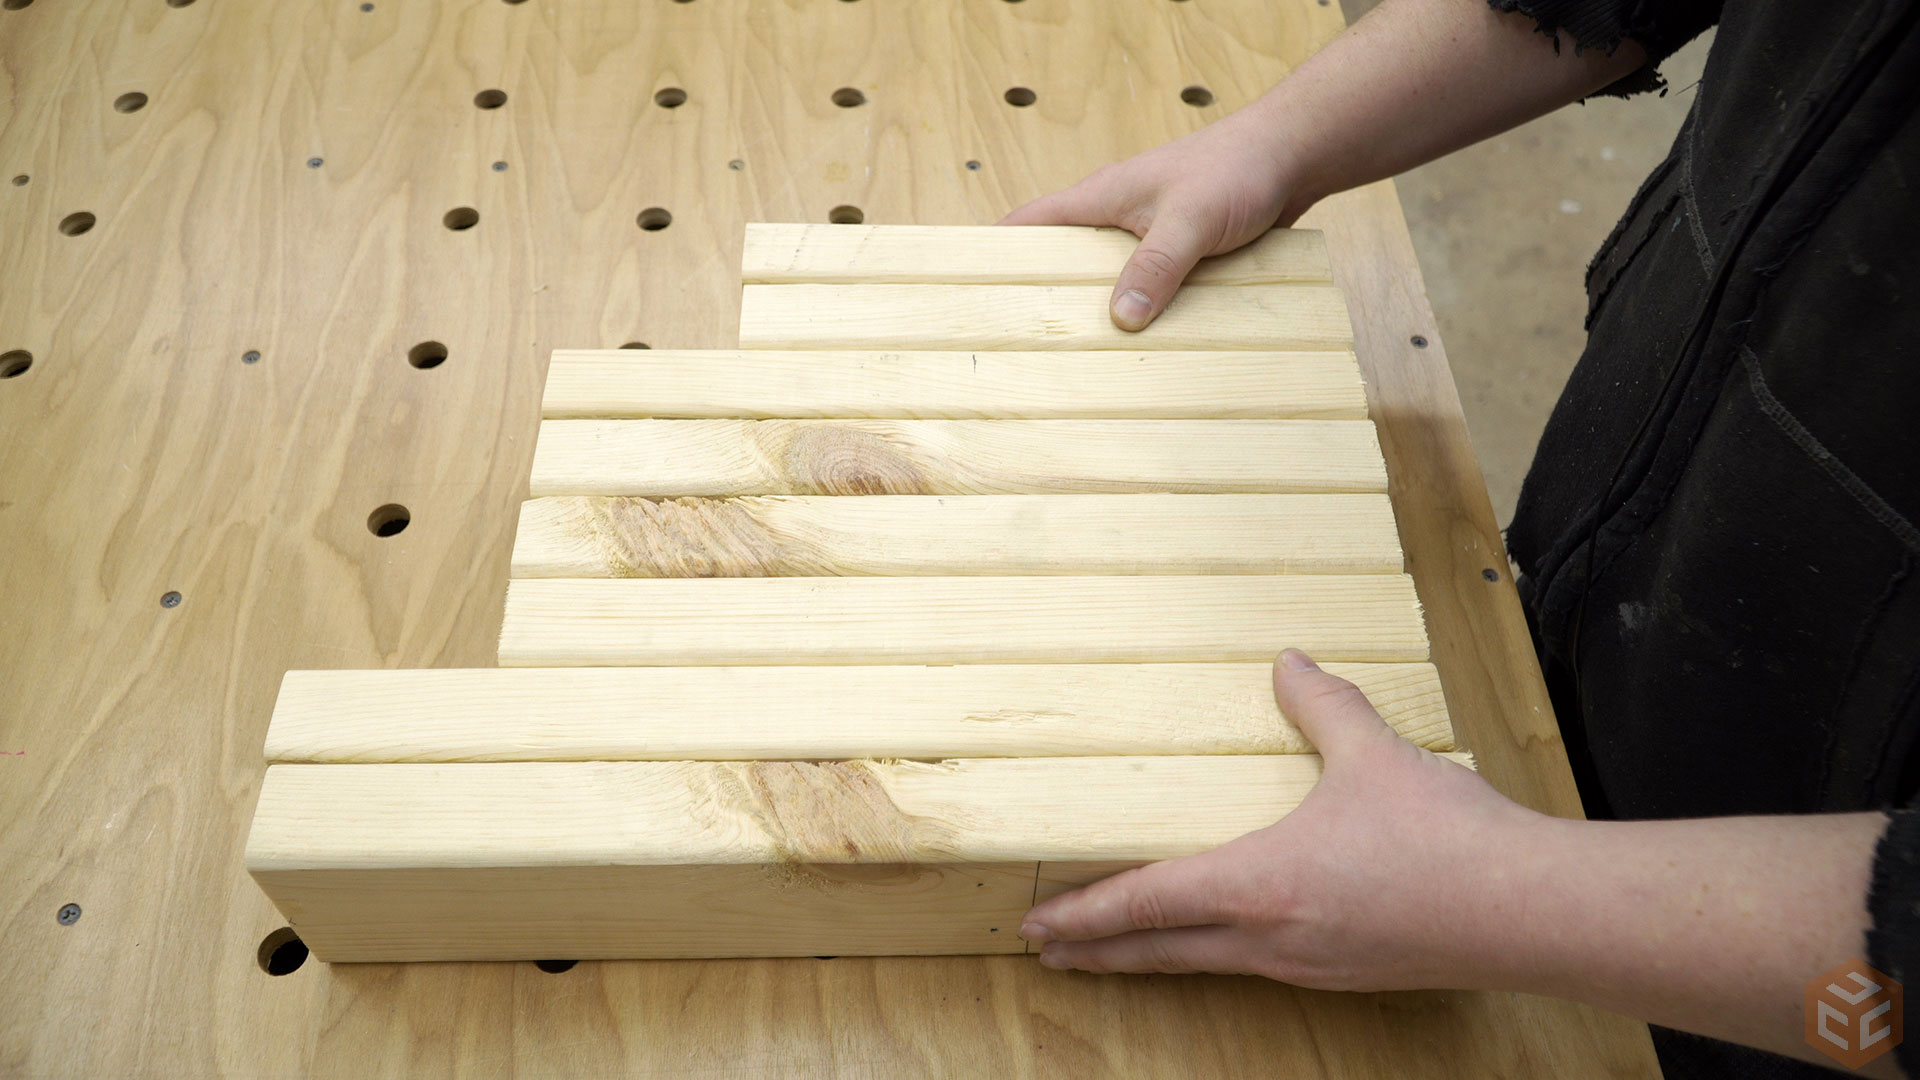
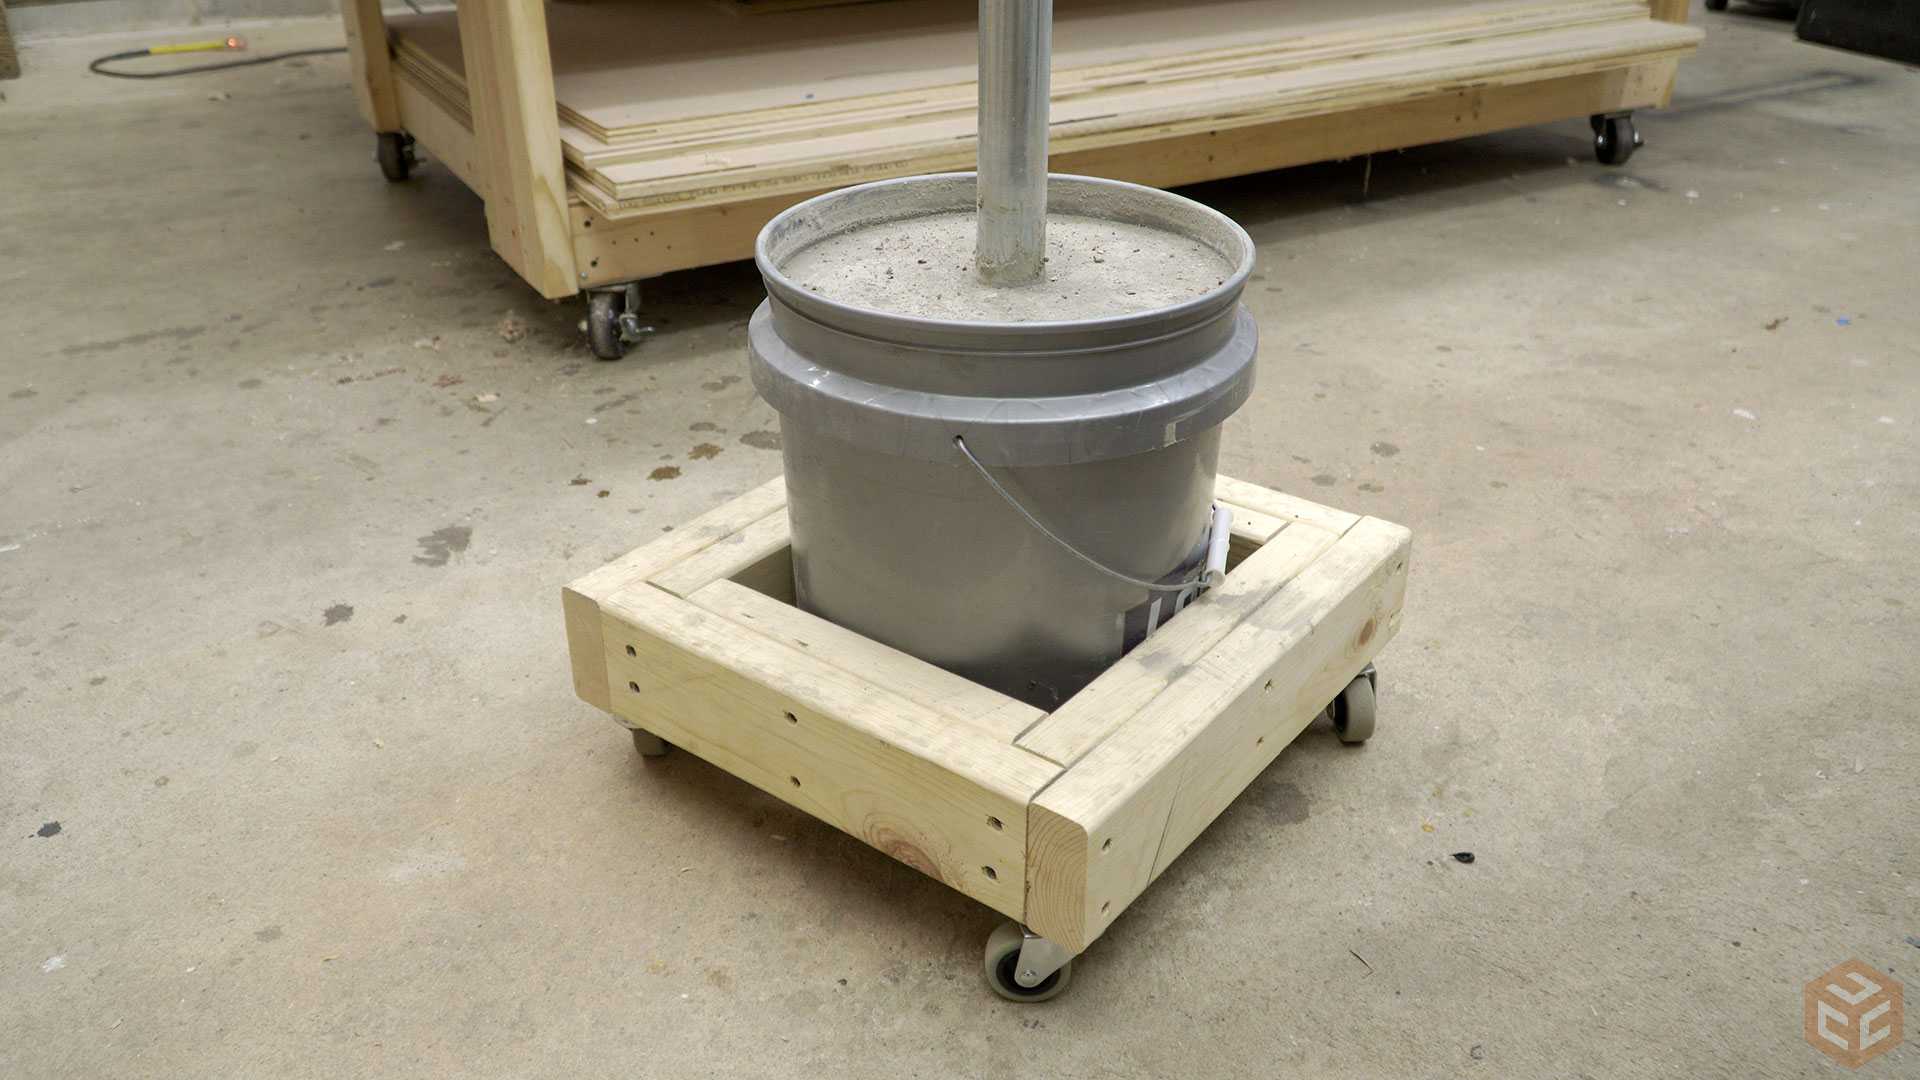
The base will consist of a frame wrapped around a standard 5 gallon bucket. The frame is made starting with the shortest pieces. No need for glue here. Just butt joints and 2-1/2” screws will be fine.
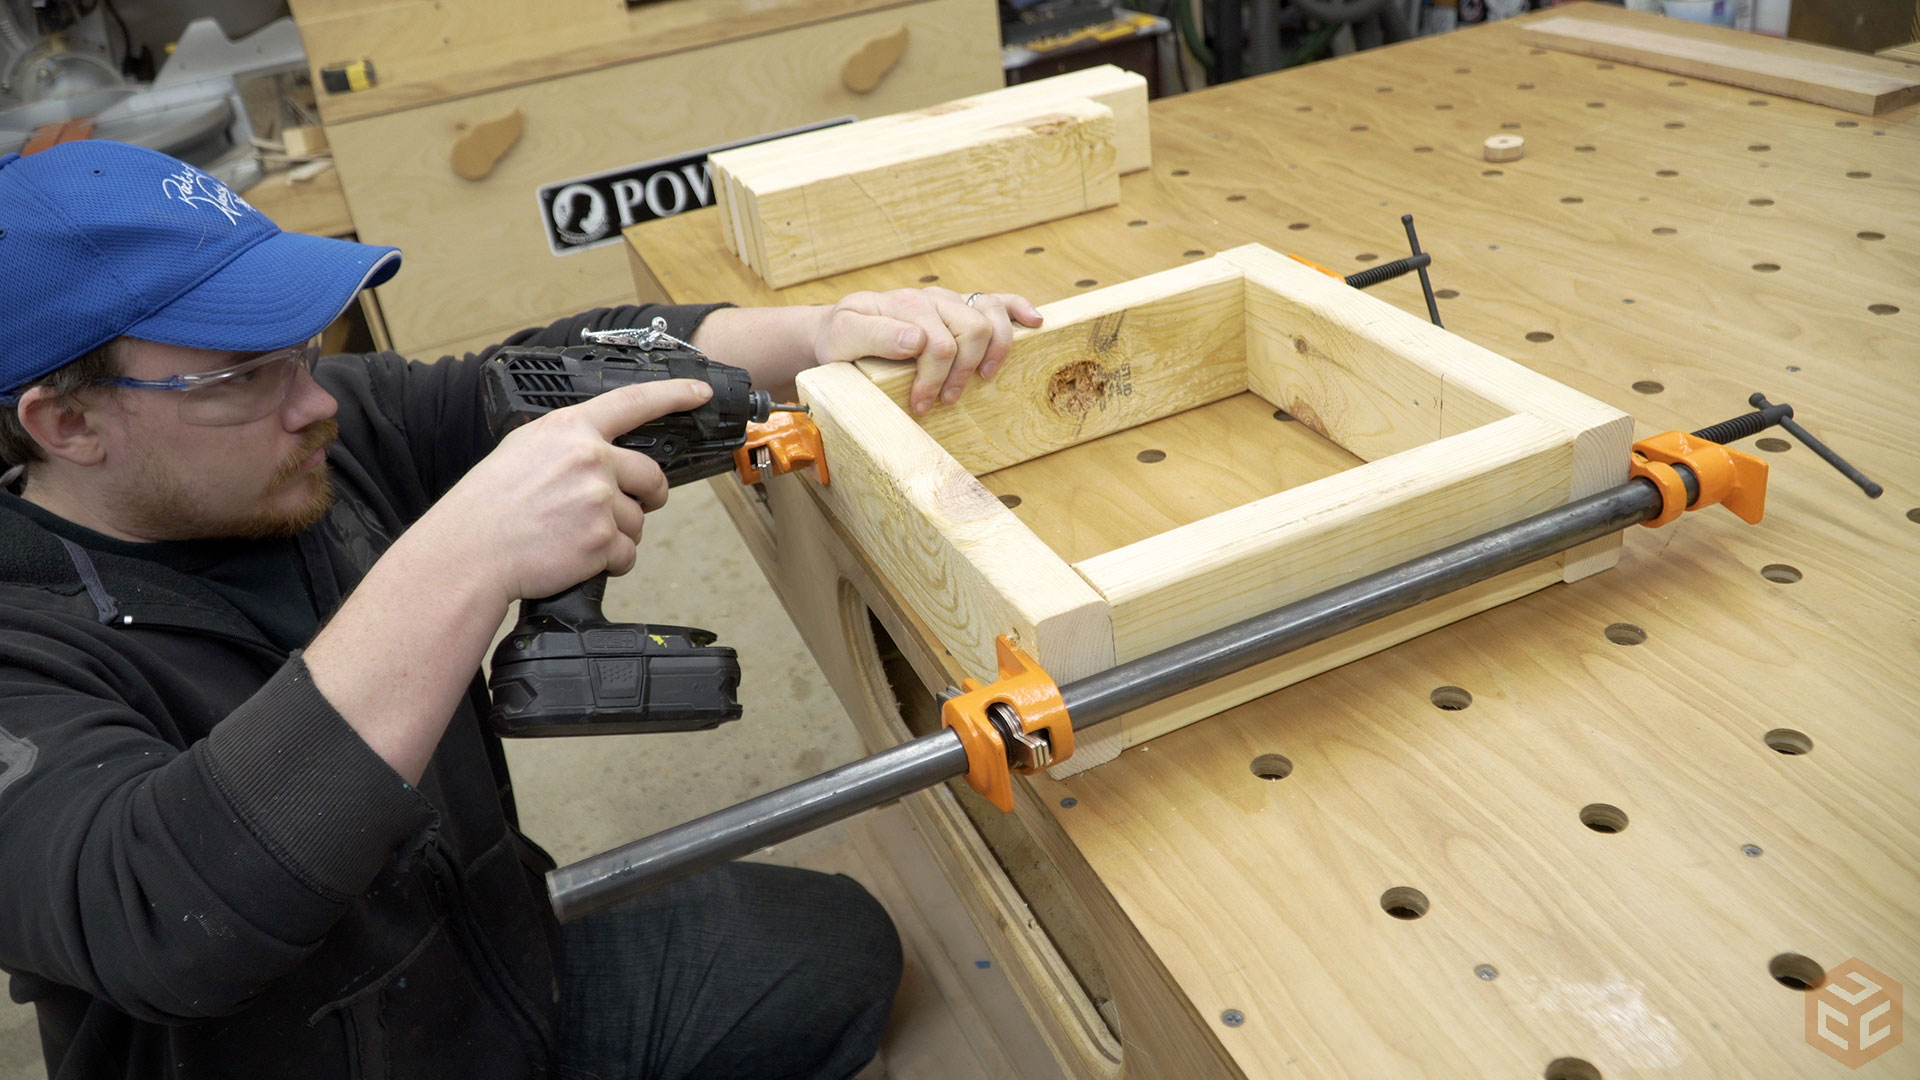
With the first layer of the frame complete it can be slid over the top of the bucket slightly compressing the sides of the bucket. I knew my casters had a total height of 2-1/2” and I wanted 3/4” of clearance between the bucket and the floor when rolling around so I positioned the frame 1-3/4” away from the bottom rim of the bucket and secured it with one 2-1/2” screw through each of the sides.

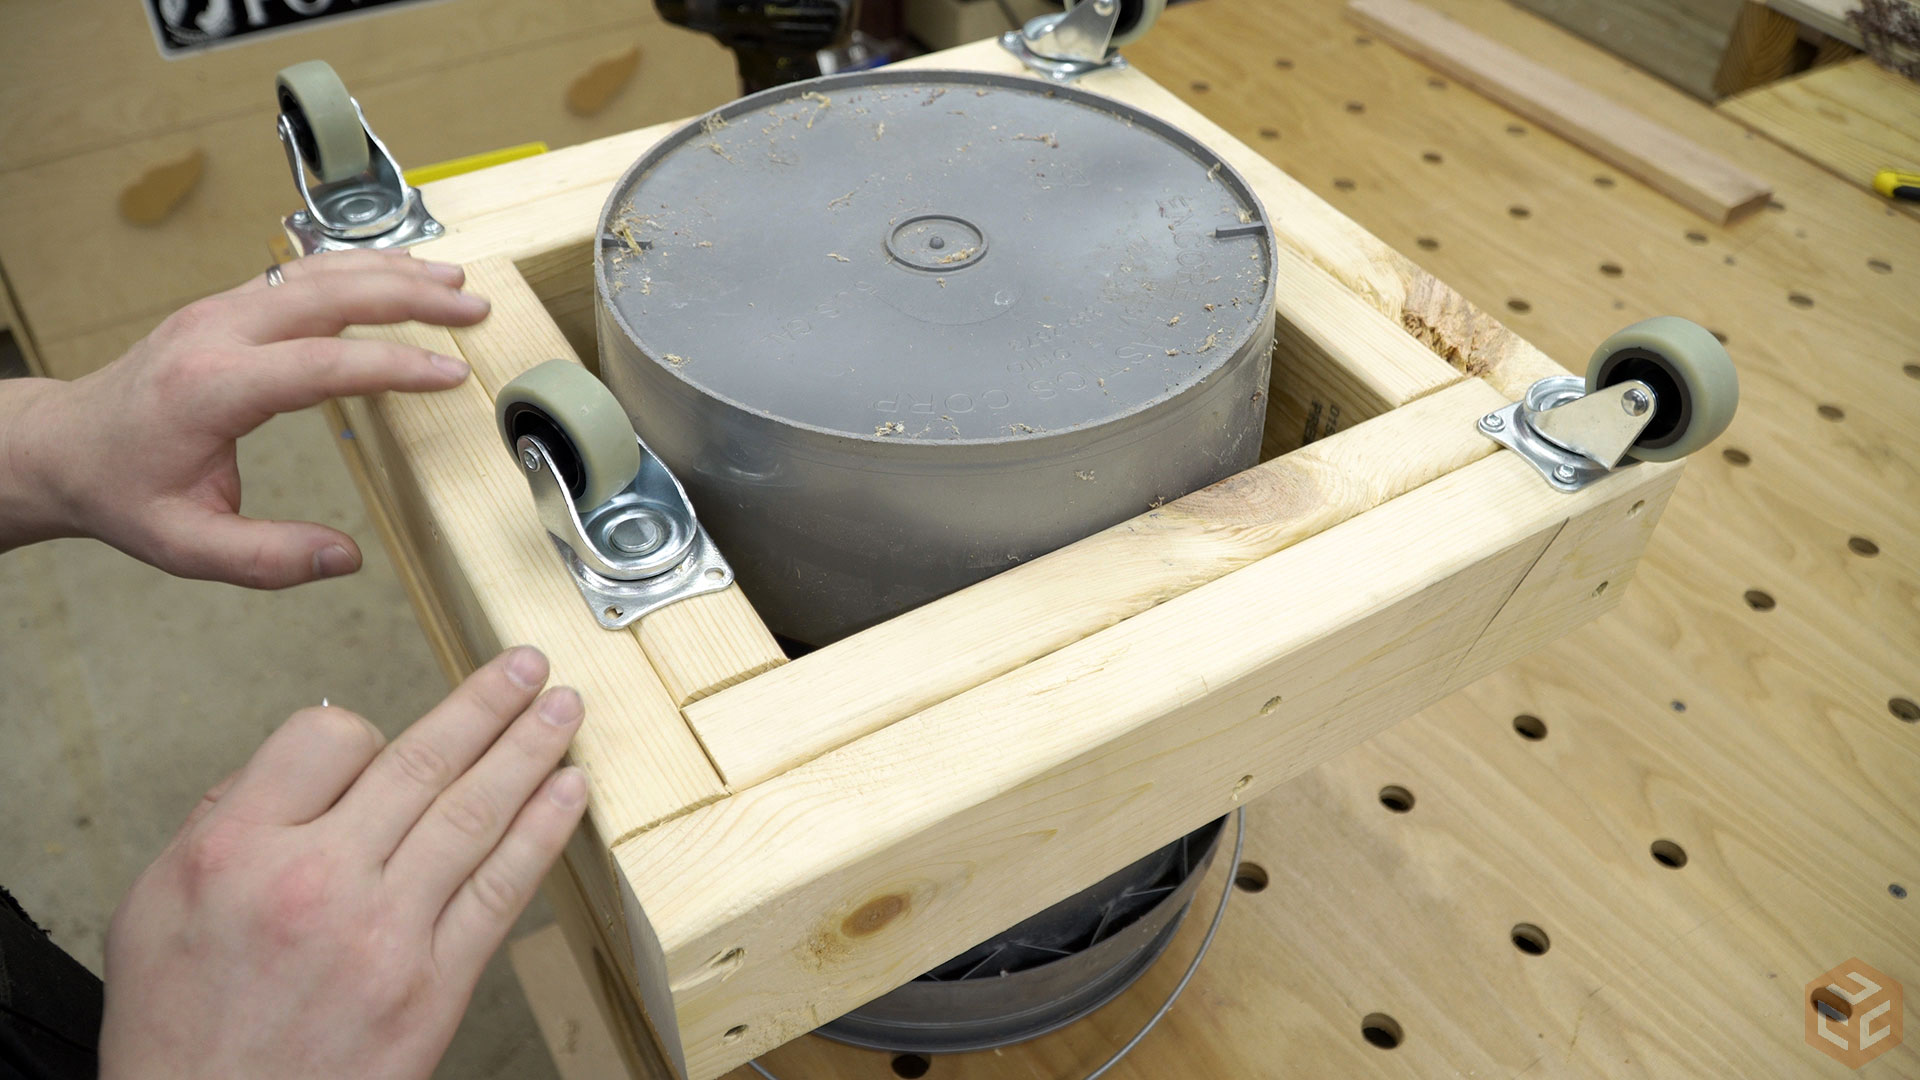
Here you can see the completed frame. I added another layer of 2×4 with the remaining cut pieces and did so in a way that the butt joints are staggered. This way there is more intersecting geometry with the staggered butt joints rather than a continuous butt joint that connects two side pieces to two adjacent side pieces. I also added two screws in the middle of each side to connect the layers. The result is an easy and sturdy frame. Then the four casters were added with washer head screws.
Before mounting the pole in the bucket I needed to trim it down a little bit. To mark the height I placed the pole in another bucket that was resting on a piece of 3/4” plywood and used a marker in a clamp to make a reference line at the height of the garage door rails.

I cut the pole down with a metal cutting miter saw. This is the first time I’ve used a miter saw for cutting metal and not only is it a LOT quicker than using an angle grinder for cutting but the results are also a lot better.

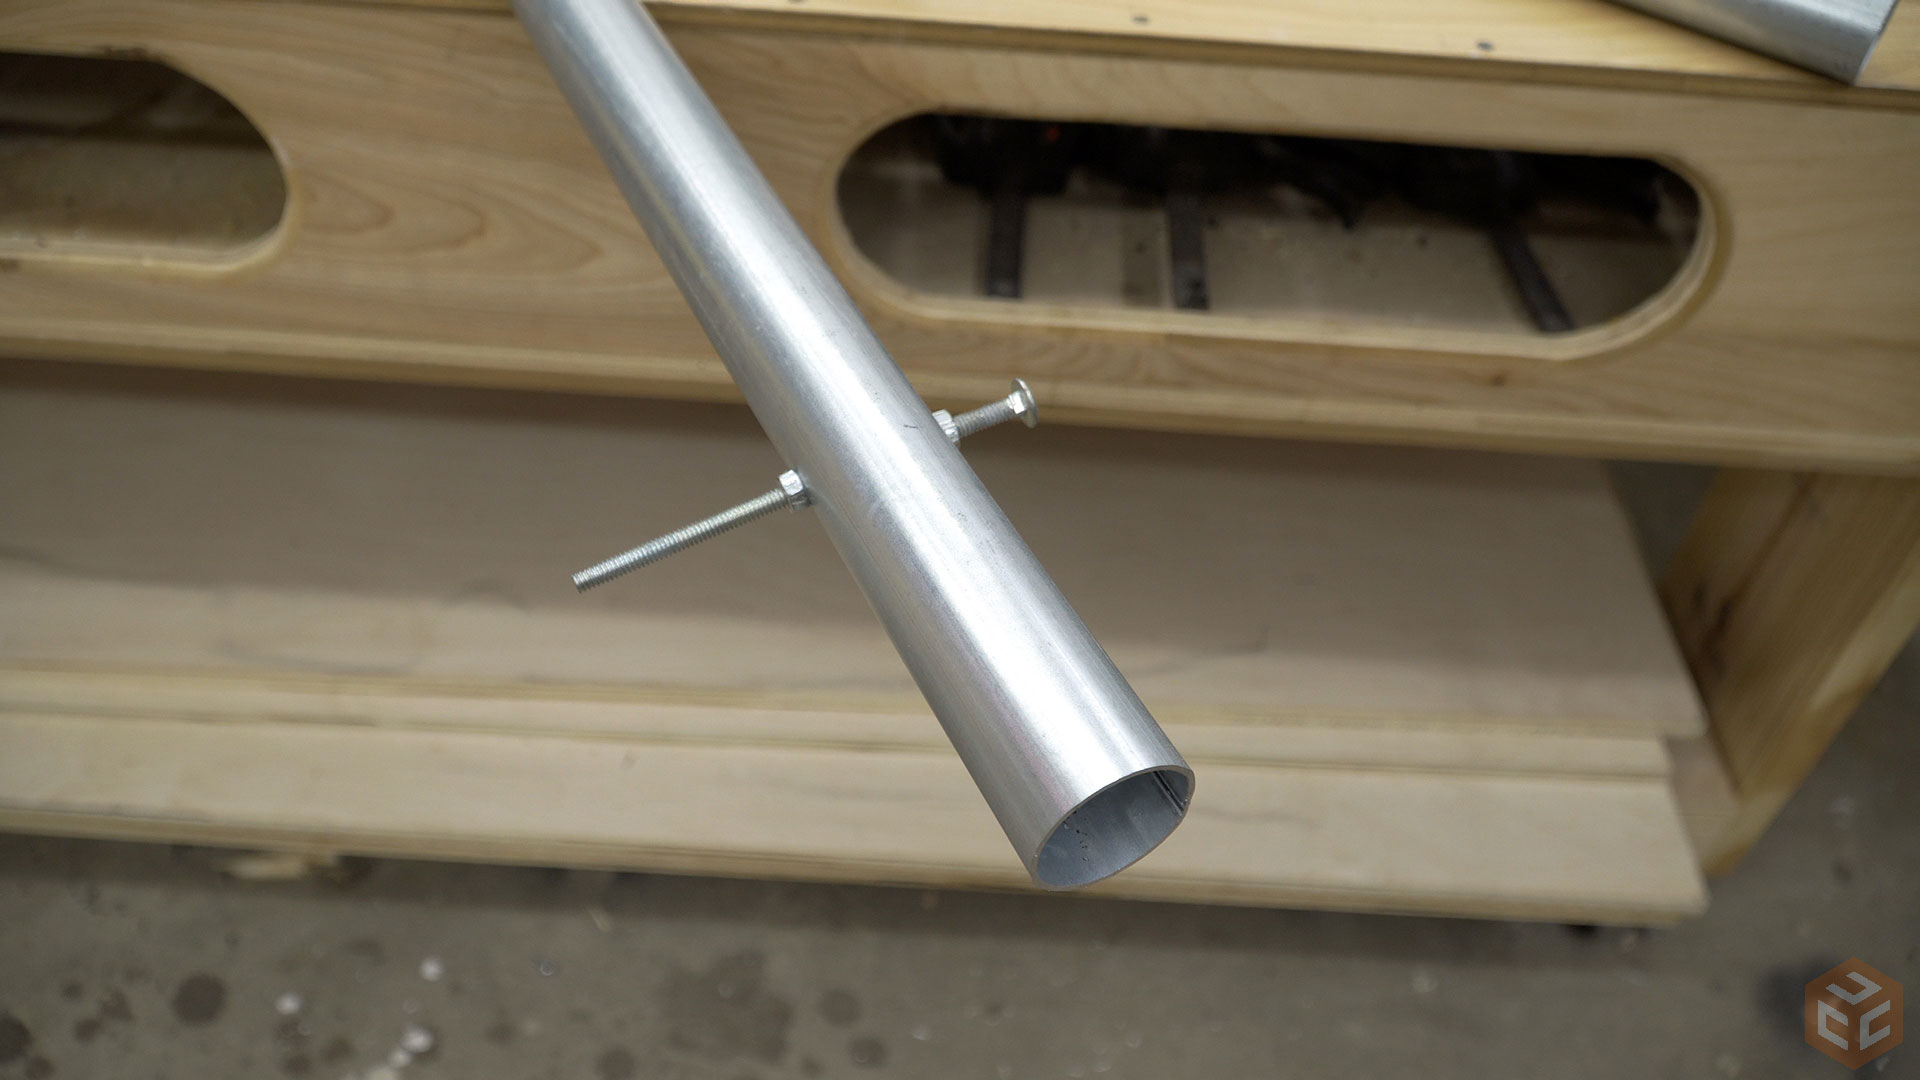
To prevent the pole from letting go of the concrete over time and eventually spinning in place I drilled a hole and added a bolt from my hardware bin.
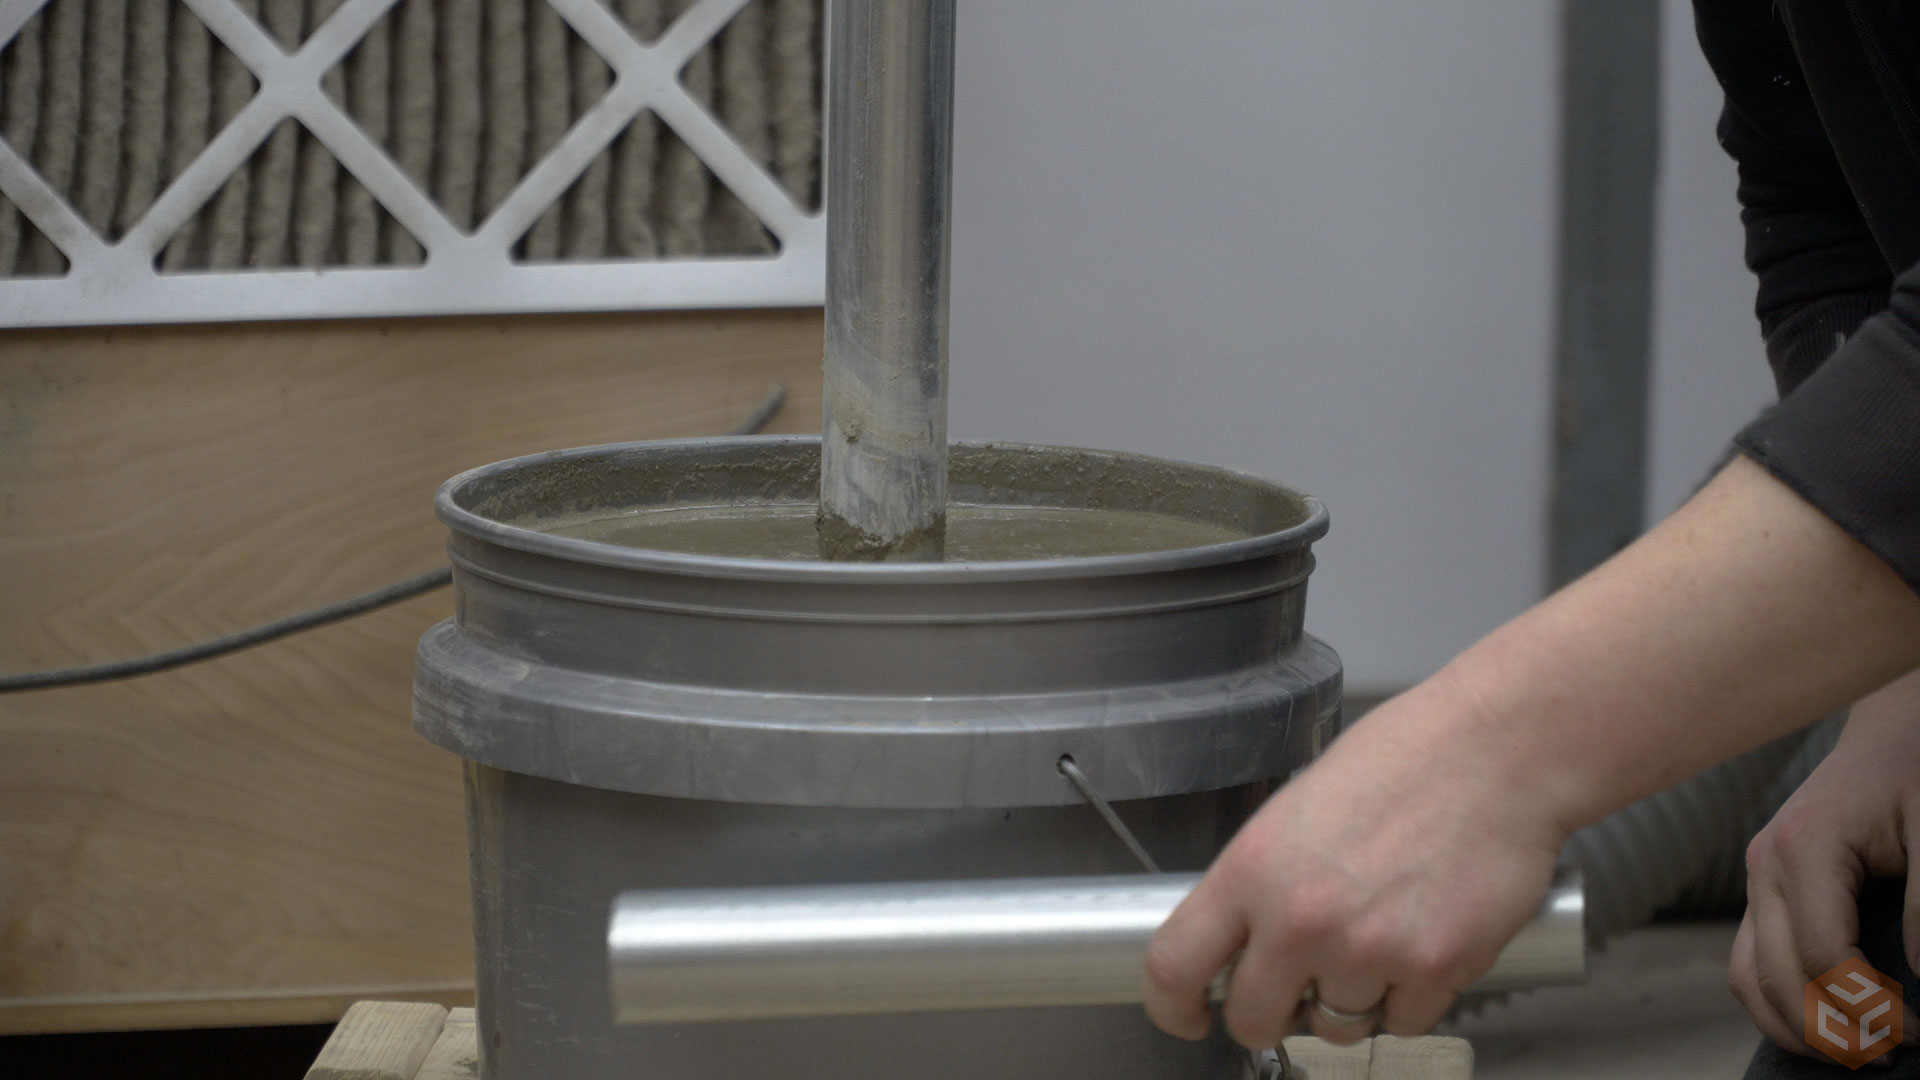
Finally I was able to mix the concrete and secure the pole in place. I used an entire 80 pound bag of concrete for this, minus the little bit that spilled on the floor. Before the mixture sets up it’s a good idea to pound or vibrate the sides of the form (in this case it’s the bucket) to release trapped air bubbles and make sure everything settles as it should. I used the offcut piece of pipe until I could not see any more air bubbles coming up.
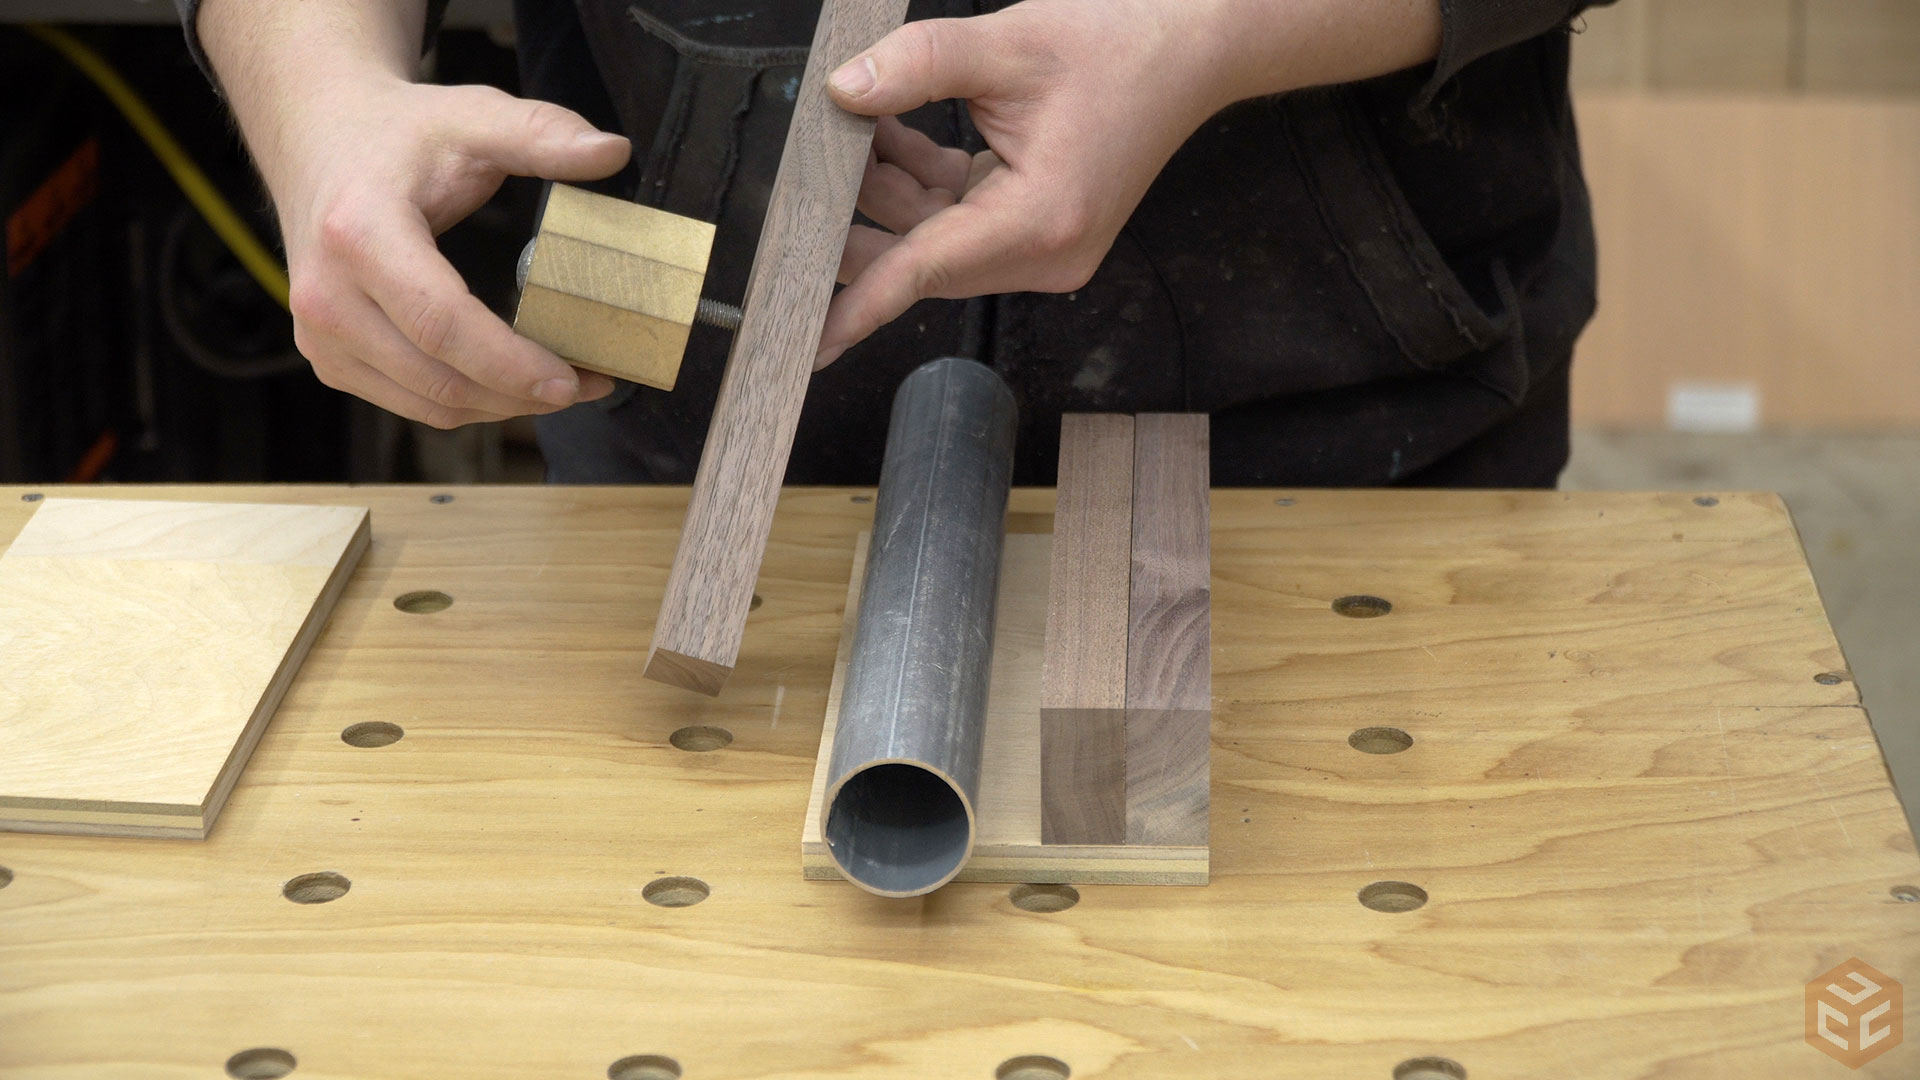
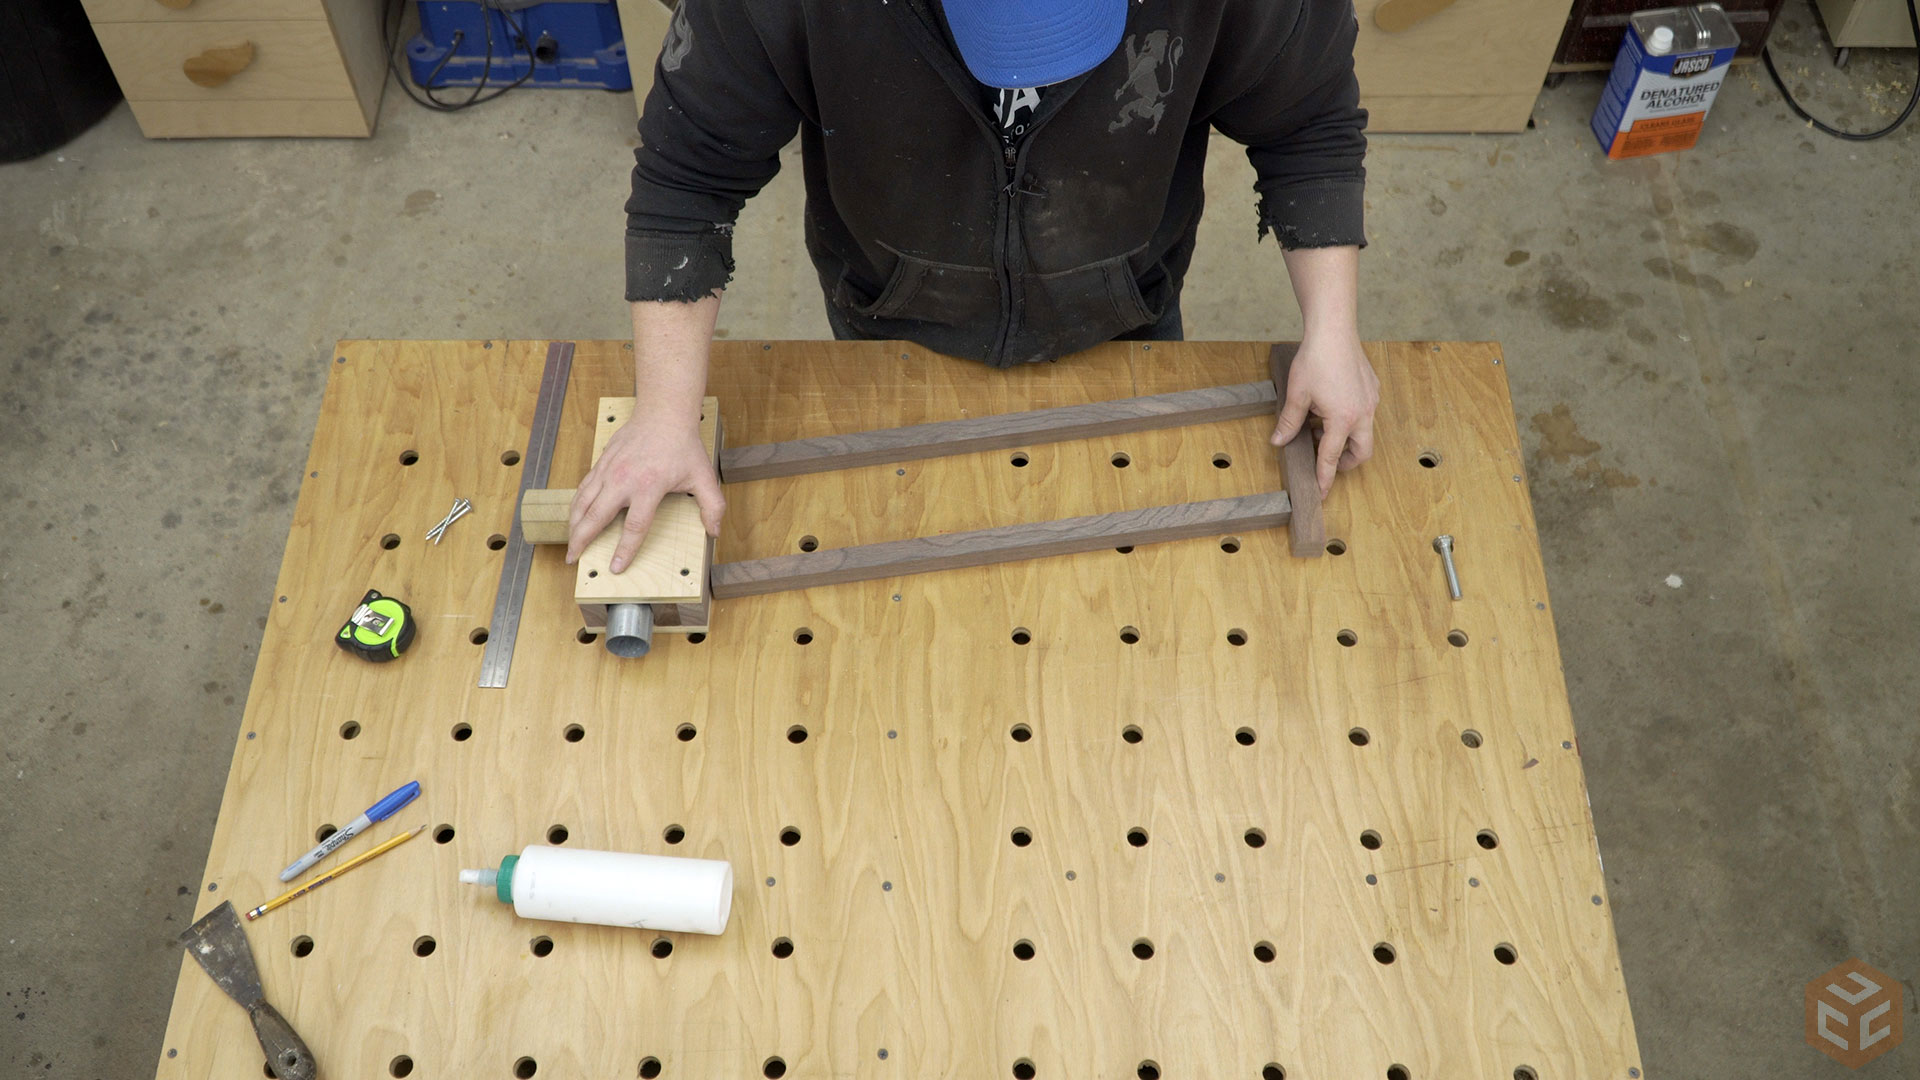
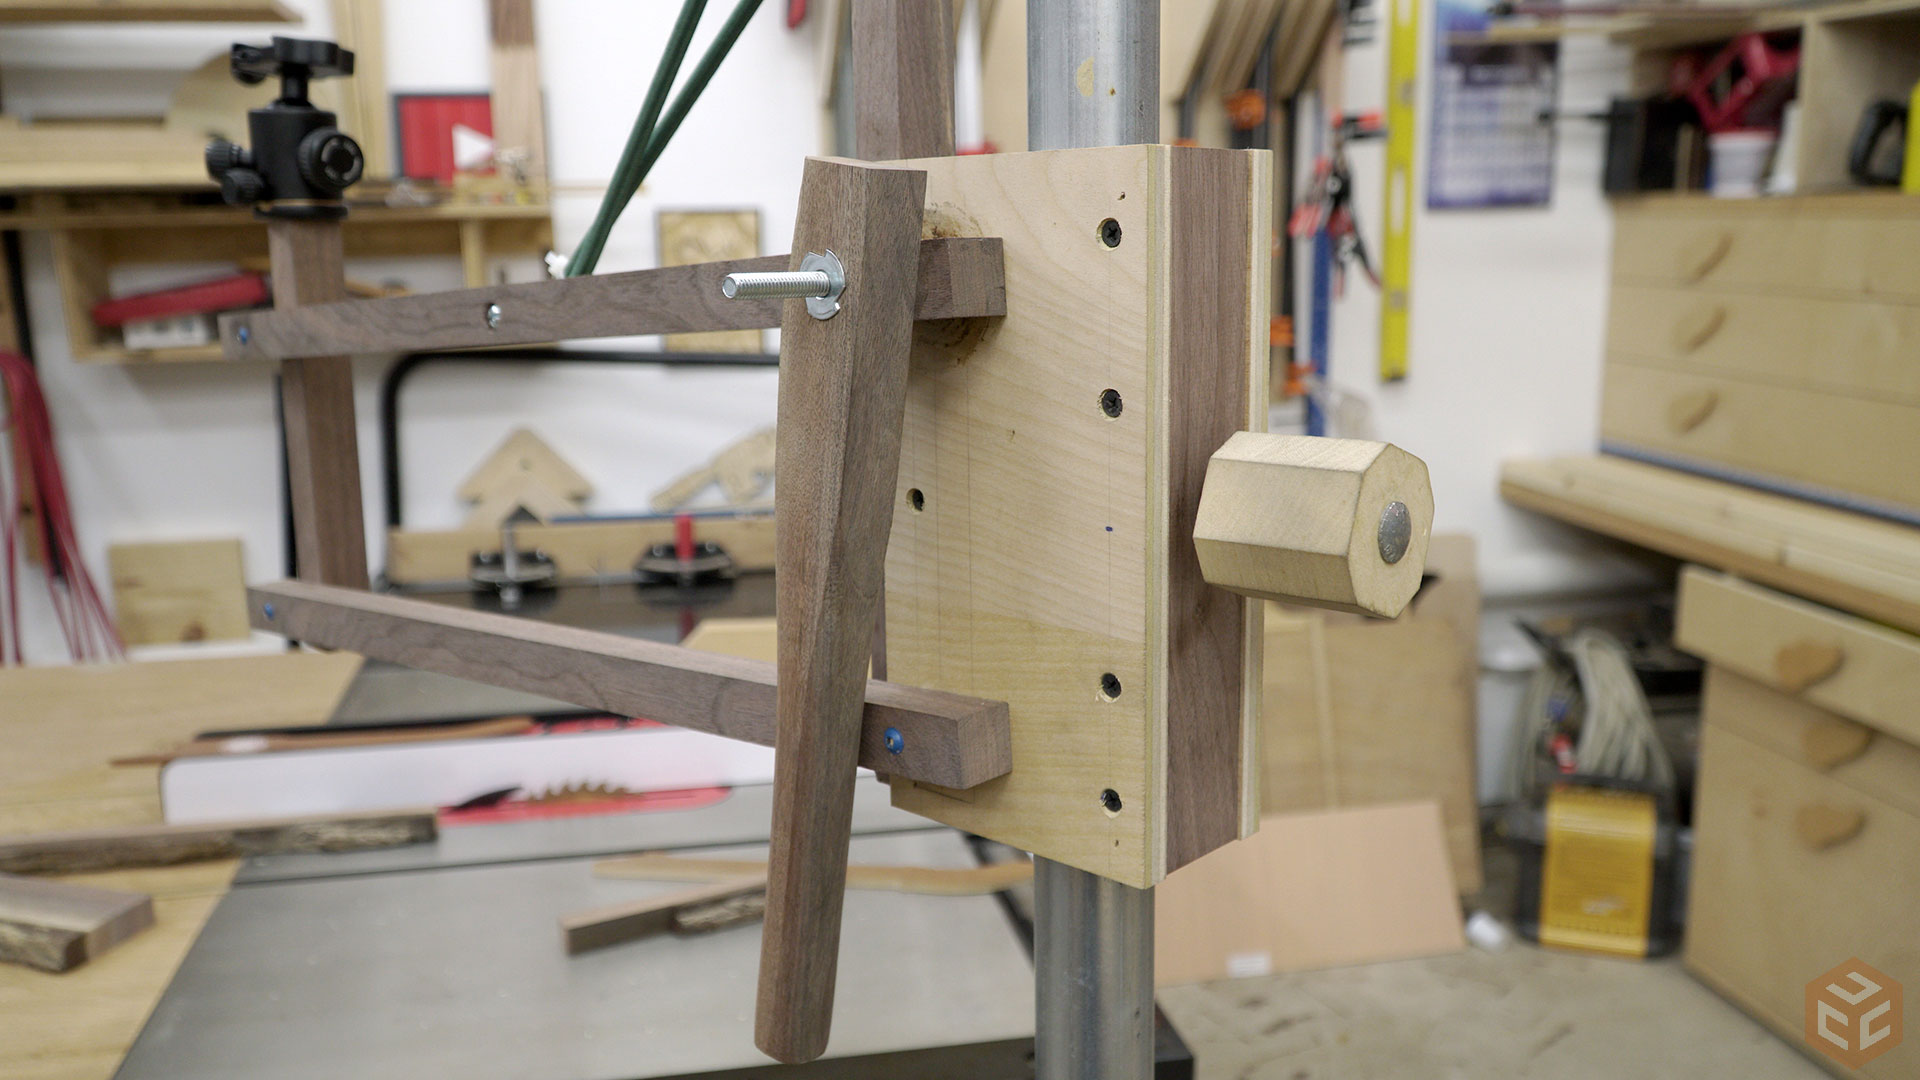
While the base cured I started in on the arm which ended up being a lot easier than I thought it would be. I cut two pieces of 1/2” plywood to act as the outside skins and three pieces of hardwood, in this case walnut, that were the same width as the diameter of the pipe for the vertical pieces. In one of the walnut pieces I drilled a hole and added a t-nut to the inside face of the hole. This allows a bolt to pass through the outside and tighten down onto the pipe which will lock it in place. The handle I used was actually salvaged from the pipe clamp moxon vise I made a few years back. These handles were used to hold it to the work table.
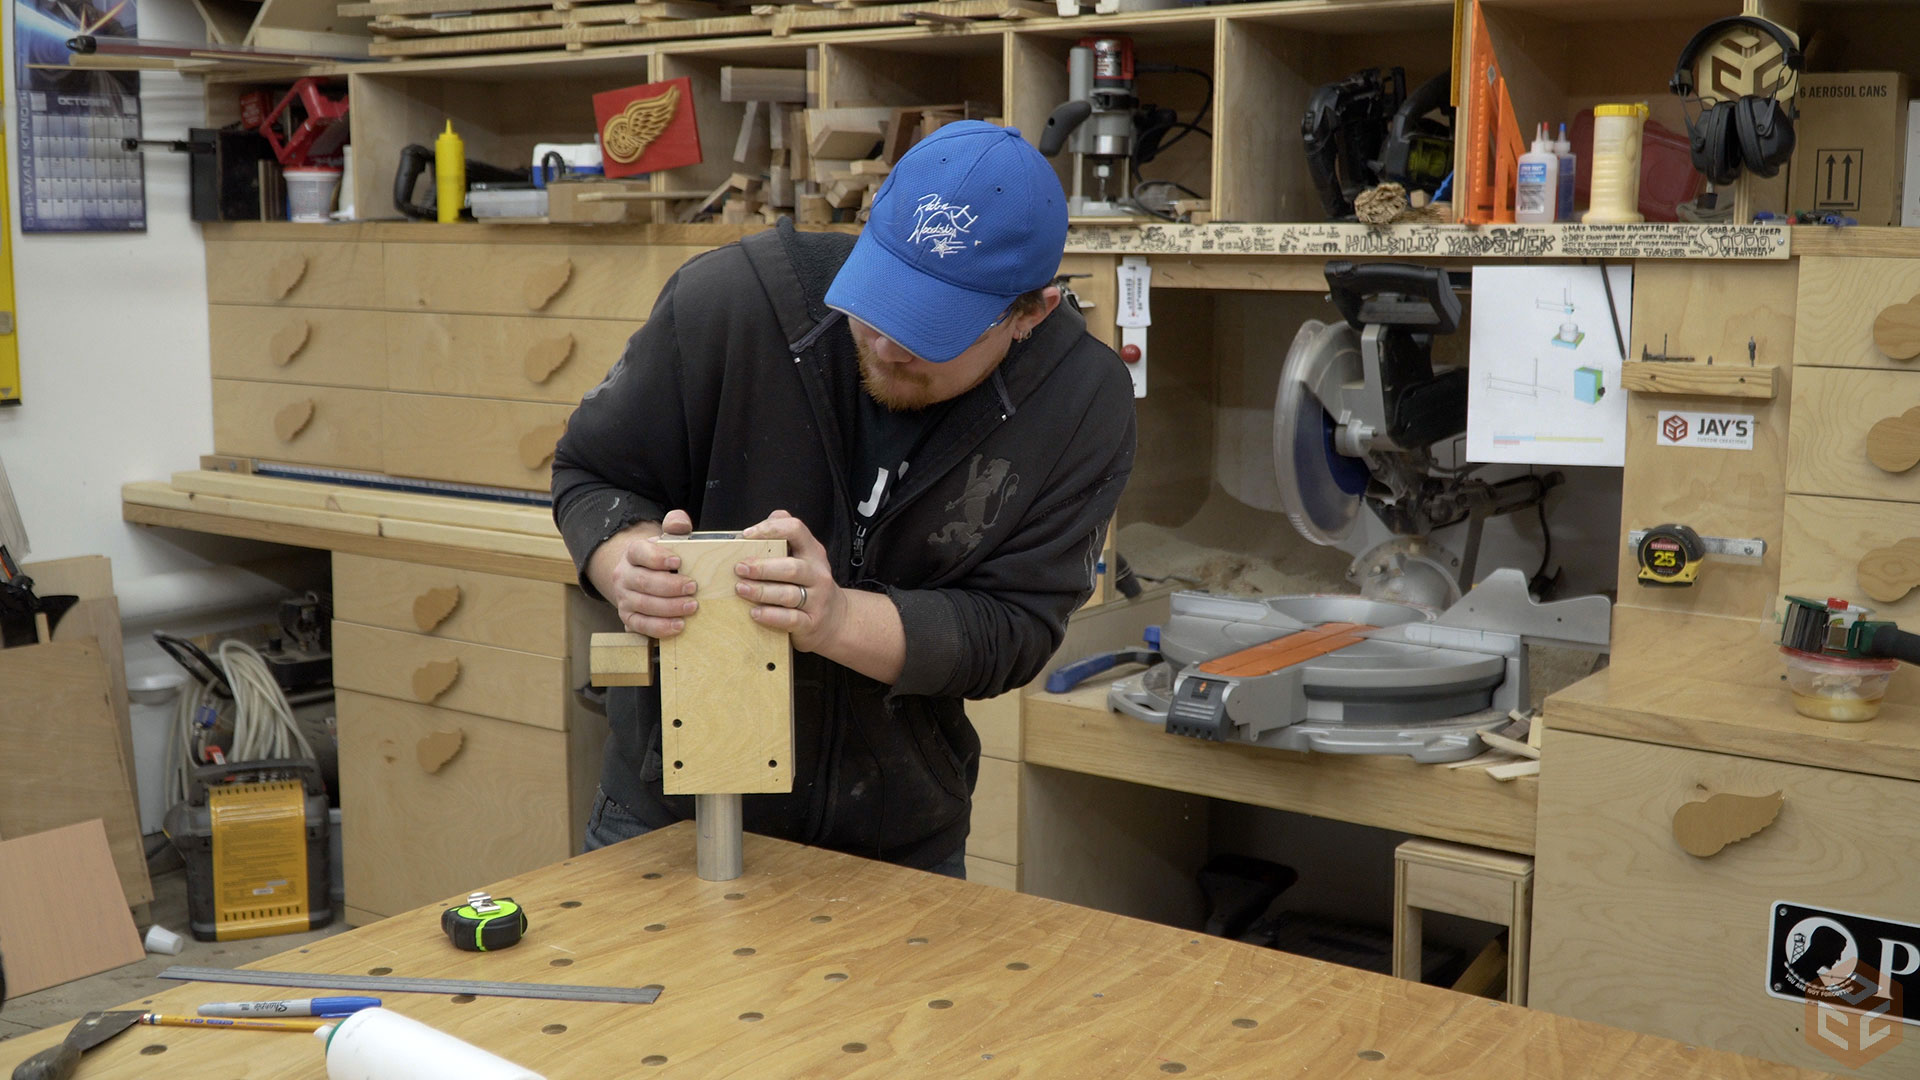
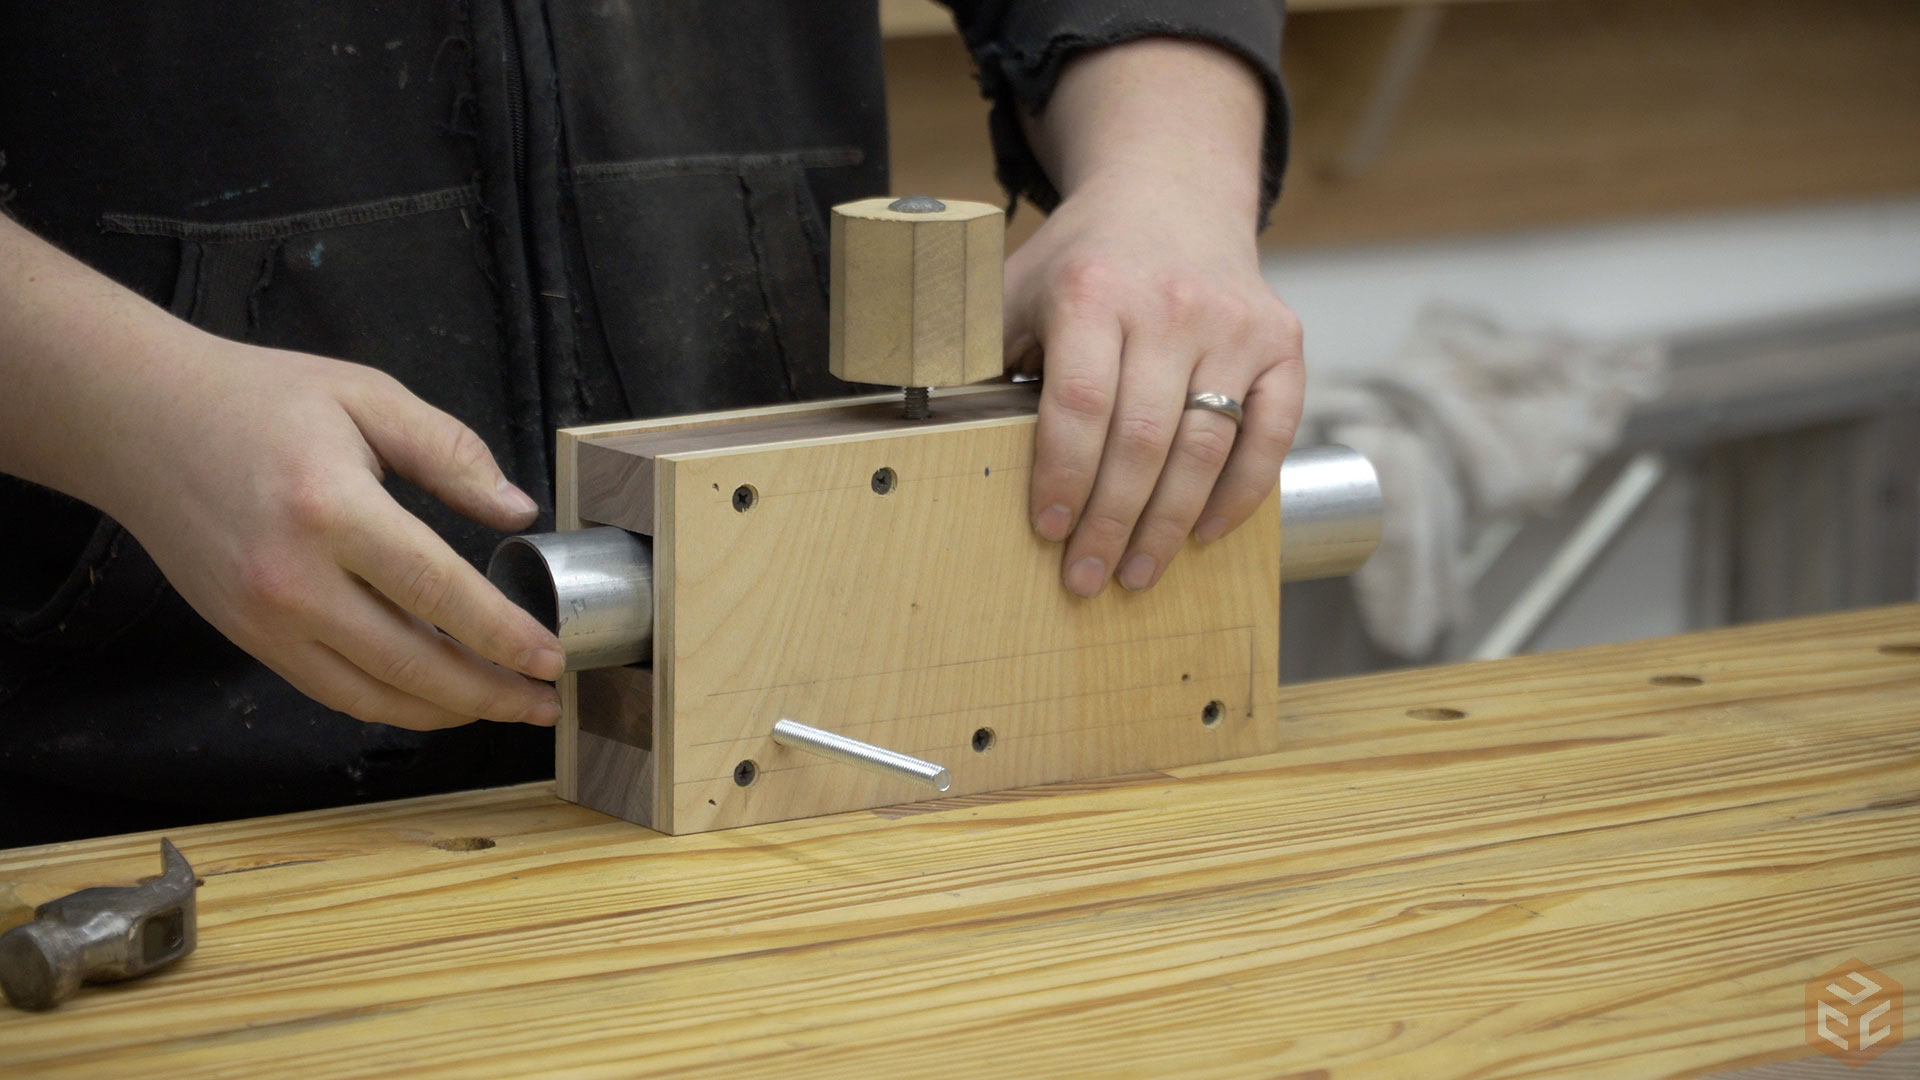
After gluing everything in place and reinforcing with screws I tested the strength of the height adjustment lock. I was able to put more pressure on the assembly than what I will ever put on the completed stand and it worked with no problems. It was extremely easy to adjust as well.
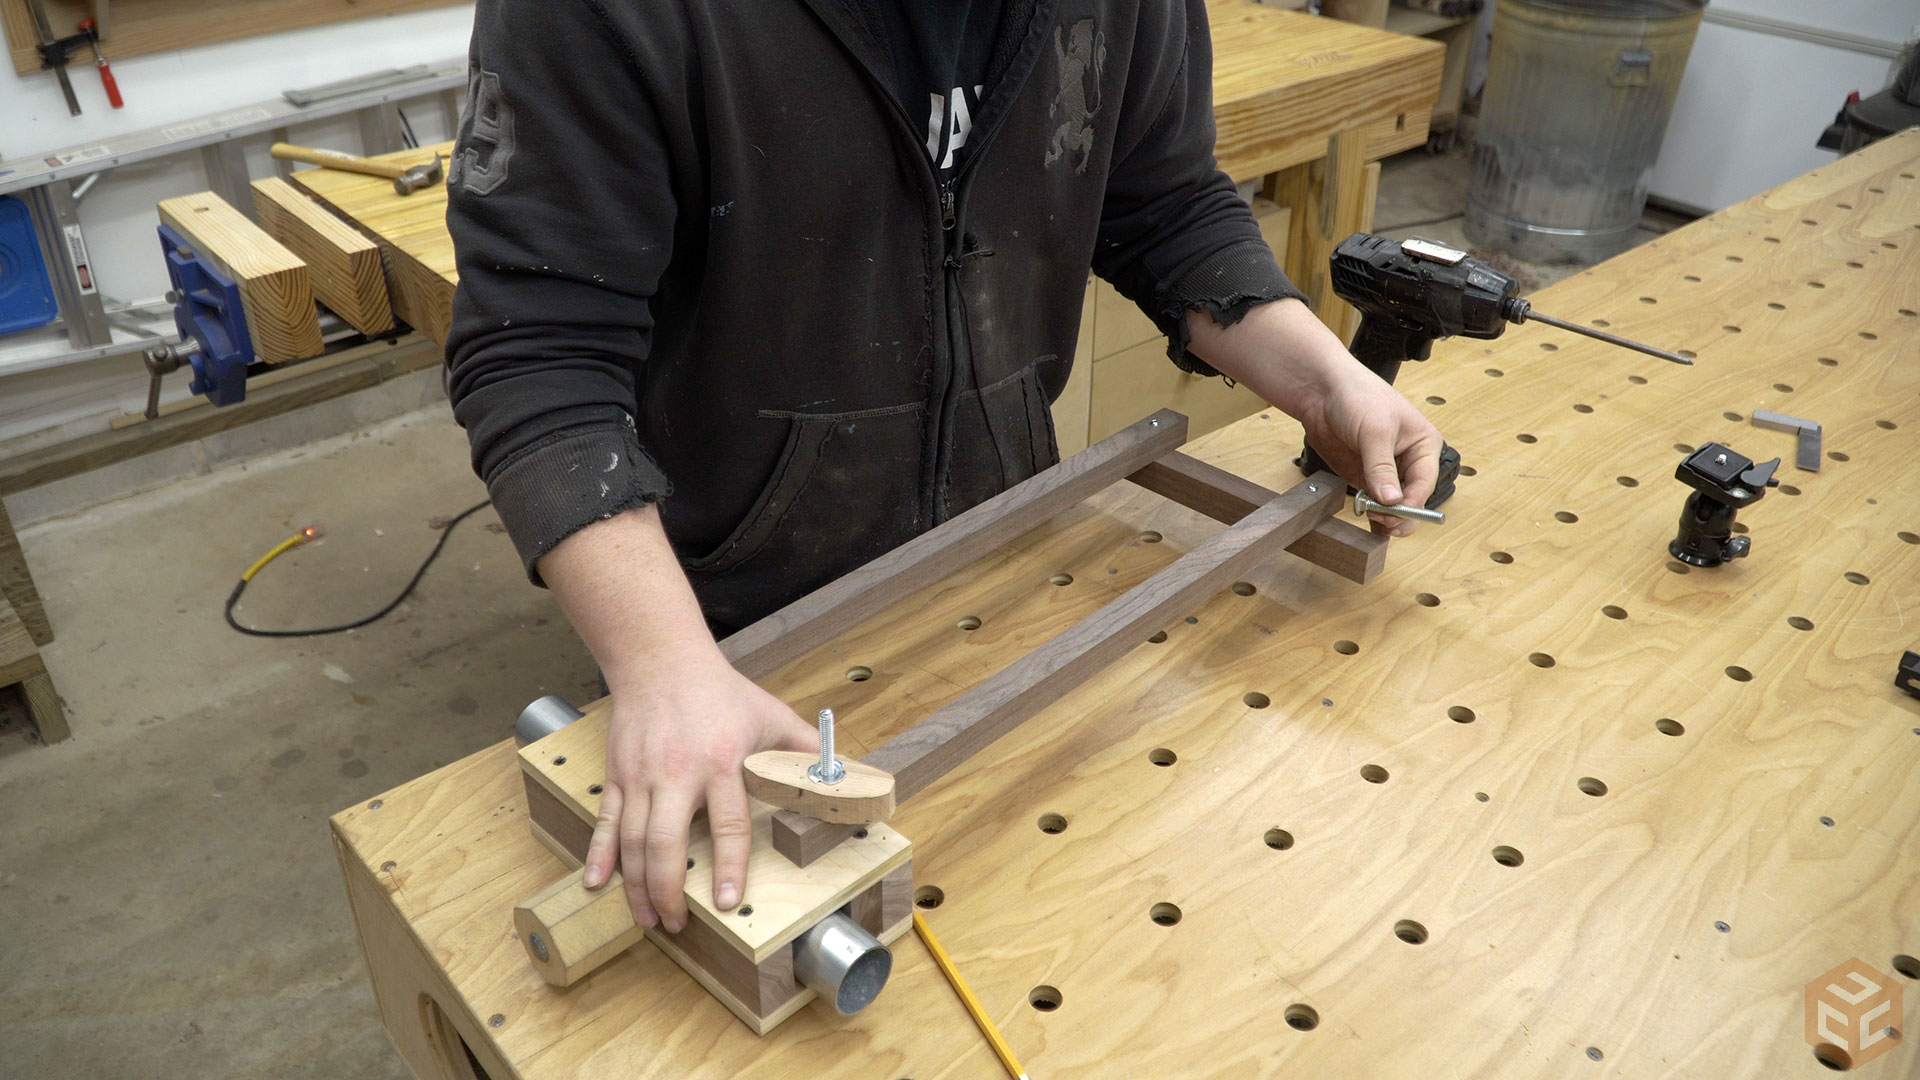
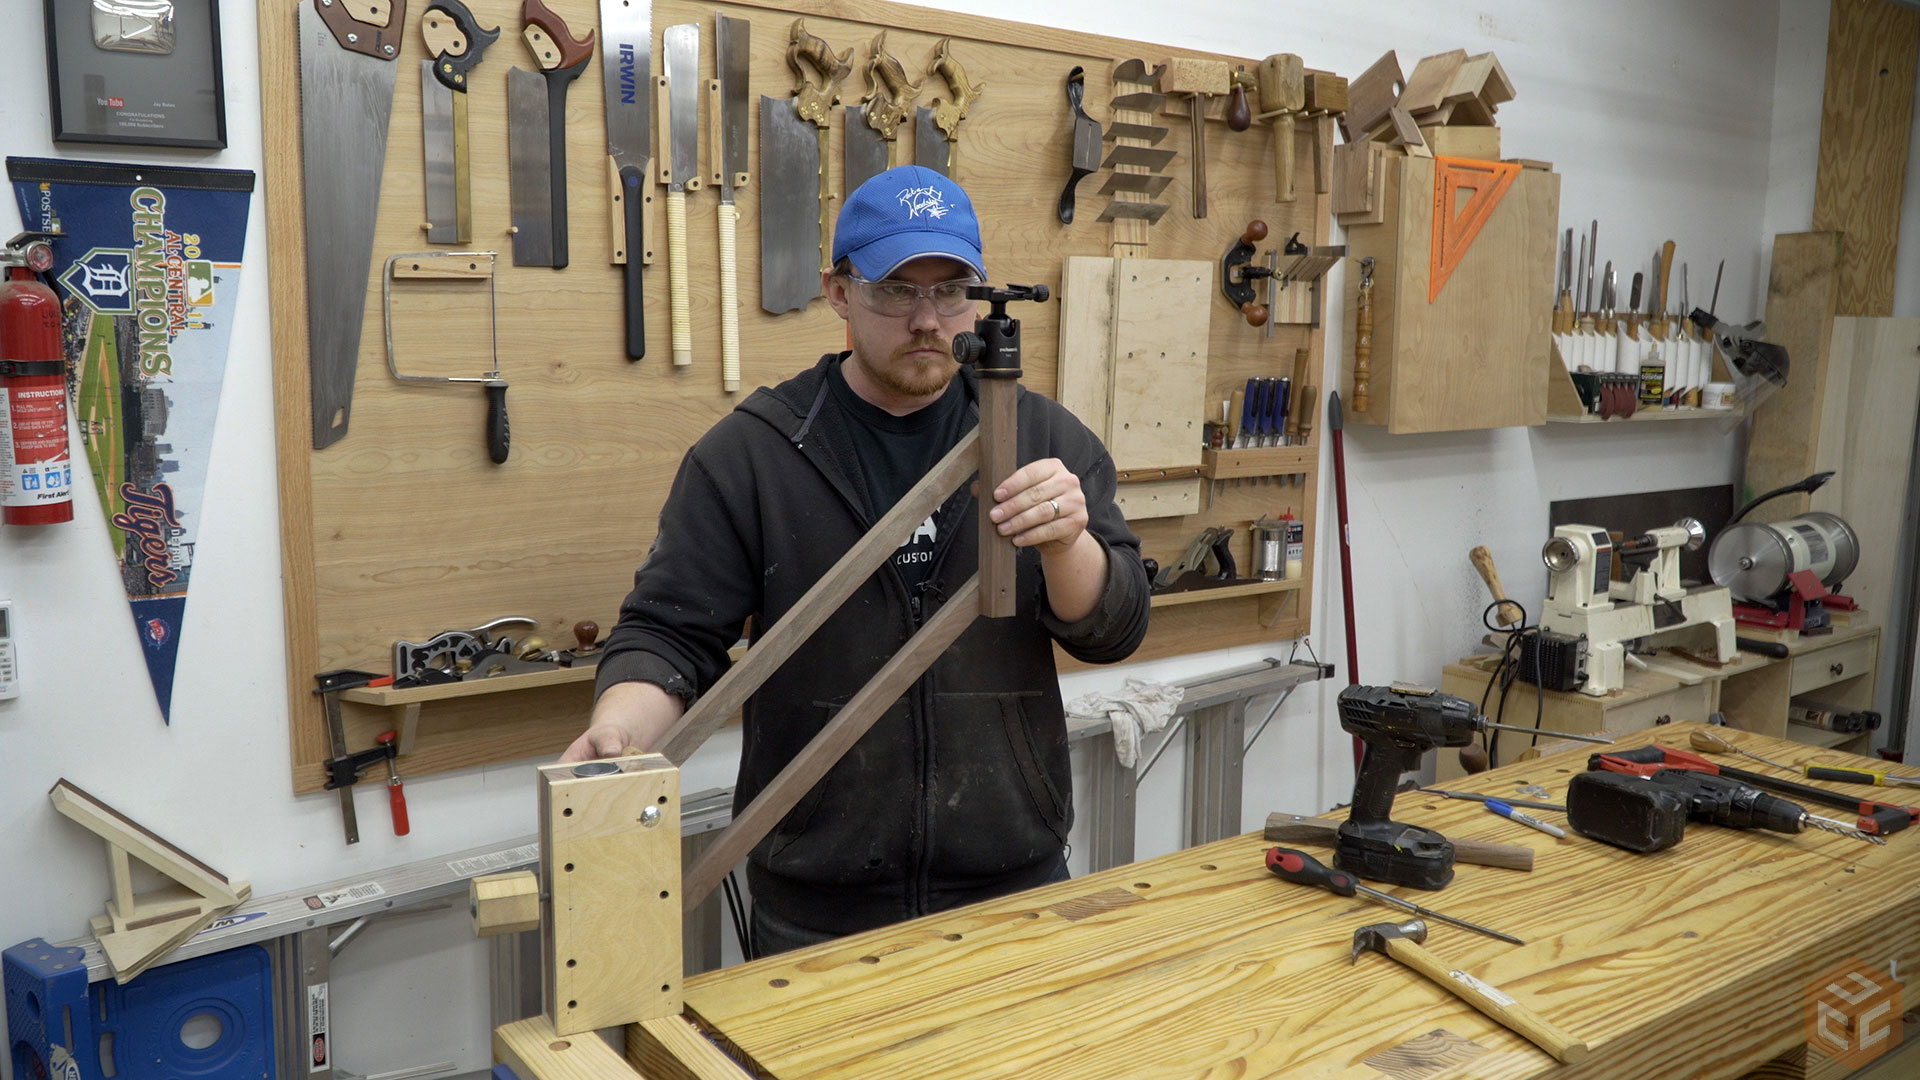
My original idea was to use a single arm to mount the camera on. But after thinking about that for a bit I realized that every time I changed the angle of the arm I would lose the vertical orientation of the camera. To prevent that I went with a twin arm parallelogram setup. This ensures that the opposite sides of the parallelogram will remain parallel. Because one side of the parallelogram is mounted to the vertical pole the other side where the camera will be mounted will always be vertical as well.
To ensure that the pivot points result in a true parallelogram I stacked the opposite sides and drilled the holes through both at the same time.
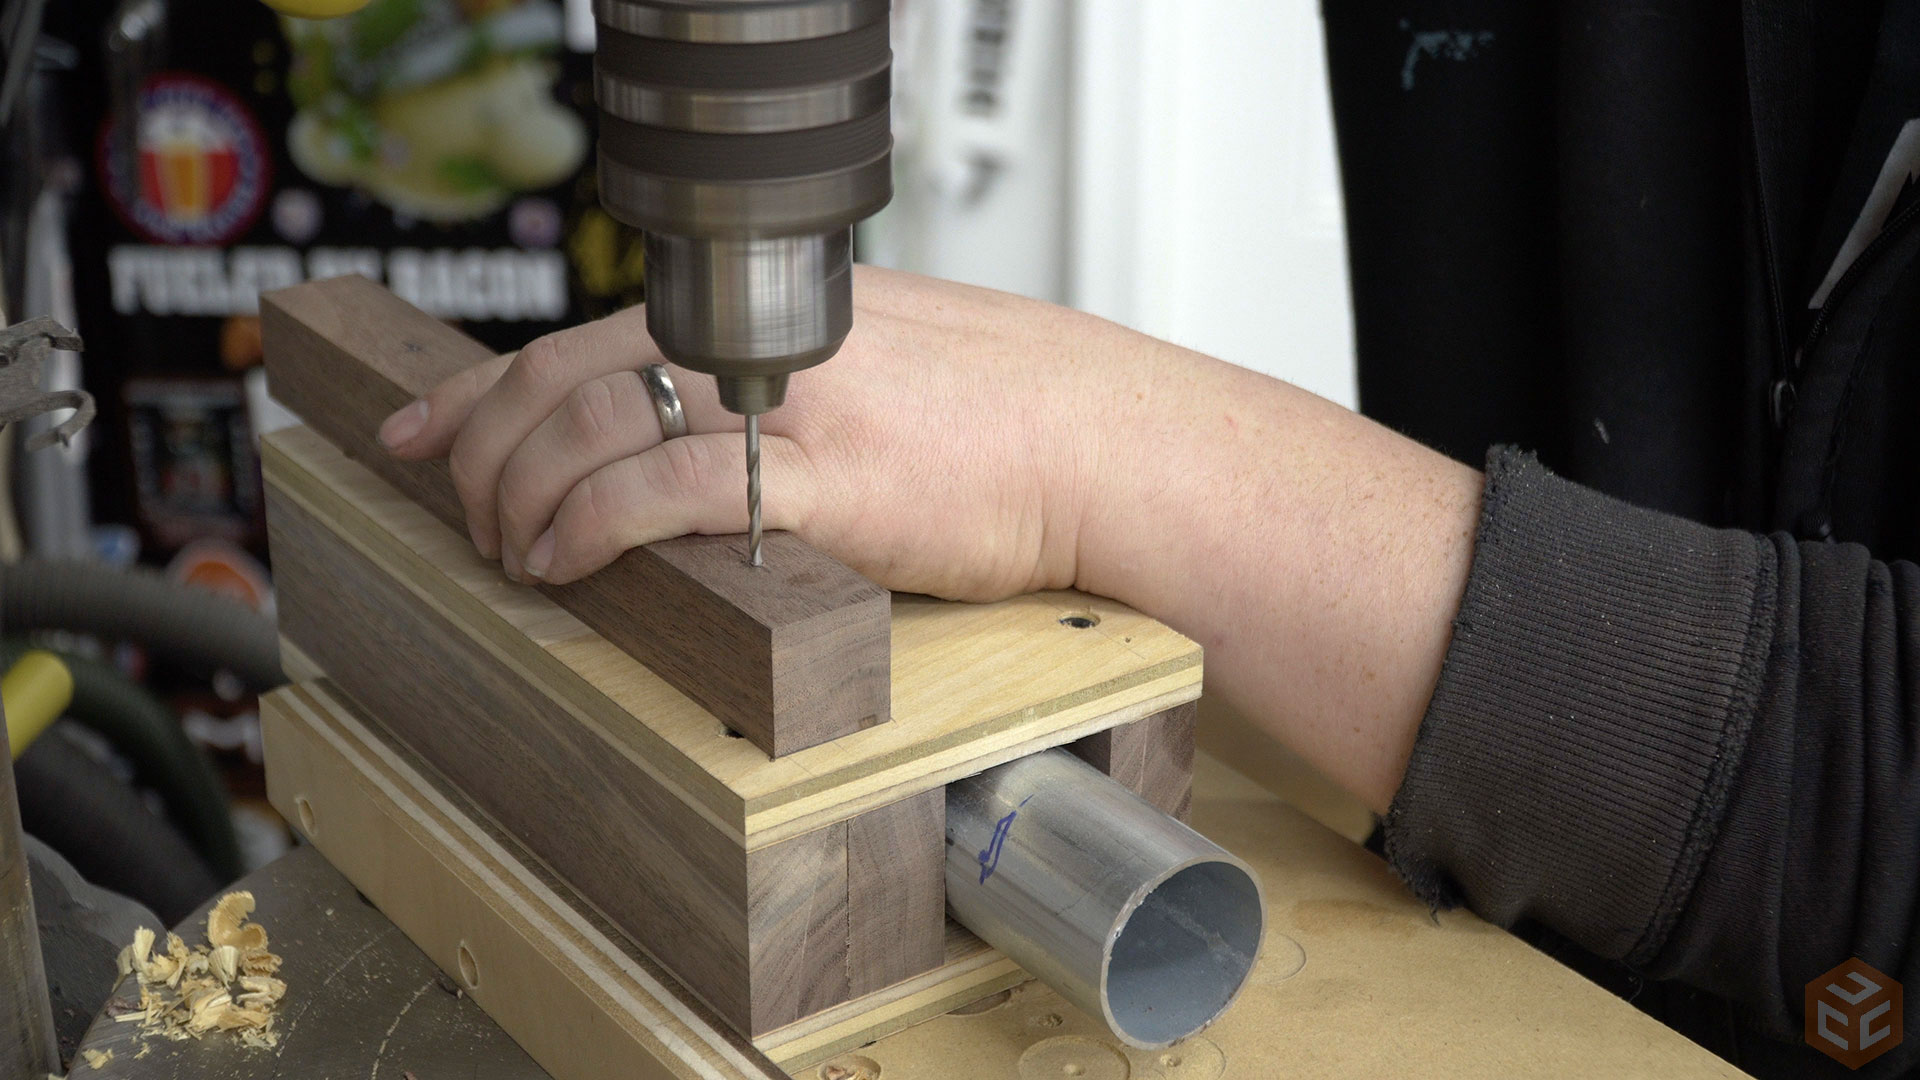
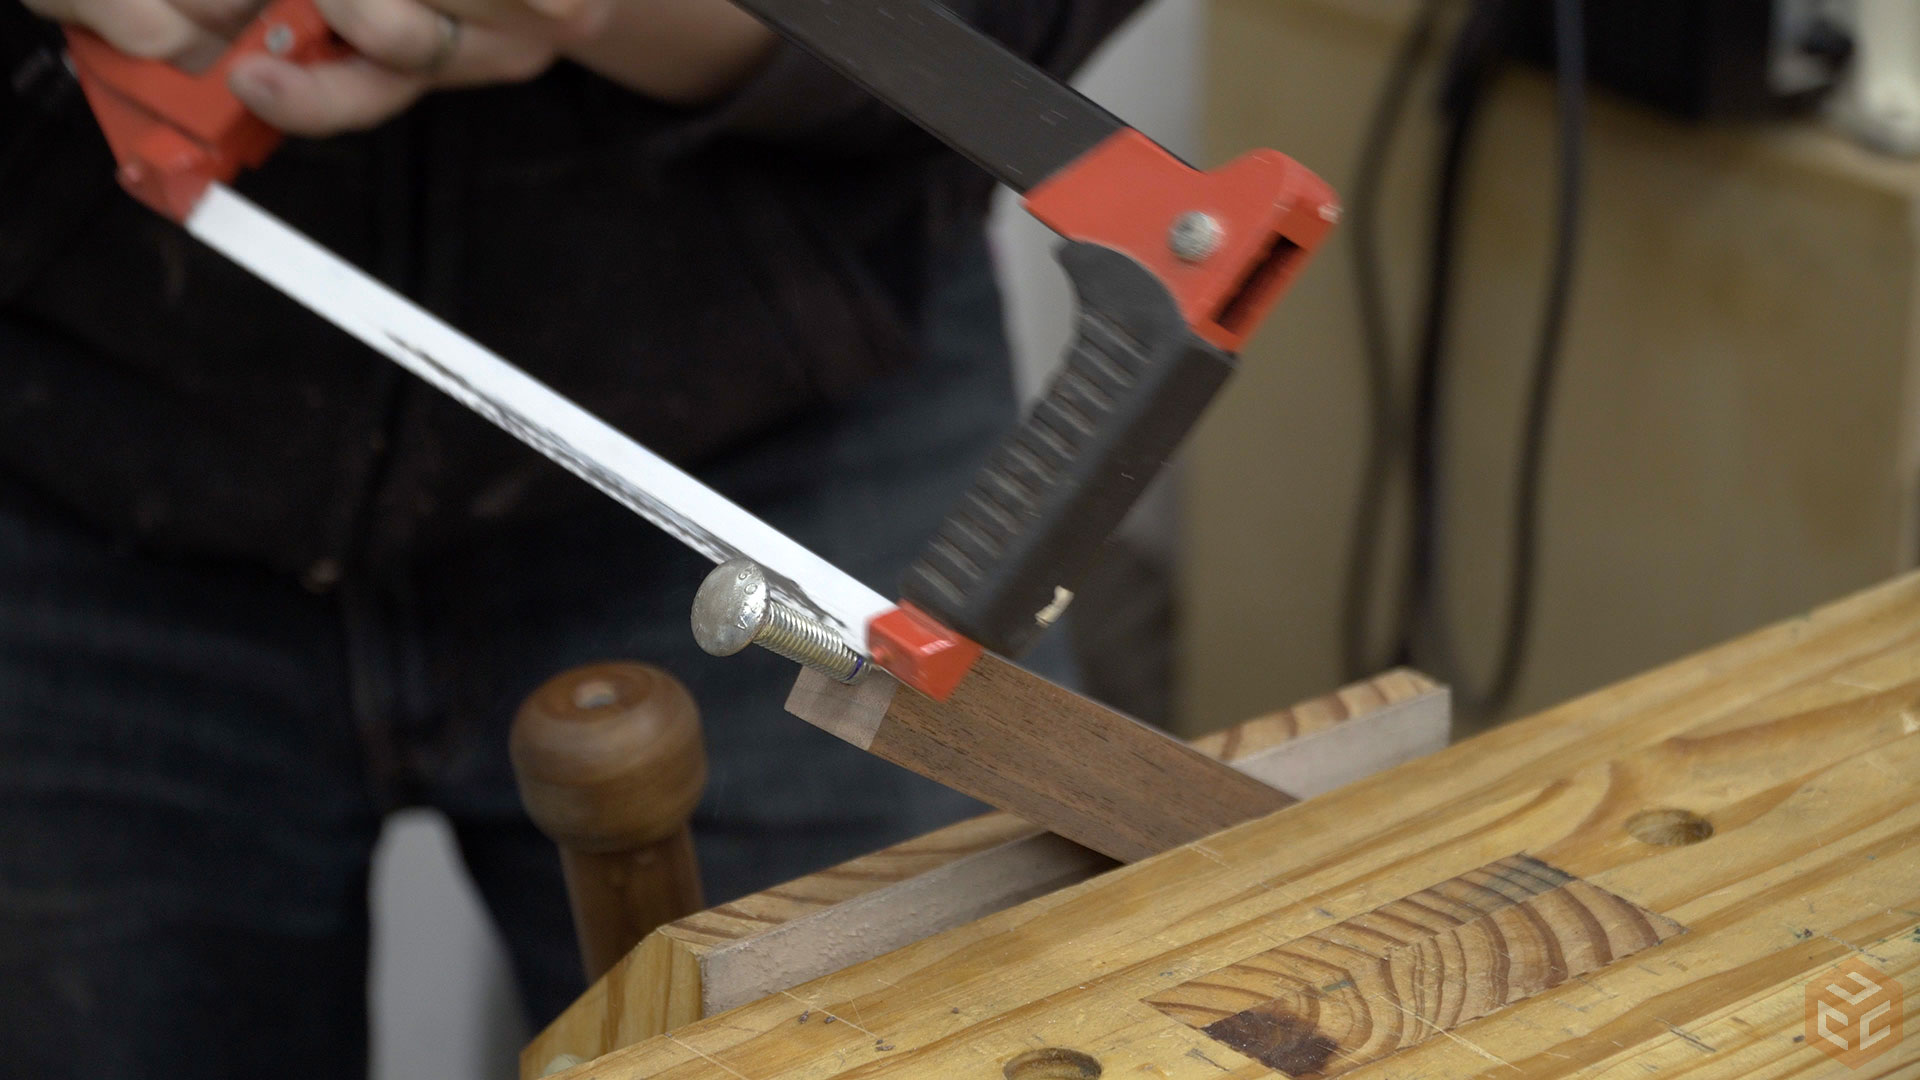
The top hole on the main body and the corresponding hole in the top linkage needed to be enlarged for a carriage bolt though. The bolt I used was a regular 5” long 5/16”-18 carriage bolt that ended up not being strong enough. The day after making this and recording it the threads stripped out so I had to replace it with a stronger grade 8 bolt of the same size. It’s working great now.
Washer head screws are all that is needed for the pivot pins. The screws I used only have threads on the bottom half and a smooth shaft on the top half. This allows the threaded part to grab into the back pieces and front pieces to pivot freely on the smooth shaft. Once I confirmed that these were working properly I added glue to the hole where the threads were and waxed the non threaded shaft of the screws.
I picked up a nice camera swivel mount and quick release plate for the stand. This was actually the most expensive part of the entire build. In total I spent about $45 on the entire project. To mount the camera swivel mount I drove a bolt into the vertical post of the arm and cut it off at the appropriate length.
A quick test before mounting on the actual pole and everything looks good.
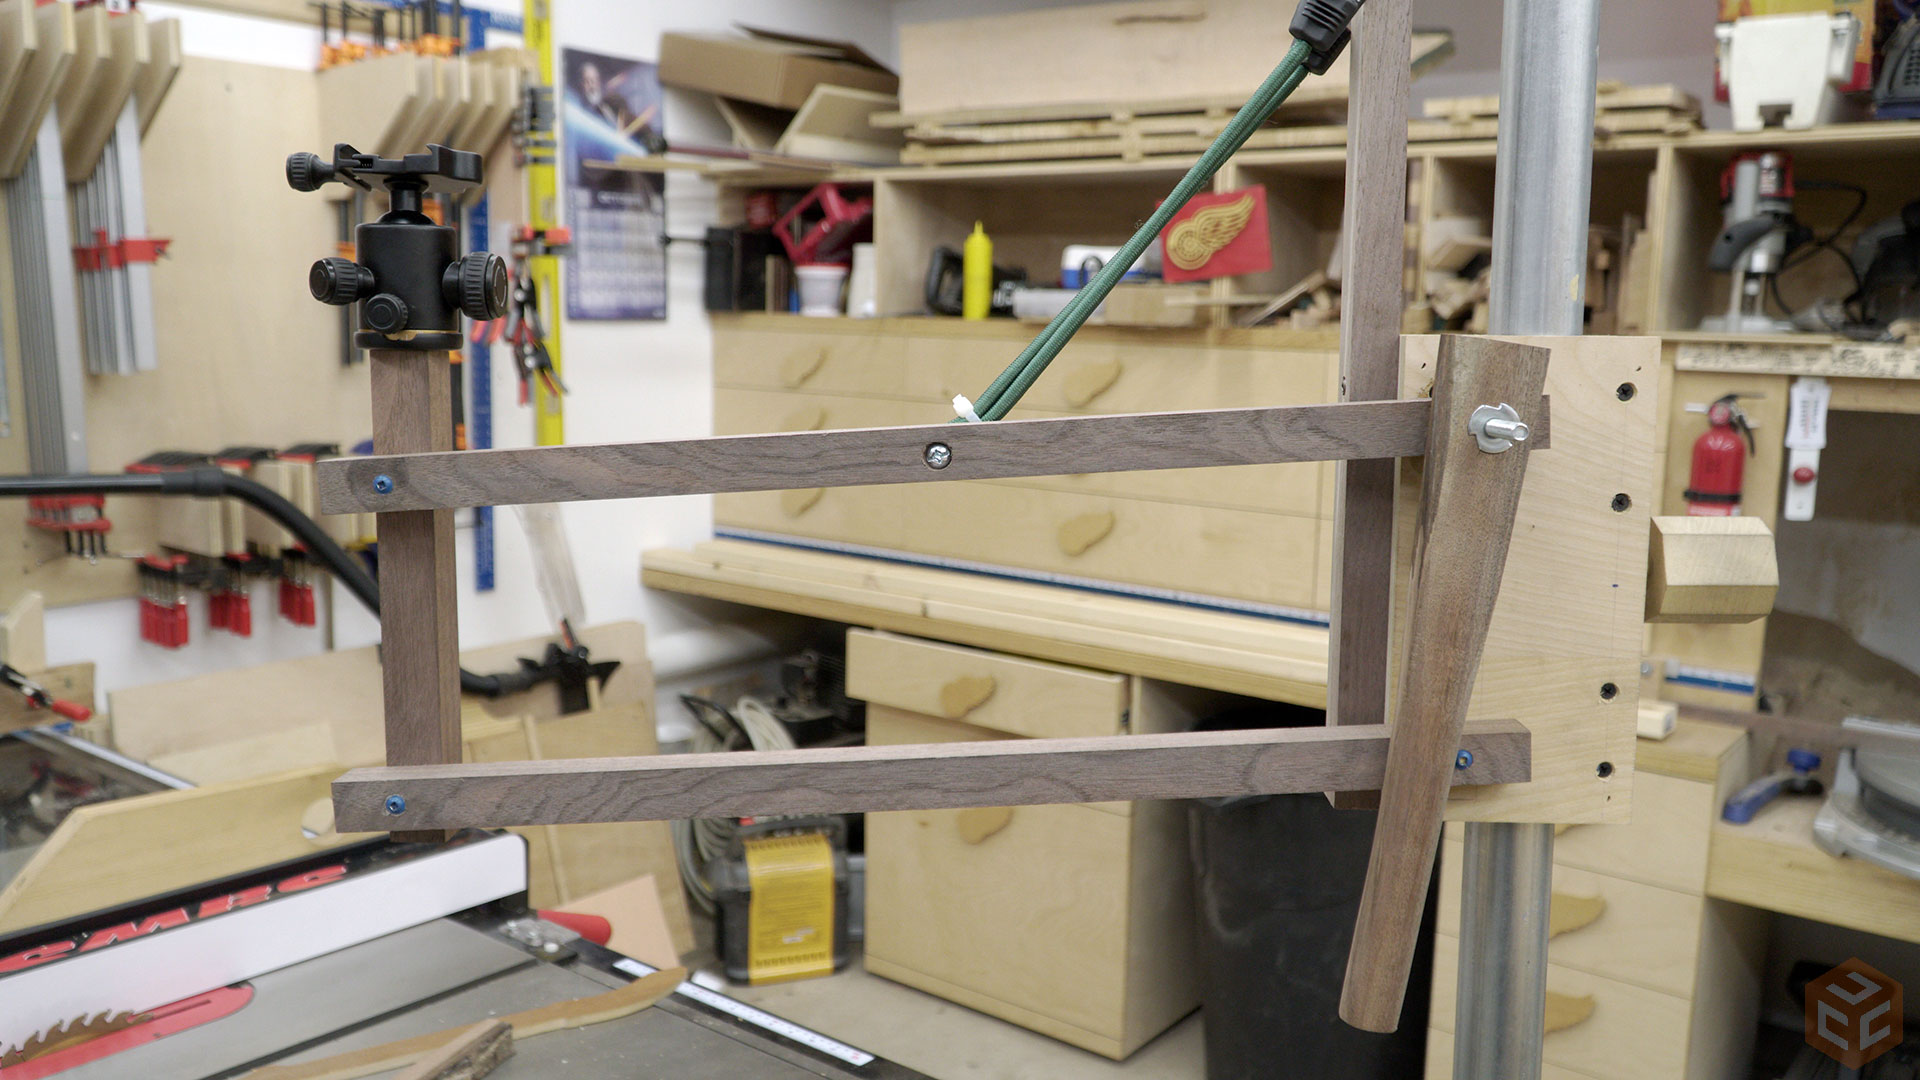
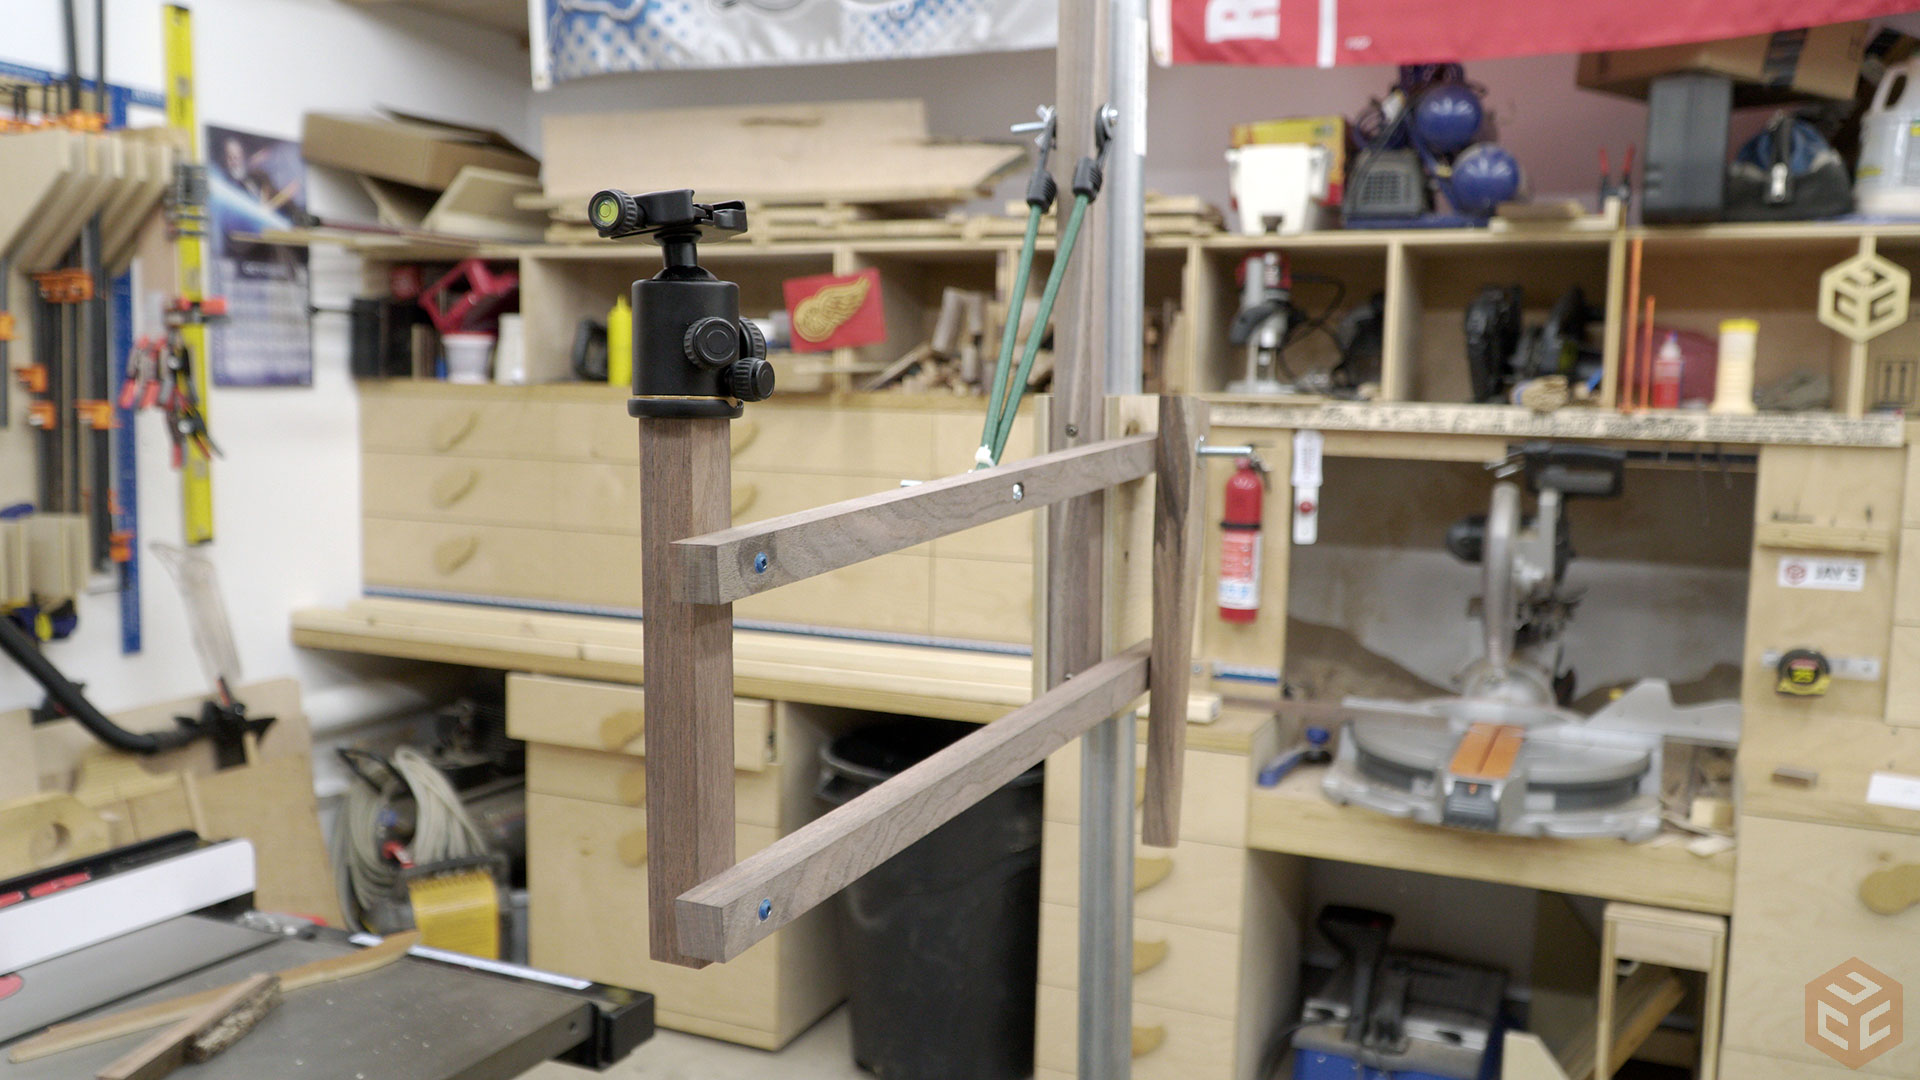
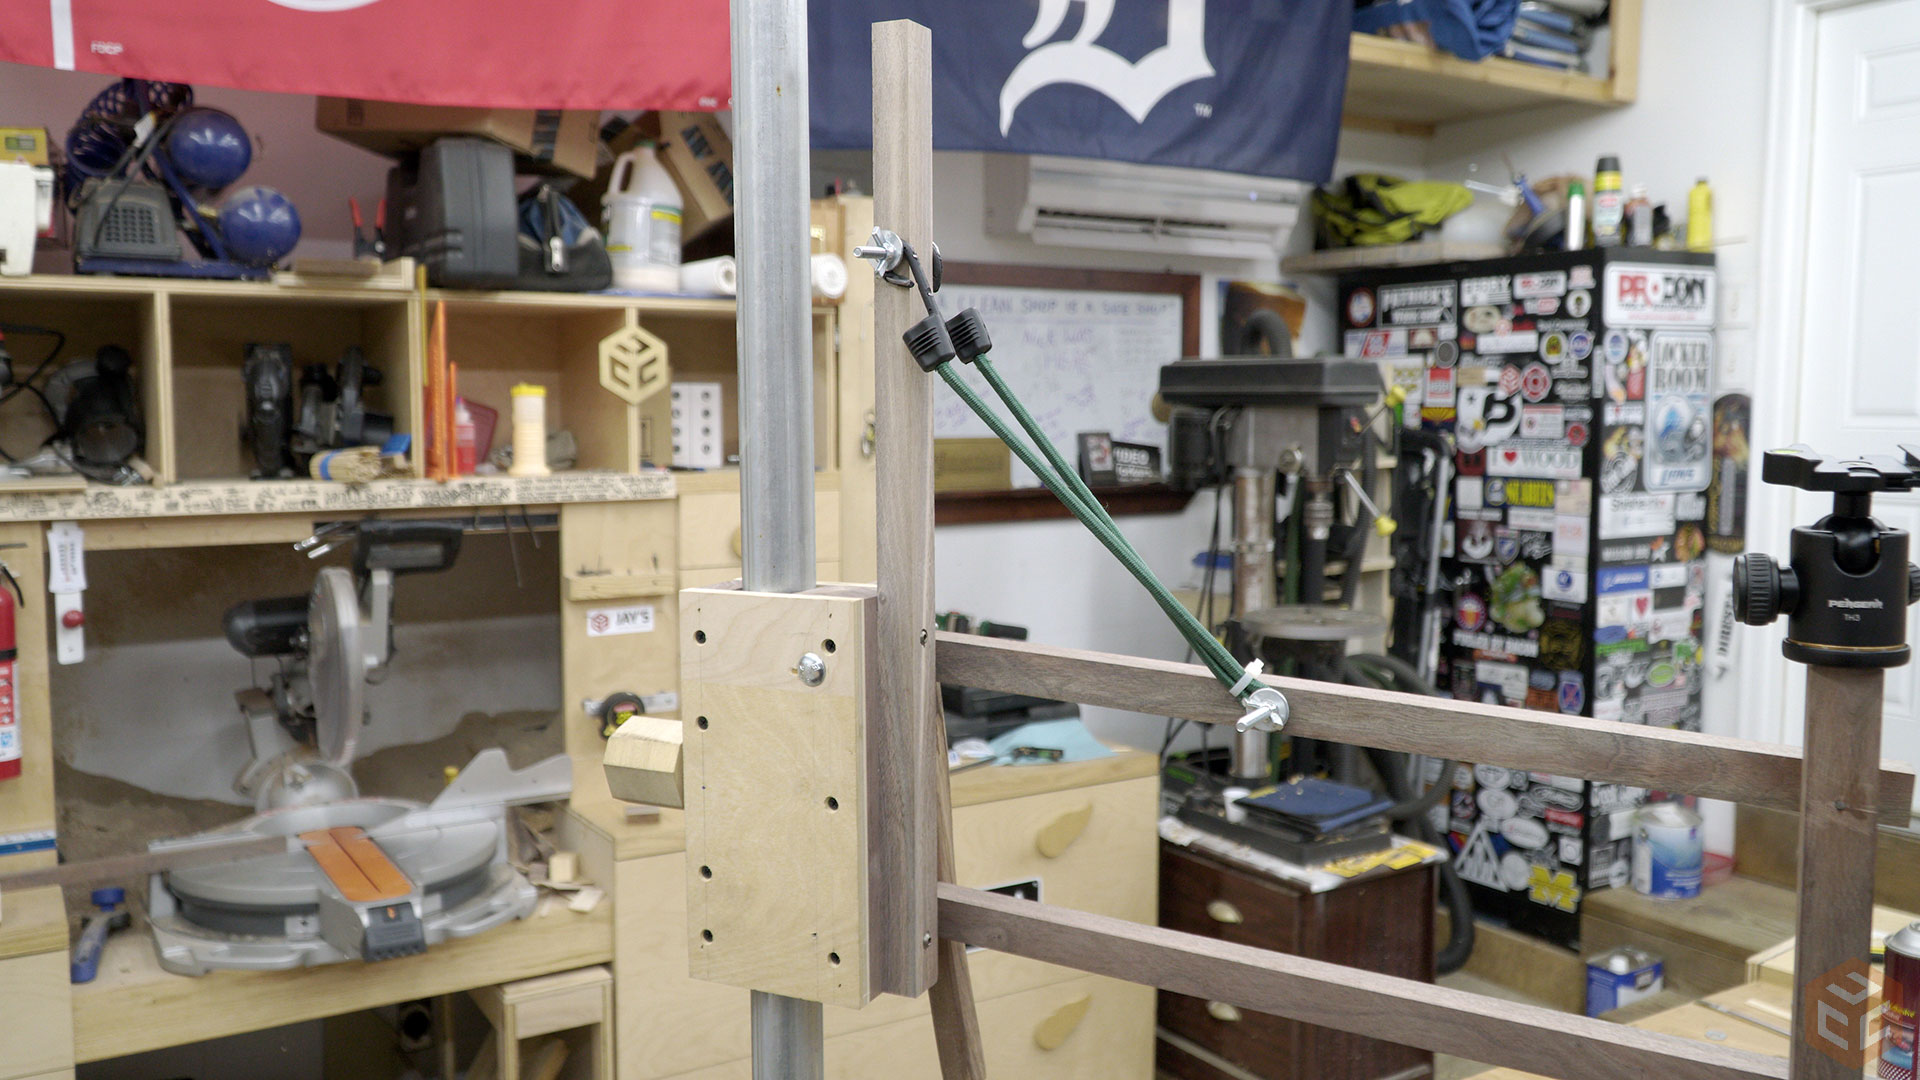
Once mounted on the pole I messed around with it for a little bit to work out the small details. I ended up adding a vertical post which allows me to mount a doubled up bungee cord between it and the top linkage rail. This bungee prevents the camera from crashing down in the event that the locking handle fails. For the locking handle I used another piece of scrap hardwood with another t-nut. This allows a very easy movement to loosen and tighten the position of the camera arm.

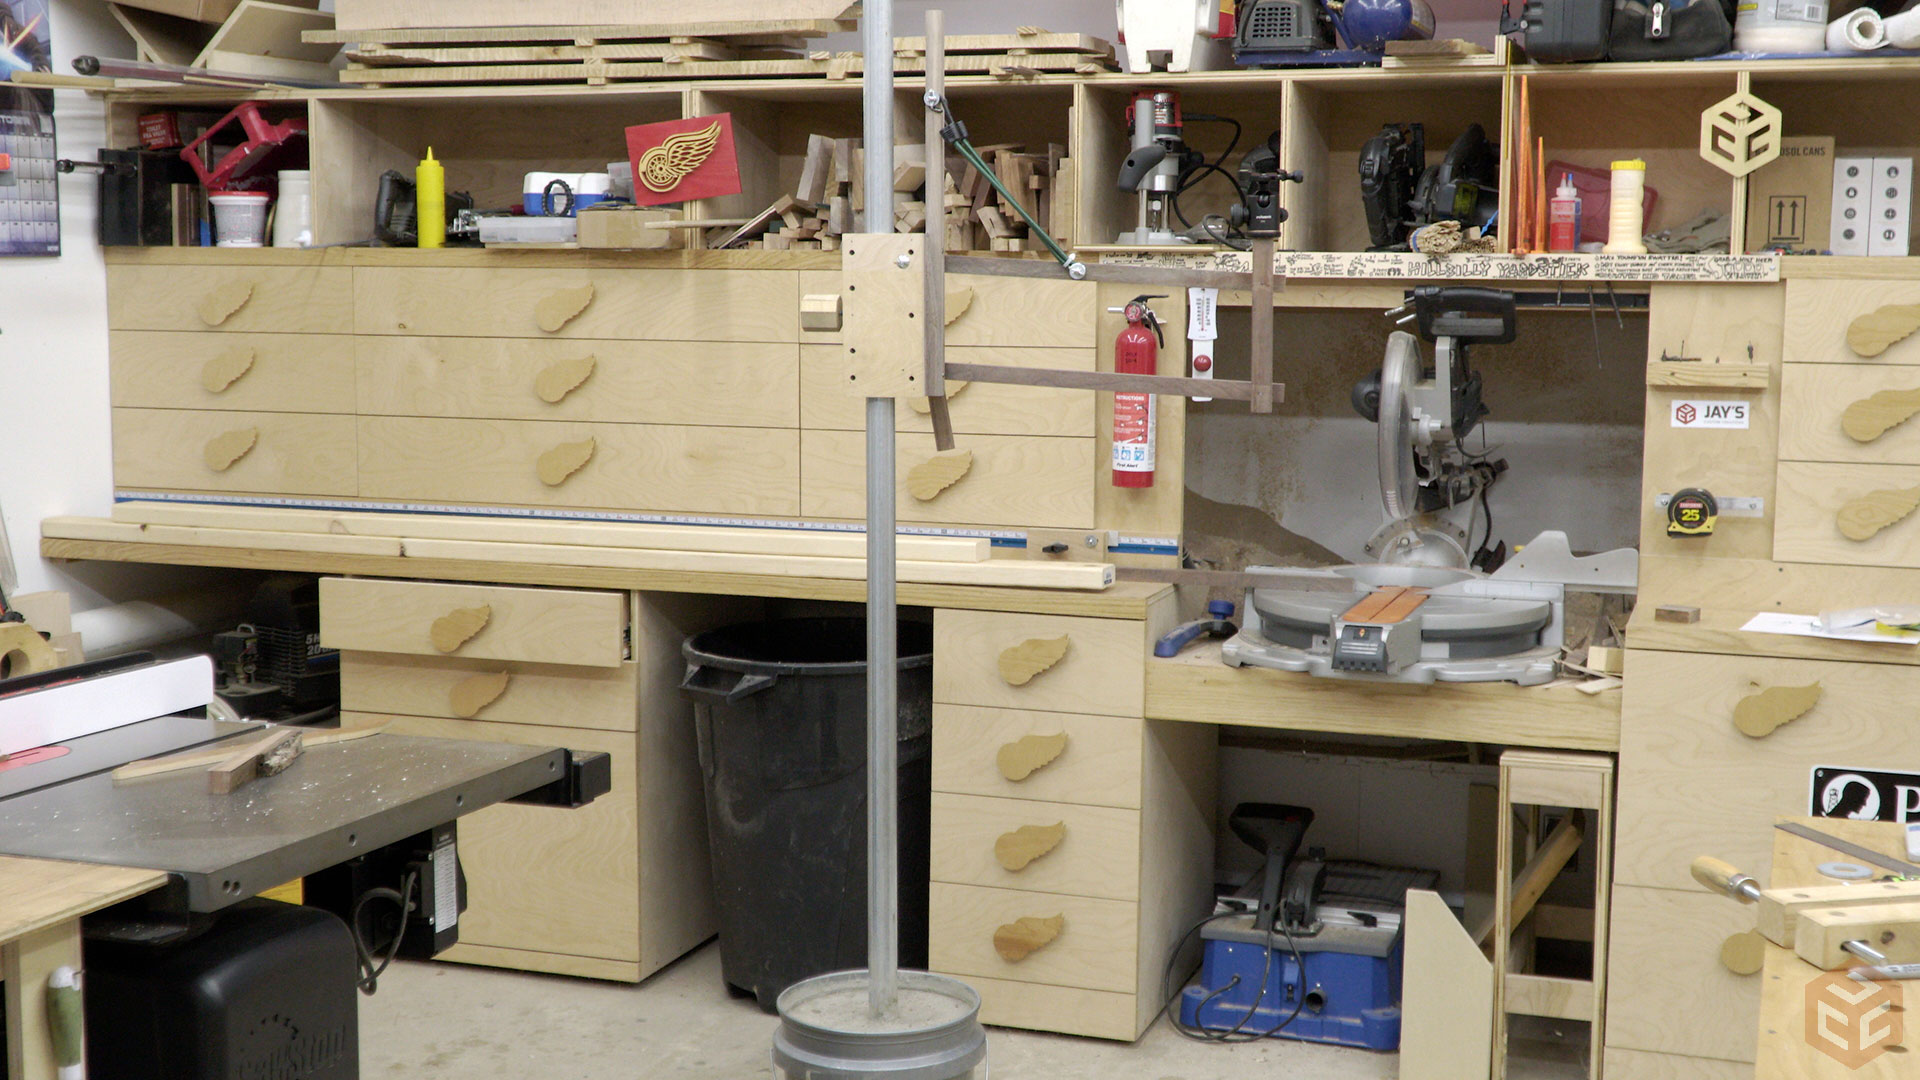
And here are some completed pictures of the project. I’m very please with the results as I now have a lot more range with this setup compared to the old tripod. It’s also a LOT easier to adjust and moves around effortlessly with the casters. I don’t have any plans for this but I do have a download containing the SketchUp diagram and single page PDF that I printed off and took to the shop to make mine. Click here to download a .zip file containing both.


The camera stand looks and works great. I think you will get a lot of use out the stand.
If you only three wheels I think it be more stable on the floor.
Hi, Jay. Nice stand! You might think about putting a pulley at the top, with a rope from the mount, over the top and into the pipe. Then add just enough weight to counterbalance the camera. That way you can loosen the lock and the camera will float – Better than having the whole thing slam down on the ground!
Nice build
Aaron
The doubled up bungee is good. Much cheaper than a gas spring. Nice project, Jay.
Love it! One will be built for my shop as I will making more videos for my site and YouTube channel soon. I agree with Richard Glad’s 3-wheel suggestion as it will be easier for 3 contact points to find a level than 4 points to do the same. Also suggest that the base the bucket sits in not only be triangular but also larger, say 2′ x 2′ x 2′ (or even bigger) which will add to the stability. A simple yet fantastic design, Jay!
Hey Jay,
Under the cateogry #youshould …
What do you think of counter balancing the camera like this binocular counterbalance rig?
https://goo.gl/images/lyBZQJ
Jay, great build! I can see so many more uses for this than just a camera.
I also noticed that you are a magnet junkie like myself. I have a magnet on my cordless drill to hold screws, and on my drill press to hold my chuck key. I have magnetic plan holders like the one that I sent you all over my shop at different stations.
Keep up the good work.
Who makes that camera mount?