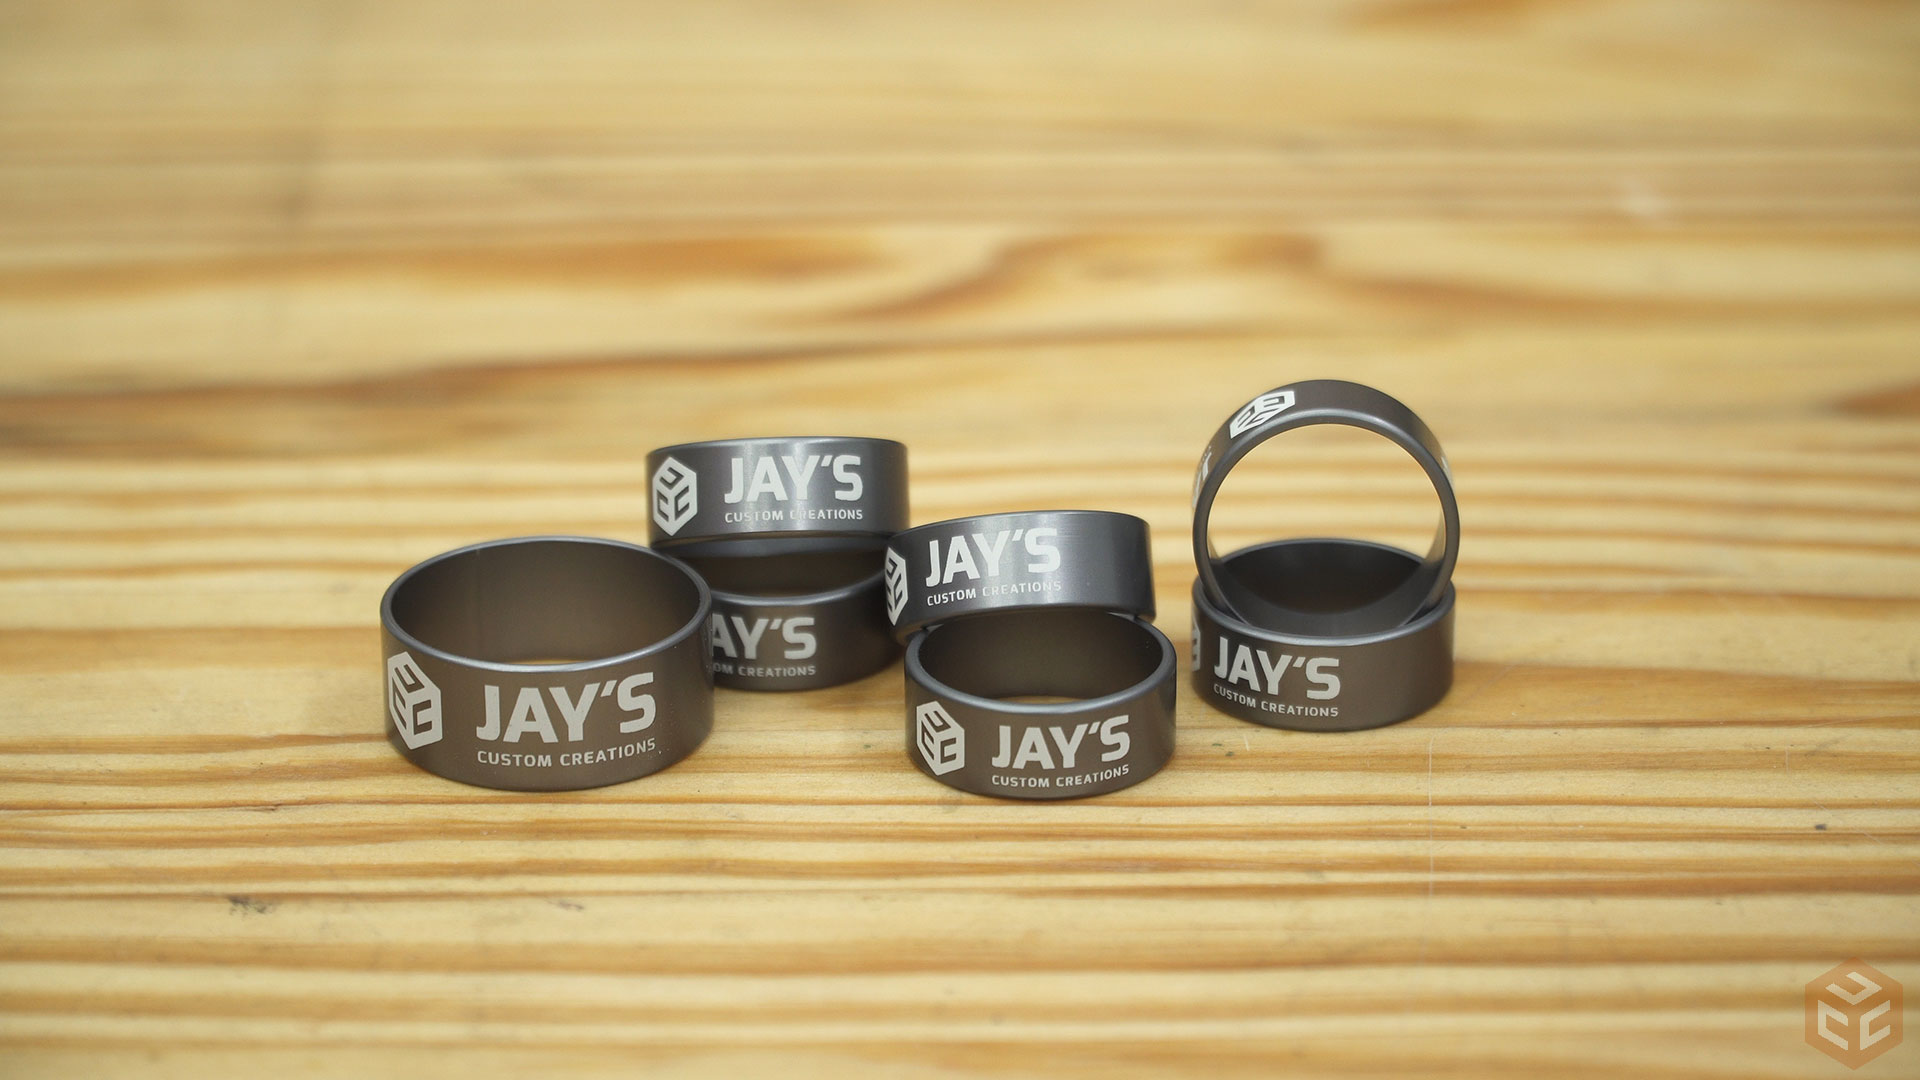
About a month ago I shot a shop tour video in Jason Barlow’s shop. If you haven’t seen it be sure to check it out. But while I was there Jason showed me one of his turned duck calls with a custom ring with his logo on it. It looked awesome. Both the turning and the ring. I asked him where he got them made and after he told me I told him I was going to steal his idea and get a set of rings with my logo to make a full set of chisel handles.
So that’s exactly what I did. I got a set of 6 for my chisel handles and a single larger one for something later. If you have a suggestion for how I should use the larger ring be sure to leave me a comment and let me know. To get a custom set of your own go to GouldsCustomCalls.com and tell him Jay Bates sent you. This is not a sponsored endorsement. I have no affiliation with the business but I’m really impressed with the product. And it’s always a good idea to support small businesses whenever possible.
My objective was to duplicate a simple chisel handle I turned last year to not only make all of my chisel handles match but also to get rid of the super heavy composite handles that came with them. I have a single board of 8/4 walnut with some curl in it and a single board of 8/4 birdseye maple to choose from for these and I decided to go with the maple. Either would look great but I think the maple would handle the abuse of a mallet better in the long run.
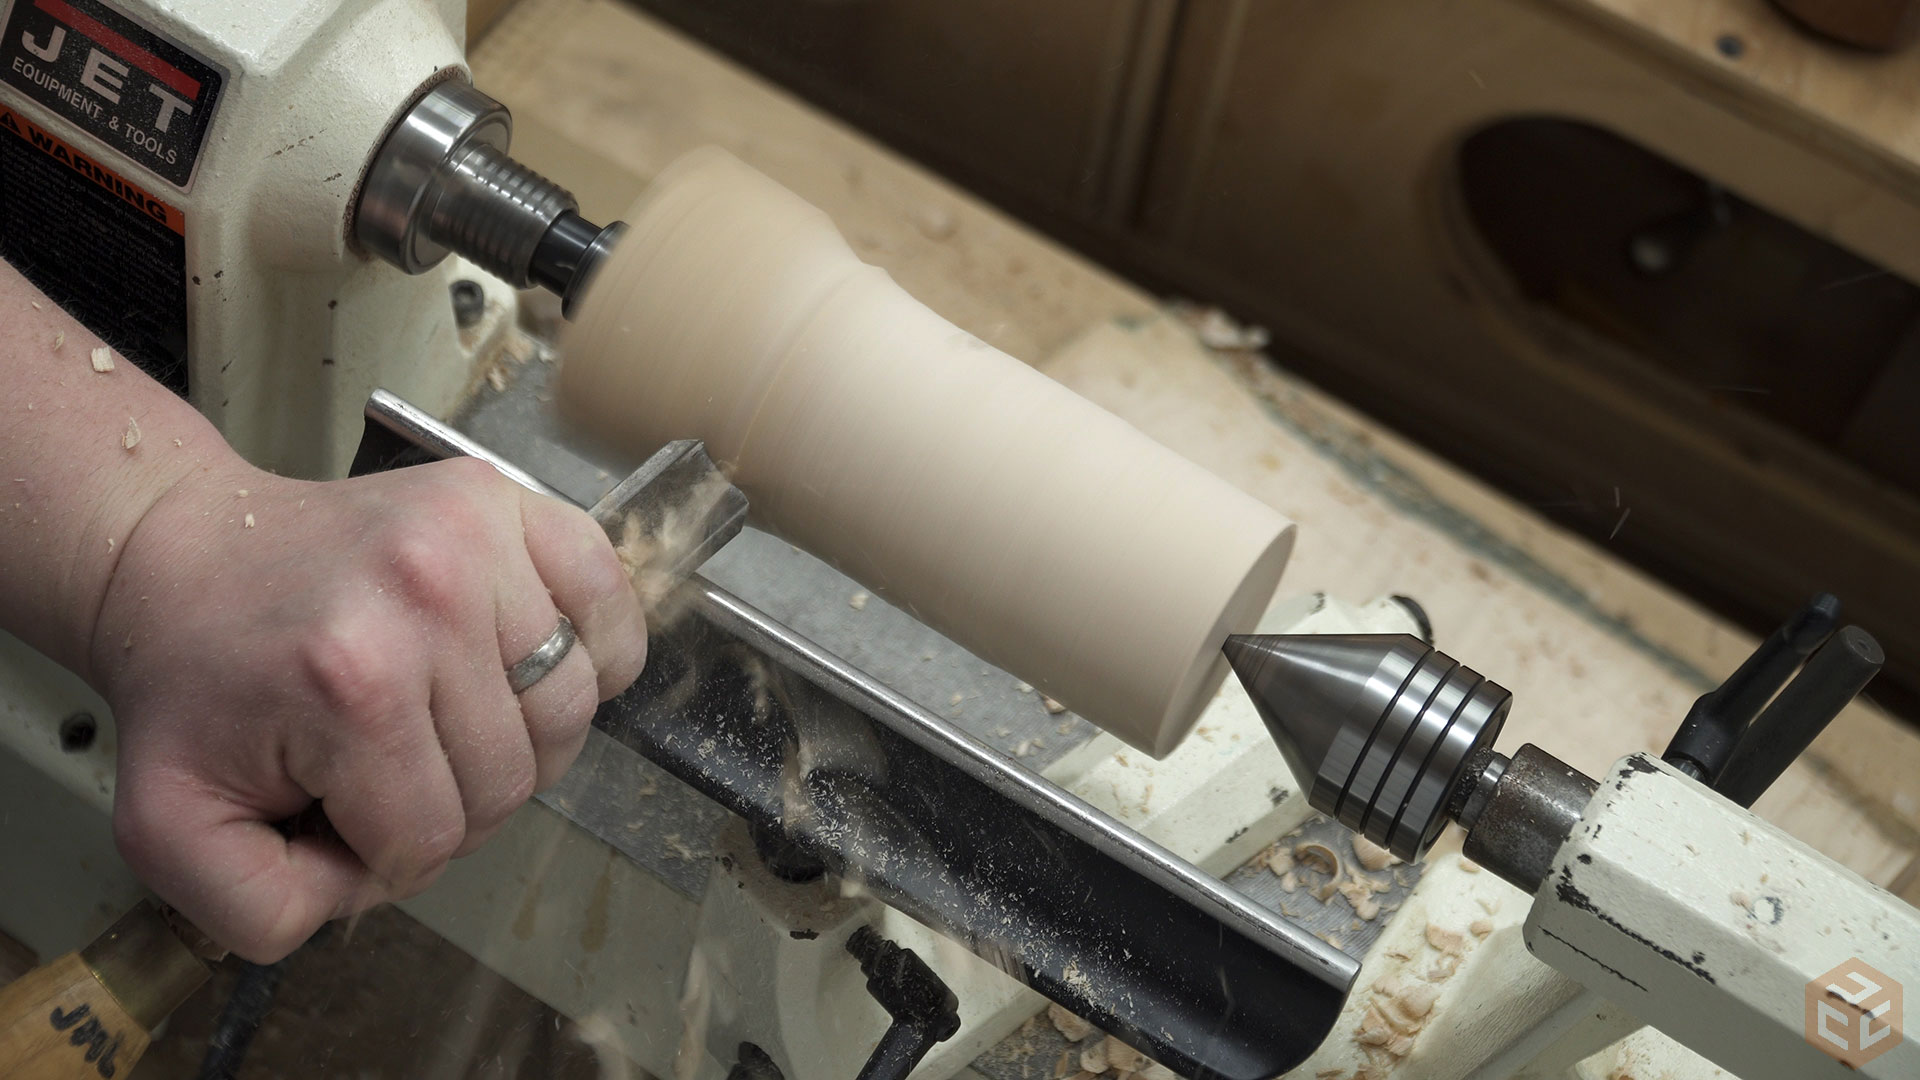
Before we can shape a handle we need to actually prepare the blank to be a handle. To start, I turn the blank between centers into a rough cylinder.
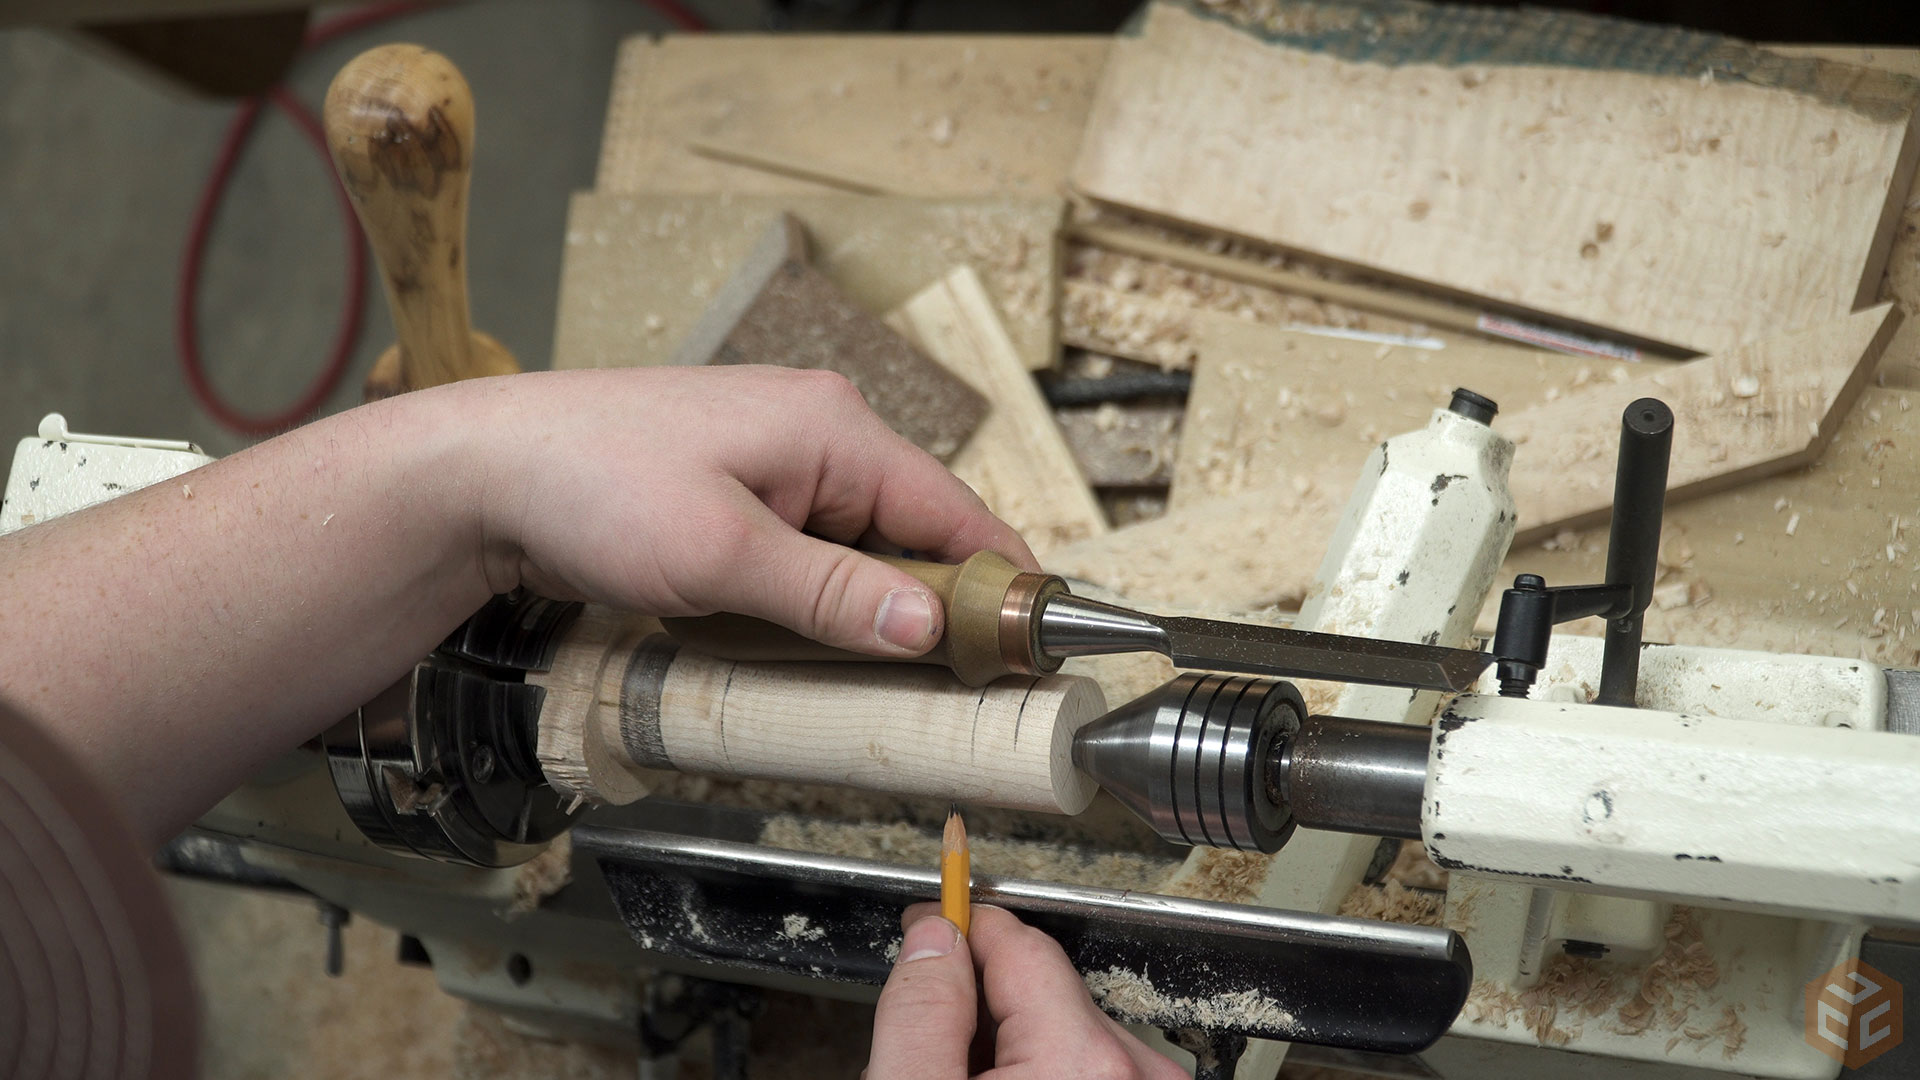
Then measure my chuck to determine the appropriate size tenon for the chuck.

Then cut that size tenon.
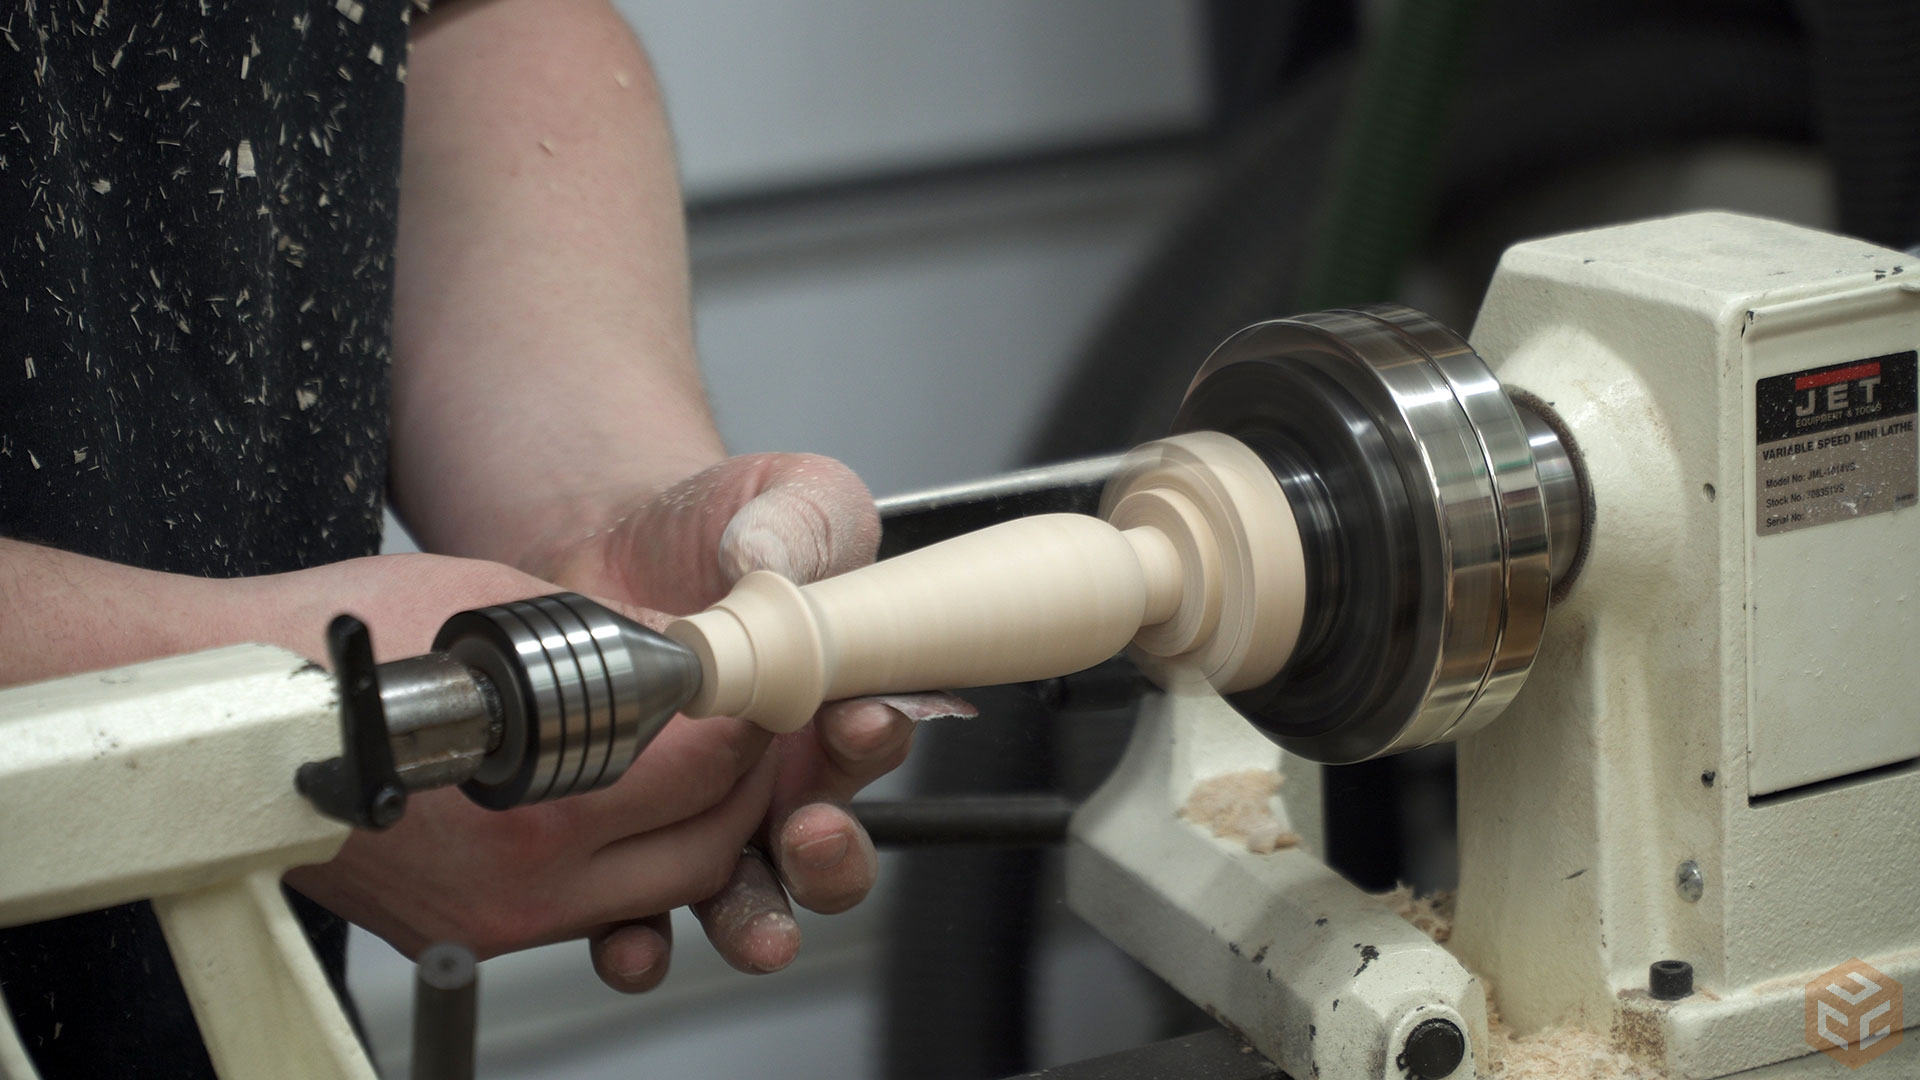
Remove the spur center and mount the chuck.
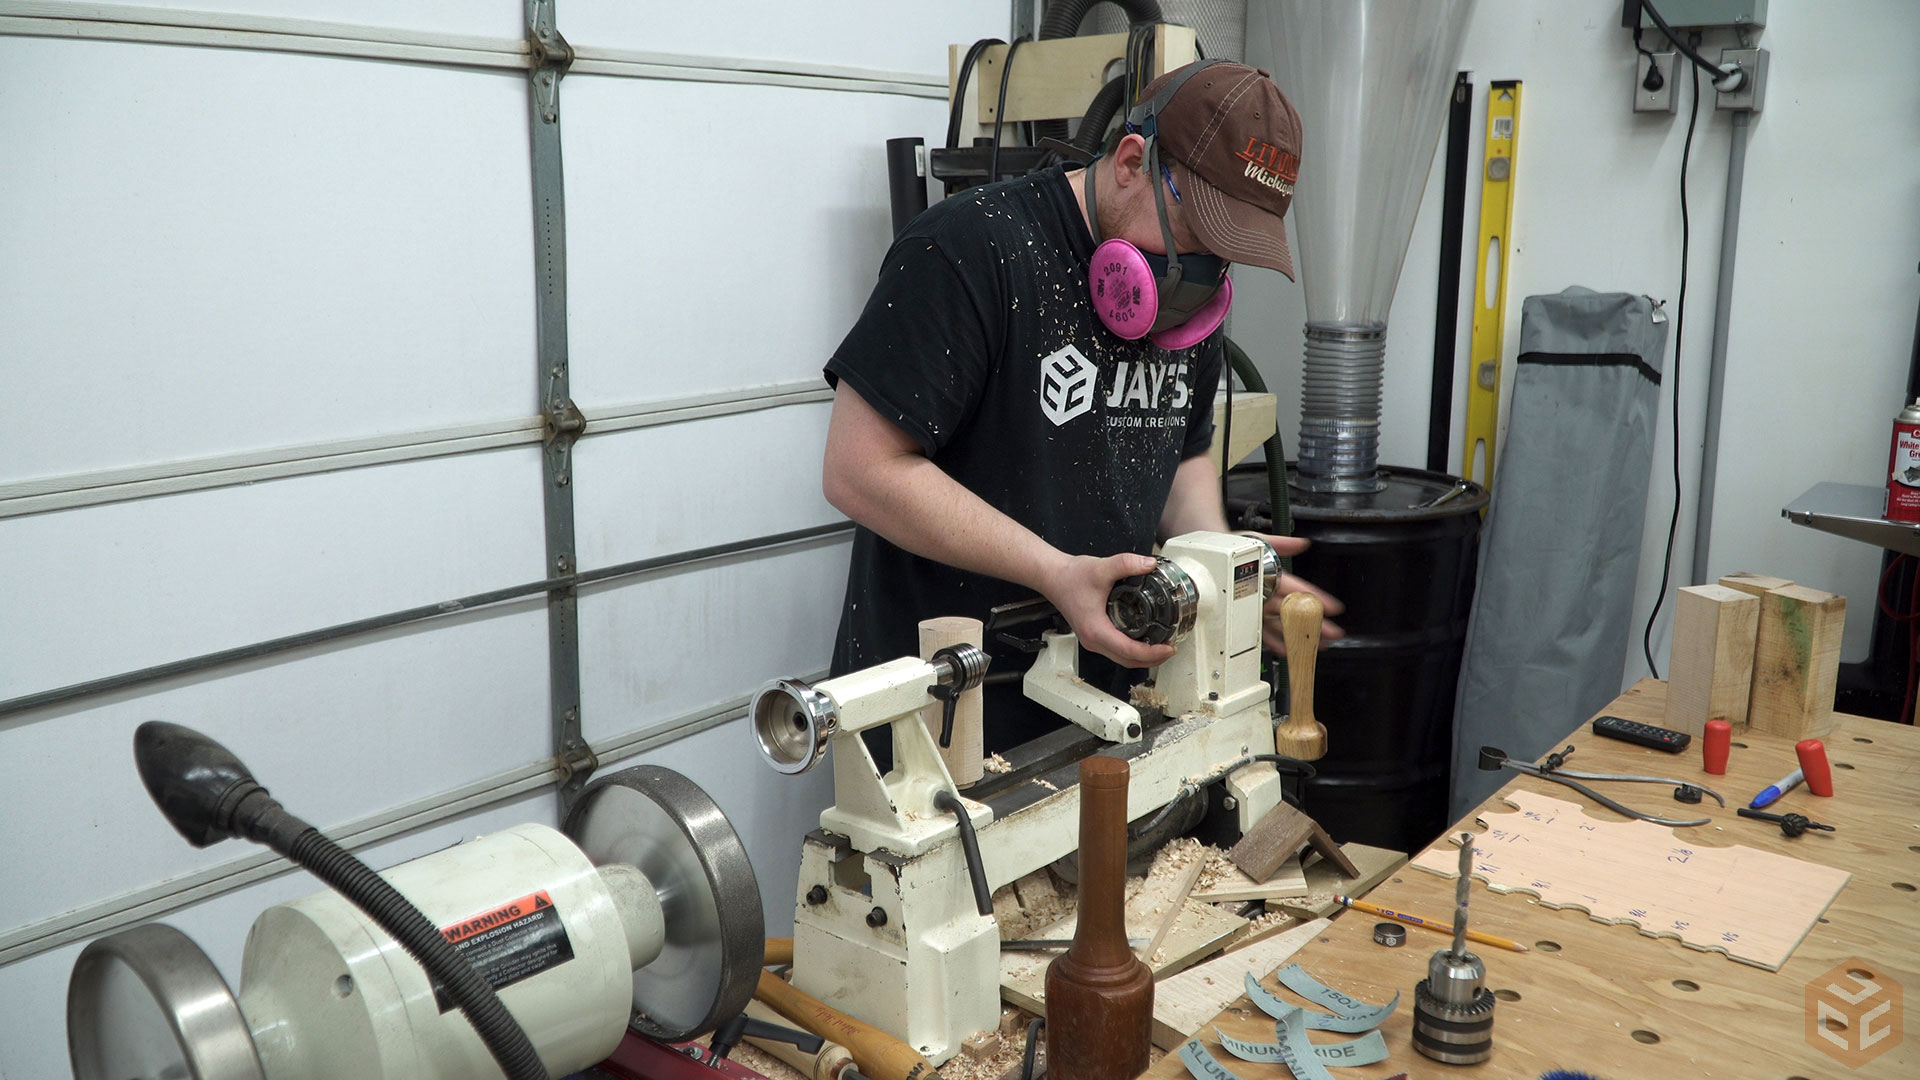
Mount the piece into the chuck via the tenon.
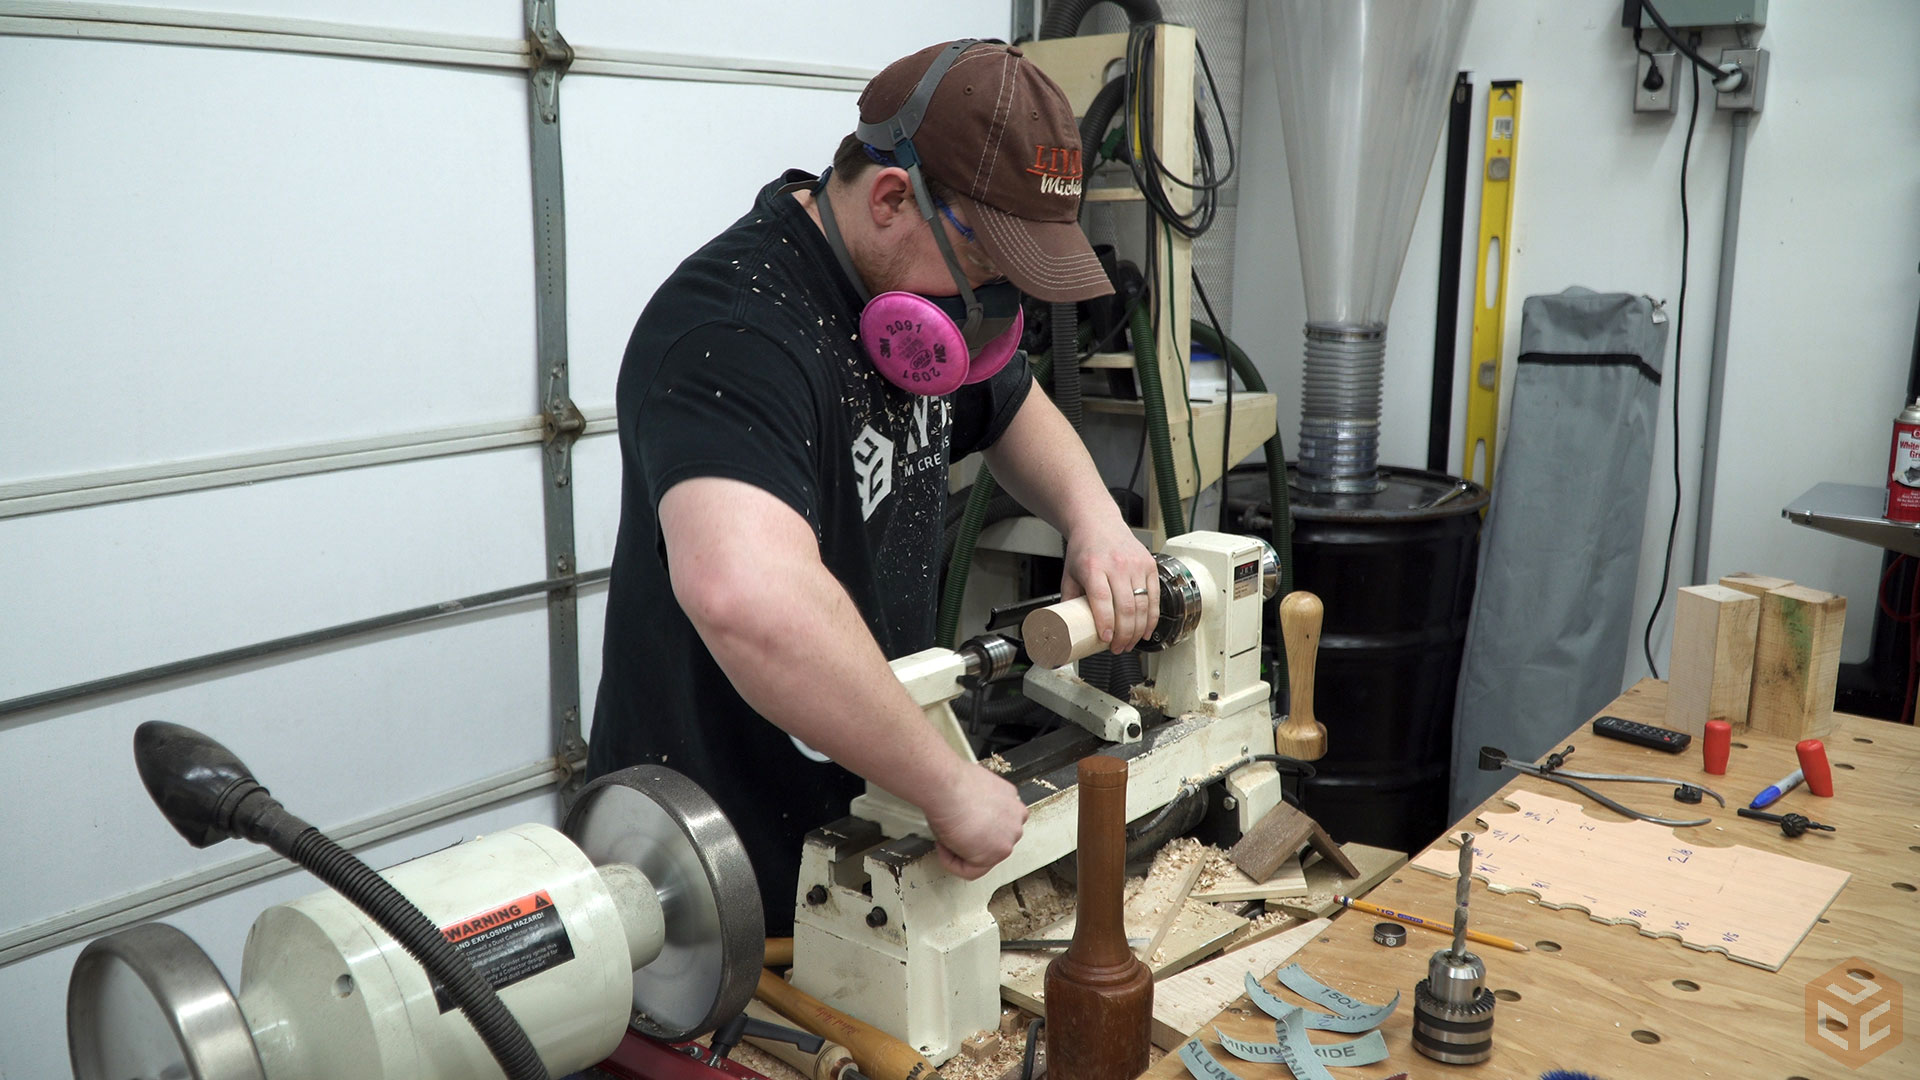
Turn the cylinder down to the largest diameter of the final handle size.
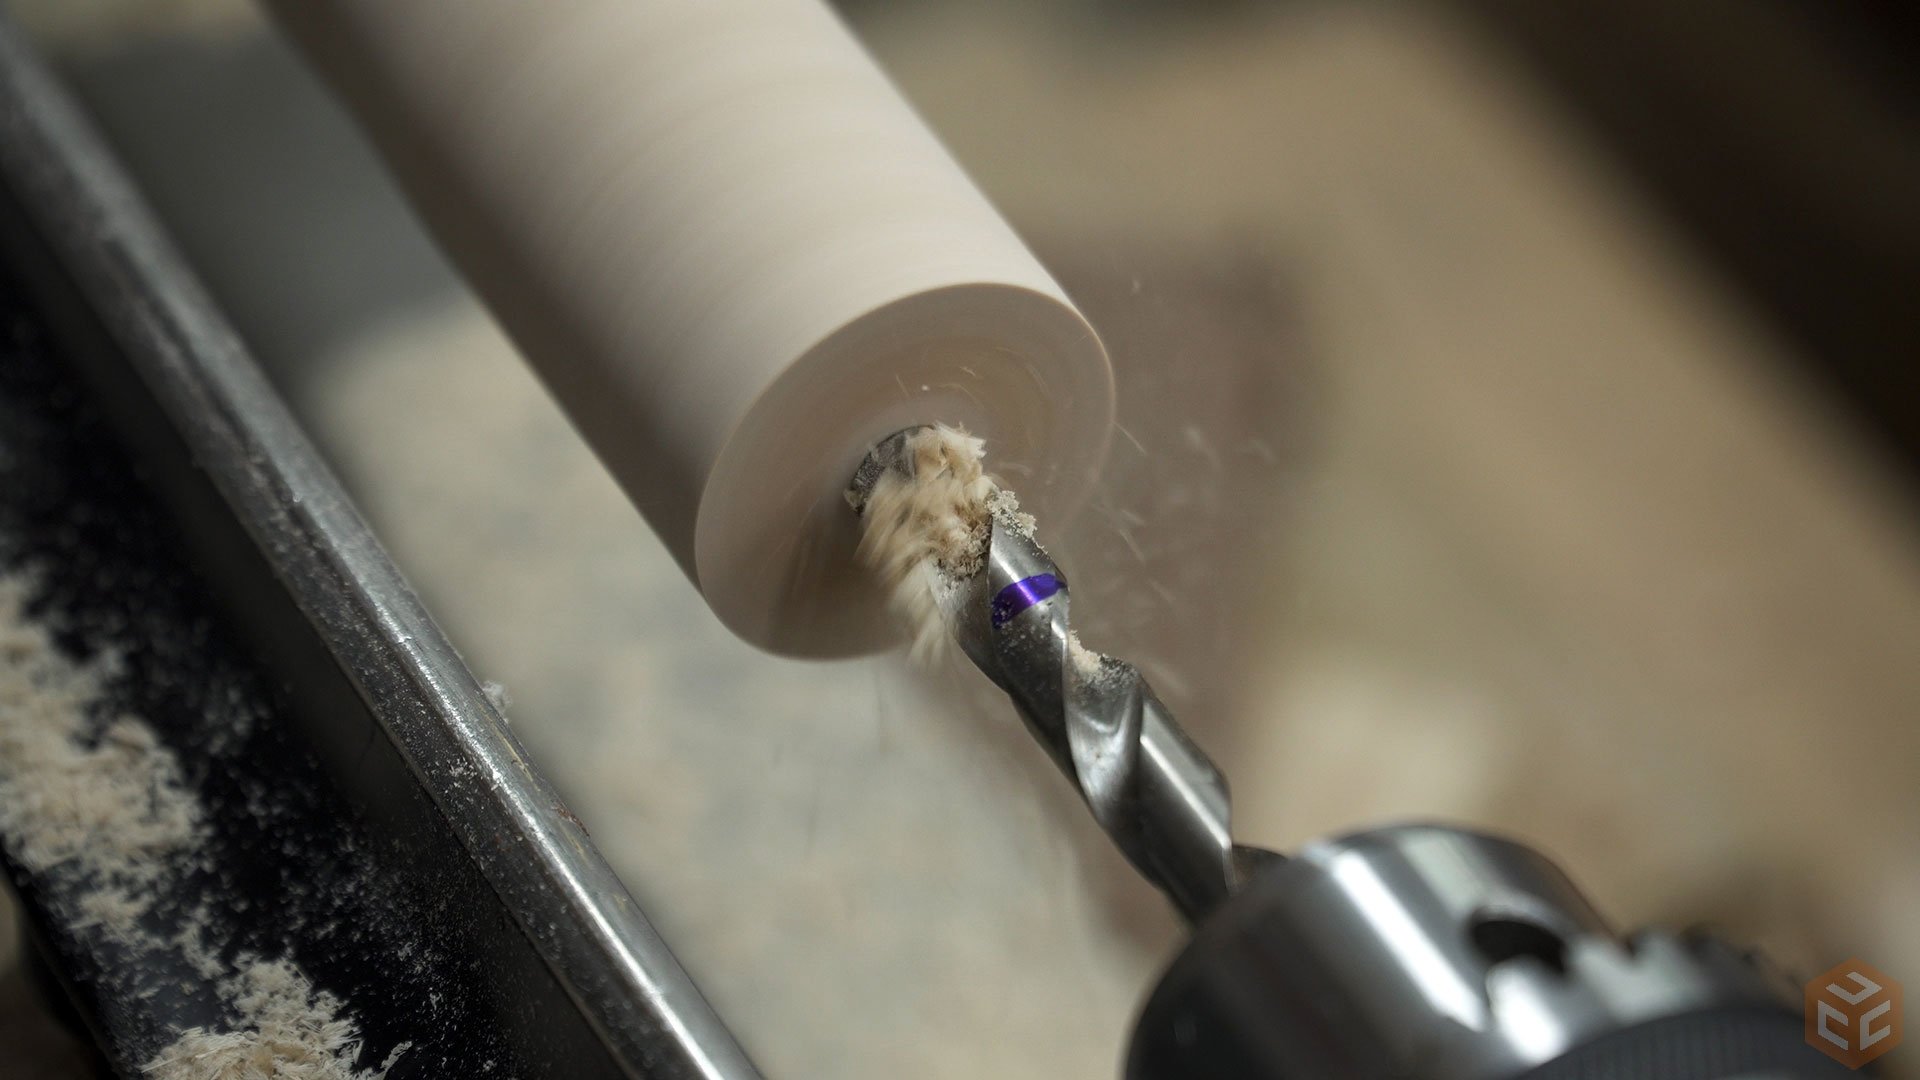
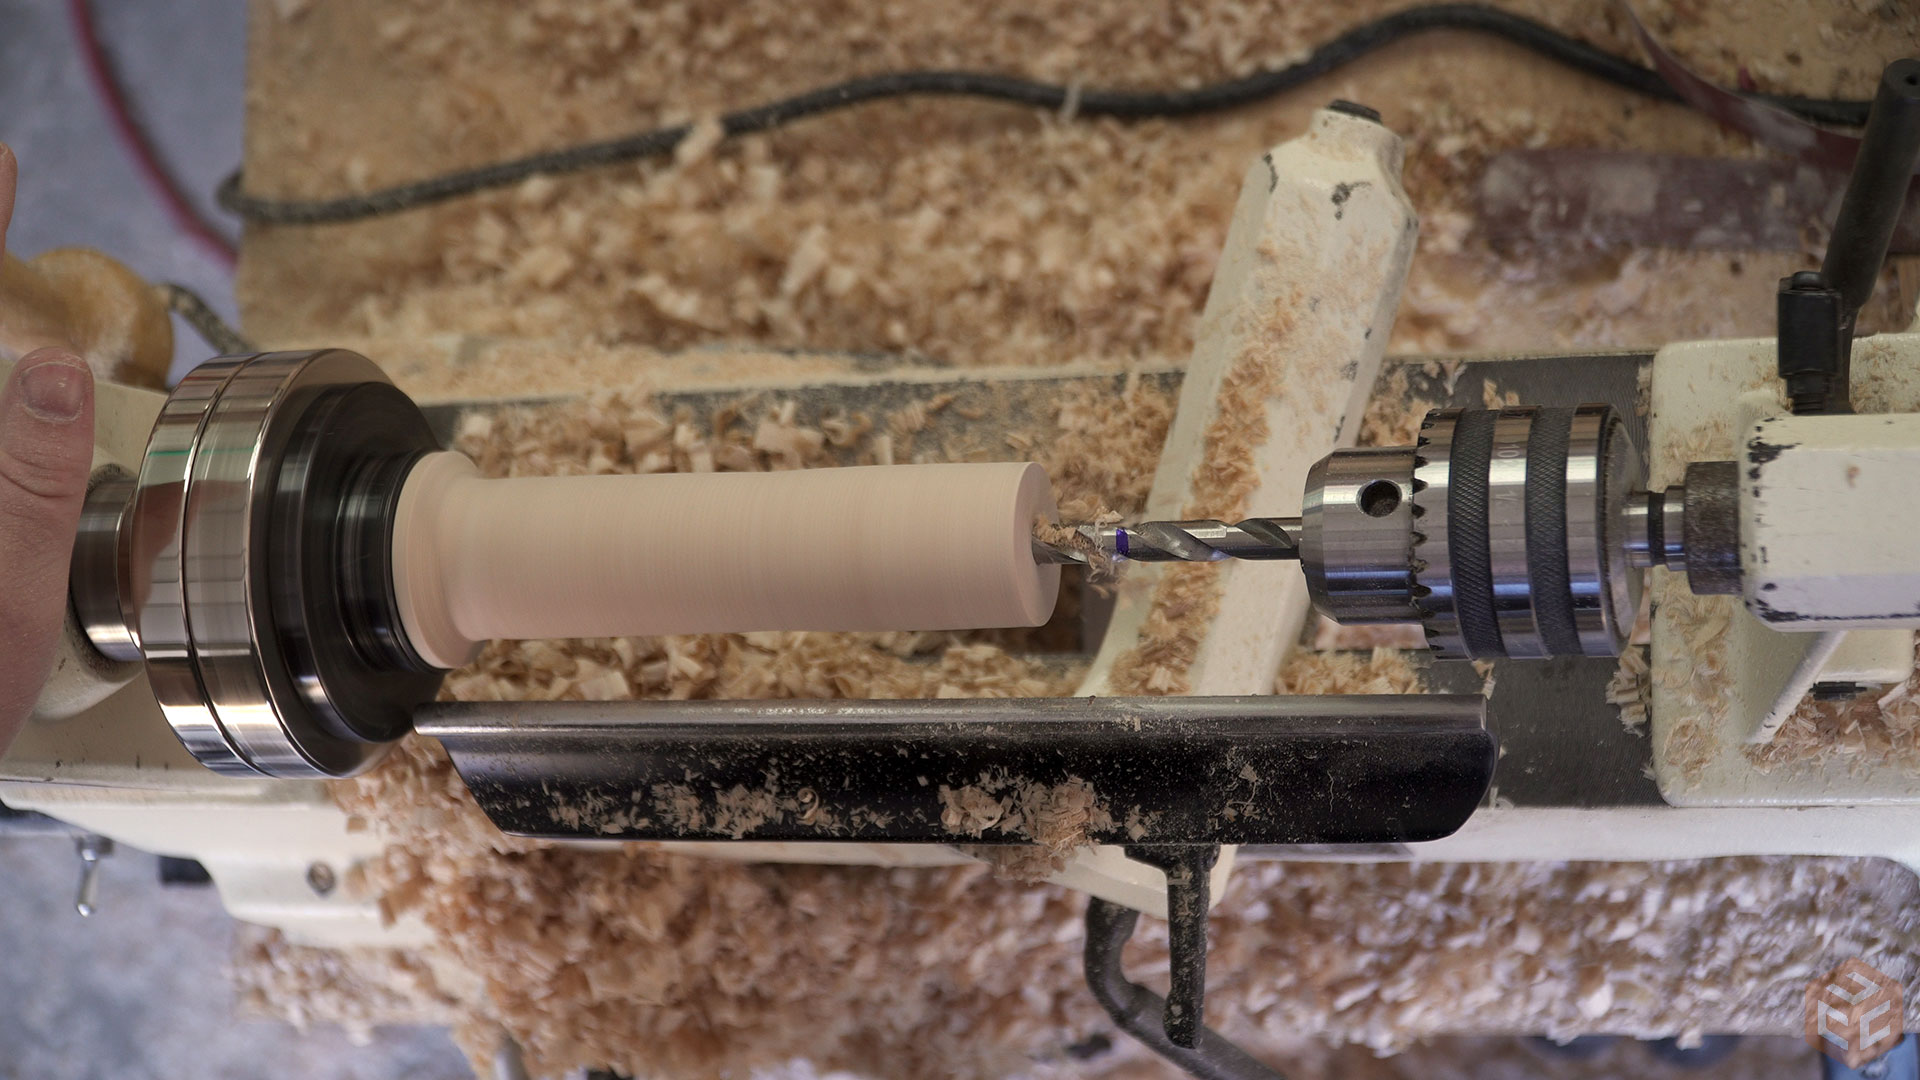
Drill a slightly under-sized hole in the end which will eventually accept the metal part of the chisel.
And put some reference marks on the blank to indicate high and low points as well as the ring length and final handle length. I was going off of my last handle so getting these marks was easy.
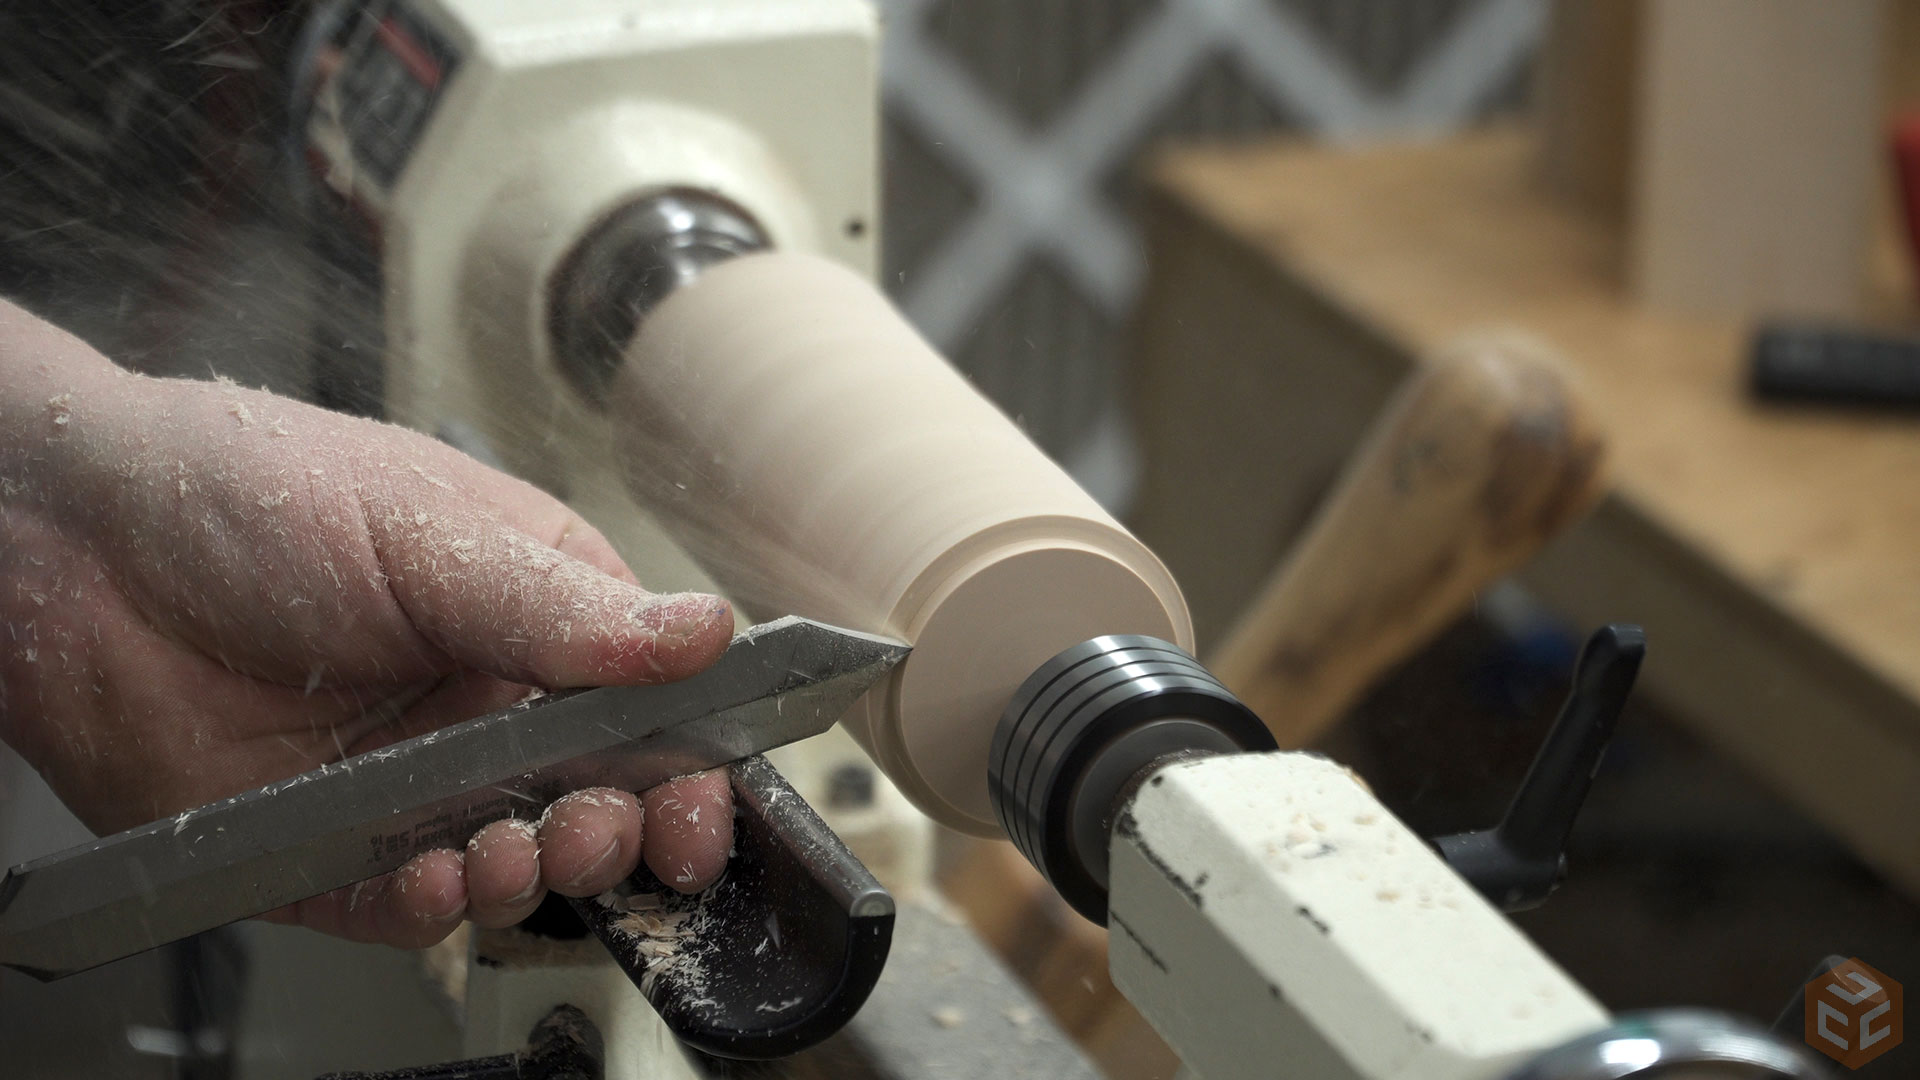
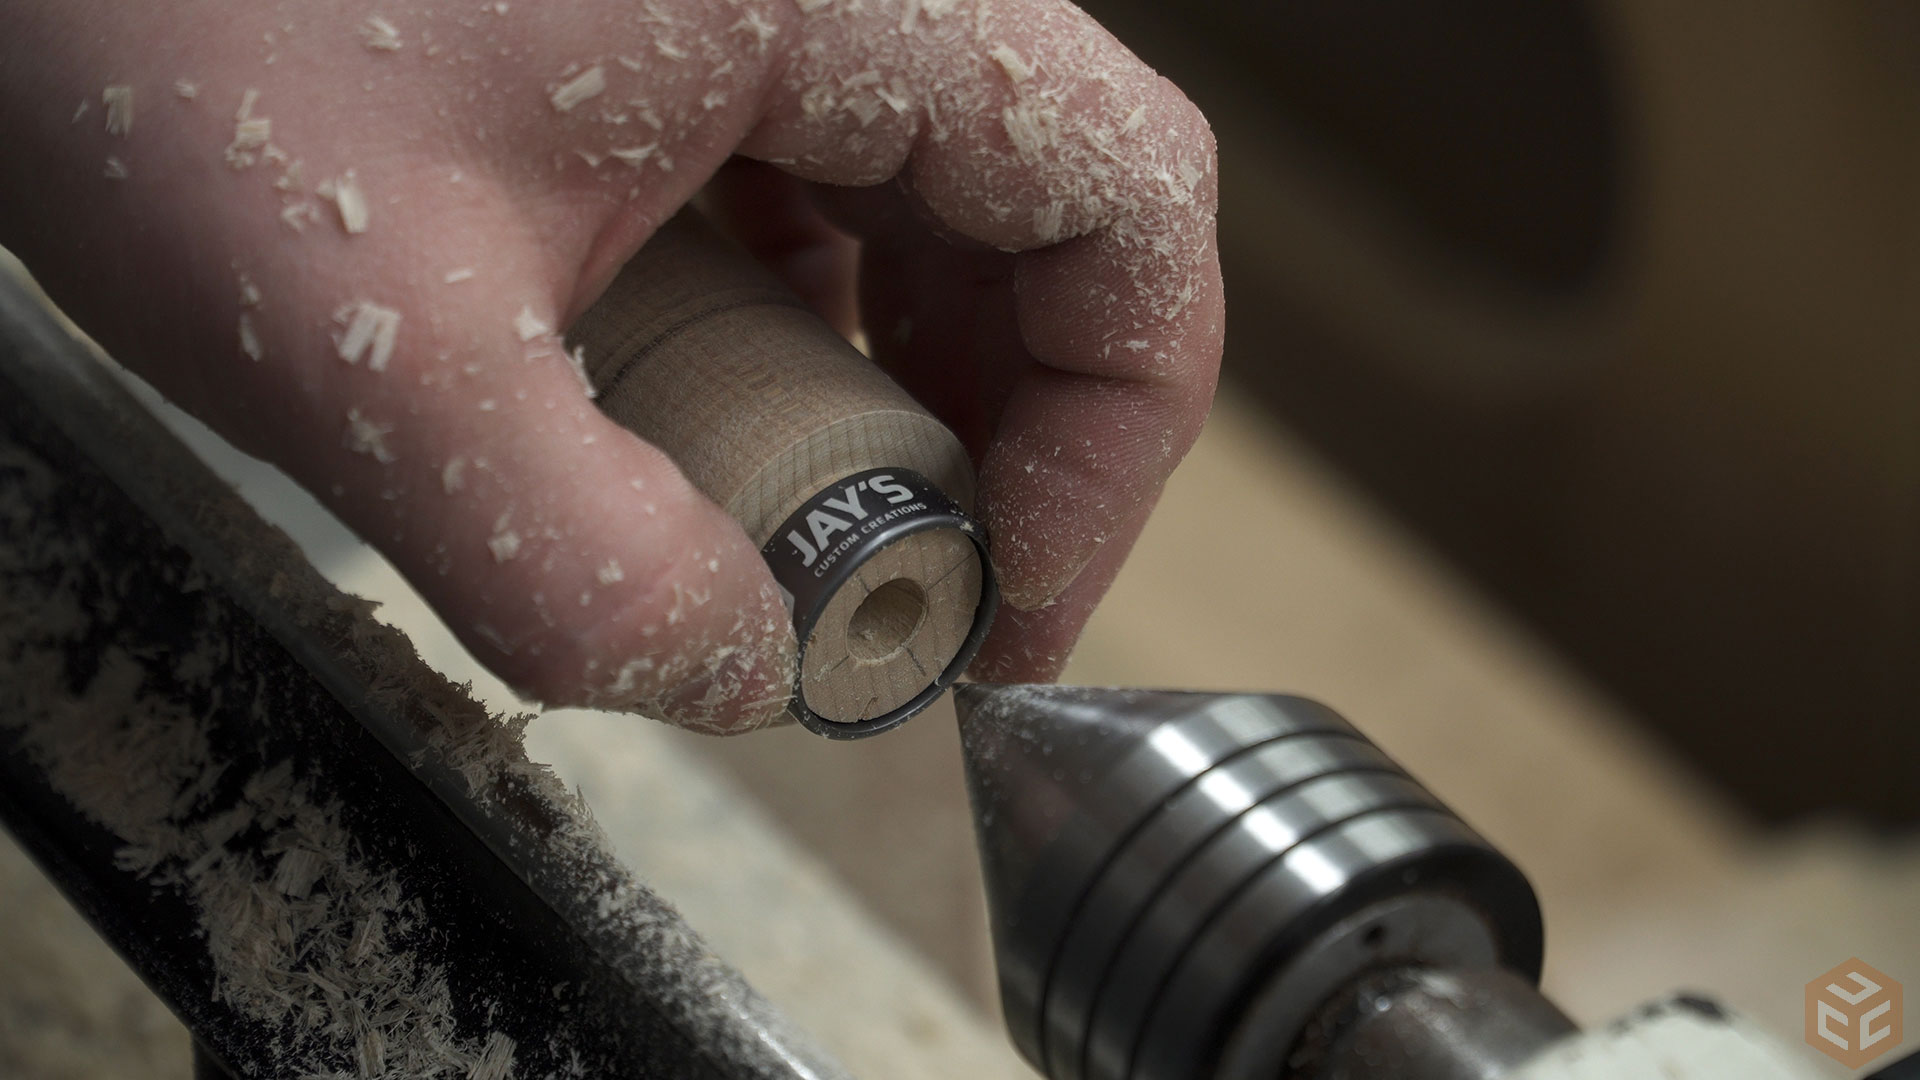
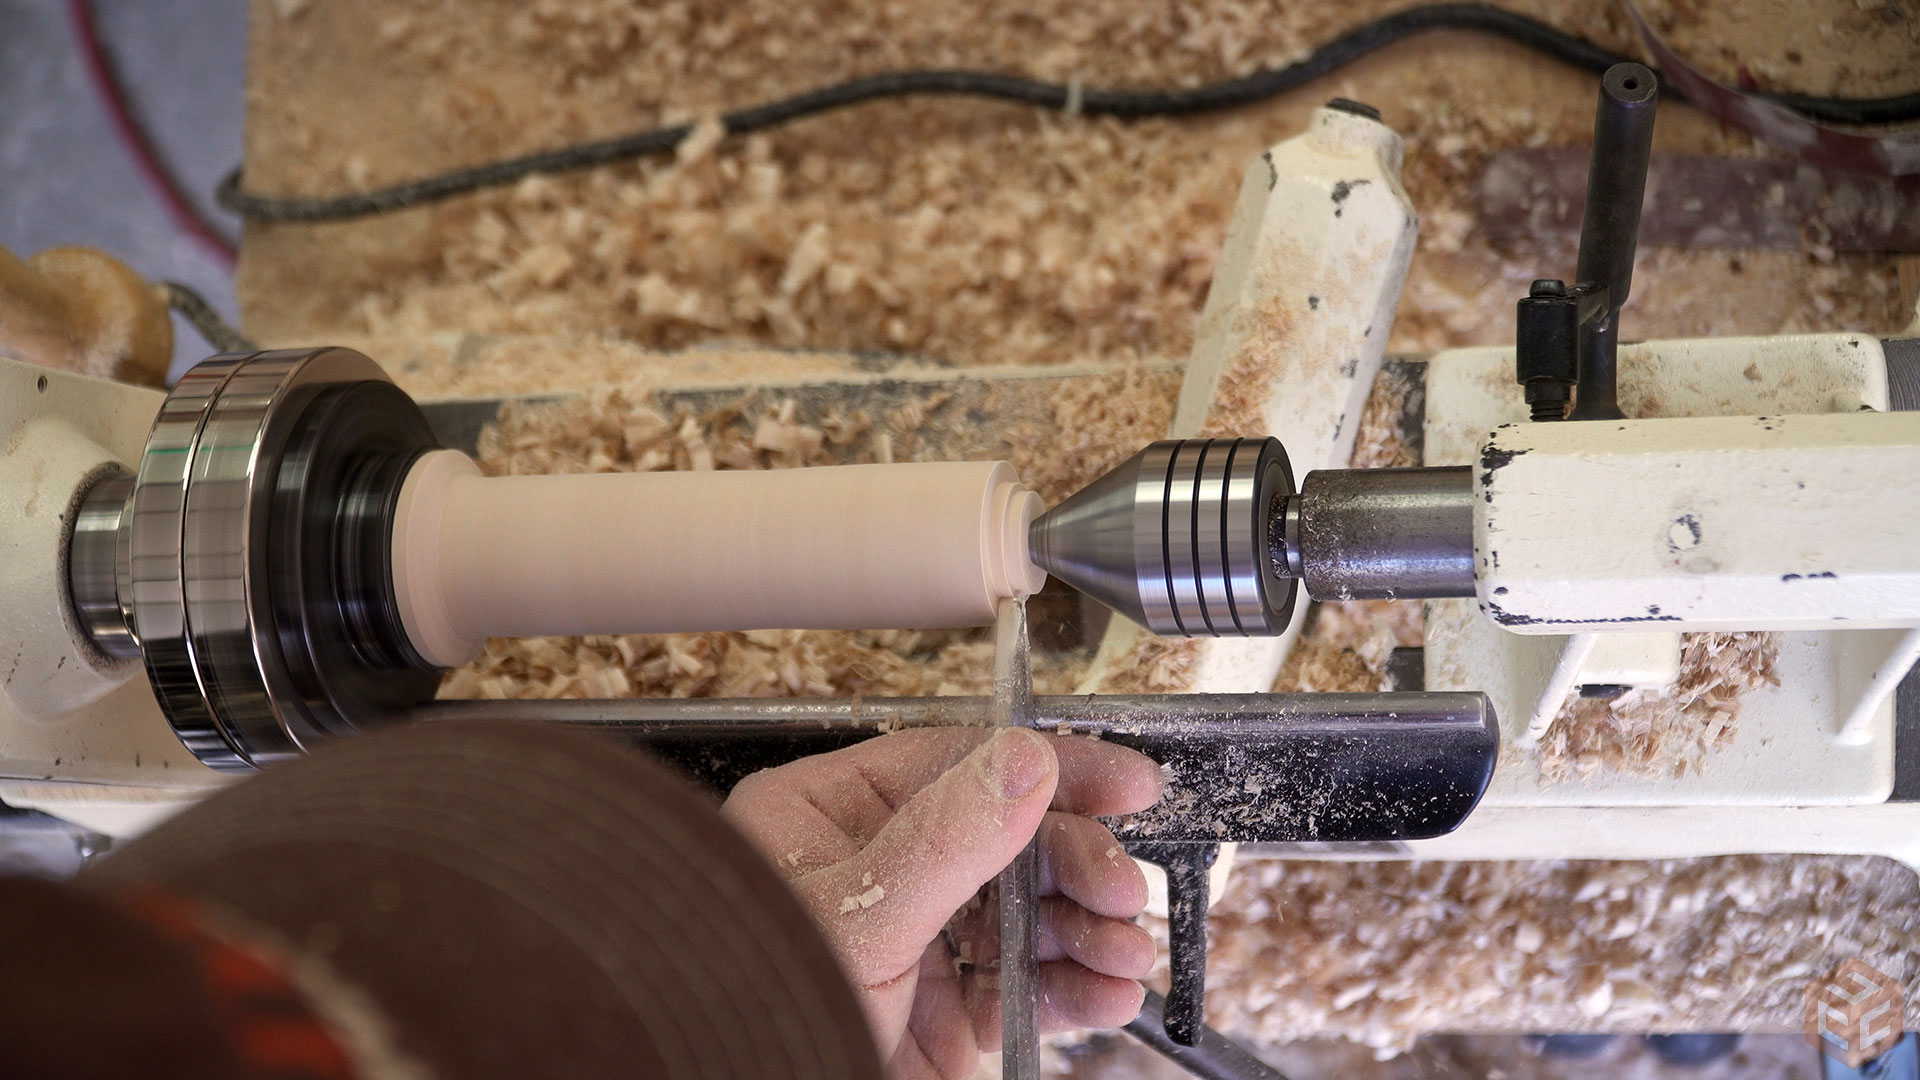
Finally the handle shaping can begin. I started with using the parting tool to create an appropriate sized tenon for the ring. I snuck up on a perfect fit so it took a few tries. Remember that running the lathe in reverse will not put the wood back on if you screw up.
It’s been a little while since I turned anything so I used a couple of tools to shape the first one to see which would be easier for me. I started with the spindle gouge for the inside corner shaping. This is my least favorite style gouge. I don’t have the technique down so I’m inconsistent with it. Although, the only cut I used it for here turned out great.
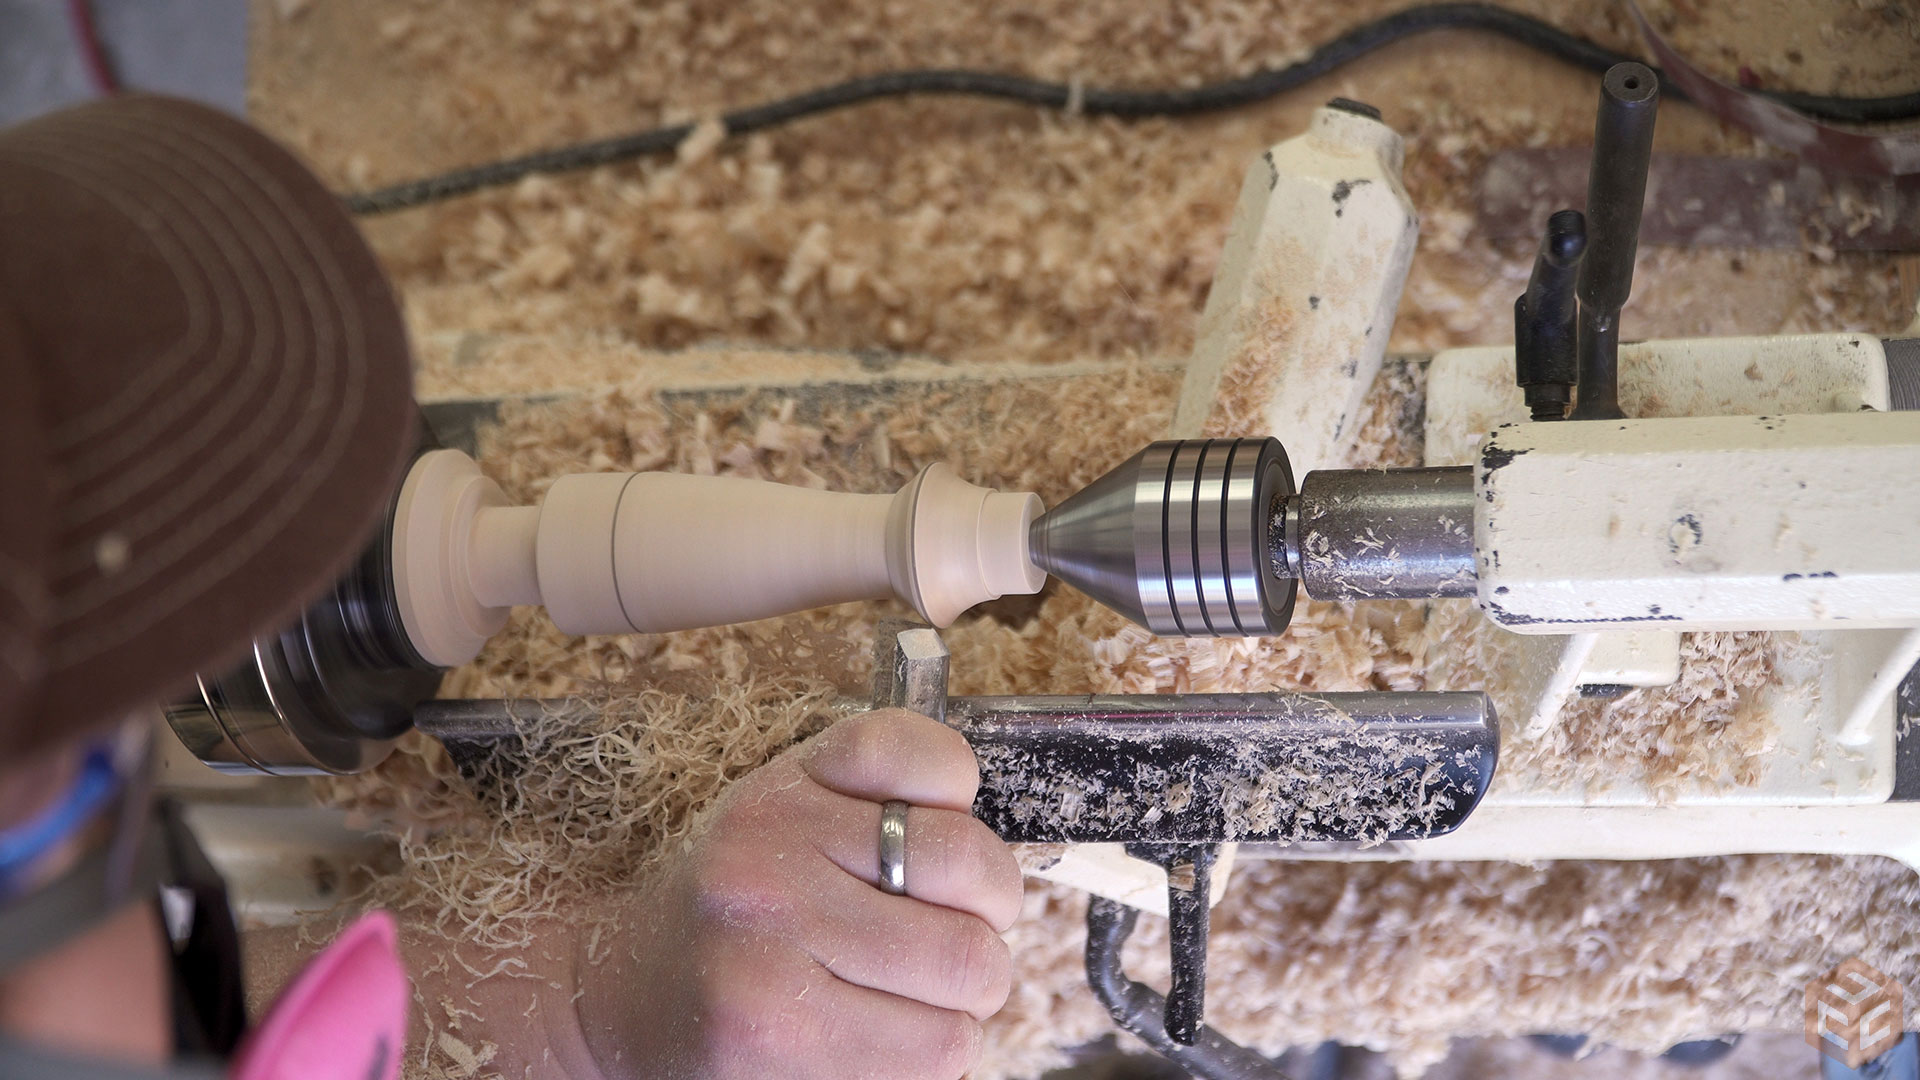
Then I went back to the roughing gouge for the finger grip area. It was large enough that the large radius of the roughing gouge was no problem. This was super easy but I should have cut a depth line with the parting tool first.
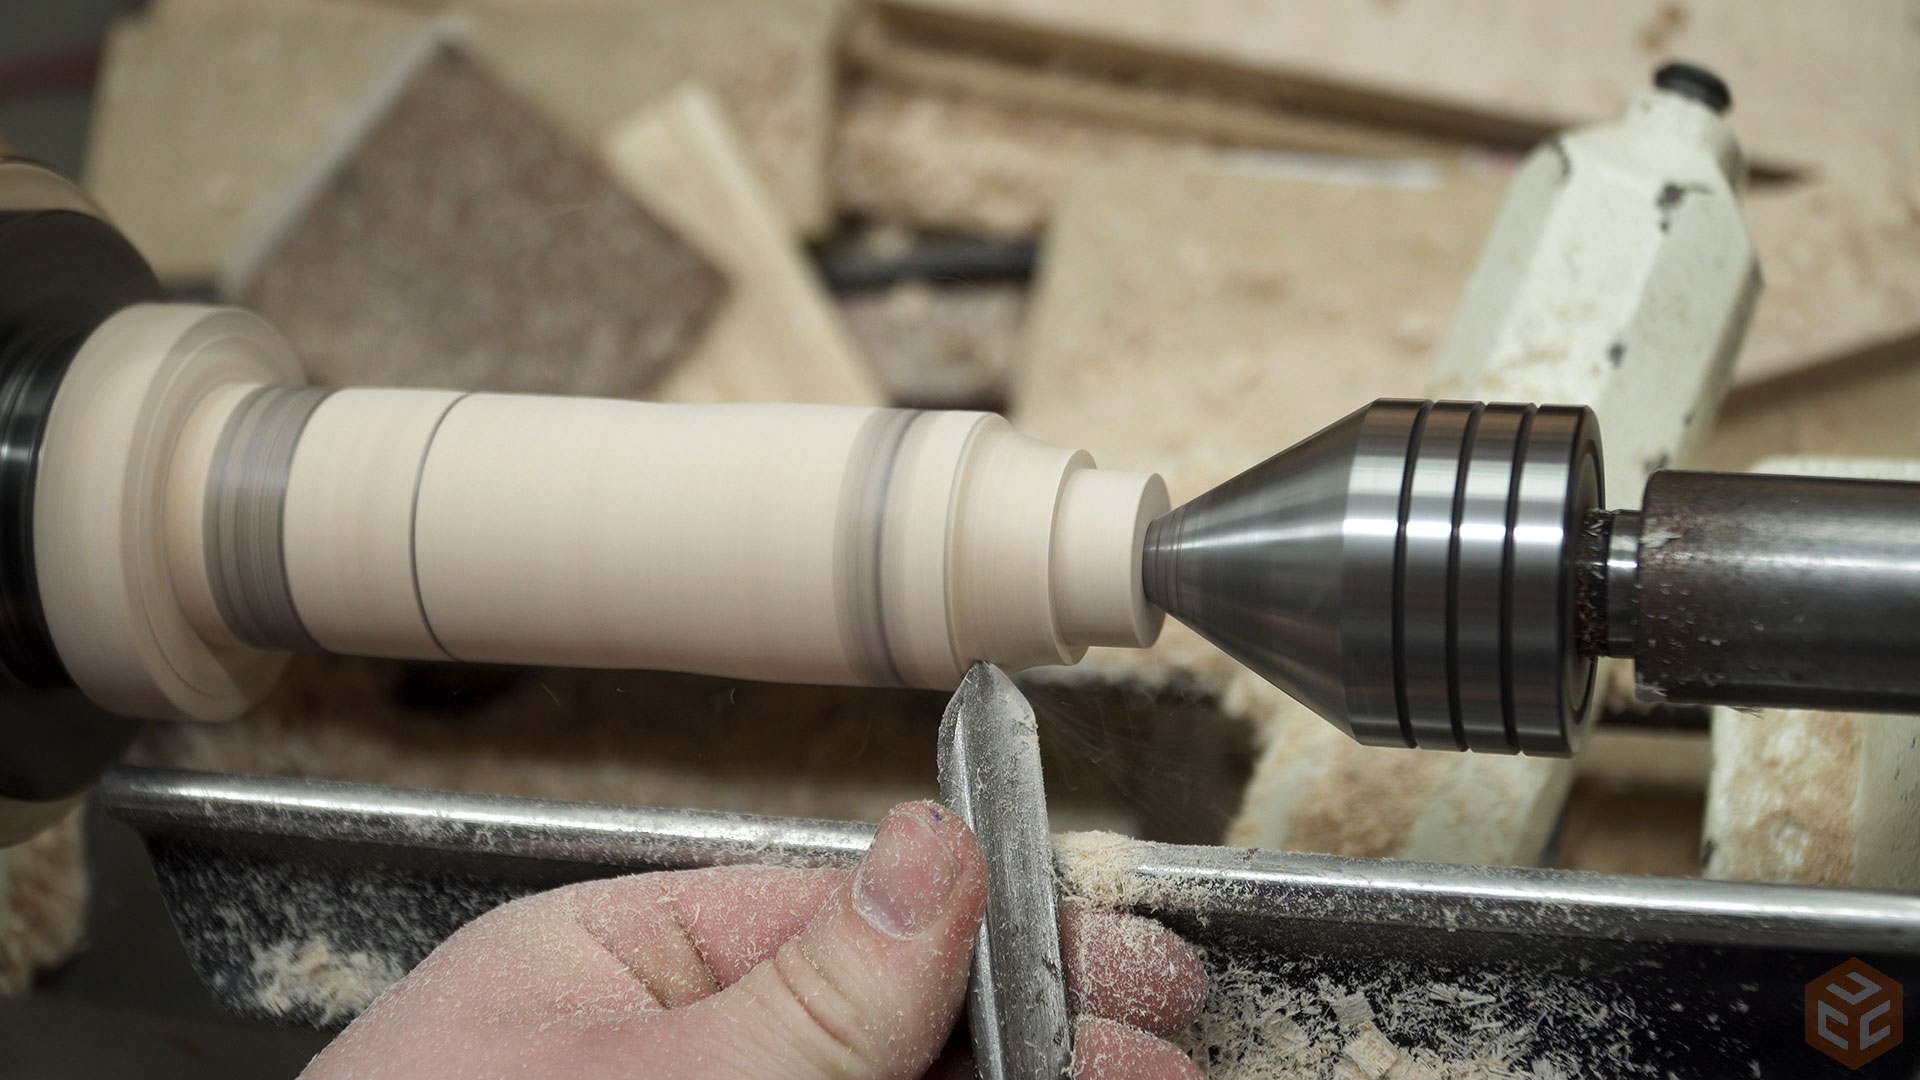
I’m not good at making outside corners with a spindle gouge so I used my bowl gouge to shape the last outside corner with a scraping cut.

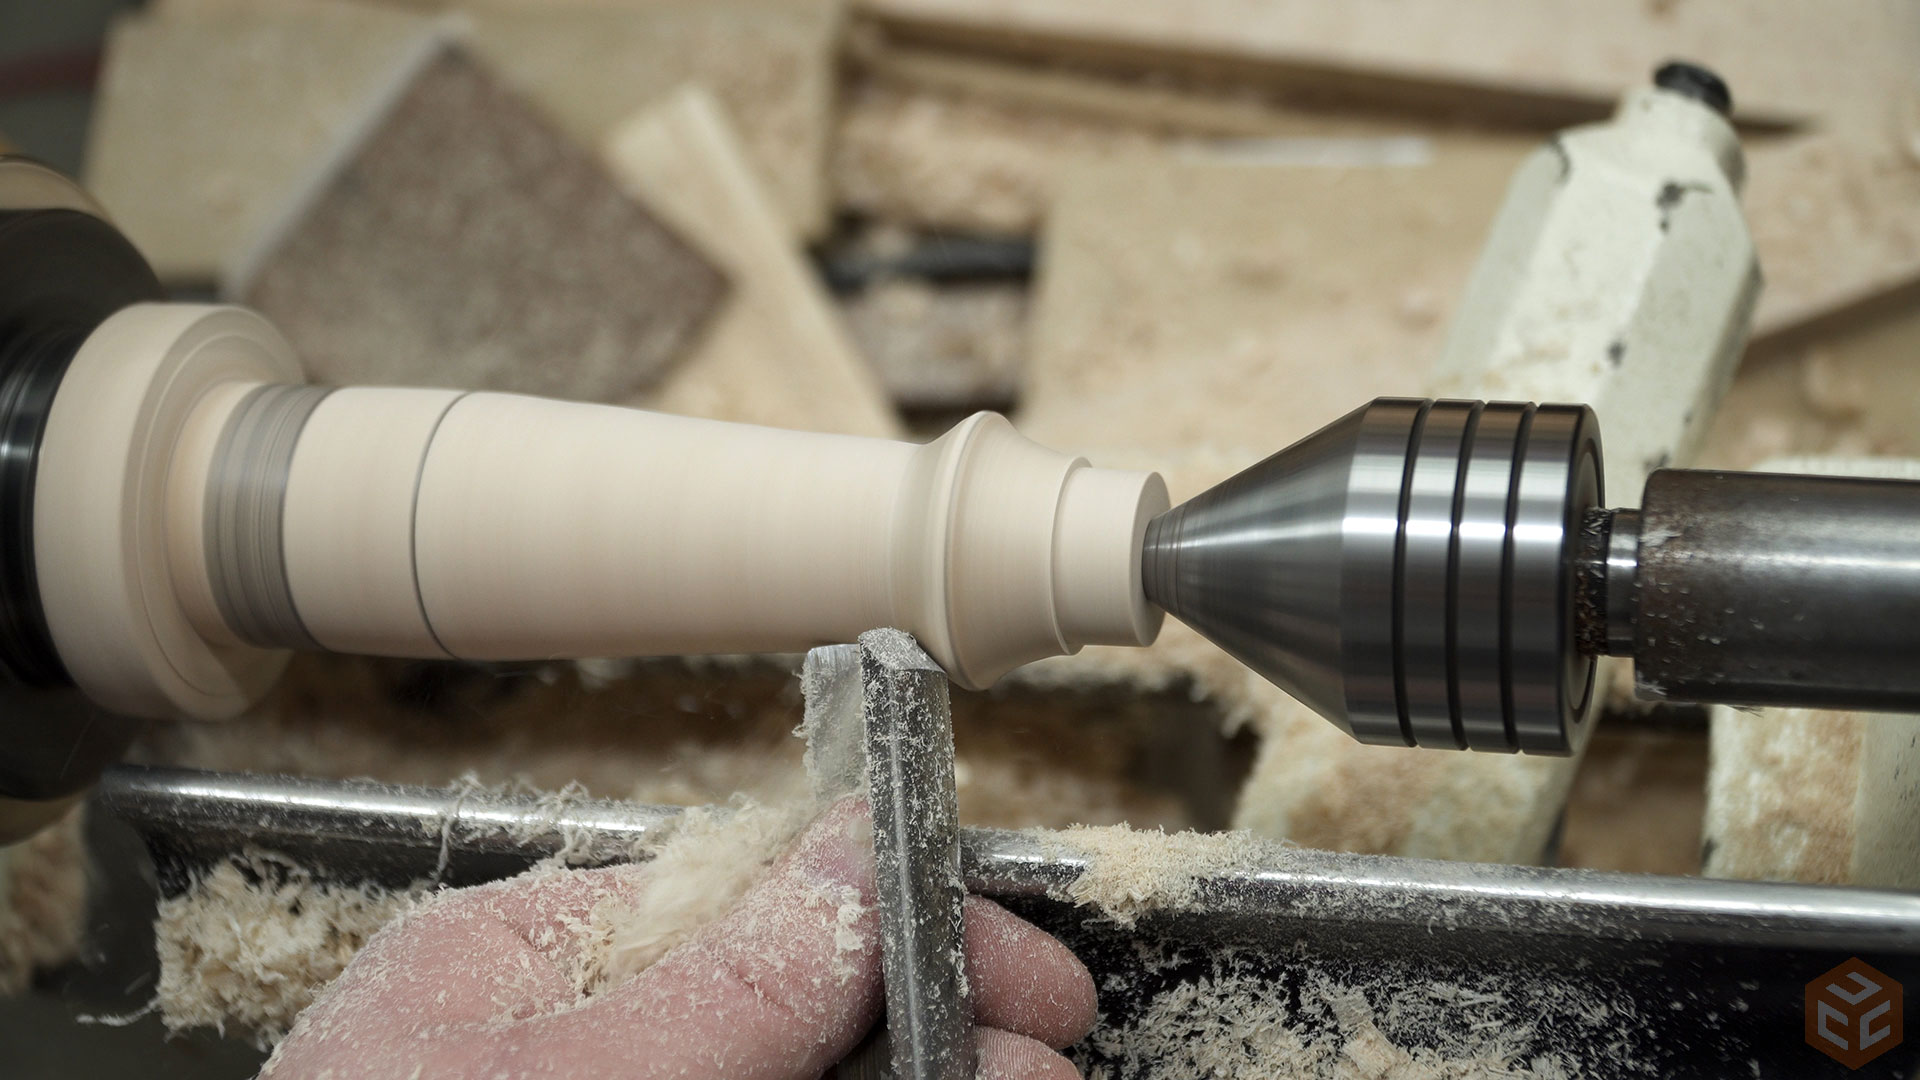
If you ride the bevel of your tools when cutting the inside curves you should have a nice smooth, tear-out free surface right off the tool. Which I did for both sides of the finger grip. But the rest of the handle required a bit of sanding.
To install the ring I used CA glue and made sure to align the logo with the flat part of the grain. I mounted the first chisel off camera but I’ll show you how in just a minute. One done and 5 to go.

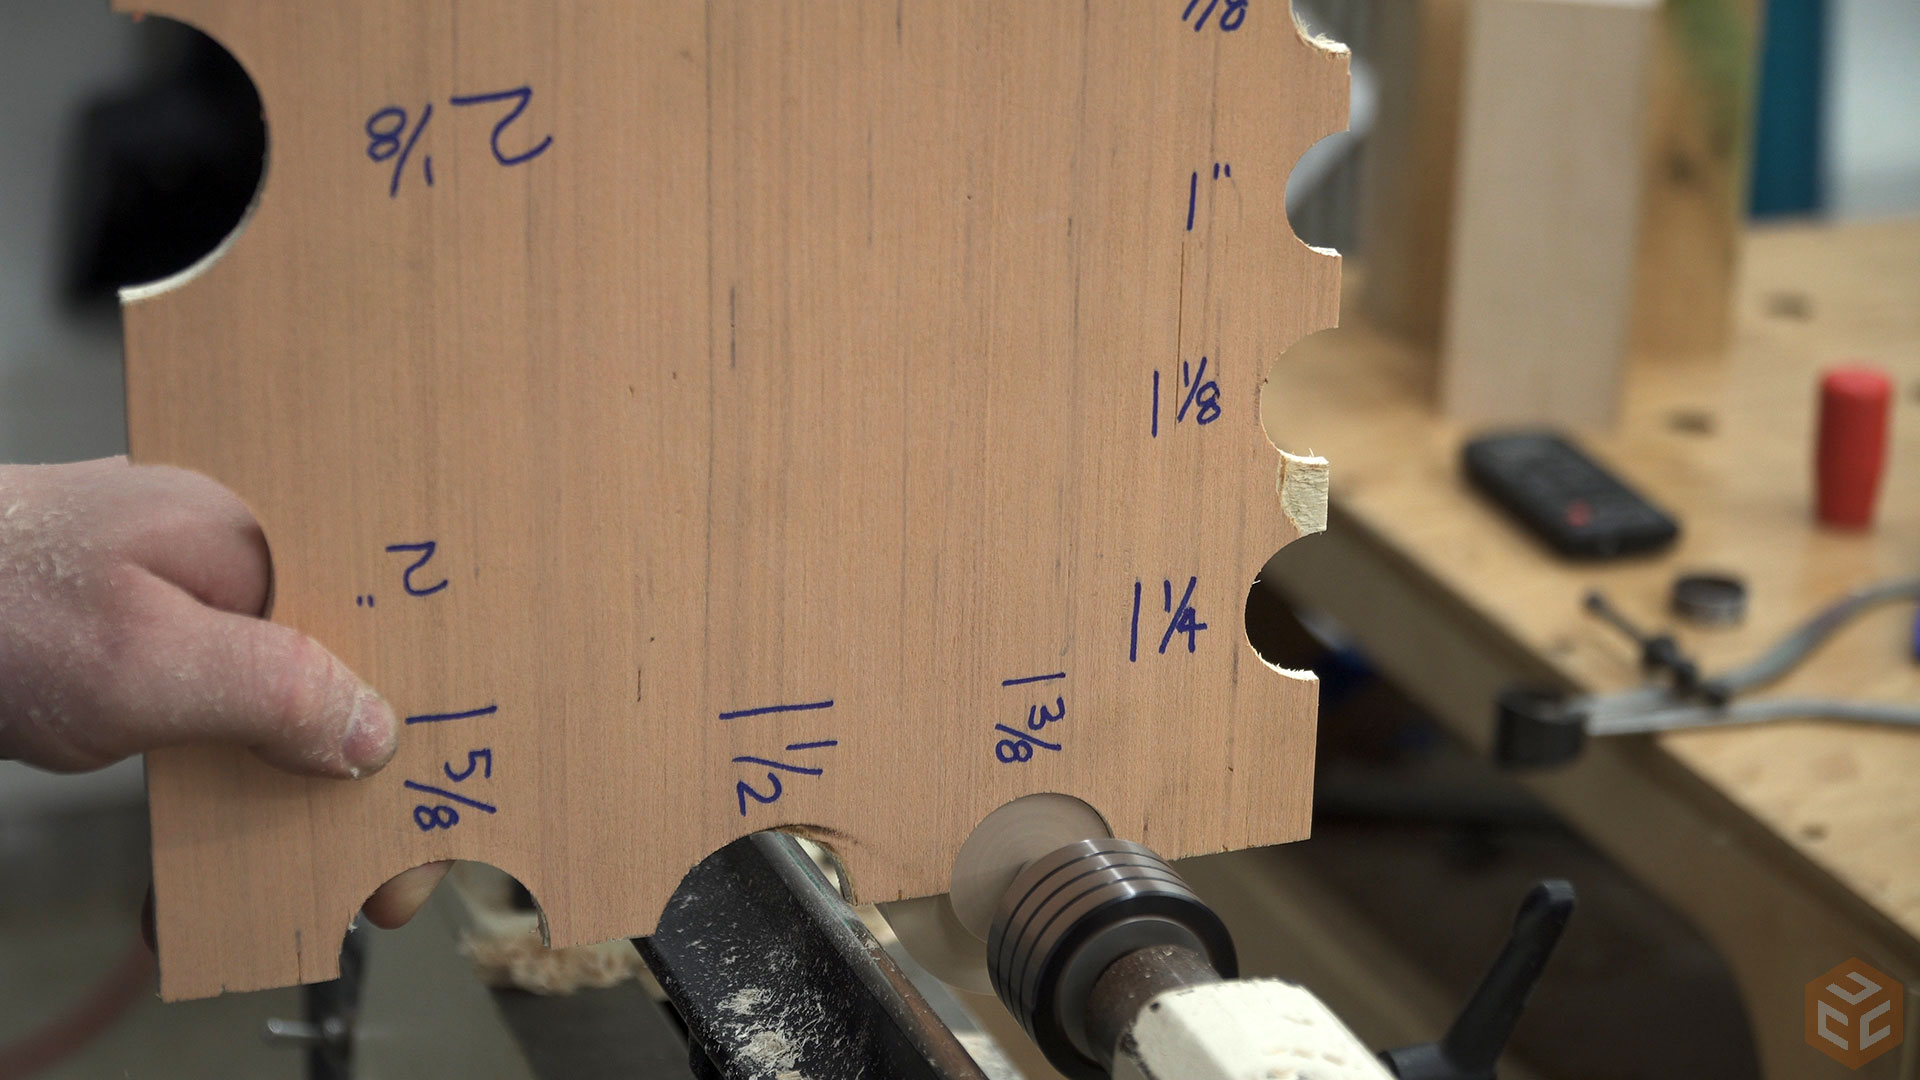
After one the rest were a lot easier. I changed the process a bit though. This time I used the parting and a piece of plywood with a bunch of half holes cut in it for a size gauge to determine the max overall diameter of the handle.
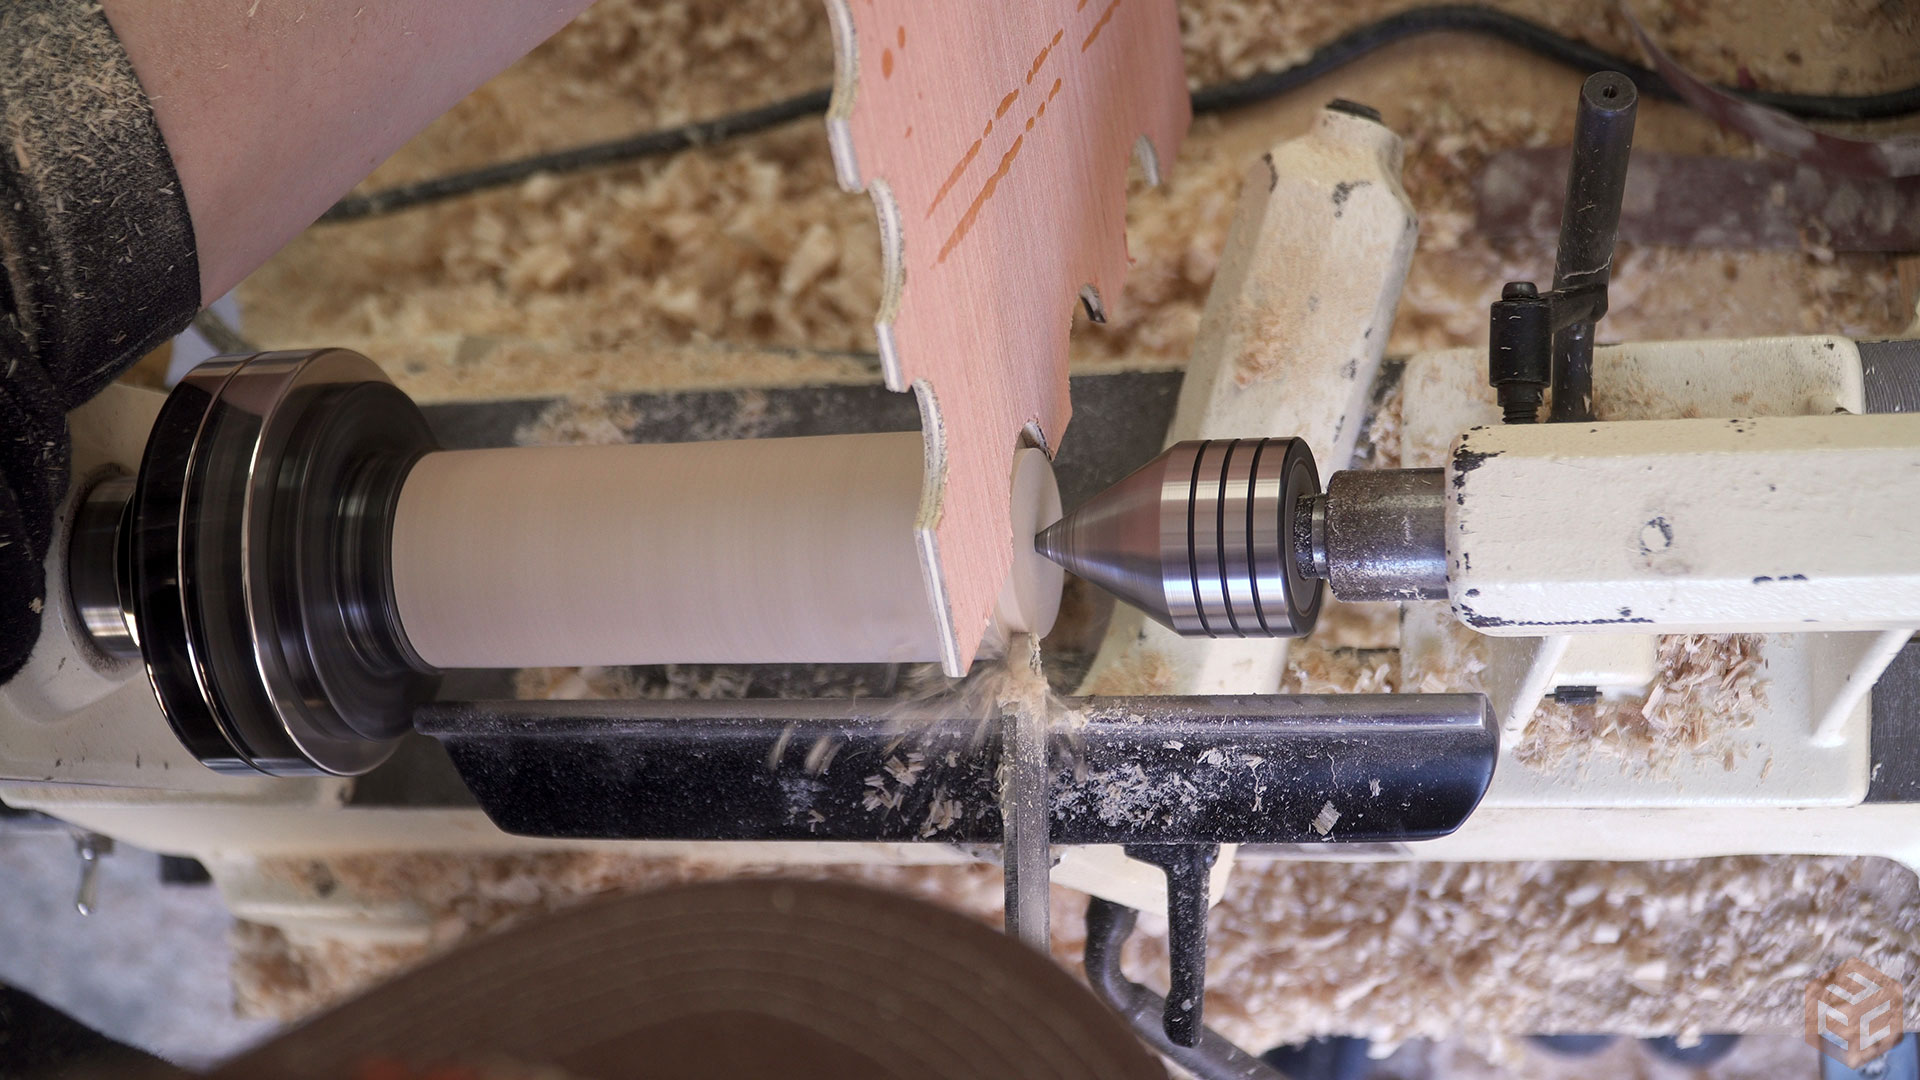
Then I used the roughing gouge on its side somewhat like a wide parting tool to quickly remove the rest of the waste.
Drill the hole in the end like normal.
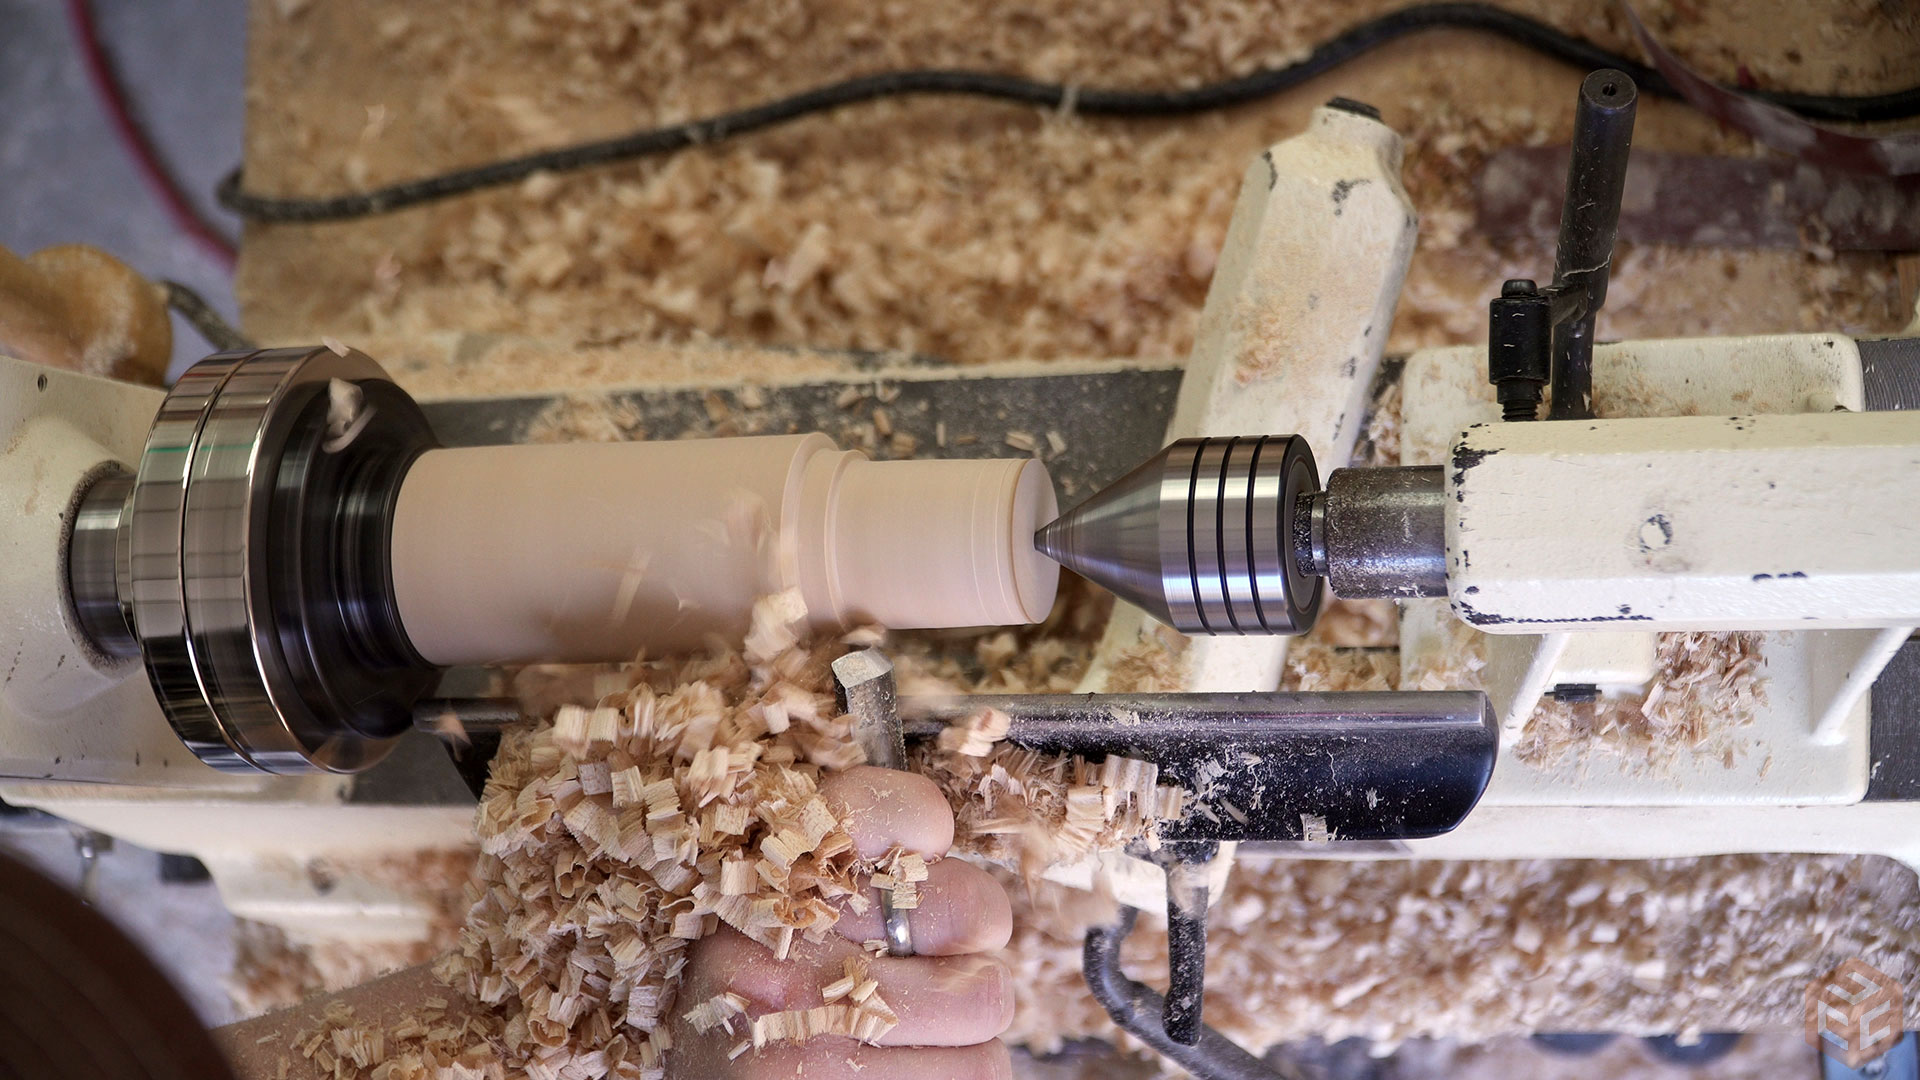
Use the parting tool to establish the ring tenon, finger grip depth, and final length of the handle.
Then I used the roughing gouge to make all of the inside corner cuts. Remember to ride the bevel of the gouge and adjust the handle angle left or right to steer.
I used the bowl gouge again for the final outside corner.

A little bit of sanding and then remove the handle with the parting tool.

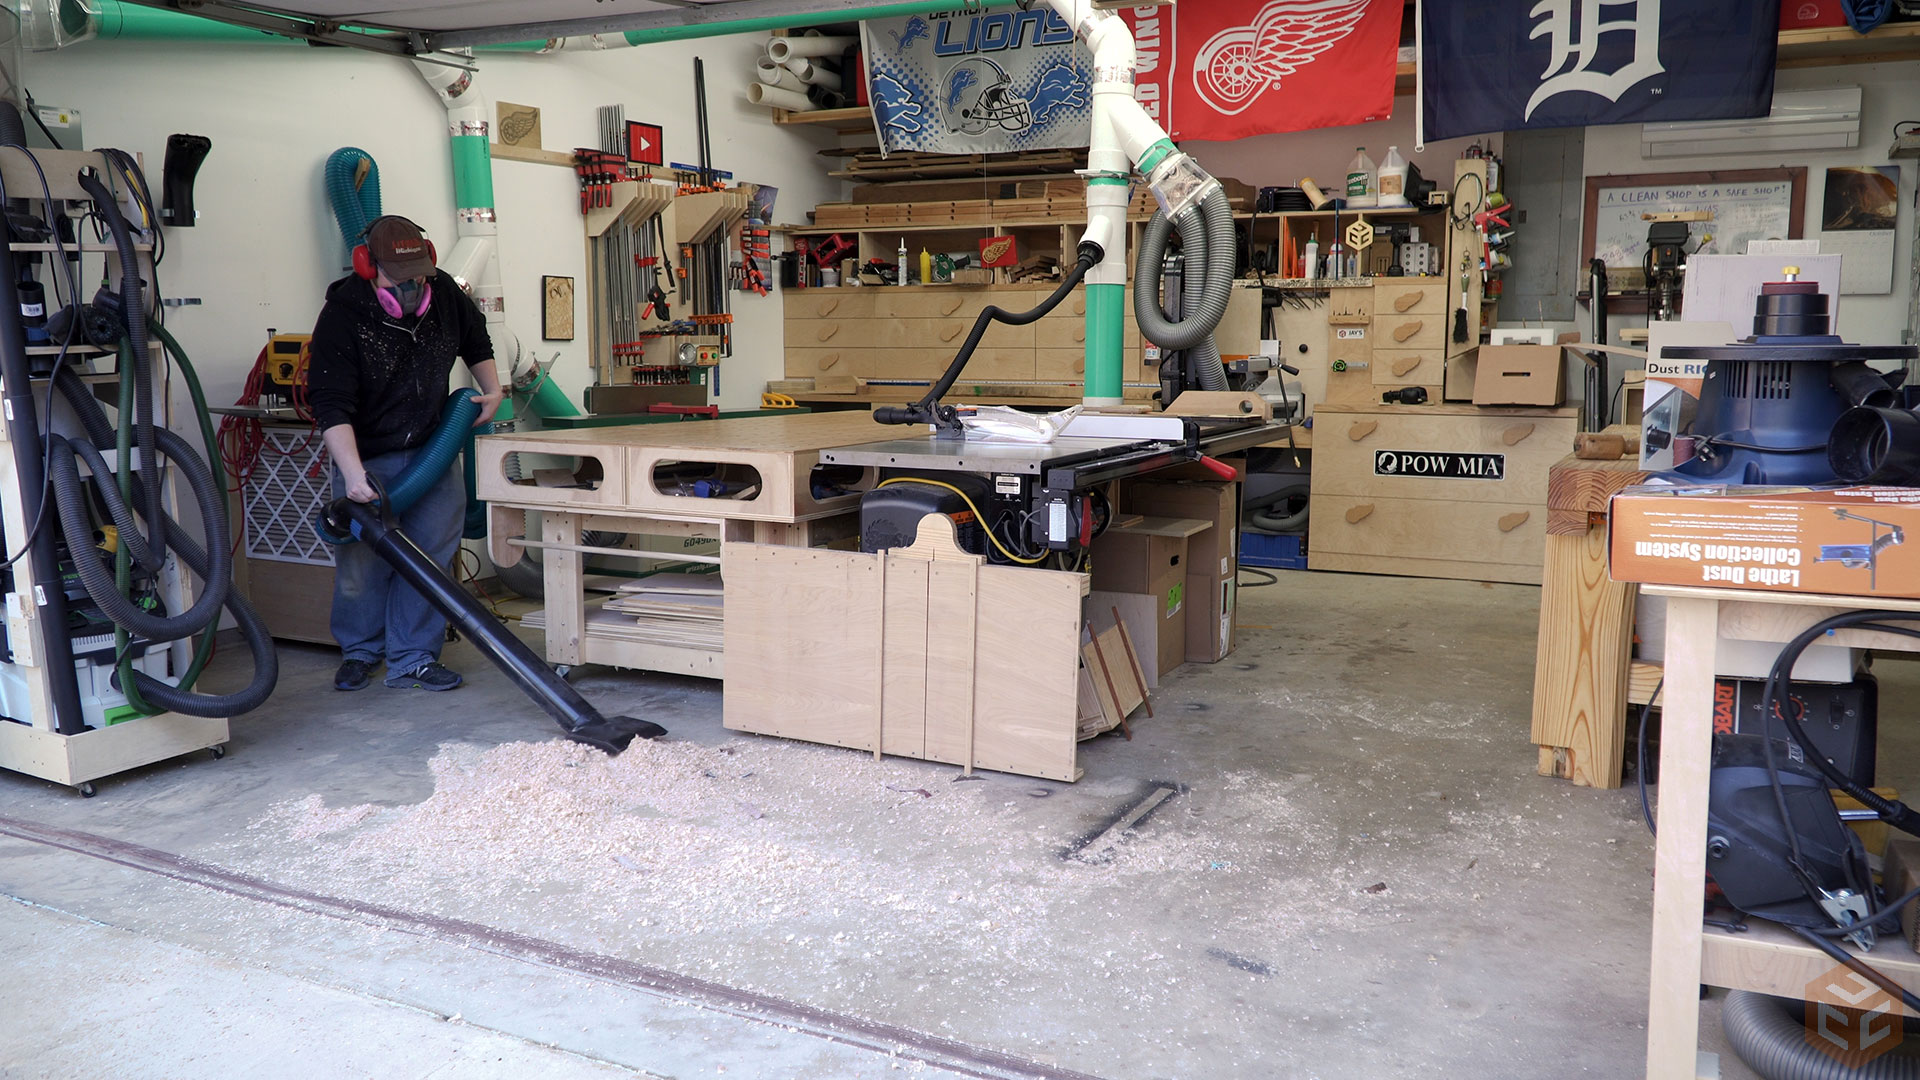
All of this created a horrible mess. But it only took 10 minutes to get the shop clean again.
To remove the old handles I put the chisel in a vise and twisted the handle back and forth to loosen it up. Installing the new handles is done with a mallet making sure to align the logo with the bottom of the chisel as that side will be seen when they are on the wall.

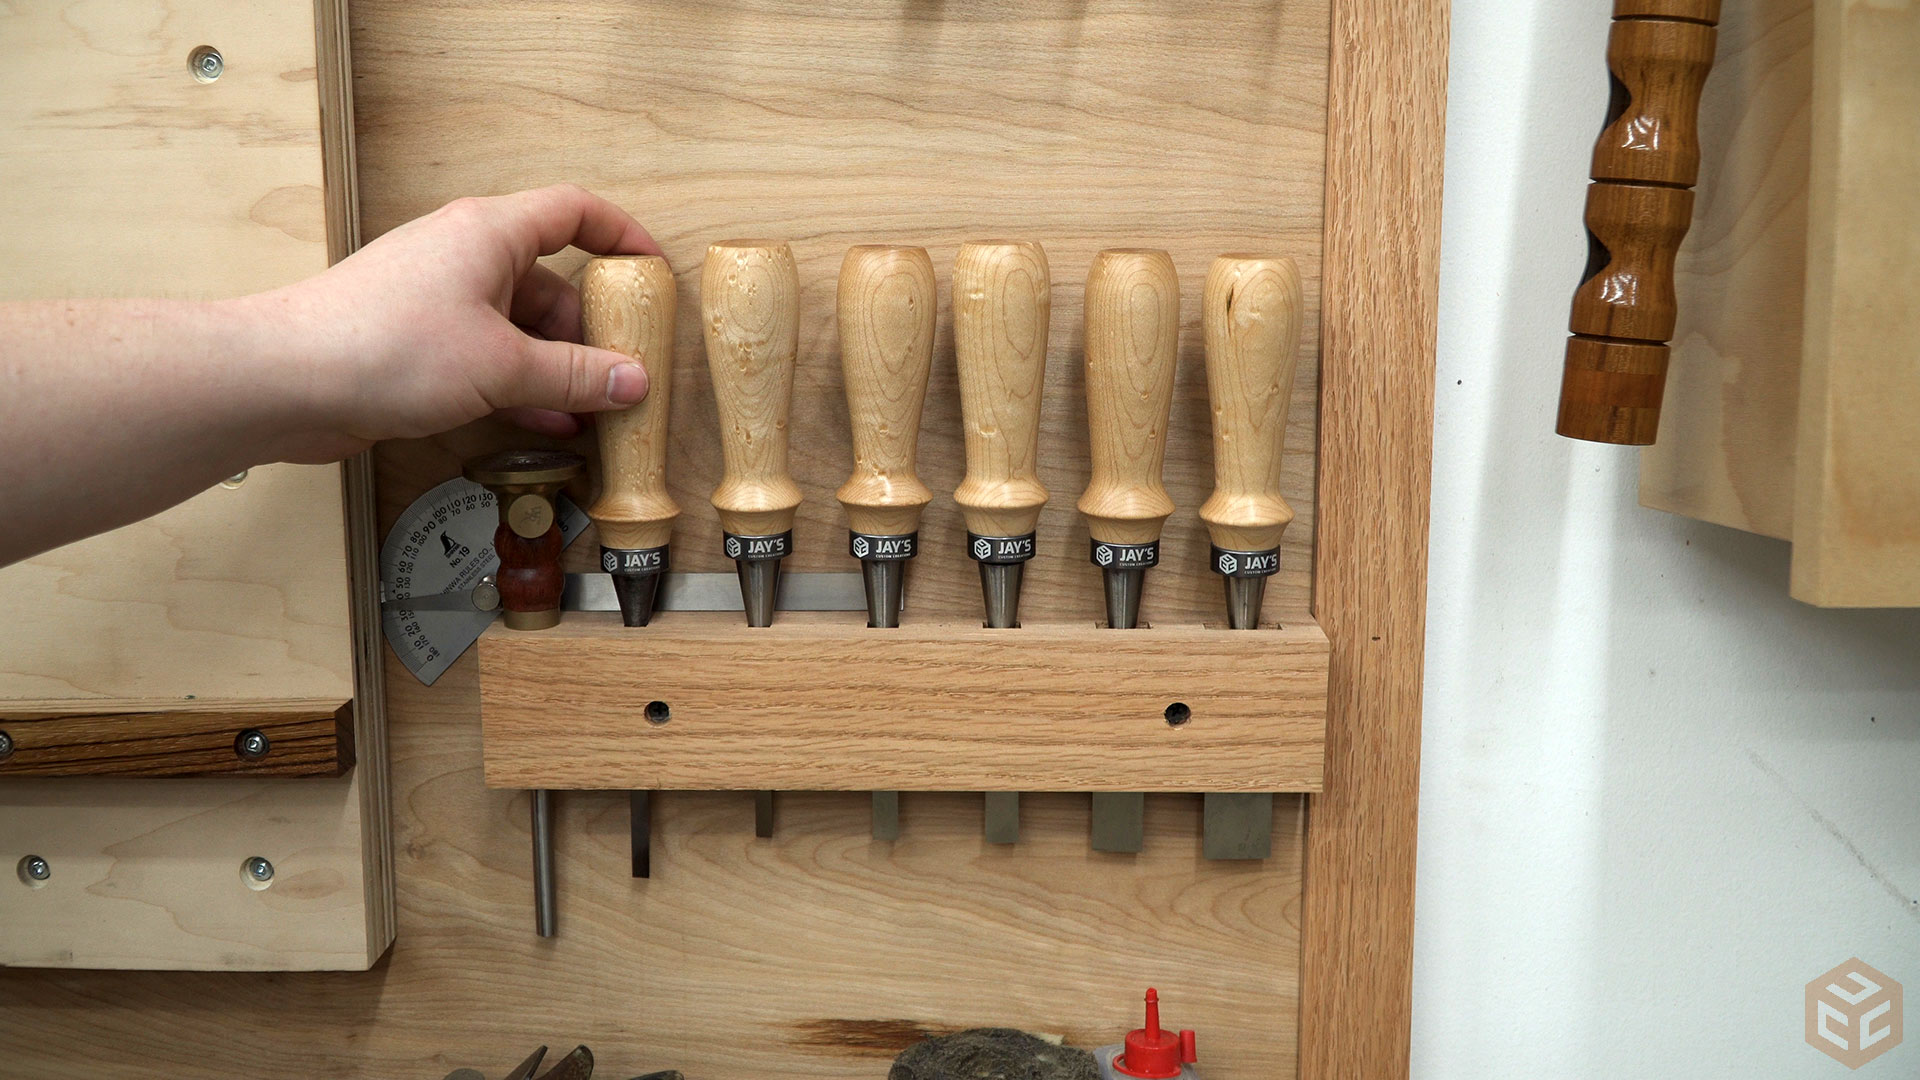
I wanted to use shellac for the handles but I didn’t have any on hand. So I just used mineral oil instead. It won’t offer as much protection from dirty hands but it’s better than nothing for the time being. The nest time I pick up some shellac I’ll put a coat or two on.

In the end they turned out great. I couldn’t be happier with them. It was a fun skill building project at the lathe. Especially in regards to duplicating something. If this is your first time here be sure to subscribe so you don’t miss the next video. Check out my second channel Jay Bates 2 for non project shop and woodworking related videos. Take care and I’ll talk to you later.


Uses for the One Ring:
1. Part of a new handle for your Roughing Gouge
2. Part of a new handle for your Parting Tool
3. A fancy handle (Bubinga) for your Keg dispenser
Hi Jay-
Nice job on these, they look great! I am far from a turning expert, but I wonder if you might have better luck with outside curves if you ride the bevel along the corner – in the video and pics it looks like you have it the other way around? Either way, end result is sweet.
Great job on the chisel handles! I like the custom bands too! You’ve really done a great job in keeping your “Jay’s Custom Creations” name current with your videos.
Keep up the great ideas. I can’t wait for your next video!
Jay
The Bird’s Eye Maple looks amazing.
I just got a wood lathe and am looking to do some similar turning projects.
As always, great video!