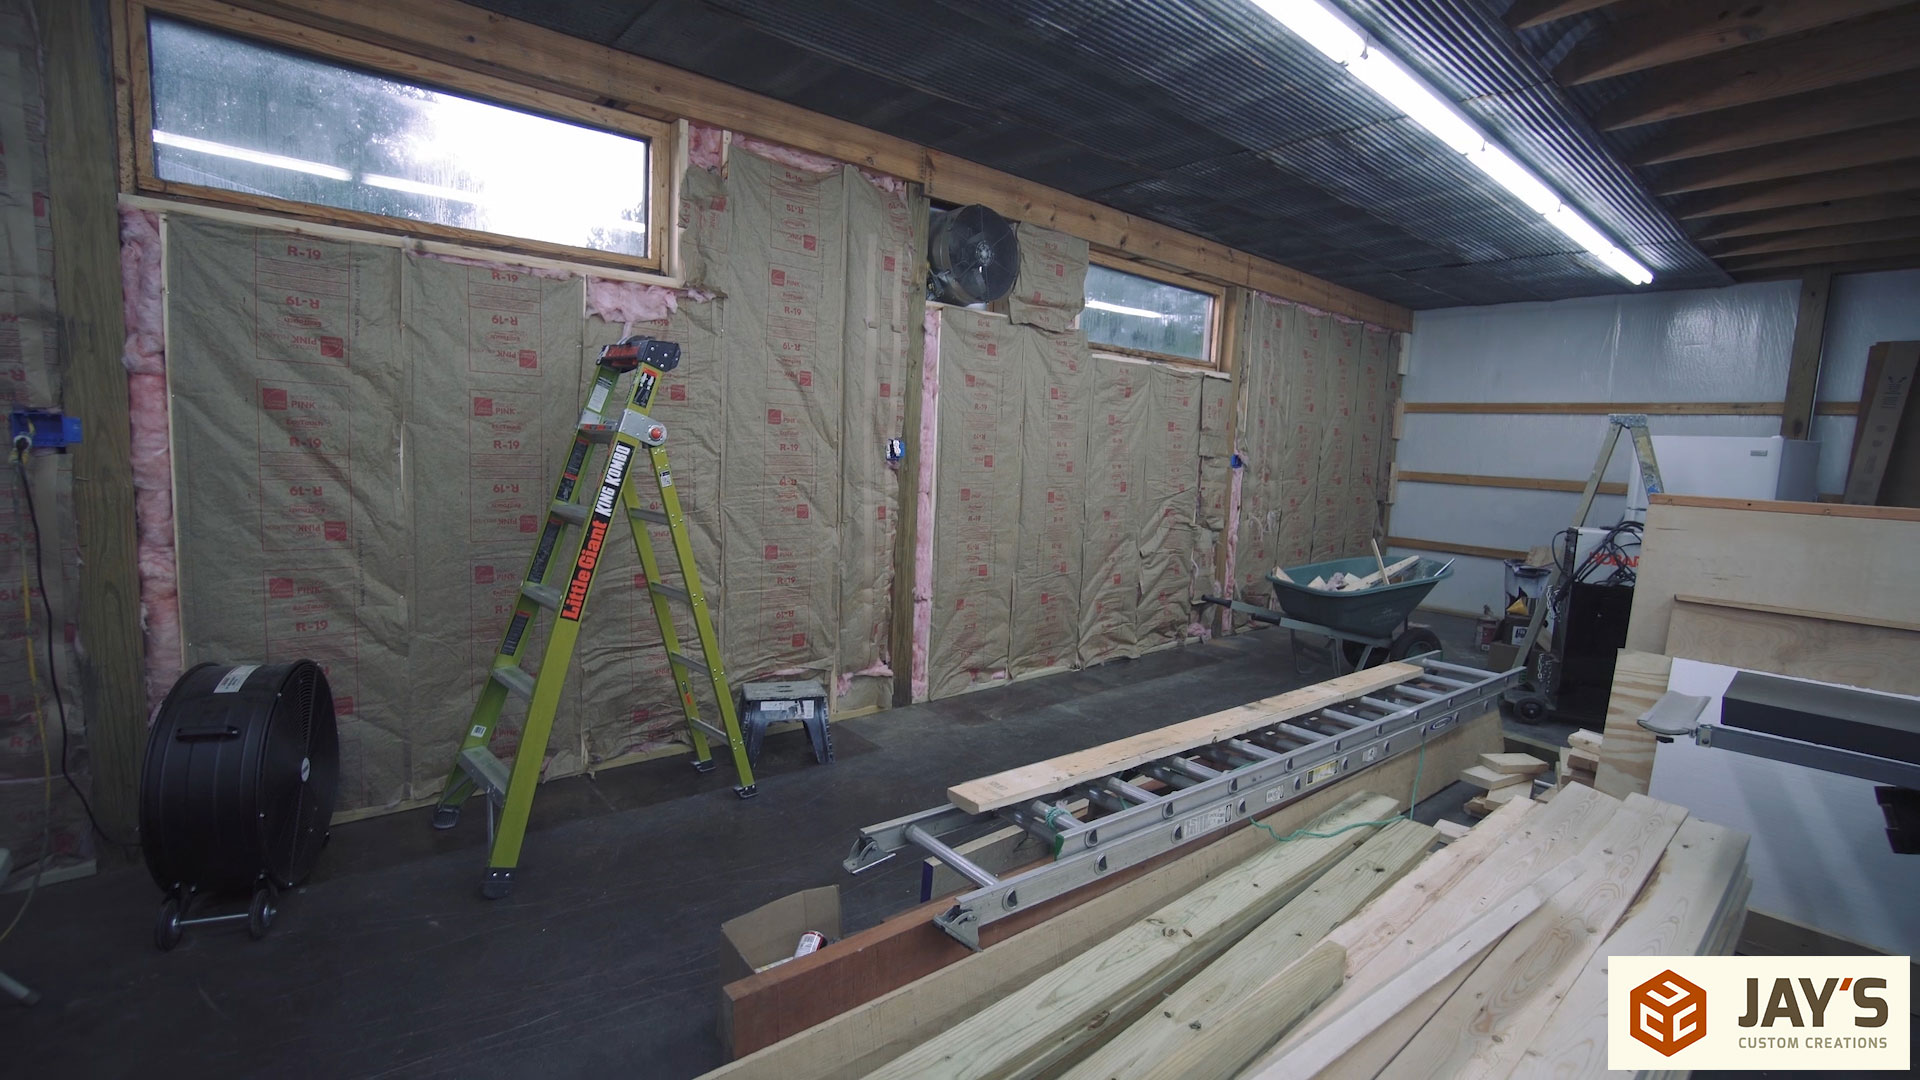
Part 1 of the new shop series was an introduction to the space. Part 2 covered moving the tools to the new space. Part 3 covered why and how I will layout the tools. And in part 4 I’m going to cover framing the walls, insulation, wall sheathing, and a little bit of cleanup and organizing. This was an extremely busy week as I had a lot of running around to do, family visiting from out of state, and coordinating with a contractor to get the bulk of the labor completed. First up was to get materials and for the walls I decided on 2×6 framing on 24” centers.

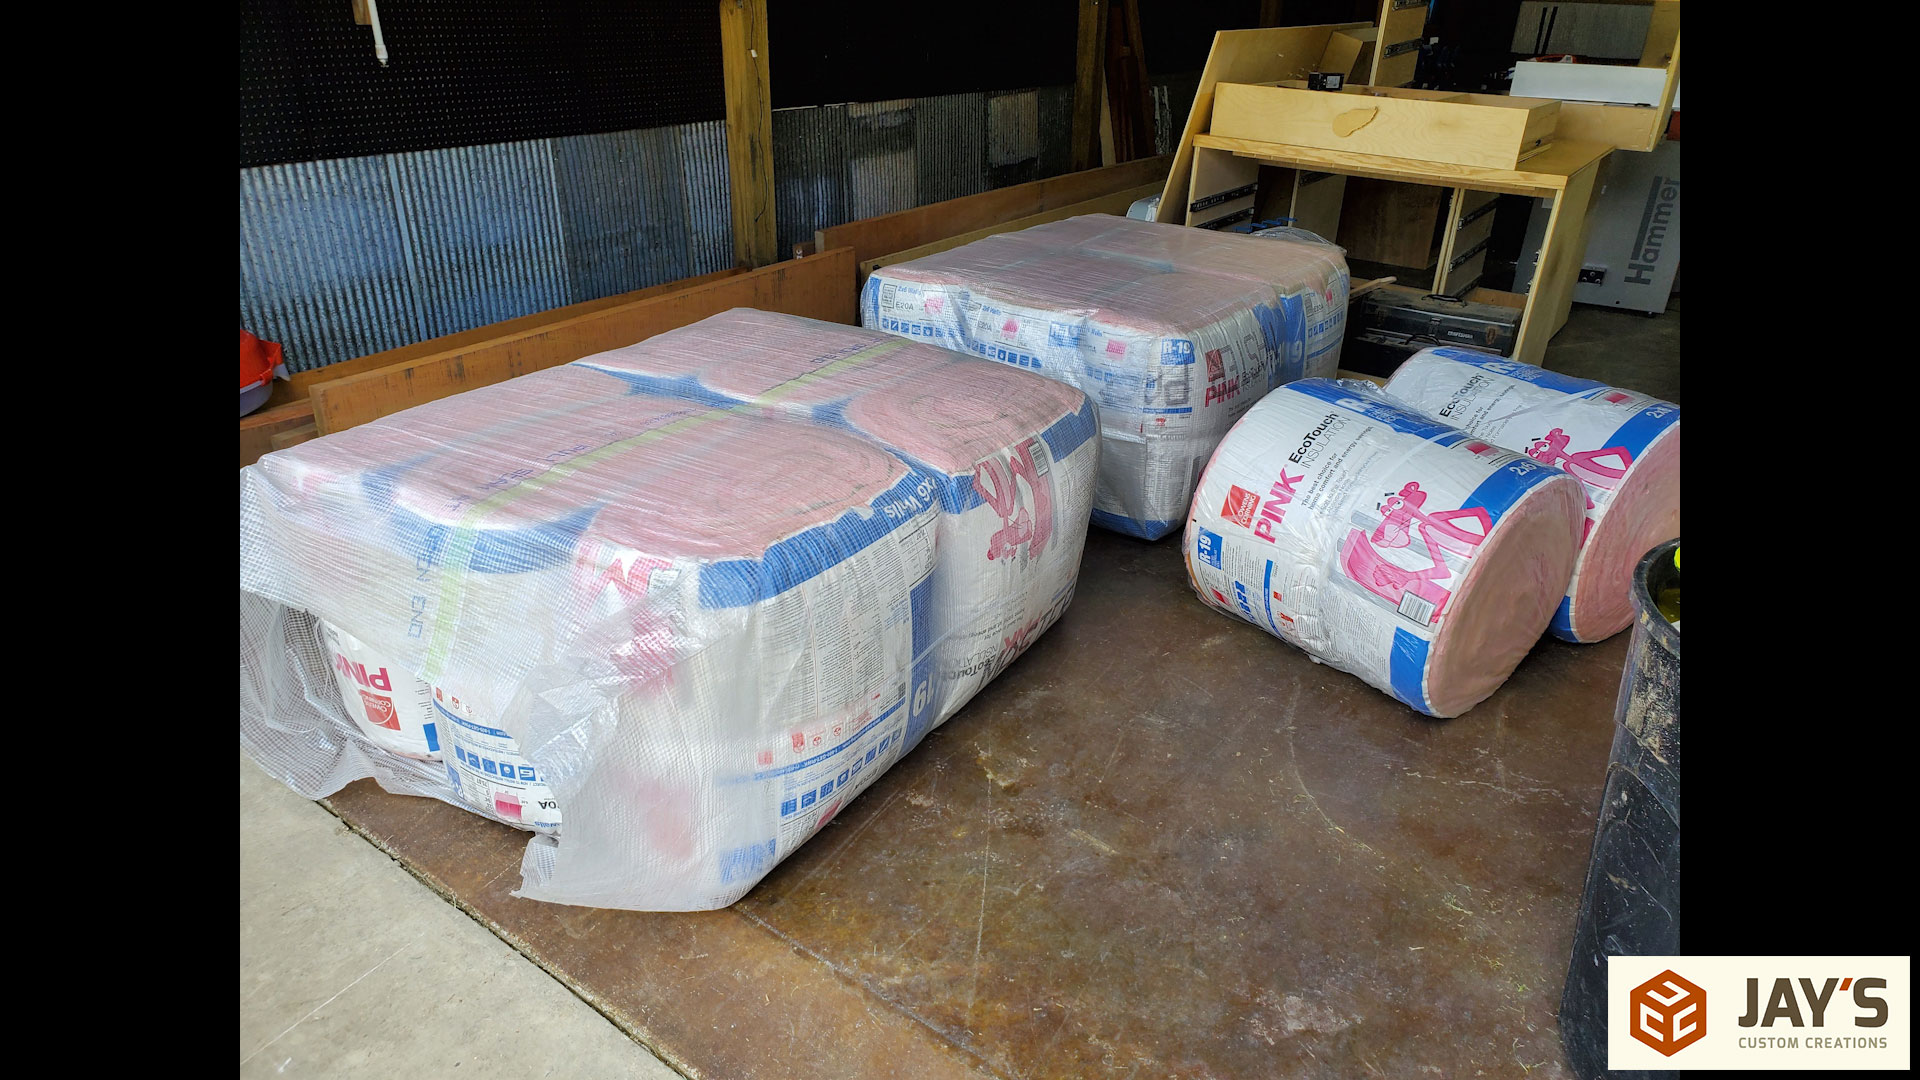
In between the framing is going to be R19 fiberglass insulation. So many people recommended spray foam insulation for the shop and while I would have loved going that route it was simply out of budget. I figured that since the shop already has a moisture barrier wrap on the outside and the walls of the shop don’t receive a lot of direct sunlight after 11am traditional fiberglass insulation is a cost effective solution that will still get the job done for the walls. The largest offender of heat build up from the sun is the roof which for that I will get spray foam insulation installed.
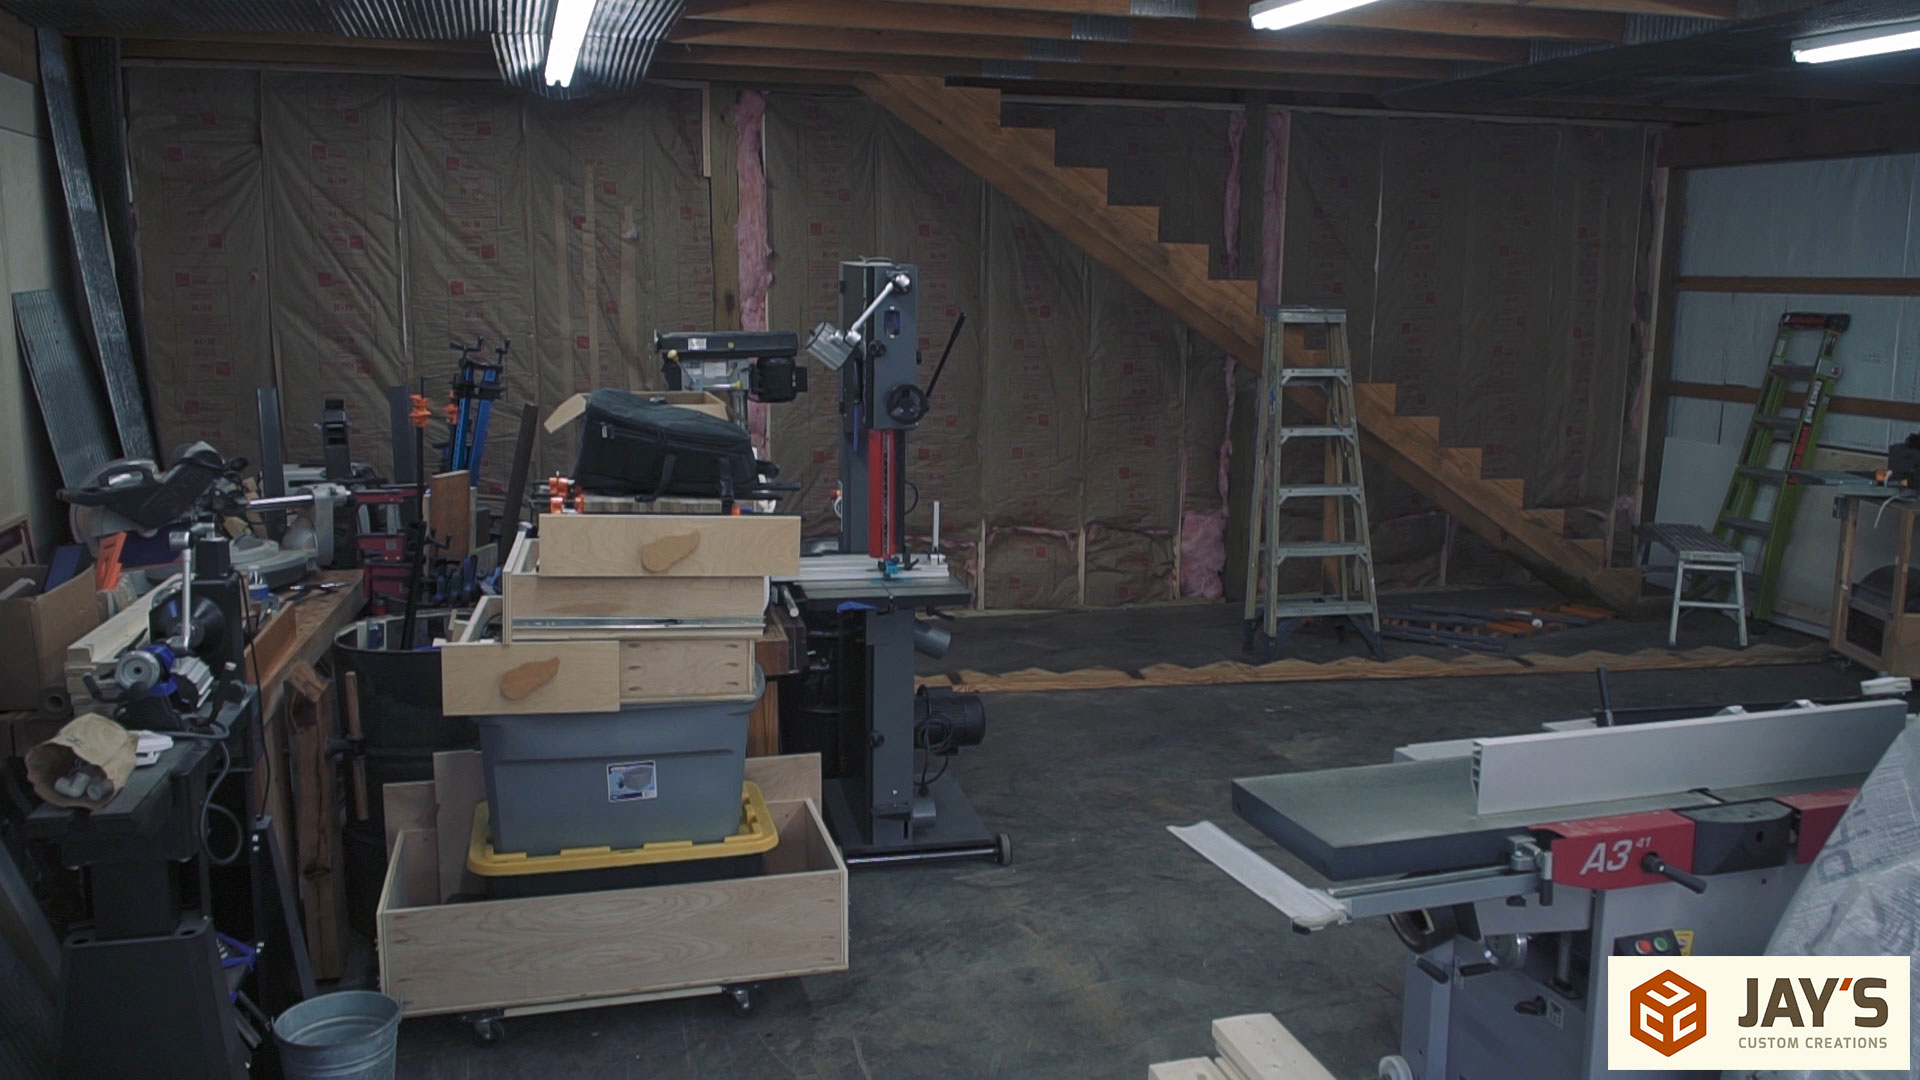
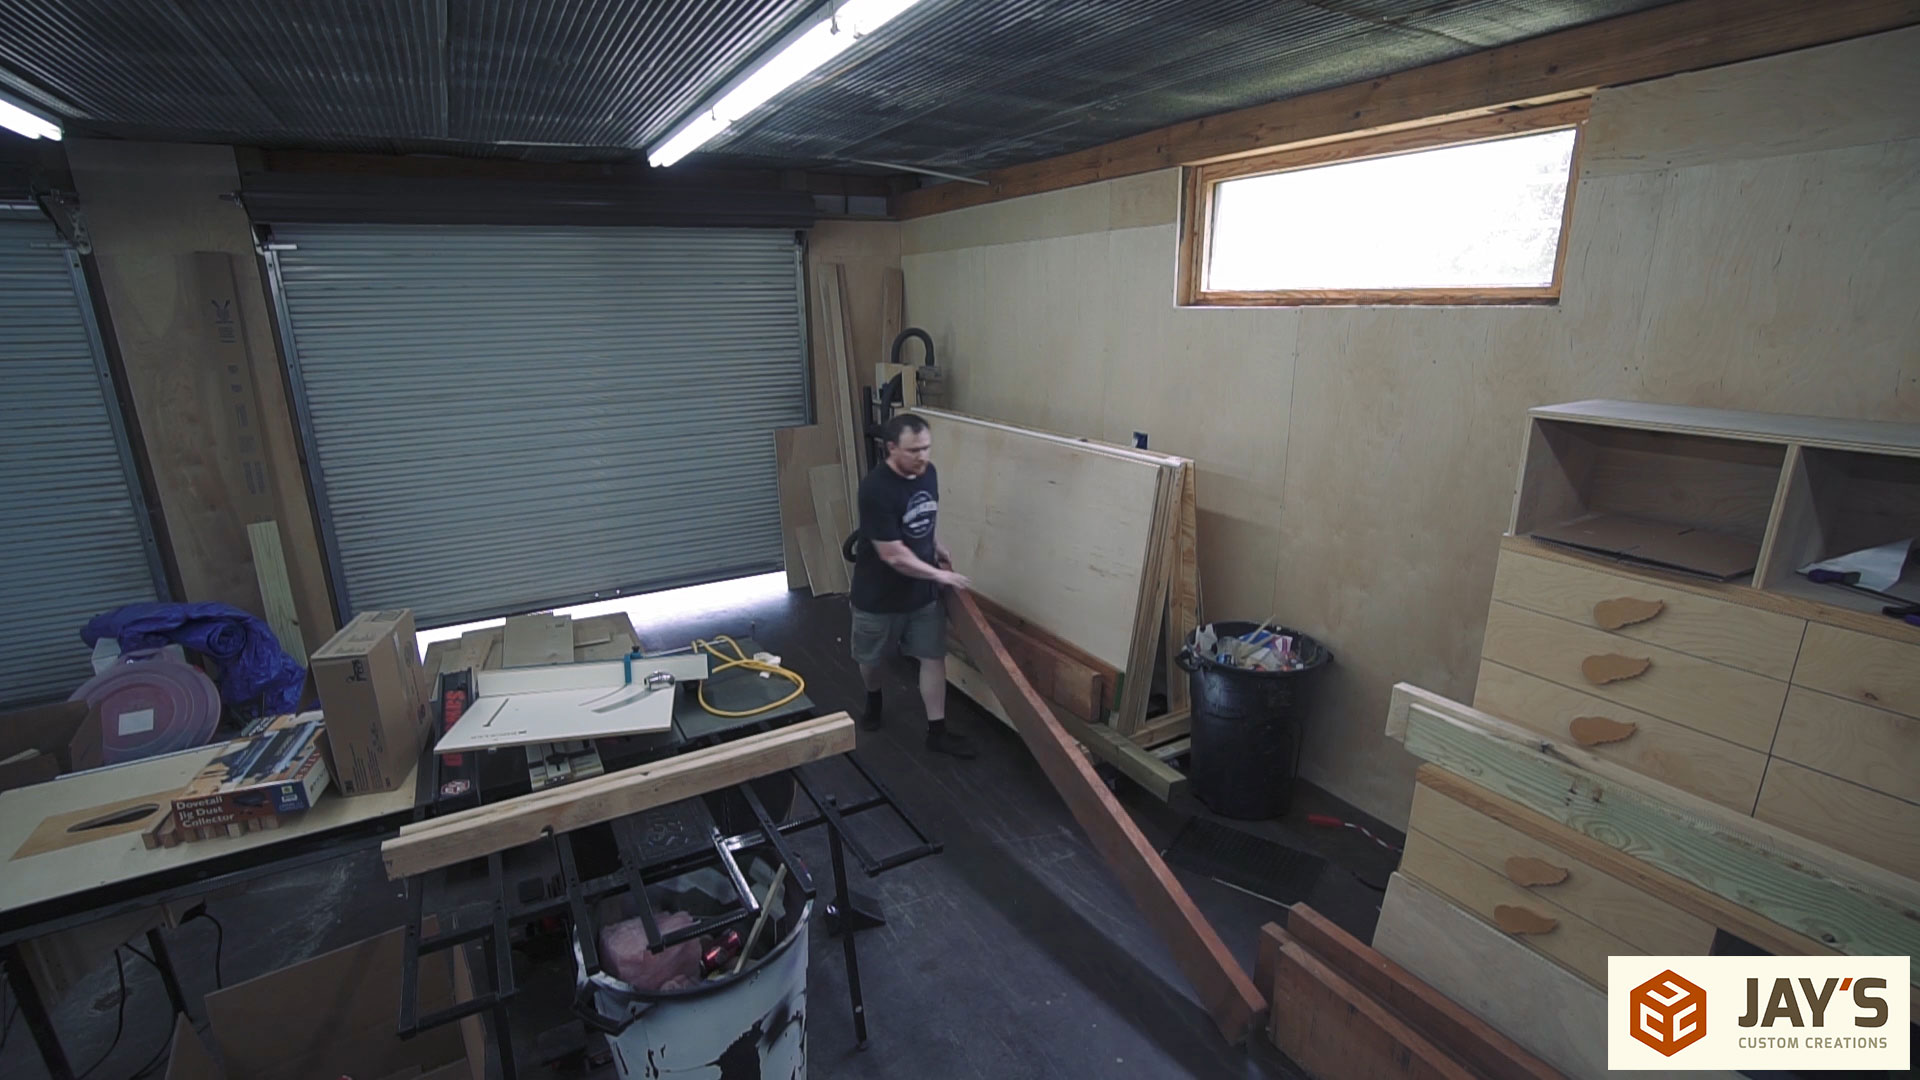
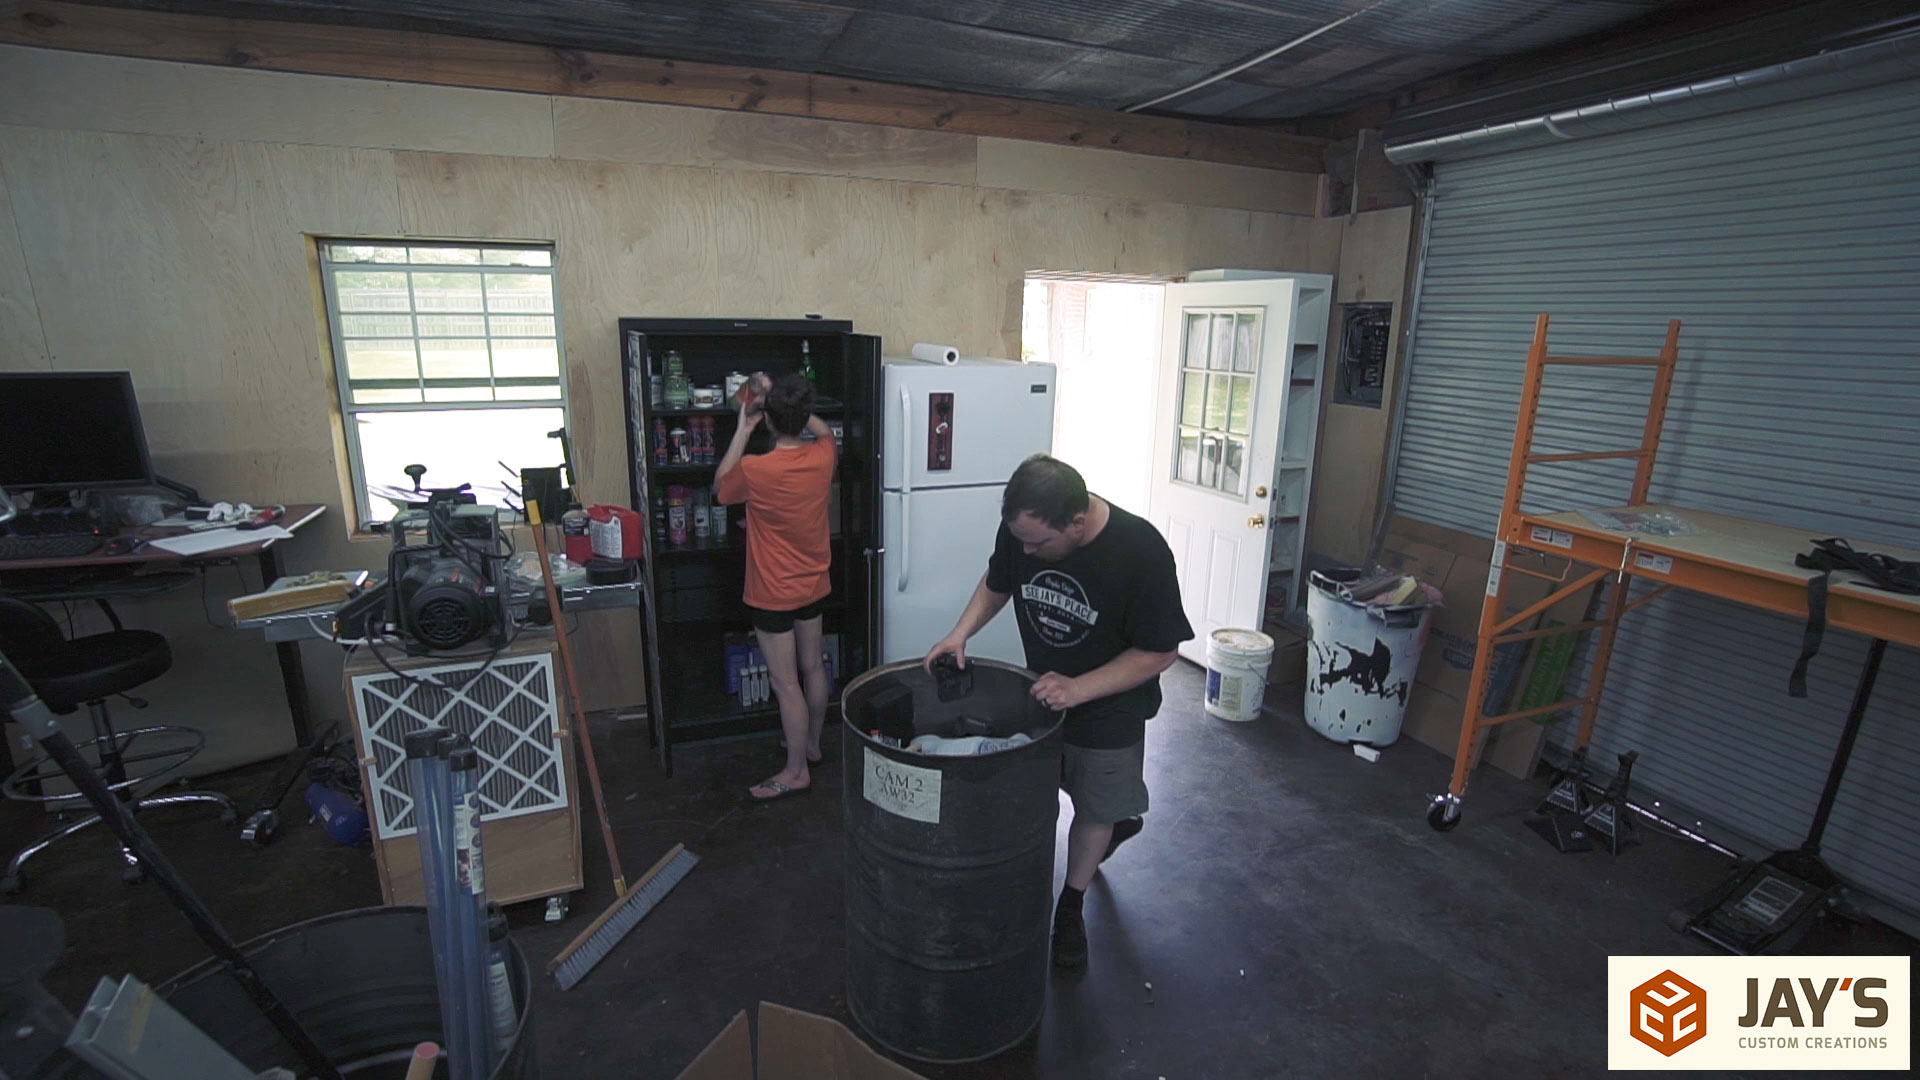
The weekend before contractor work was scheduled I started by removing all of the pegboard and corrugated tin from the walls. This part was a bit frustrating. Not because of the pegboard but because of what was underneath one section. Right under the right window on this wall I found a termite infestation which kinda makes sense. Termites love moist environments and this window was leaking for who knows how long. There was dirt piled up behind a couple of sections of tin and the termites had already started eating away at the lower horizontal 2×4. Luckily the damage wasn’t structural but it did add another thing on the list to deal with.
At this point we were still less than a month into living here so I contacted my Realtor to see what could be done. In the state of Mississippi it is the sellers responsibility to order a wood infestation inspection, which in this case it was completed. I’m not sure where the miscommunication happened but only the house was inspected, not the shop. The final result was a complete termite treatment to both the shop and the house at no cost to us. The whole process was extremely frustrating but on the bright side there was no structural damage and now both structures on the property are treated for the future.

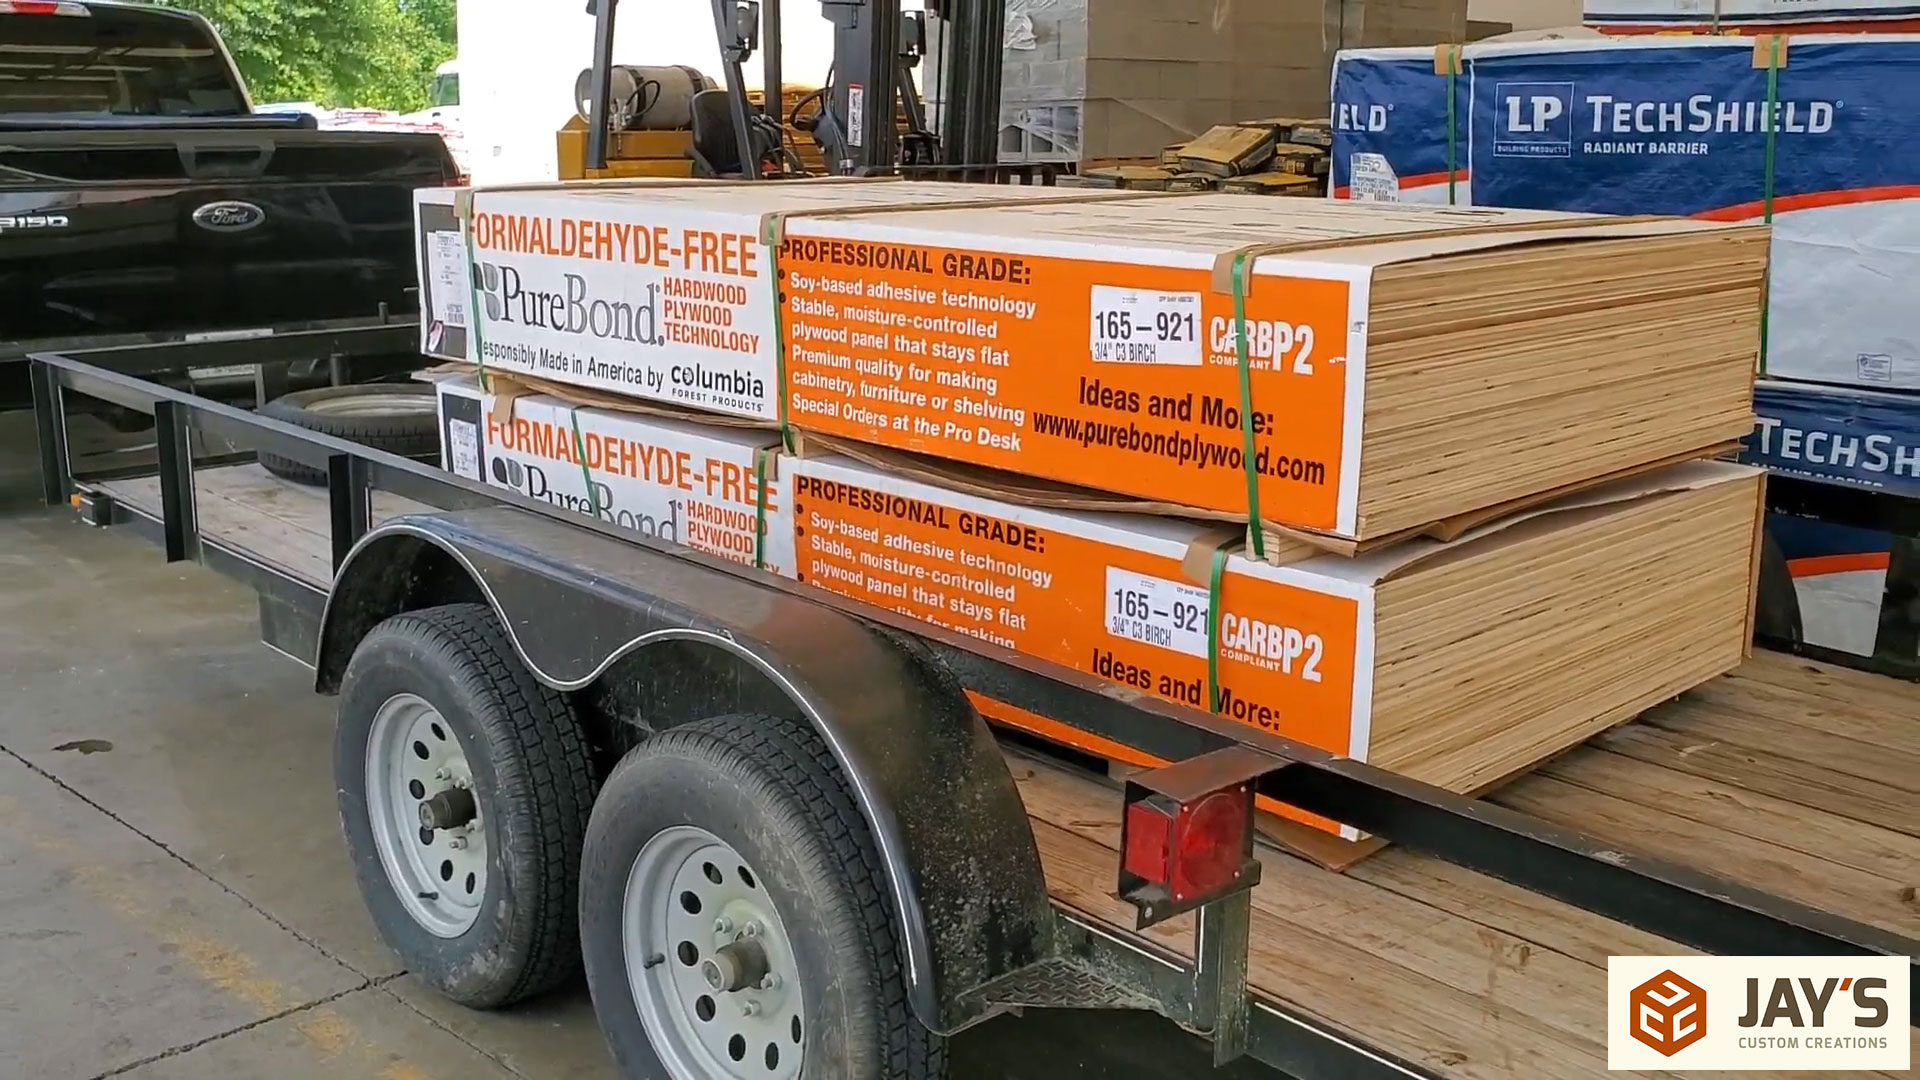
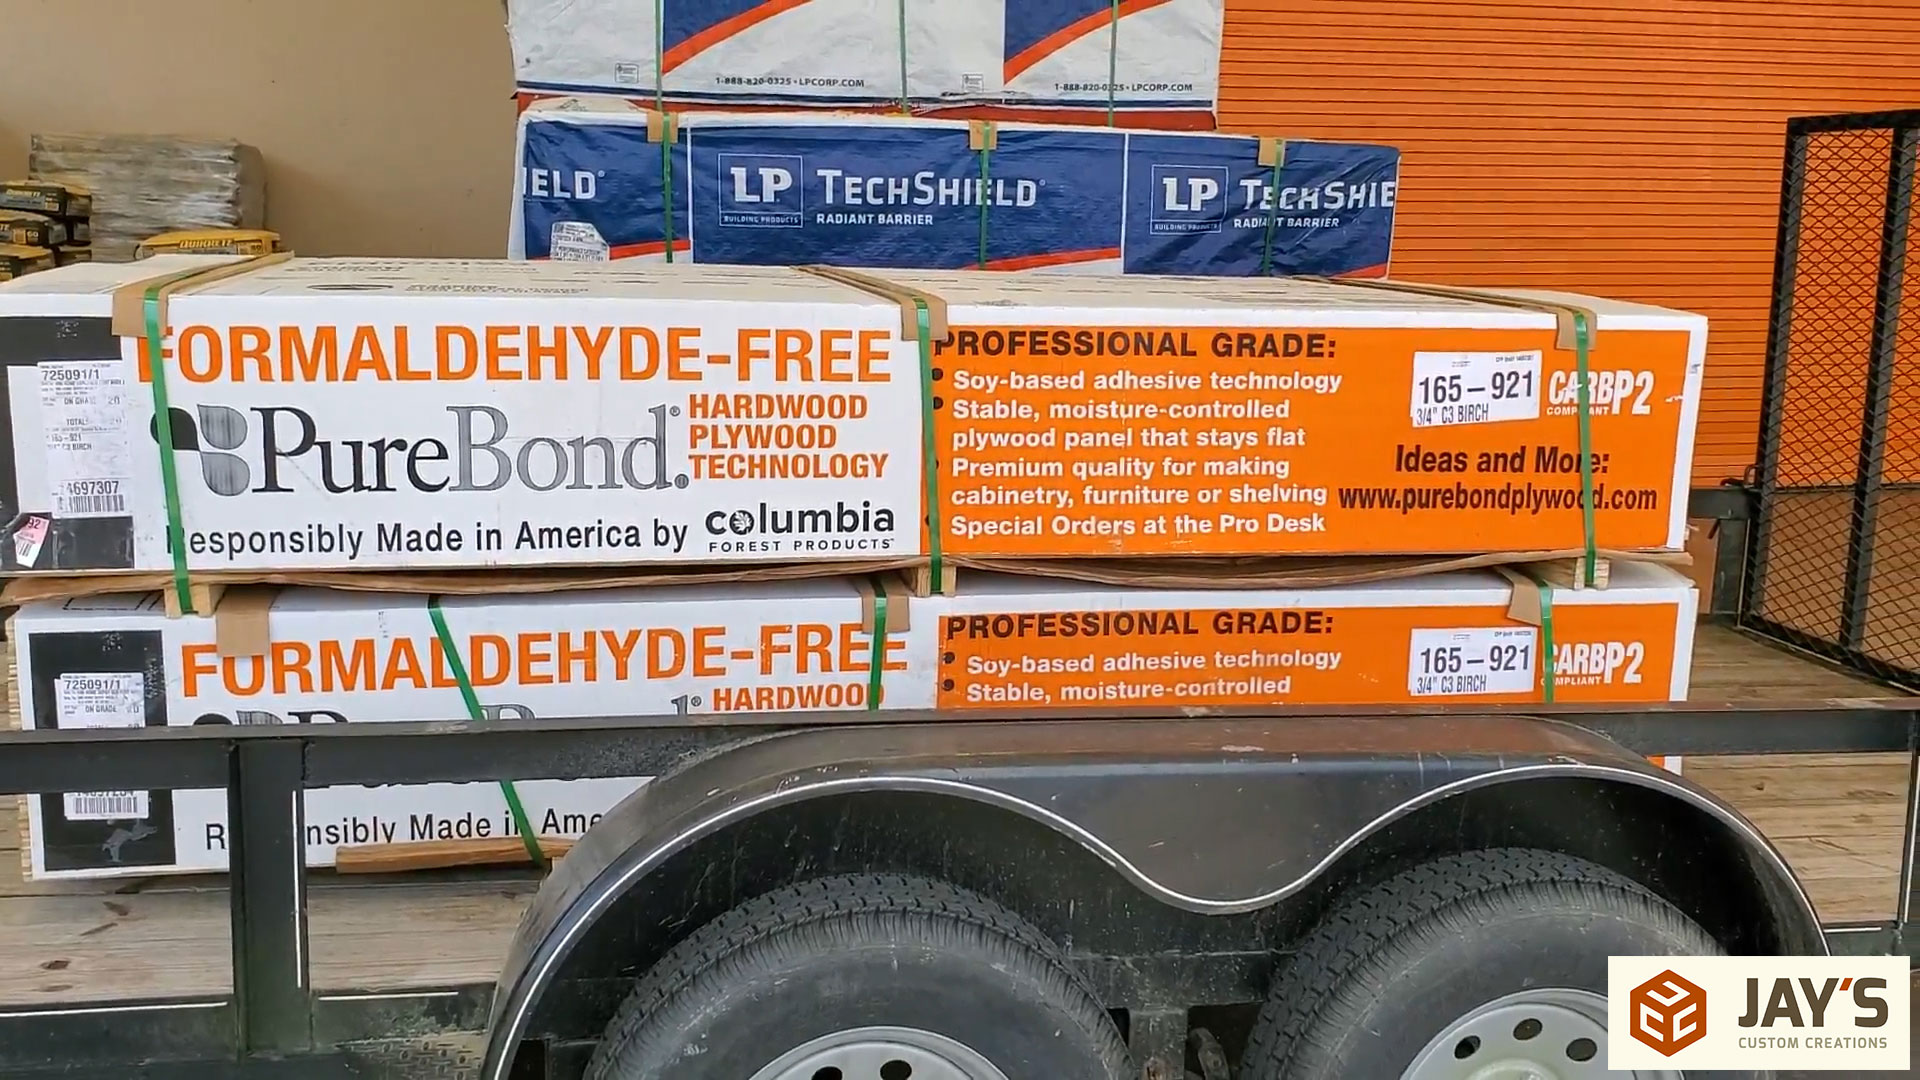
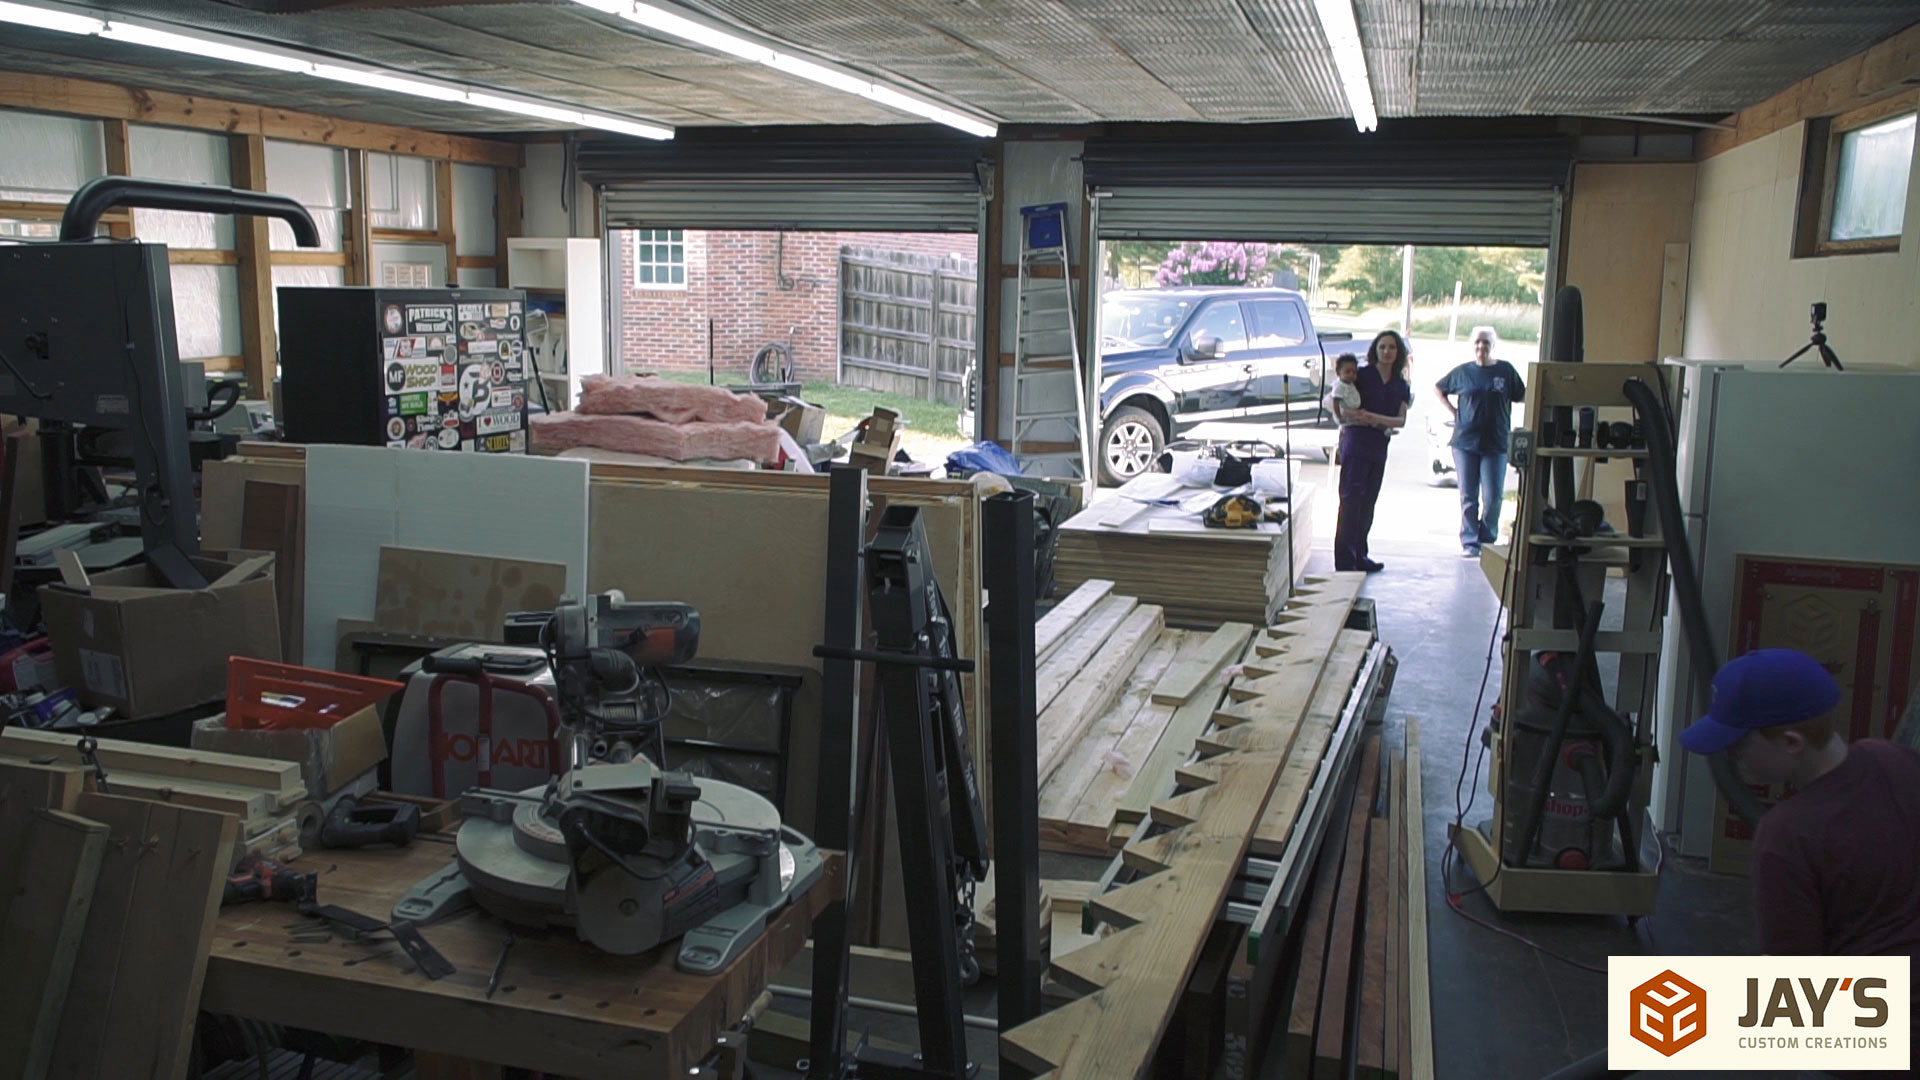
Contractor work started on a Monday morning that our nanny had previously requested off. So I was on daddy duty and didn’t get any footage of them starting that day. We didn’t just sit around and do nothing though. We took a field trip 77 miles north to the nearest Home Depot to pick up some PureBond plywood for the walls. 40 sheets to be exact. This is 3/4” birch plywood which matches my miter saw station and gives me a lot more options to hang stuff pretty much anywhere in the shop. If you’re not familiar with PureBond it’s a formaldehyde free plywood made here in The United States and available exclusively at The Home Depot. After driving home and unloading piece by piece into the shop I shut everything down and spent the rest of the night with my mom and nephew who drove over from Dallas to spend the week with us.
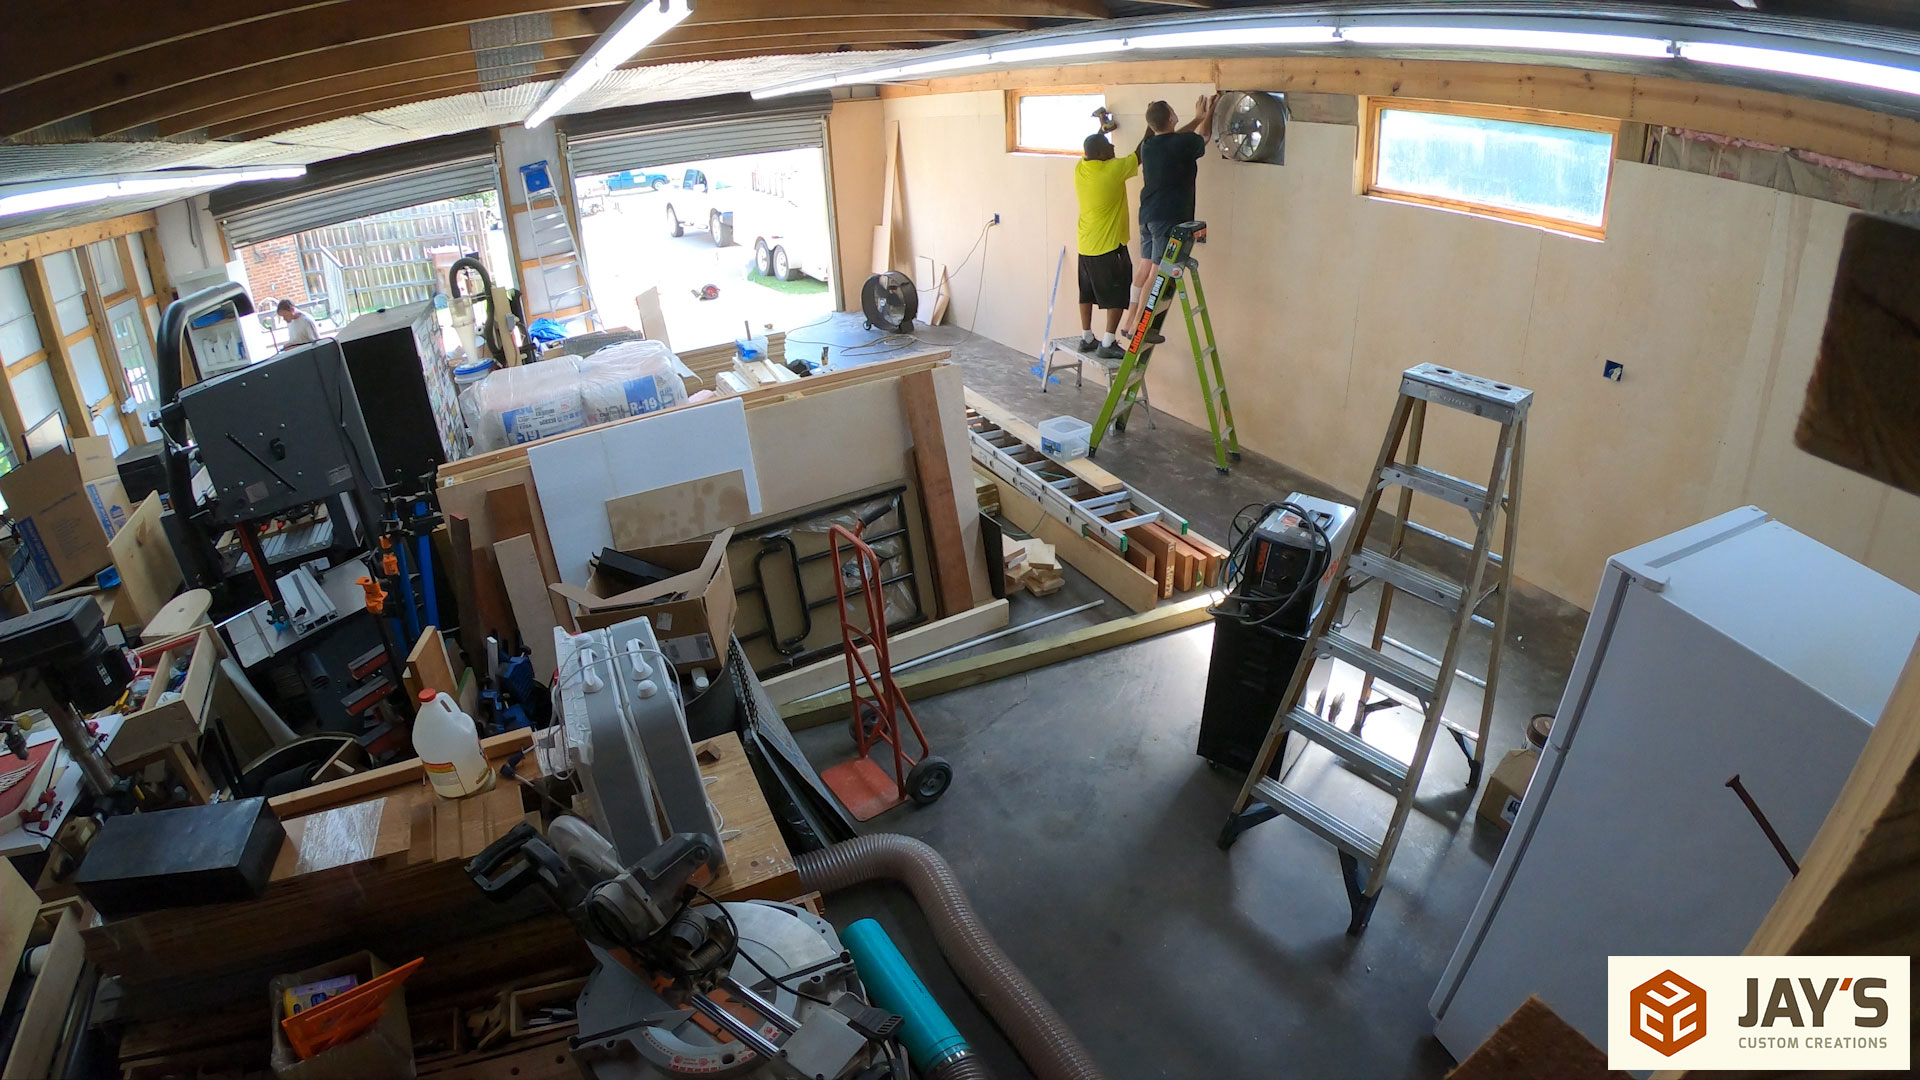
This is the progress the contractors made on the first day. They were able to stud and insulate one of the 40′ walls. Not too shabby considering it was over 100 degrees and high humidity in there.
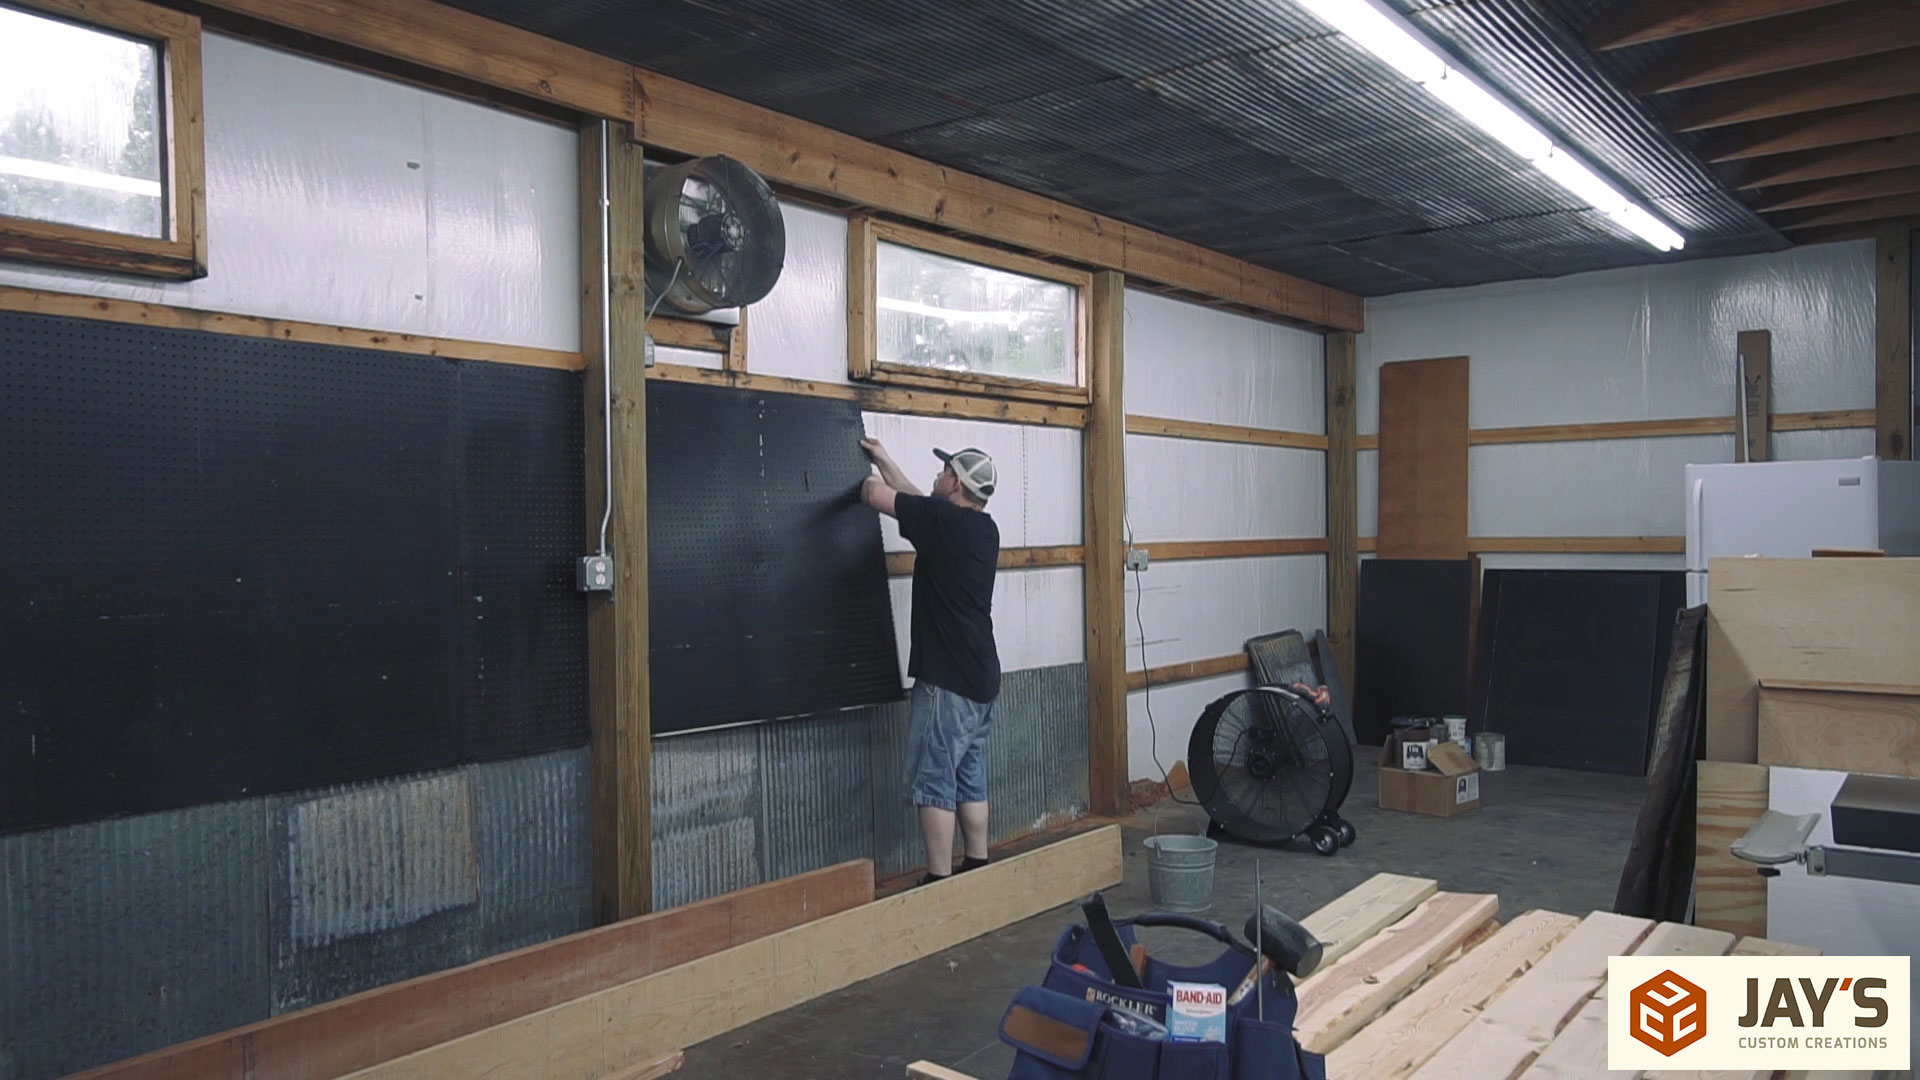
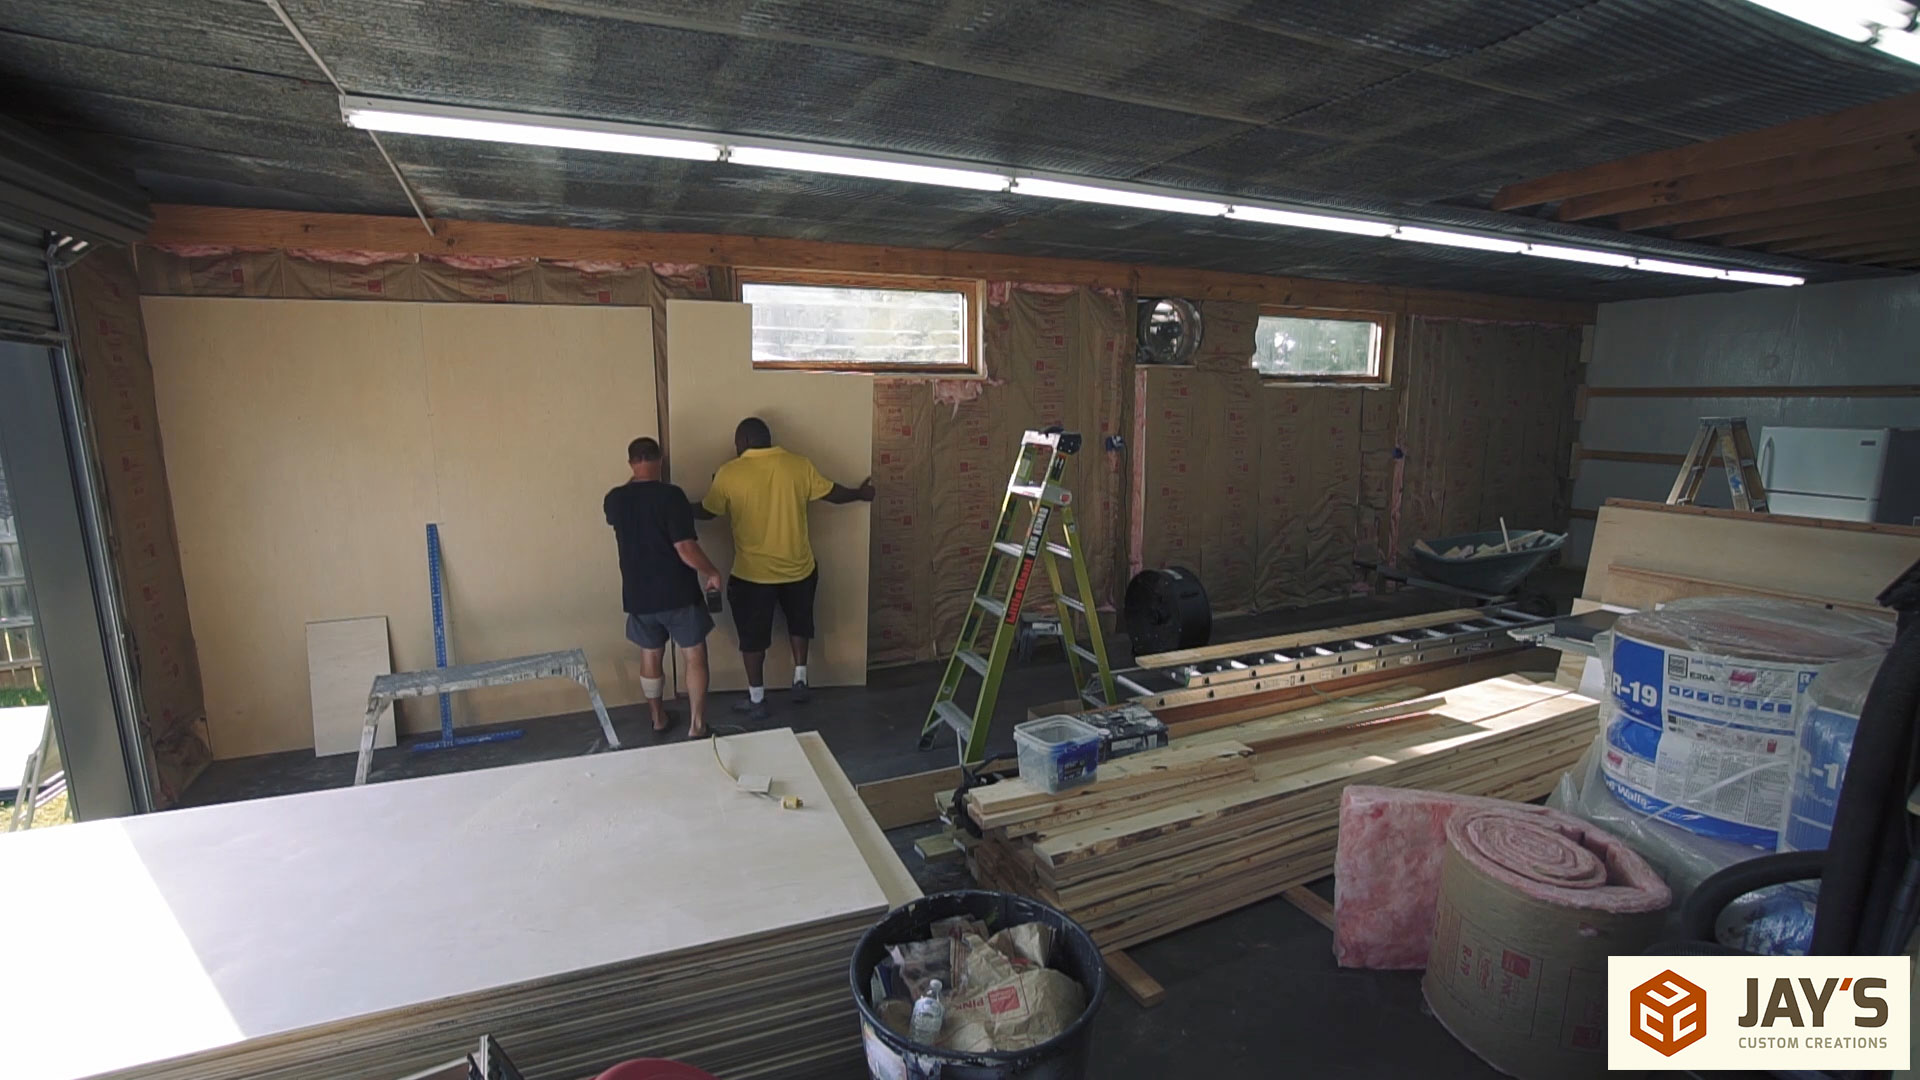
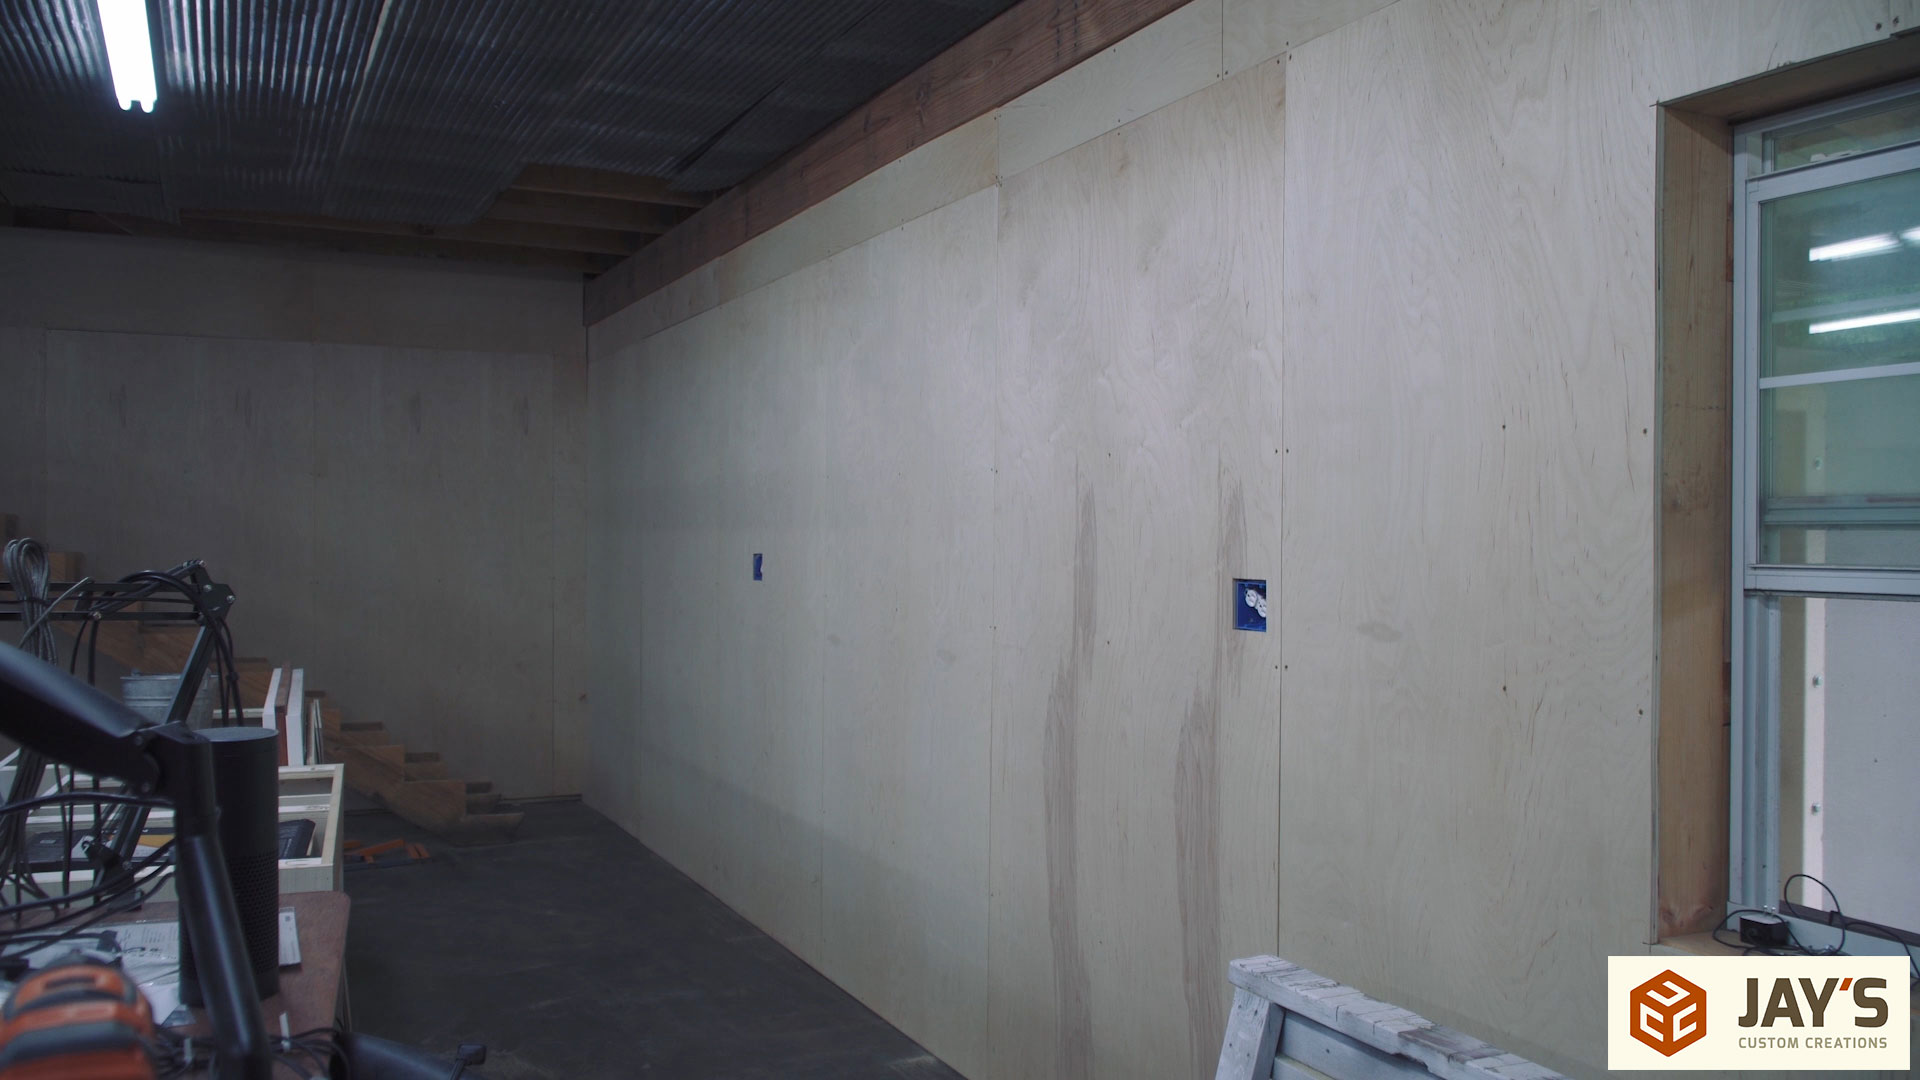
On day two the contractors started off by installing the plywood panels on the first wall. These guys were great. I’ve known Ben for quite a while. He’s the guy in the black shirt. We joked around about how we both cut wood for a living but his type of work stops at 1/8”. I knew they would do a good job so my only request was to use screws to install the plywood and maintain an even spacing for the screws so it doesn’t look distracting on camera. It slowed them down a little but they did a great job.
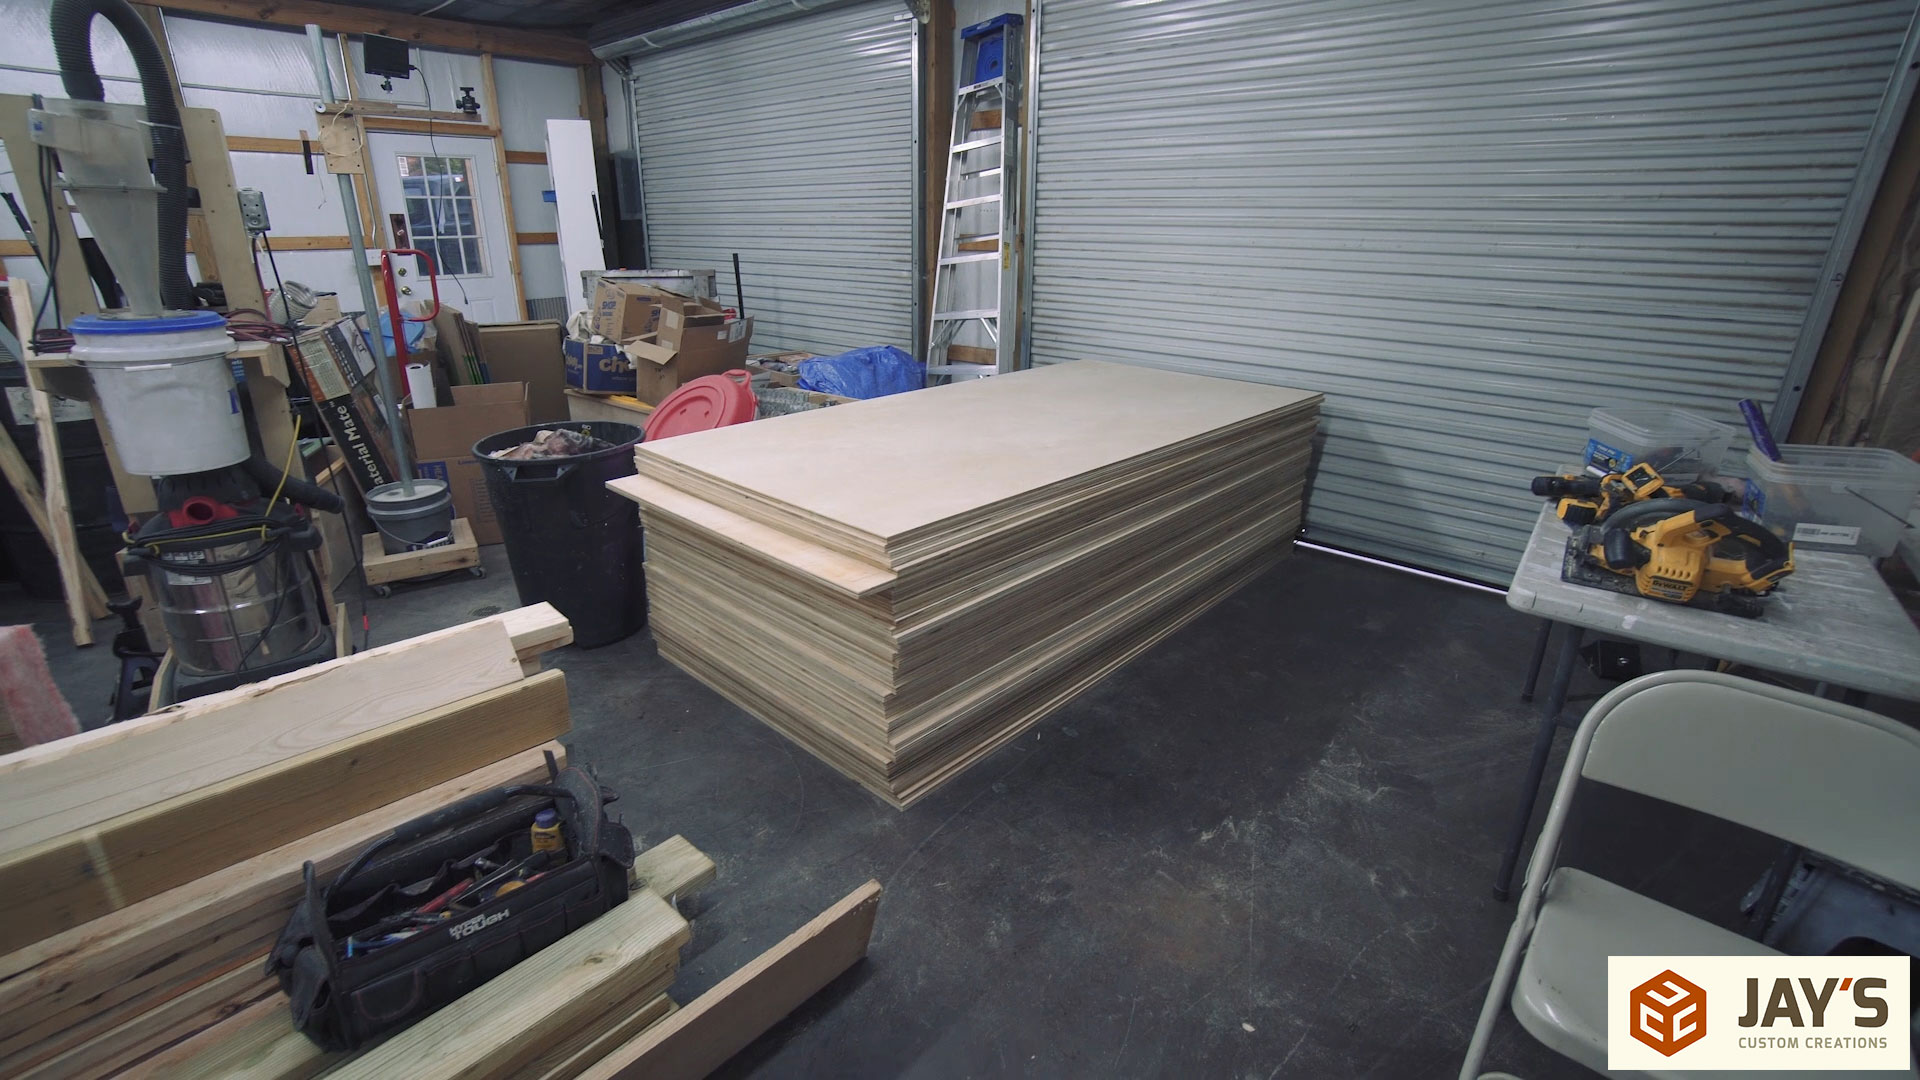
Day two of the contractors was also day two of family being in town so I kept running in and out of the house to move the cameras and help the little bit that I could. After the full sheets were up the guys came back and filled in the small sections on top. This is where I noticed my over-estimate of the plywood needed. The ceiling is close to 10′ off the ground so I calculated 1.25 pieces of plywood, which is 10′ tall, for every 4′ of wall. I didn’t take into consideration the 2x material high on the wall that roof trusses are resting on. In the end this resulted in 6 extra plywood sheets that I added to the 4 sheets that I already had on my plywood cart. Nothing wrong with a few extra quality sheets of plywood to use on future builds. That was a happy accident :)
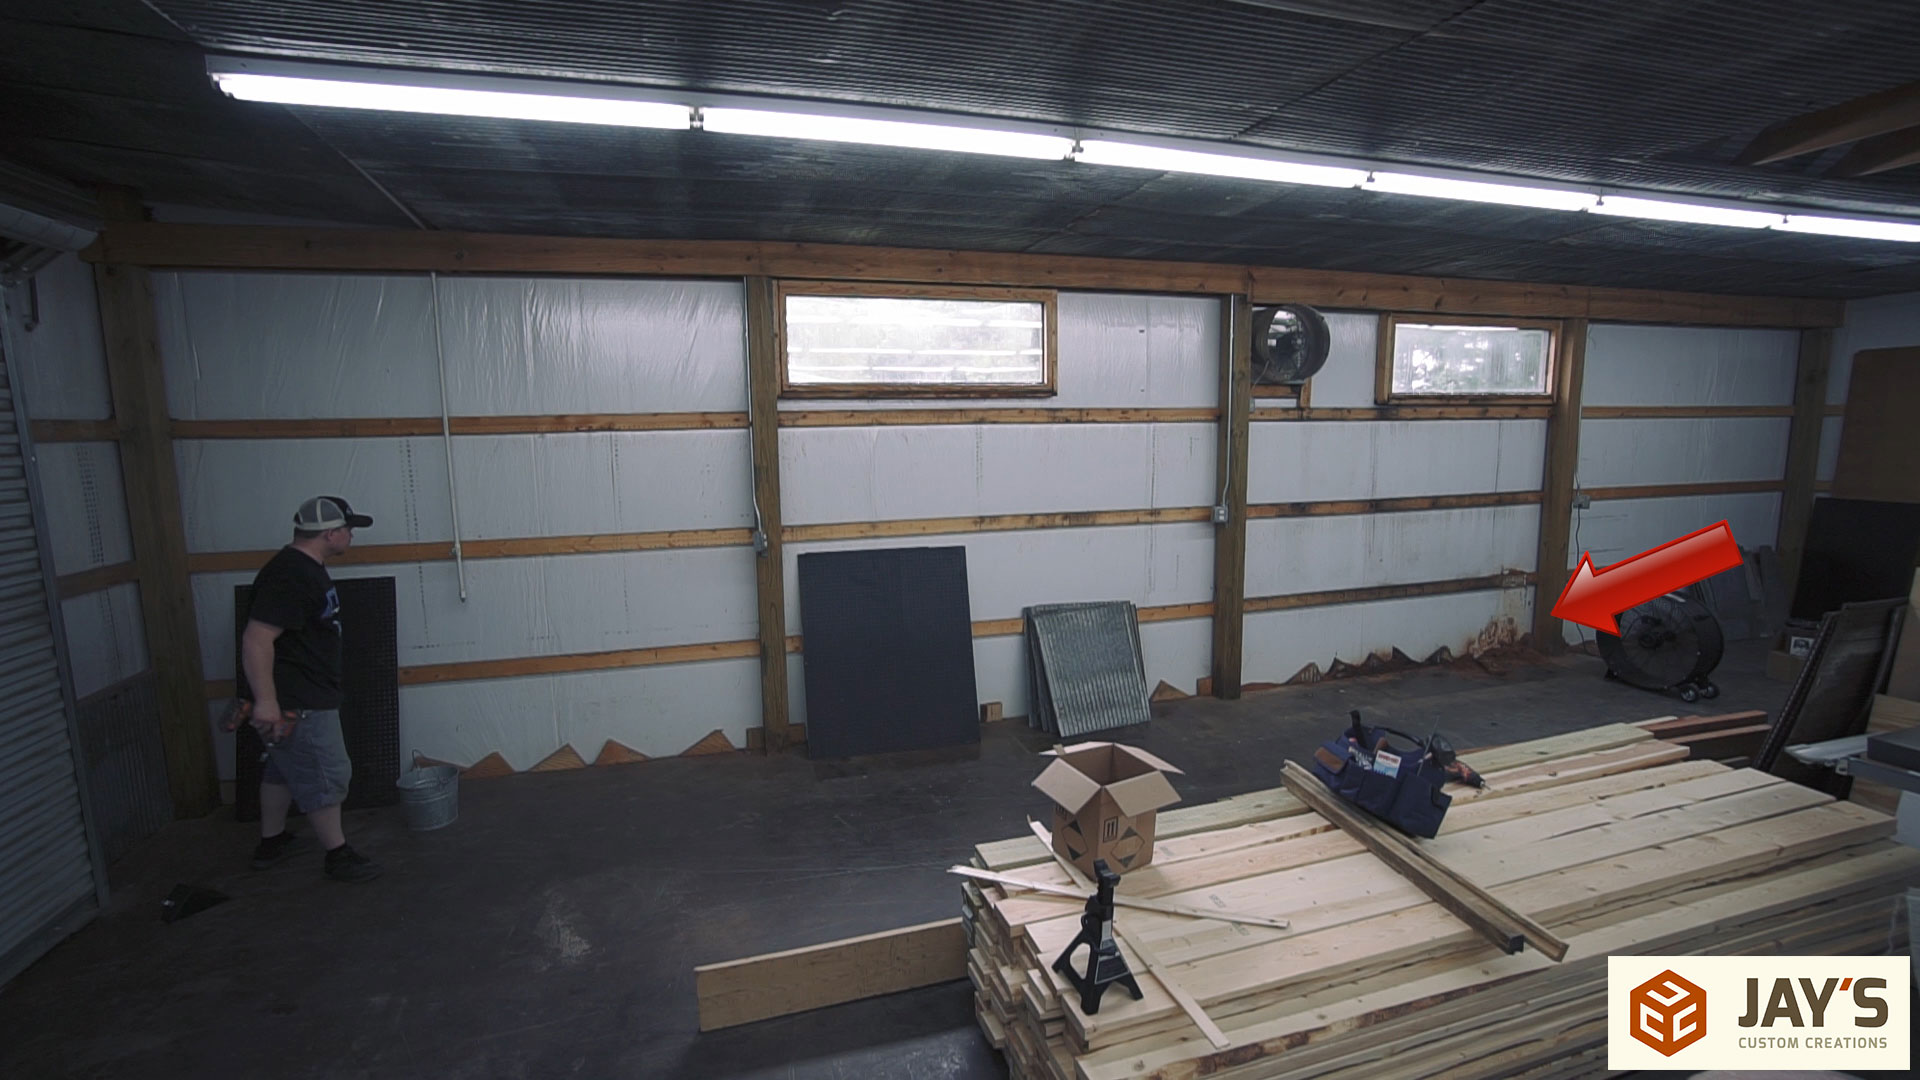
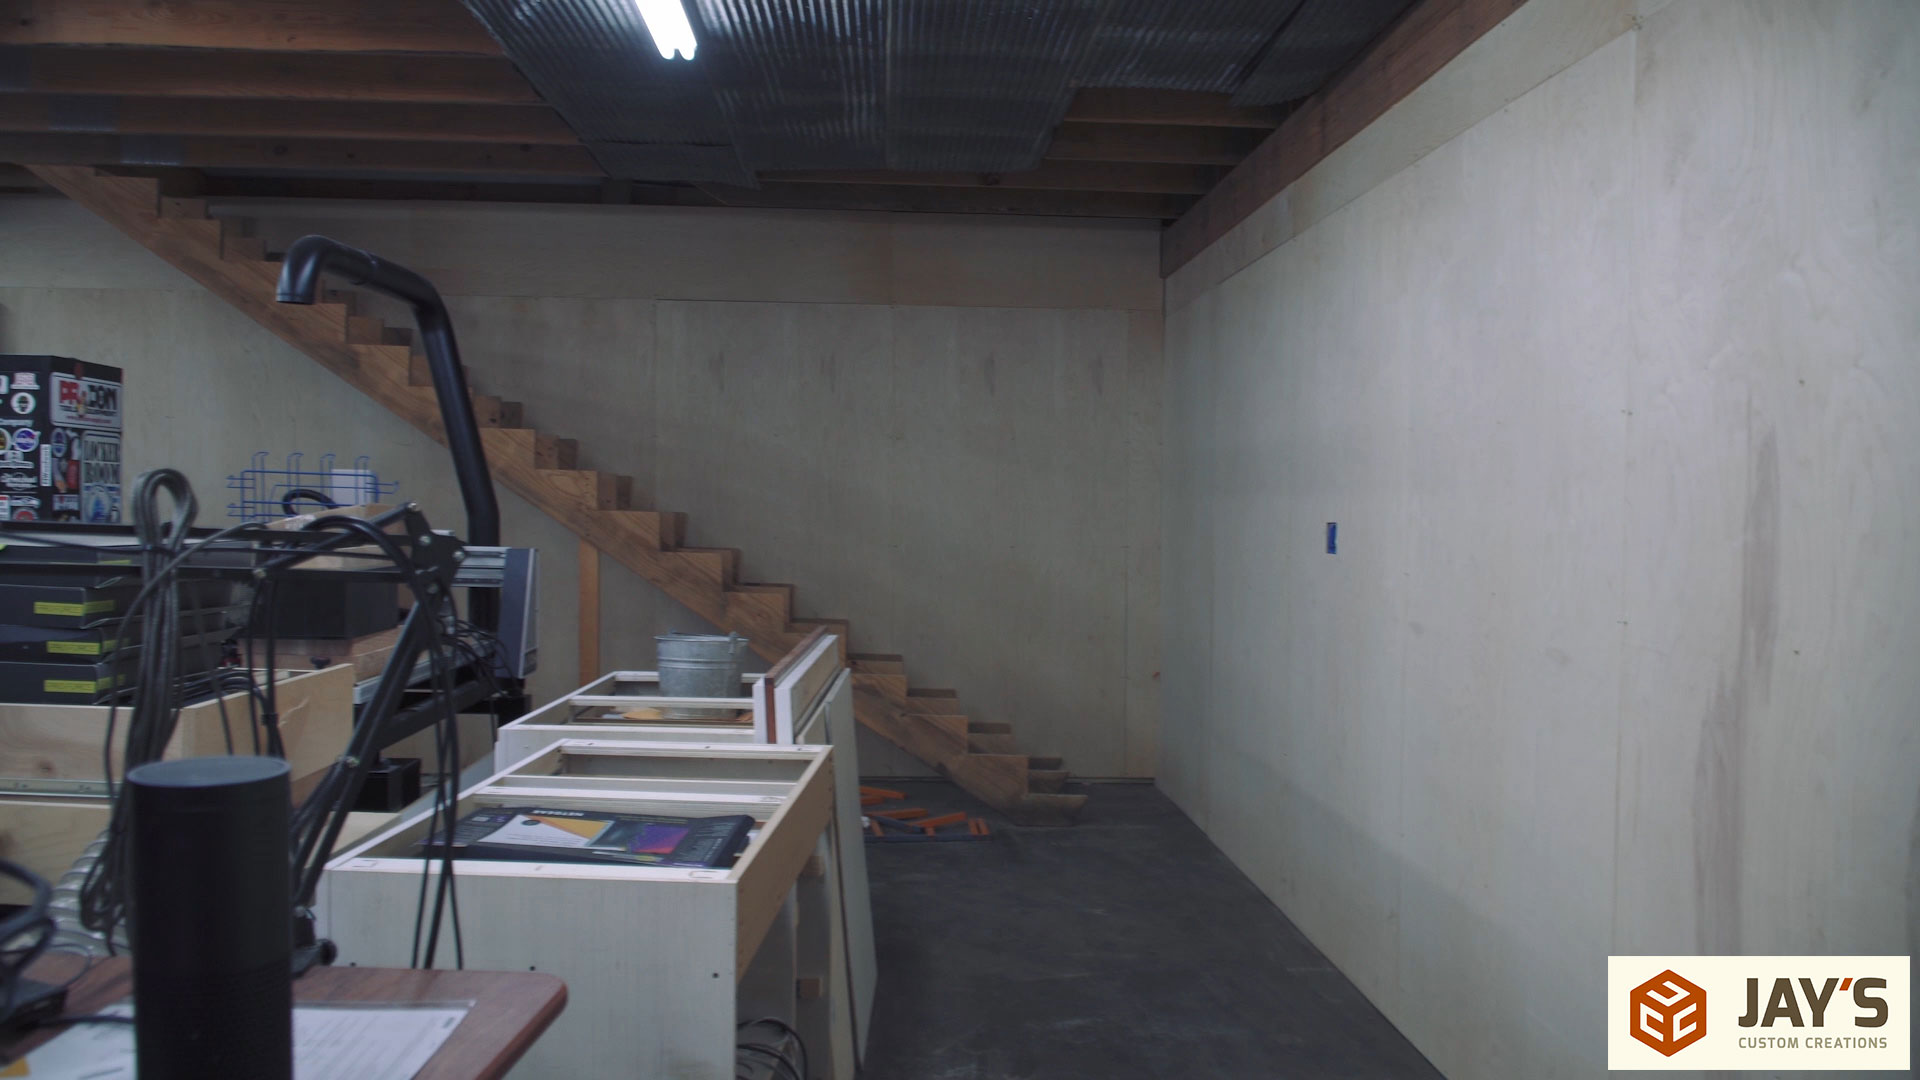
The work continued to the back wall that day where we had a few different obstacles. First, the tin on the ceiling needed to be removed and pulled back.
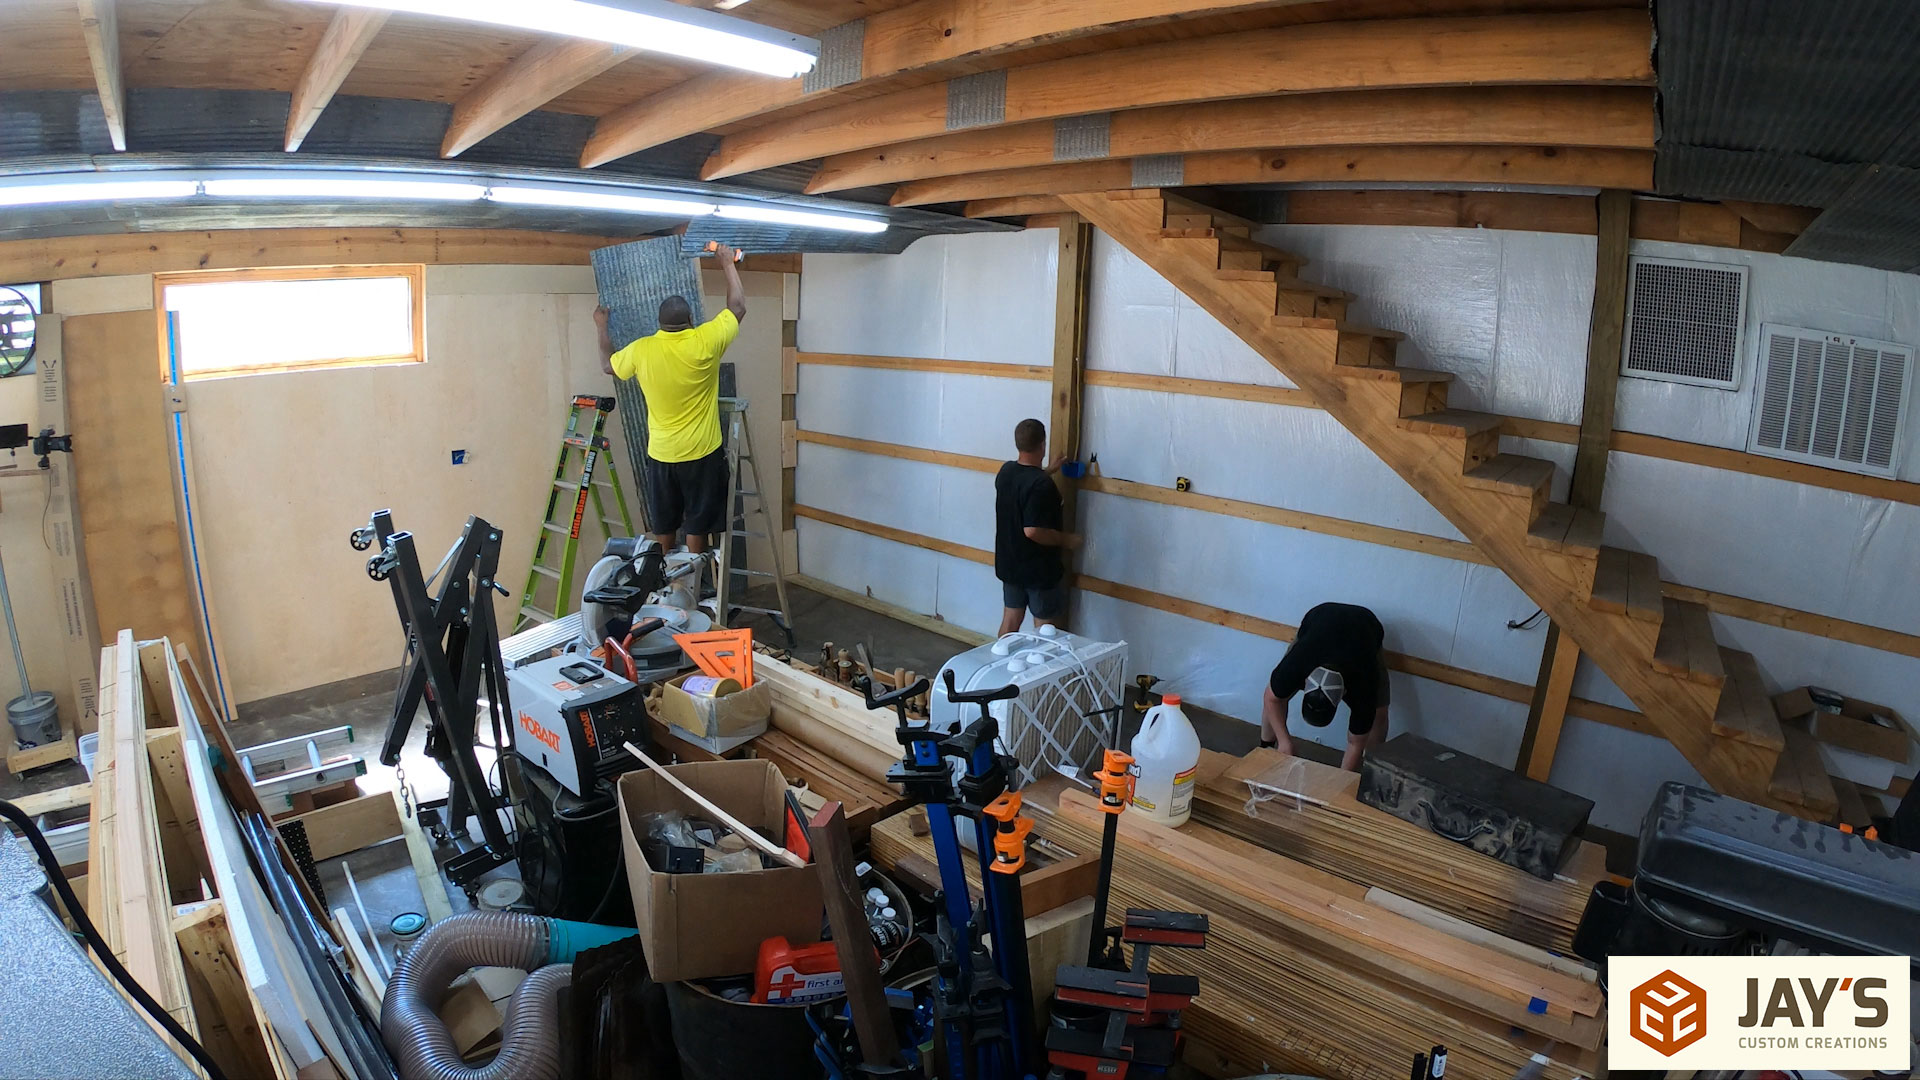
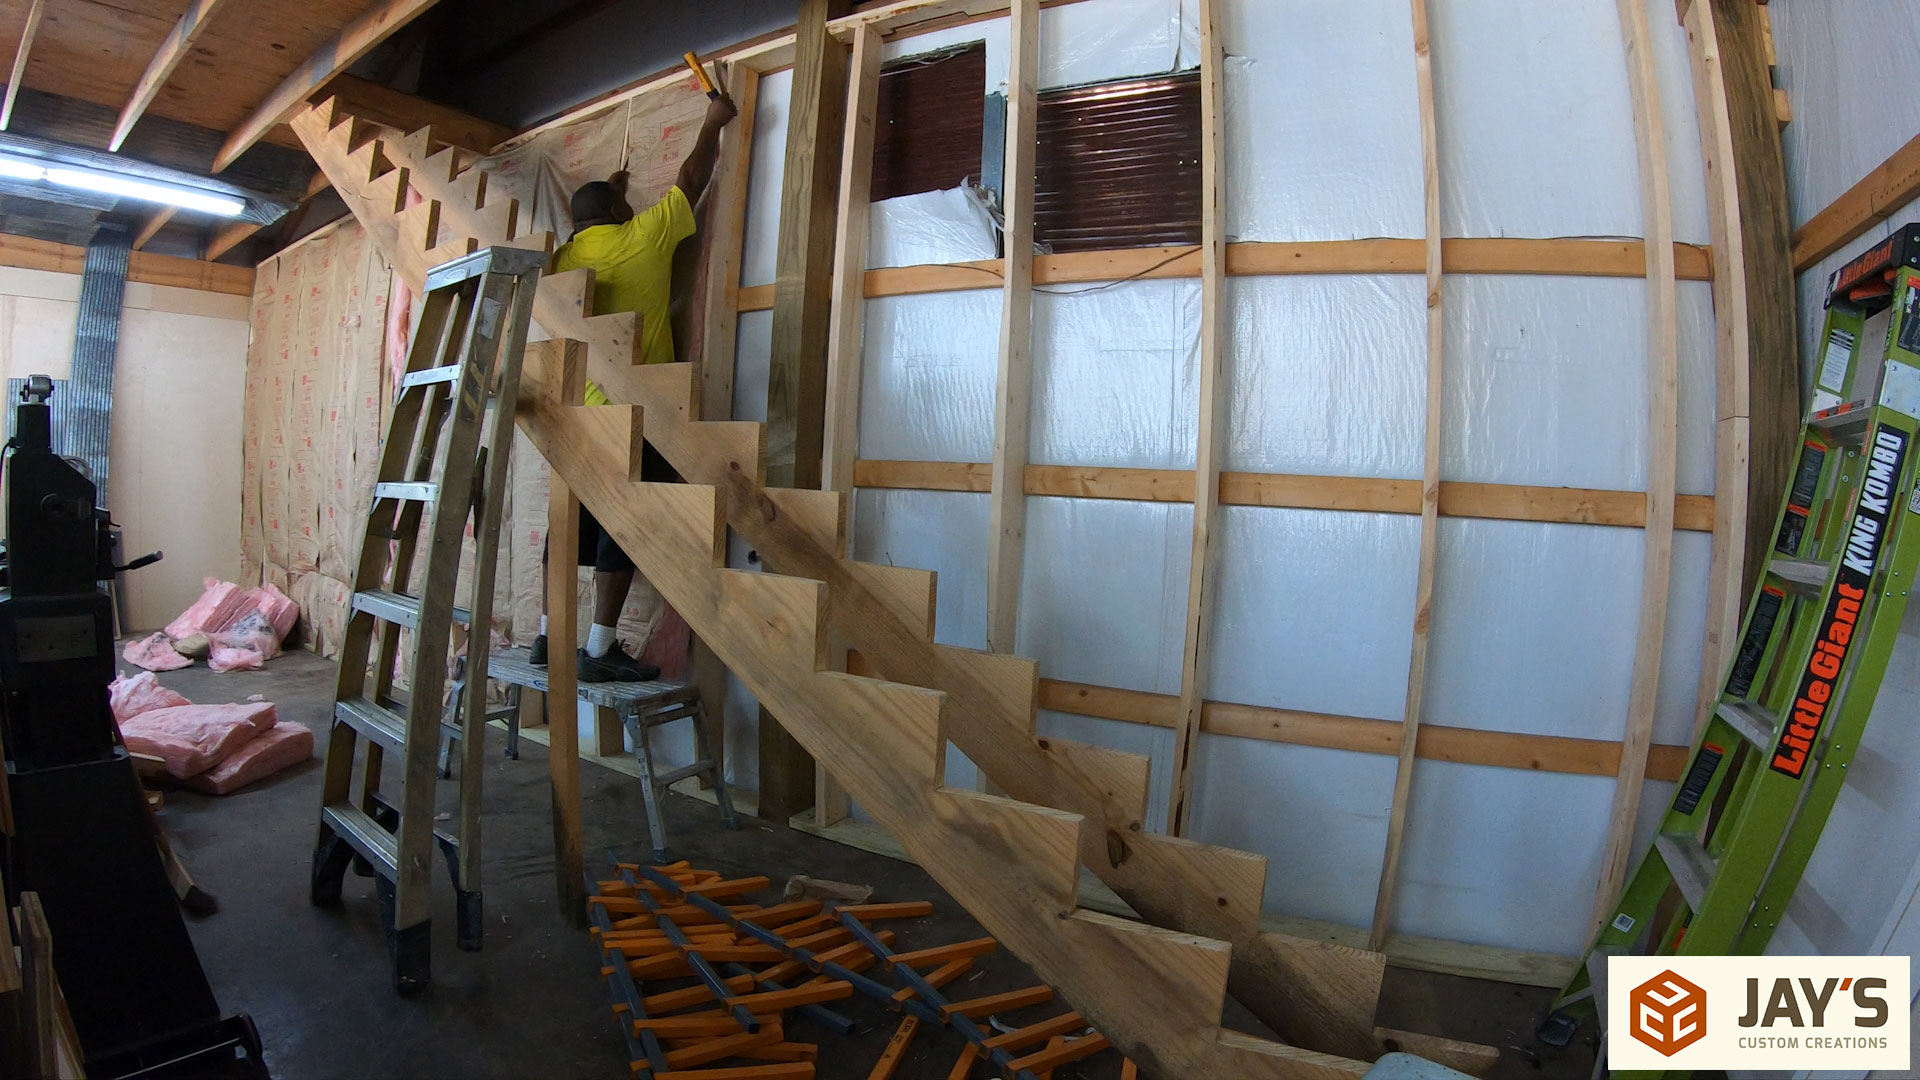
Then the stair treads needed to be removed.
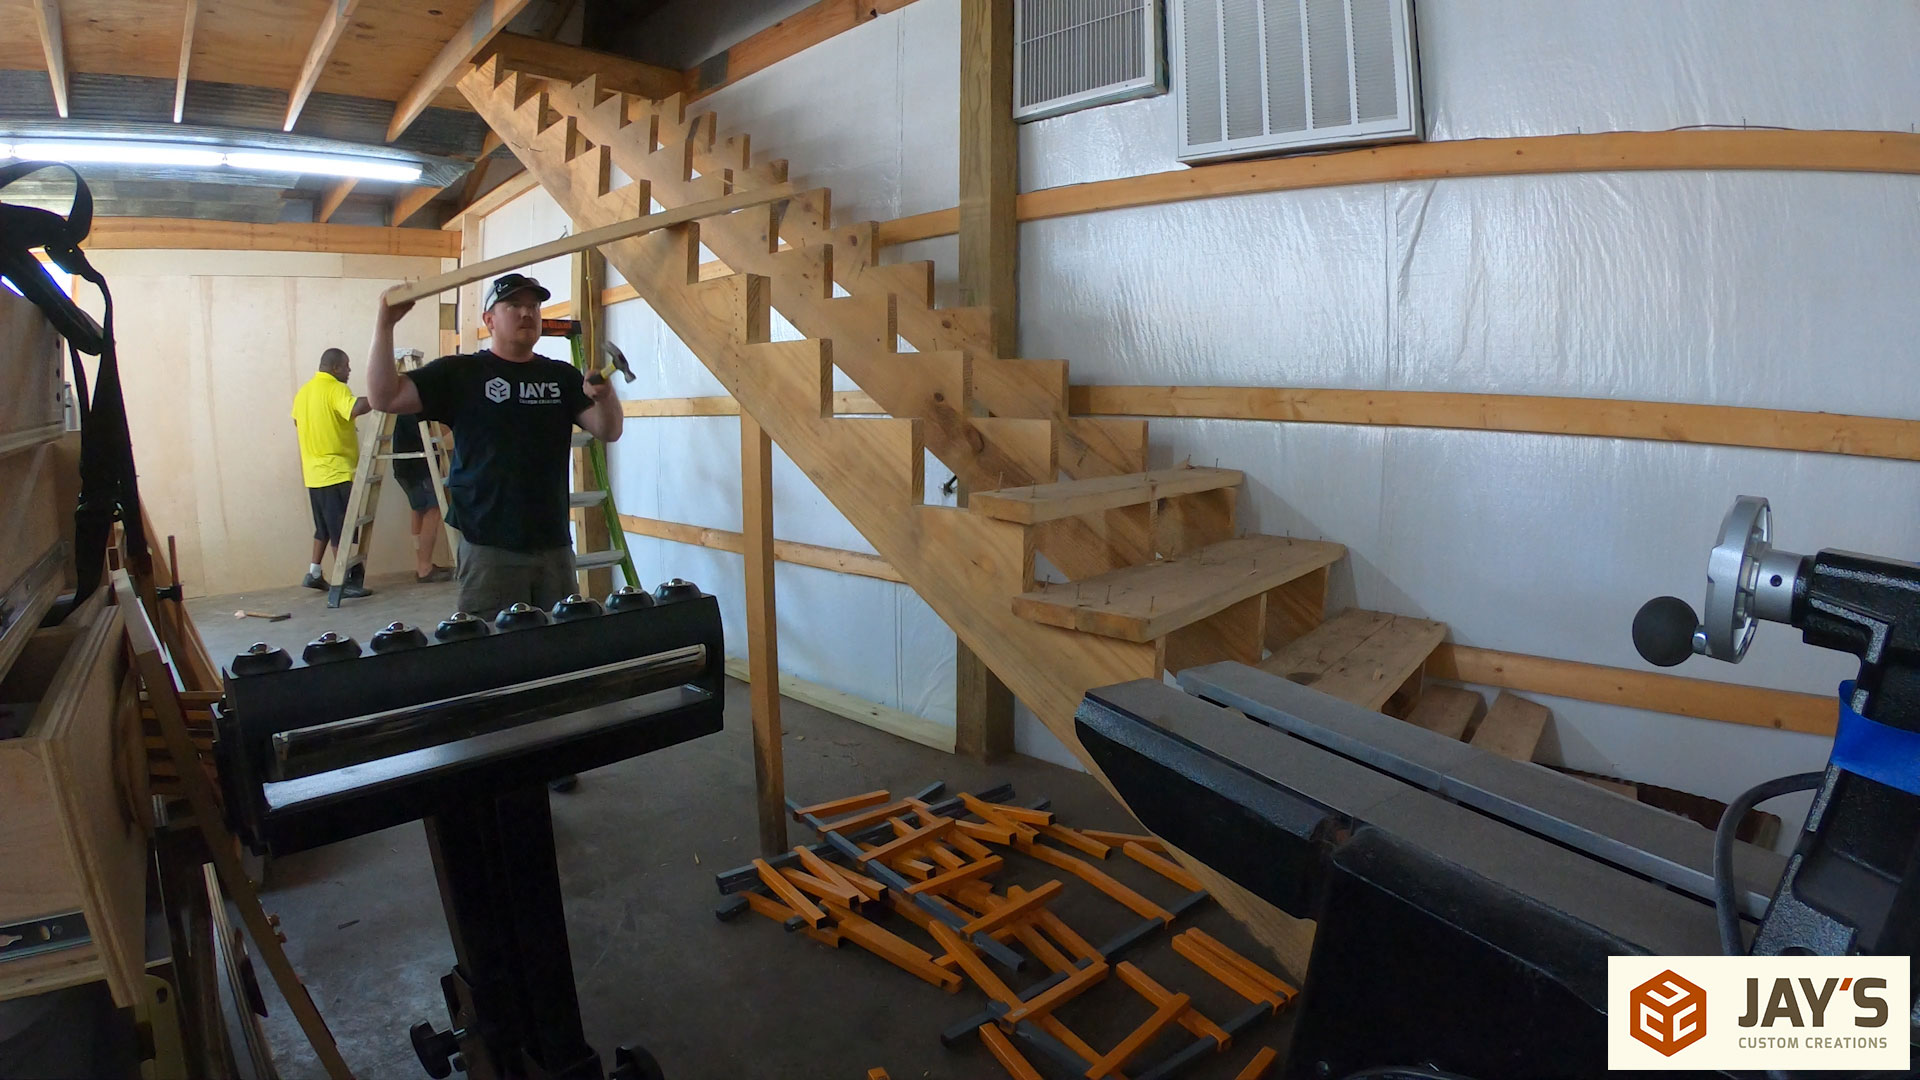
Then the stringer closest to the wall needed to be removed.

And finally the forced air intake and exhaust needed to be removed. These were temporarily patched on the outside with a piece of the ceiling tin. A week or so later I came back and tucked in a moisture barrier layer from the outside and patched the holes with a piece of tin with the same profile.
Insulating the back wall marked the end of day two for the contractor work. On paper it doesn’t really sound like a lot of work getting done but when you consider the extremely hot and humid weather we were having magnified by basically being inside a hot tin can all day and dealing with sweat, sawdust, and fiberglass insulation I was quite impressed with their progress.

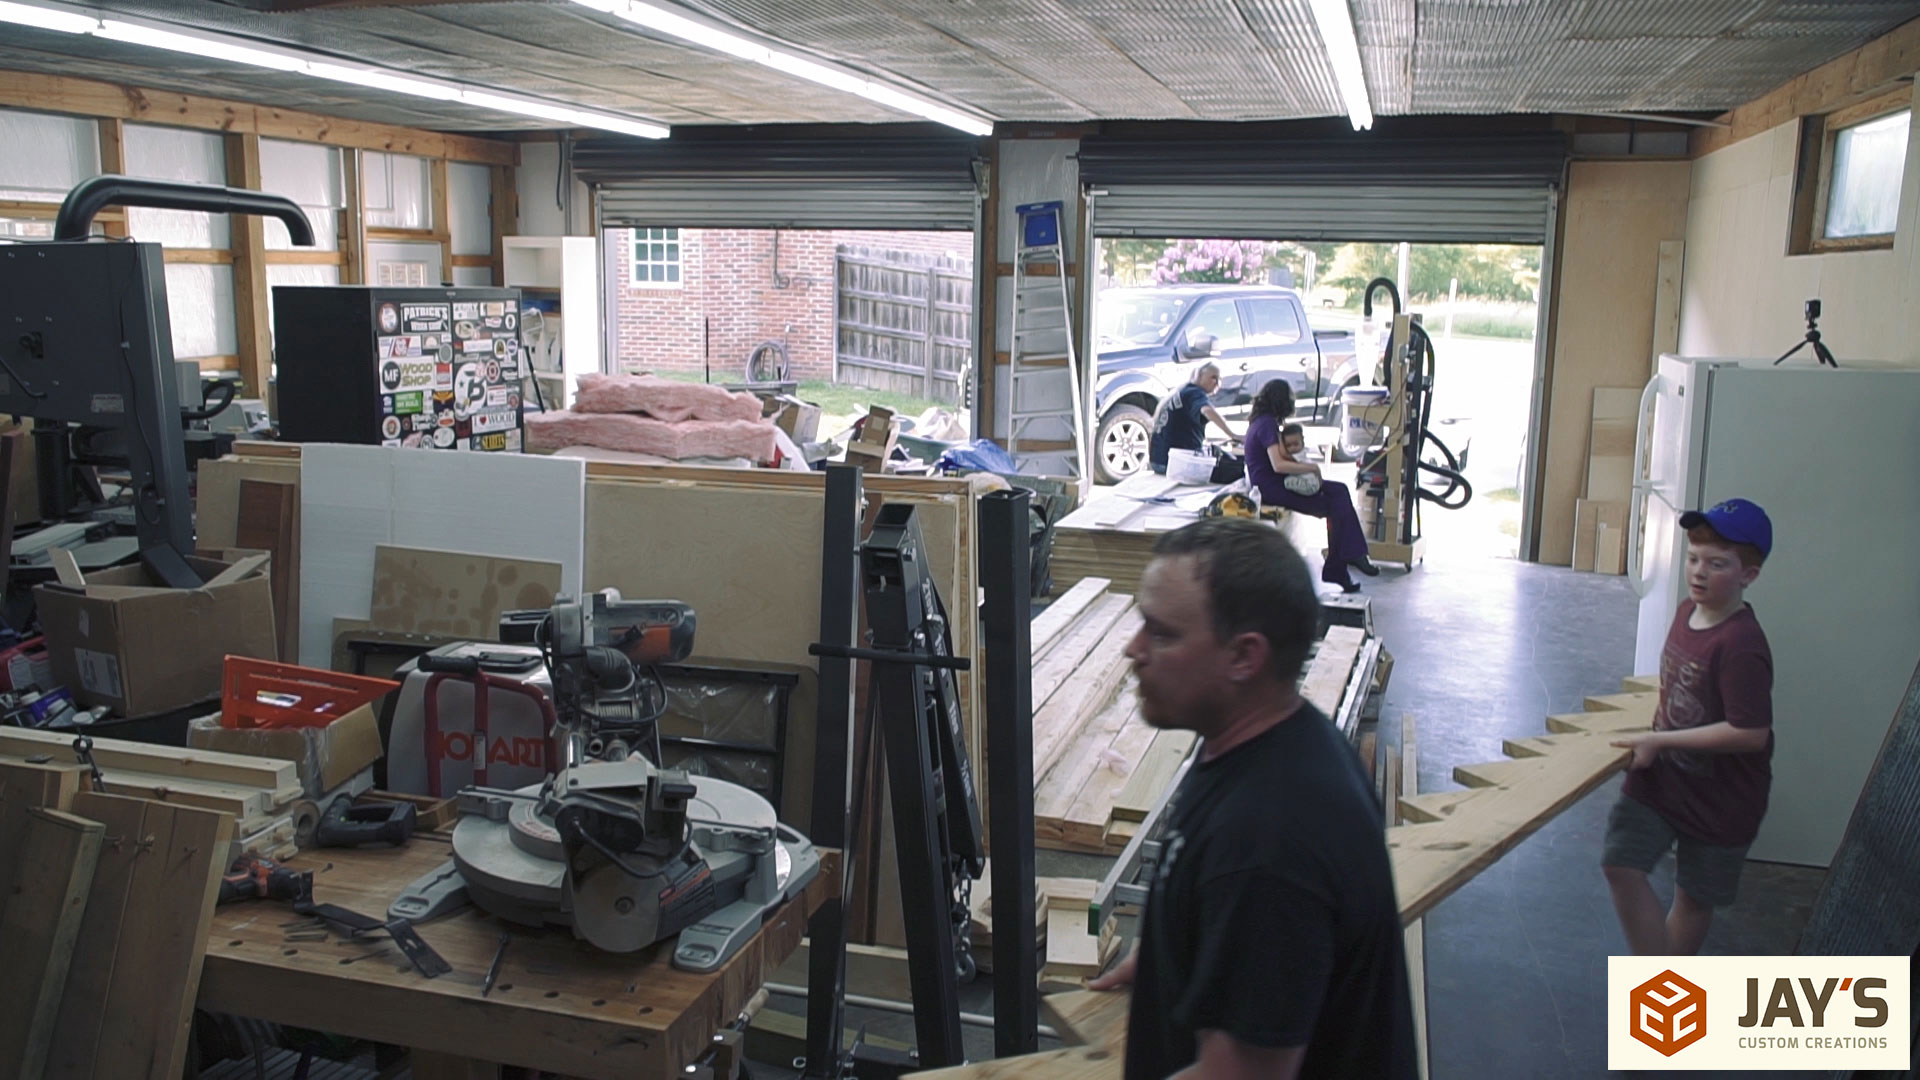
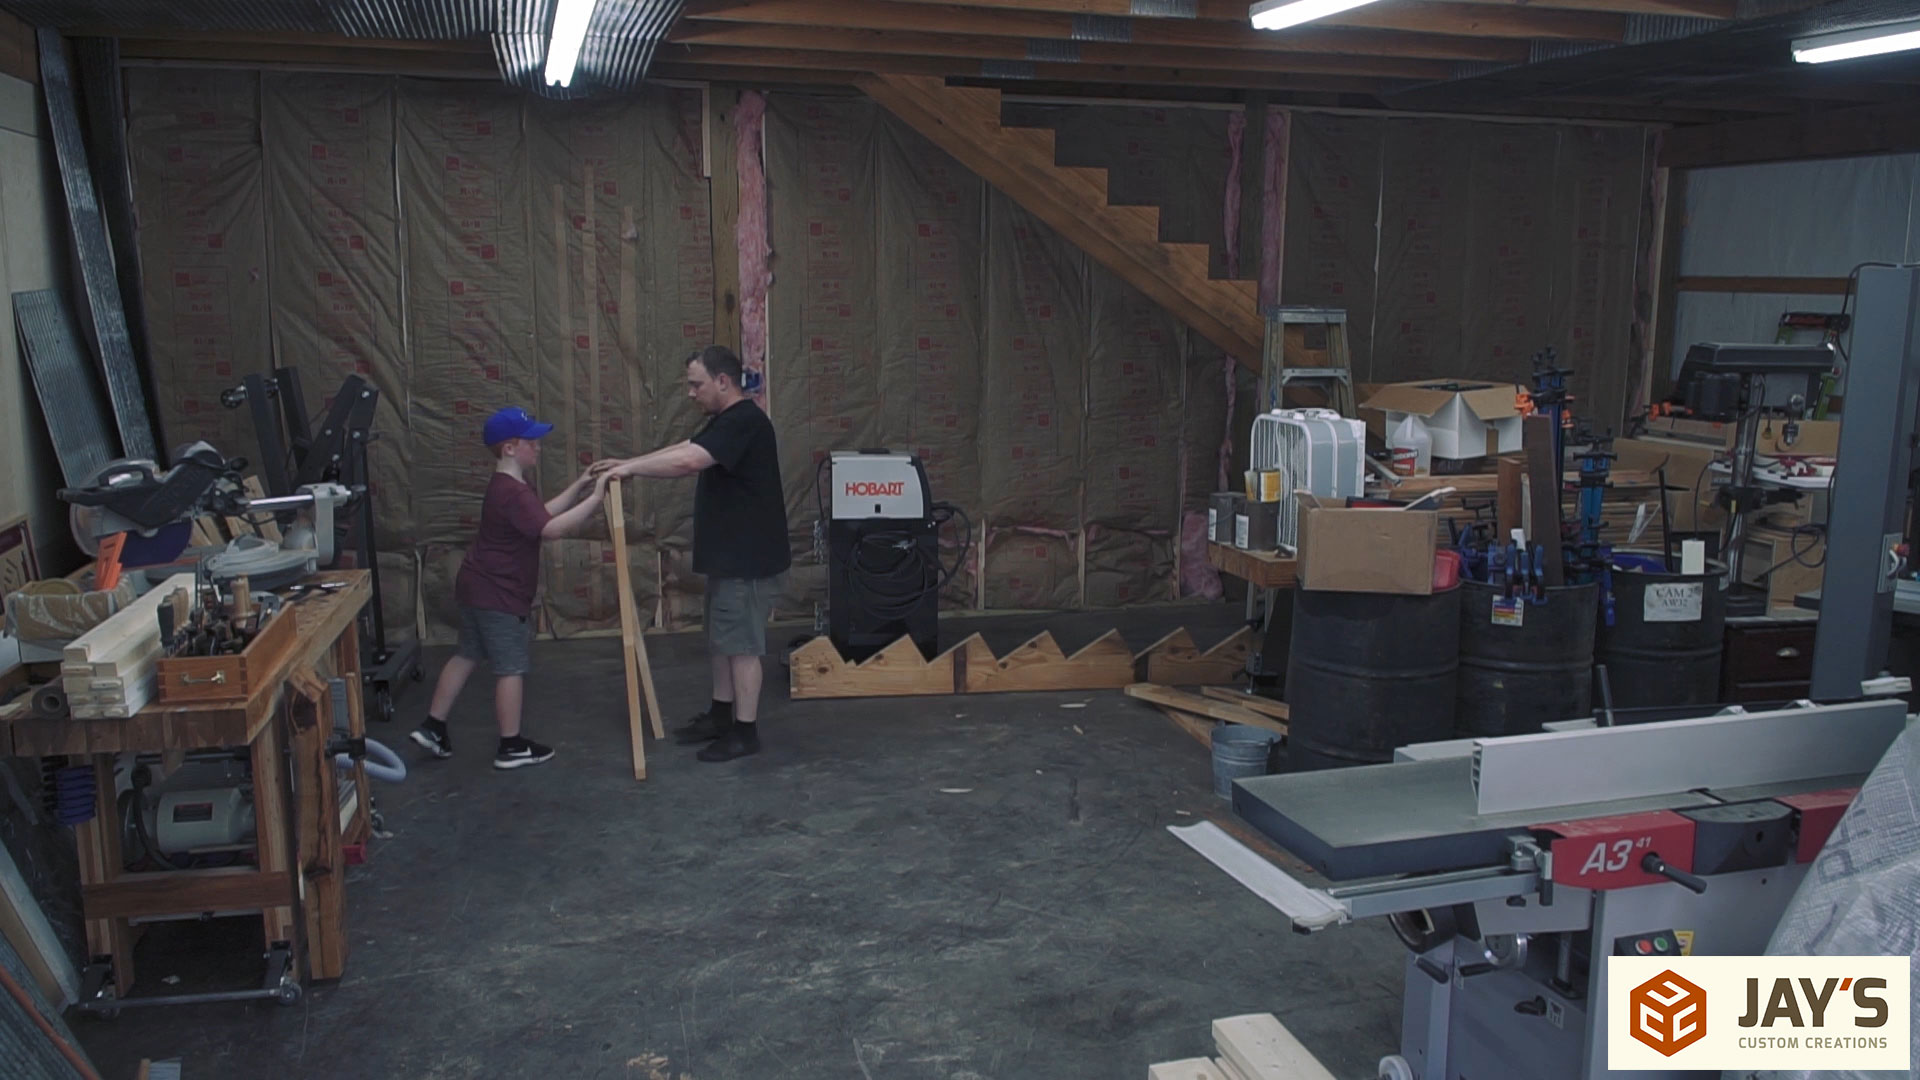
Later that evening my 10 year old nephew, Nate, came out to help me shift everything to the completed side so the contractors could access the rest of the walls.
Moving everything that night was a bit exhausting. In the past two months I moved every bit of our household belongings to redo the floor in our hold house, unloaded my entire materials shed into my shop to sell the shed, moved all of our household belongings to our new house, moved my entire shop into this shop, and now I’m moving everything from one side to another. At this point I felt like I was in a hamster wheel just running and running and not getting anywhere. It would have been sooooo much easier to renovate the shop before moving in but unfortunately I just didn’t have the time to do so.
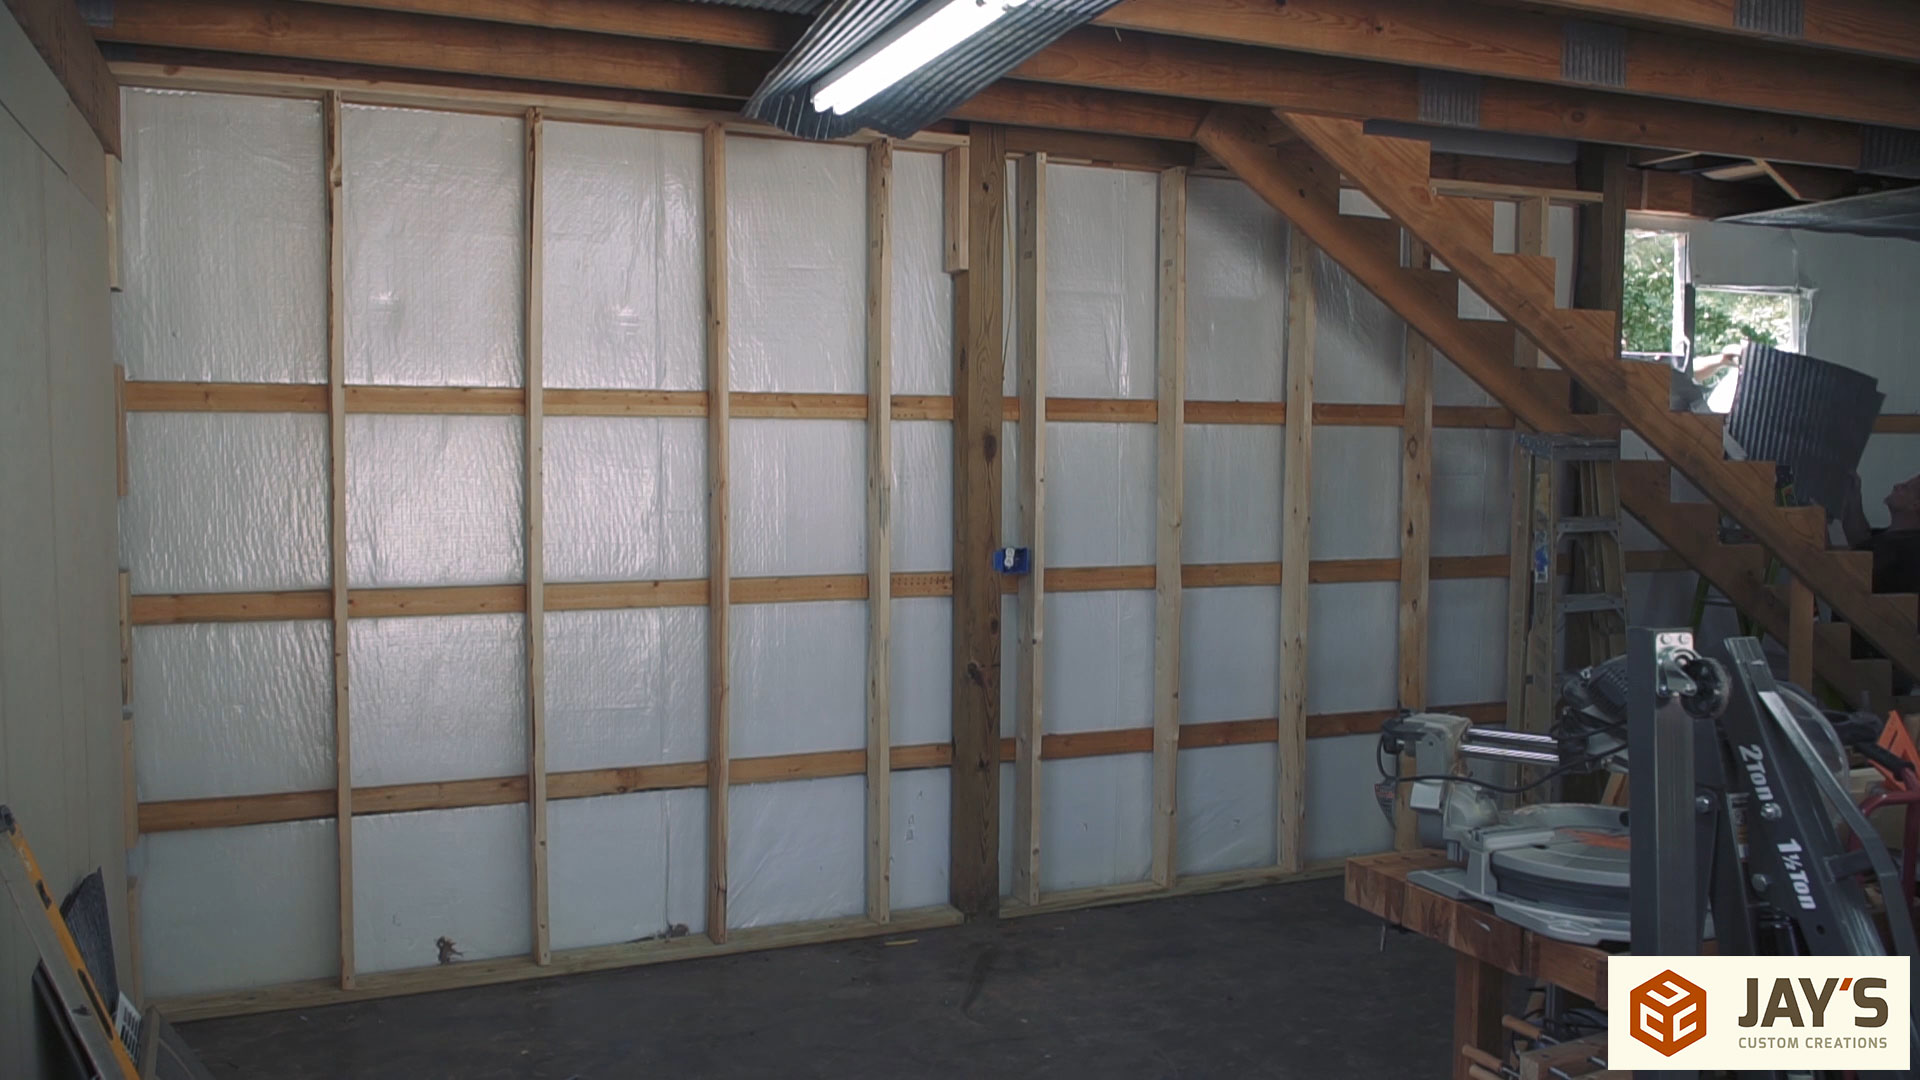
Because the last wall is nothing but repetition I didn’t record any of it. The framing, insulation, and sheathing was completed in four days.
The rest of that day was spent getting the office section back up and running and catching up on some computer work and emails.
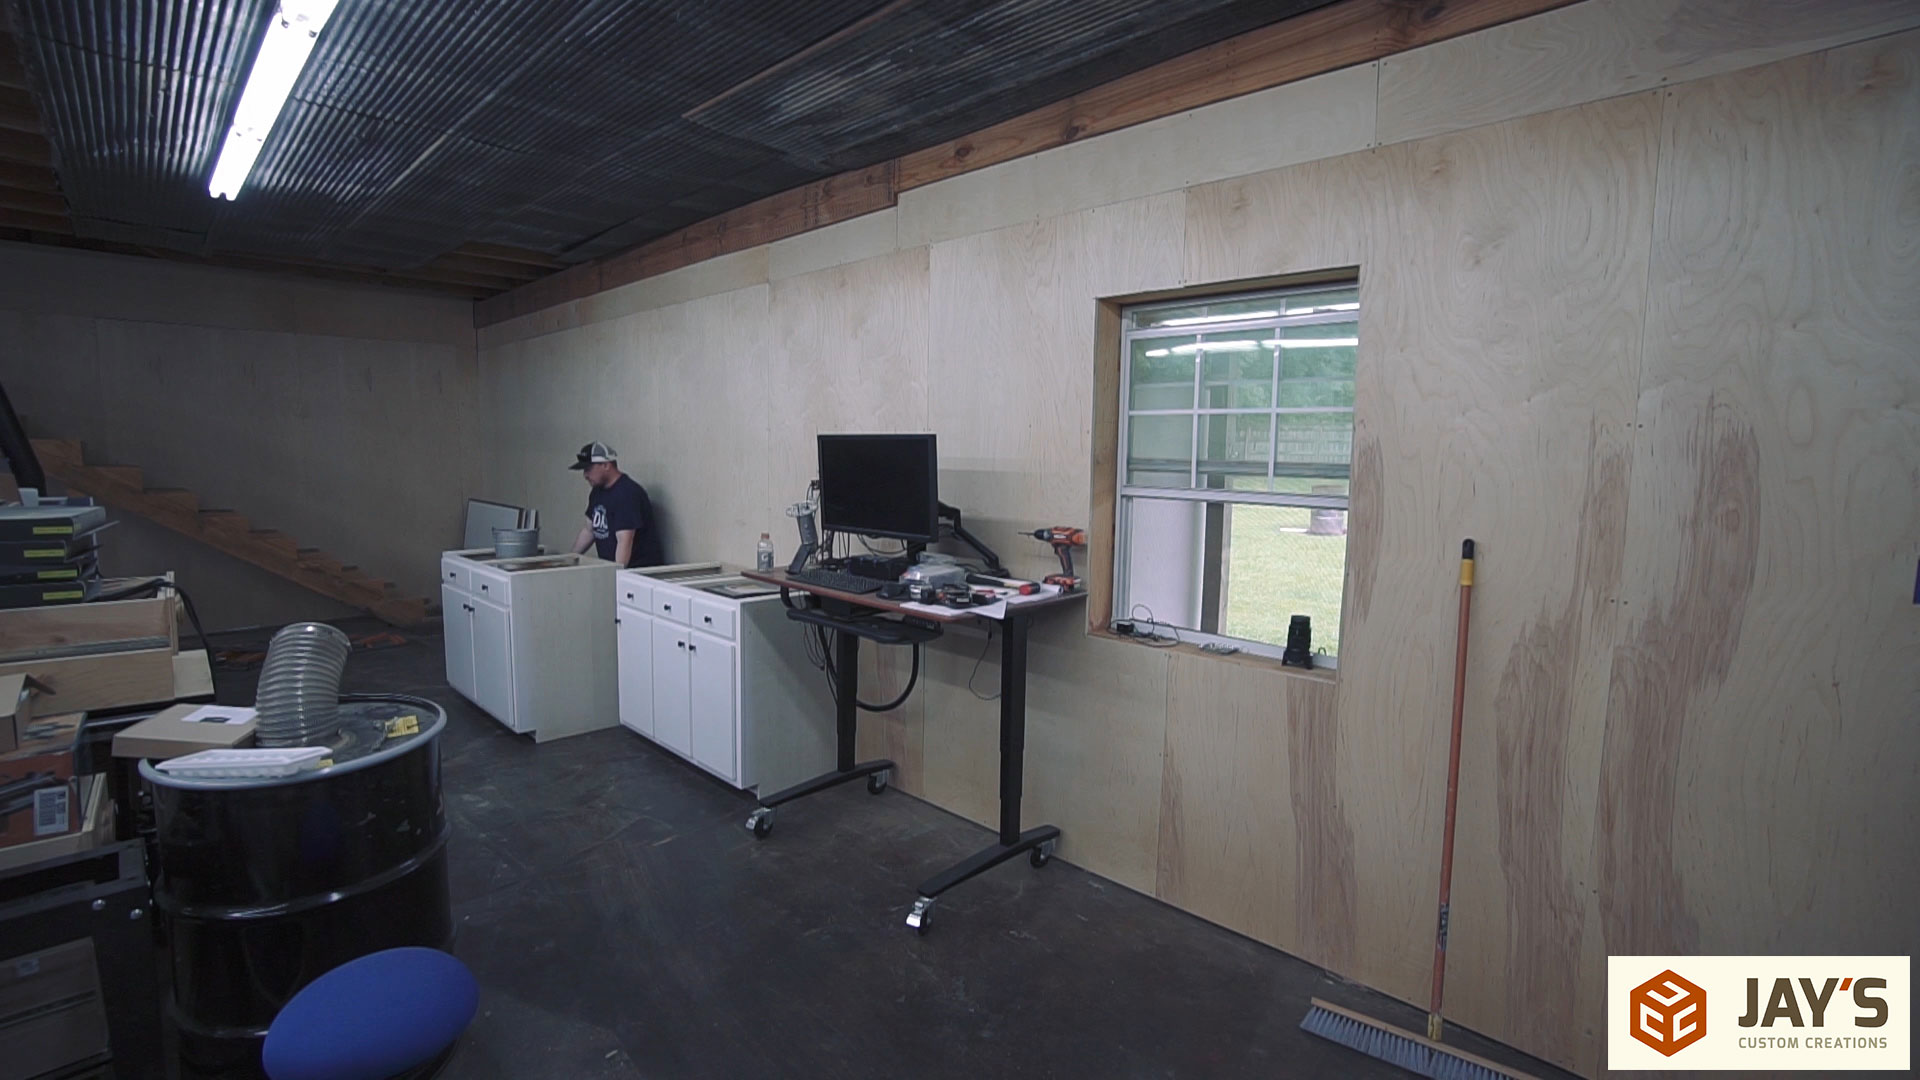
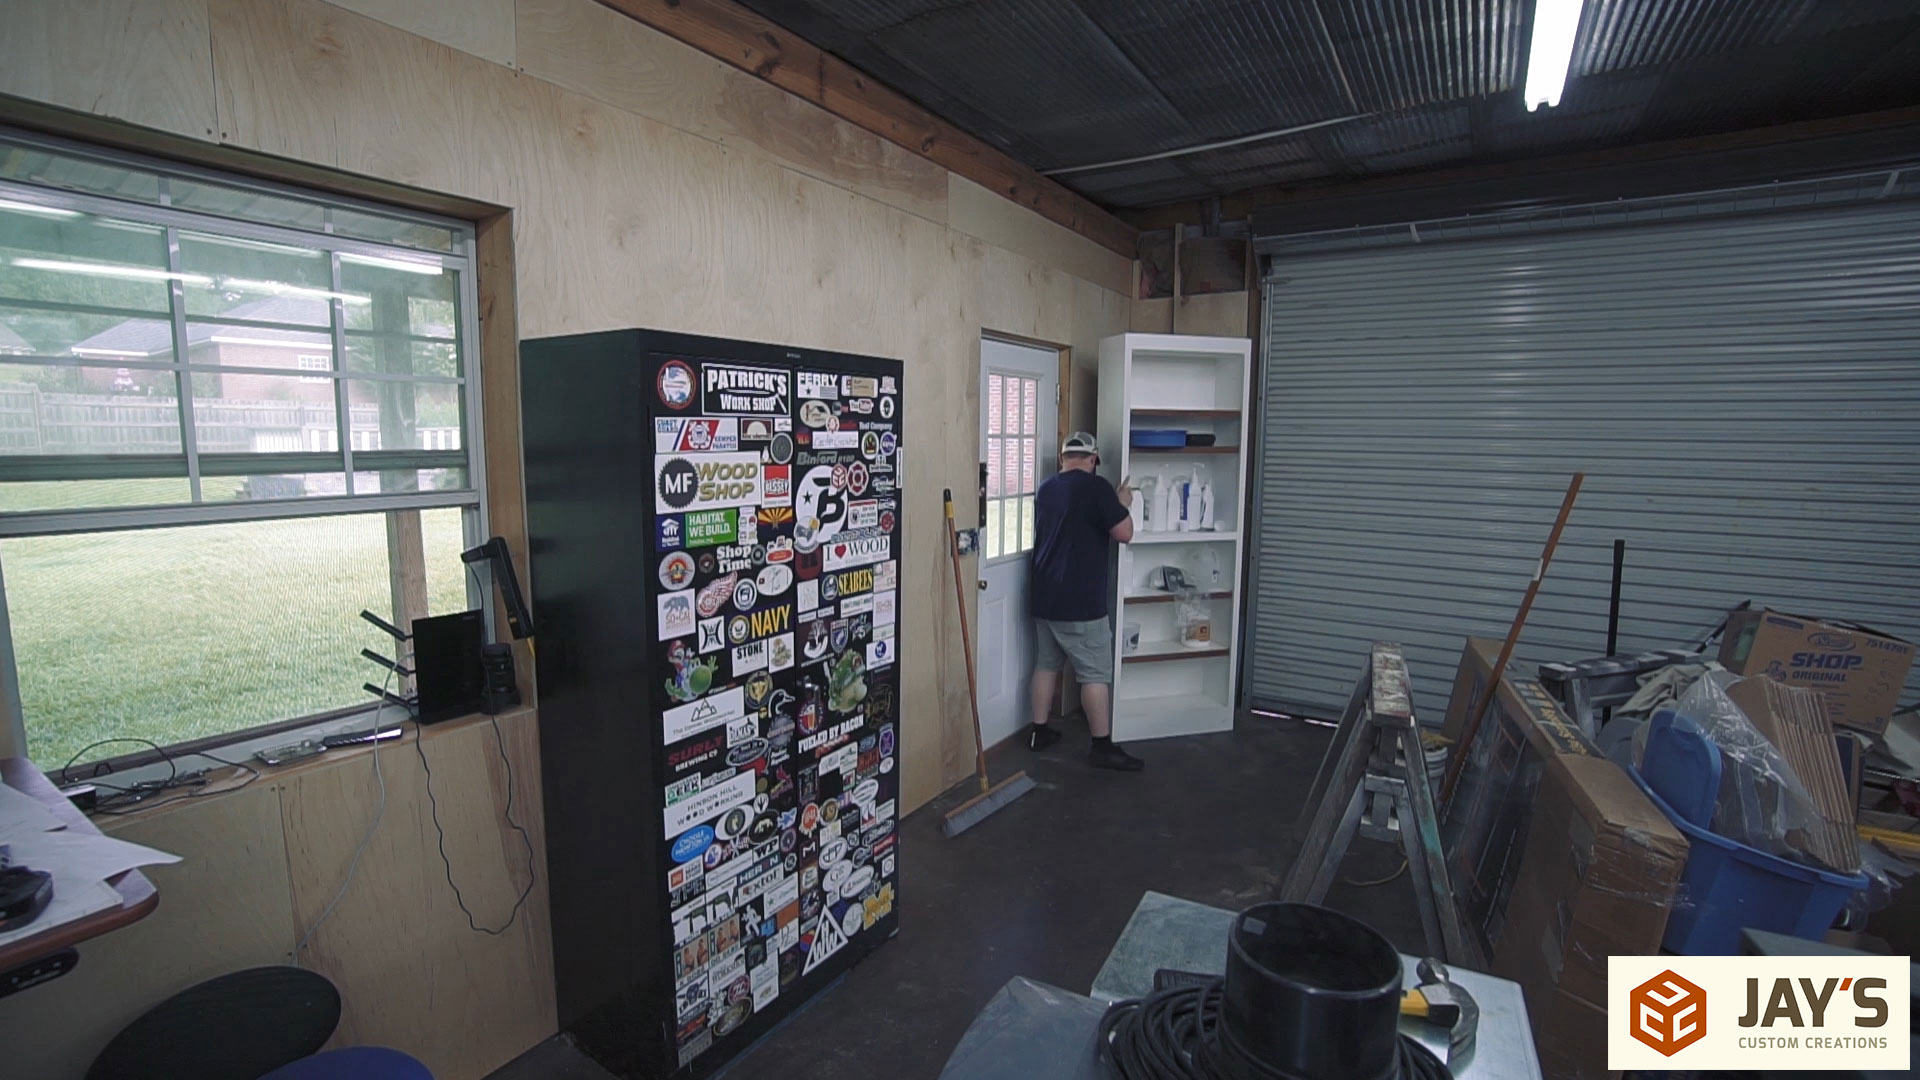
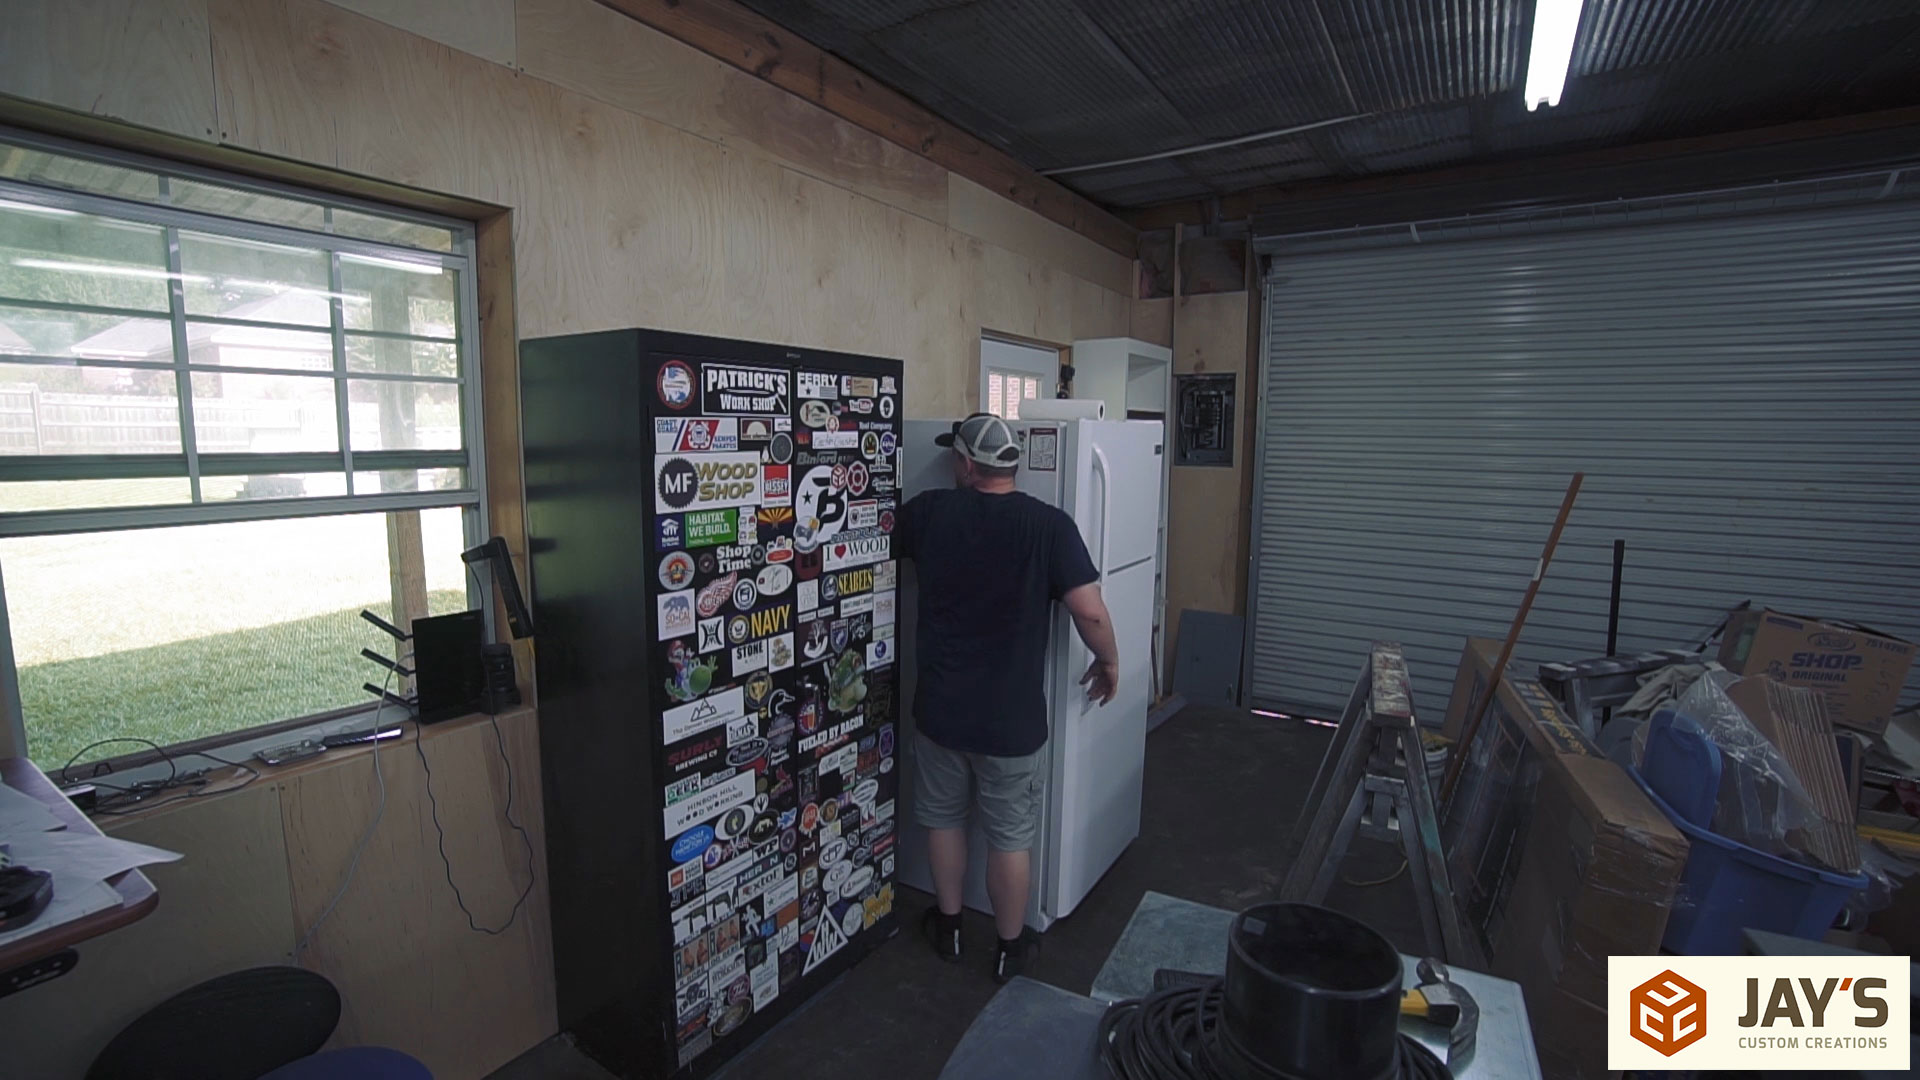
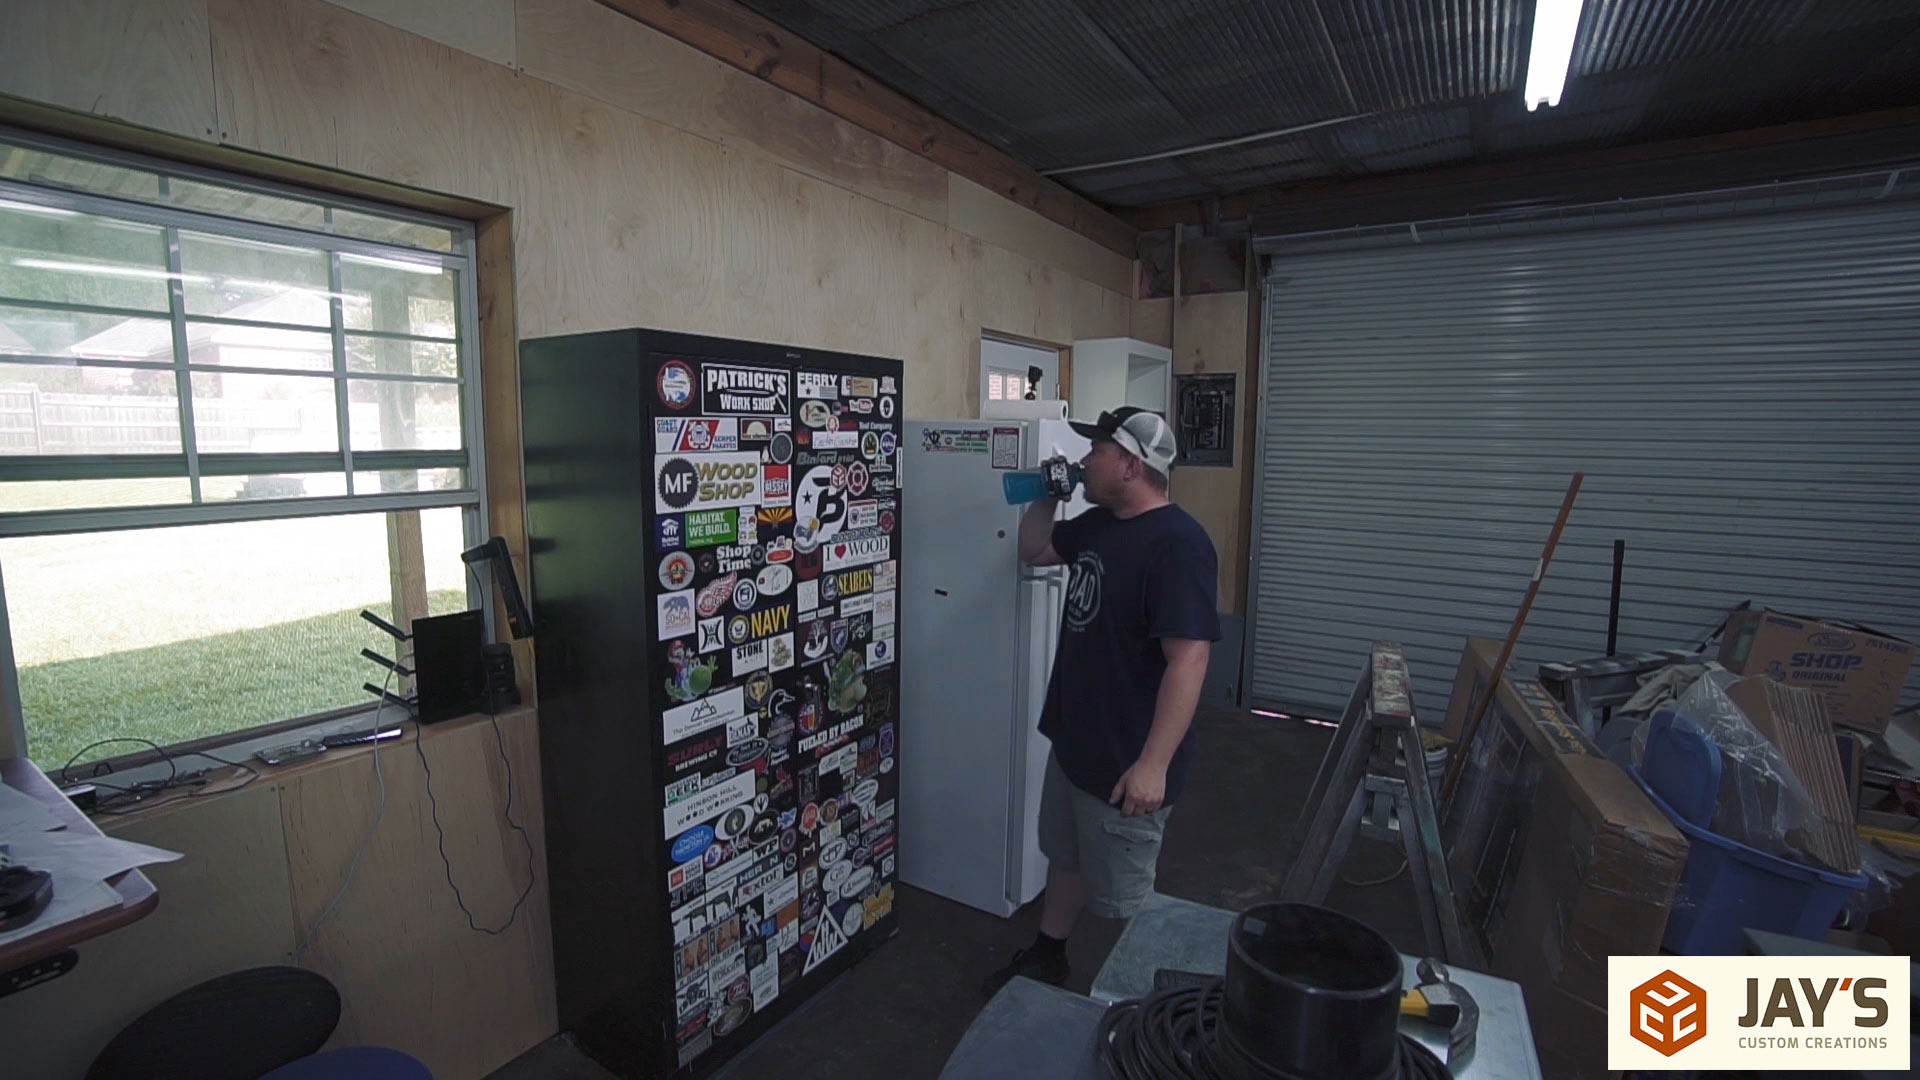
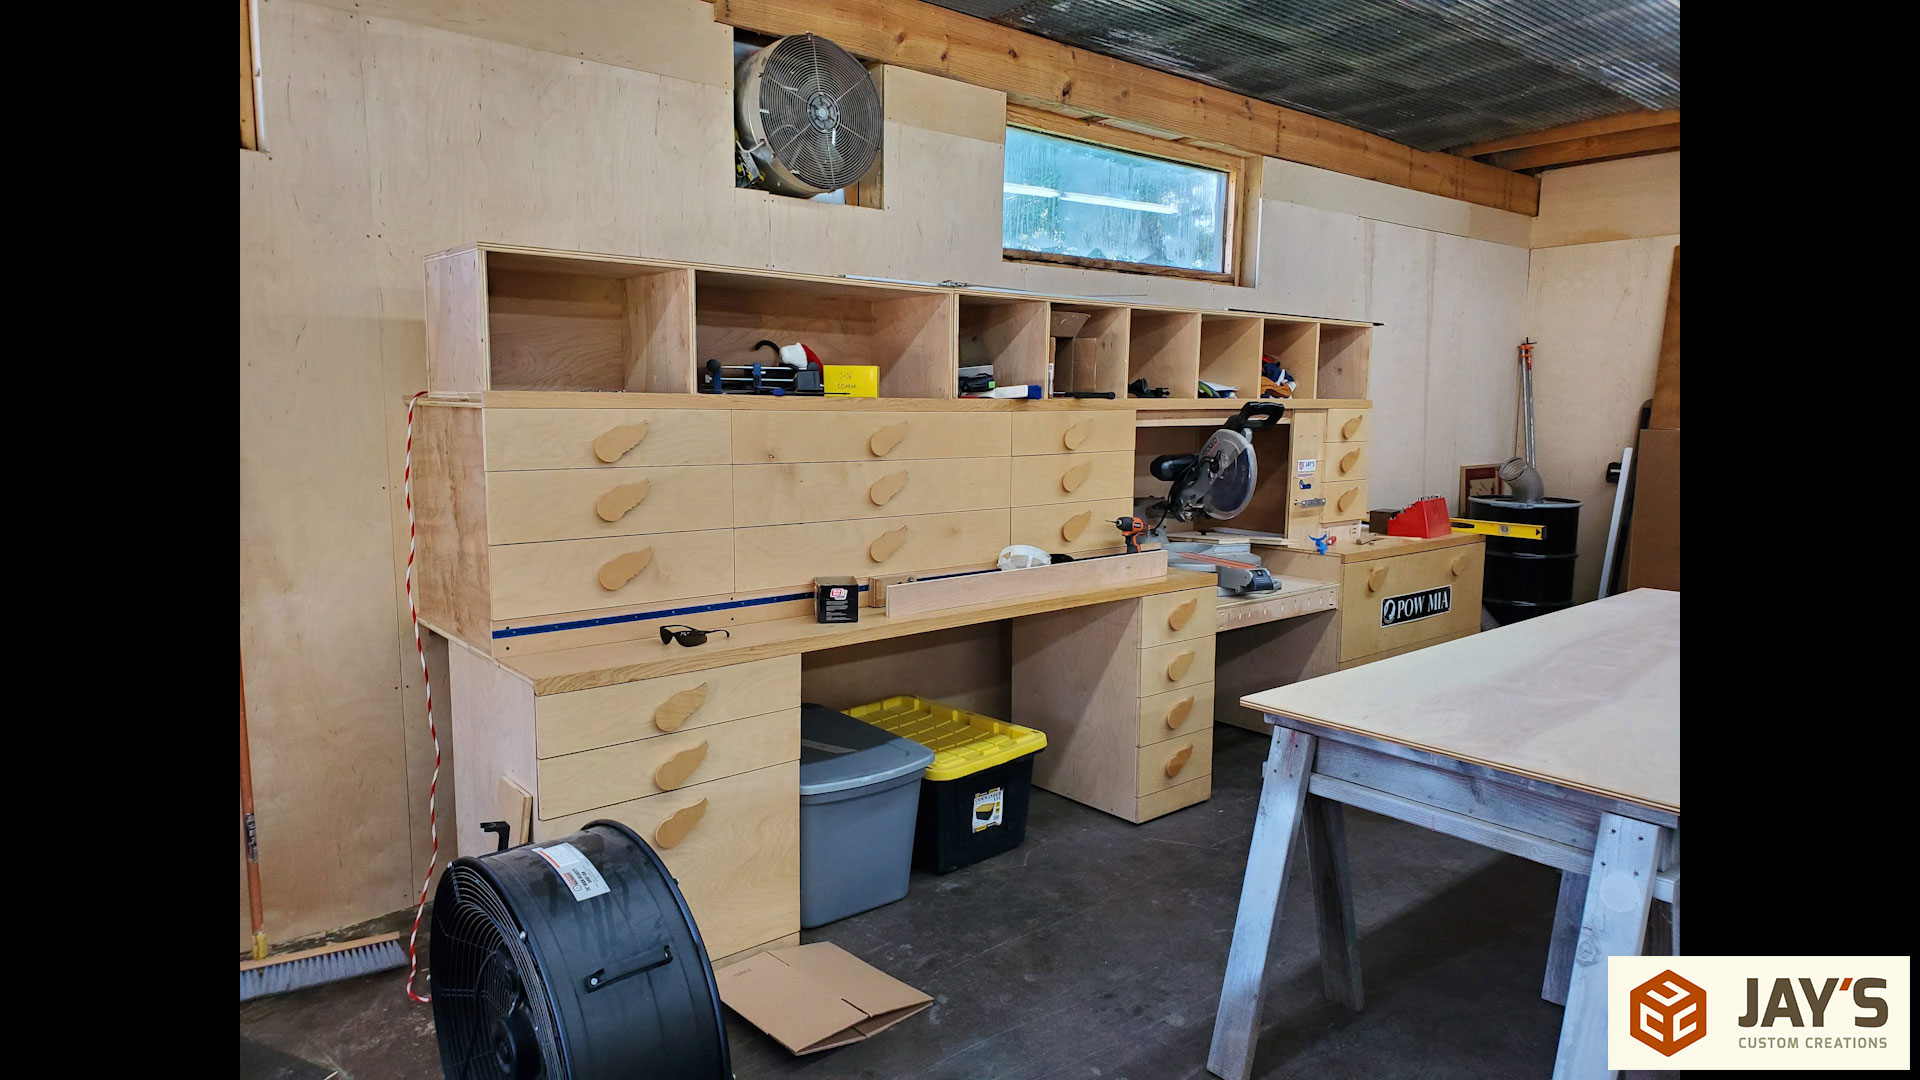
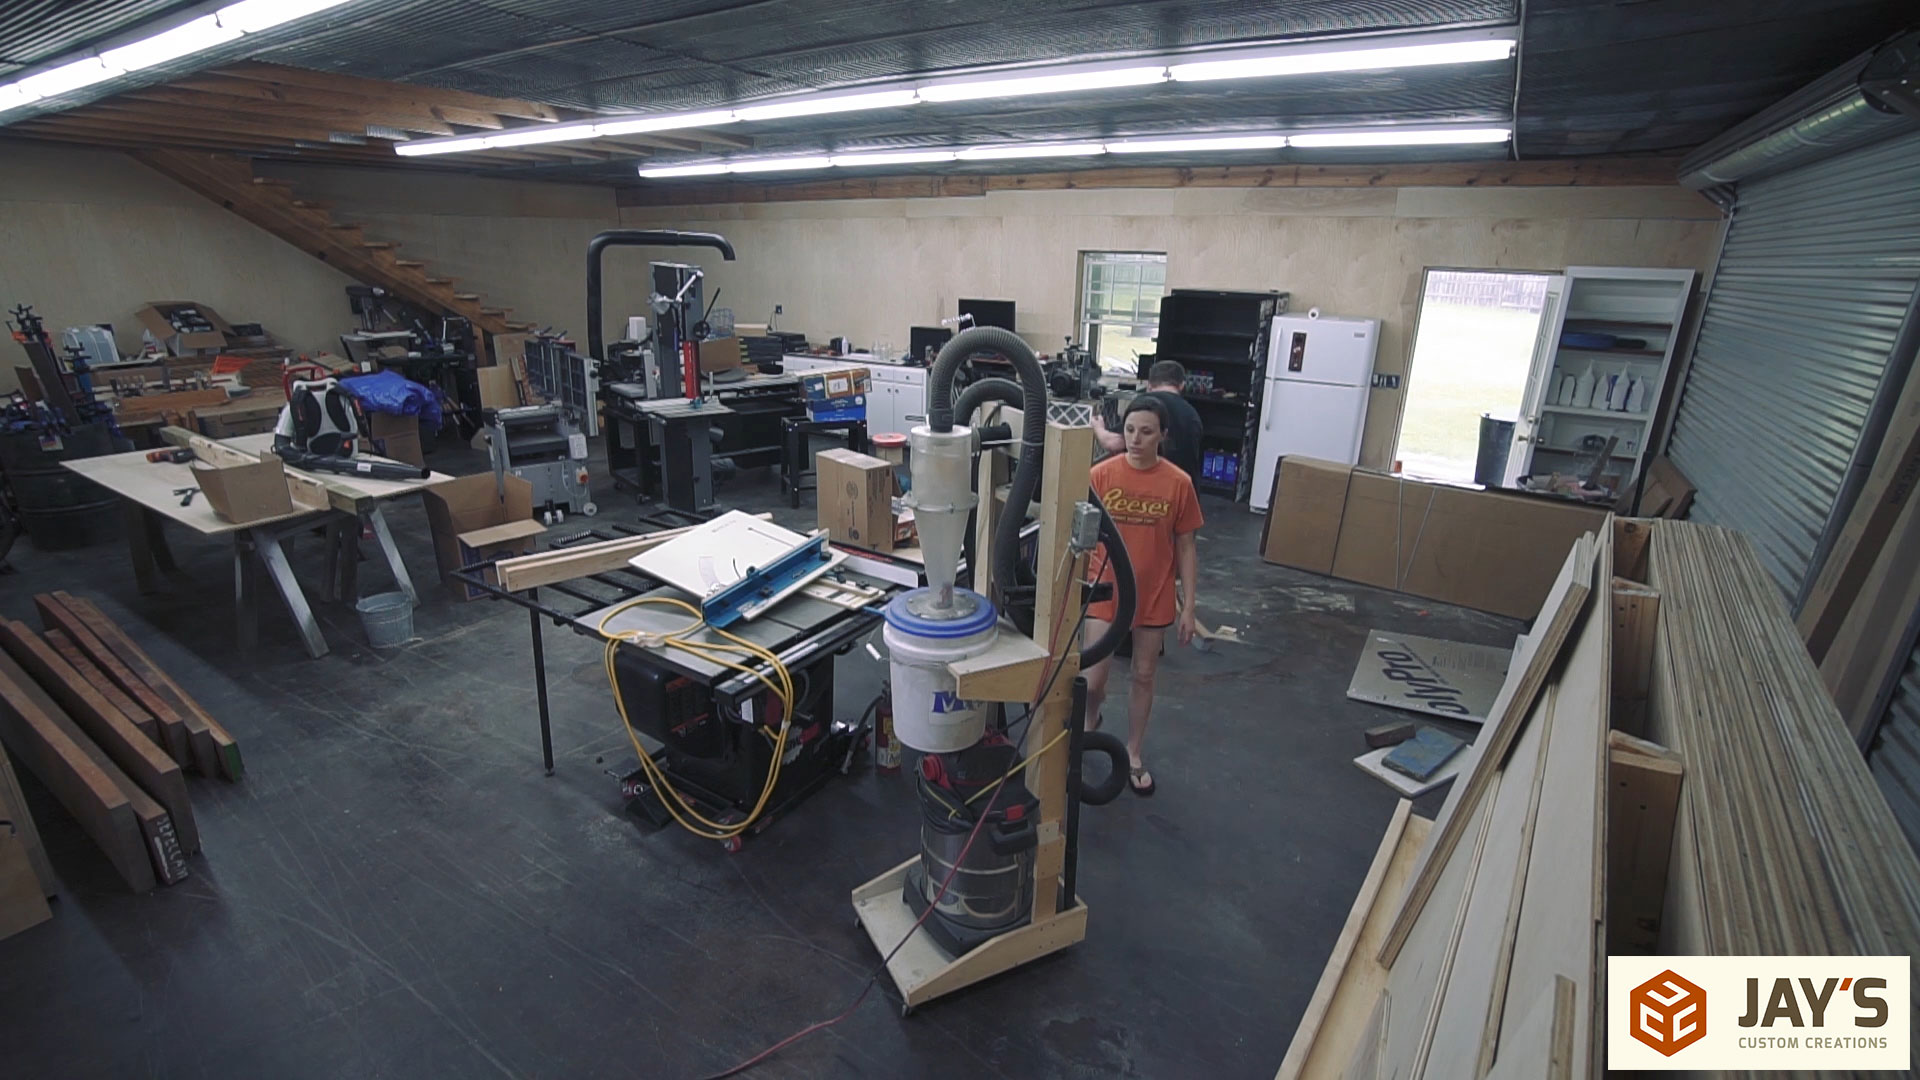
I was also able to get a few more things in place on that wall, including the refrigerator. So far the addition of the fridge has been fantastic.

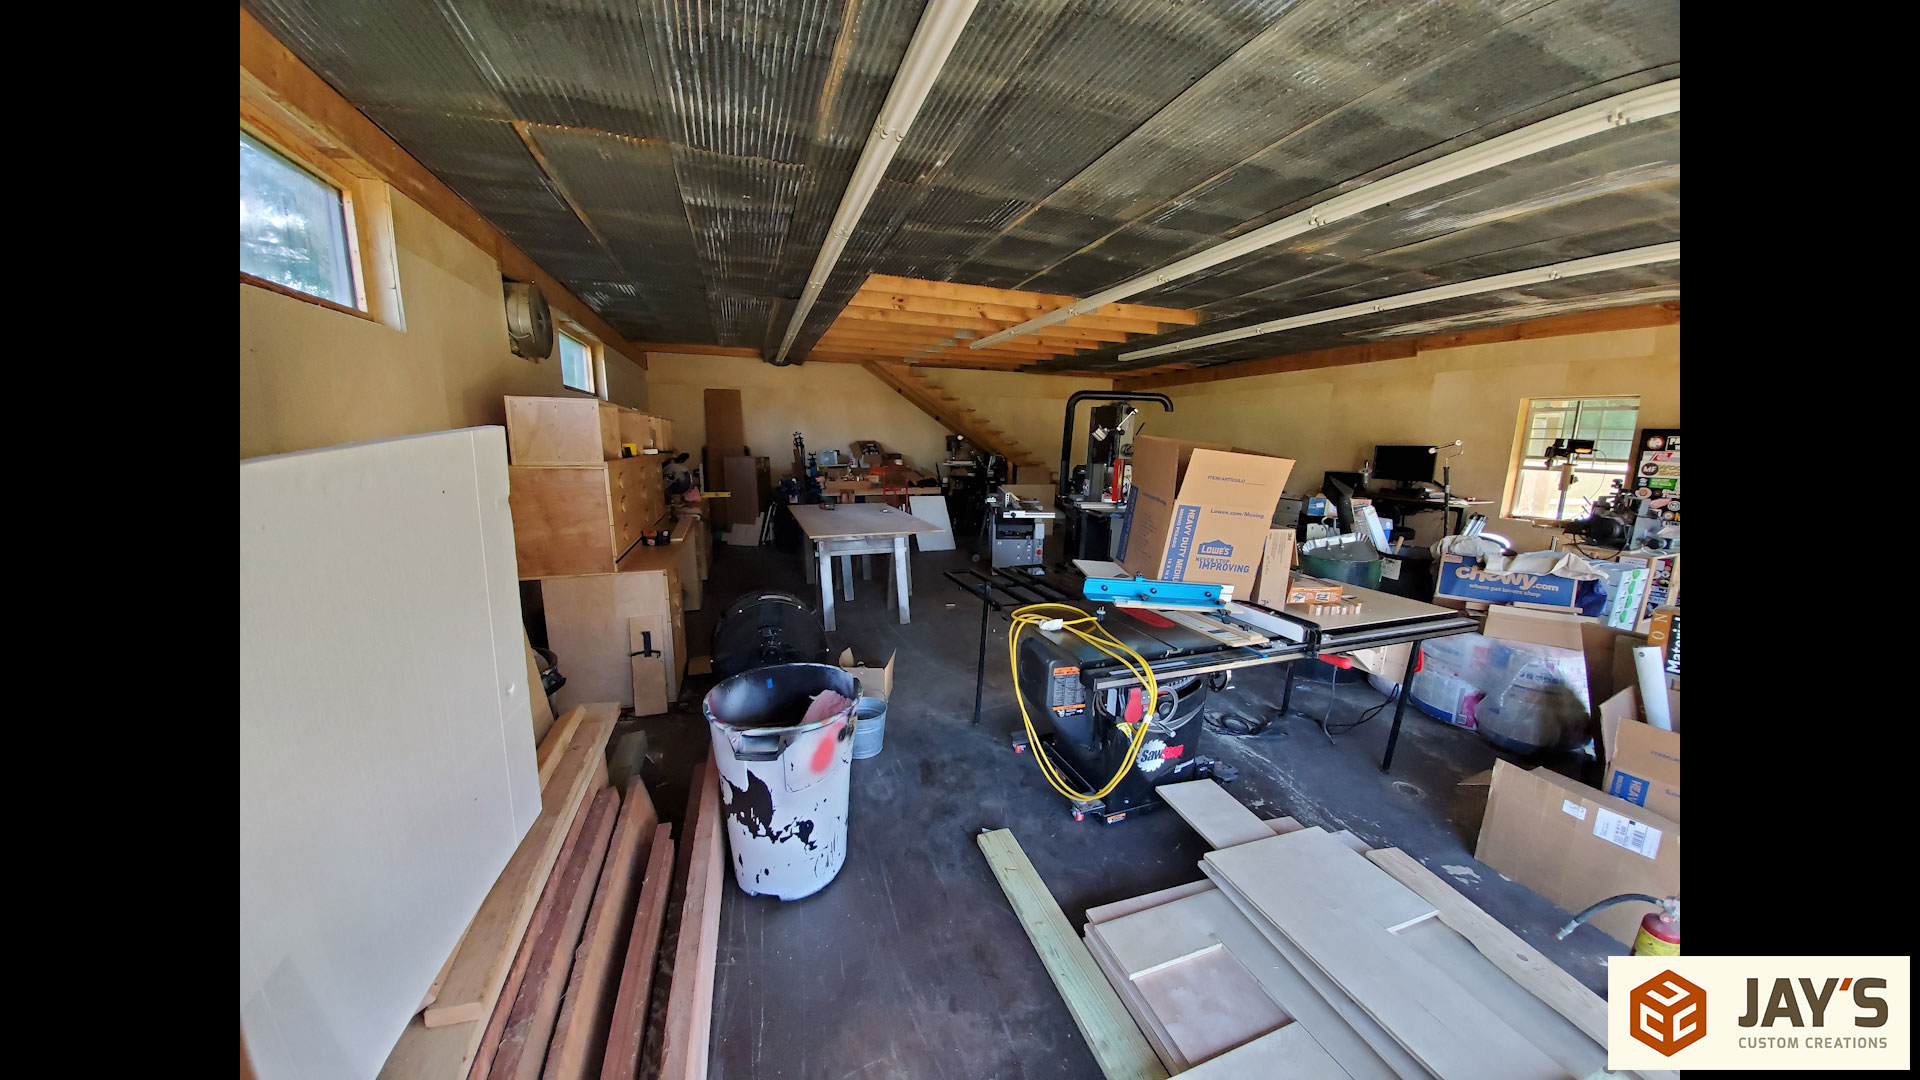
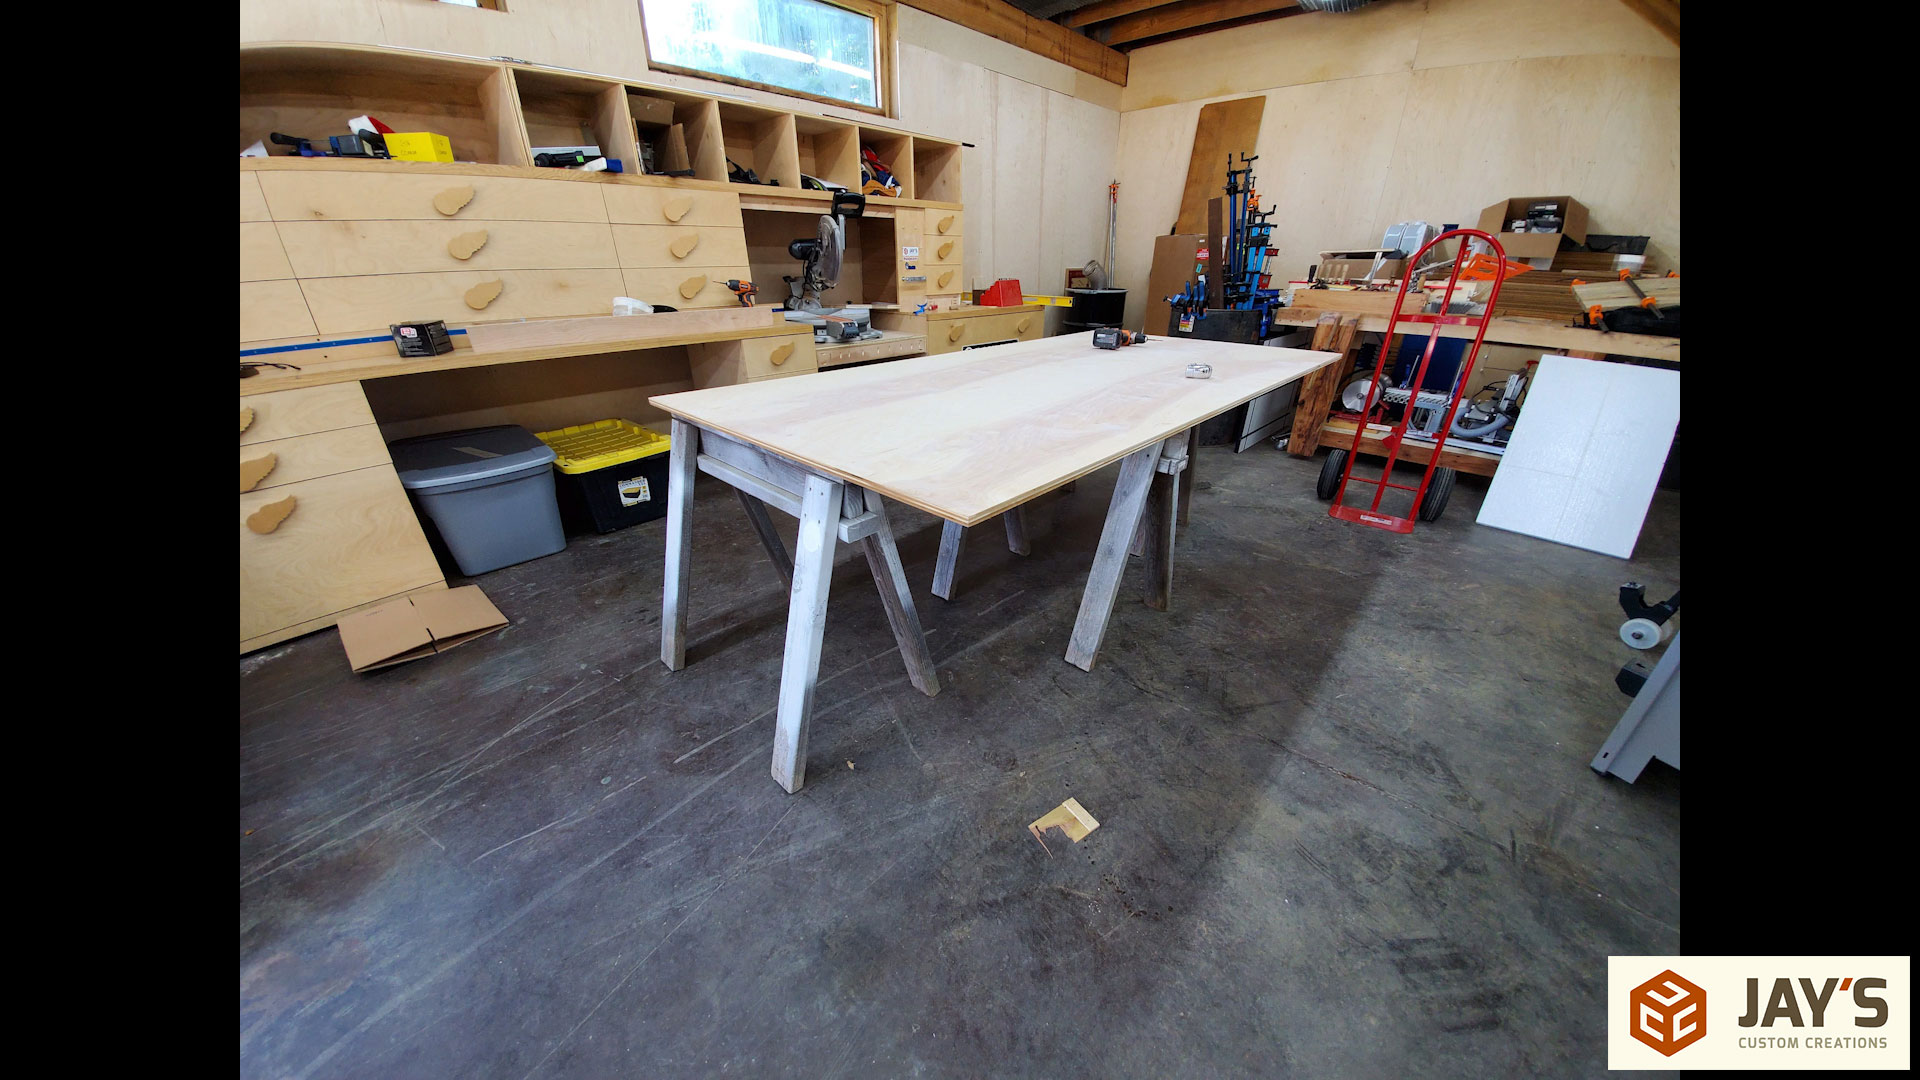
The next day was Saturday and I was able to make a little progress trying to organize here and there, get the miter saw station assembled, and position the tools in their approximate location.
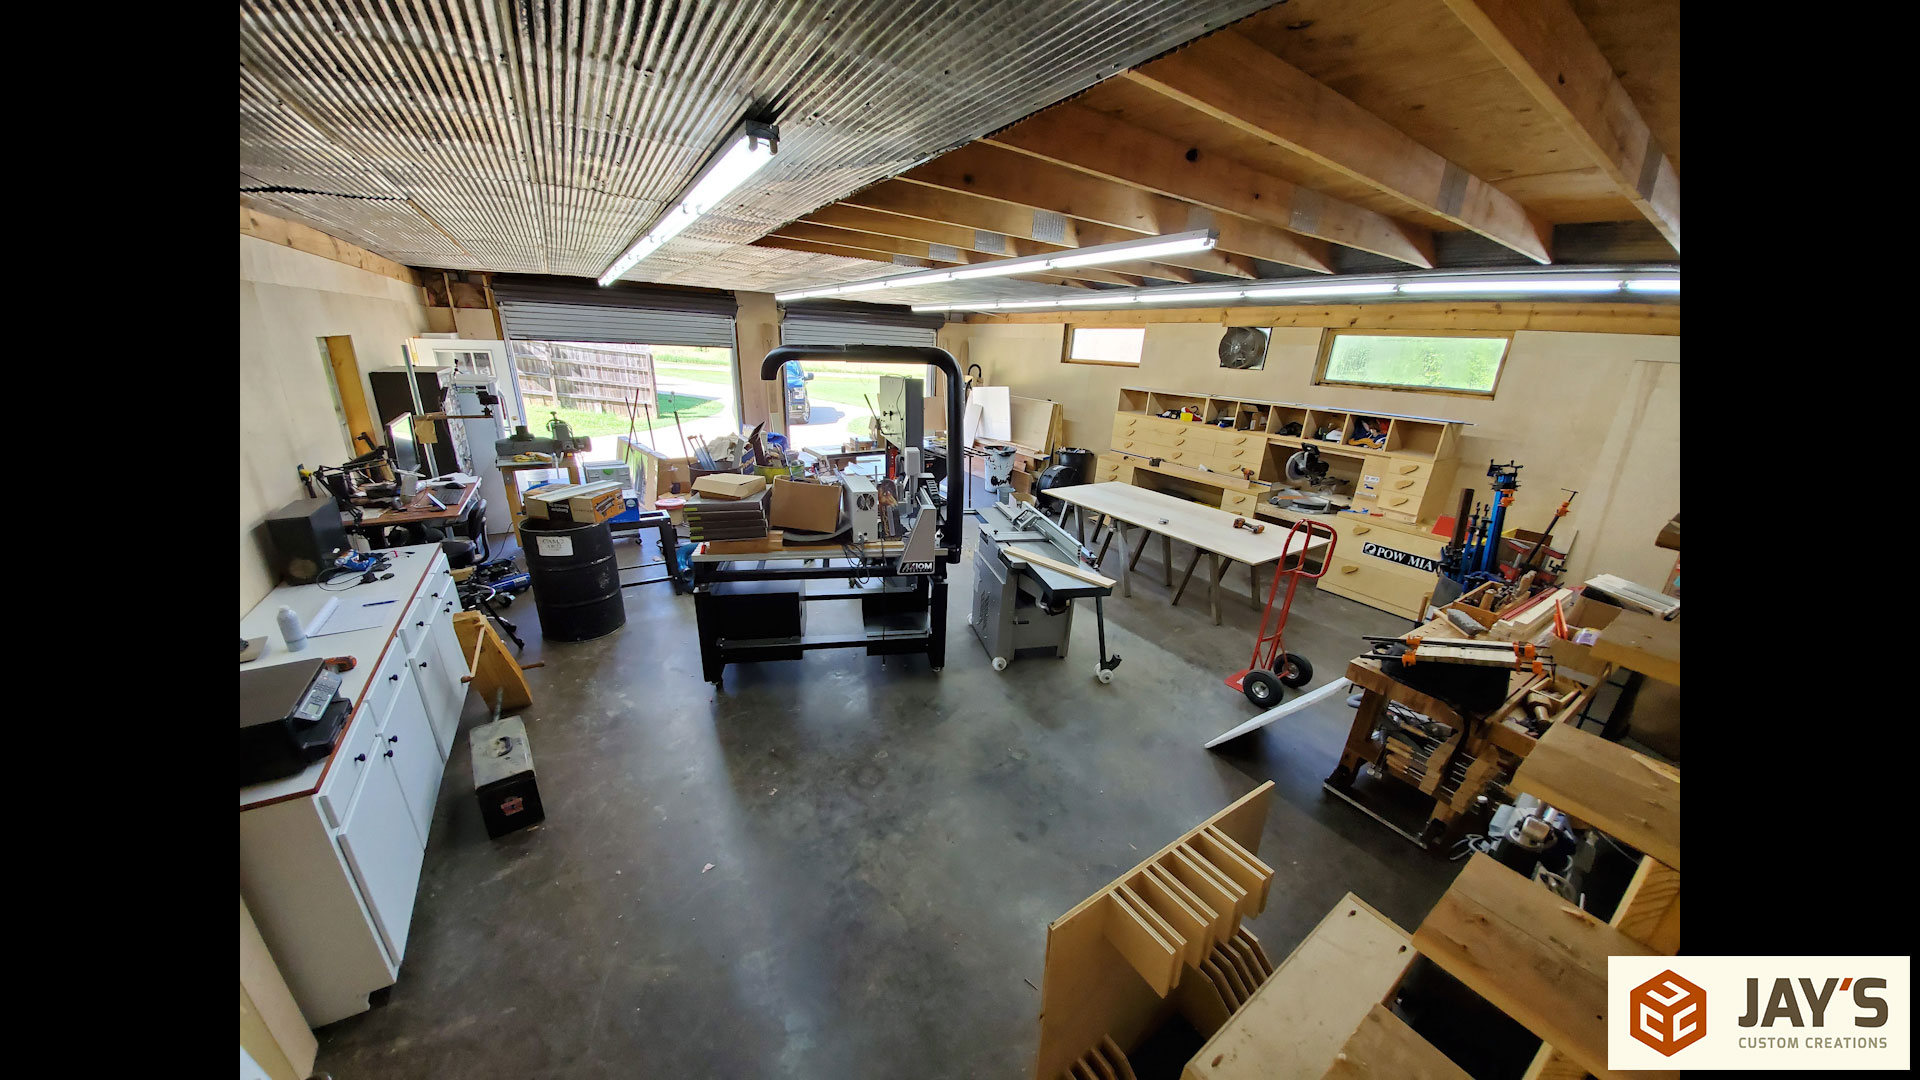
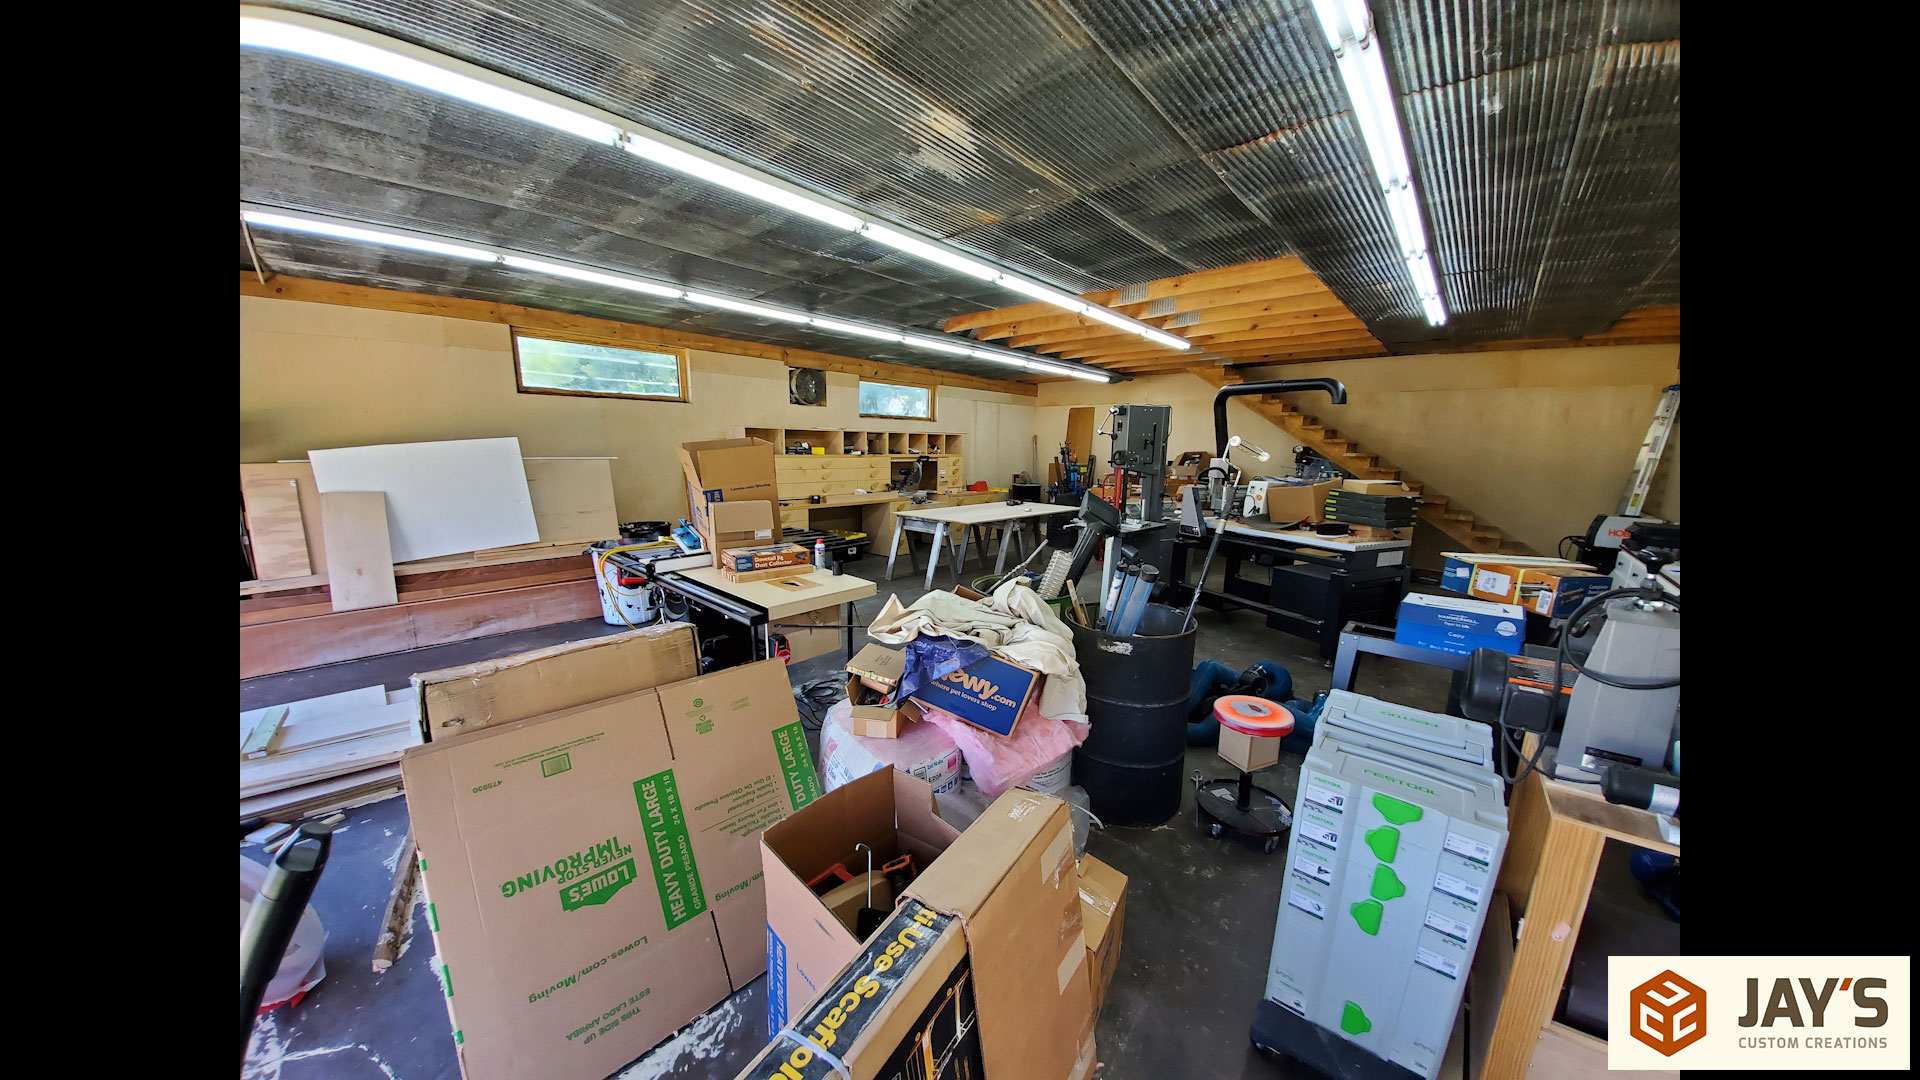
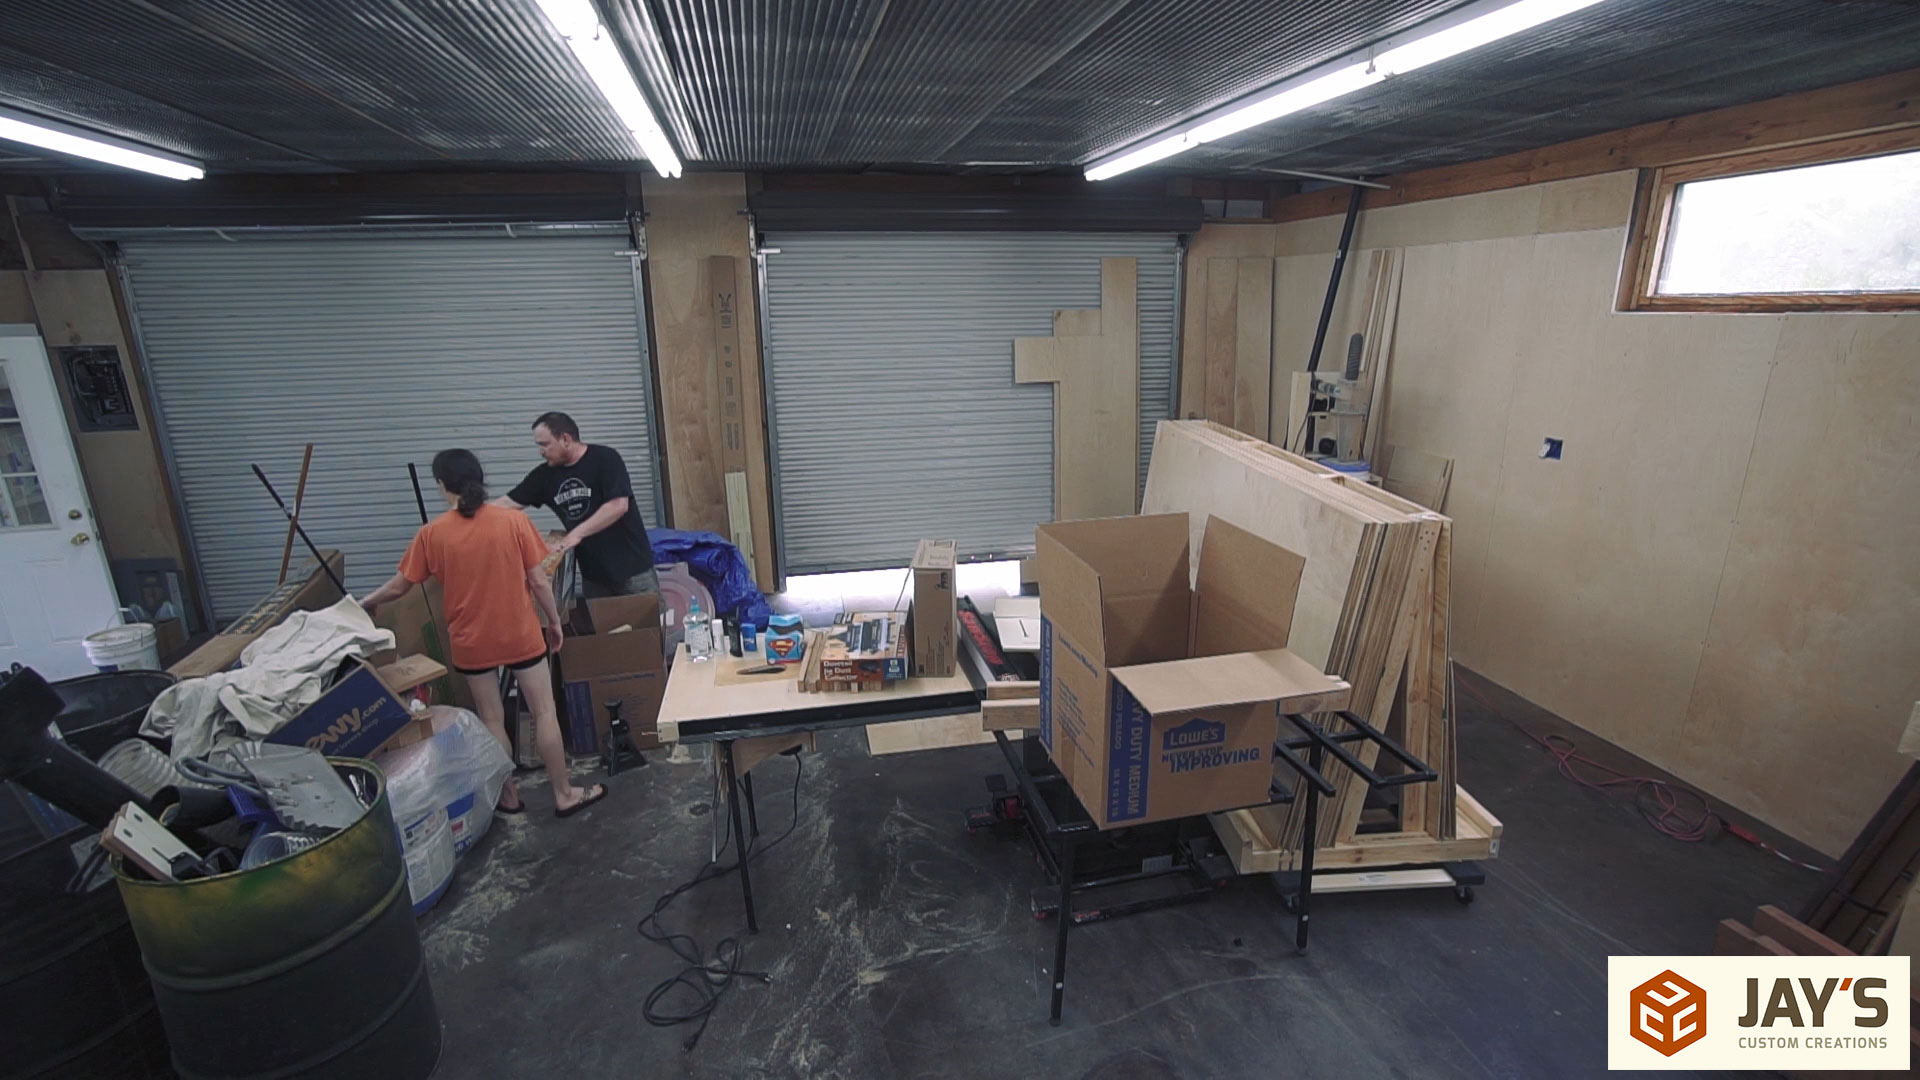
That evening my wife asked if I wanted help in the shop…which was completely unexpected. So of course I agreed and we went to work. First we cleaned up the materials corner.
Then the area in front of the roll up doors.
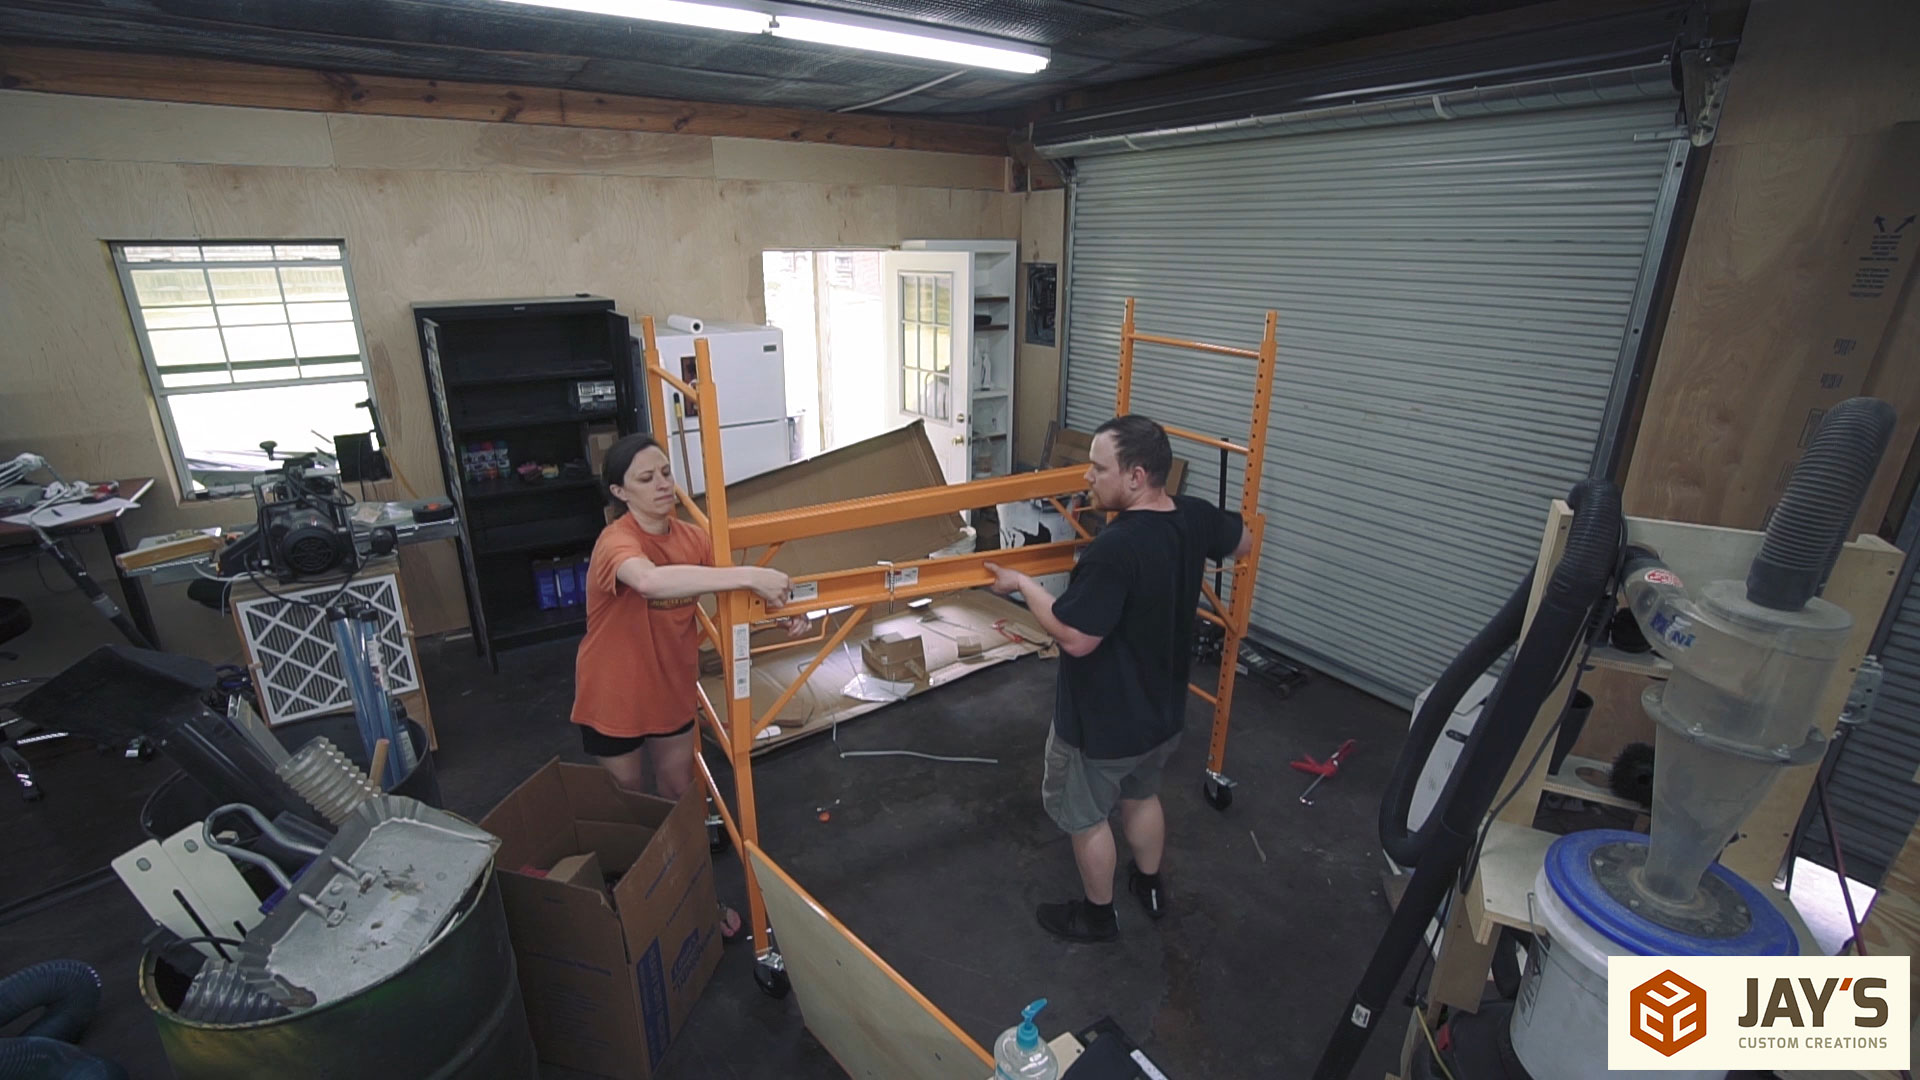
We assembled a rolling scaffold I picked up to help with the ceiling and lights. By the way, after having this in the shop for 2 weeks now I can say that this scaffold is by far one of the best $160 I’ve ever spent.
We were able to put all of the chemicals and finishes into the metal sticker cabinet. And note that all of the harsh and more dangerous chemicals go on the bottom shelf instead of up top like I had them. Someone called me out for that in a previous video. If they happen to spill when pulled down from a high shelf it can be much more dangerous to you versus if they spill when pulled out from a low shelf.
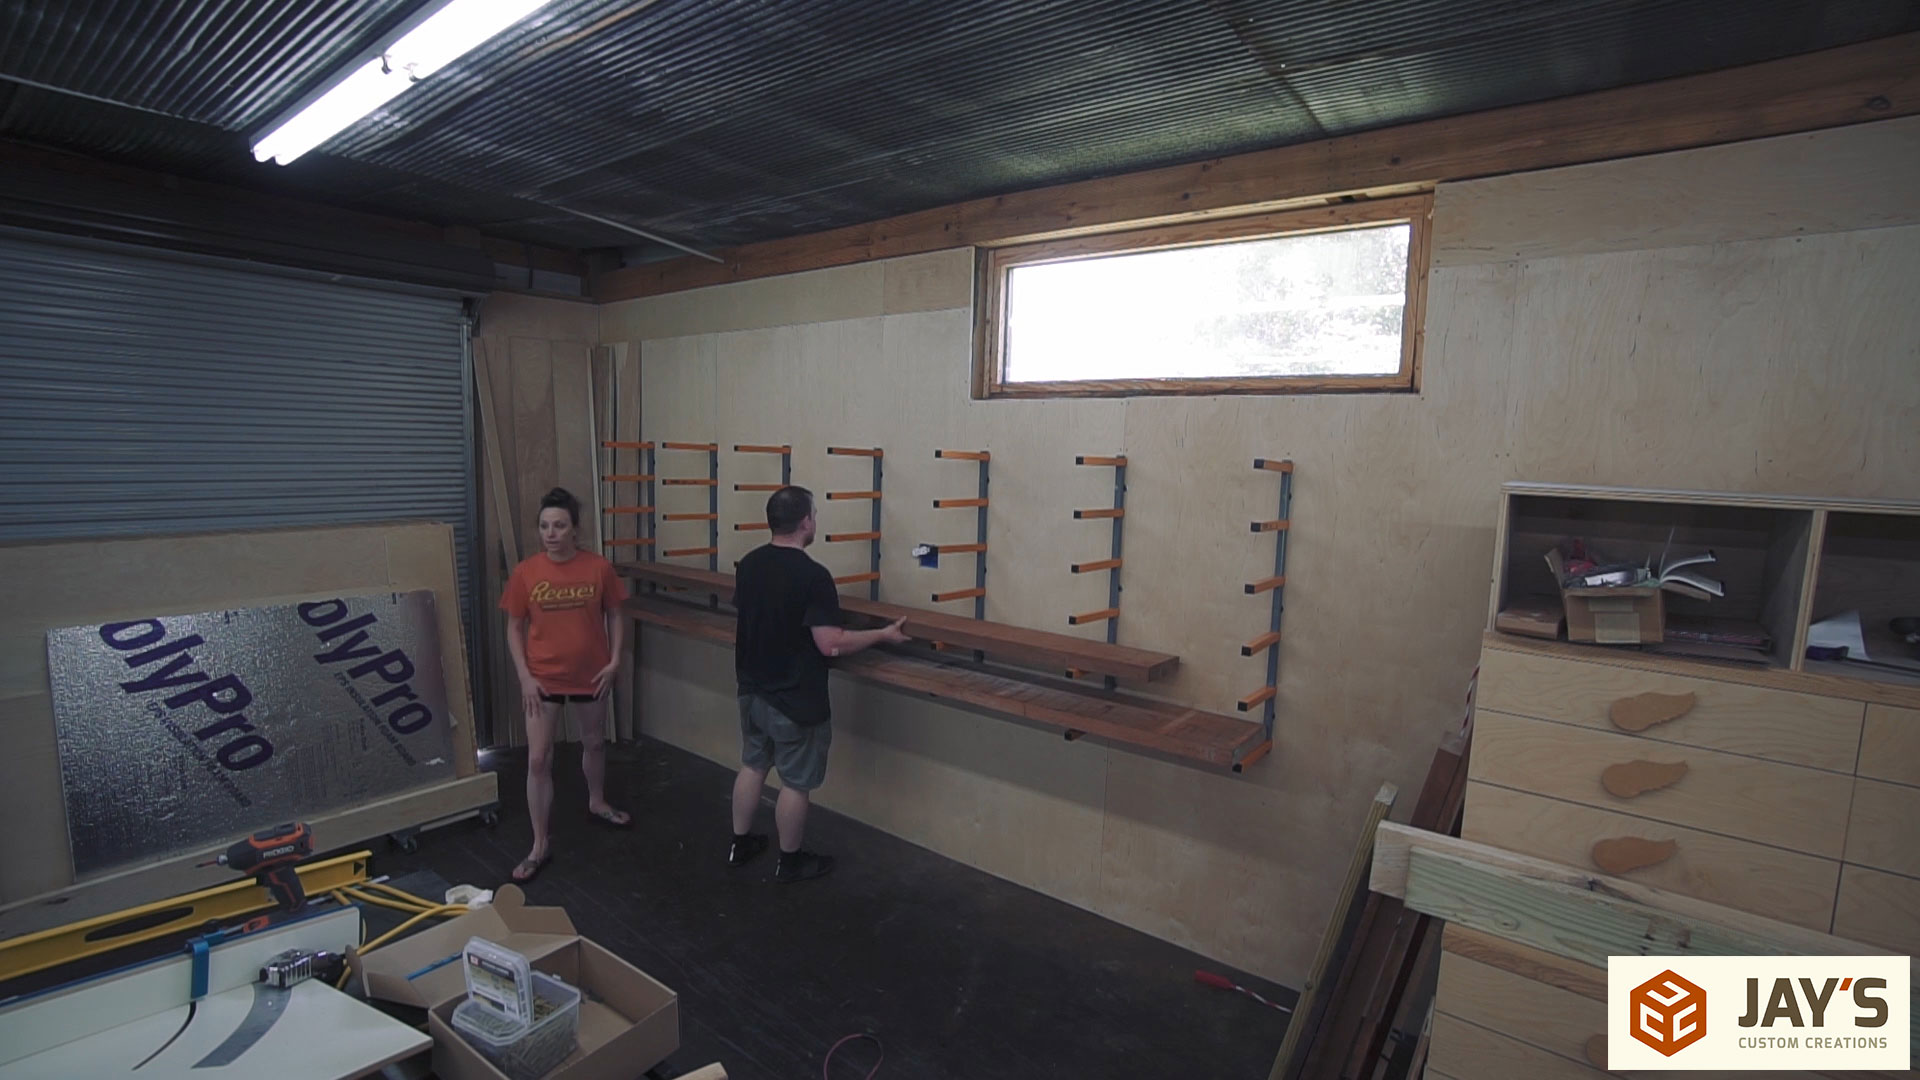
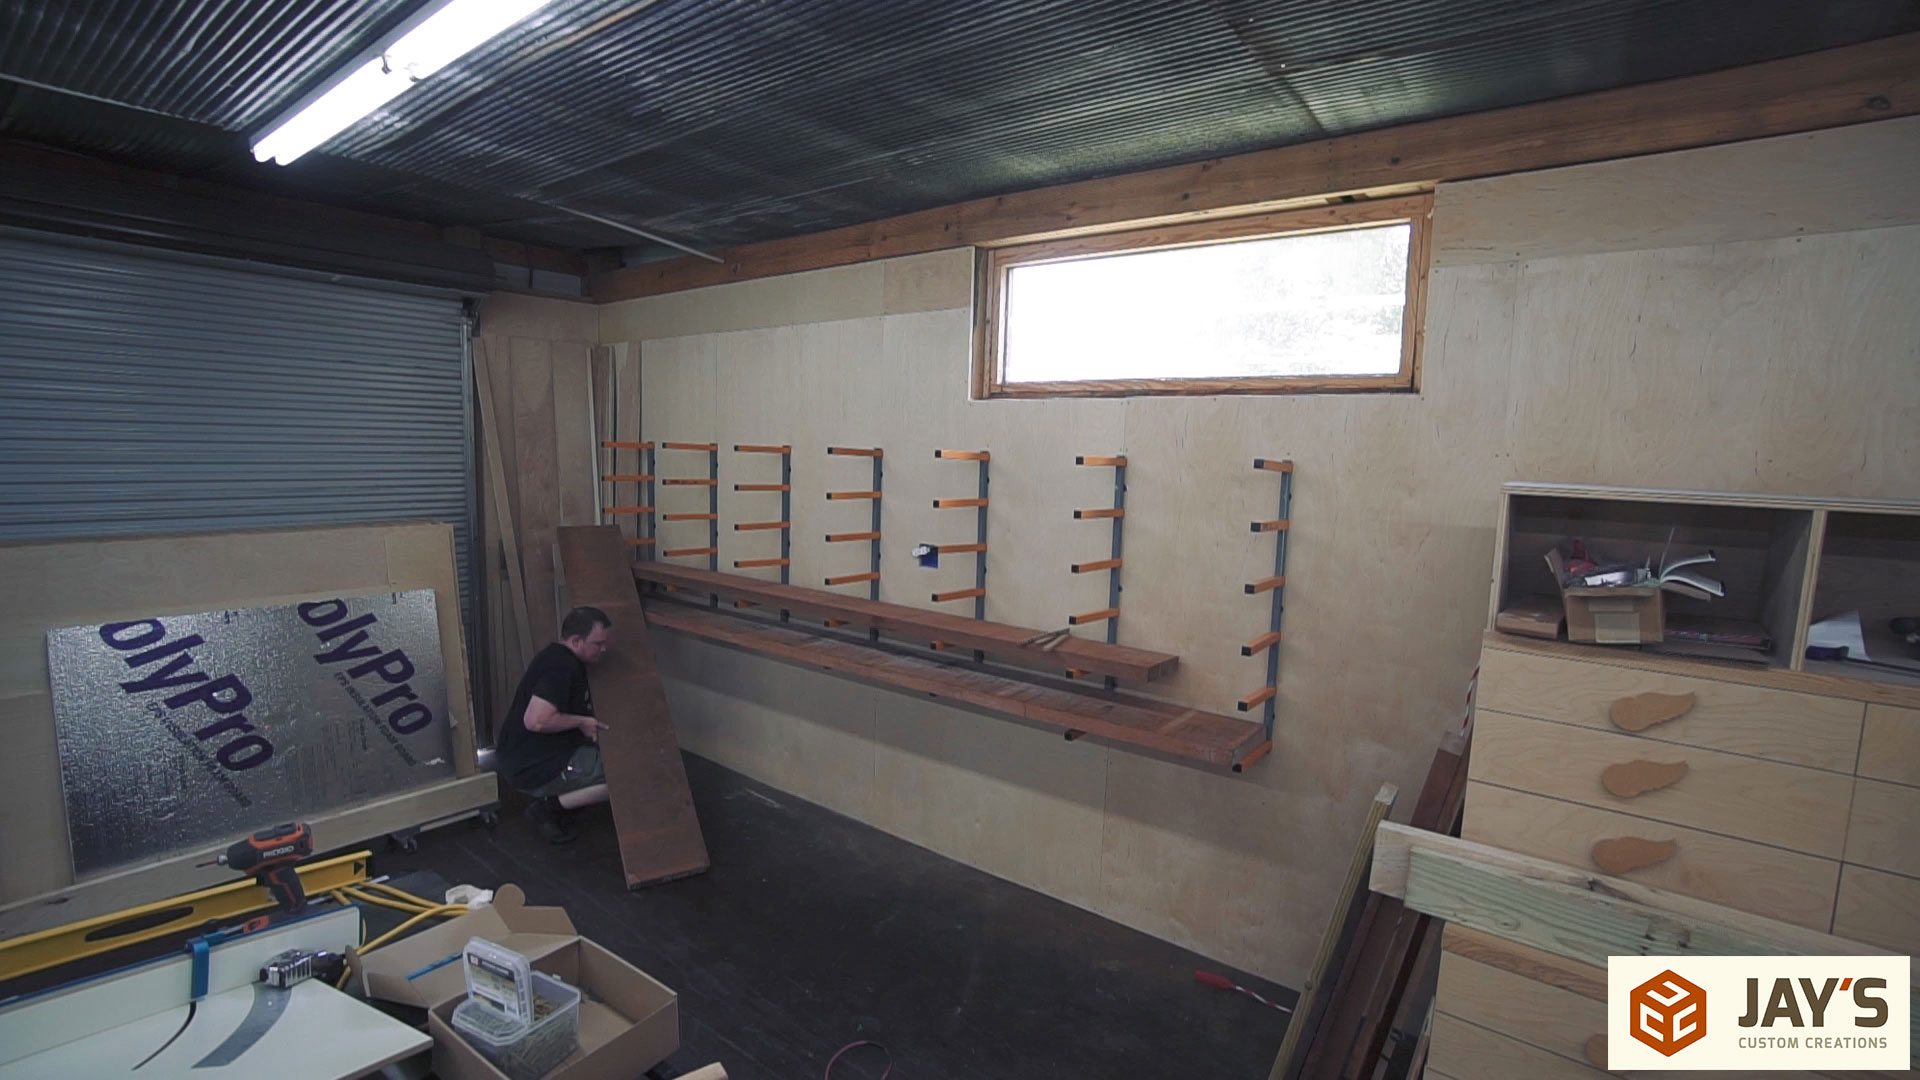
Last up was the lumber racks in the materials corner. And finally the heavy lumber can be loaded. That’s it for this video. I wish I had more of a visual conclusion for this video but that’s it. At this point I was physically exhausted and just looking forward to the next bit of progress.

Thanks again to PureBond for supporting this part of the new shop. For more information on PureBond plywood click the link in the description or visit the pro desk at your nearest Home Depot.


THINGS ARE SHAPING UP, LOOKS GOOD.
Thanks!
Very good Jay, nice job and glad things are going along good for you, and yes I agree with you, it is a job moving and having to re setup things and rebuild, but over all all looks good and when all done you will have a great shop
Thank you very much, Bill.
Looking good there Jay!
Can’t imagine how hot it is down there working. But have you noticed the benefits of the insulation yet? My shop has to be 15-20F cooler.
I haven’t noticed a difference in the lower level as the sun is still baking the roof. But I now have AC in the shop and it’s keeping the lower level comfortable. Should be really nice when the roof gets insulated.
Good job Jay! I bet you notice the he temperature difference already with just having the insulation in there. My shop is 15-20F cooler.
So no extra wiring? Cost ineffective? Or just not needed?
And about the garage on the house: where’s that coming along?
Extra electrical will be covered in the next video. Garage is on the back burner for a while.
Finally got to do the final walkthrough of our new place today. Not very many rooms in the house will remain used as the seller’s had them, but plenty of room to make it both a place for our businesses and home. I was super impressed with the look of the 4 bay garage/shop. It looks much bigger since they got all of their crap out of the way. They left a wood stove in the shop, so I can keep warm using my scraps for kindling which I think is a huge plus, as NY winters are really cold. Glad to see others are fighting the same deal. I envy the size of your shop. Maybe someday, but at least I’ve gained some room for movement. I’ll try to post an old and new shop tour video.
Not sure what part of the country you’re in but a mini split HVAC system can efficiently and effectively handle all you heating and cooling needs not to mention controlling moisture. Also, now building my 3rd shop using T1-11 but see your point using the PureBond juston’t like its ultra thin veneer.
I had a 18k BTU single zone mini split in my last shop for 4 years. It was great. Since this video I’ve already had a 3 zone 36k BTU mini split system installed in the shop. It’s working great. It should work even better when the roof gets insulated.
Shop is looking good. The Pure Bond plywood is looking great on the walls. Wish we could get it up here in northwest. Been to three local, 10, 45, 65 miles away, and they have no idea what I’m asking for. When I find a sales person who wants to help I’m told I have to a whole bundle and pay freight to get it. Is Pure Bond just an Eastern/Southern product? Any how, the shop is looking great and looking forward to more videos on it.
That sounds odd. I’m sure you can order online and get it shipped to the store. I’m not aware of it being specific to any region.
David, You can order online at HomeDepot and they will deliver it to your local HD for free, all you have to do is pick it up from the store. At least this is how we do it in Minnesota. Whatever our local HD doesn’t carry, they’ll ship it to store for free. Check in to it. I hope this helps.
Jay, I hear you about feeling that you aren’t getting much done, but take a look and see for yourself…YOU HAVE accomplished so much!!!! Don’t be so hard on yourself; You have done very well for someone who had just moved into a new home, and has a family and especially a baby! Things are looking good! On another note, How in the world, do these guys put up fiberglass insulation in short sleeves, and no dust mask protection? I started itching just watching them. I don’t ever want to touch fiberglass insulation ever again….
Best wishes always.