Description
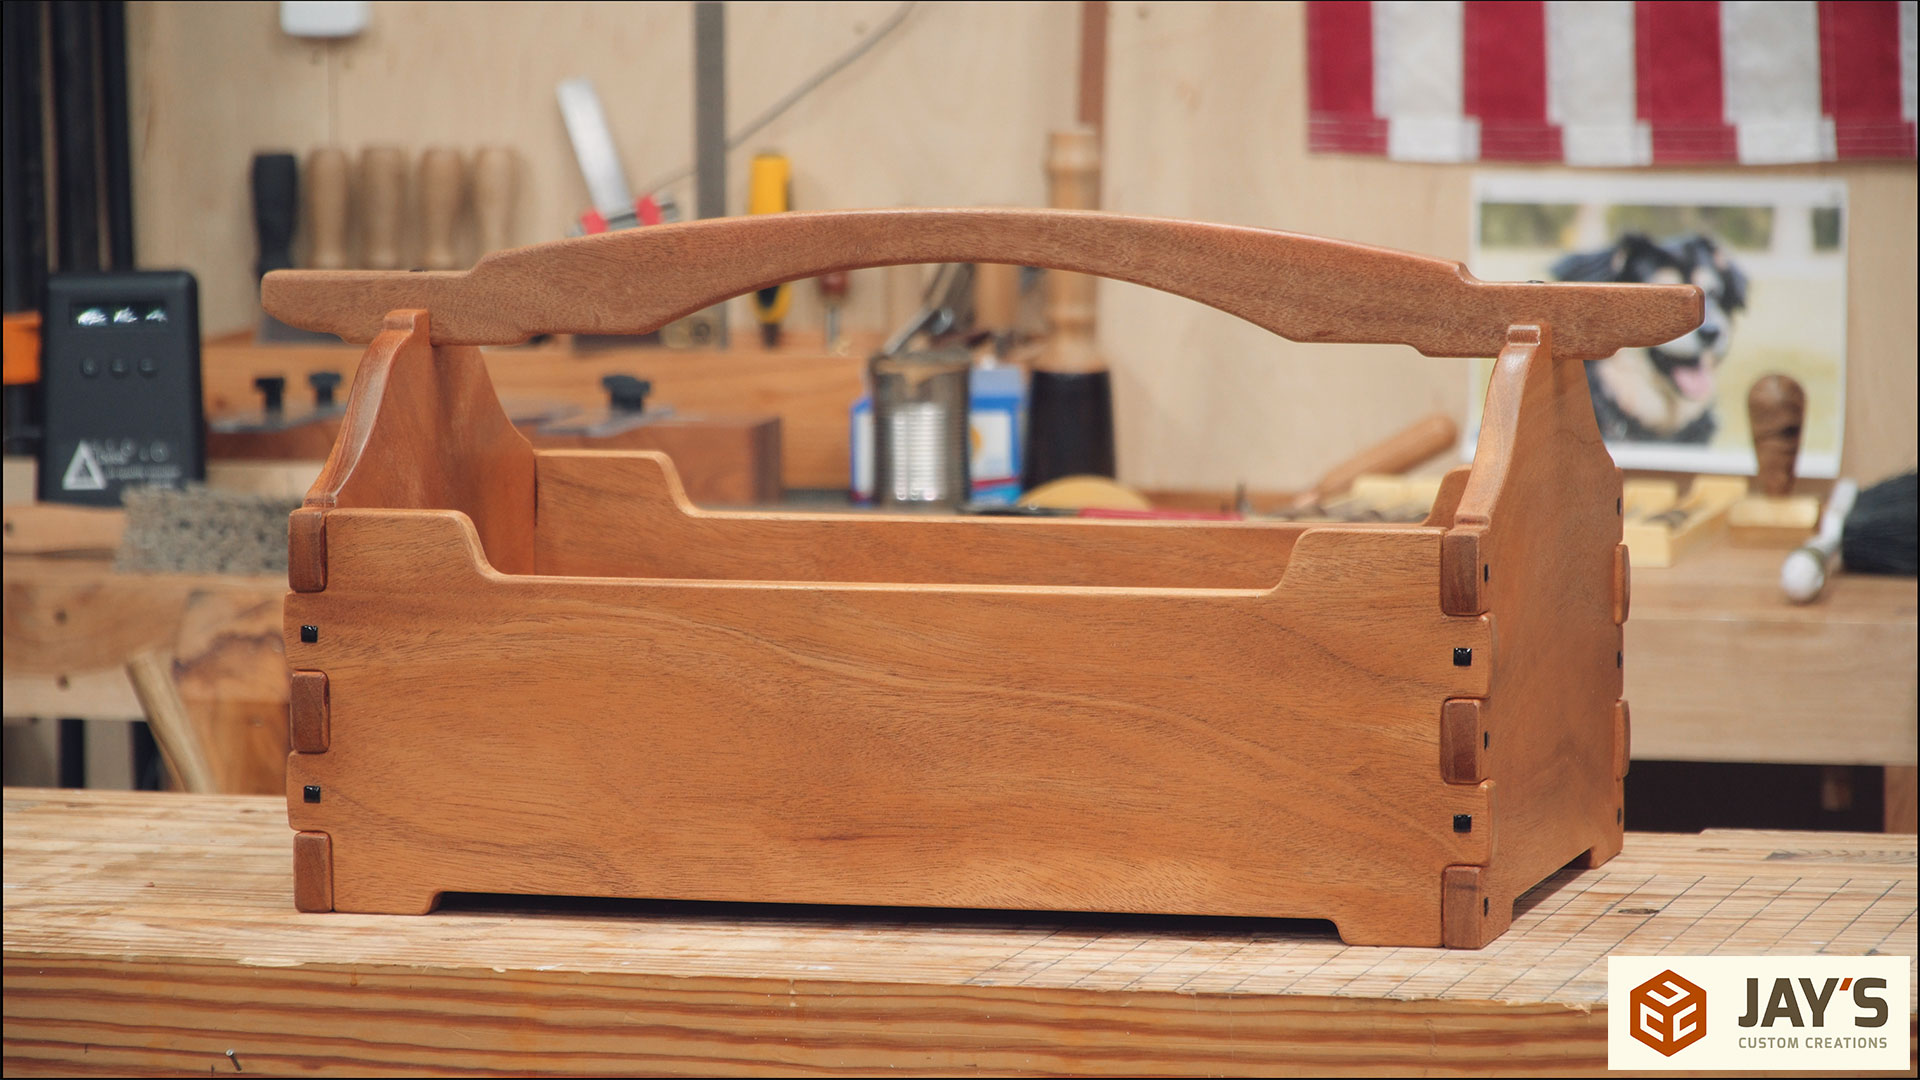
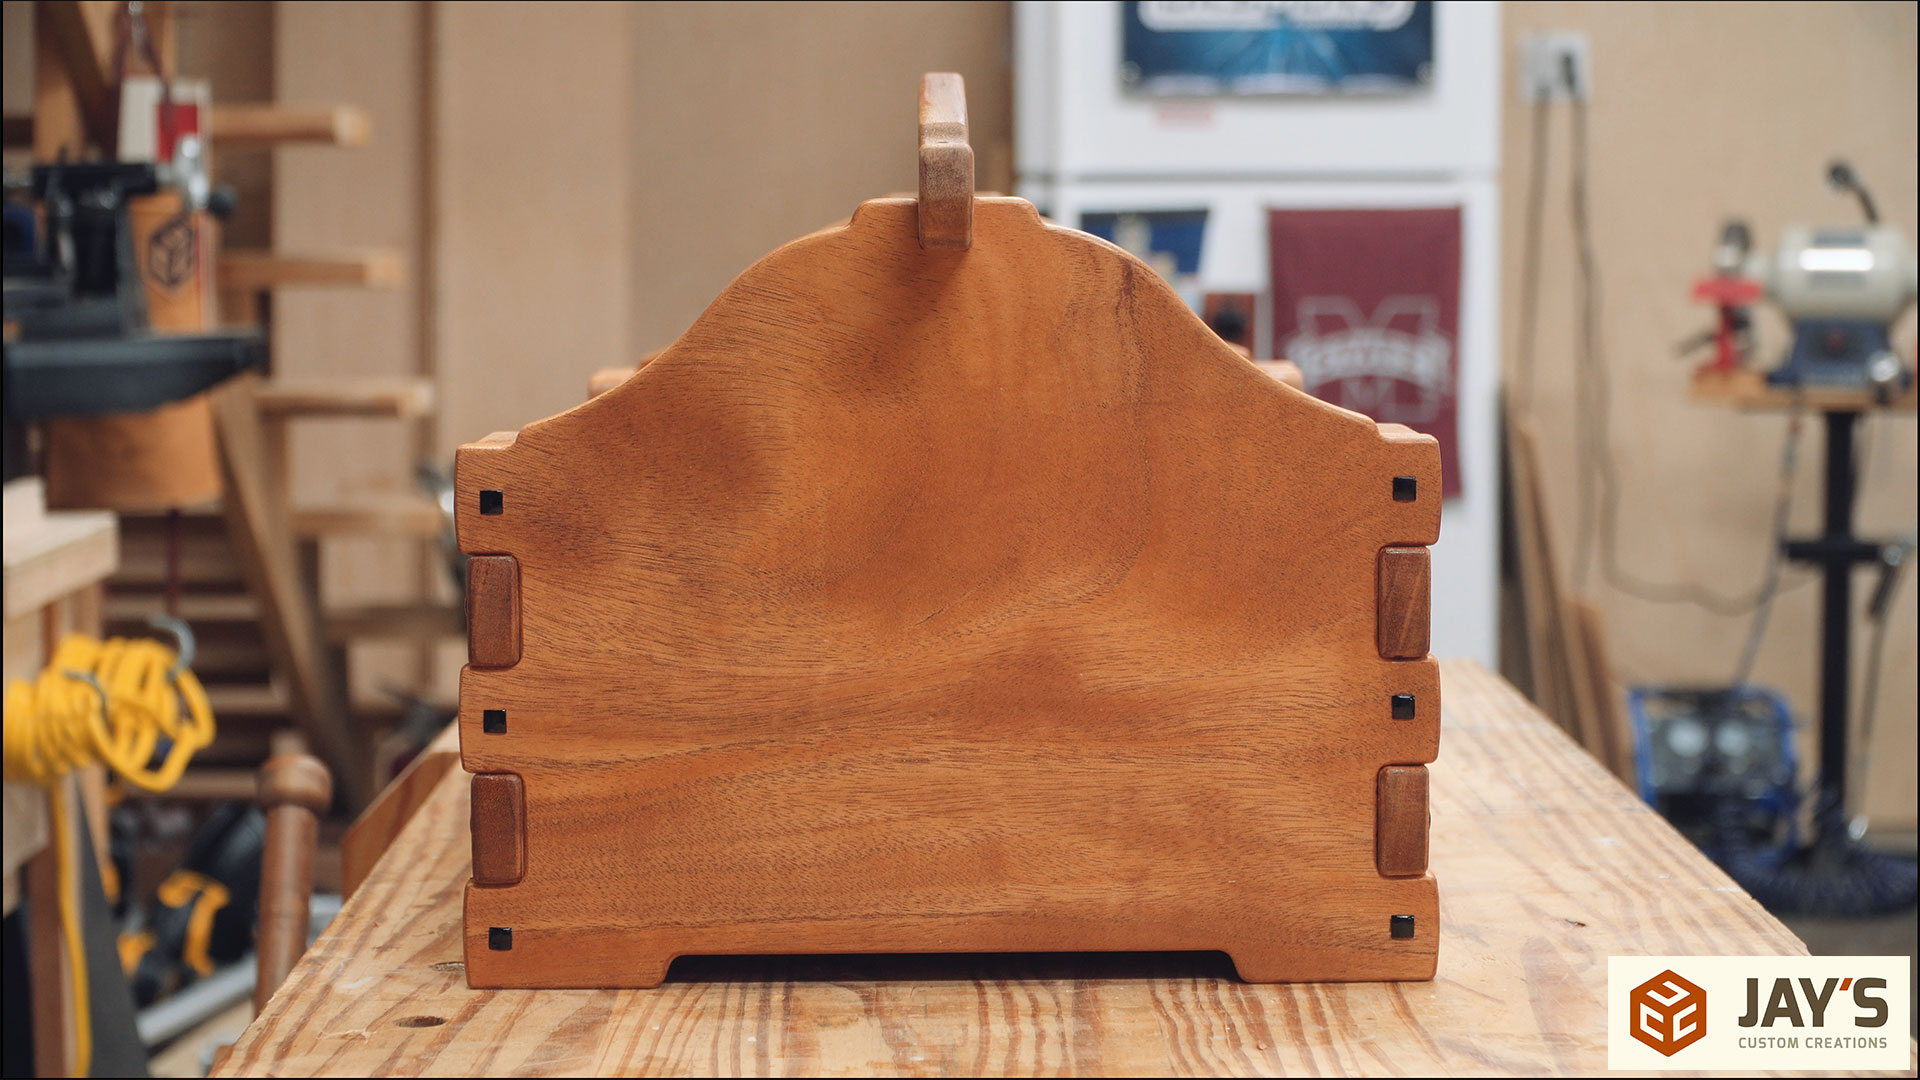
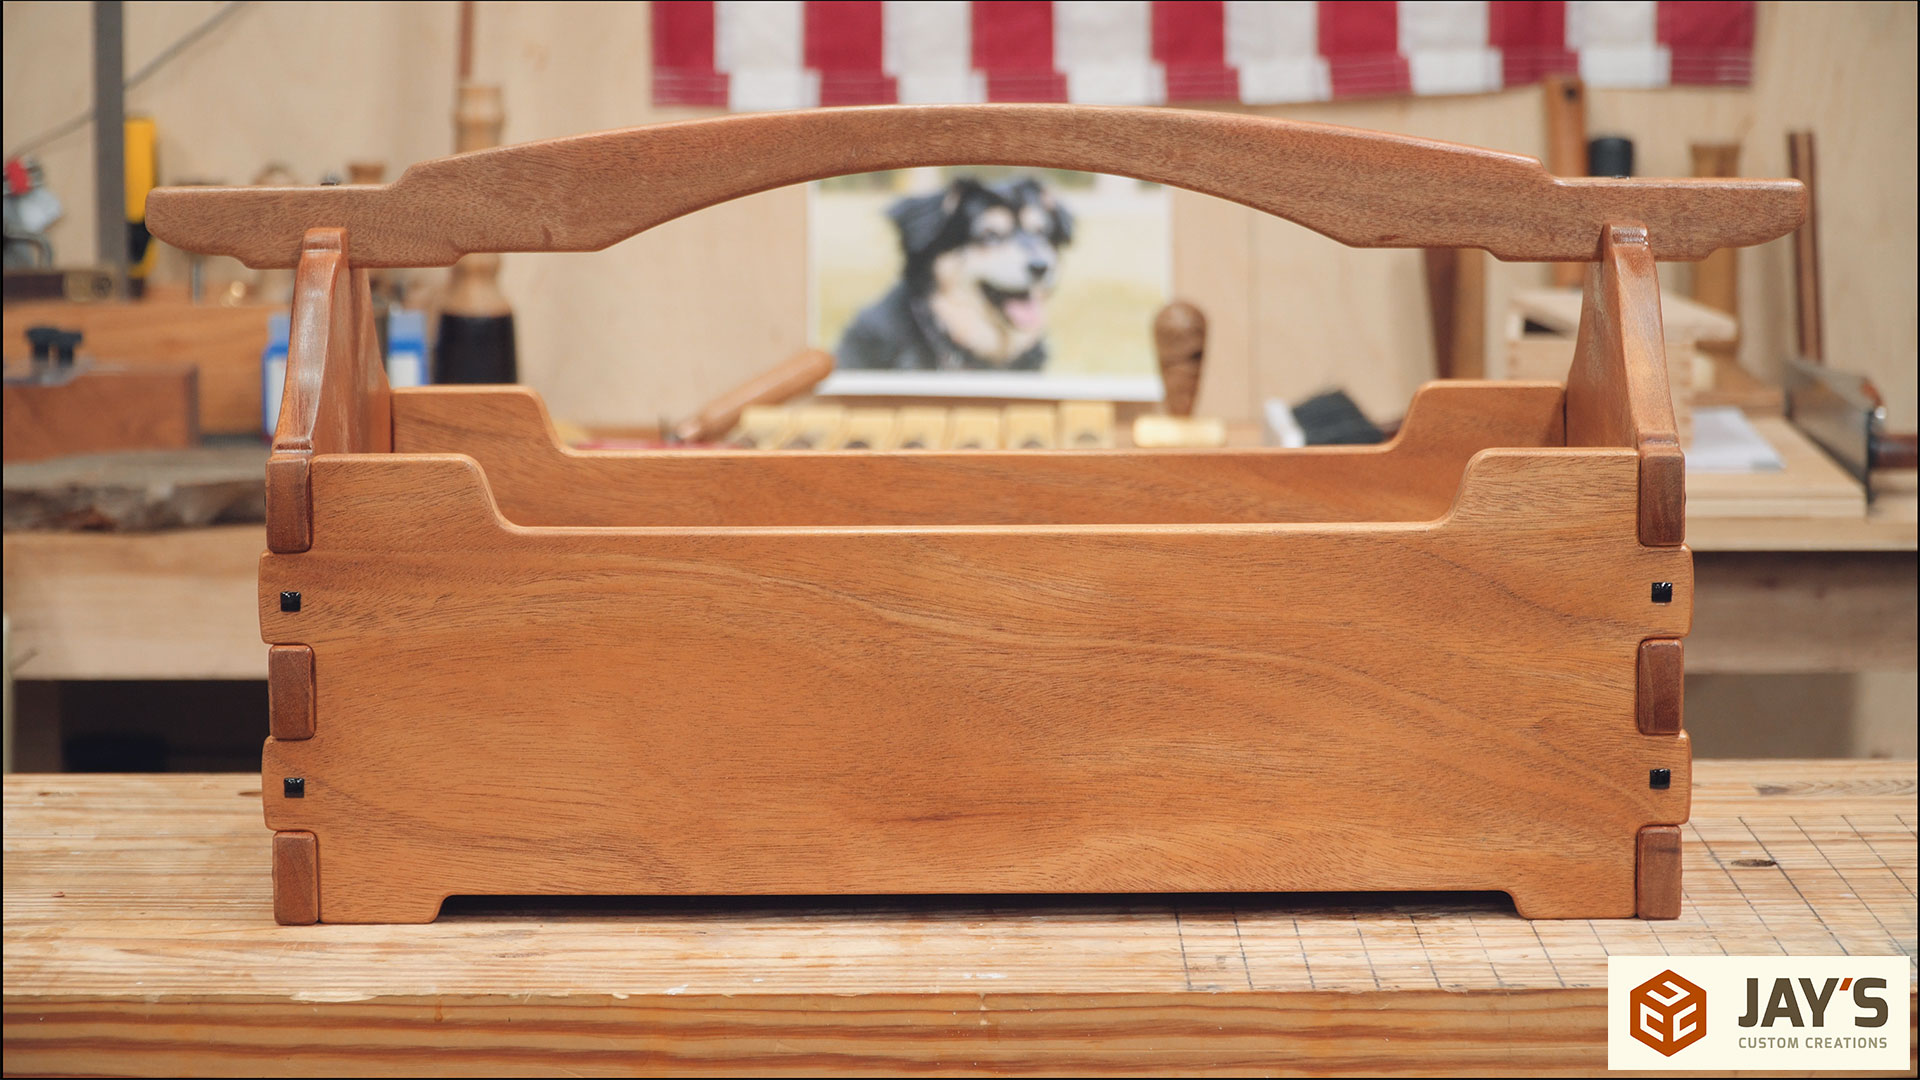
This is my take on a Greene and Greene style tool tote. I’m calling it a tool tote because mine will be used as an open top tool box for hand tools. But it can be used for anything.
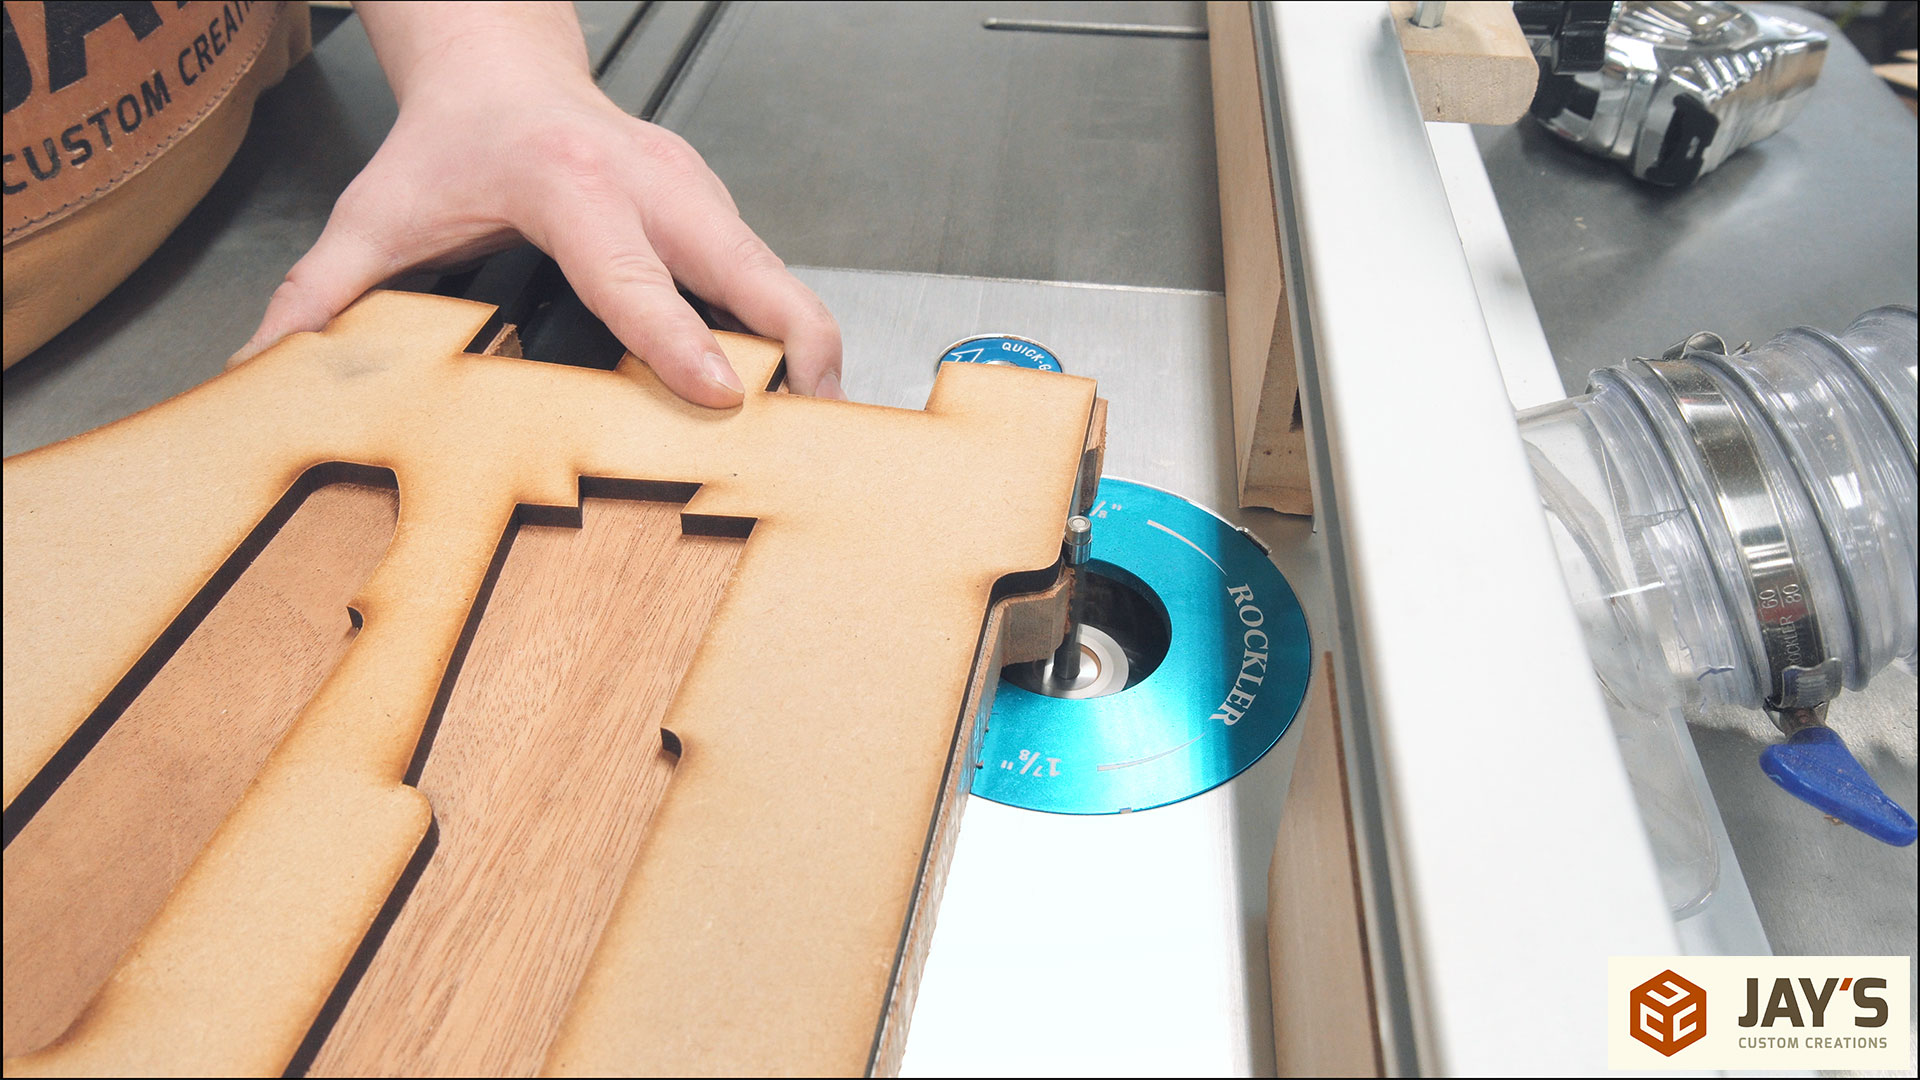
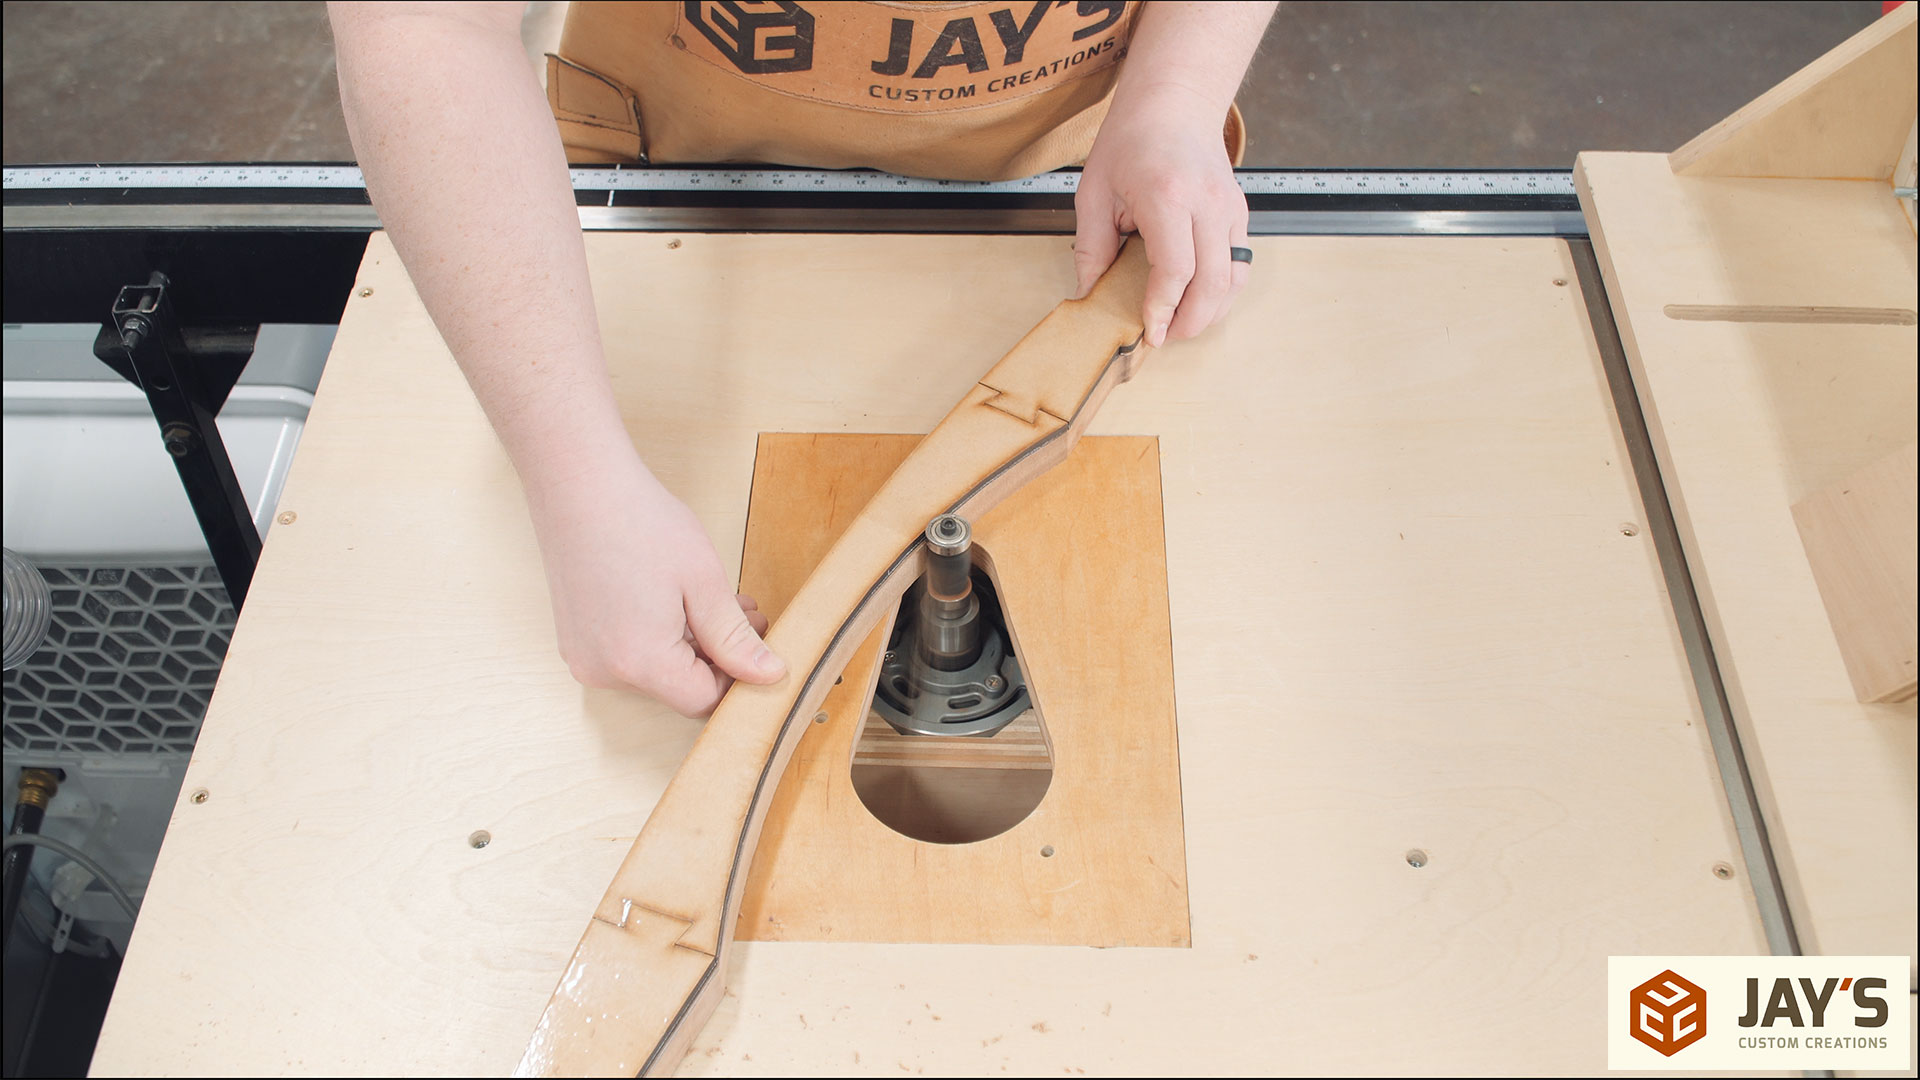
You are purchasing full size MDF templates for you to make your own Greene and Greene tote. The handle template is broken into three pieces and nested in the side panels for better use of materials. See video below. Each piece of the handle has a locking dovetail that when assembled will result in one full size handle template. The template assemblies are a very tight fit and I do not recommend taking them apart once assembled. Instead, put a piece of clear packing tape over the joint and leave them assembled. If you plan on making many of these I recommend using your purchased MDF template to make a working template. Then you can put the MDF originals in a safe place and always have them as backup if you damage your working templates.
Use the template to make and sell as many totes as you want. What makes the template worthwhile is that it eliminates any guess work for layout, assembly, and shaping making it an incredibly easy and repeatable build. The only measuring you will ever need to do is when determining the rough layout on the board and when making the ebony pegs.
– CLICK HERE TO DOWNLOAD THE PDF ASSEMBLY GUIDE
– You will need a 1/4″ diameter flush trim router bit for the templates. You can use a larger diameter bit and then finesse the inside corners with a rasp and sandpaper if you’d like. This is the one I used (use code JAYBATES15 for 15% off your purchase): https://bitsbits.com/index.php?main_page=product_info&cPath=102_148&products_id=712
– You will need a 1/8″ radius roundover router bit for breaking all of the edges. This is somewhat optional. You can just use rasps and sandpaper but a roundover bit will save a lot of time. This is the one I used (use code JAYBATES15 for 15% off your purchase): https://bitsbits.com/index.php?main_page=product_info&cPath=102_151&products_id=813
– You will need some ebony for the pegs. I used a 5/16″ square punch from Lee Valley and cut a 12″ long square dowel of ebony that was .010″ larger in both directions than the punch. I used about half of the 12″ square dowel that I cut. The method I used was from William Ng.
– You will need trim head screws, as they have a small enough head to not damage the square holes. I used GRK Trim Head Screws specifically. I used 1-1/4″ long screws for the case construction and 2″ long screws for the handle to case connection. If you need to purchase screws I recommend just getting 2″ screws to save you from purchasing two lengths.