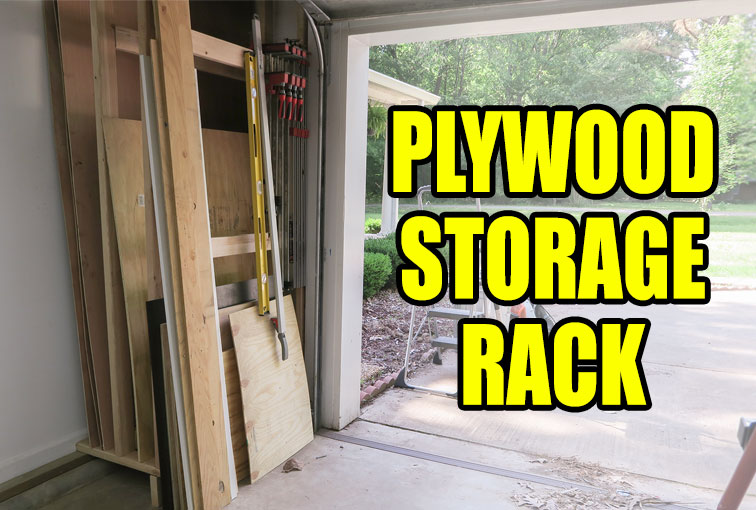
Shop organization and improvement is a never ending process. I’ve got my lumber rack wall and miter saw station wall pretty well organized so this week I tackled last wall remaining. I have a lot of ideas to play around with this wall but my main objective for this week was to make a plywood storage rack and get this corner organized. There are tons of designs out there for rolling racks but I wanted something to get closer to the wall and out of the way. I also wanted to store my plywood vertically to take up less floor space.
As you walk through the garage door to my shop the immediate corner to the right is what I have always used as a junk corner. I’ve never had anything dedicated to go there so everything that doesn’t have a home ends up there. Half of it is actual shop stuff but the other half is lawn tools that really need to find a new home anyway. I’m going to get a shed delivered in a few weeks (sorry, I have no desire to build a shed) so that will take care of the lawn tools. The rest of the stuff I’ll sort through and either put in the plywood rack or find a new home for it. But first I had to clean out the corner.

Here’s the cleaned corner with the design I had in mind. Nothing fancy, quick and easy joinery, elevated to prevent damage from the garage flooding and tucked away into the corner.
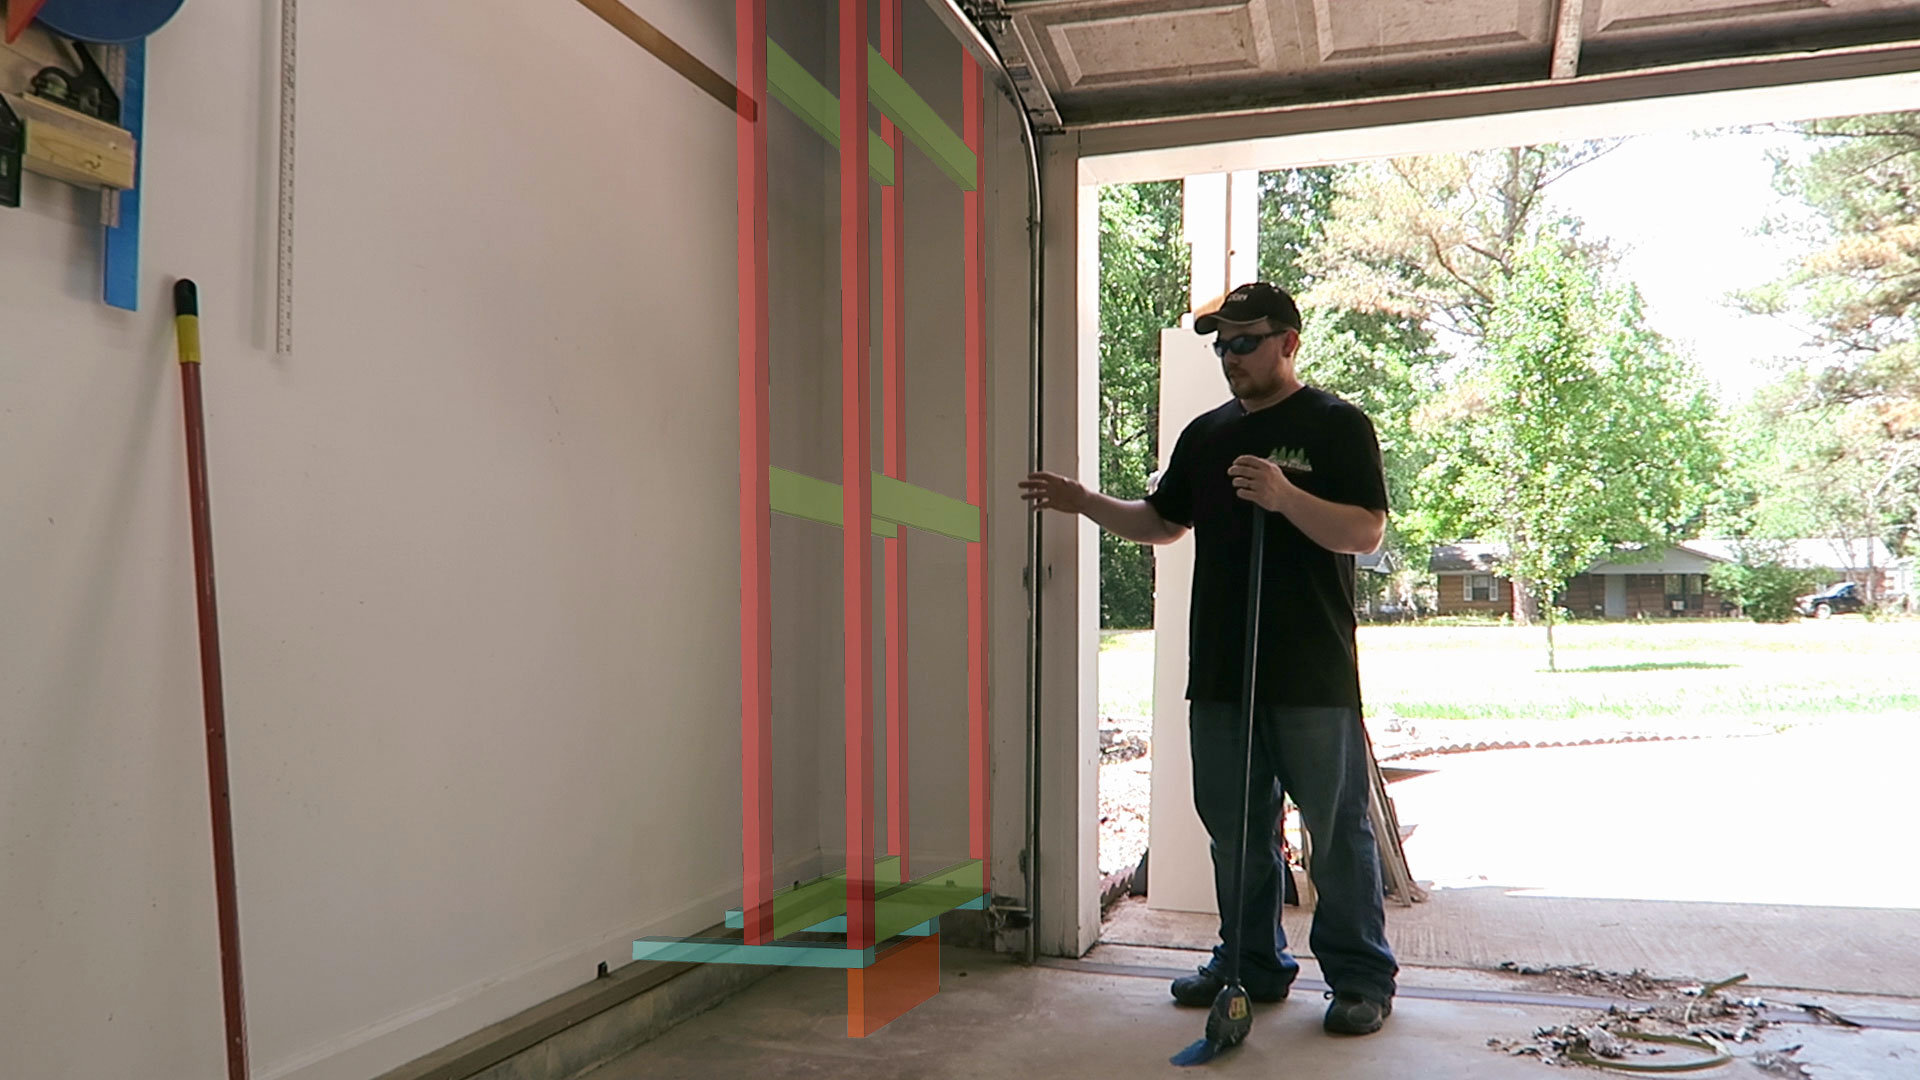
Inexpensive materials as well. Four 9′ studs for the vertical pieces. This will give enough room for a full 96” long sheet of plywood to stand up in the rack.
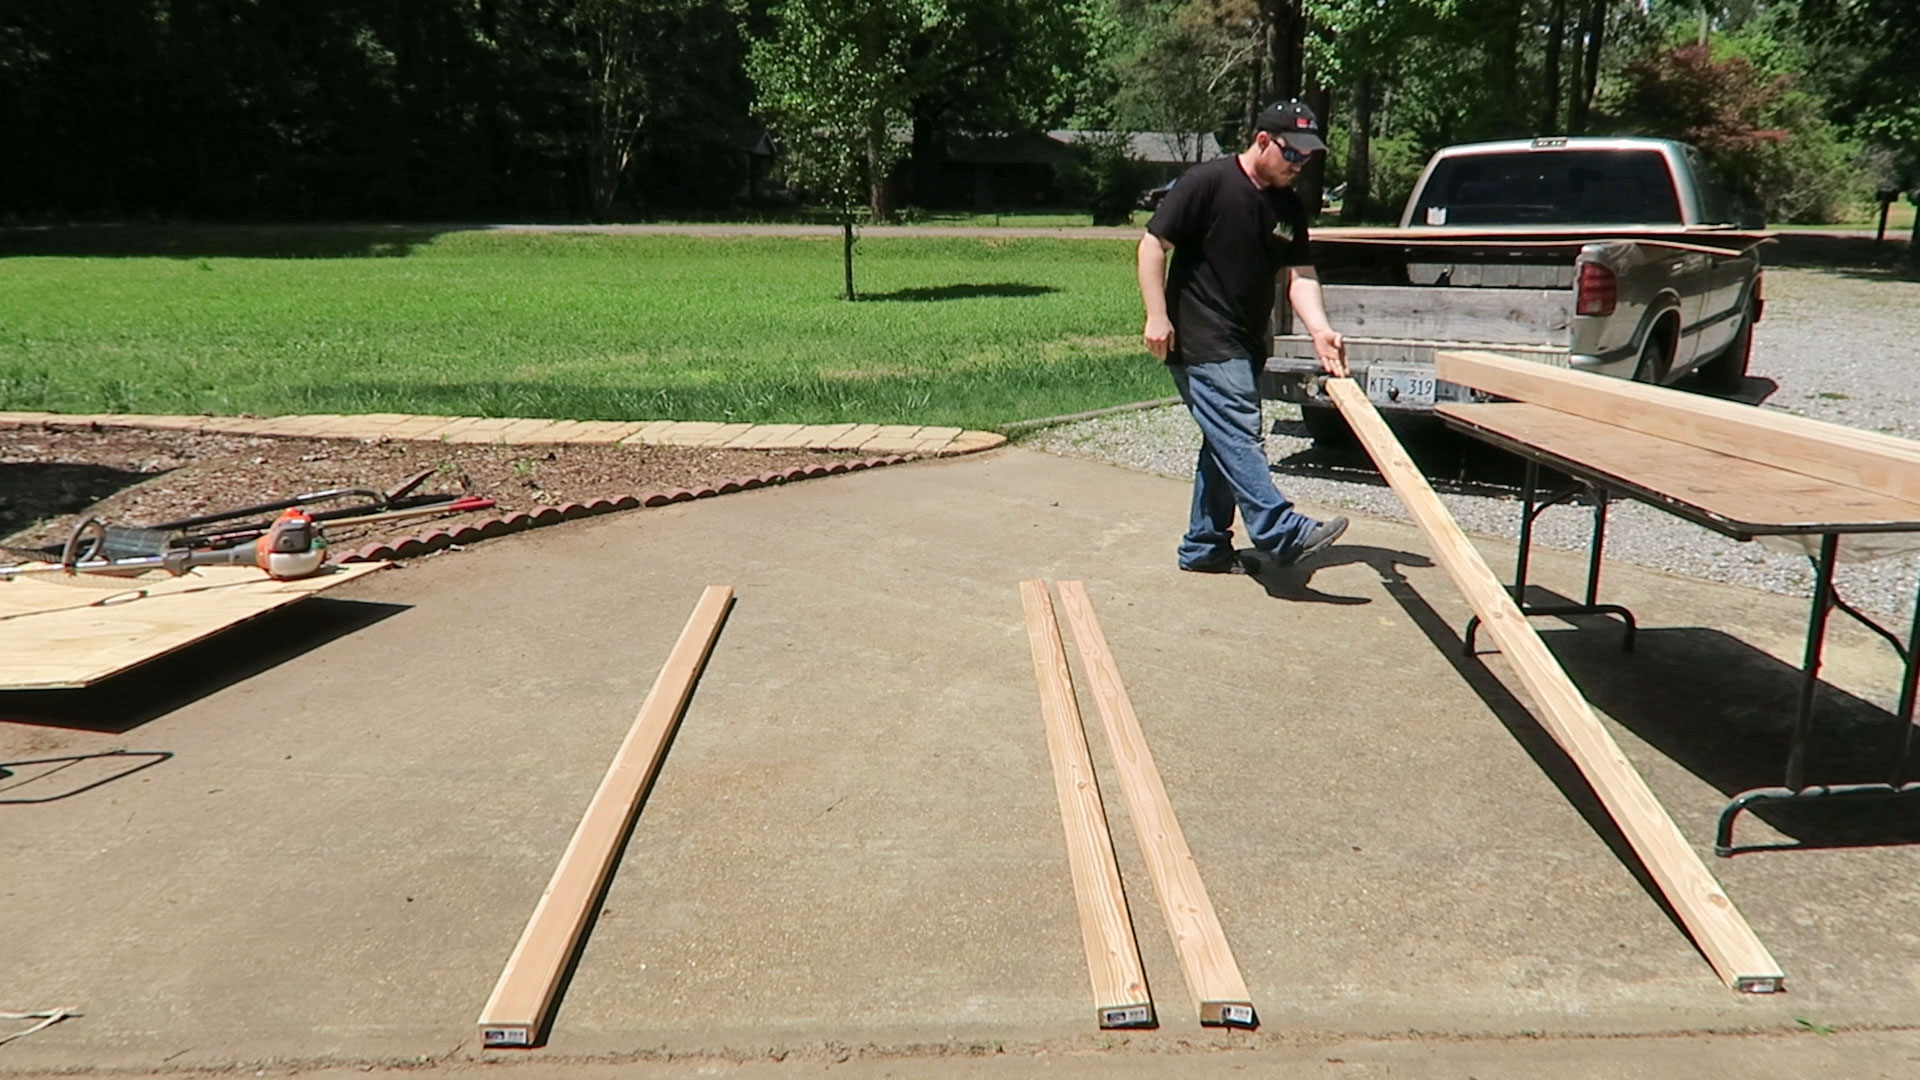
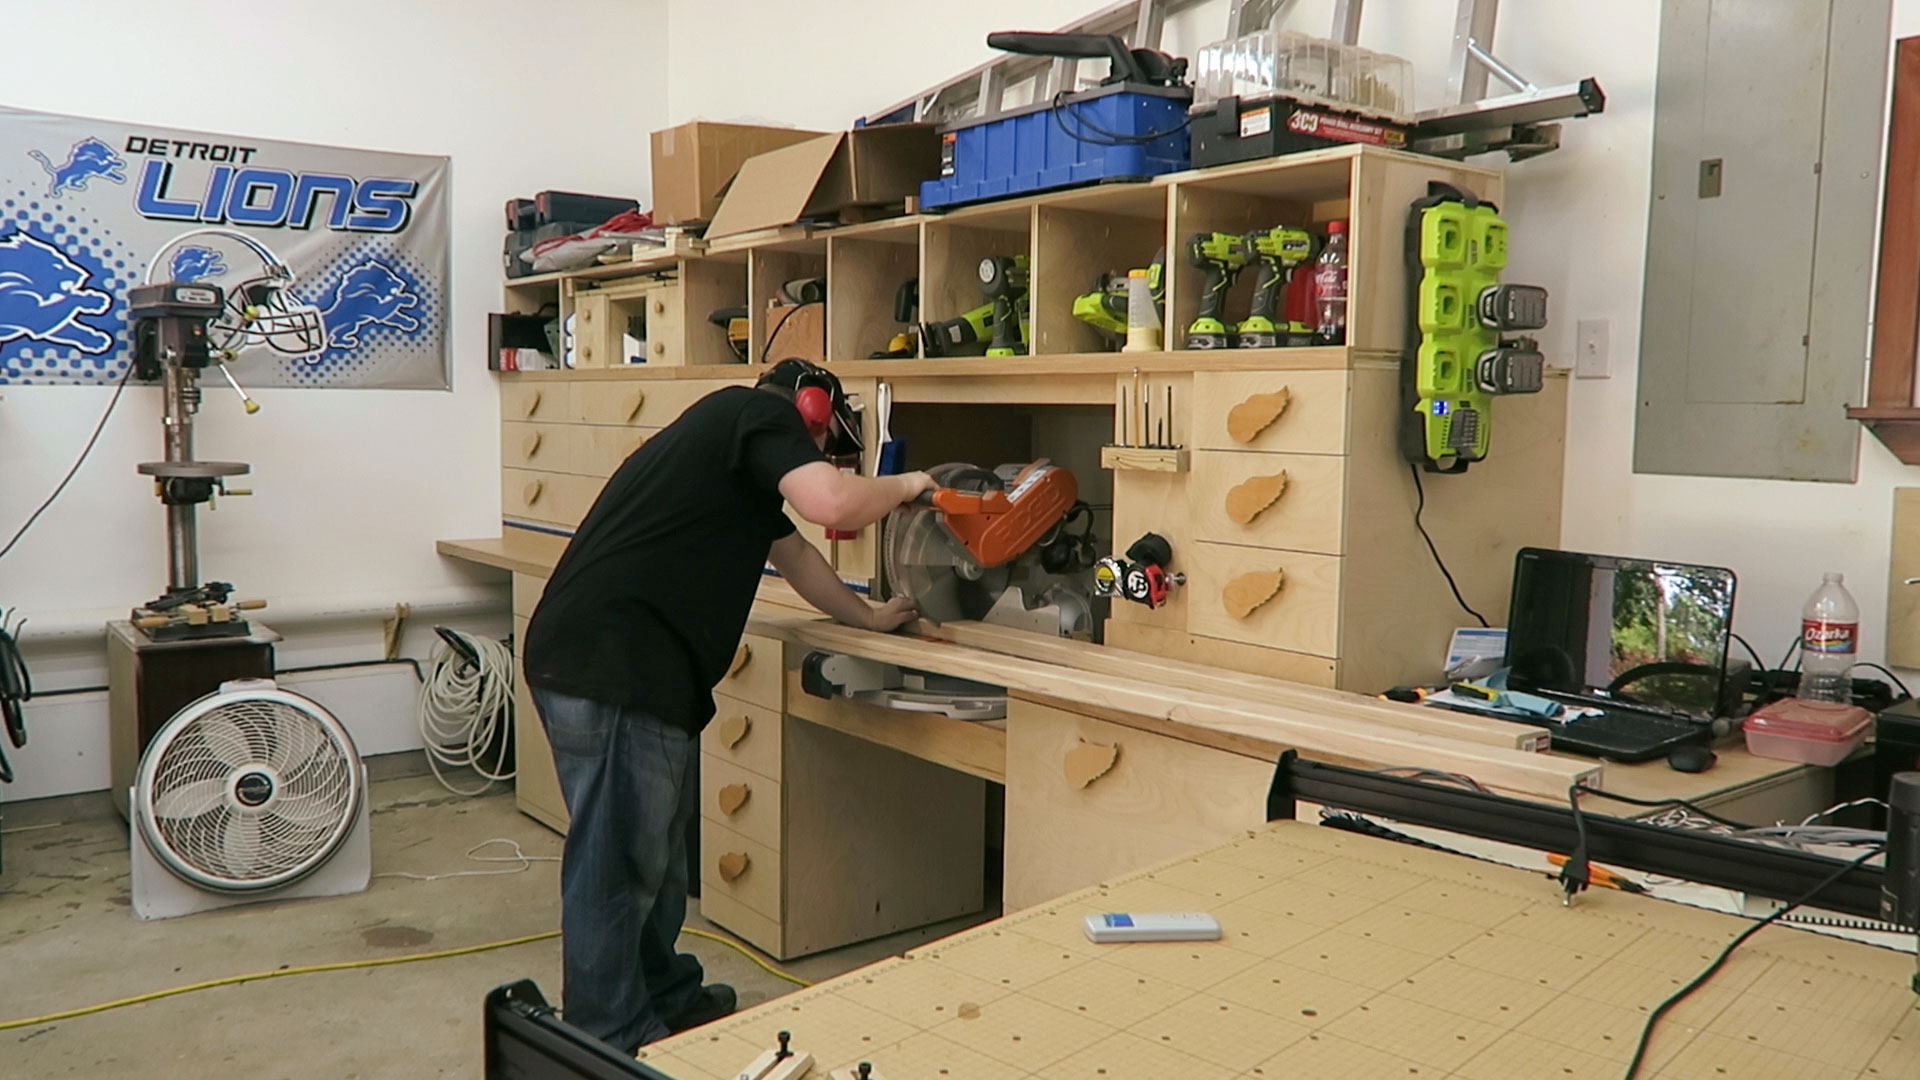
Hands down the best thing I have ever done to this shop or any of my previous shops was build this miter saw station. It’s incredibly convenient and the storage is a dream. All of the horizontal pieces were cut next.
Quick and easy joinery also means pocket holes. It’s hard to beat for shop projects and they are plenty strong enough for this application.

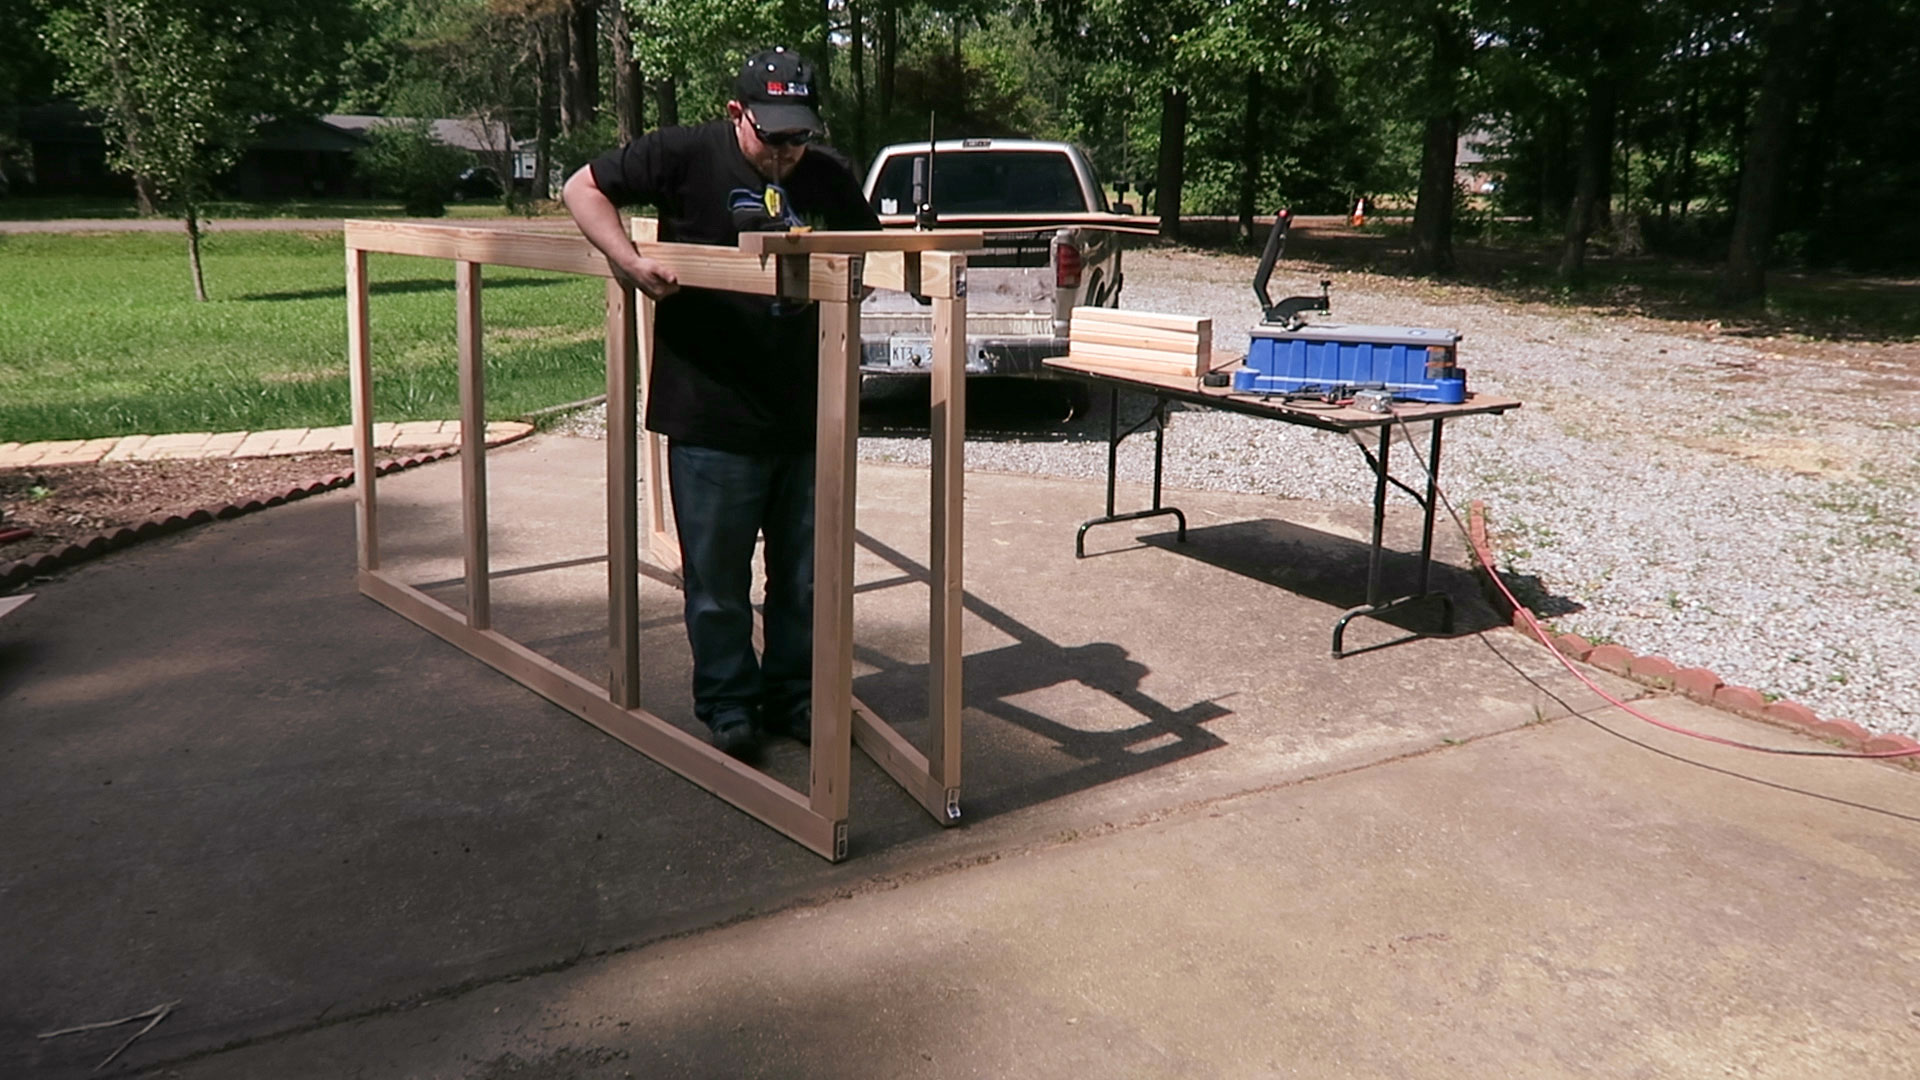
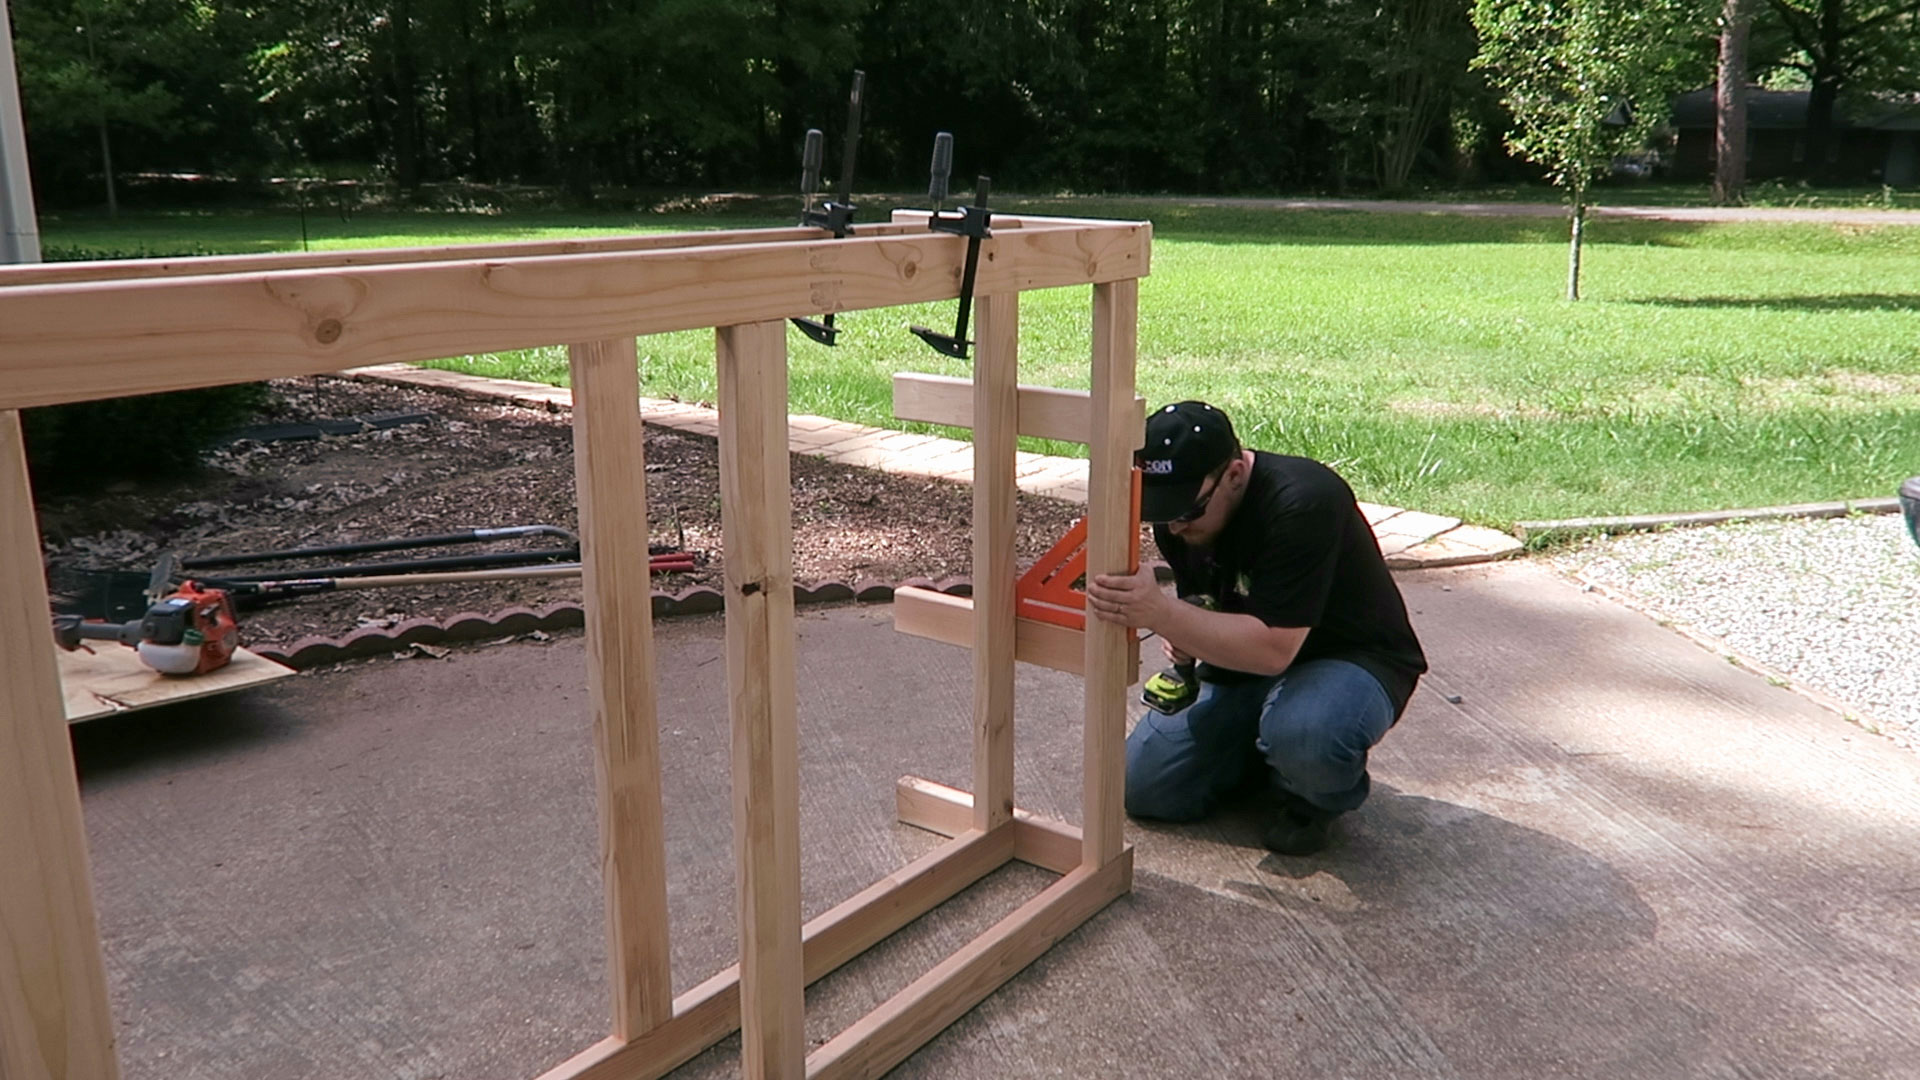
Each horizontal piece is spaced evenly and each joint uses two 2-1/2” pocket hole screws. Very quick and very easy.
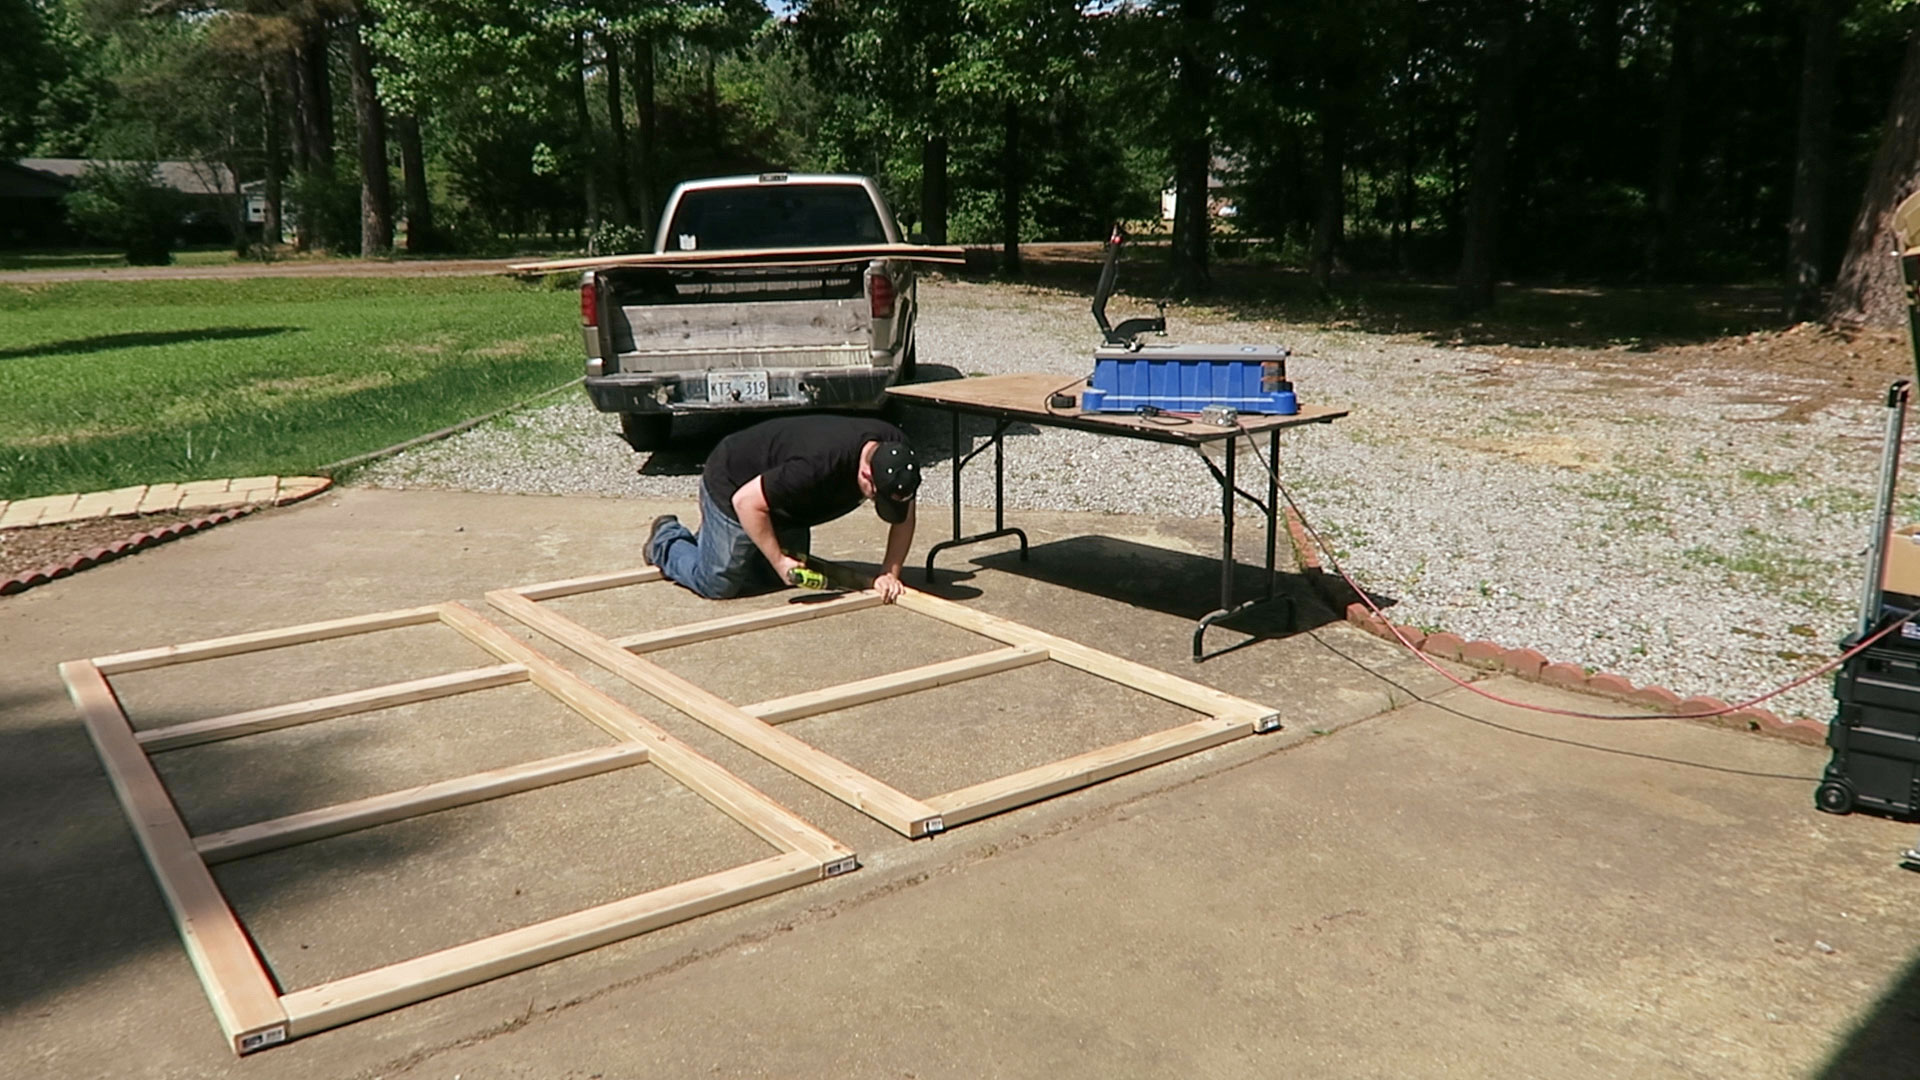
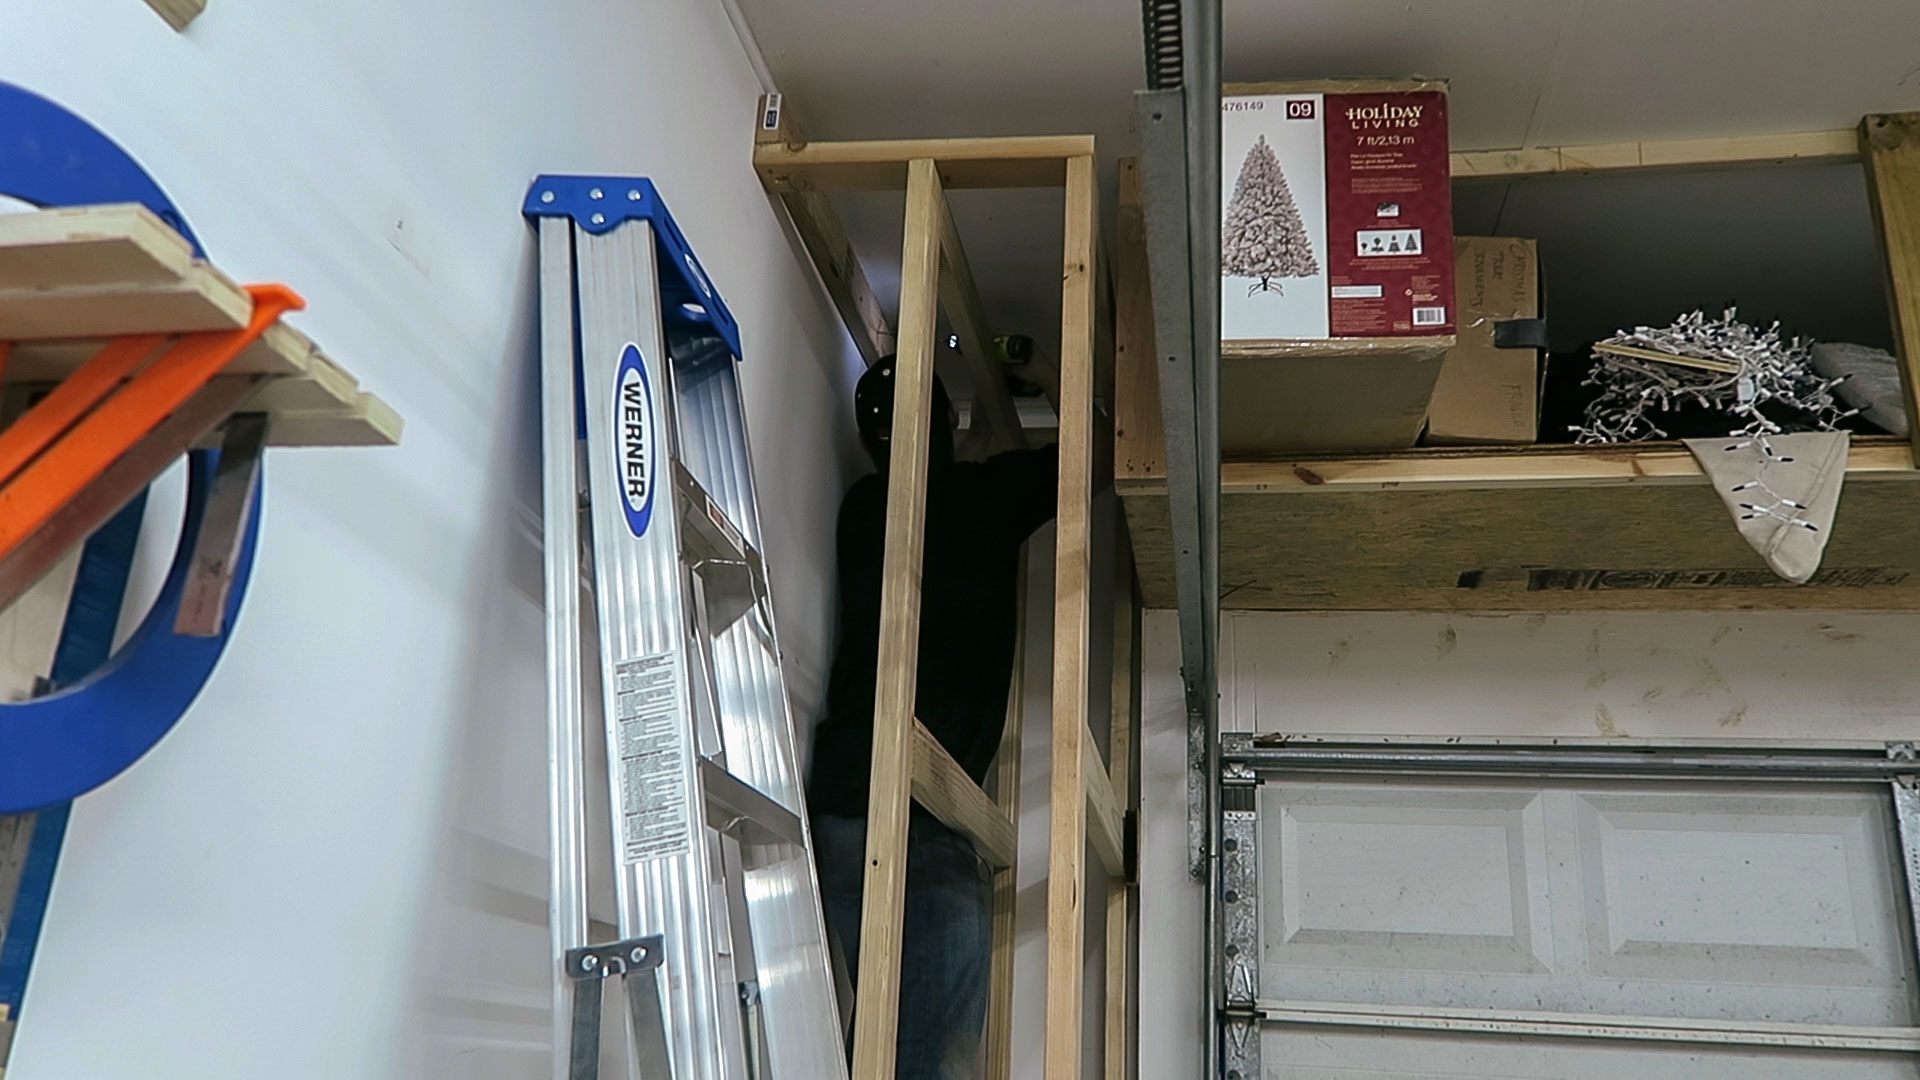
To attach the top and bottom pieces I stood the assemblies on their side and clamped on a few scrap boards to hold everything in place. Working outside was such a good idea as well. It was a beautiful day when I put this together.
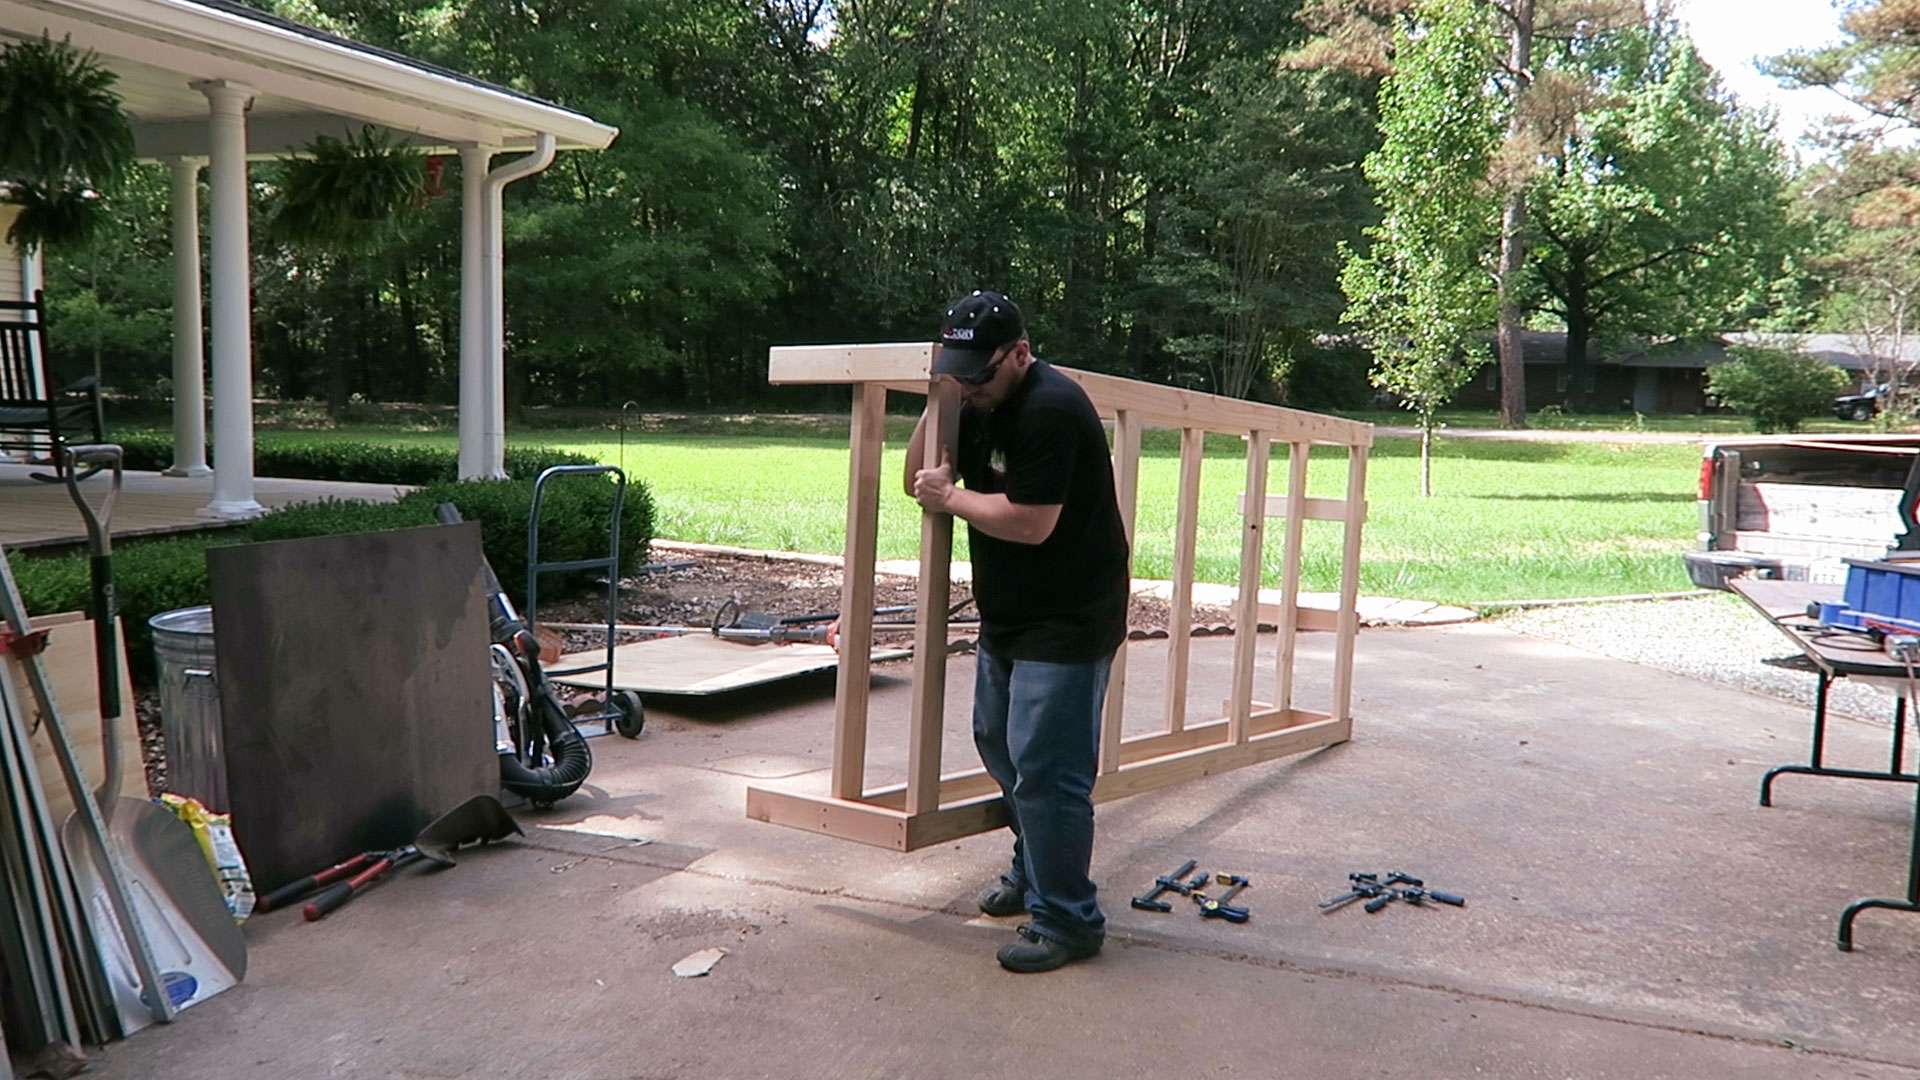
And finally the top and bottom pieces are installed. The bottom has four pieces to reduce snagging when sliding the plywood across. The top only has two as they are only used to space the vertical assemblies away from the wall and secure them in place.
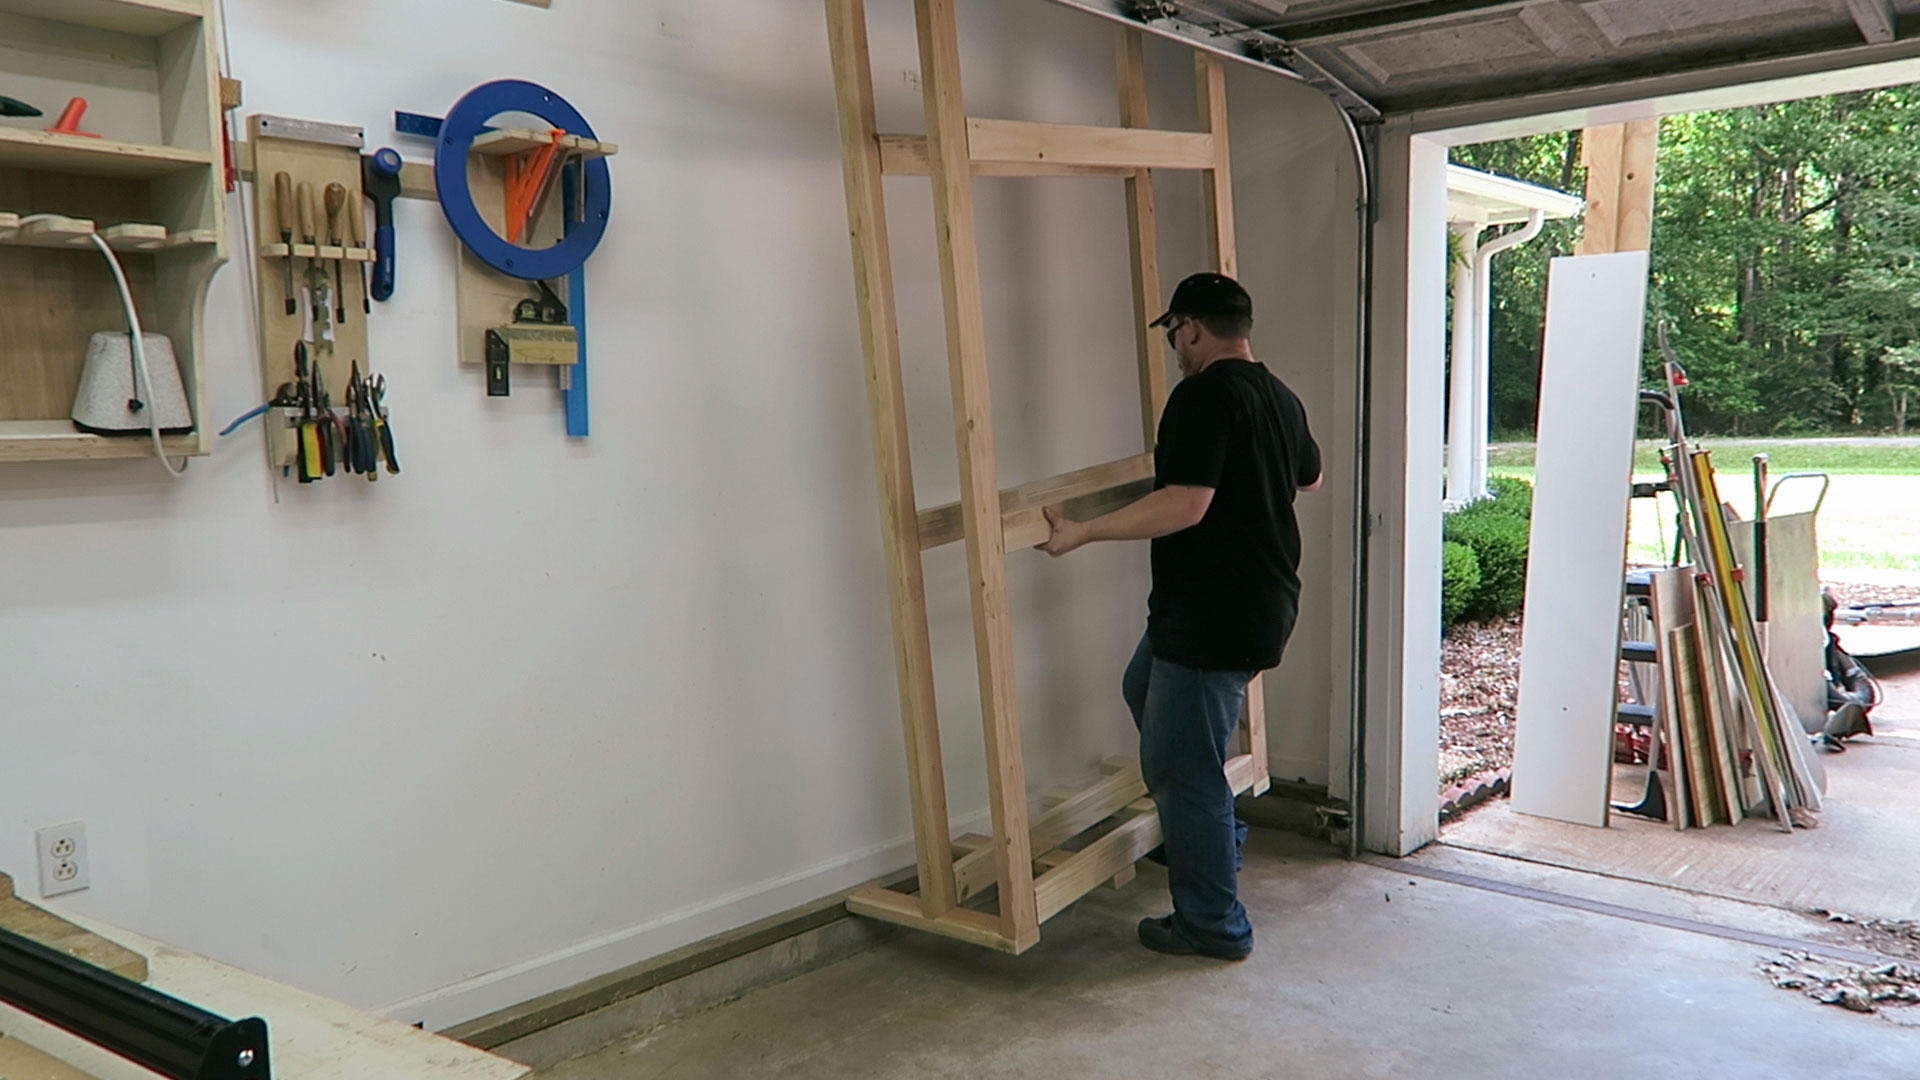
With the rack built it needs to be moved inside. This actually wasn’t that bad. I thought it would be the worst part of the project but it was really easy to move. Luckily pine is light.
My garage has an elevated foundation around the perimeter. On top of the concrete foundation is a piece of treated lumber to attach the wall to. I used this as the base height for the plywood rack to keep the plywood from getting wet from below. During heavy rains a small amount of water likes to puddle up in that corner.
The bottom is secured with a 3” screw at all of the horizontal piece locations.

This actually ended up being the hardest part of the project. I didn’t take into consideration how I would secure the top to the wall as I didn’t measure for the wall stud locations when I installed the top two horizontal pieces. So what I did was I secured a 48” piece of 2×4 to the wall making sure to drive screws through the studs in the wall and was able to secure the top horizontal pieces of the rack to the bottom of that 2×4.
Finally, to support the bottom I used a piece of 2×6 and some hardwood spacers to get the correct height. Then secured the 2×6 with screws from above.

I know this project is somewhat specific to my shop but hopefully you were able to take away a few ideas for your own plywood storage. I buy my sheet goods in bulk to reduce the number of trips driving so having a place to store them now is a relief. If you enjoyed this project perhaps you would like some of my other projects. Feel free to browse around the more than 400 articles on this site and sign up for my email newsletters so you don’t miss any new content. Take care, be productive, and thanks for stopping by!


Hey Jay. Nice rack, haha! I work in my basement shop and sheet goods are always a pain. I usually only buy what I need for a project and use my track saw to rip them down before taking them into my shop. I’d love to have the space for something like this!
Thanks Brian. I used to only buy what I need but due to the distance I need to drive to get decent plywood I always buy more than I need now. Thanks for stopping by!
Hi jay been waiting to see what you were going to do with this project. I have a similar space in my shop I am thinking about using a rack similar to yours but horizontal.
Horizontal was my first choice but I just couldn’t see myself giving up that much floor space.
I think you live in Seattle/Tacoma area? If so lots of rain (sell some to California)/moisture. Had you given any thought to a moisture barrier on the one side and end of the rack?
I live in Mississippi. It’s always humid here. Nothing in my shop has shown any signs of mold or mildew so I haven’t given it any though.
Nice build, will try and use your ideal for my garage. Keep up the good work.
Thank you Dylan. I appreciate it.
When you said you were going to use that corner, that really is the most efficient use of space. If you end up having problems pulling a sheet out when it’s full (because the sheets won’t over hang the frame), you can always put in a stop wall or 2 x 4 on the rack end in the corner. This way you’ll be able to get a grip on a sheet and pull.
I’ve already bought the conduit and wood for a smaller version of your other rack. Only mine will be 5′ off the ground. Gotta use what space you got and in a 16 x 10 shed, that’s what I got. Real nice job on the rack Jay.
Smart thinking Dolly. I’ll have to do that next time it’s empty. I’ve already loaded it up with full sheets. Good luck with the lumber rack!
good idea now I need a garage to be able to build one. we are currently looking for a house with a 2 car garage for me to use as a shop
When we were looking for houses the #1 priority for me was the garage. Good luck with your search.
Very nice Jay very simple but very effective
Thanks Nino. :)
Jay,
Been a fan for a couple of years now just wanted to say thanks for sharing.
Joe
Thank you very much Joe. I very much appreciate it.
Jay Nice rack. But why do you still stack wood out side of the rack. Thought the reason to build rack was to have all the wood stored in the rack. HA Ha
Also what do you do for a living?
The smaller pieces will go in a bin that I’m building this week. The goal of the plywood rack was to store full sheets of plywood as I buy them in bulk to save trips driving back and forth between projects. I currently create content for this website and my YouTube channel for a living.
I like the way you shoot your videos Jay. The music is good too.
Your no-nonsense approach to projects is refreshing and straightforward.
That shop is really coming along. Your plywood storage rack works well in that corner.
(And as a Bears fan, I cringe a little every time I see that Lions stuff, but your saw station really has come in handy.)
I agree with Jeff Peters, leaning smaller scrap against the new rack is counterproductive to building the rack in the first place. I’d consider building a 4 or 5 inch shelf with a lip at the bottom and stringing bungee cords from the bottom to the top to hold the wood in place.
The smaller pieces will go in a bin that I’m building this week. The goal of the plywood rack was to store full sheets of plywood as I buy them in bulk to save trips driving back and forth between projects.
it would be better if you have slotted angle rack of 3′ wide x 1.25′ Deep x 6.5′ height with 5 shelf’s ,you can store small pieces of Ply in it and on the top you can store wooden reapers, beadings etc.,
Jay….If you live in Mississippi, why are you a Detroit fan? I’m sure there are local teams that would appreciate your support.
Other than that I like your work and look forward to viewing more. HA….GO ole Miss!
Great idea Jay! i am going to try and copy it , but my garage is about 8ft 2″ so it might be a little bit of a squeeze to make it work.
How well does the wood slide out ? if I had enough room I was going to use a hole cutter and make some small individual wheels and mount them on a spindle so each sheet would roll in and out on them.
The fact that it is specific to your shop is no downside at all. Overall, your insights and approaches to problems are at least as helpful as your specific plans; thanks for sharing them.
Thank you very much for your feedback John. I appreciate it.