UPDATE: I posted a really quick update to this to show a slightly better way. But it won’t make sense until you read/watch the original first. The update video is at the bottom of this article.
I picked up my very first jointer a couple of months ago. I did the research on the whole 6” vs 8” jointer debate and settled on getting the 8”. Since the instant it was tuned up and ready to rock and roll I immediately had a slight regret for not saving up more and getting the 12” model. For what I do in my shop could I have really justified the 12” model? Probably not. I still think the 8” model makes the most sense for the projects I make. But I just so happened to have a 11-1/2” wide piece of sapele that I really would have loved to planed at full width.
I forgot about that board and moved onto the next build which was my chest of drawers. Nearing the end of that project I again had a slight regret for not saving up for the 12” model. I forget the exact width of my drawer fronts but they were indeed wider than the 8” cutter head in my jointer. Instead of using the jointer I skip planed them slightly back and forth until I got a somewhat flat board. It wasn’t perfectly flat but it was good enough for what I was doing.
Now I have seen several people joint boards wider than their jointer and clean up the extra non jointed material with a hand plane but I really didn’t want to use a hand plane for this. I figured there would be a faster way to just use the planer as it was already the next step in the milling process. So after some thought I came up with the idea to use a spacer board to extend the jointed face down to the planer bed only to find out it’s a common technique that people have been doing for a while. I didn’t realize this until after I shot the video so there probably wasn’t a need to shoot a video. Nevertheless, hopefully someone who possibly isn’t aware of this technique can benefit from it here. The first step is to remove the jointer guard as the material won’t pass it. If you feel uncomfortable doing this than don’t do it. Be safe.

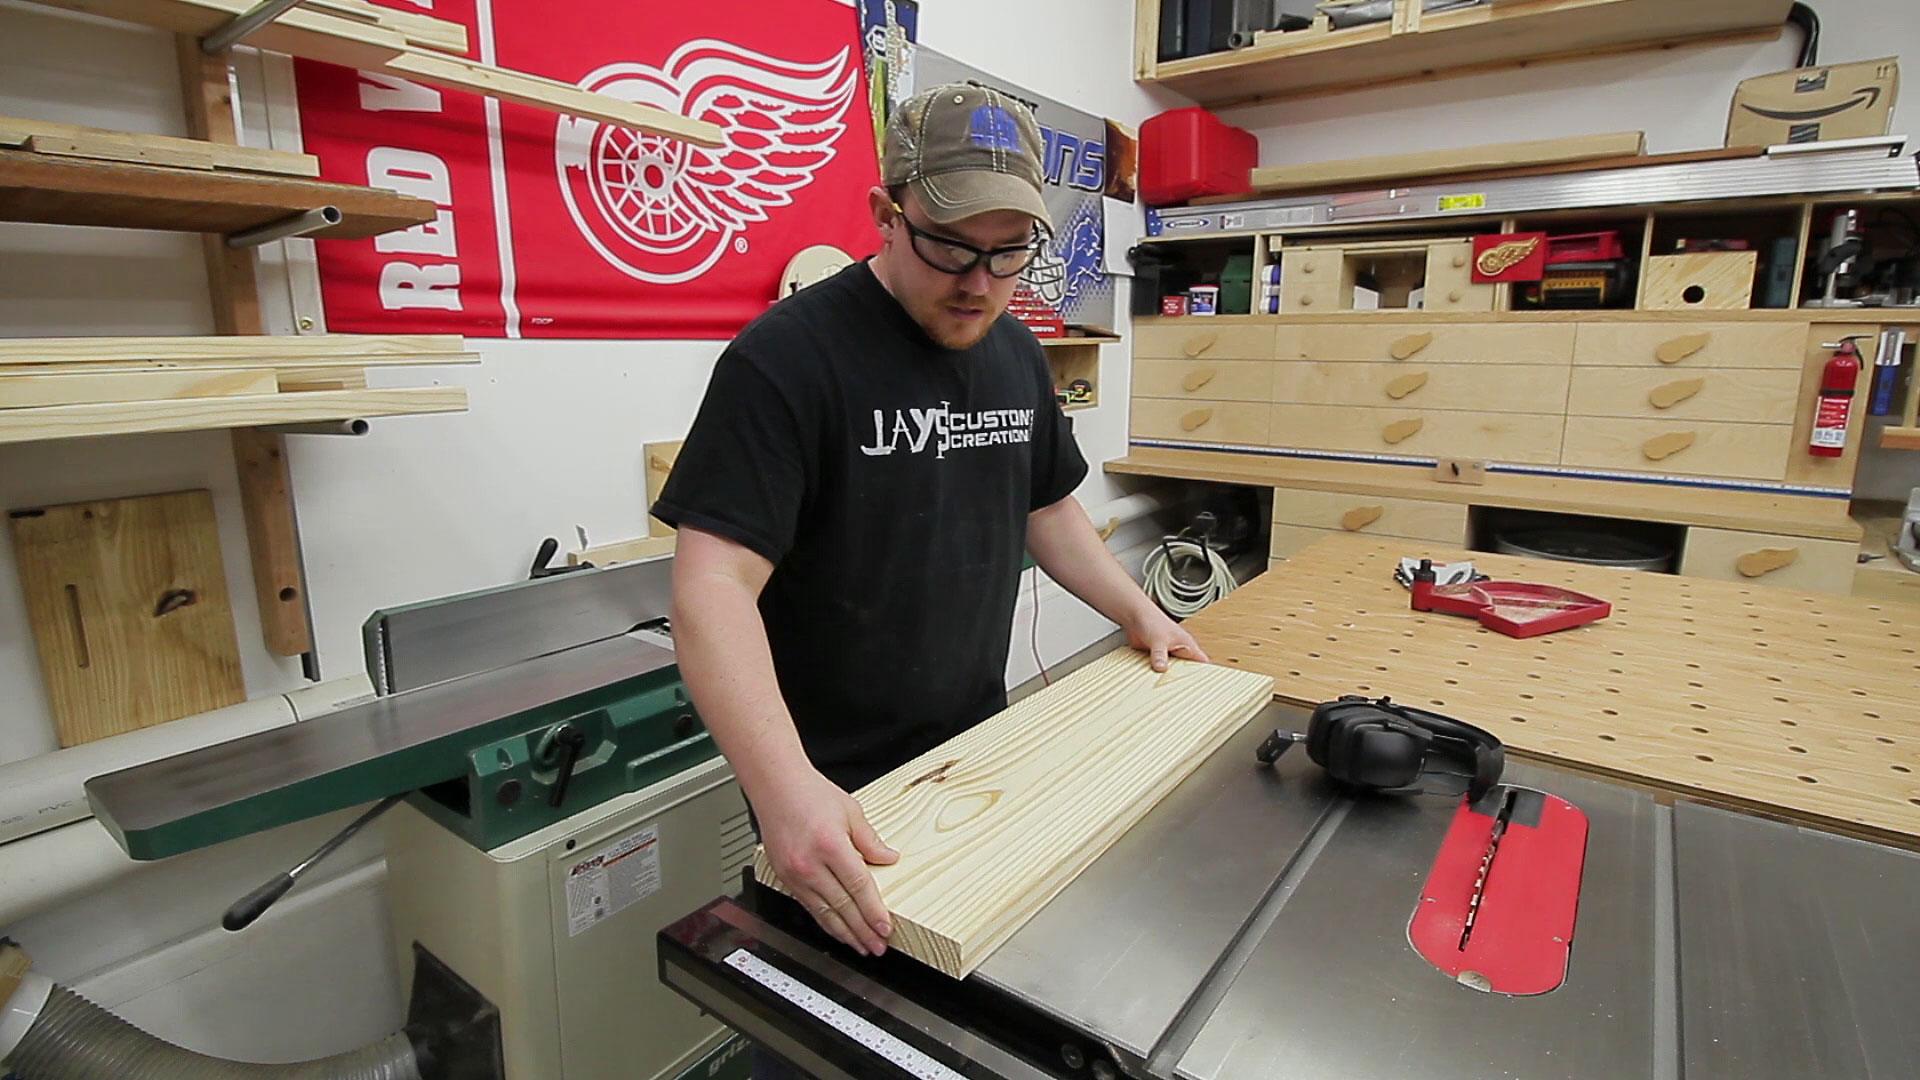
With the jointer guard removed the stock can be jointed as it normally would. I’m using a 9-1/4” wide board and as I said previously my jointer has an 8” wide cutterhead.

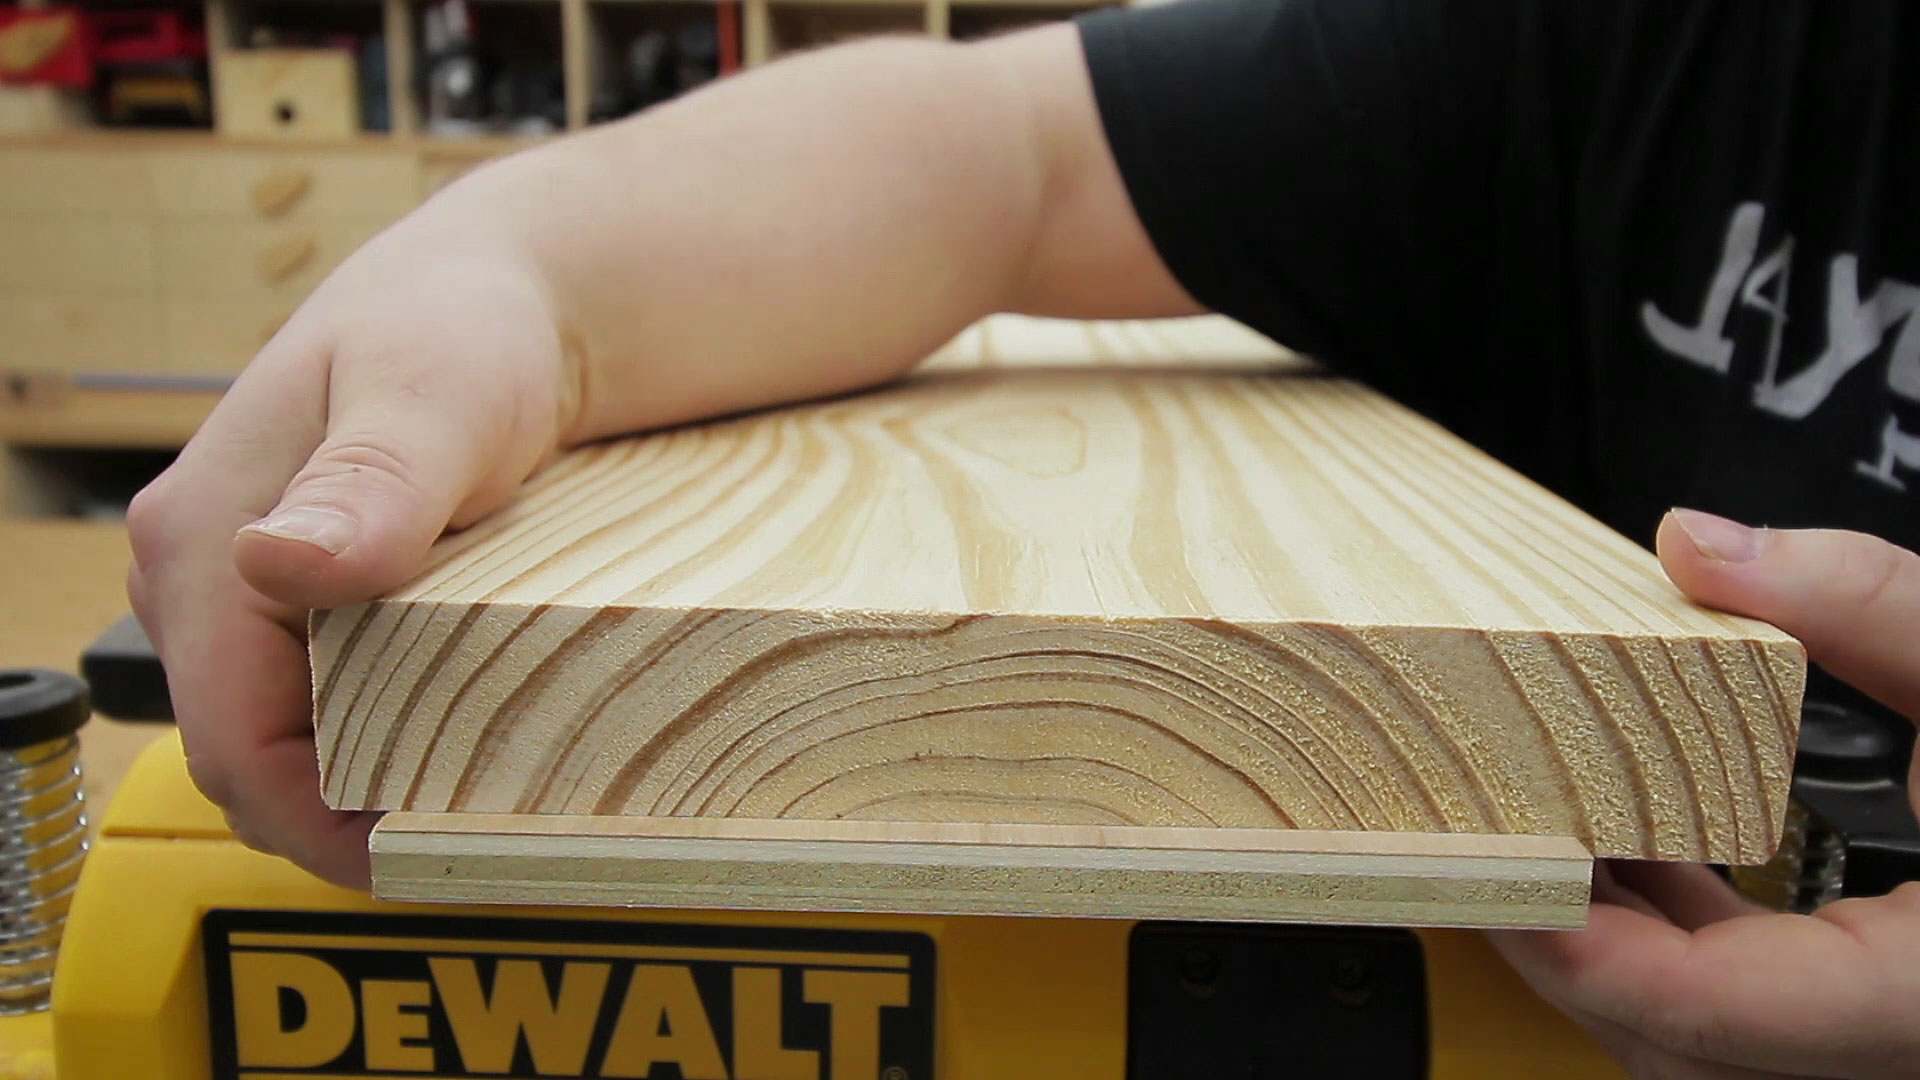
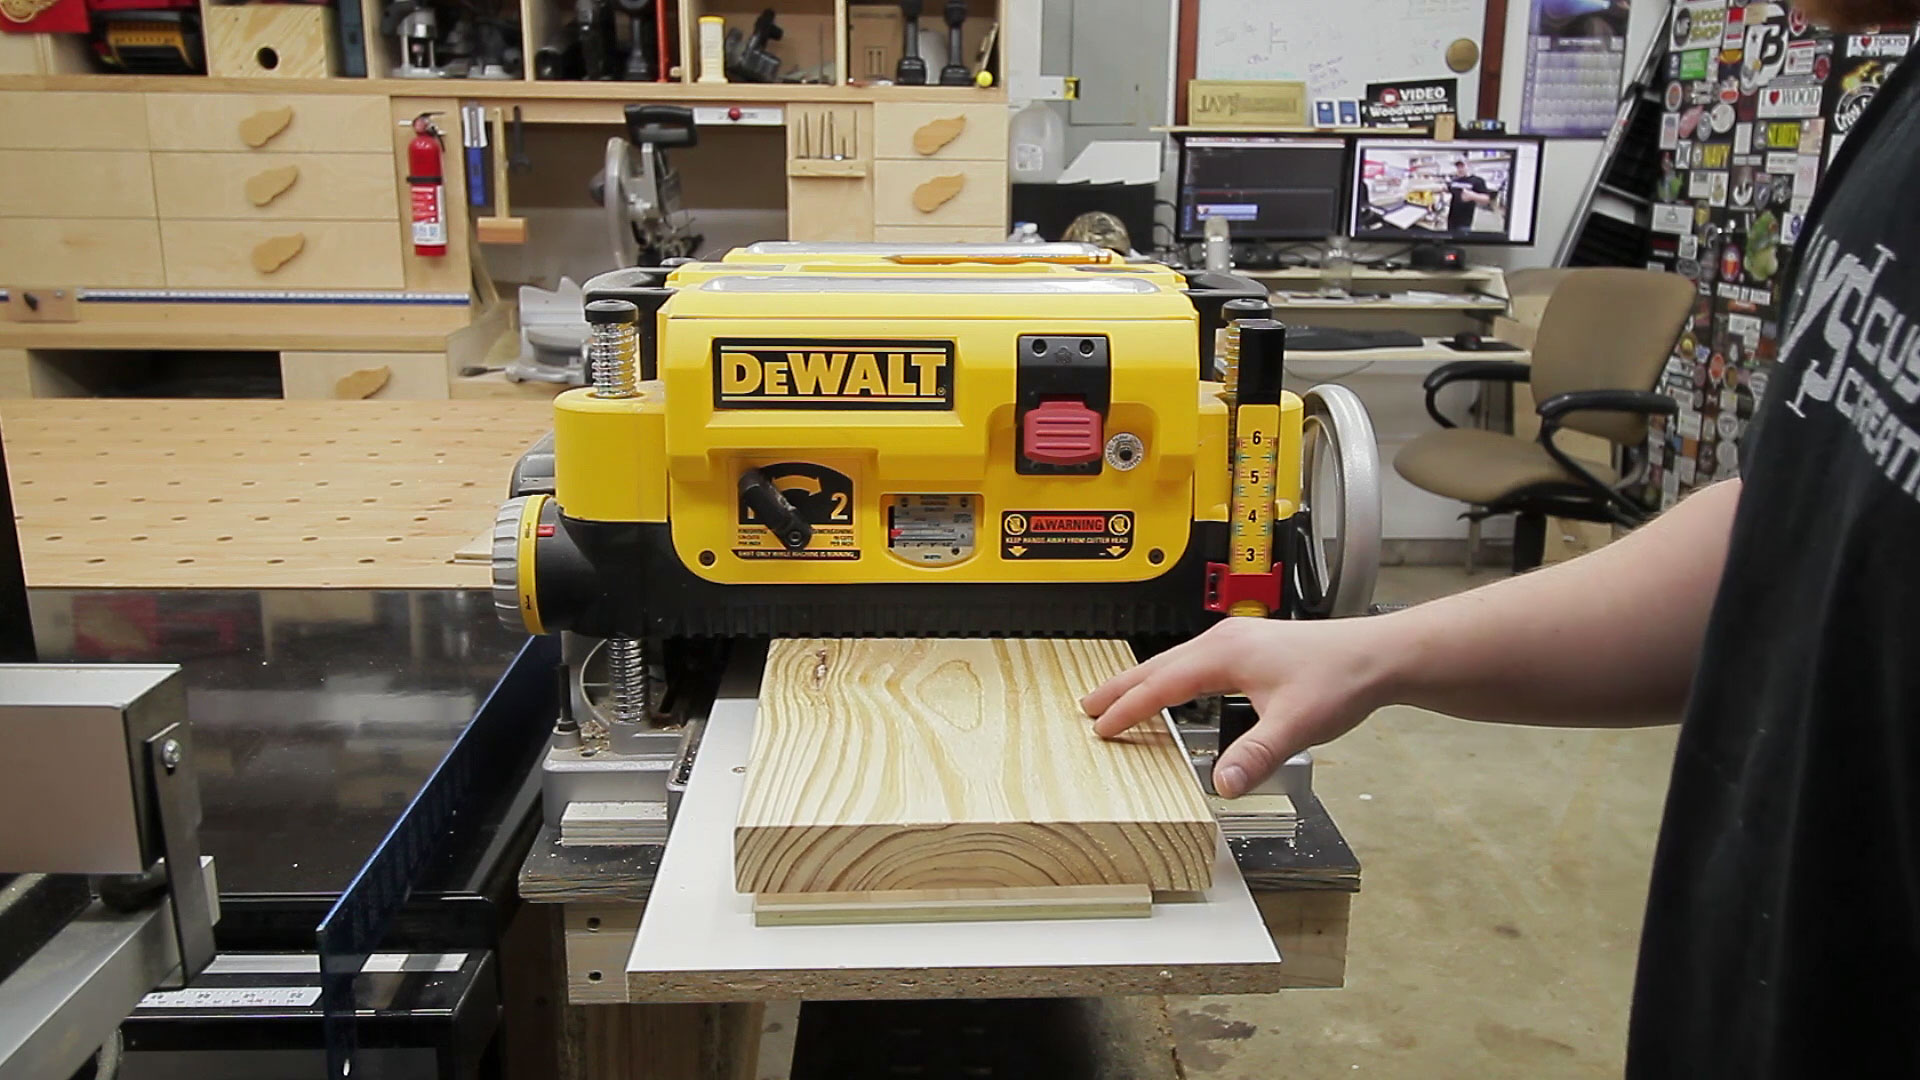
Next up is the thickness planer. The following image shows the jointed face on bottom resting on top of a piece of 1/2” plywood with the non jointed overhang on the right. The purpose of the plywood is to act as a consistent thickness spacer to transfer the jointed face to the bed of the planer.
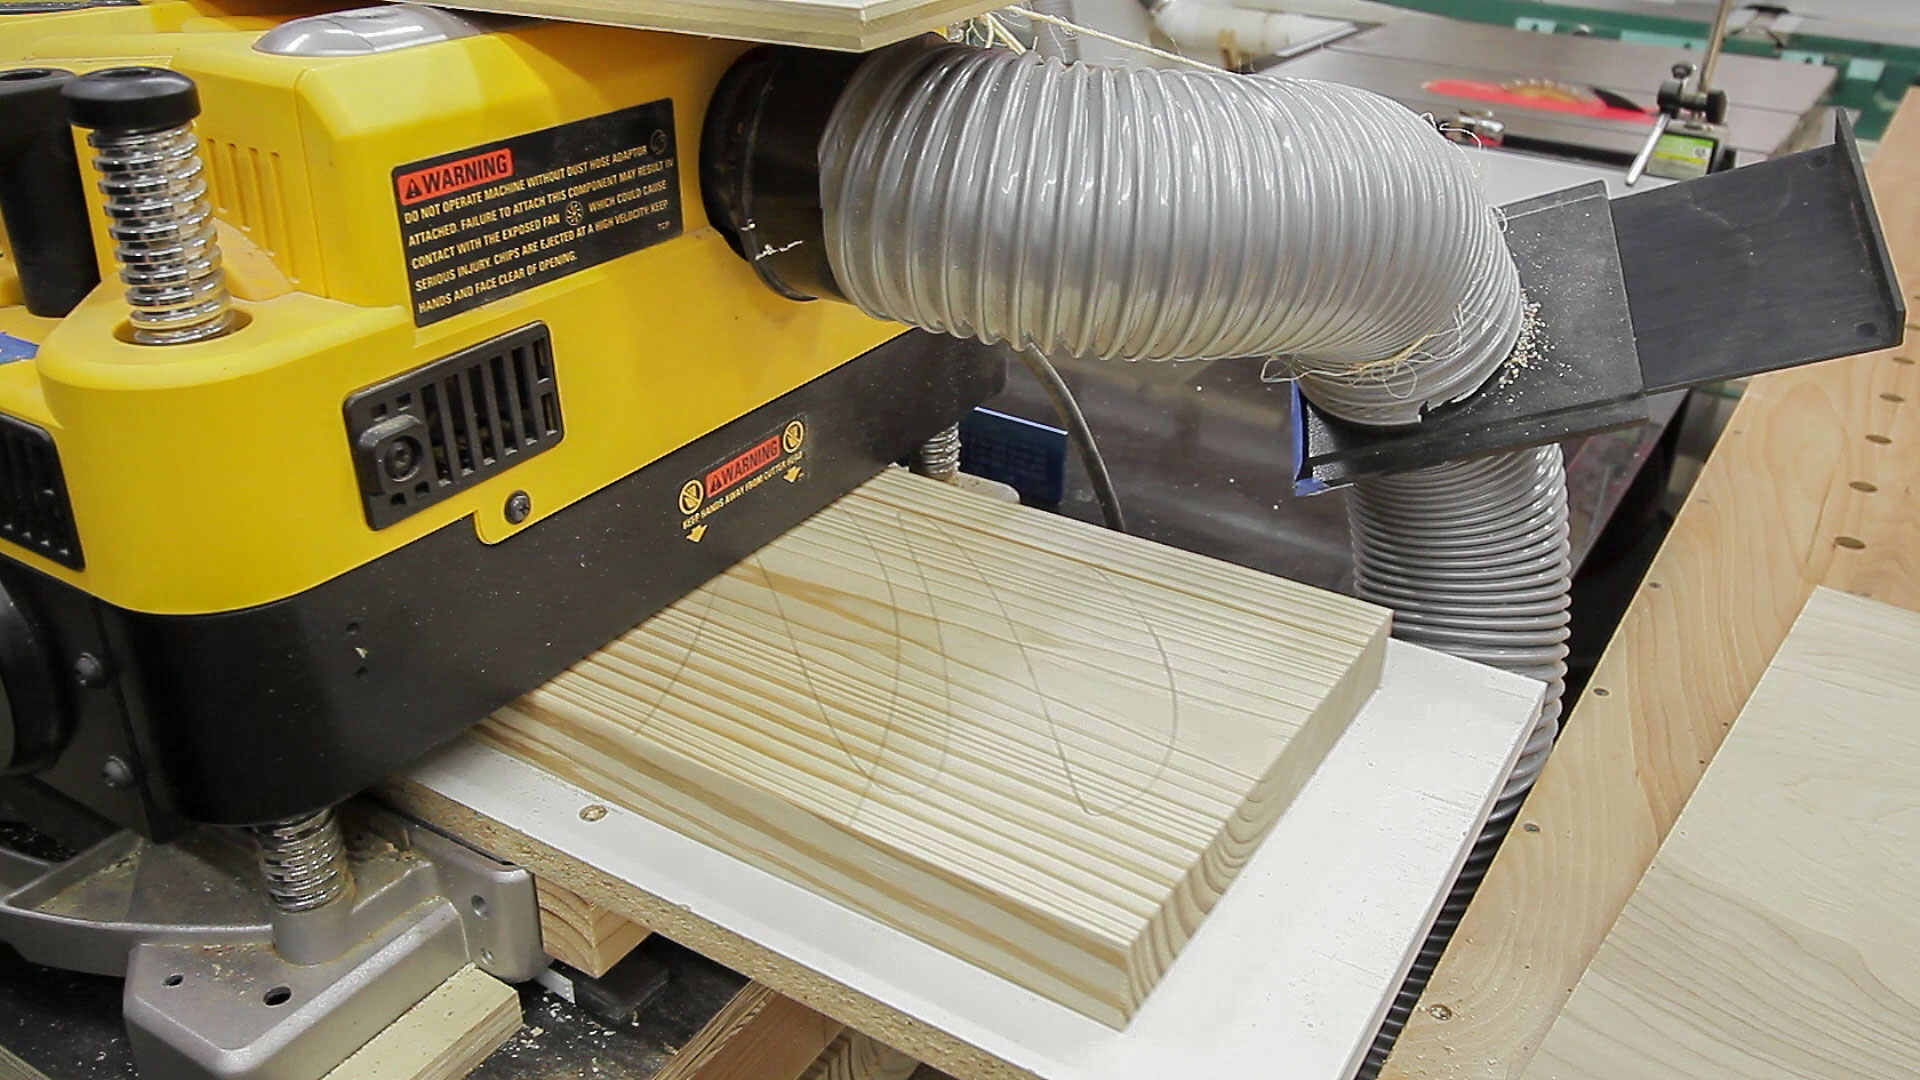
Then the planer can do what it does best…plane the other side. After a couple passes the top face will be flat and parallel to the jointed face above the plywood spacer.
After the top side is planed flat and parallel it can now be placed on the bed of the planer and the planer can remove what material is left from the original jointing process. A couple quick passes and it’s gone revealing a second flat and parallel face.
A quick check against the flattest surface I have in the shop and the board is confirmed to be flat on both faces. So yeah….flattening a board wider than the jointer. Keep in mind that if you don’t even have a jointer you can build a planer sled to essentially face joint boards on the planer. Even though I had my planer for a couple of years before getting a jointer I never went through the process of building a planer sled. I always viewed them as a bit inconvenient. Anyway I hope able to be of some help to someone out there. Have a good one folks!
UPDATE/BETTER WAY: Jointing Stock Wider Than Your Jointer


Great tip Jay! I never seen this technique used. I will use this next time I’m in this situation. Thank You!~
You’re welcome Michael. Thanks for stopping by.
Brilliant!
Thanks Dan.
That was a great idea. Like you plainer with the spiral cutting head.
This is mayde not a question you will respond to but I am going to ask any way.
What do you do for a living that allowes you to do your woodworking videos and but premium woord working tools.
Jeff
Hey Jeff. I make online content for a living. This website accounts for about 75% of my income and YouTube is the other 25% or so. Most all of my revenue is from ads being displayed on this website and on YouTube.
I really like getting tips like this. I like them as much as projects. I hope you continue to share tips in the future.
Thanks Daryl. I appreciate the feedback.
Great info and technique. I have a 6″ jointer and run into this problem regularly. What is the solution for those that only have a planer? Keep up the great videos! Thanks Jay!
Hey John. The solution for those with only a planer is to build a planer sled. Here’s a good example for a planer sled: http://www.jpthien.com/ps.htm
Good info but i don’t have a jointer only a planer so that sled looks great.
thank you Jay.
Jay one more thing i built a box to hold a warped board then used a plunge router to flatted the board.Works of but very slow. Taped board down with shims.Have a large clear plastic base on router.
Ron
Thanks, Jay. It was nice to learn two ways of doing it. You’ll never know when you will need both skills to do a different project.
Jay, this is definitely a great tip. The use of this will surely come in handy whenever this situation comes to light. Thanks!
What size machine to get is a problem we all face regardless of what work we do, wood or metal. The best advise I got was to just get the biggest machine I could afford and fit in my workshop. If it handles 90 – 95 % of what you make, that’s OK. You could have a machine 10 ft wide (if one exists) and you’ll still find one job that’s 11 ft wide.
There are other ways around flattening wide boards such as using a router sled on parallel rails. I’ve seen a video of a slab at least 6 ft wide and over 20 ft long being flatten using that method and have used this method to flatten a 2 ft wide bench top.
Then there is the way timber was flatten by our grandfathers long before any woodwork machinery, using a Scrub plane, Jack or Fore plane and Smoother plane along with winding sticks. This worked 100 years or more ago and still works today.
Pete
That is a great tip. Haven’t seen it done that way before.
What is the make and model of your jointer
From the color I would guess it is a ‘Jet’ 8″
Brilliant! especially the second one!! Thanks.
Jay, thanks for the video very timely. I have a 6″ jointer and a very old Craftsman 10″ planner. I like the planner base extension. How long are the extensions from the actual planner base? I really enjoy you videos – very well done.
Hey Michael. I just measured and the infeed edge is 22″ from the cutterhead and the outfeed edge is 18″ from the cutter head.
What size is considered an ‘Aircraft Carrier’ !??
Absolutely something I’ve been wanting to know how to do. SO GOOOOOOOD to have someone post a simple method. Especially the second video. That one is the one I’m going to my shop and use TODAY!!!! Thank Jay!! Keep those videos coming. So glad I subscribed to your site!!
Thanks for the feedback Jeff. I’m glad you find it useful.
Do you have a video on flattening a board simular in warp and cup but 3in to 4in in width with only a table saw and a old craftsman jointer or do you know of a site
for one? beautiful video and site never the less. Kevin
Love it!! thanks
Jay,
As always great info/video!
Here’s my question, Why joint a board like that over just running it through the planer? It seems to me (I’m a novice and have neither planer or jointer and am trying to learn) they kinda do the same thing, but one is best for the wide surface and the other for edges. I’m sure I’m way wrong but can you explain the logic? I’d appreciate it
A planer will not remove a bow, cup, or warp to a board. It will just reduce it’s thickness. If a board is cupped the rollers on the planer will flatten the cup, then plane material, then when the board exits the planer the cup will spring back.
This is genius! I have a few boards in my shop that I want to use but are wider than my jointer and I didn’t know how I was going to get a flat surface. Thanks for this great tip, Jay!
Just letting you know that, five years later, this is still helping folks. I got a six inch jointer at an estate sale this week and was just wishing it was bigger. Then I found this and realized that I don’t need it any bigger! Thanks for the info.
Glad to hear that. Thank you, Marshal.