The primary reason for me to make my workbench was that I started to have more interest into working with hand tools. And having a dedicated workbench specifically for hand tools has proven to be an absolute pleasure in the shop. Since making it I’ve stored my hand tools in various different areas. I even made a hand tool tote specifically for transporting and storing all of my hand tools. But regardless of where I was temporarily storing them I knew the end goal was to make a dedicated hand tool wall.
A hand tool wall has a few benefits. It stores all of the tools you frequently use in a first order of retrieval situation where nothing is prohibiting each tool from being grabbed. It also allows you to glance at the wall and instantly know if a tool needs to be returned or not. And quite frankly, every hand tool wall I’ve seen has looked pretty darn awesome.
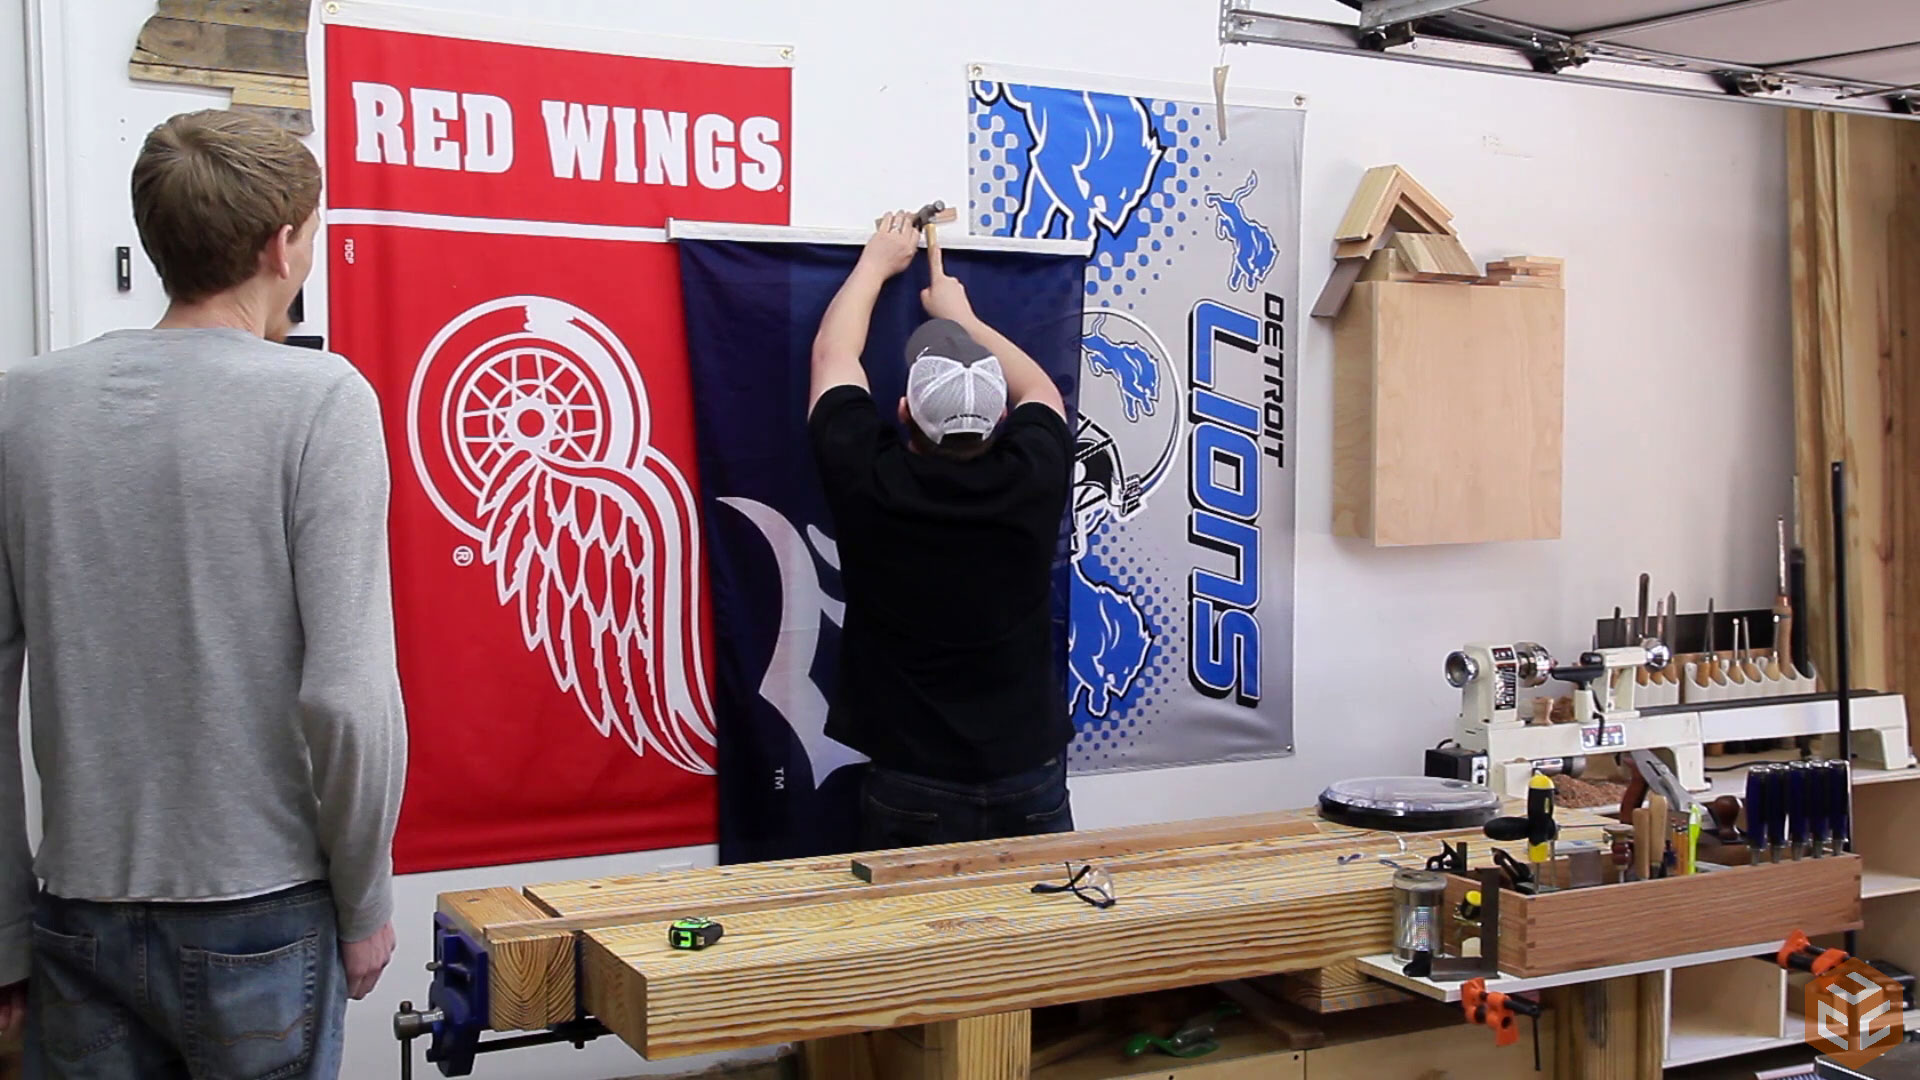
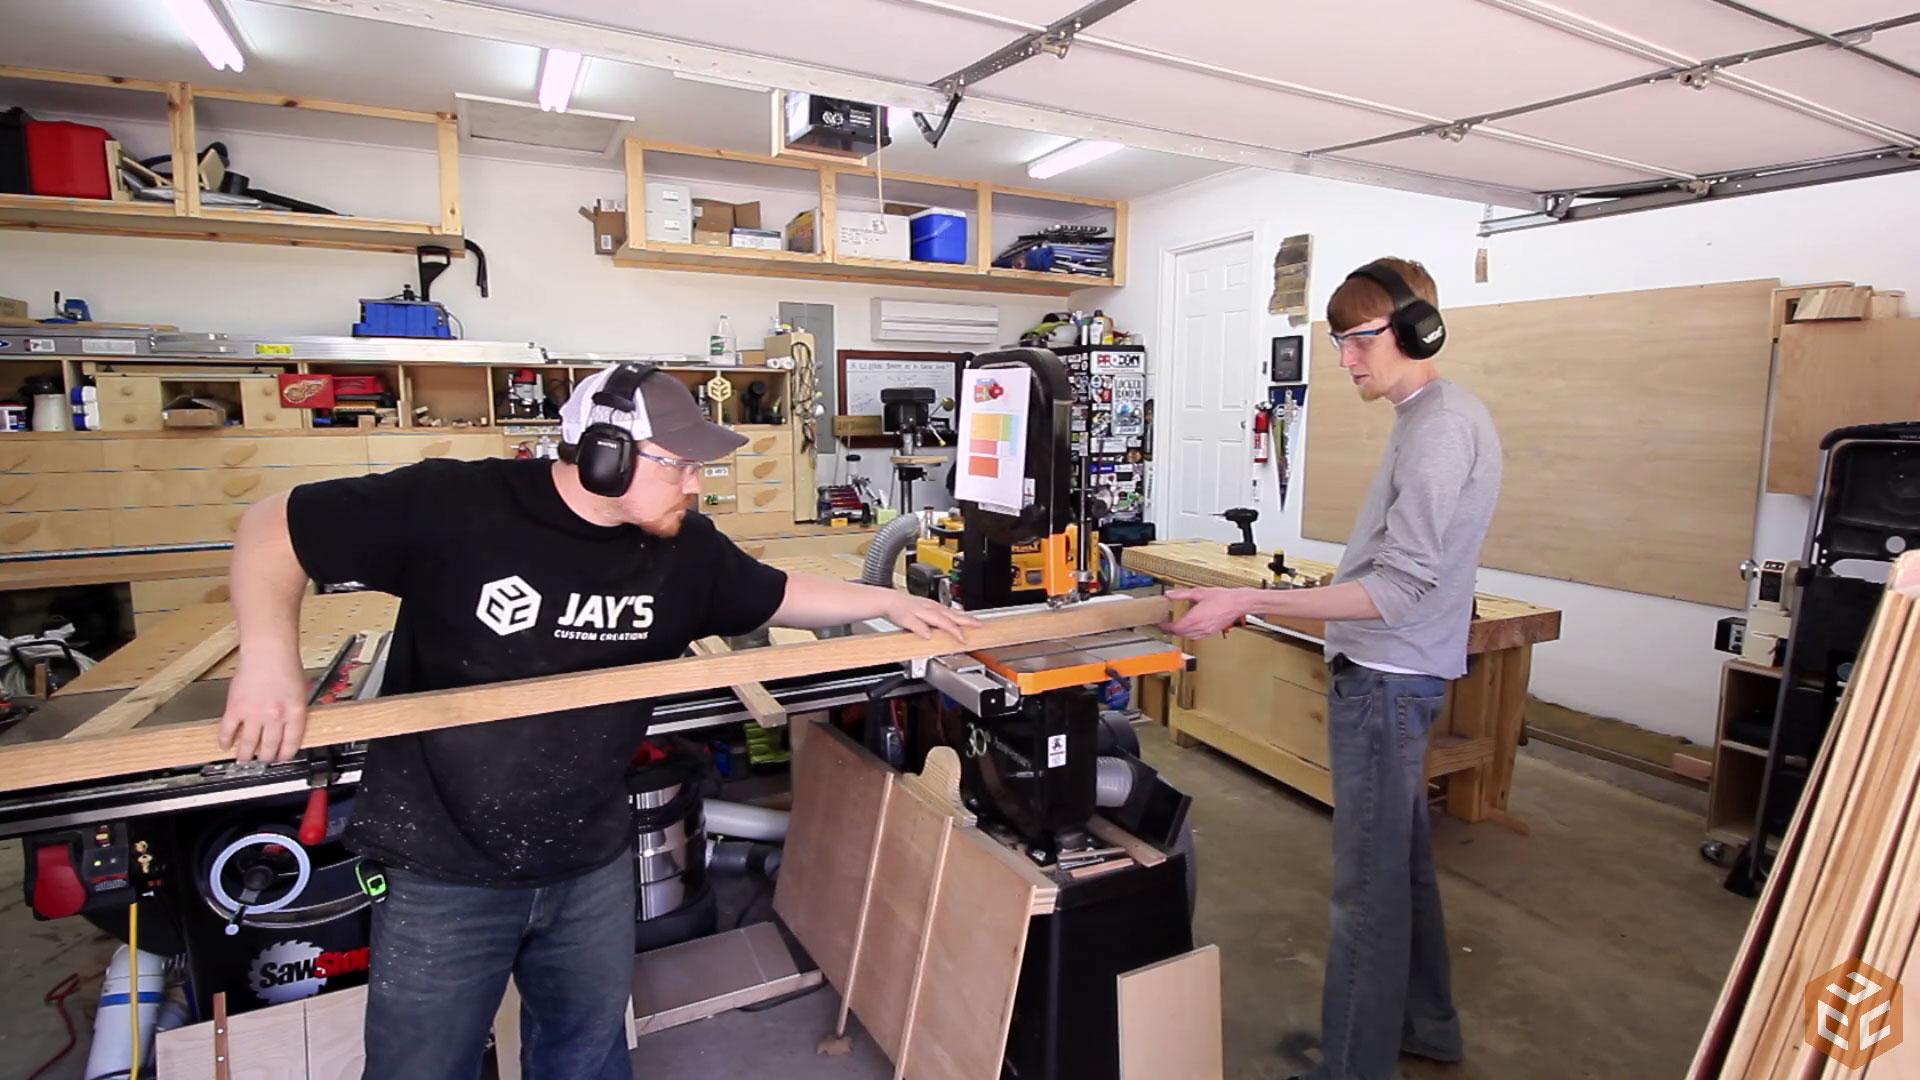
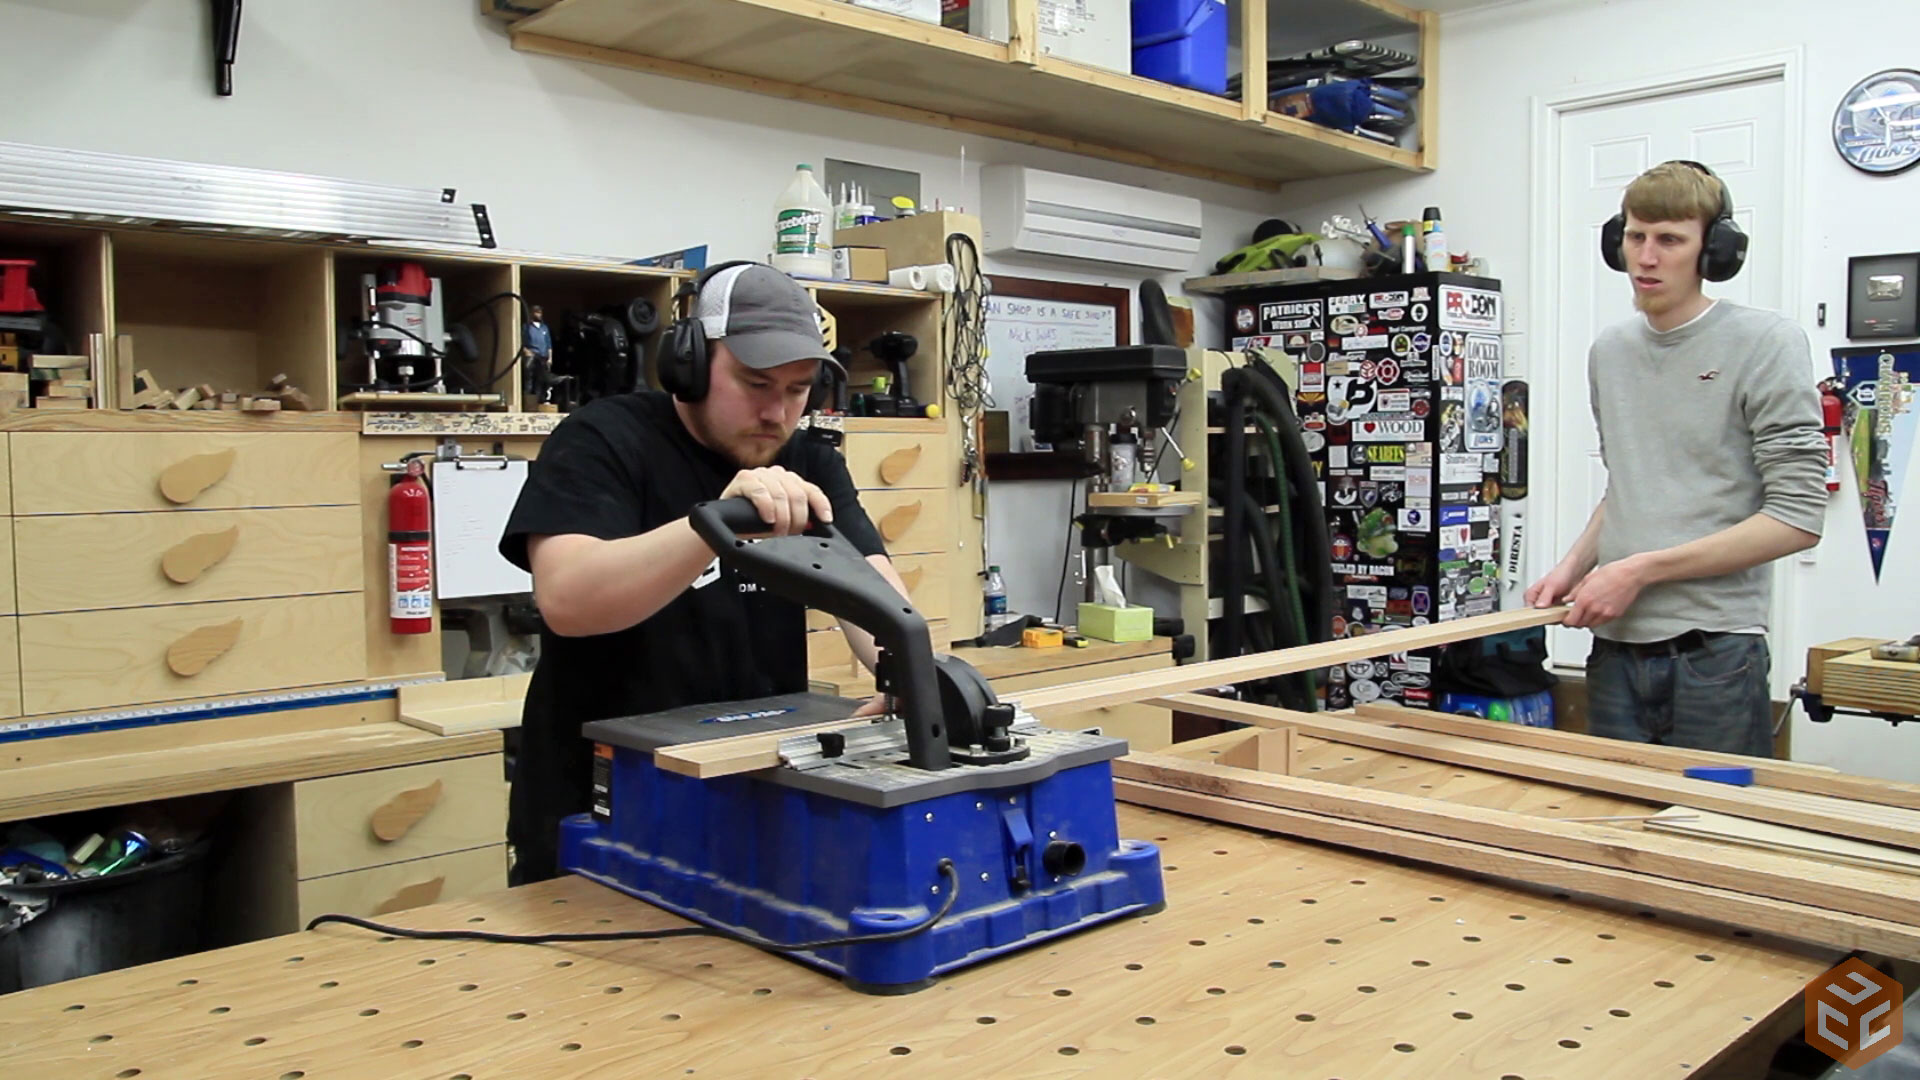
I had some help for this project. Matt Lane was in town visiting so I had him give me a hand with the project. He previously built a tool wall for his shop so having some first hand experience as to what works for him and what didn’t work for him was an added bonus. Matt has a YouTube channel as well so be sure to stop by and subscribe if you like his videos. The hand tool wall will obviously go right behind my workbench so this meant the flags and other items had to come down. Don’t worry though, I already found the flags a new home above my miter saw station.
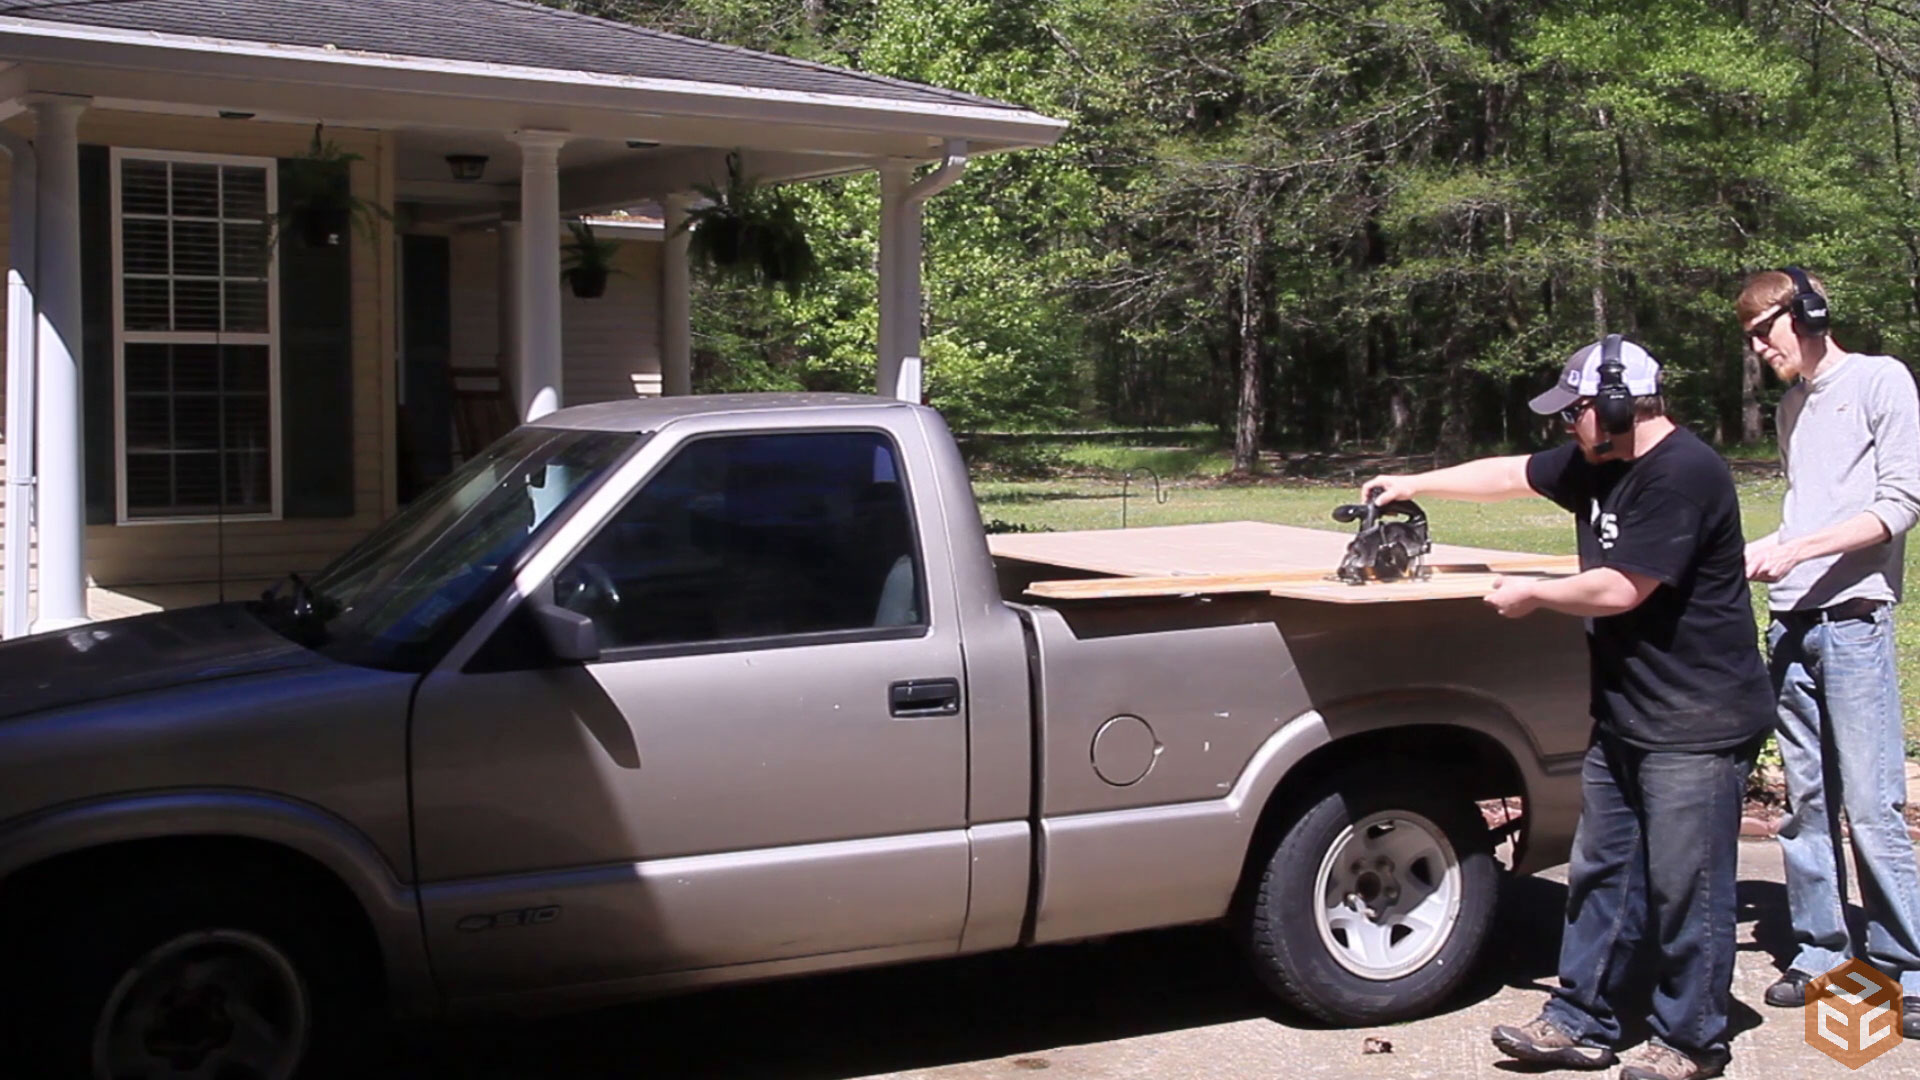
A full sheet of plywood was just a bit long for the space I had available so we used the bed of my truck like a set of sawhorses to trim off 12” from it’s length. The tool wall would then be 4′ x 7′. The plywood I’m using is PureBond hardwood plywood. Made in the USA and formaldehyde free.
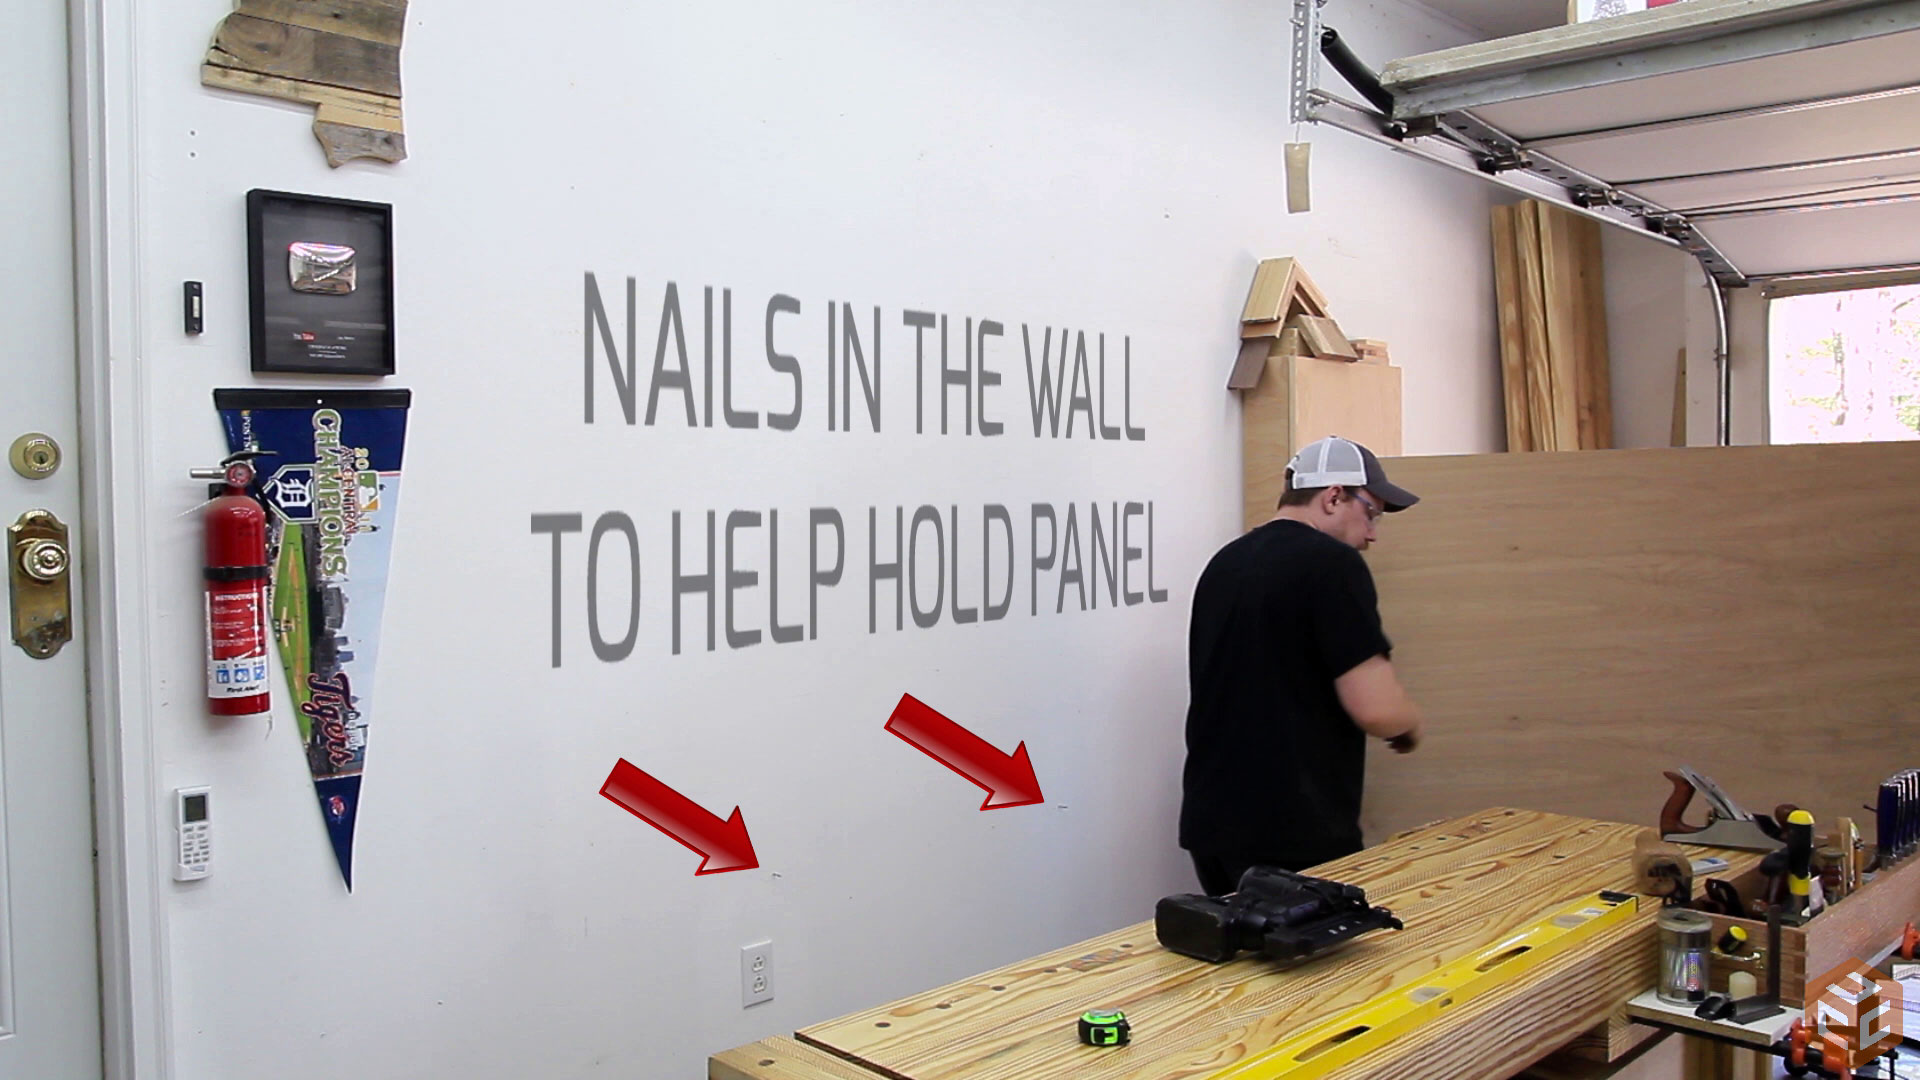
The panel will be secured to the wall with screws through the wall studs. To help hold the panel in place before it was secured we drove a pair of finish nails into the studs where the bottom of the panel will be making sure the nails were level.
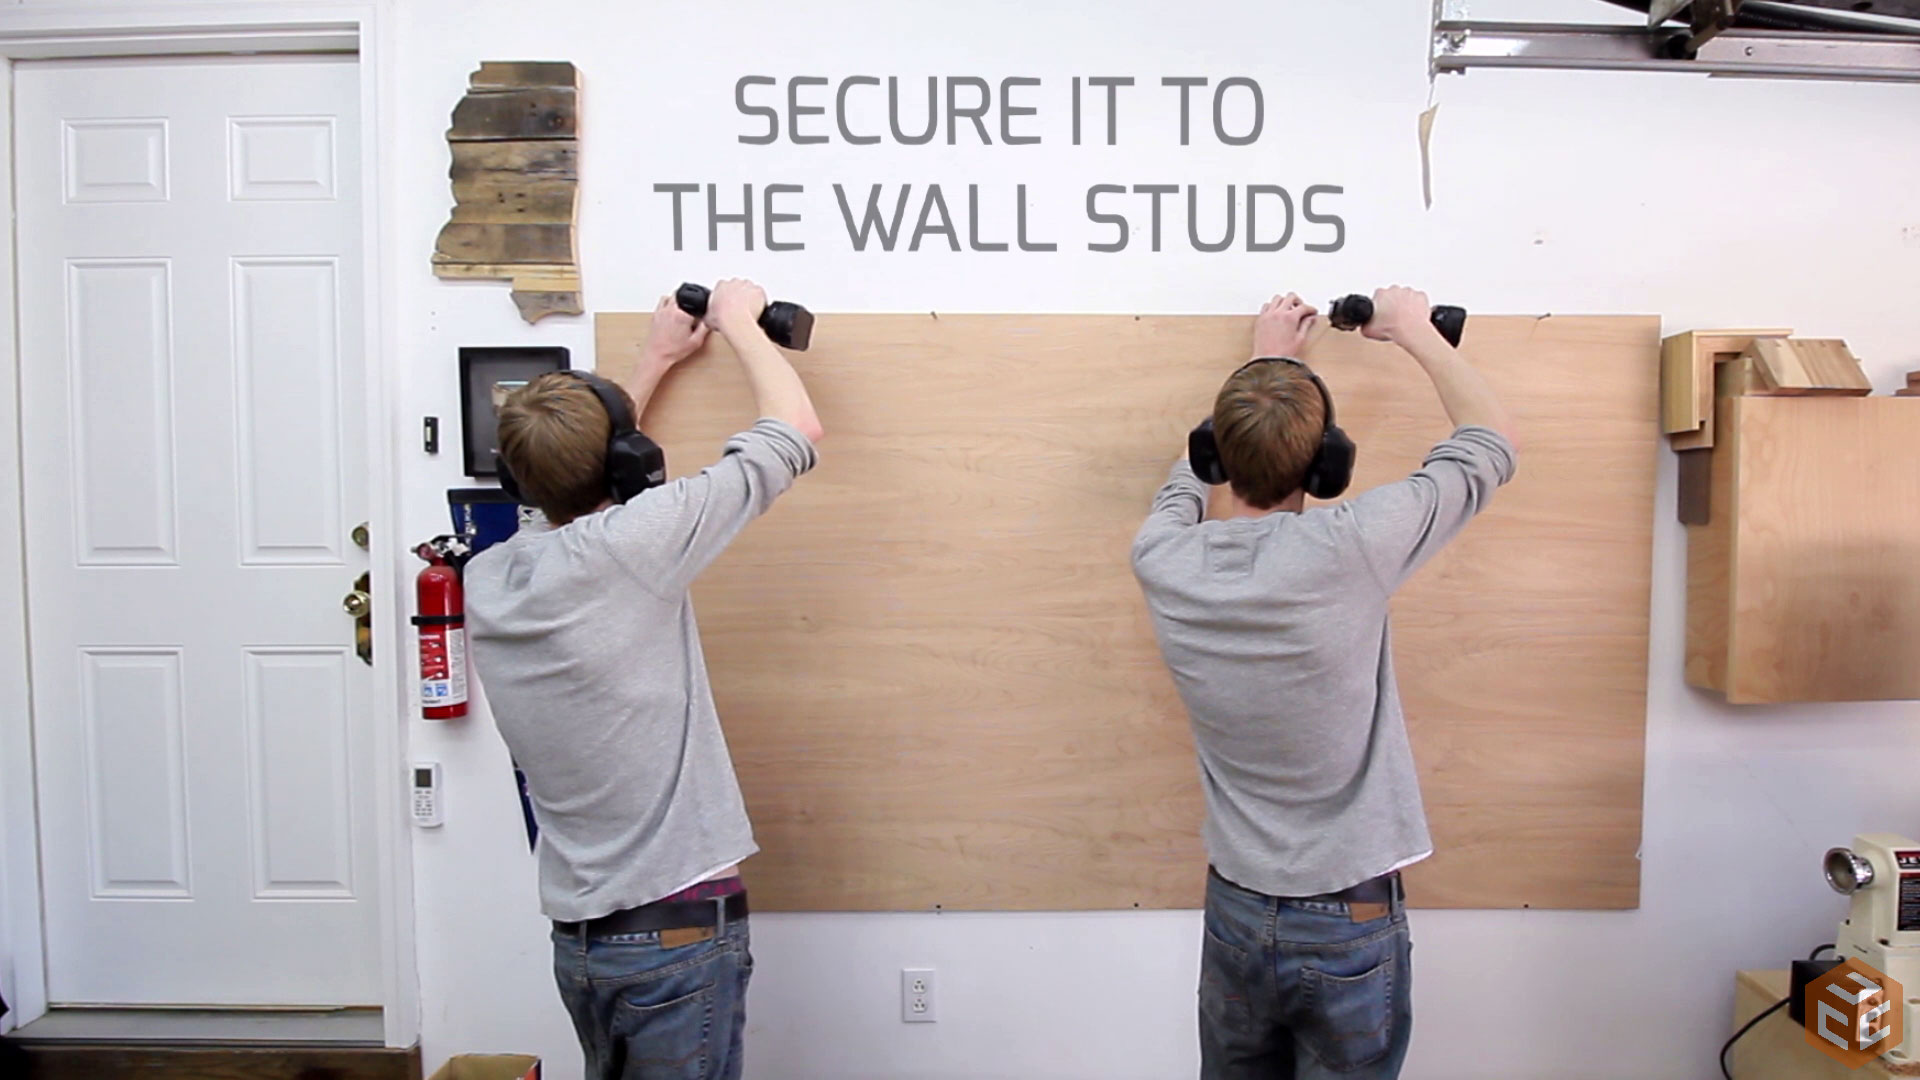
Then the panel is secured with drywall screws long enough to go into the studs behind the drywall. This isn’t going to be a very heavy load bearing situation so no construction adhesive or glue on the back of the plywood is necessary.
All of the solid wood components on this build are going to be red oak. I have a bit of it in the shop and it blends well with the birch plywood that we are using. All of it is rough sawn though so we need to go through the milling process for each piece. To make the trim we also had to resaw its thickness at the bandsaw.
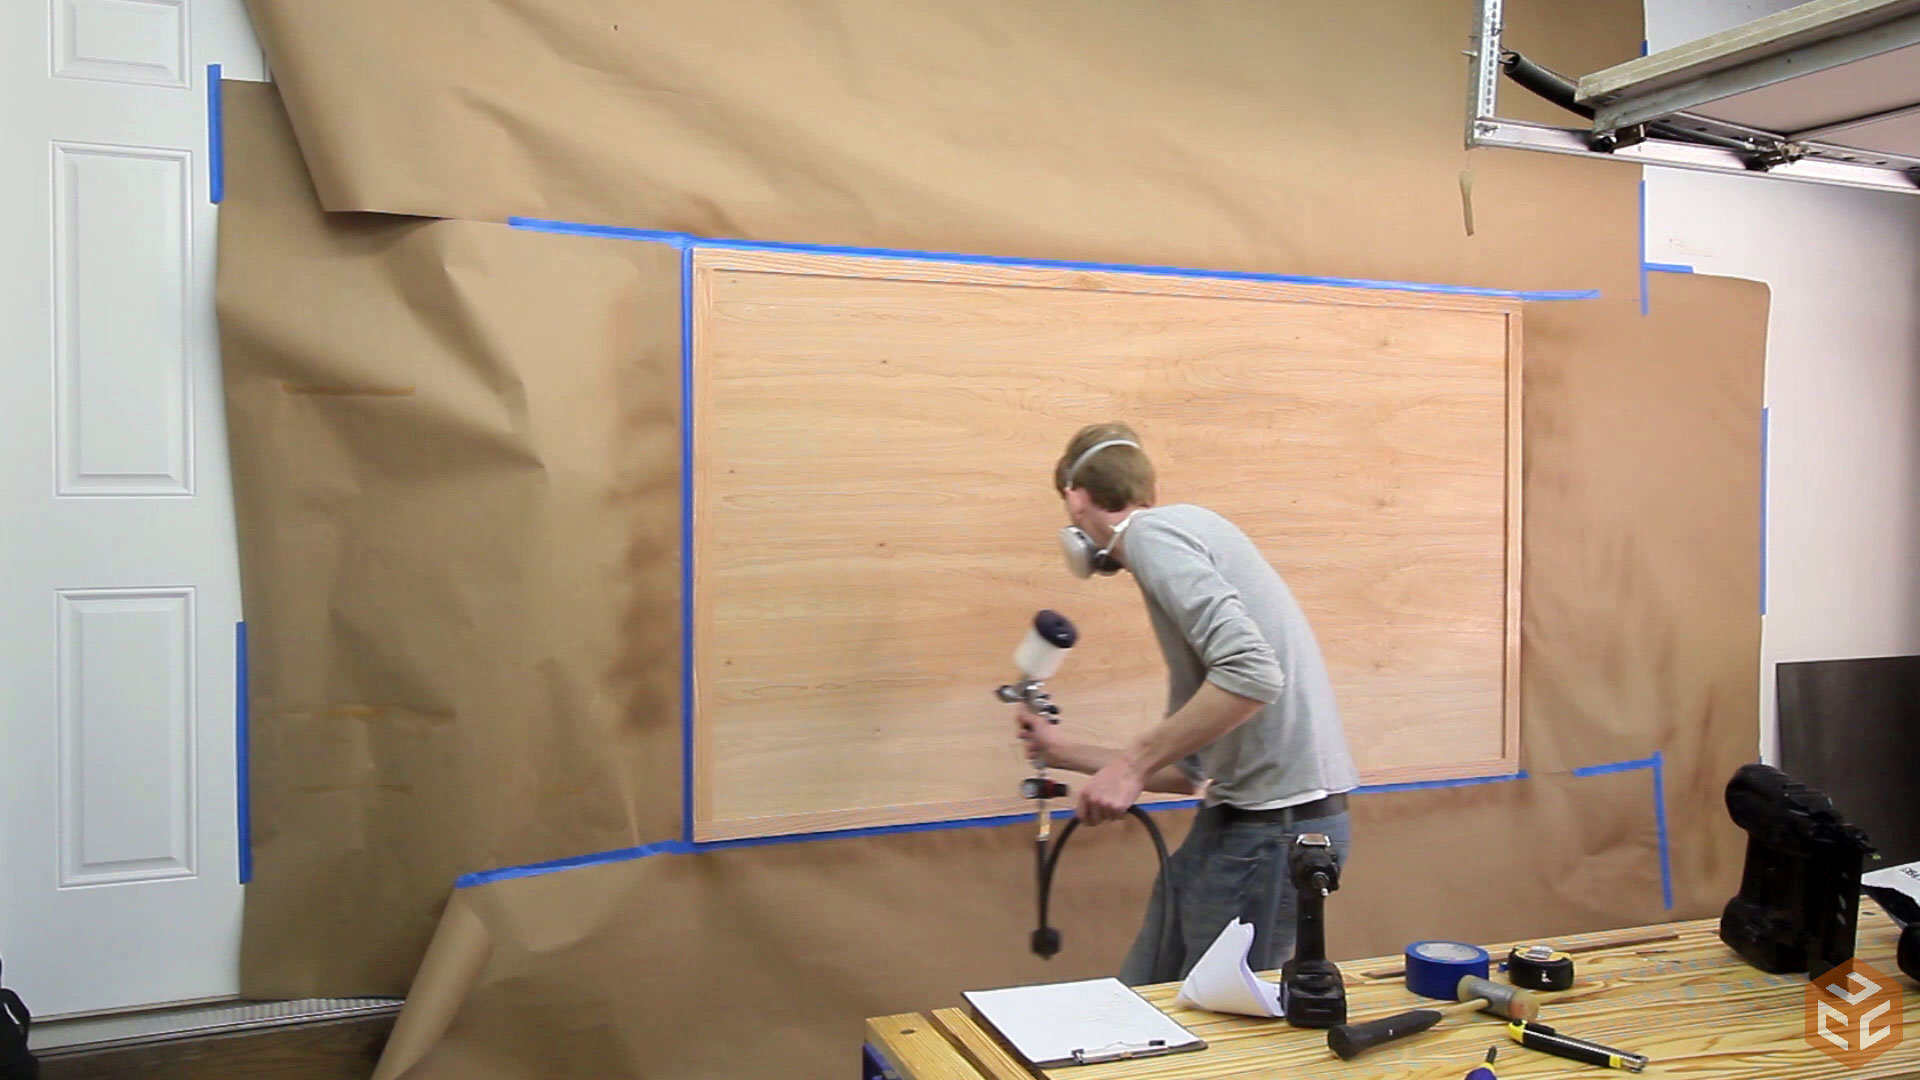
The purpose of framing the plywood panel with these strips is to not only give a visual border but also to hide the mounting screws. These strips are just brad nailed in place.

Matt is a professional auto body painter. He’s got 10 years experience of masking and spraying so we figured it would be much faster to spray the finish while the panel was on the wall rather than before we put it up. It was actually a really fast process.
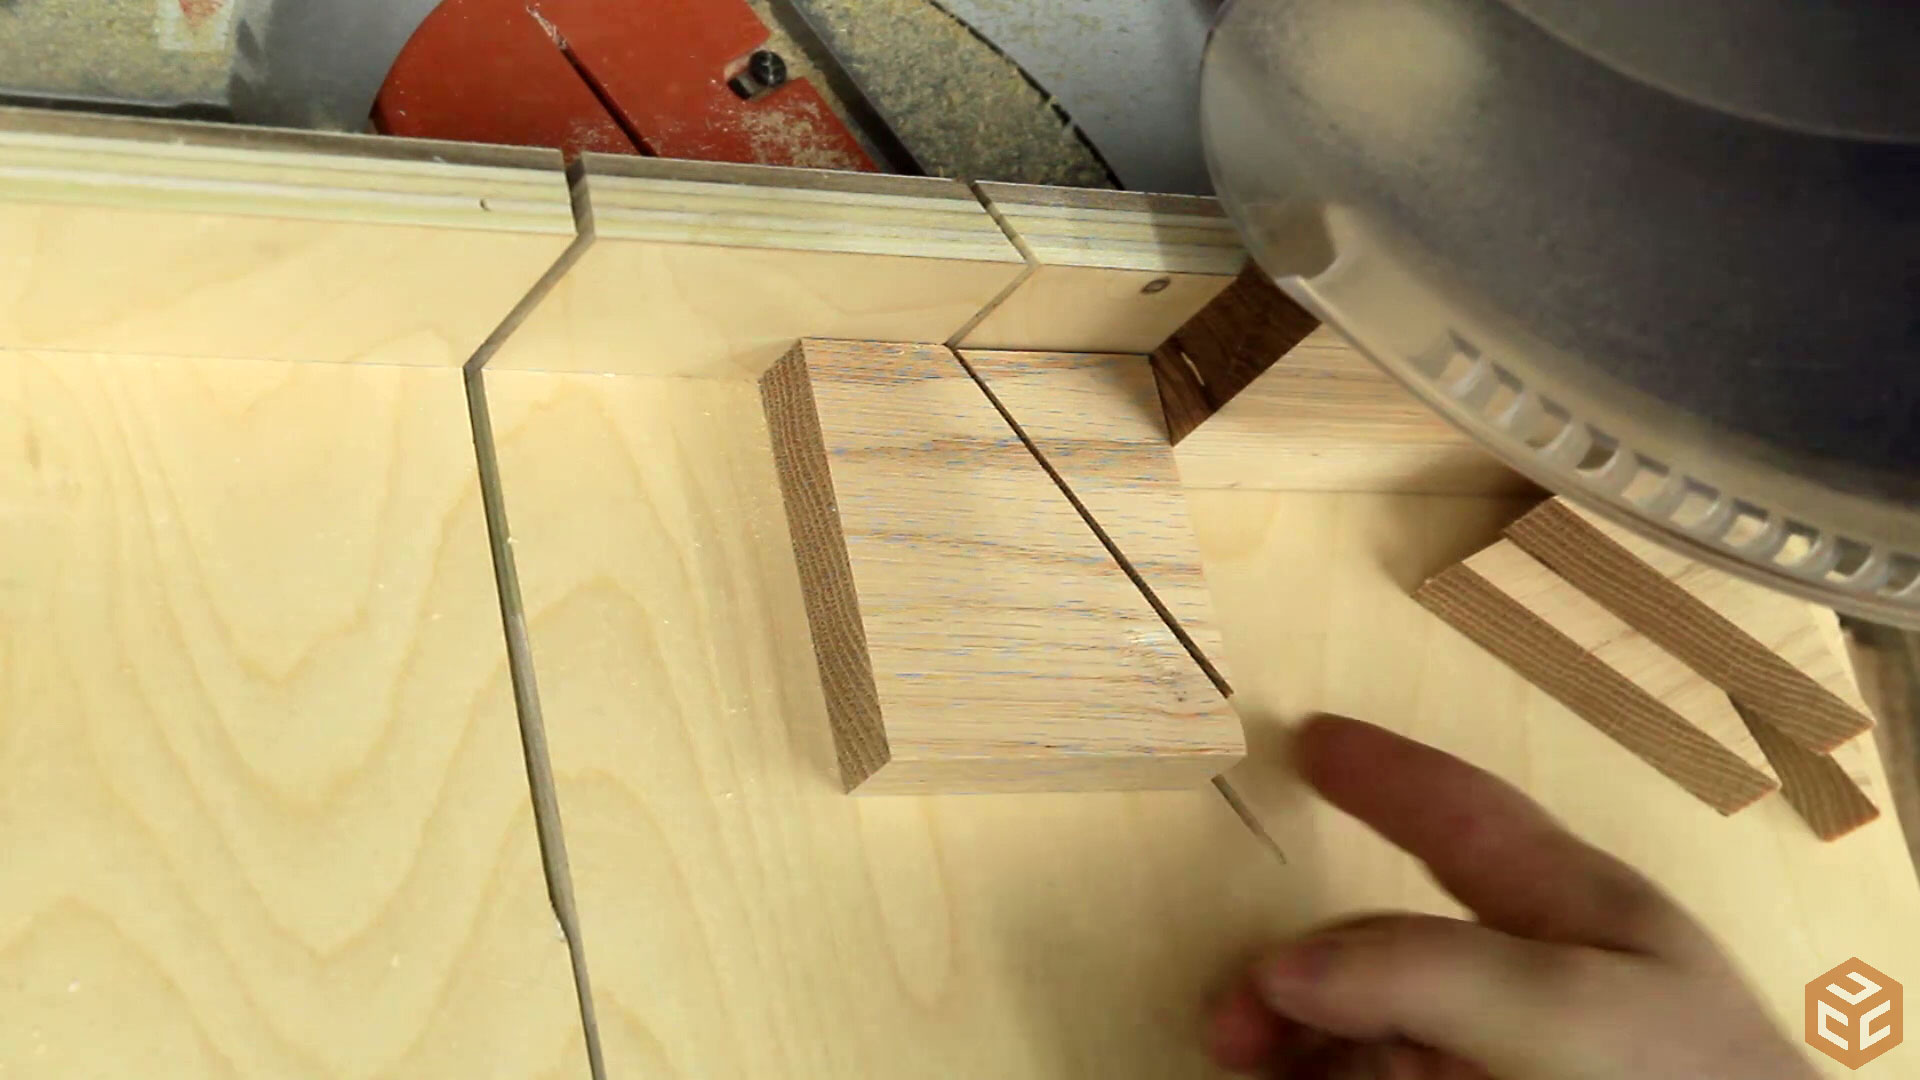
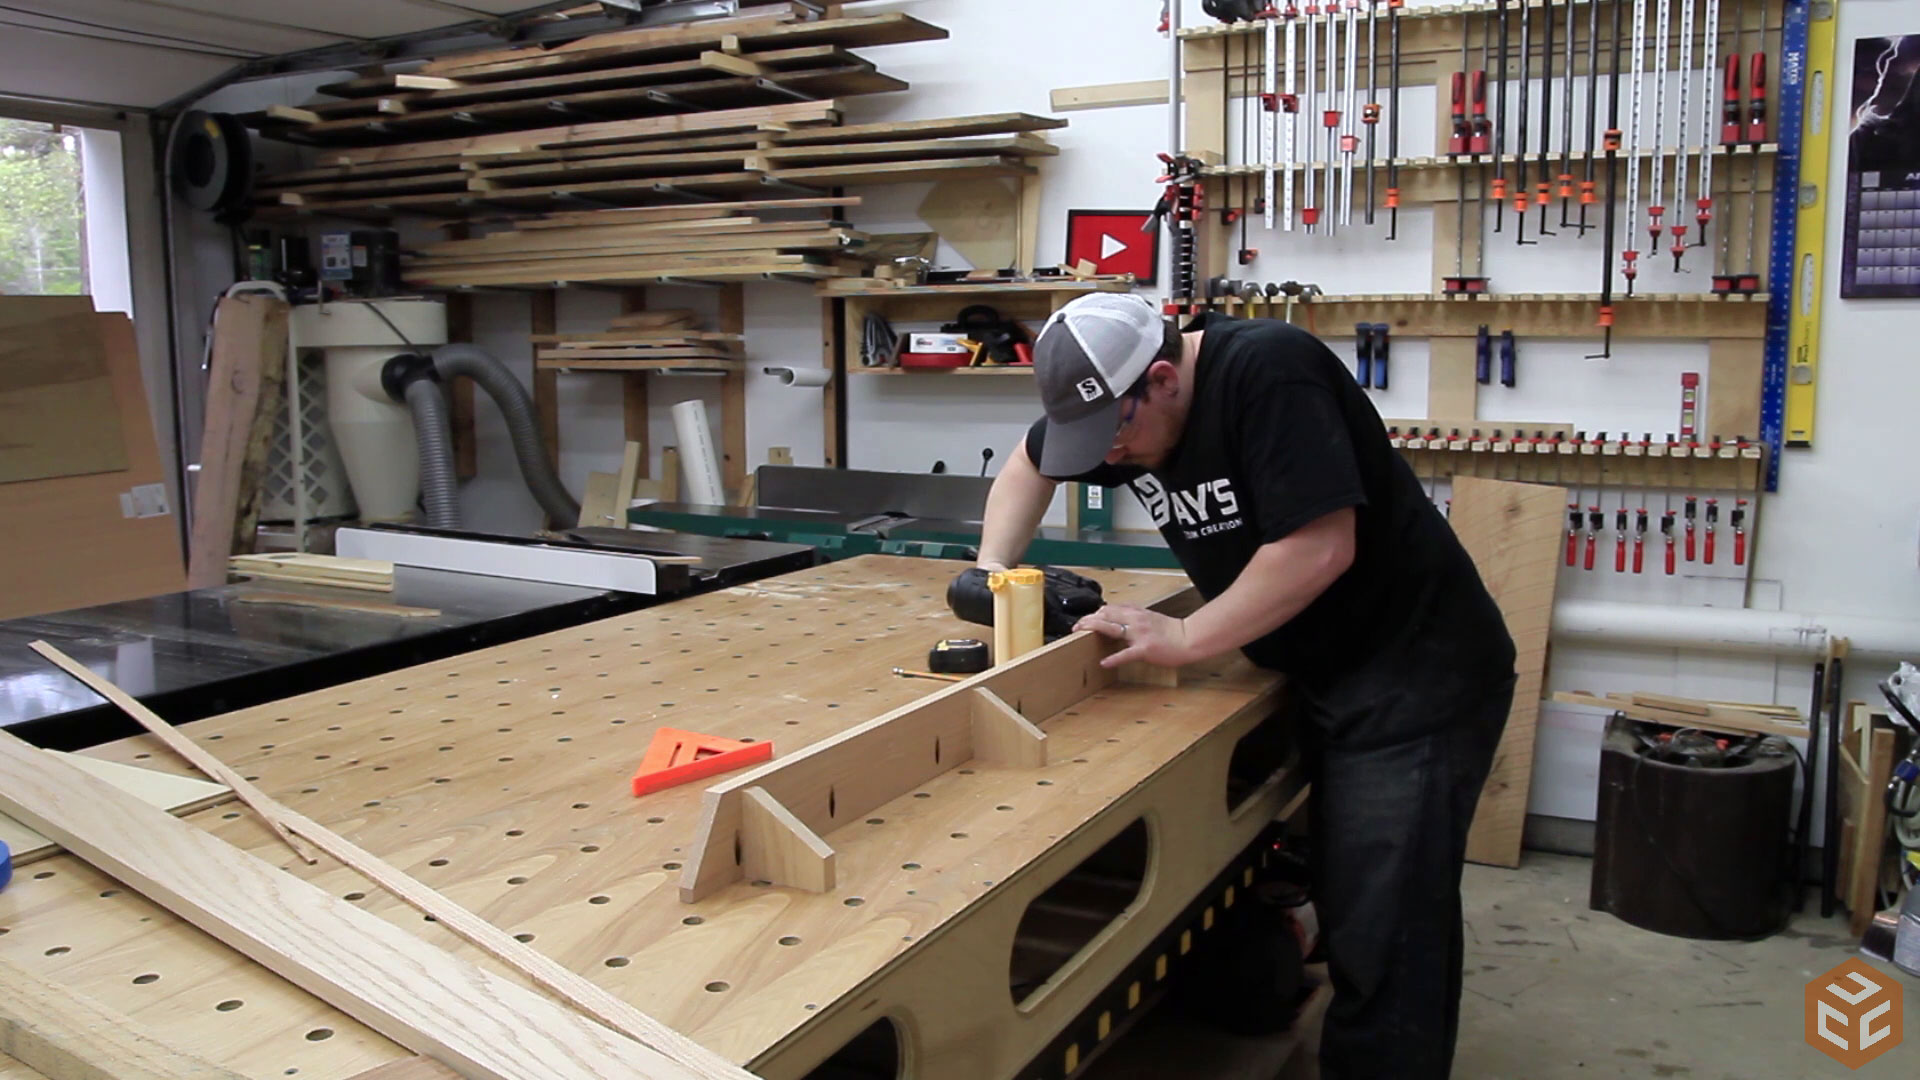
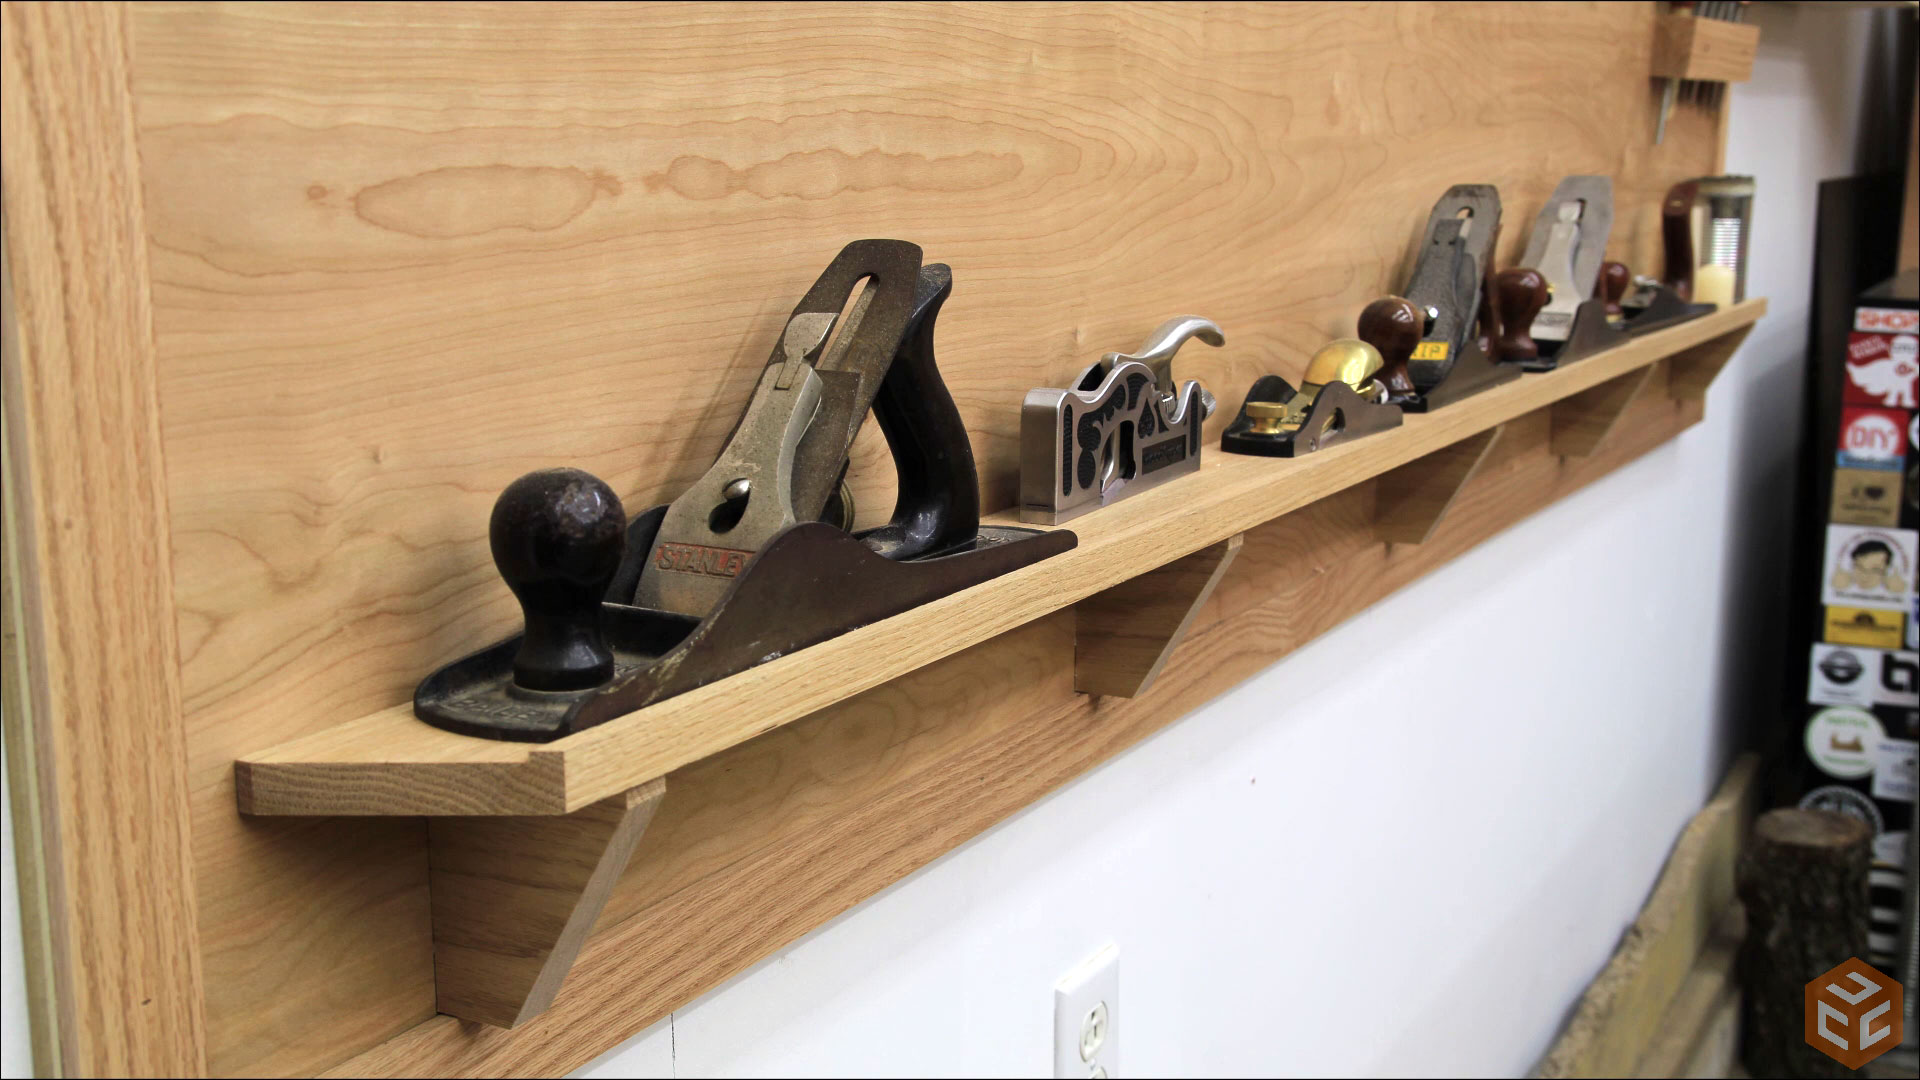
We thought it would be better to have a full length hand plane shelf rather than a bunch of individual hand plane holders. That way the planes can be placed wherever along the shelf and it will also accommodate various different size planes. For the shelf we needed a bunch of angled brackets. We cut these from 3” x 3.5” blocks at the miter saw station.
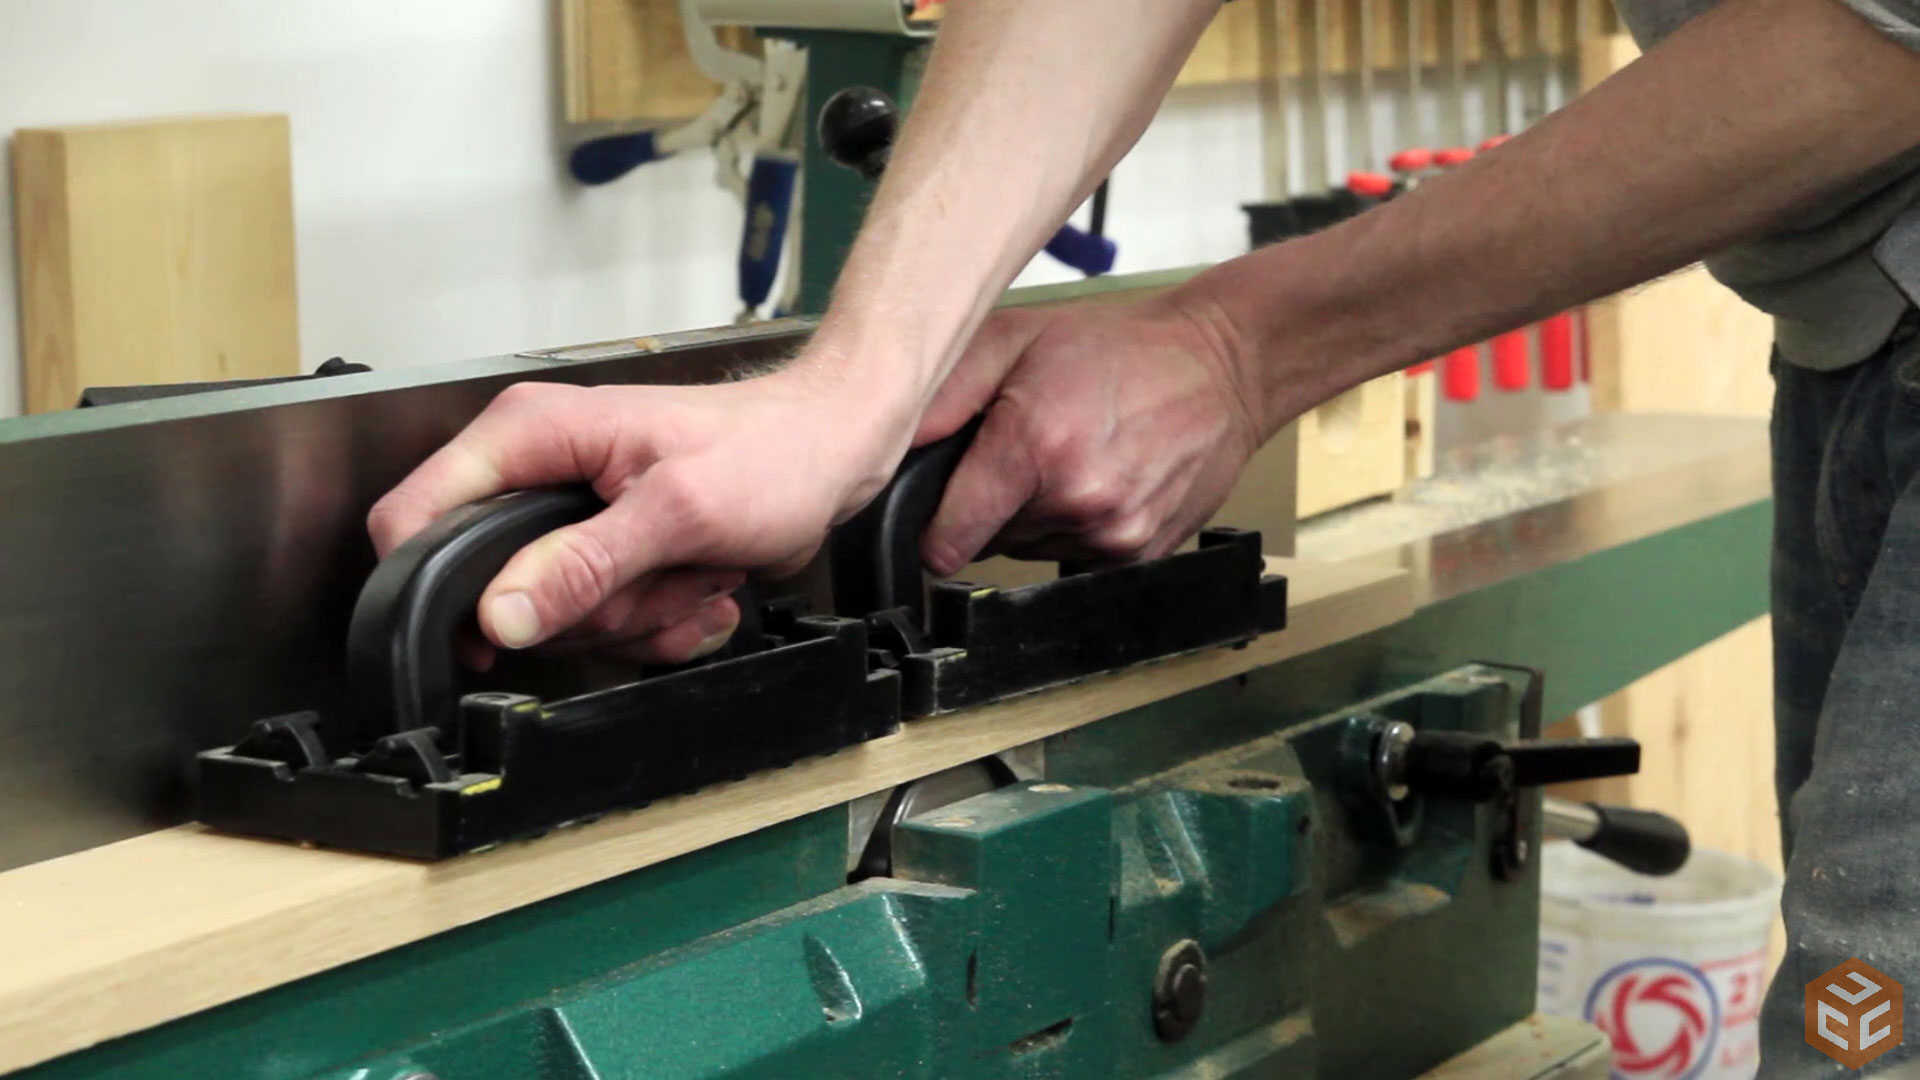
For the shelf a small lip near the front edge would do a great job of preventing the planes from falling off the front edge. Instead of adding material to the front to form the lip we decided to use the jointer to create a wide rabbet along the top face of the shelf. This was the first time I used my jointer for a rabbet cut and wow was it quick and easy.
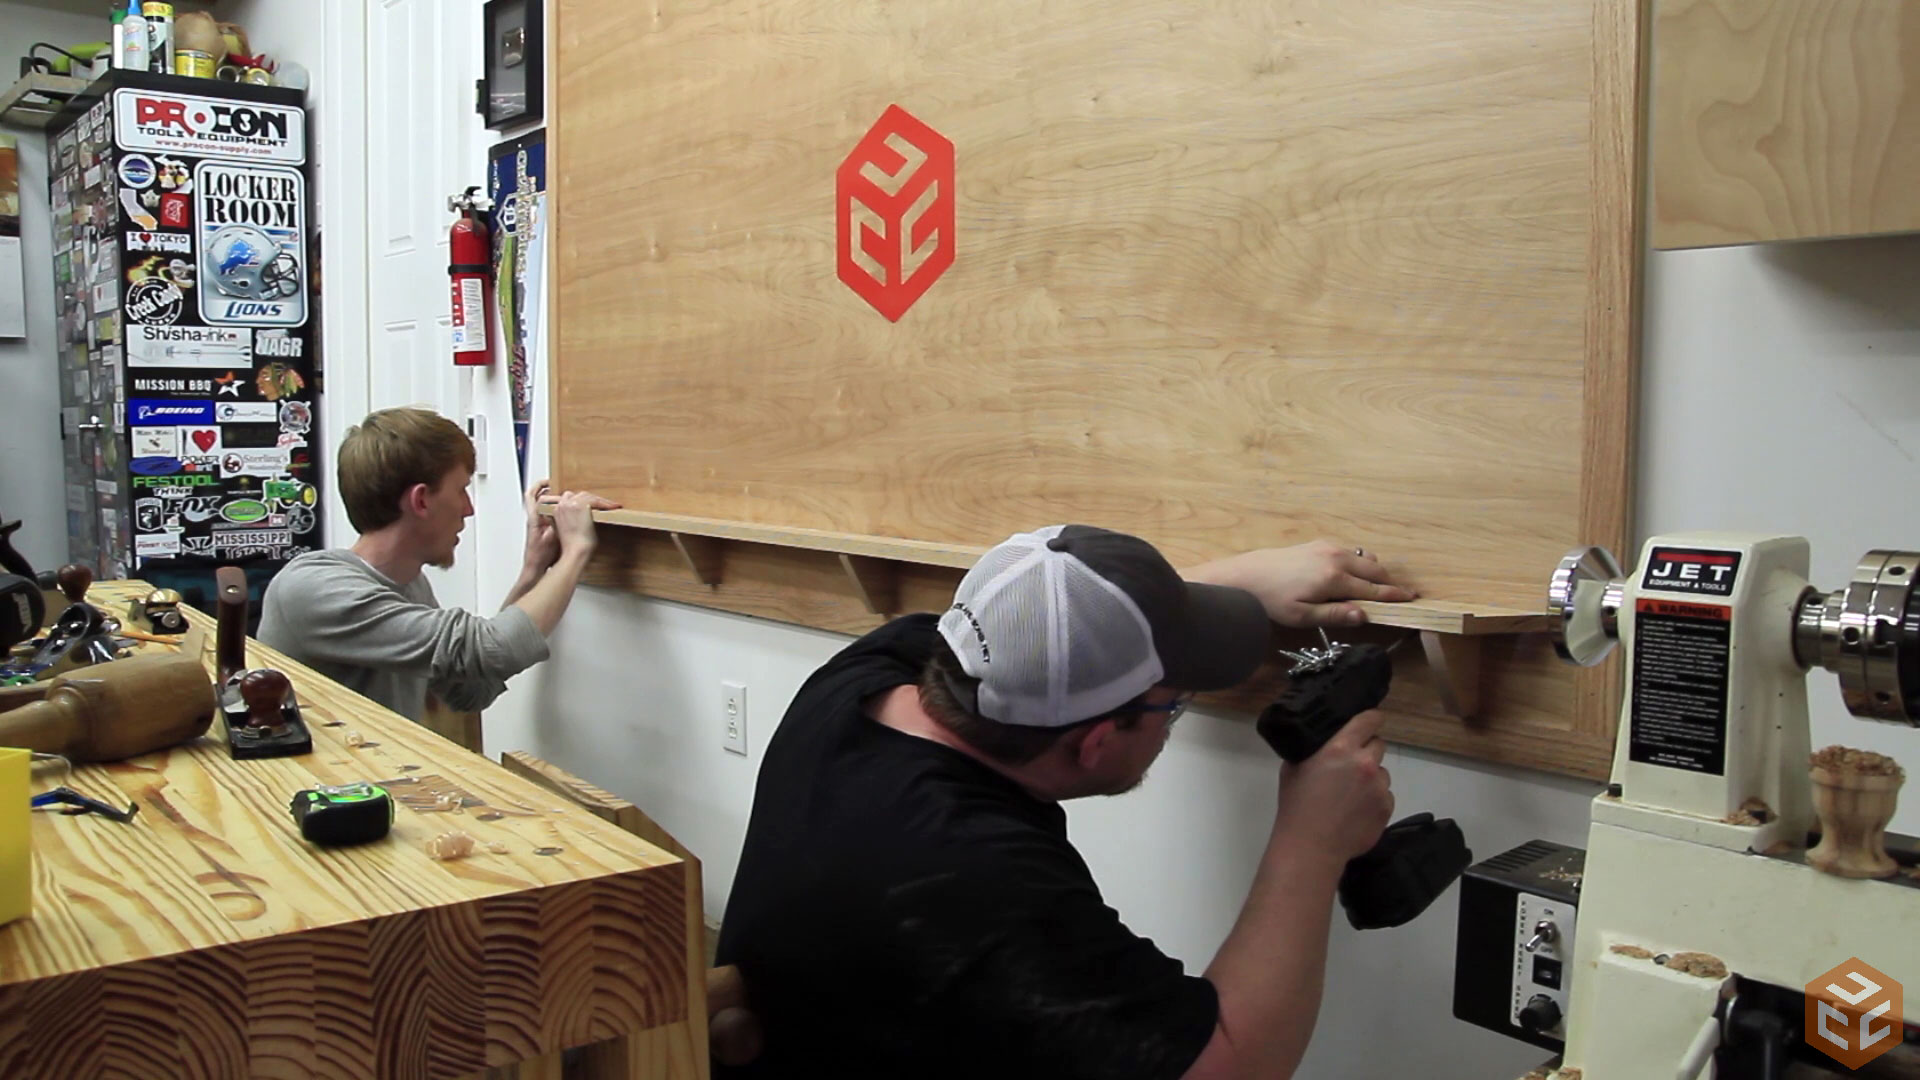
To secure the shelf to the wall I used pocket holes. This shelf will be at waist height so nobody will ever see the pocket holes on bottom and it will give a nice secure connection to the wall.
Before installing the shelf the lower angle brackets needed to be installed. Glue and a couple brad nails is all that is needed here. I was nailing through the top surface of the shelf so I did make sure that the nail heads were a good bit below the surface to prevent damaging the planes. The glue is going to do all the work in this situation. The brad nails are there just to hold everything together while the glue dries.
And finally the shelf can be installed.
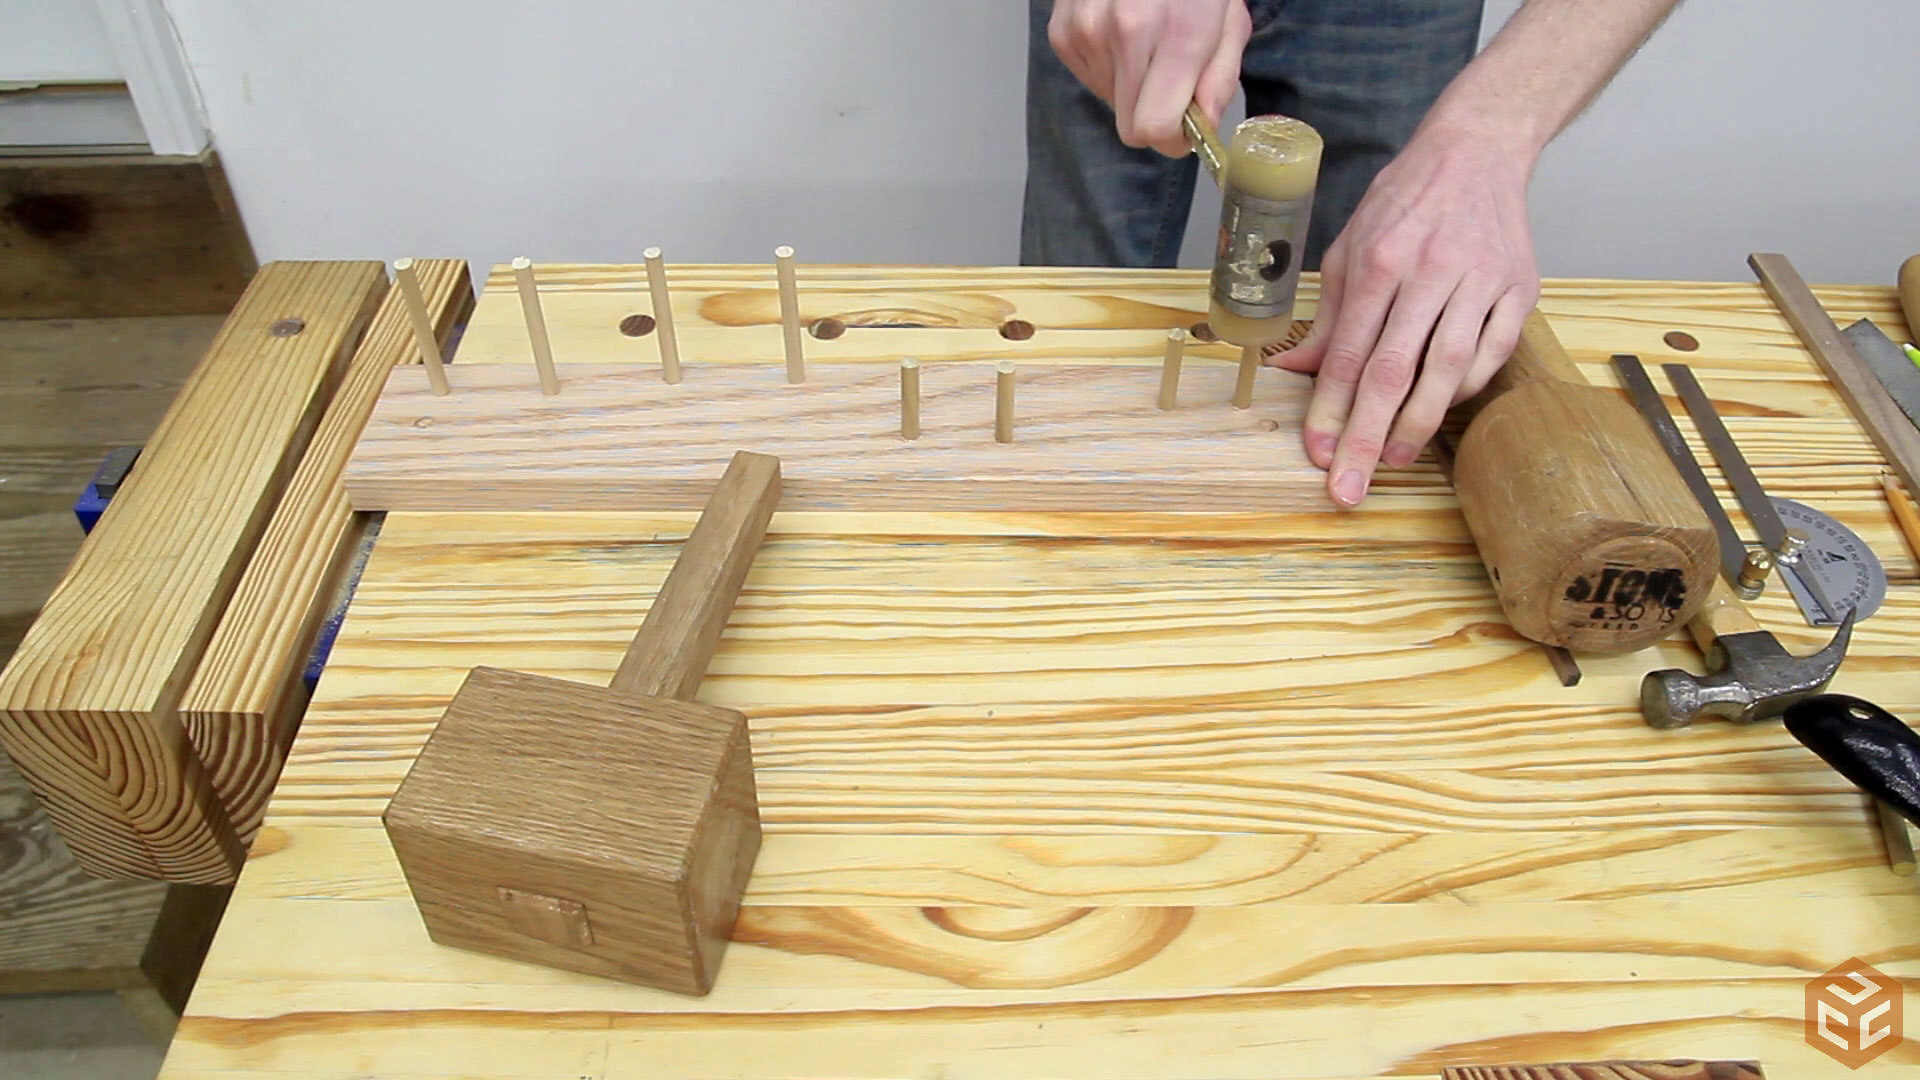
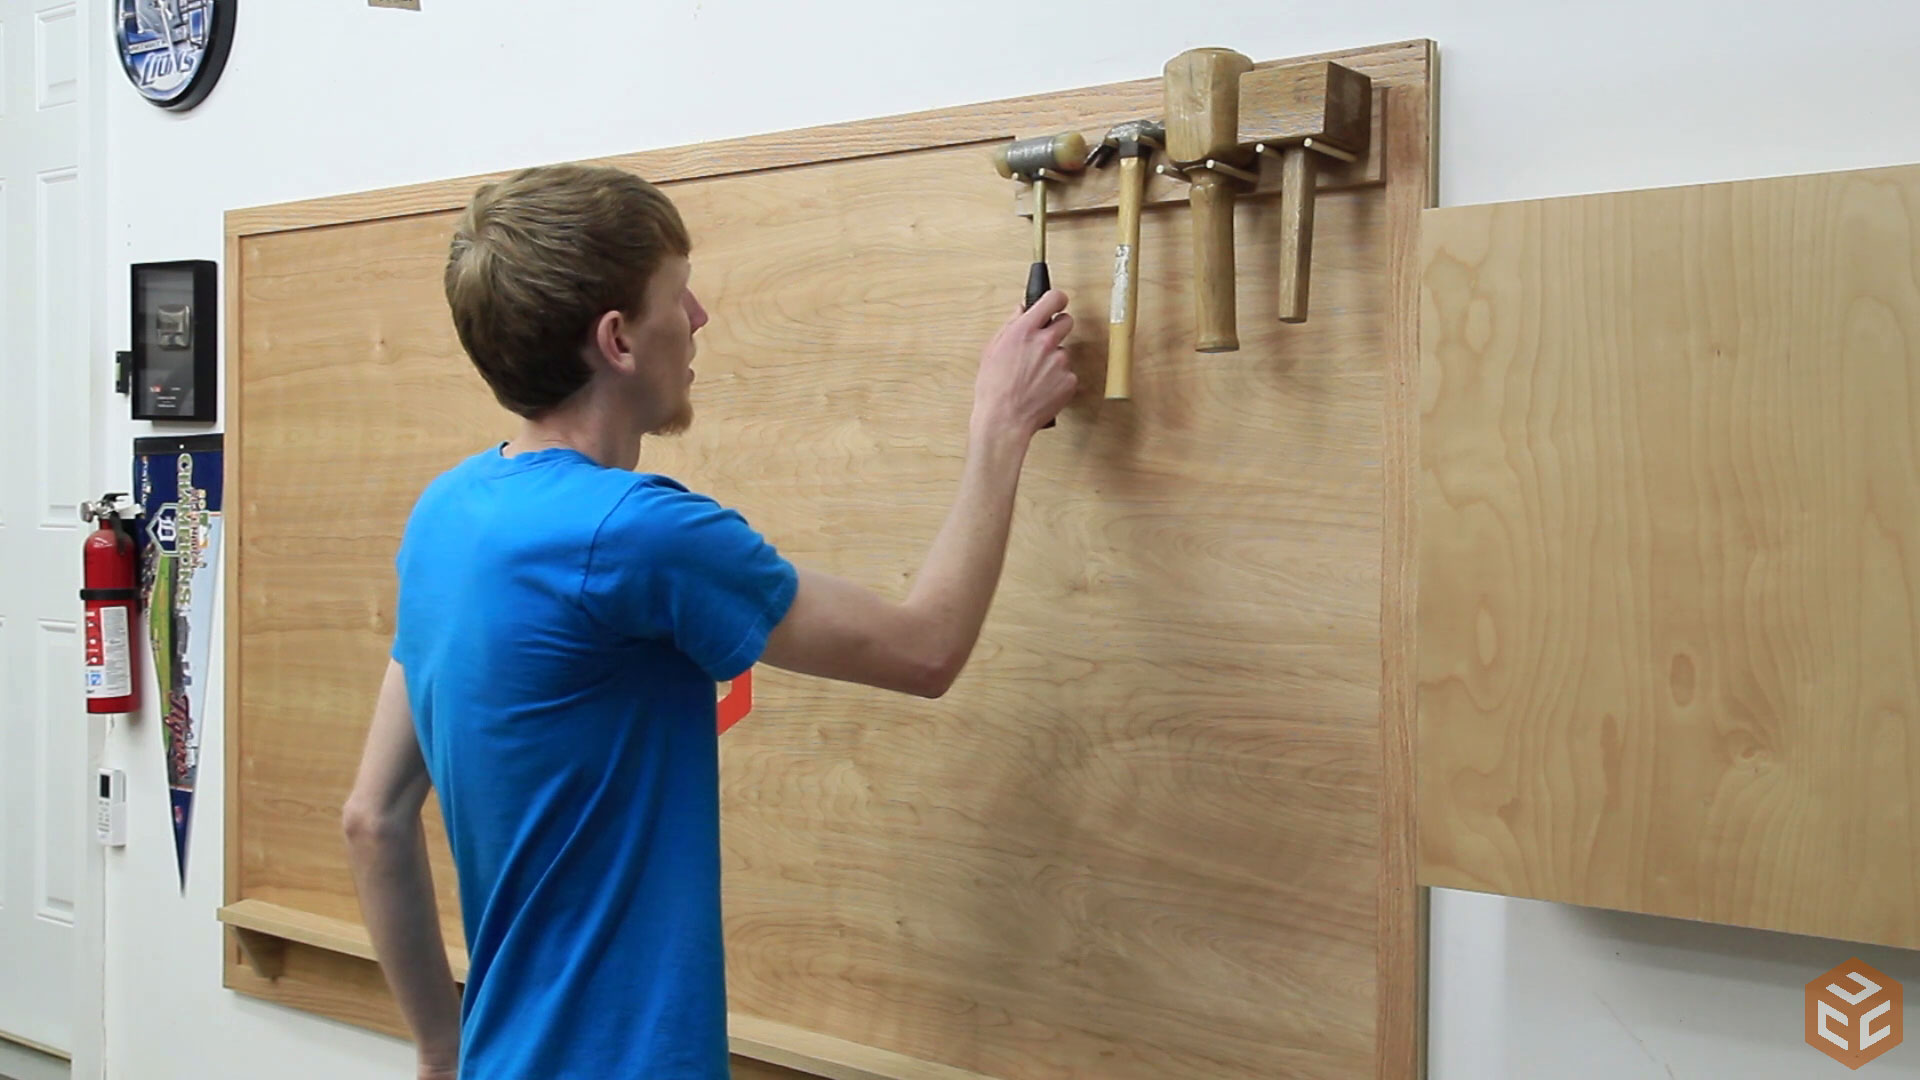
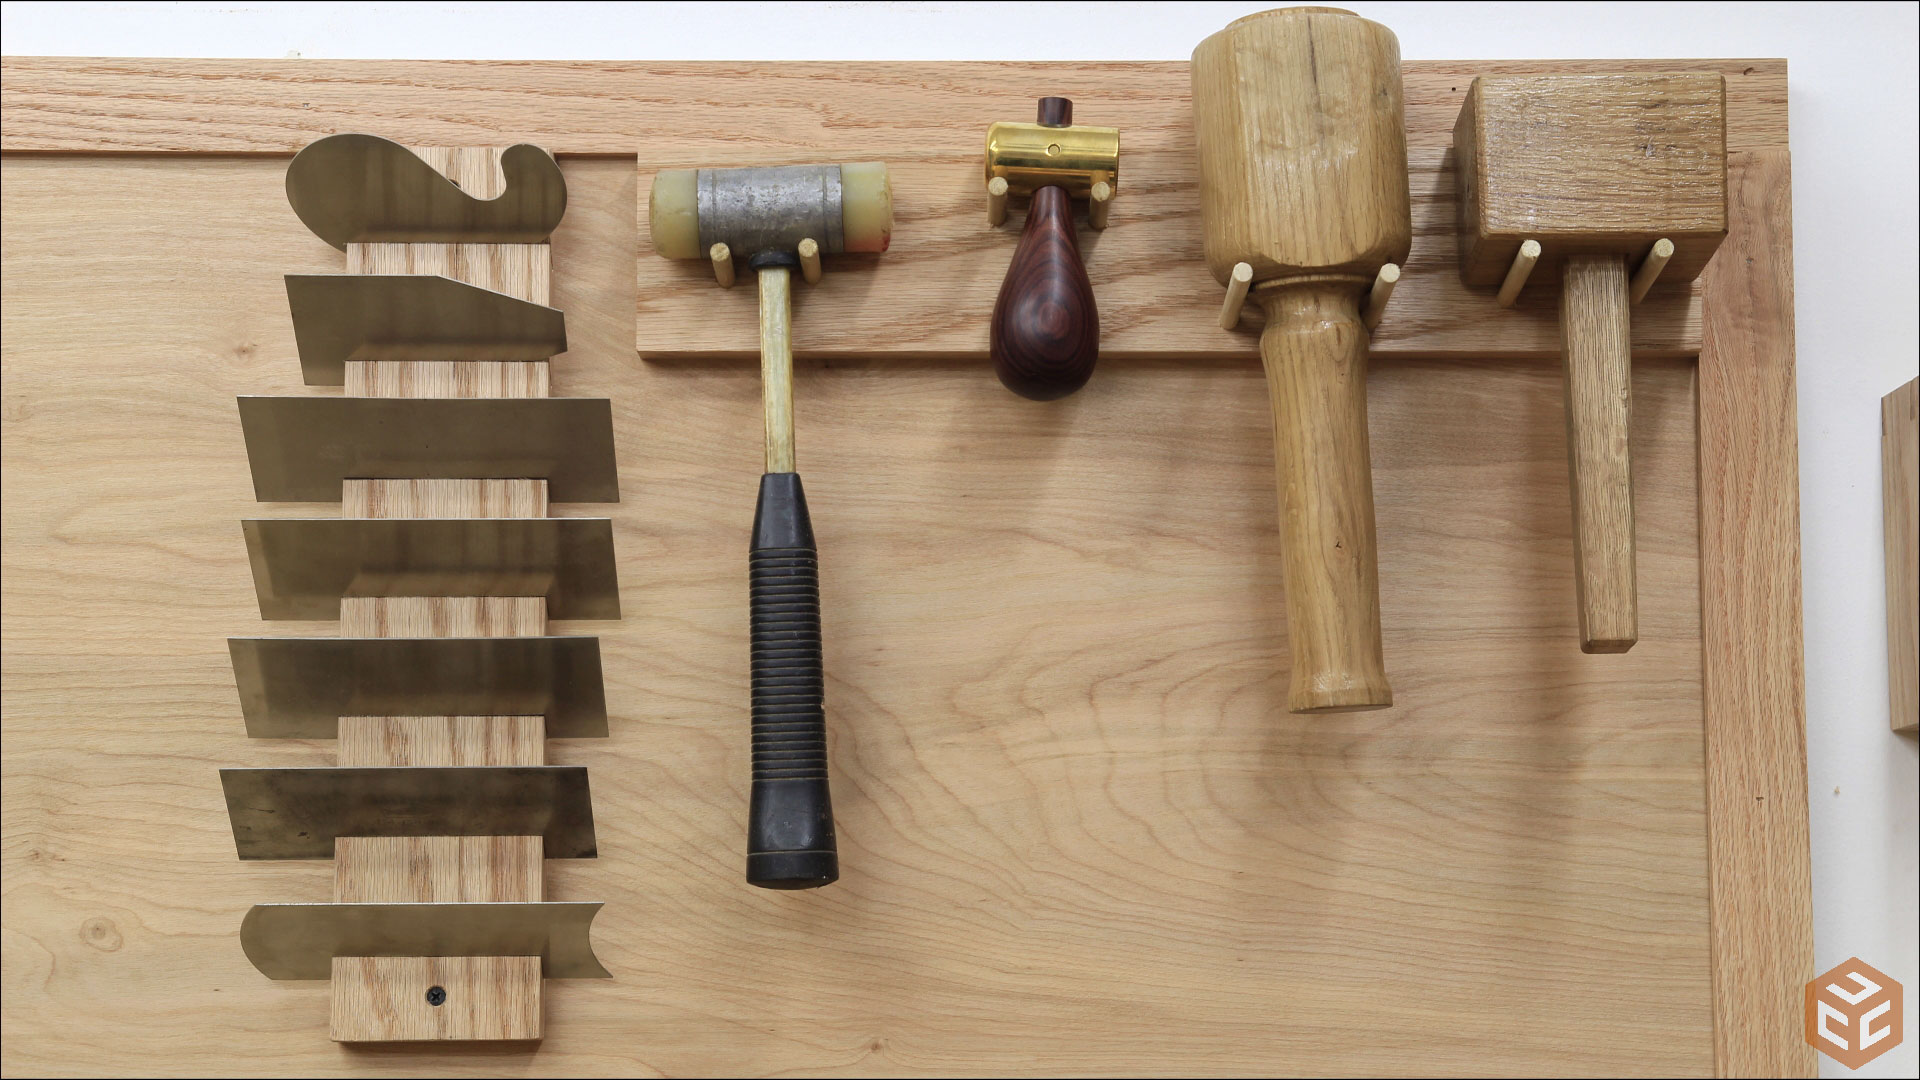
The rest of the holders are somewhat specific. I wanted a board to hold my most used hitting tools like mallets and hammers. This was just a simple oak rectangle with a couple of holes drilled in it.
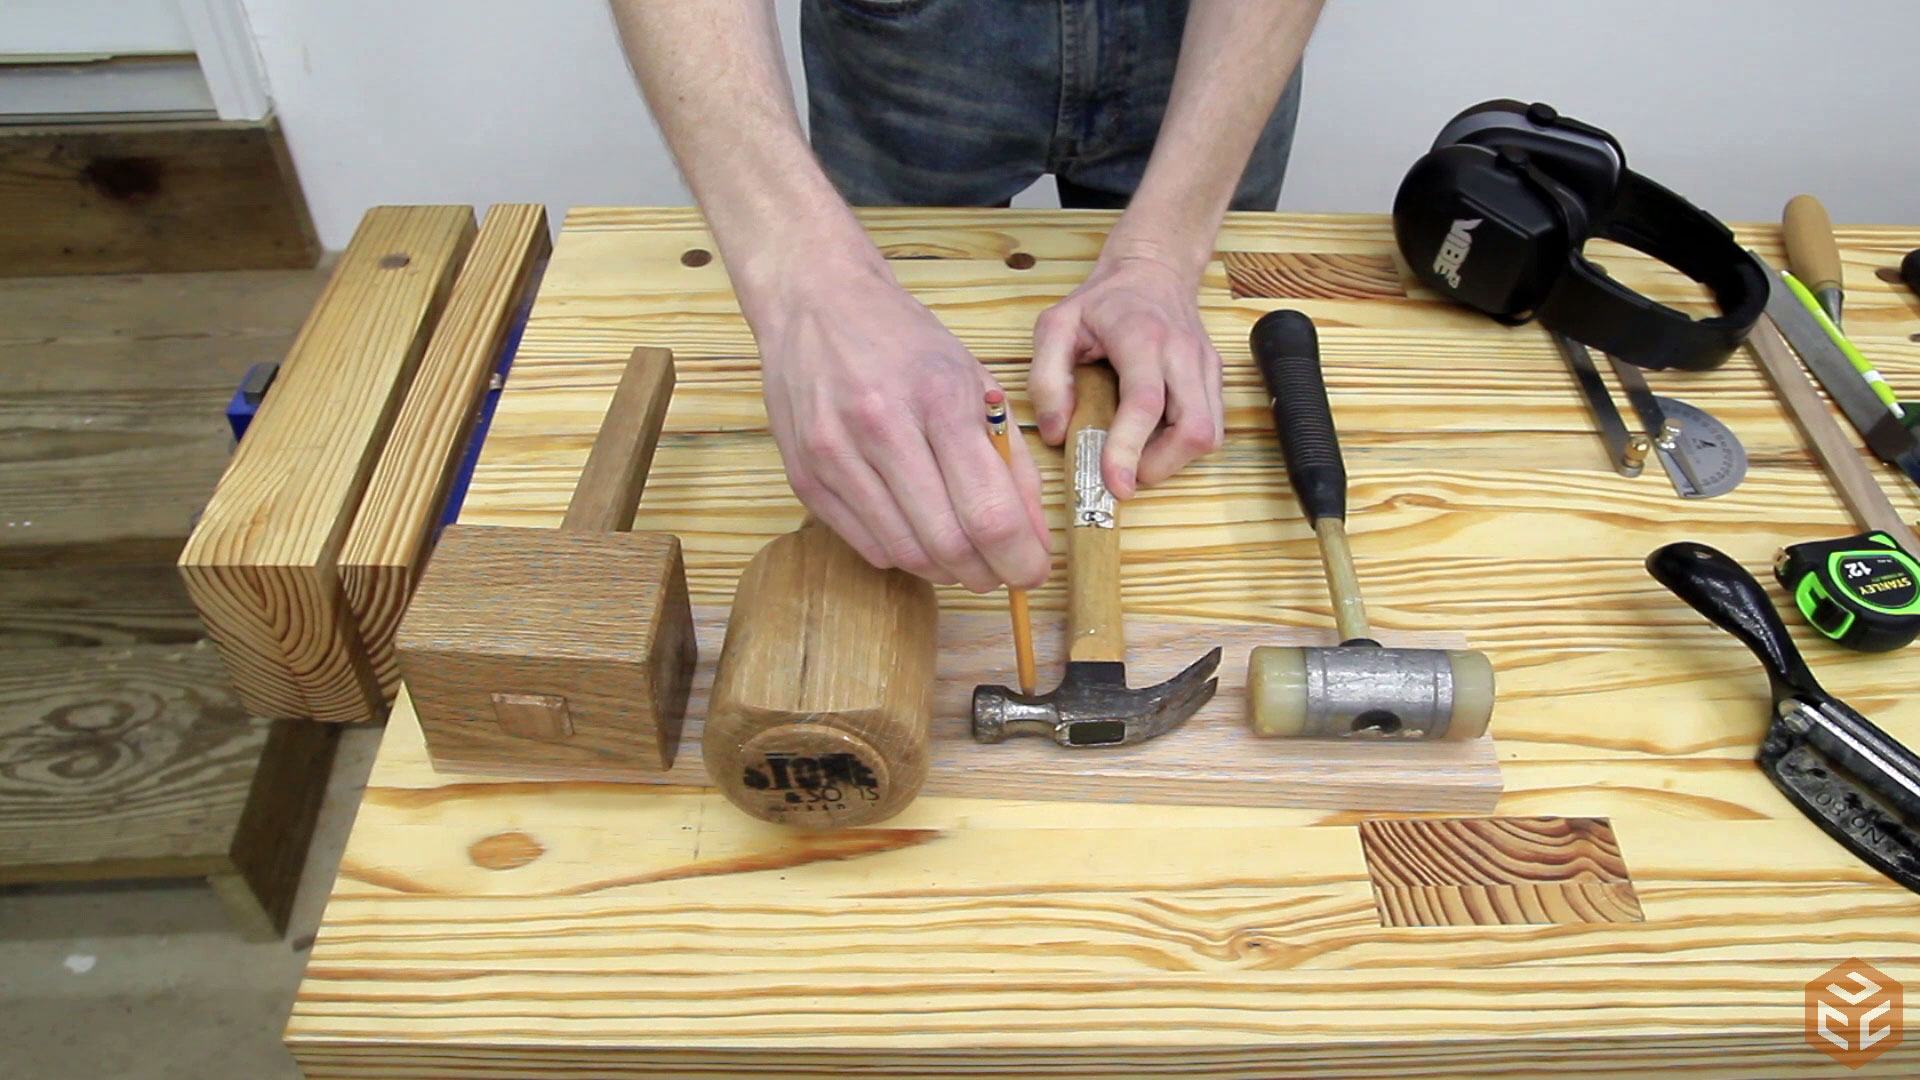
The actual tool holders are just pieces of 3/8” dowel that I had on hand. Nothing fancy.
And the holder is secured to the wall with two screws.
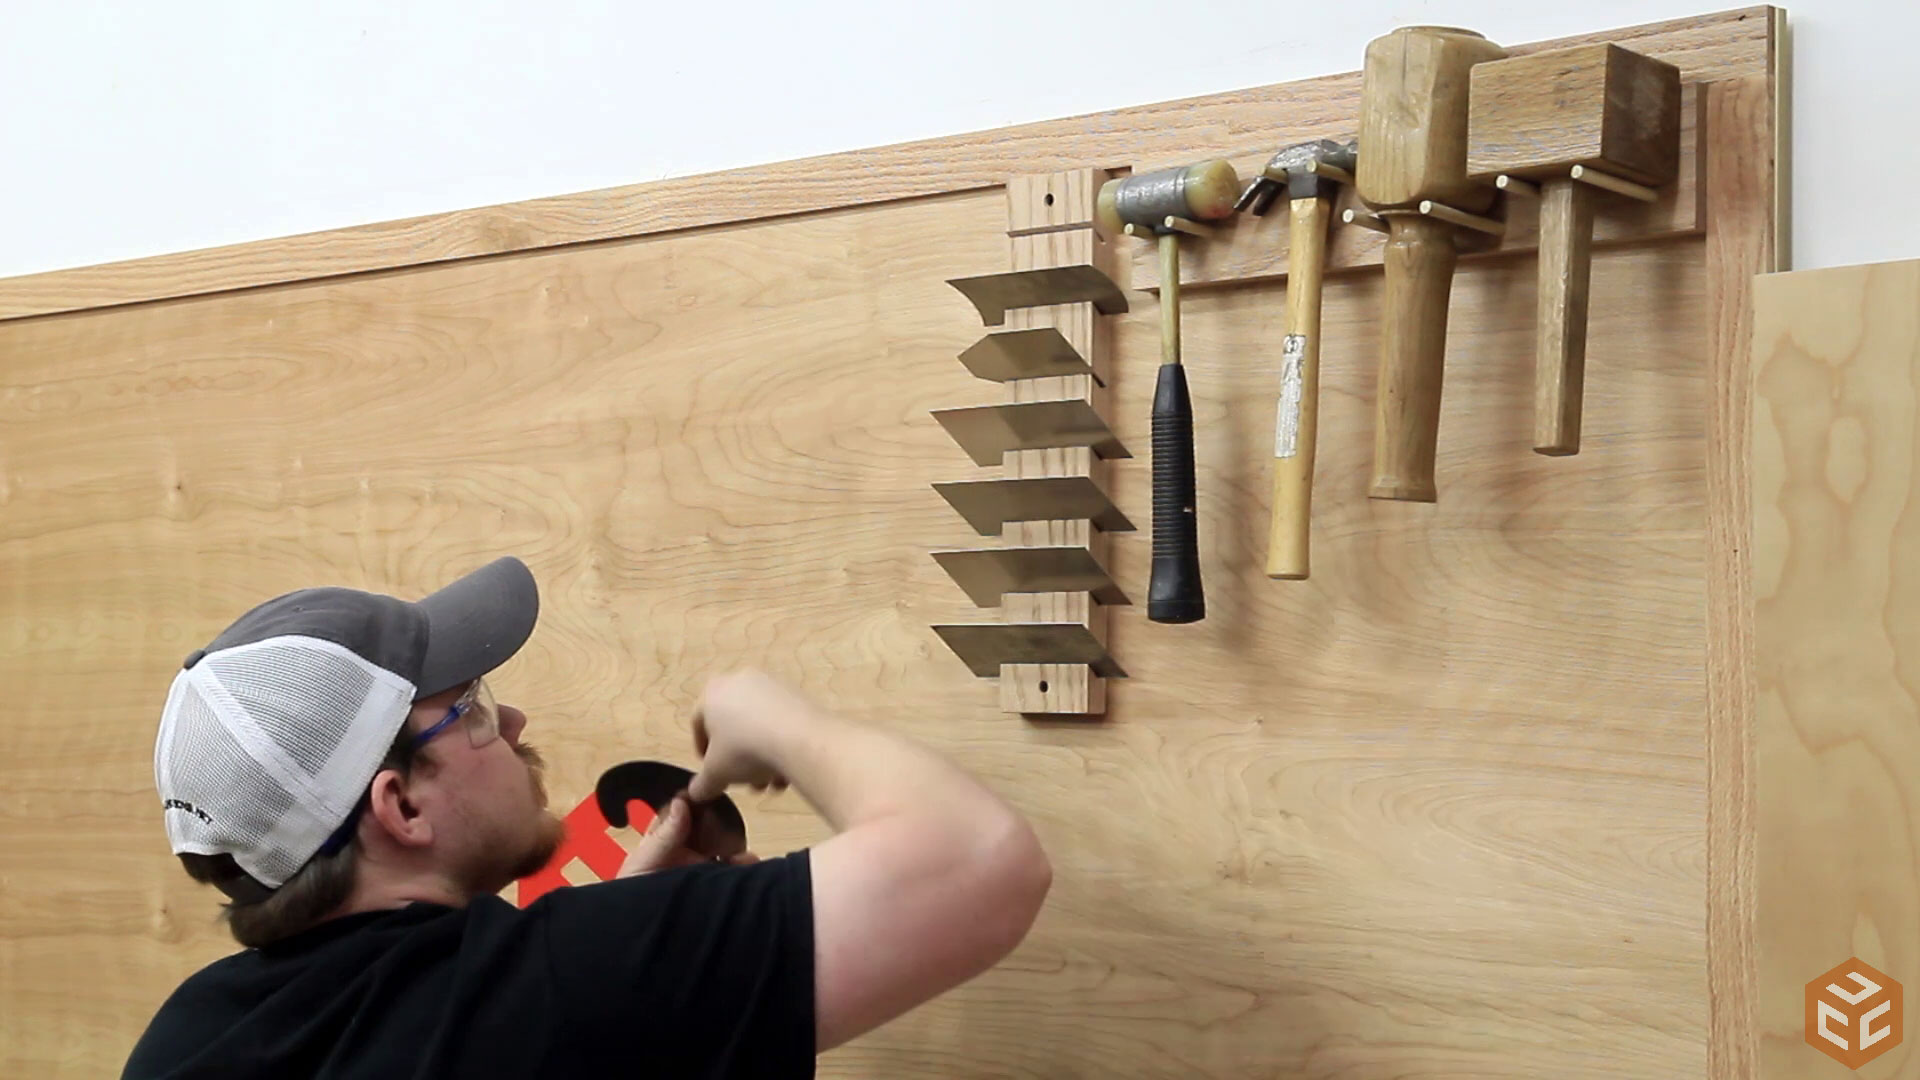
I recently picked up a pack of various size card scrapers. A holder for them was really simple. A similarly sized rectangle of oak with a few evenly spaced angled saw cuts. Super easy.

This was screwed to the wall with two drywall screws as well and filled up with the scrapers.
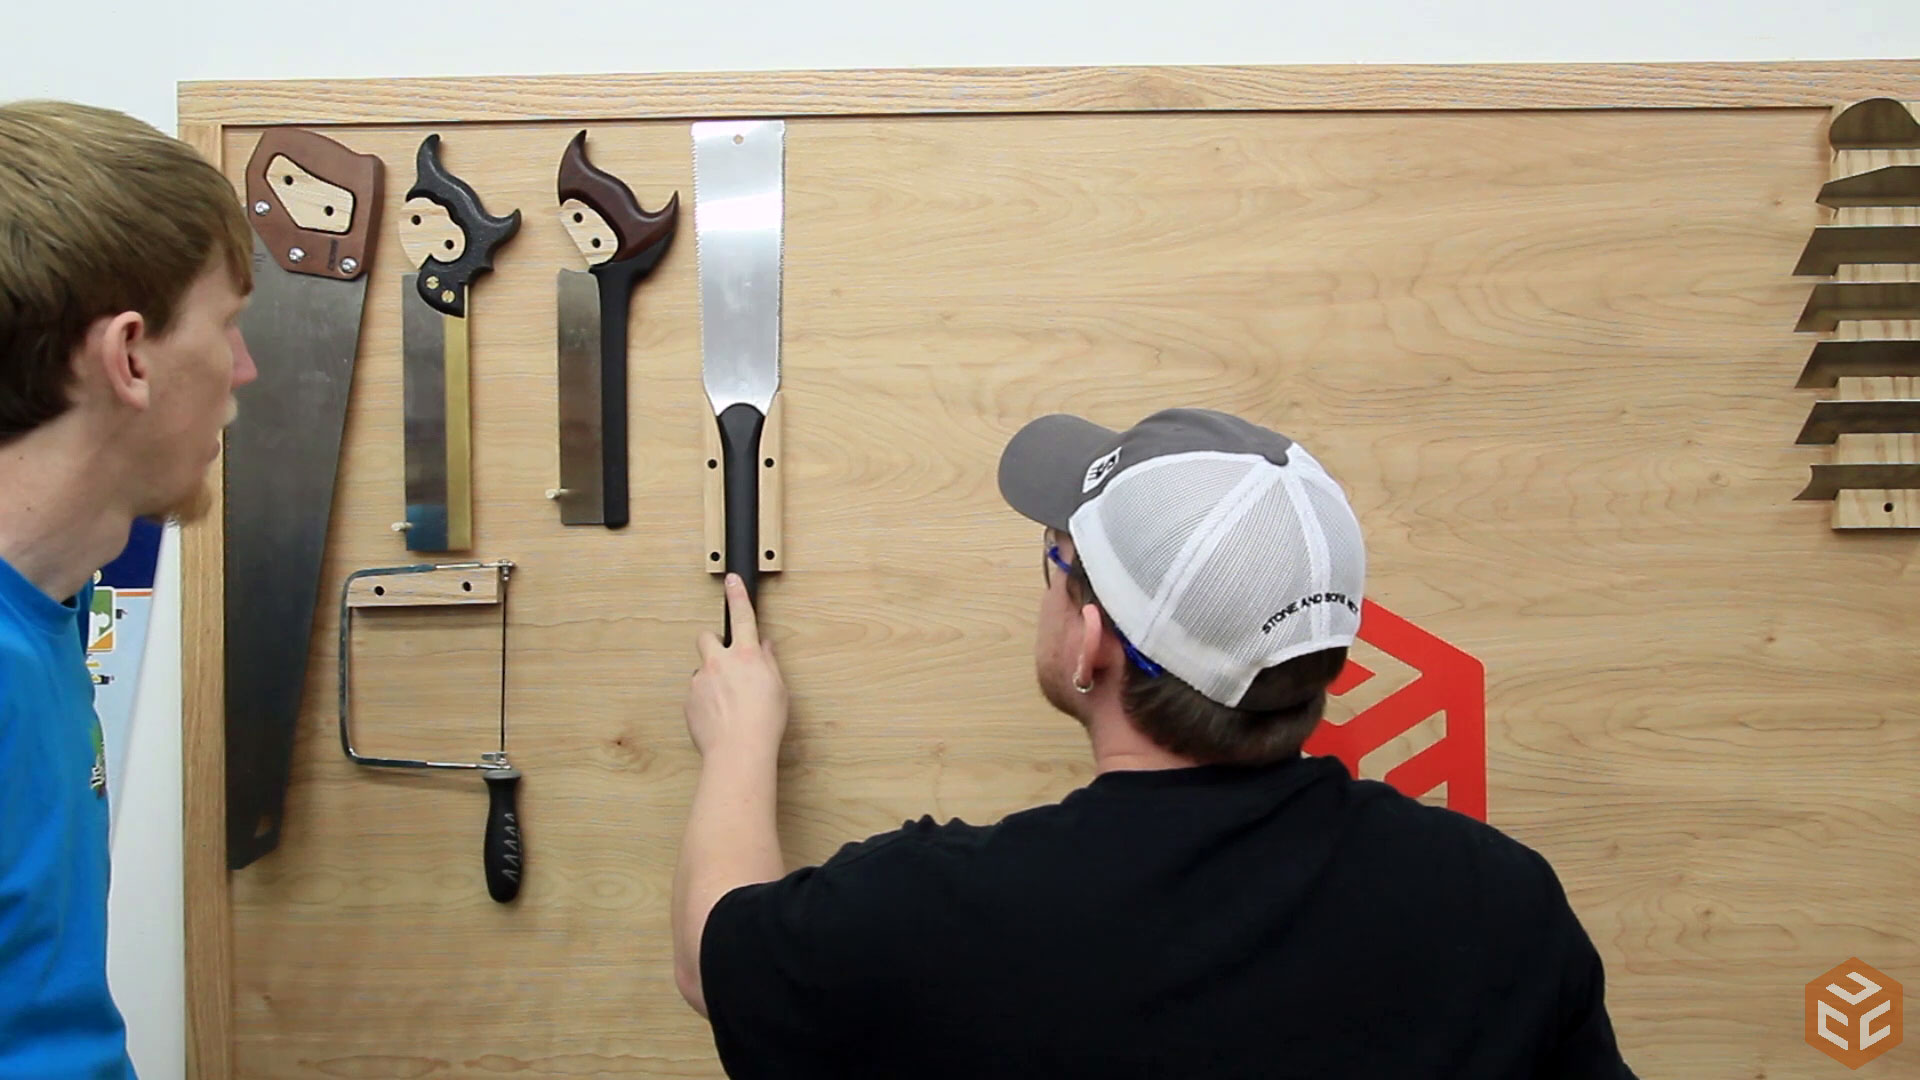
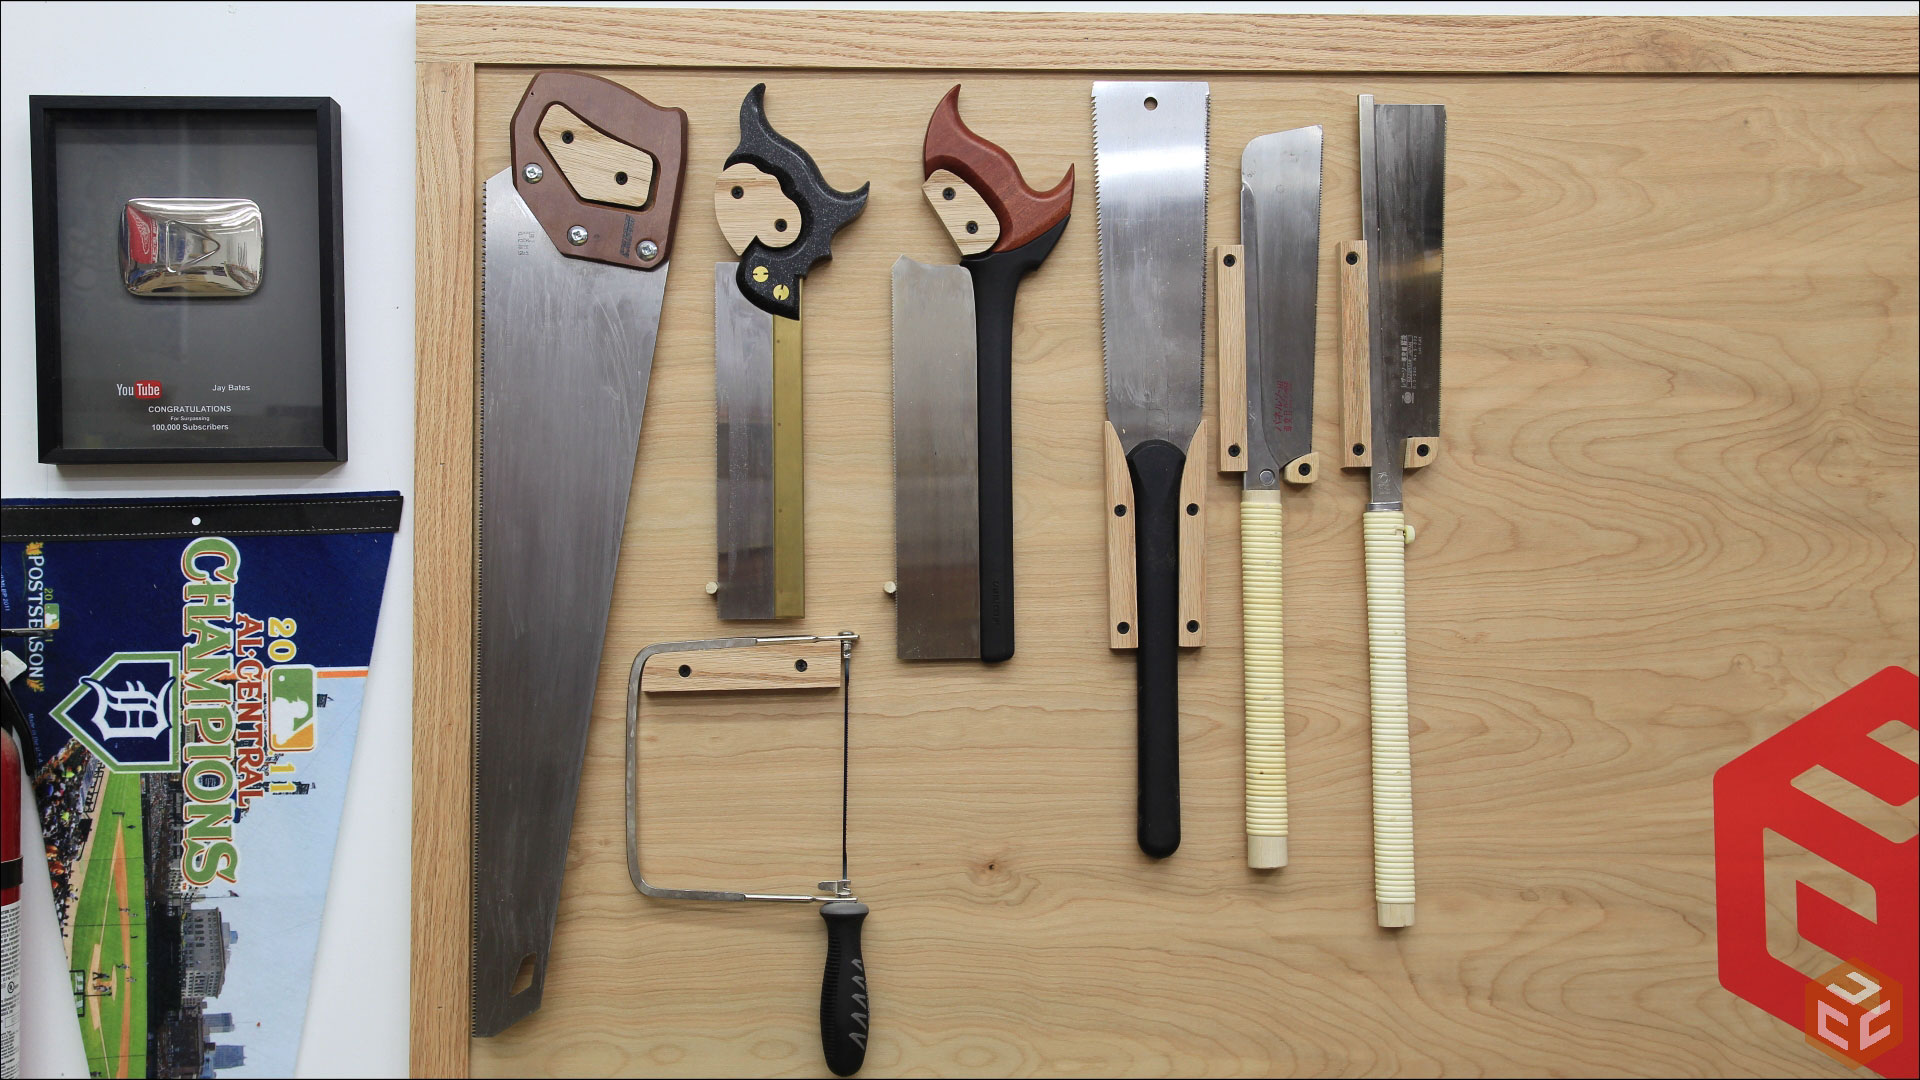
The most time-consuming part was cutting out individual holders for each of the hand saws. I used the bandsaw for this.
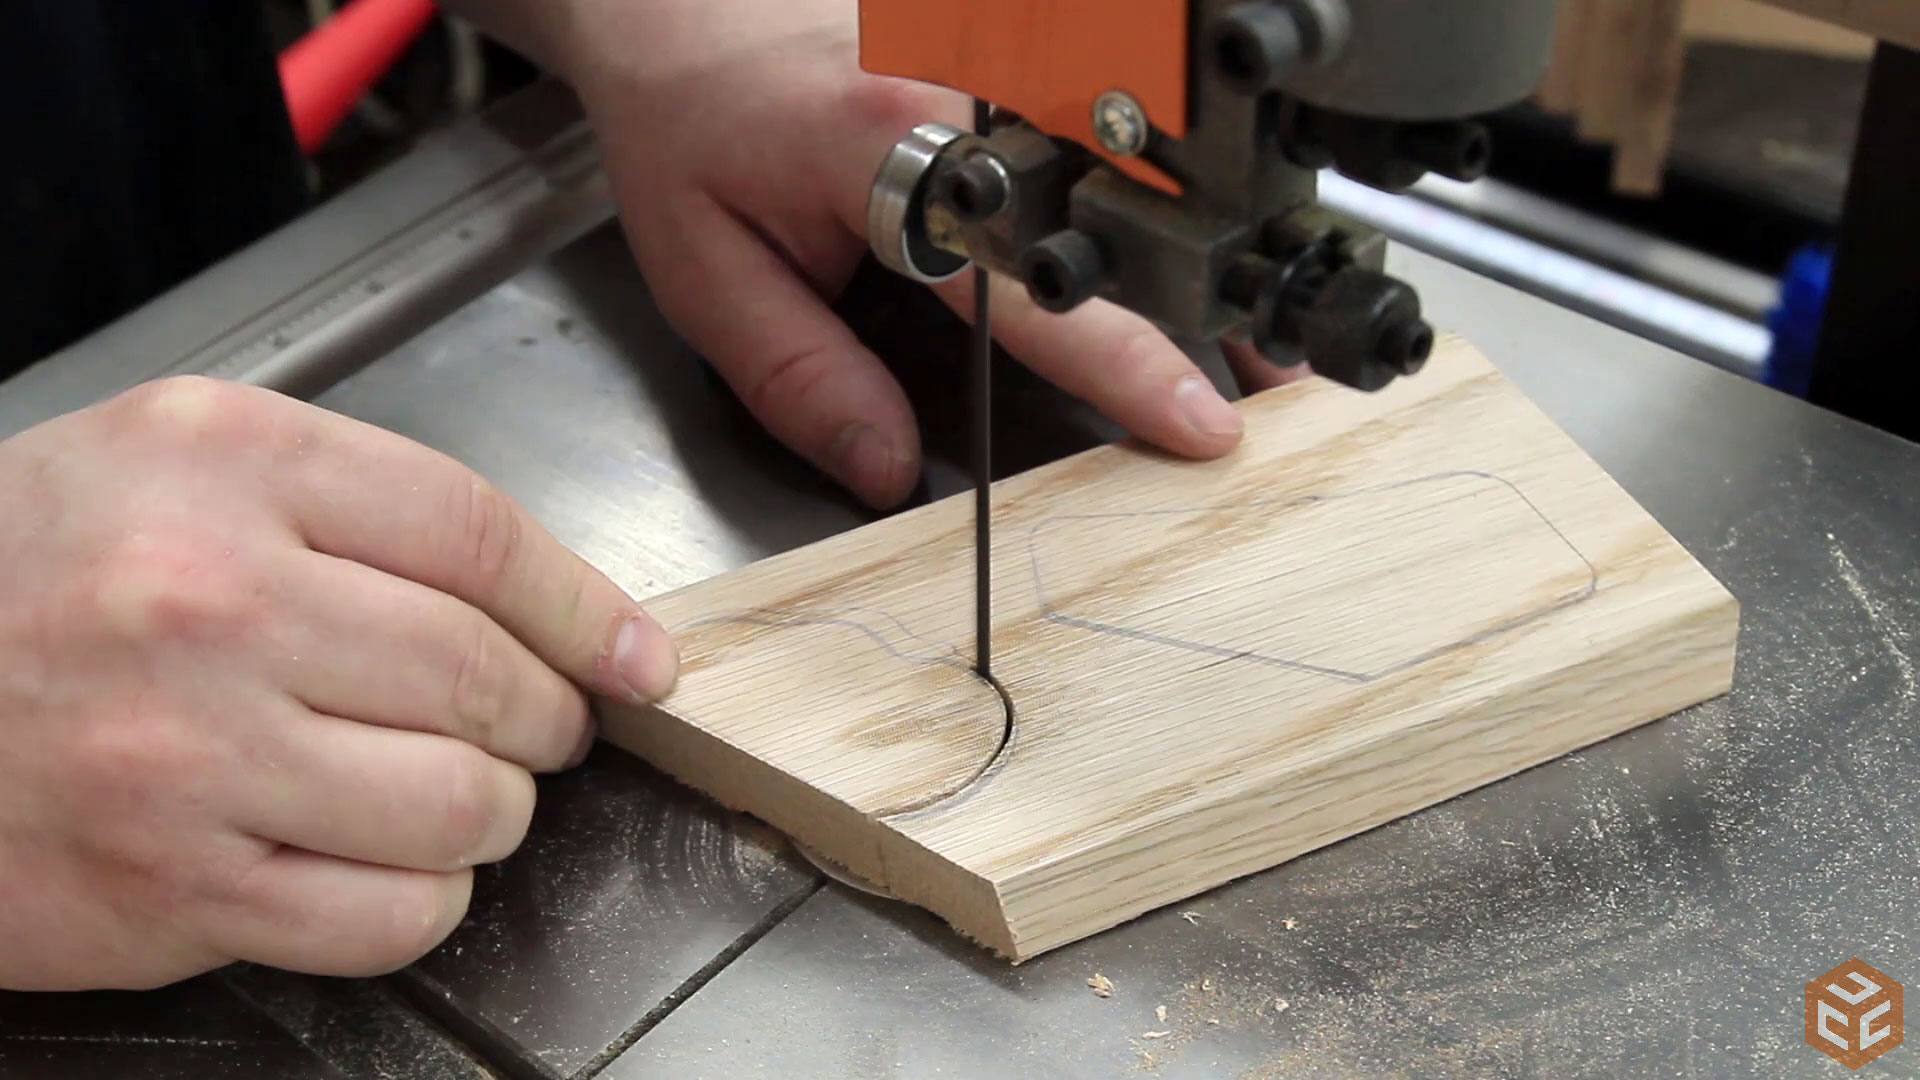
I’ve got a few western style push saws and a few eastern style pull saws. While I do prefer the western style saw most often there are certain situations where a pull saw is more beneficial. So for that reason all of the saws found a home on the wall. Each of the western saws is supported with the handle up and blade down by a custom handle holder and a dowel near the bottom of the blade and each of the eastern saws is supported blade up and handle down by a set of support blocks.
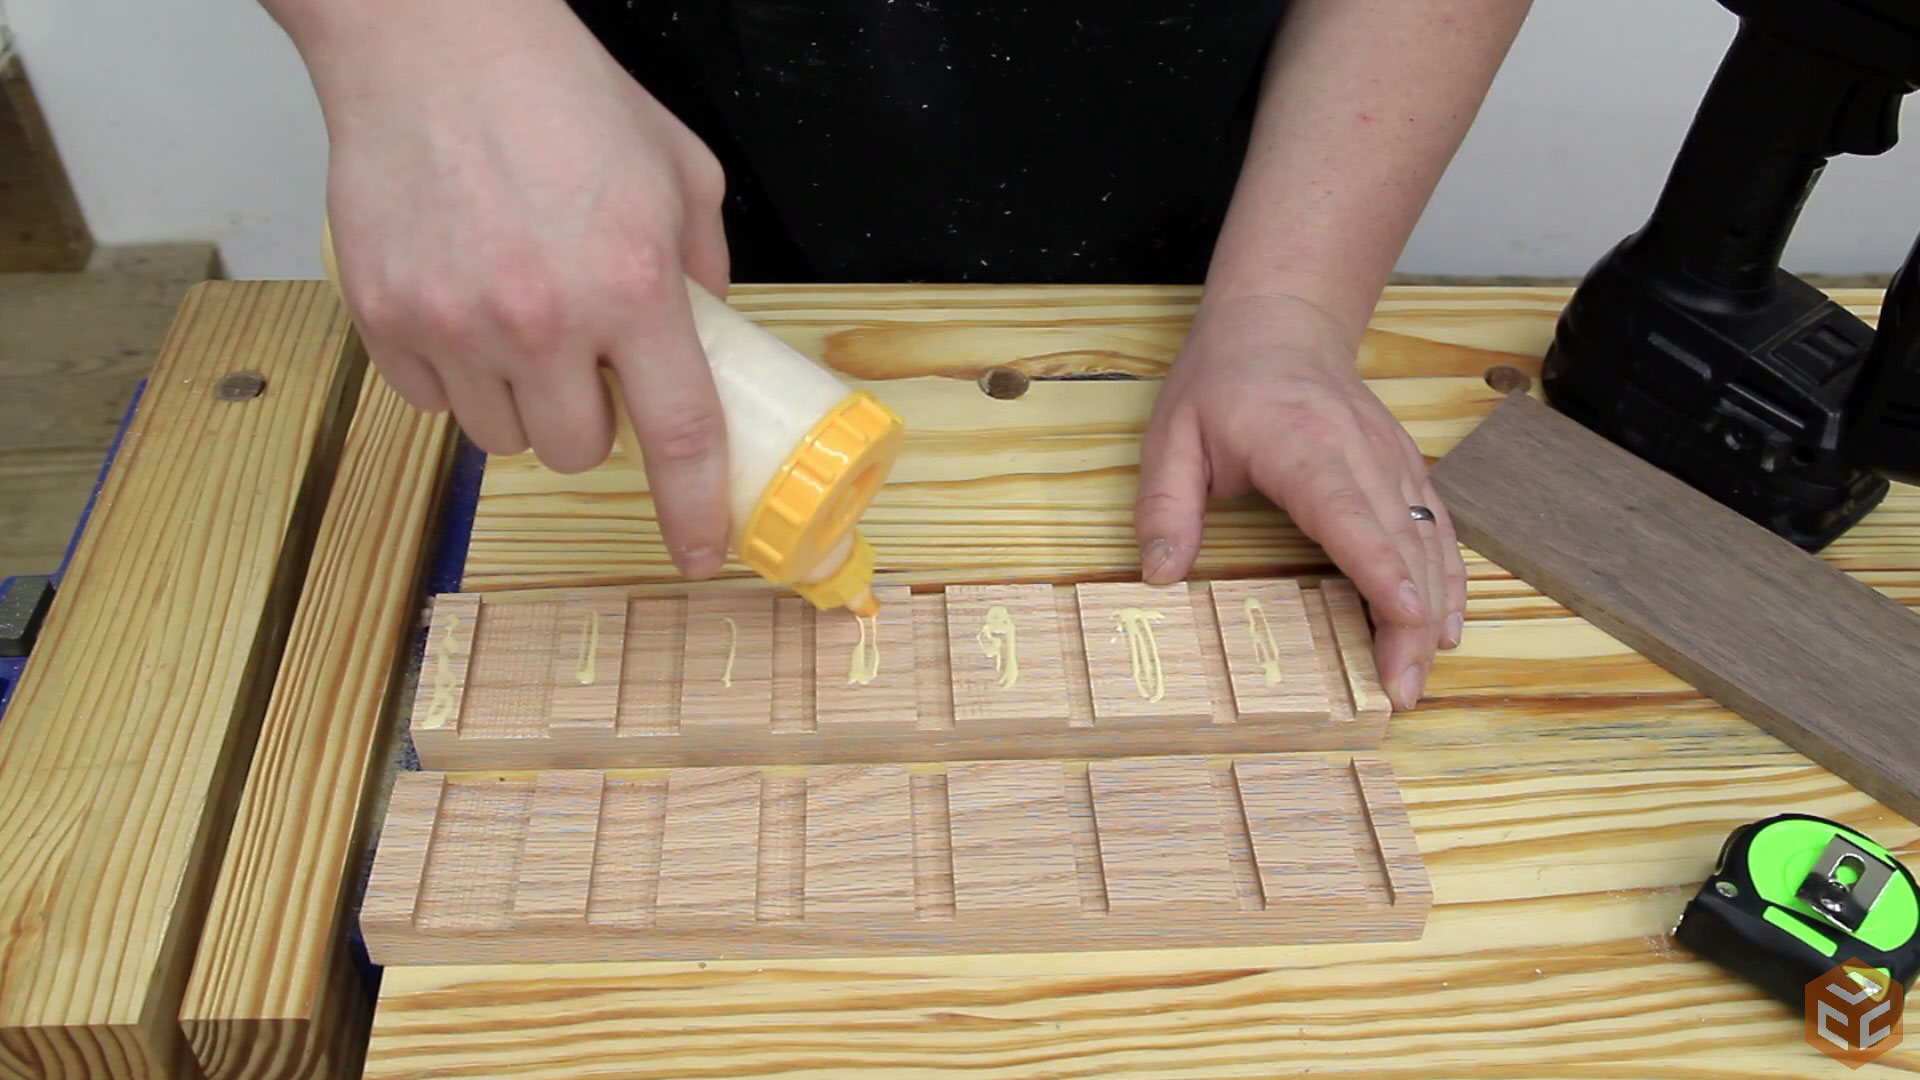
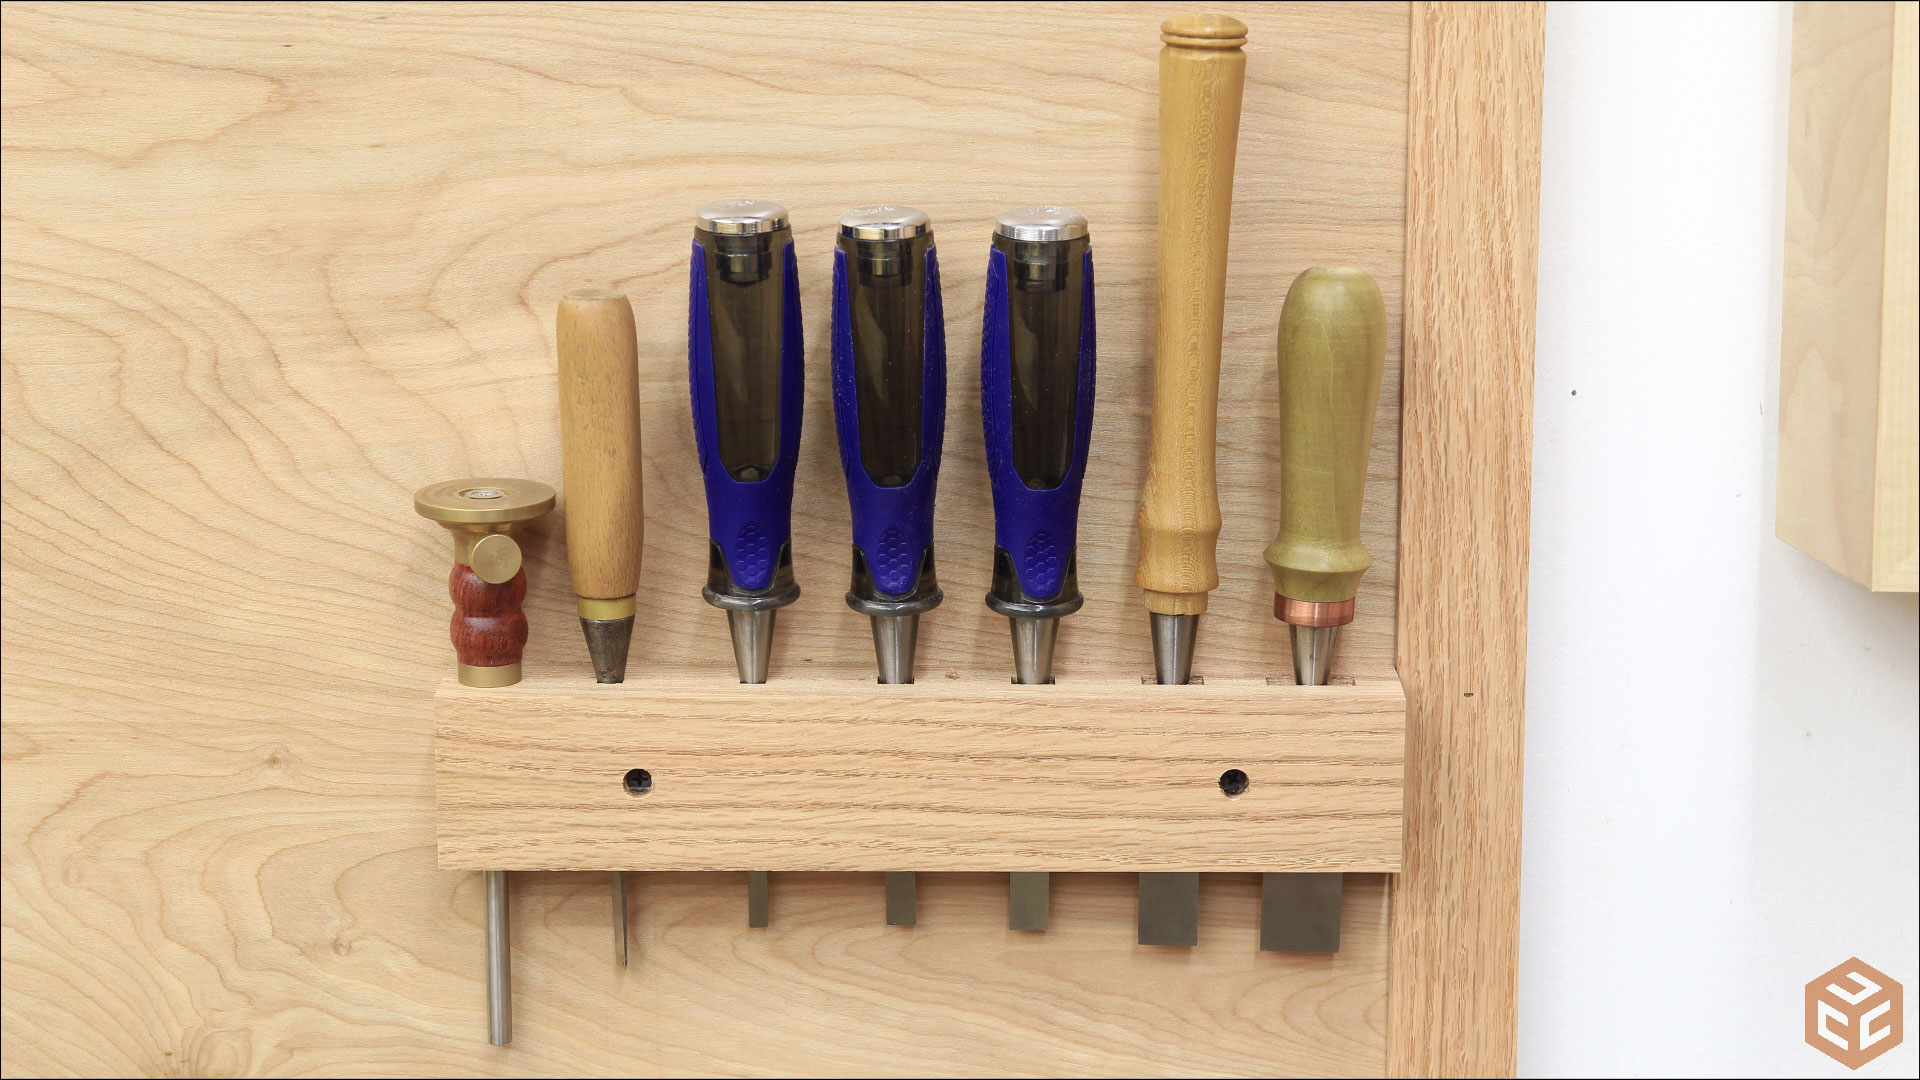
The chisel rack is identical to the one I used in my hand tool tote. It is just a pair of matching boards with dados cut in them and glued together. The dados are sized about 1/16” wider than the width of each chisel and are spaced 1-3/4” on center. I also included a slot for an extra 1/4” chisel that I ground into a dovetail chisel and another extra 1/4” slot for my marking gauge.
Before securing it to the wall I beveled the back face by a few degrees so that the top of the chisels would angle out slightly from the wall. Again, two screws to secure it to the wall. I also went back and brushed on a coat of water based polyurethane on all of the holders. This was quick and easy to do.

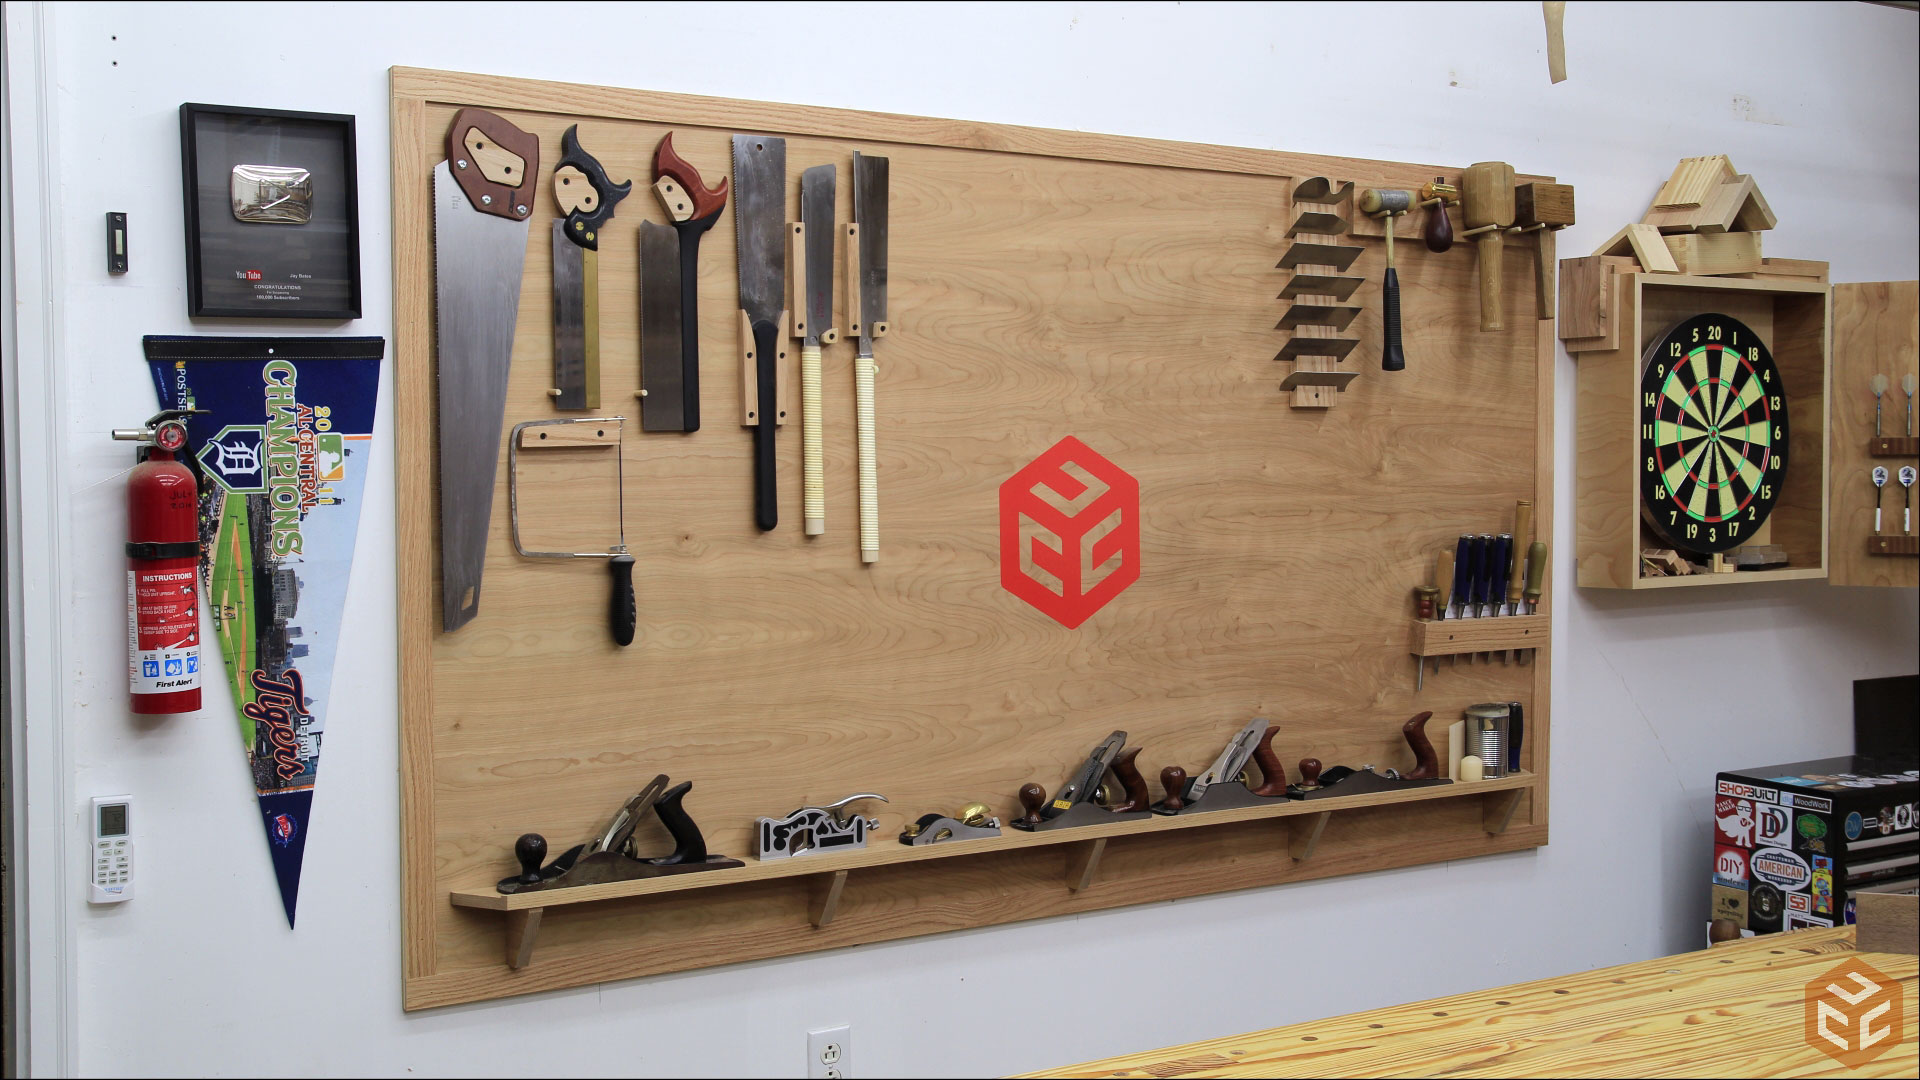
The end result? Well, it’s not really completed. This is one of those projects that will evolve and change and eventually fill up. For now though, it’s a very good start. I got all of my major items in place and only have a few other items I regularly use that need holders. That’s for another day though. Here are a few shots from the end of our day.
I just want to give another quick shout out to Matt Lane for helping me with this one and also providing some valuable feedback as to what he did and didn’t like with his tool holders. Be sure to check out his YouTube channel and subscribe if you like it.


Gday Jay. Nice easy build on this one. Surprised you did not use your handtools for the build. Nice work.
Cheers
I love the tool board; and really enjoy your videos, the quality and your imagination is outstanding. However, and this is the concern of a retired shop teacher: could you get an Industrial Arts book and follow the safety rules for the machines. I see multiple safety violations on your videos and you don’t want to learn the lesson the hard way. Kids and novices watch your videos and I would be happy to discuss this more with you.
Jay does not do these videos to teach others how to be safe in their shop. He does them for many other reasons, mostly to encourage others to enjoy making things with your hands. The safety police can be quiet.
Really nice Jay. I really like how the black screws on the oak contrast. Very slick. Adds a nice graphic element.
NICE IDEA JAY, I ENJOY YOUR VIDEOS , JACK
Good stuff chief
Very nice board. I note that there appears to be room for Wild/Viking/Twins/TWolves stickers for enhancement.
Hi Jay,
What kind of finish do you prefer for projects/ shop furniture like this that doesn’t need to be sprayed? I’m beginning work on an assembly table and I’d like to hear what your recommendation is for a simple finish that can easily be applied.
Thanks!
I had a tool wall for many years to hang my spanners and sockets etc. on. Not as fancy as you have made, just a sheet of MDF with nails and screws to hold the tools. But hey it does the job!! I’ll have to make one for my woodwork tools as well. It must be handy having a tall helper in the workshop for those higher jobs. Tape measure’s that won’t hold at the end are just Arrrrrr. :-(