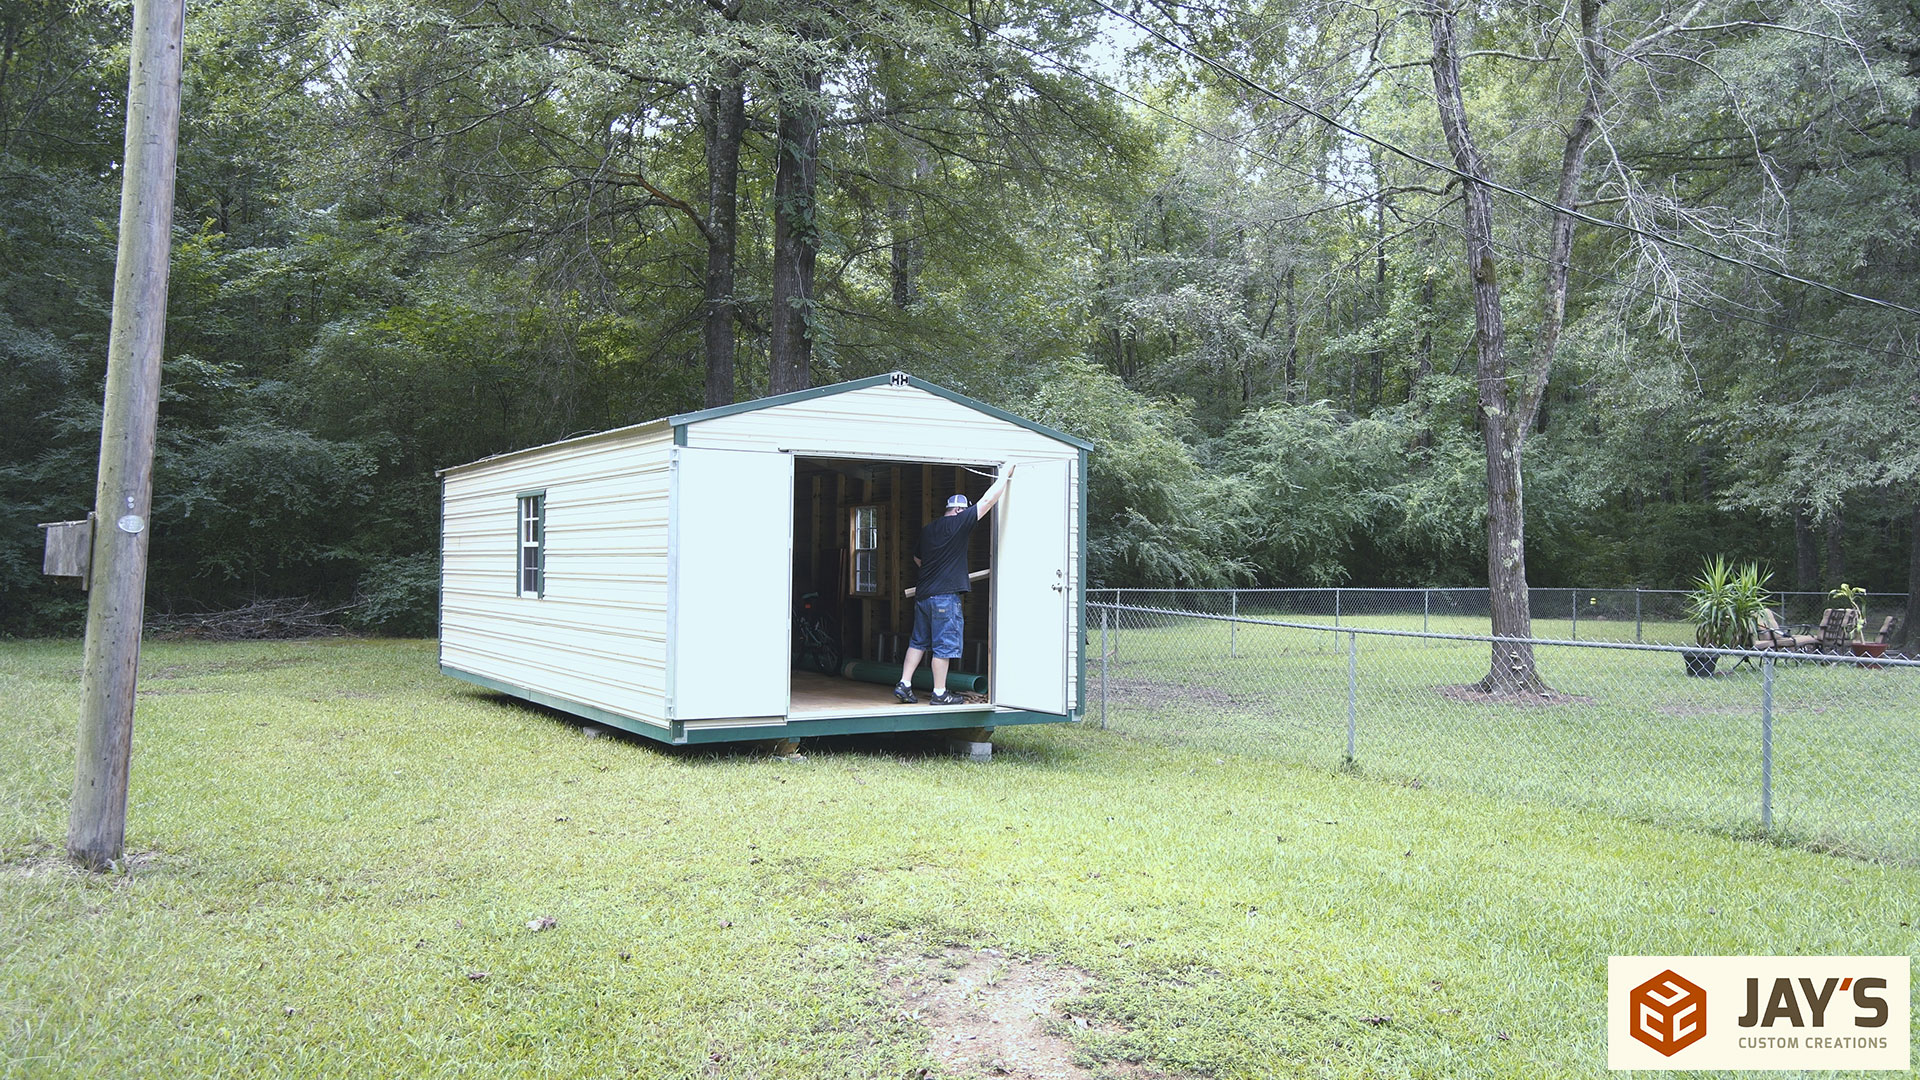
This is my new materials shed. It’s a 12′ x 24′ portable shed. It’s built on runners and not permanently attached to the ground. This means if we move houses I can take the shed with me. I’ve had it for a little over a month now and I really need to set up an origination system in it.
So why buy and not build? Quite honestly, it’s a time situation. There’s only so many hours in the day and I really don’t want to spend any time in the middle of the summer in the Mississippi heat and humidity building a shed.
Building upon the “there’s only so many hours in the day” statement, I decided to install manufactured lumber racks in the materials shed rather than make my own. These are the Bora Portamate Wood Racks sold by Rockler Woodworking and Hardware. Each box has two racks and each rack has six shelves.
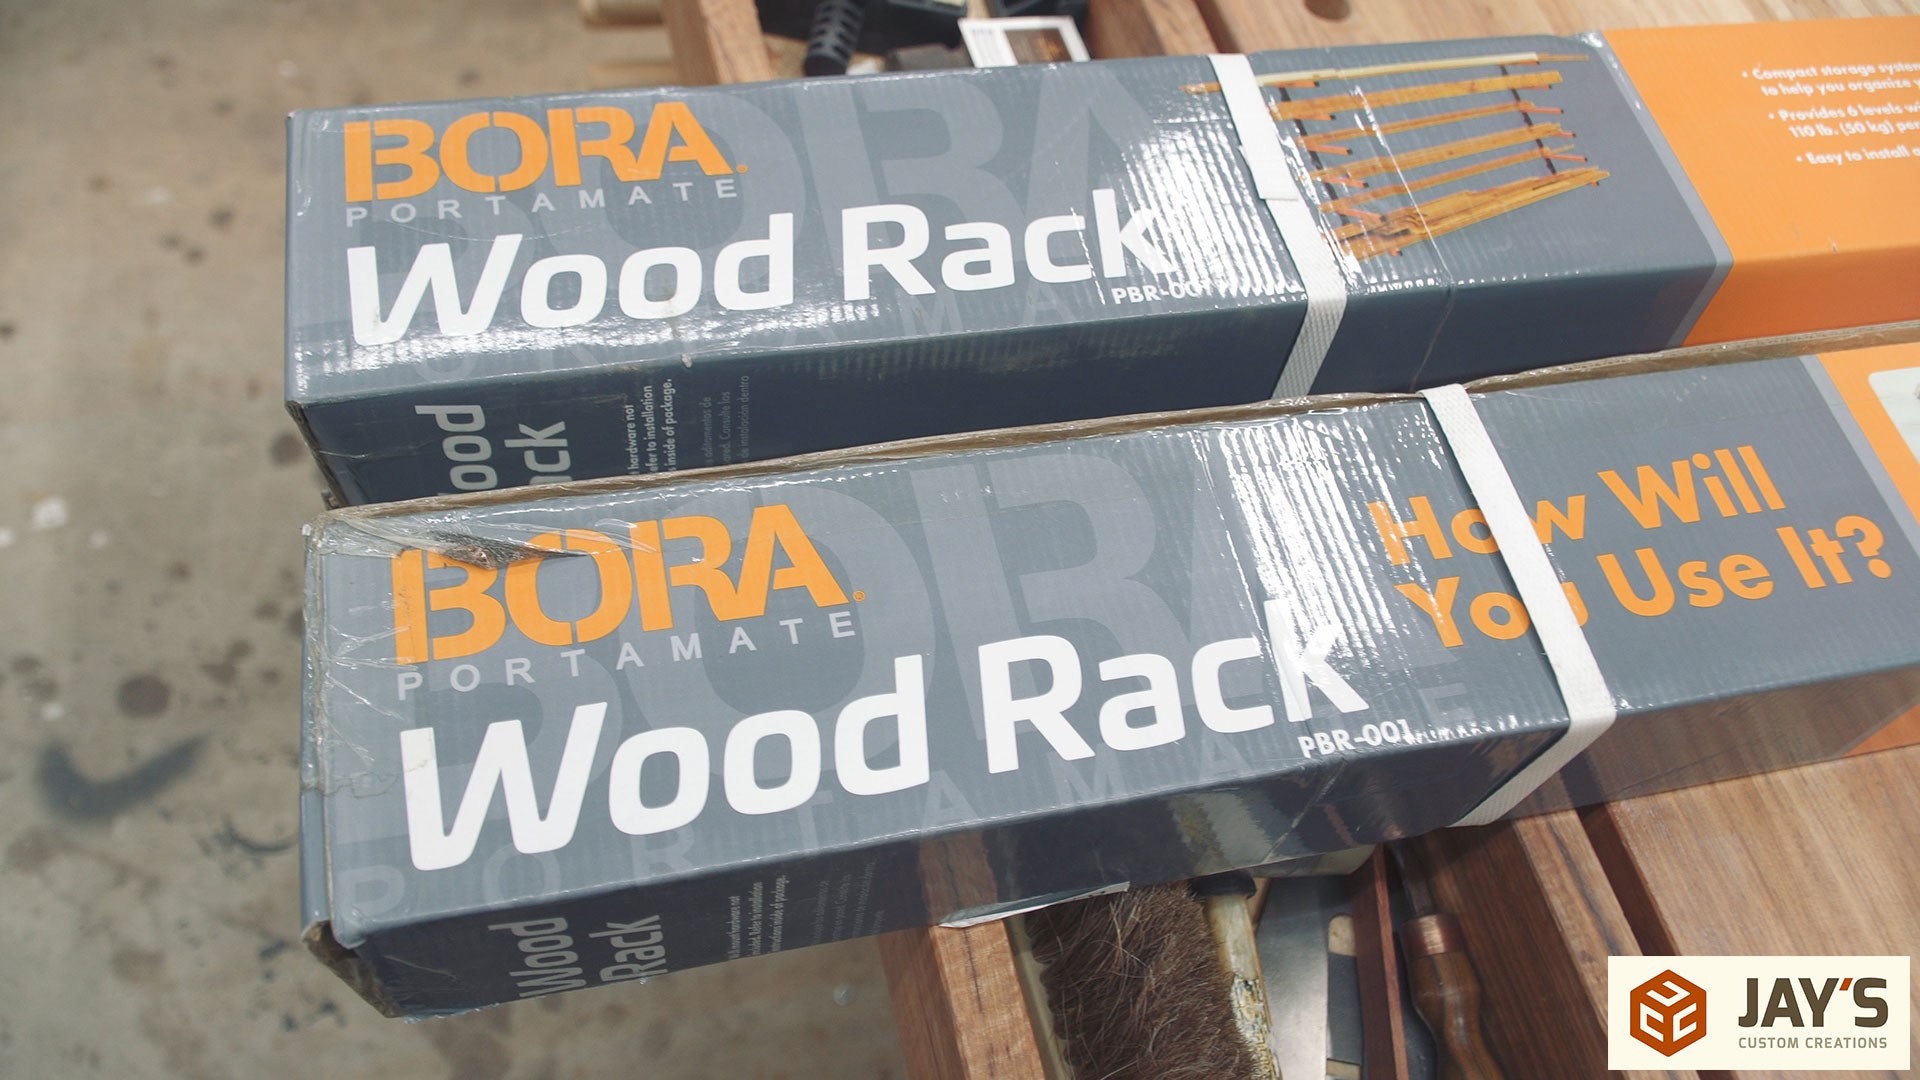
Assembly is very quick. Just one screw per shelf and each shelf slides on the bar from above. I’m installing four boxes which should give me enough for a full 24′ span of wood storage.
It’s important that the lumber racks are installed at the same height and to make the installation fool proof I cut a 2×4 spacer block.

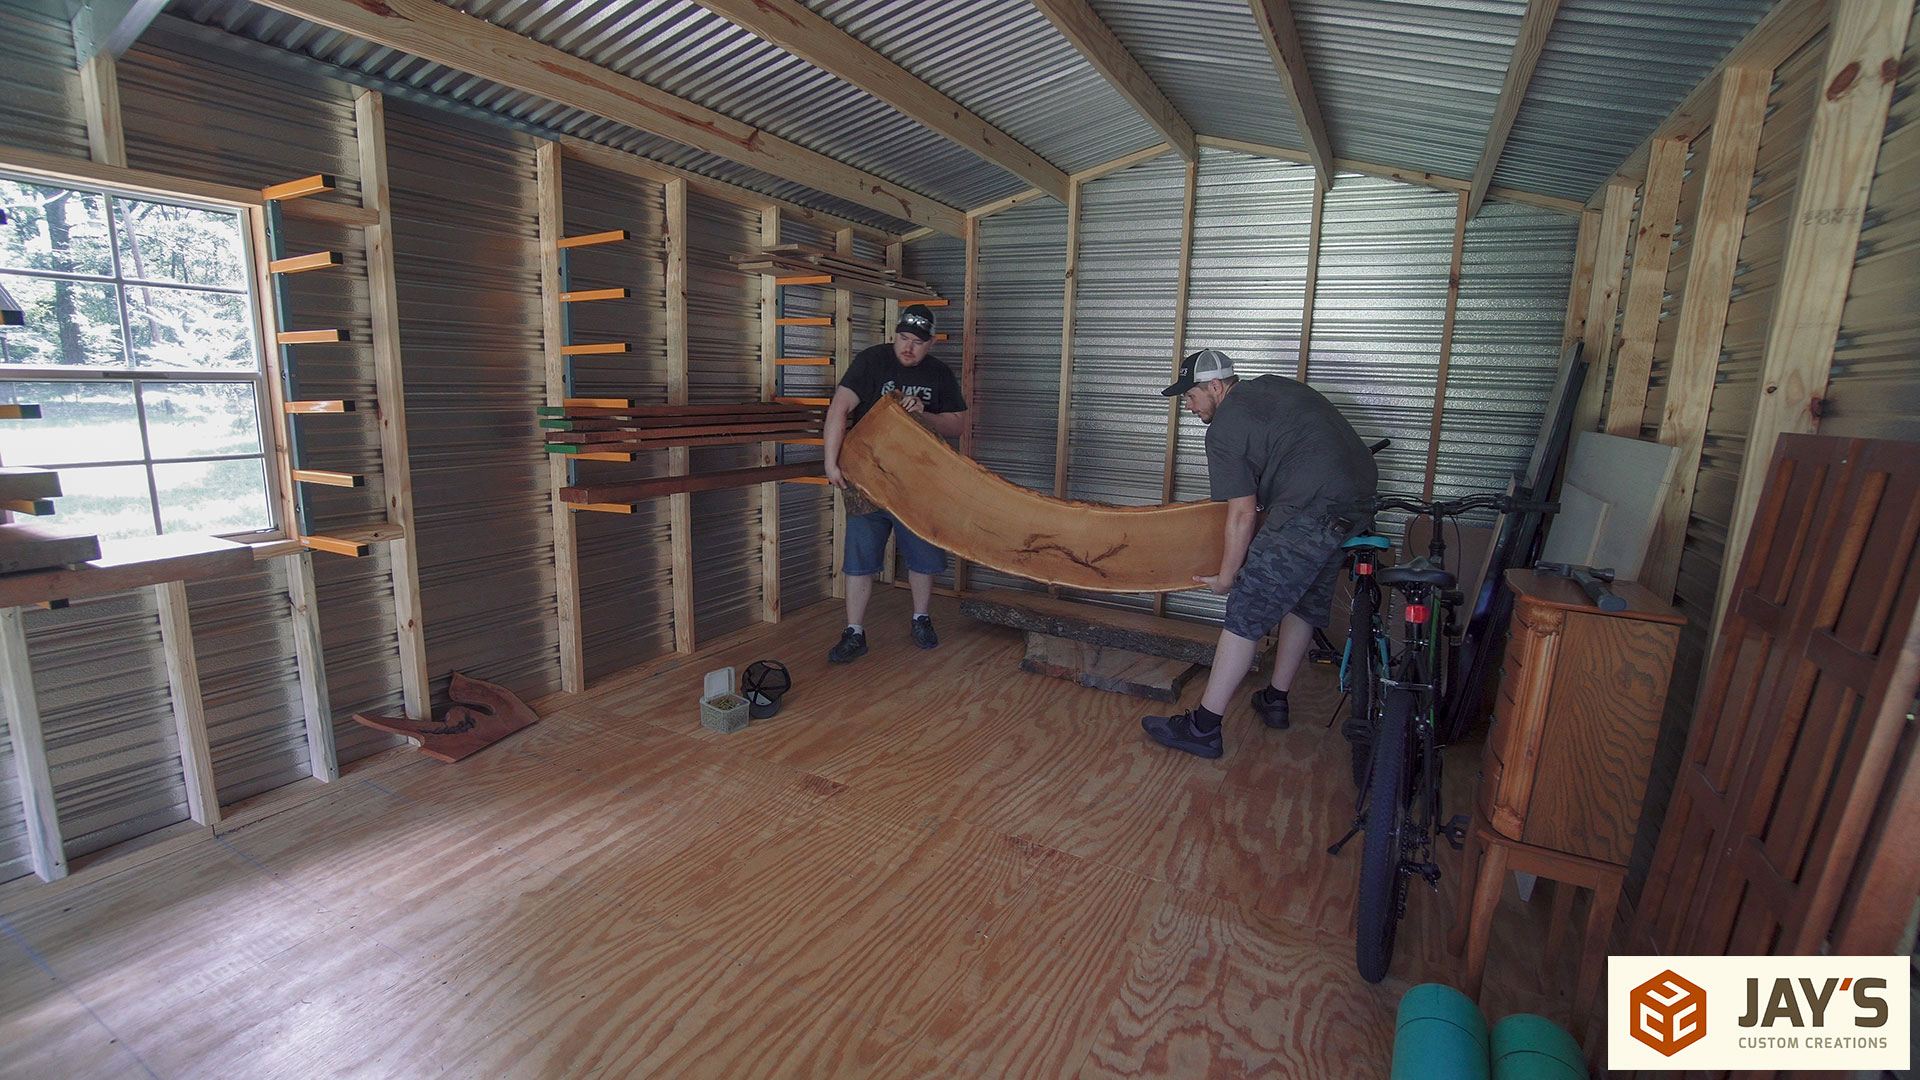
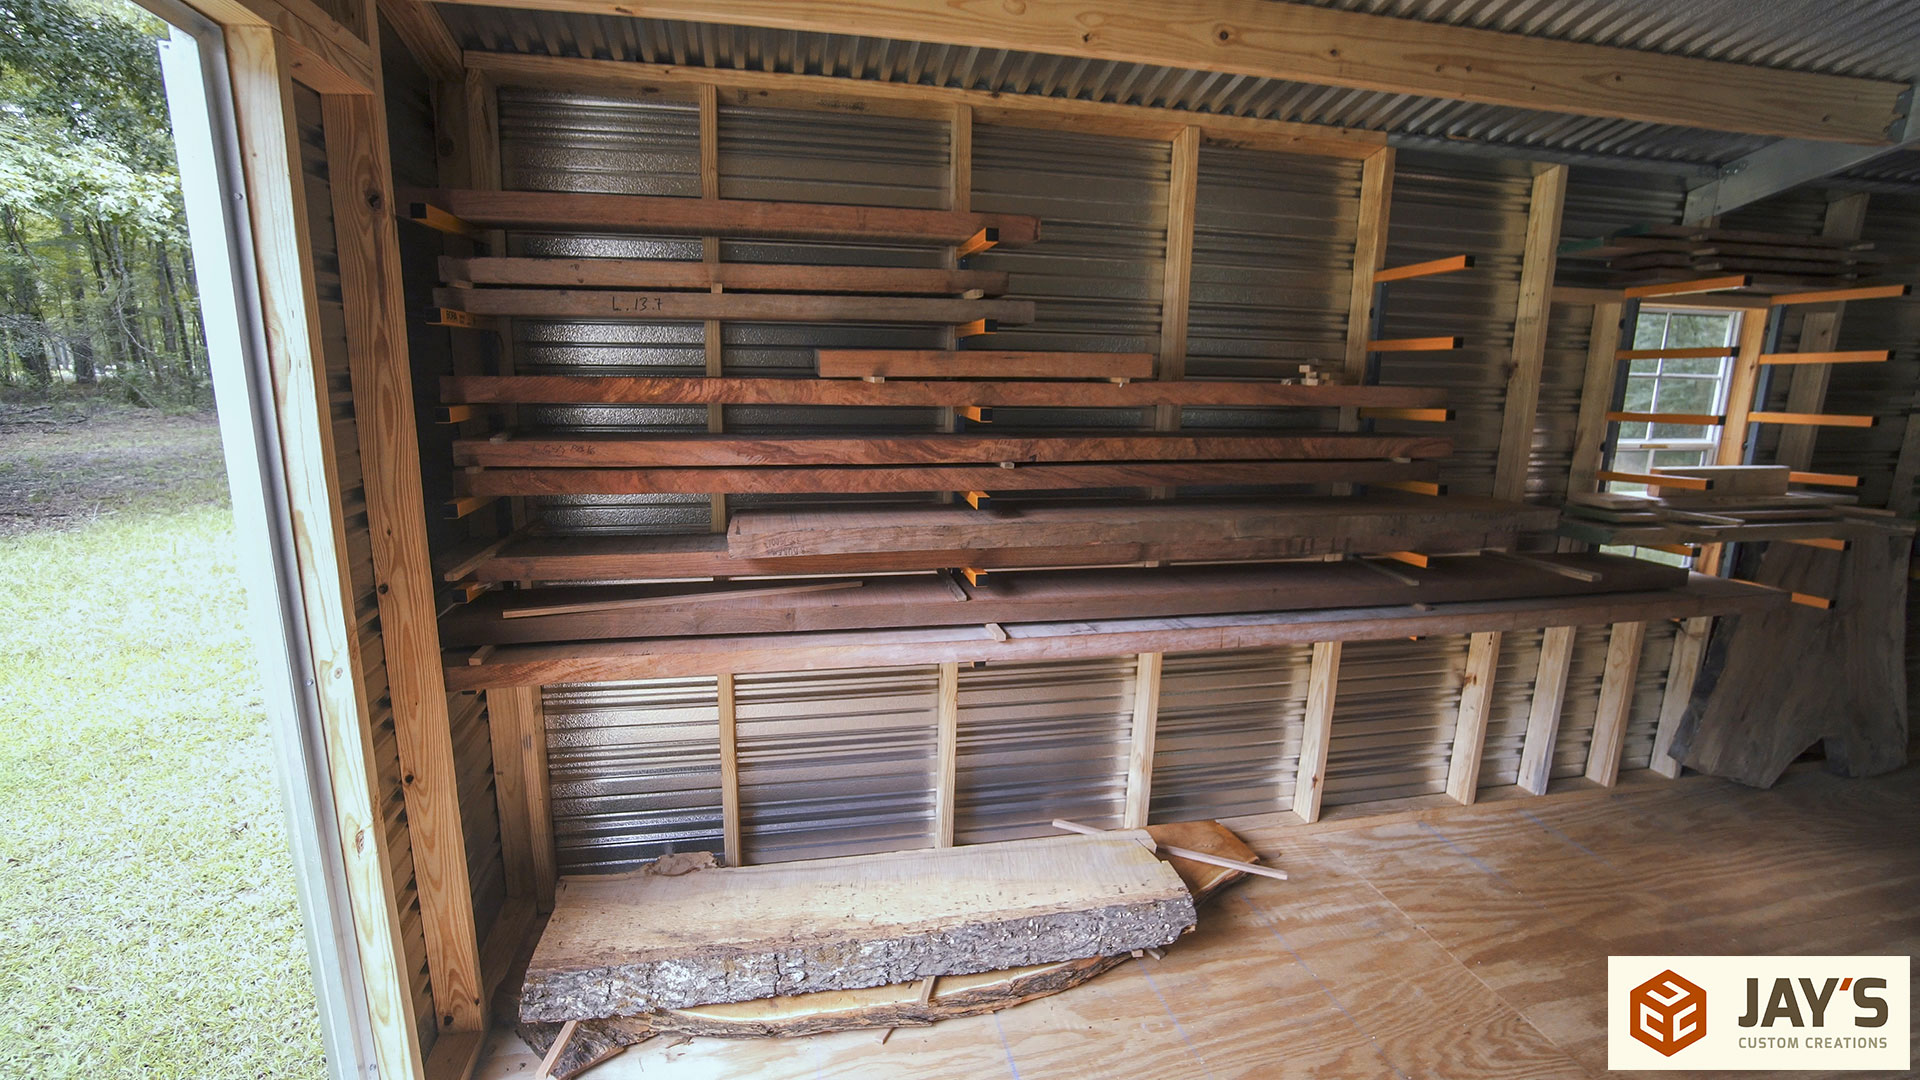
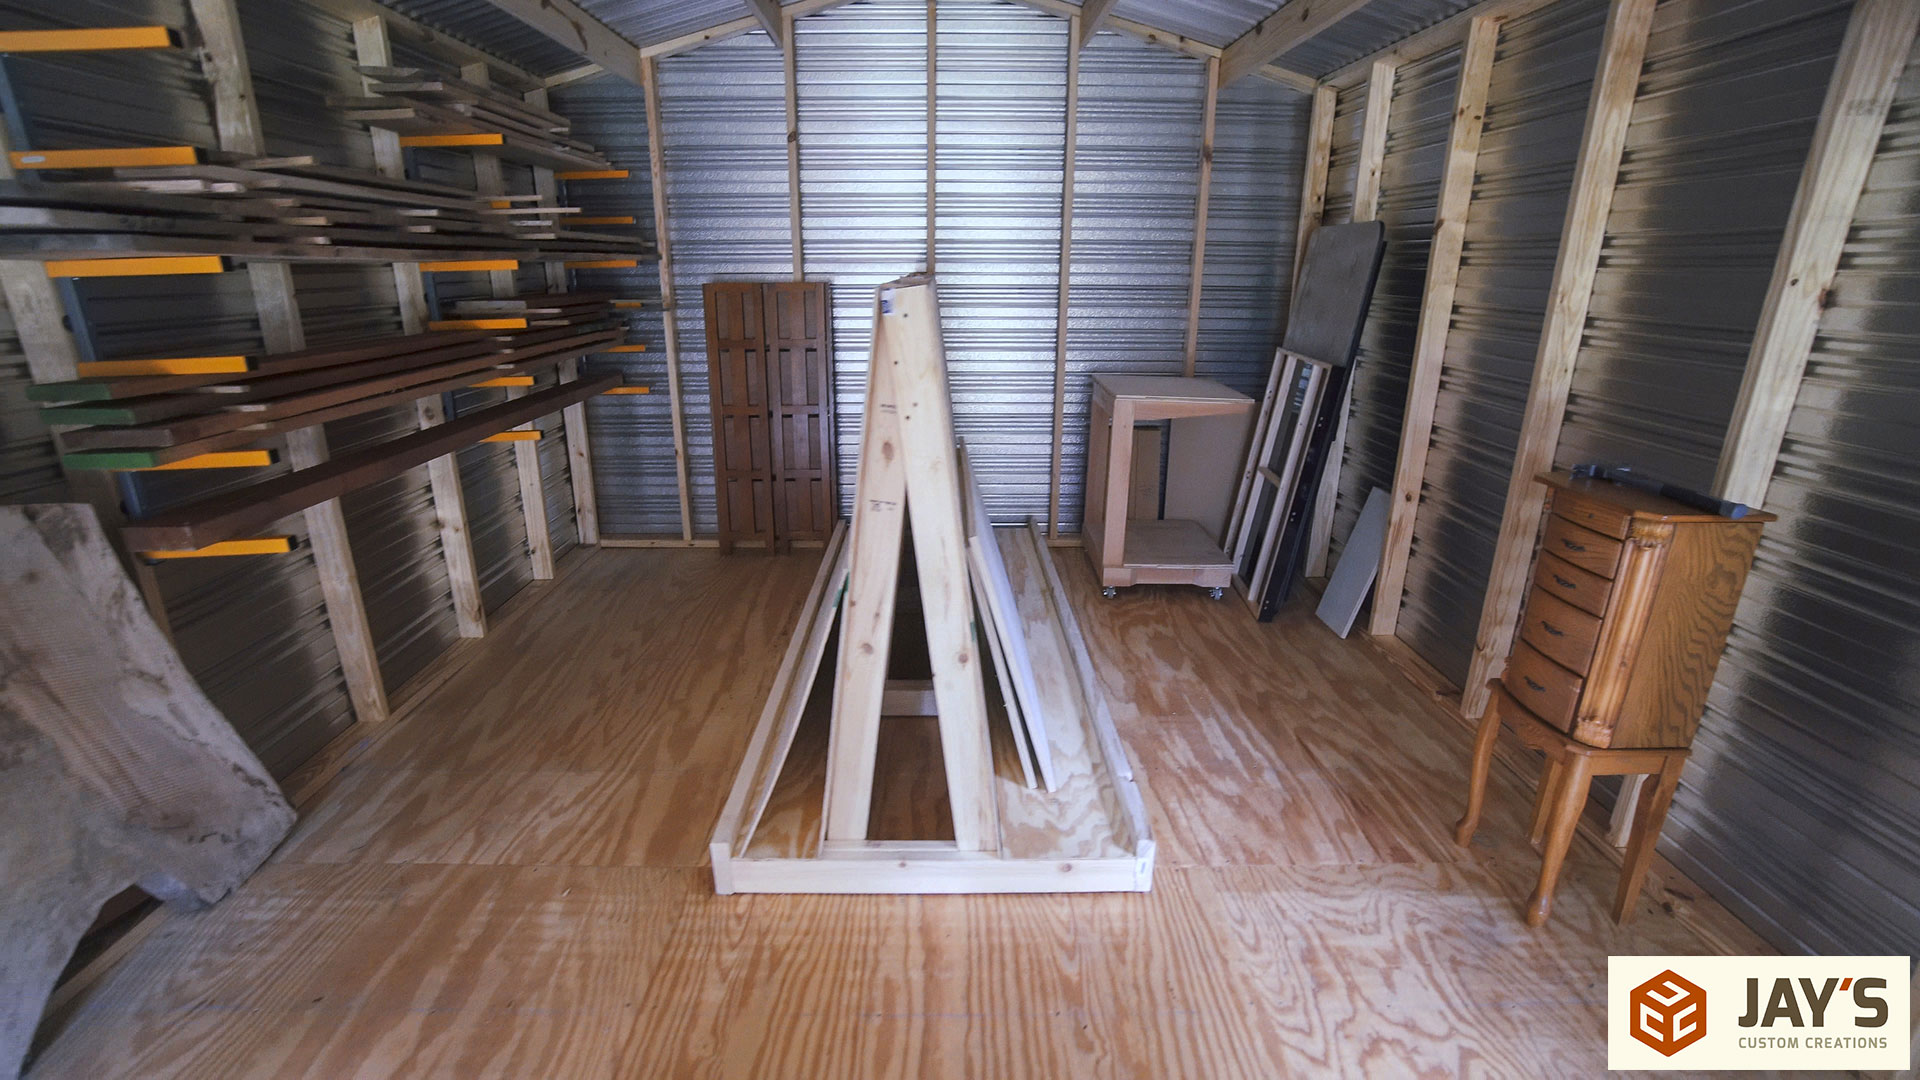
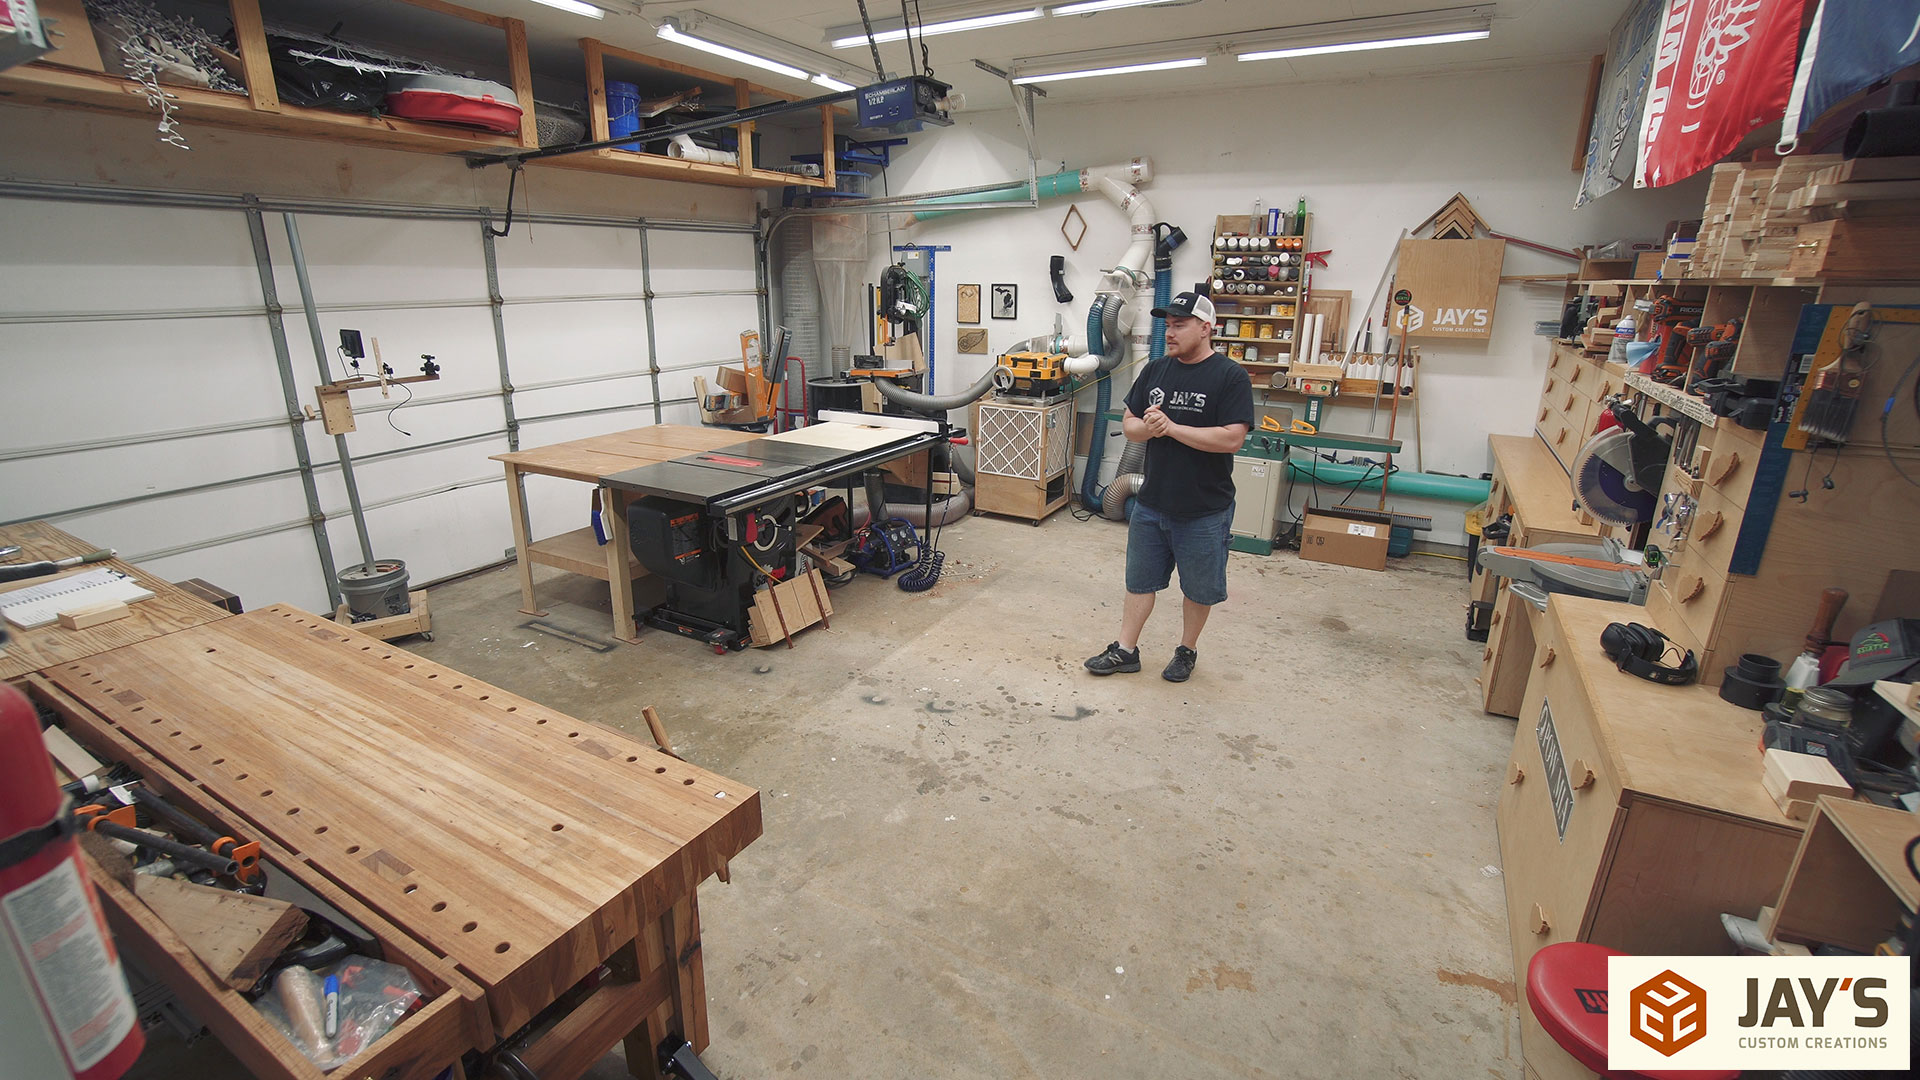
Before we install the lumber racks lets spin around and get a quick tour of the shed. The entry door is on one of the short sides and the entire left wall is where I want the lumber to go. You can see that I’ve already been stacking lumber on the floor to get it out of my way in the shop.
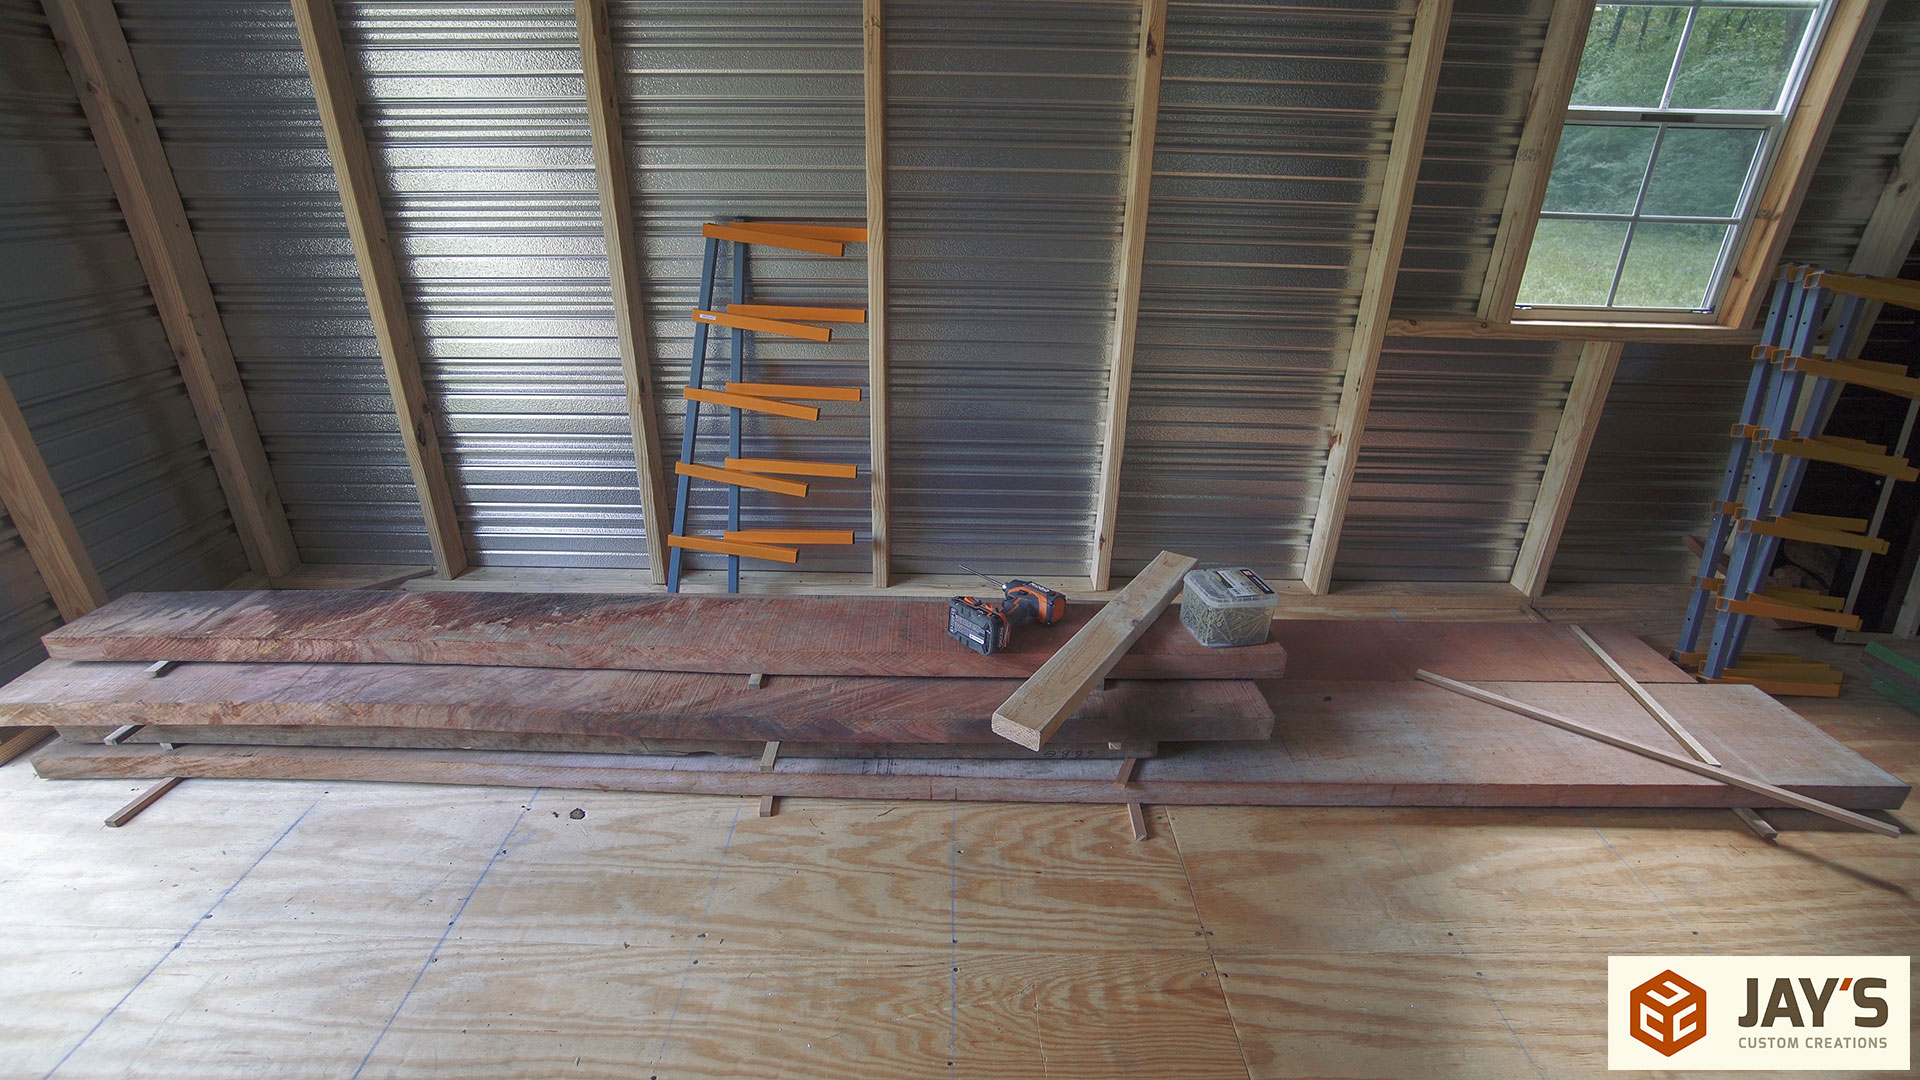

On the center of the back wall I have three slabs that were given to me. One hickory, one osage orange, and one pecan. These need to move as I want the plywood cart to go in the center of the back wall.
On the right wall I have some previous scrap plywood, my bikes, my ladder that hasn’t had a dry storage location in four years, and some extra PVC pipe for my dust collection. The bikes are the only thing non business related that I want to keep in here. I want to get all of this stuff stored high on the wall.

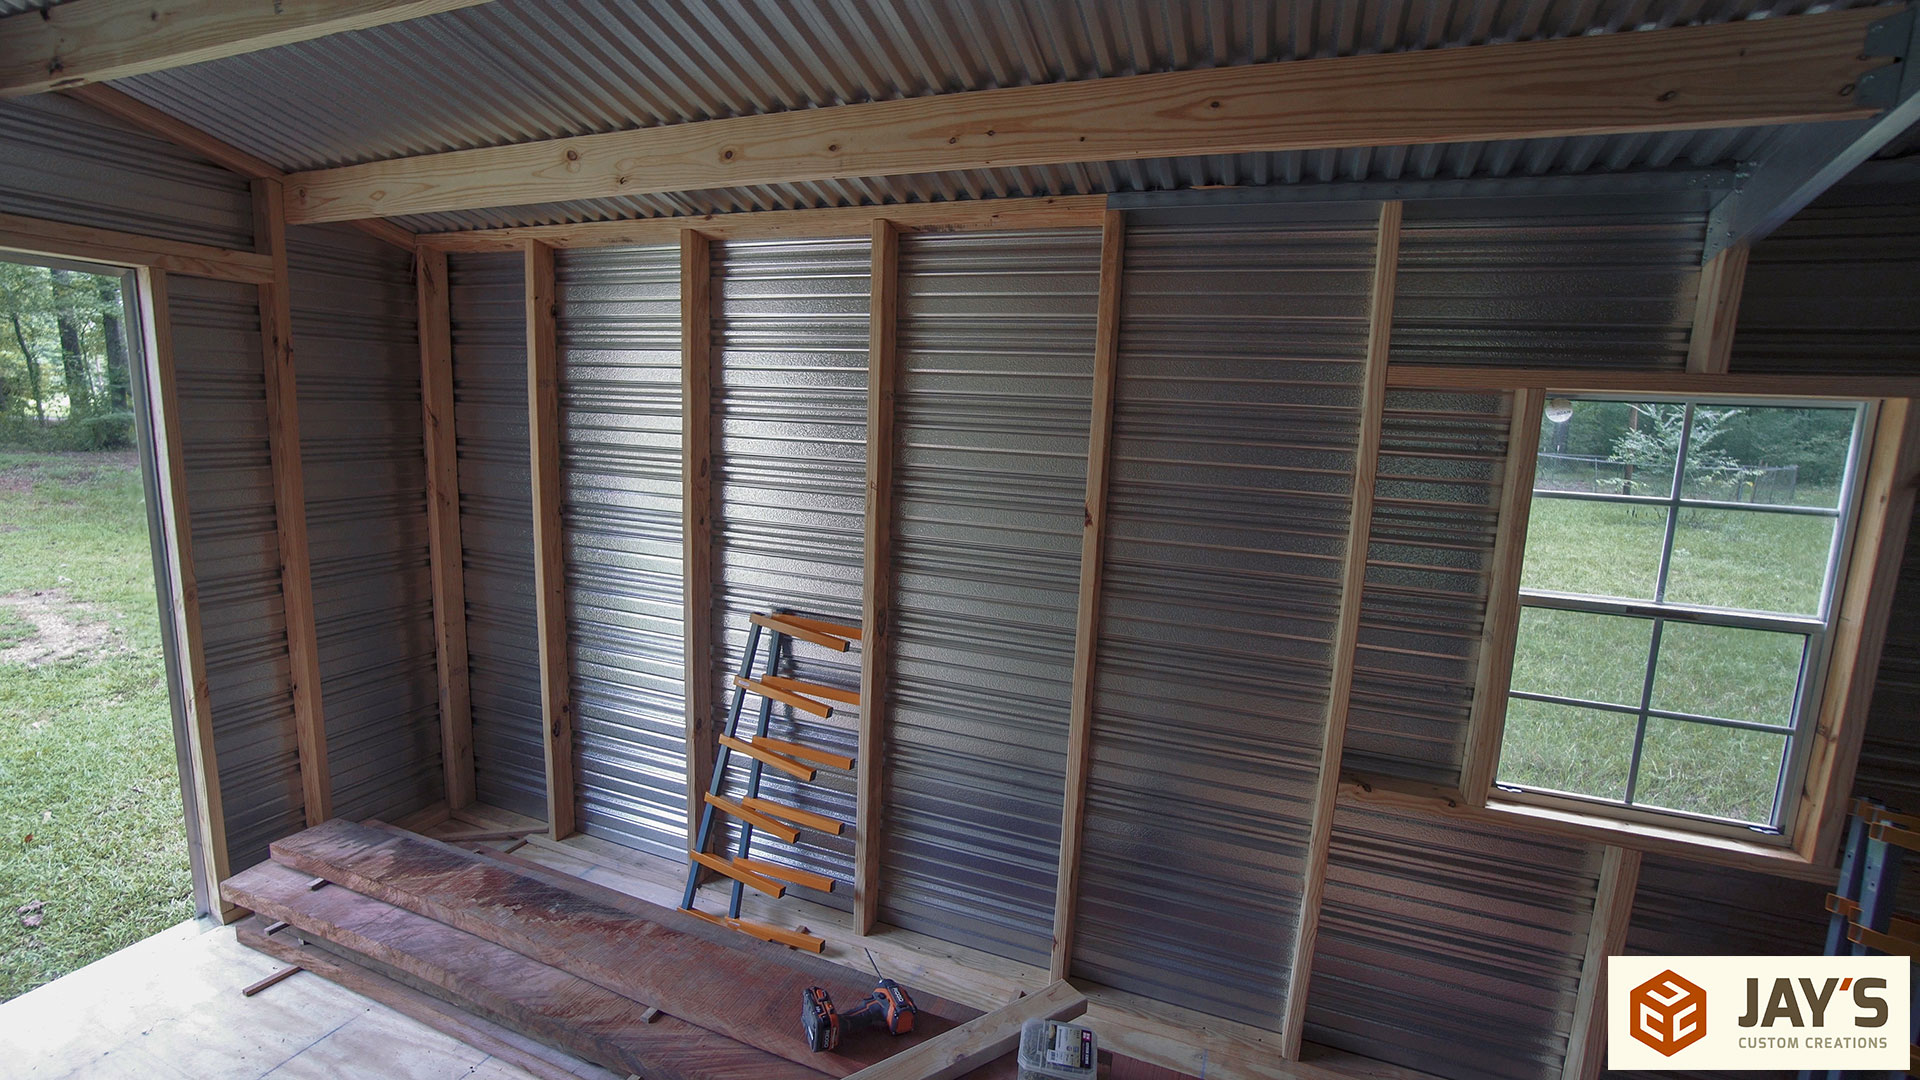
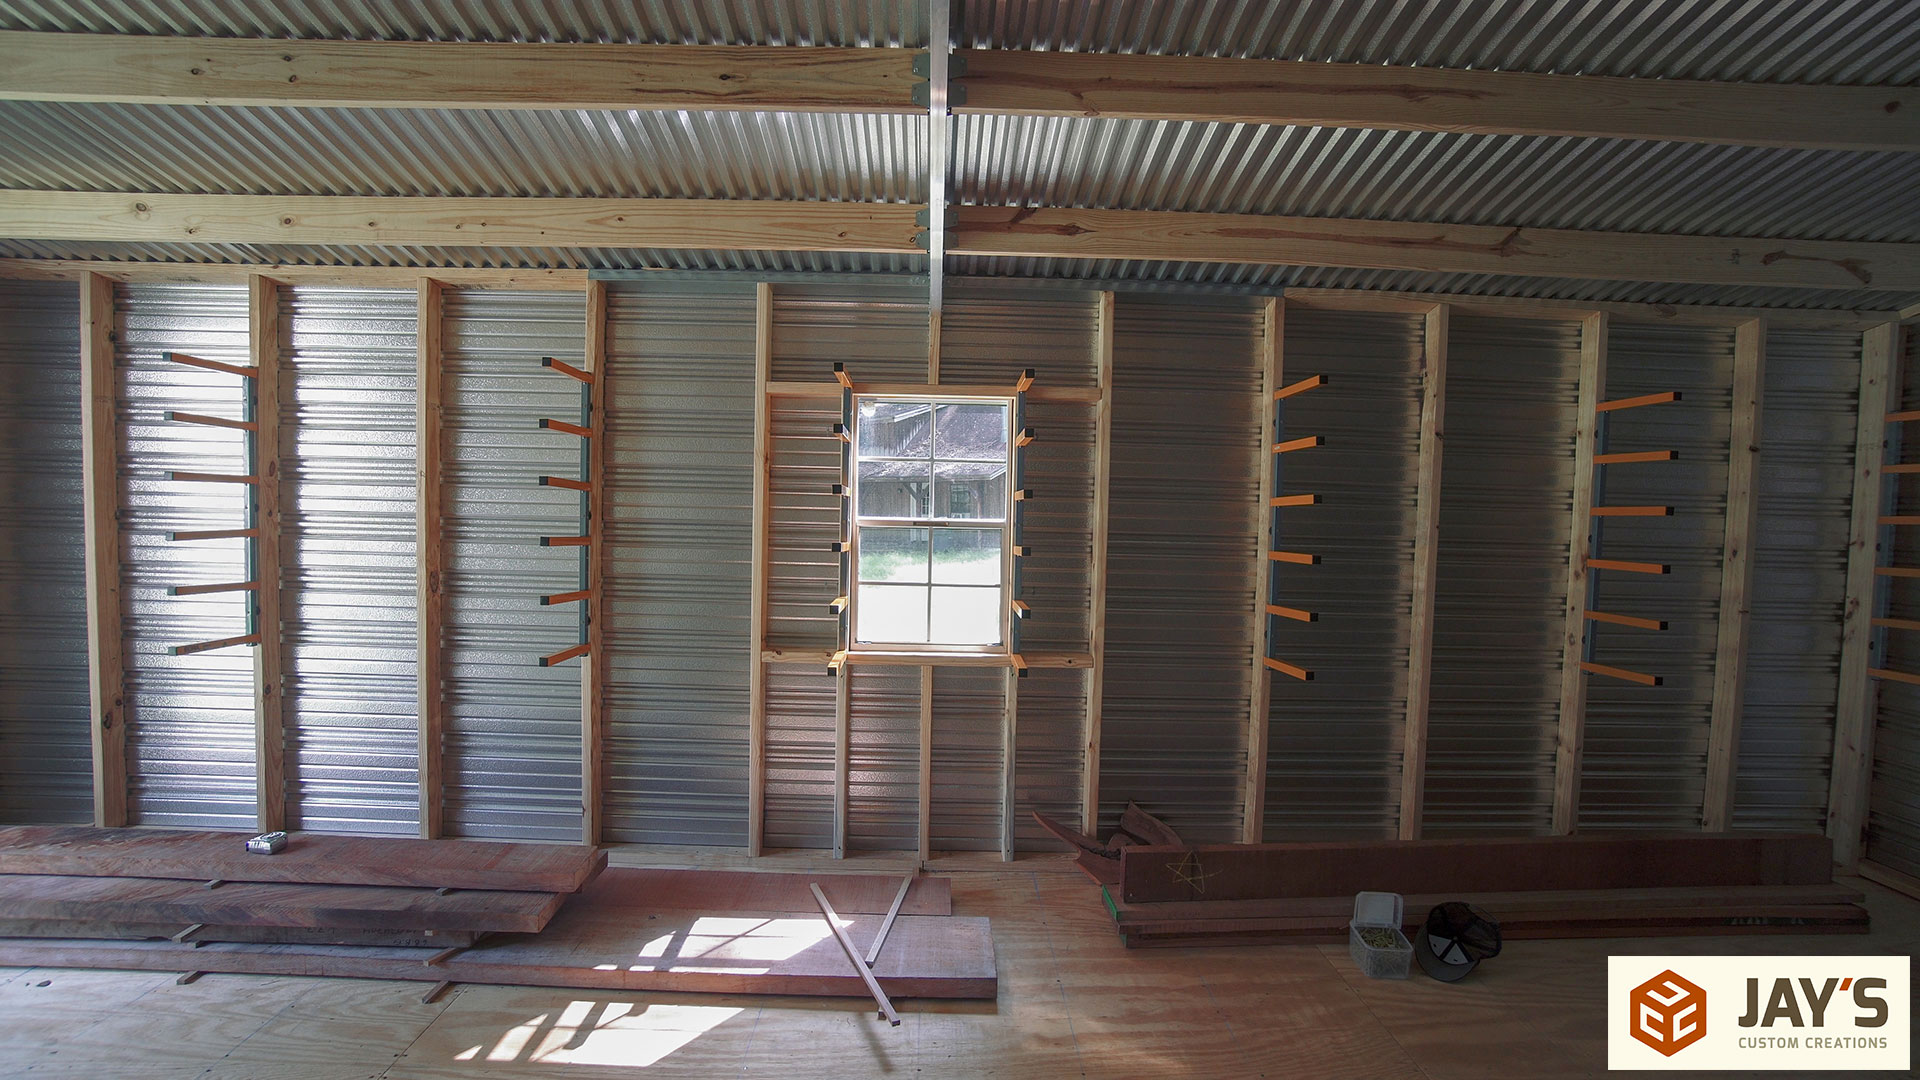
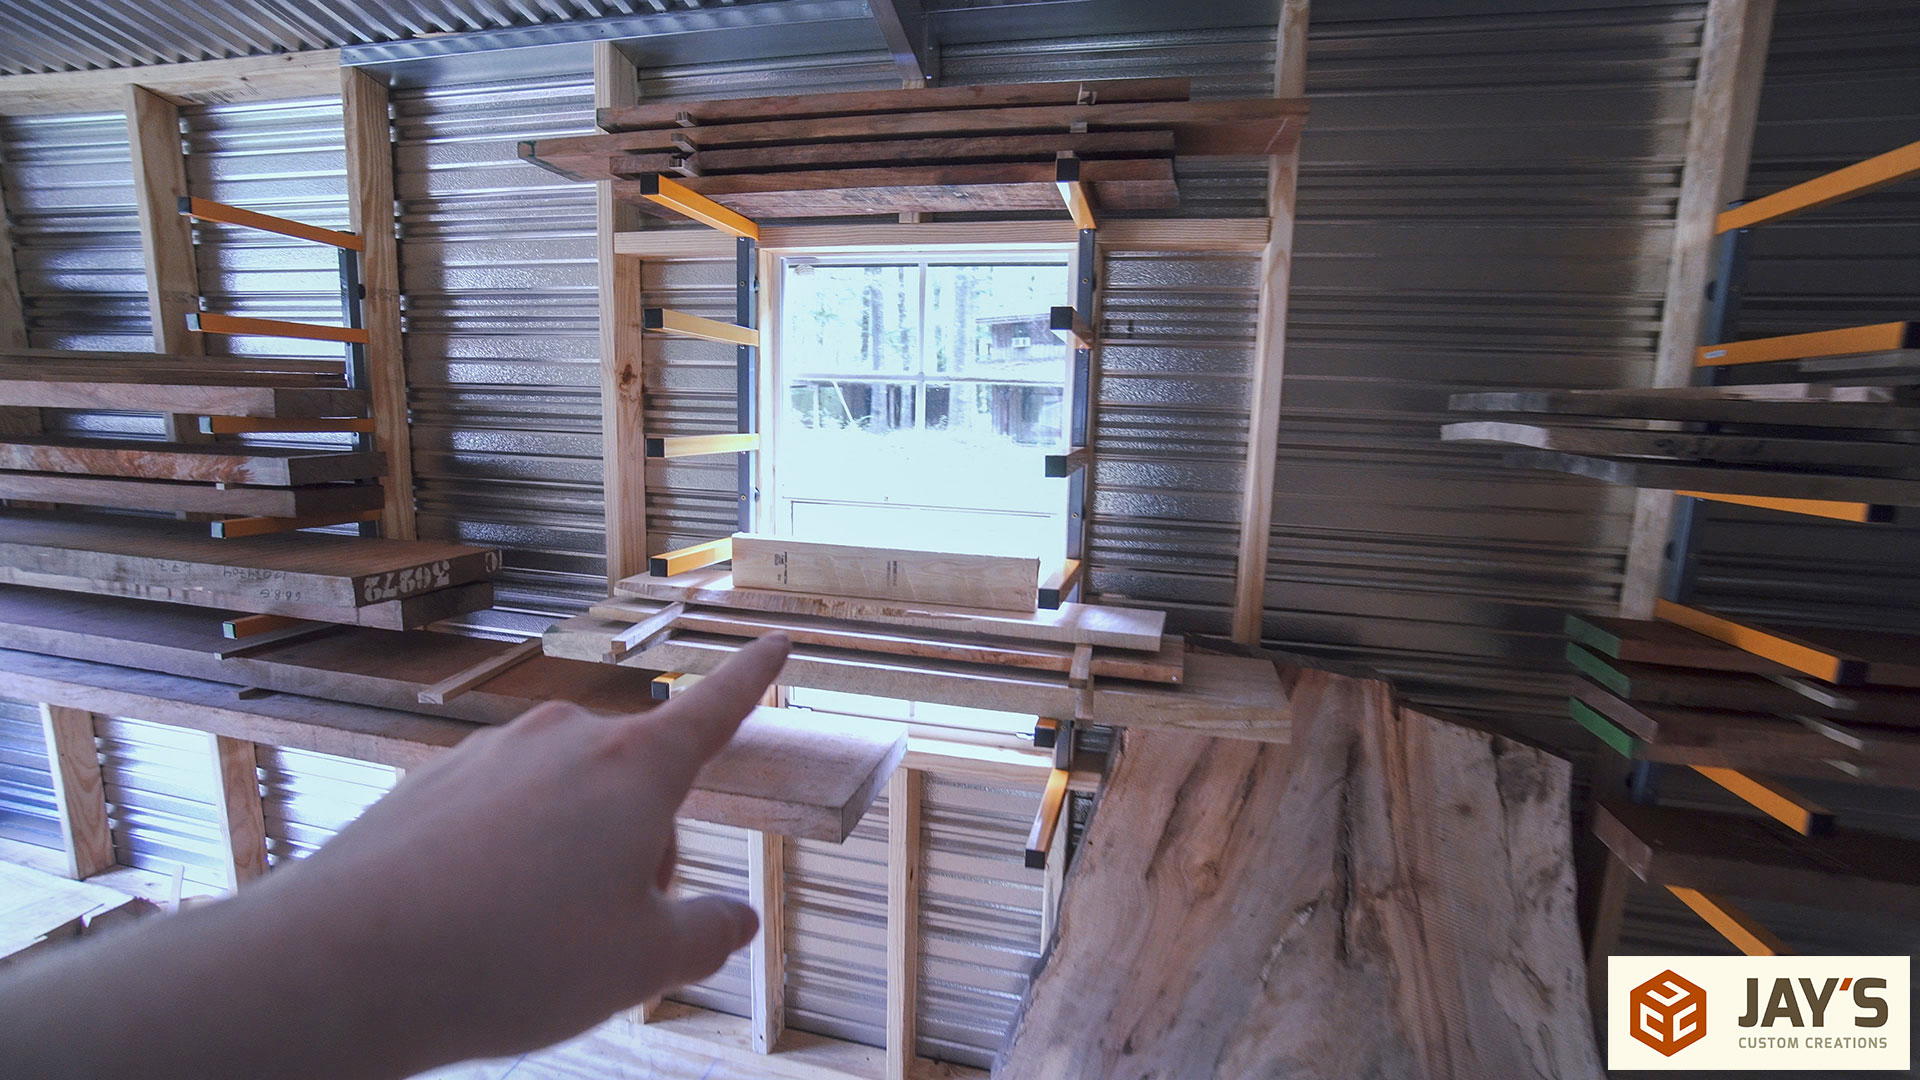
Before mounting the lumber racks I had to add a couple braces to the wall right below the windows. I’ll be mounting a rack on either side of the window and need to extend the 2×4 framing from the sides of the window down to the sill plate. This will allow for the weight to be distributed efficiently to the floor.
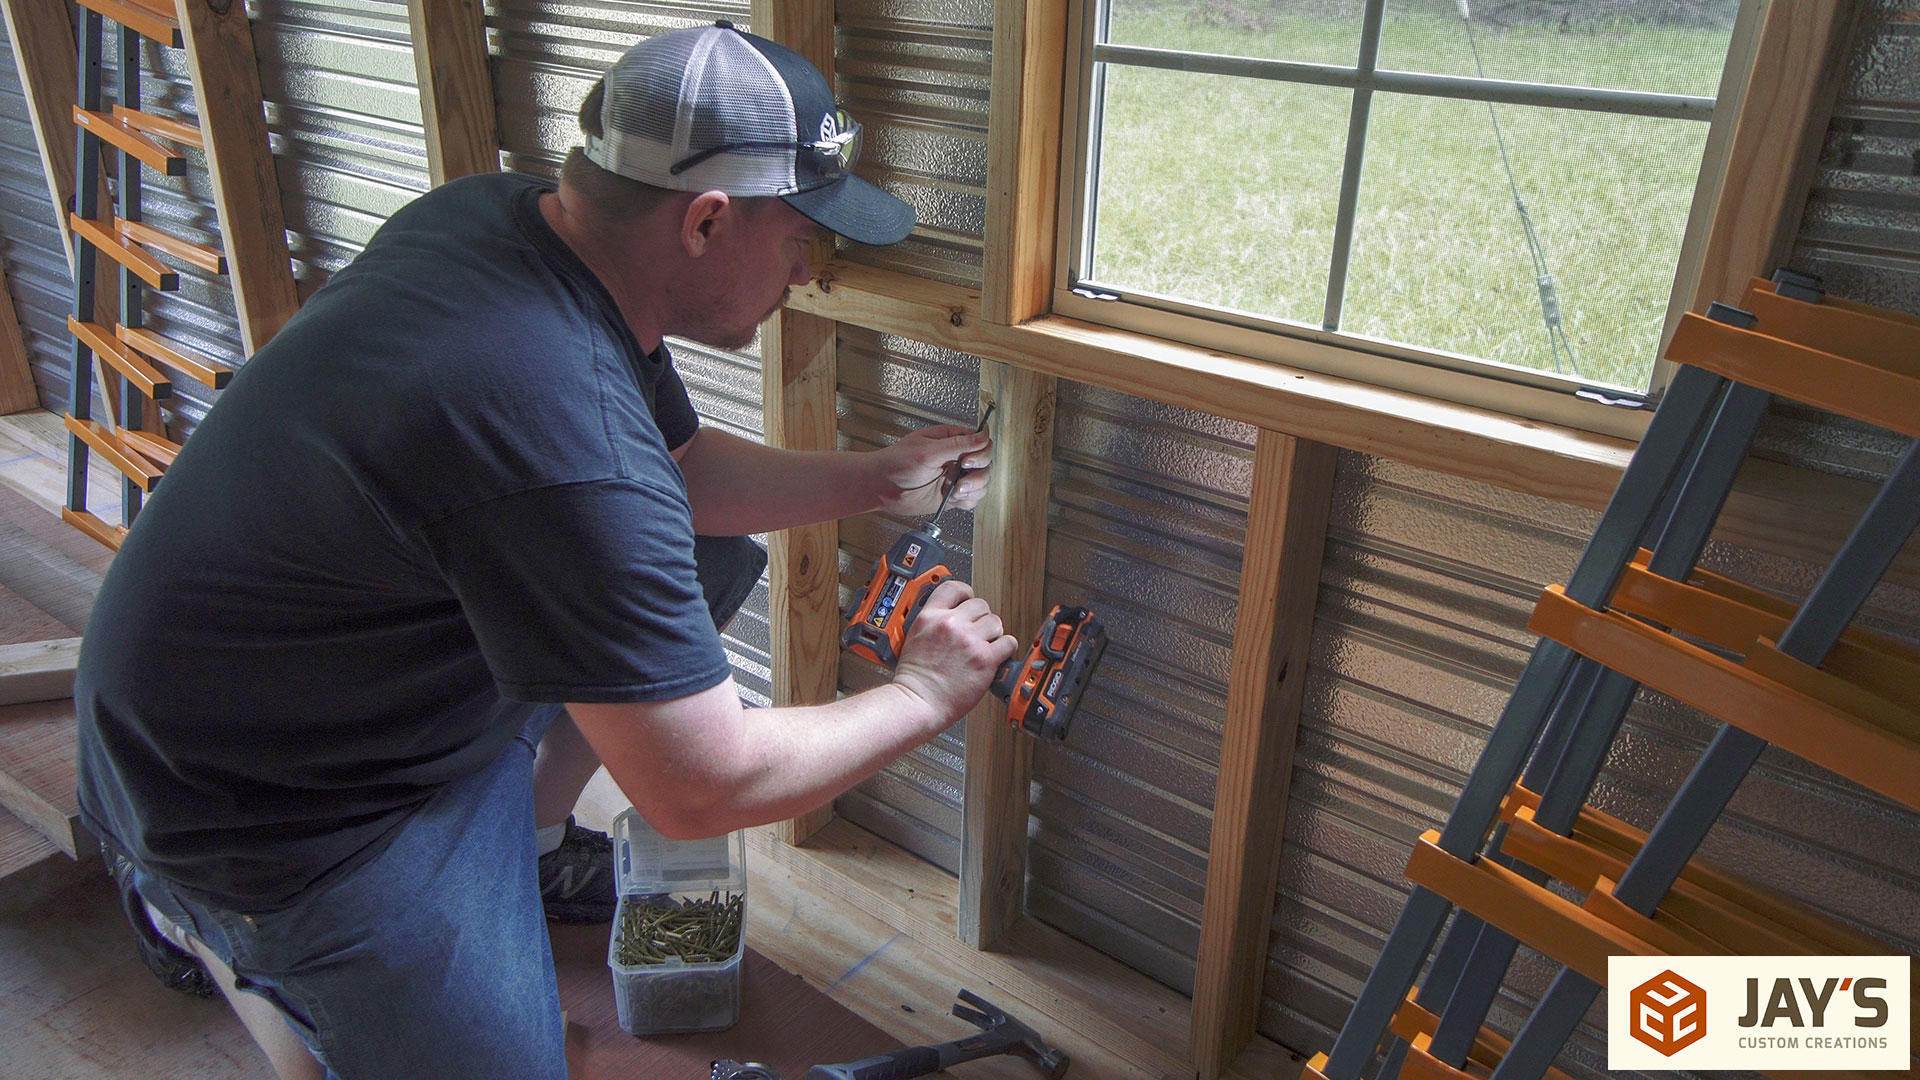
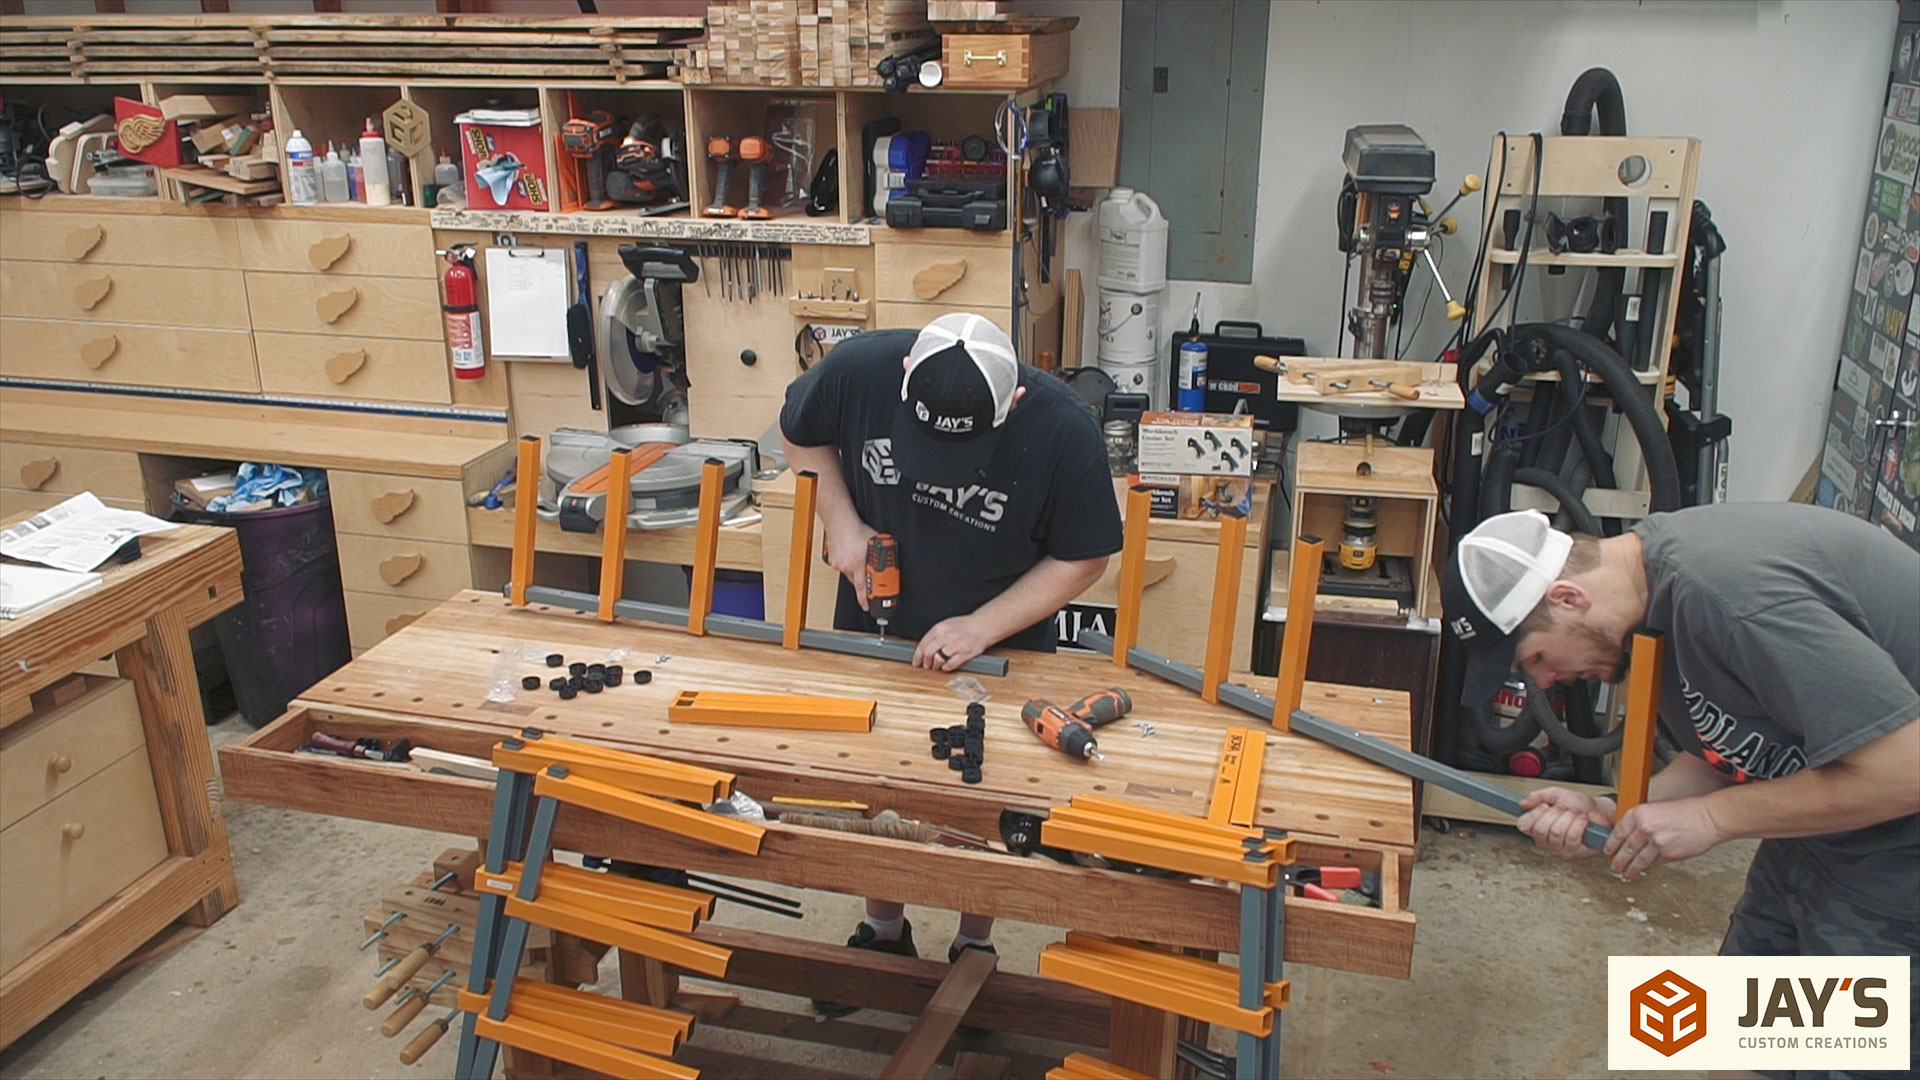
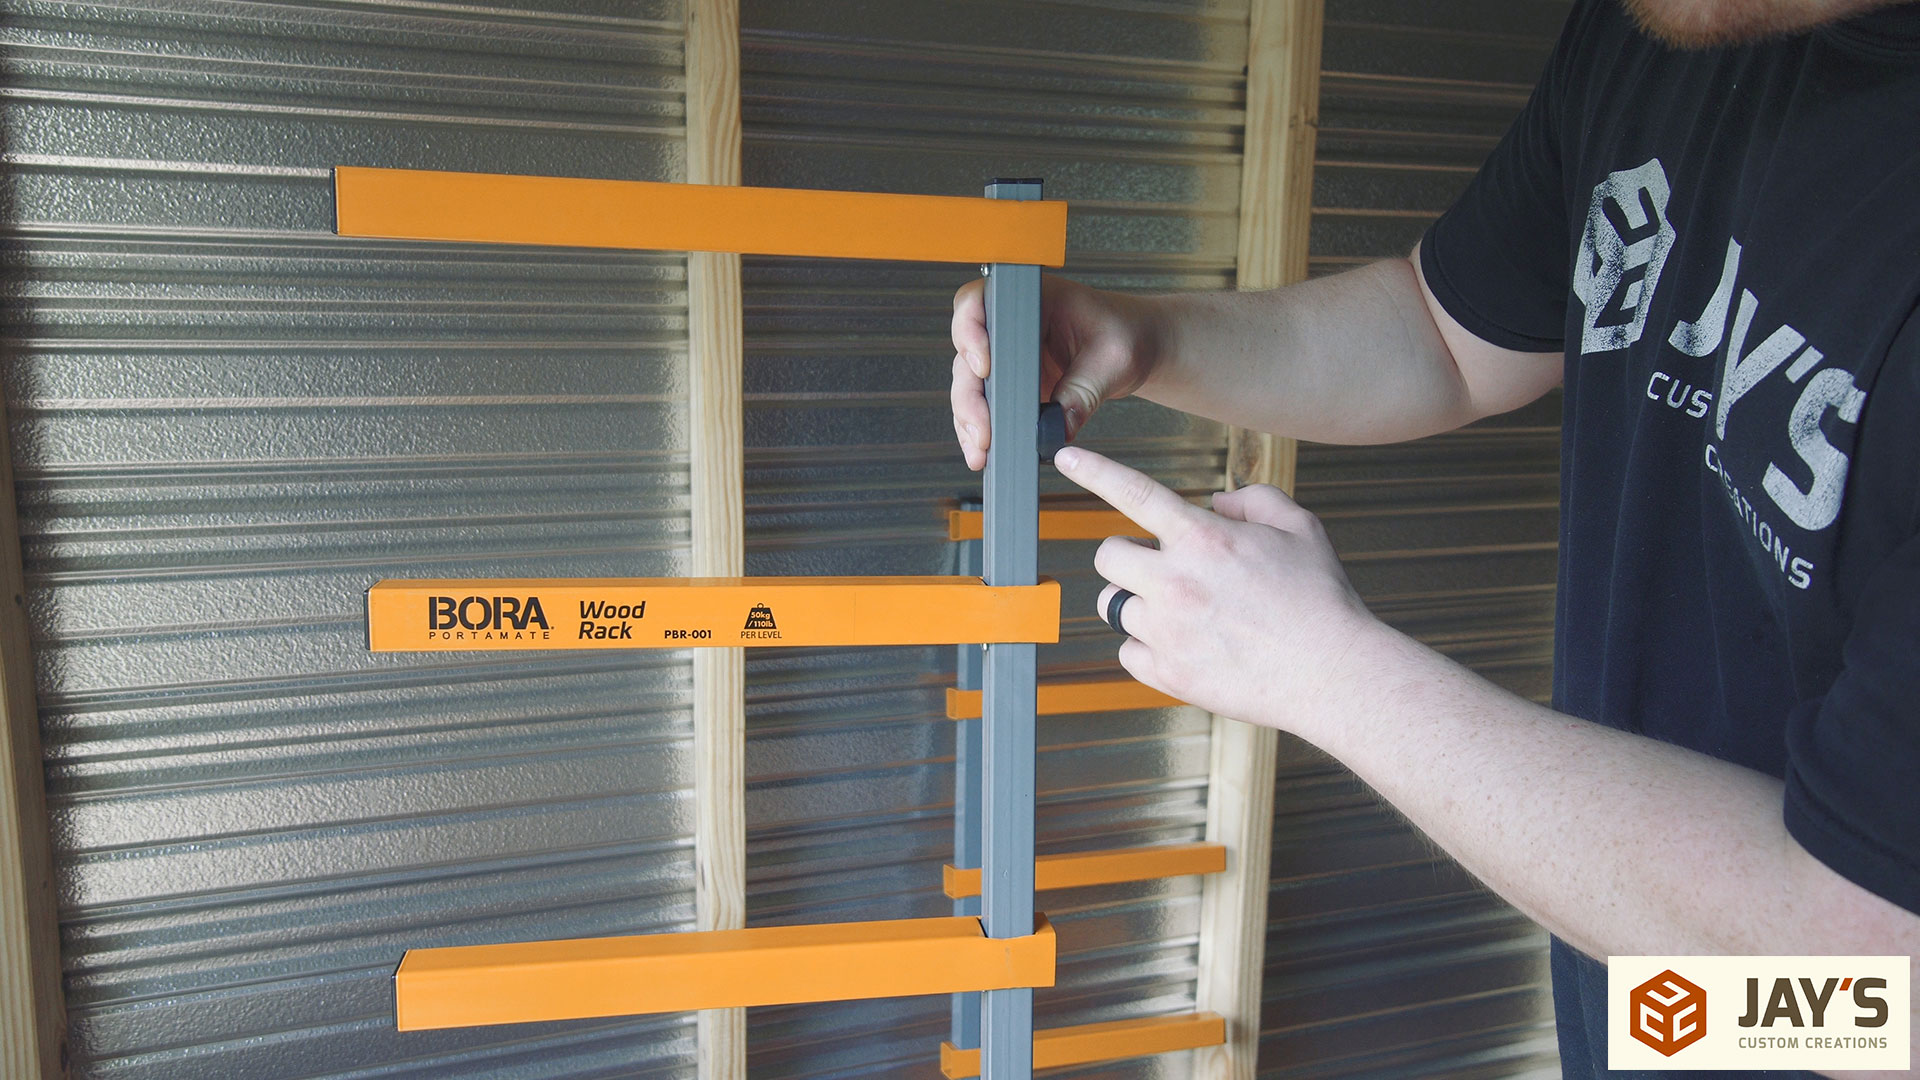
Here’s a closer shot at how simple these racks are. A small screw locates each arm vertically and the arms slide in place from above.

Because the arms stick out the back slightly a spacer is included for every mounting screw. This provides a solid connection between the vertical bar and the wall stud…or whatever material these will be attached to.
The 2×4 spacer block is placed on the floor and the rack on top of the 2×4. This will ensure each rack is installed at the same height. Three 3” decking screws were used to secure each rack to the 2×4 wall stud.
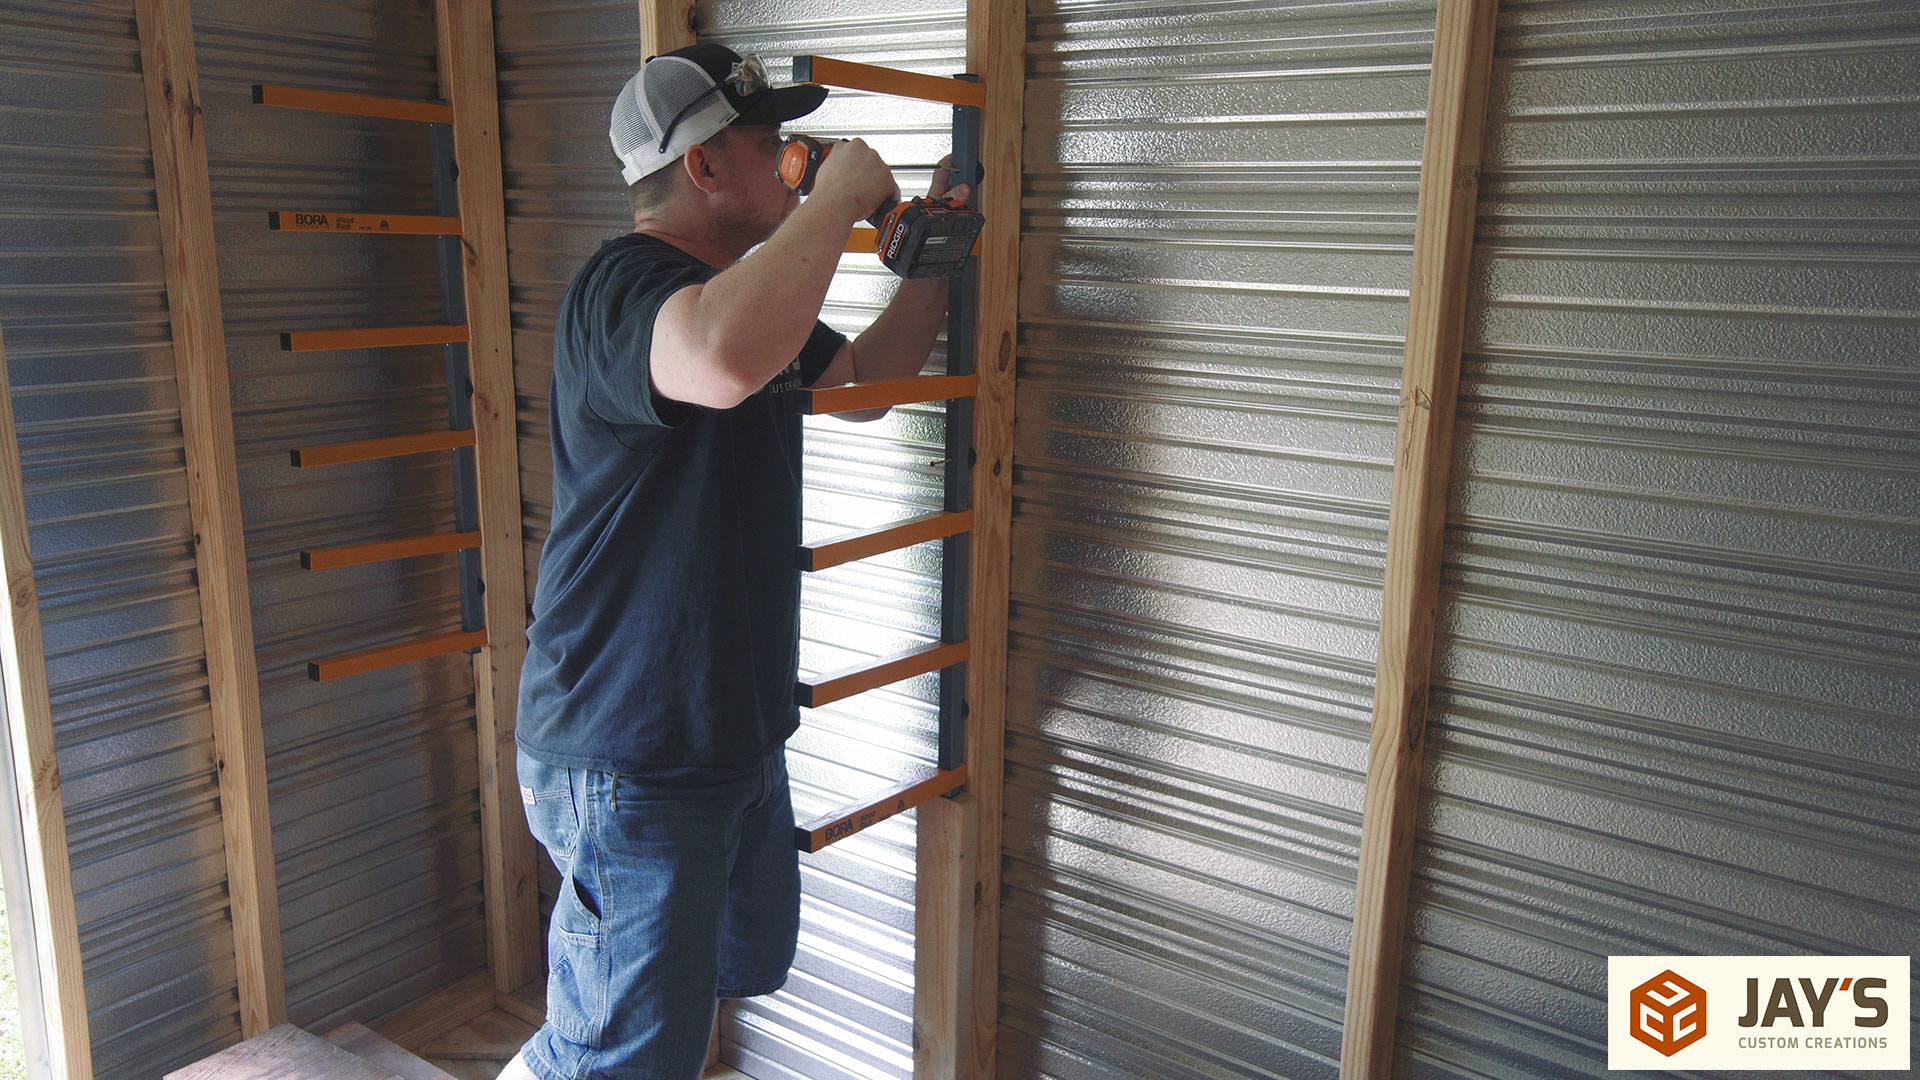
Rinse and repeat for the rest of the racks.
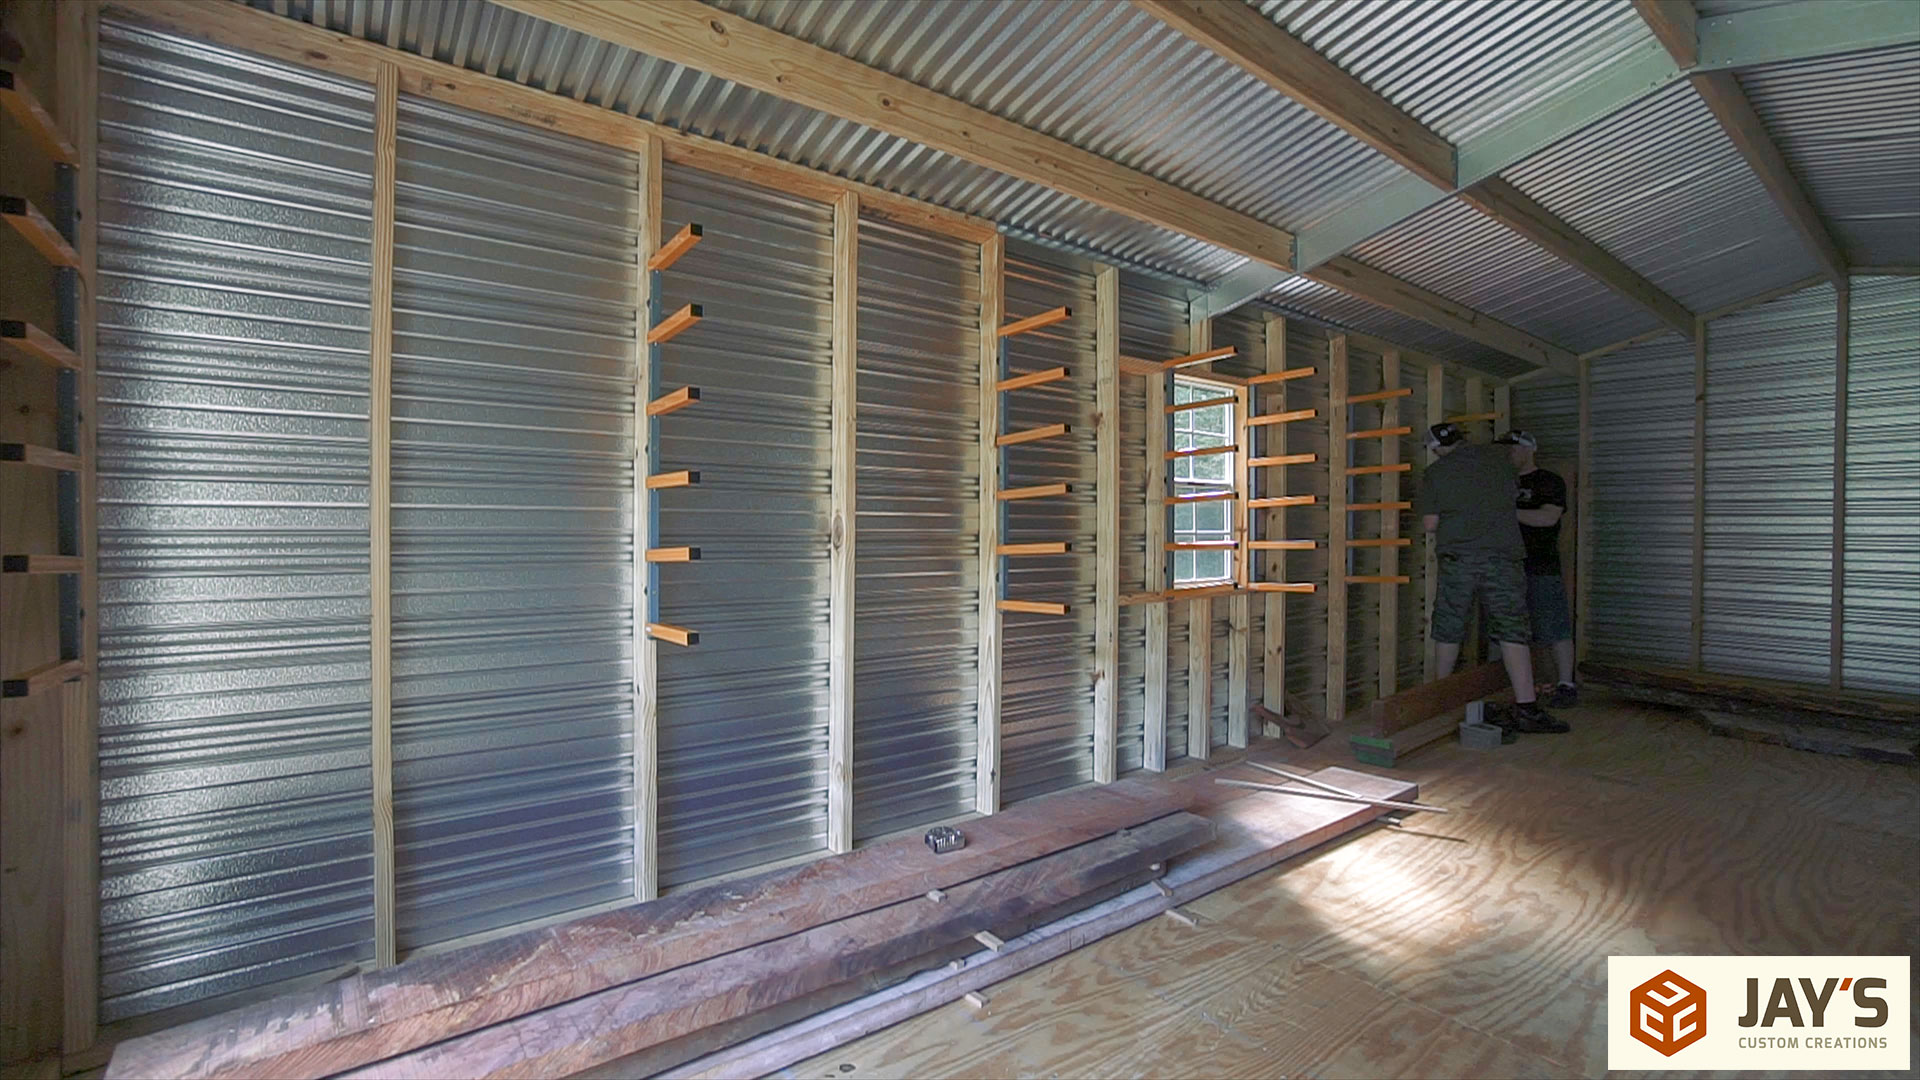
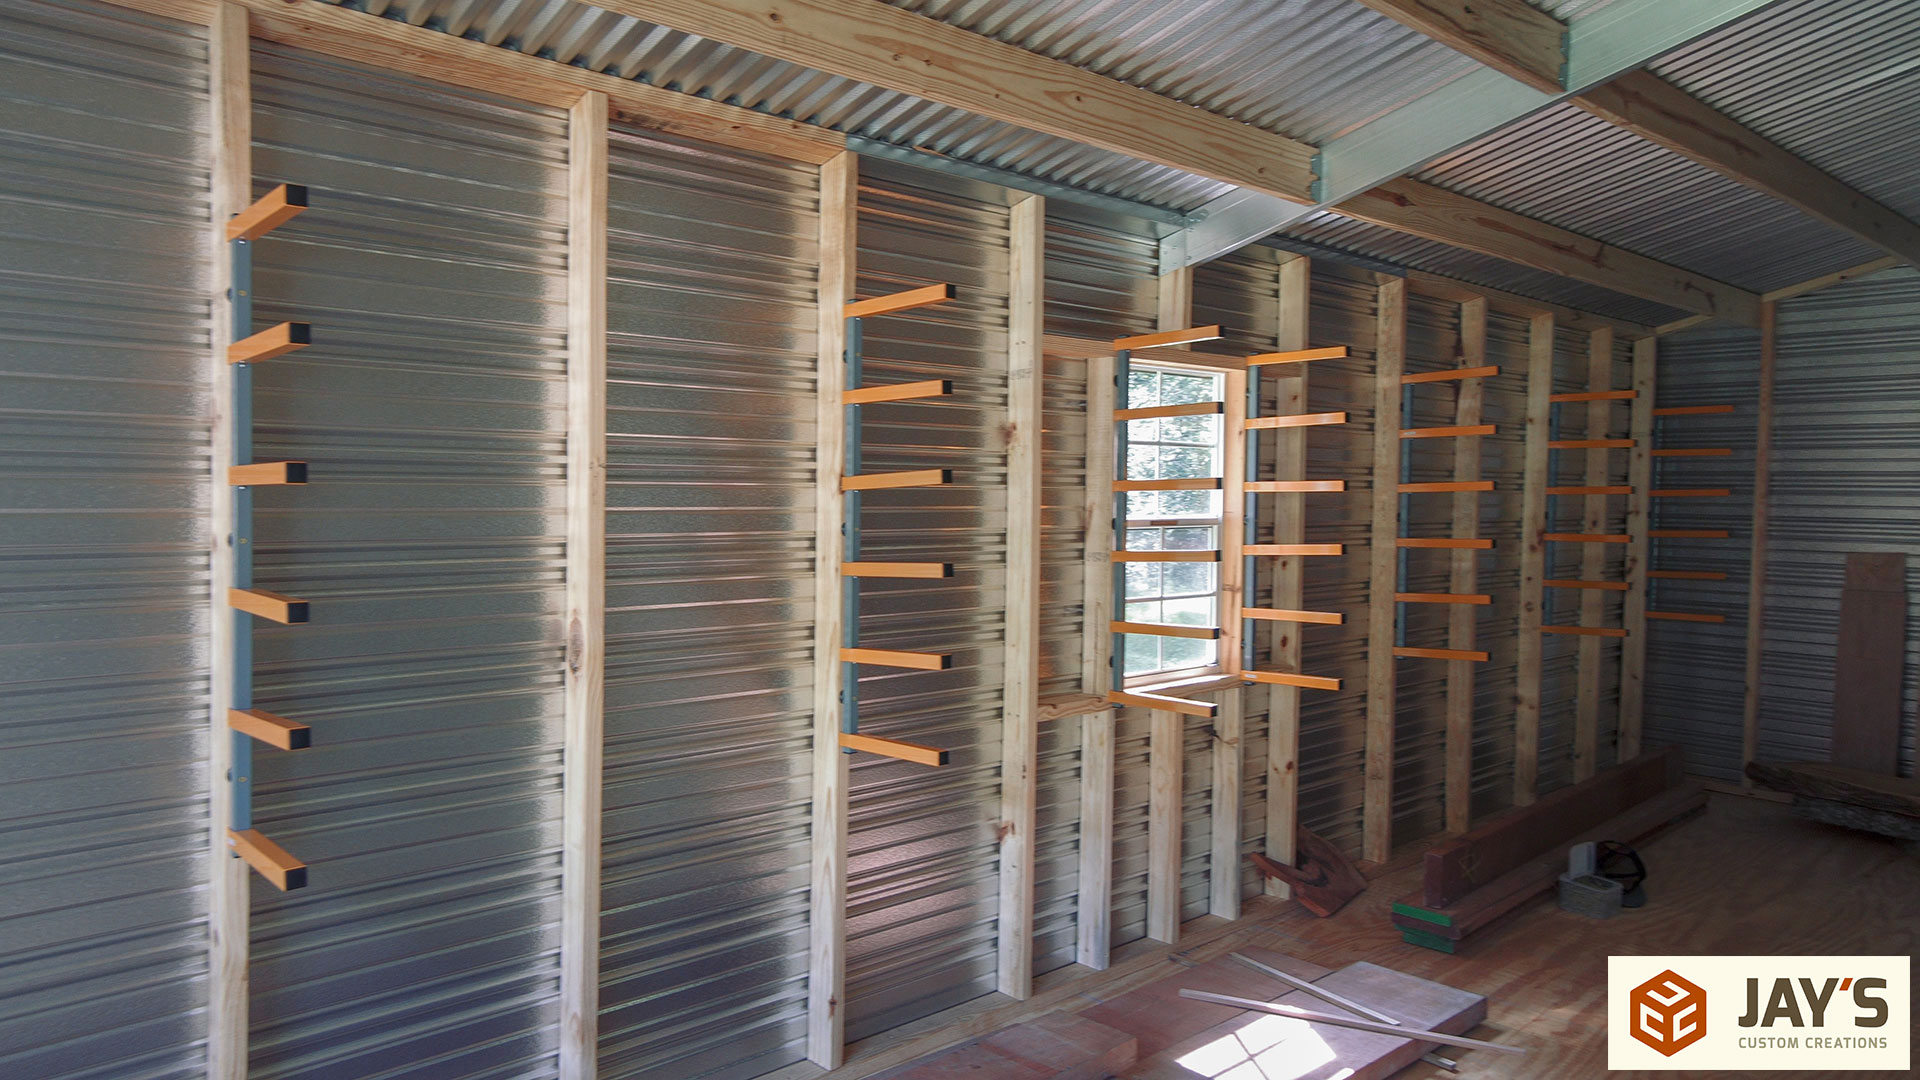
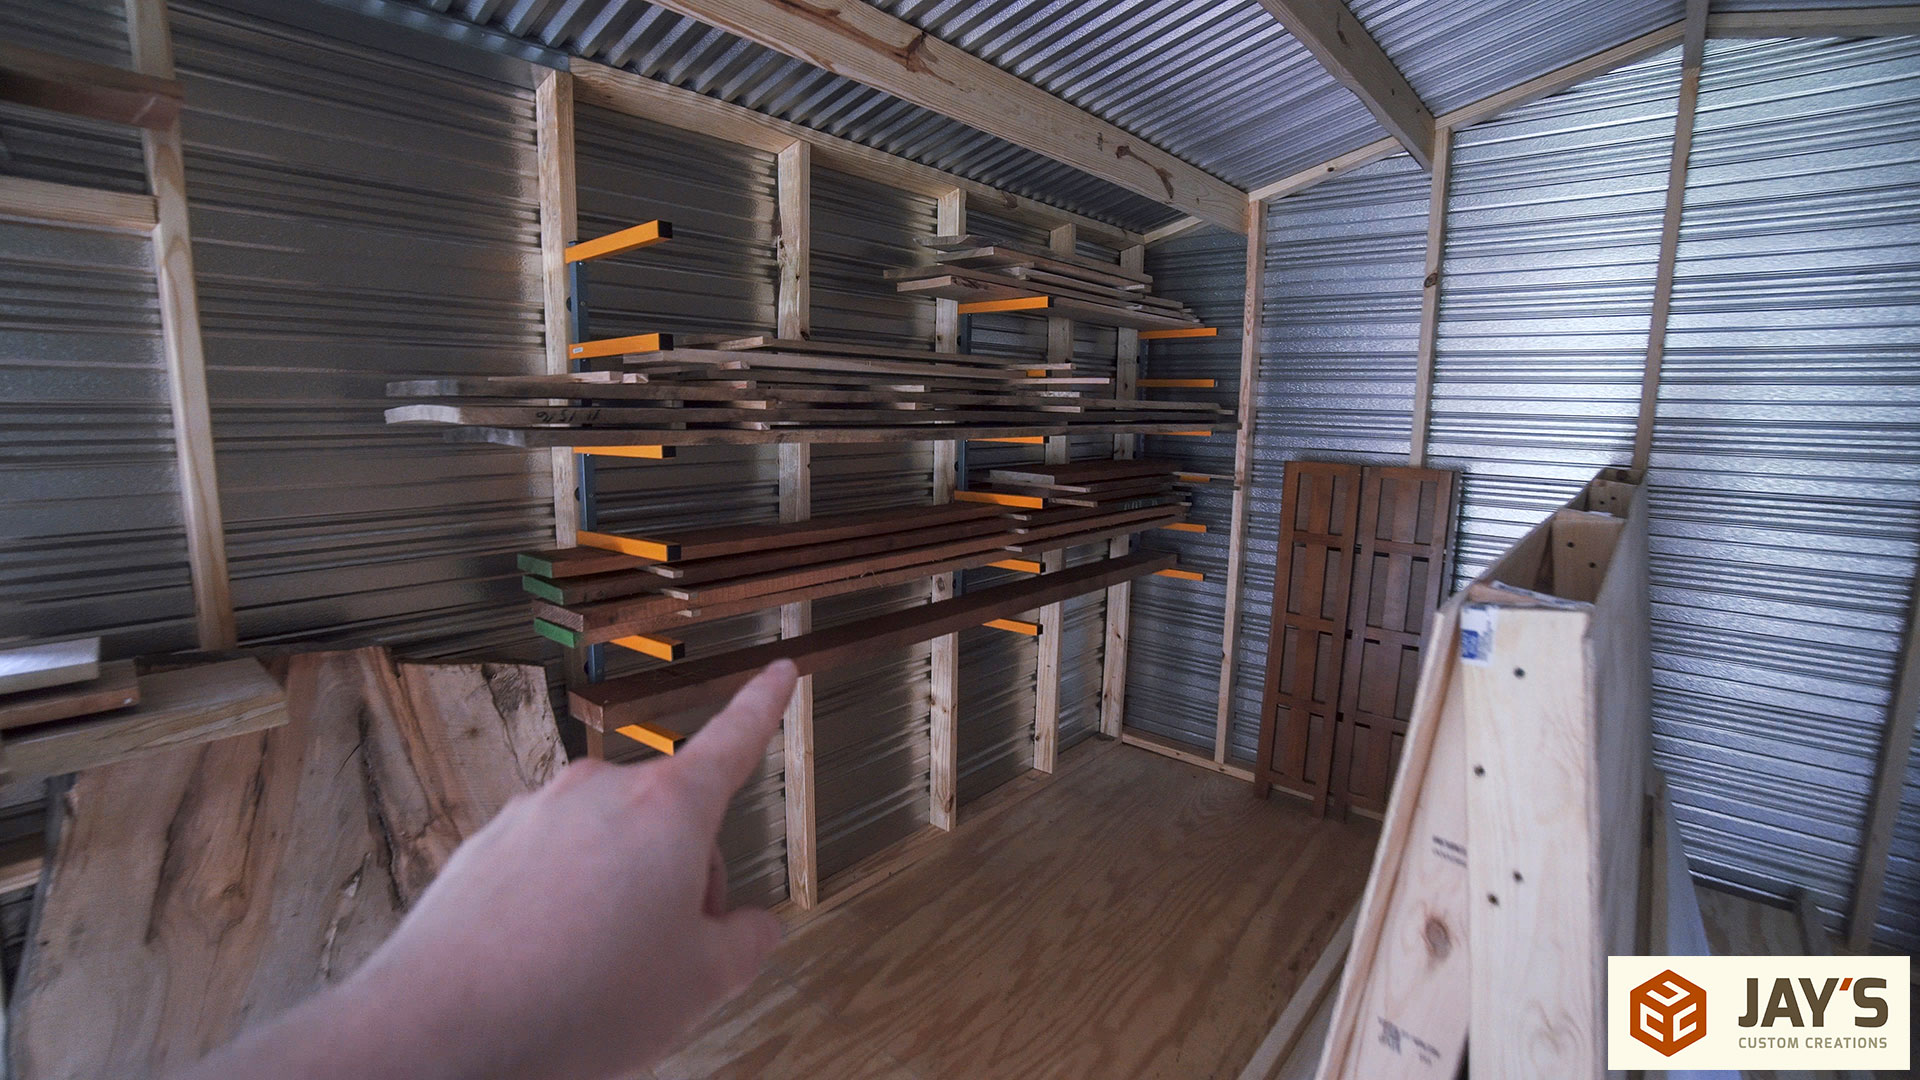
Because the window is in the exact center of this wall the spacing was a little interesting. Starting at each corner there are three racks that will hold a 8′ long board. Add the fourth rack and it will support a 12′ board. And because most of the lumber I have, and will get in the future, isn’t 12′ long that leaves the center two racks for shorter board storage. This layout conveniently accommodates various length boards.
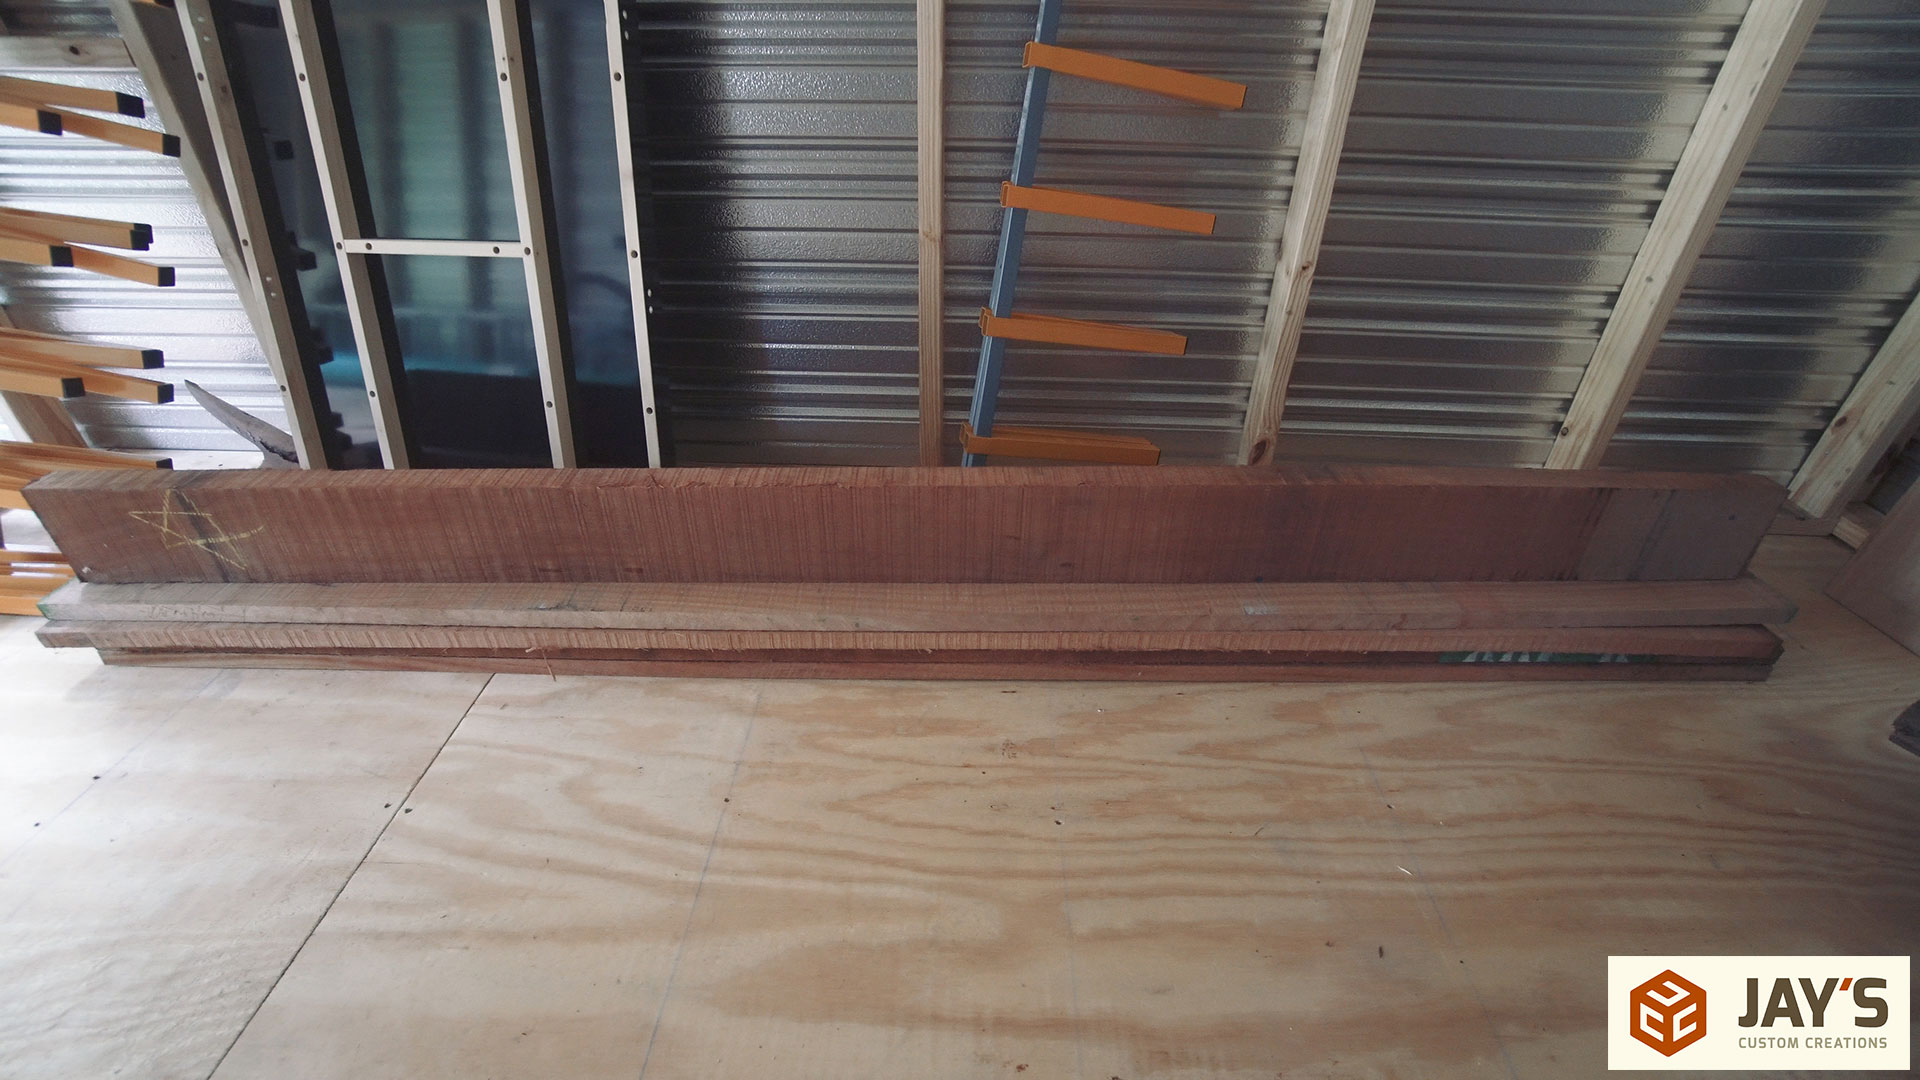
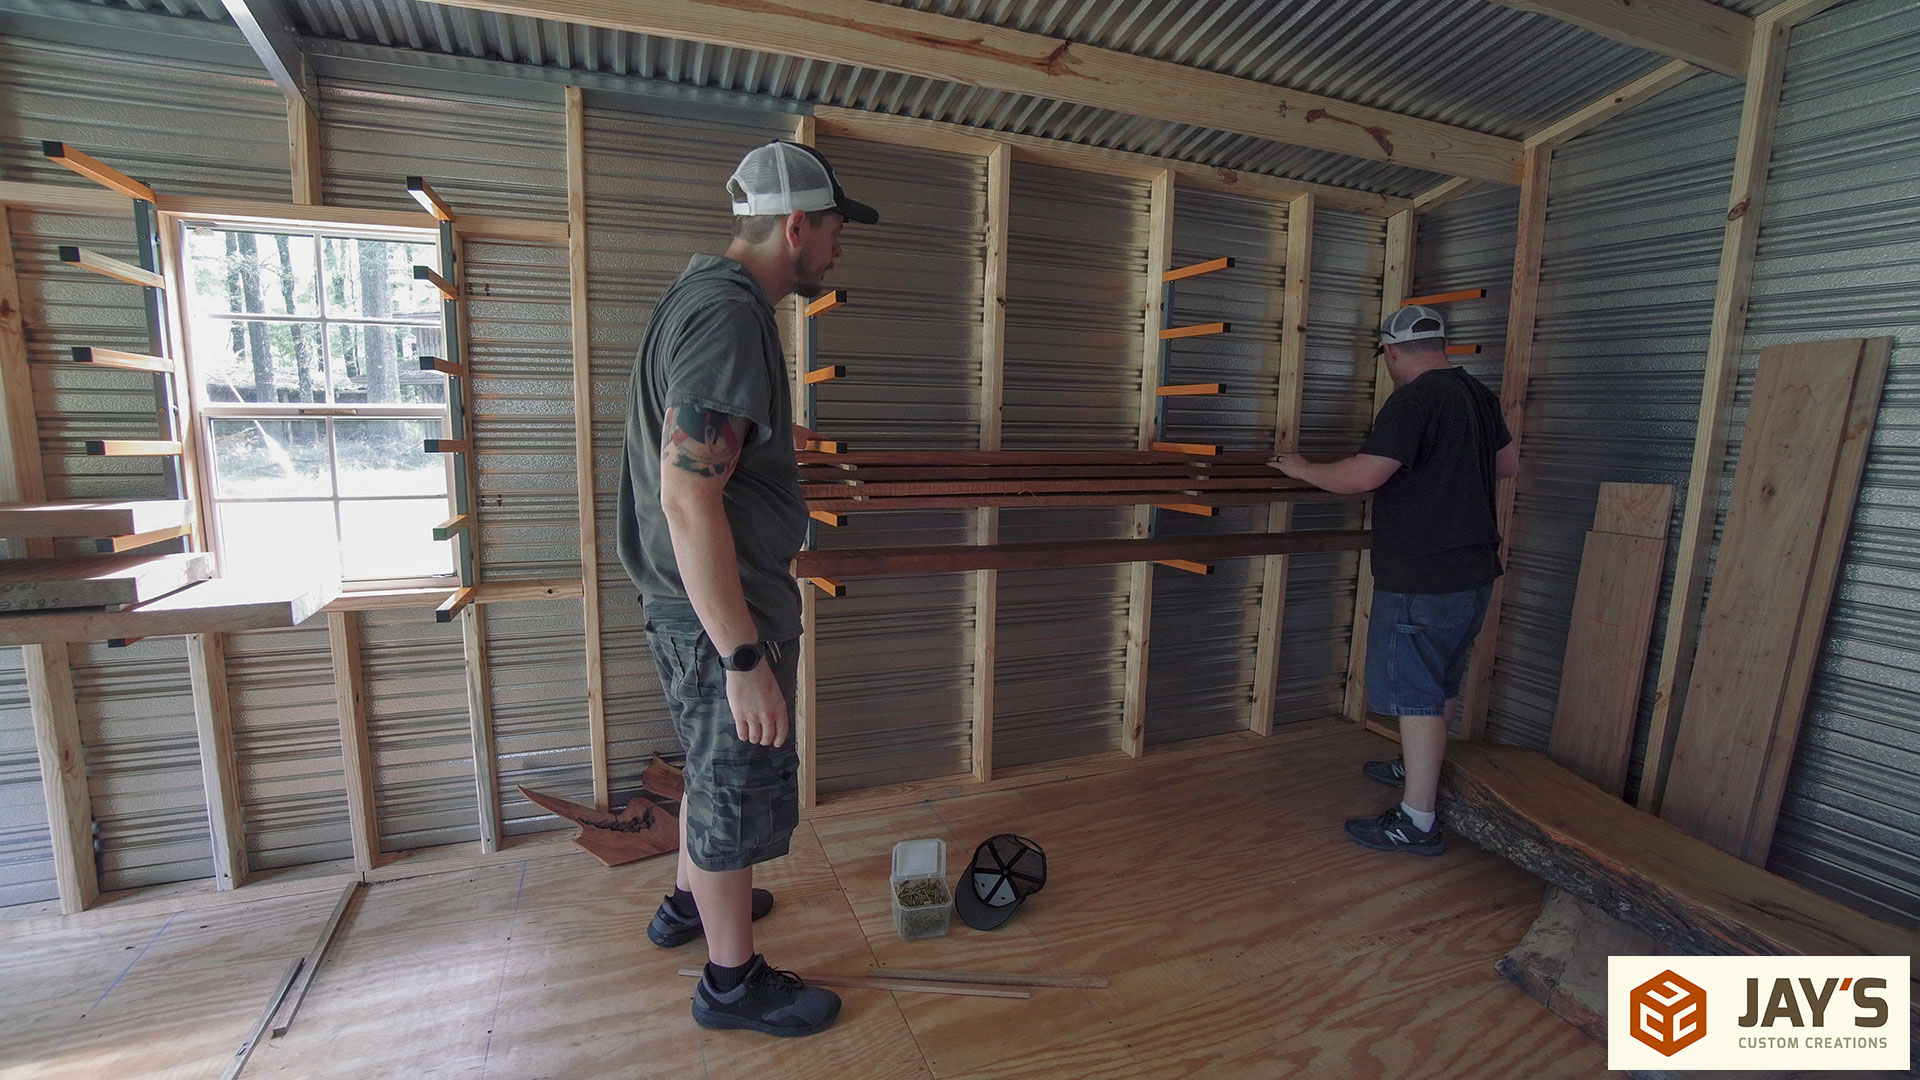
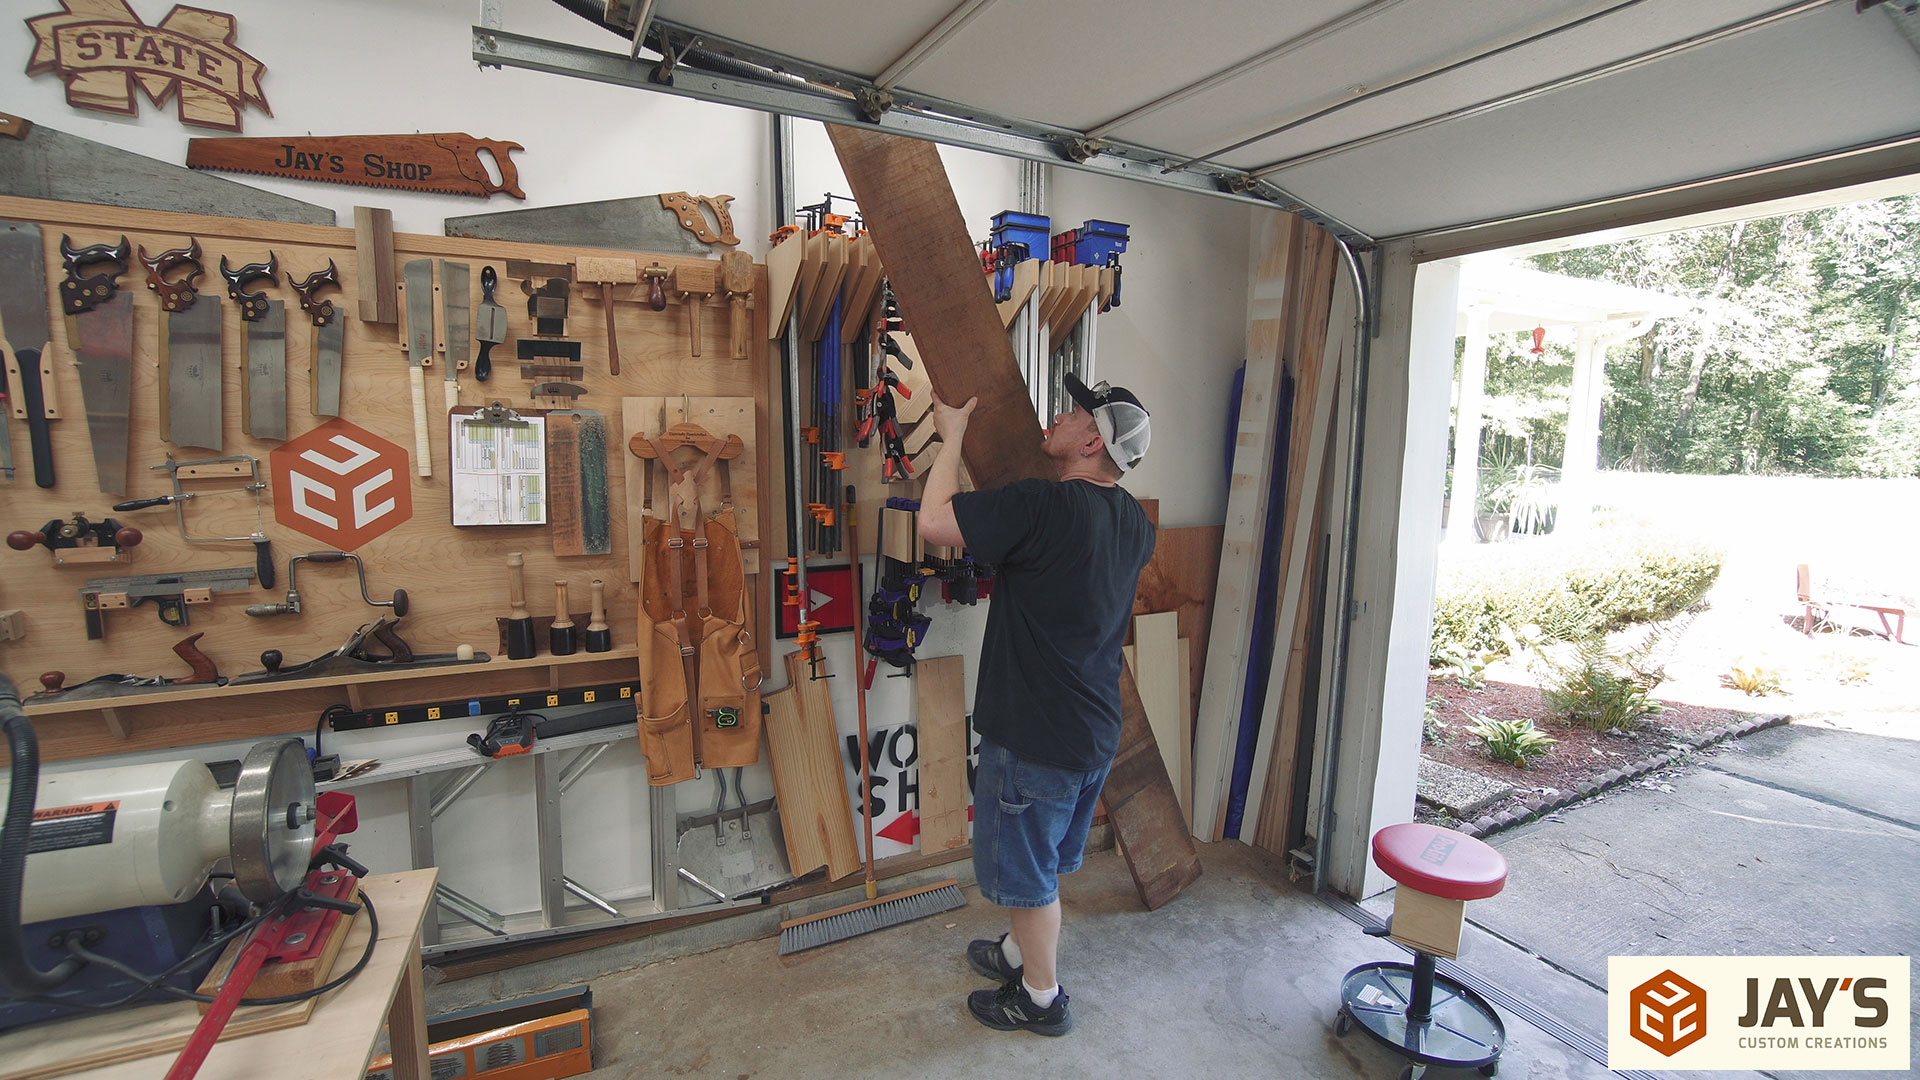
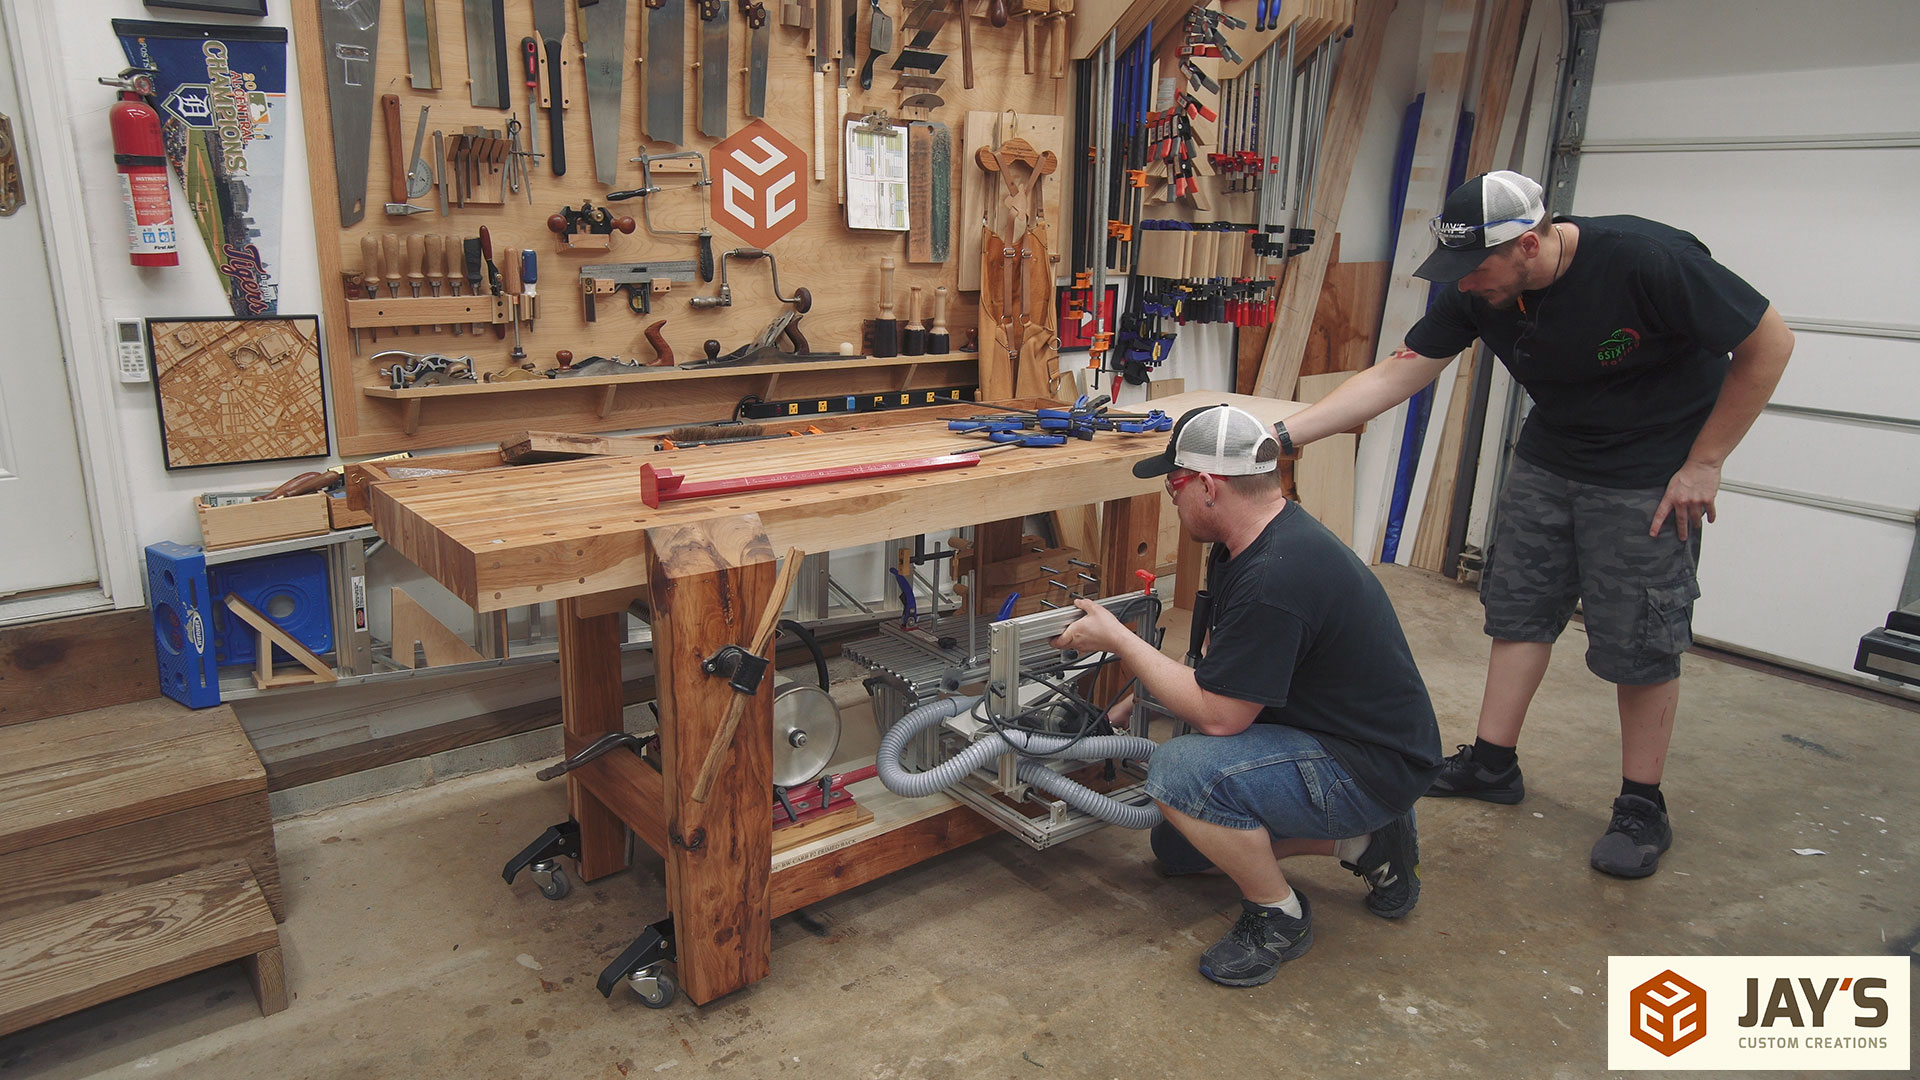
And now to get all of the wood off the floor and on the racks where it belongs. This first board is a good test of the strength of these racks. It’s a piece of bubinga that is almost 13” wide, 12′ long, and a little over 2” thick. This board weighed a LOT! Which is exactly why I hired help for the day. The racks handled the weight no problem as we put the rest of the 8/4 bubinga on the rack.
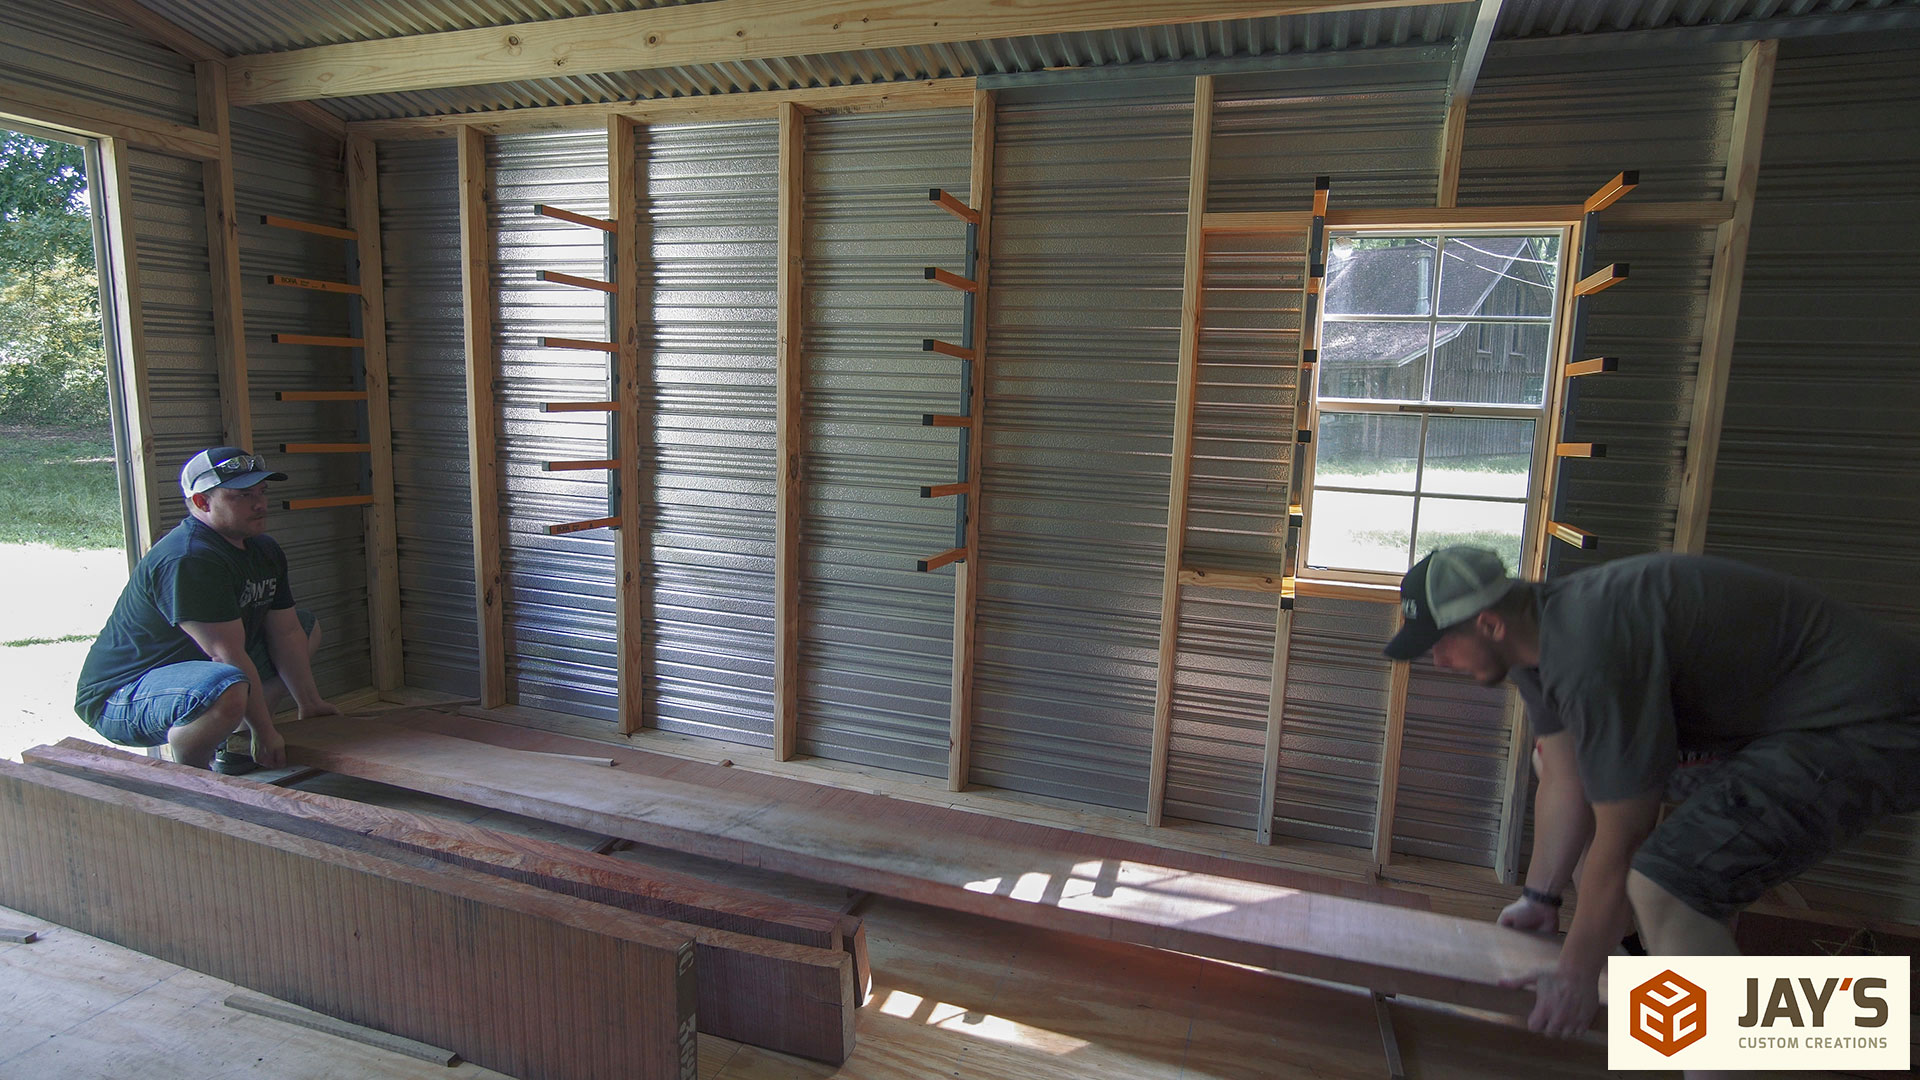
We were both had a good laugh when putting up these mahogany boards. After just lifting up the bubinga this mahogany felt like we were lifting paper.
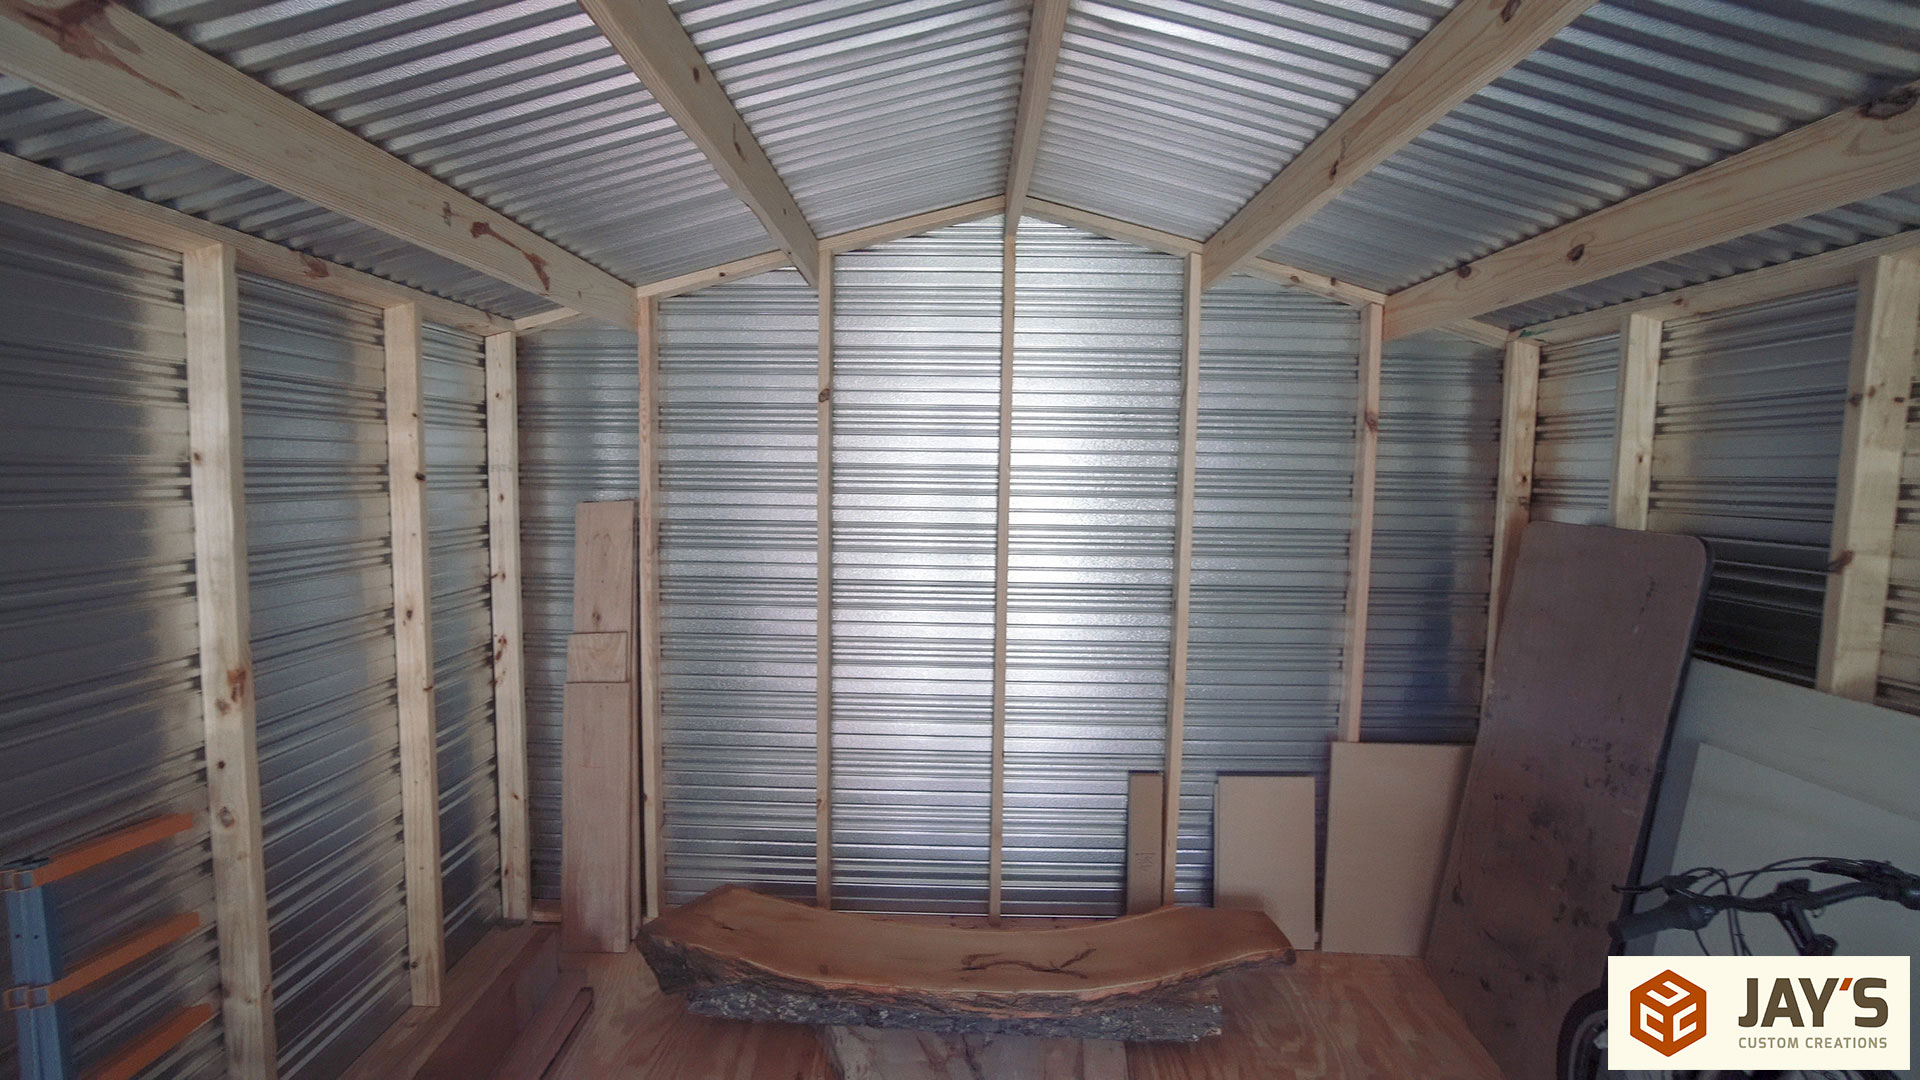
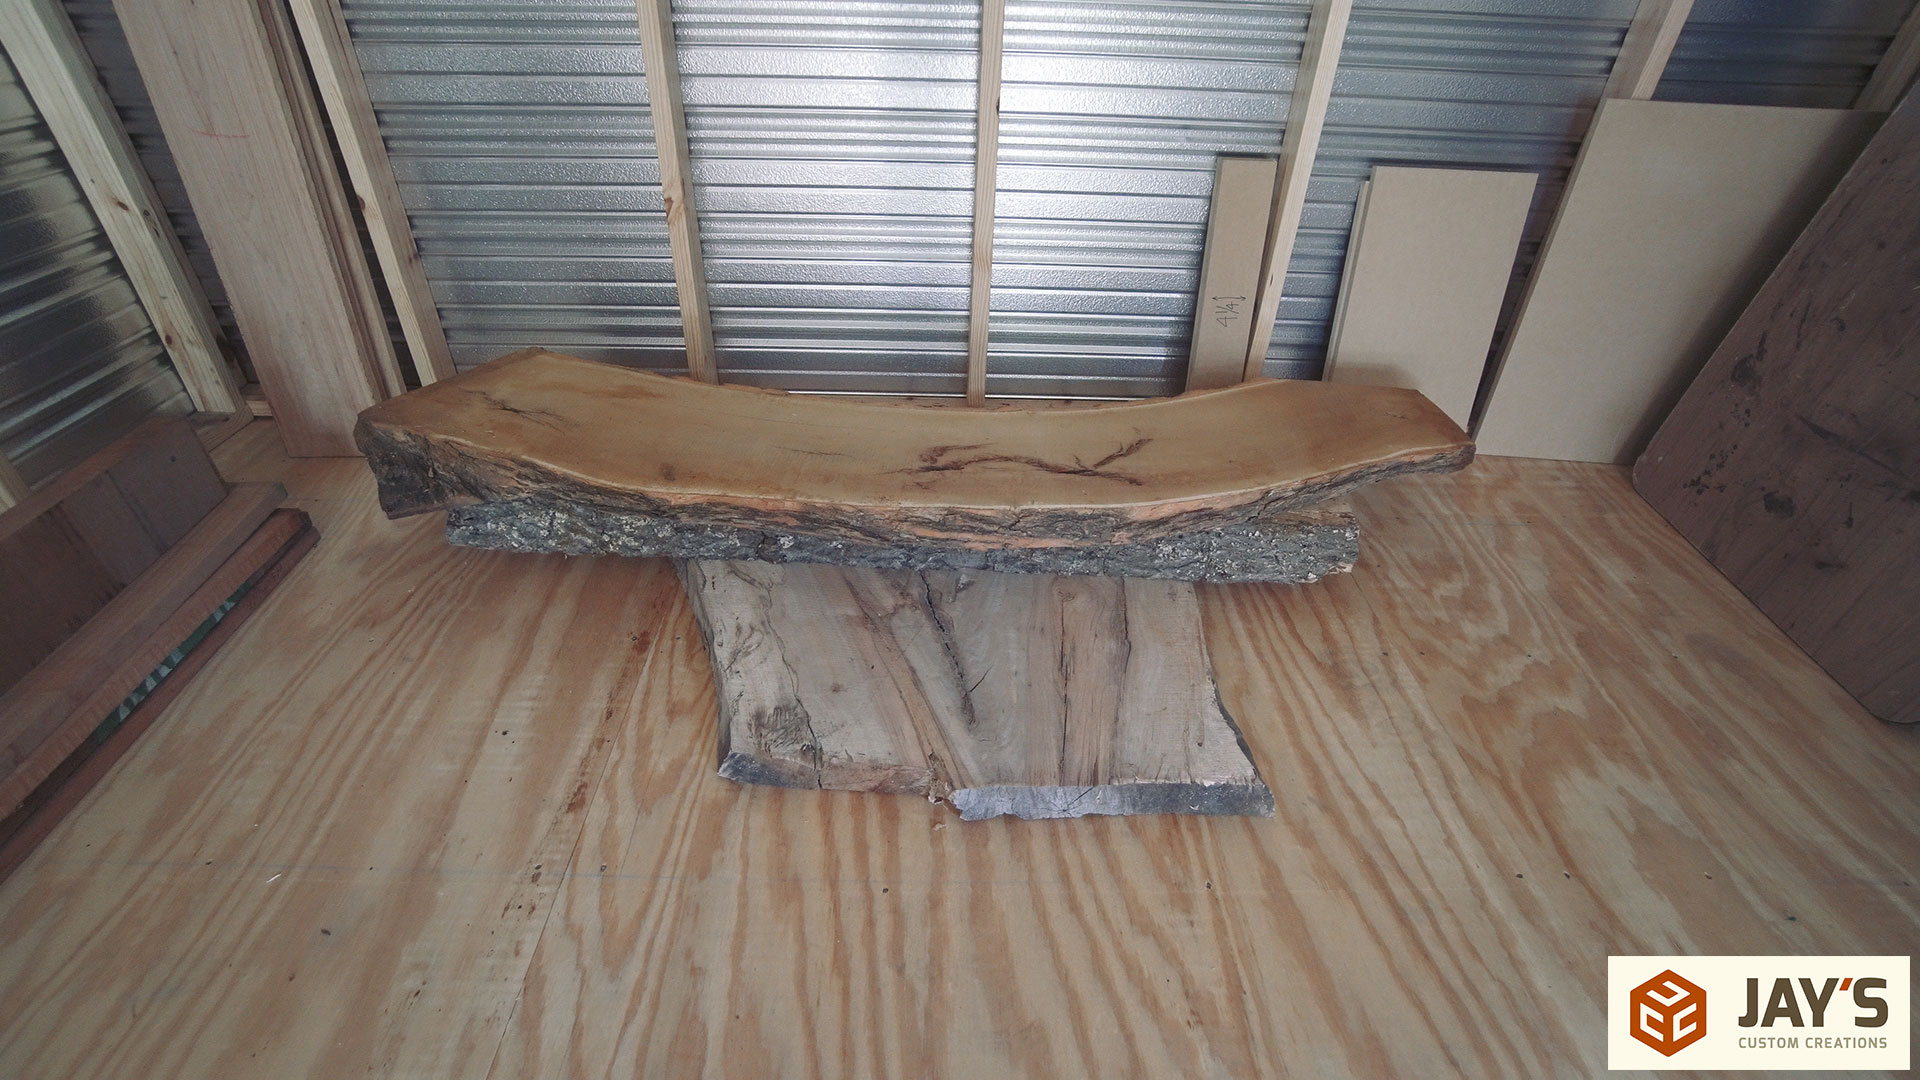
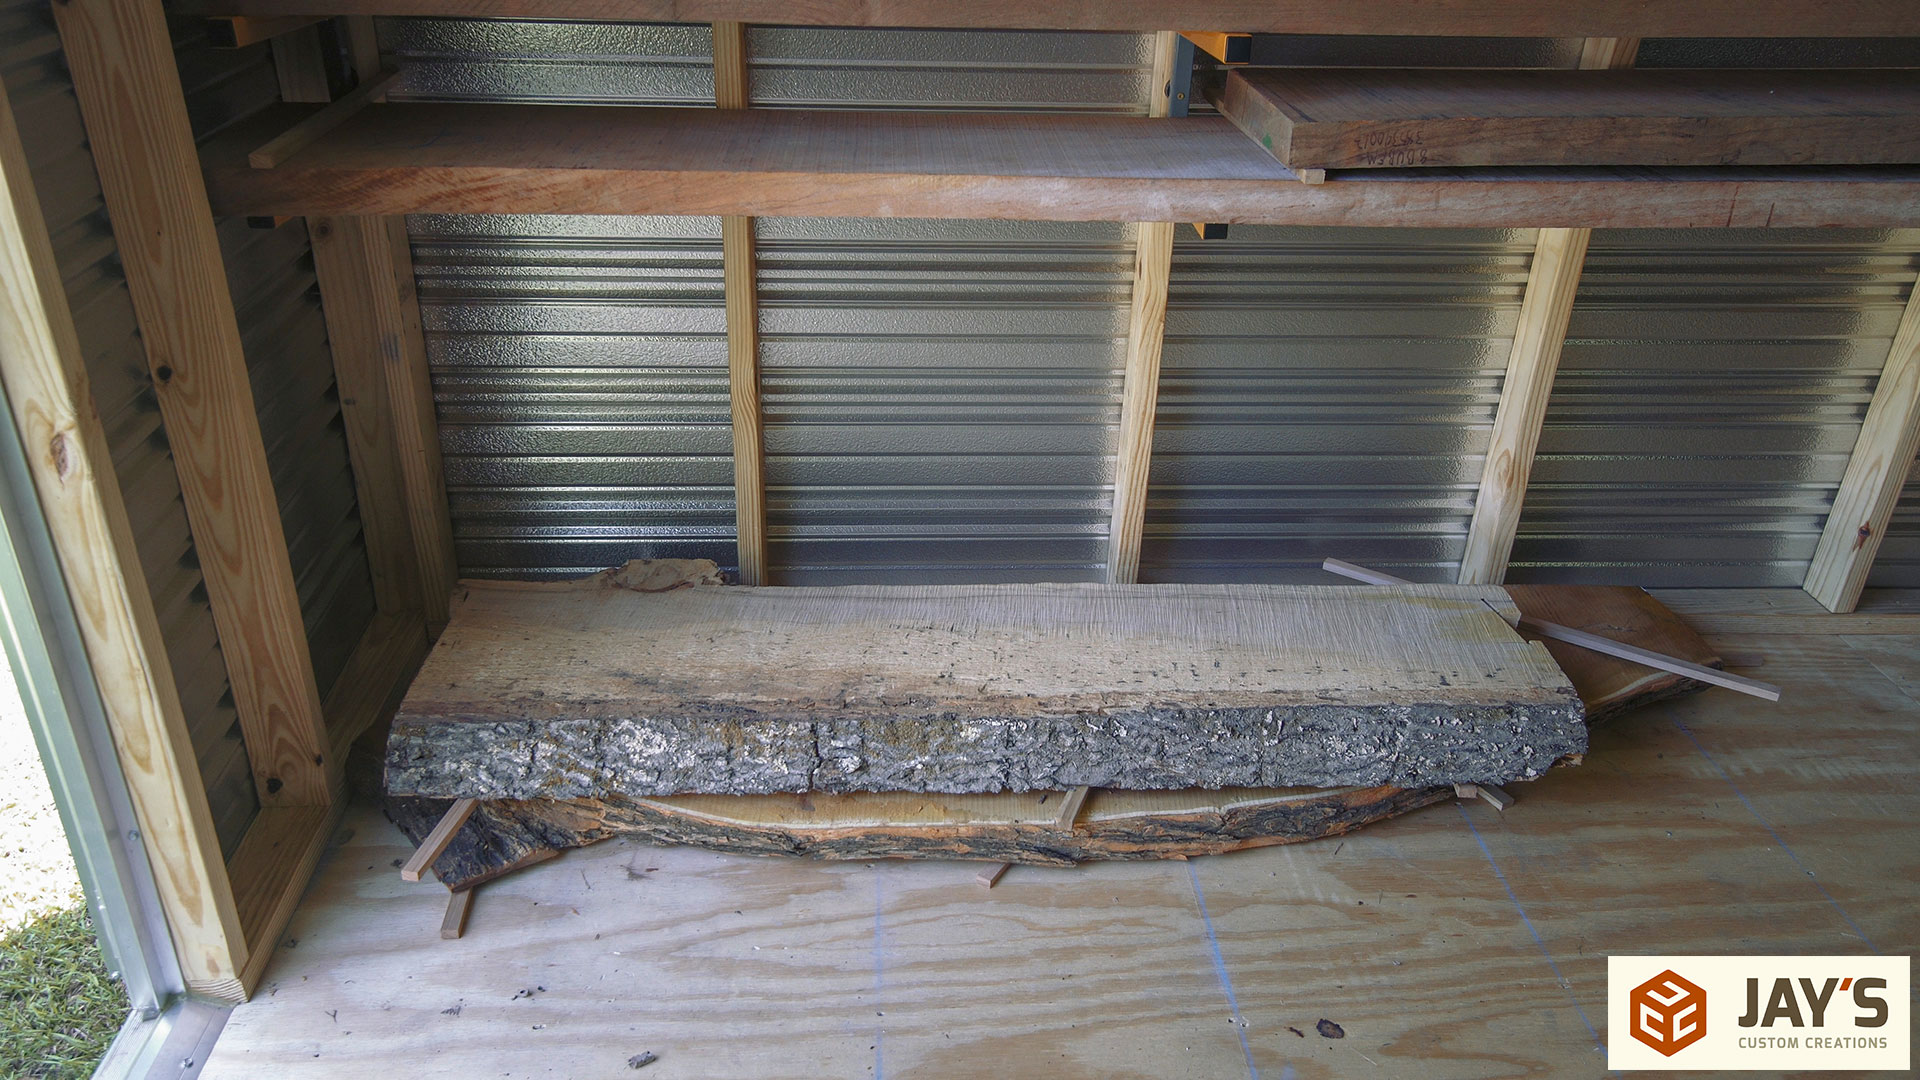
With the lumber off the floor I wanted to get these slabs closer to the door. The first one is an osage orange slab I got from Ted Alexander while at the Skiatook woodworking event last year. It still needs to dry a bit before I us it but it’s natural shape is telling me that it want’s to be a bench of some kind. We’ll see on that one.
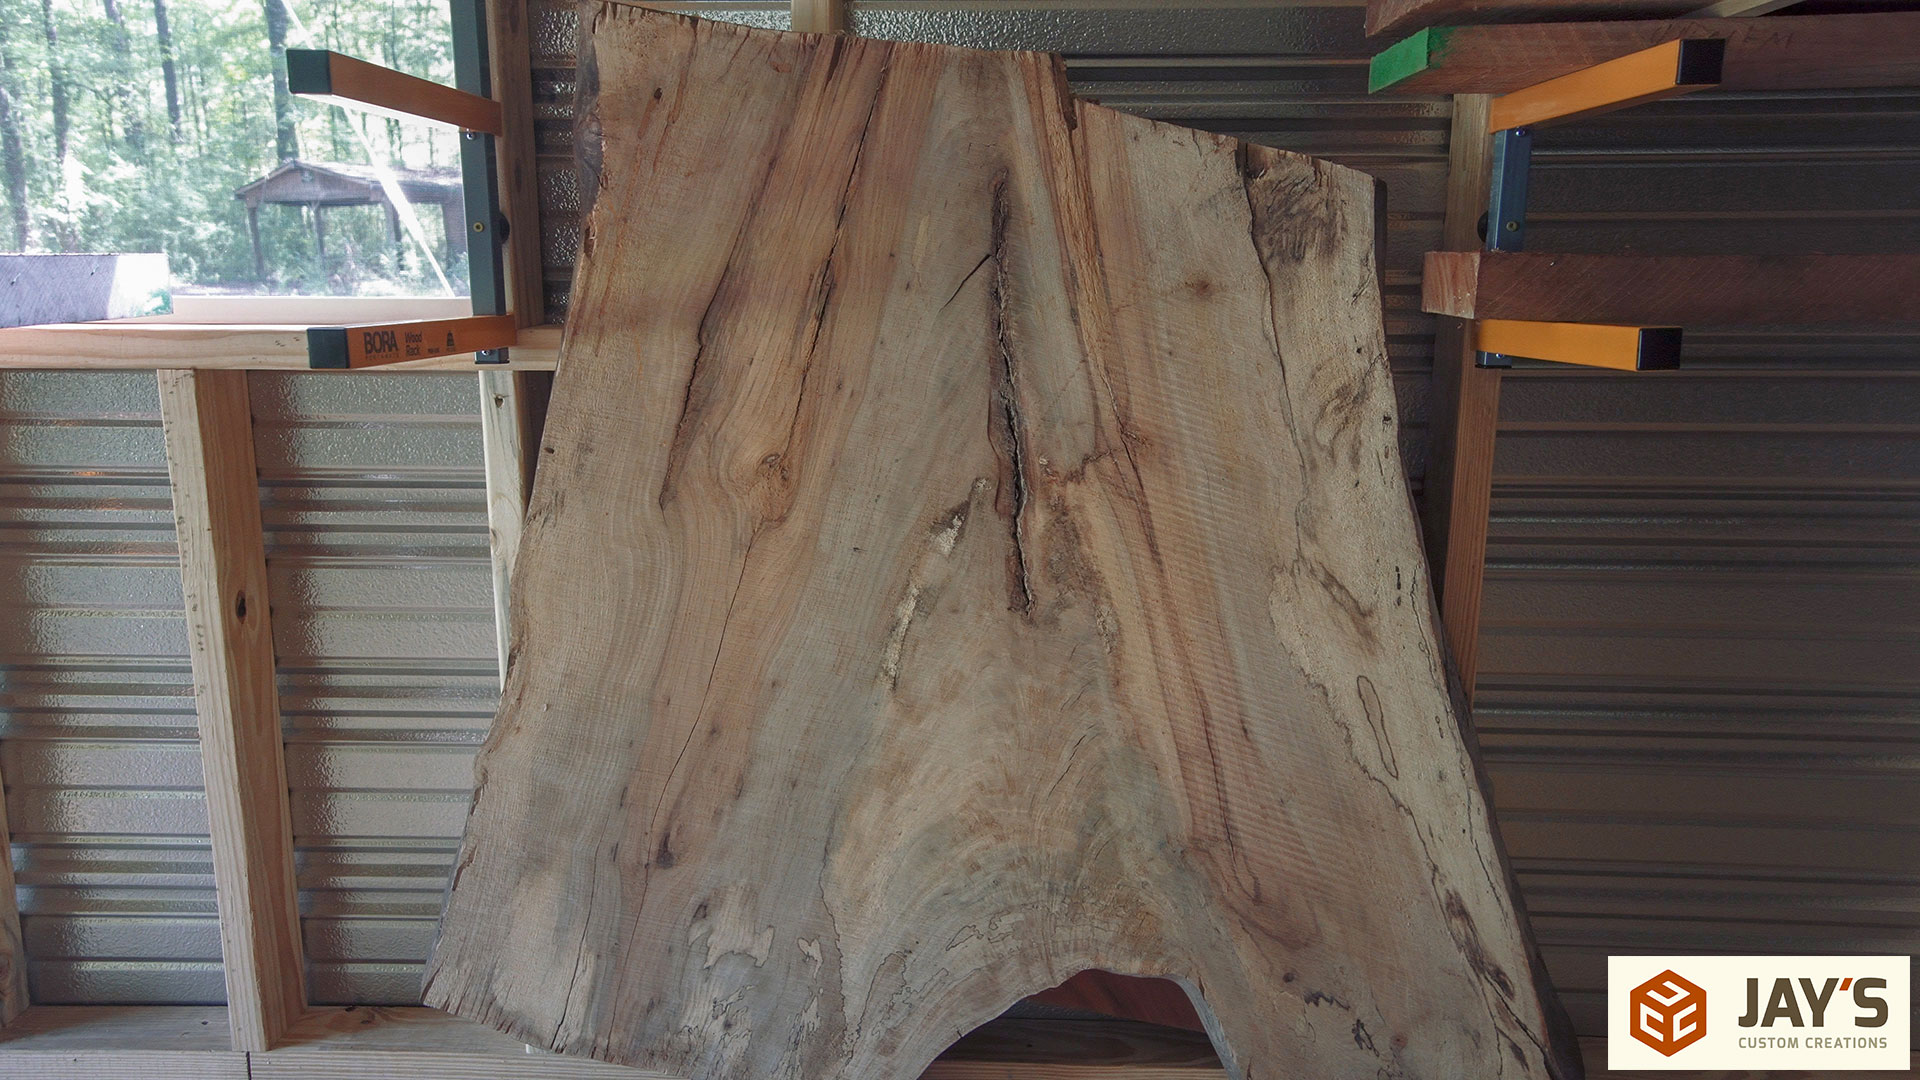
This next slab is a piece of hickory I got from Shawn Stone. One side is a bit punky but the other side has some really great character where the sapwood and heartwood meet. I used another slab from the same tree to make the legs on my dining table, which turned out gorgeous.
And finally this last slab is a piece of spalted pecan that I also got from Ted. There’s sooooo much beauty in this slab. It’s 44” in one direction and 47” in the other direction if I recall correctly. Pretty close to being square. I was originally going to make this my coffee table but my wife vetoed that plan. I’m not sure what I’ll do with this one.
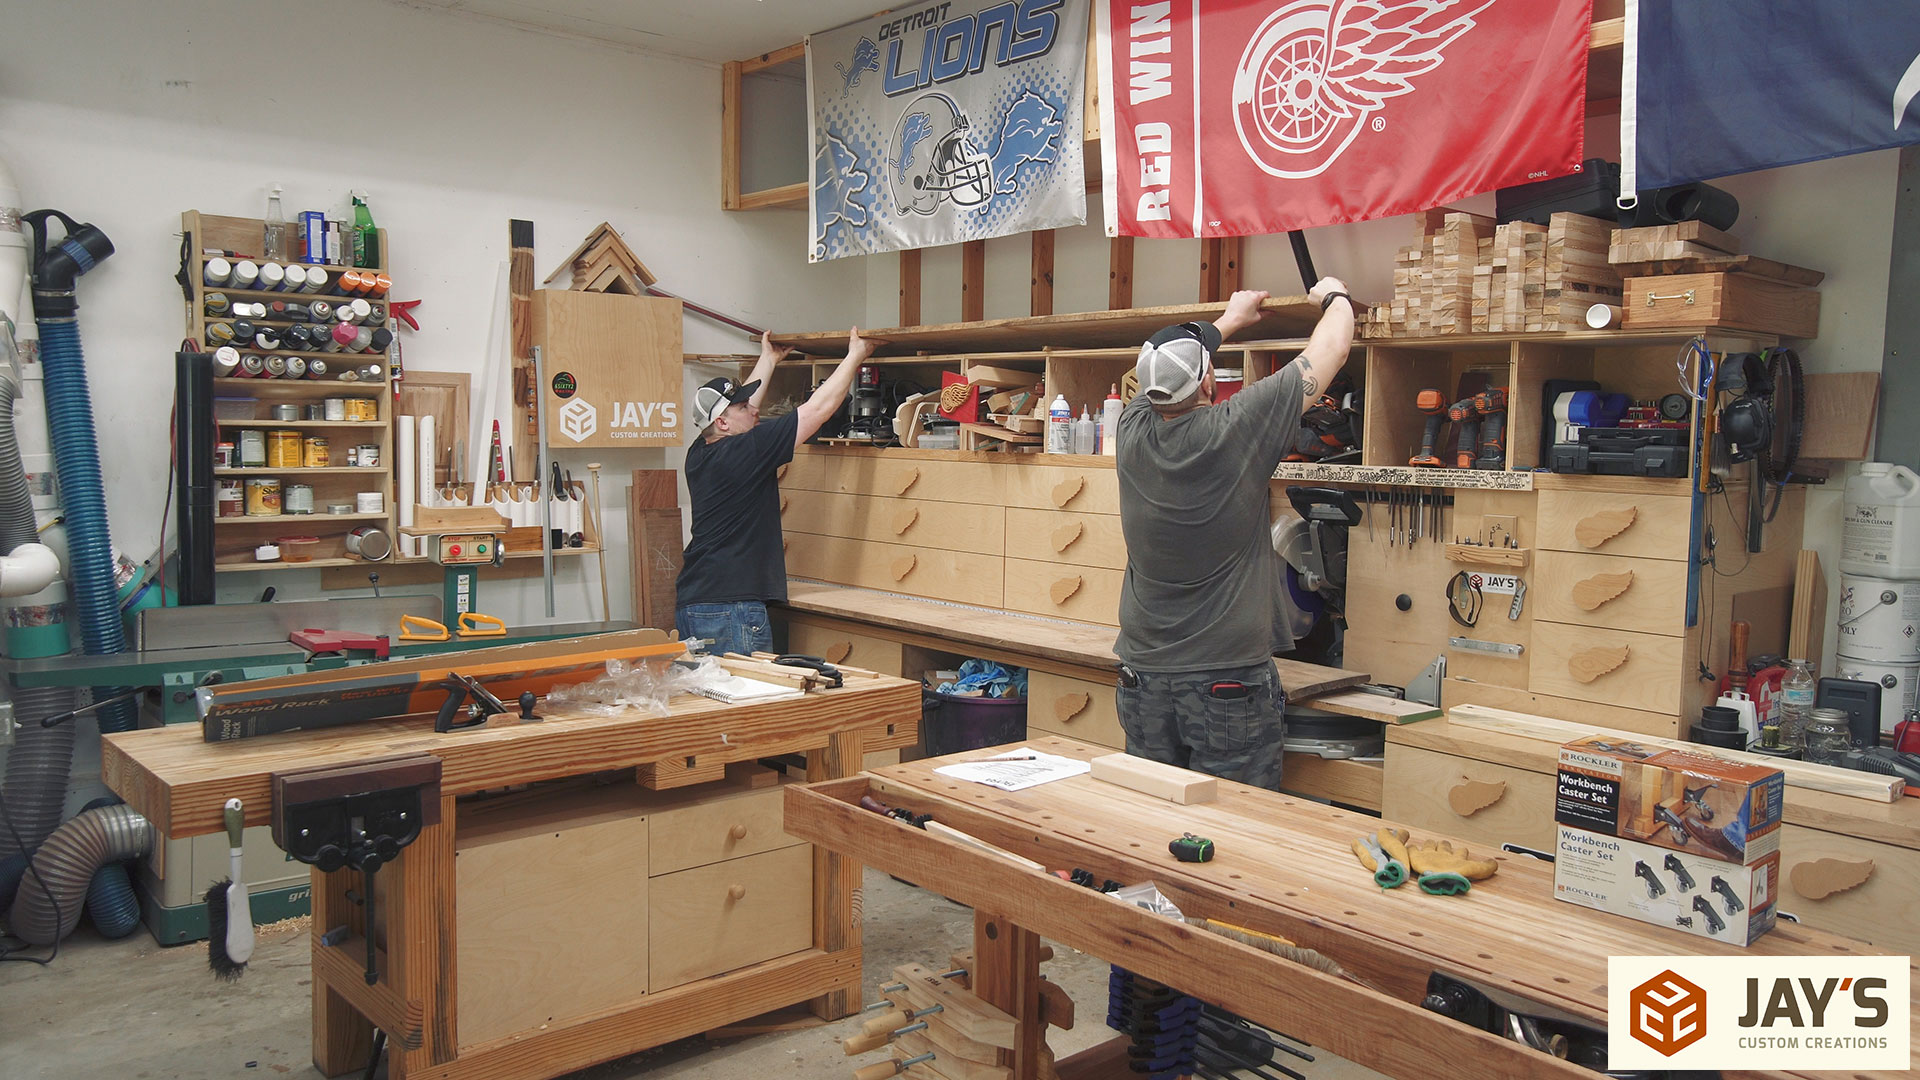
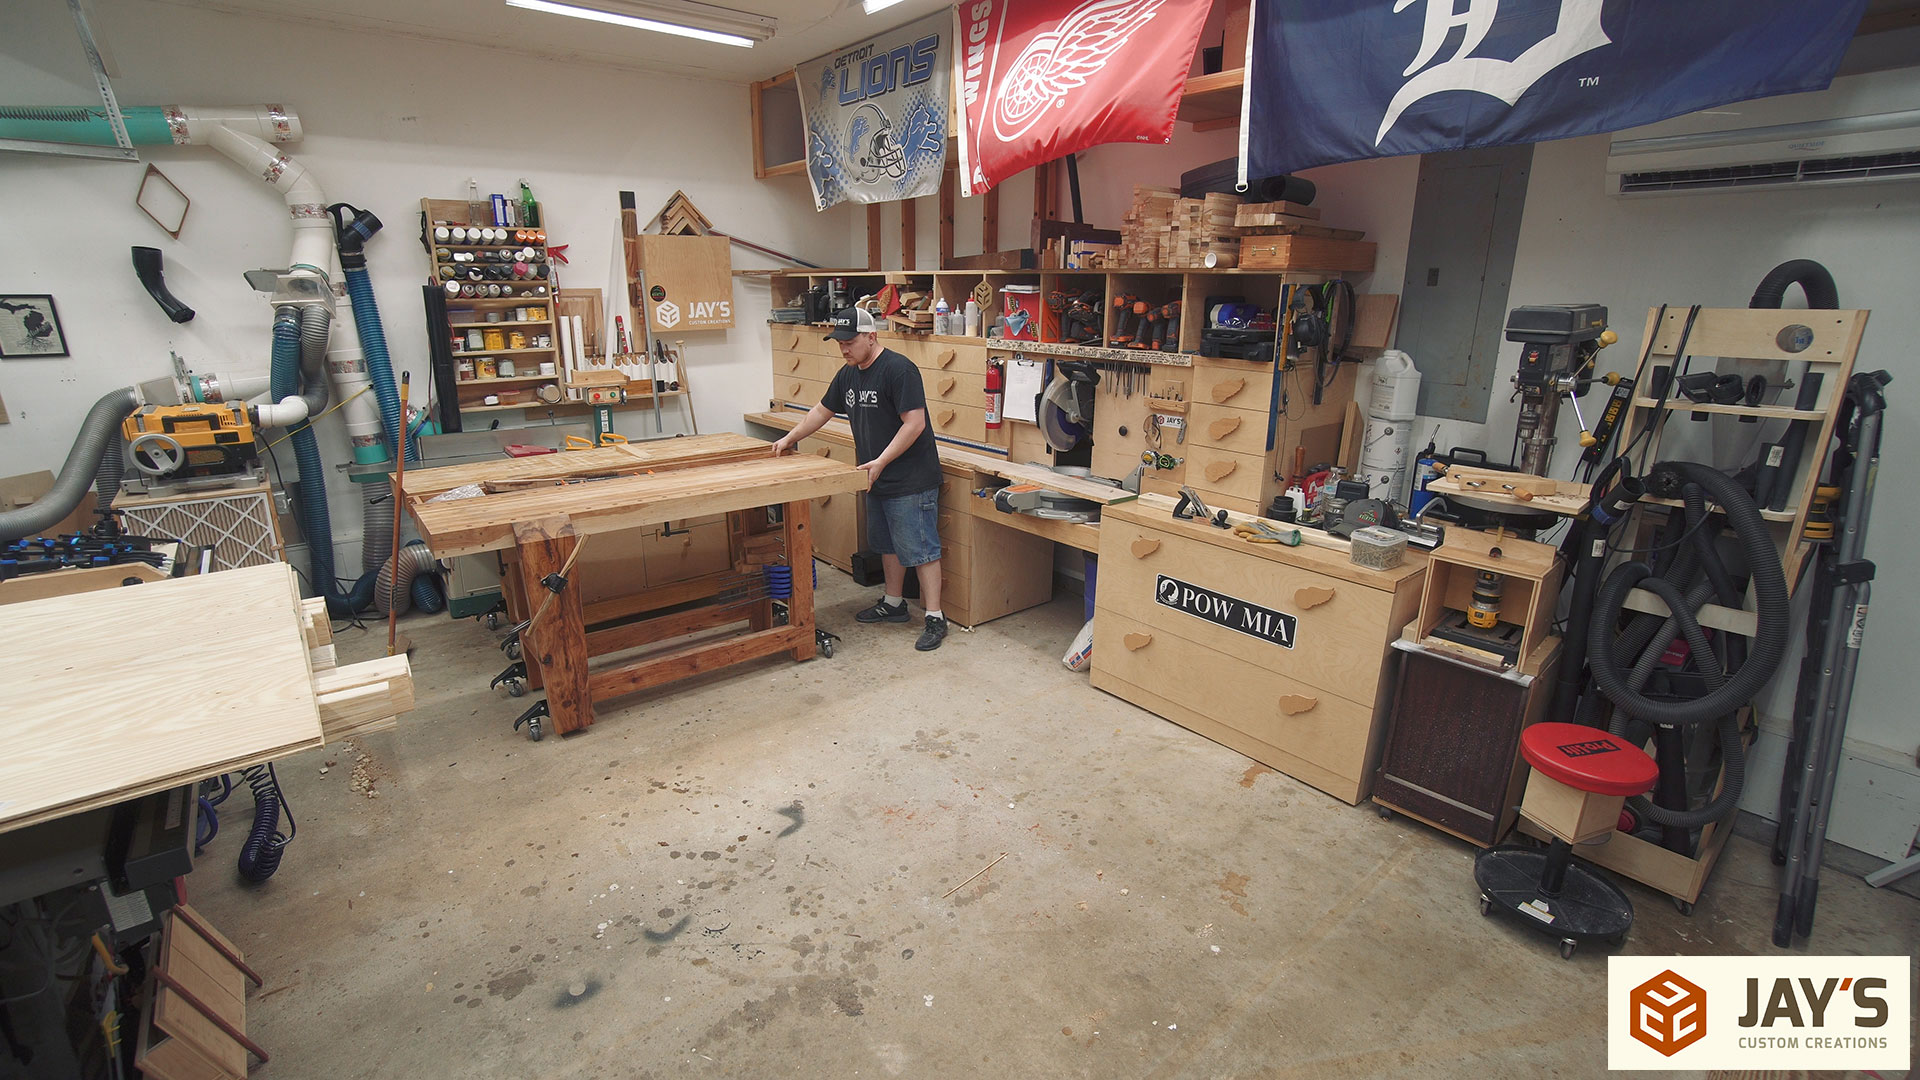
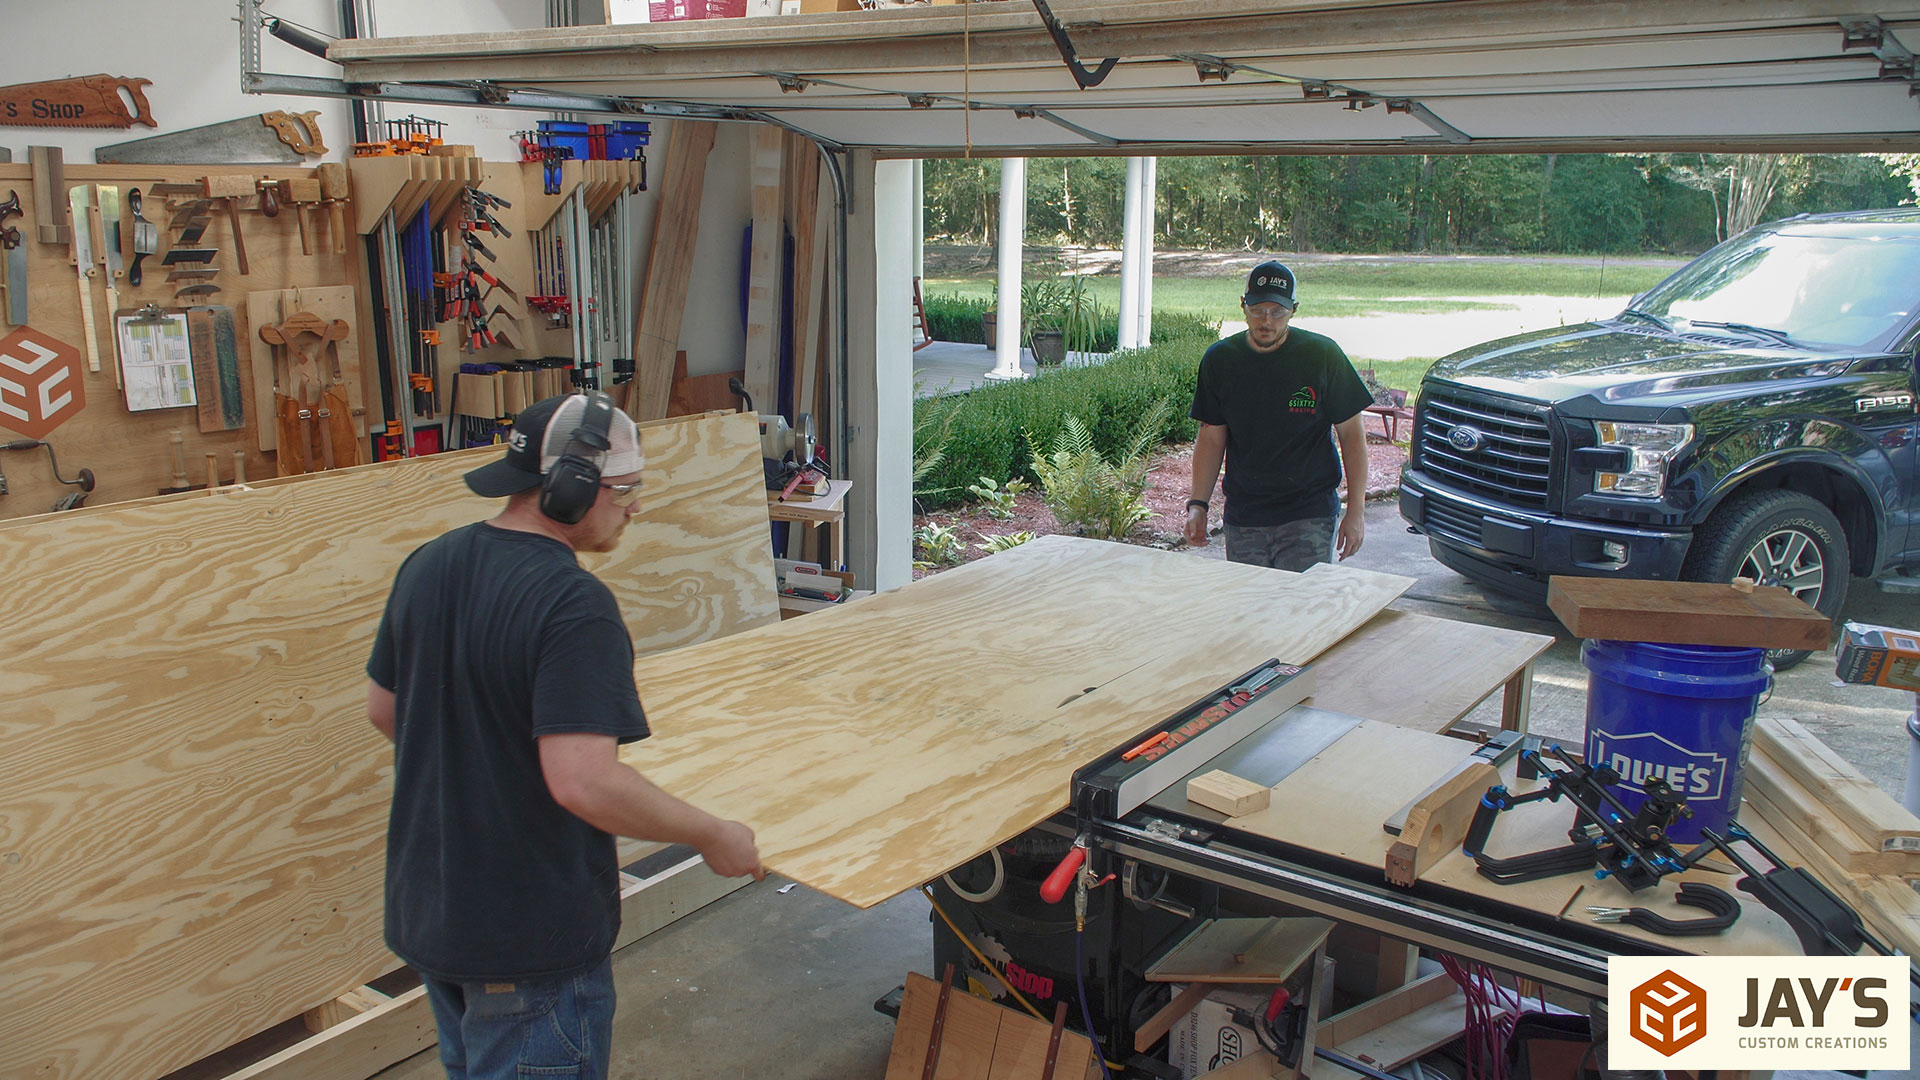
With a destination established for all of my lumber we went back to the shop to remove what was left. Starting with the pile I had on top of the miter saw station. The goal is to reclaim this space for wood that will be used in upcoming projects. As I determine what woods will be used next I’ll bring them in the shop and let them acclimate up here.
This other corner of the shop has been a catch-all for years. I had more 8/4 boards and various pieces of plywood stored in this corner. It’s like a set of lungs. The pile expands and contracts often over here. I’m trying to cut that out and keep this area open for project staging as needed.
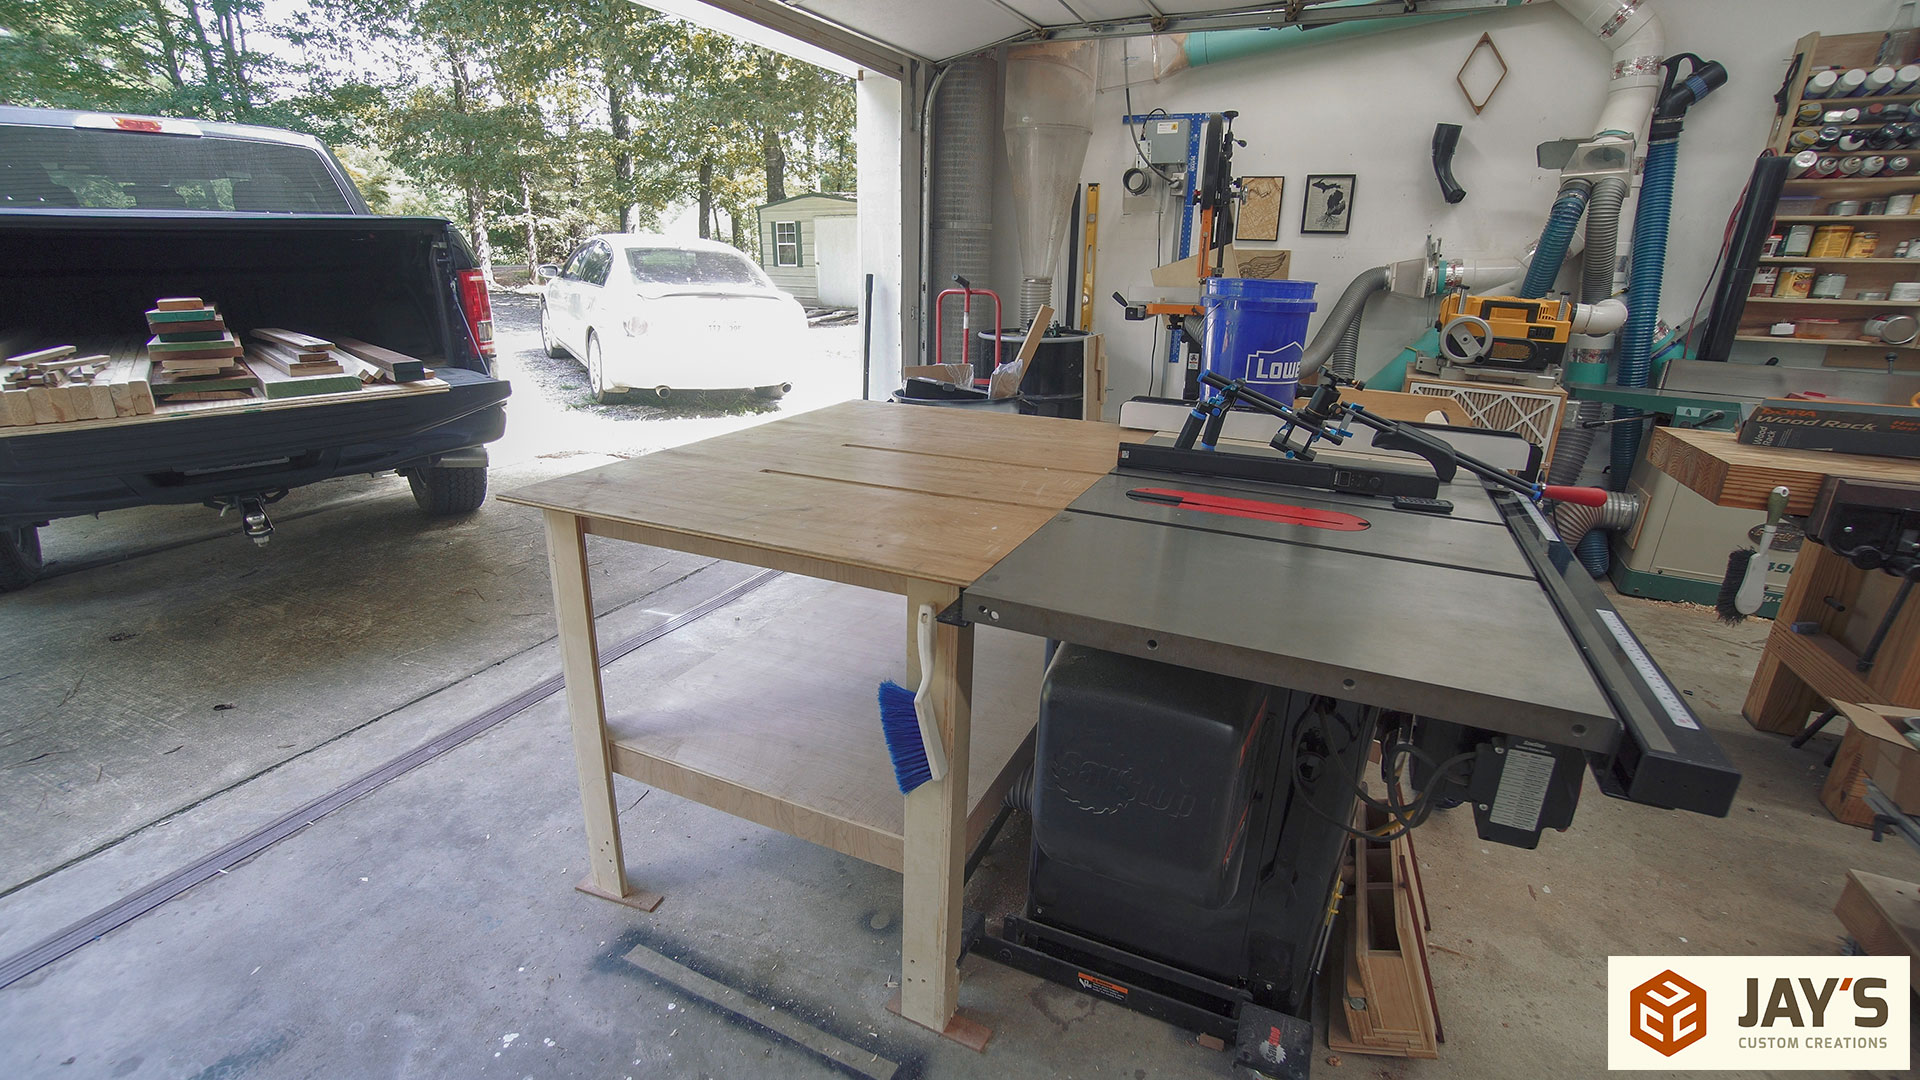
And finally the shelf on my outfeed table needs to be emptied. All of this lumber is good quality 2′ to 4′ boards and it all needs to go to the shed. That’s because I’m getting rid of this outfeed table. It’s just a basic plywood table so there’s nothing that’s really going to be lost and I plan on replacing it with a folding outfeed table. I’m not sure if it’s going to be a purchased or homemade folding table though. I’m having less and less interest in shop projects and more interest in making furniture. Time will tell which route I go with it.
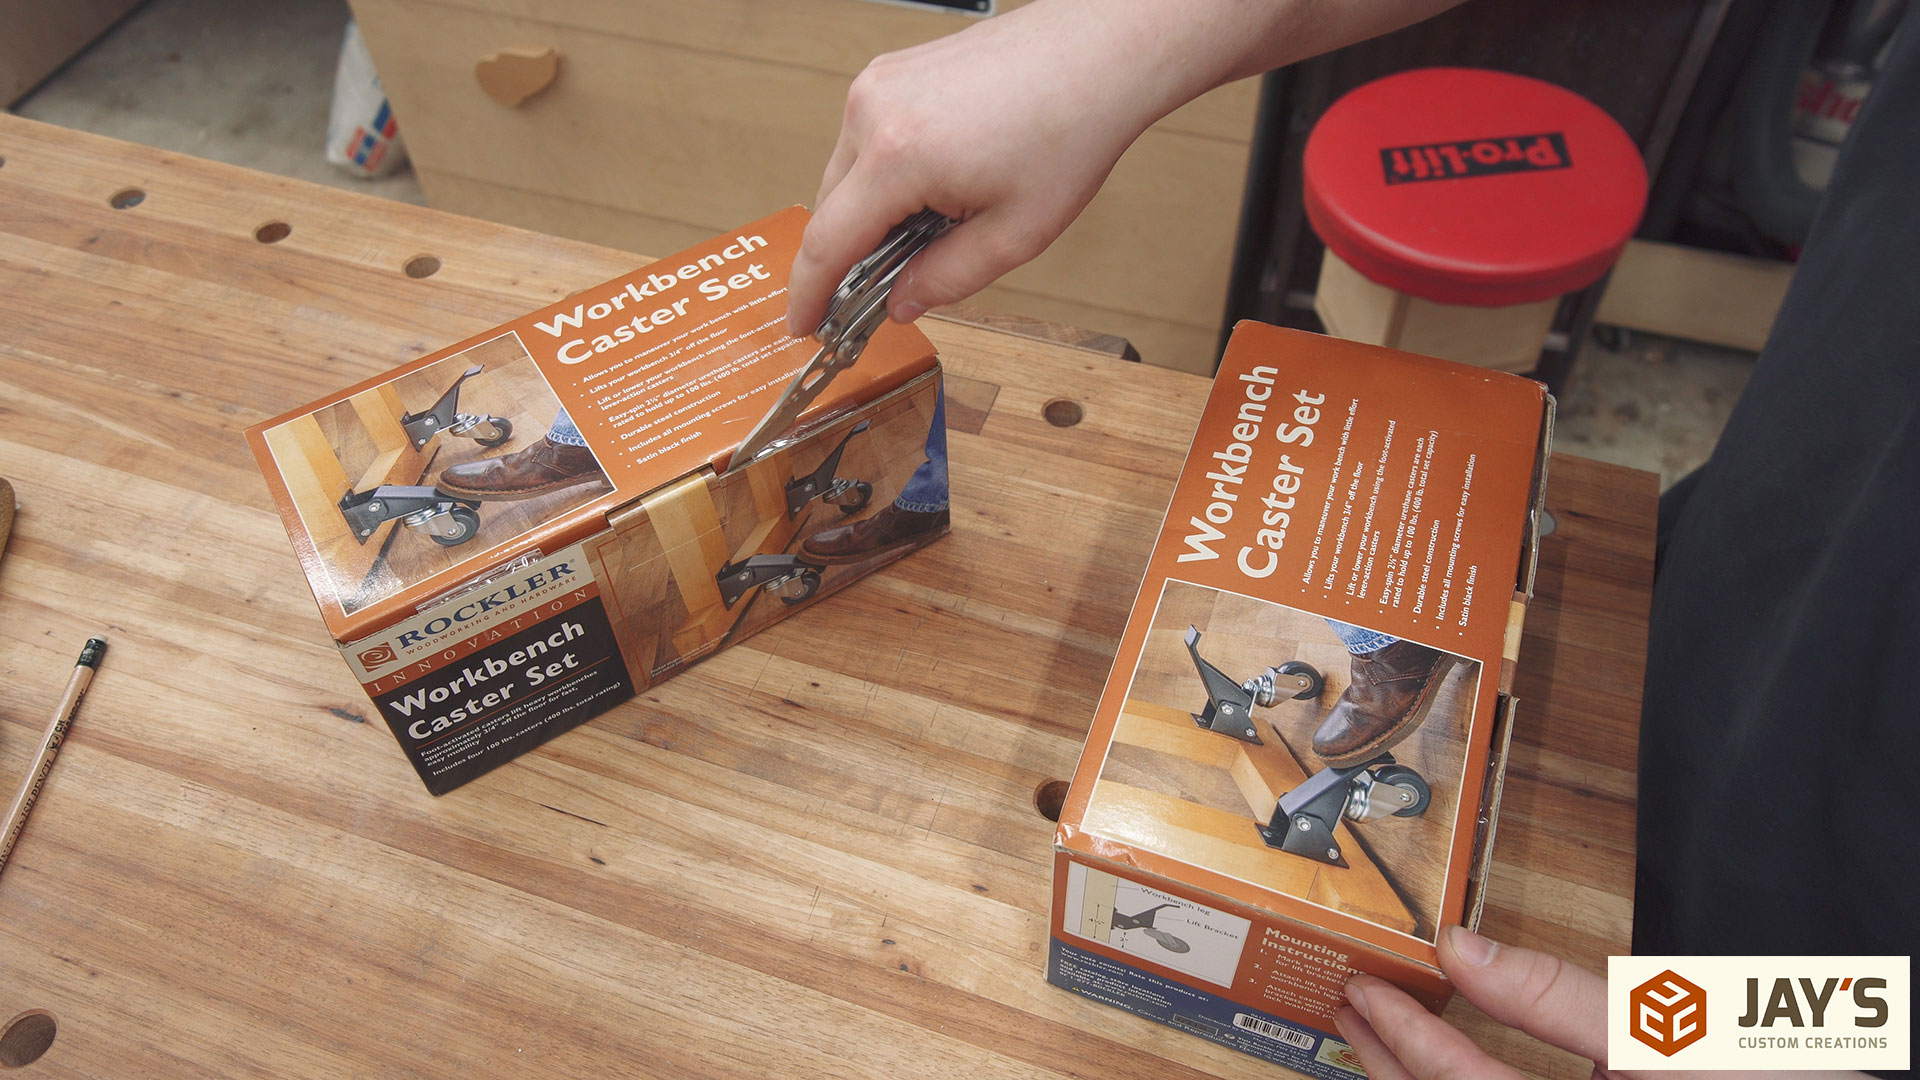
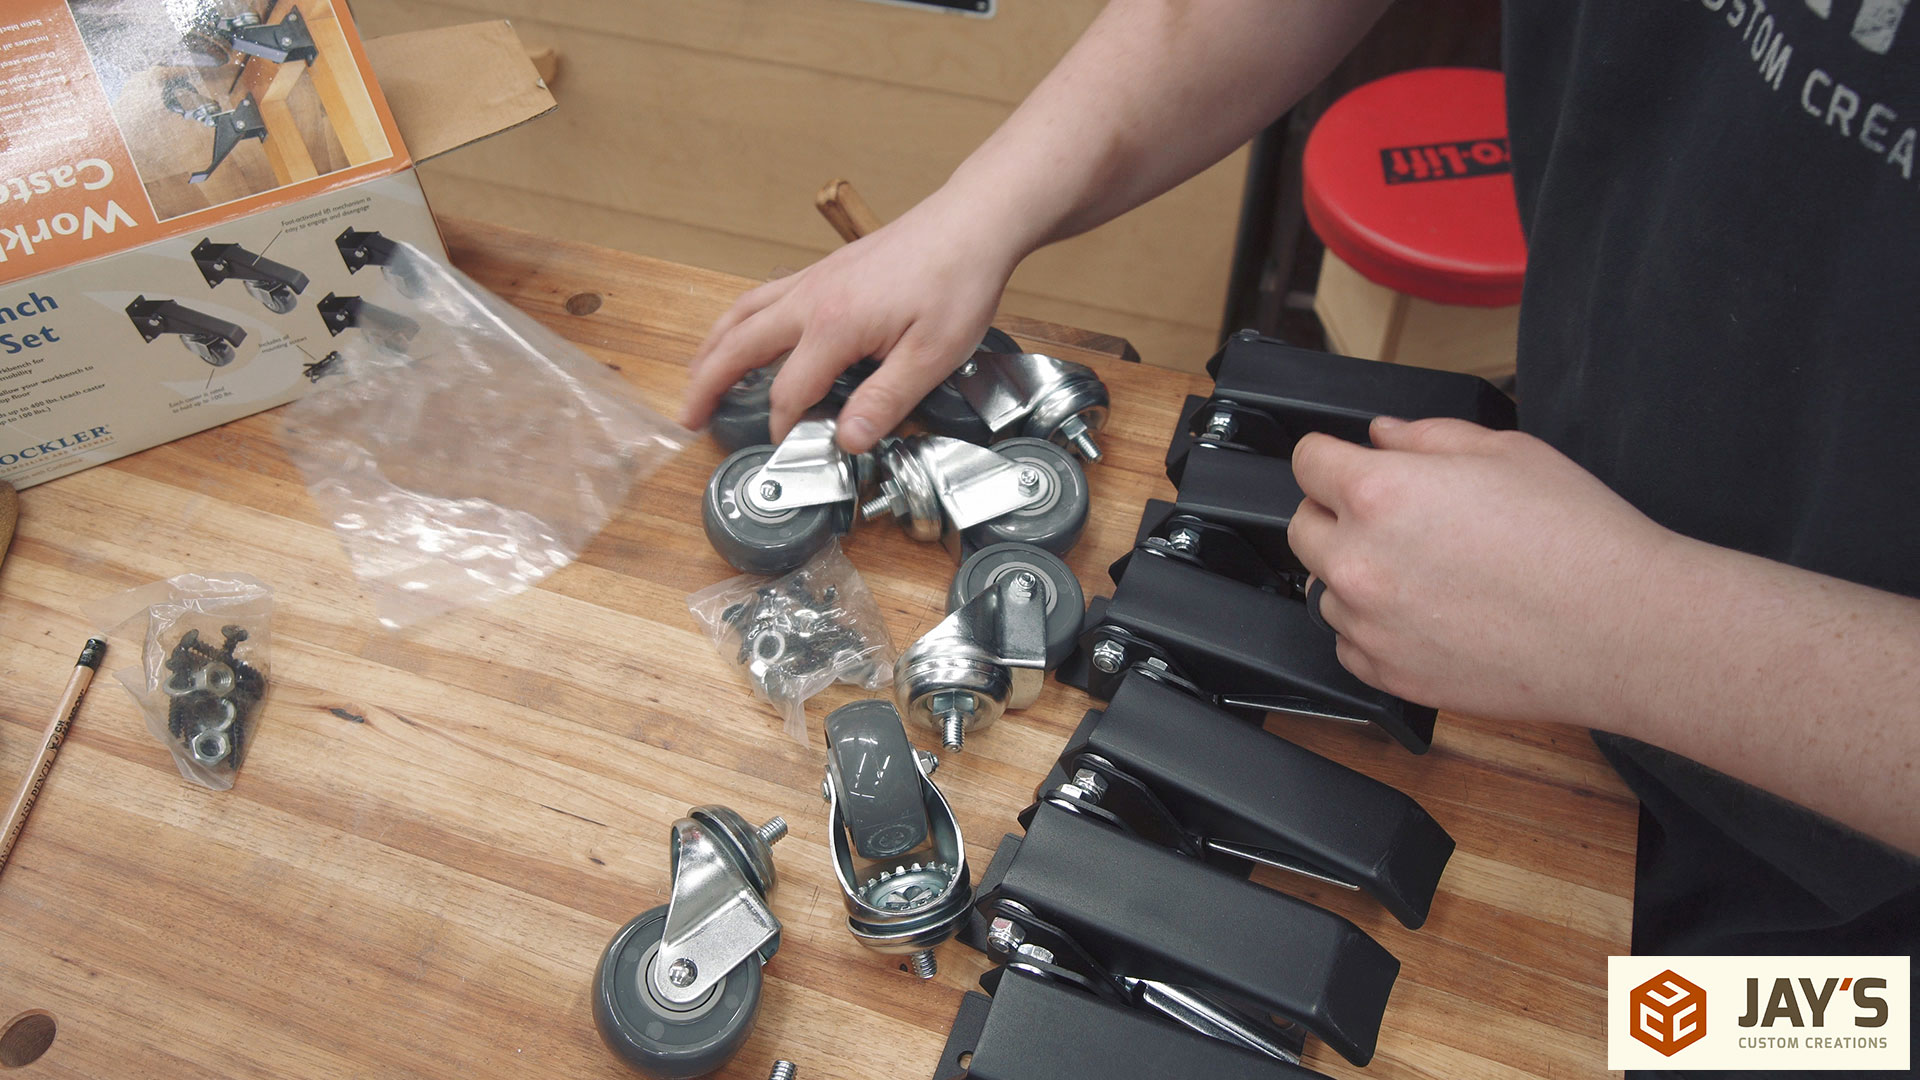
The next bit of organization or I guess an increase in overall shop flexibility will come from adding casters to my workbenches. These are the Rockler Workbench Casters and I’m putting them on both workbenches. Which leads me to a very common question I get about my workbenches. How heavy are they? My response is always that I don’t know and don’t care. A traditional workbench needs to be heavy enough that it doesn’t move when you don’t want it to move and light enough that you can move it when you need to move it. Well, these workbenches can be moved around without casters but it’s not a fun task by any means. And also, these casters are rated at 400 pounds for the set. So to answer that question, my workbenches weigh less than 400 pounds each.
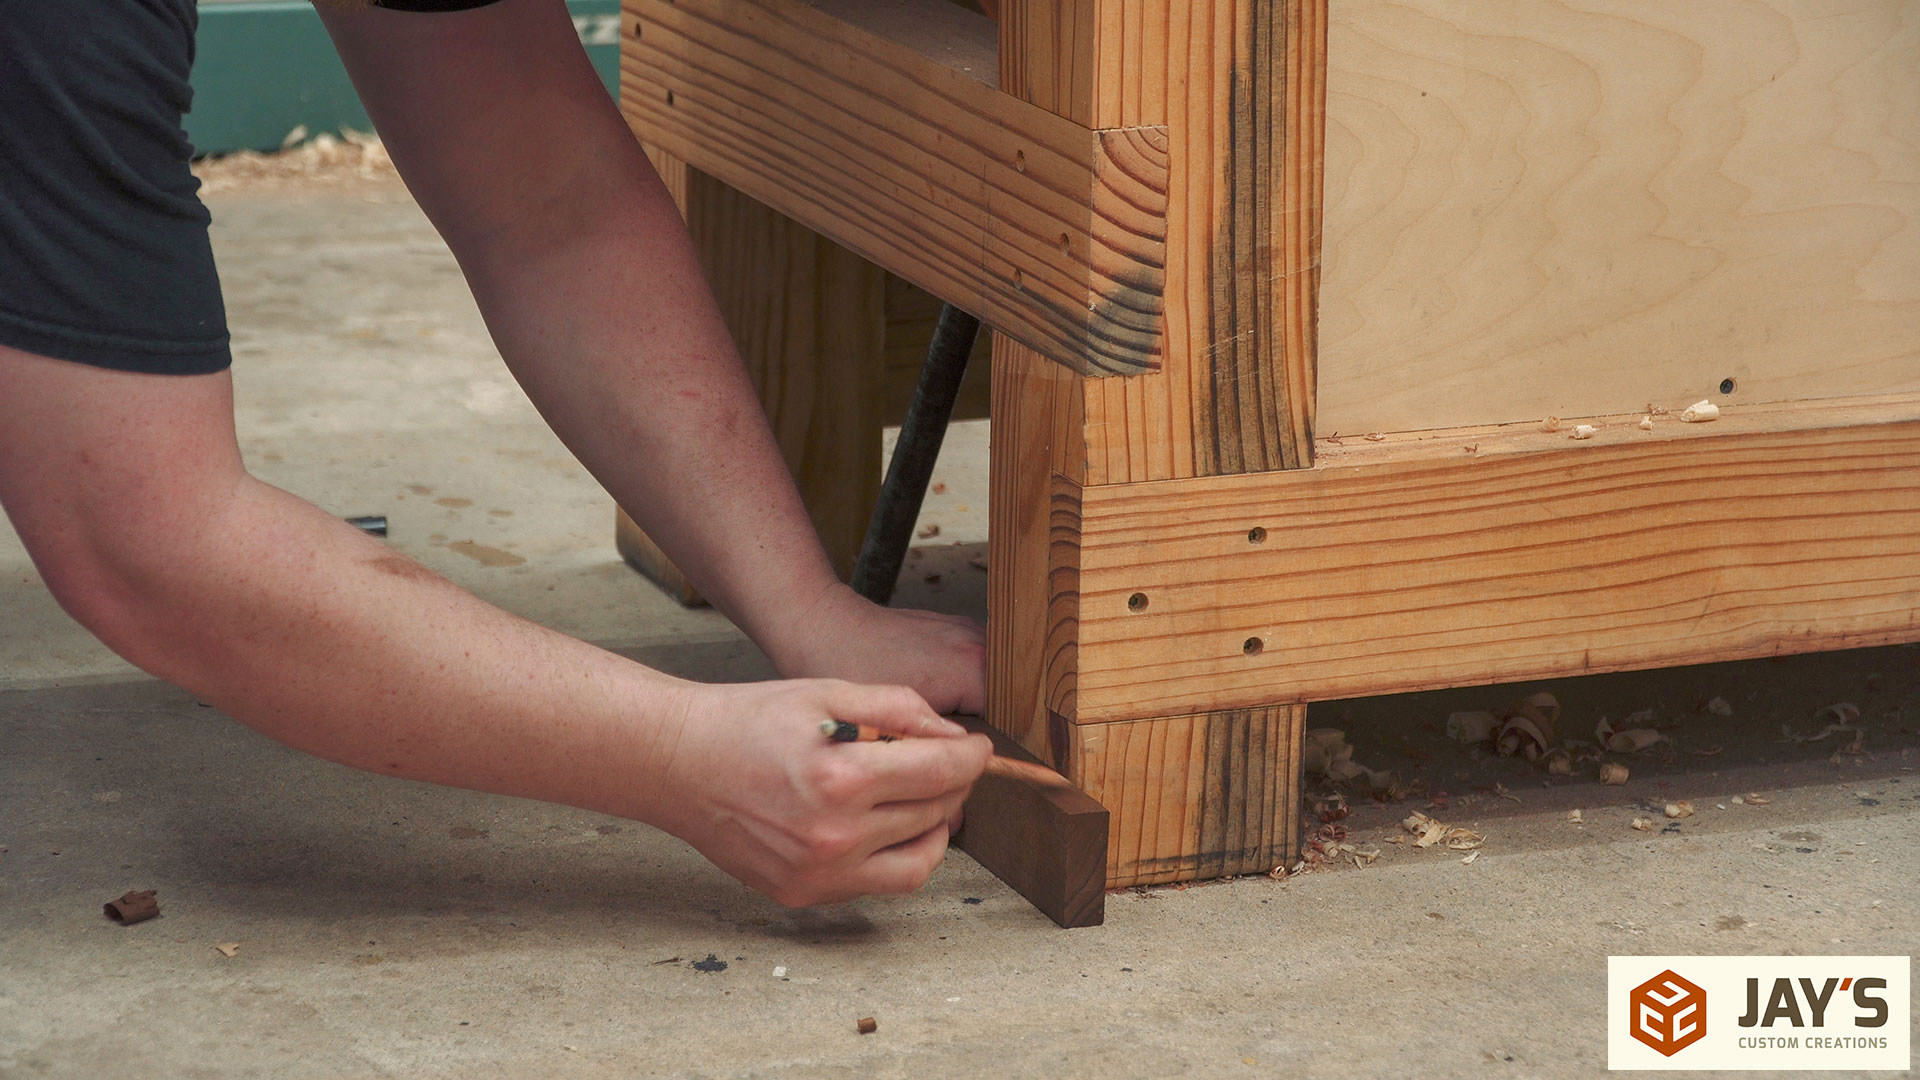
To install them I used a 2” wide board and a pencil to strike a line 2” off the floor.
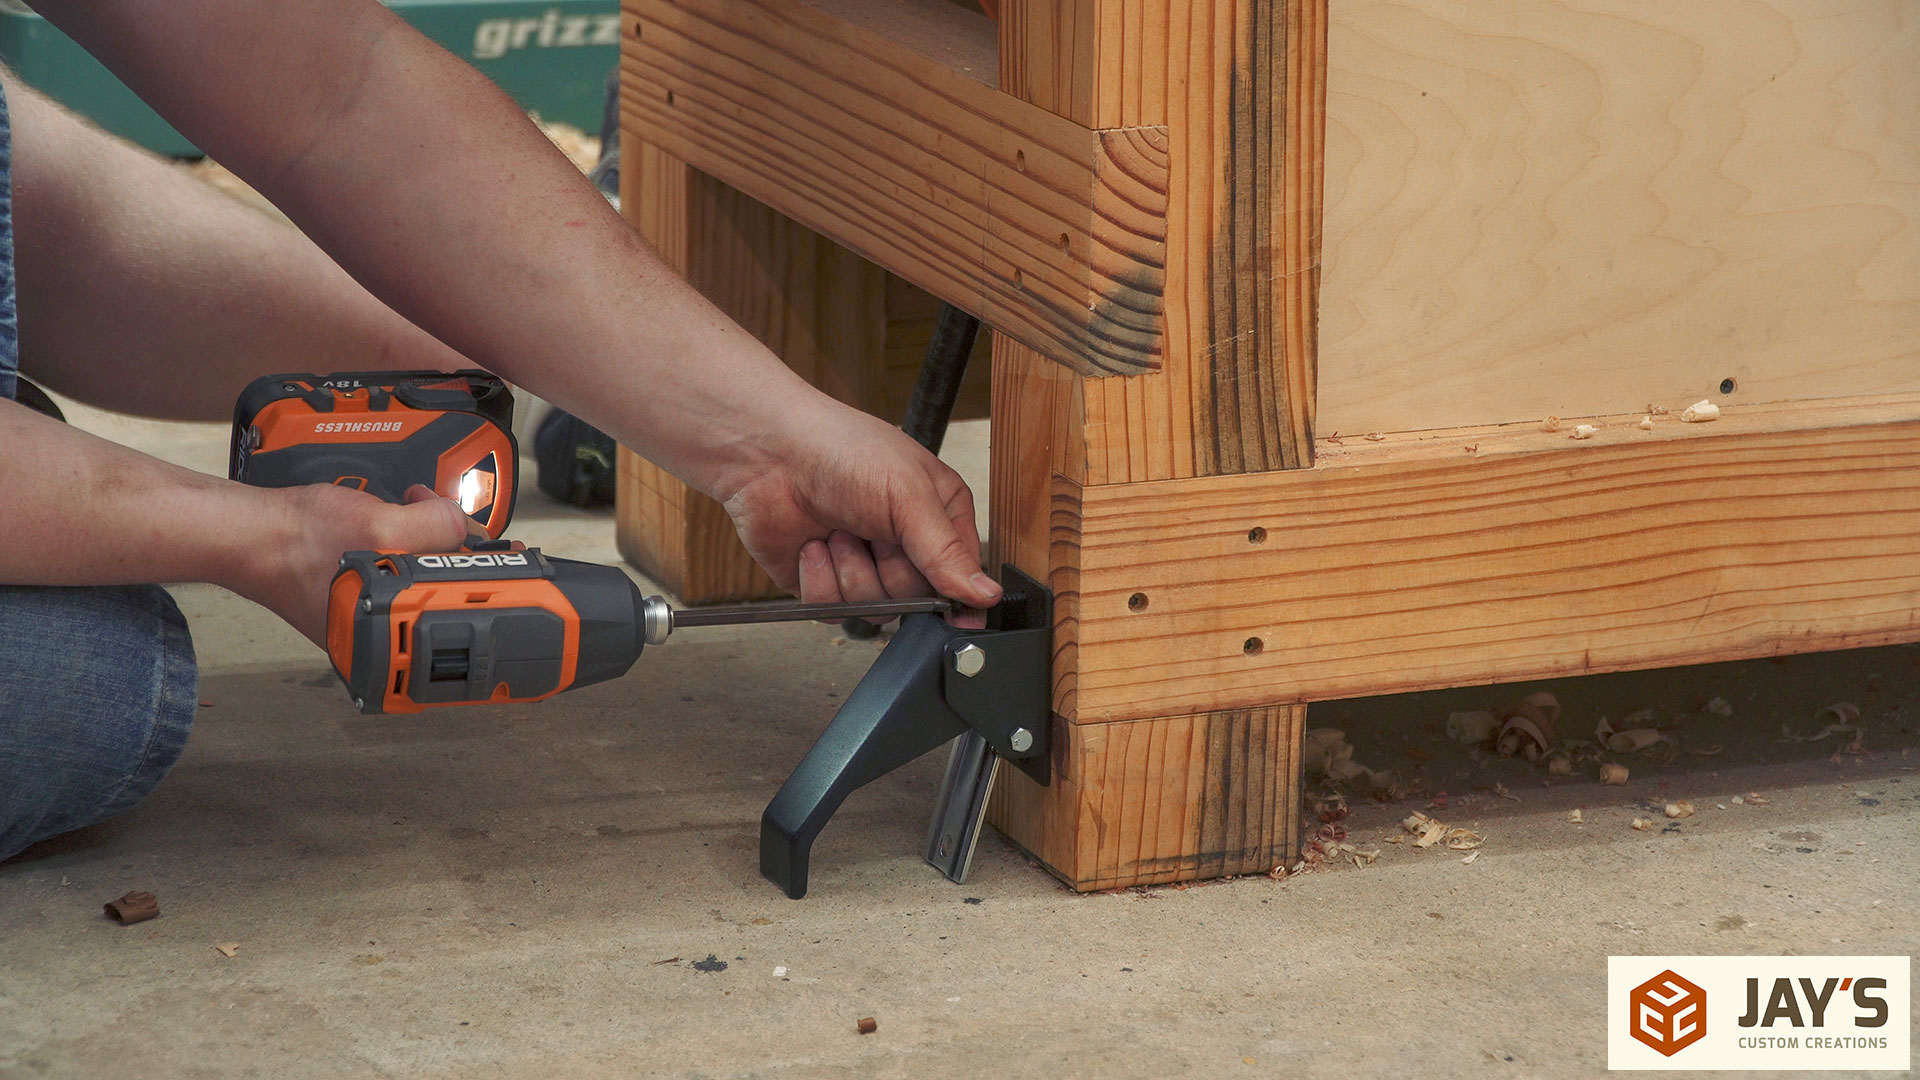
Then the bracket is installed with the lower screw right through the line.

And then the top screw completes the installation of the bracket.
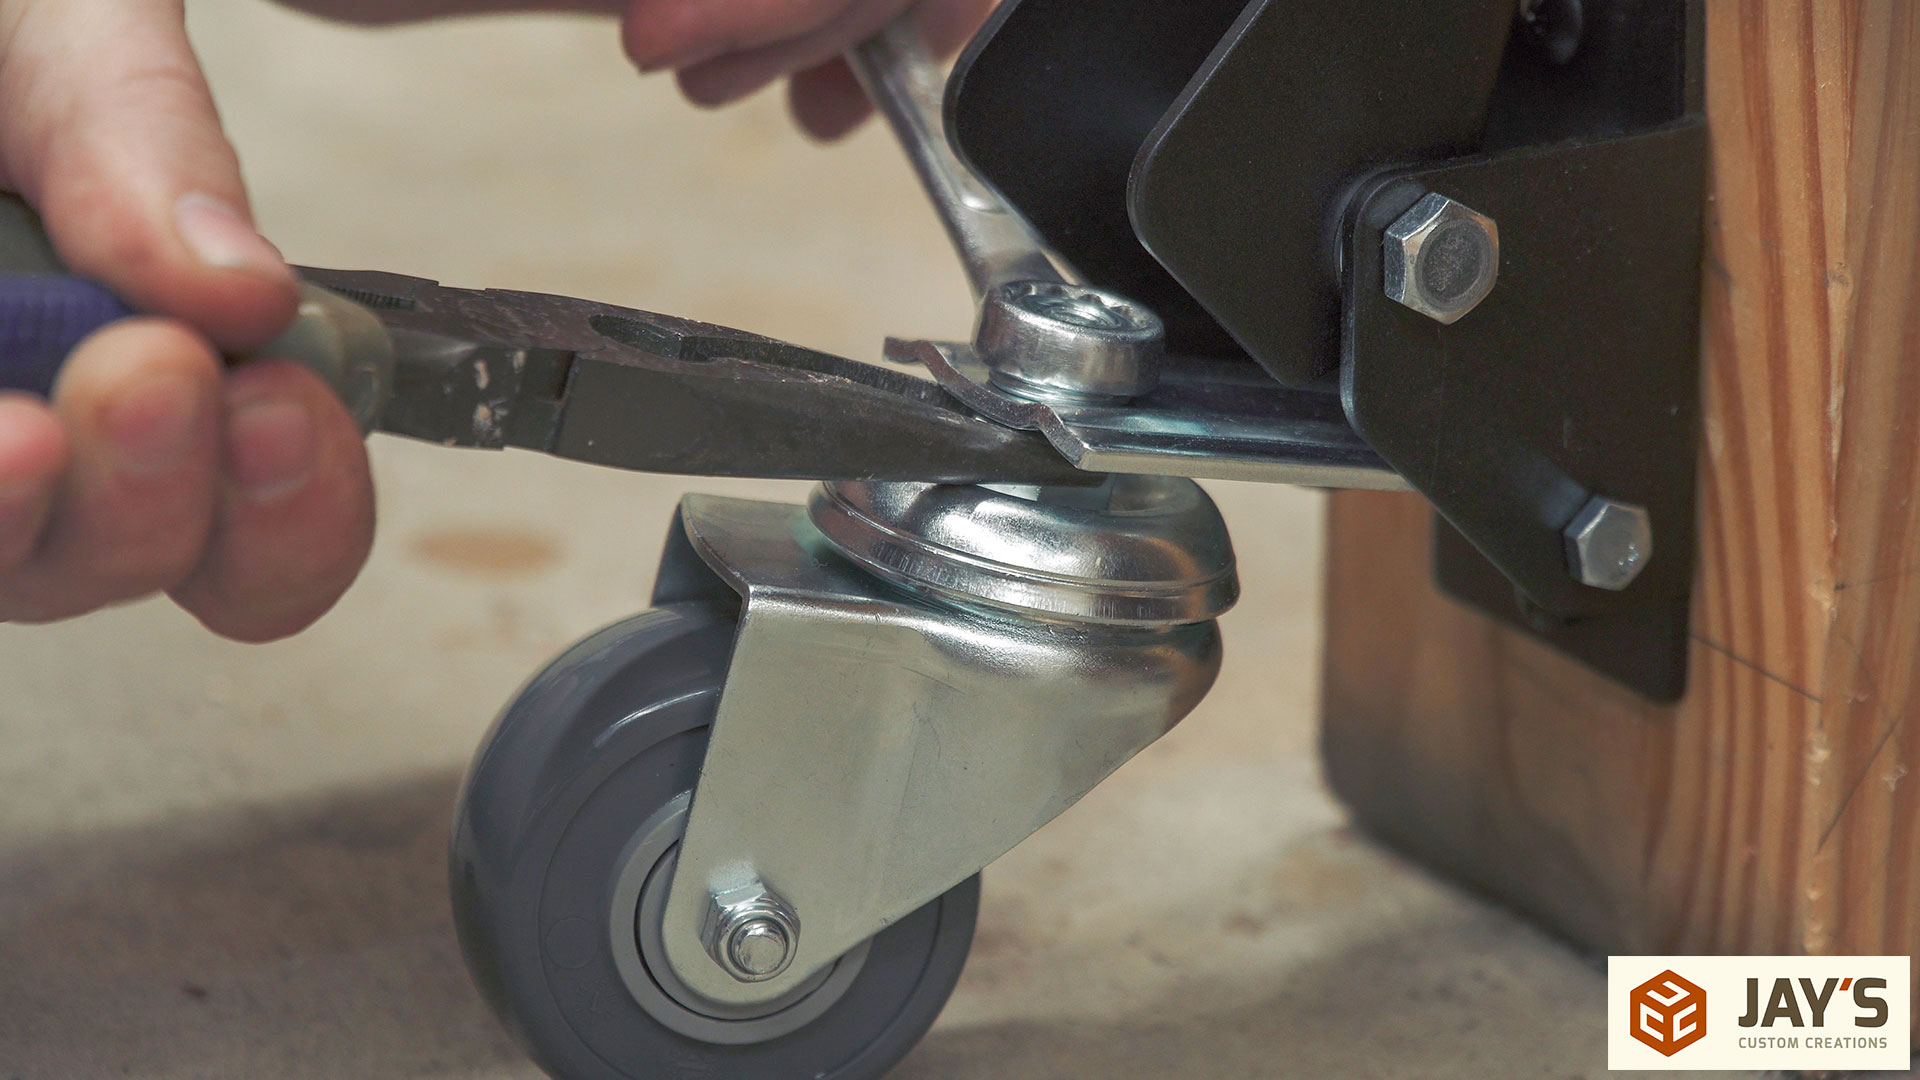
The caster is installed next with a single nut. And that’s it. Time to see how well they work.
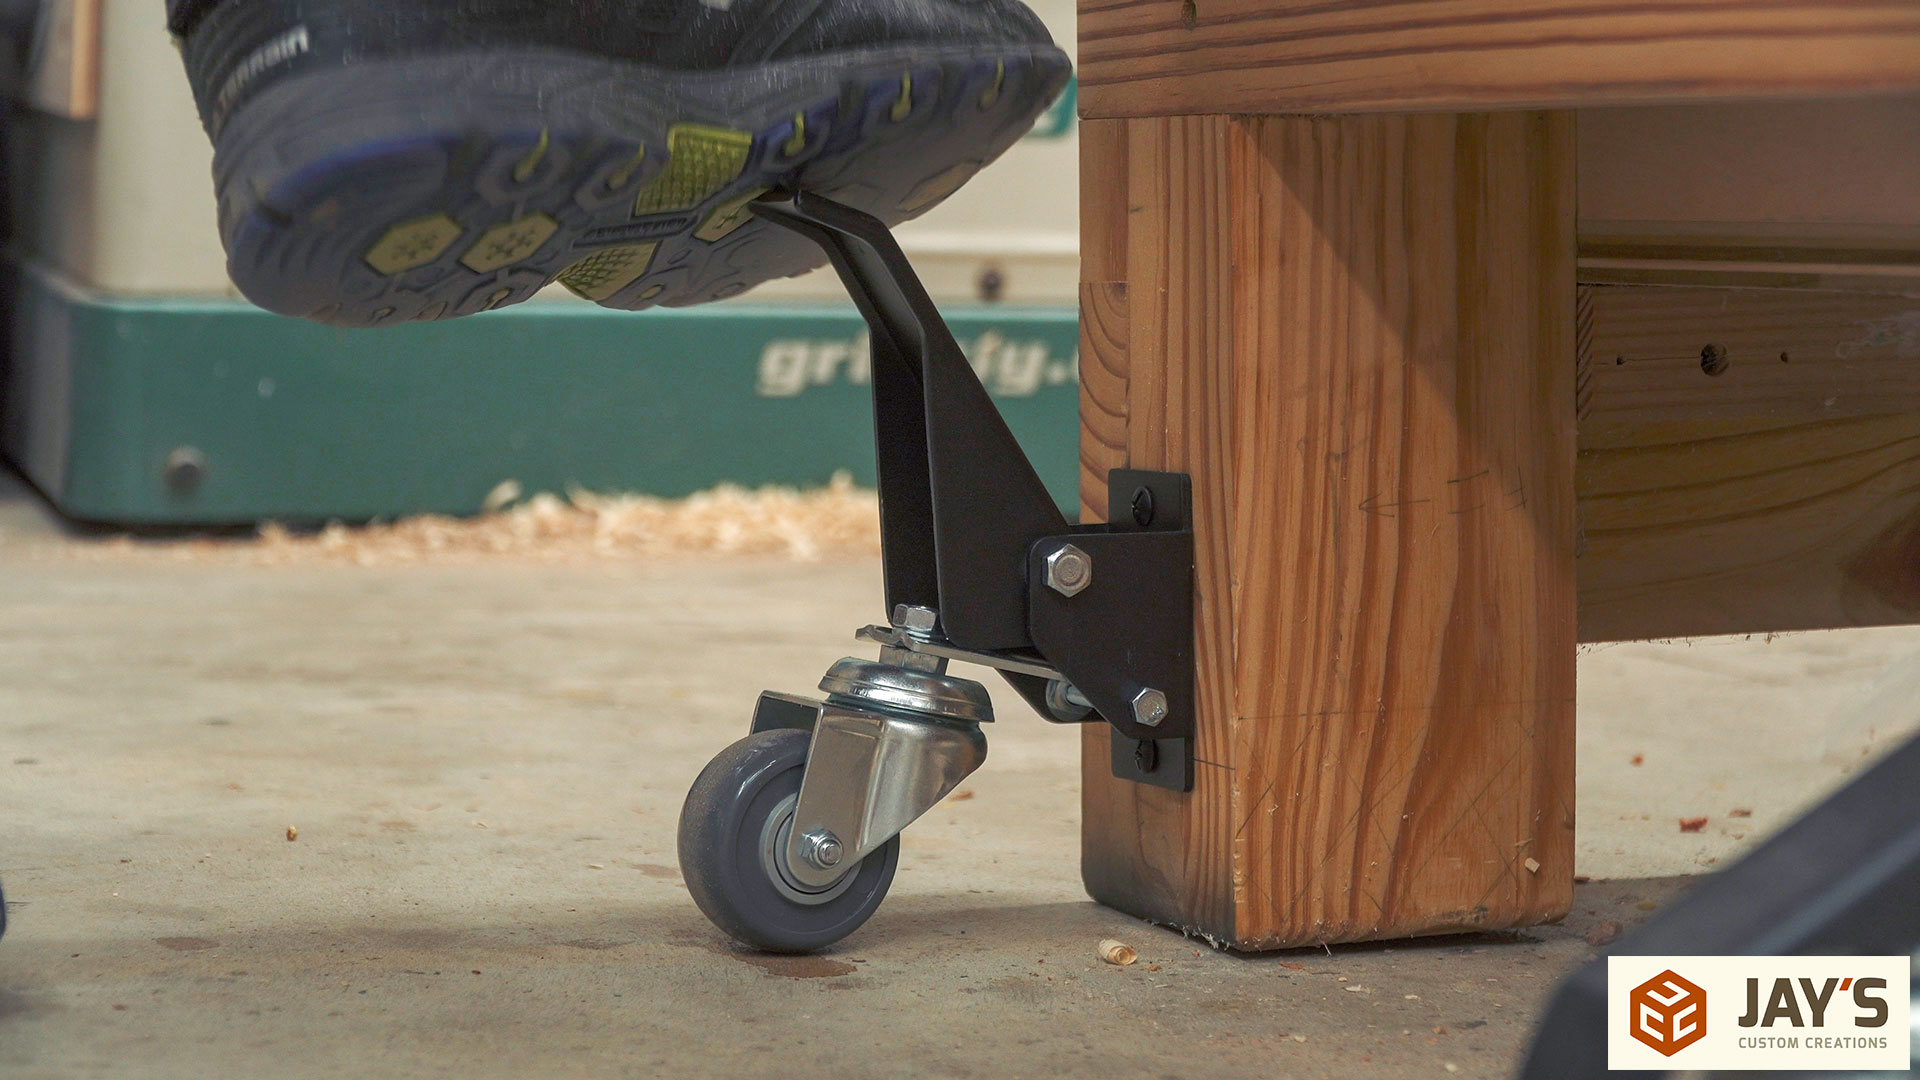
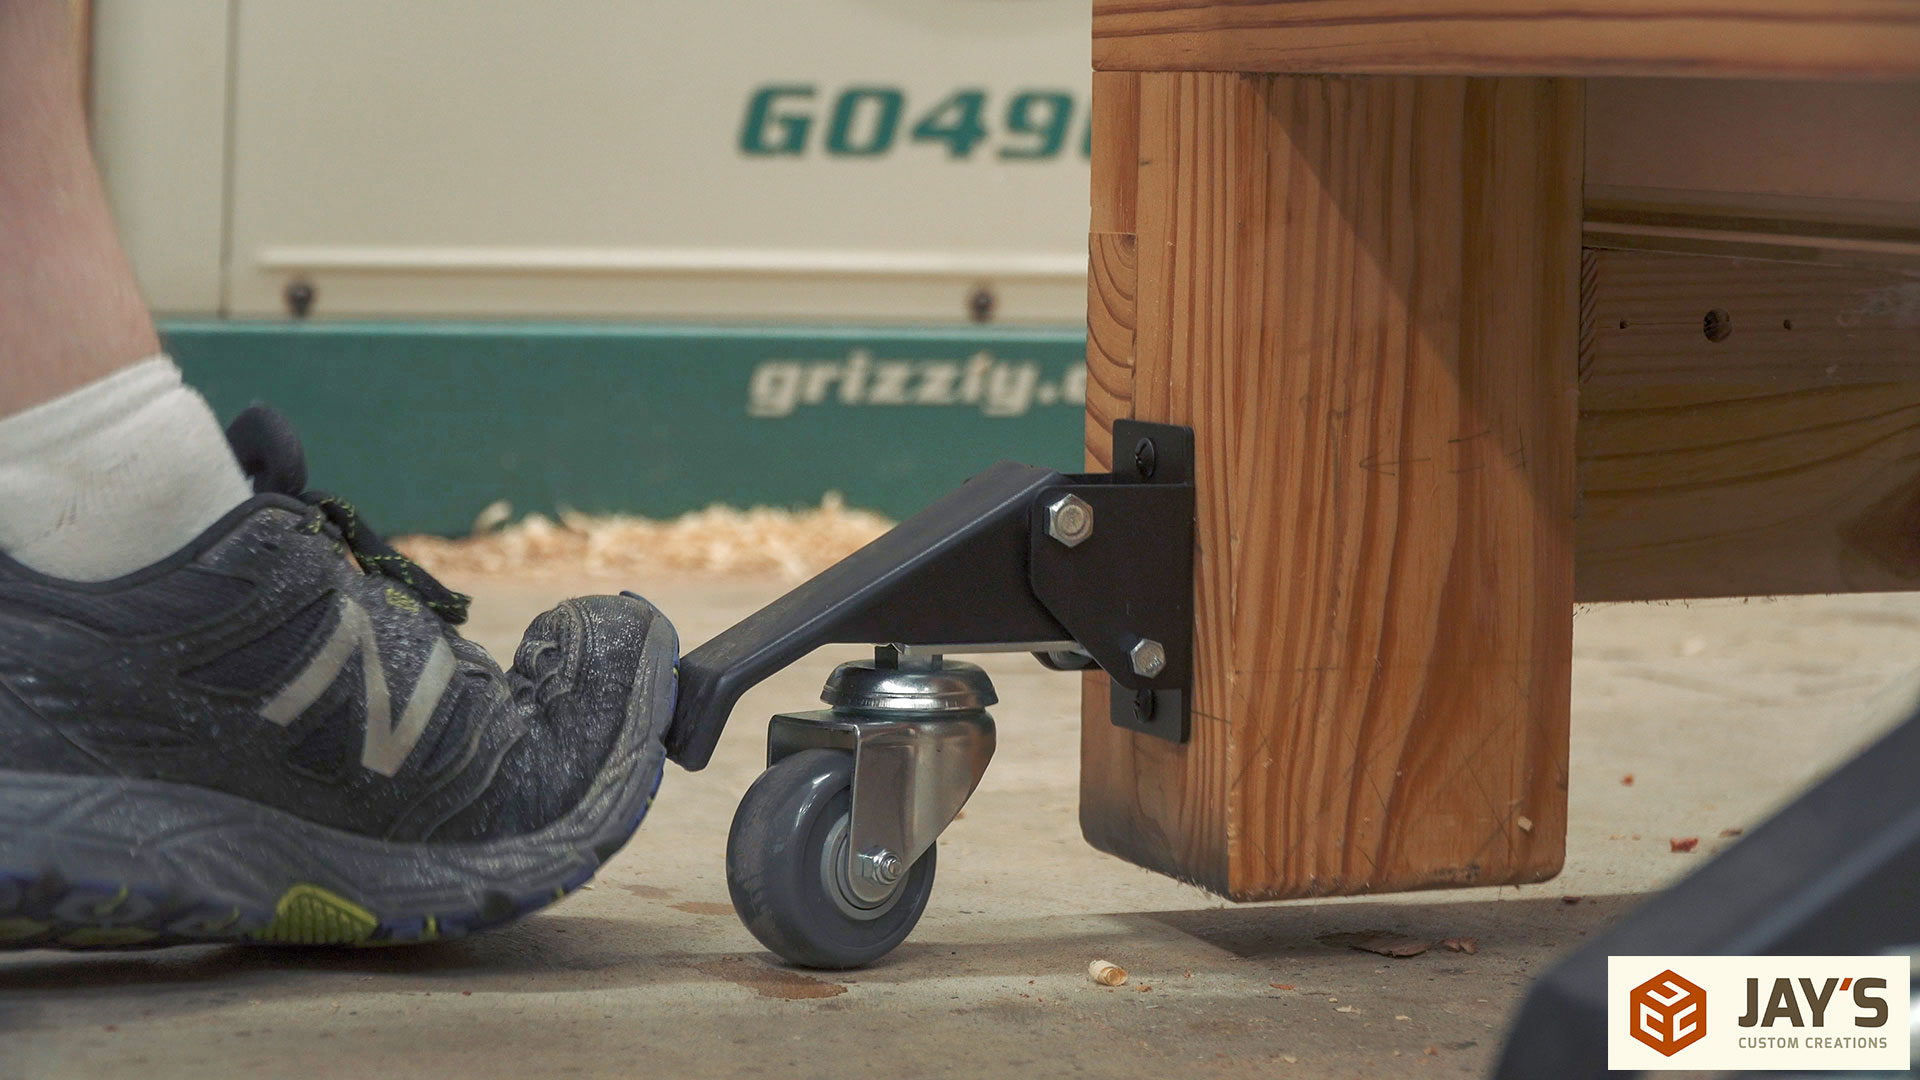
And they work incredibly well. Like I said, I have no idea how much either of my workbenches weigh but now I can very easily move them around to get more open floor space for assembling larger projects.

Alright, now that the workbenches can get out of the way easily I can knock out a simple plywood rack for the shed with a couple 2×6’s and 2×4’s. The goal for this plywood rack is to be able to store a combined 15-20 sheets of various sized plywood. The best plywood I’ve used without spending more than $50 per sheet is located an hour and fifteen minutes north of where I live. It doesn’t make sense financially to make a two and a half hour trip in a full size truck just to get one or two pieces every time I need them. So in the long run it’s cheaper for me to get it in bulk and have it on hand for upcoming projects.
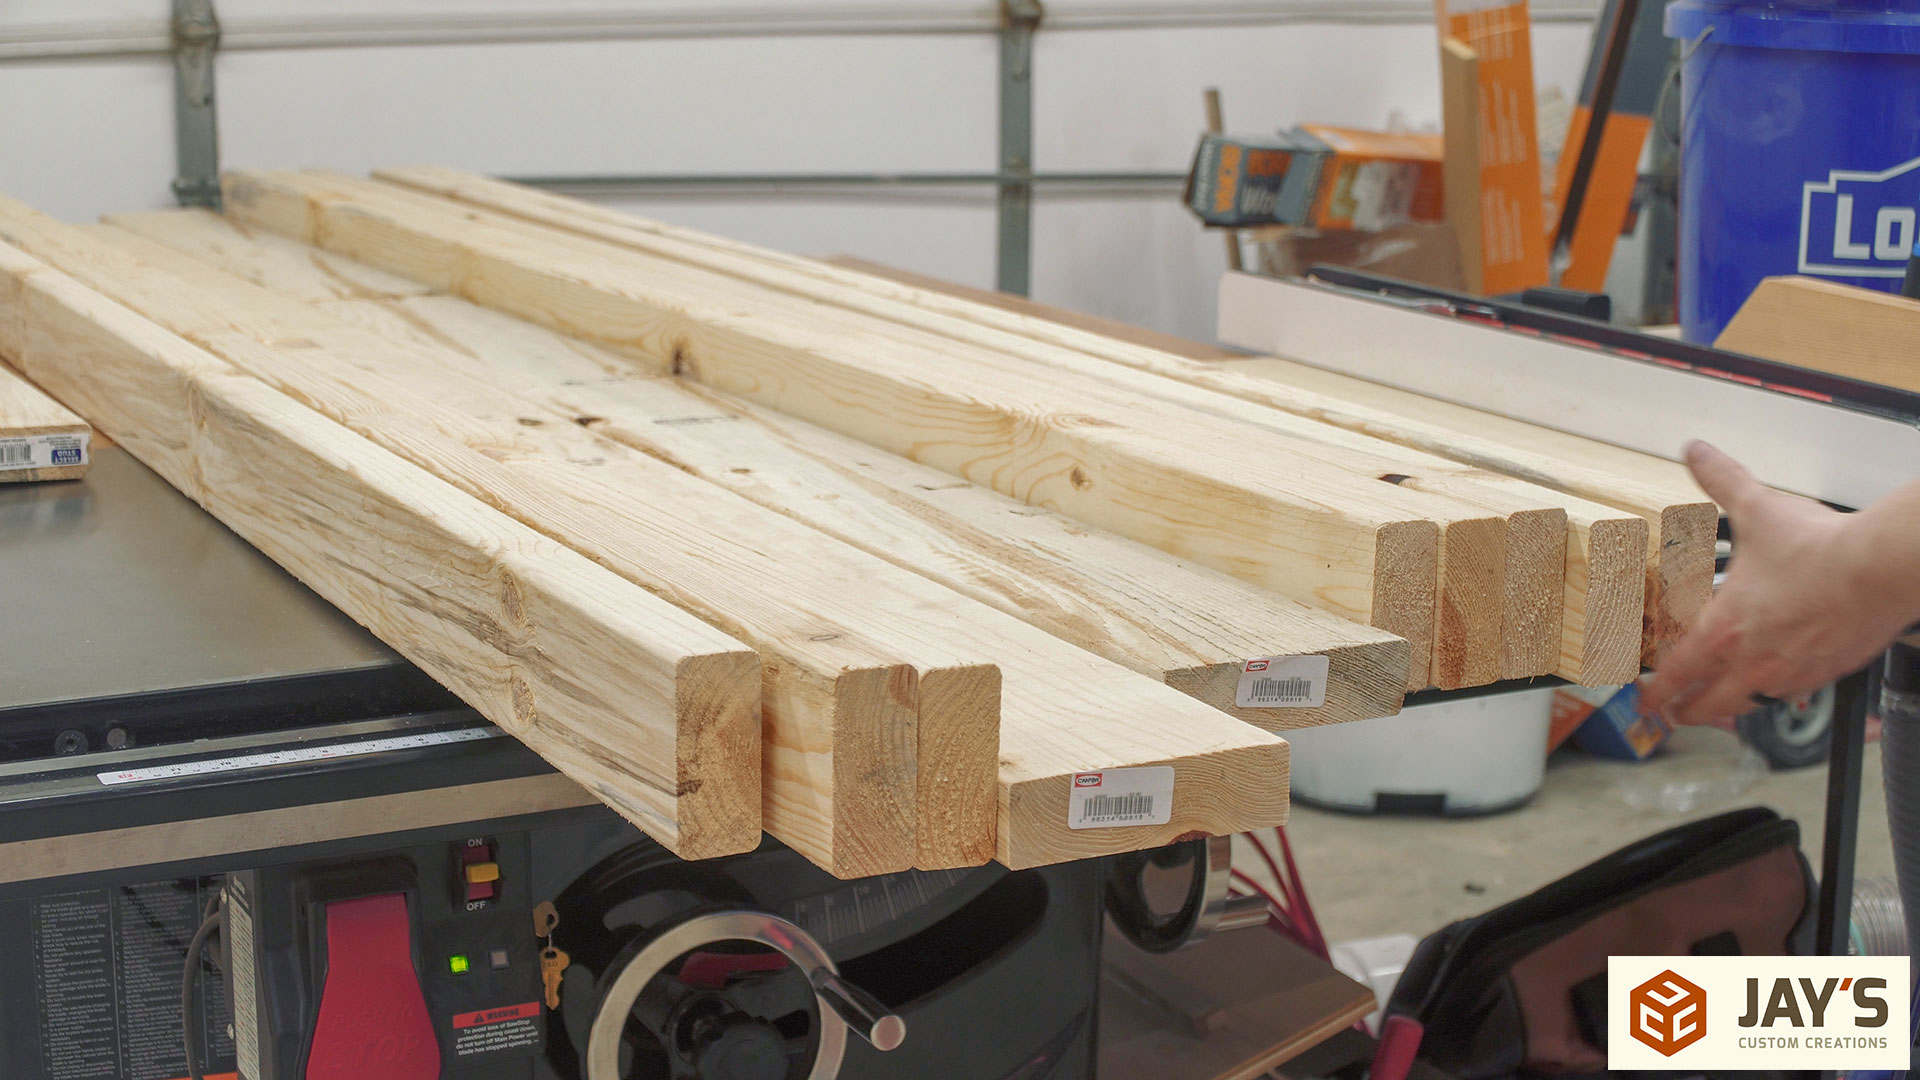
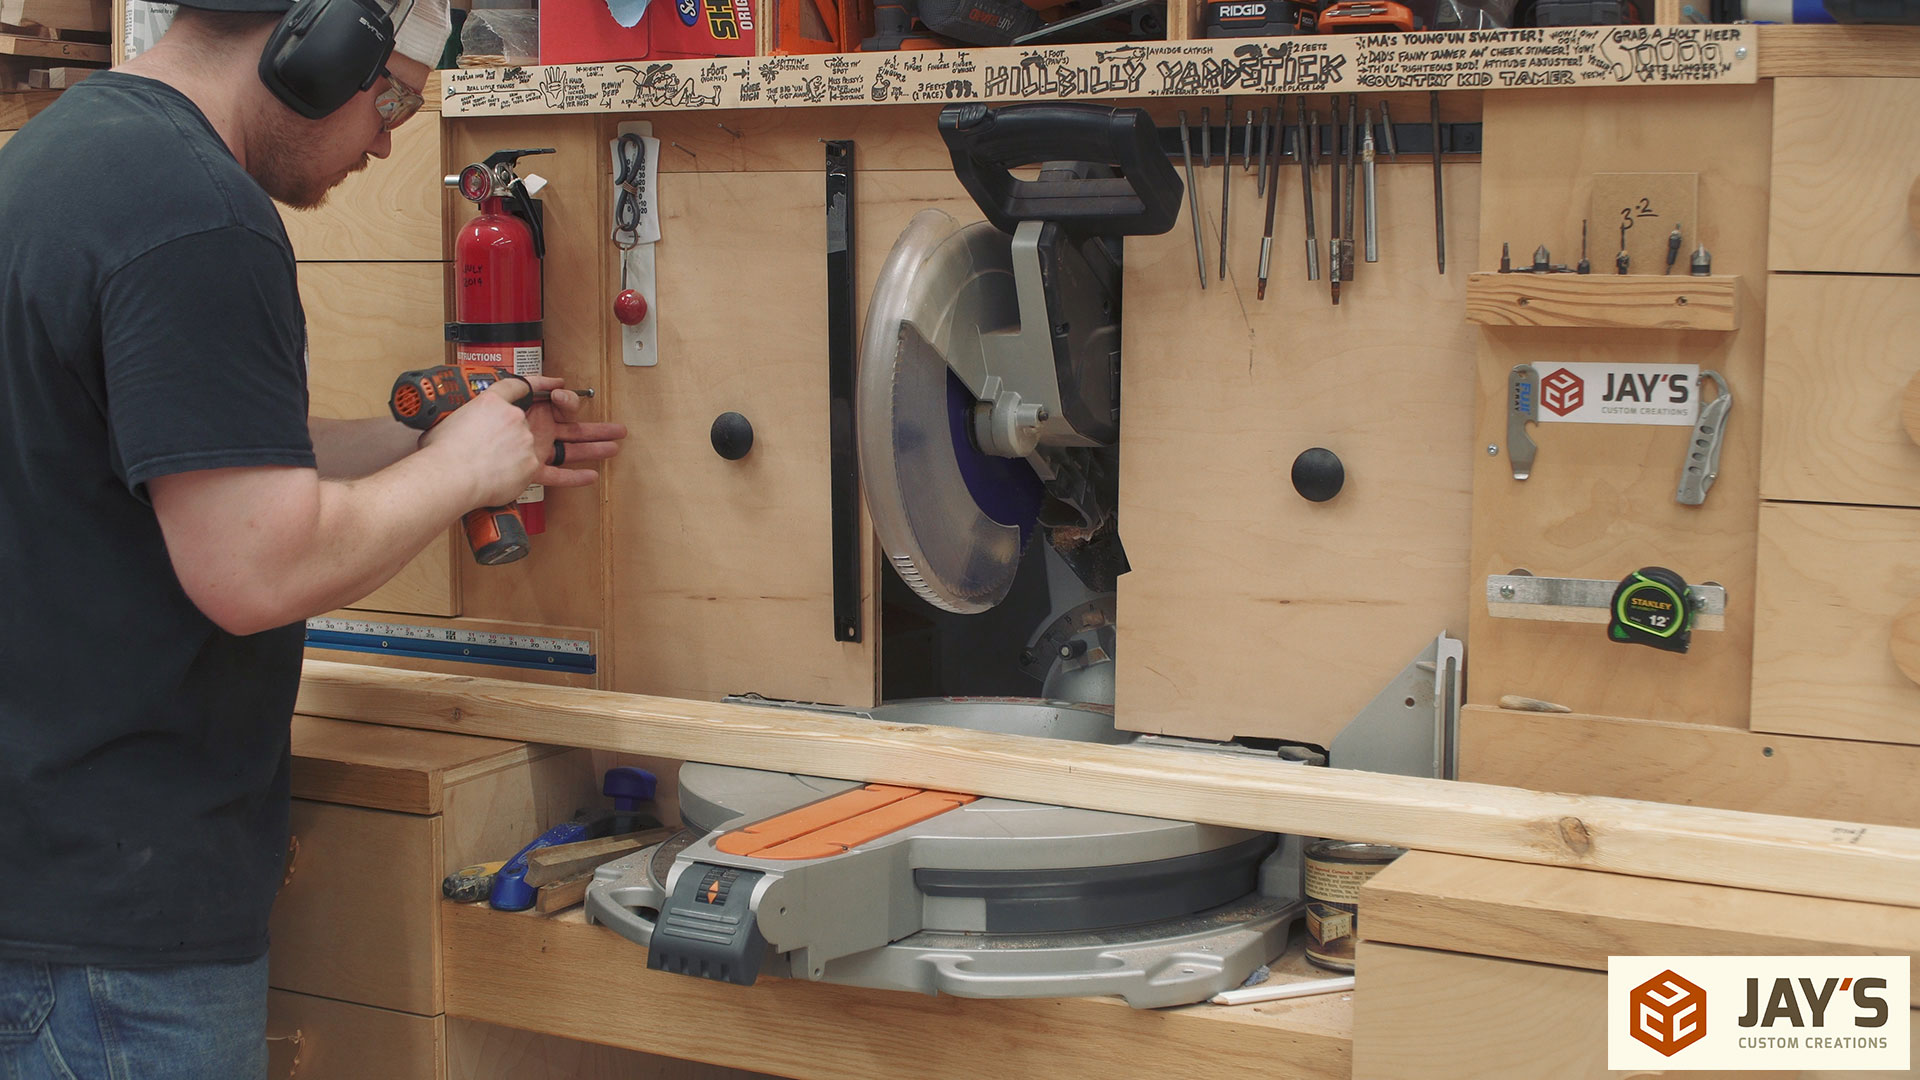
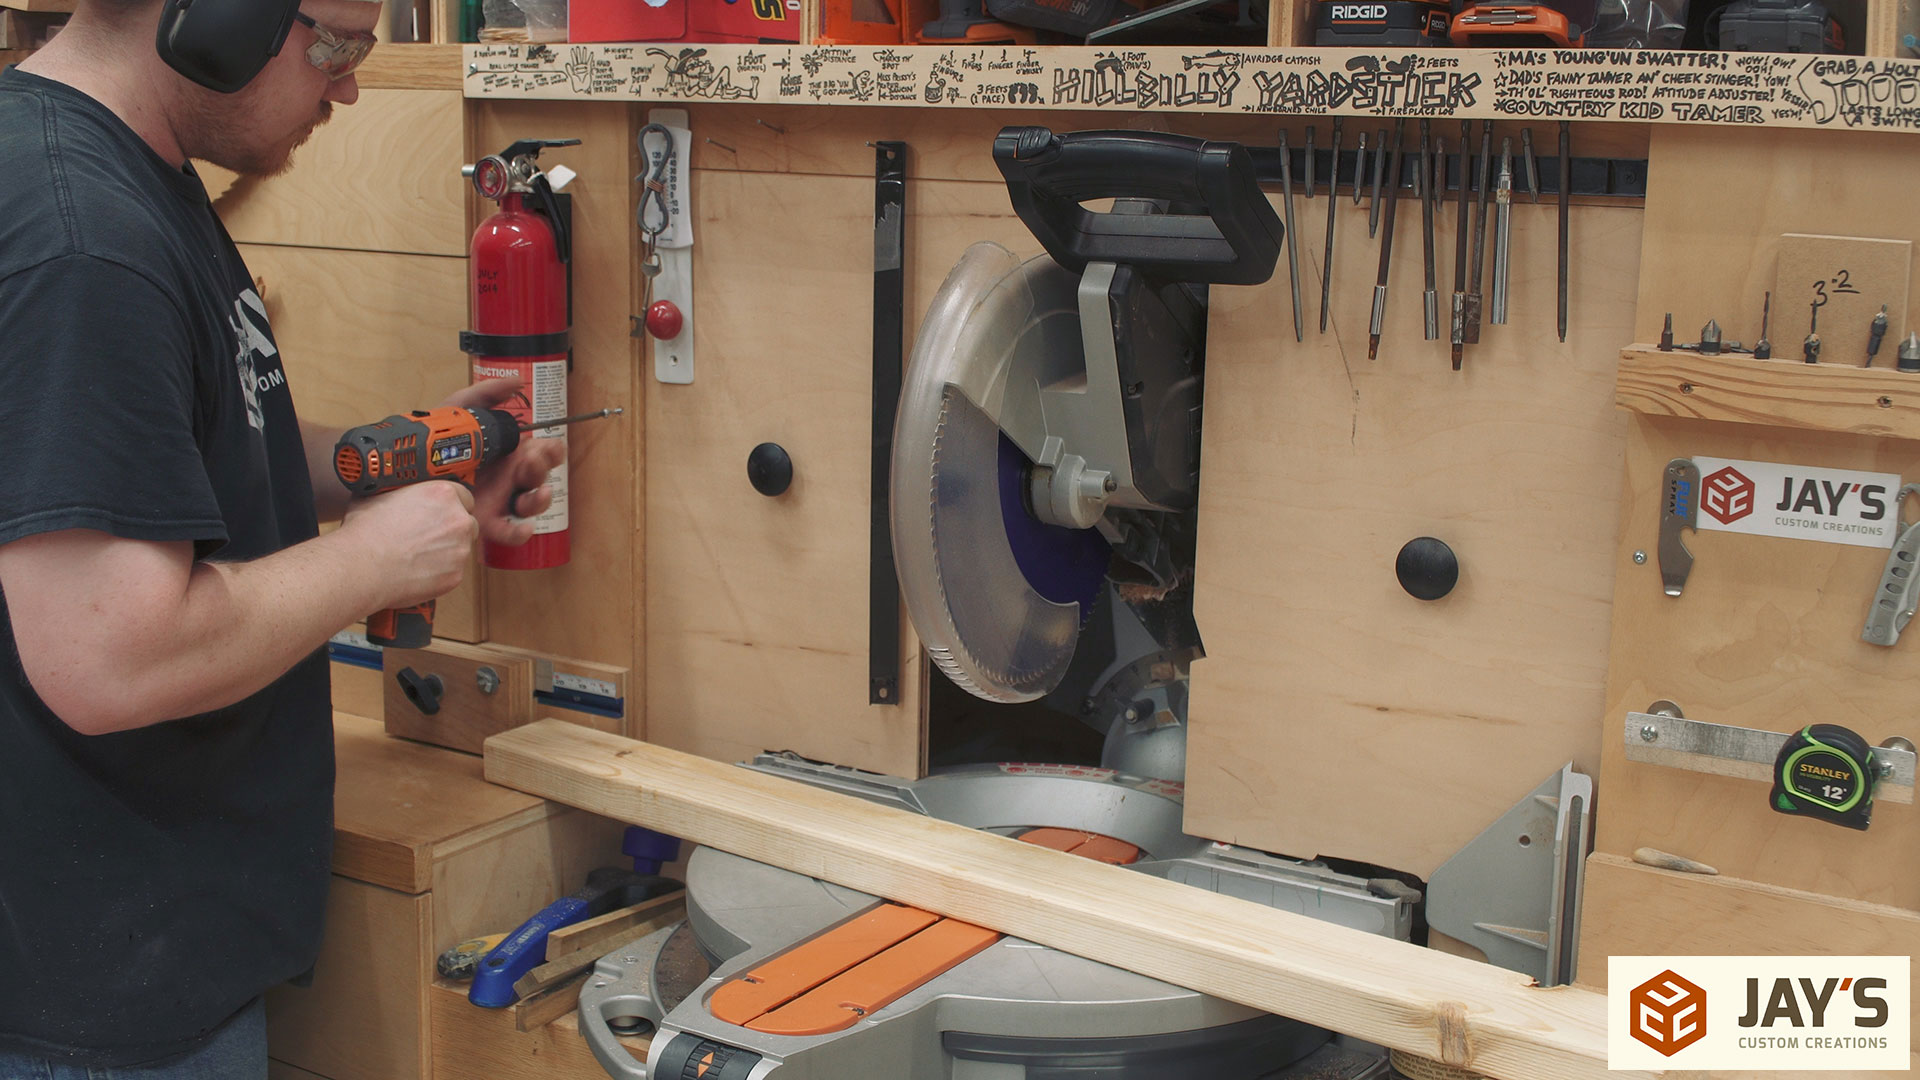
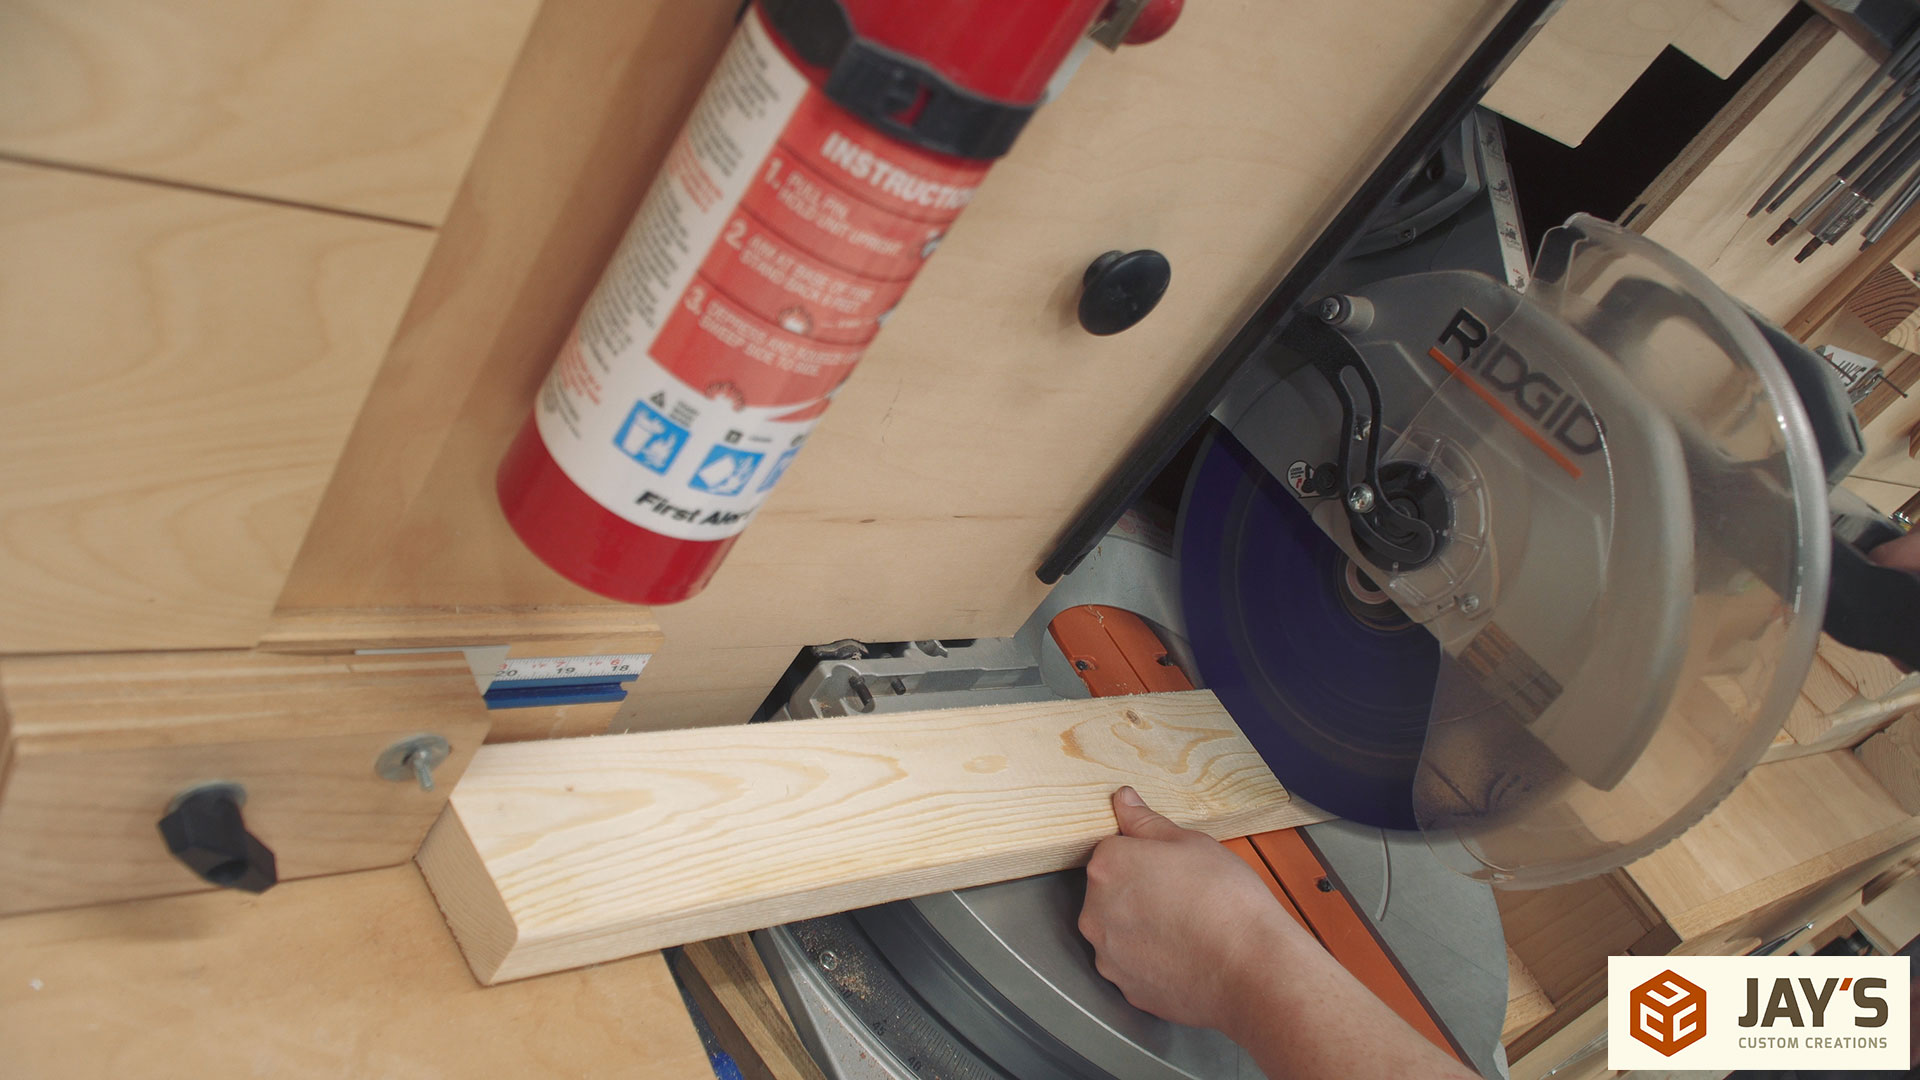
Some of the pieces for the rack need to be cut at a 7 degree angle. In order to rotate my miter saw I have to remove one screw and push the wing back into the dust box. This isn’t an inconvenience at all as I very rarely make angled cuts with my miter saw and like I said, it’s just one screw.
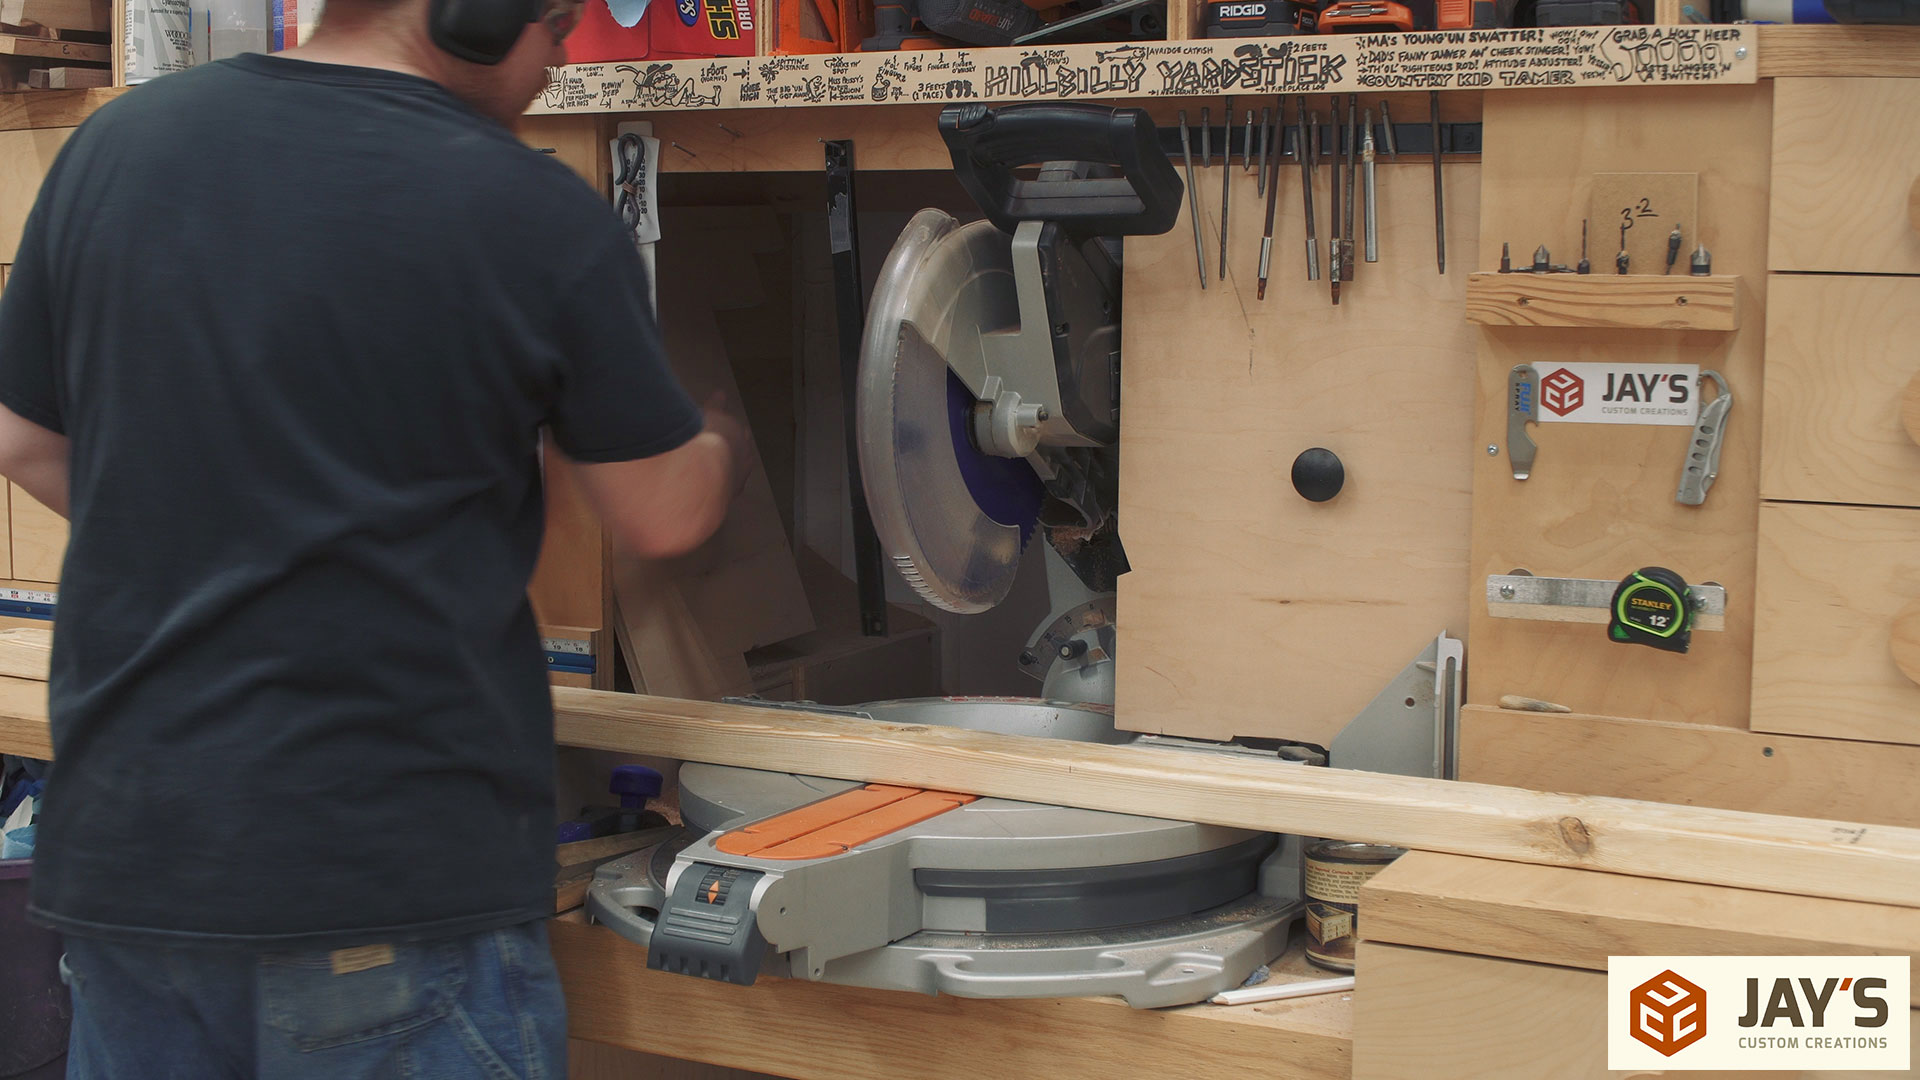
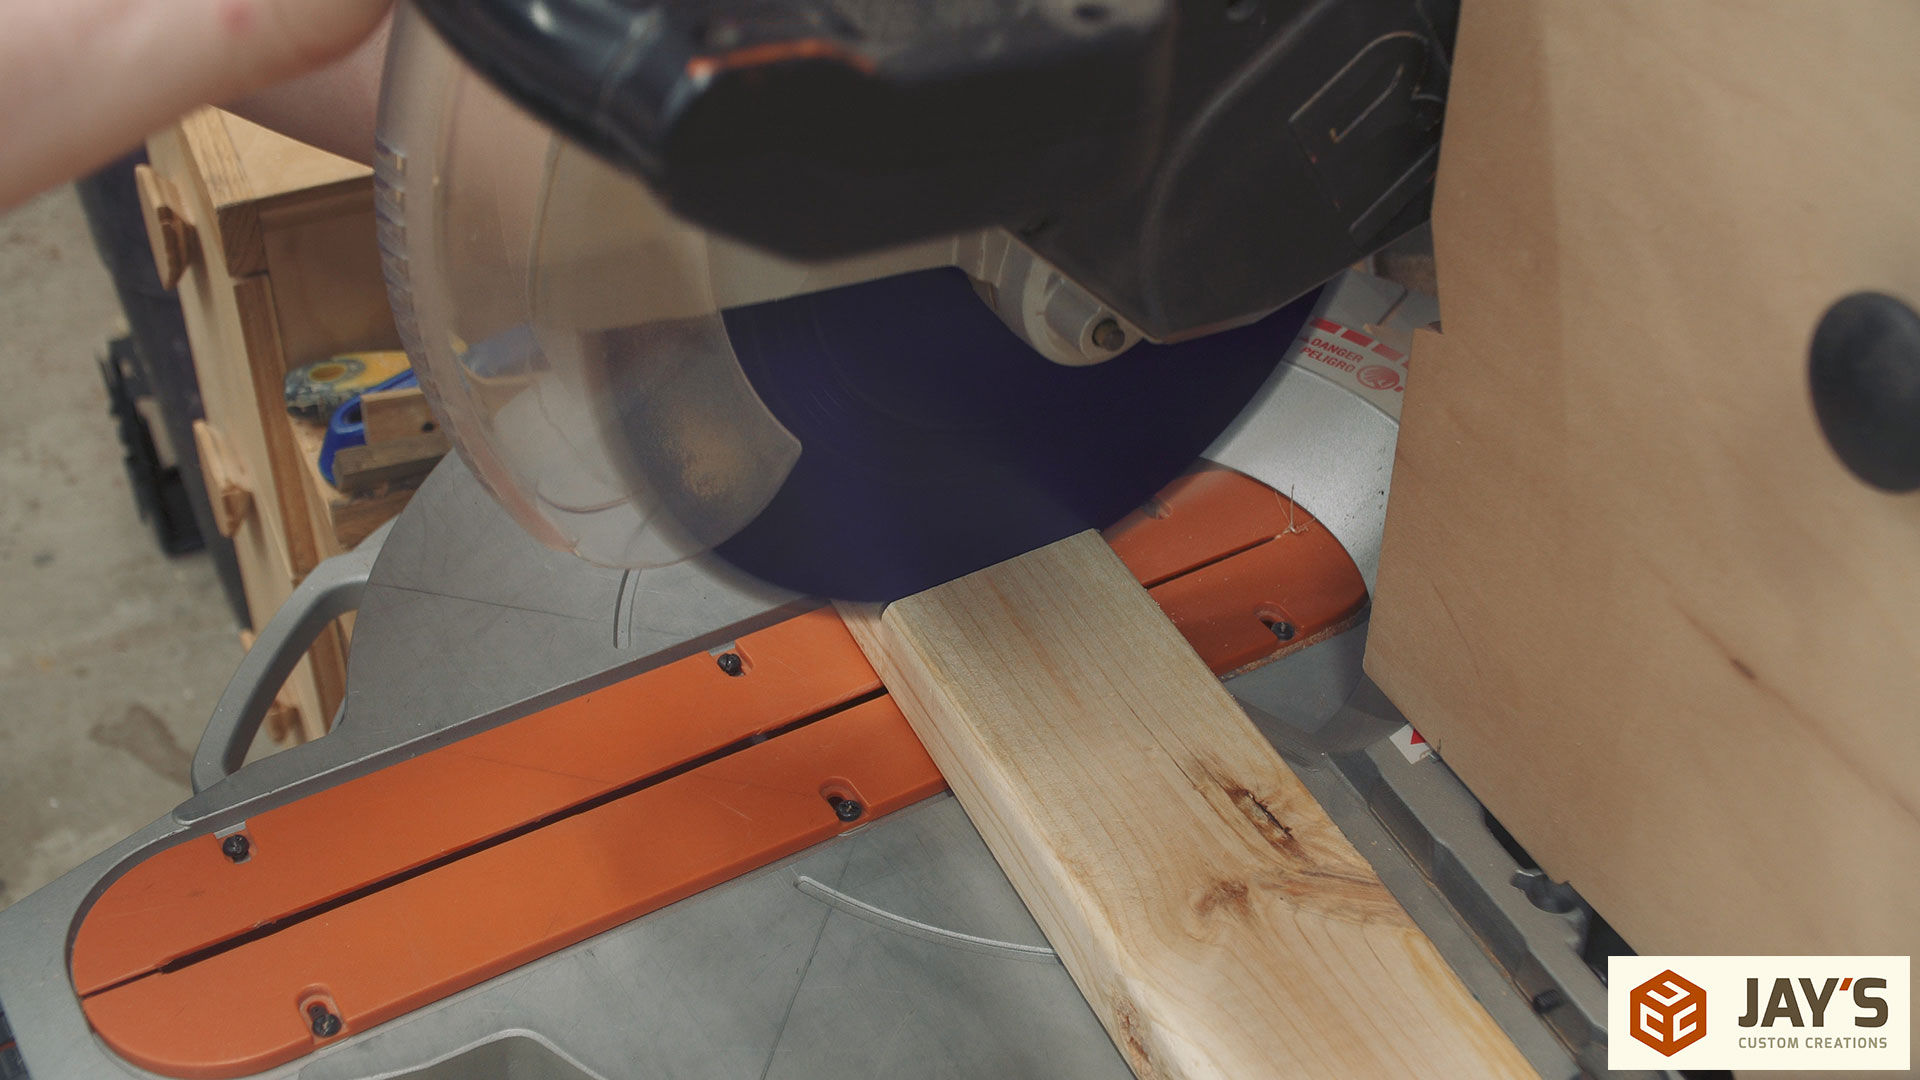
Then all of the mitered cuts are batched out.
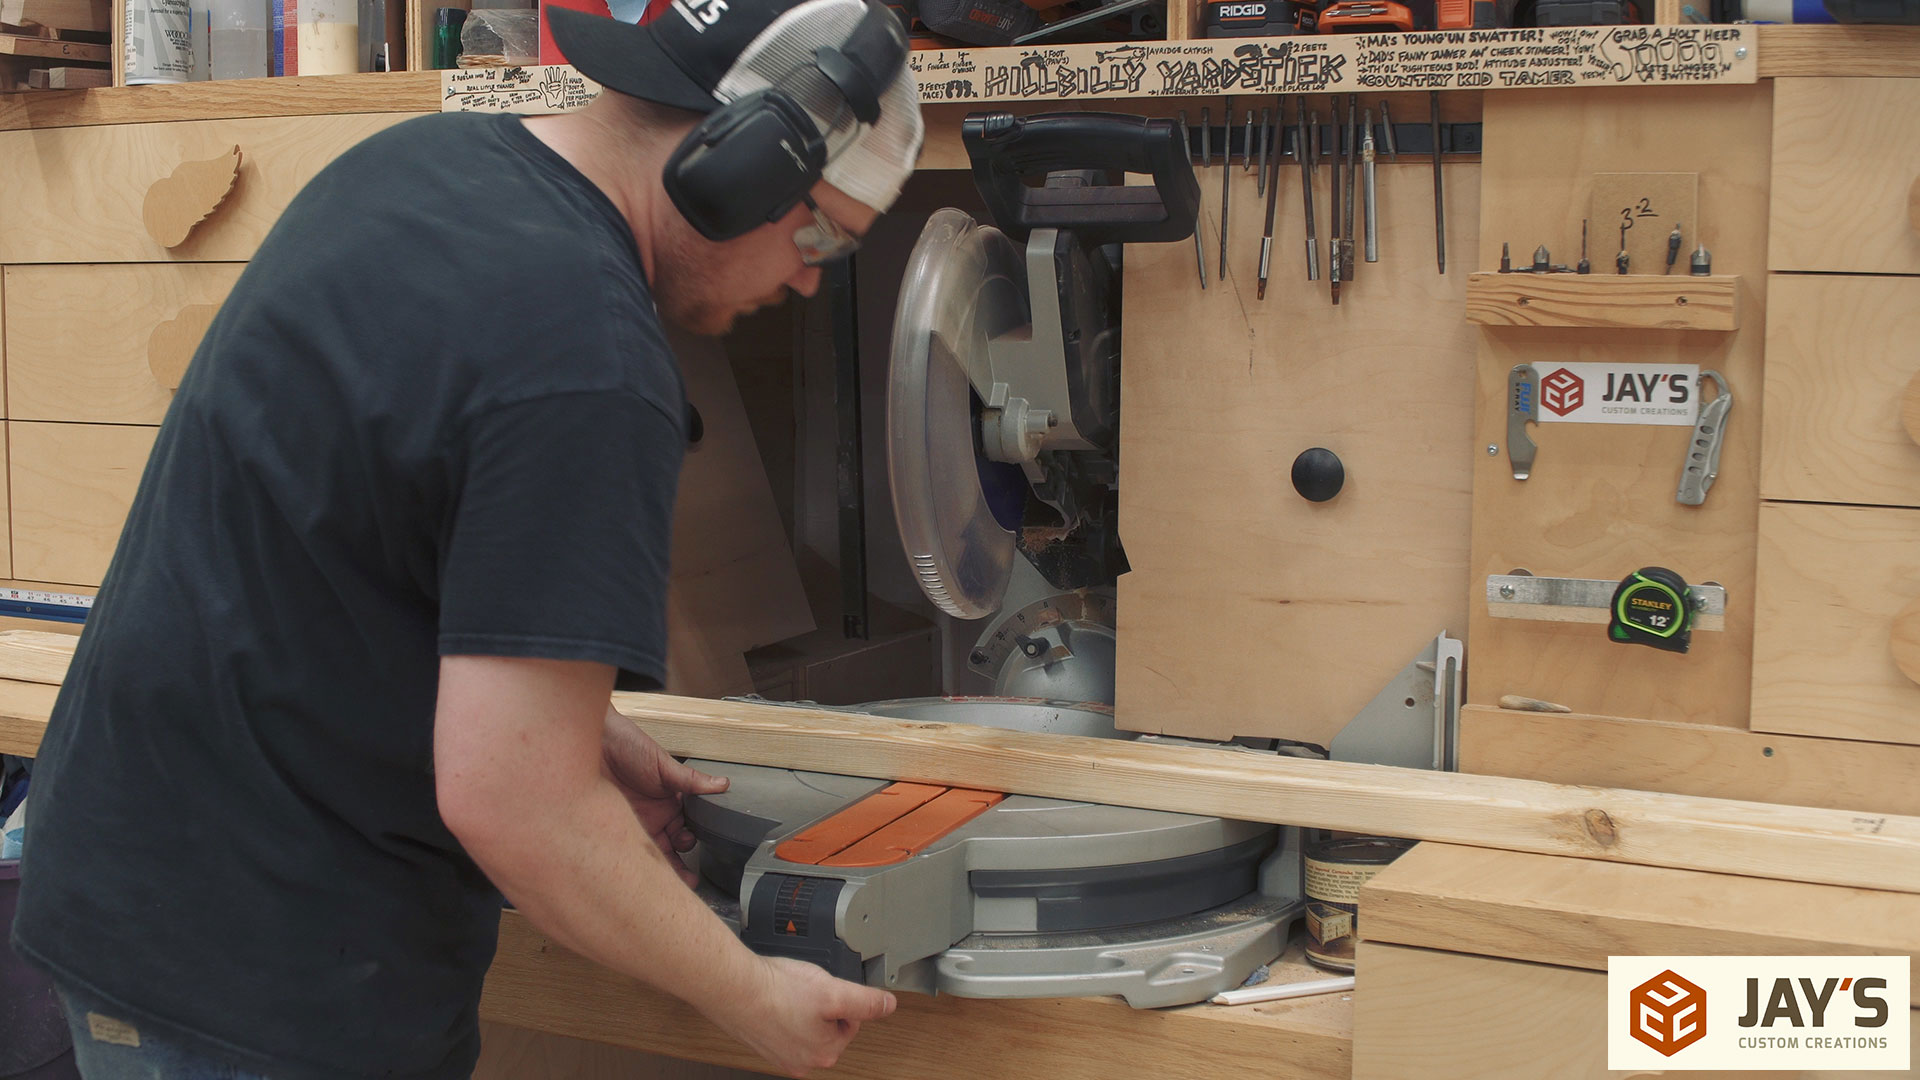
And when I return the saw back to 90 degrees I can put the wing back in place and secure it with the single screw.
Then the last pieces can be batched out.
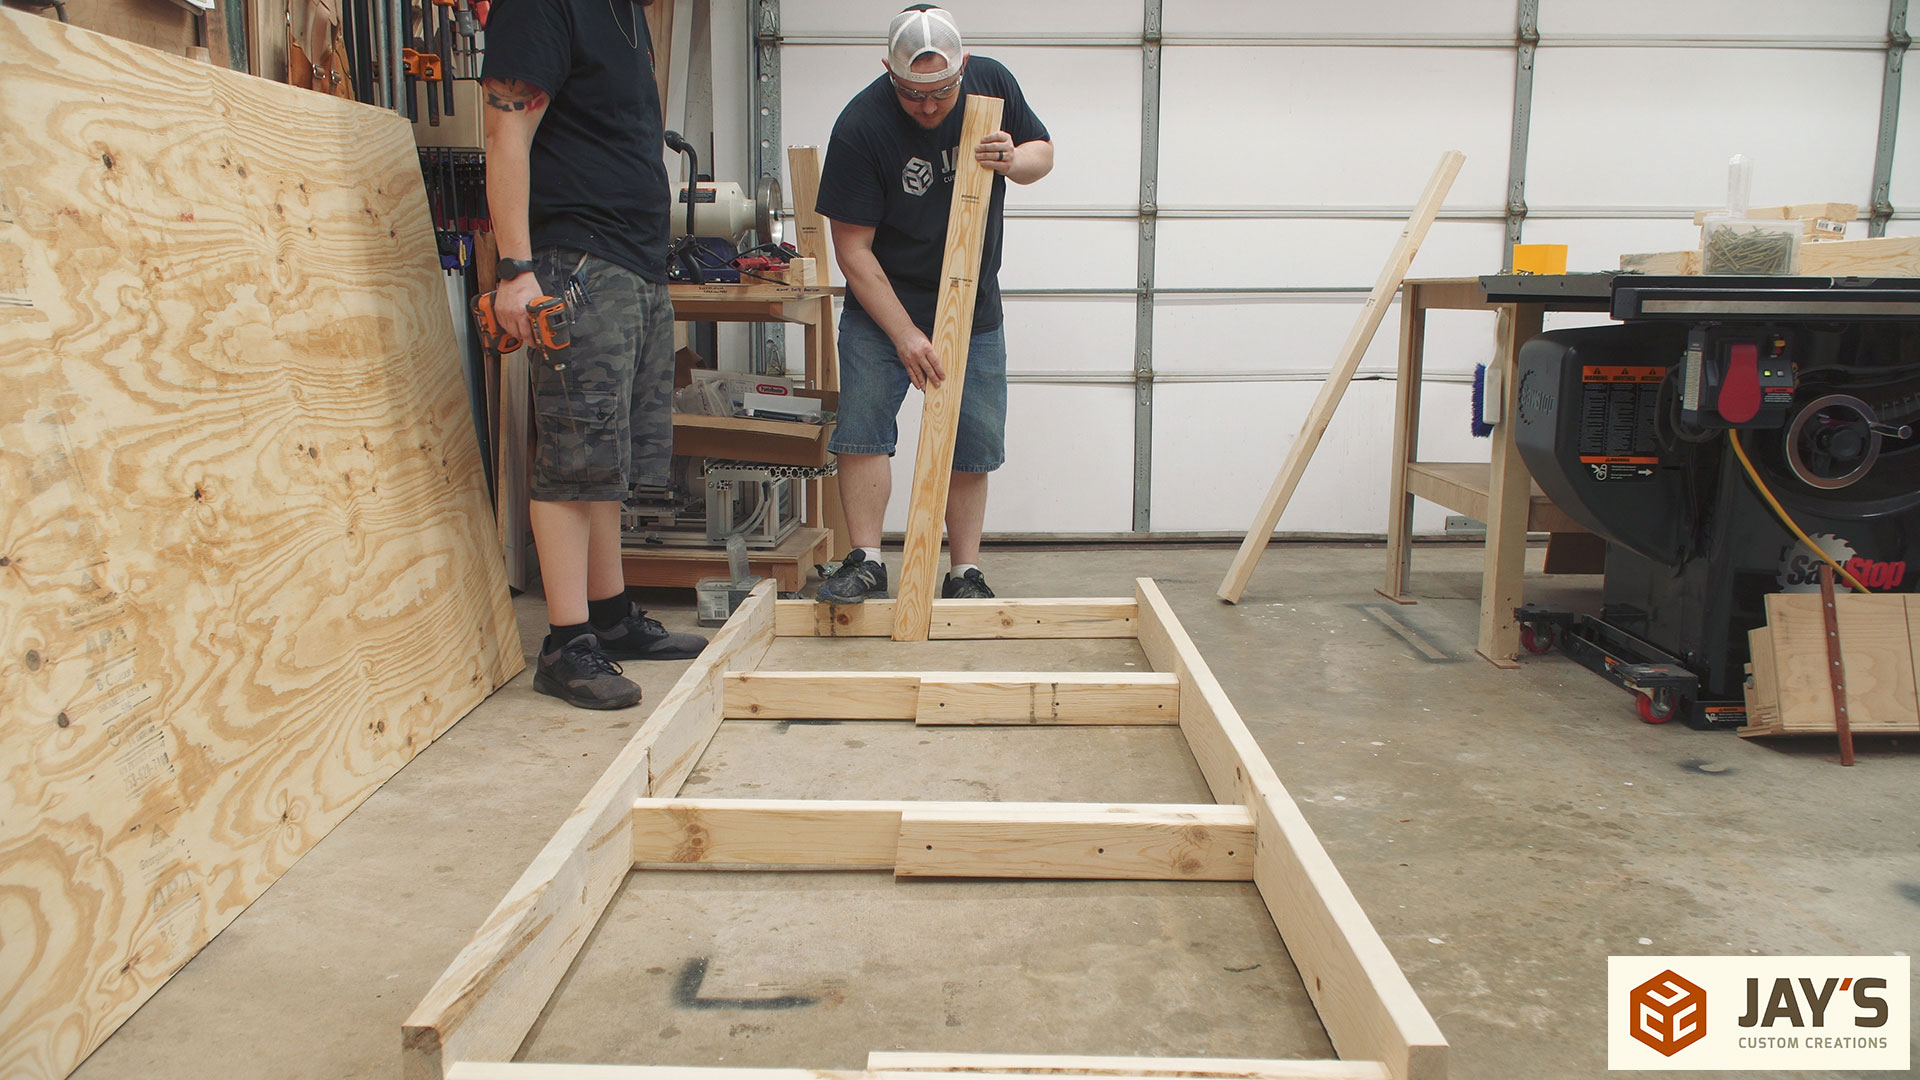
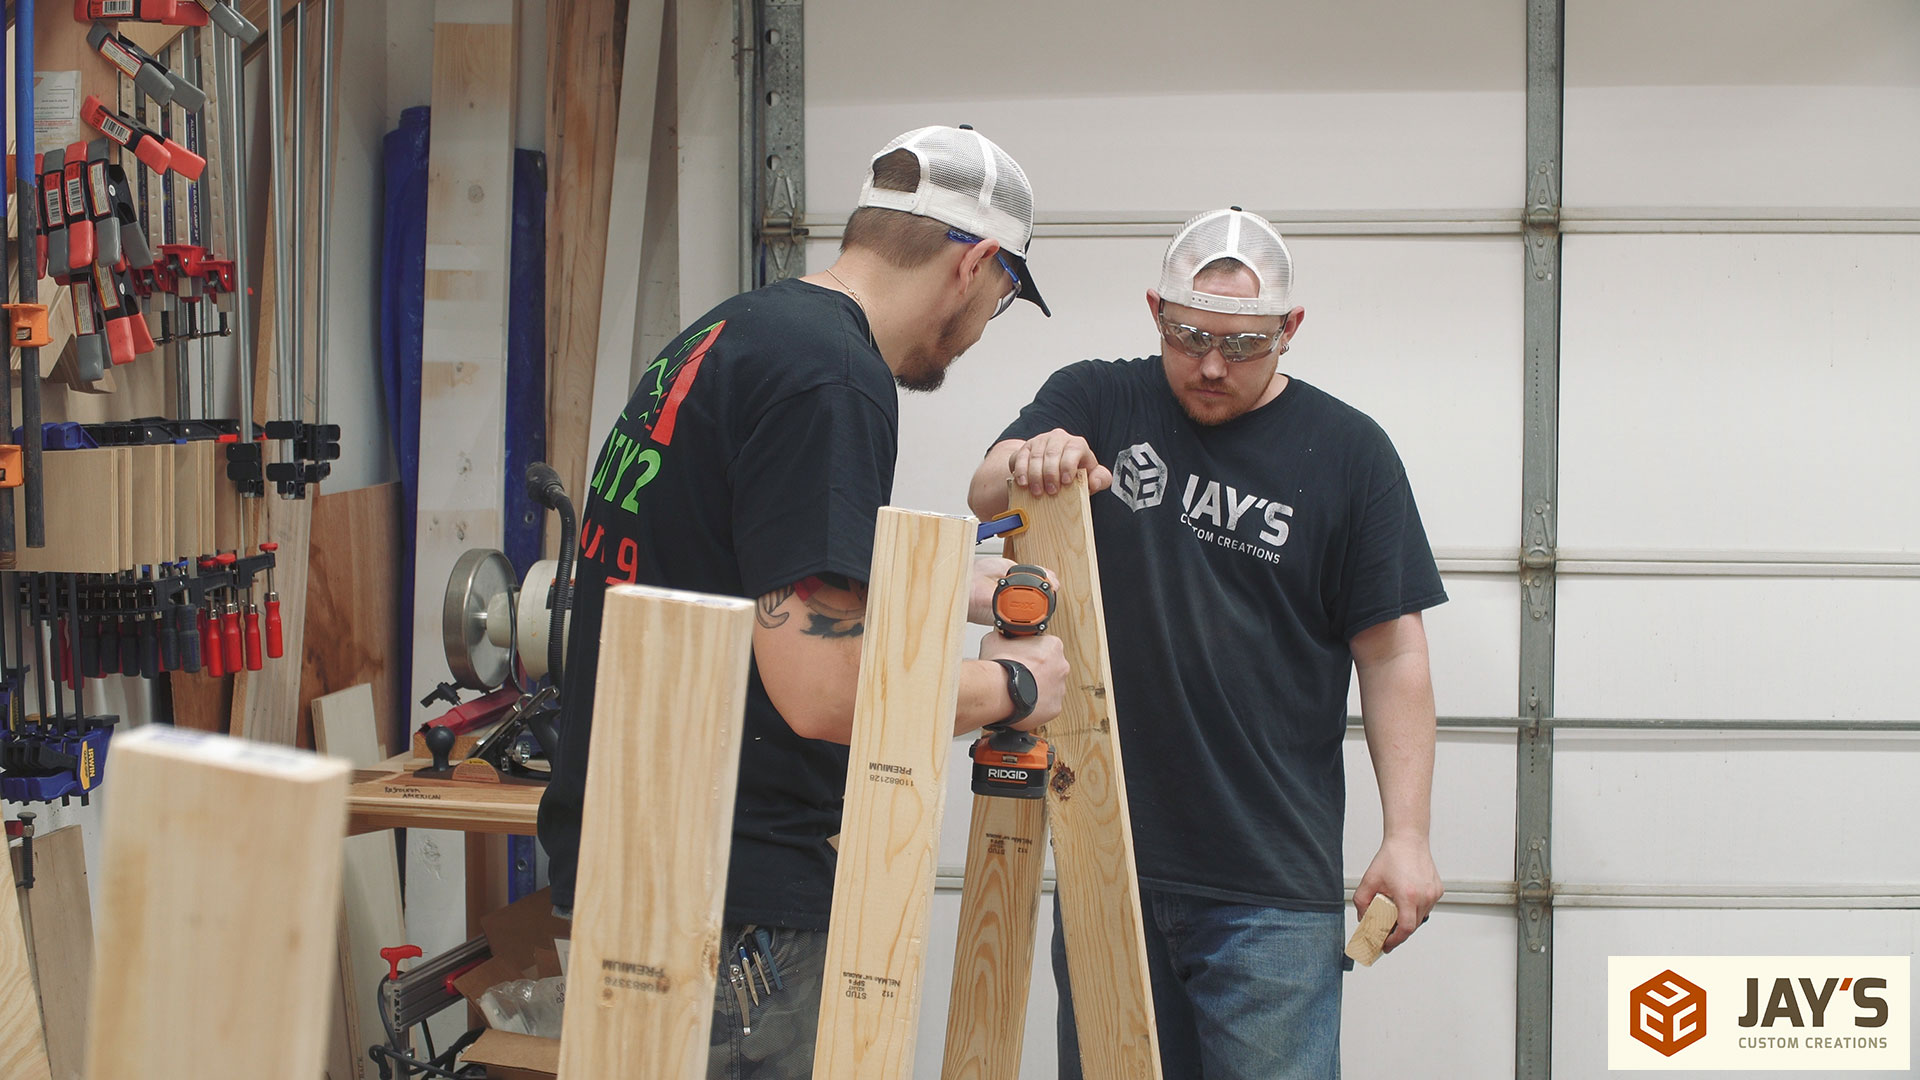
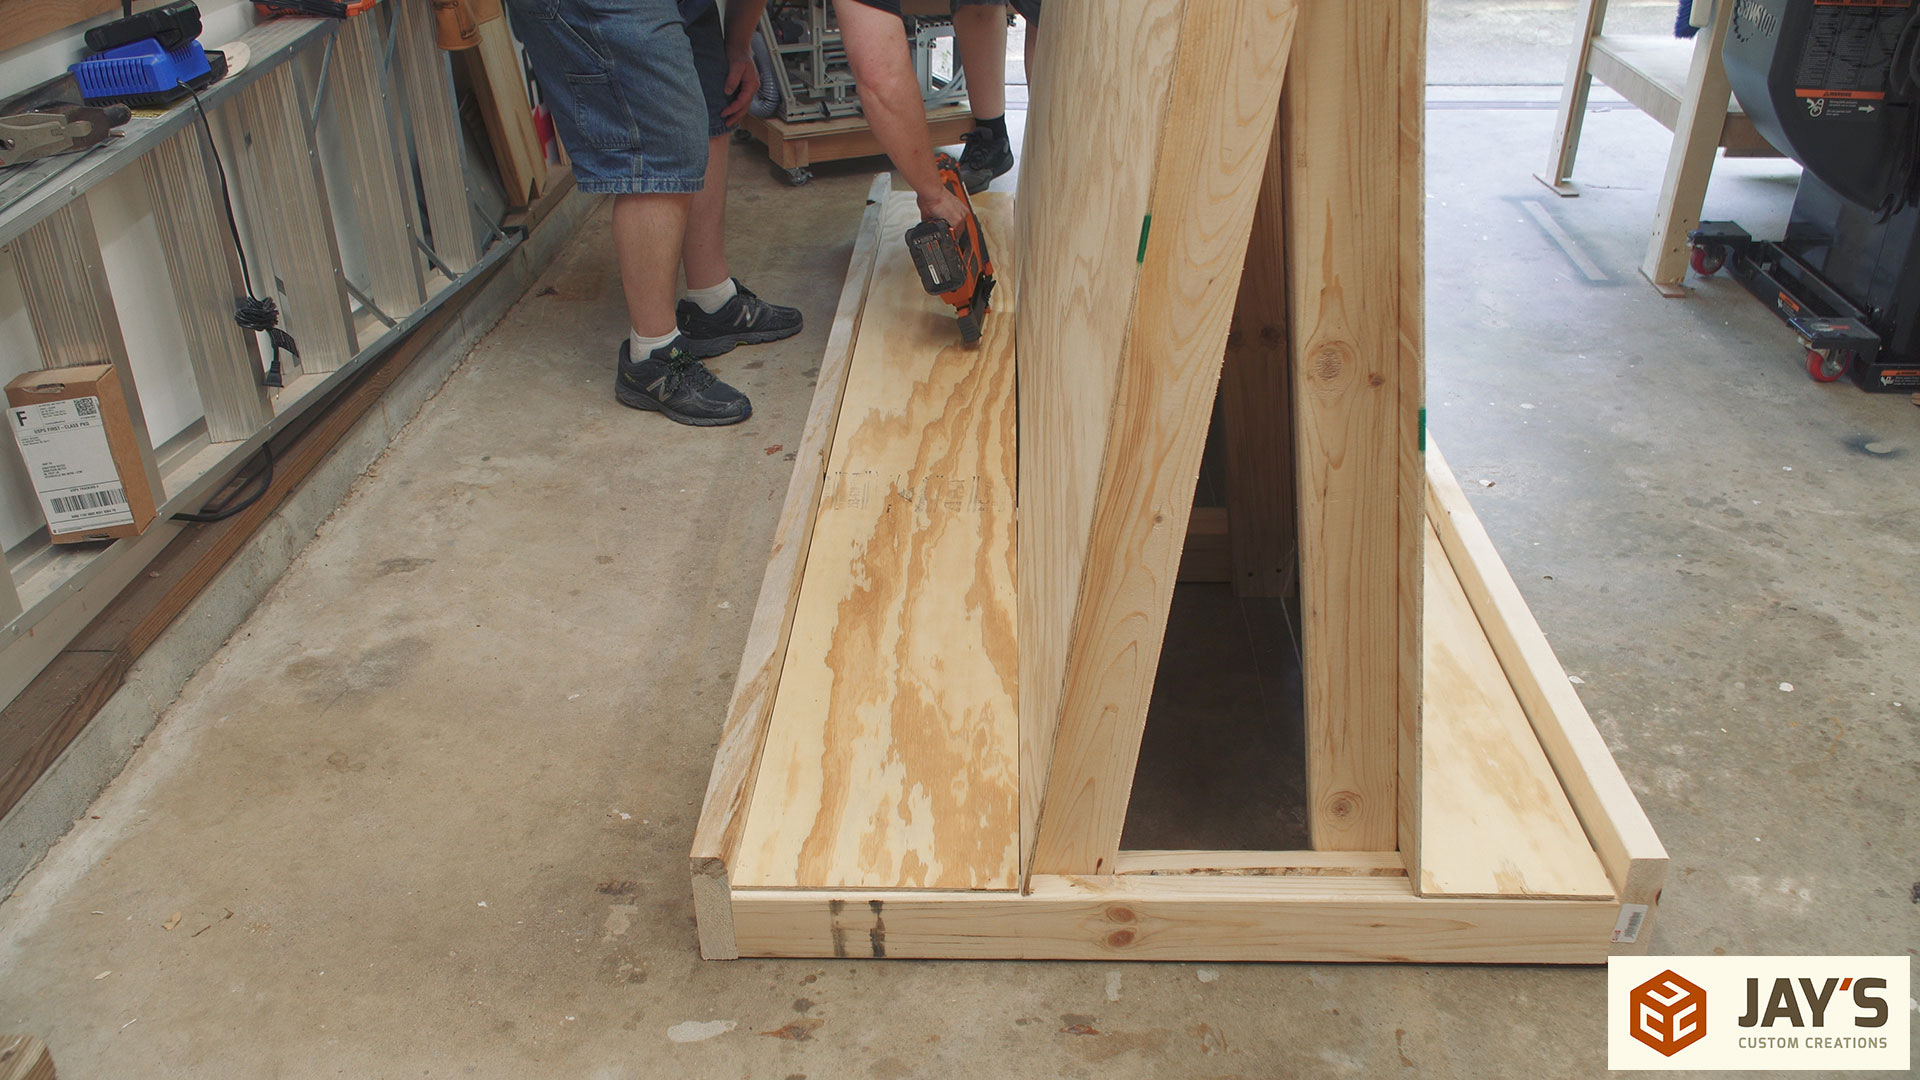
I designed this plywood rack to be quick and easy to assemble with references faces. There’s literally only one time where a measurement is needed during assembly. The first step is to assemble the base. Two 2×6 boards connected by four 2×4 boards.
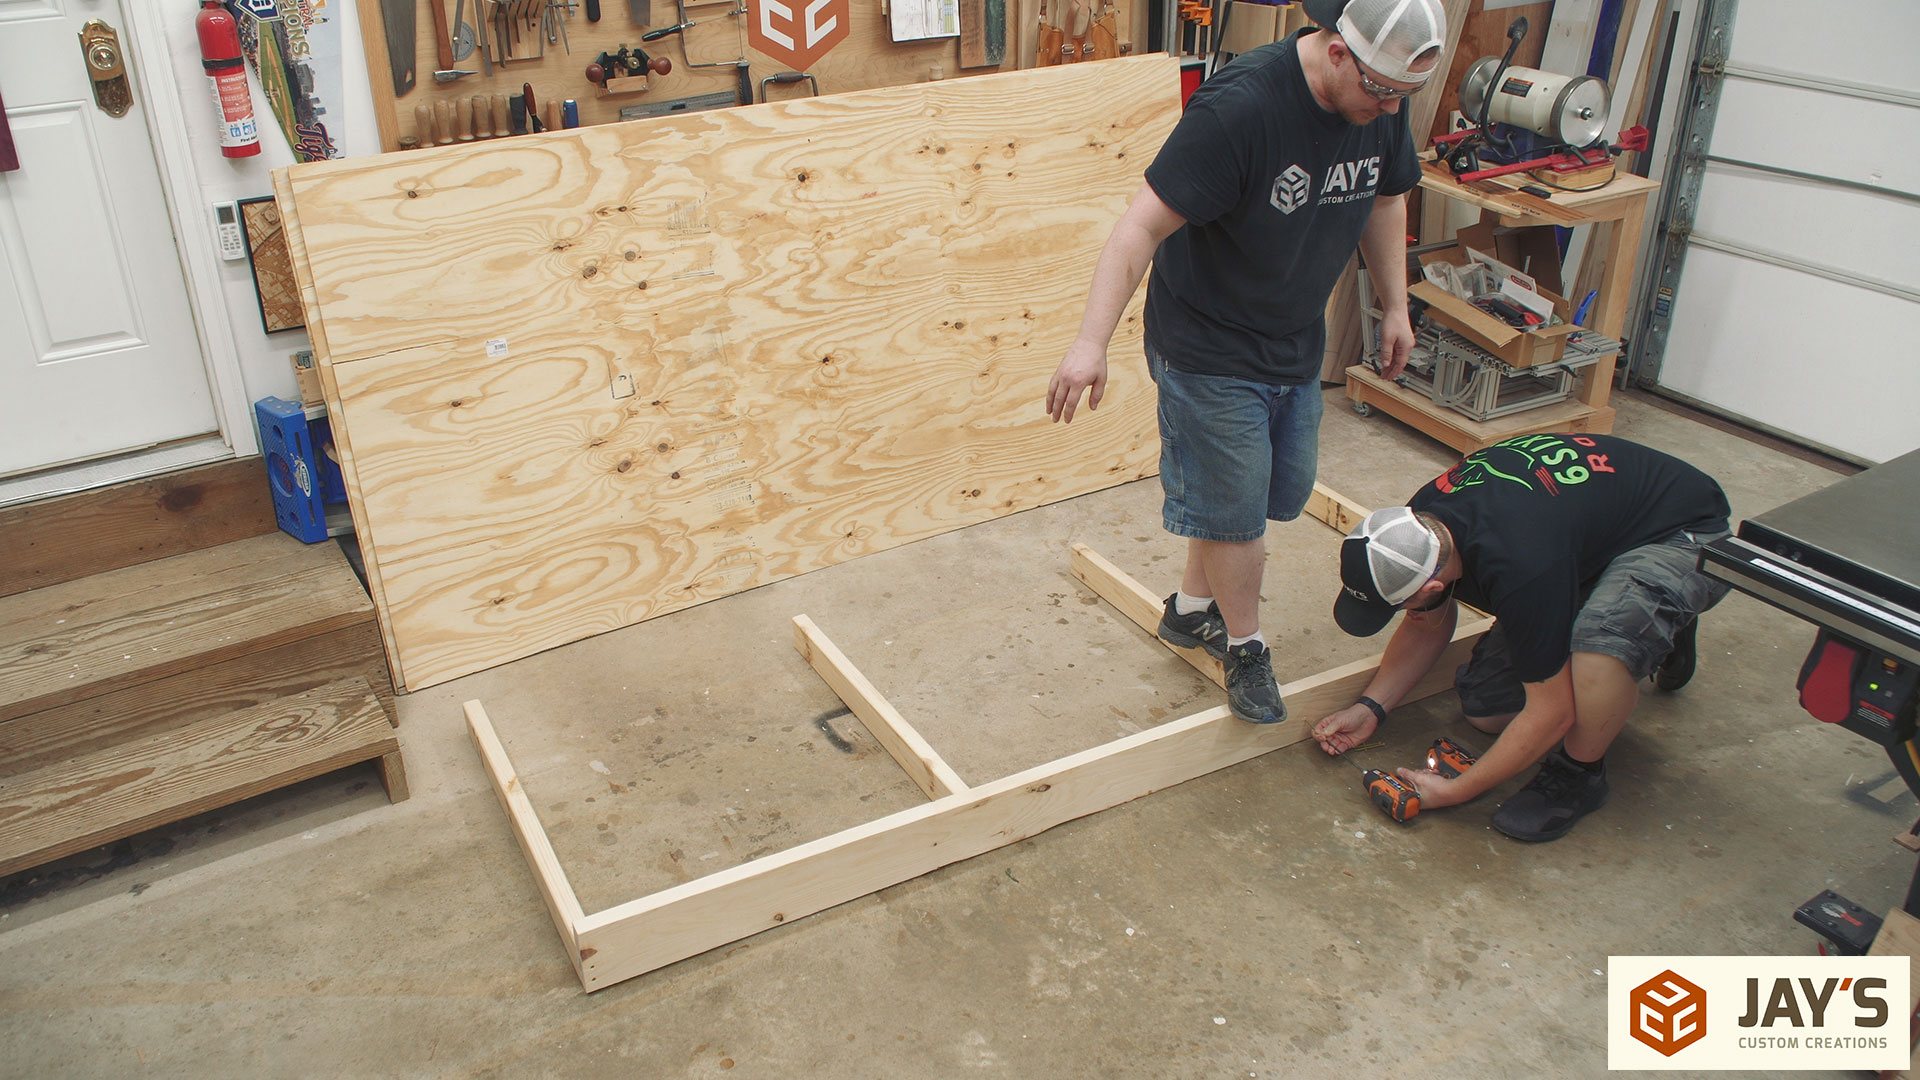
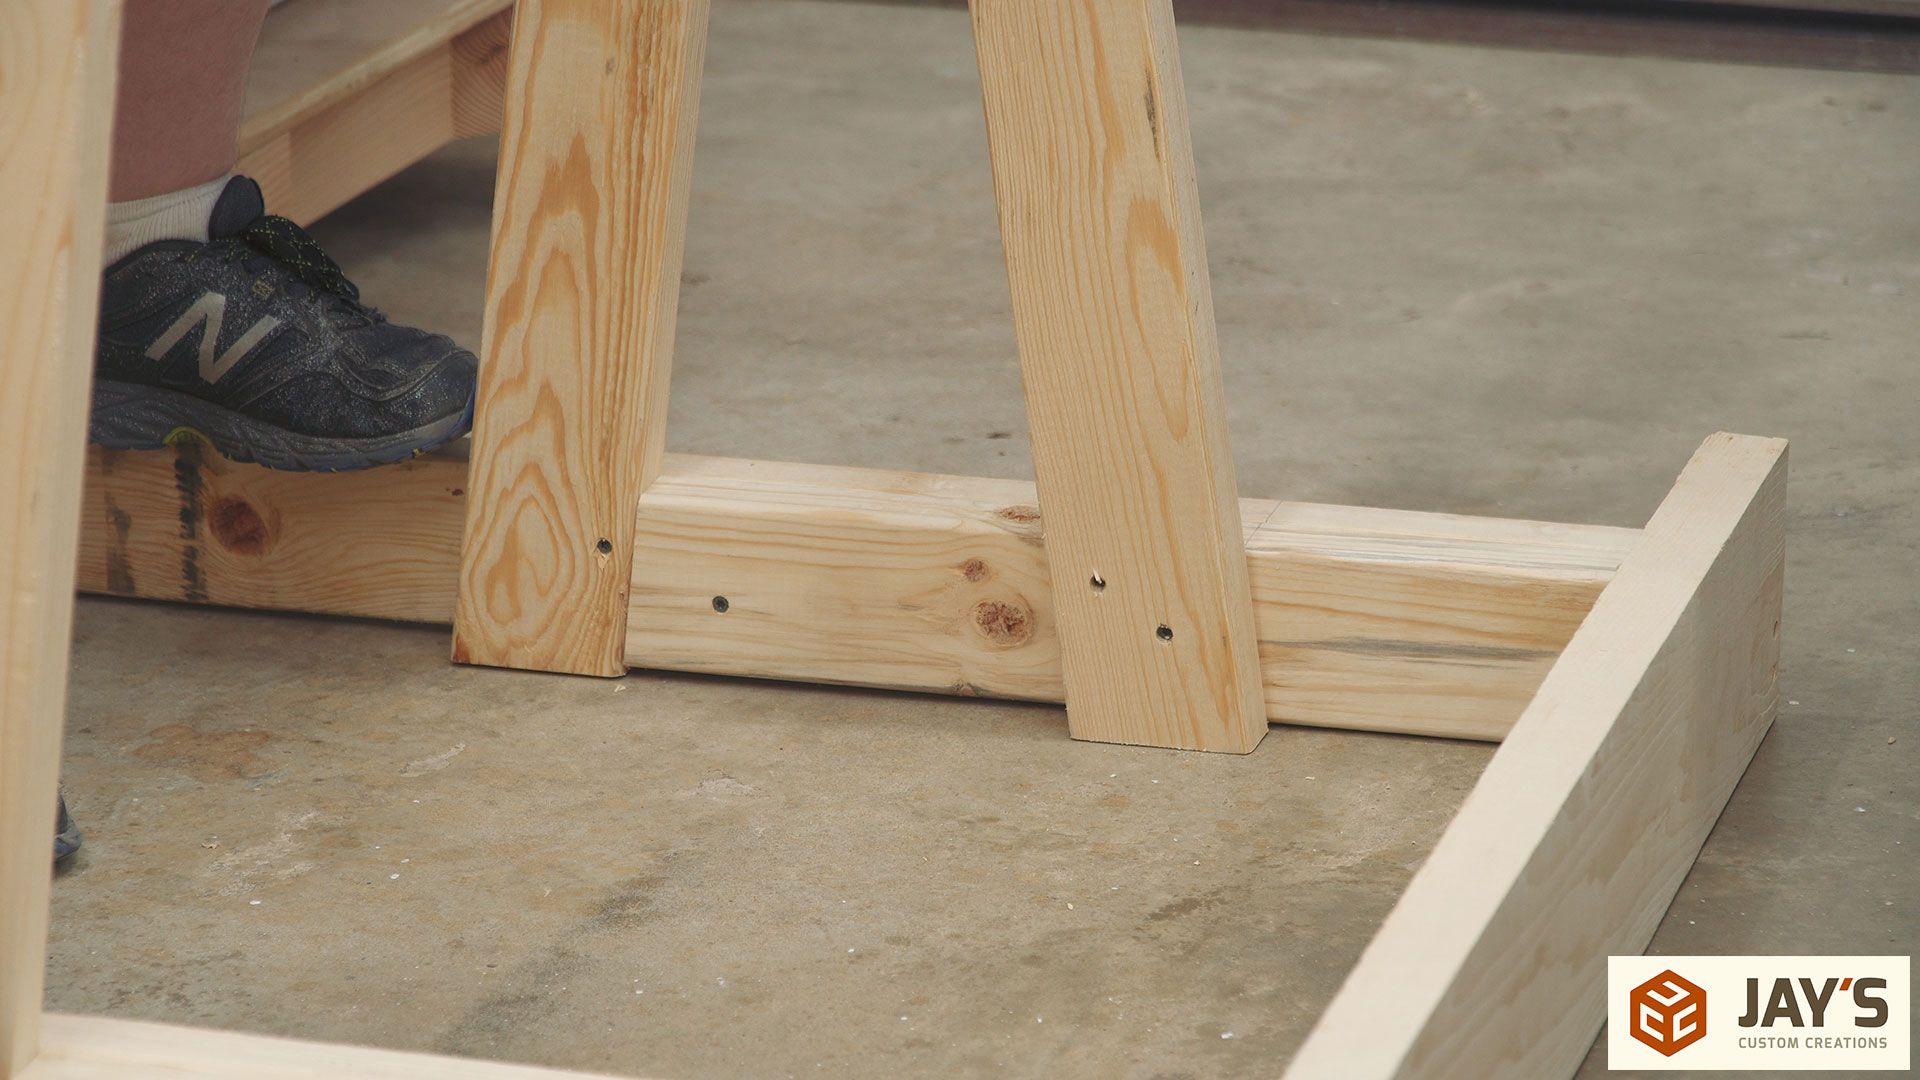
Then a 2×4 with a 7 degree cut on one end is added to the inside of each of the previous 2x4s.

That 7 degree face is used as a reference face for the first vertical piece. It’s not actually vertical as it also has a 7 degree cut on bottom which makes it lean 7 degrees.
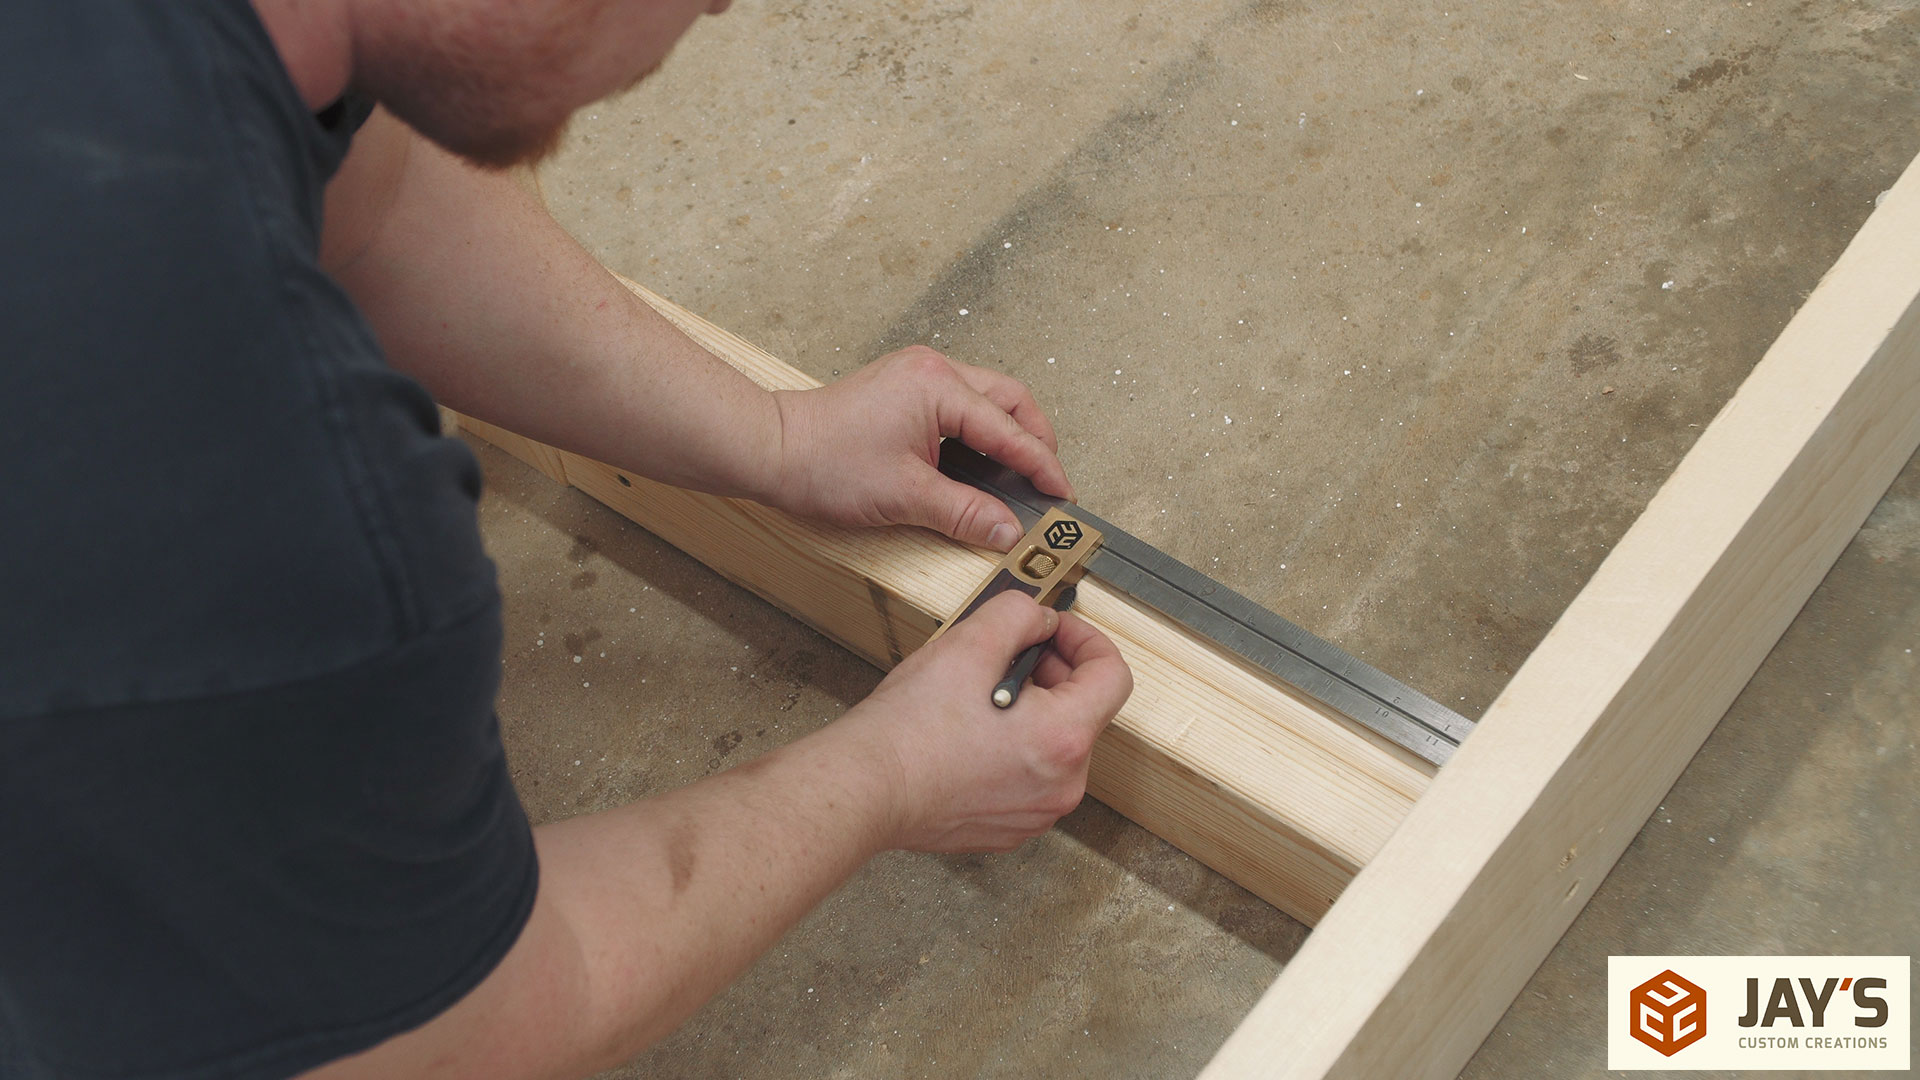
And here’s where the only marking is needed. It’s the distance between the 2×6 outside piece and the location of where the opposite side 7 degree board will go.
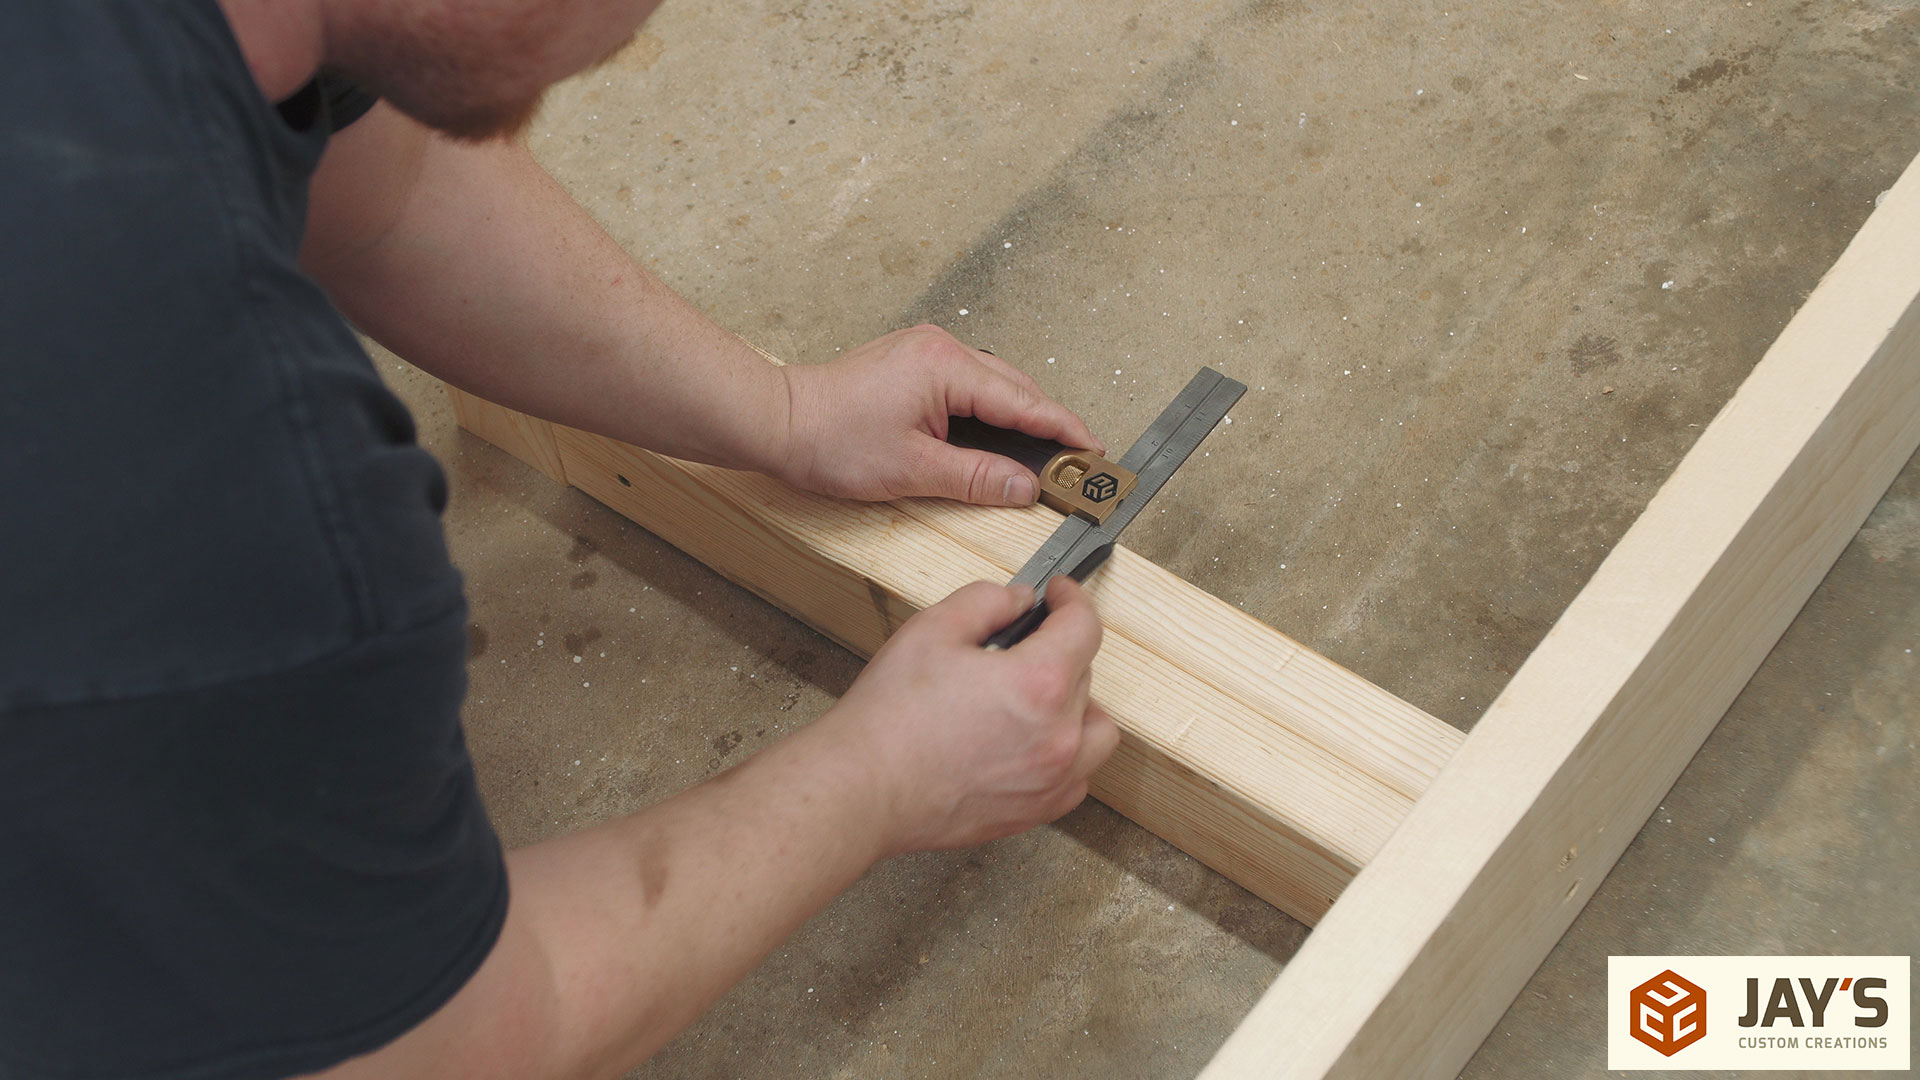
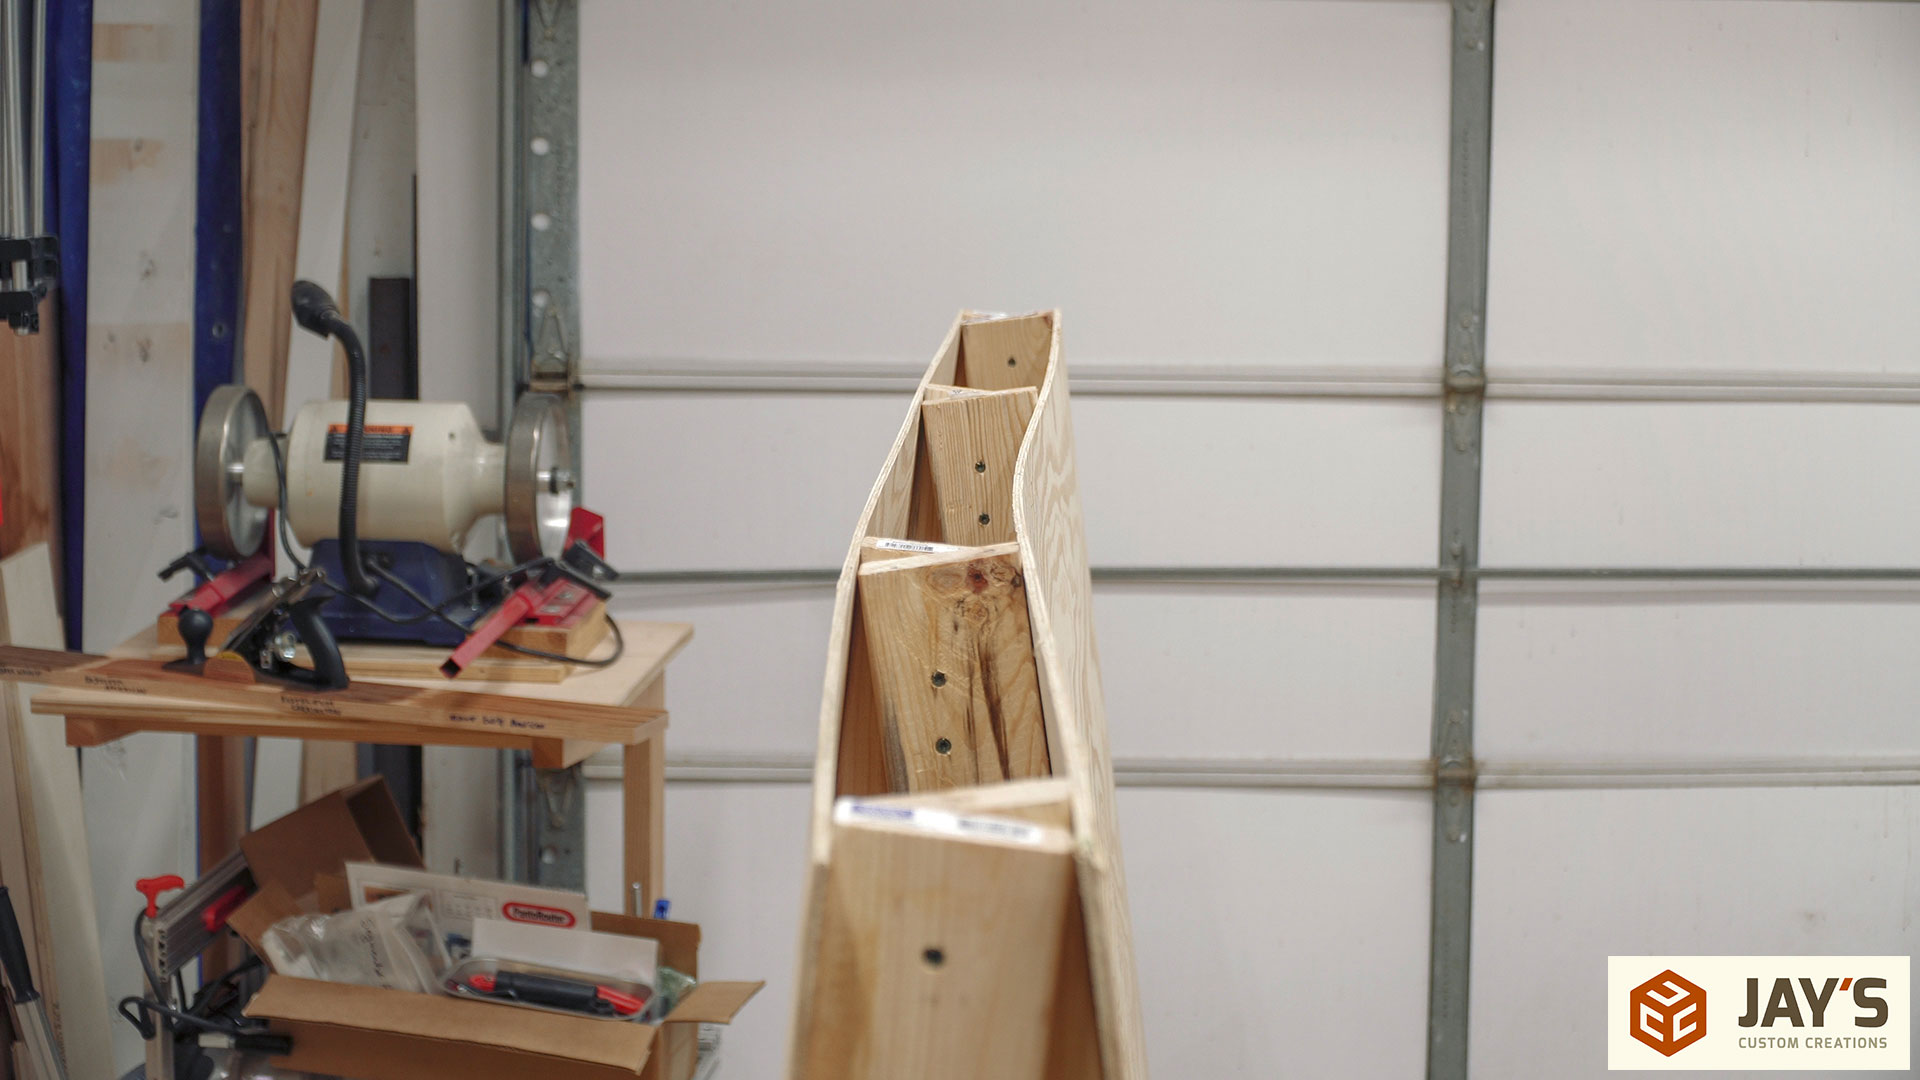
The opposite side 7 degree board is installed with the 7 degree cut on bottom and the outside face of the 2×4 intersecting the line.
On top the two 2×4 boards should meet up. A couple of screws will secure each pair together. I messed up here and did something out of sequence but I’ll continue and show you the error we created and how I fixed it.

Each side gets a 1/4” plywood skin. These are just to let the good plywood slide easily.


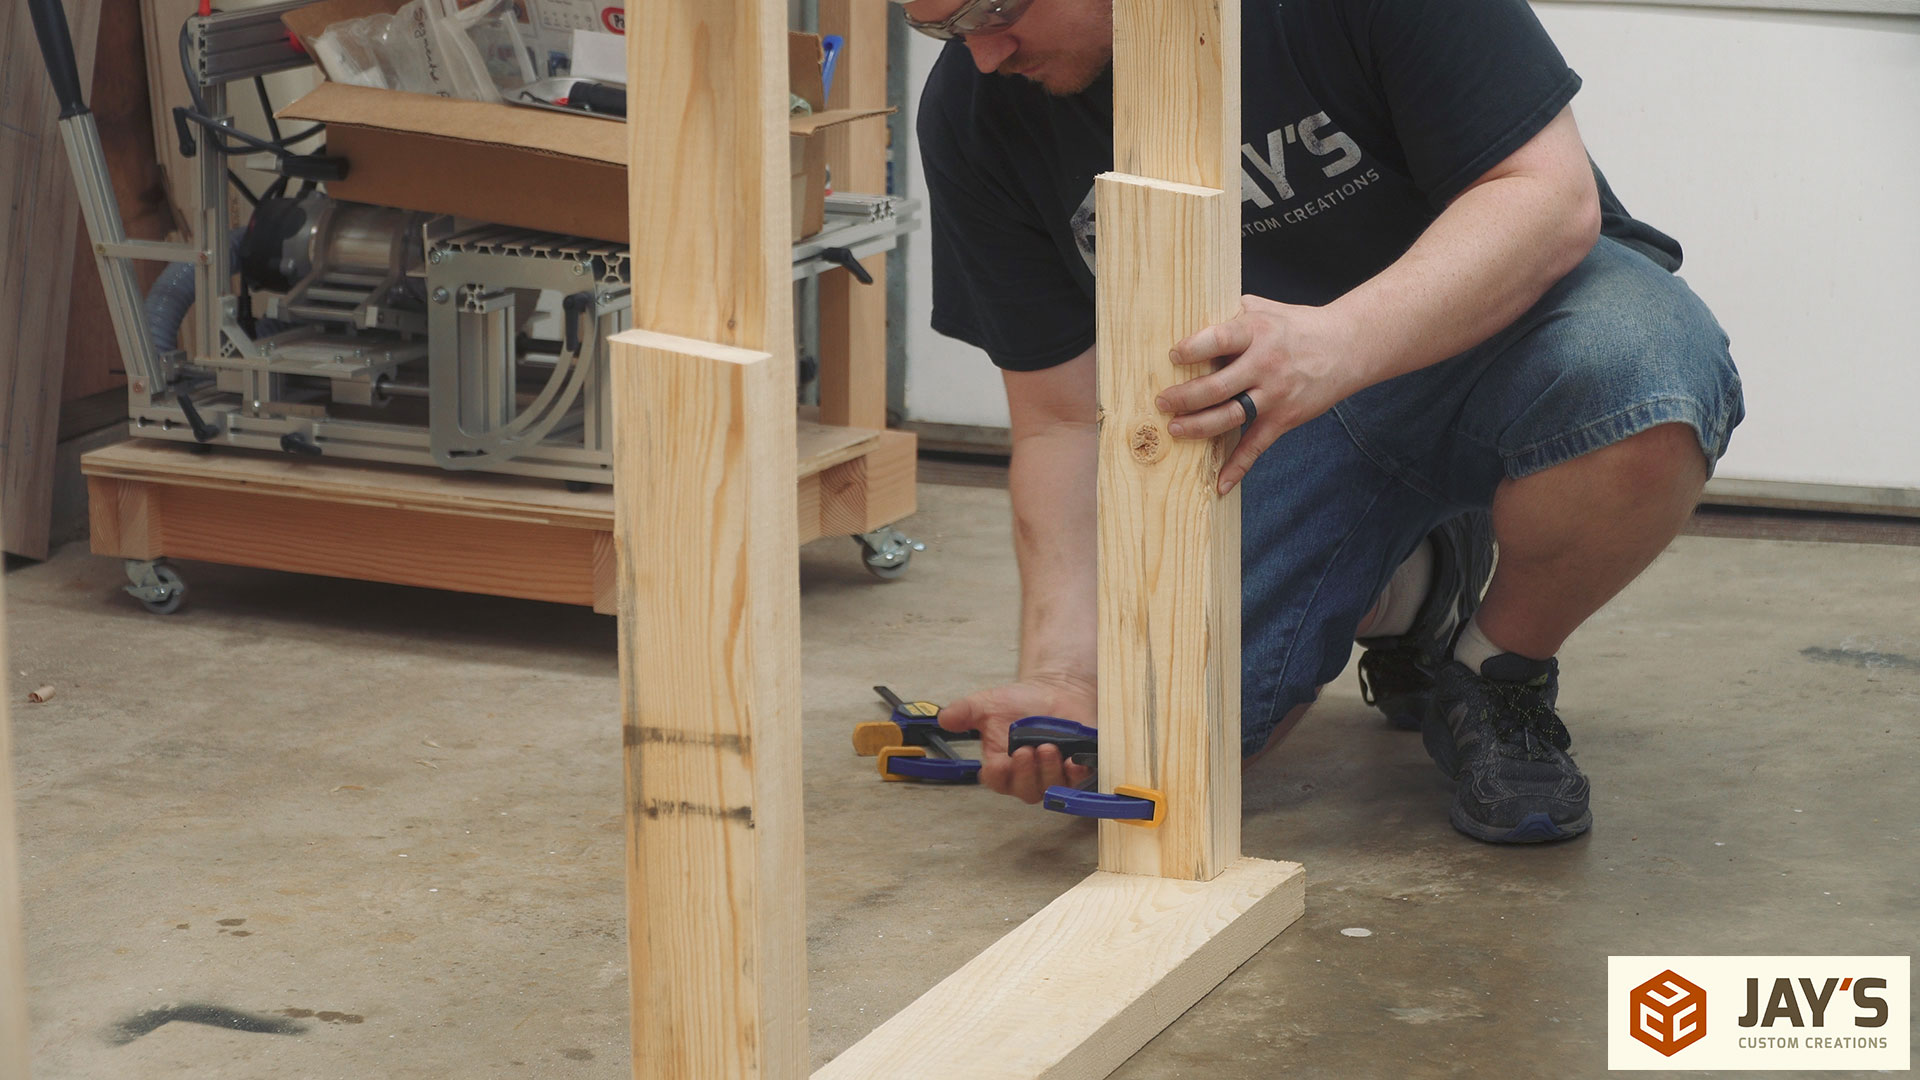
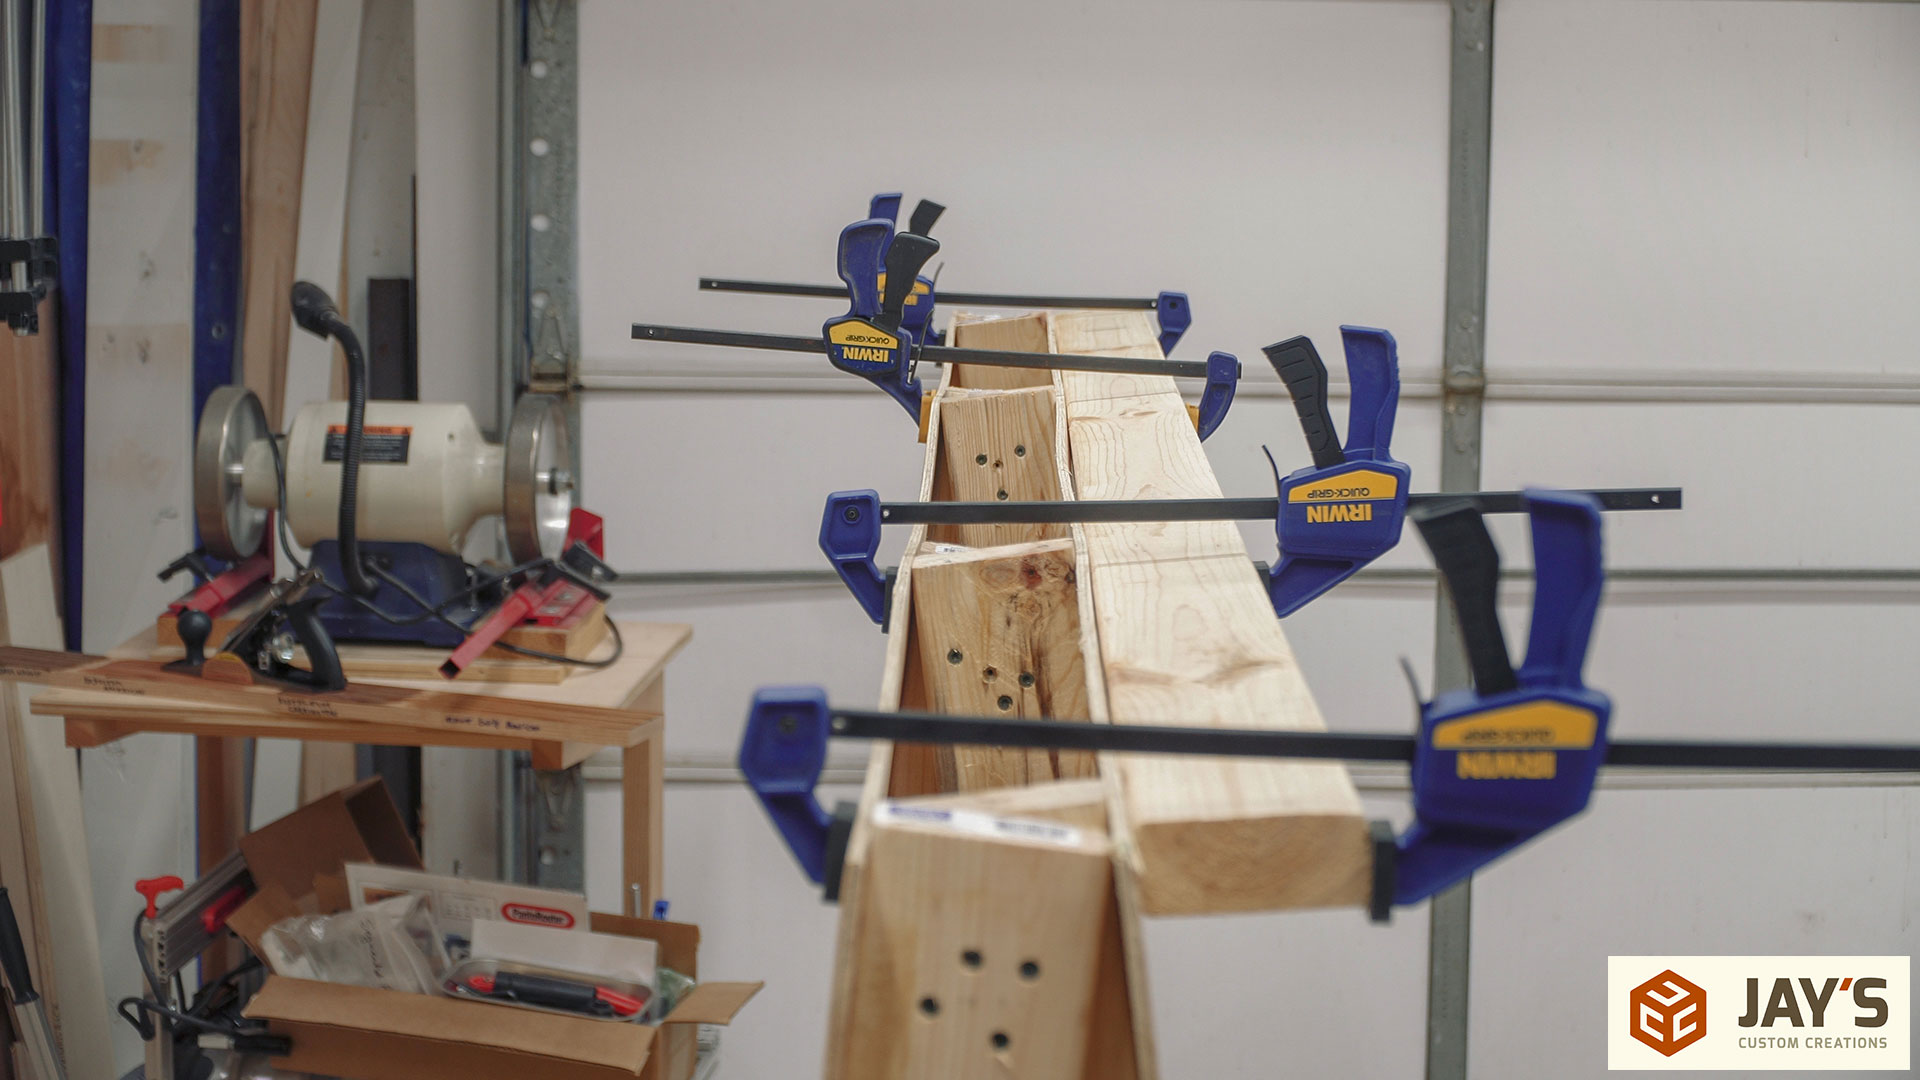
And here you can see the error we created. It was totally my fault as I got ahead of myself and forgot to align all of the 7 degree boards before securing the pairs.
Luckily the solution was quite simple. We removed the screws on top, clamped a straight 2×4 to each 7 degree board, and then secured each pair once again with new screw holes. This should have been done before the 1/4” plywood was added and while we were installing the second side of the 7 degree boards. Oh well, luckily it was a quick fix.
A third sheet of 1/4” plywood was ripped length wise for platform strips.
1/4” plywood is fine here as all I’m wanting is something to allow the sheets to slide easily over the 2×4 frame below.

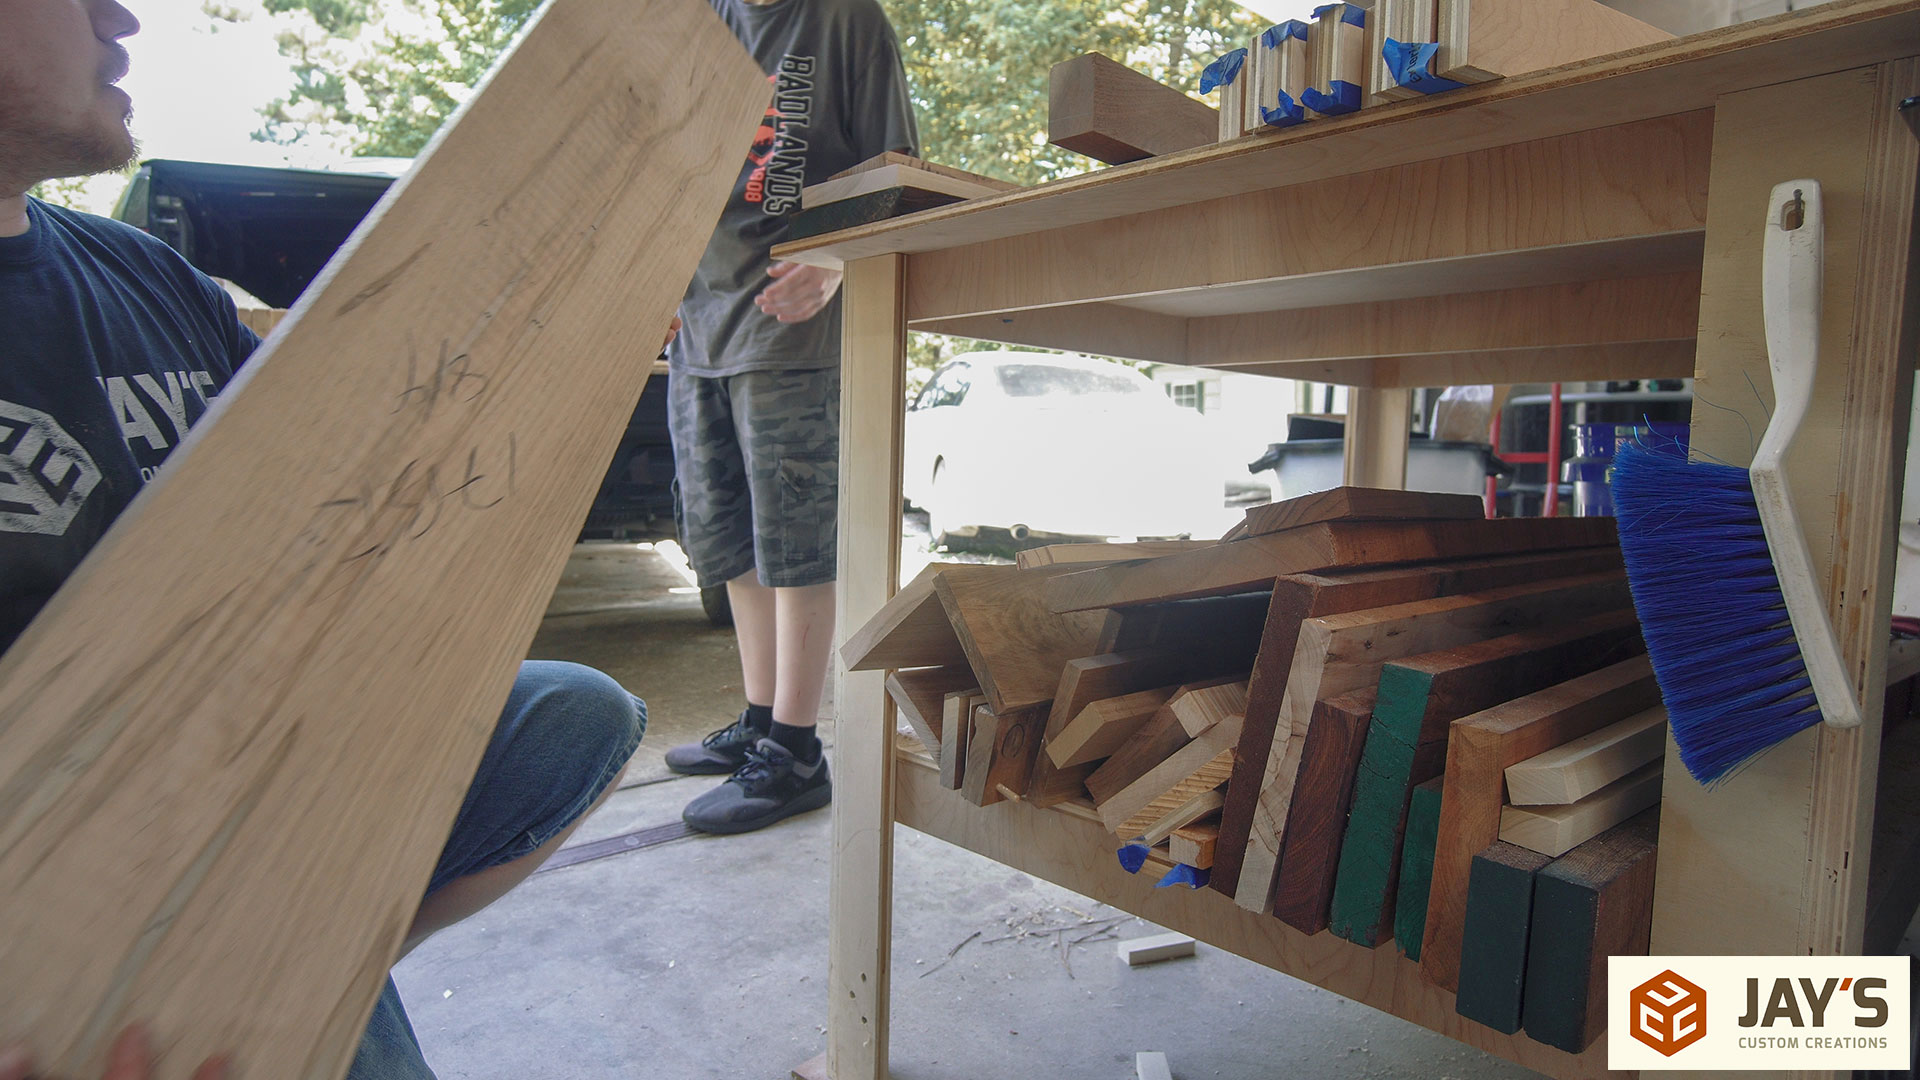
Next we loaded the plywood cart into the bed of my truck to go to the shed. The plywood rack isn’t crazy heavy but it’s awkward due to its size and shape.
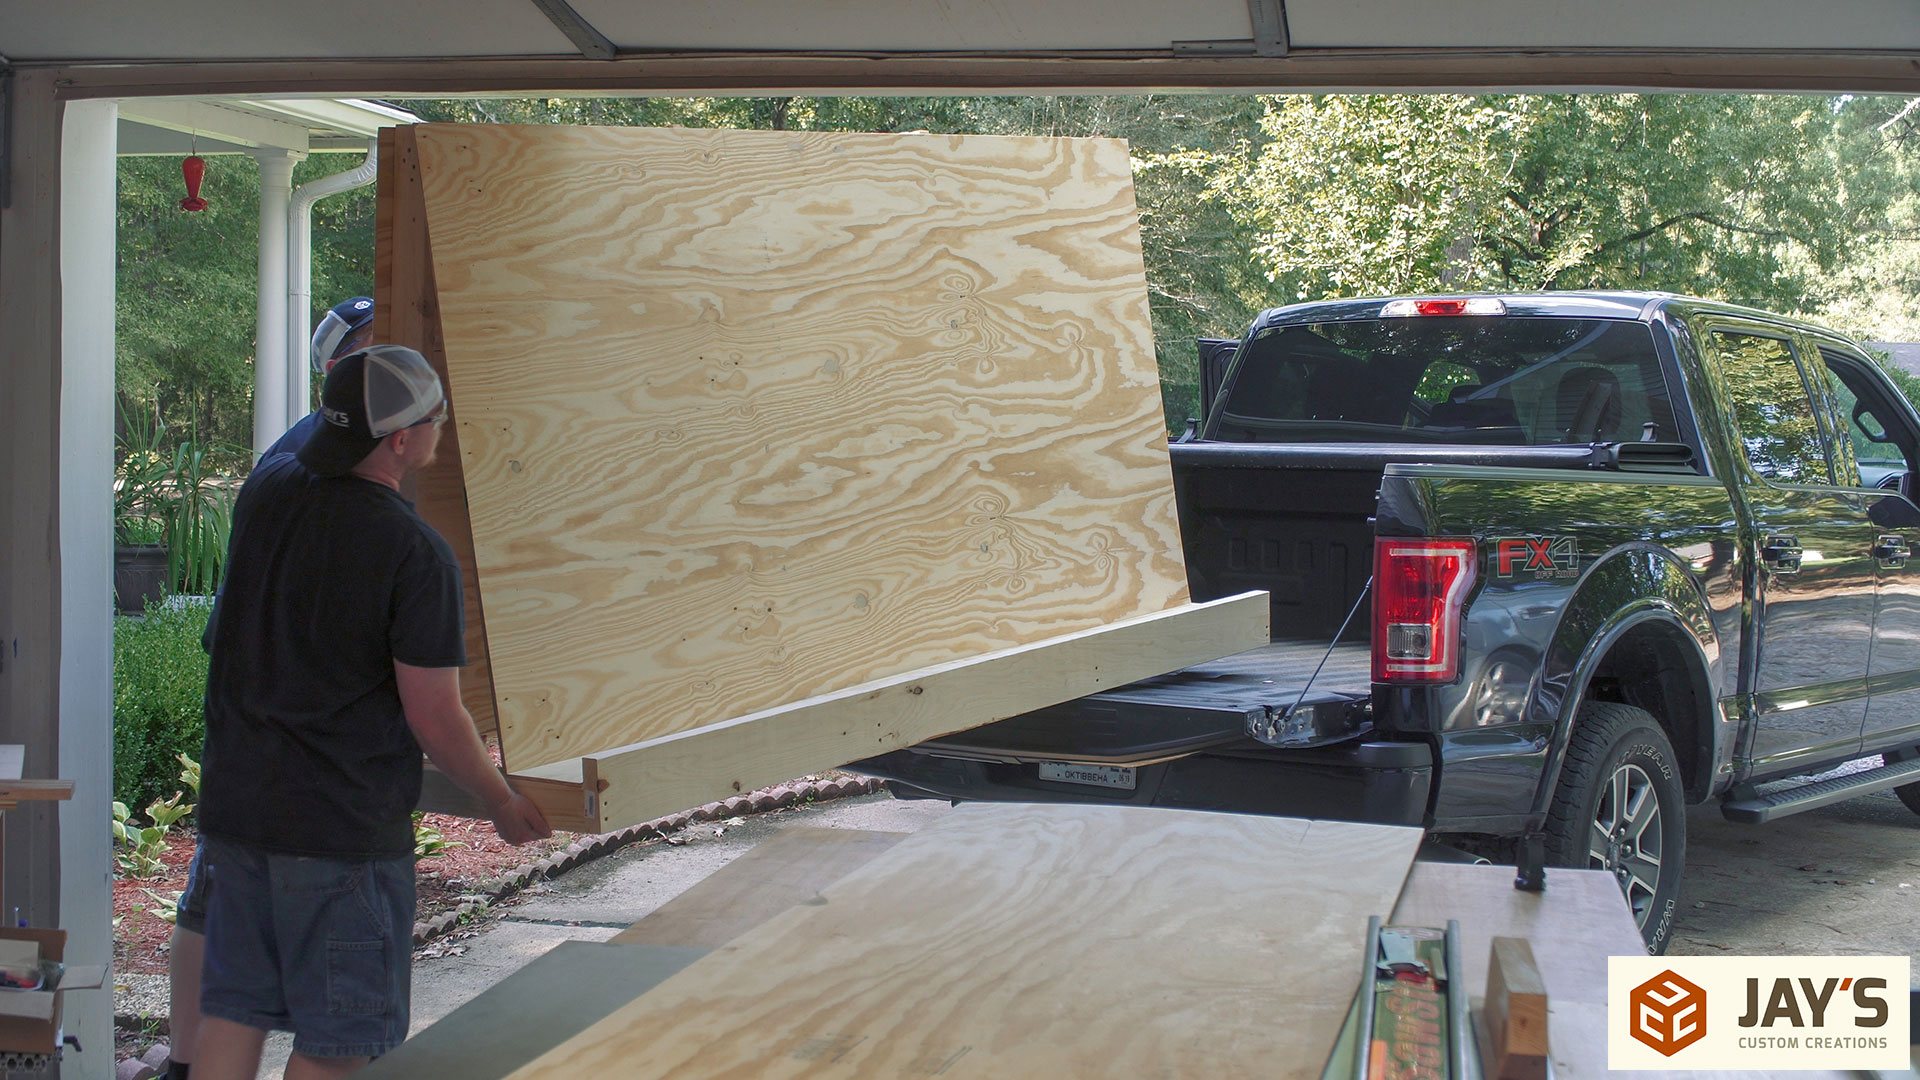
No casters needed on this one. It slides easily to the back of the shed and fits exactly where I wanted it.

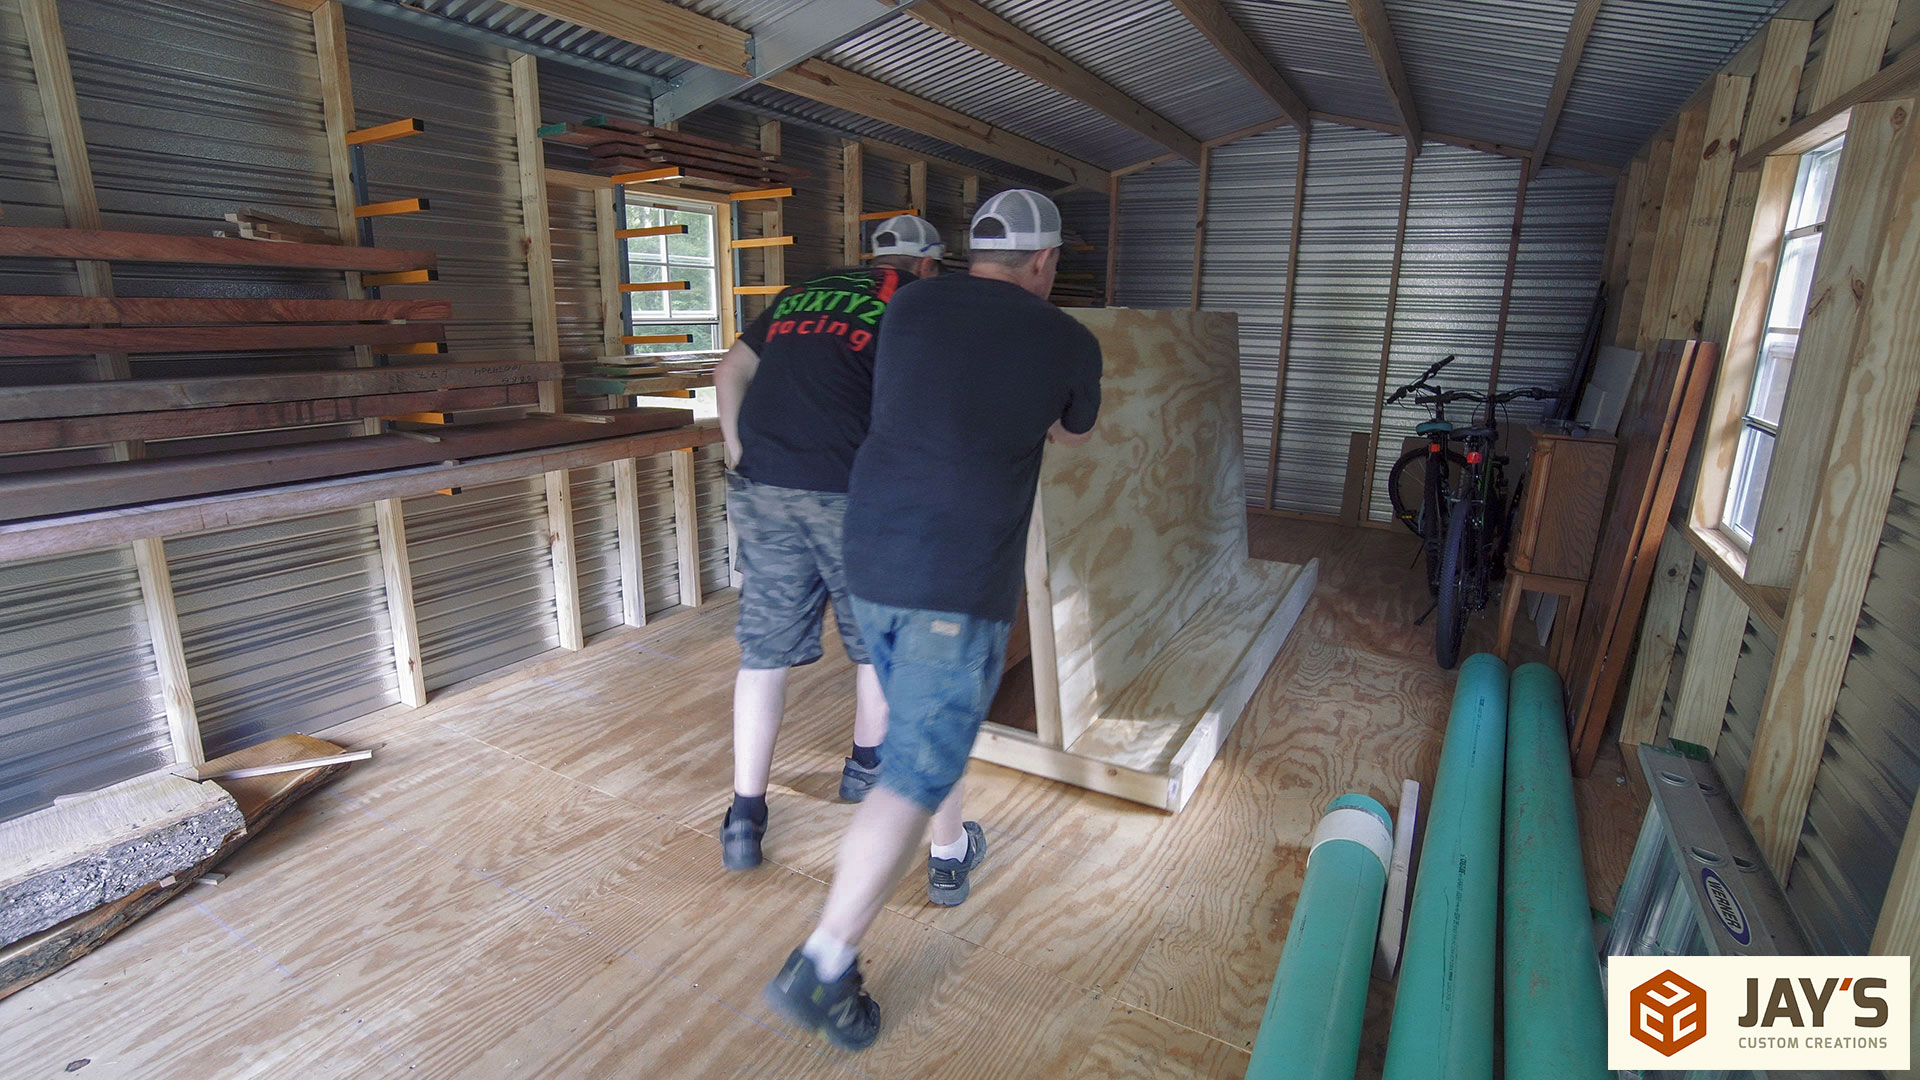
You can see that the base is offset to one side. This was on purpose as I’ll have thicker plywood on the side with more room.

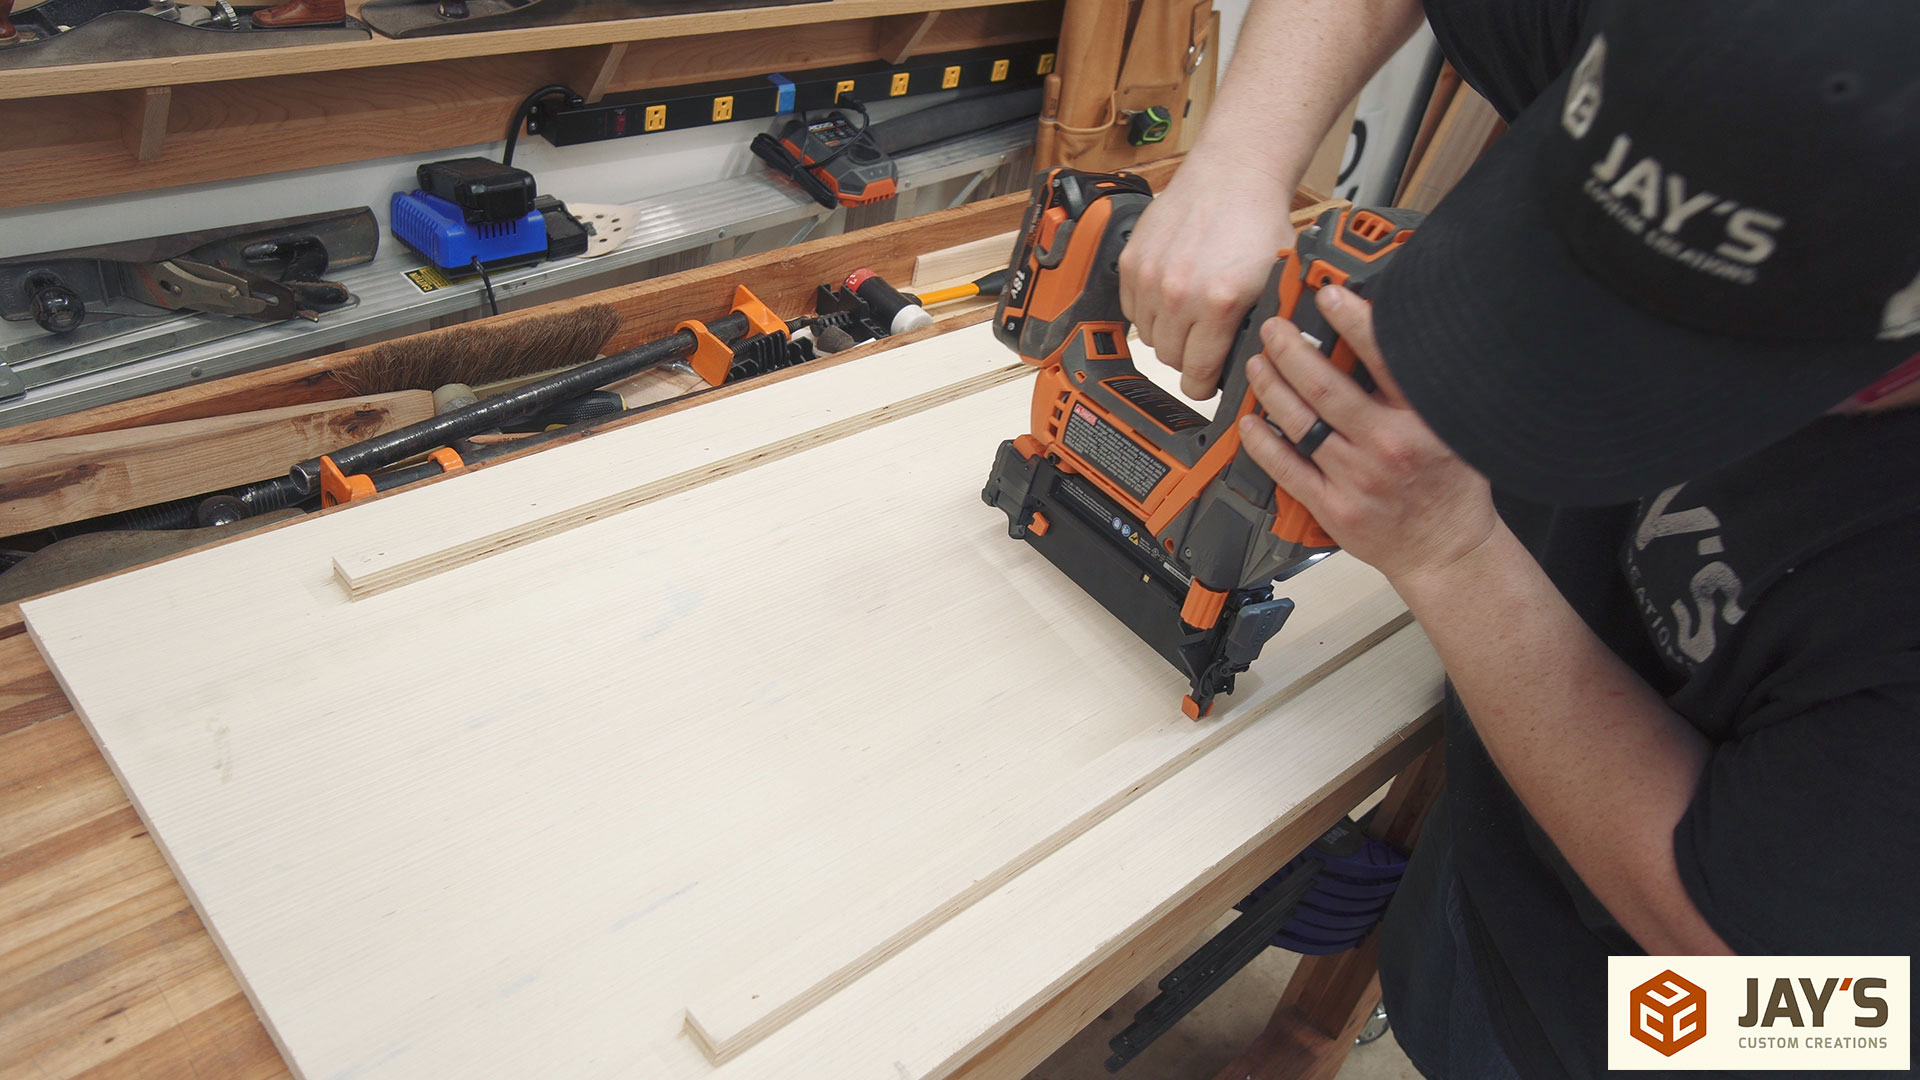
Once again we go back to the shop and this time to eliminate a footprint by moving the contents of one of my shop carts to a lower shelf on my hickory workbench. But first I needed to make a quick shelf out of 3/4” plywood and attach some cleats to the inside.

Storing my grinder and hybrid pantorouter out of the way but still easily accessible on this shelf will allow me to take the cart that they were on and store it in the shed. One less footprint in the shop which means more of that valuable floor space. I don’t want to get rid of the cart as it rolls great and is good for using while spraying finish on projects.
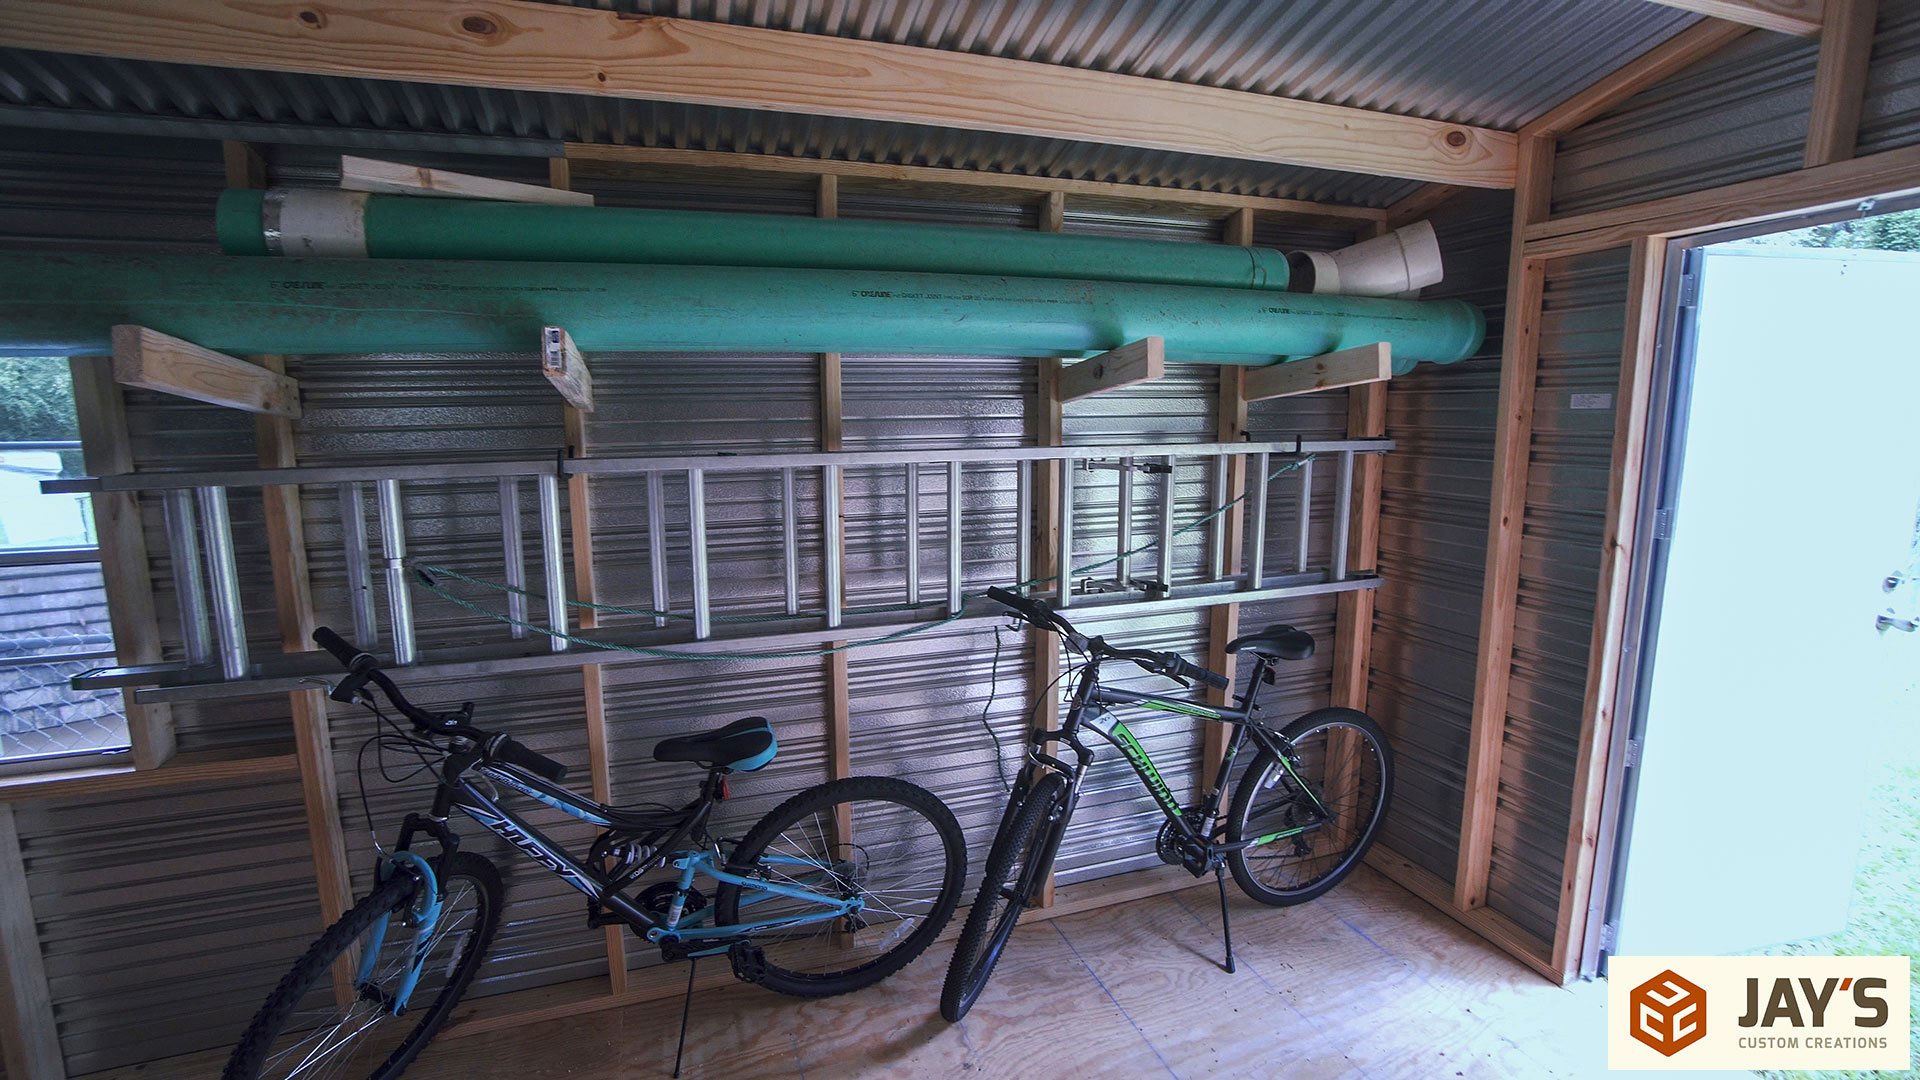
Here’s a quick bandsawn halflap bracket for the pipes on the opposite side of the shed. The pipes aren’t that heavy and don’t require a heavy-duty bracket so these will be just fine. I didn’t get any footage of the installation though as we lost daylight and we didn’t have enough lights to keep recording.

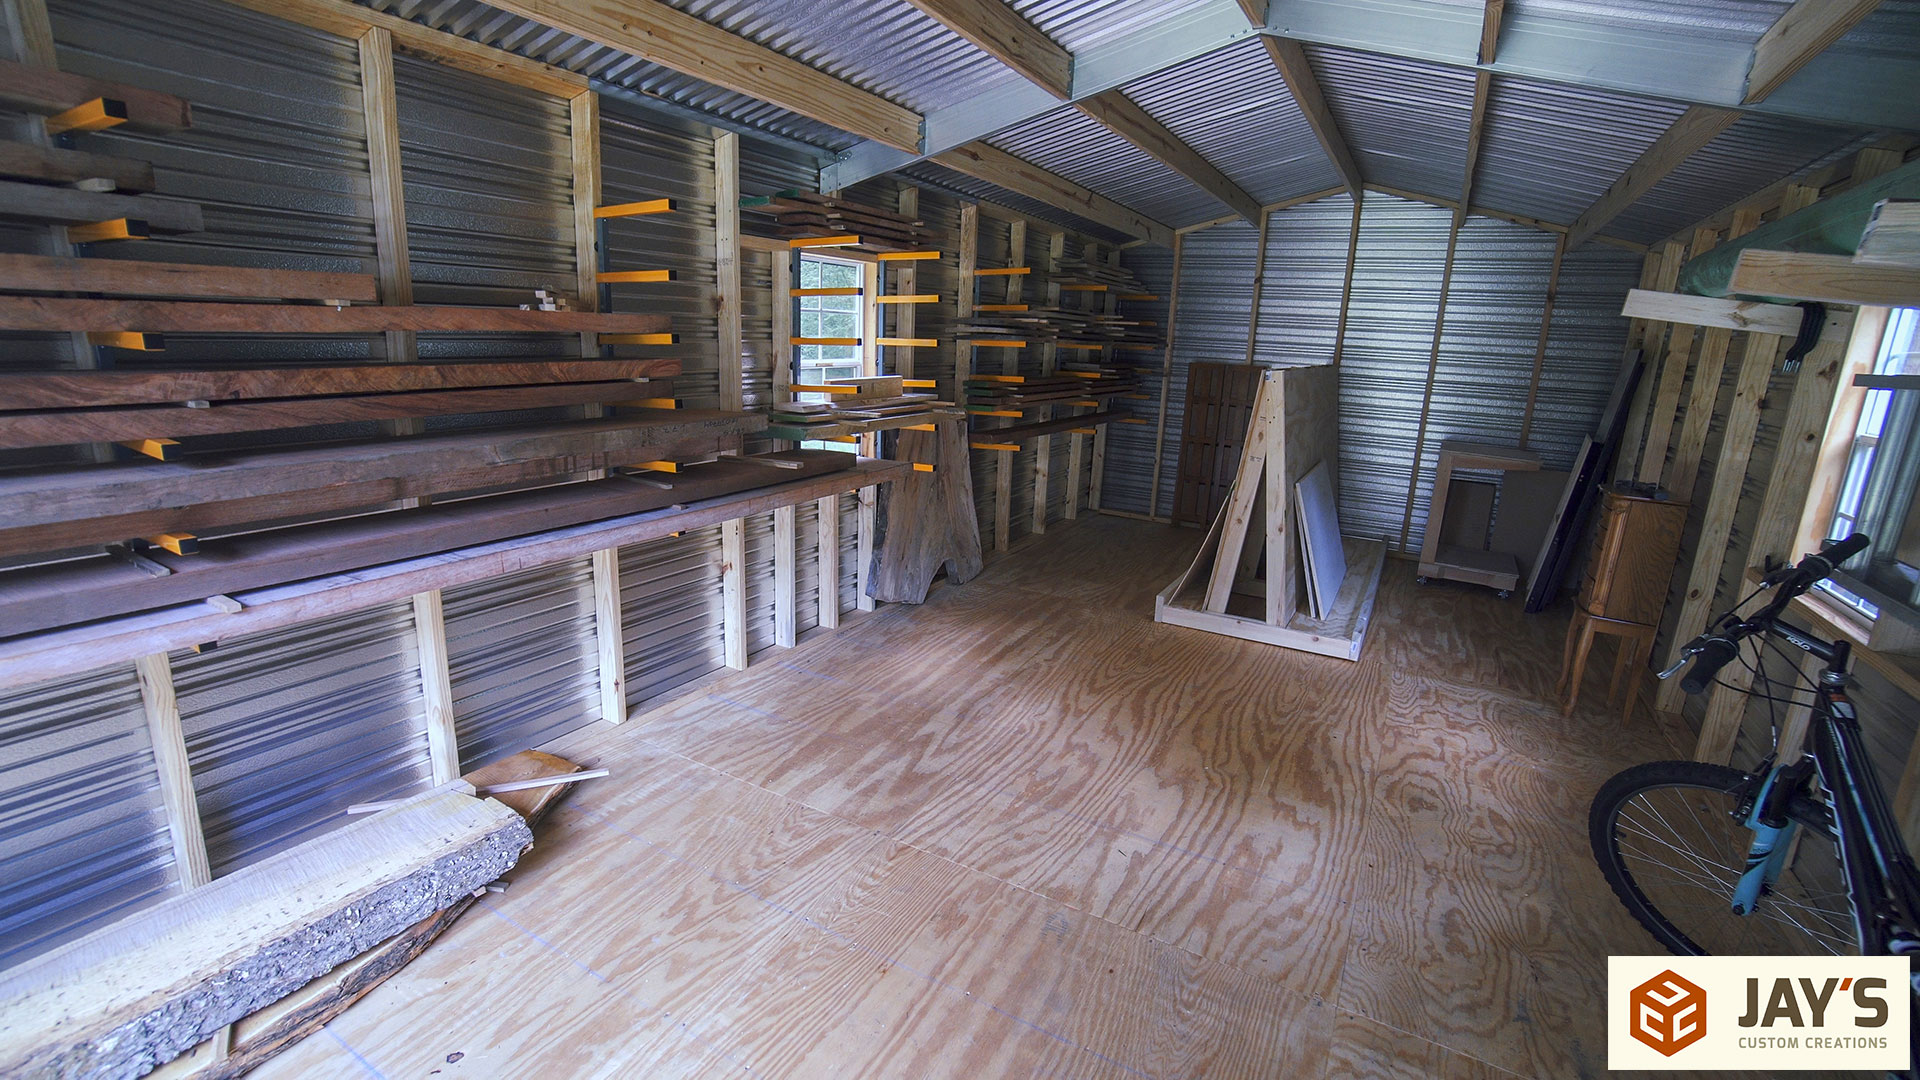
The rest of the images are from the following day to show the final result. The first section of the lumber racks holds all of my bubinga. I didn’t plan on having this much bubinga but I found some for sale at $5.50 per board foot and all of it was 8/4. I bought all he had as I love the wood and could honestly make a bit of money by reselling it if I want.
The opposite end of the lumber rack wall has mahogany on bottom and hickory on top.
In the middle I’ve got the pecan slab leaning out of the way and the center section of the racks with some ambrosia and curly maple on bottom and rosewood and something else on top.
The plywood cart is directly in the middle in the back. This allows for easy loading and unloading and it also puts the weight in the center of the shed where it needs to be. I’ll be loading it up in a few days.
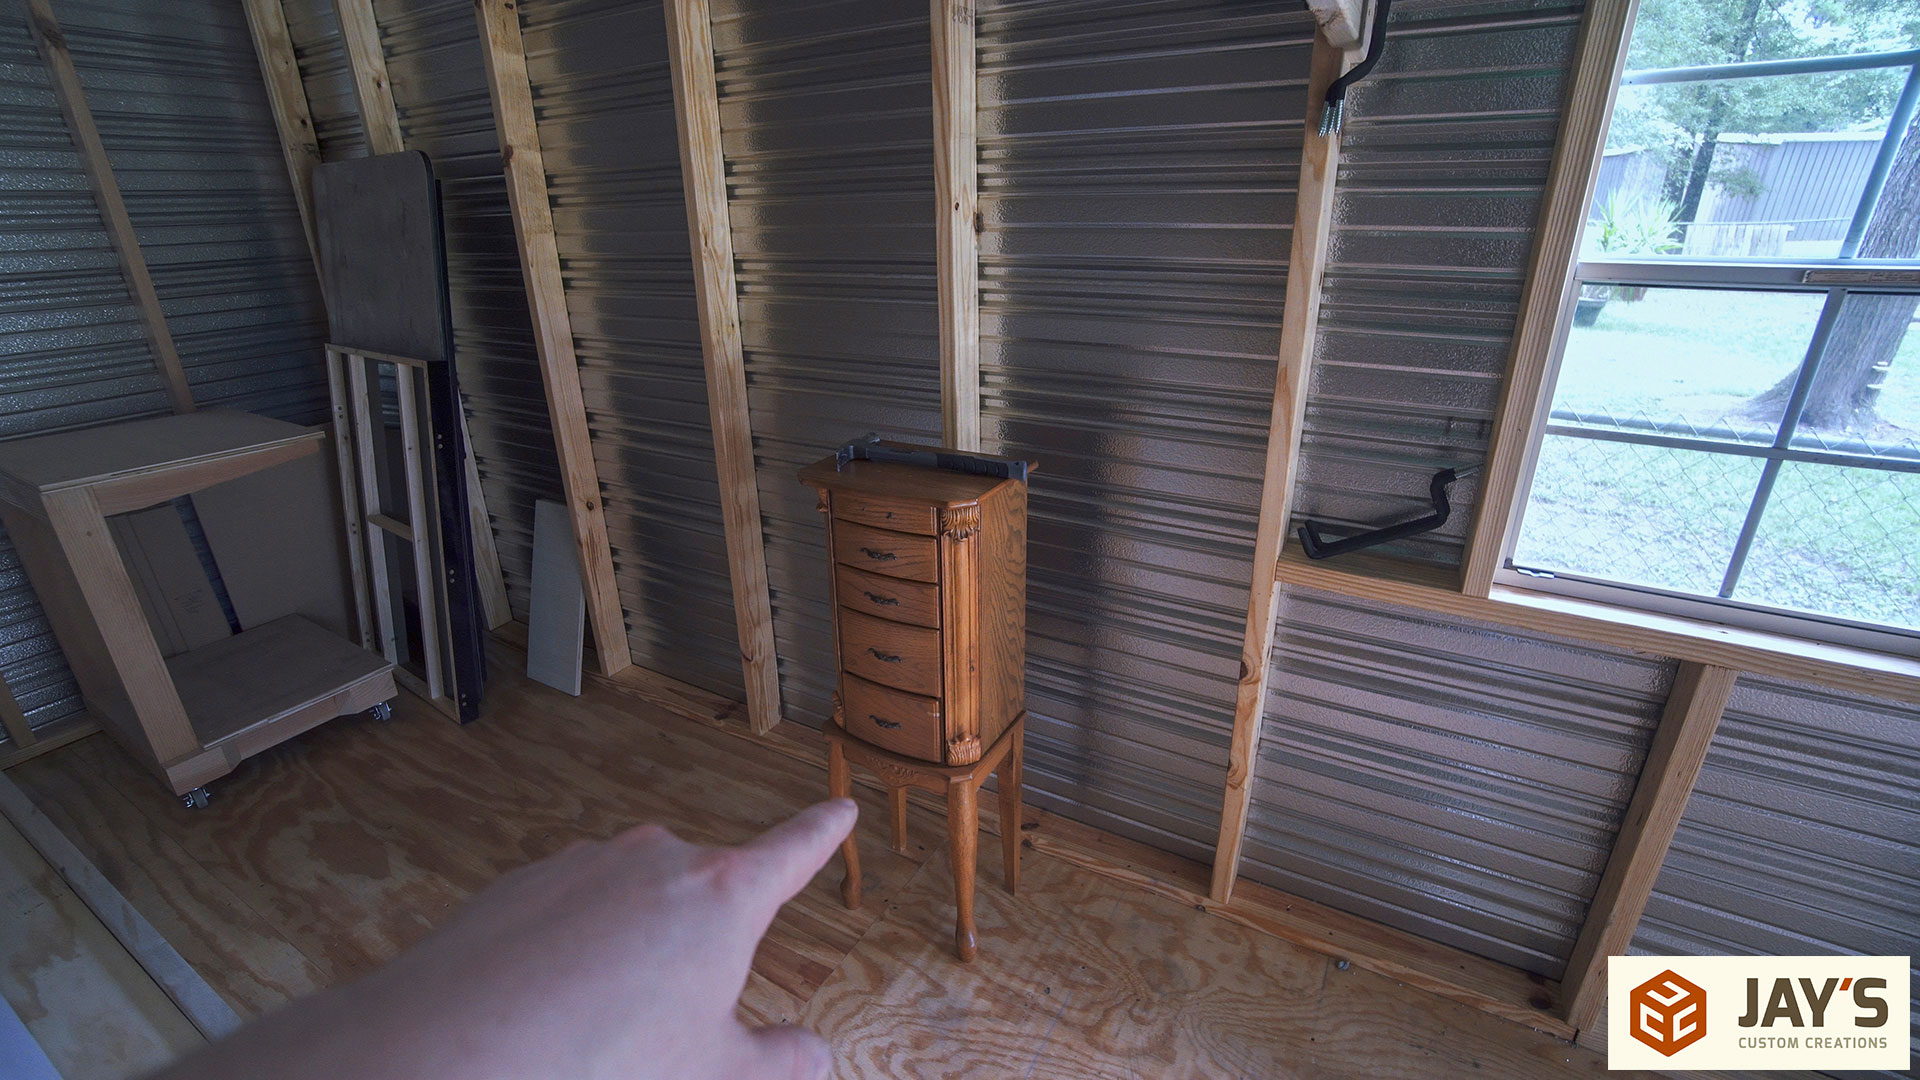
This little jewelry box is also hanging out in the shed. It’s a particle board jewelry box that I want to recreate with my own spin on it. I’ve had it in my way for about a year now and just haven’t gotten around to making it yet. So that’s an upcoming project…..eventually.
The pipes are out of the way, the ladder is finally hanging somewhere dry, and the bikes are out of the way against the wall. I’m OK with that.
Some might ask why I have all of these materials if I’m not using them right now. Why not just get them as needed instead of having a dedicated shed for storage? Well, I live in the middle of nowhere in Mississippi. For anything woodworking related I have to travel. Most of the time I have to go out of the state. I just makes sense from a time and finances perspective to get a storage shed, buy in bulk or when the opportunity arises, and spend less time on the road putting miles on my truck and burning more fuel with more trips.
And alas, a more fluid shop with more open space. I’m not sure how long this will last as I do have a few additions to the business coming. Nevertheless, it was a productive day and one step in the right direction for what is to come.
Before I end this one I’d like to give a quick shout out to Rockler Woodworking and Hardware for supporting this video. More importantly than that, thanks for being an active part of the woodworking community. The more people interested in woodworking the better it is for all of us. If you’re interested in the Rockler Workbench Casters or the Bora Portamate Wood Racks I used just click the item names to find out more information. Have a productive week! Talk to ya next time ;)


Curious what brand the shed is? My daughter needs a storage for her softball trophy arts, tents etc..
Love your videos and congrats on your little one
Hi, Jay – Congratulations on your beautiful daughter! I’m very happy for you – she’s truly a blessing. You may as well hang those bikes from the ceiling in your shed, you’re going to be busy for a while. Look for a third seat for one of the bikes. You’ll be taking a passenger with you soon enough!
Best wishes,
Karl Kaucher
I am so happy that you were finally able to adopt a baby girl, congrats!
I think you should set up a cheap chop saw for your shed so you can cut some of those large boards before bringing them in the shop. Lugging those huge pieces back and forth will be a pain. Just a thought.
Congrats again!
First of all let me say congratulations on becoming a Daddy. Now, I want to know something about wood. Its a 2 hour drive for me to get anything other than Pine or Poplar at a local Lowes. I do not know any prices of wood and I know that your prices down there are probably different from up here. I know these woods are going to be much higher than pine. Which would you recommend for non-shop projects? I can get Walnut, Babinga, Cherry, or staining Poplar. What would be your choice?
God Bless my friend.
Jay, congratulations on the adoption of your daughter! Many blessings to you as you enlarge your family and much happiness to all 3 of you!
One again congratulations on the addition to your family. How are the dogs taking the new little person?
I’ve been trying to work out where you get your ply (up past Tupelo?)
Are we allowed to guess what’s coming into the workshop, does it have a computer attached?
Jay, congrats on your new addition to your family.
also welcome back, you were missed.
The new shed looks like it fits nicely in your yard.
Keep up the good work.
Jim
congrats & God Bless
Congrats on the family addition, and the shed will be a definite asset as well.
Congrats on the family addition, and the shed will be a definite asset as well.
From a long time follower.
Congrats on your new baby girl :) Nice to have you back… I’m definitely getting some of those casters for my bench.
That baby girl is just the start, if she gives you half the joy that my wife and I have received you’ll; be over the moon. Take my word, time will go so fast its unbelievable and wonderful. As a father, grandfather and a great grandfather don’t miss out. You’ll never run out of projects now!
So much room for activities!