With previous jobs I had I always looked forward to the times where I could do nothing. Just sit around and relax. Now that I work for myself I can’t stand sitting still. Regardless of if it is for my business or not. Last week I was visiting family in Michigan which would usually mean relaxation and a break from the daily life. Not this time though. I can’t stand sitting idle anymore and the fact that my brother just started his Tiny House build meant I had plenty of opportunity to help out and make some sawdust.
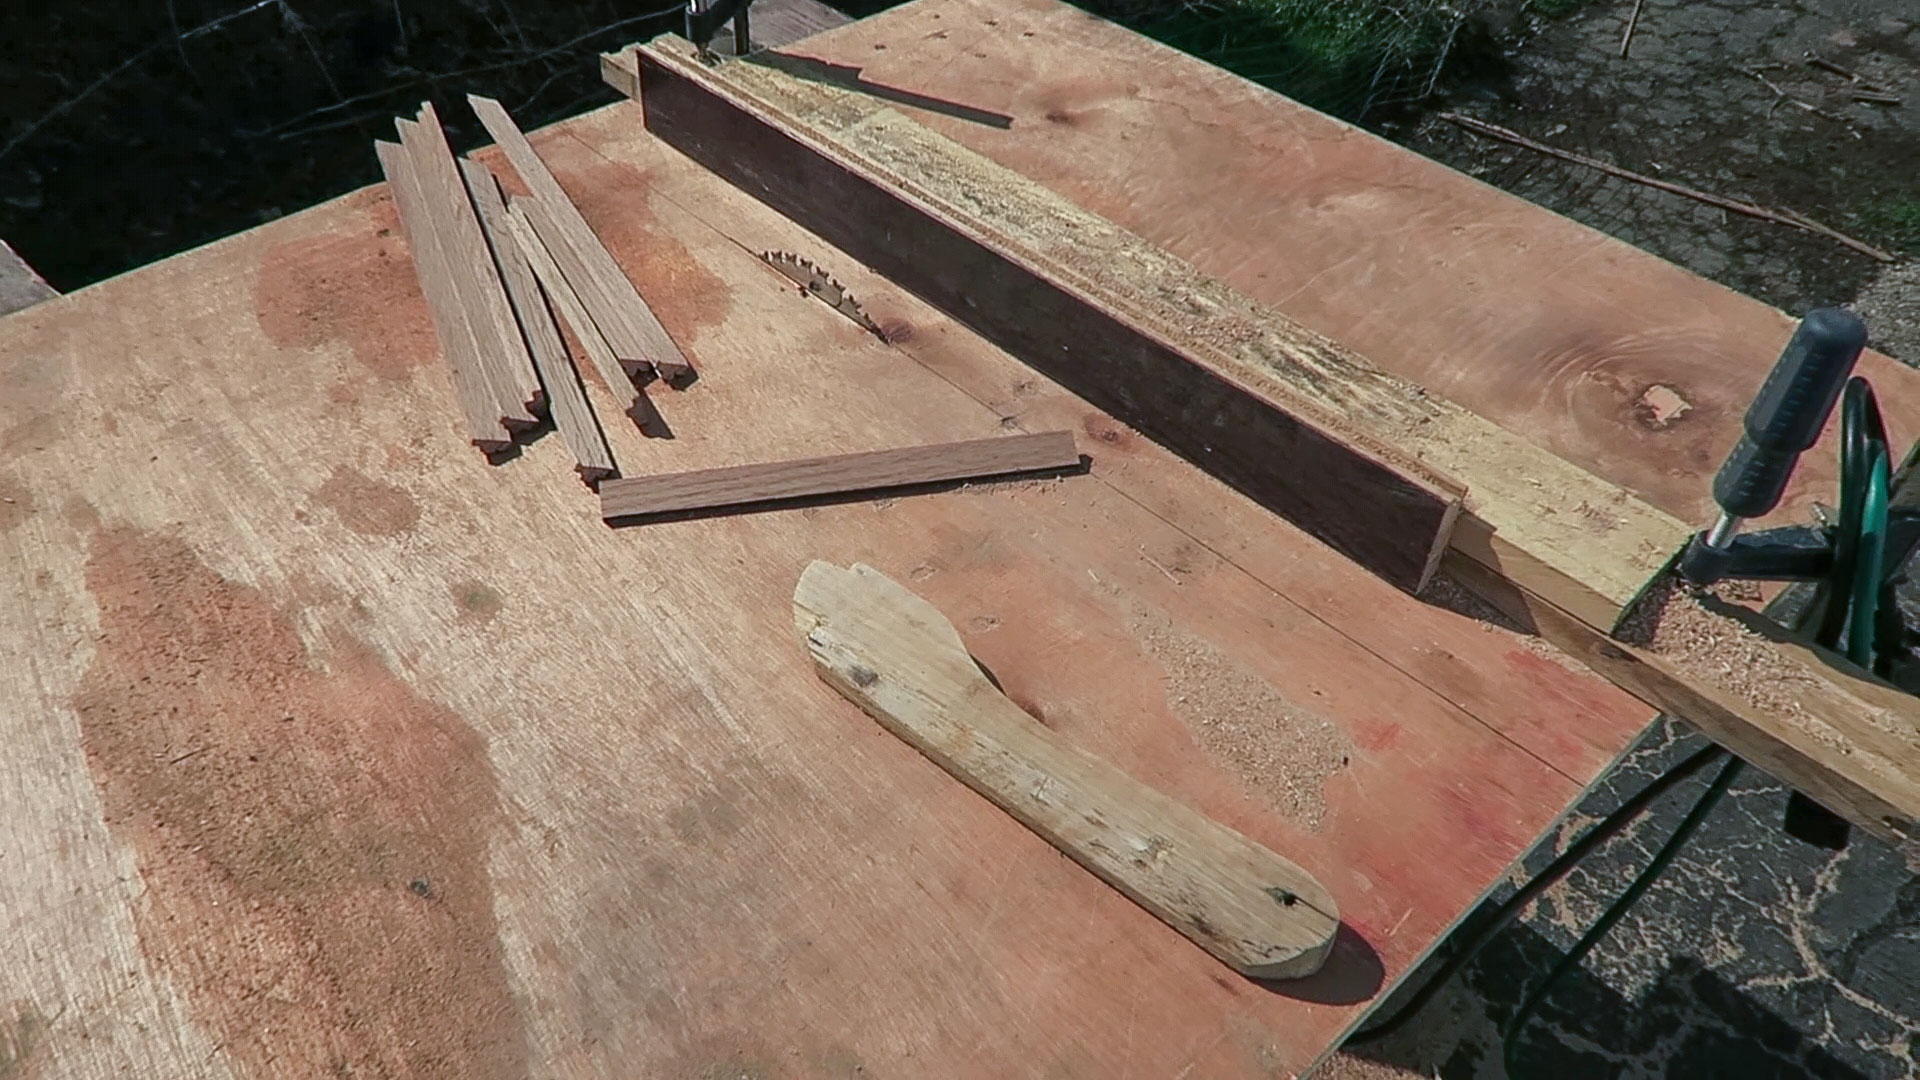
My brother doesn’t have a lot of tools. He’s never needed them until now. Just going out and purchasing a full set of woodworking power tools doesn’t sound like the smartest thing to do considering the goal of his tiny house is to live frugal, within means, and a debt free life. A couple years ago I gave him one of my old circular saws so we made as much use out of it as we could. We threw together a scrap wood 90 degree cut off jig of sorts. Admittedly, not one of the fanciest jigs but it was great at crosscutting smaller strips and was essentially free to make.

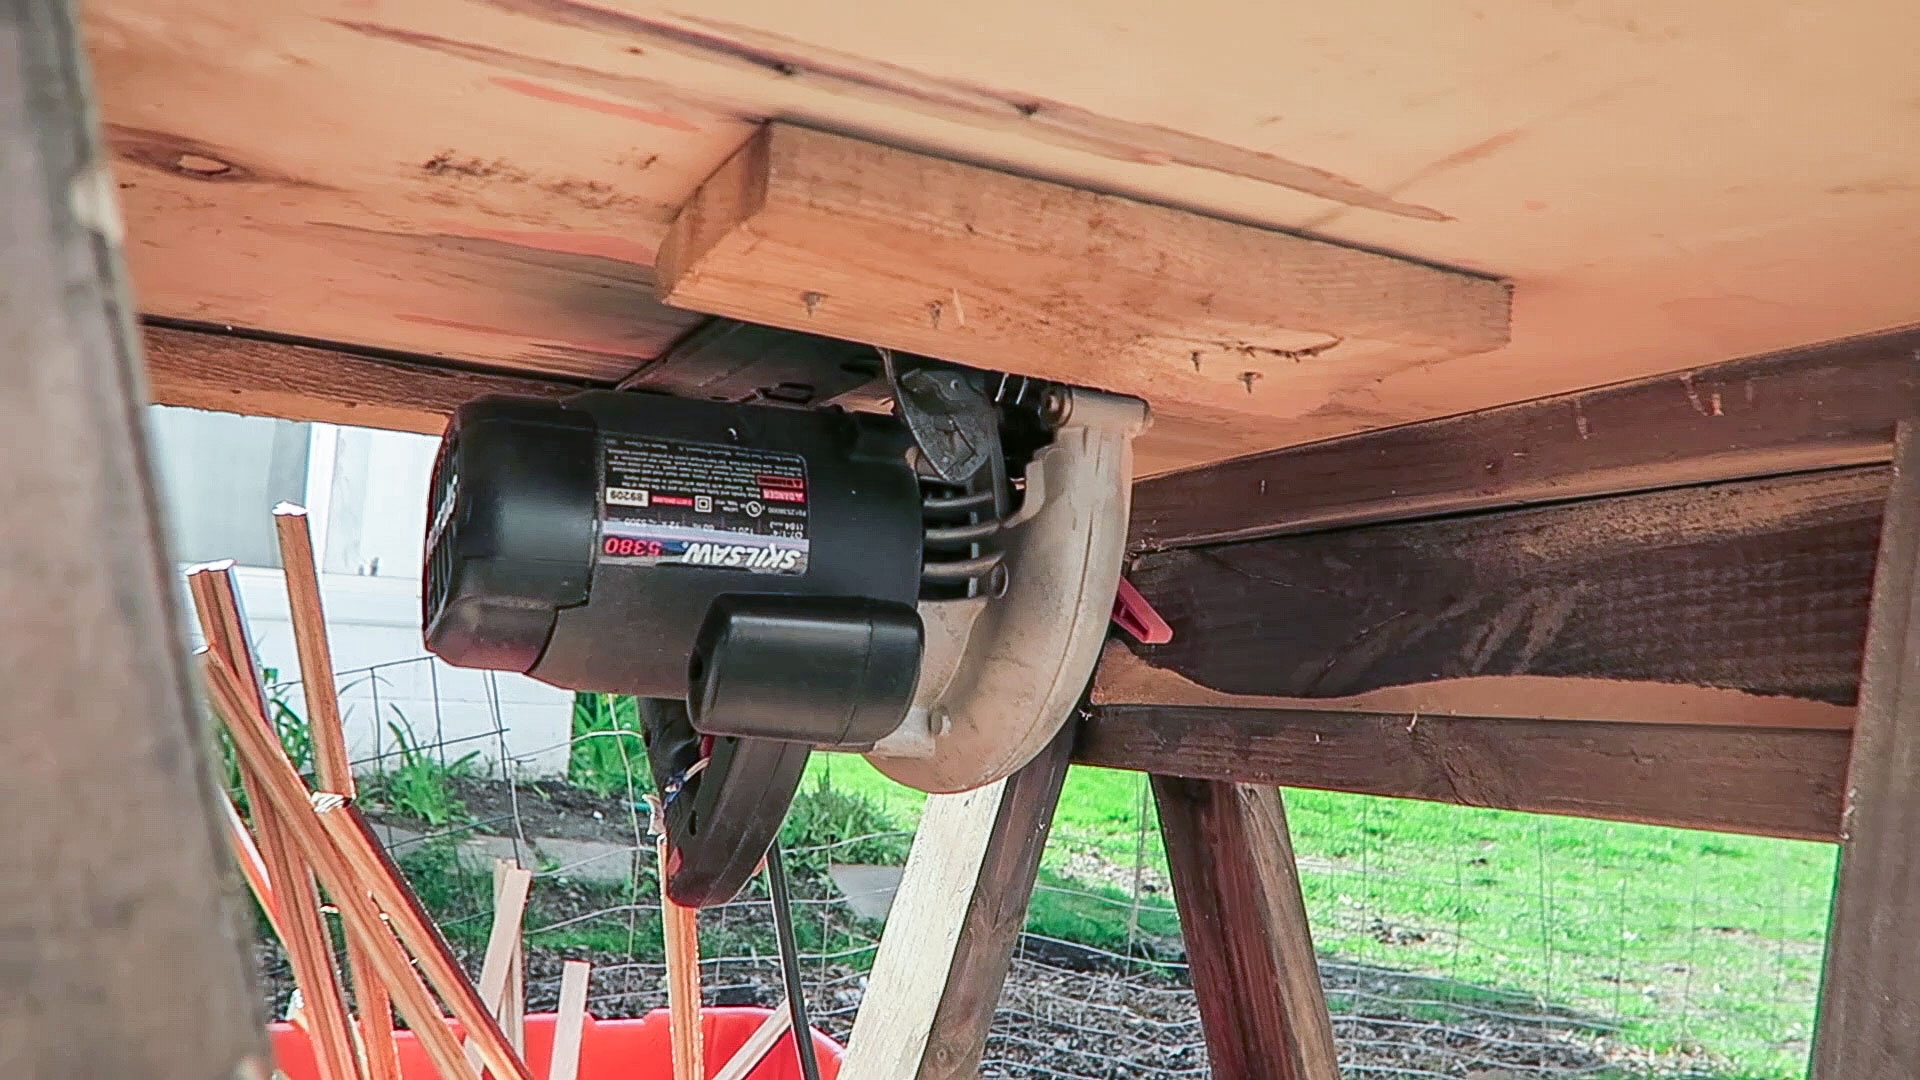
Because we were both working at the same time we snagged my dad’s circular saw and turned it into a utility table saw. Nothing fancy. Just some more scrap wood, a few clamps, and a piece of plywood. This isn’t something I would recommend to someone completely new to woodworking. I didn’t even let my brother use it as he doesn’t have much experience with something like this. Nevertheless, it completed the task for the time being. We did end up getting a super cheap benchtop table saw when we needed to resaw a lot of flooring though.
And from below you can see it’s just a few scrap pieces of wood screwed down to hold the circular saw in place.
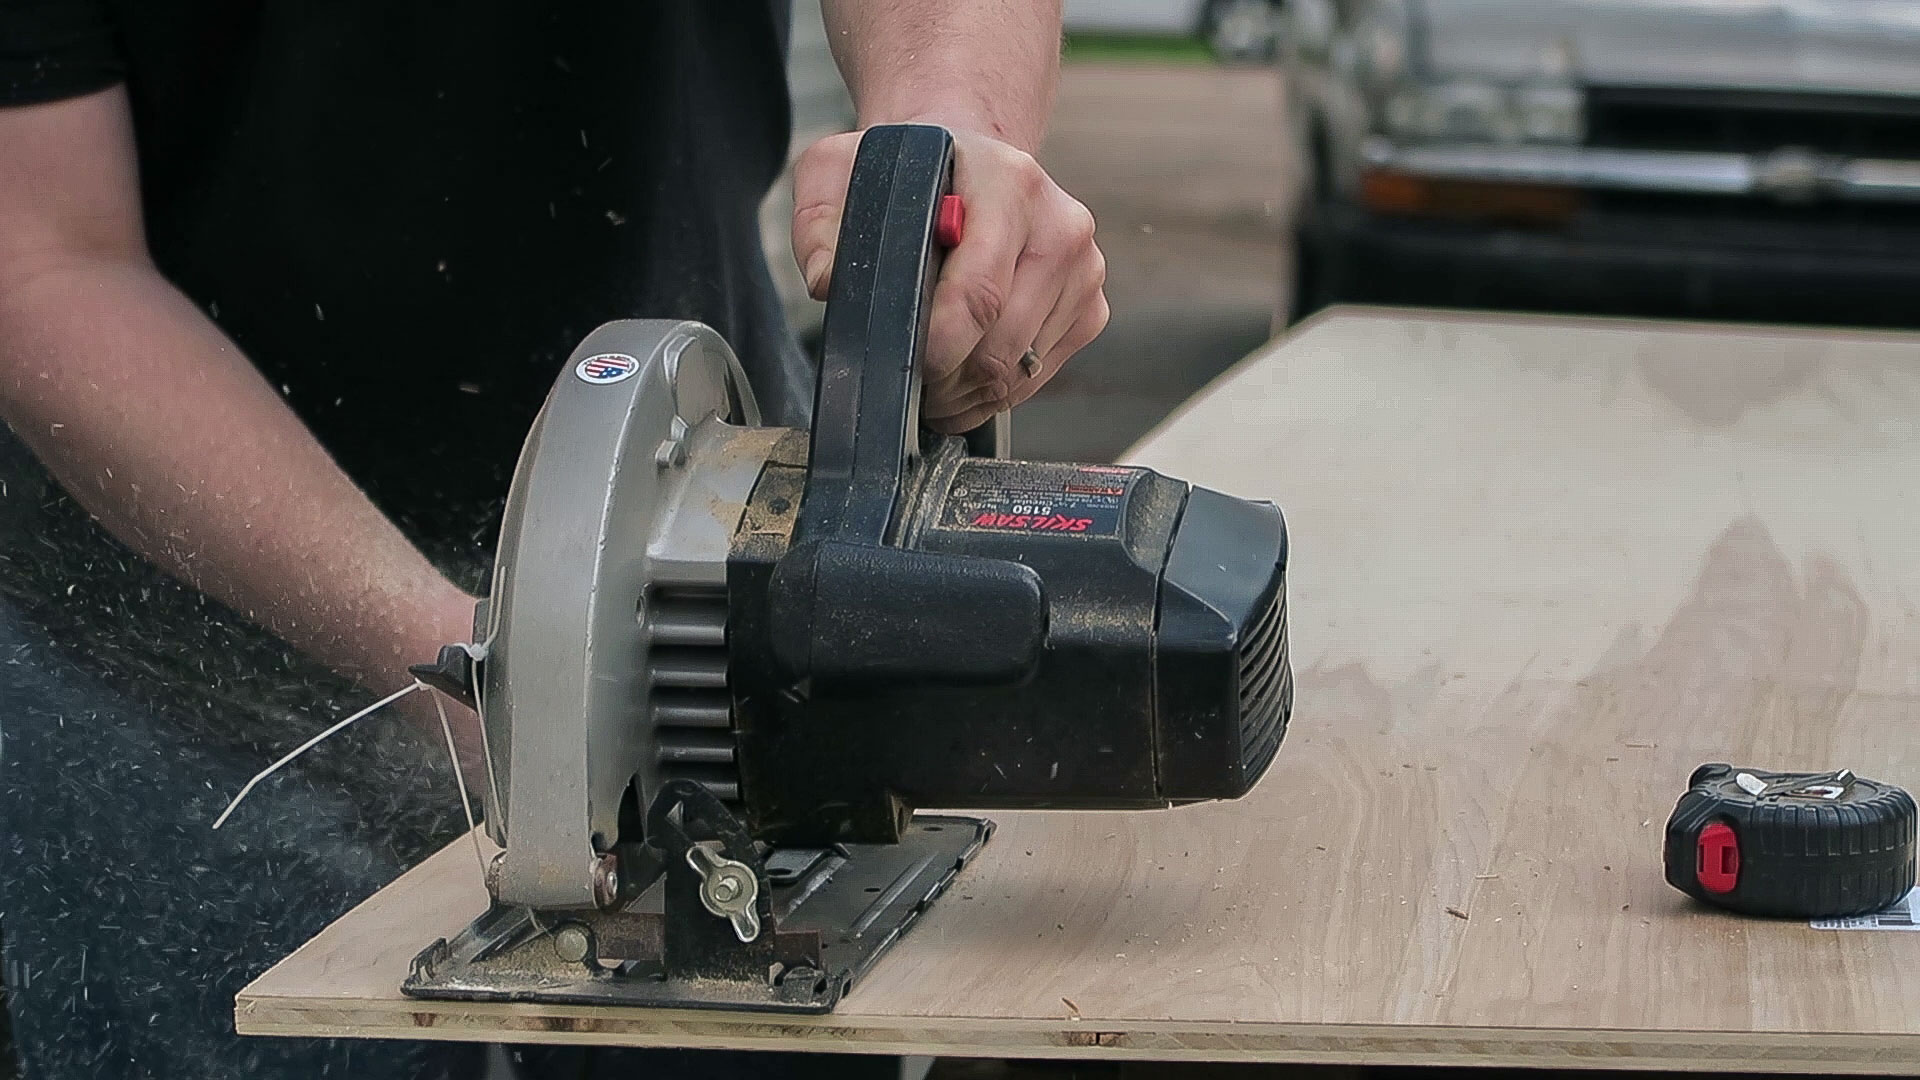
I wanted to show you those two circular saw setups to remind you that even though having a nice shop full of tools will, in most cases, allow you to get the job done easier and quicker it’s not 100% necessary to do most woodworking. Within an hour I had those two circular saw setups built and operational. Even though we had a circular saw table saw and a new benchtop table saw neither of those are really setup to easily cut down larger sheet goods accurately. For that I made my brother a few circular saw guide tracks for absolutely straight cuts on larger sheet goods. Before I could make it though I needed to gain access to my sawhorses.

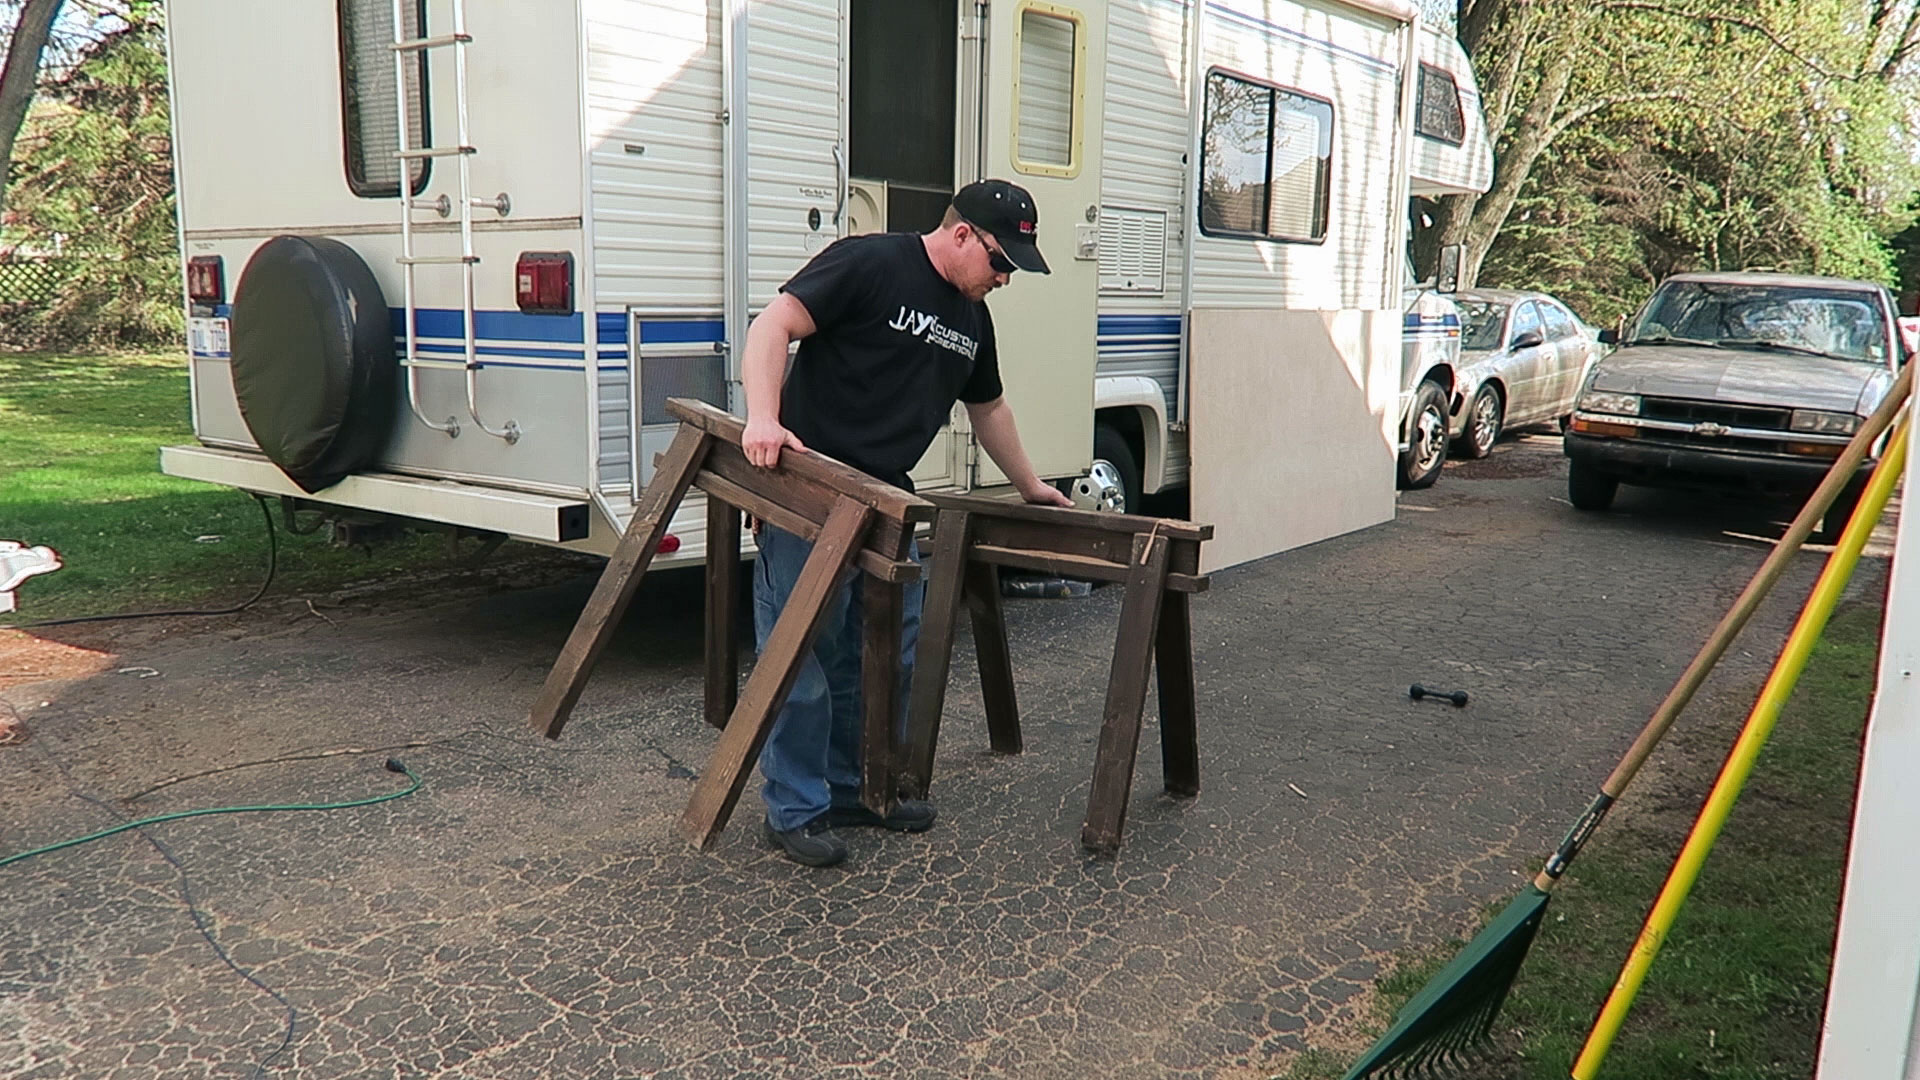
I say “my sawhorses” but my dad actually built these from my sawhorse project a few years ago. These are really the simplest and quickest to build sawhorses I have ever seen. I have five of them that are a few years old now and they are holding up great even living outside my shop.
With the plywood on the sawhorses the first thing to do is rip a small piece off of the long direction. I believe this was a 3” wide piece. Its good to cut as straight as you can but not absolutely critical.
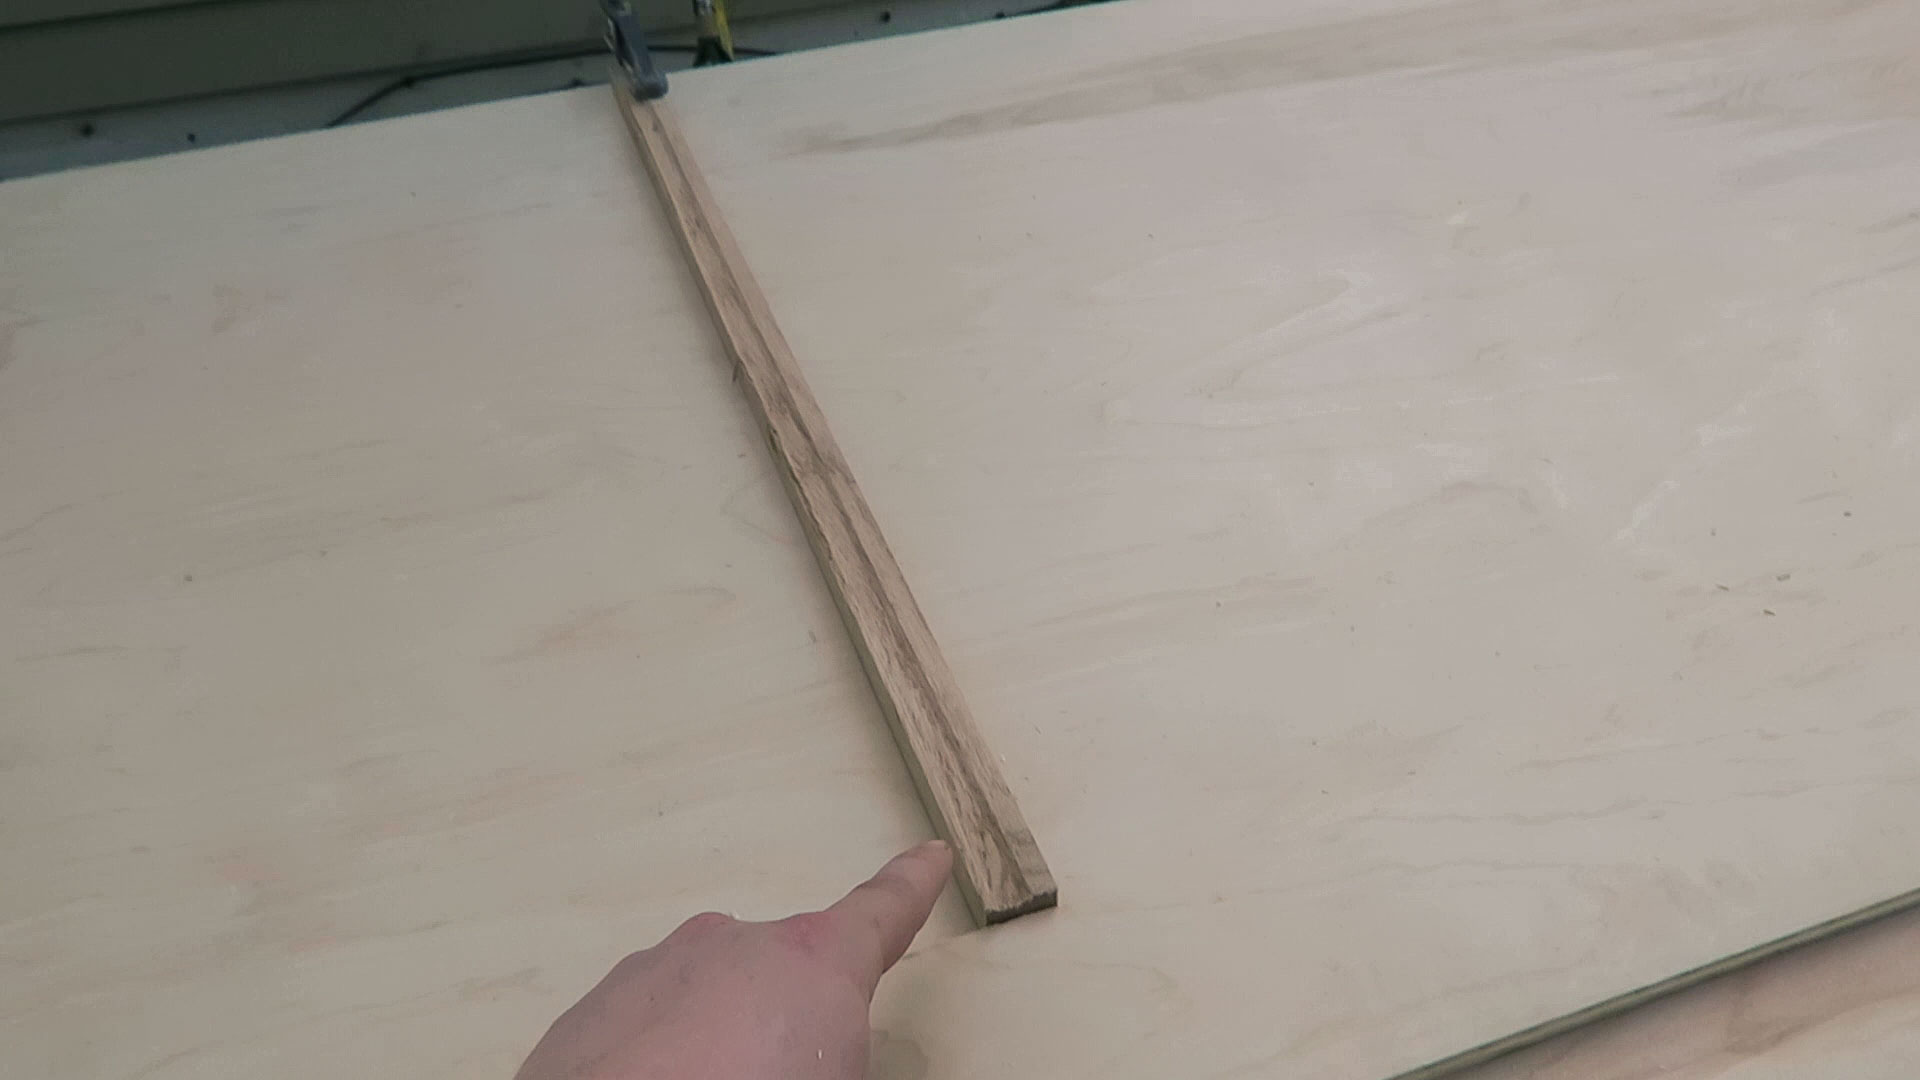
The main thing to keep track of here is the factory edge of the plywood. In this picture it’s the right edge that I’m pointing to.
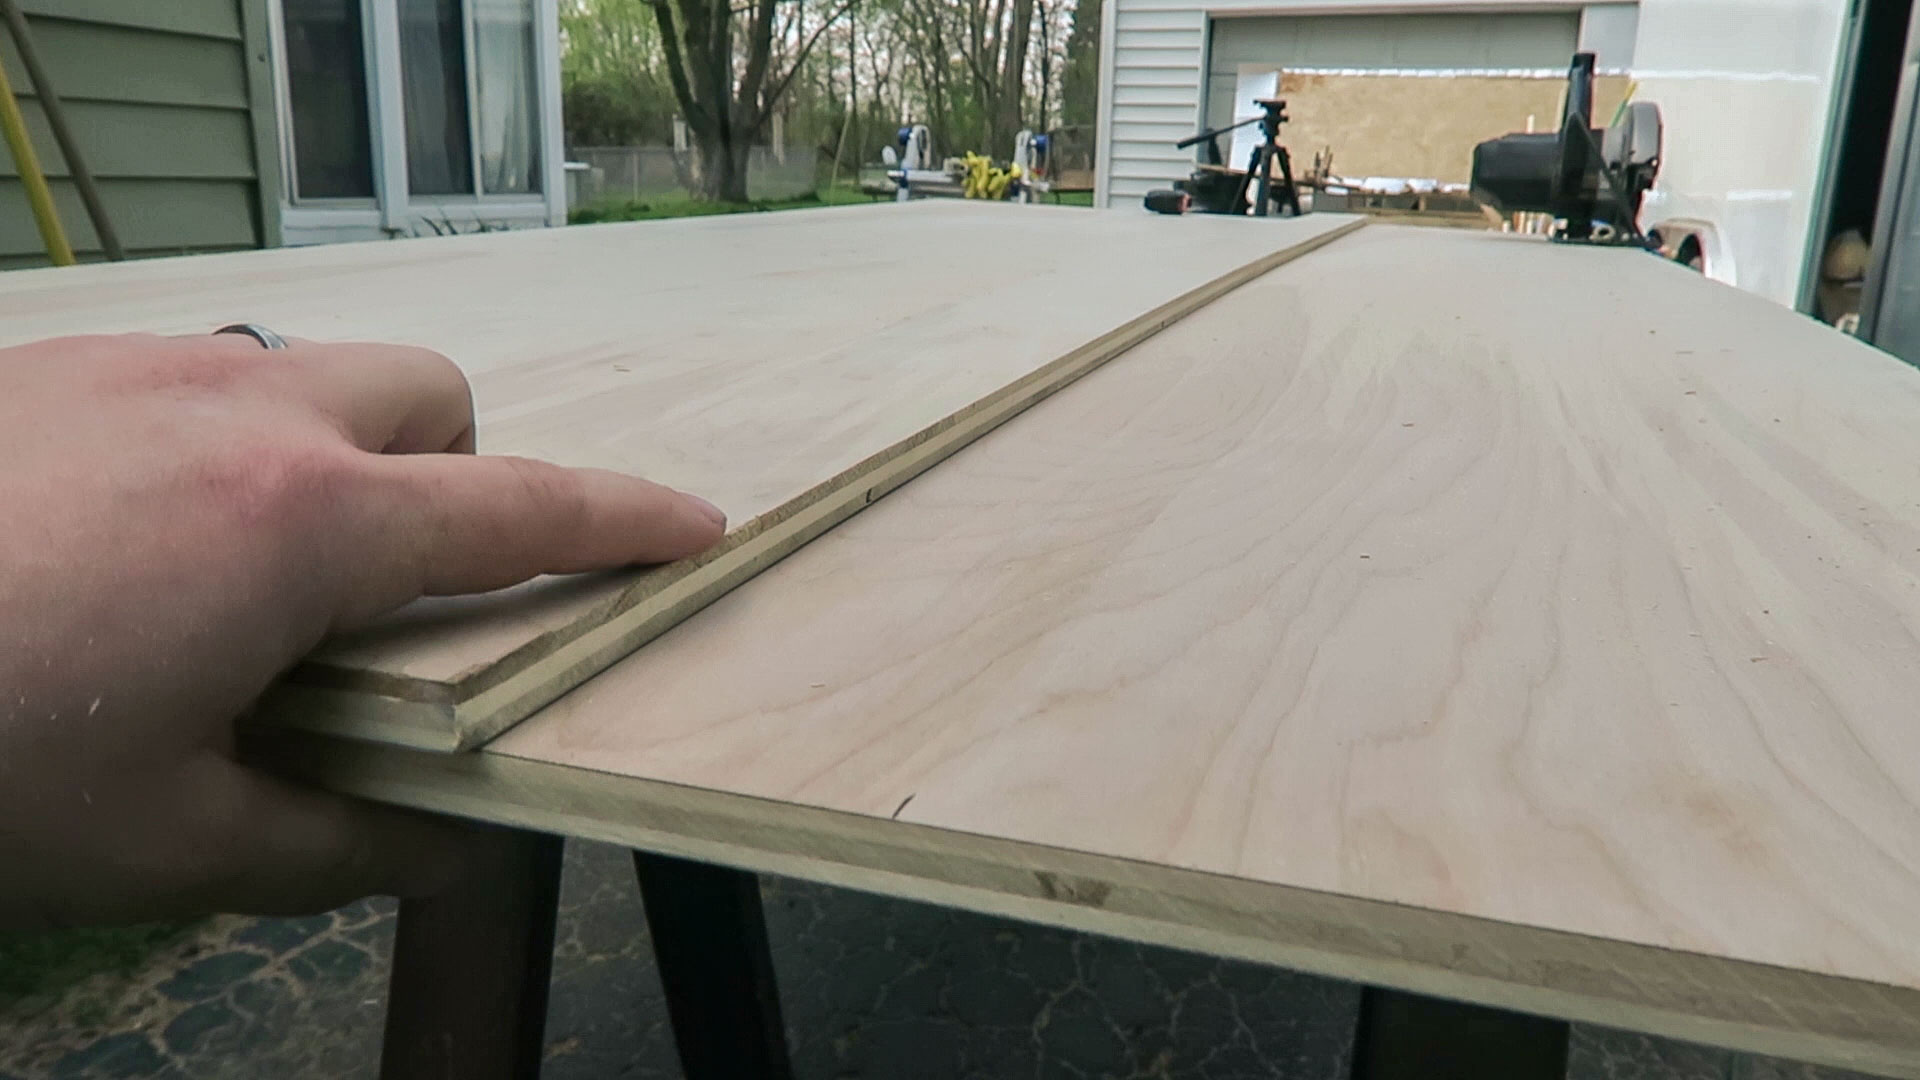
Because the factory edge is straight it is the most important part of this track build. But it’s only half of the circular saw guide and we still need a base for the saw to ride on. I used the factory edge as a guide clamped to the rest of the plywood to cut off another strip. This time it was about 9” or so wide. I clamped it down on both sides.

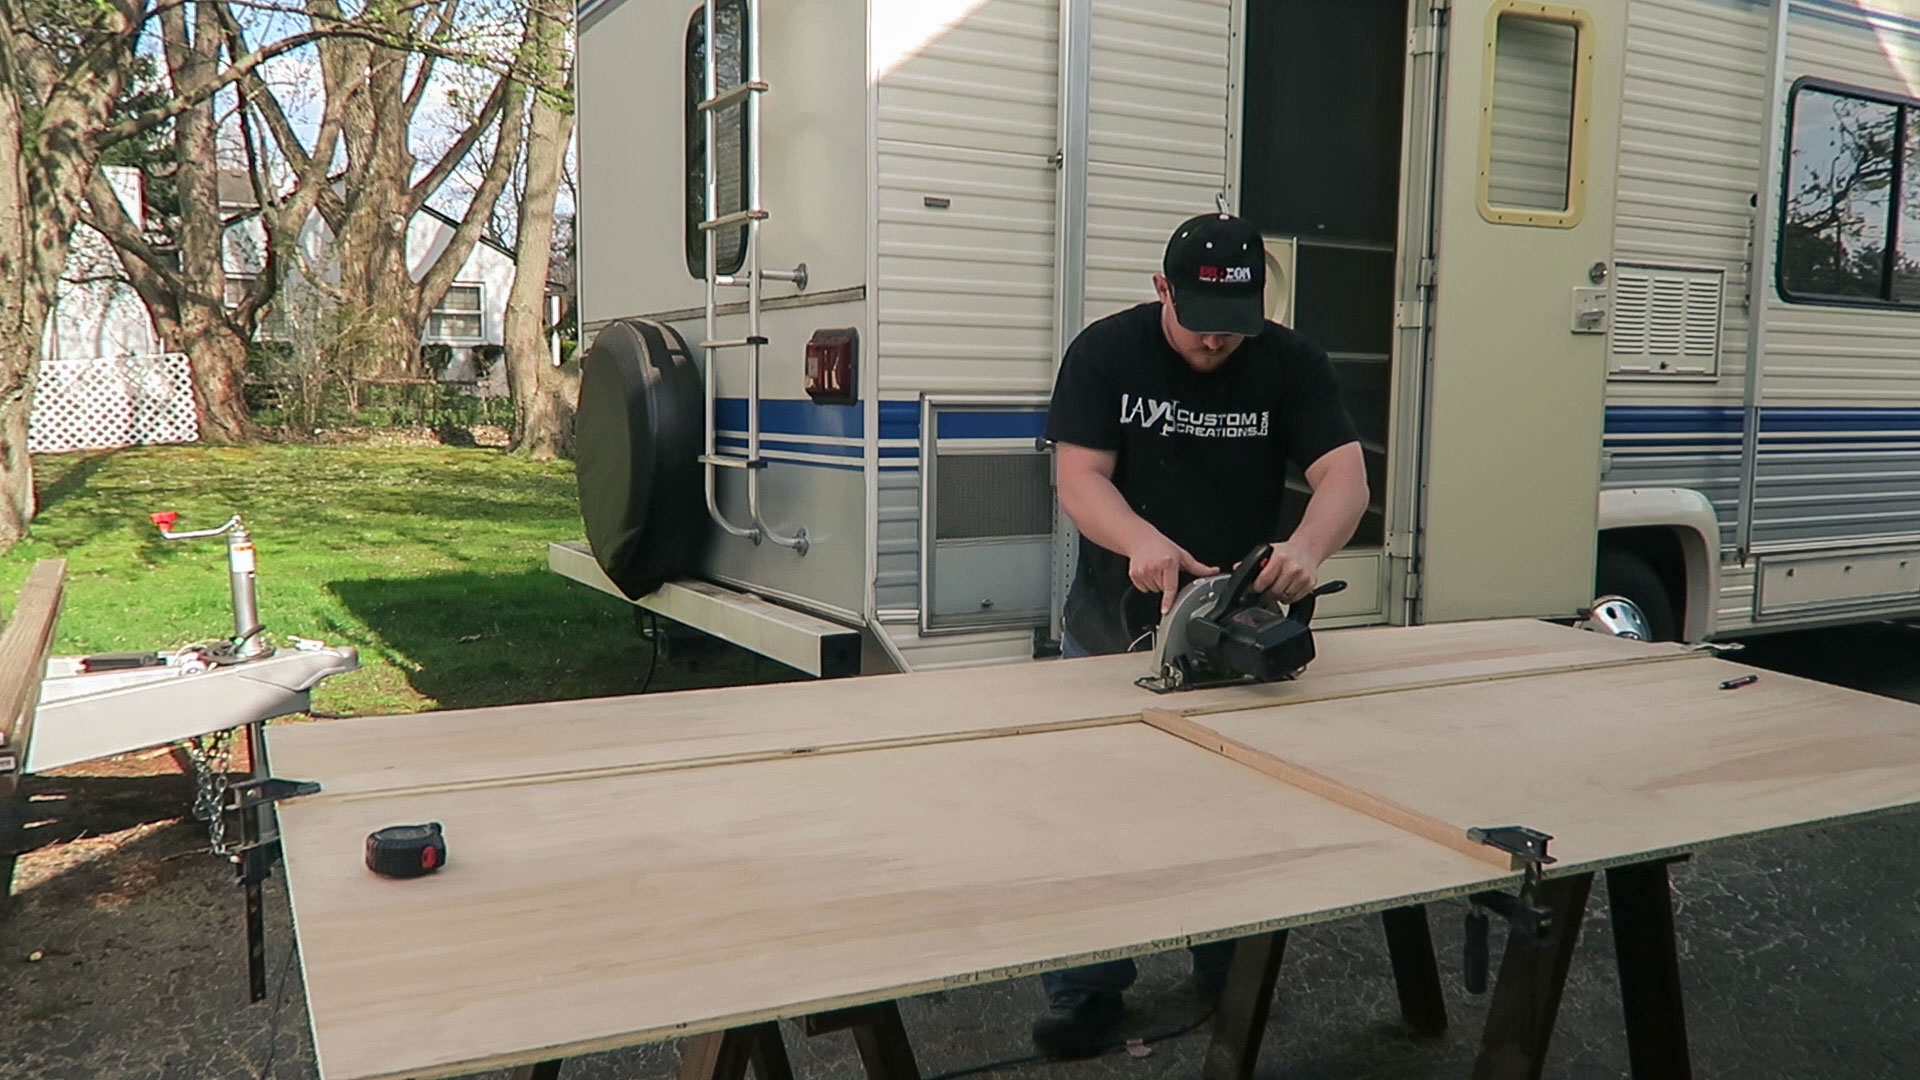
With the first strip clamped down and ready to be used as a reference fence for the circular saw I noticed there was quite a bit of flex as I pushed on it in the middle of the panel. To stop this flex I clamped a scrap piece of wood in the center of the plywood pushing against the opposite side of the first strip.
Then with the saw tracking against the factory edge of the first strip I cut the 9” wide base strip.
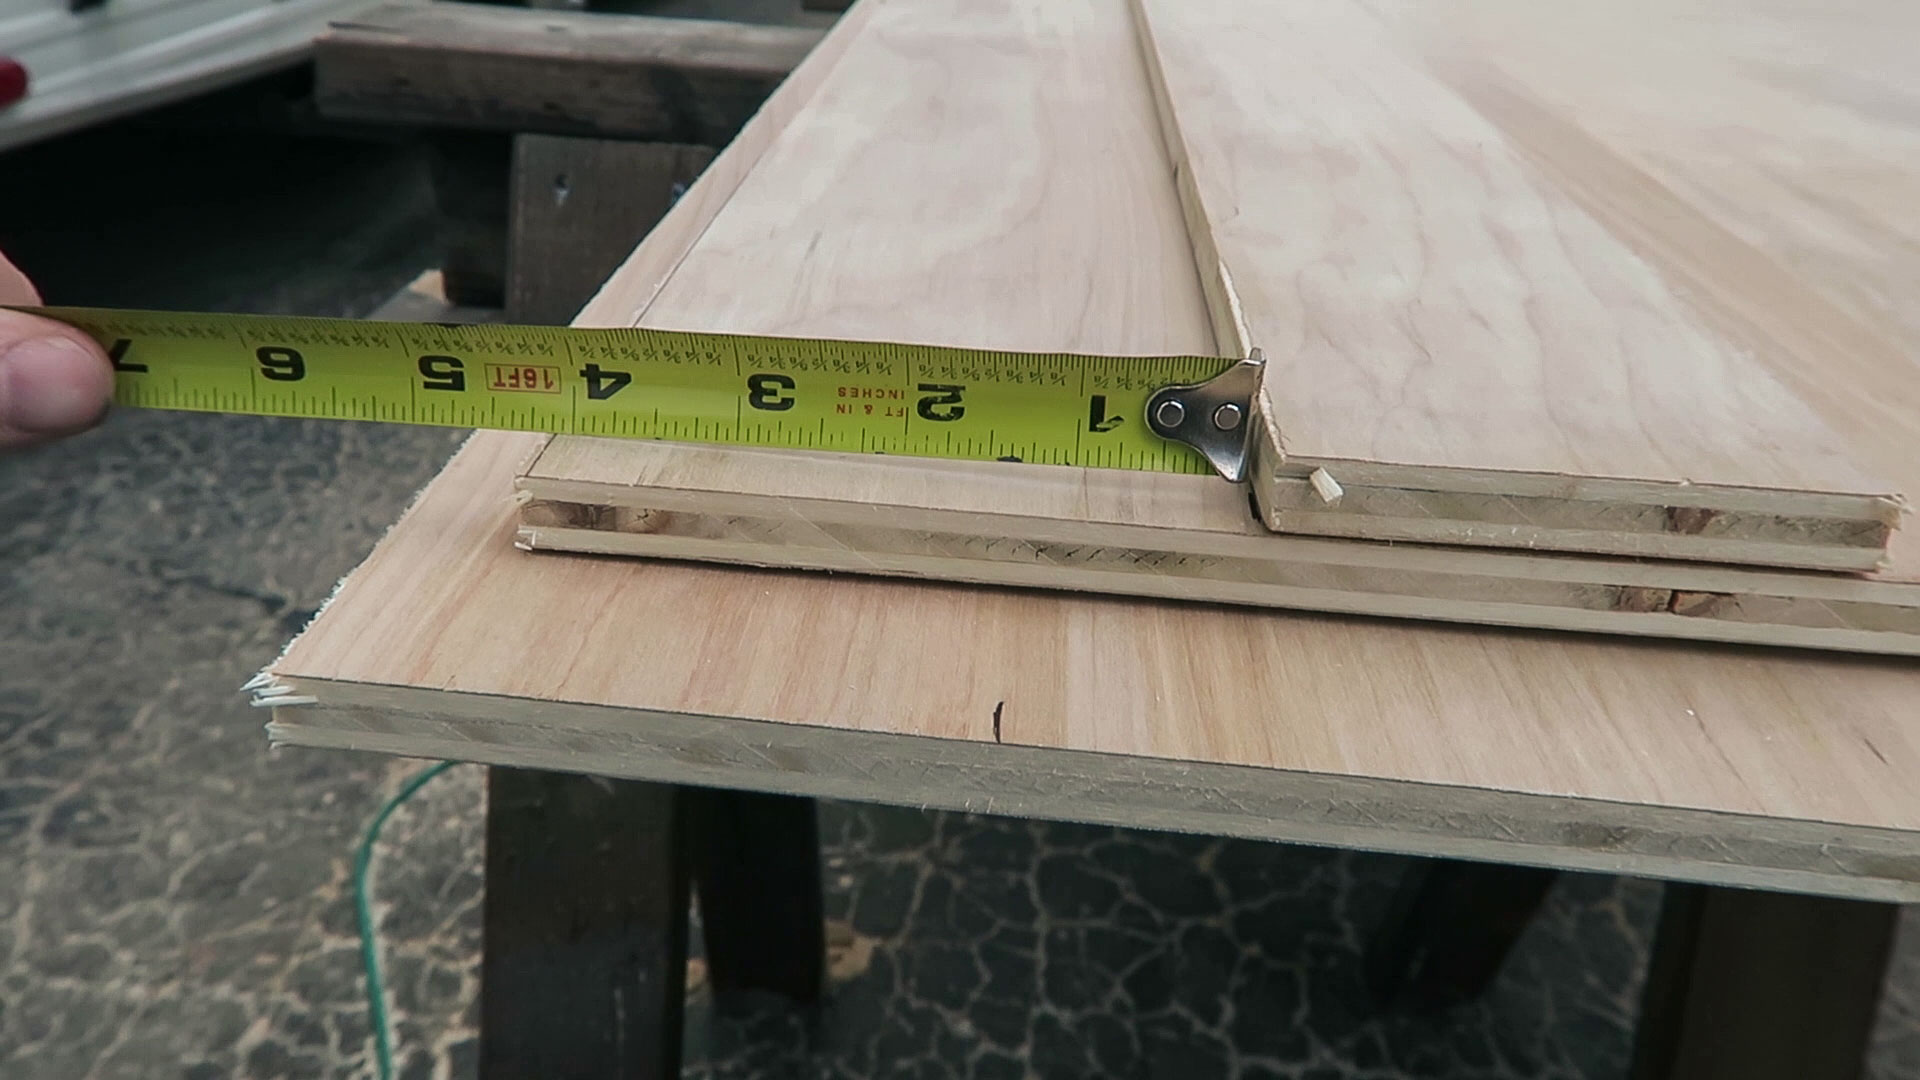
This is where measurements might be a little different from saw to saw. You may have to adjust your dimensions as needed. With the saw blade resting against an edge of the plywood I used a tape measure to determine that the distance from the furthest edge of the circular saw base plate to the blade was 3-3/4”. As I just said, this measurement will probably be different on different saws as there is no standard here.
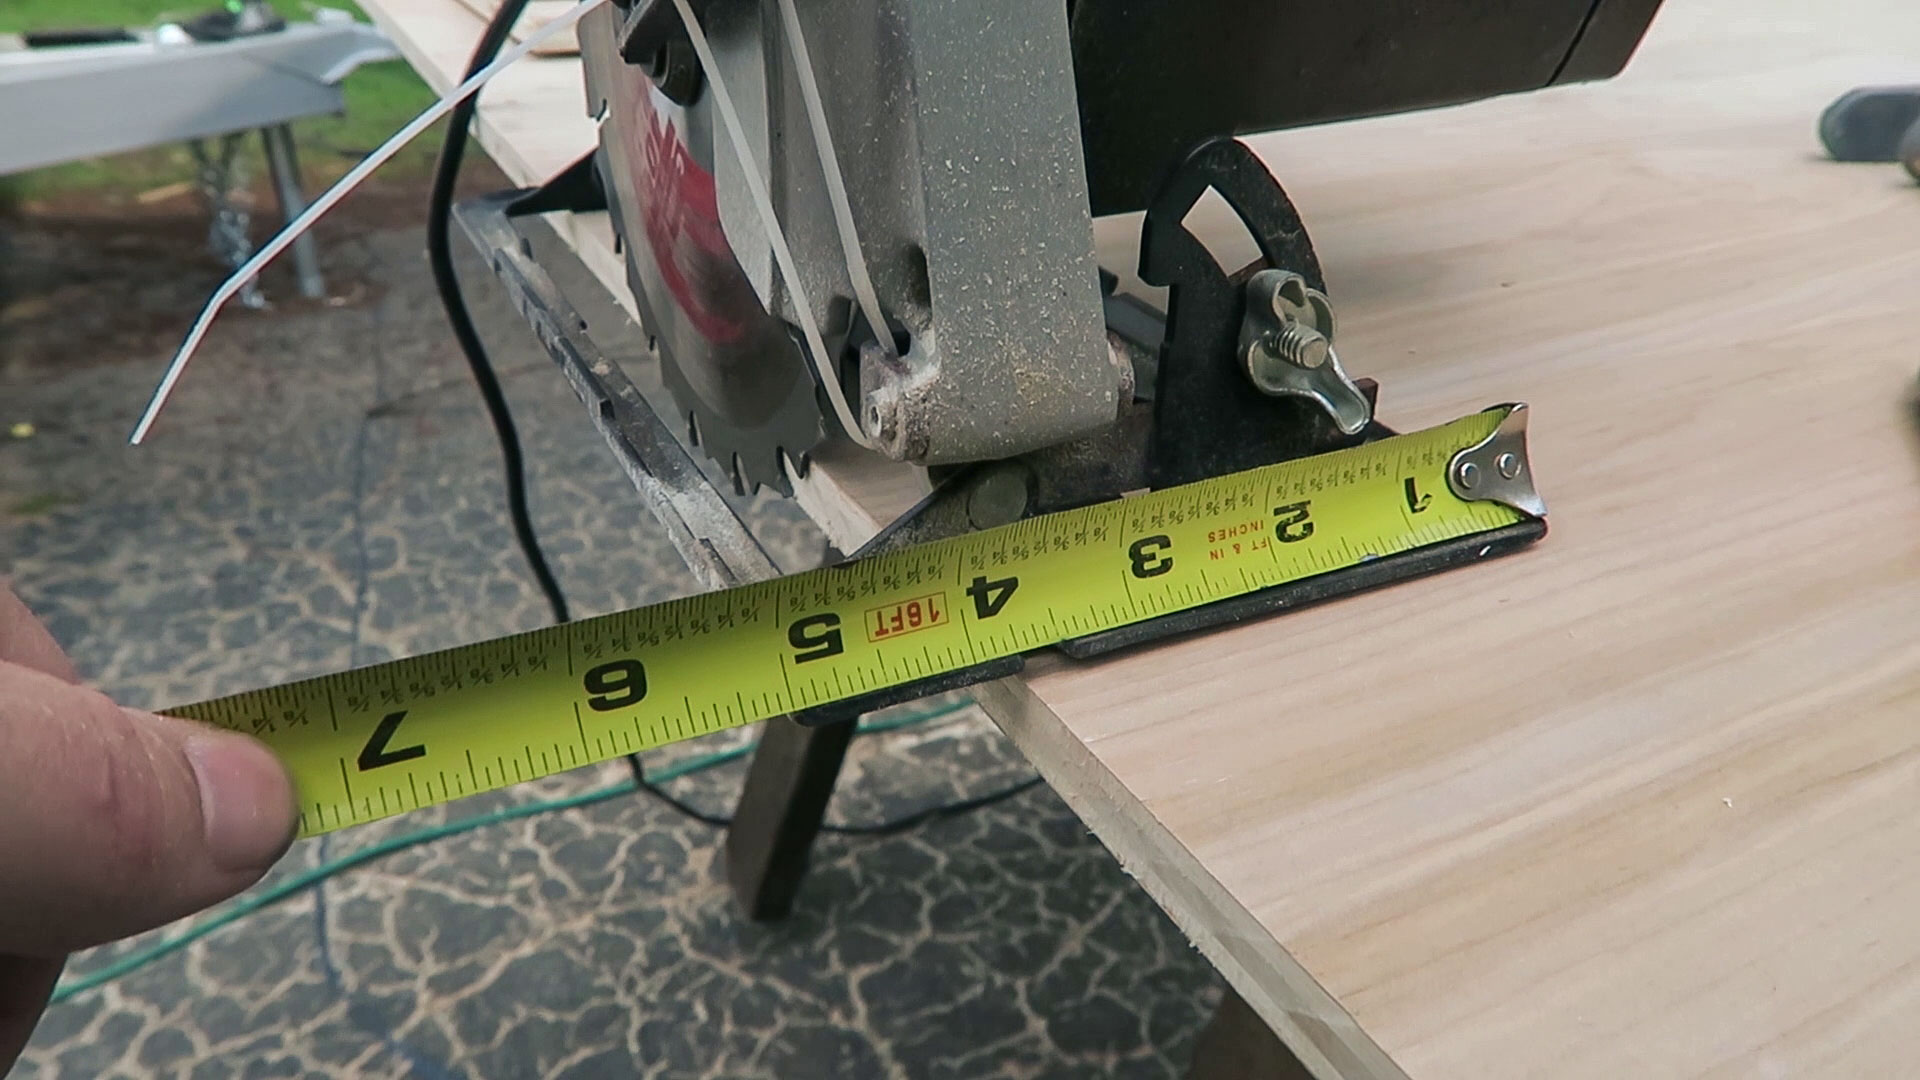
The first strip with the factory edge will be glued and nailed to the wider base strip but the factory edge needs to be just a little further from one edge of the base strip than the distance from the blade of the circular saw to the furthest edge of the saw base plate. So in this case I got it close to 4” on both sides and marked my base strip.
After adding glue to the smaller strip it is nailed to the base strip making sure it is on the reference lines from the previous step.
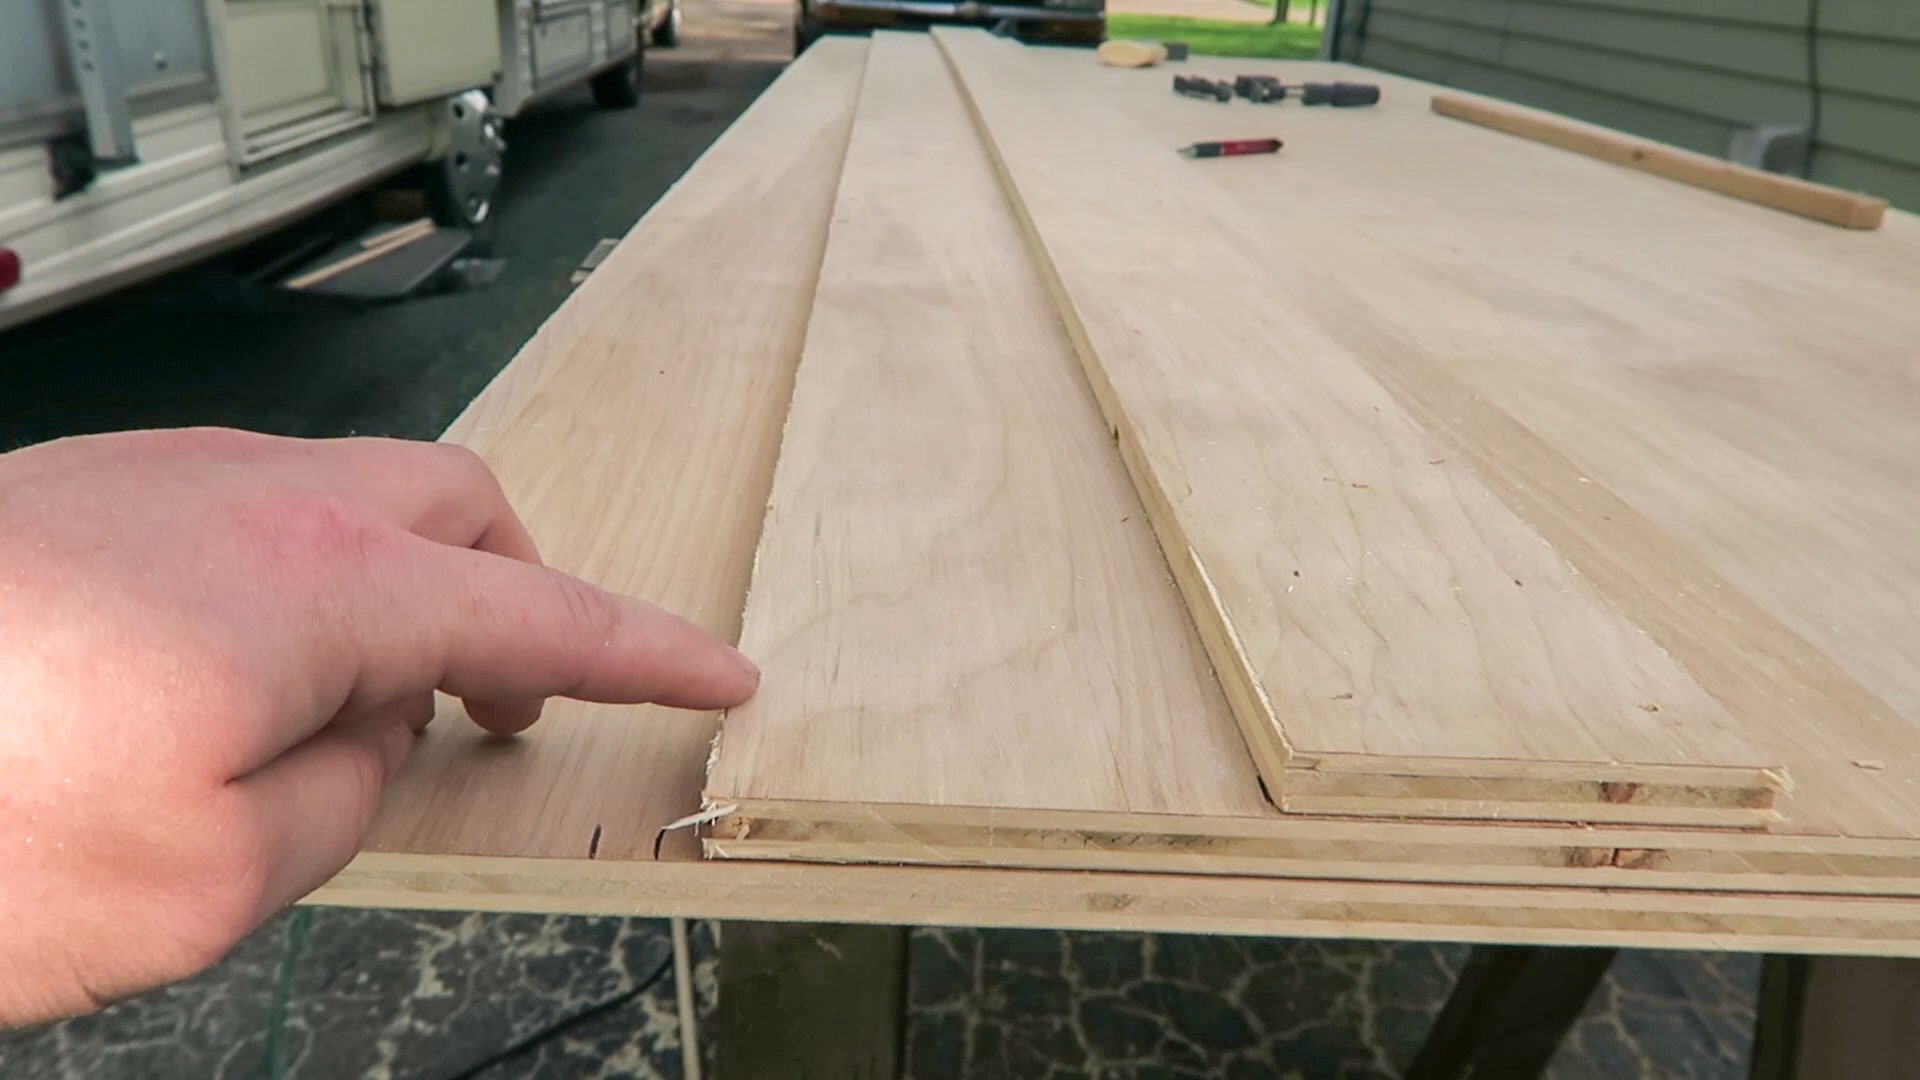
The precision of this jig comes from this step. Once the smaller strip is secured and the glue has had time to cure a cut is made with the circular saw referencing against the factory edge of the smaller strip. This establishes a zero clearance line for where the circular saw will cut every time you use the track.

We now know that the outside edge of the base strip is exactly where the circular saw will cut when slid across this track. To use it simply line up the edge of the track with reference marks on your material, clamp it down, and cut a perfect line every time. Remember that the circular saw blade itself will remove a little bit of material as well so it’s best to place the track on top of the material you are cutting to length and not the offcut of your material.
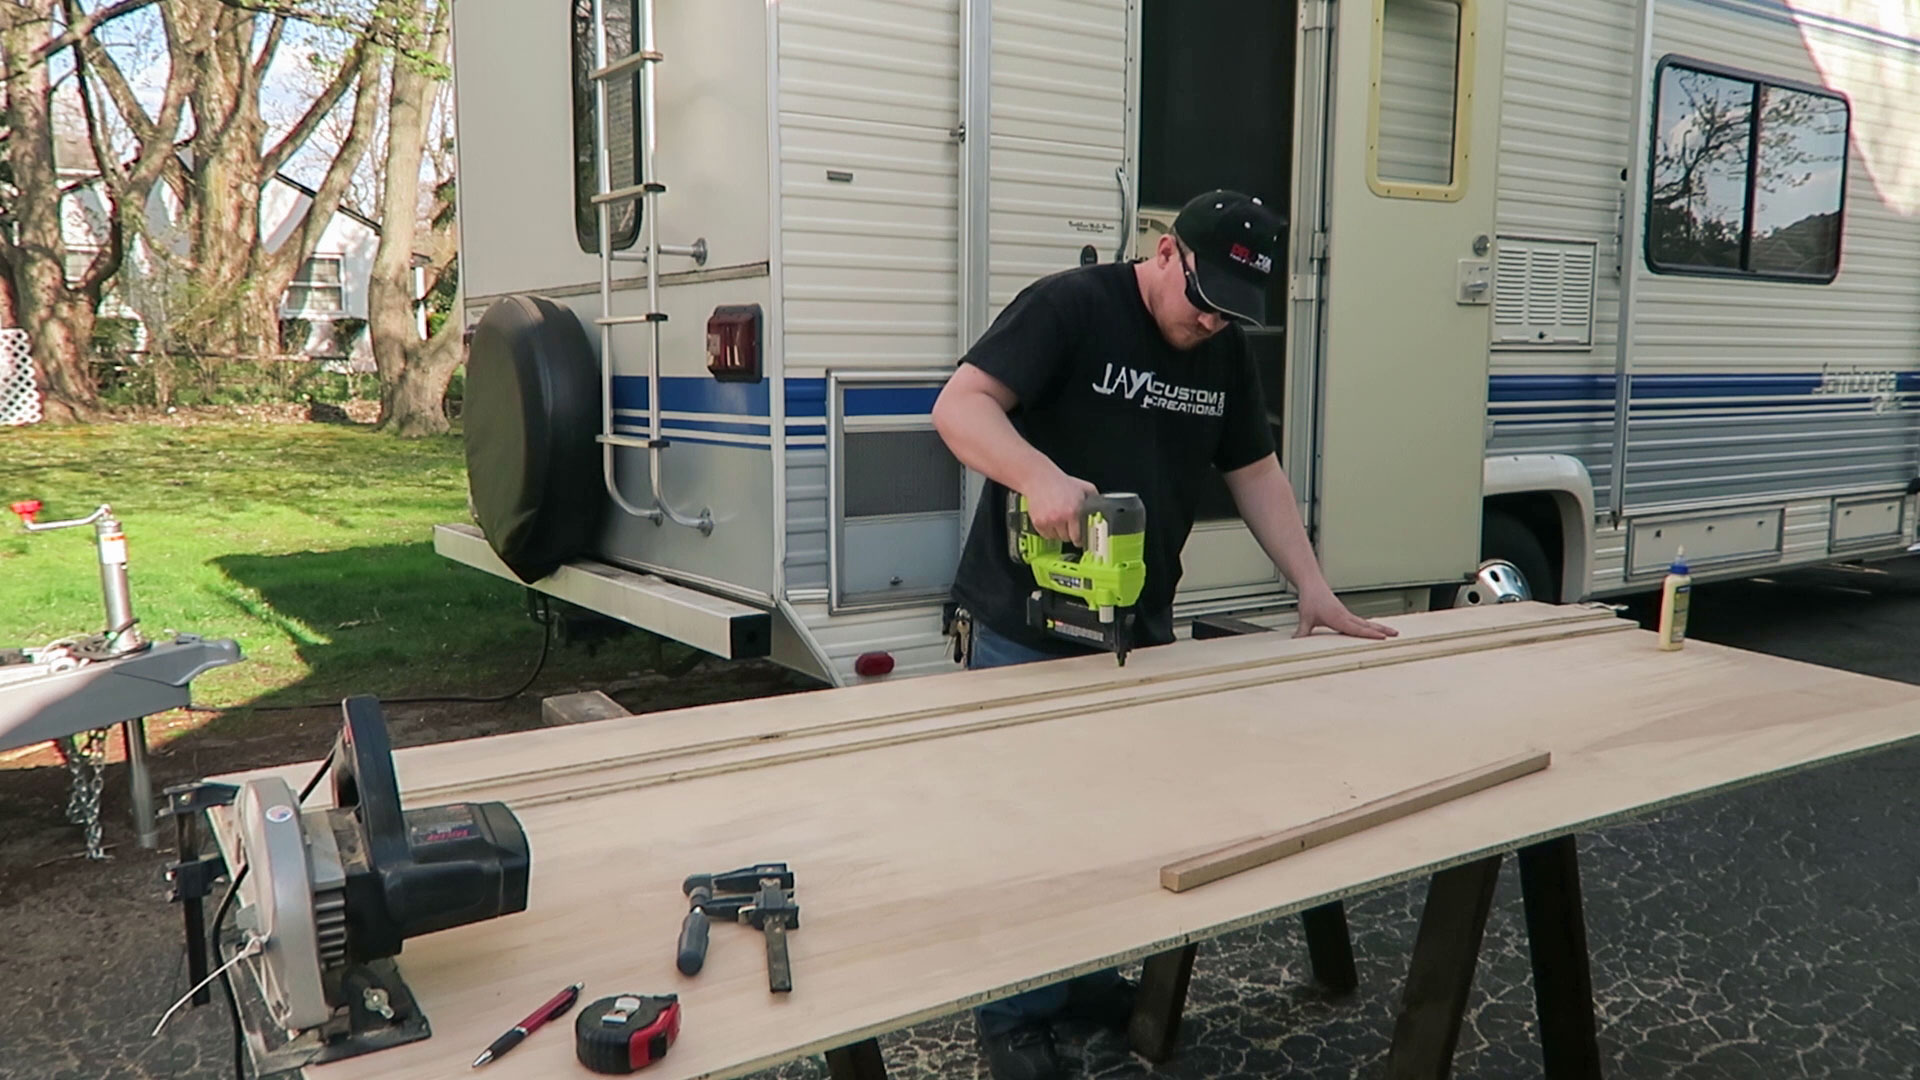
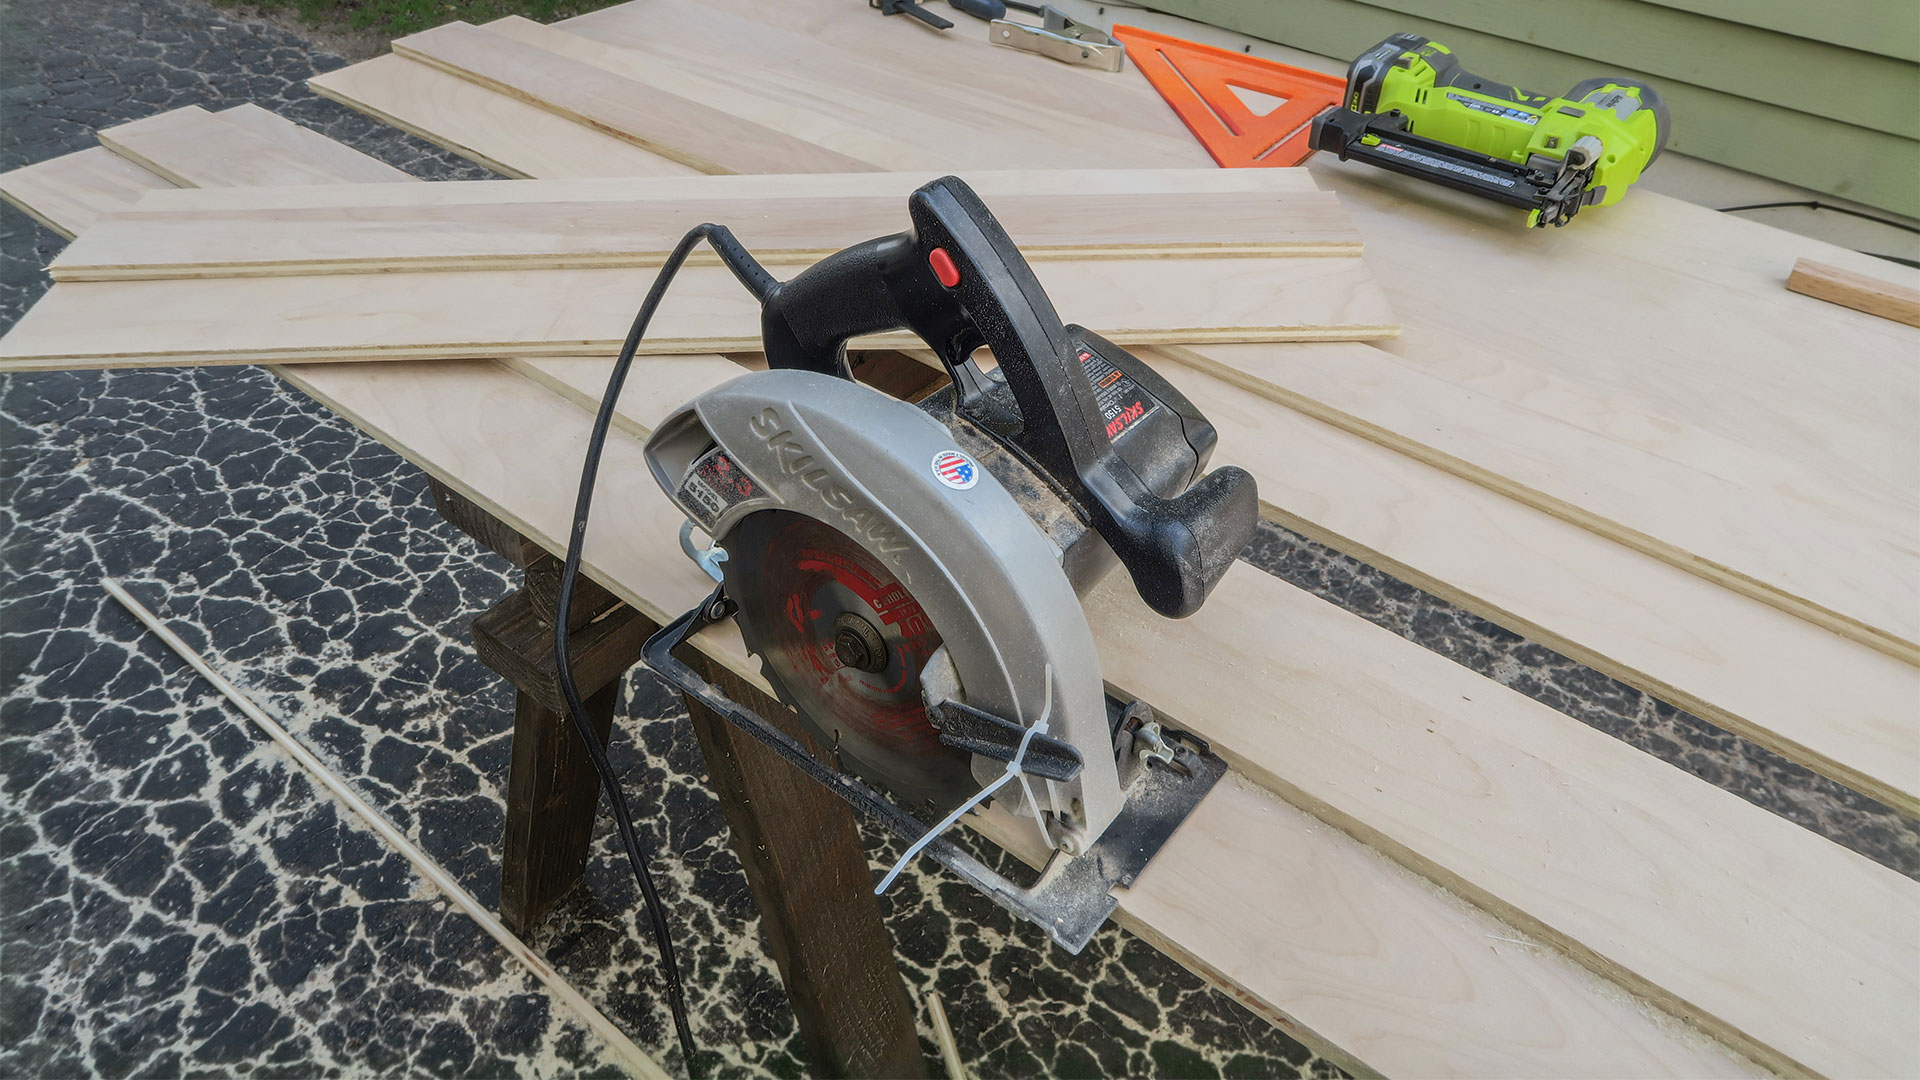
Having an 8′ track like this is incredibly handy for cutting down sheet goods. But it can be a bit cumbersome at times if you need to make precision cuts on smaller pieces like a 3′ x 3′ sheet. For that reason I made a second 8′ track and cut it into 5′ and 3′ sections. As I’m writing this I’m back home in Mississippi but I know if my brother needs to make a few perfectly straight cuts he’s got the tracks to do so.
This is by no means my invention or concept. People have been doing this for years and years and pinpointing the origin of the track is probably impossible. I’ve already got a track of my own so I never thought I would be making a video like this but due to the circumstances of being out of town and actually knowing someone who needed one it seemed like a good project to share with everyone else. If you enjoyed this article you might enjoy some of the other 400+ articles I have on this website. Feel free to browse around and hopefully find something that will be useful to you and sign up for my email newsletter so you don’t miss any new content. Thanks for stopping by and have a great day.


Hi Jay, I like this video showing how to make the saw guide and other jigs on the work site. Even in the workshop guides like these are handy for breaking down sheets to a manageable size, specially heavy MDF…Yuk I hate the dust from that stuff :-( I’m thinking of making a simple sawbench similar to what you have there as a second machine in my workshop as well.
A more substantial version of a circular saw sawbench is shown on Matthias Wandel’s woodgears.ca along with plans and some very good safety tips. As both you and Matthias say this is not a setup for a first time woodworker to use without guidance from someone who is much more experienced using saws like this.
The most important points to remember is to keep the fence parallel to the saw while ripping and to use push sticks on anything less than 100 mm (4 inch) wide. Never cut small pieces without a larger support behind it and NEVER cut freehand. I’ve had a full size 1/2 inch sheet kickback trying to do that, luckily it only ruined the sheet. As a Joiner/ Cabinetmaker for over 40 years I can proudly say I can count to ten on my fingers (not 9 1/2 or less) from following these “rules”.
This is very nice.. Good idea :-)
here’s my solution to get rid of those zip ties on the circular saw…works awesome. self tapping screw inset partially allowing the guared to slide past it when pulled out a little and the screw holds the guard open. when you want to close the guard just open slightly move around the screw and close.
https://www.pinterest.com/fradchy/circular-saw/
One of the nice things about this sort of shop jig is that you can use the opposite side of the jig for your router. It’s very specific to one size straight router bit, but it works great for jointing if you don’t have a jointer, which I don’t.
Just thought you might want to know that this got lifted by the Harbor Freight Blog (which is a pretty ridiculous read most days): http://blog.harborfreight.com/how-to-get-perfect-cuts-from-your-circular-saw/7072/