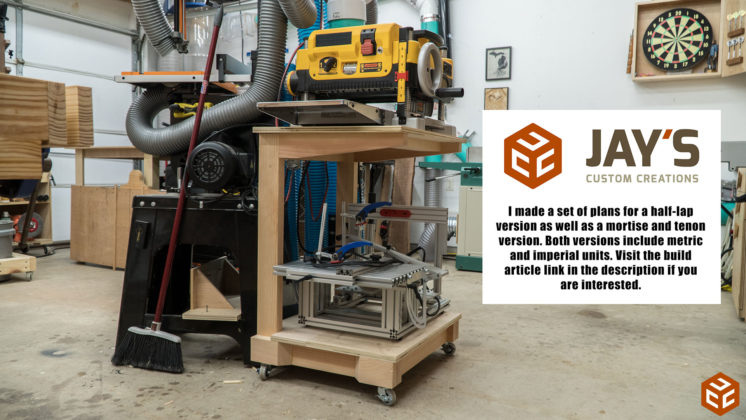
If you’re interested in a set of plans for this project I have them available in metric and imperial units for both a mortise and tenon construction as well as a half lap construction. Click here if you are interested in a set of plans.
I’ve made a few cantilevered carts in the past. All of which functioned great and didn’t use a lot of materials. In my last shop I made an air compressor/welder cart. In my current shop I made a rolling cyclone and shopvac cart, a computer desk, and a rolling cantilevered cart out of scraps for my planer. When I made my air cleaner cart the previous cantilevered planer cart got passed on to someone else to save space.
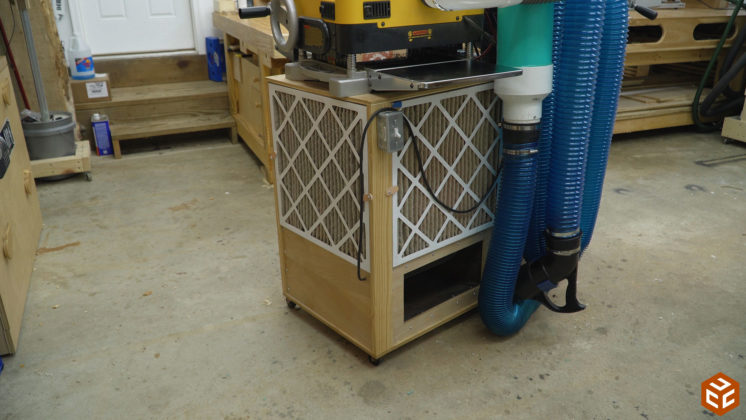
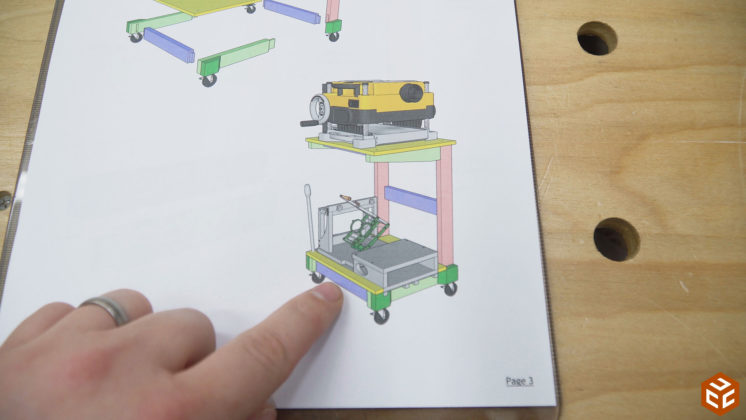
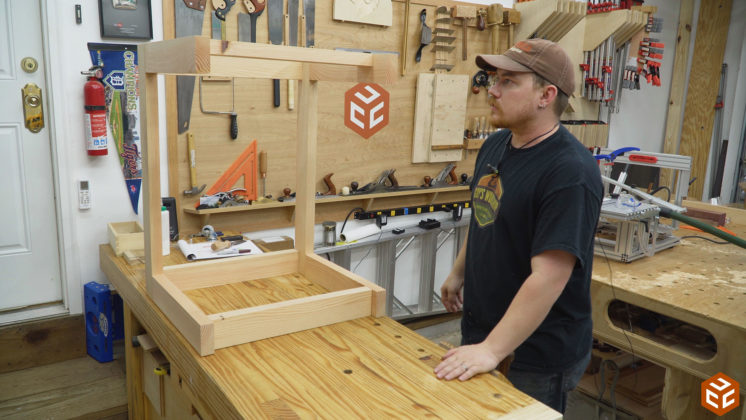
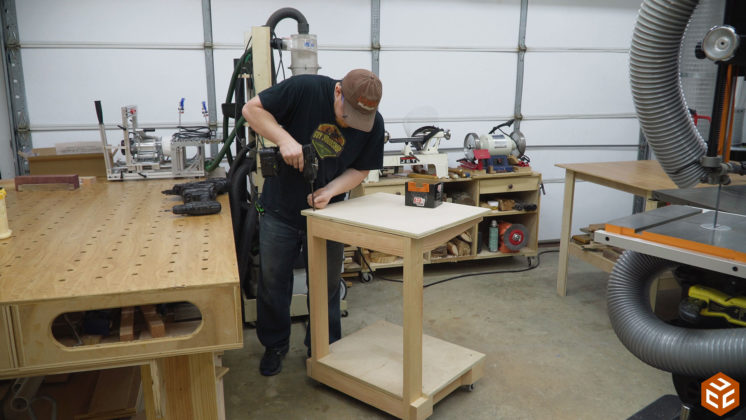
As you probably know, I change my shop around a lot. There’s always room for improvement and if a layout change doesn’t work I simply move it back. The main thing is that it is continuously improving. My most recent layout change happened about the same time I got a new benchtop tool. With the need for one more tool storage location and my air cleaner cart not being in an optimal location I decided to make a new cantilevered cart for my planer. Something that would allow room for storage below and allow me to place my air cleaner cart in a more optimal location.
The design I came up with is pretty simple. Nothing in the front to reduce access for the tool below. The tool I want to store below is the Hybrid Pantorouter. It’s an interesting machine and I’m only scratching the surface of its potential with this build. I’ll use it for the mortise and tenon joinery for the cart. The tool makes for really quick mortise and tenon joinery but like any area in woodworking there are a lot of other options to get the job done as well. Don’t think that you NEED an expensive tool to cut mortise and tenon joints. I previously made a mortising edge guide for my plunge router that is a very handy and much lesser expensive option. It’s similar to buying a sports car. You don’t NEED a sports car to drive to the gas station. But if driving fast and having more features is what you prefer than by all means get a sports car :)
To start the build I used my planer to skip plane the 2×4 boards to the same size as my SketchUp model. This removes the rounded corners and gives me flat and relatively square (not perfect) stock to start with.
At my miter saw station I batched out all of the parts to their final length. My miter saw station has been one of the most rewarding builds I’ve ever done. Not only does it do a fantastic job at organizing almost all of my tools but having a dedicated stop block system with a lot of material capacity is very convenient for my workflow.

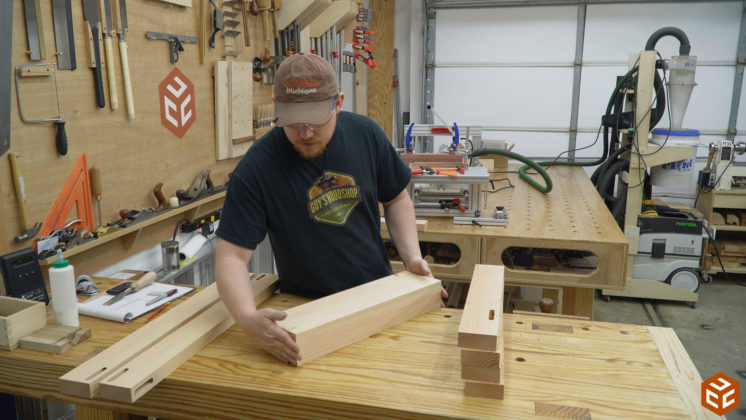
With all of my pieces milled and cut to their final length I took the time to layout each and every joint. This is important for me because as I break down my original mock-up and start working with each piece individually I have a bad habit of getting confused and messing up where I need to cut each piece.
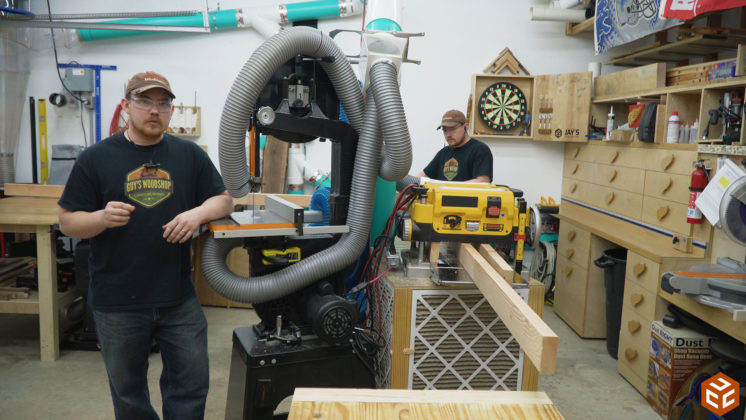
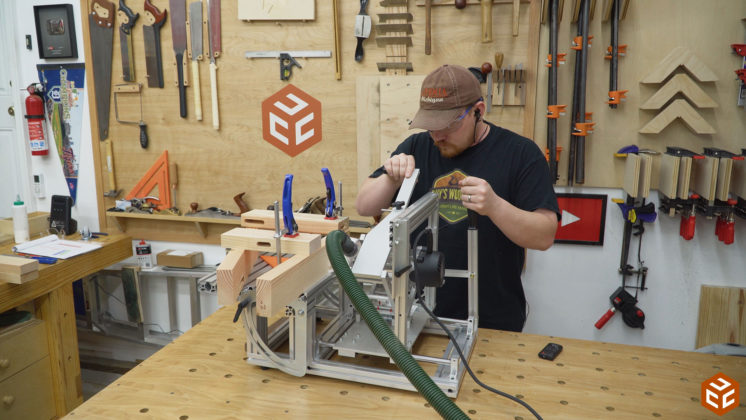
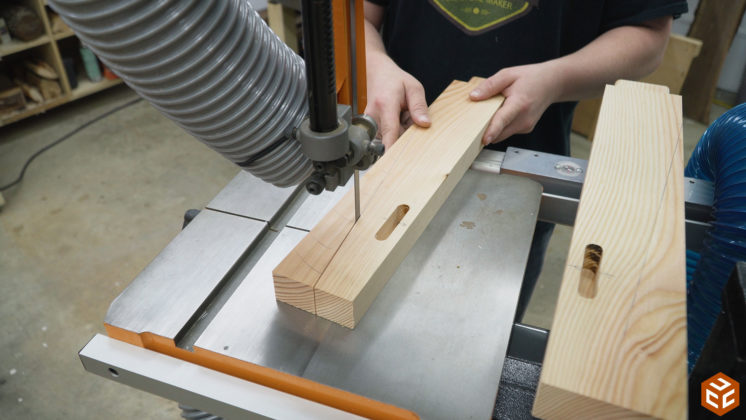
The mortises are cut first with this machine as their width is a constant. It’s determined by the diameter bit that is being used.
Batching out all of the mortises is pretty quick once the template is set up and centered appropriately. For the mortise cuts the dust collection is very, very effective.
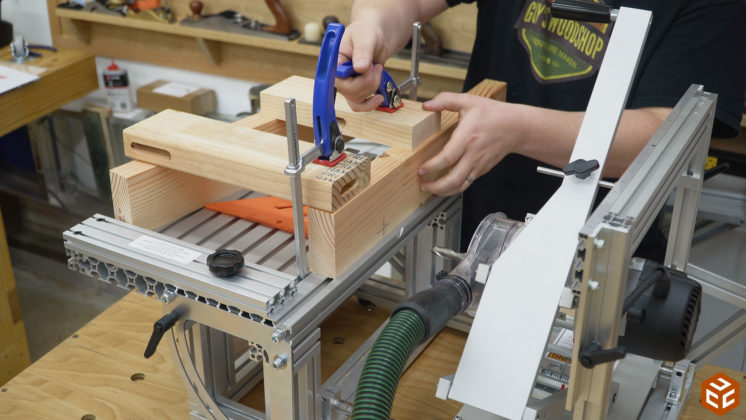
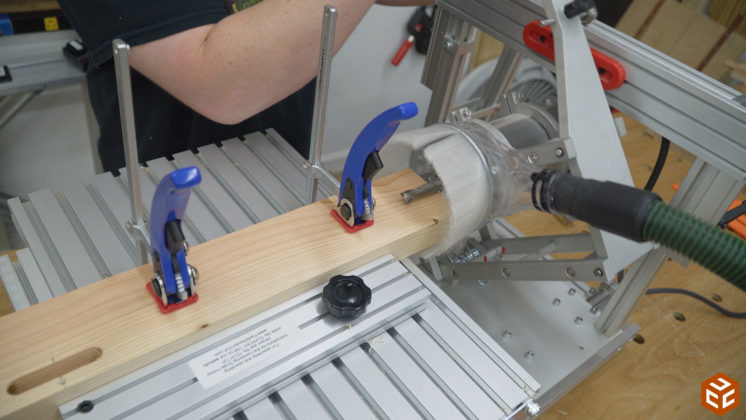
Now that all of my mortises are cut I can start on the tenons. And just like with the original mock-up, it’s important to have all of my tenons marked on each board. There are two length tenons in this build with some pieces having tenons on both ends and some pieces having tenons on one end. That makes it very easy to accidentally cut a tenon where it is not needed while batching out all of the joints.
Using the table, centering fence, and two stop blocks on the router carriage makes batching out the tenons quick and easy as well. I noticed with the tenon cuts that my dust collection hose doesn’t have a large enough diameter and kept getting clogged. I need to find a better hose for the machine.
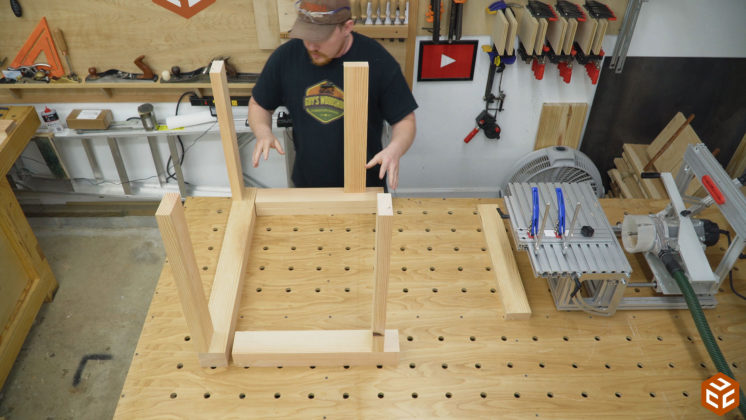
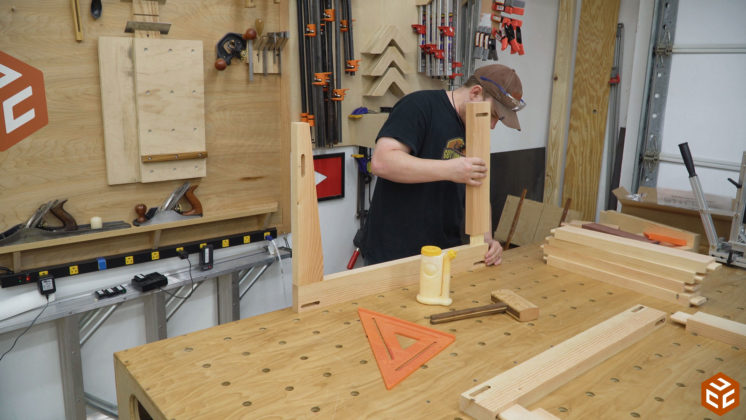
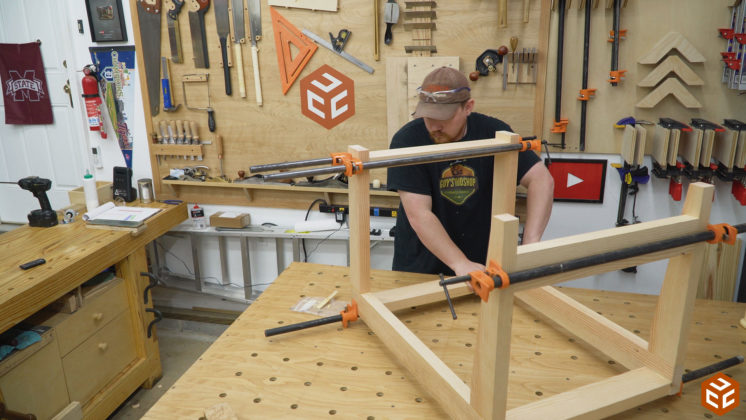
At this point I was pretty impressed at how fast the build was progressing. Before gluing any major assembly it is a wise idea to do a dry fit to make sure all of the parts are fitting as expected.
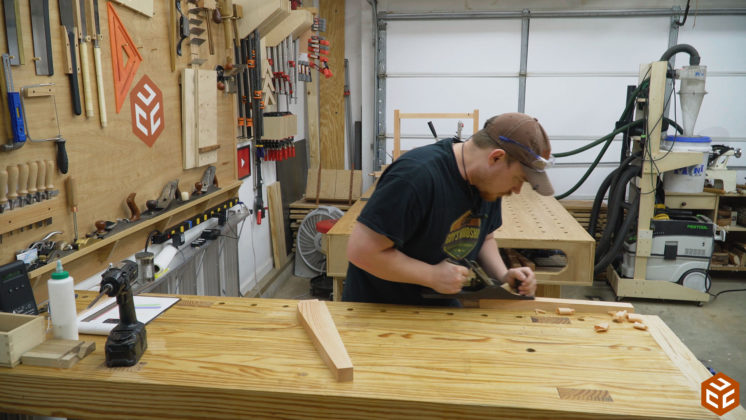
I wanted to reduce the thickness of the upper horizontal pieces a bit and give the project a little more refined look. A simple taper at the bandsaw makes a huge difference.
A hand plane will quickly remove the bandsaw marks without stirring up any dust.
Finally the glue-up can take place. Starting with the two side assemblies.
Followed by attaching the side assemblies with the horizontal left-to-right pieces.
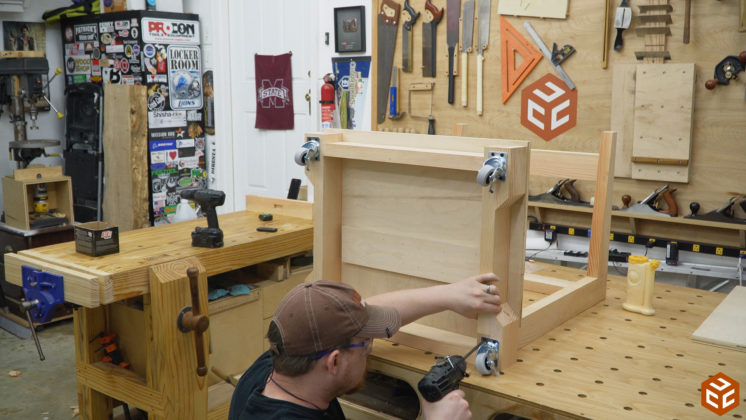
To make the cart mobile I bought a set of 2” casters. The mounting space on bottom wasn’t quite large enough for the caster though.
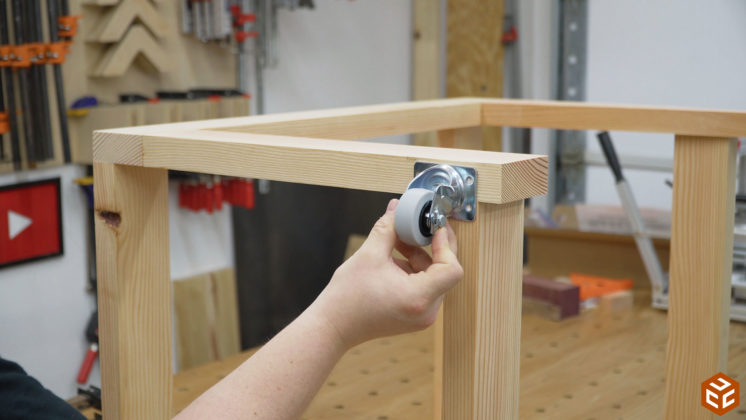
To solve that I cut four blocks from the same material stock I was working with and glued them to the side of the lower pieces.
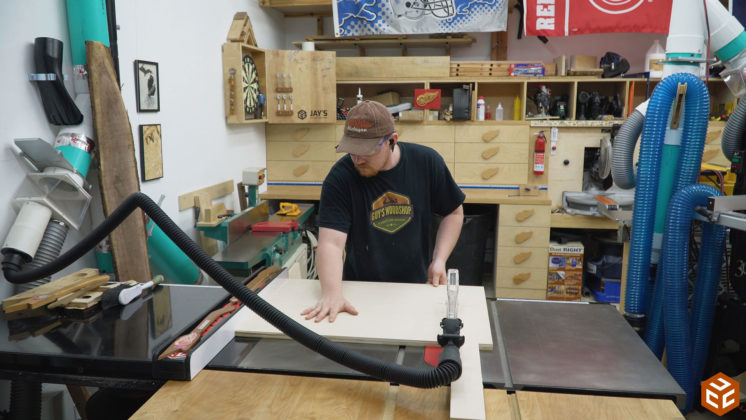
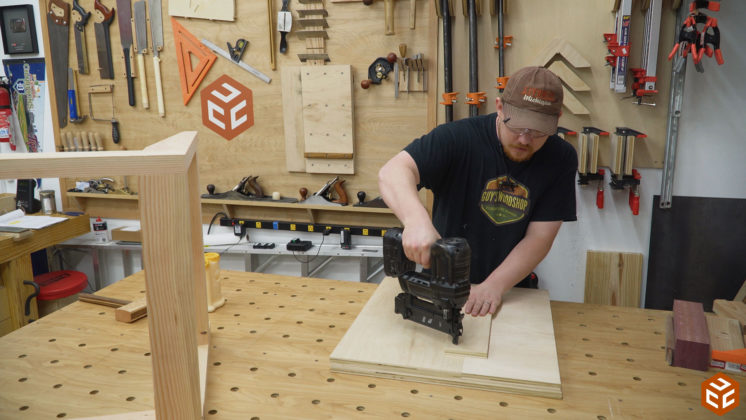
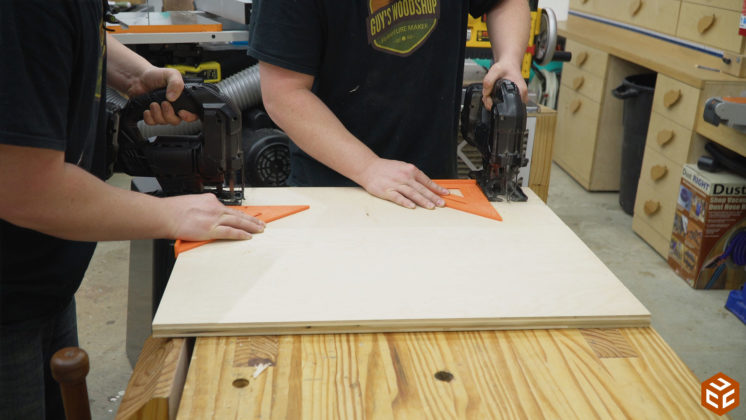
I used leftover plywood for the top and bottom shelves. 1/2” plywood is more than strong enough for this cart but I had 3/4” on hand.
In the effort of using up what I had lying around I made the bottom shelf in two pieces. Another scrap piece glued and nailed to the bottom side of the joint made the two pieces into a single panel.
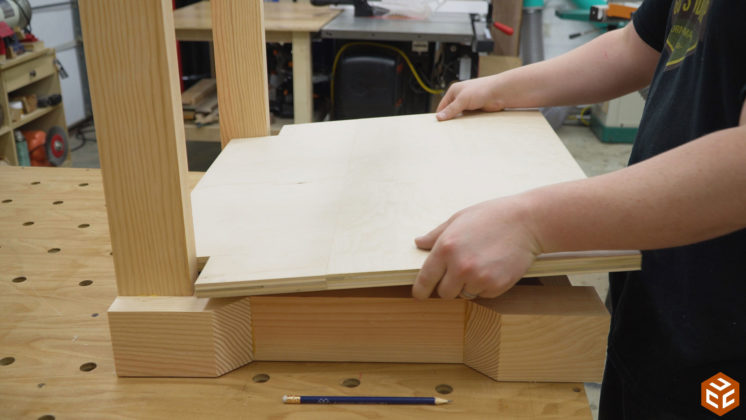
The lower shelf has to be notched out in the back to fit between the vertical frame pieces.
Four screws will secure the bottom panel.
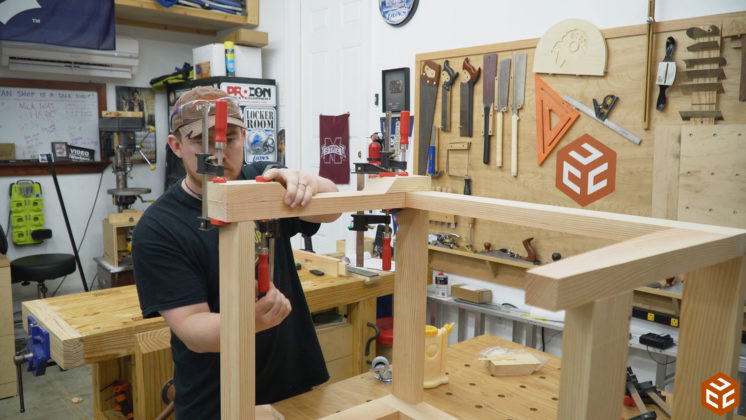
The top shelf will be easier to install with the cart on the floor. At this point the casters can be installed. You can see how much more material is provided by the glue blocks.
Again, four screws to secure the top panel.
With the new cart essentially done I transferred the planer to the new cart and removed the casters on the air cleaner cart. This is much easier to reduce the cart height than cutting a couple inches off of the top.
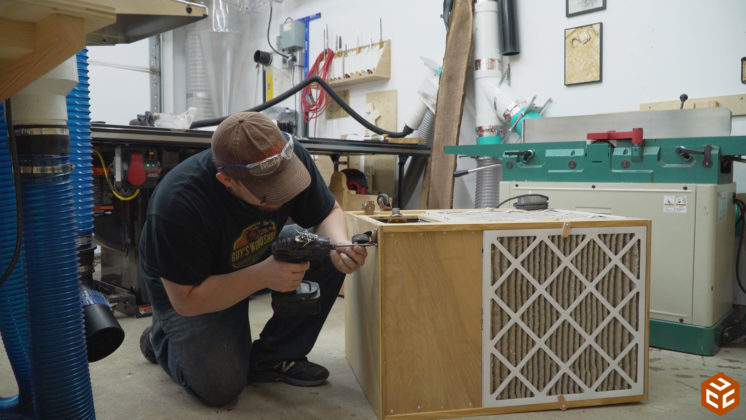
It happened to be a perfect size to fit under the table saw wing. That’s exactly where I wanted it as well. A good use of that space.
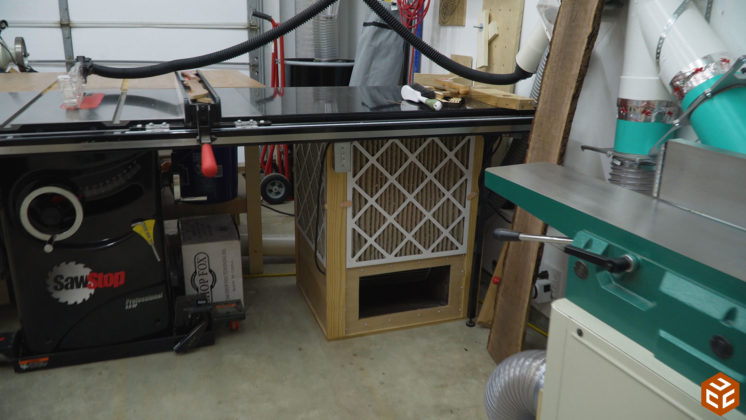
And finally, the new cantilevered cart is in place and I love it. The cantilevered design allows for unobstructed access to the tool below and not having an enclosed cabinet allows your line of sight to be increased making the space feel a little larger.


As always, a great video thoroughly explaining the build and tips. The mortiser is a great time saving machine and is right for people whose time is money but, it still can be made with hammer/mallet & chisel.
The shop layout looks really good Jay and a happy shop is a happy Jay ????
Do you have more info on the mortise and tenon machine?
This is call a pantorouter and you can find more info on https://www.woodgears.ca/ Matthias Wandel you can build it yourself or buy an already made one
I would also be interested in details about your mortise/tenon machine. I’ve seen Matthias’s machines, but this seems like a nice solution with the aluminum extrusions.
BTW, great channel and enjoy watching!
I see all your video. I think you are great.
Can you write me the model of saw of the last video
Thank you
Being one who almost always over-engineers a design, I would have braced the arms and the legs to take some pressure off the tenons and to provide more to support the weight of the planer.
Absolutely stunning work boys, I’m a longtime fan and I’ll take this opportunity to thank you for the entertaining, useful posts and congratulations on the excellent video as well. I was late for the chess board comments section but I actually went ahead and crafted one myself following your guide and it looks amazing (plus it was a blast to create). Thanks again and carry on!
I like the cart but am not set-up to do the mortise and tenon joints. Do you think I could use half -lap joints.
Of course you can use half lap joints. That’s why I created a half lap version of the plan.
Howdy, Jay. As I was watching this video I was wondering if you ever considered starting a discussion forum section on your website. It seems that quite a few folks have questions about various aspects of woodworking, your community of viewers is pretty knowledgeable and can help the newbies out. I know there are already forums out there, but so many folks already come to your site and it is set up quite nicely.
As to any concerns about the strength of this cantilevered cart, Matthias Wandel did a strength test of mortise and tenon joints, they performed wonderfully.
As was mentioned above, thanks for this video, it is great and I can see a lot of uses for a stand like this. I have one question. What do you believe the weight limit would be for the top shelf? I know that DeWalt planer isn’t light, but I am curious.
Thanks,
Dwain
I see you have a DeWalt DW735X >> Are there any ‘negative’ things about it? Do you think the DW 734 is a good choice being cheaper?
Also, do you have plans for the ‘air cleaner’ you moved under the Saw Stop?
THANKS good and entertaining videos.
Ray
Nice video. I love your professional work.