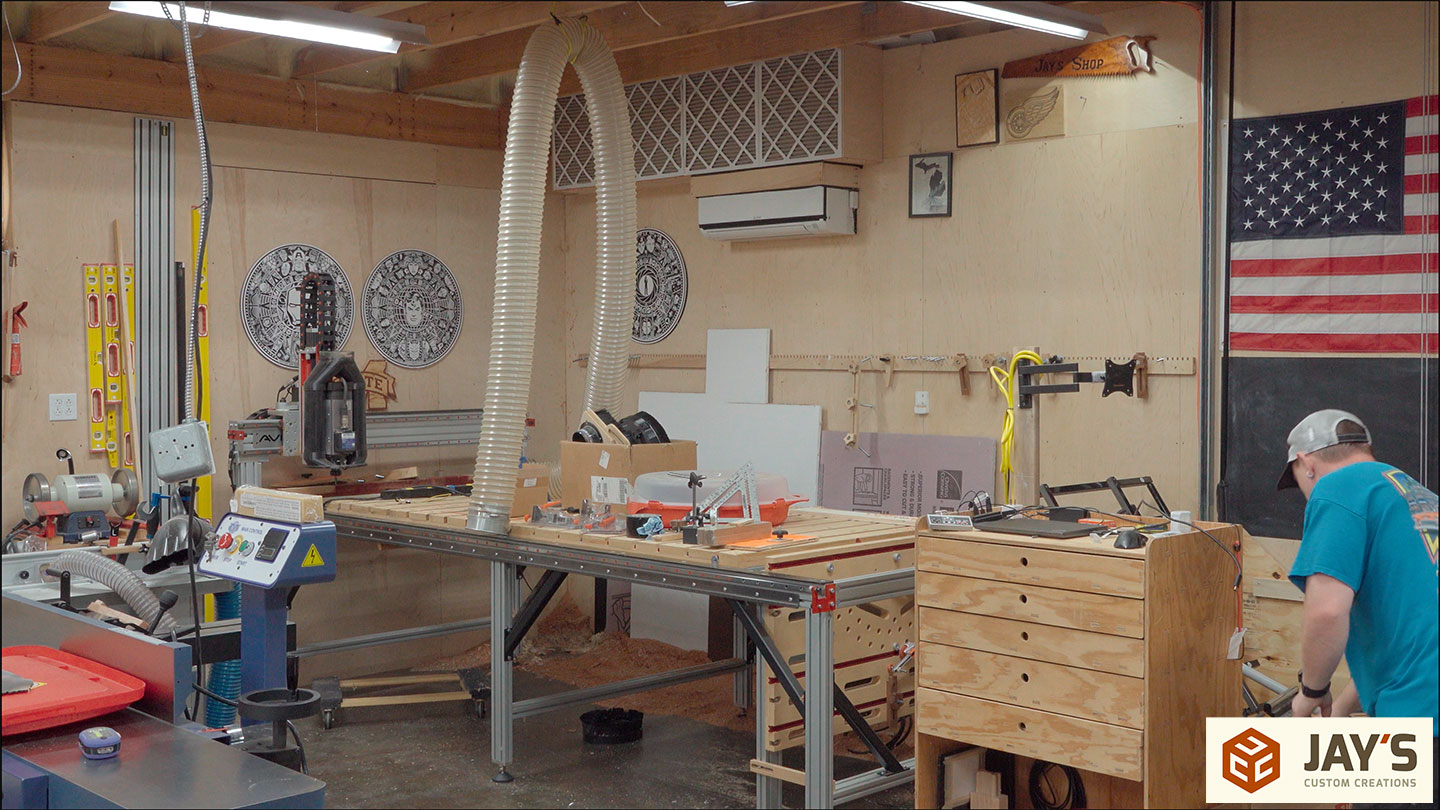
We sold our house and shop, so it’s time to move my Avid CNC machine. If you’re not familiar with the machine, it has a horizontal capacity of a smidgen more than 4′ in the X direction and 10′ in the Y direction. I added a vertical table to the front, which takes up some space, and a rotary in the back, which takes up space. The space in between is roughly the size of a sheet of MDF. The vertical table up front allows for EASY tenon creation, box joints, dovetail joints, and almost anything you can think of for integral joinery. It’s a VERY versatile setup that I don’t want to live without.
And I just sold it.
What? Why? Simply put, I don’t want to disassemble it, store it for a few months, and reassemble it. Storage space for our move is at a premium, and even disassembling it would take up a lot of space. I also don’t have the time to break it apart, label, and organize everything properly.
I will replace it in the new shop, though. Until then, know that an Avid 2.0 build will be coming soon.
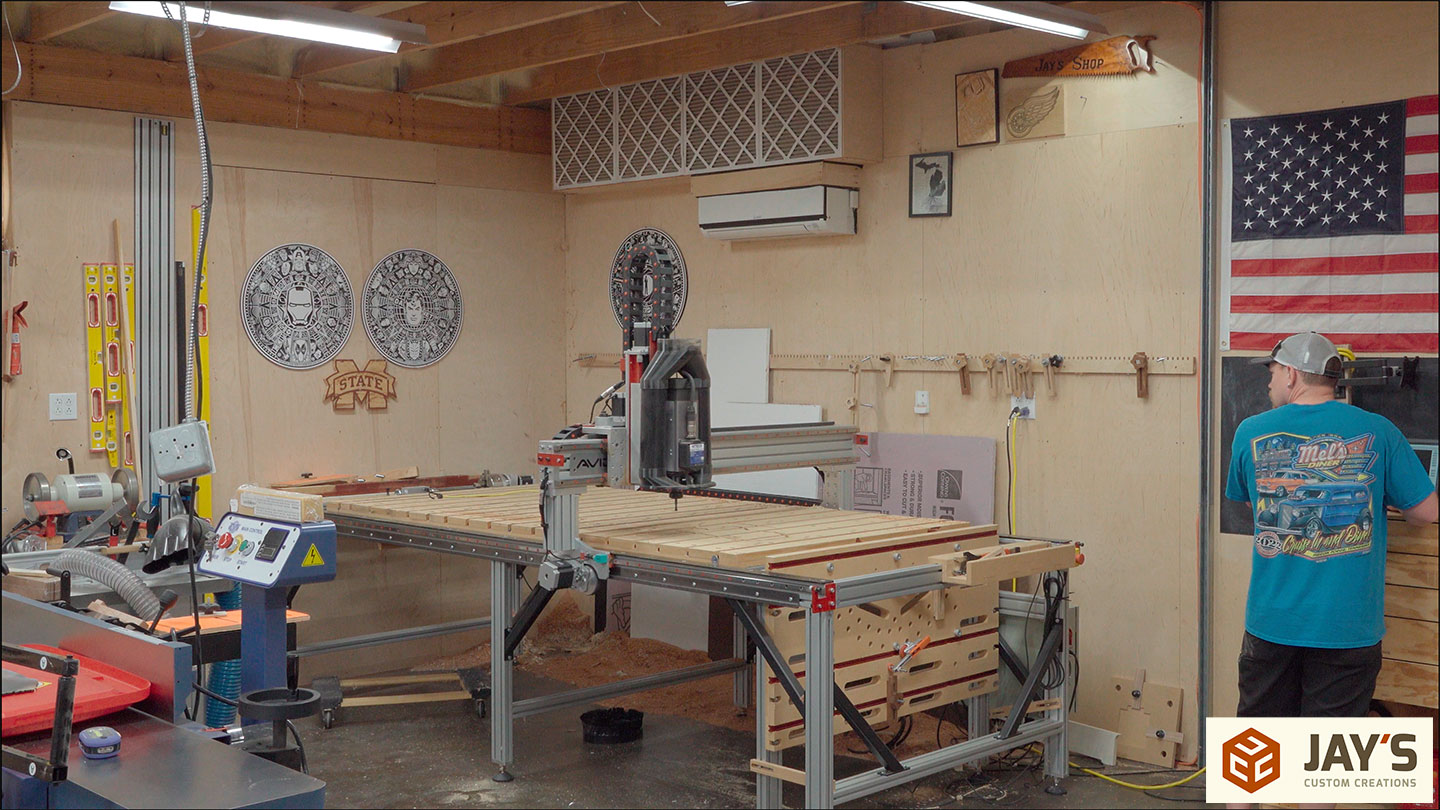
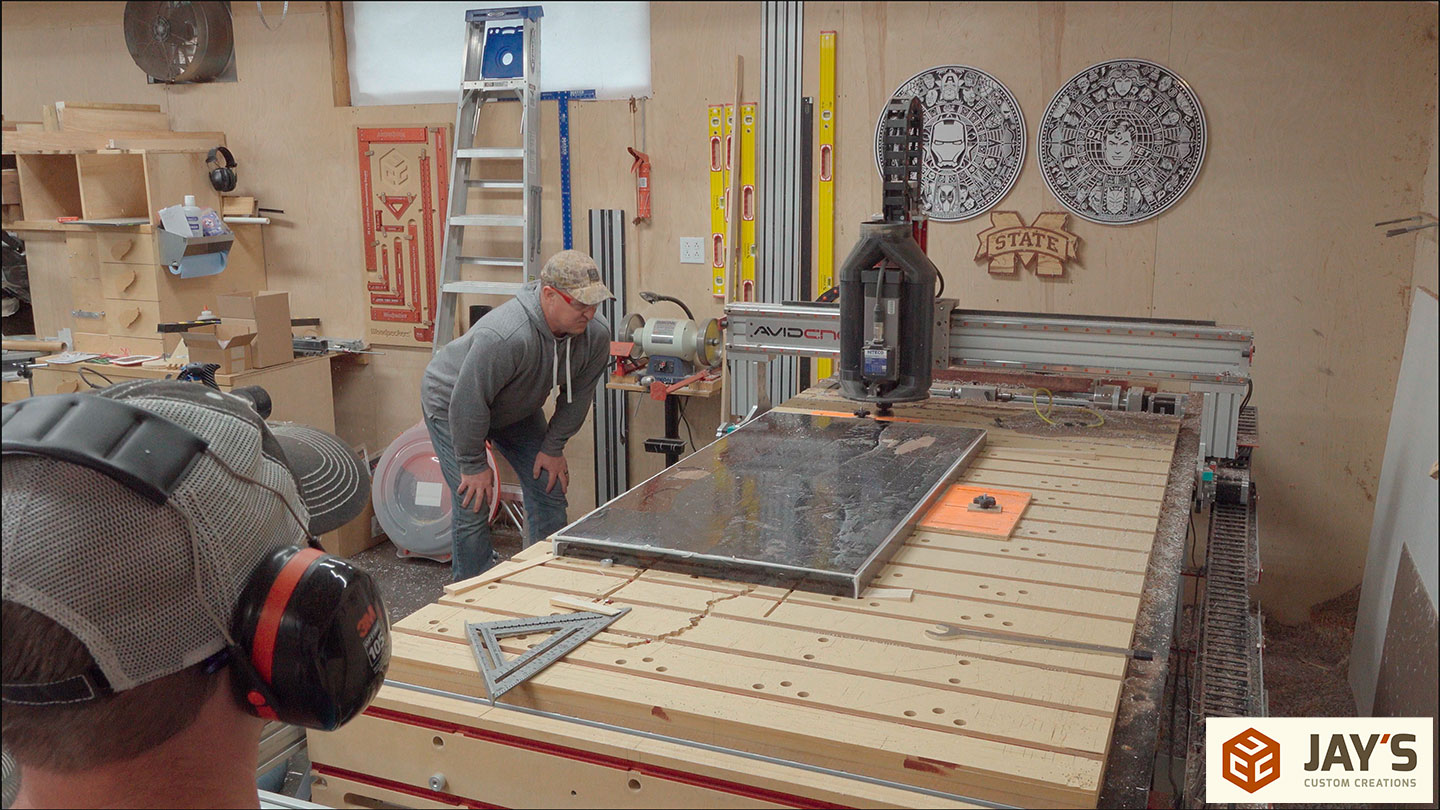
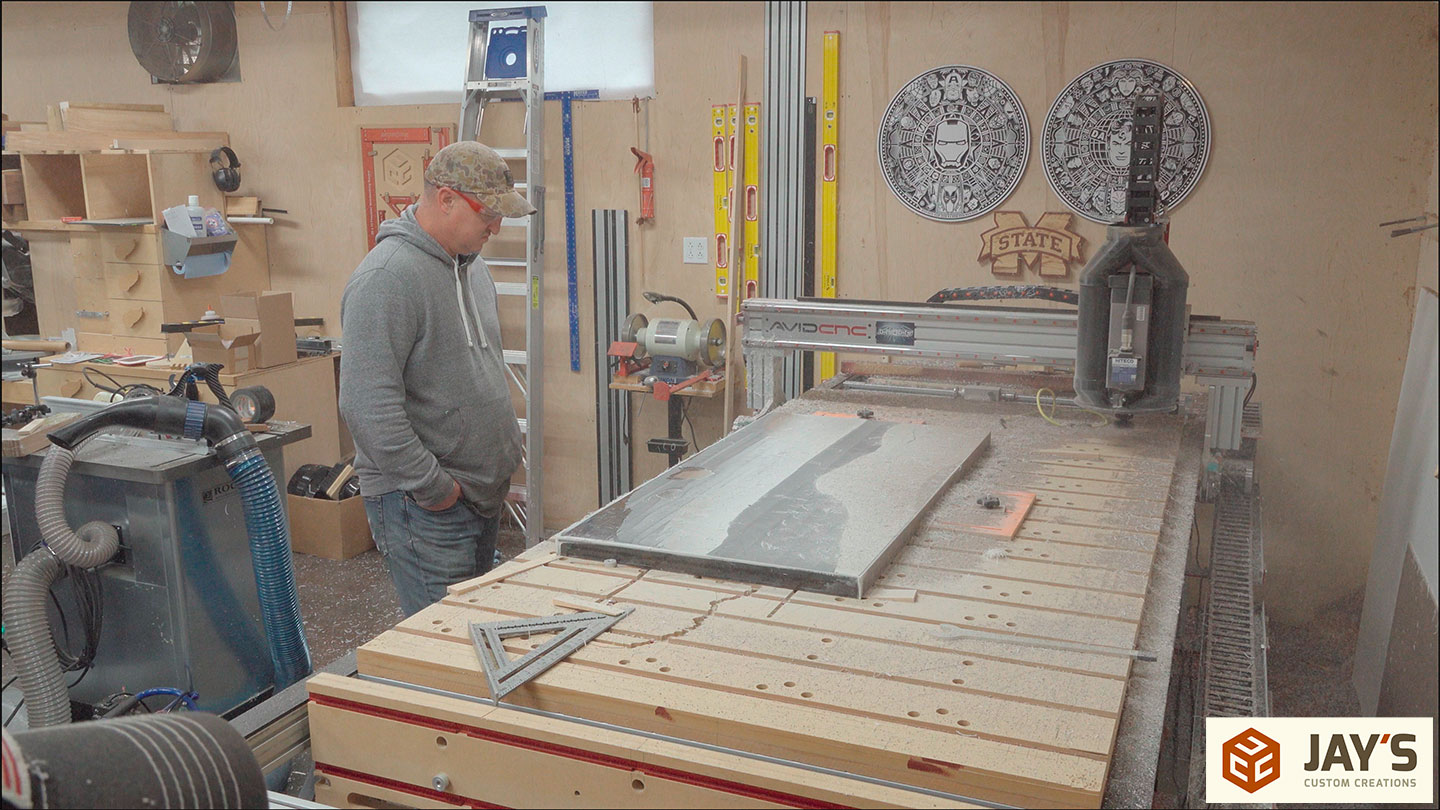
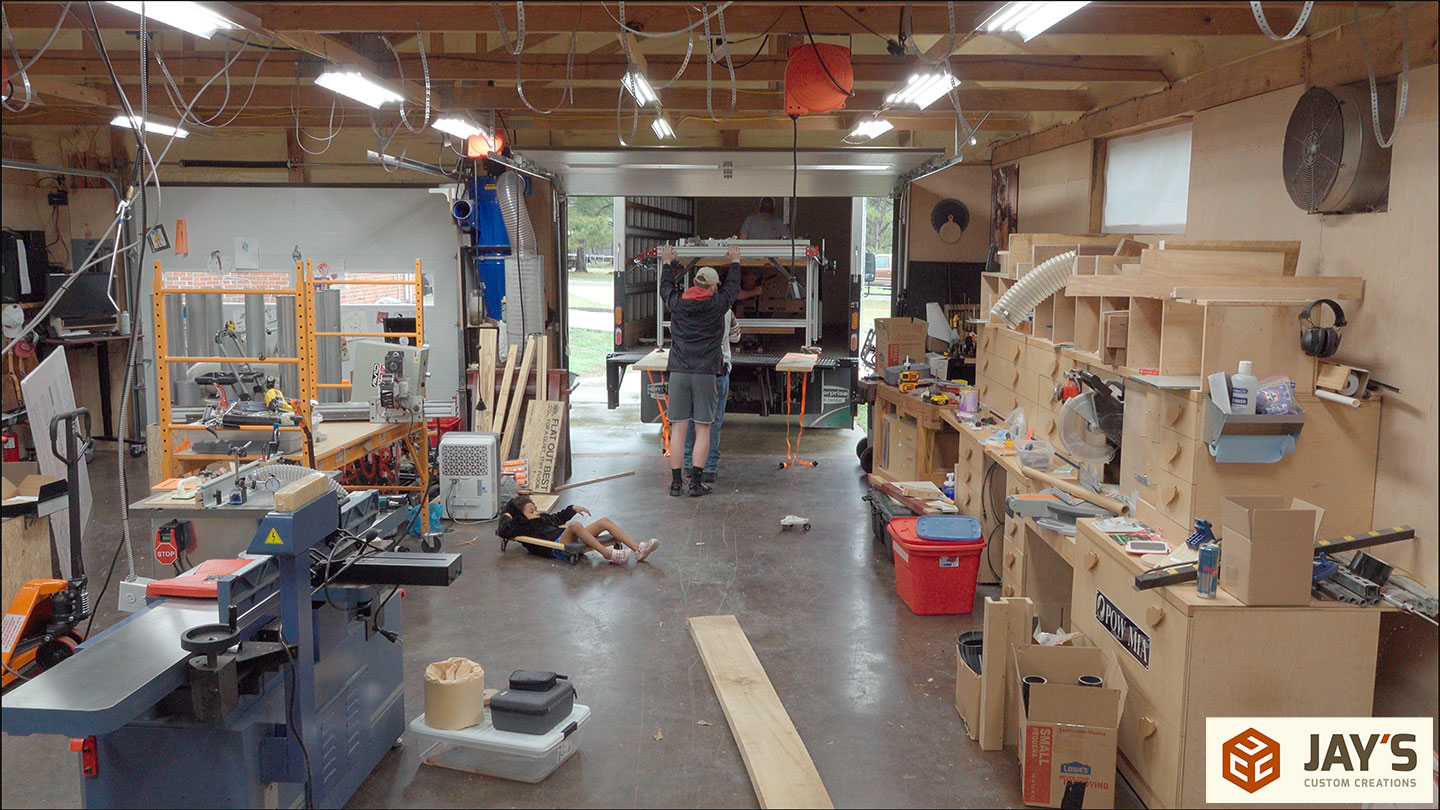
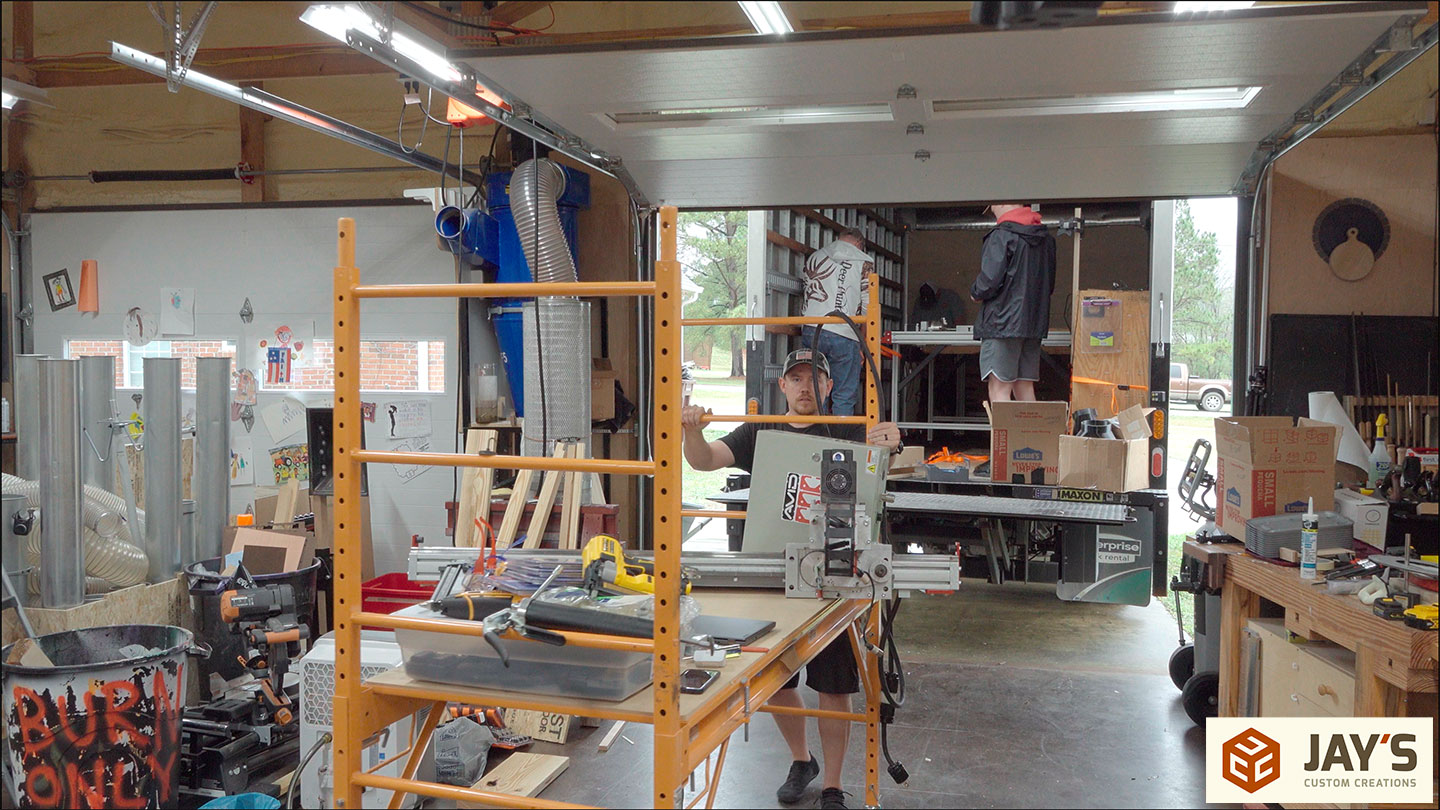
This video starts the day before moving the CNC out of my shop. I have one last job for it. But first, I need to get the chaos associated with moving off of the machine so I can use it. See that hanging dust collection hose? I broke down the shop dust collection the day before, so this last job will be done without it.
I’ve said many times that I don’t make anything to sell so I can focus on the digital side of creating. I do, however, have one paying customer. My friends Zach and Jason from Back 40 Customs in Tupelo come over from time to time to flatten their larger slabs and epoxy tables. If you’re interested in a custom table of any kind, I recommend reaching out to them sooner rather than later because they stay busy.
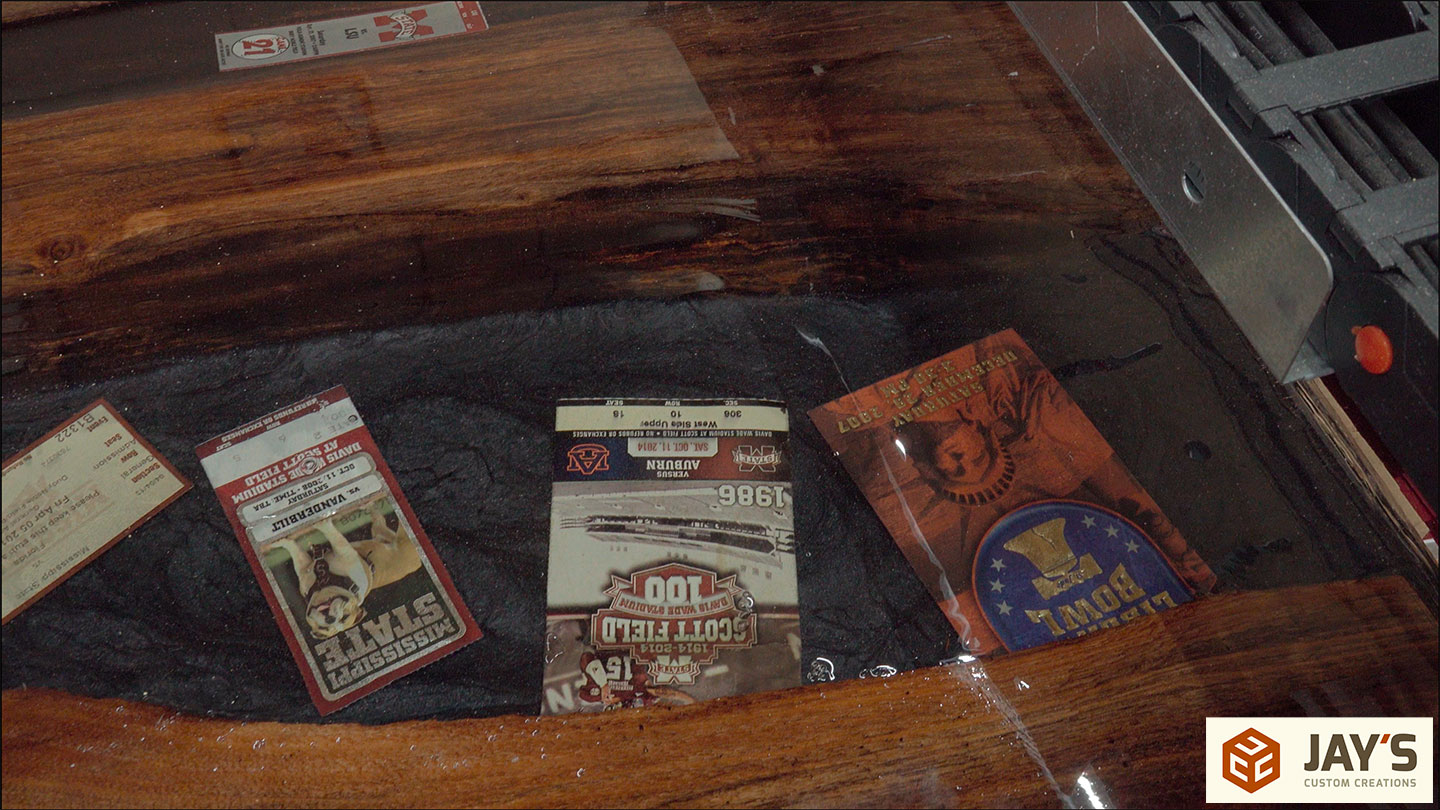
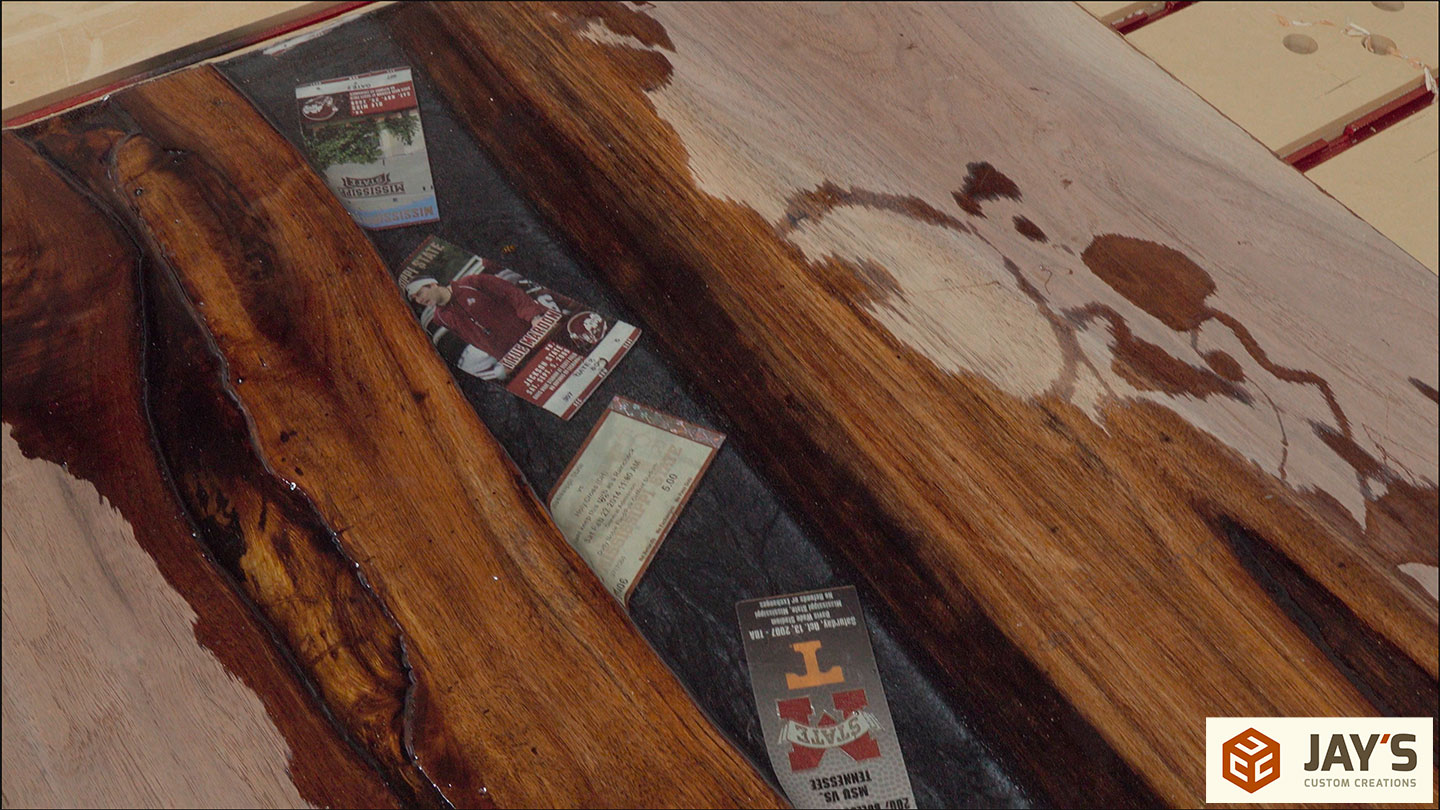
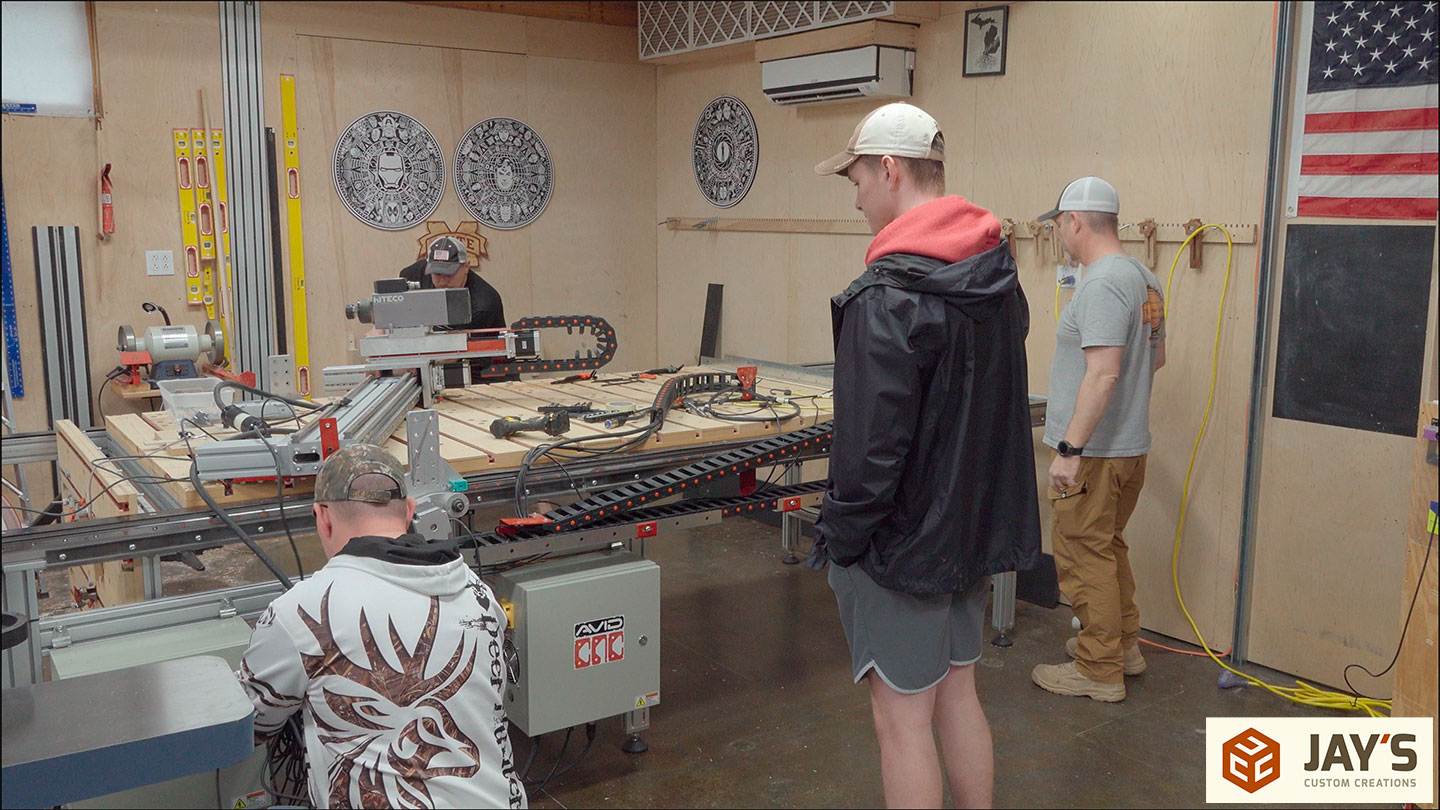
I’ve also said many times that I’ll never run this machine again without dust collection, and here we are. If I remember correctly, this table was around 25” x 50”. For a job this small, I don’t create toolpaths in VCarve. It’s faster just to jog the machine with the keyboard.
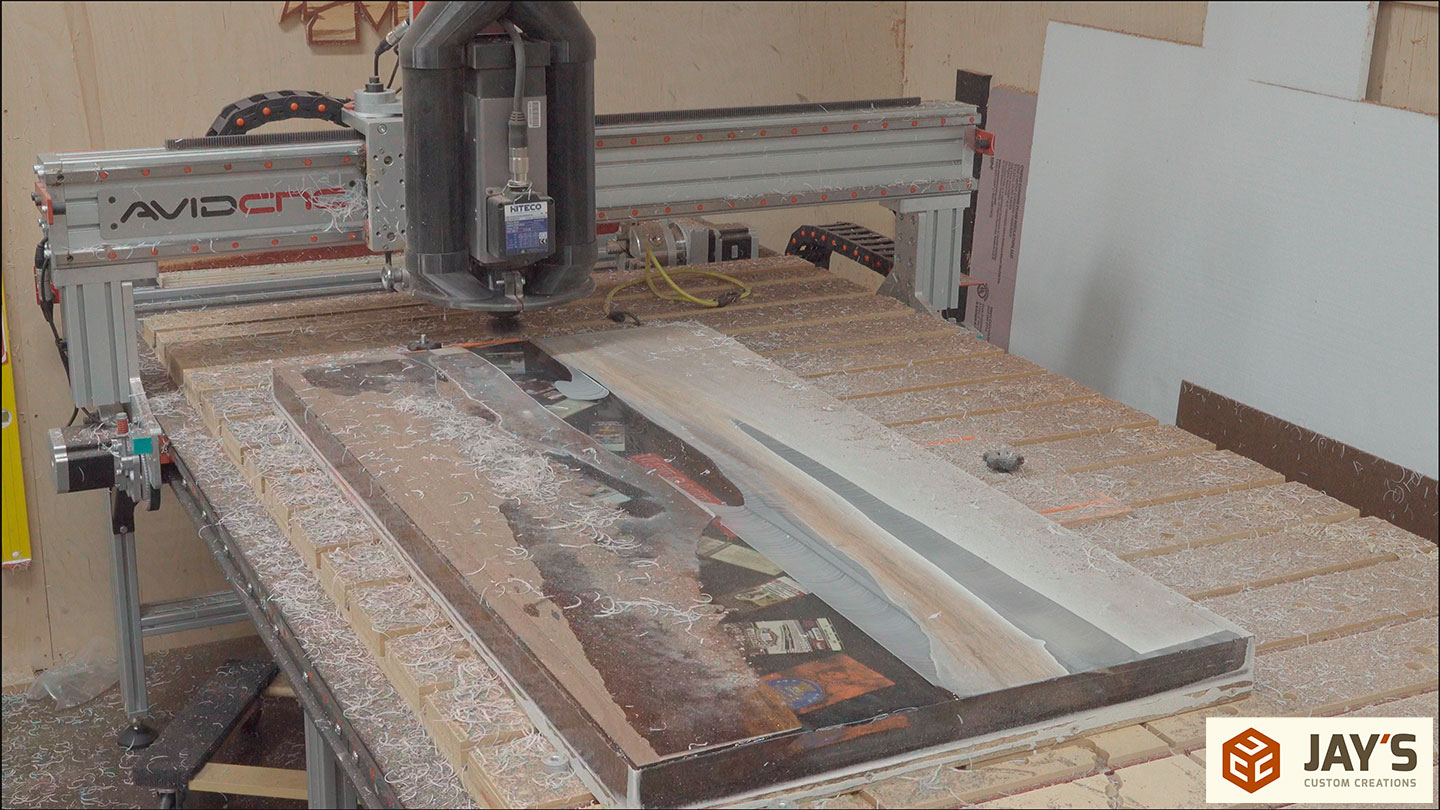
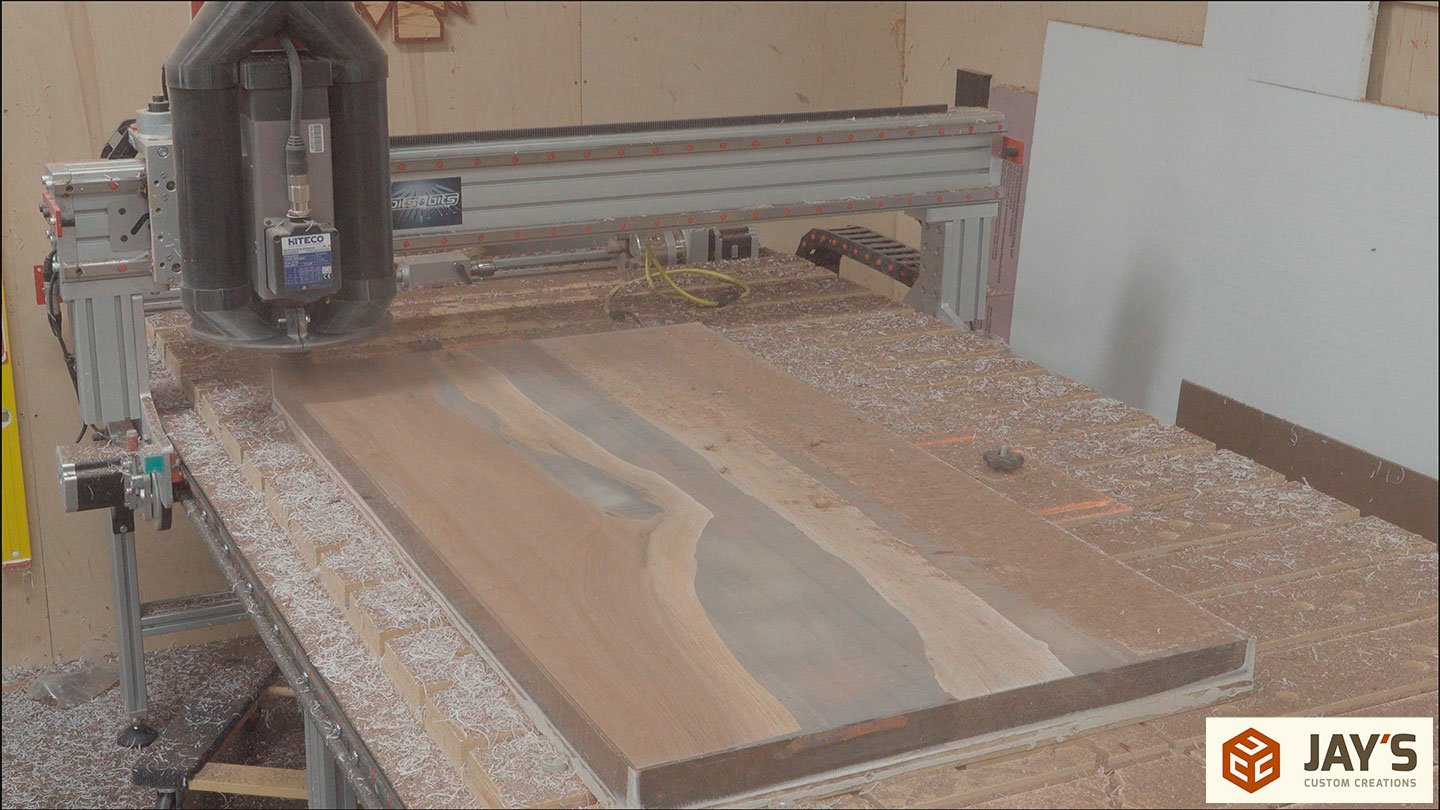
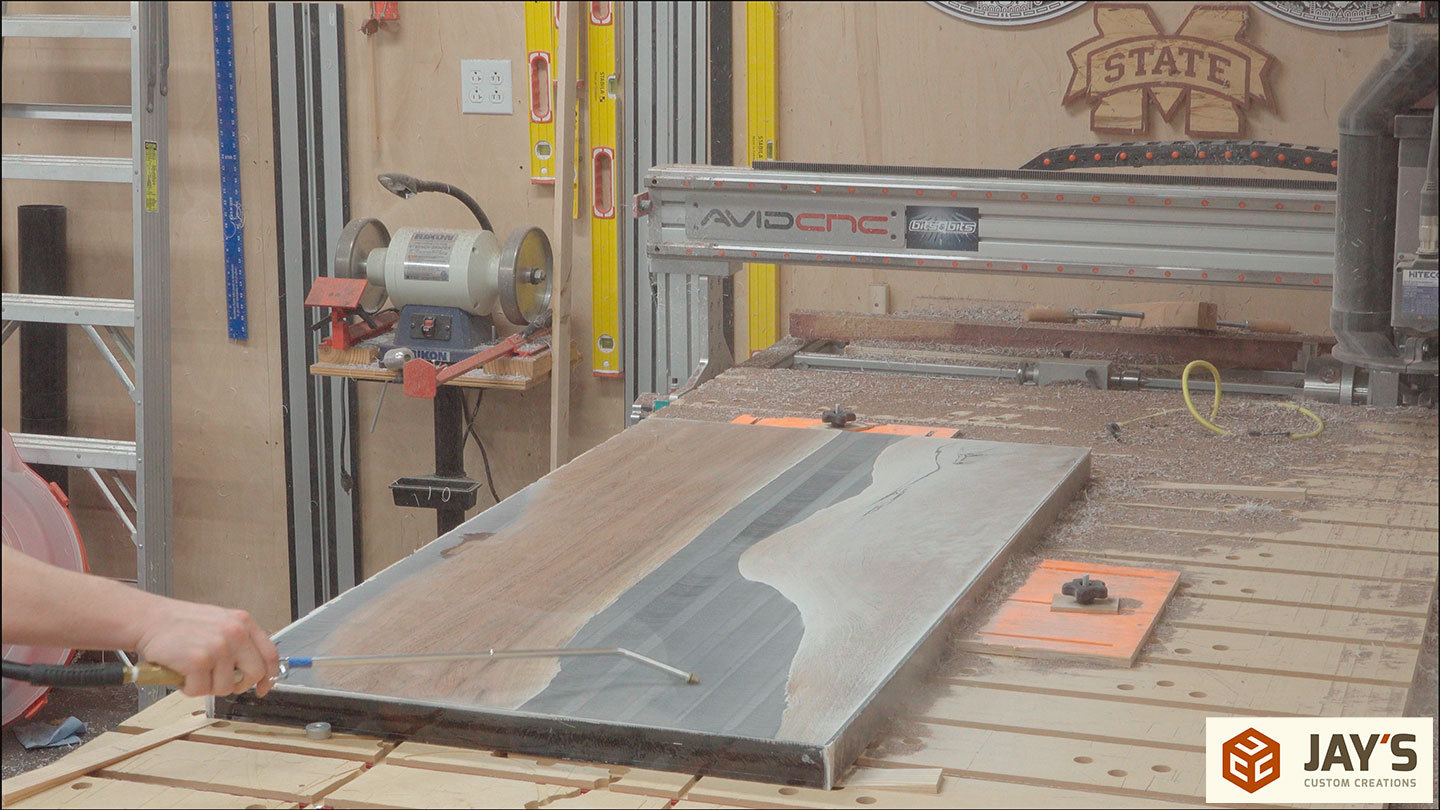
We usually flatten the top first, flip it, then flatten the bottom. With a machine like this, you can also very easily add pockets for any C channel you are using, but we didn’t do that here.
Dust…dust everywhere. Dust in places I didn’t know existed.
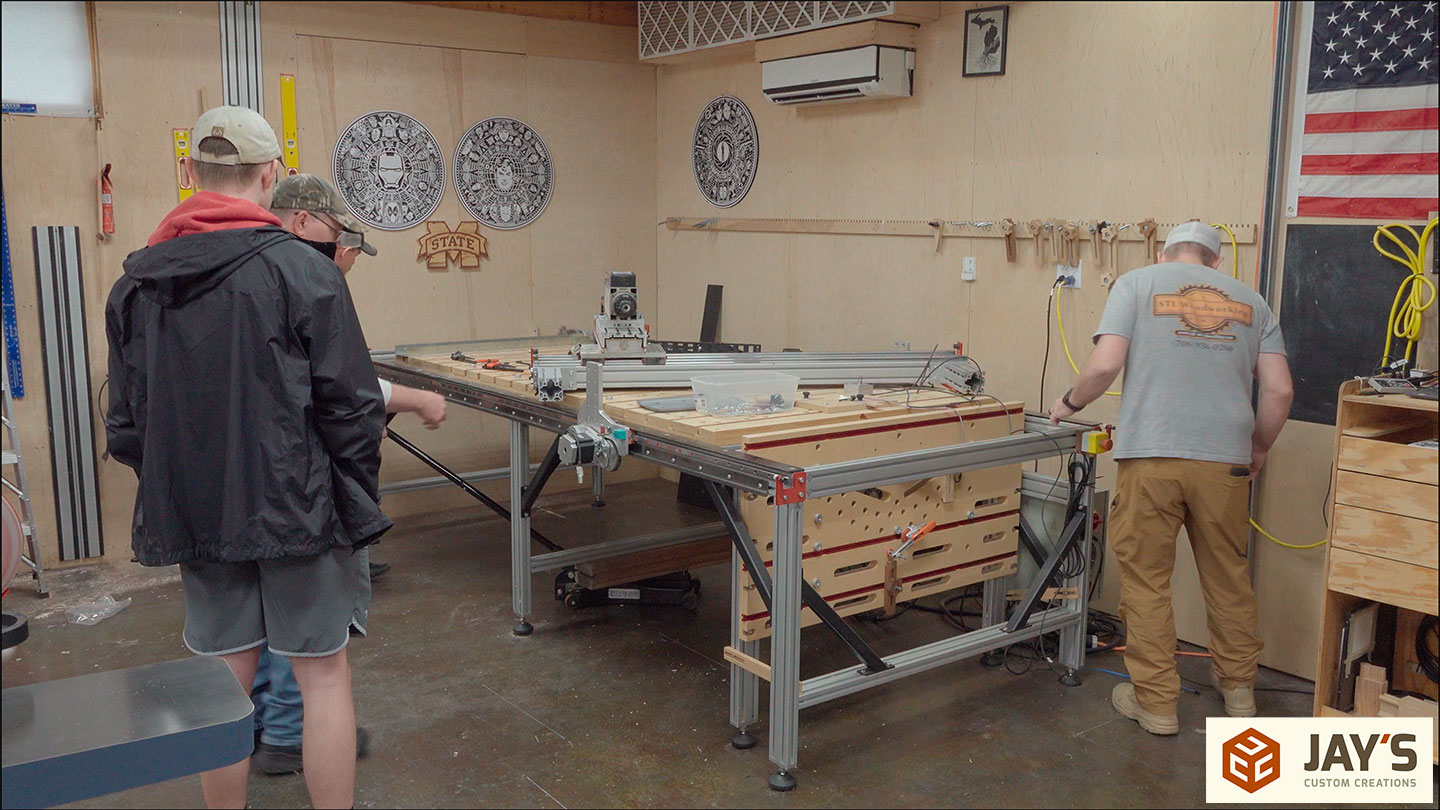
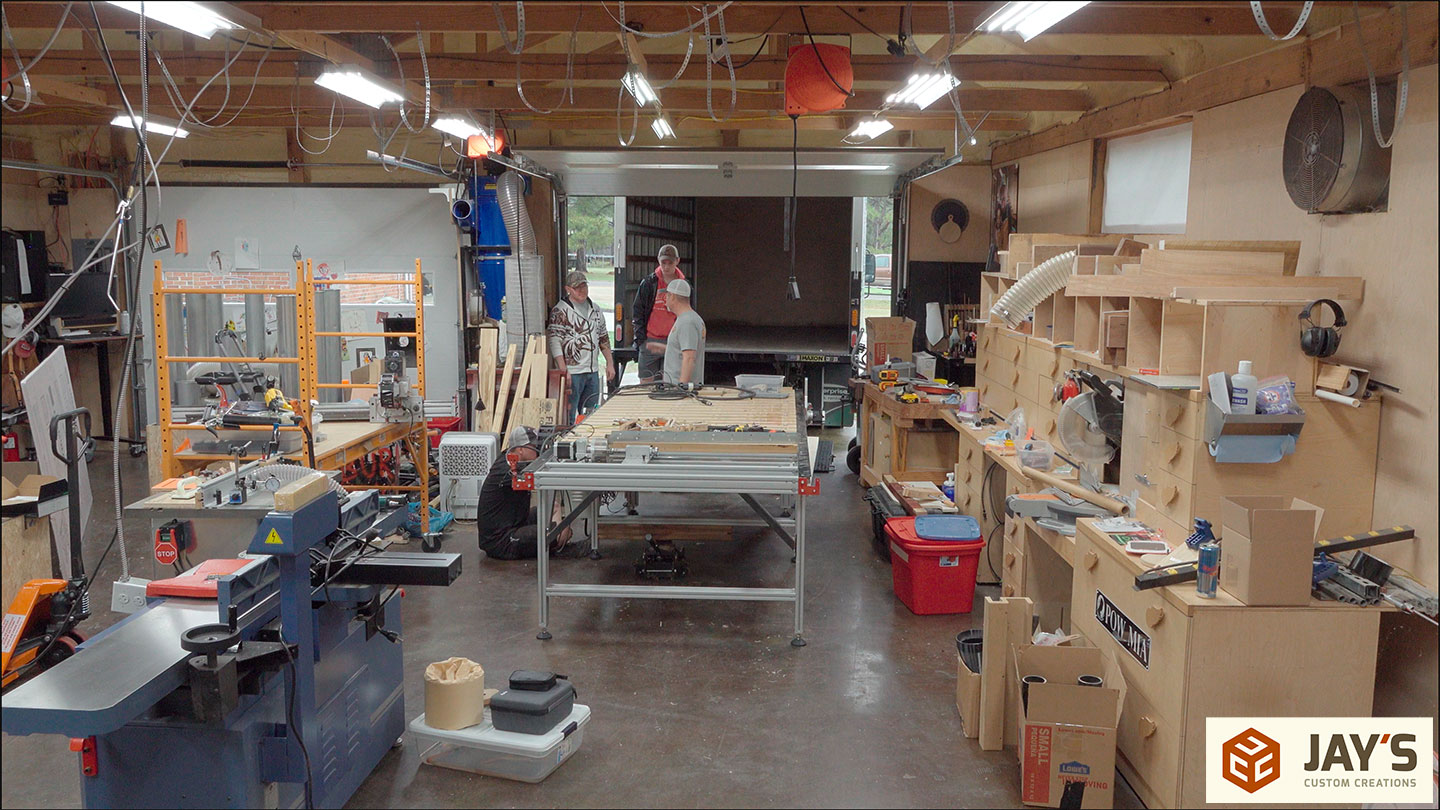
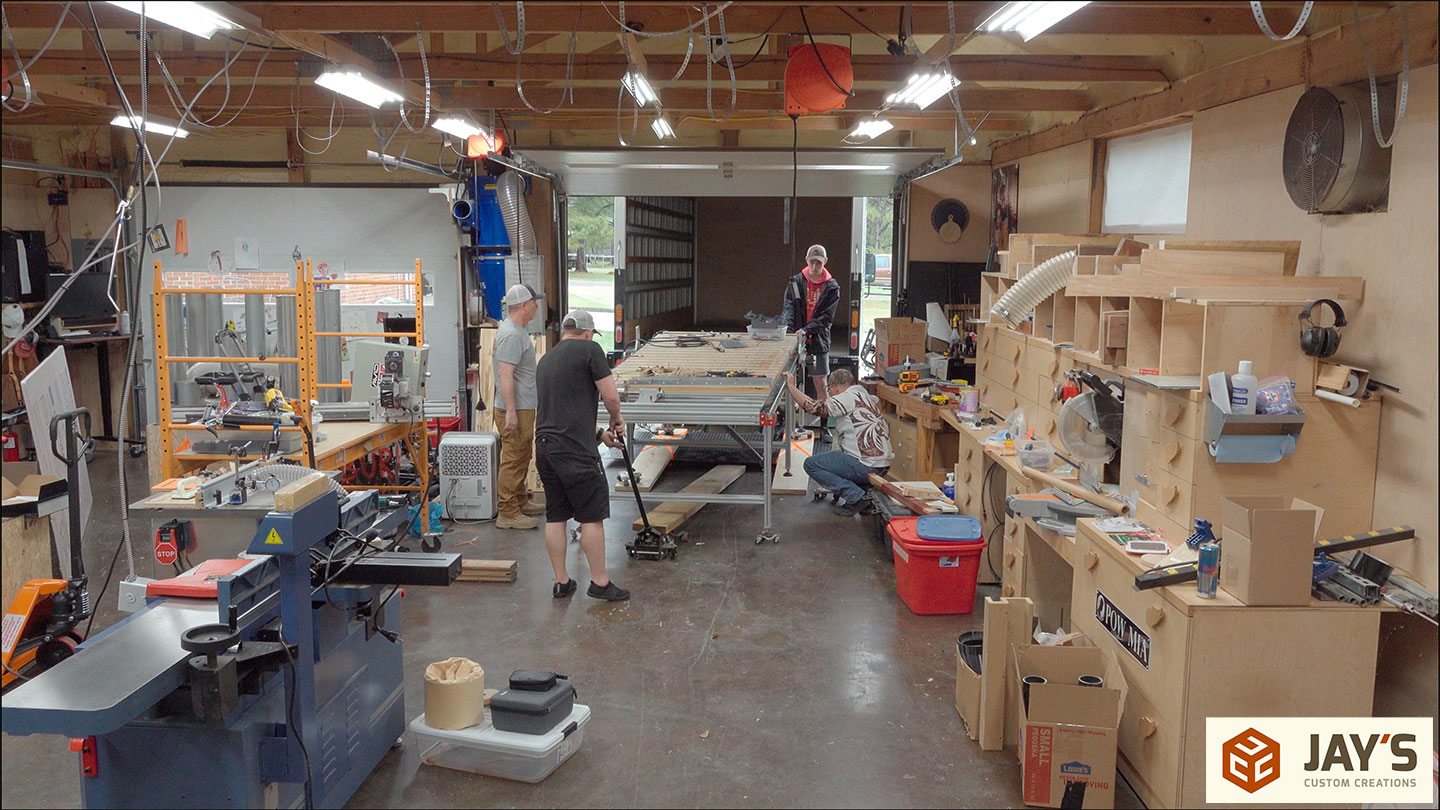
And with that job done, my work on this particular machine has come to an end. The next morning, Greg, the new owner of the machine, and his friend and son came over to pick up the machine. We estimated the machine to be about 1000 pounds. Of course, that depends on how much MDF is thrown into the equation with the horizontal and vertical spoilboards. Moving it with the gantry attached didn’t sound like the best thing to do, so we removed it. This requires removing a few bolts and a few wires.
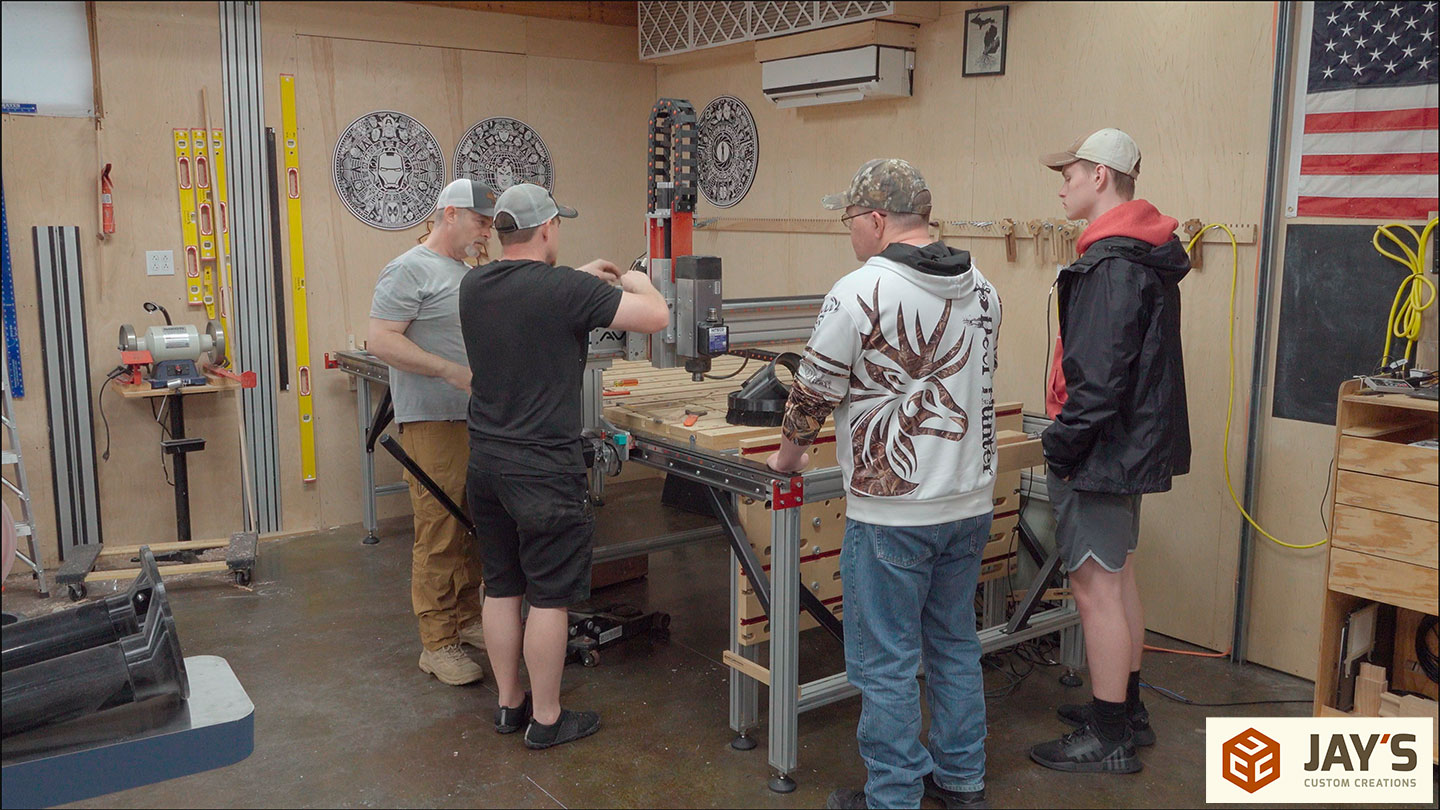
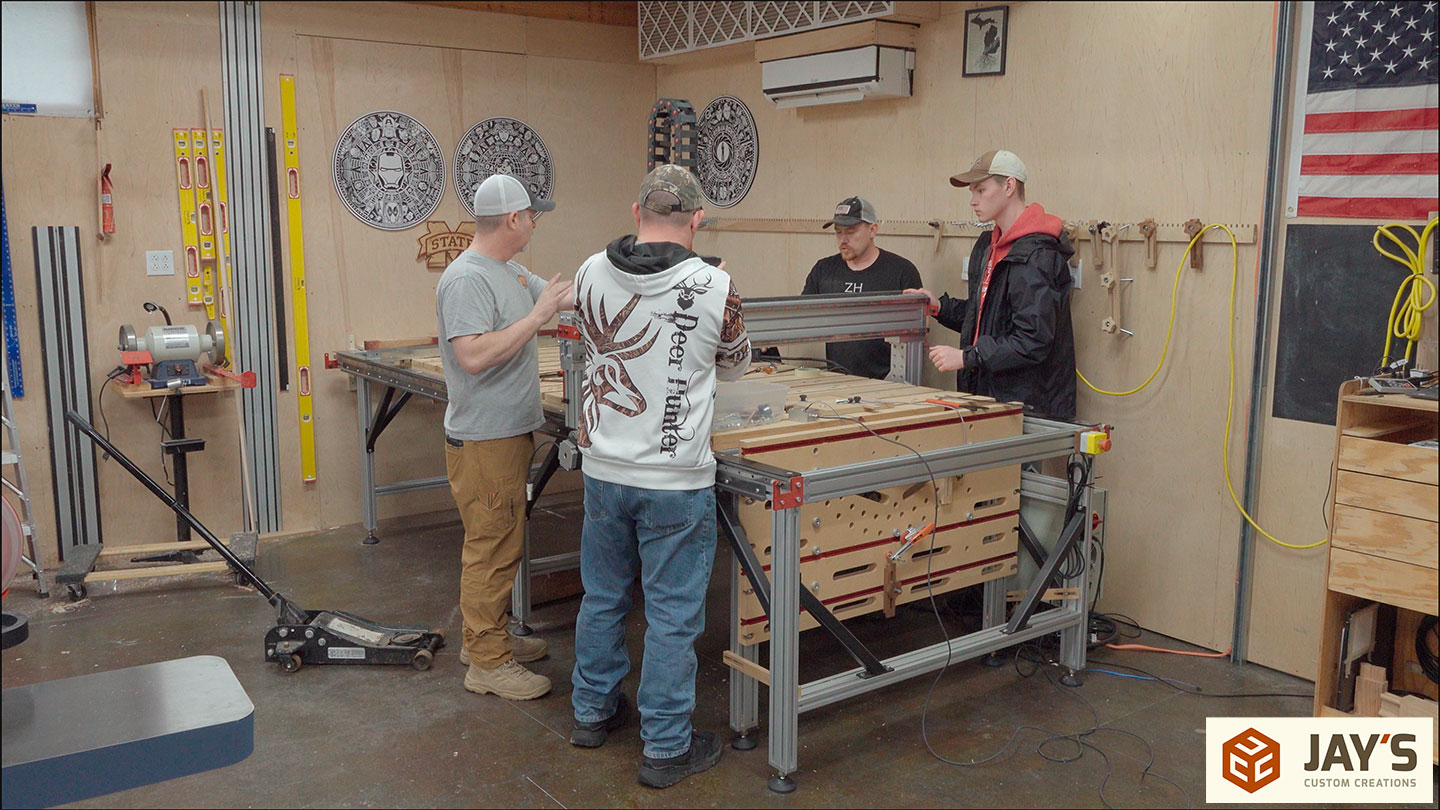
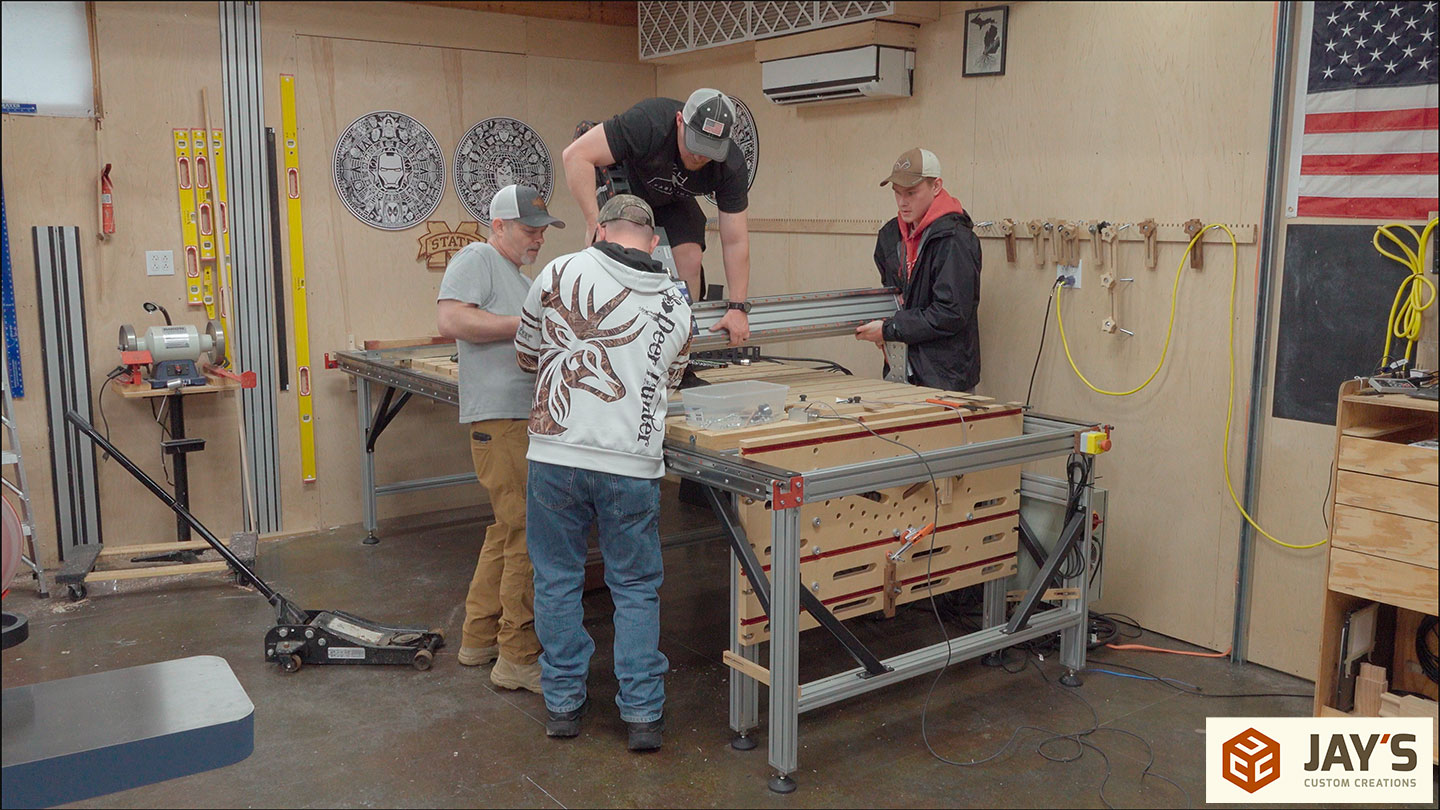
By the way, Greg runs STL Woodworking. If you want to see this machine in action again, be sure to subscribe to his channel. I’ll include links for STL Woodworking and Back 40 Customs here.
I’ve moved this fully assembled machine by myself twice in this shop and used an automotive floor jack with a large beam under the center leg support. When the gantry was on, I would jack up the center slightly and then slowly jog the spindle to find the balance point. It worked great. In this case, our balance was off considerably, but nothing unmanageable.
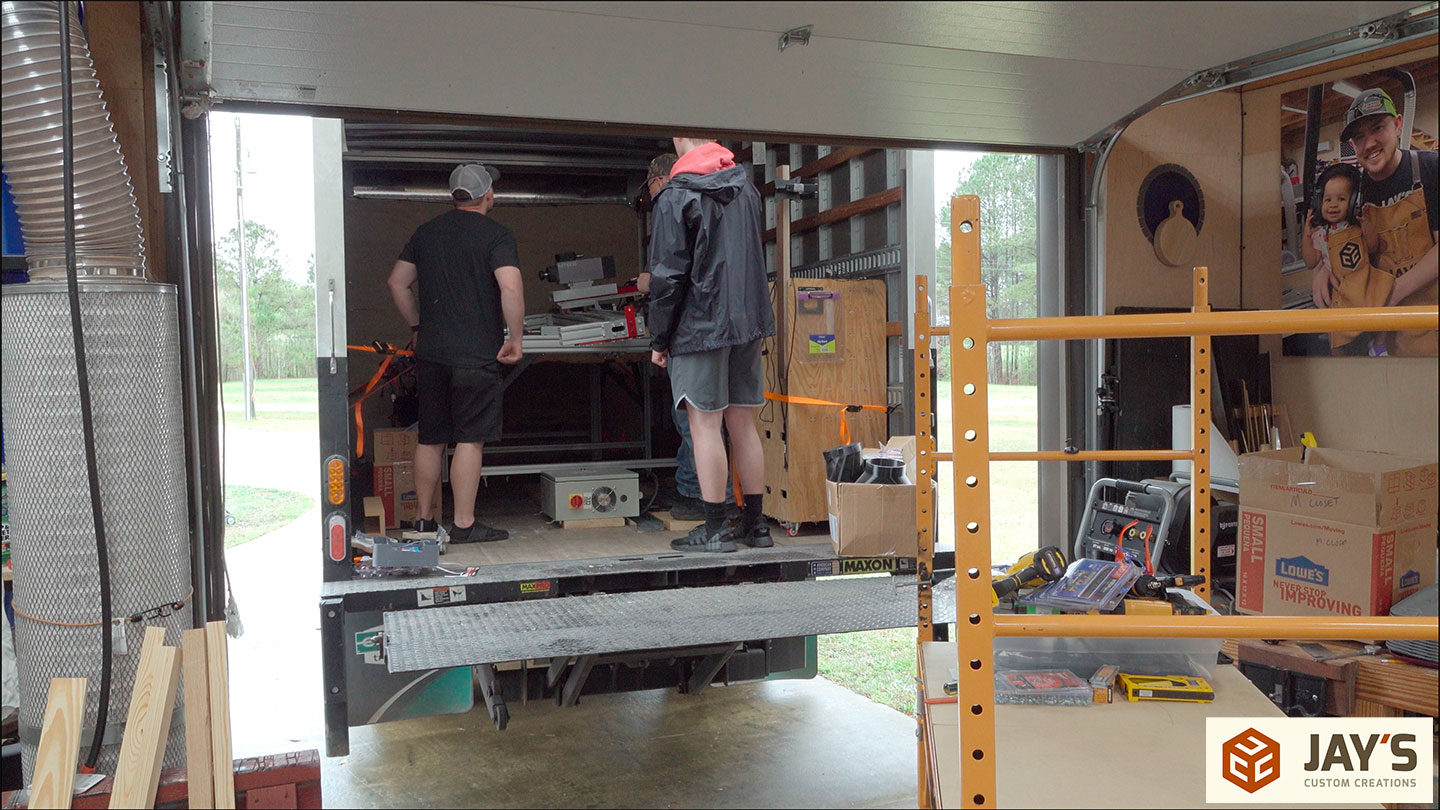
When Greg told me he rented a box truck to move the machine, I kinda chuckled under my breath. I know the height of box trucks and the short lift gate they have, and I just couldn’t picture this plan working.
Greg’s plan worked great. He brought two 6′ 2x12s and ratchet strapped them to the liftgate. This essentially turned the lift gate into a forklift. Because the electrical boxes and the vertical table are all on the front half, having the front and middle legs on the 2x12s is all that was needed. The lift did all the work; we were just there to stabilize it.
After some back and forth with the jack position on the lift gate, we were able to slide it into the box truck. “I’ll take Things You Don’t See Every Day for $1000, Alex.”

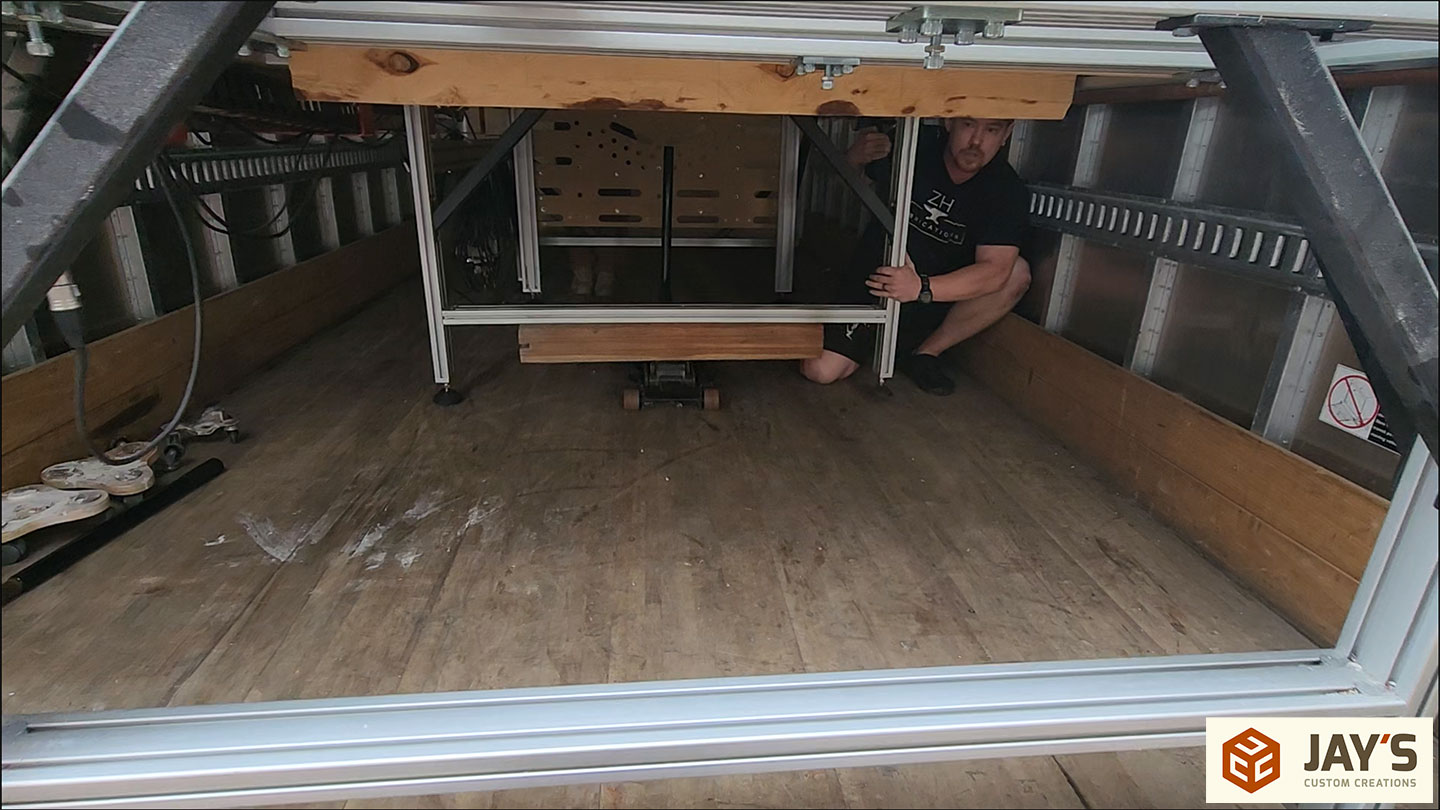
Here’s a better look at the jack setup. The wood beam above the jack distributes the load more evenly along the aluminum beam rather than putting all the upward force directly in the middle.
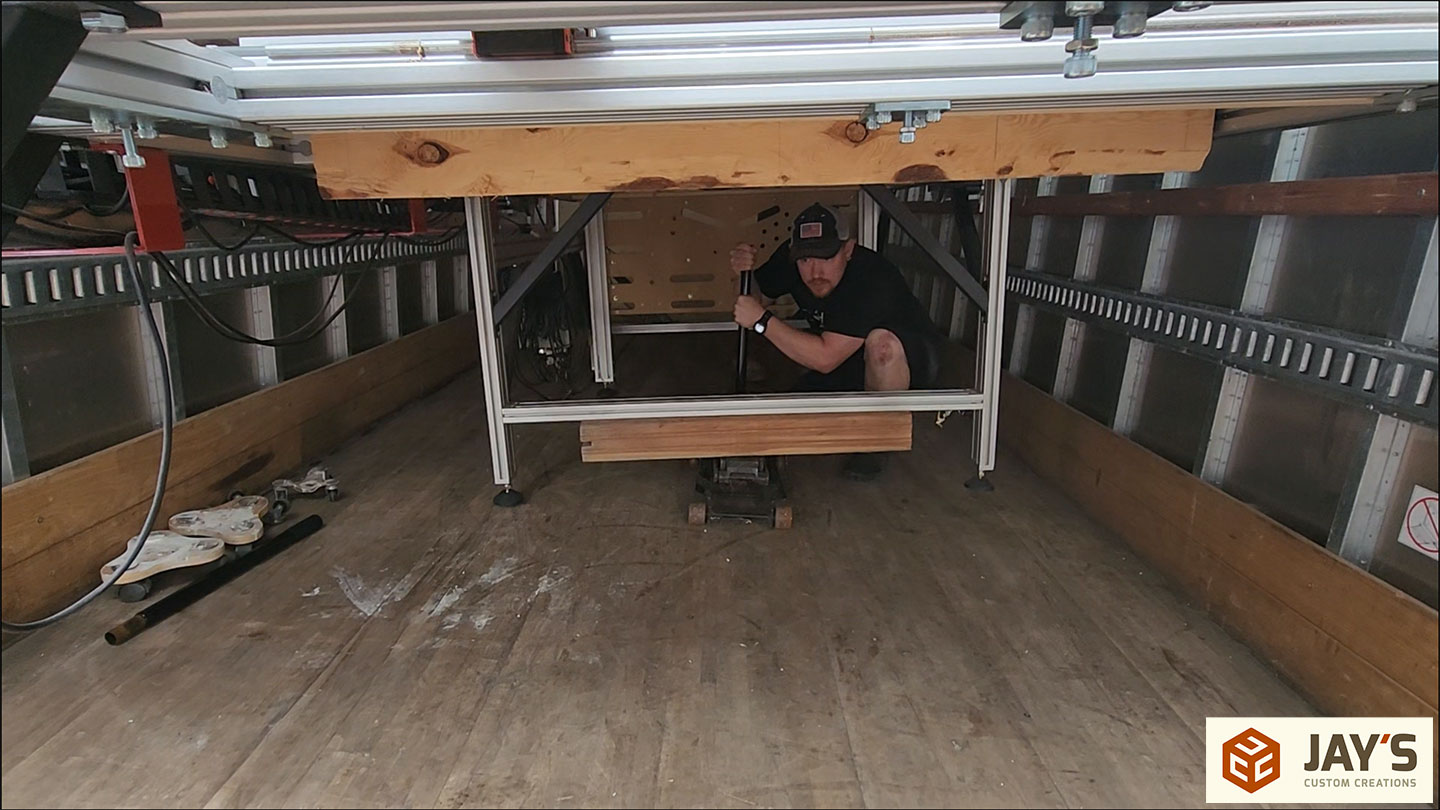
The machine moves surprisingly well with just this one lift point and the jack.

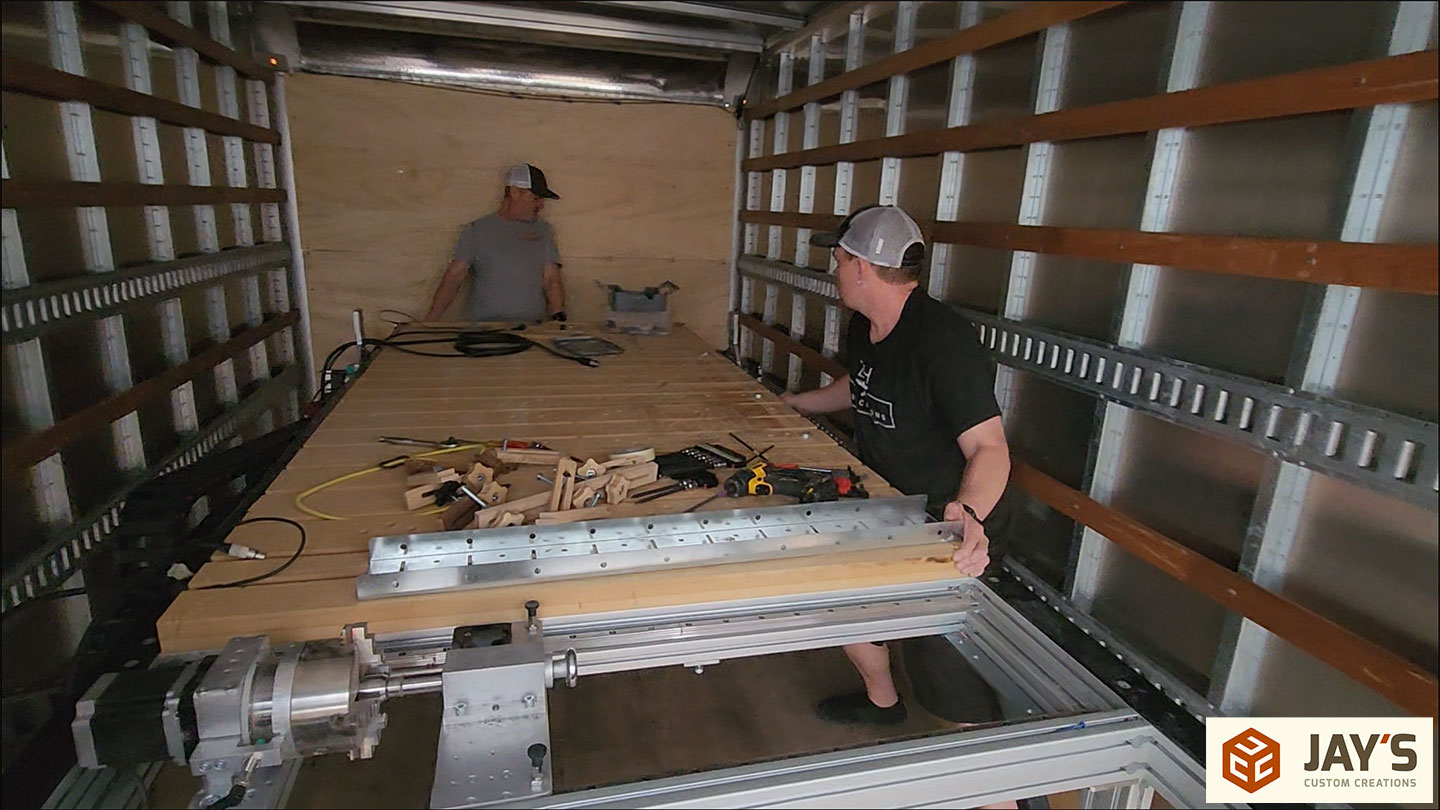
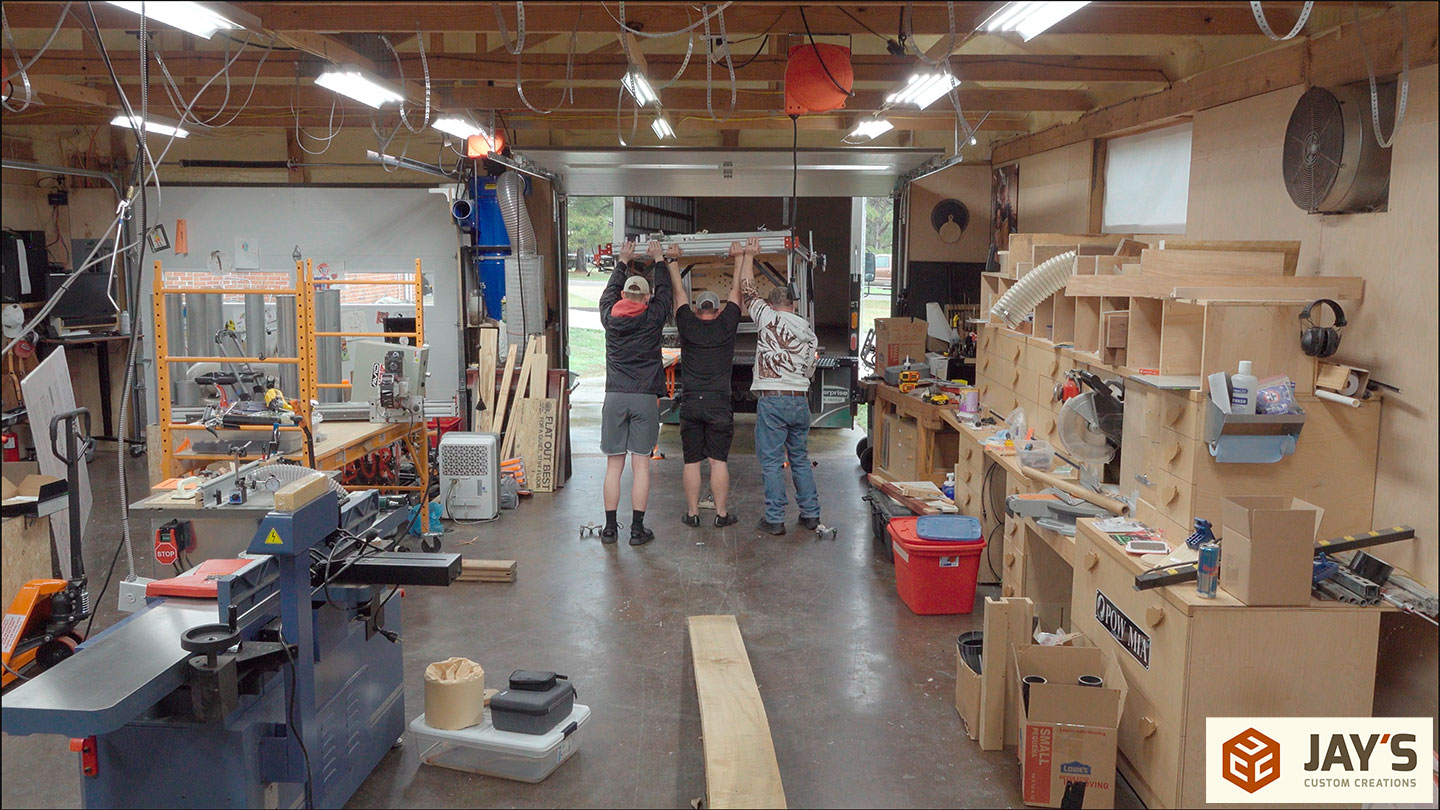
The rest of the parts can be loaded with the hard work done and me rocking a new sense of relief. We only took off the gantry and the spindle power box.

And that’s that. My CNC is gone. Well, it’s not mine anymore. It belongs to Greg, and I wish him the best creative success.
My Avid 2.0 machine will be bigger. Stay tuned.


The day Jay Bates broke the internet. . .
That Kid is so cute. Sorry you had to sell it Jay but I understand. Hope your move goes well.
Your daughter using the moving dolly as a play toy was absolutely my favorite part of this video. I really appreciate your explanations of why you make certain choices. Those are the most valuable in my opinion, the whys not always just the hows. Blessings on your transition.