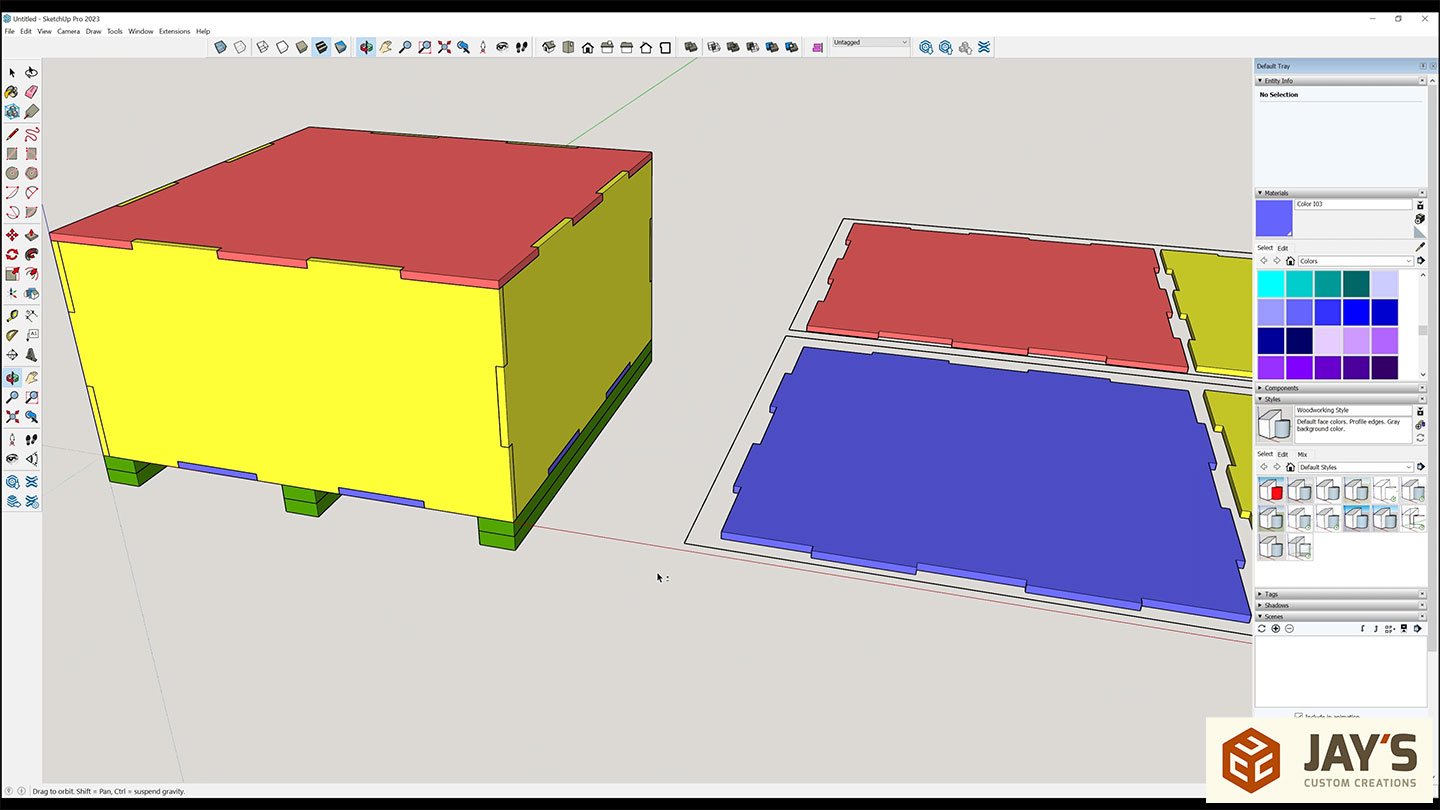
In my last video I designed storage crates to efficiently stack into a shipping container. If you’d like to build your own and are interested in the SketchUp and vector files, you can find them HERE.
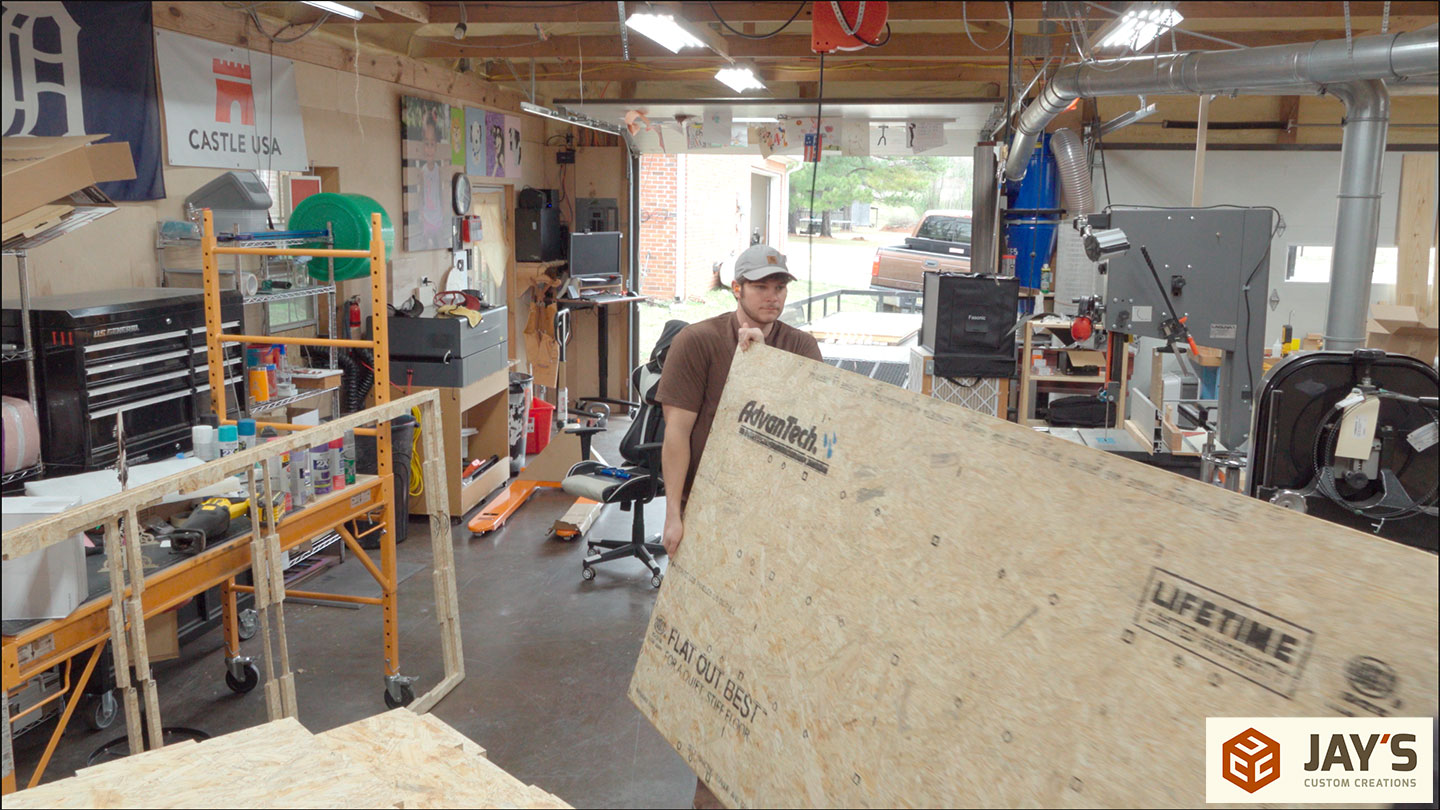
In this video, we get to make them. I say we because my neighbor Jack helped me out for the couple of hours it took to make them. I’m using Advantech OSB subfloor as the material of choice. It’s inexpensive, sturdy, and very water resistant.
Advantech has a tongue and groove on each long end that I don’t want to use. It’s handy for sub-floor installation; here, not so much. Removing the tongue and groove and also needing a spot at each corner for a hold-down screw are both reasons why I made these crates 44” square.
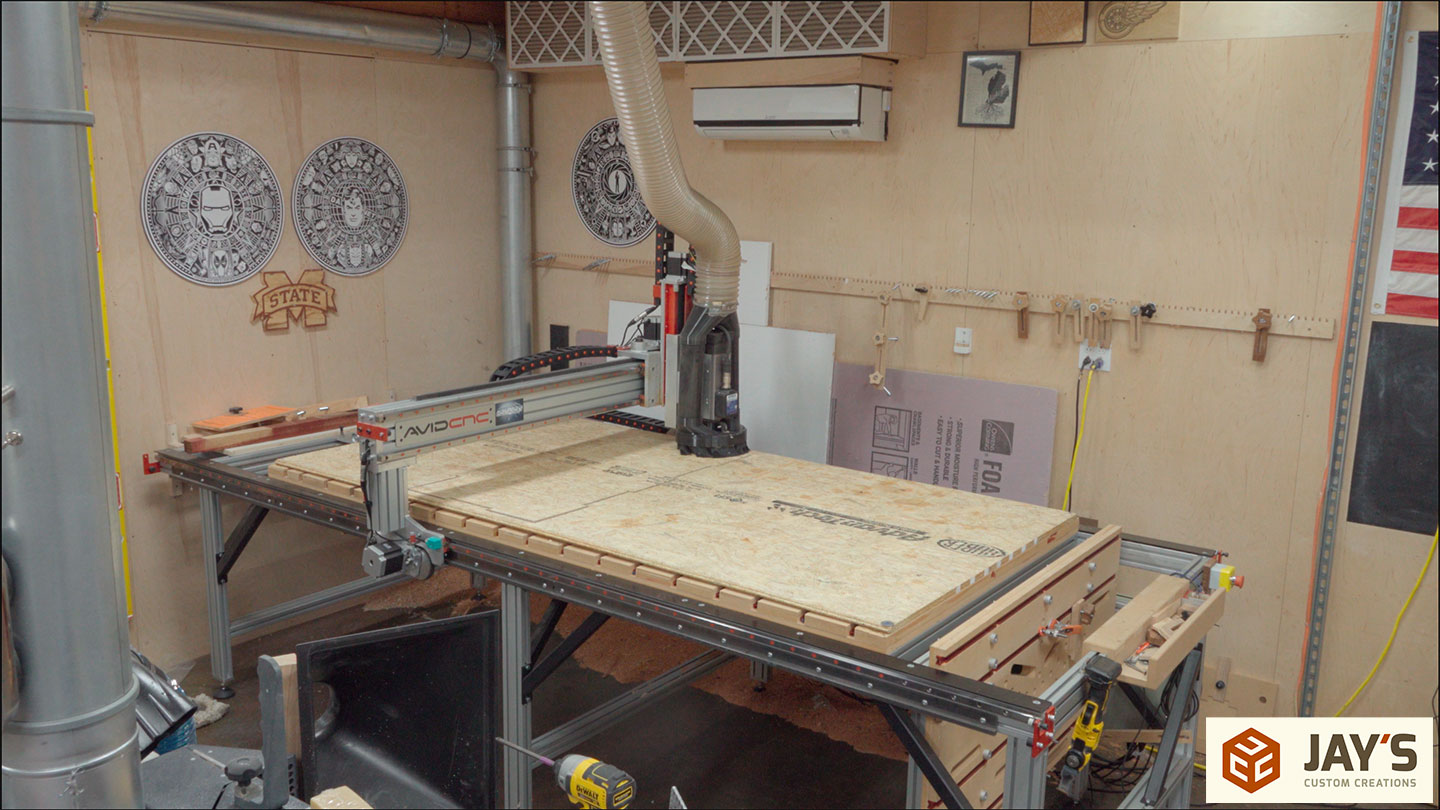
This is an Avid CNC machine with the Nema 32 motors and the 8.7hp 3-phase spindle. However, I’m powering it with 240v single phase, so the actual power output is around 6.4hp. The bit I’m using is a 3/8” compression chip breaker by Bits&Bits. This is cutting the full 3/4” depth in a single pass without breaking a sweat.
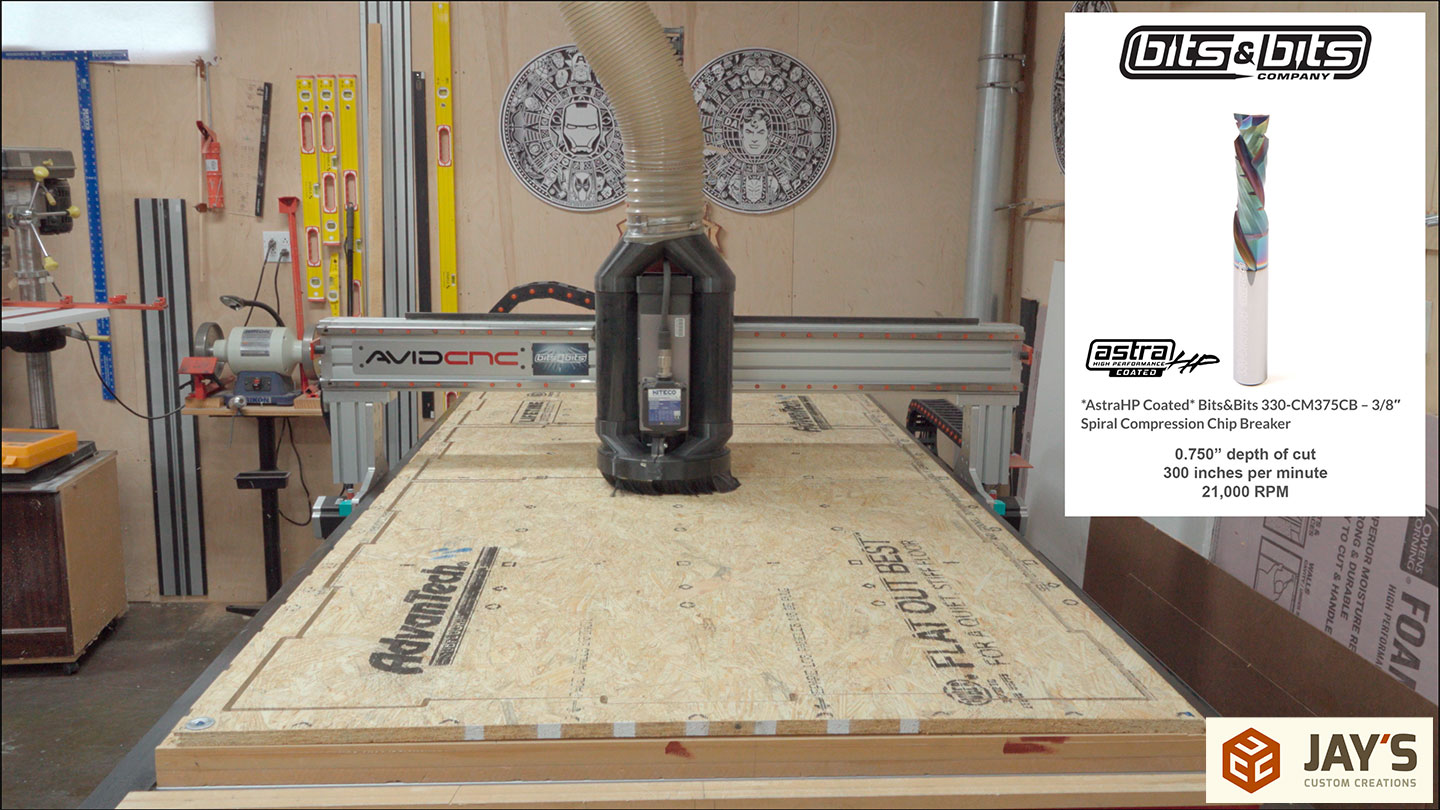
The compression bit leaves a great finished edge on both the top and bottom of the cut and ejects the chips quite well. The combination of good dust collection, this machine, and this bit provides very clean cuts.

A total of eight sheets were used. Four sheets for a bottom panel and two sides and four sheets for the top panel and two sides.
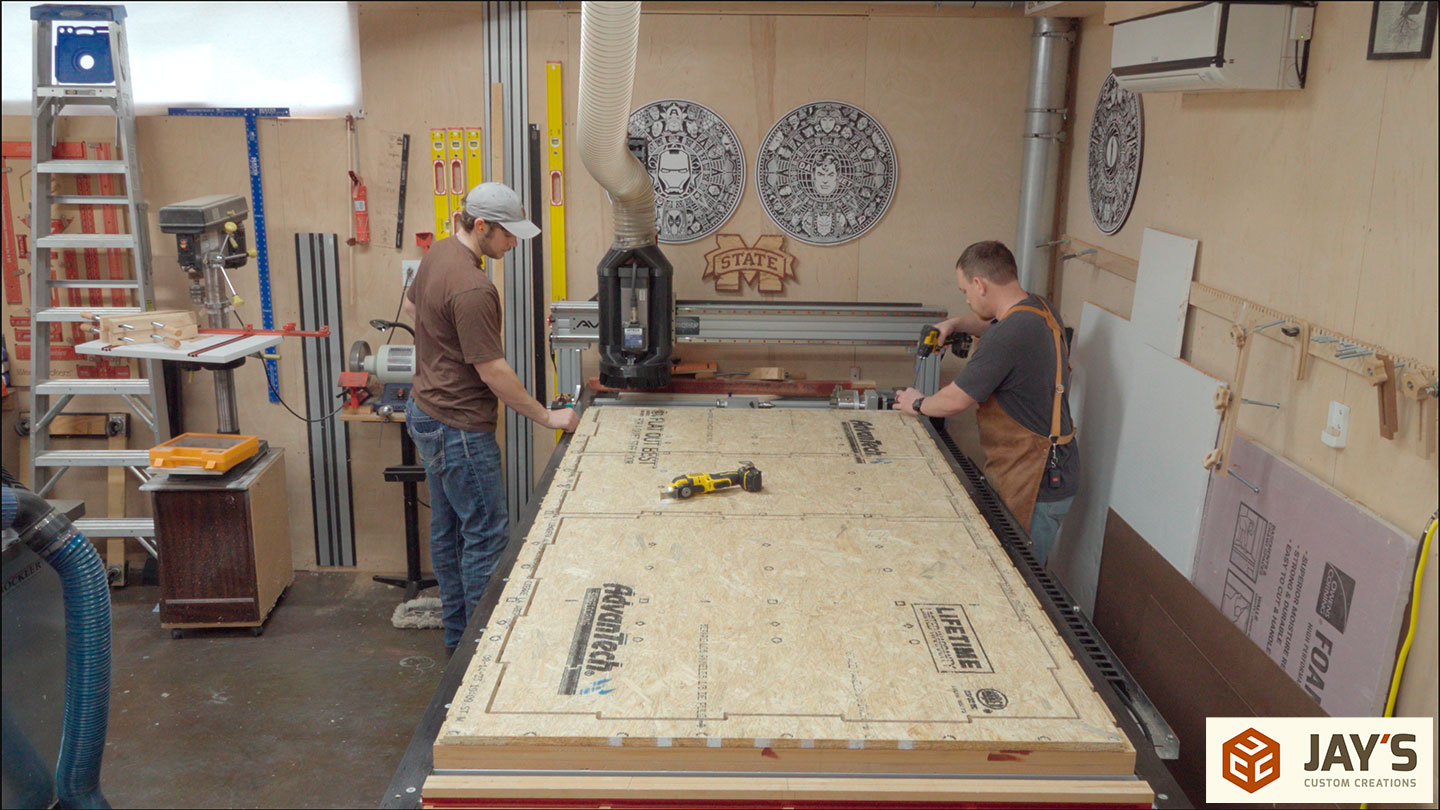
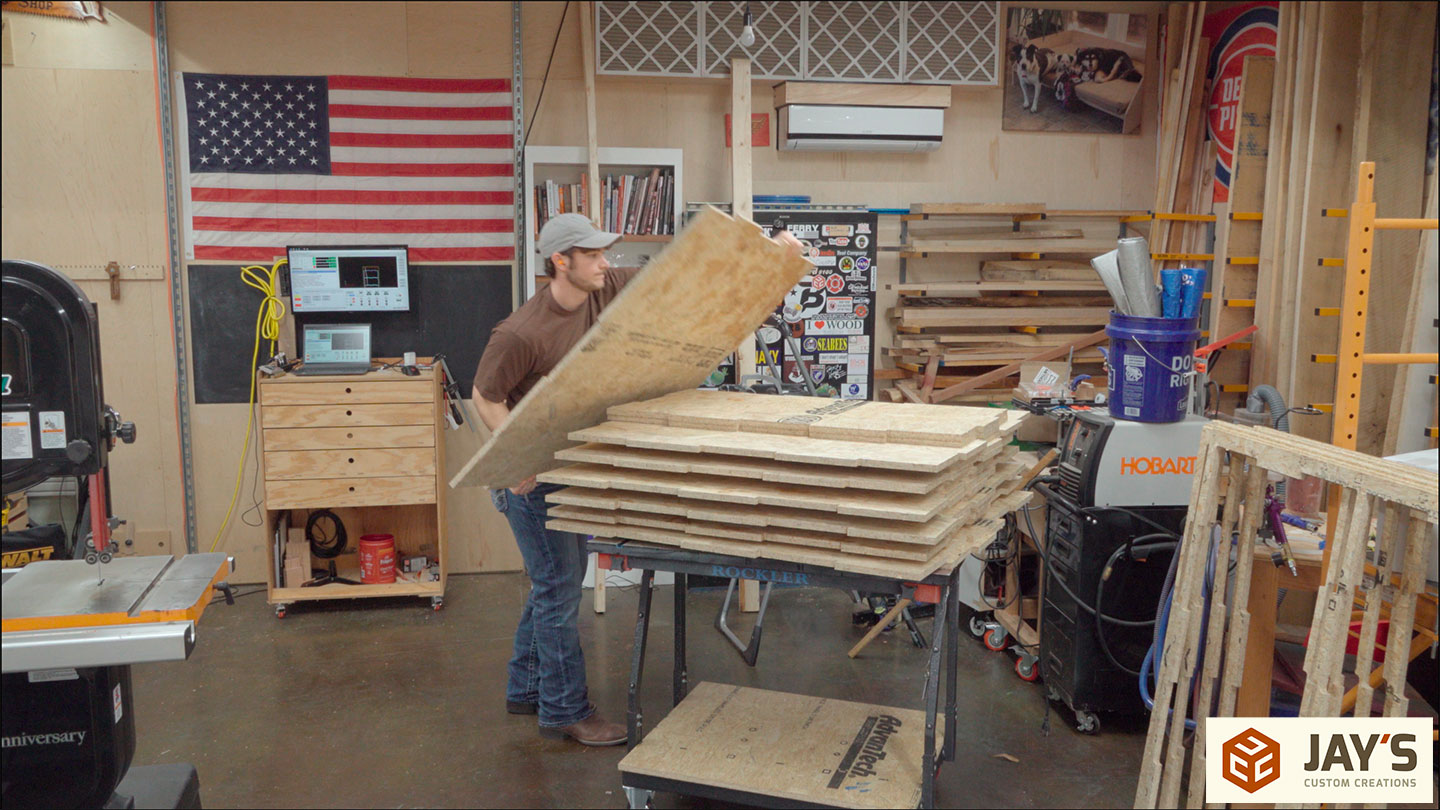
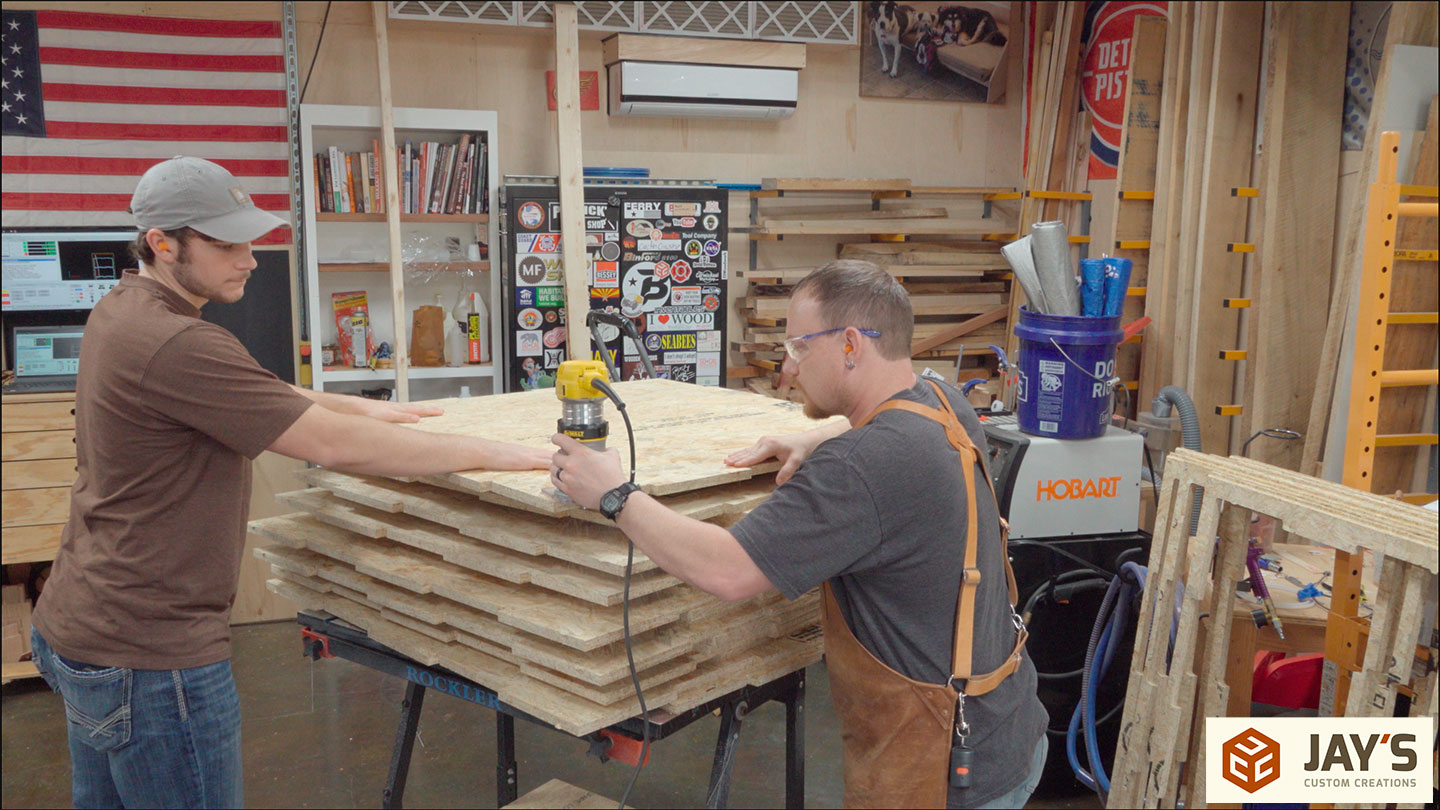
I don’t have a vacuum table, so I keep the pieces together with tabs while they are being cut. This means I have to cut the tabs on the machine and flush trim what’s left of the tabs with a router. Each piece had only four tabs, and flush trimming them made more of a mess than all the cutting that the CNC did. Yay for dust collection!
The box joints make assembly super easy. I completely understand that CNC technology isn’t for everyone, but I encourage anyone who decides to get one to experiment with CNC box joints for flat panel work. It’s incredibly satisfying when everything fits together like Legos.
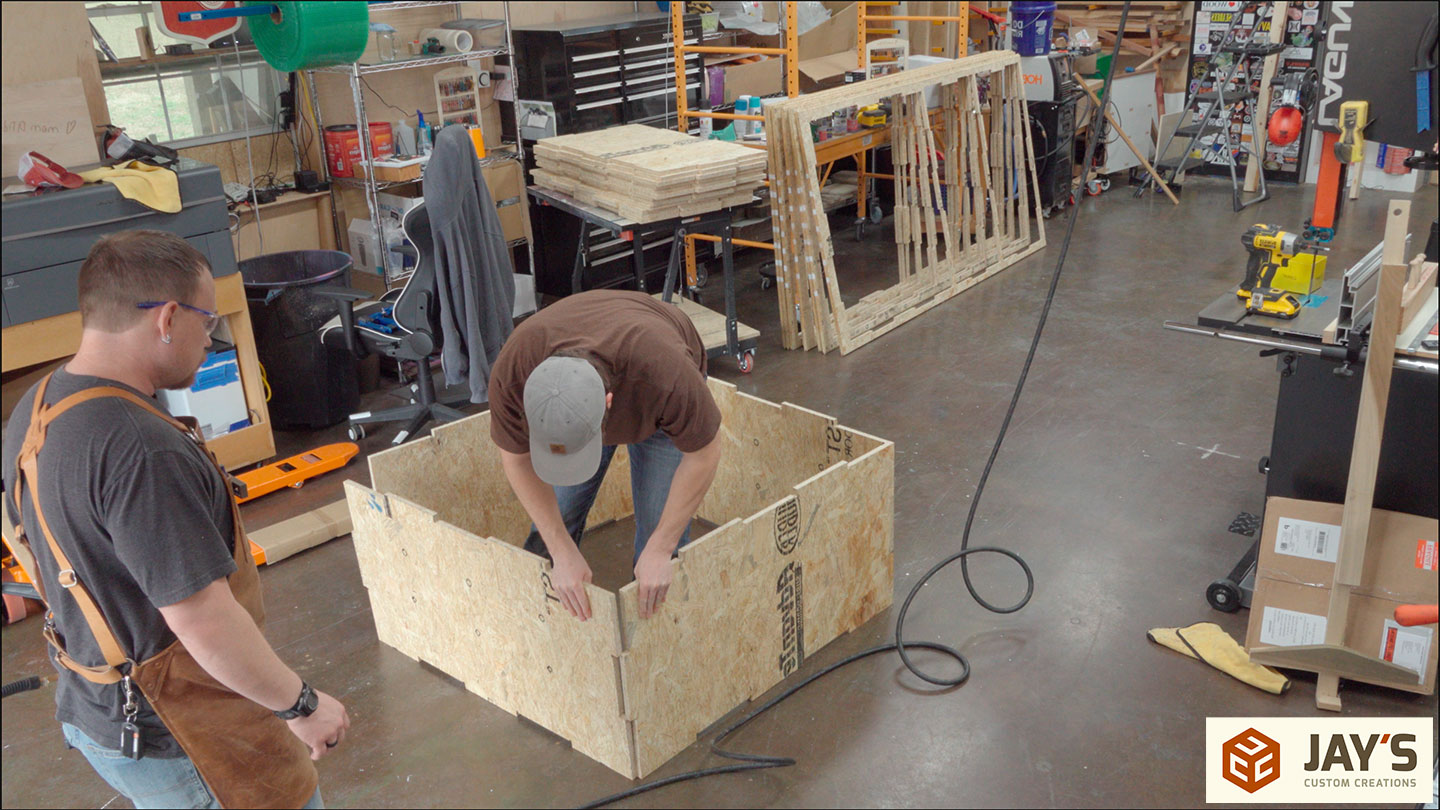
The sides are all identical, but the top and bottom panels have the fingers reversed. I designed it so that when picking the crate up with a pallet jack, the jack will touch just the bottom panel. The top is reversed so that the solid wood blocking from the crate above rests entirely on the top panel.
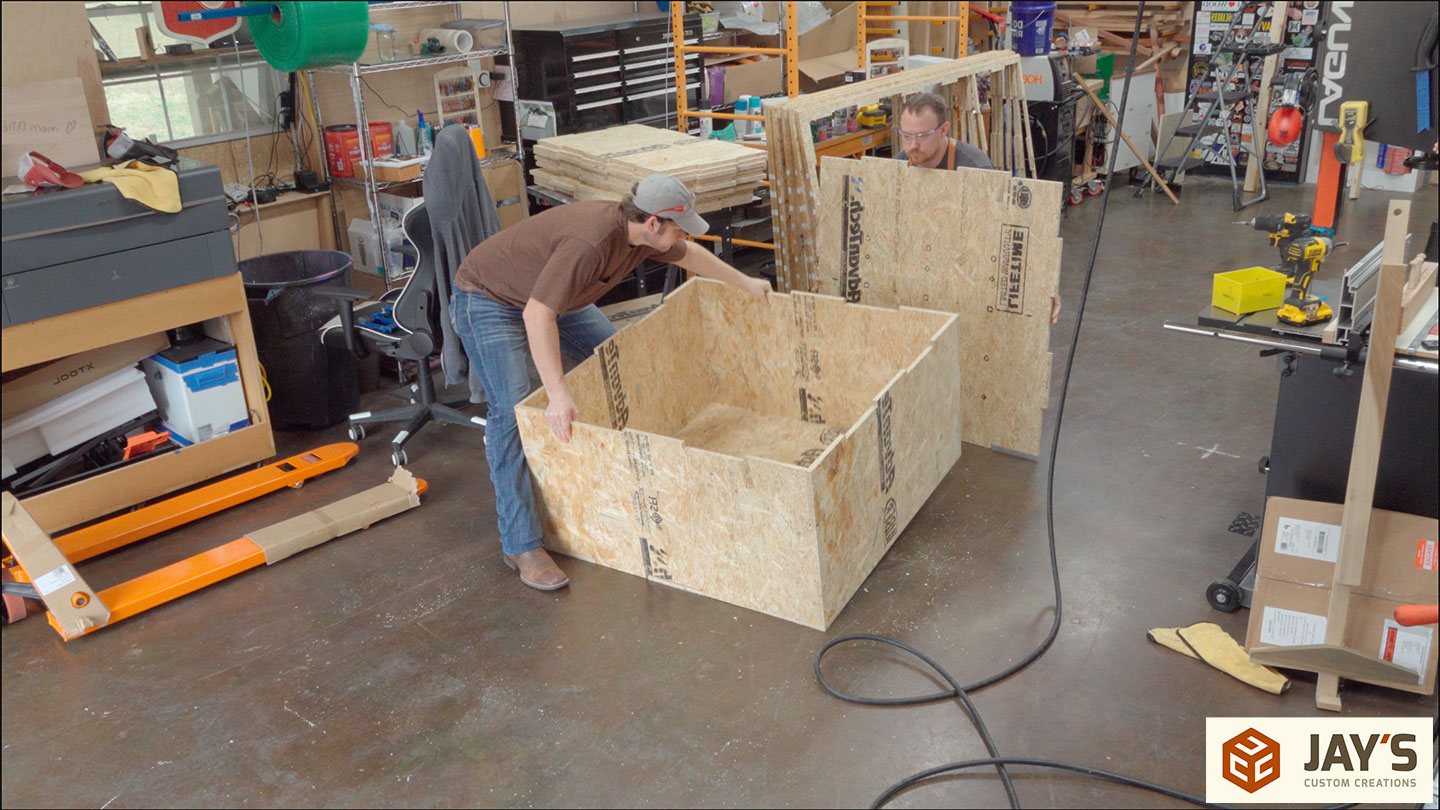
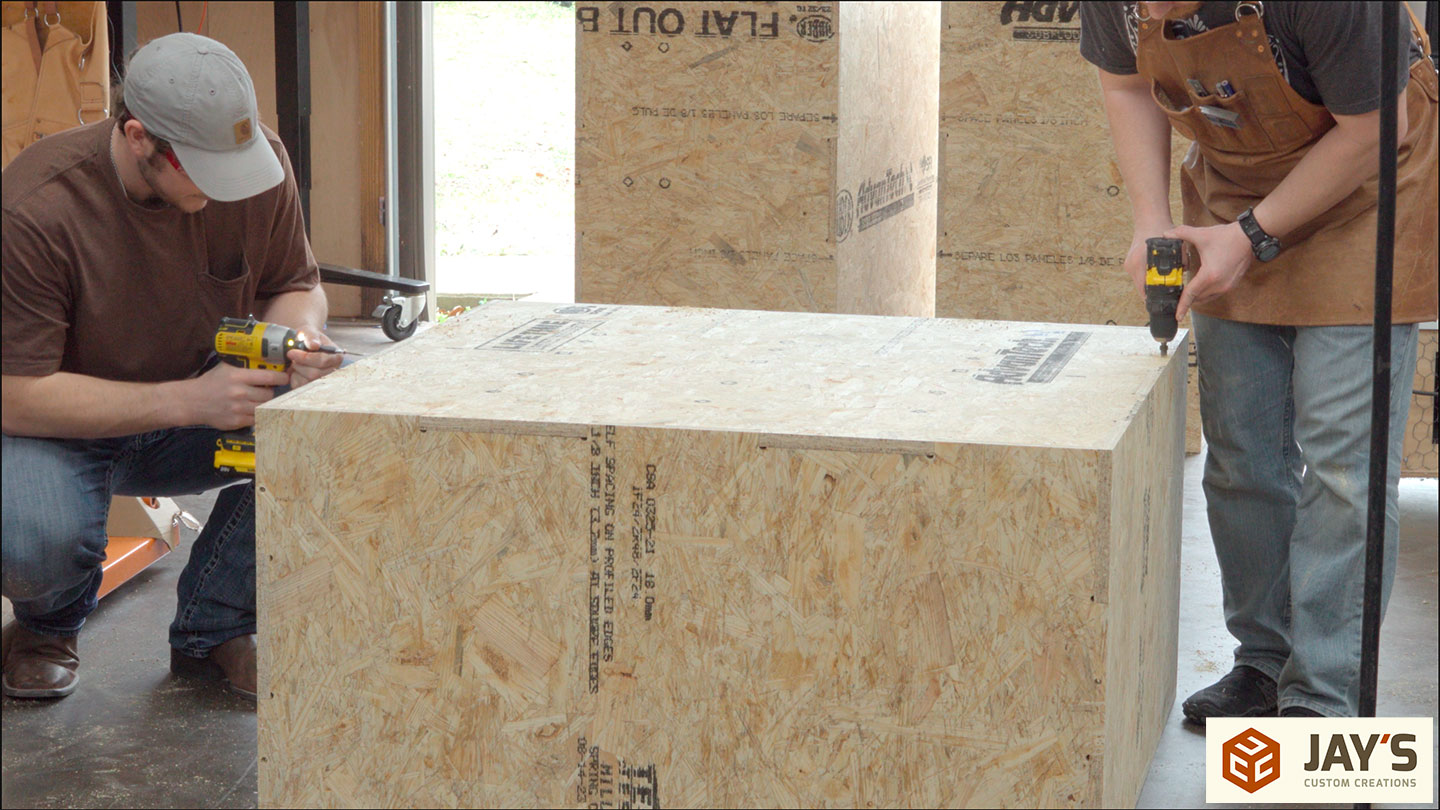
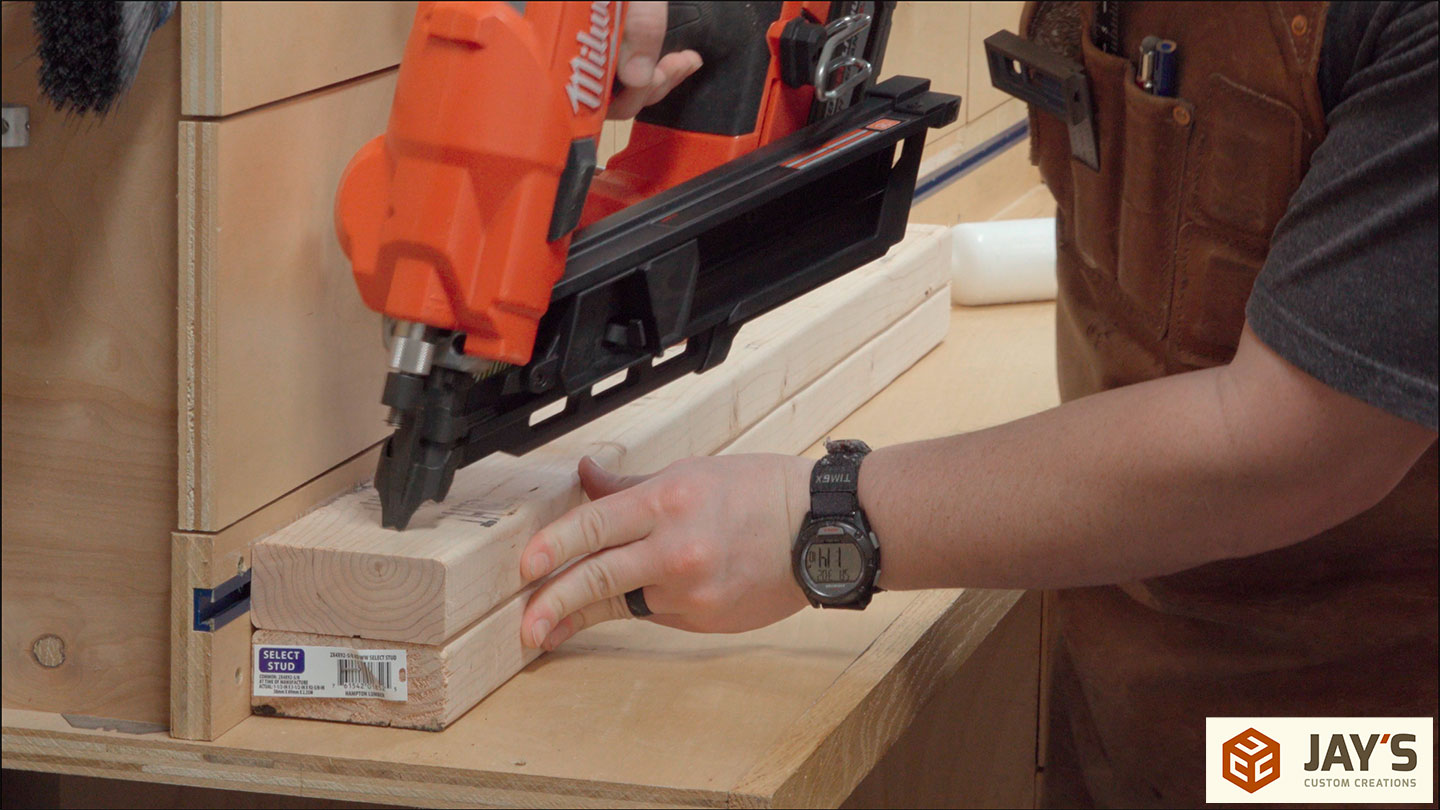
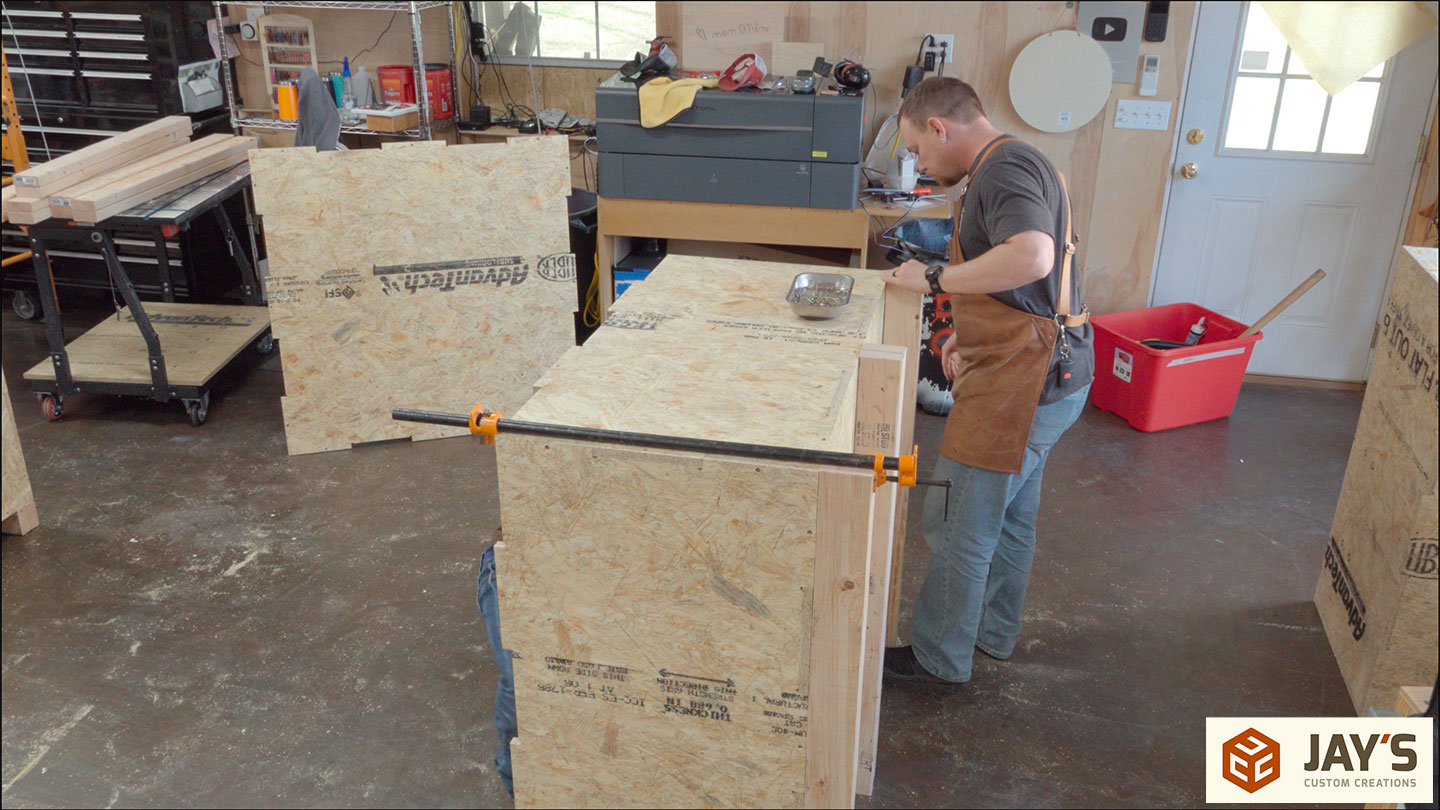
Four crates total. Each is held together with a few brad nails for positioning and a screw through each finger, or box joint, into the edge of the adjacent piece. Because of the number of screws, and the way each piece fits together, I didn’t feel there was a need to use glue.
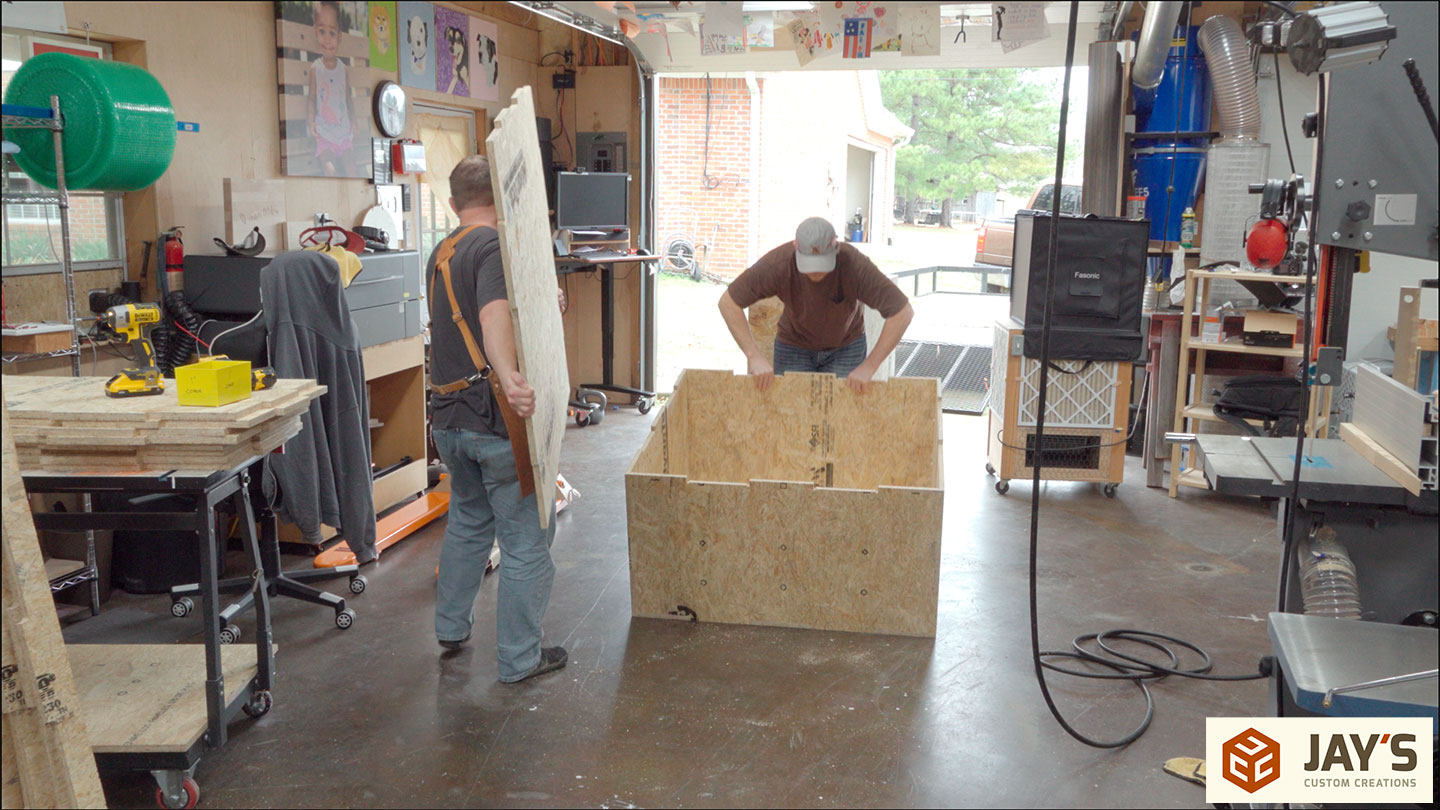
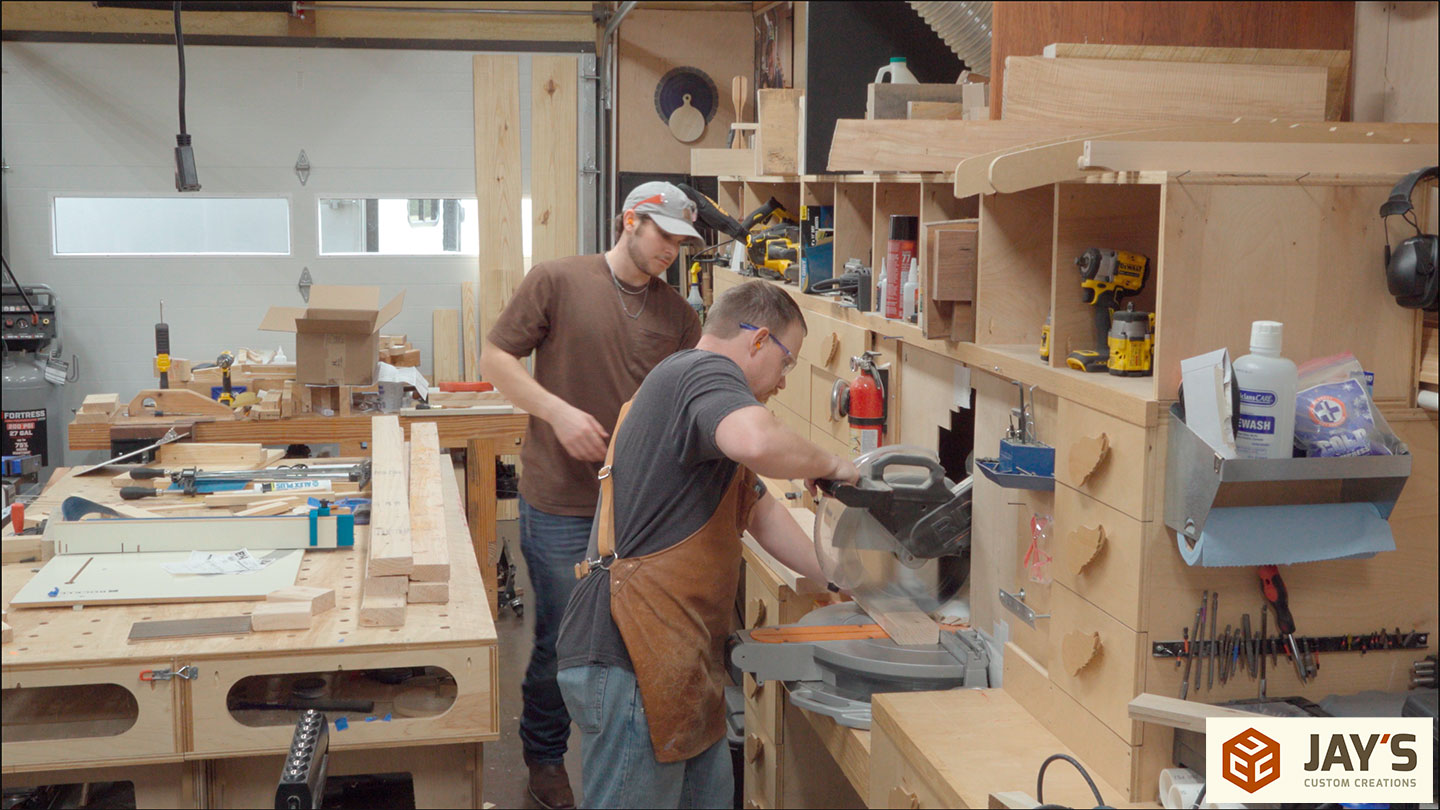
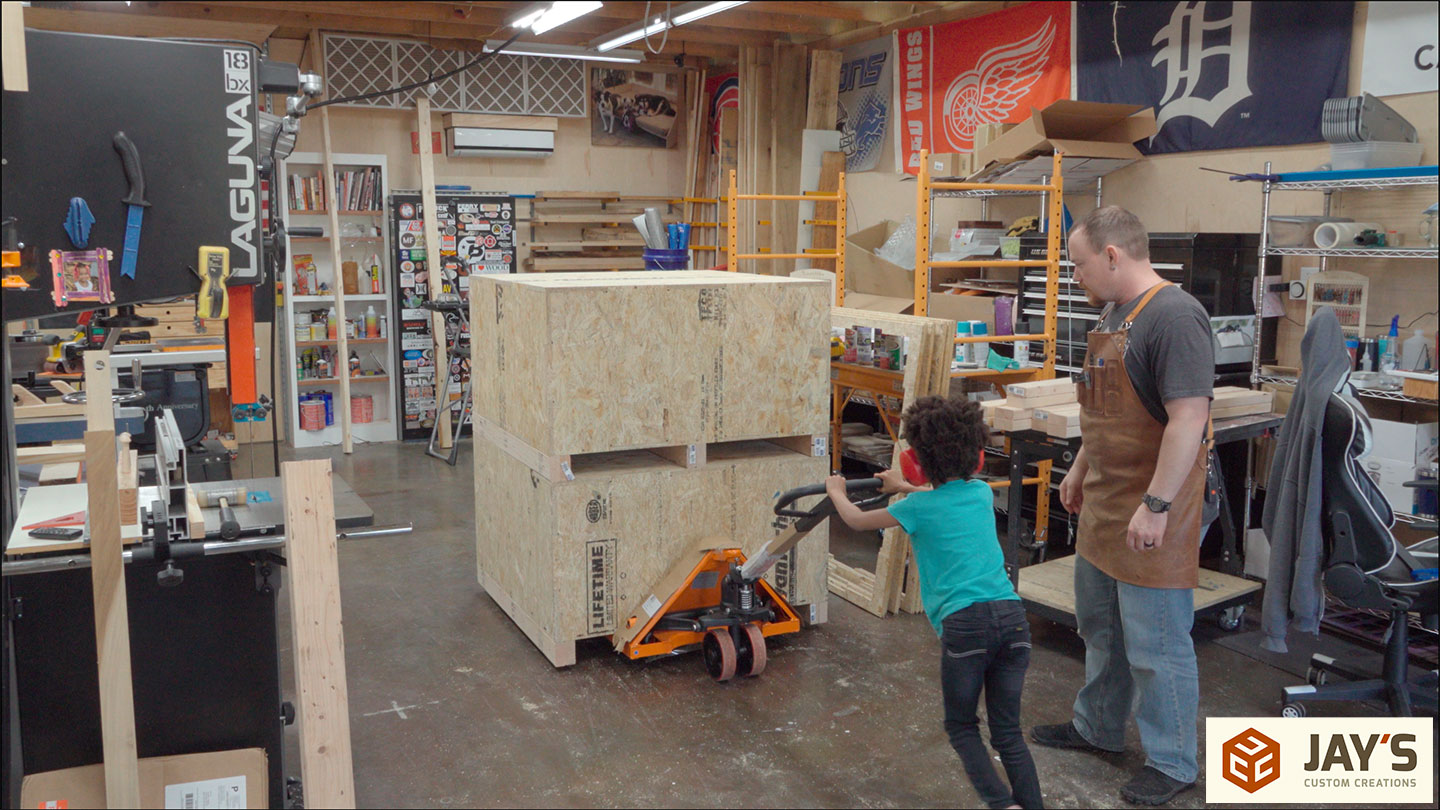
To make the bottom of the crate function as a pallet, we cut 2x4s for the bottom. Then, we glued and nailed two pieces together to make one bottom runner. The big takeaway from this project is never to underestimate the importance of a good Jack. If you have a flat tire on your vehicle, get a jack. If you want to increase productivity in the shop, get a Jack.

I held the runners in place while Jack secured them from the inside with a bunch of 3” screws. You may have noticed that in the SketchUp video, I had these runners in the flat orientation when installed. It turns out that the pallet jack I purchased (another very helpful jack) has 3” tall feet. That means they need to be installed vertically to provide 3-1/2” between the bottom of the box and the floor.

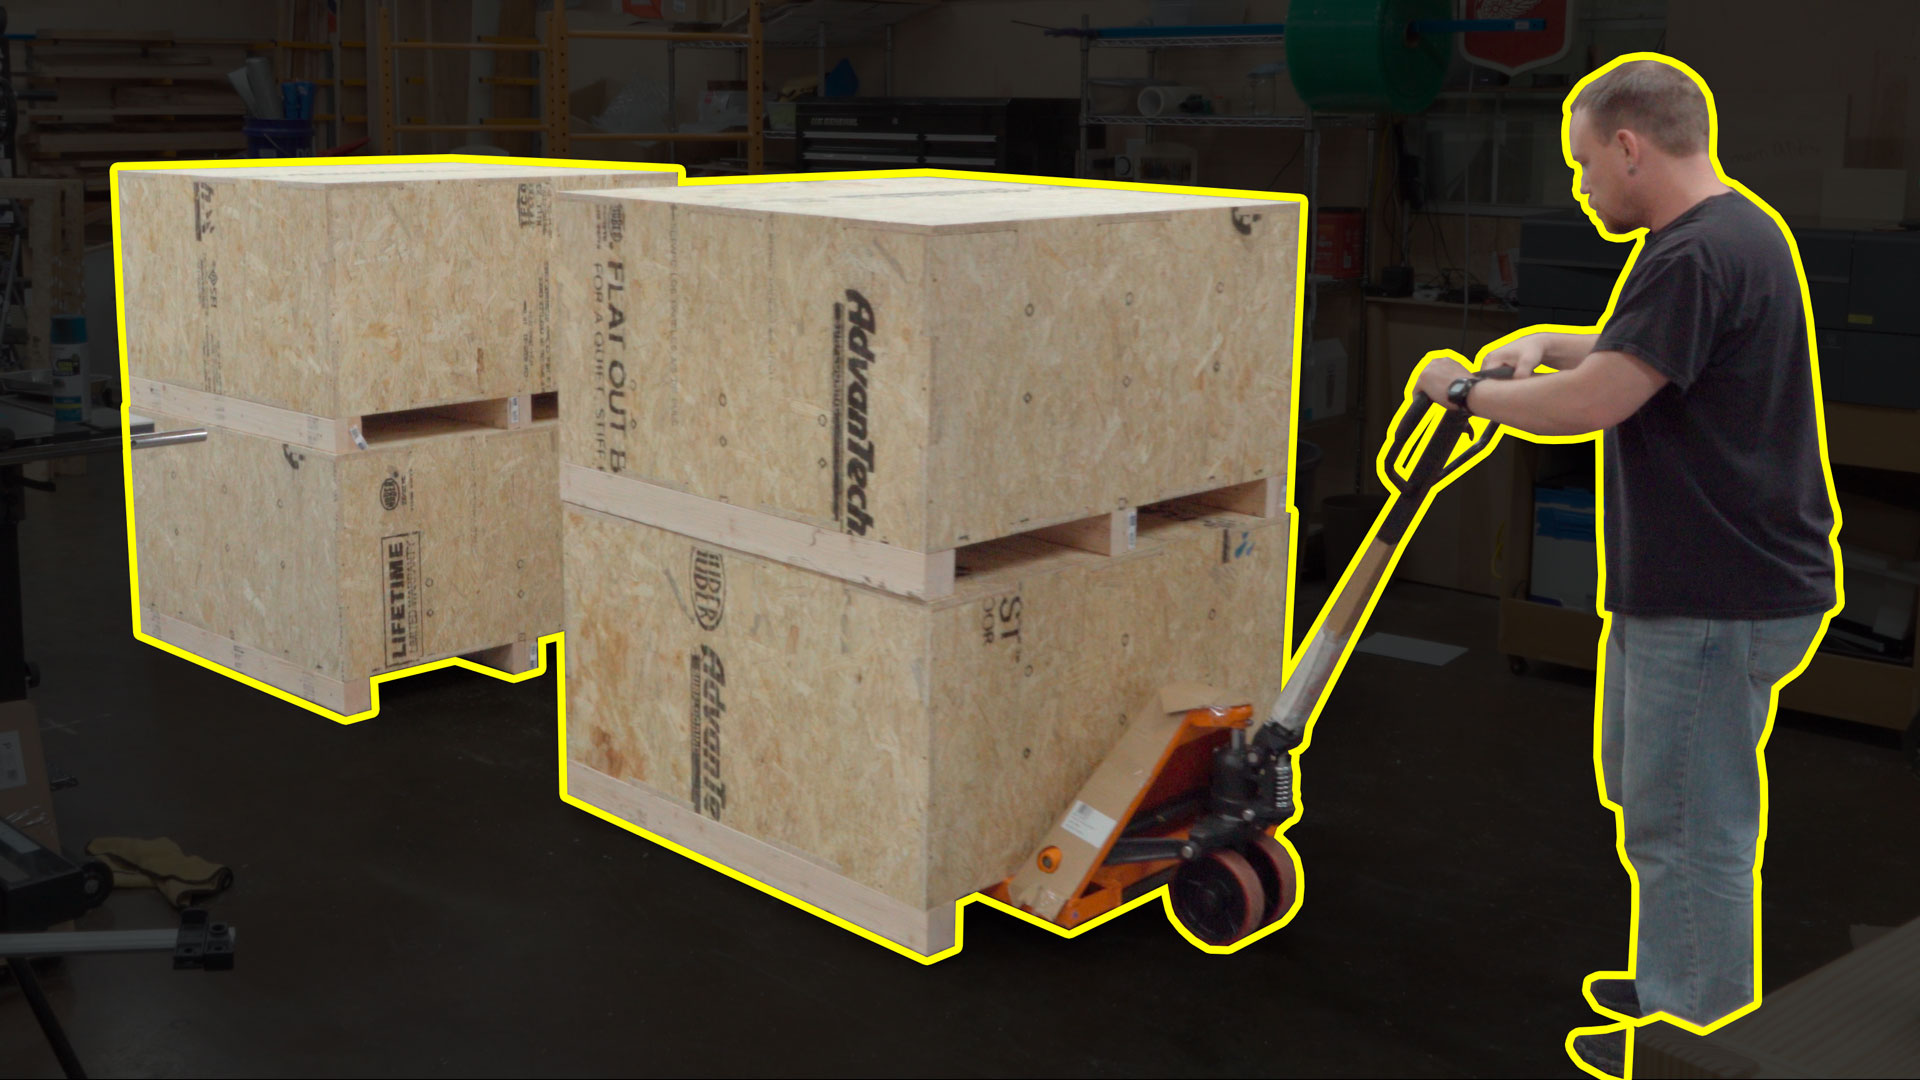
It took us four hours from the material on the trailer to four completed crates. That doesn’t take into consideration about 45 minutes of SketchUp work and Vcarve Pro work. Of course, once completed, we had to stack them and take them for a test drive.
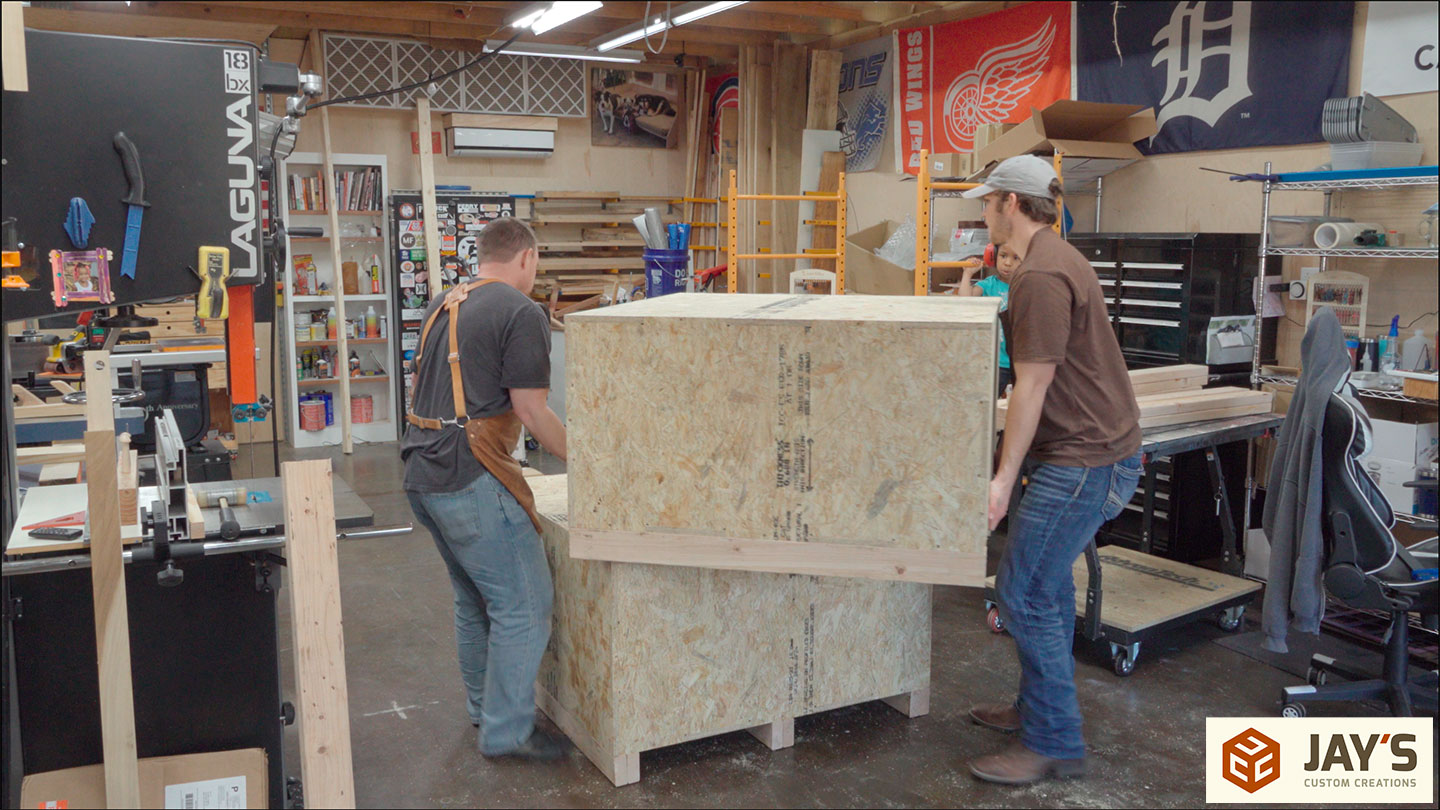
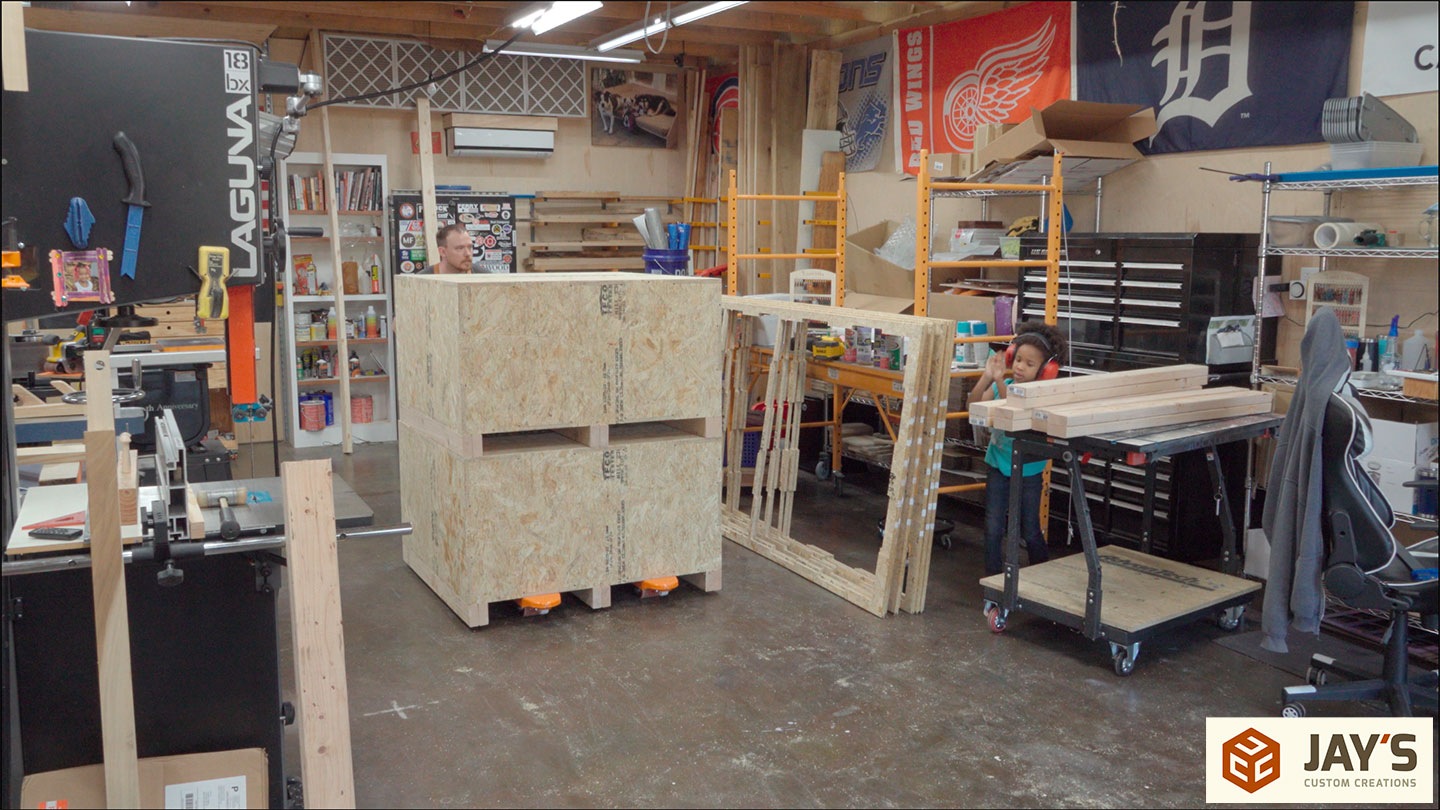
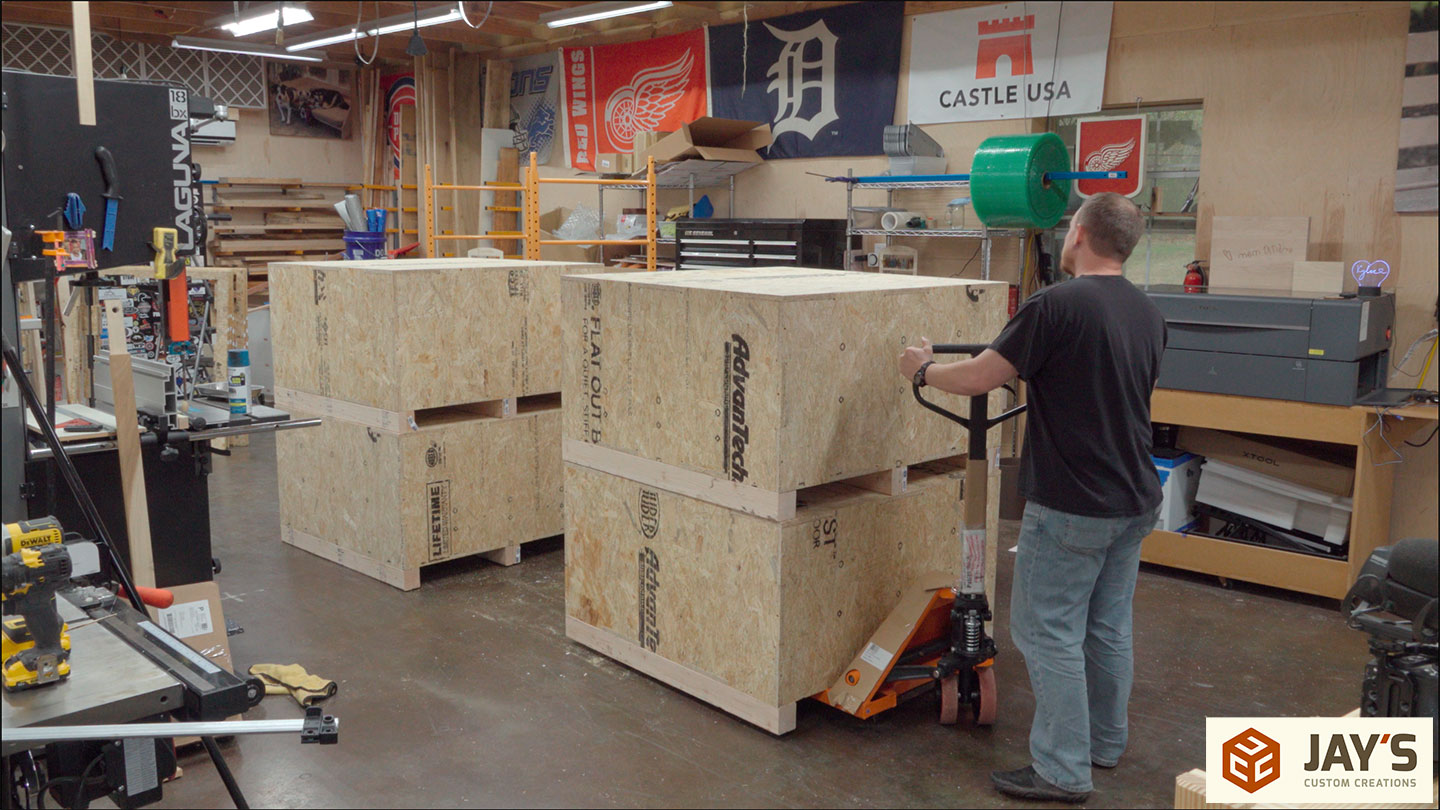
These crates are much more expensive than the 55-gallon drums I used the last time I moved the shop, but with a pallet jack and a tractor with pallet forks, I expect this method to be much more efficient with time and storage space. Also, when the move is done, I’ll have four large rodent-proof crates for long-term storage. I can see one of these being used just for Christmas decorations.


I told my wife I wanted to be cremated.. she made an appointment for me next Friday at 12.00..
Now all you need to do is stencil 9906753 on the side of one of them, put a light and switch inside and you can reenact Indiana Jones anytime you get your stuff.