
I have recently made several projects for a local business here in Starkville. The Mississippi Modern Homestead Center is a great business focused on getting back to the basics of living and self sufficiency. My latest project for them is going to be a children’s table. I was asked to build a 4′ picnic table but decided to throw in a twist. I asked if I could get creative with some pallets to better incorporate the “Re-Purpose” theme of the Center.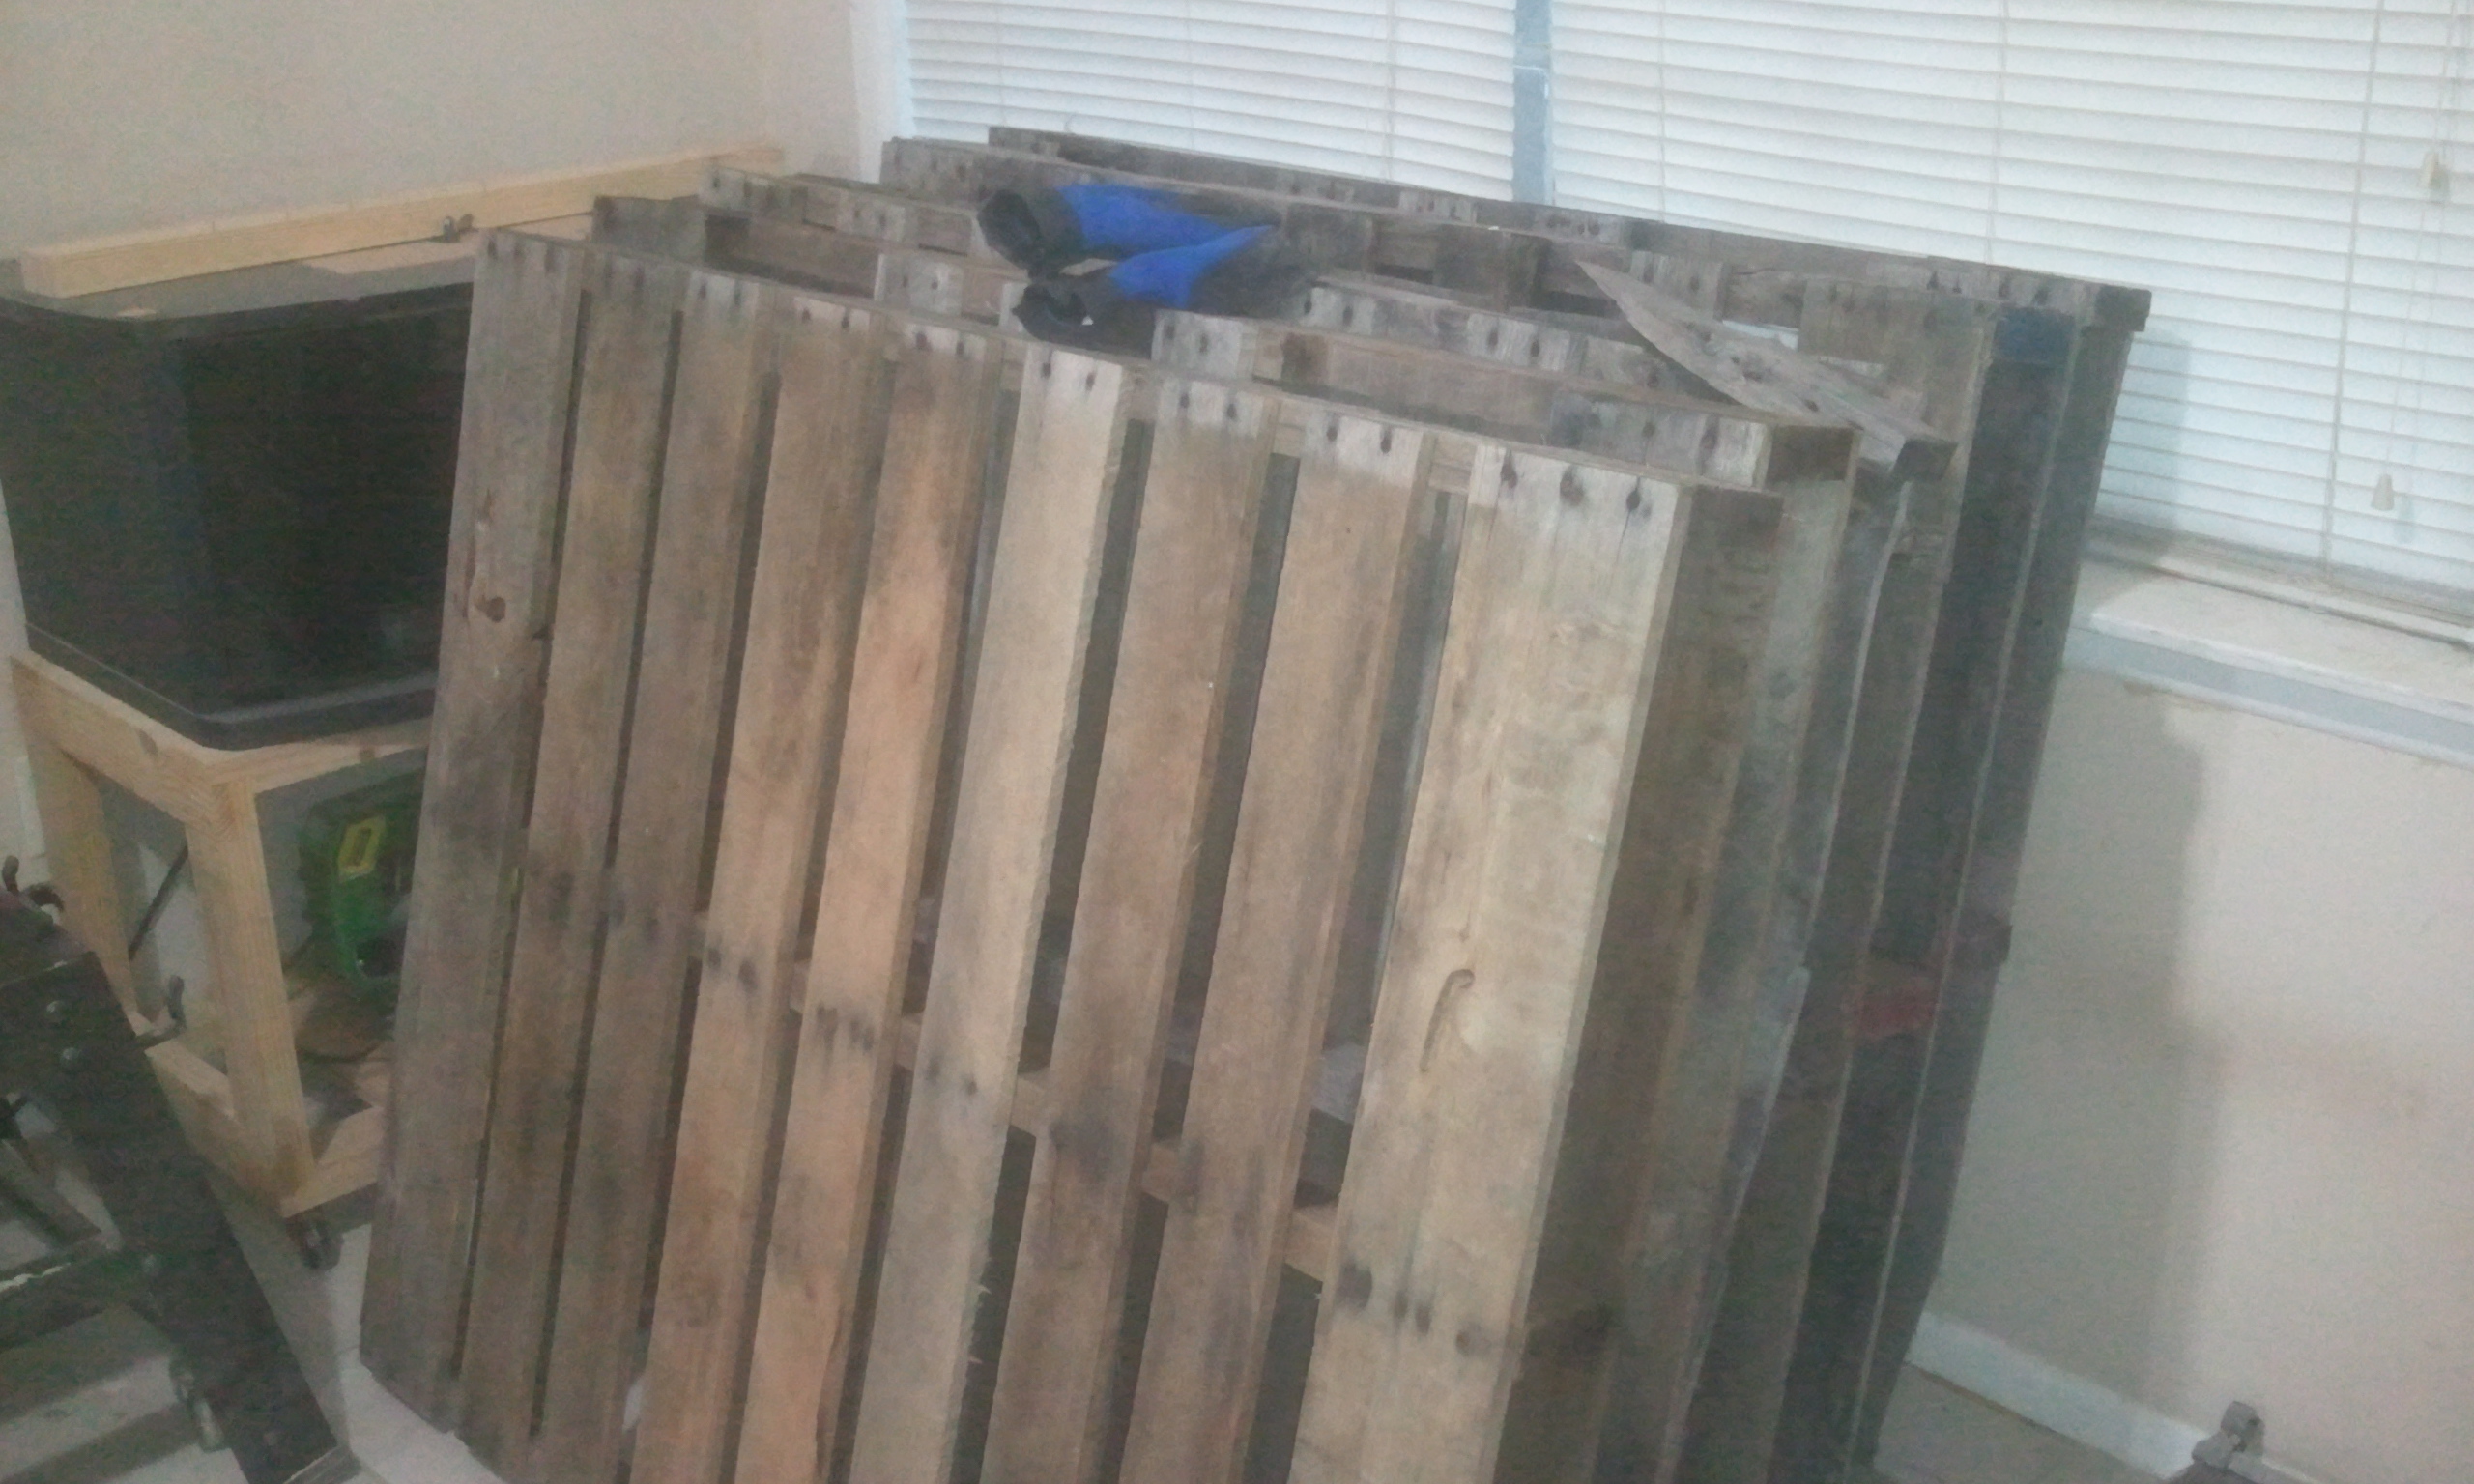
The first step was getting some pallets. While pallets can be found just about everywhere for free, the Center has a stock of their own. I believe they get them from a local paper company and allow anyone to pick them up as needed. I loaded 6 in my truck and hoped it would be enough.After getting back to the shop I started to dismantle the pallets and assess the inventory. Let me say that there definitely is a good way and a bad way to dismantle pallets. I tried using the hammer and pry-bar method but ended up splitting far too many. The best method I found was to use a reciprocating saw with a 12″ “wood with nails” blade. The blade was around $3 and is pretty long lasting. I dismantled the remaining 5-1/2 pallets with this method and the blade is still fine.


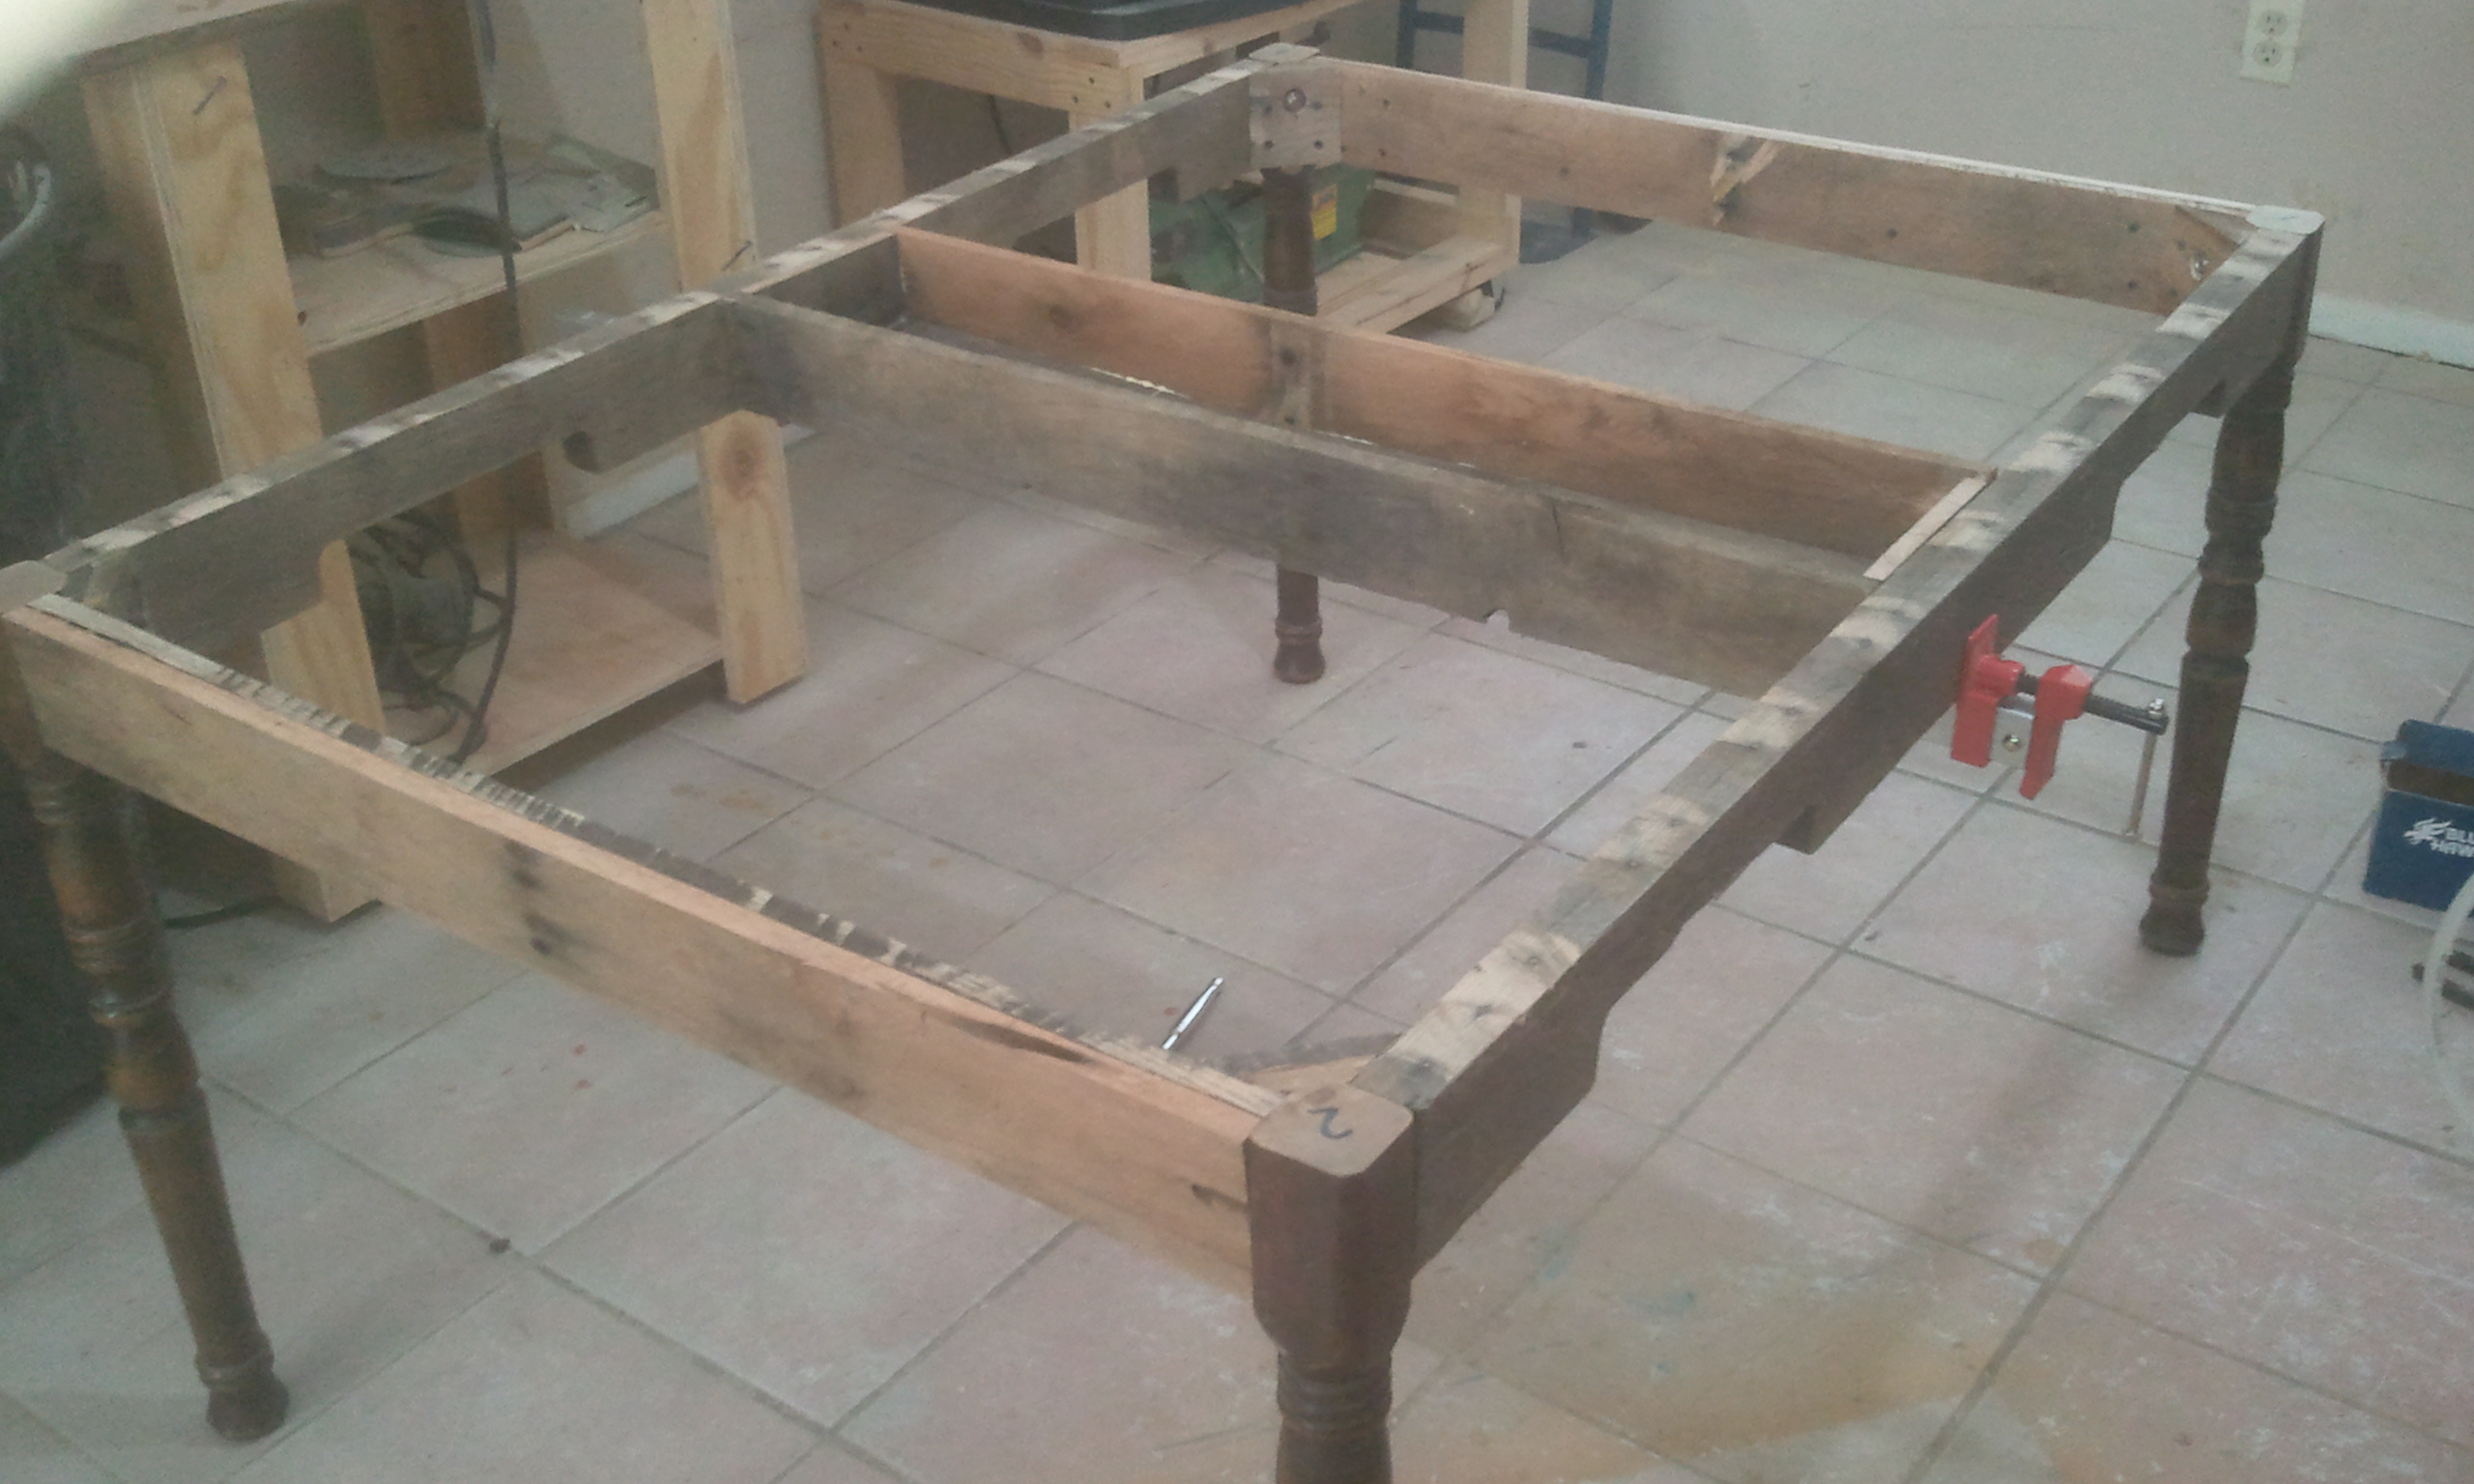
Re-Purpose is definitely the theme of this table. I had a nice stack of usable pallet lumber, 4 old legs from my wife’s previous dining table, and 2 gallons of blue and brown paint from my toy box build that was just screaming to be used. The legs had a little work that needed to be done. First, the tops had to be squared off. Their original use had them on a compound angle from the center of a circle table pointing out. Next, I had to cut them to length. The table was requested to be a little shorter than normal as children were going to be using it. I didn’t determine an exact height. Instead, I just found a good cutting point for a matching profile that was close to the bottom of the leg. It worked out great.
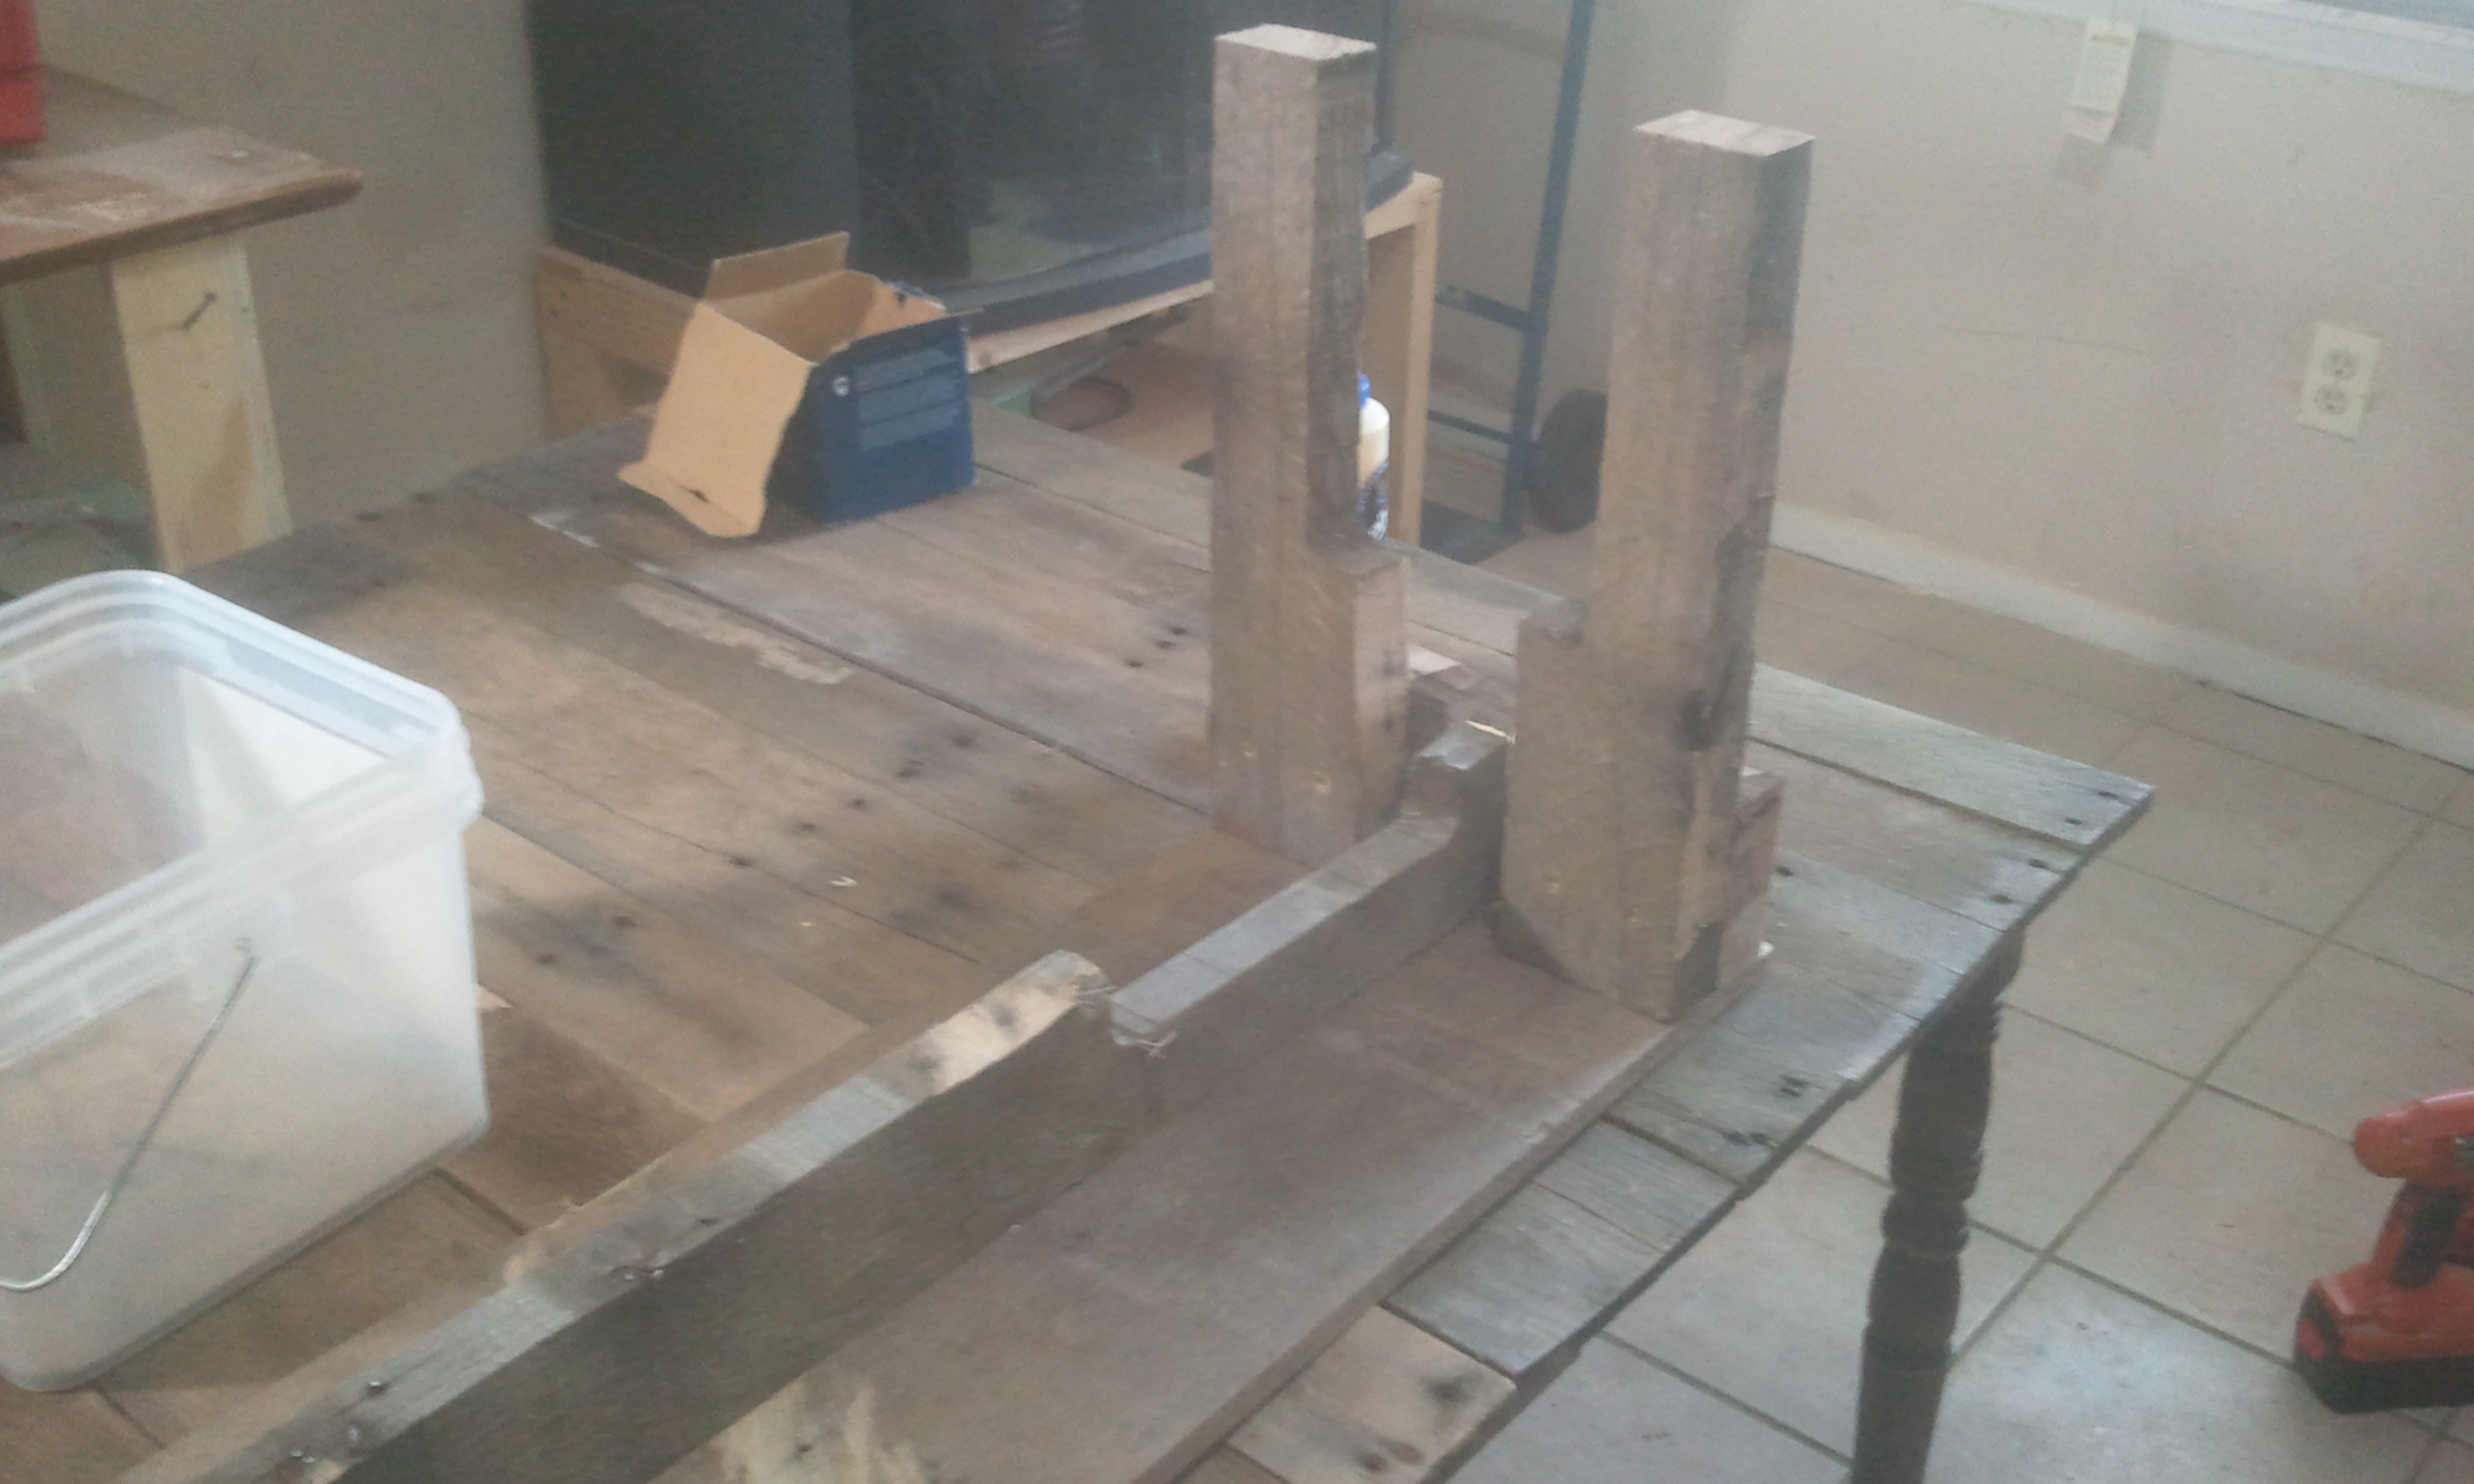
I started the layout on the floor in my assembly space. Obviously there isn’t a “detailed drawing and set of plans” for a build like this so it was all cut and fit. This is probably the only build where having a 12″ tile floor came in handy for quick measurements and eyeballing sizes. The resulting layout was roughly 4′ by 3′. The 4′ side of the table is a standard length structural member of the pallet. I couldn’t use structural members for the shorter side. My plan was to cut the structural members while remaining symmetrical. It didn’t work out like I hoped. The resulting cut was in the smaller section of the structural member which left too little material in the corner where the legs bolt in (explained better in the video). The solution was to laminate two slats and use the resulting board for the shorter skirts.The best way for me to add the legs was with a 45° connecting block. I drilled a counter bore and through hole in 4 of these pieces to accept the bolt on legs. I like this method. One can easily remove the legs for easy transport.
I wanted to add a subtle touch to the project. Something functional but also concealable. I recently saw a picture of a pallet table with a built in flower box in the middle. Thats it! A framed tray in the middle with a lid. This would be a great place for crayons, pencils, or whatever else that may be used. It took 3 slats to make the tray. One wide slat on bottom and one on either side. Simply glued and brad nailed into place. This was a good time to layout the top slats to make sure I had a decent layout before I started the benches.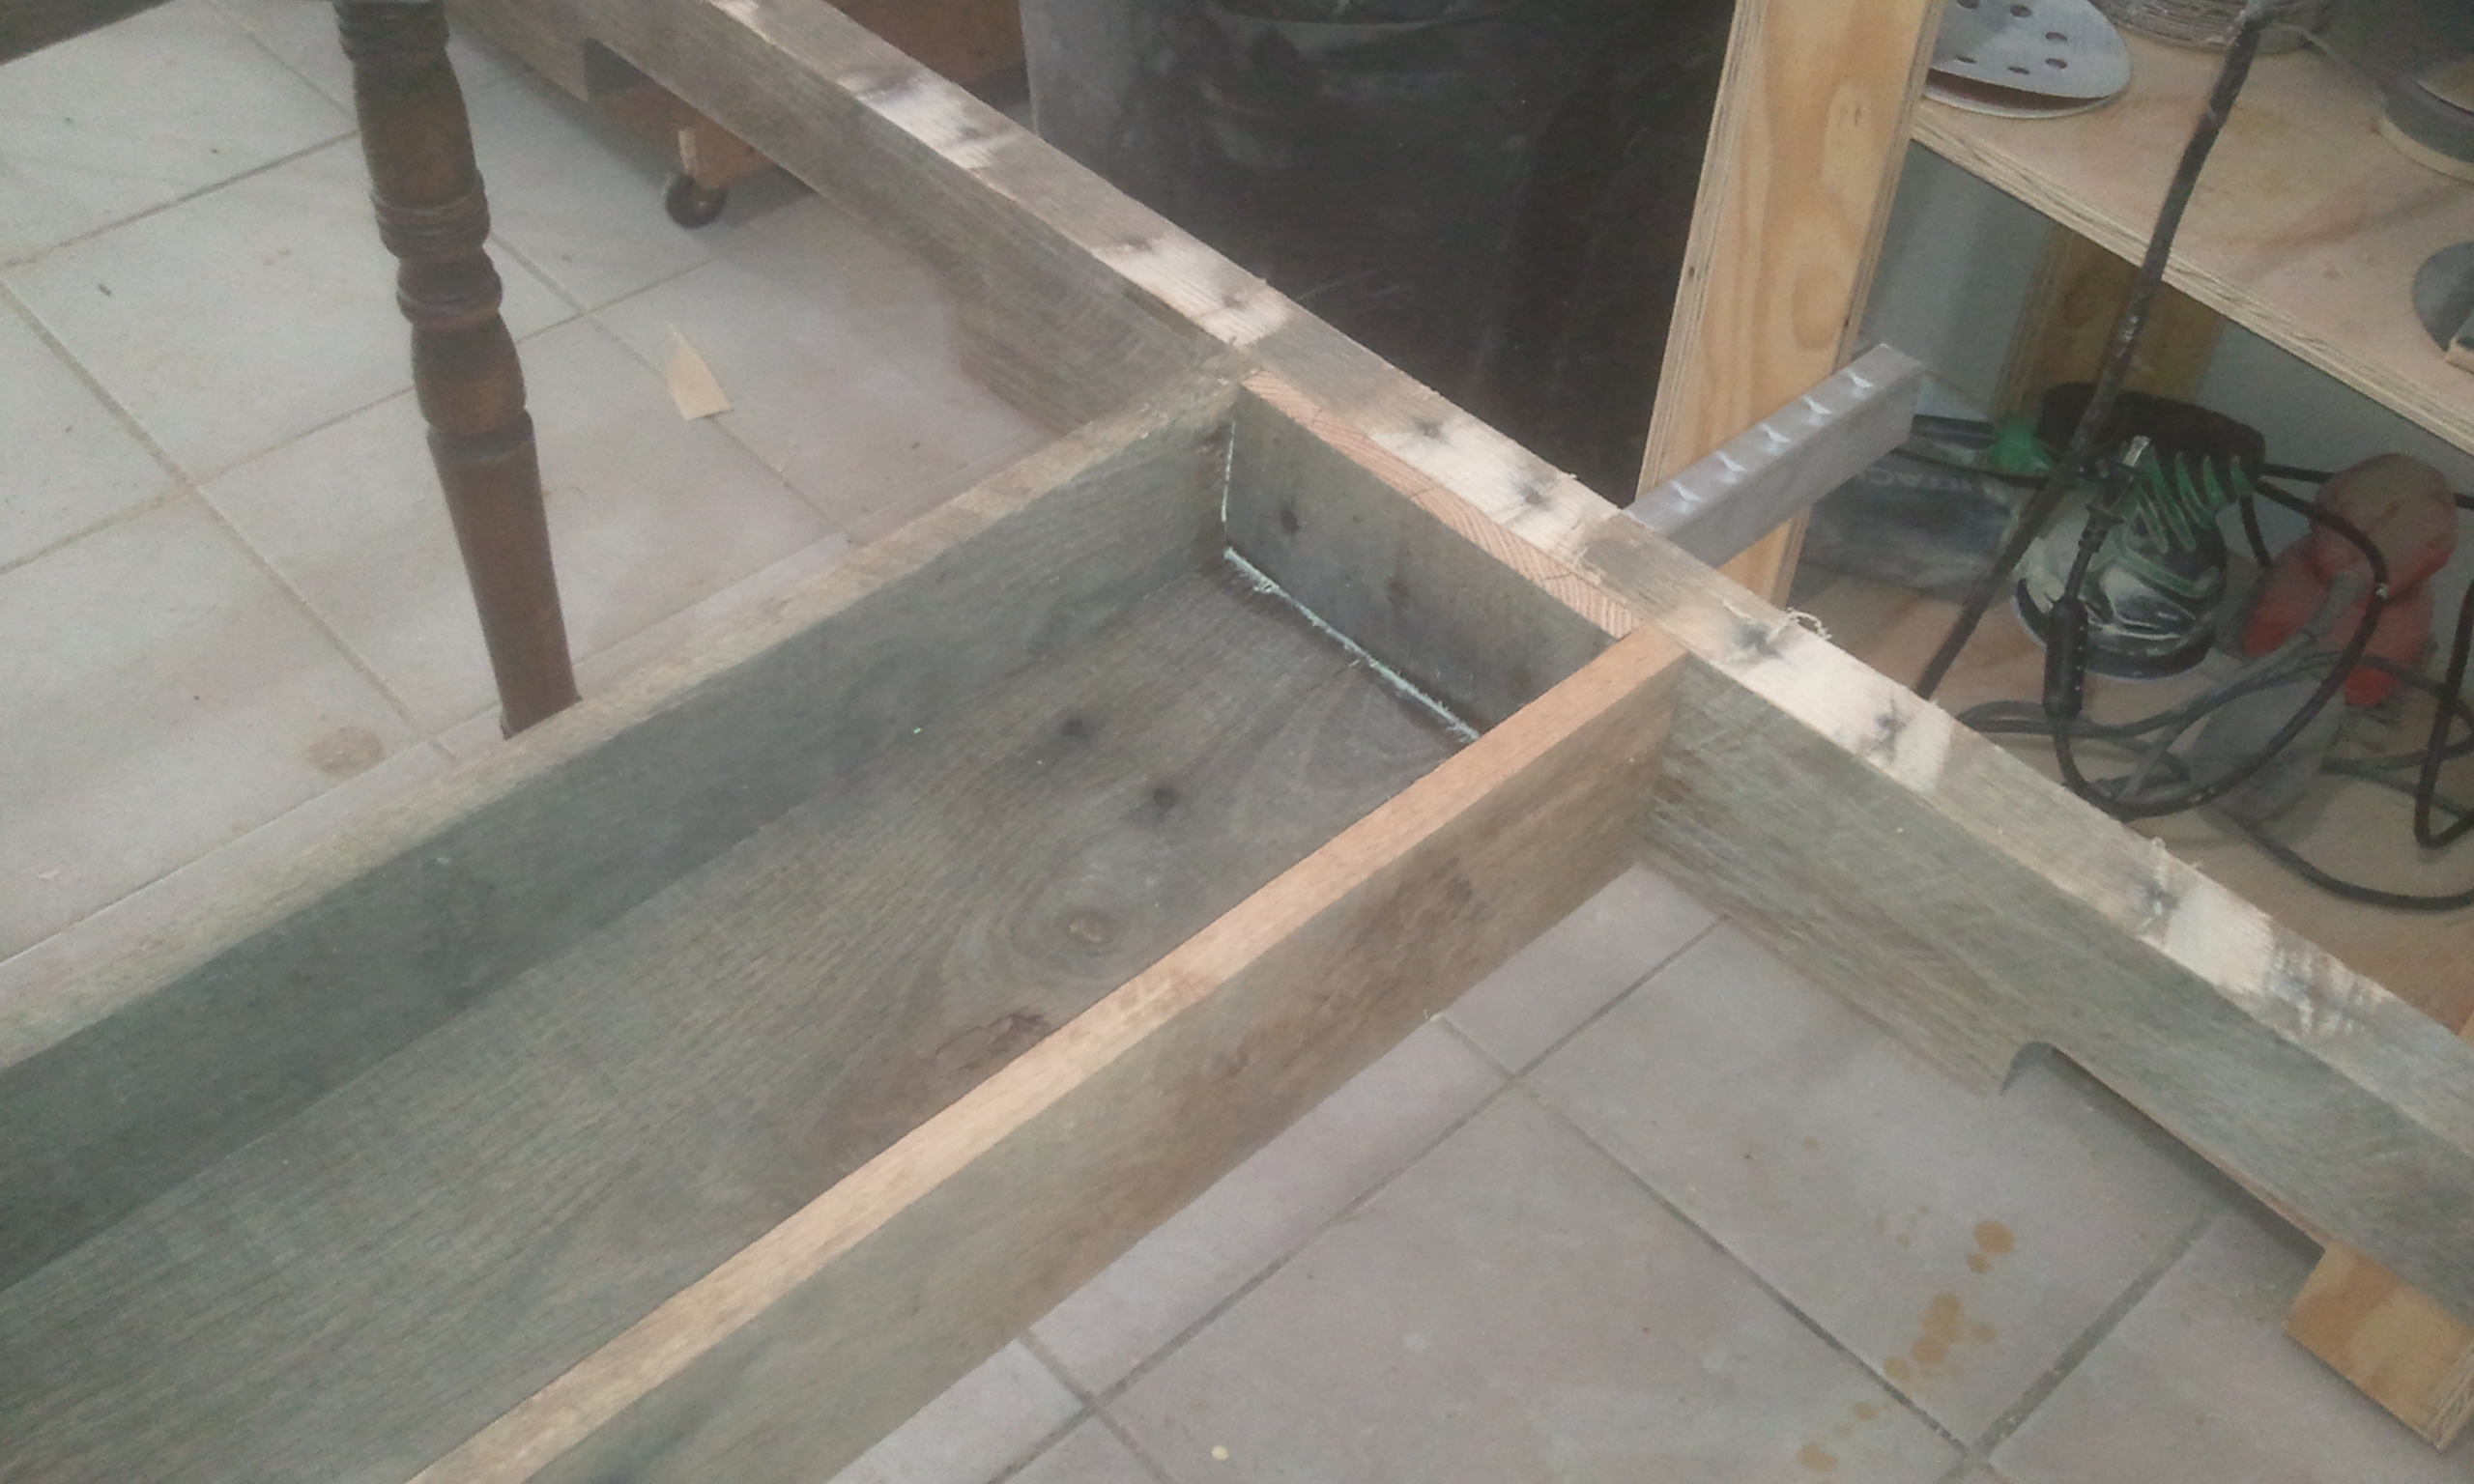
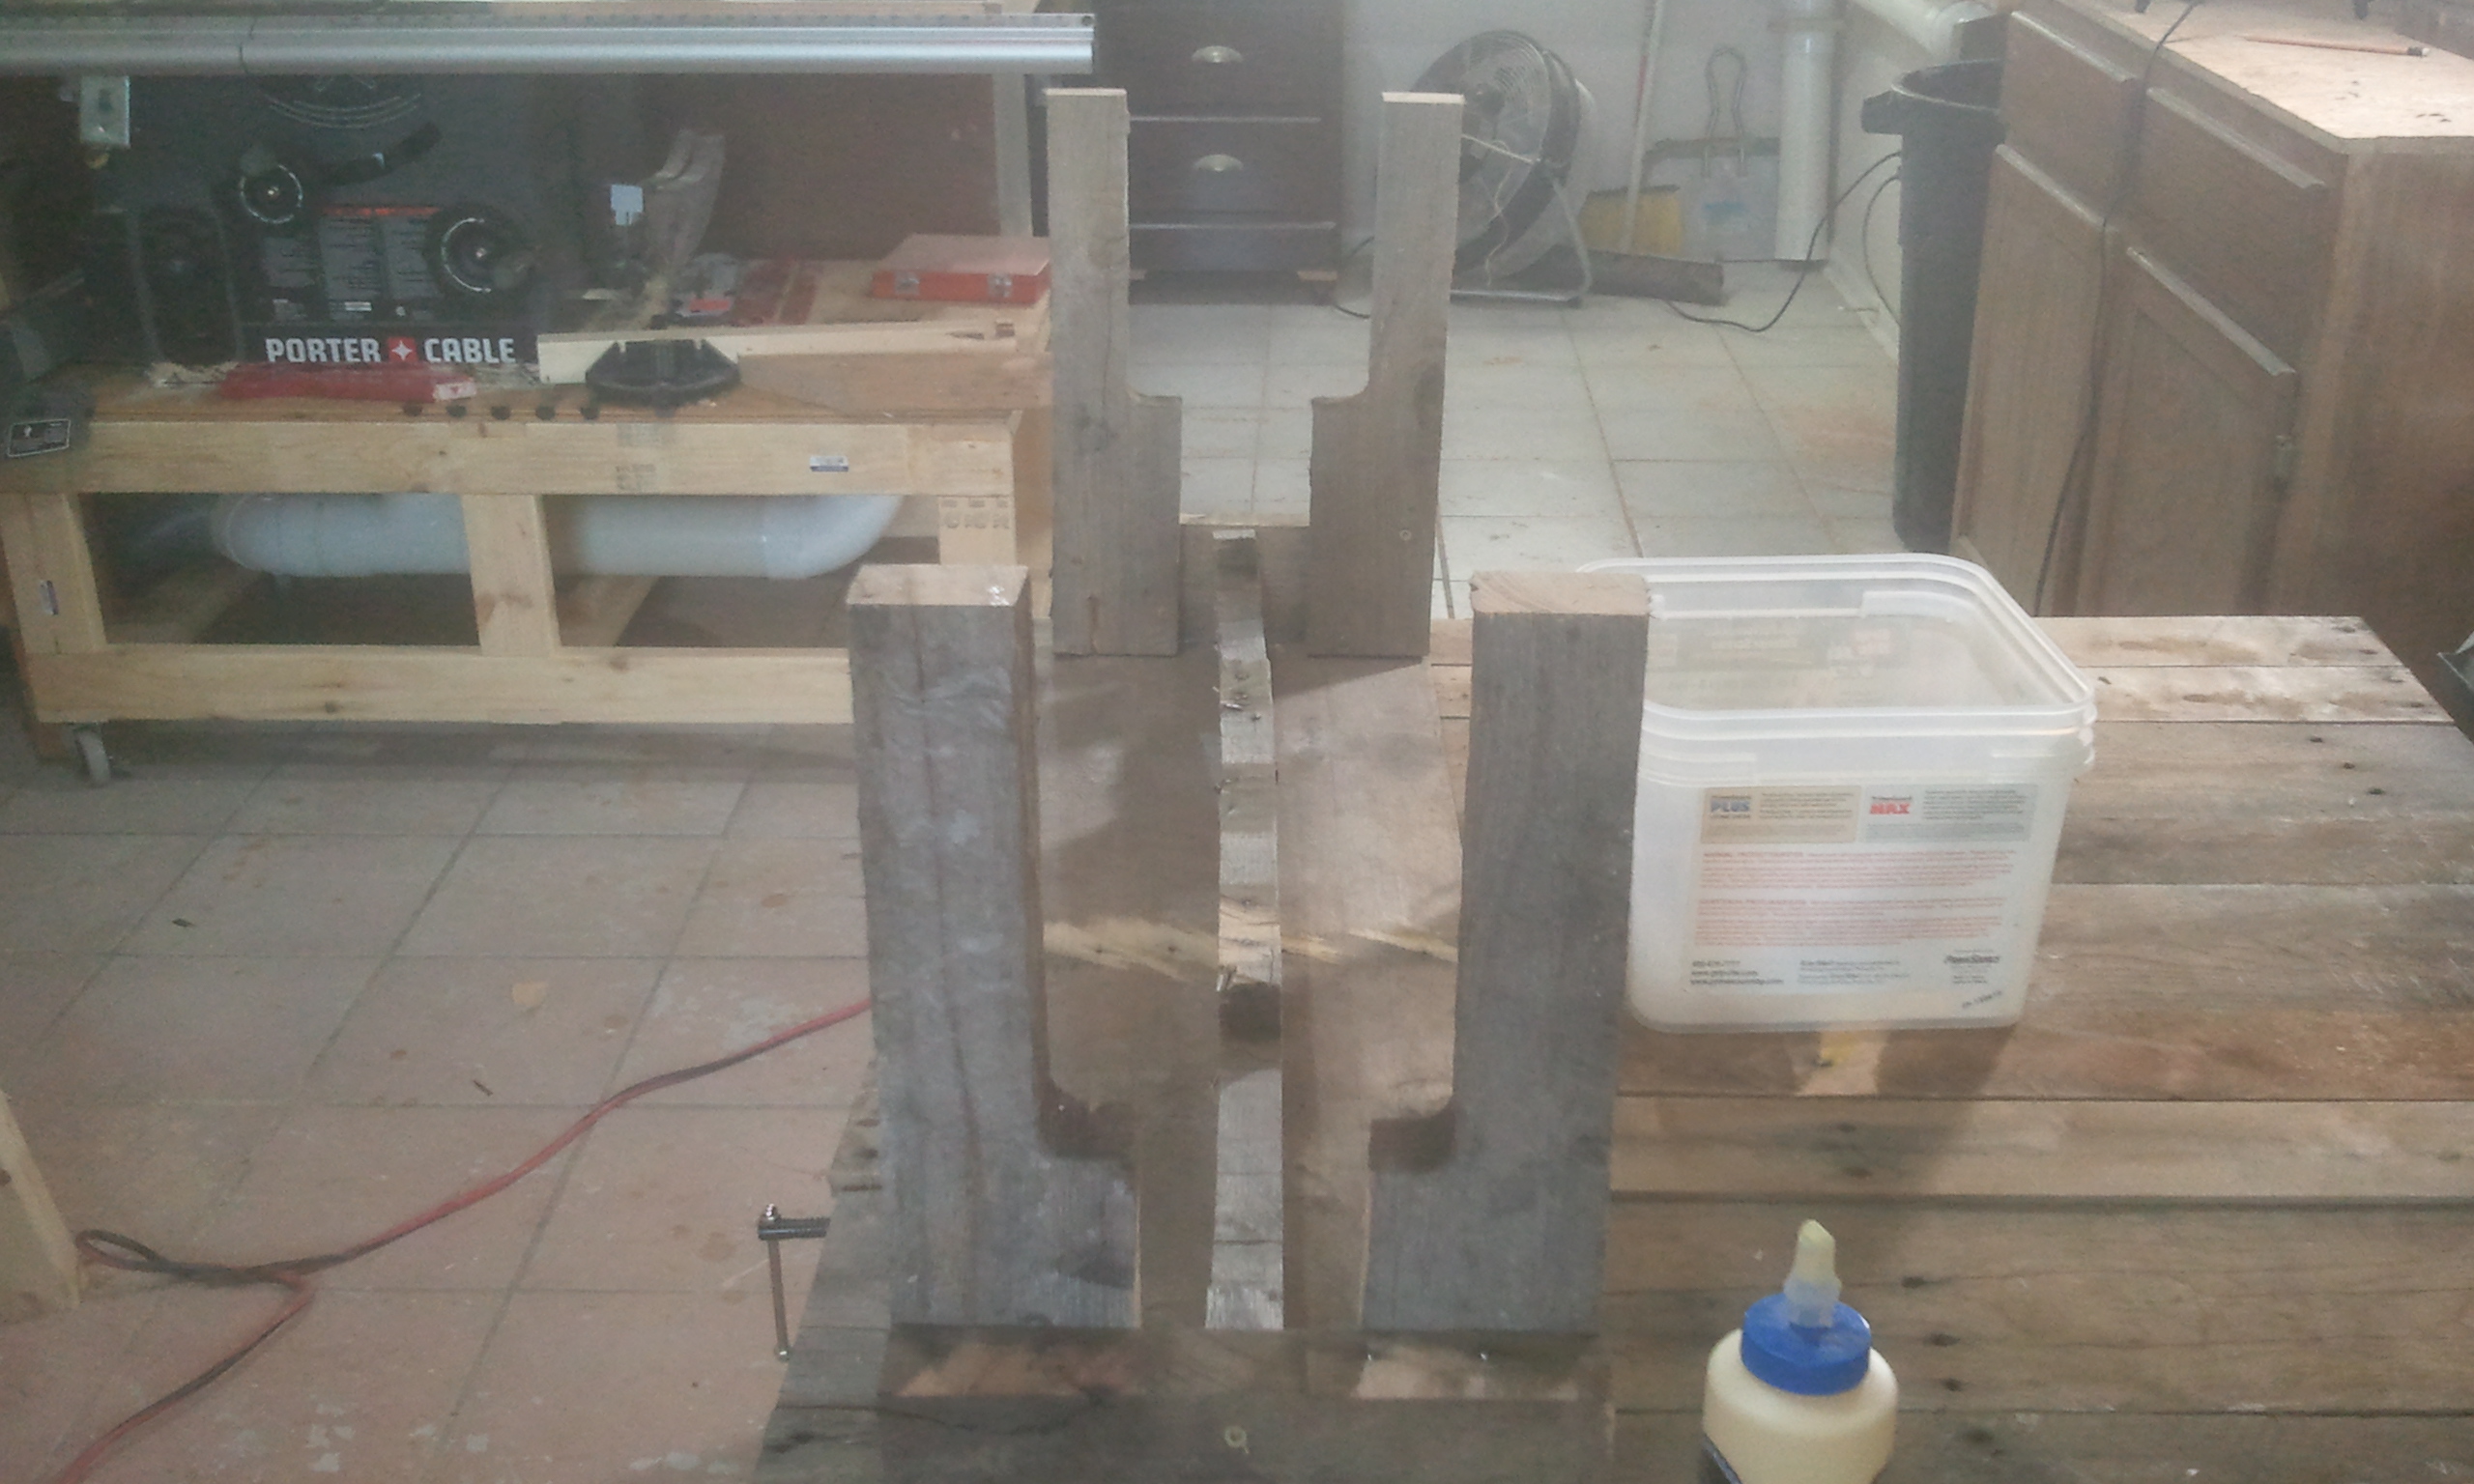
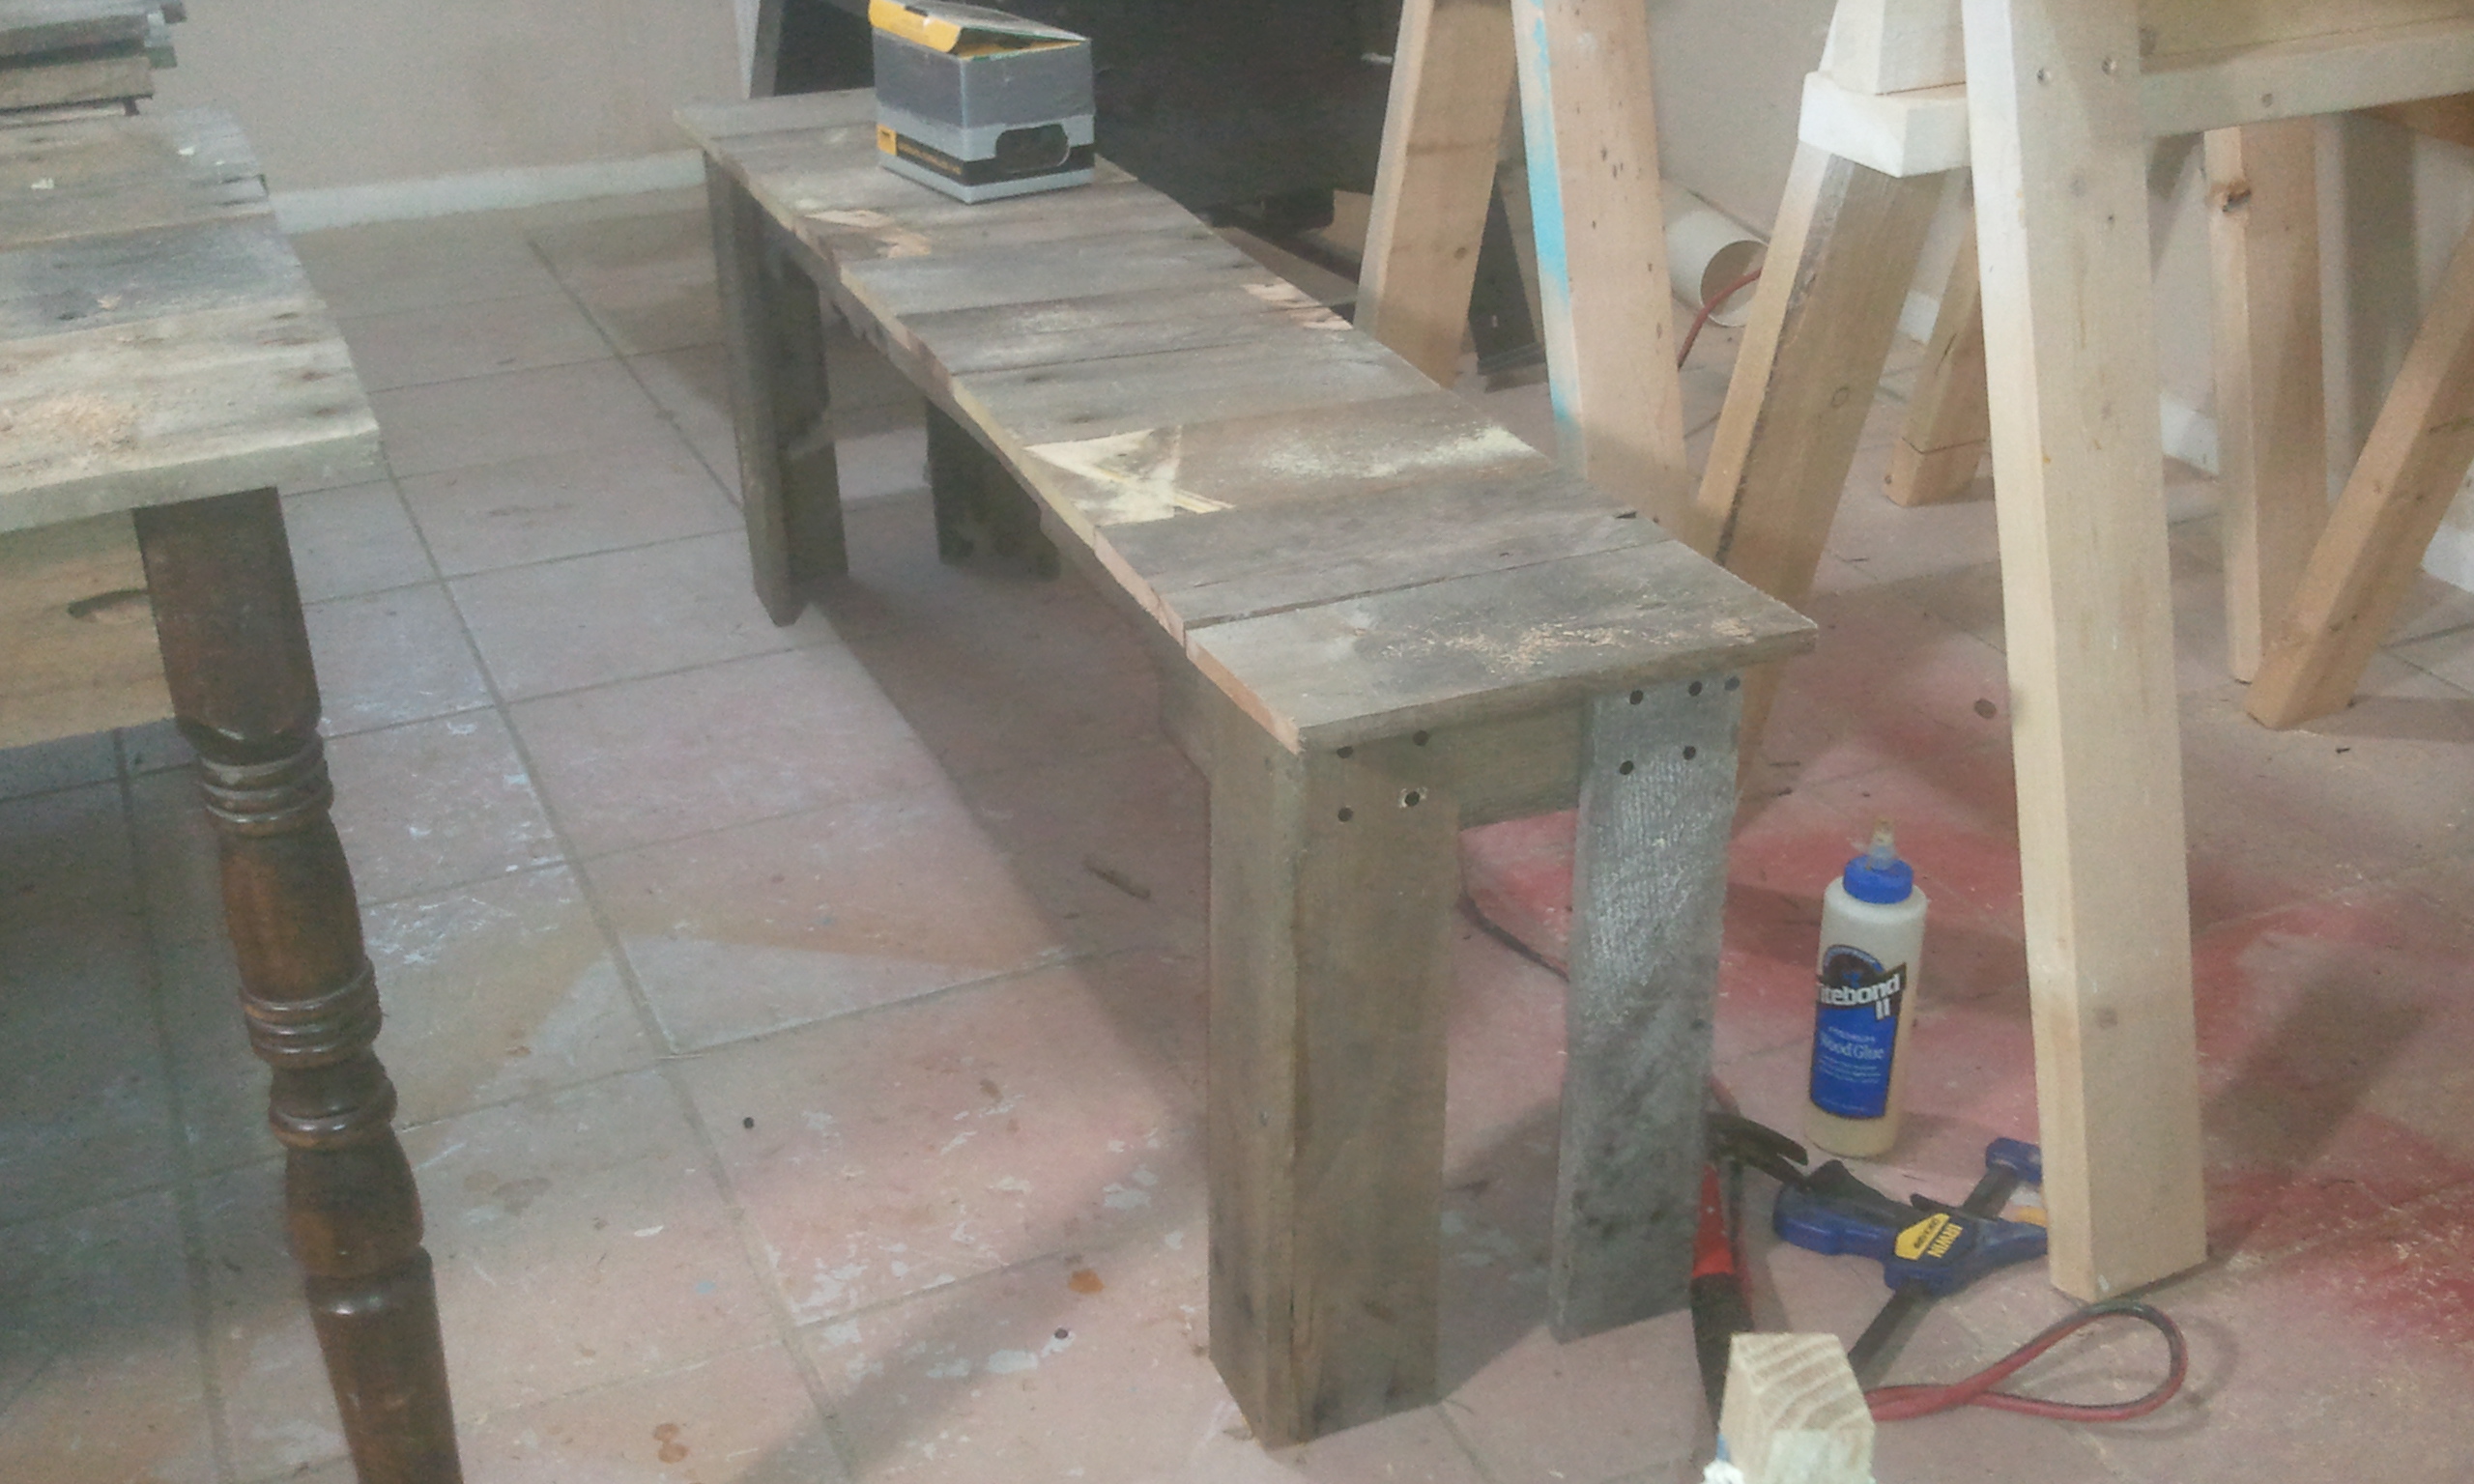
I switched focus onto the benches. I wanted to have as much of the project scream “PALLET!” so I made the bench legs with the structural members. This gave a natural profile that flowed great with the theme. For the sitting surface I just used two of the wider slat pieces running the length of the bench and secured them with glue and screws. Two of the three benches were made this way. The third bench was a little longer and I was left with the worst pieces by this time so I had to use a bit more material to make it stronger. This time the sitting surface will run perpendicular to the length of the bench. I cut a few slats down to a reasonable length that left about an inch of overhang.
 With the benches done I went back to the table. The table slats have plenty of support around the perimeter and near the hidden tray. For the other middle areas I needed to add a little bit of support so that the slats wouldn’t bow with use. After that, glue and nails to hold the table slats down. The belt sander made quick work of the top.
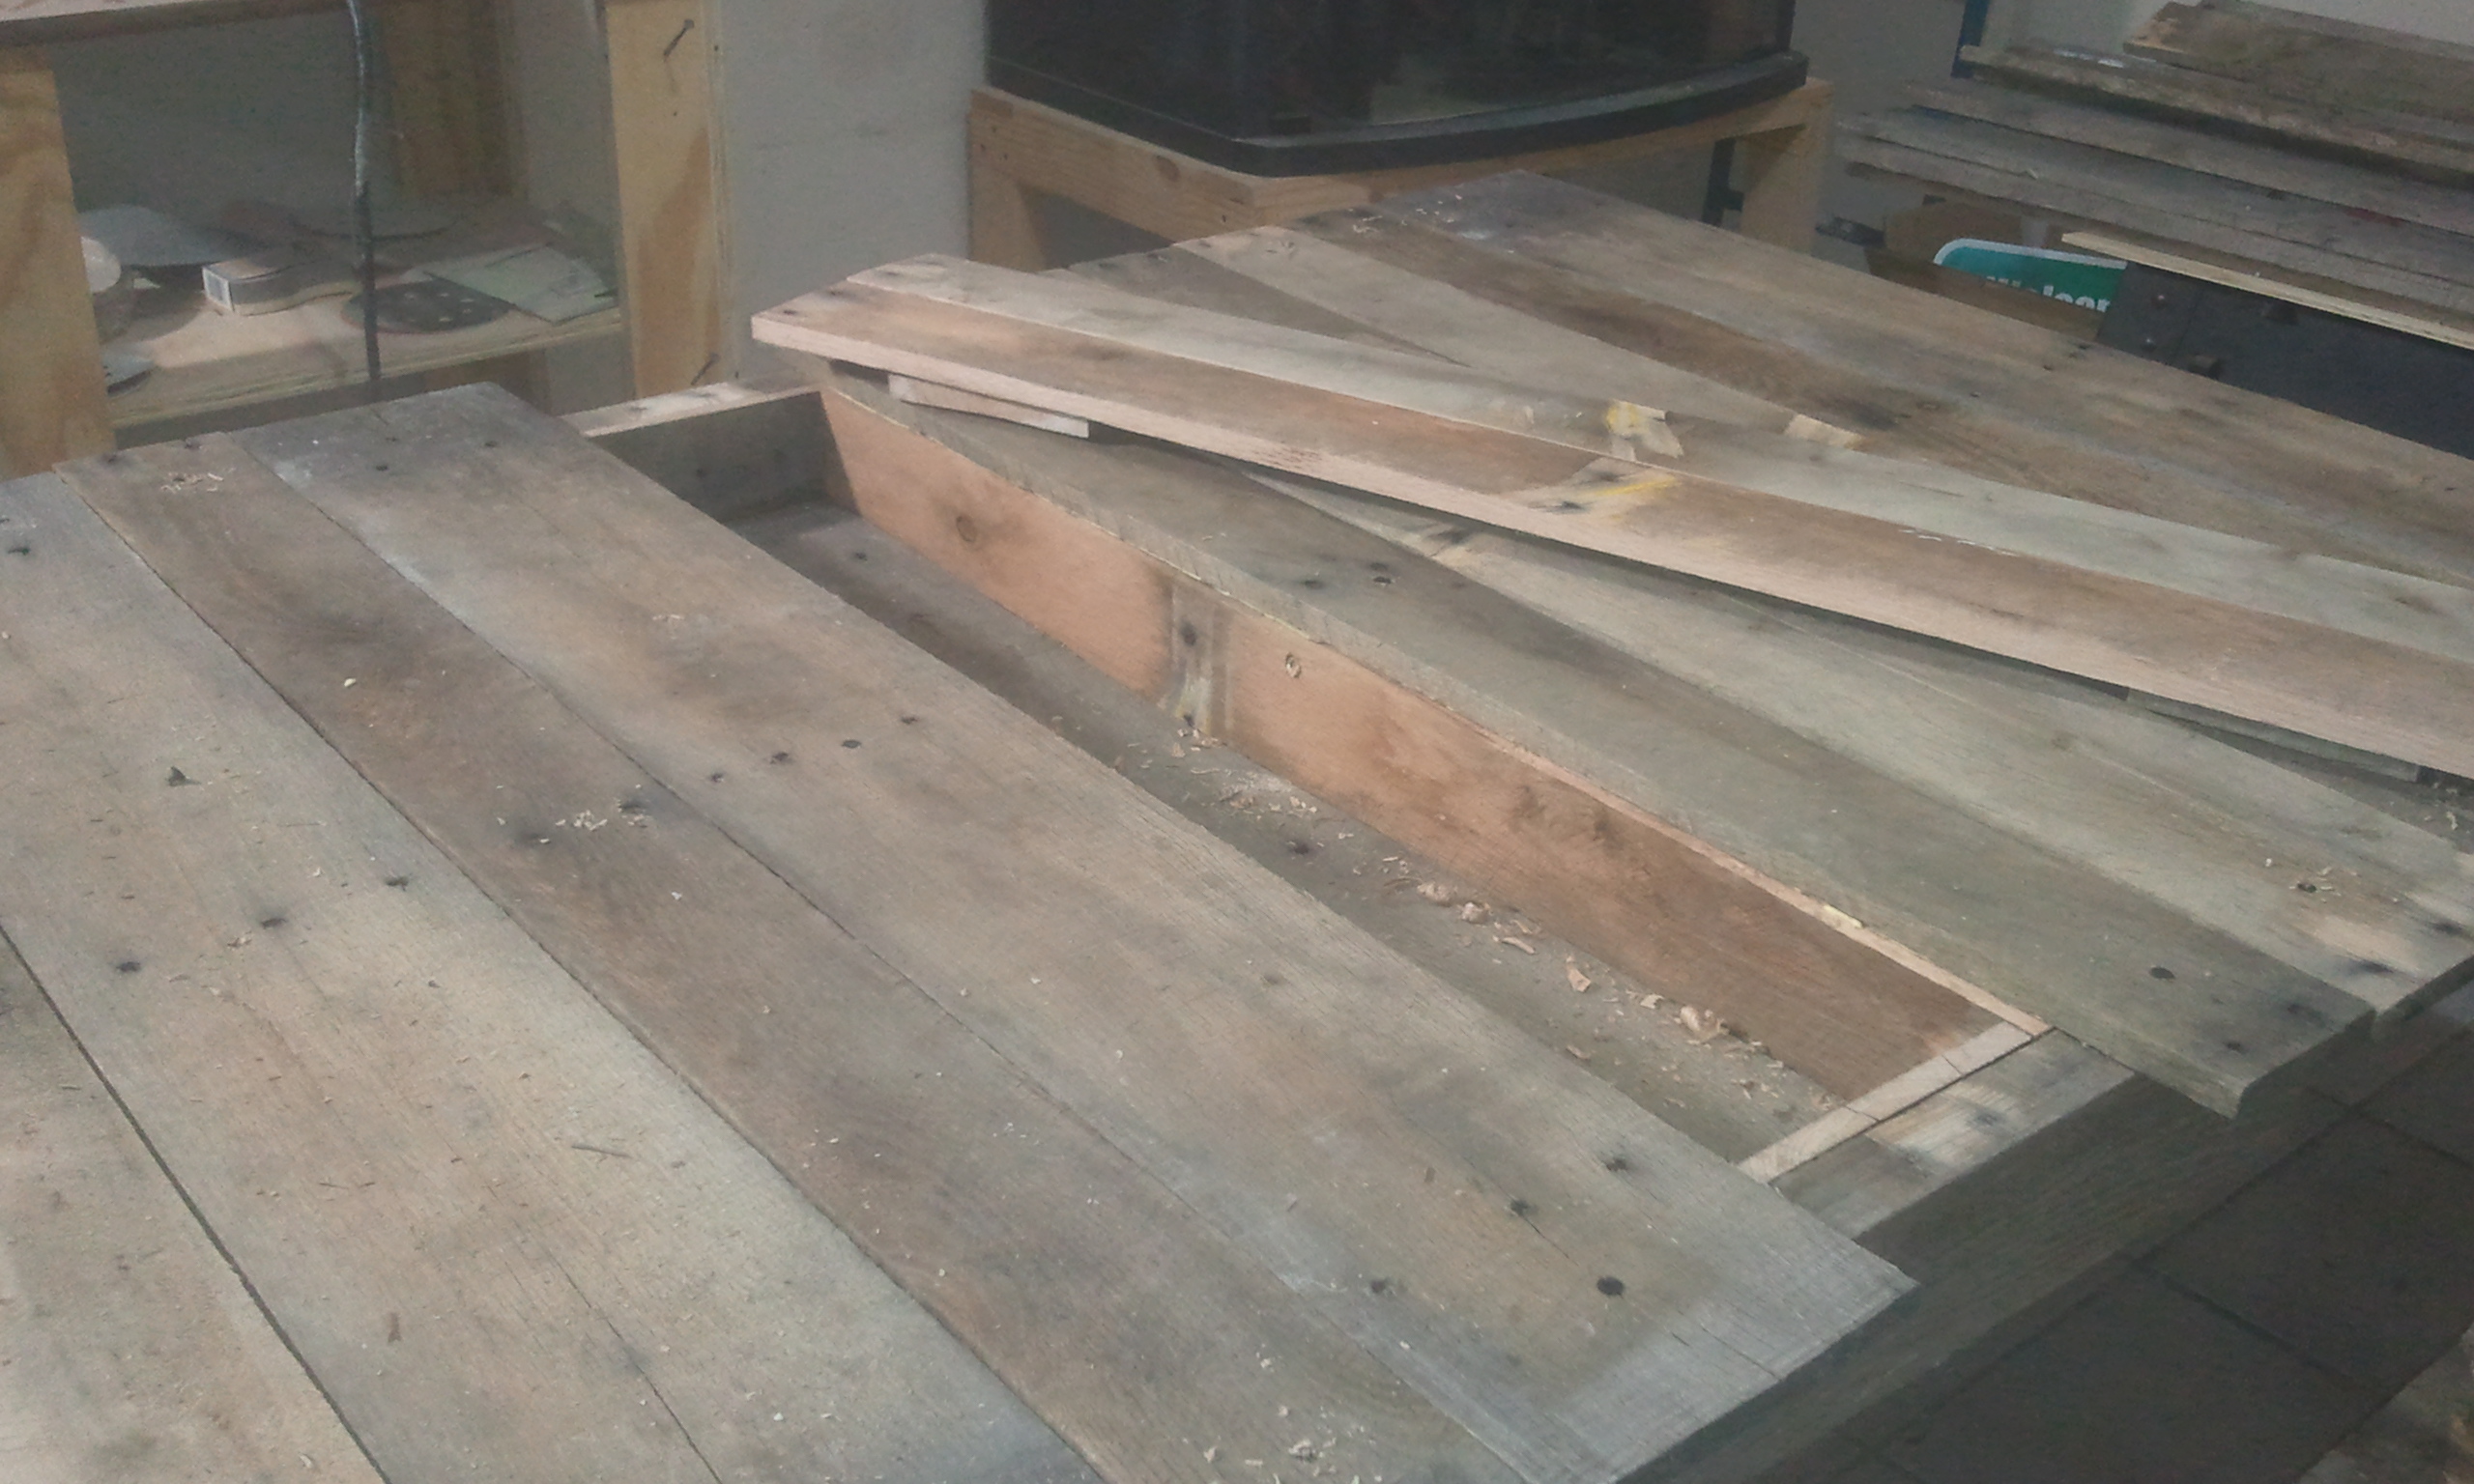

Time for paint! I used a light blue for the base and underside of everything and let it sit overnight. The following day I couldn’t help but noticed how much I liked the contrast of the light blue base and partially sanded top. I was tempted to just leave it at this state but I needed to use the brown so thats what I did. The completed project turned out well. I’m glad I got approval for this build. It was fun and a great learning experience. The next time I need some cheap lumber I know where to look!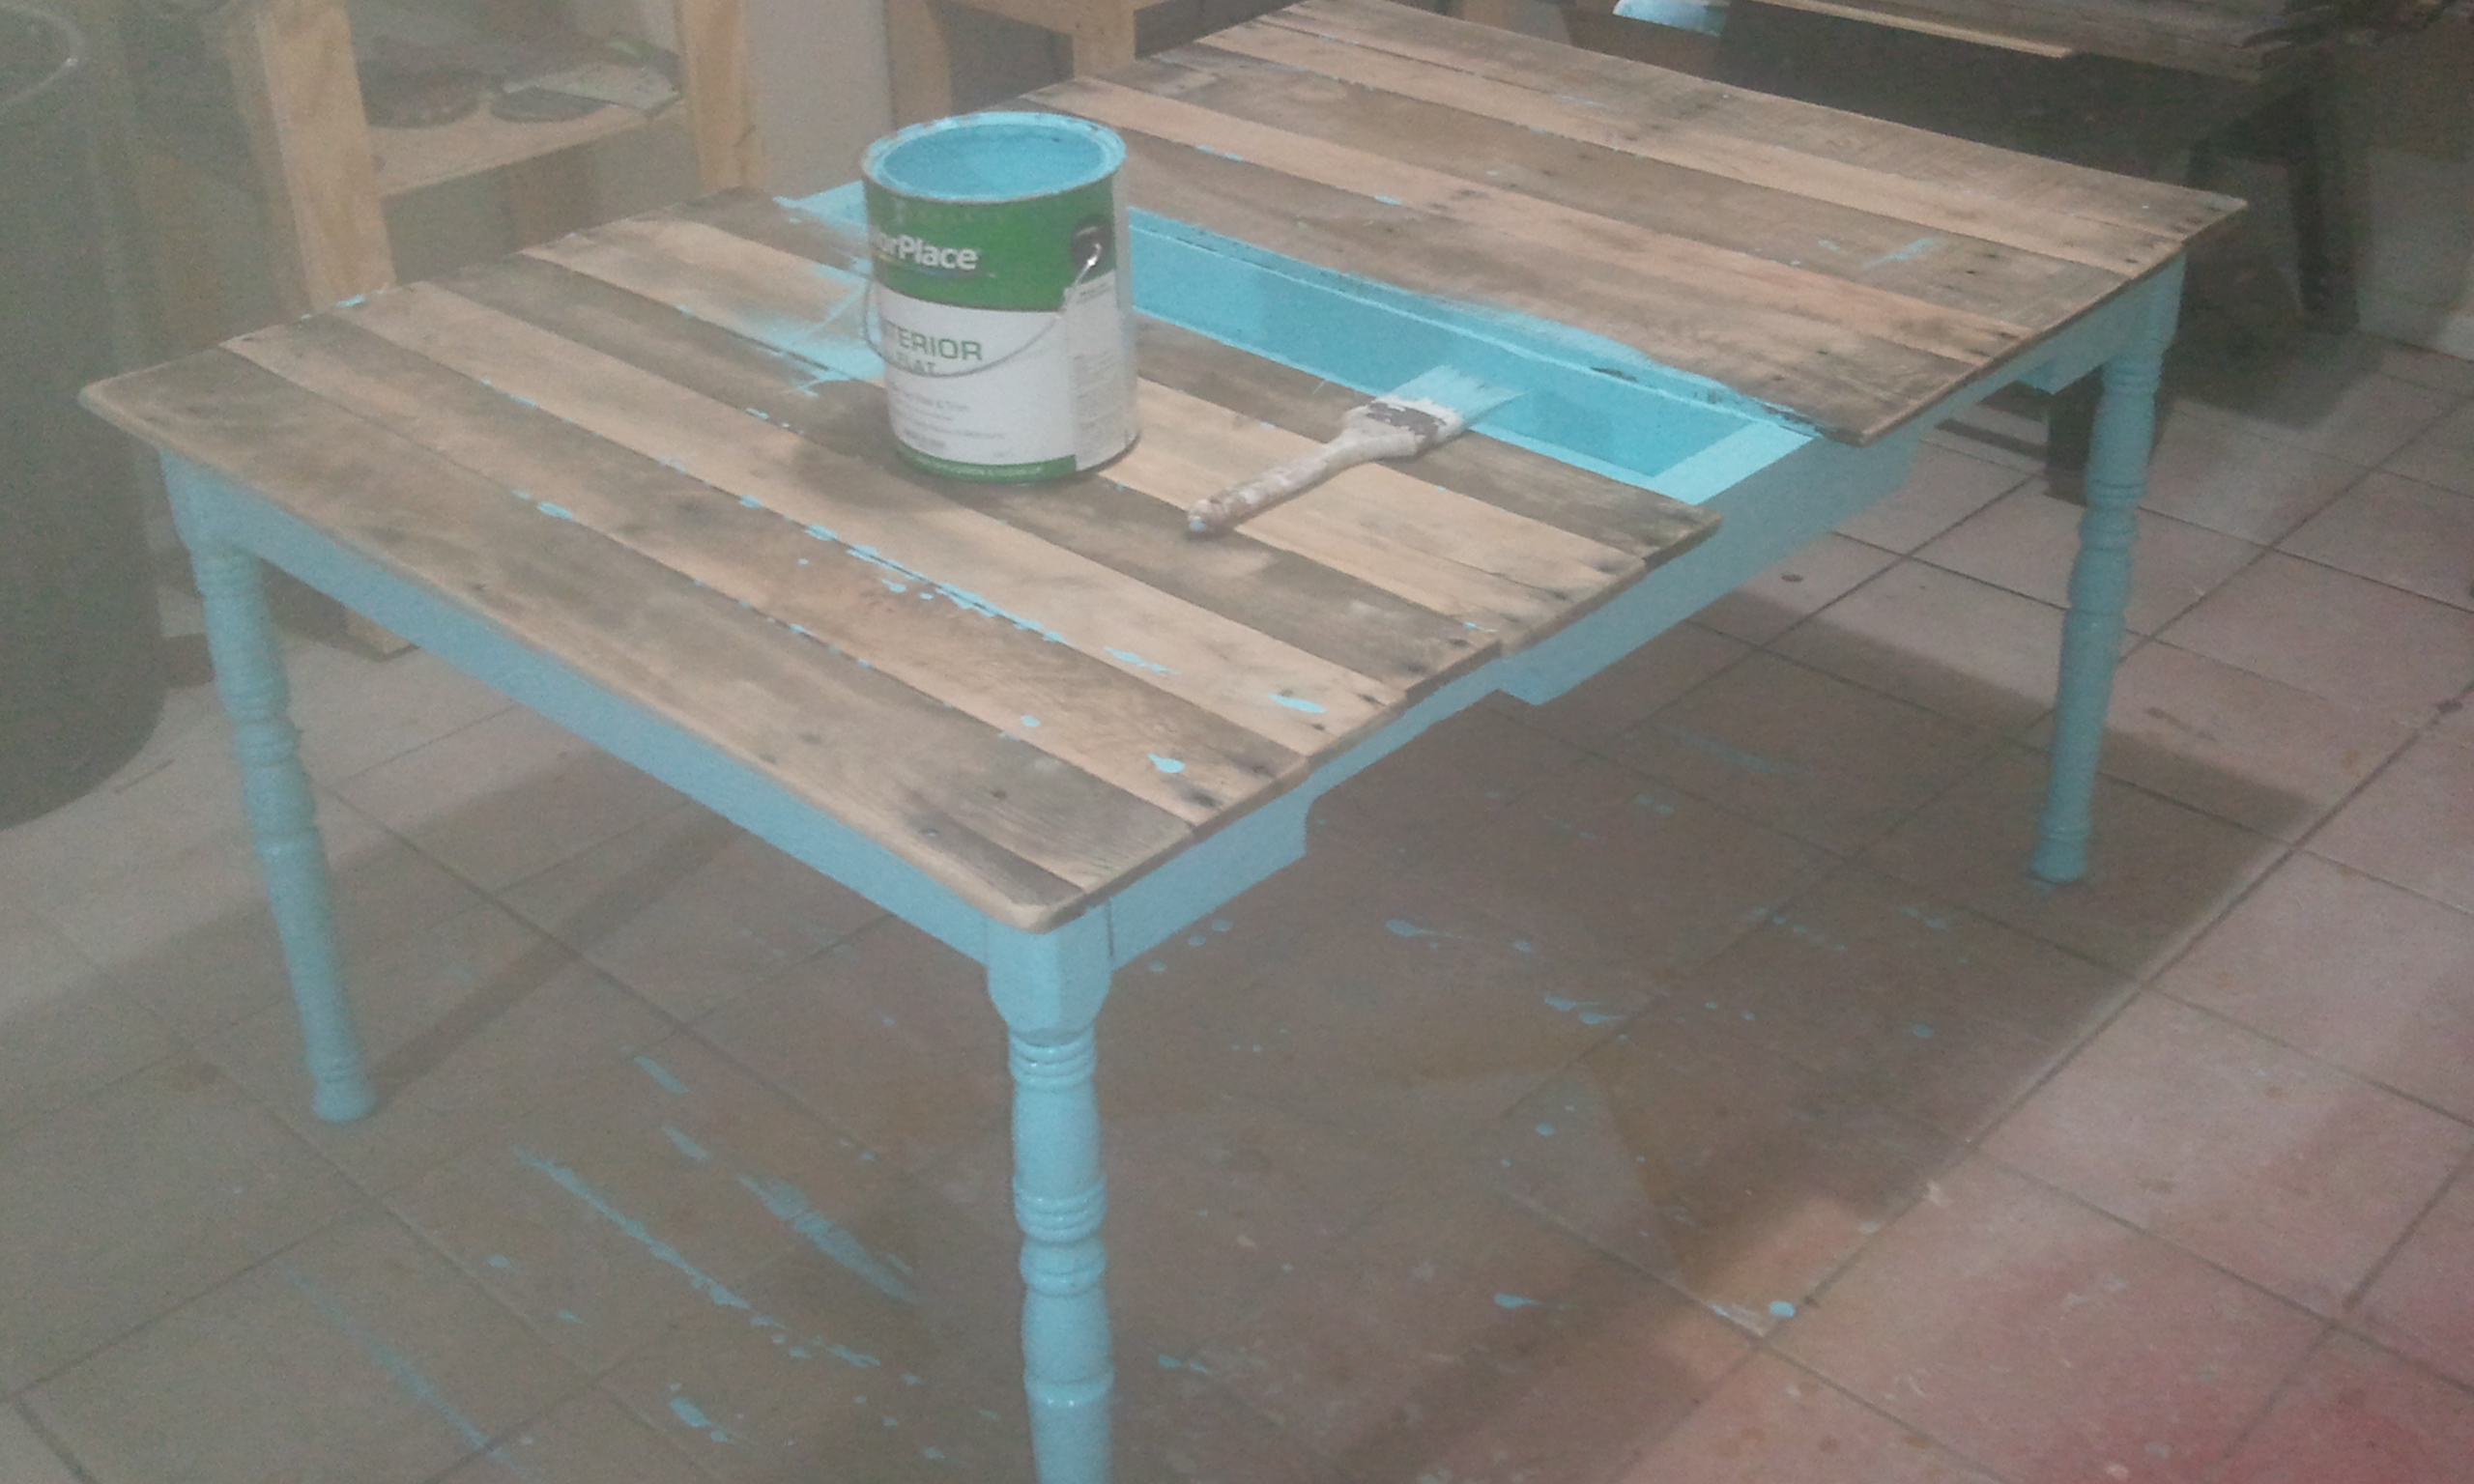


