My wife and I are addicted to board games. We play at least one board game per day. Generally it is SORRY but we have been known to wear out a Chinese Checkers set or two. After a random google images search I stumbled upon a homemade two player Chinese Checkers board. I decided that not only would a two player Chinese Checkers board be more suited to my wife and I but it would also give me an opportunity to test out my new splined miter jig.
The design I came up with is basically a small decorative box with a sliding lid. The pieces will store on the inside. I also wanted to use up some more of my salvaged wood stash. The main material used for this box will be from an old headboard. I’m not exactly sure what material it is but it feels harder than poplar. I’m not that great at identifying wood. Just the few that I’m familiar with. The splines will be from green poplar from a mattress.
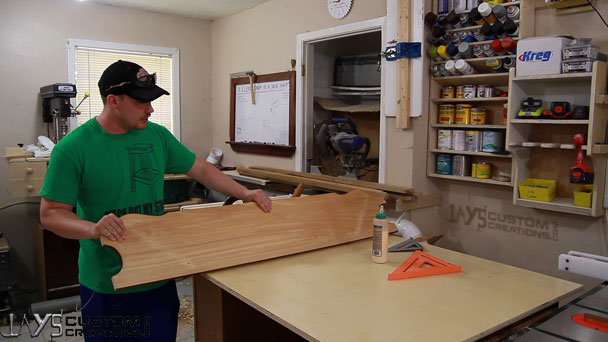
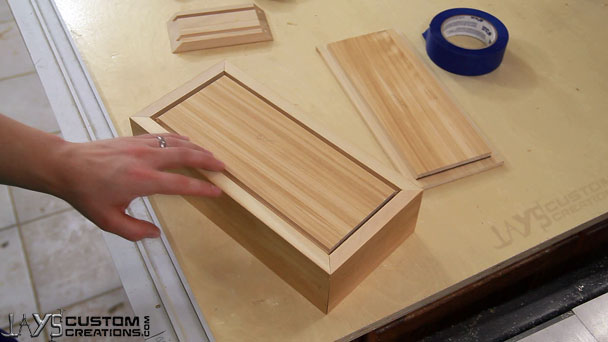
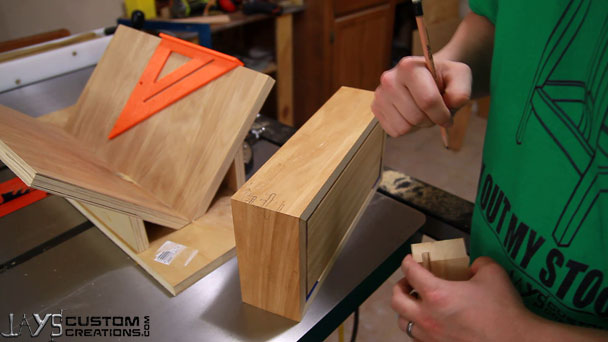
The headboard yielded some great knot free and straight grain wood. I say it every time but it’s a shame this wood would have been rotting away in a land fill right now. We waste so much as a society. The first step was to cut everything slightly over-sized and get a visual at how this would go together.
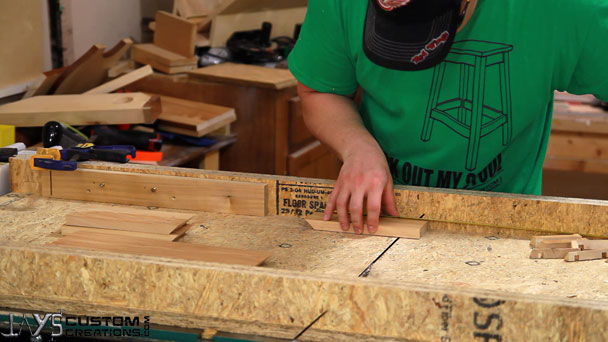
All of the side pieces will get two dados. One for the floating bottom panel and one for the sliding top panel. After these are cut the sides are cut to their final length on my 45 degree crosscut sled.
And with the dados cut to their final size I could use them as references to cut the rabbets on the top and bottom panels. I cut the rabbets with two cuts on the table saw instead of using the dado blade. Setting up a dado blade for a small job like this doesn’t make too much sense to me.
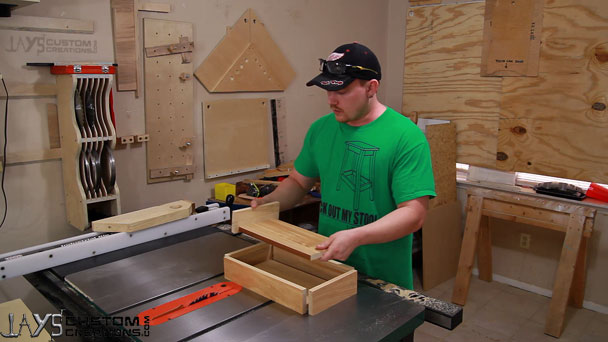
A test fit confirms a few things. One, that I like the look of the shadow line created by cutting the rabbet a little big. And two, that I cut the panel itself a tad too small. The bottom panel is supposed to be floating but I cut it a little small so it slides around a little more than I had wanted. Not a deal breaker though.
Before gluing everything together I cut one of the short sides down to allow the top panel to slide in. Then a strip of tape can be applied to the inside of the box parts near the miters. This will prevent any glue squeeze out from getting on the interior of the box during glue up.
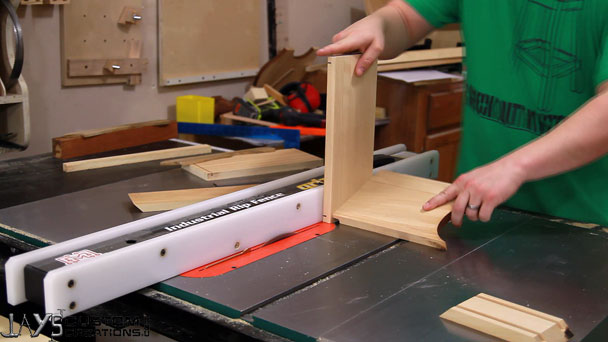
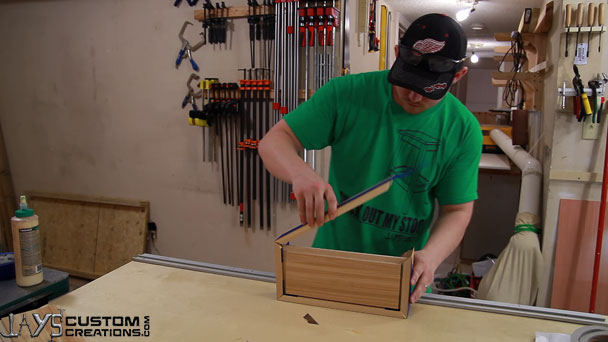
Then the pieces are flipped over and taped together so that the miters are matching at their points. When making a box like this tape is the only clamp you will need. With a little glue in the joints the pieces can be rolled up and taped end to end.
When the top panel is slid into place I want the trailing edge to complete the box as it closes. To do this I cut a smaller piece with matching miters and a rabbet and glued it in place. To make sure the top panel remains centered when closed I used the bottom of the box as a reference when gluing the last mitered piece in place.
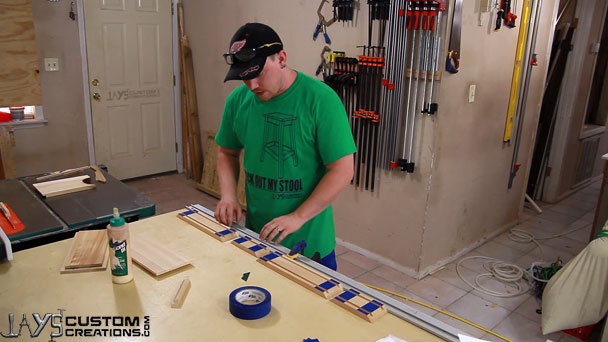
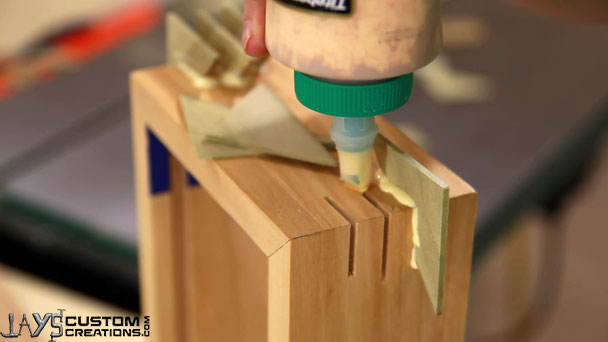
A mitered joint is typically an end grain to end grain joint. It is in this case anyway. So to reinforce my miters I decided to add three splines at each miter. They had to be near the middle of the miter though because the interior of the box has two dados near the top and bottom. The easiest way to visualize where to put them is to draw it out.
After cutting the spline kerfs I cut some dark green poplar strips to glue in. I chose the darkest green piece of poplar I had as I think the contrast in color really looks sharp. I also made a huge mess with the glue at this point.
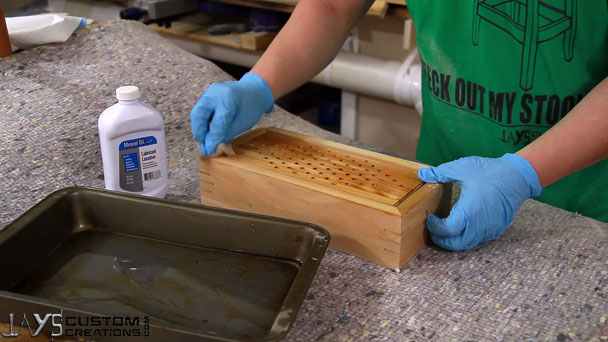
I have included a template for drilling out the holes in the top of the box in the plan below. If you don’t have a drill press this may take a little while. I used a 1/4” brad point bit for this step. The size is perfect if you are going to use a standard golf tee for your playing pieces. If you are going to use marbles you will want to drill larger diameter holes.
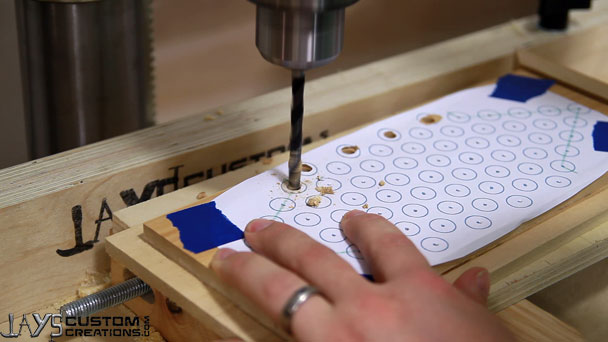
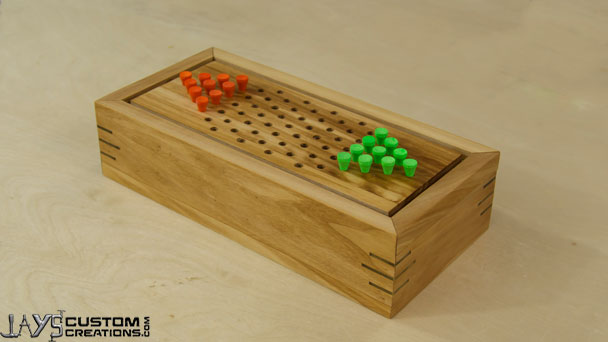
A test fit of the golf tees confirms that a full 2-3/4” golf tee can be used without cutting them down. It’s personal preference if you want to cut them down or not. And speaking of golf tees, I found this pack of 200 that were already painted a few colors for $5. That $5 was my only cost for this project.
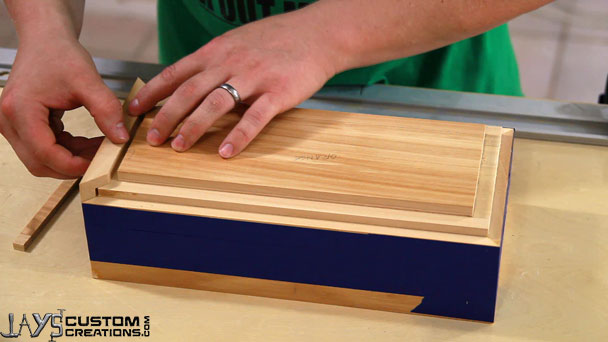
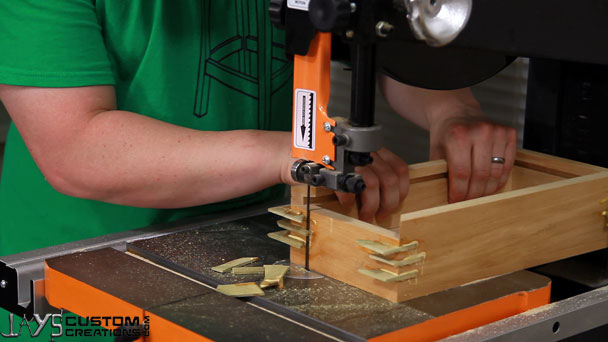
After letting the glue dry for a bit I trimmed the splines close on the band saw and then sanded everything smooth.
You can get as fancy with the finish as you want but for me I chose a simple oil finish. I have what seems to be a never ending supply of mineral oil so that’s what I used. It’s not the most durable finish but that’s what I want in this case. I know this box will get a lot of use in my home so hopefully in a year or two this will look like an old antique. We’ll see…
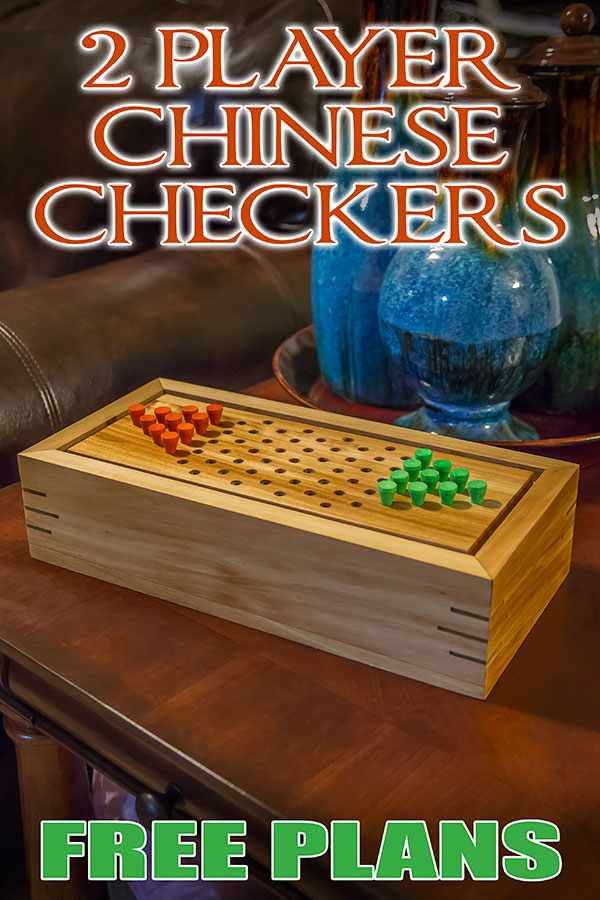
Hey Pinterest users!
Just a reminder that you can follow me on Pinterest to stay updated with all of my projects and I would love for you to pin this one if you enjoyed it!

Download
Although this plan is free to you remember that it isn’t free to produce. If you would like to show your thanks please consider using the donate button at the bottom of this page. If you liked this project and found it useful please share it so others can do so as well. Thanks for stopping by folks and have a great day!


Very nice!
Thank you Don!
Well done, thank you.
Hi Jay, first time at your site. I didn’t know what I was missing, great projects. 1st thing learned was missing all the free wood from box springs etc. Thanks