We haven’t been in our house for a full year yet and I’m already looking for alternative storage options. When we were looking for houses my wife and I agreed that I get to do what I want to the garage and she can have the rest of the house. And because I know that everything my wife doesn’t want in the house will magically migrate into my shop space I built my over the garage door storage shelves shortly after setting up shop. When I made those I actually said in the video I didn’t have an immediate need for them. Well…life happens and now they are full.
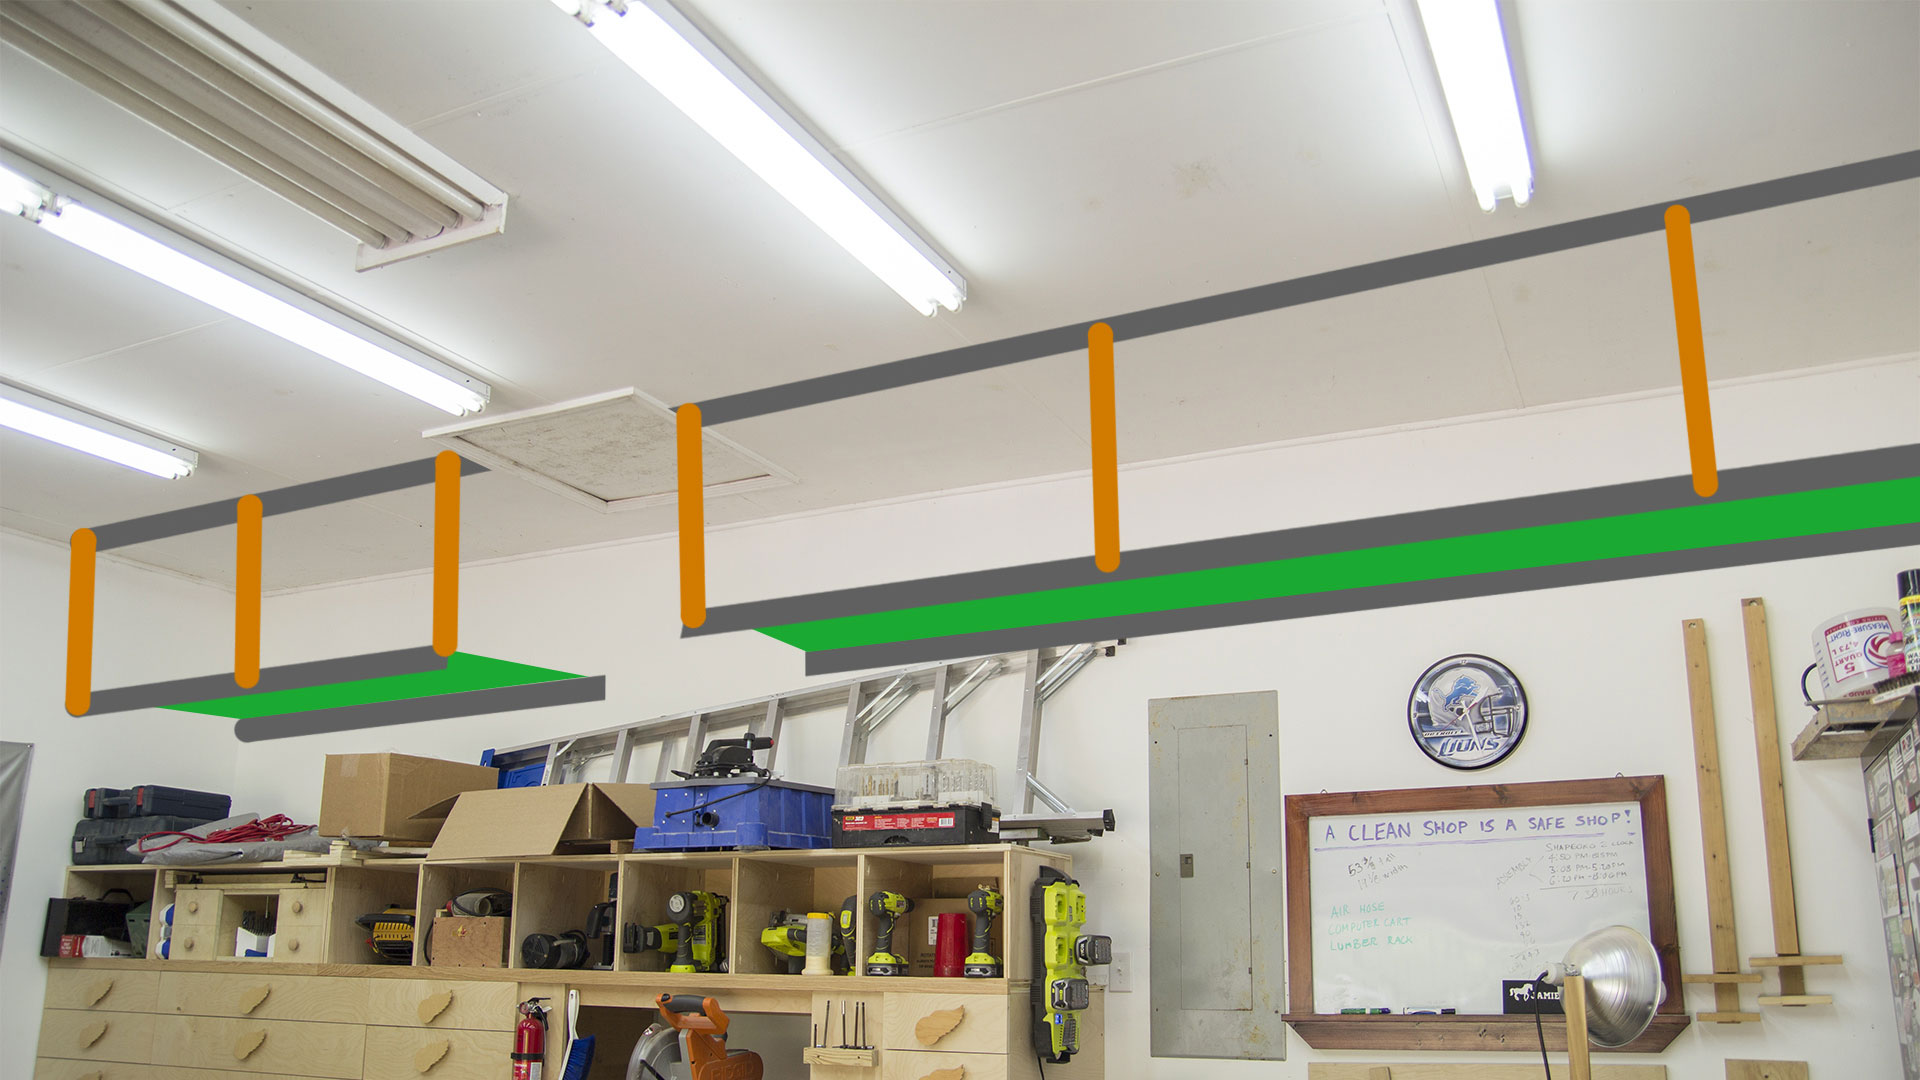
When I finalized my miter saw station design in SketchUp I actually included a full length of up high storage shelves on the same wall above the miter saw station. Most everyone who has a garage has a ton of wasted space high on the walls that probably isn’t utilized like it can be. I thought it might be a better reference to make an illustration of how the final shelves will look on an image of the back wall itself than just show a SketchUp model. So here’s what the final shelves will look like. The gray lines represent 2×2 boards. The orange lines represent 2×4 boards. And the green areas represent 3/4” plywood panels. There will be a left and a right shelf as I have to make a gap where the garage attic door is. Keep in mind that not all living structures and garages are created equal. Before starting something like this always make sure that your structure can indeed handle the weight.
For me it’s much cheaper to buy 2×4 boards and rip them in half to get two approximate 2×2 boards. These are actually a little wider than a 2×2 but for this application those dimensions do not matter.
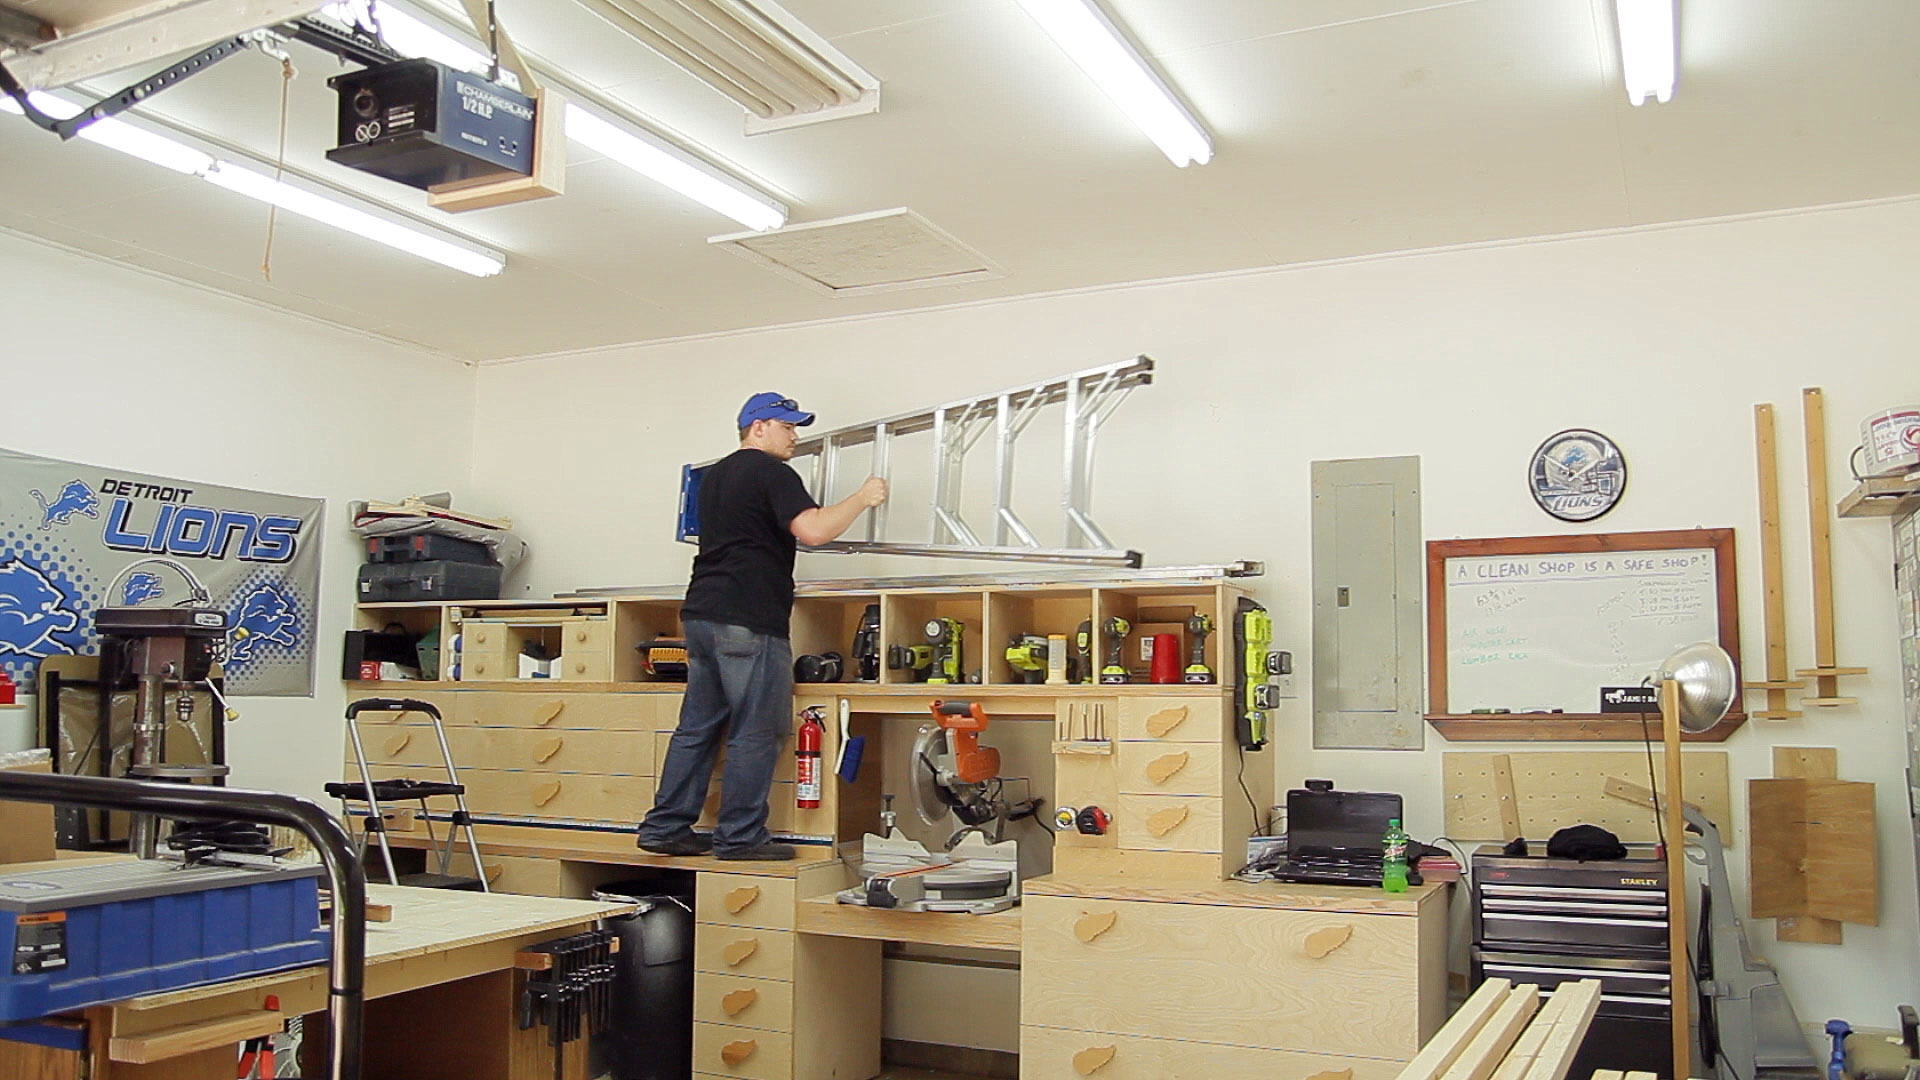
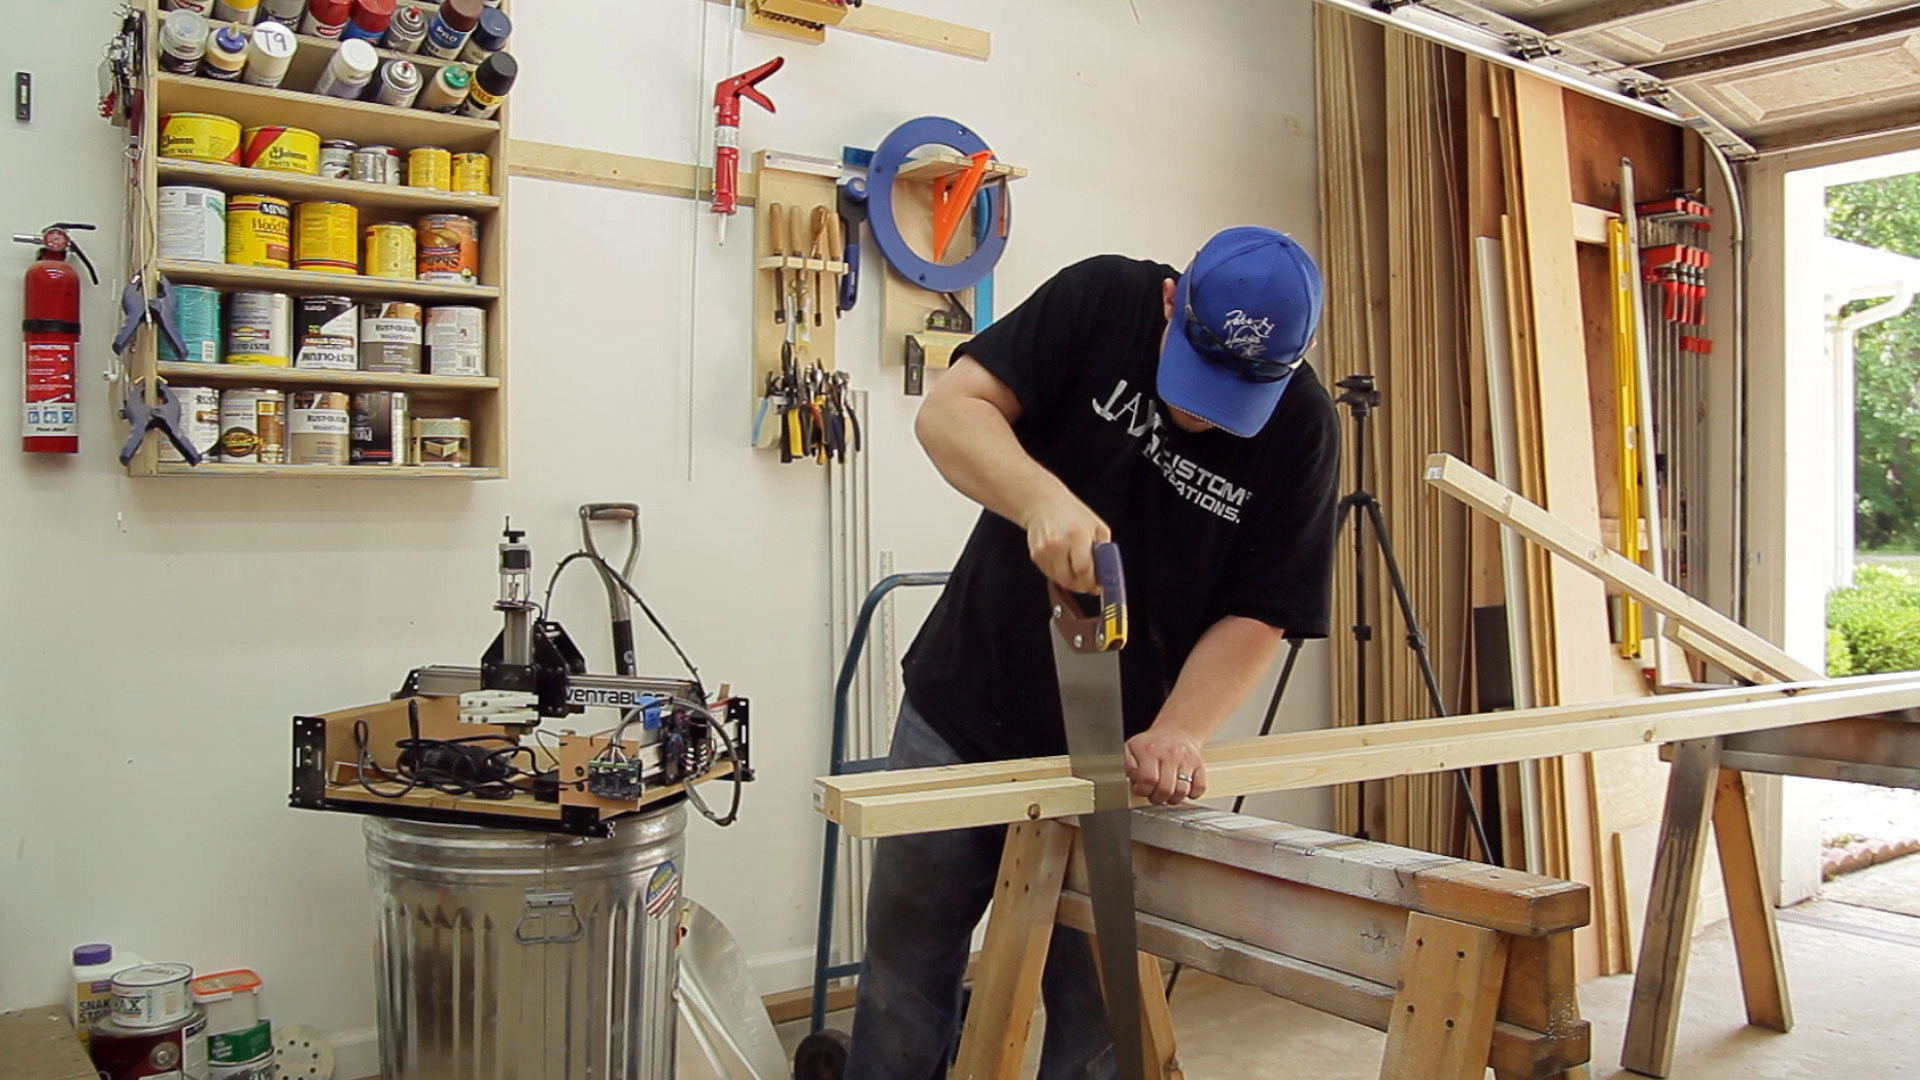
One of the cool things about my miter saw station is that I can use the work surface as a platform to stand on for this project. My original intention of the very top of the miter saw station was to store my ladders but due to me storing other shop stuff on that area I had to stack my ladders in the back.
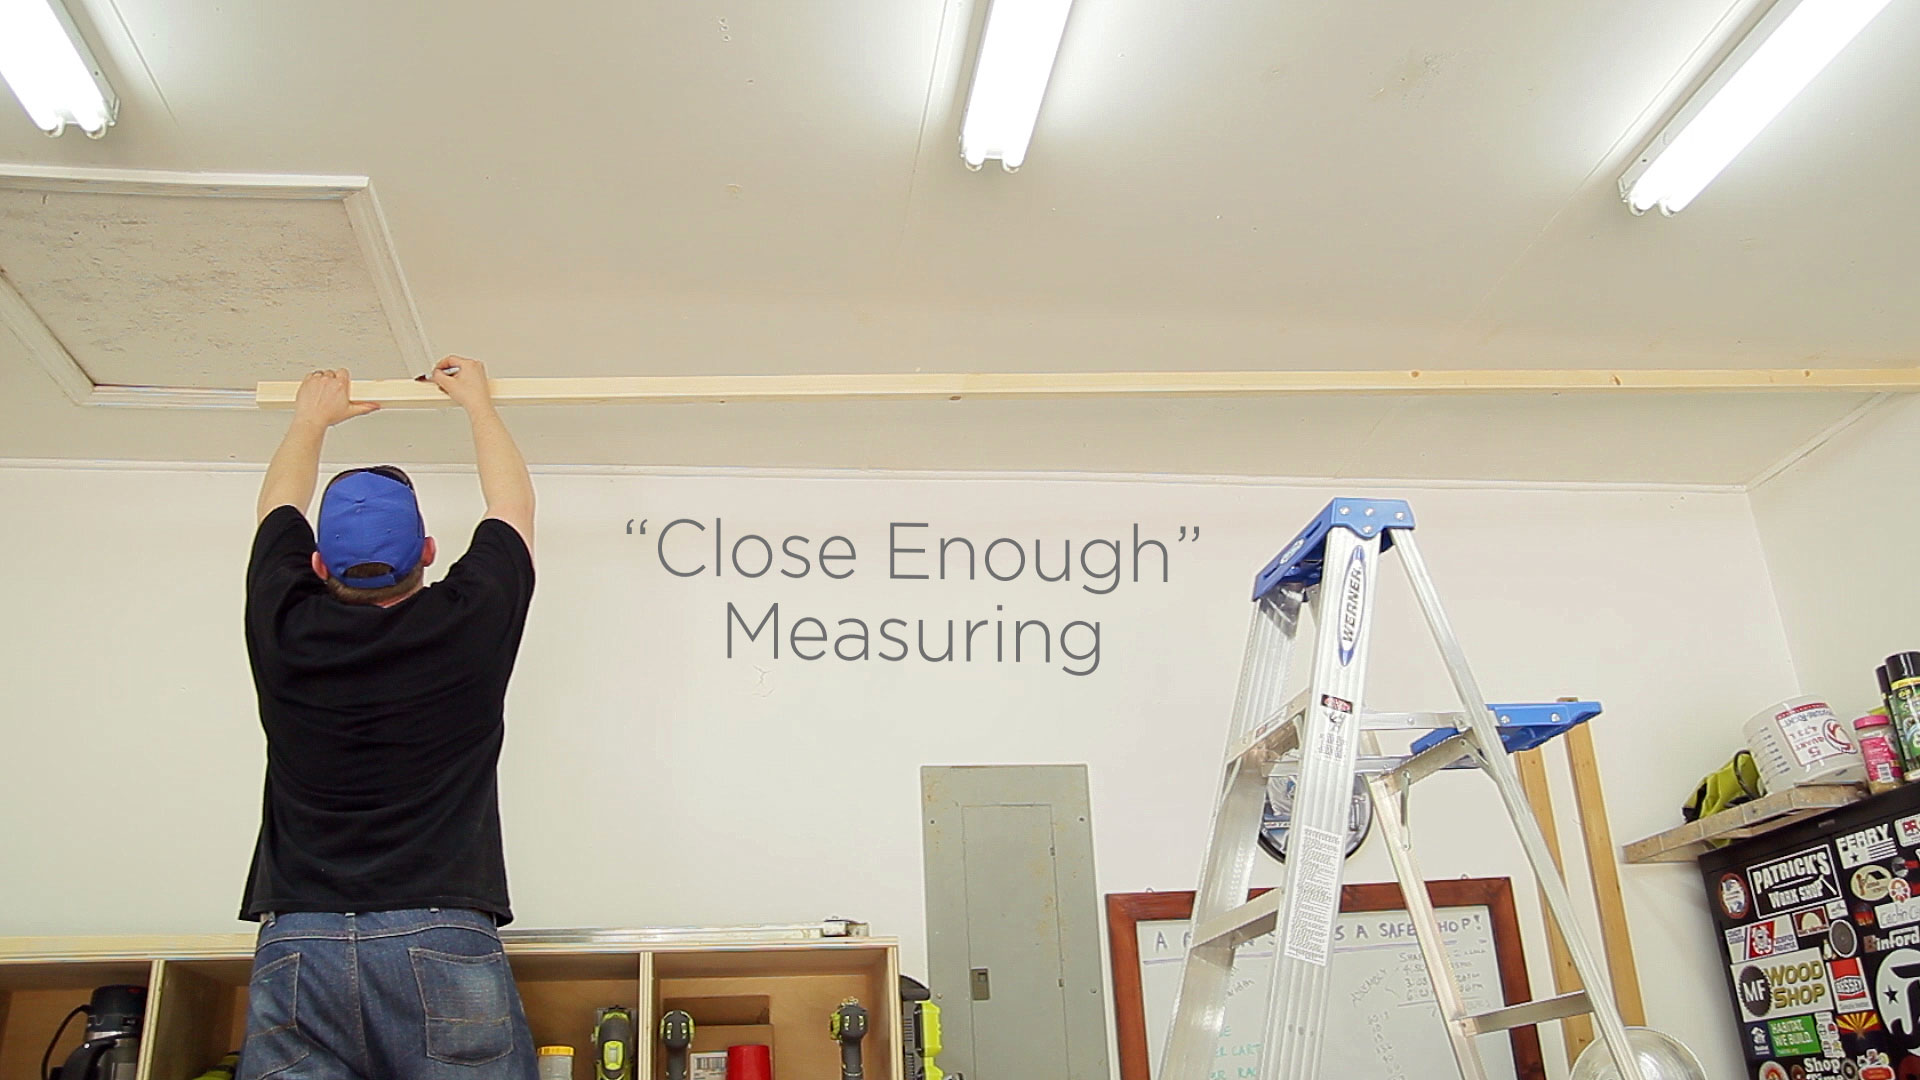
Measuring the exact distance needed left to right wasn’t too critical. I just held the boards in the air and eyeballed where they should be cut. Being short on my measuring is actually desired so I don’t have to make multiple trips up and down to make more cuts.
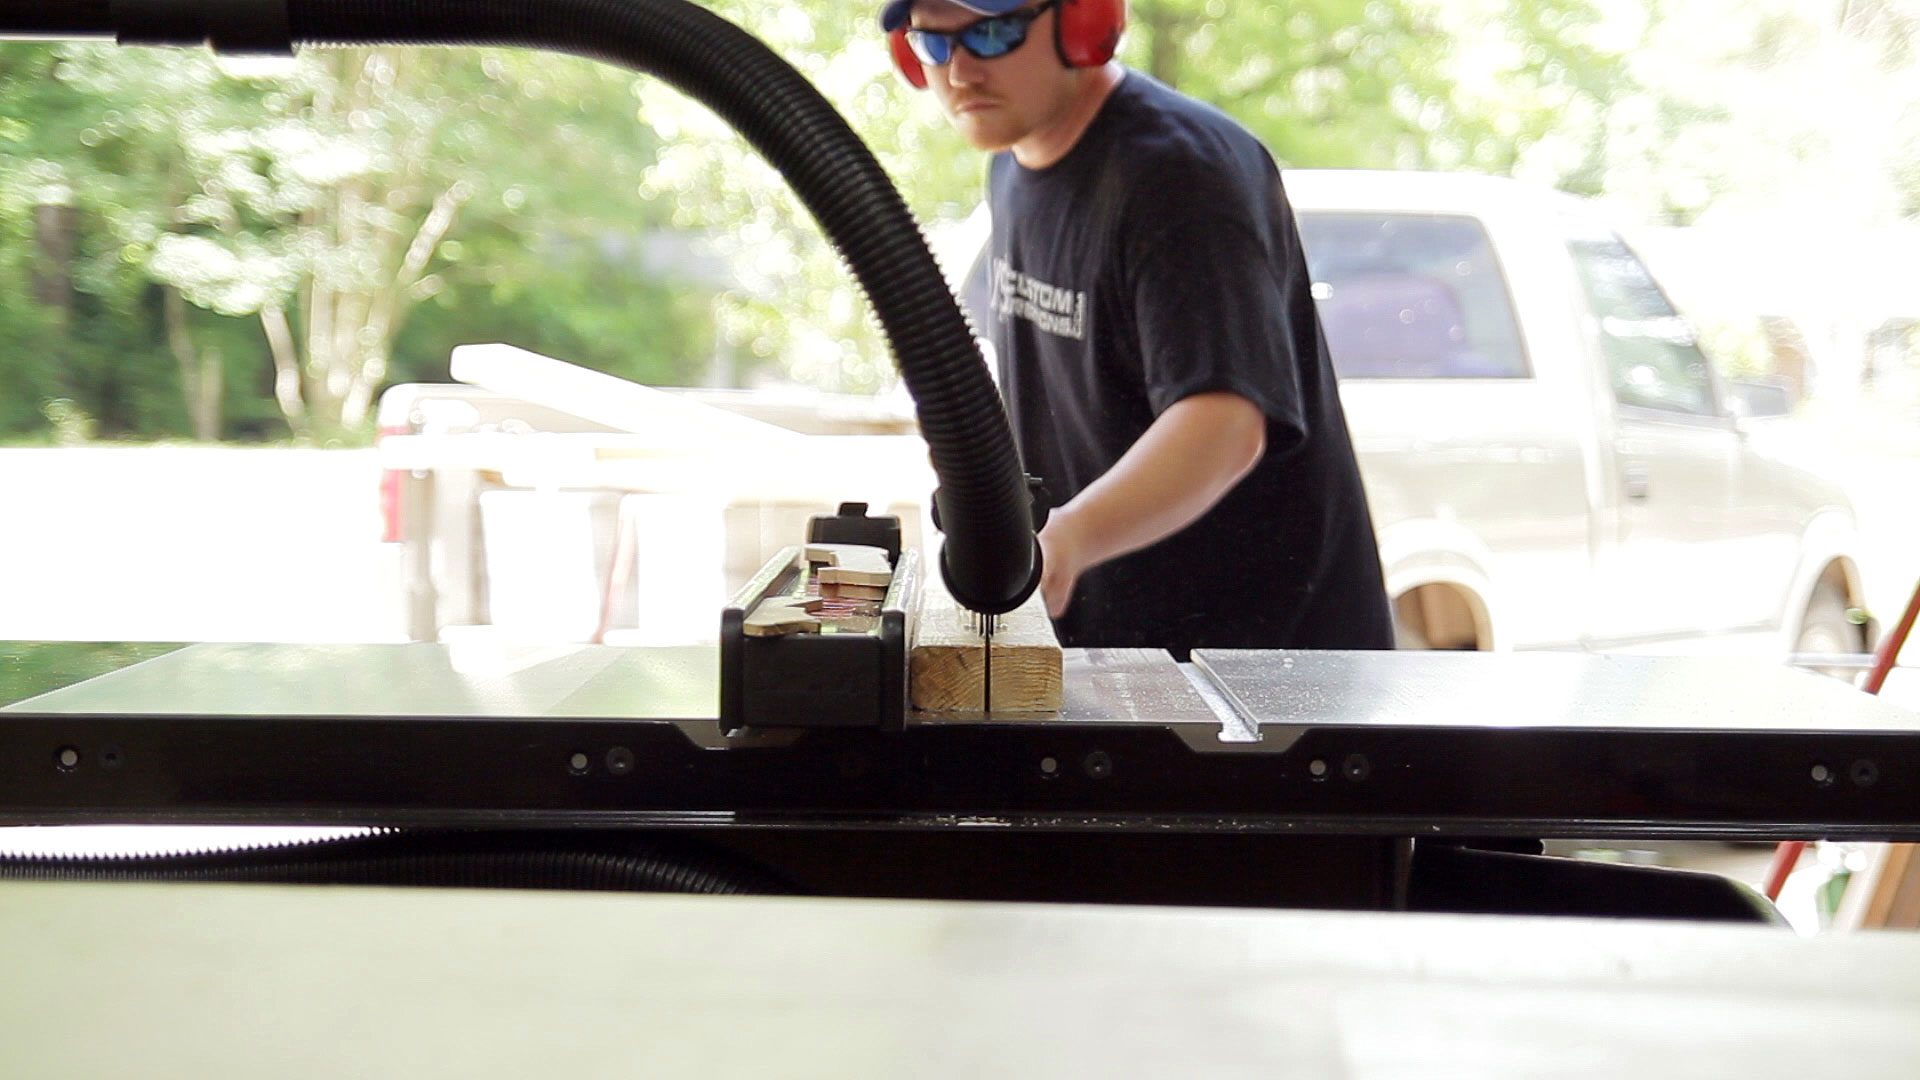
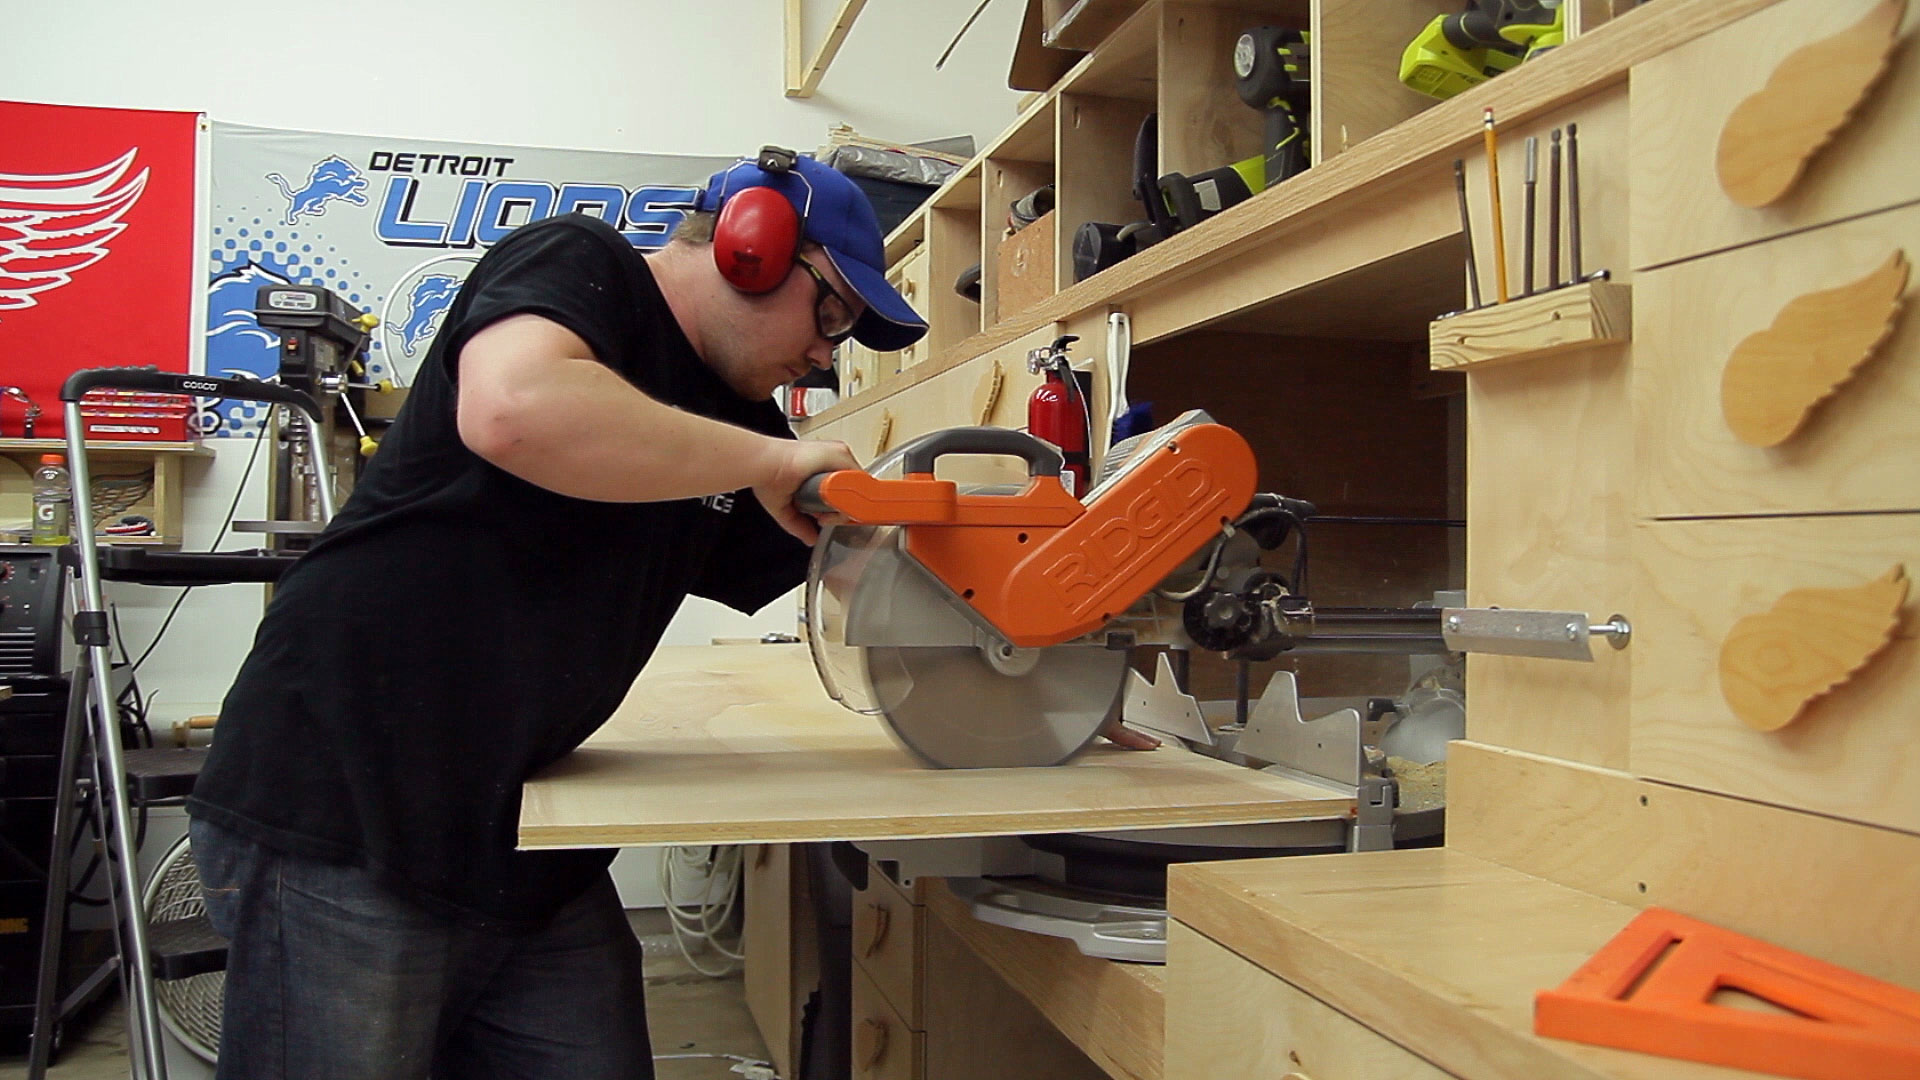
The shelf to the left of my attic door was close to 8 feet so I could use my miter saw station to make those cuts. The shelf to the right of my attic space was about 11 feet so I had to make those cuts with a hand saw.
To make installing the wall 2×2 boards super easy I wanted to install a few cleats for reference. To make installing those cleats easy I cut a scrap board to the appropriate length and cut a notch on one end to fit around the moulding on the ceiling. This will give me a repeatable spacing for the cleats. I used a few per side.
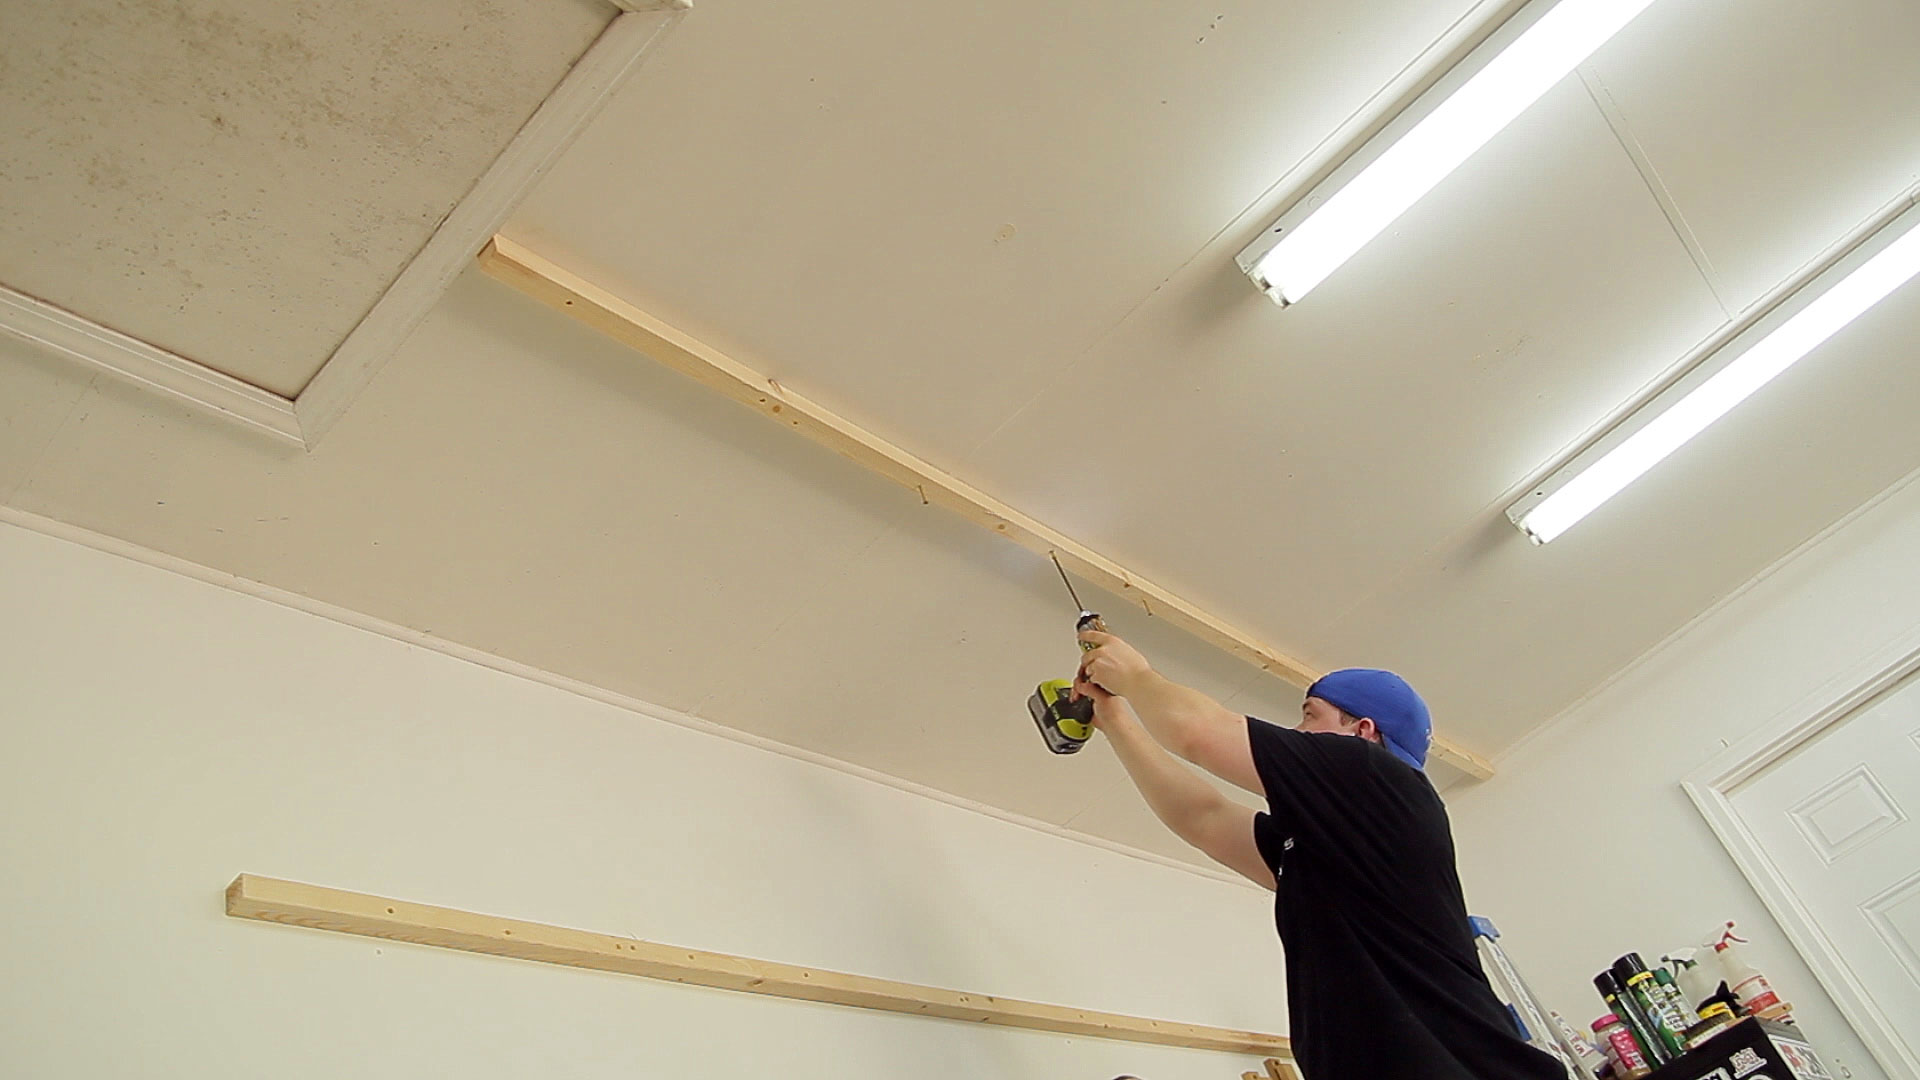
The cleats were installed with 3” decking screws making sure to go into every wall stud behind the drywall. Then the cleats could be removed.
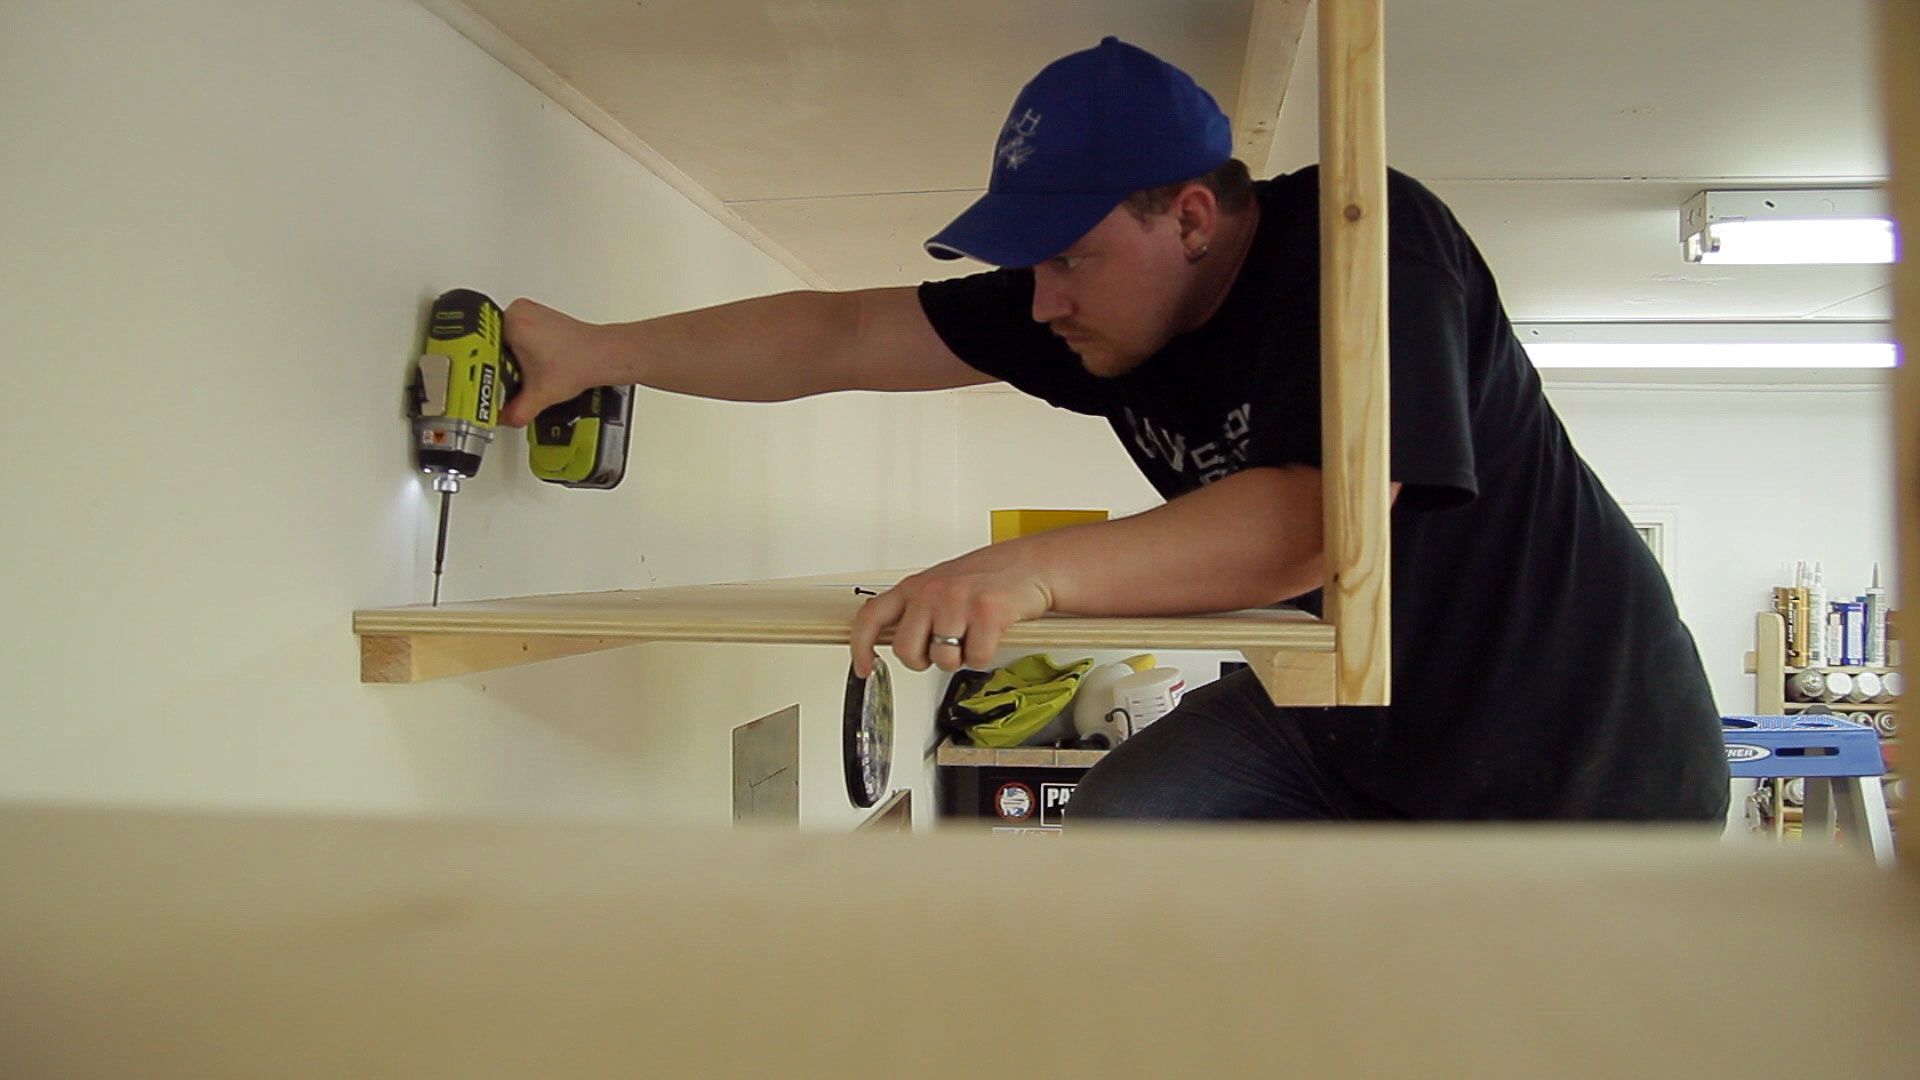
After both wall boards were installed the ceiling boards could be installed. This was really easy due to the way the ceiling was made. My ceiling joists run the same direction as the back wall and the screws that were used to hold the ceiling panels in place were visible. This made locating the appropriate joist really easy. With one screw secured near the middle I measured to make sure it was parallel with the back wall and then finished driving the screws.
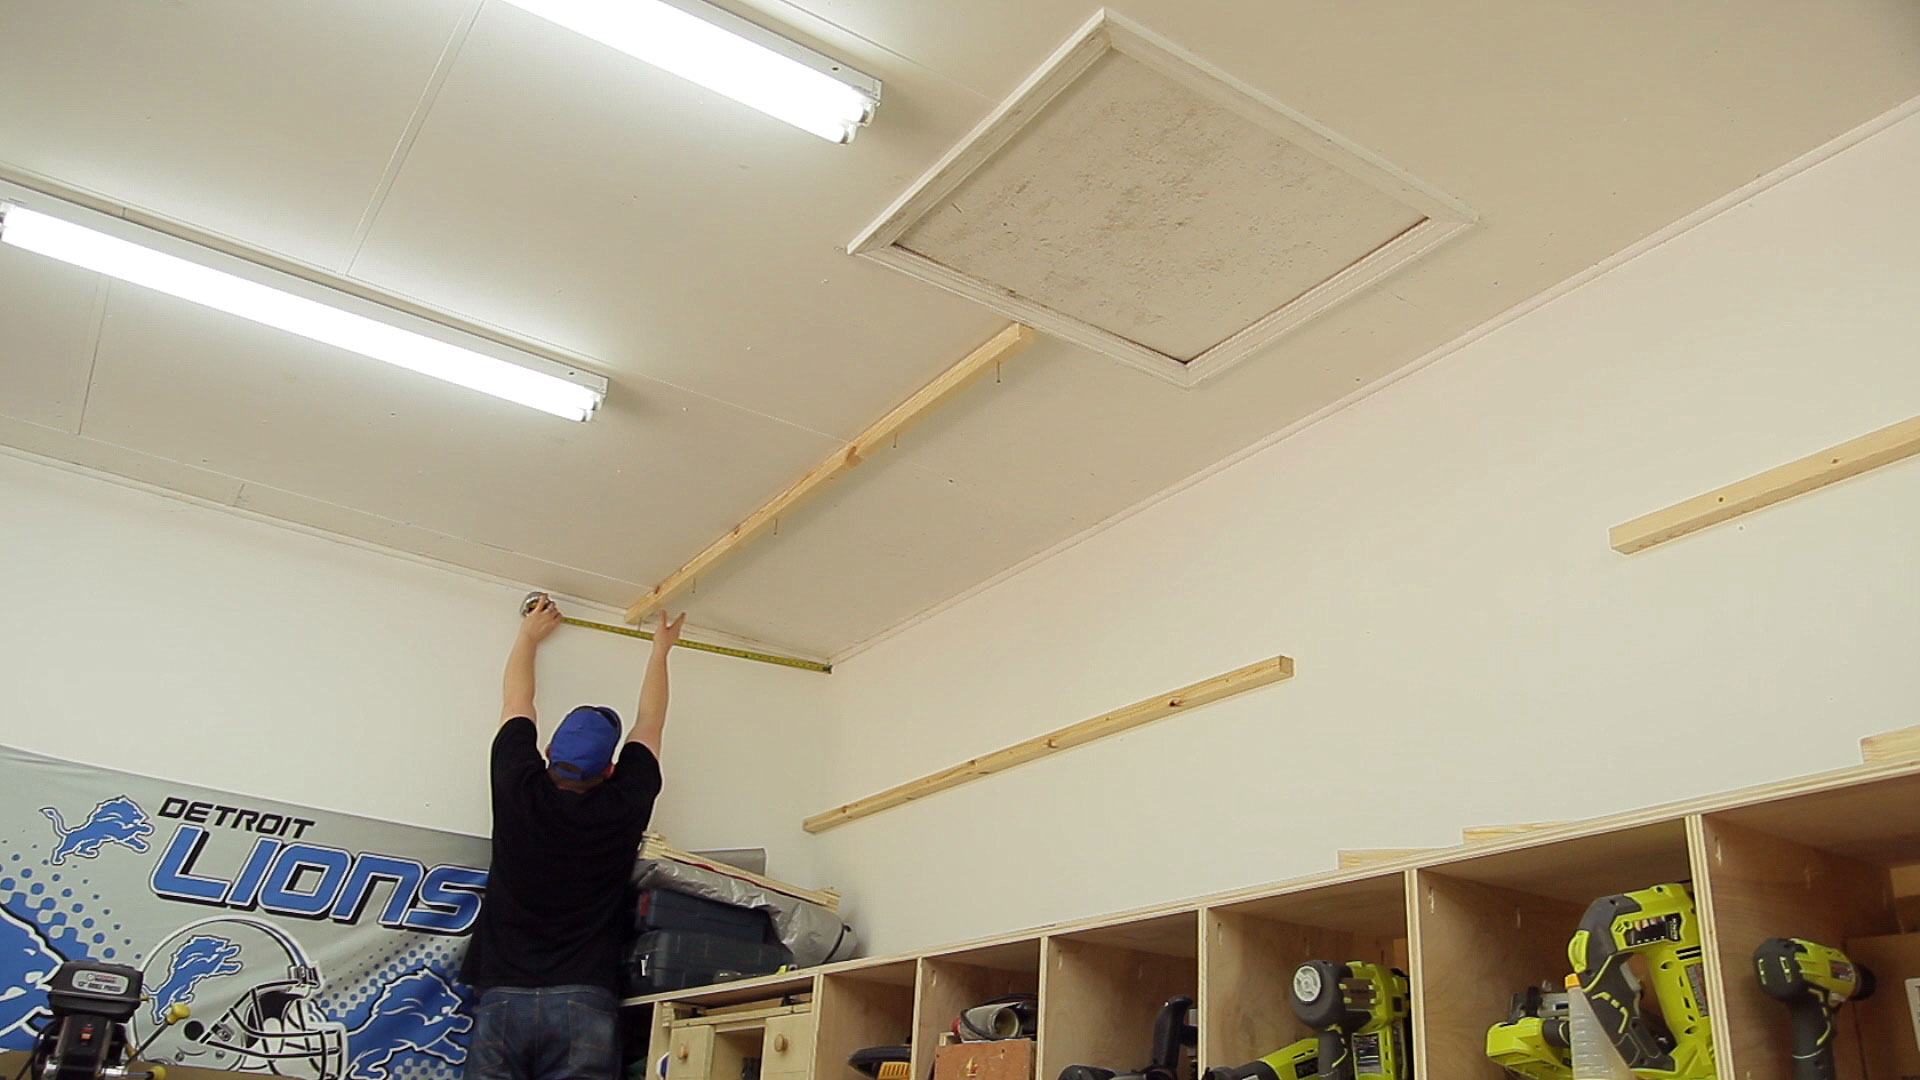
And the same thing on the right side. My garage has 10′ ceilings and even with standing on my miter saw station I was still reaching pretty far. Using a 6” driver bit really helped here.
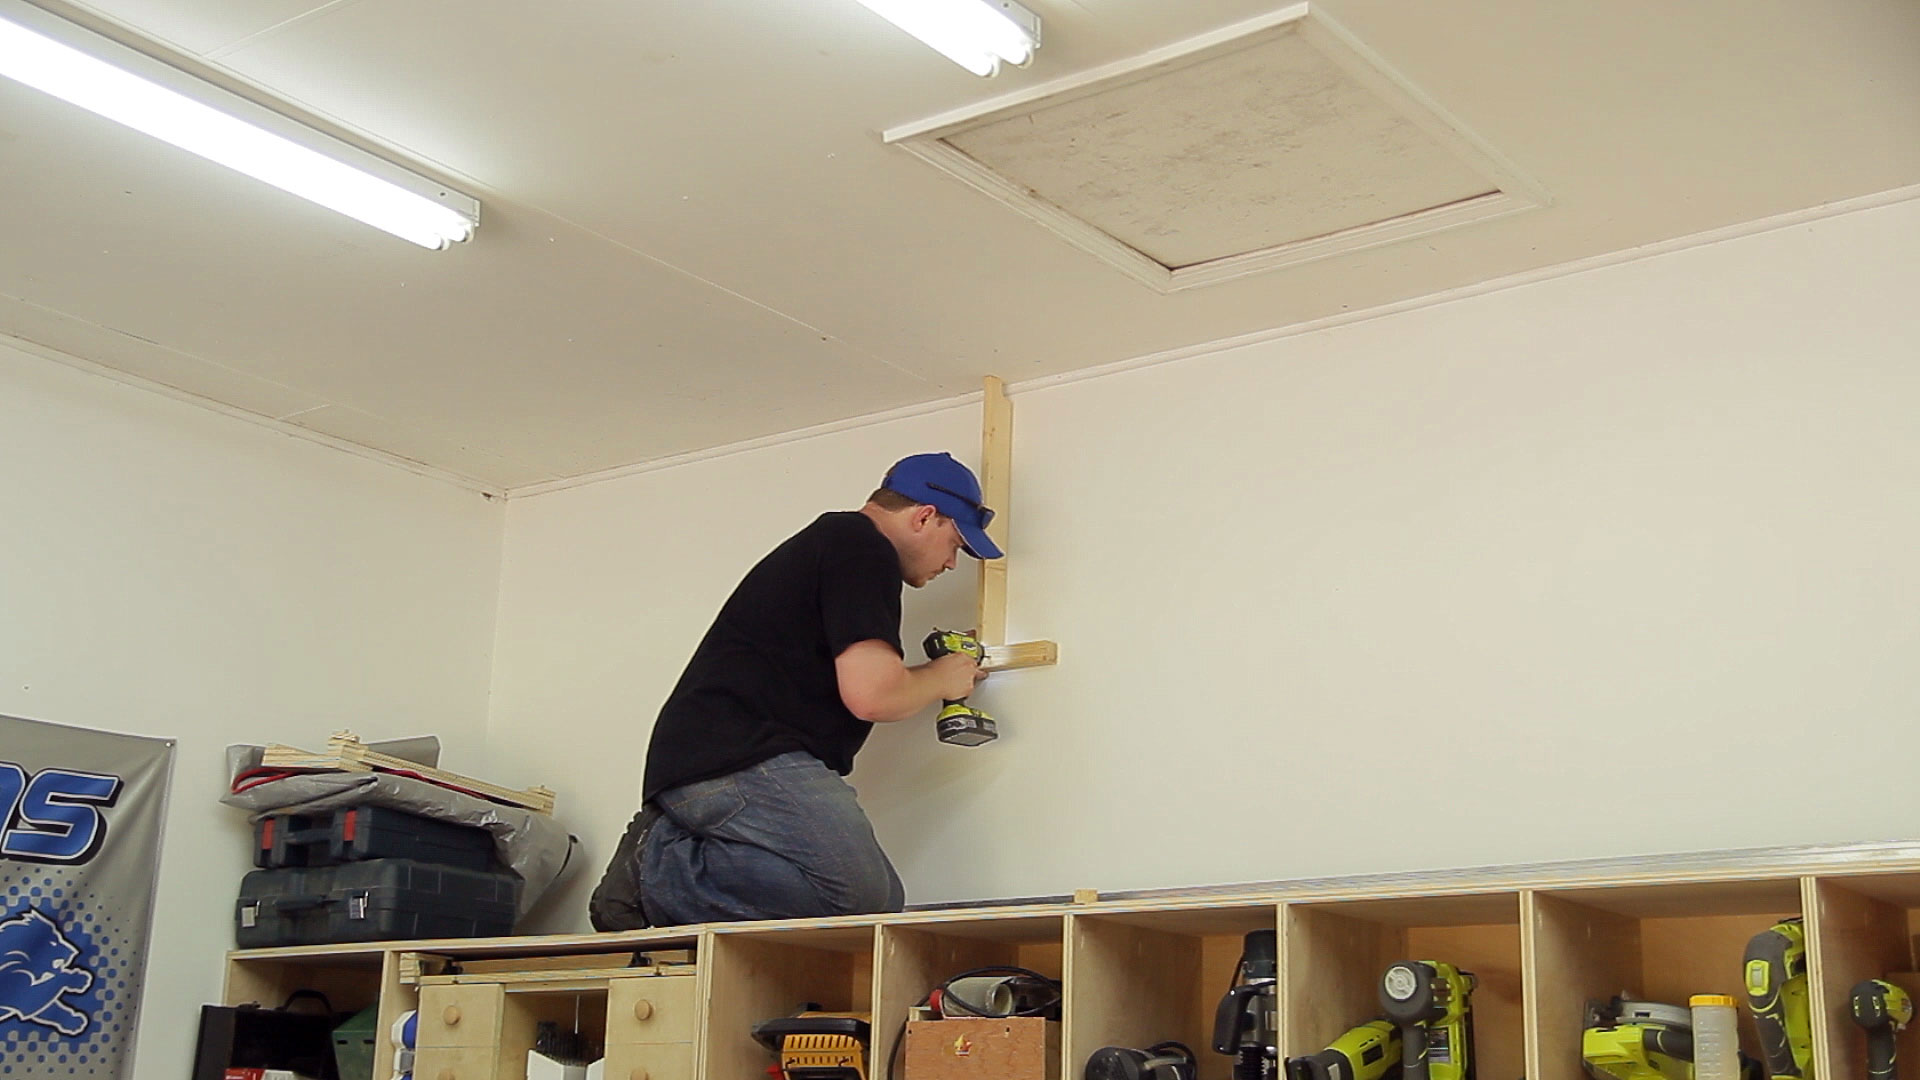
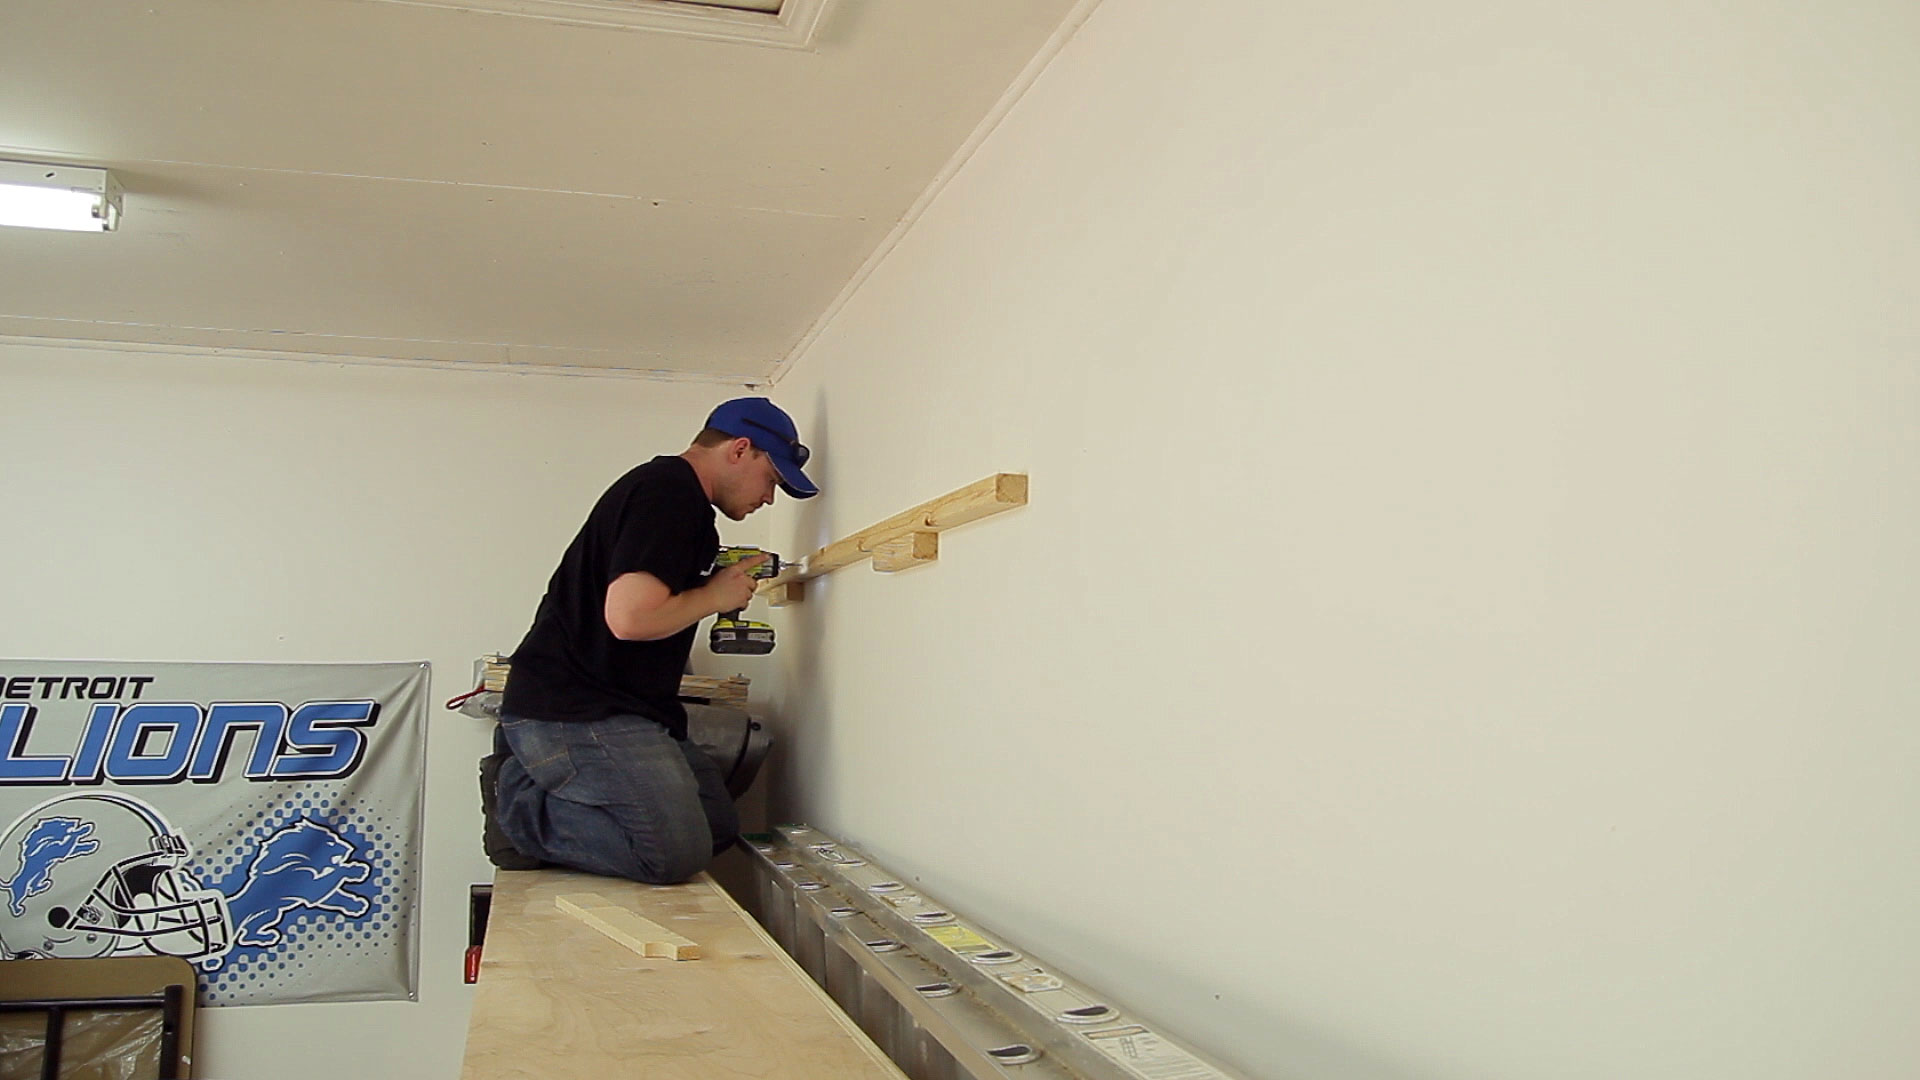
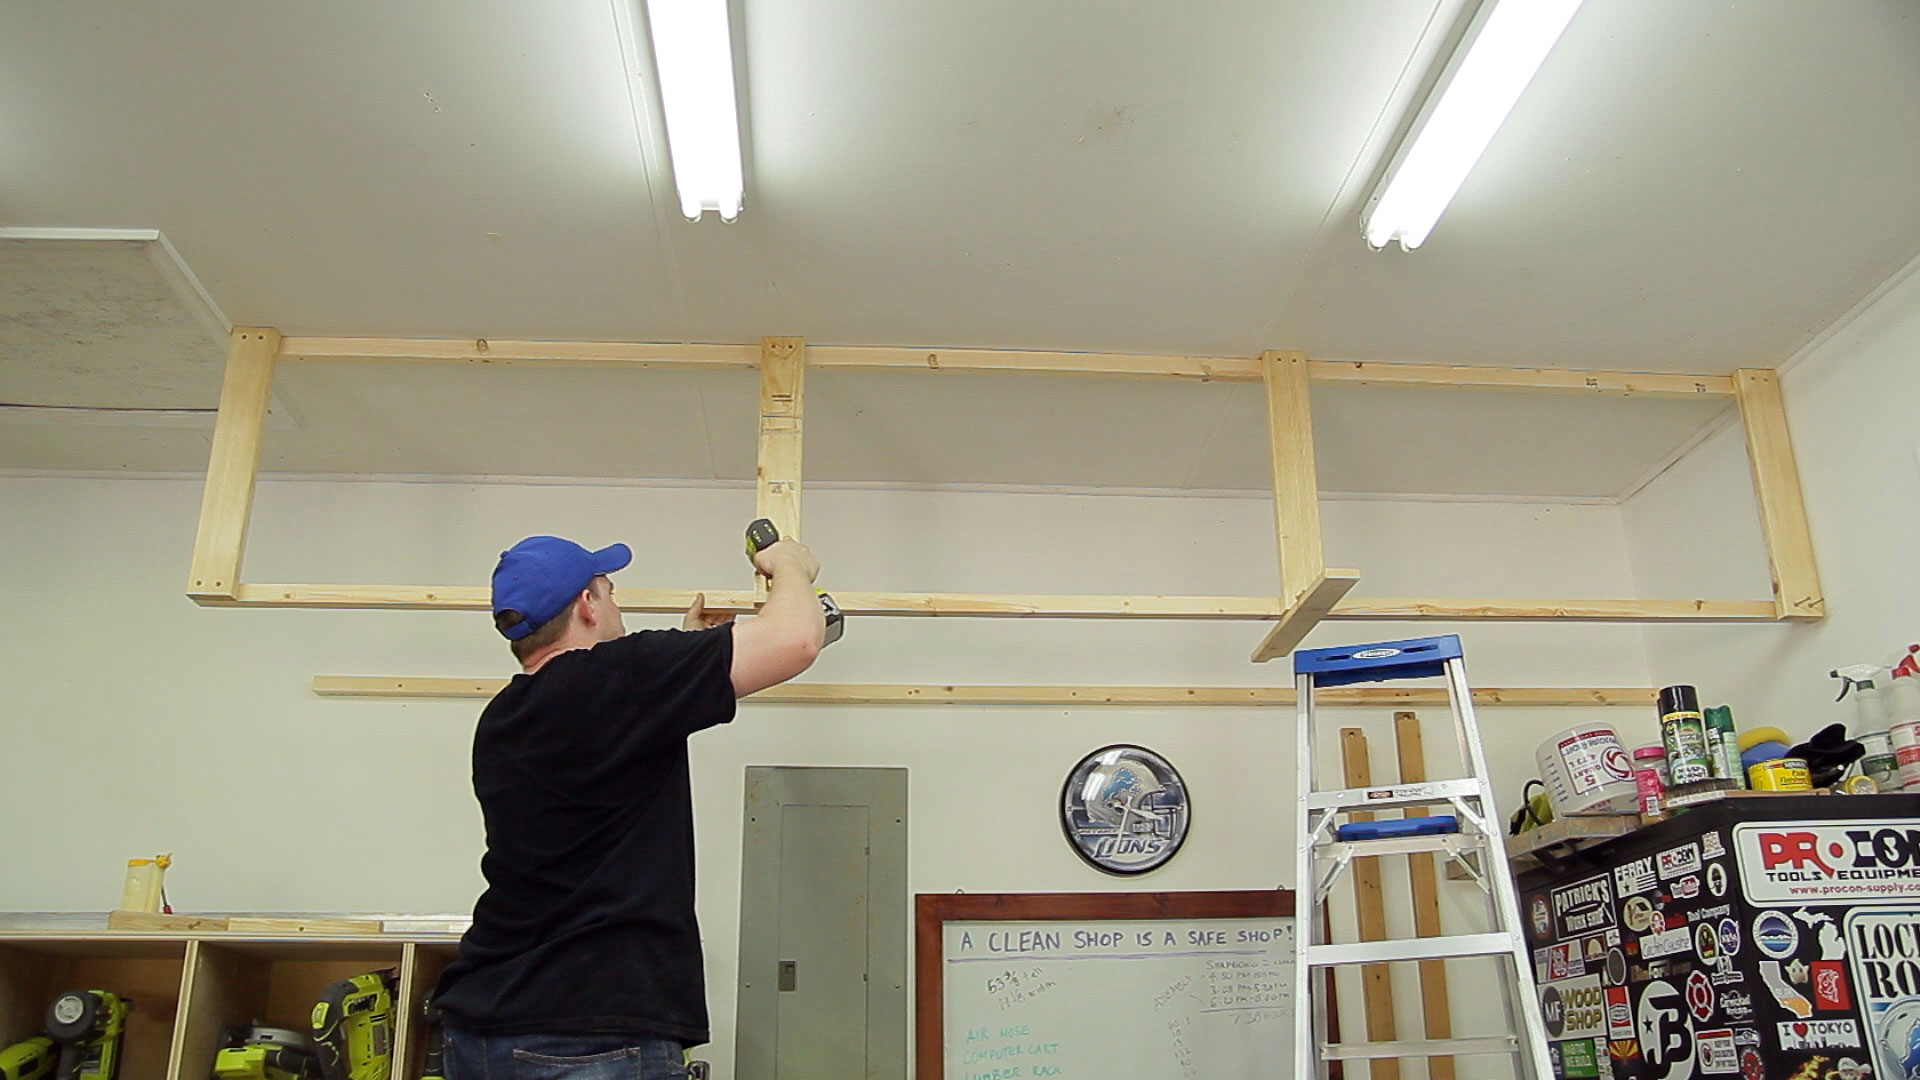
Next came the vertical 2×4 boards. Each board was cut to length, predrilled for two screws on each end , and secured to the ceiling 2×2 with wood glue and two 3” decking screws. The left shelf has three of these and the right shelf has four. I used a 12” speed square to make sure these were perpendicular to the ceiling.
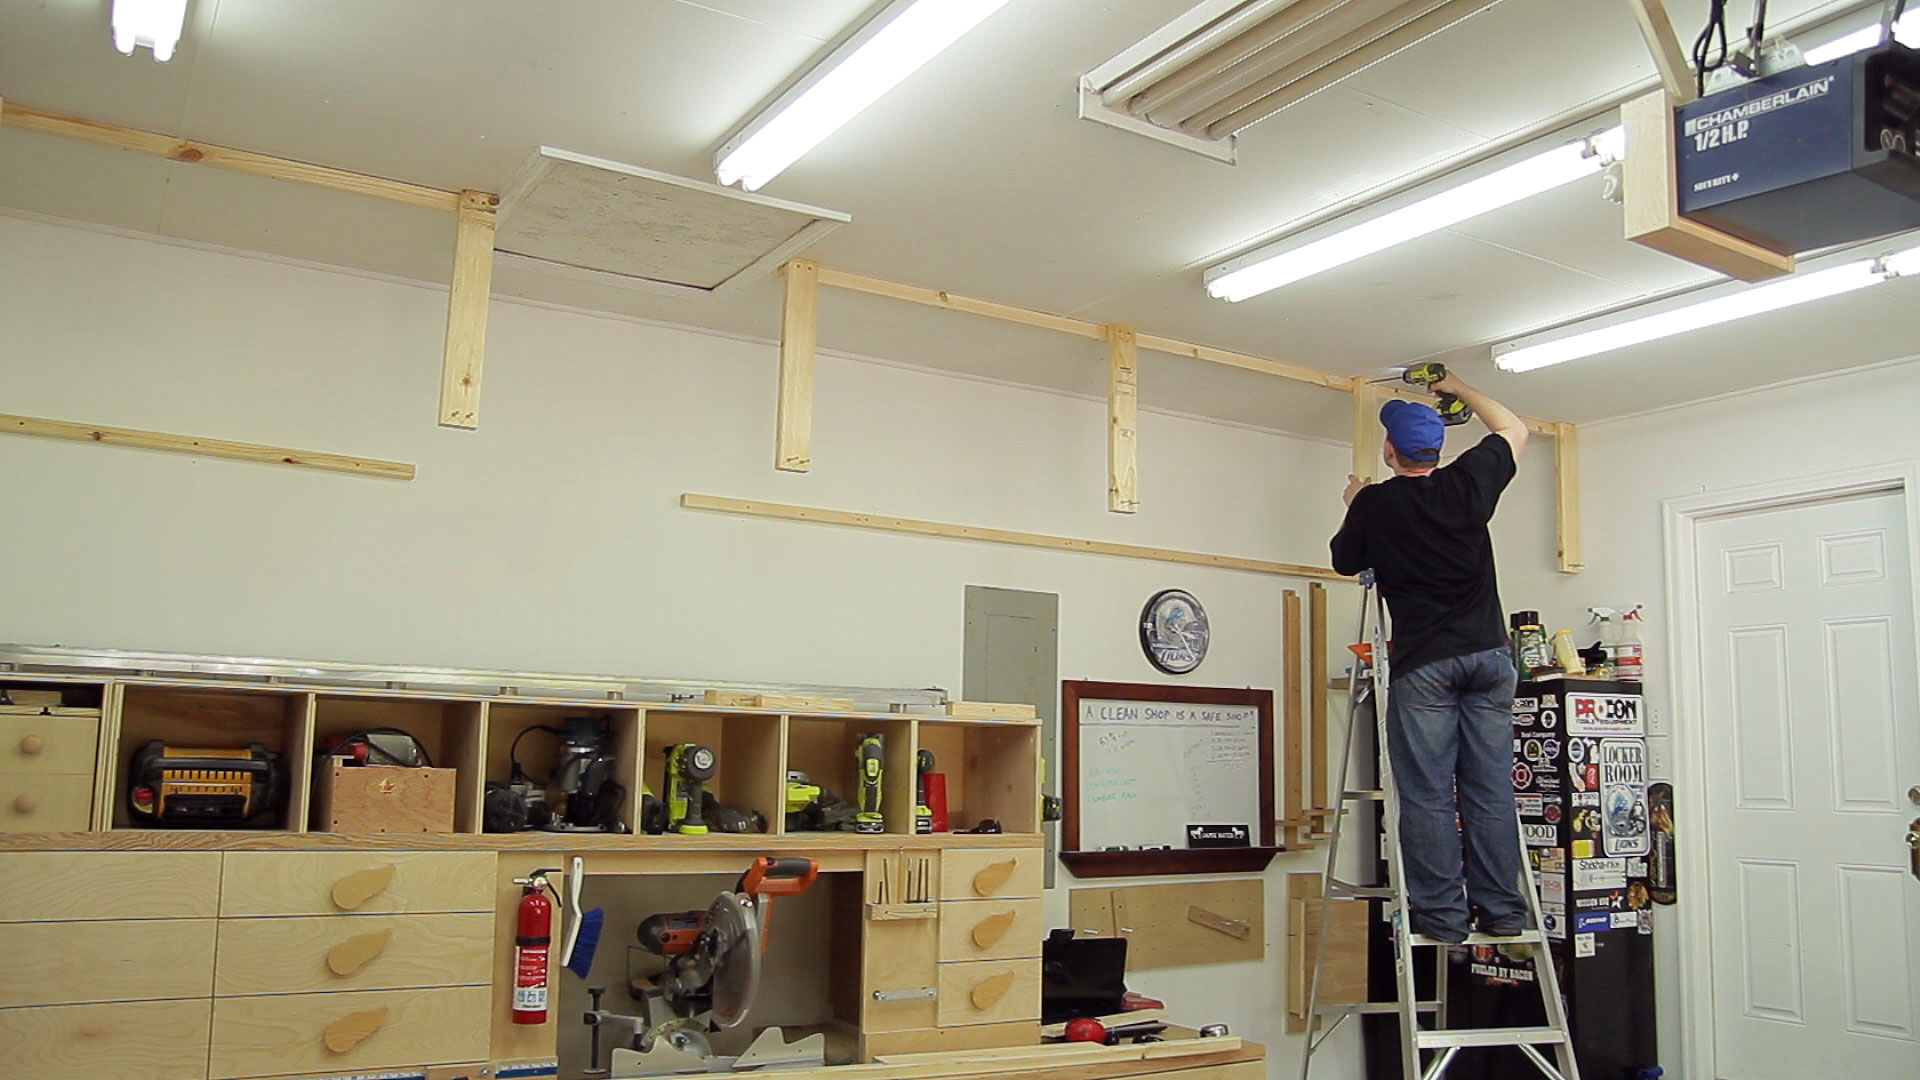
To make the floating 2×2 easier to install I first screwed a scrap block to the bottom of one of the vertical 2×4 boards to act as a shelf or a second hand. Before driving the screws in I clamped the boards together to make the job a little easier. With the 2×2 board secured the scrap block could be removed.
The actual shelves are plywood. I used PureBond hardwood plywood for a few reasons. It’s made from hardwood so it should withstand more weight than pine plywood. It’s also made in the USA and formaldehyde free which are two things I really like.
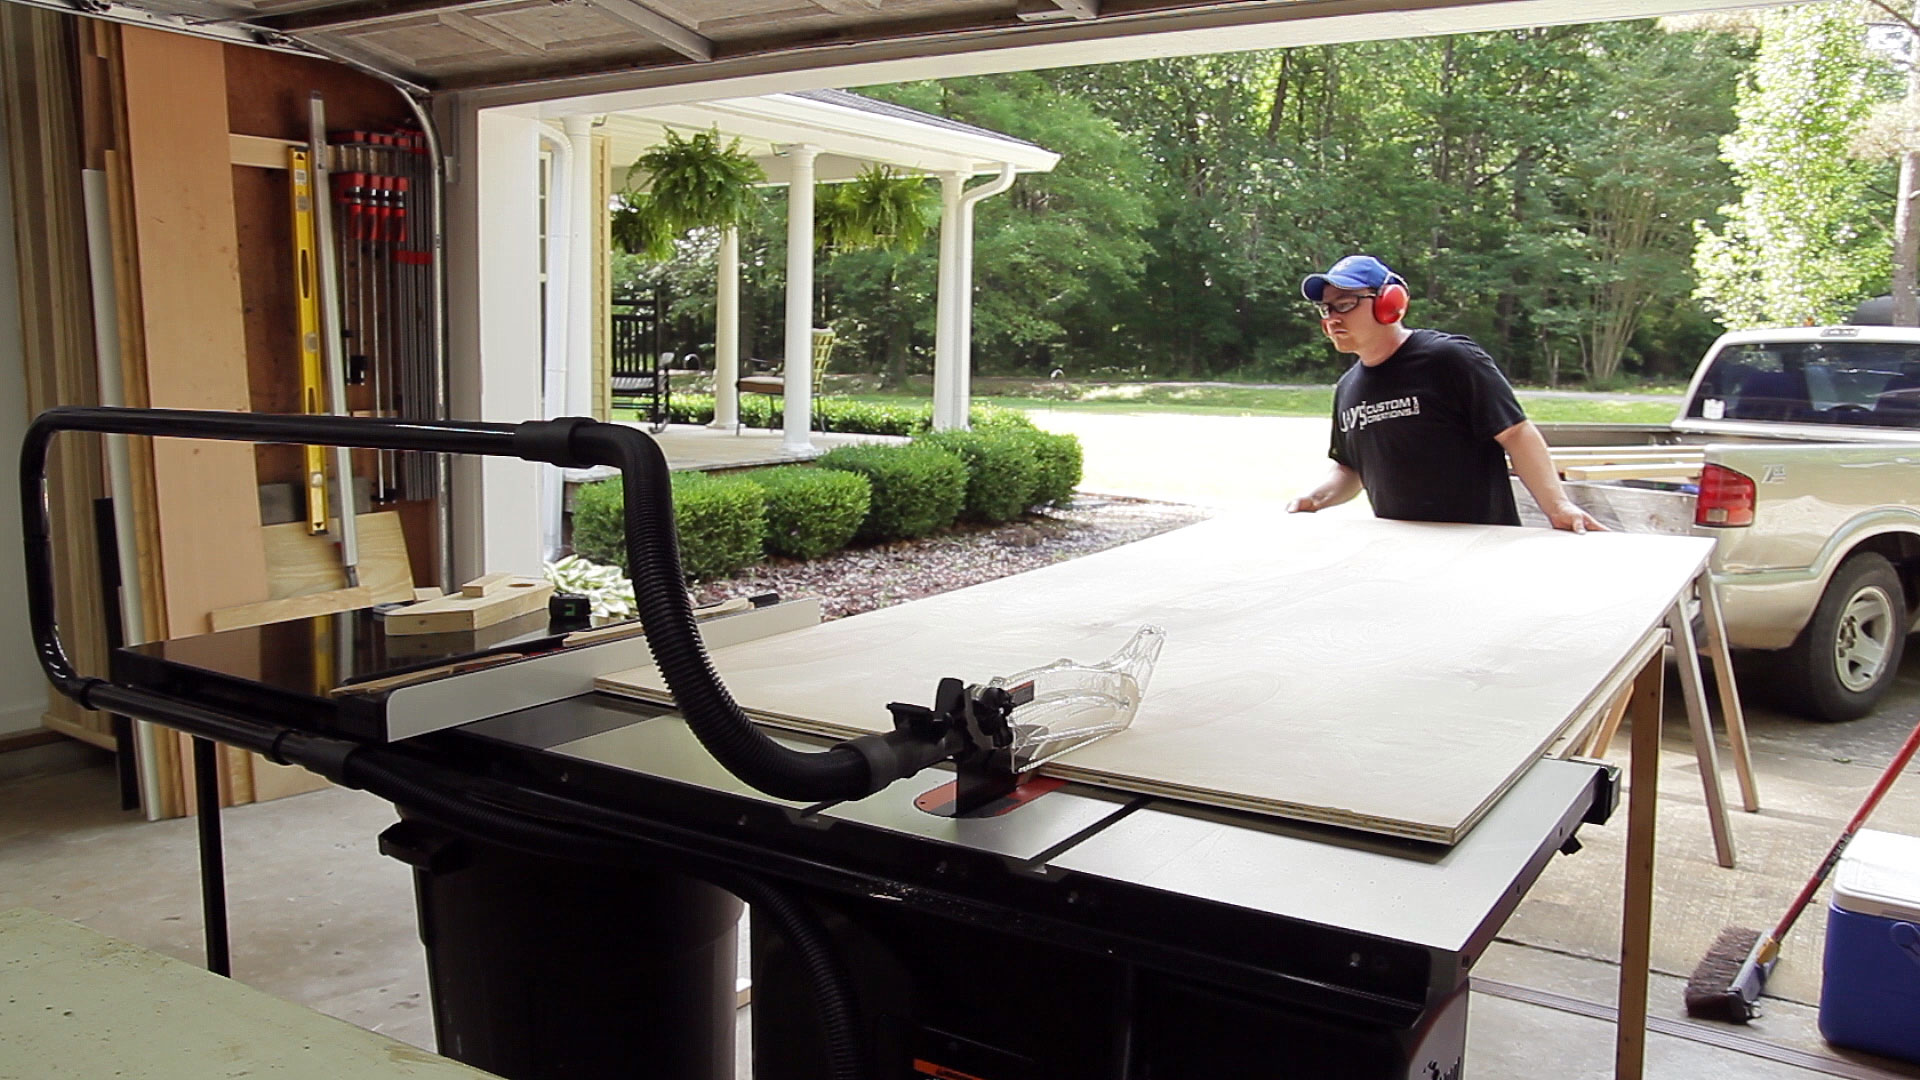
I trimmed the plywood to length on my sliding miter saw by flipping the board and making two passes. This was actually about an inch or so too short from cutting the piece all the way through so I used my hand saw to finish the cut.
The easiest way to get these shelves in place is to slide the panels vertically along the back wall and then pull the bottom edge forward to the floating 2×2 support. If you got the shelf high enough it should fall right into place.

Slide the shelves to where they need to be and secure them with a few screws along the back edge and front edge. It’s not necessary to go crazy with the screws here as all you are doing is holding them from sliding around. The rest of the structure is what is actually holding the weight against gravity.
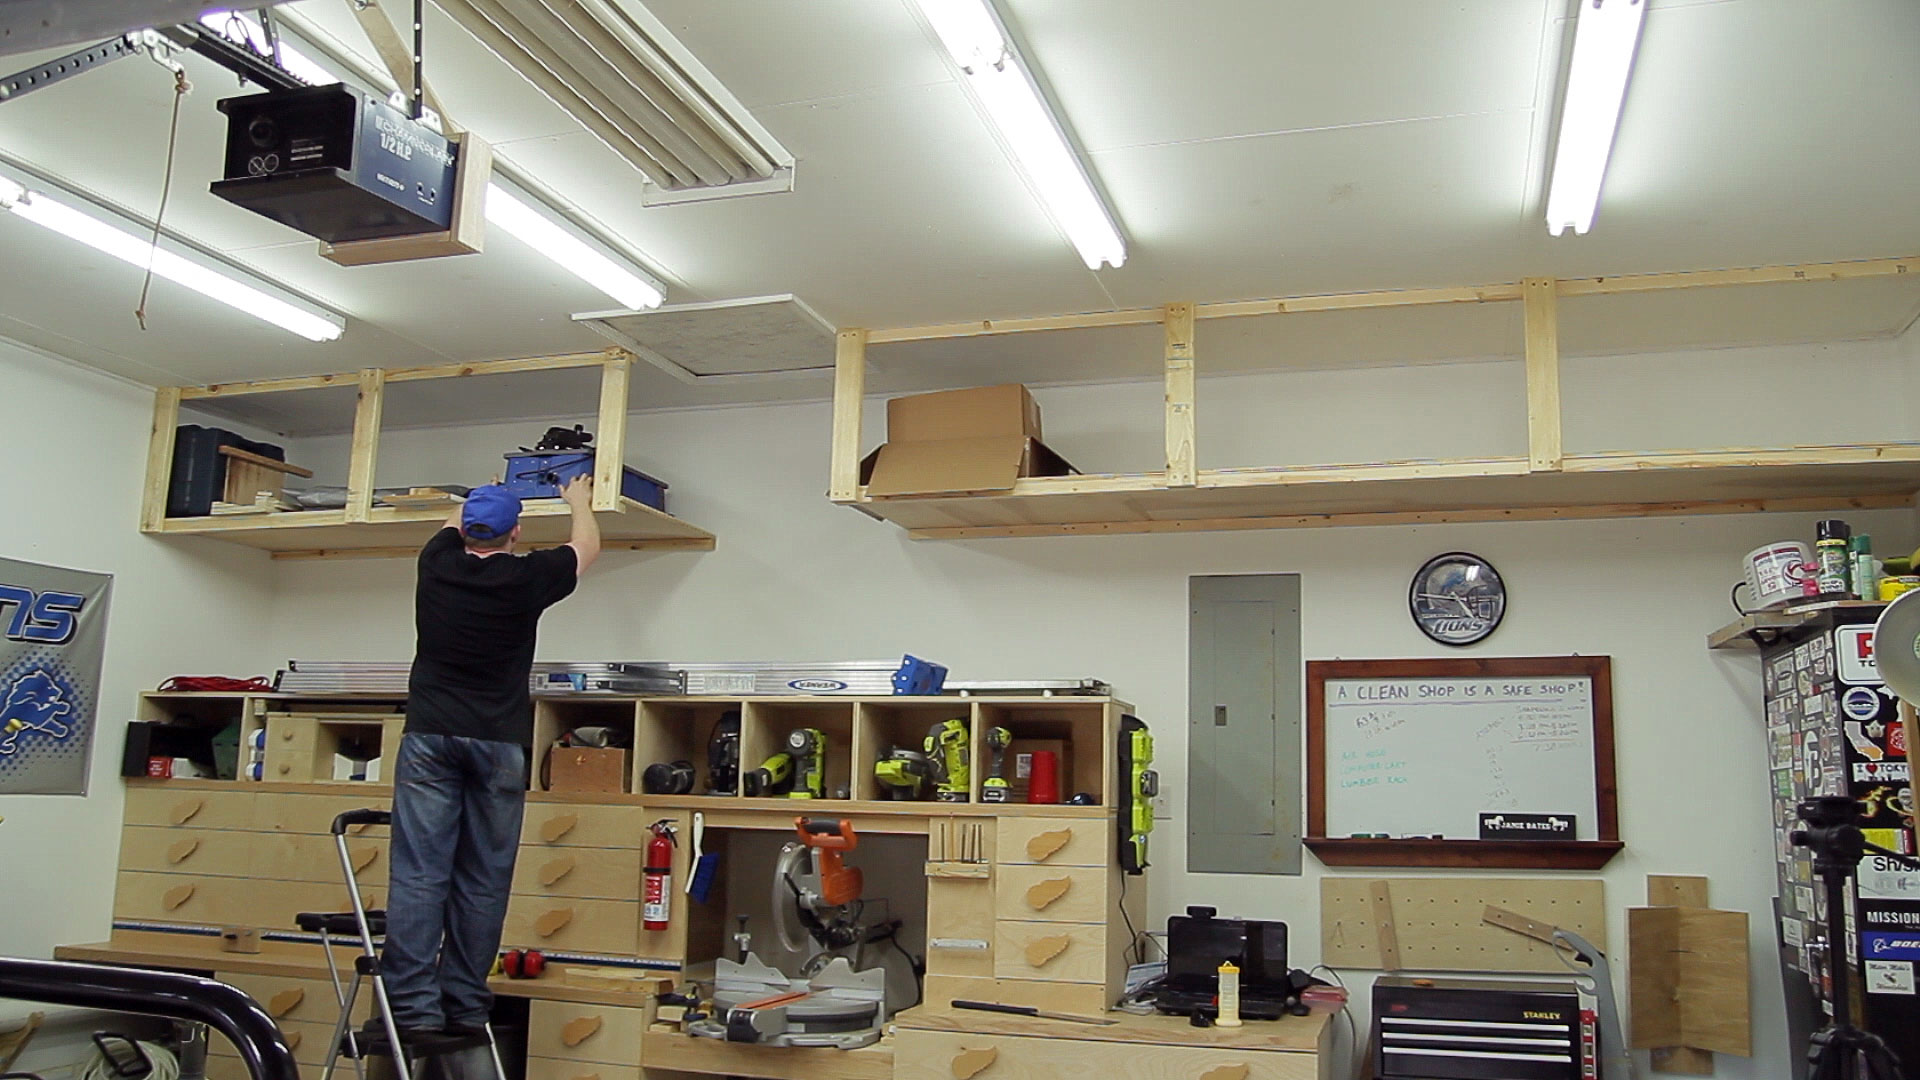
And that’s it! Time to store seldom used items up and out of the way. This conveniently worked out for me as I can stand sideways on top of the top of the miter saw station and use the left shelf as a step into the attic space above.
Even if this isn’t the perfect solution for your situation I hope you are at least able to get some inspiration or a few ideas out of it. If you liked this project than perhaps you will like some of the other 400+ articles on this site. Feel free to browse around and sign up for my email newsletters so you don’t miss a thing. Stay productive folks and I’ll talk to you in a few days on my vlog channel.


Looks like you got a SawStop 52″. Nice.
What model Rigid Miter do you have?
Do you like it?
A better miter saw is my next purchase, replacing a Ryobi 10″.
Thanks and I sure do enjoy all your vid’s and how to’s.
Ross
Hey, I see you’ve got the new table saw. Care to share more info about that? My shop is a bit bigger than yours, but with 12 foot ceilings. I went 3/4 of the way around it with 2 foot shelves at the 8 foot height, and have a 10×12 overhead area of where the compressor room is, which makes for a total of over 200 square feet of storage. I used big eye bolts, and steel cable to suspend it, because I didn’t want to have to fight to get around the face boards. Then again, mine took 2 people to put it all in place, and you made it look so easy :)
Nice idea with the cables. That would definitely work too. Not having as much support in the way is probably better. The saw is a SawStop PCS
Hi Jay. Great job. I enjoy all your projects.
OBTW: I was grazing “YouTube” yesterday 5/23/15, and came across your posts of making a Thein baffle and the project of mounting your dust collector installation.
How long ago was that?
Obviously you have changed locations (what part of the country) and upgraded your presentation skills since that video was made. Just curious.
Walt in CT
That Thein baffle build was a couple years ago. Thanks for the kind words. I moved about 5 miles down the road outside the city limits. I’m still in Mississippi.
Great job, Jay! I was a bit concerned (for weight on shelves) when I saw that you were using 2x2s instead of 2x4s. But the 3in anchor screws help hold everything quite well. Thanks for sharing!
It should hold everything I plan on putting up there. I can hang from the edge without any issues. Thanks for stopping by Mr. Bates.
Simple always works. Nice, neat and functional. Keep up the great work.
Thank you, Tony. And thanks for stopping by.
You think you have stuff now? Wait a few years. When I was 50 I had a 4 car garage, with no wasted or extra space. As young as you are, you ain’t seen nothin yet.
Oh brother. Thanks for the warning lol.
When I retired I built the shop of my dreams…40X60. Three-years later I added a 500 sq ft loft for storage since open floor space seemed to be disappearing. No matter what you THINK you need, build bigger.
this is a bit off topic but im a beginner woodworker, and i notice with my tools that they are beginning rust (chisels, screwdrivers, table saw top) i was wondering how you remove this rust and also how you prevent it from ocurring, thanks
Any tools left out in the open are subject to the moisture in the air. In a garage shop this is a constant thing. That’s one of the reasons why I built a lot of drawer storage to keep my tools out of the shop air. All of my chisels are rusty because of this.
I sure like the way you hung your step ladder. I guess I will have to take a closer look on where I can hang mine sideways.
I noticed your awesome dust collection on your table saw. Was that setup designed by the SawStop people or did you rig that up yourself? I’ve got an old Delta contractor’s saw and need to figure out a better DC system for it.
I’d love for you to do a post on your DC setup at each tool.
Thanks for sharing. Just found your website and it’s a great resource! Lots of inspiration here.
Ha ha. Just saw a bunch of your dust collection posts. Doh.
Jay, while I was watching the video, I noticed one thing that I would have personally done different, but I’m not even sure that it would matter. Thus I wanted to ask you if you thought it would. When you screwed up the floating 2×2’s, you screwed first through the vertical 2×4 and into the 2×2. I would have done it starting on the 2×2 and into the 2×4. My only thought is that the 2×4 has more meat and will be holding the weight (I think). What’s your opinion on that? Do you think it makes any difference at all in how well this will hold the weight? I’m also guessing that since the weight would be distributed over the length of the floating 2×2 it doesn’t really matter. Just curious.
Again, another great shop idea!!! This is where I spend most of my time in my own shop; building stuff for it rather than for ‘customers’. It will be a nice shop when I get all those things done!!!
I like your critical thinking but I don’t think the direction of the screw matters in this case.
Gr8 storage solution/s Jay
Thanks for everything you put on the web. I’m a little late to the game in finding you but have made a bunch of the projects for my own garage workshop. So far I’ve, done the lumber/conduit rack, charging station, overhead storage rack, circular saw tracks, and I’ll be doing the drill press fence and press table this weekend. I think your page and videos are the best I’ve found so far. Thanks again for everything you are doing.
What if I use 2×4 instead of the 2×2 for the ceiling and wall plates? Do you see any problem with that?
Great work btw!
No problem as long as you use the proper length screws to secure it.
Fantastic design and elegant in simplicity. I’m new to this but what surfaces do you glue? I see the part about gluing the vertical 2x4s but any others like the 2×2 to ceiling or wall? Do you recommend any reinforcements such as larger lag bolts, cross bracing (not blocking the openings) or L brackets in California (earthquakes)
I have no clue about California regulations so always work according to the building code you are subject to. You can use larger lag screws in the ceiling and wall connections if you prefer. I like to use wood glue where there will be a wood to wood connection.
Great videos, I am a novice and it would help me if you can give some of the measurements. I really liked your garage storage idea and I know each garage is different but just need to get some ideas about the spaces and measurements would help me! Keep up the great job, I am now hooked!! Thanks,BTW I am a Bears fan and I saw your lions logo in the garage, good luck, this may be your year!!!
Hey Jay!
How about the hardware?? Did you use 2 1/2″ or 3″ screws or both??
Thanks
I’m not 100% sure what I used but I believe it was 2-1/2 for all the dimensional lumber connections. 3″ for connecting the dimensional lumber to the garage structure. And 1-1/4 for securing the shelves.
Hi, Jay. I would like to do something similar above my garage doors like you did in your original video (161?). However, that side of my garage has a gable, so the roof trusses are in the wrong orientation for that top cleat to span multiple trusses. Any advice on making a modification for connecting the vertical pieces? I really want to have the shelf above the garage door and not a side wall.
+Jay Bates, Great job on the project. Did you pre-drill holes in the 2×2’s you screwed to the studs/ceiling joists? Didn’t look like it so I was just curious what you recommend. It’s not required when using the ‘structural screws’, correct? Also, in your other videos I’ve seen you counter-sink out the back of the pilot hole to compensate for a ‘mushrooming’ effect. Was that a factor in this installation? Great video! Thanks for the extra input.
Hey Derek. I did predrill the holes so the lumber I was using wouldn’t split and it just makes the process easier when working that far from a work table. I didn’t countersink the back side because these boards wouldn’t sit flush on the ceiling anyway due to the H-bar used in the ceiling.
Jay, I just built a version of this and the wife loves it. We are storing all of our holiday decorations on it. Thanks so much!
Thank you for your detailed video and instructions. I built couple of these over the weekend in no time. I was amazed by its strength!!
I completed Phase 1 of my version (12′ wide x 4′ tall with double-decker shelving) and am a little worried about the amount of weight being held by relatively few screws in end-grain 2×4. I plan to add anchoring blocks to each of those joints although it feels rock-solid so far. Phase 2 will be to close in the ends and add doors! Thanks for a simple design which does away with many of the over-engineered details on other similar shelving systems. Happy to upload a pic if anyone is interested but don’t see that option here.