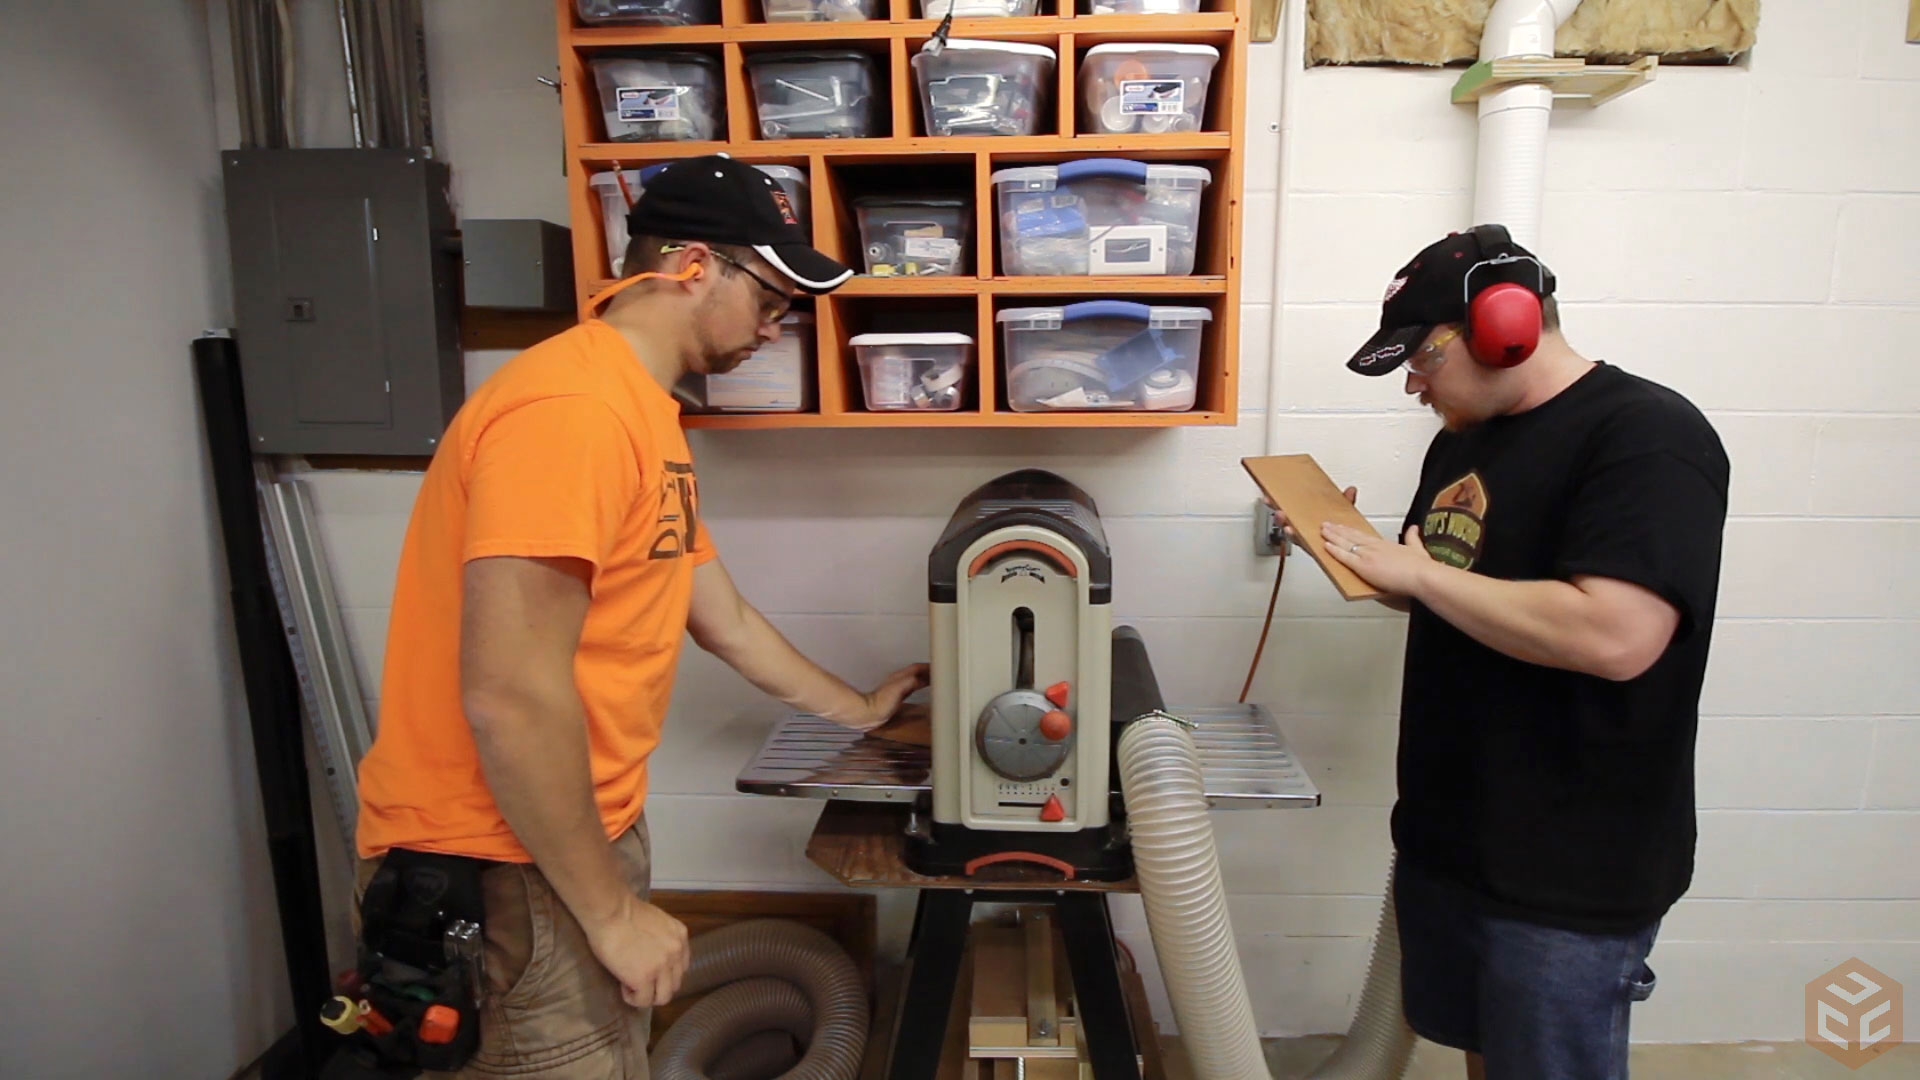
Recently I made a trip back home to Southeast Michigan and while there I swung by Tyler G’s shop. We shot a quick shop tour video (click here to see it) and also got started on a flag display case that will also showcase a certificate and a few coins. We knew we didn’t have enough time to get the entire project completed while I was there so we decided to just start woodworking. Not only is it a lot of fun being in someone else’s shop but it’s also a lot of fun actually working with them on a project.

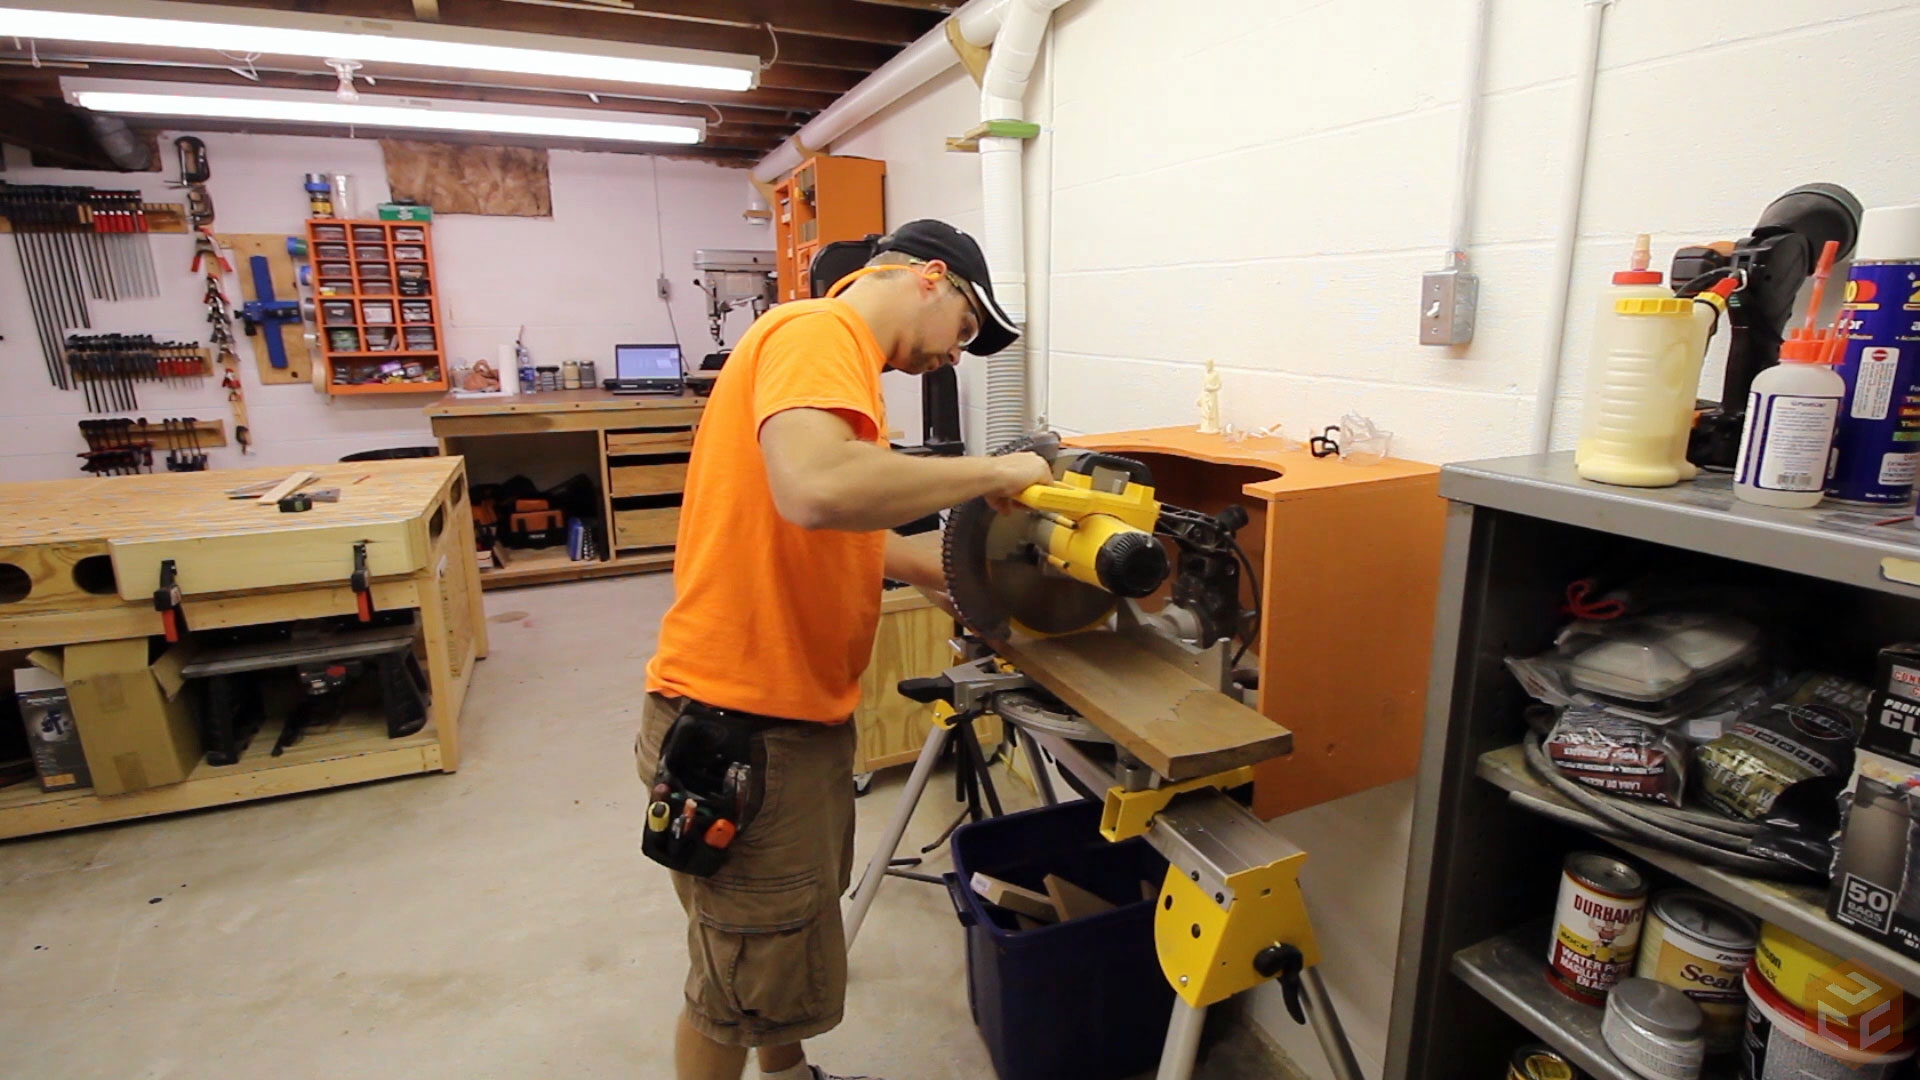
For the case we decided to use Cherry. Tyler’s workflow is pretty similar to mine. We started at the miter saw to rough cut the pieces to length.
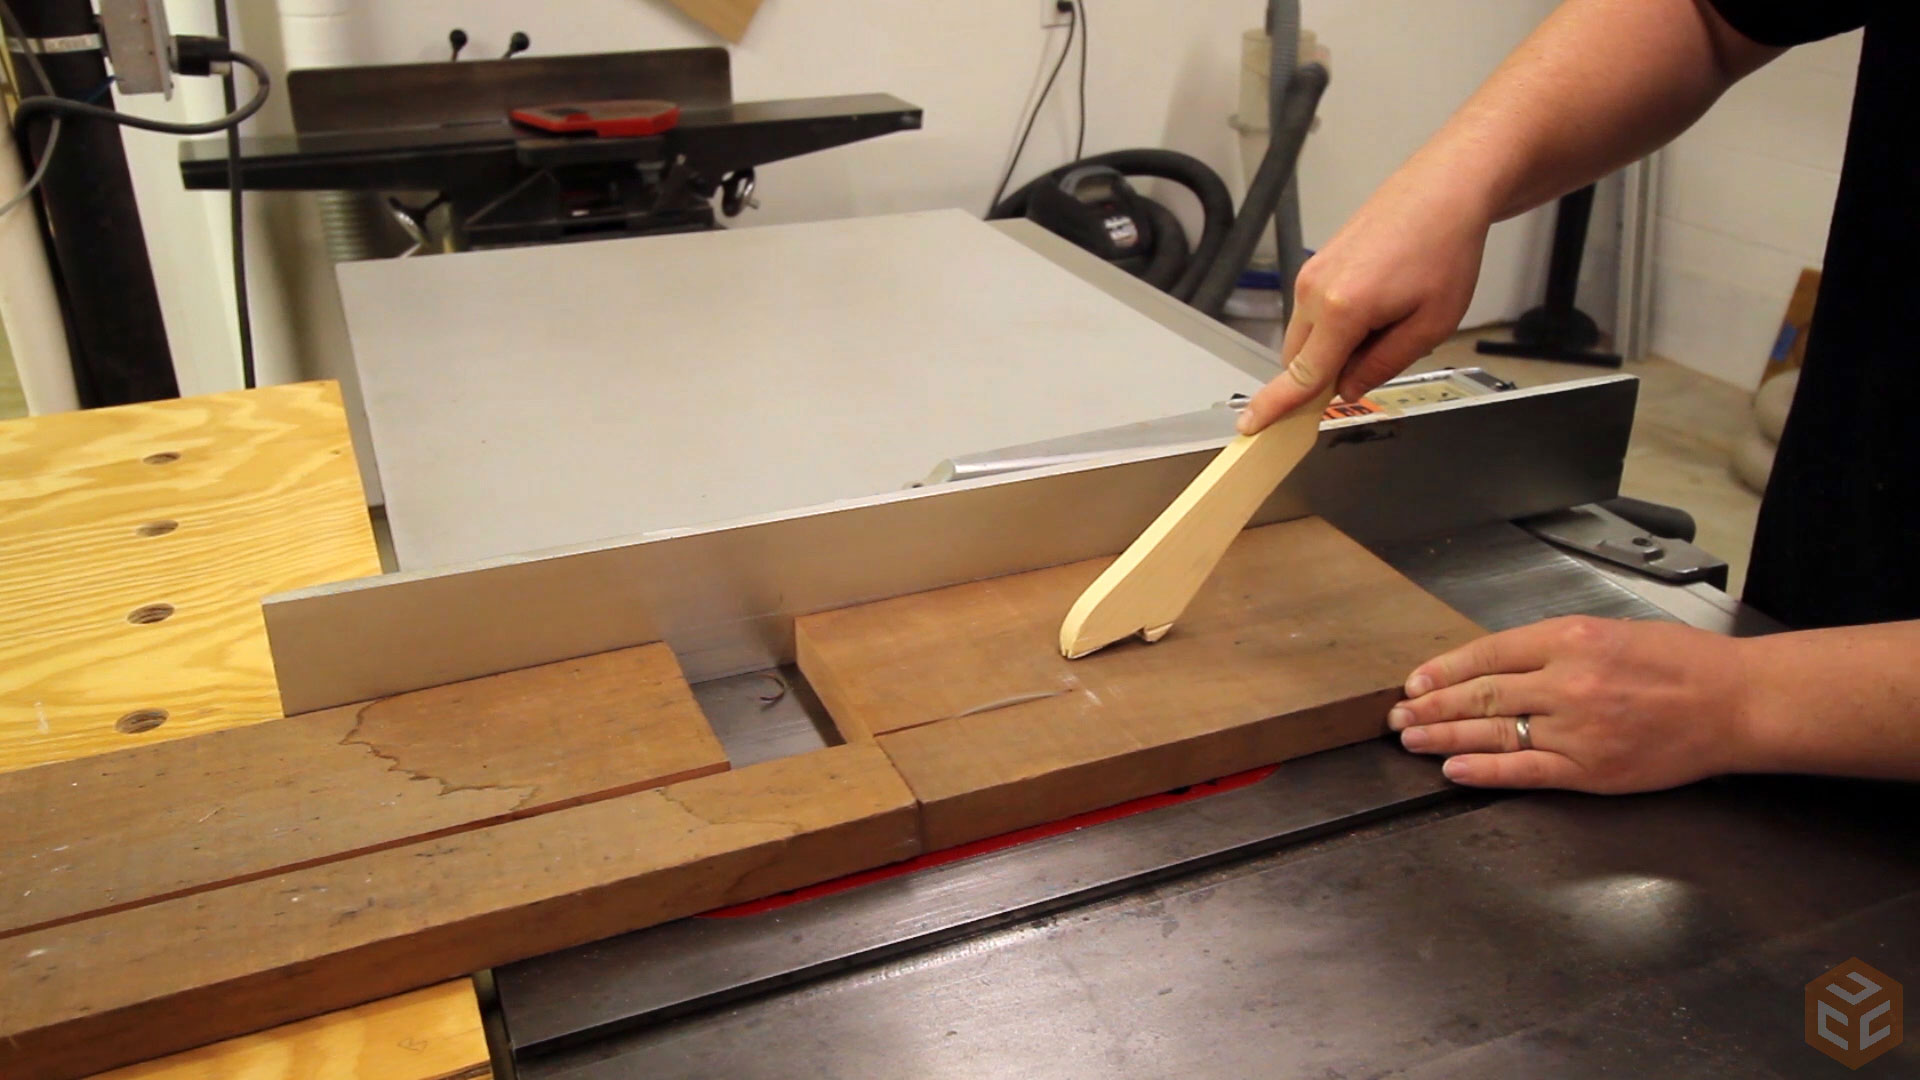
Then we chose to rip the pieces to width at the table saw before jointing because the board had a little cup to it and reducing it’s width first will also reduce the material waste from machining.
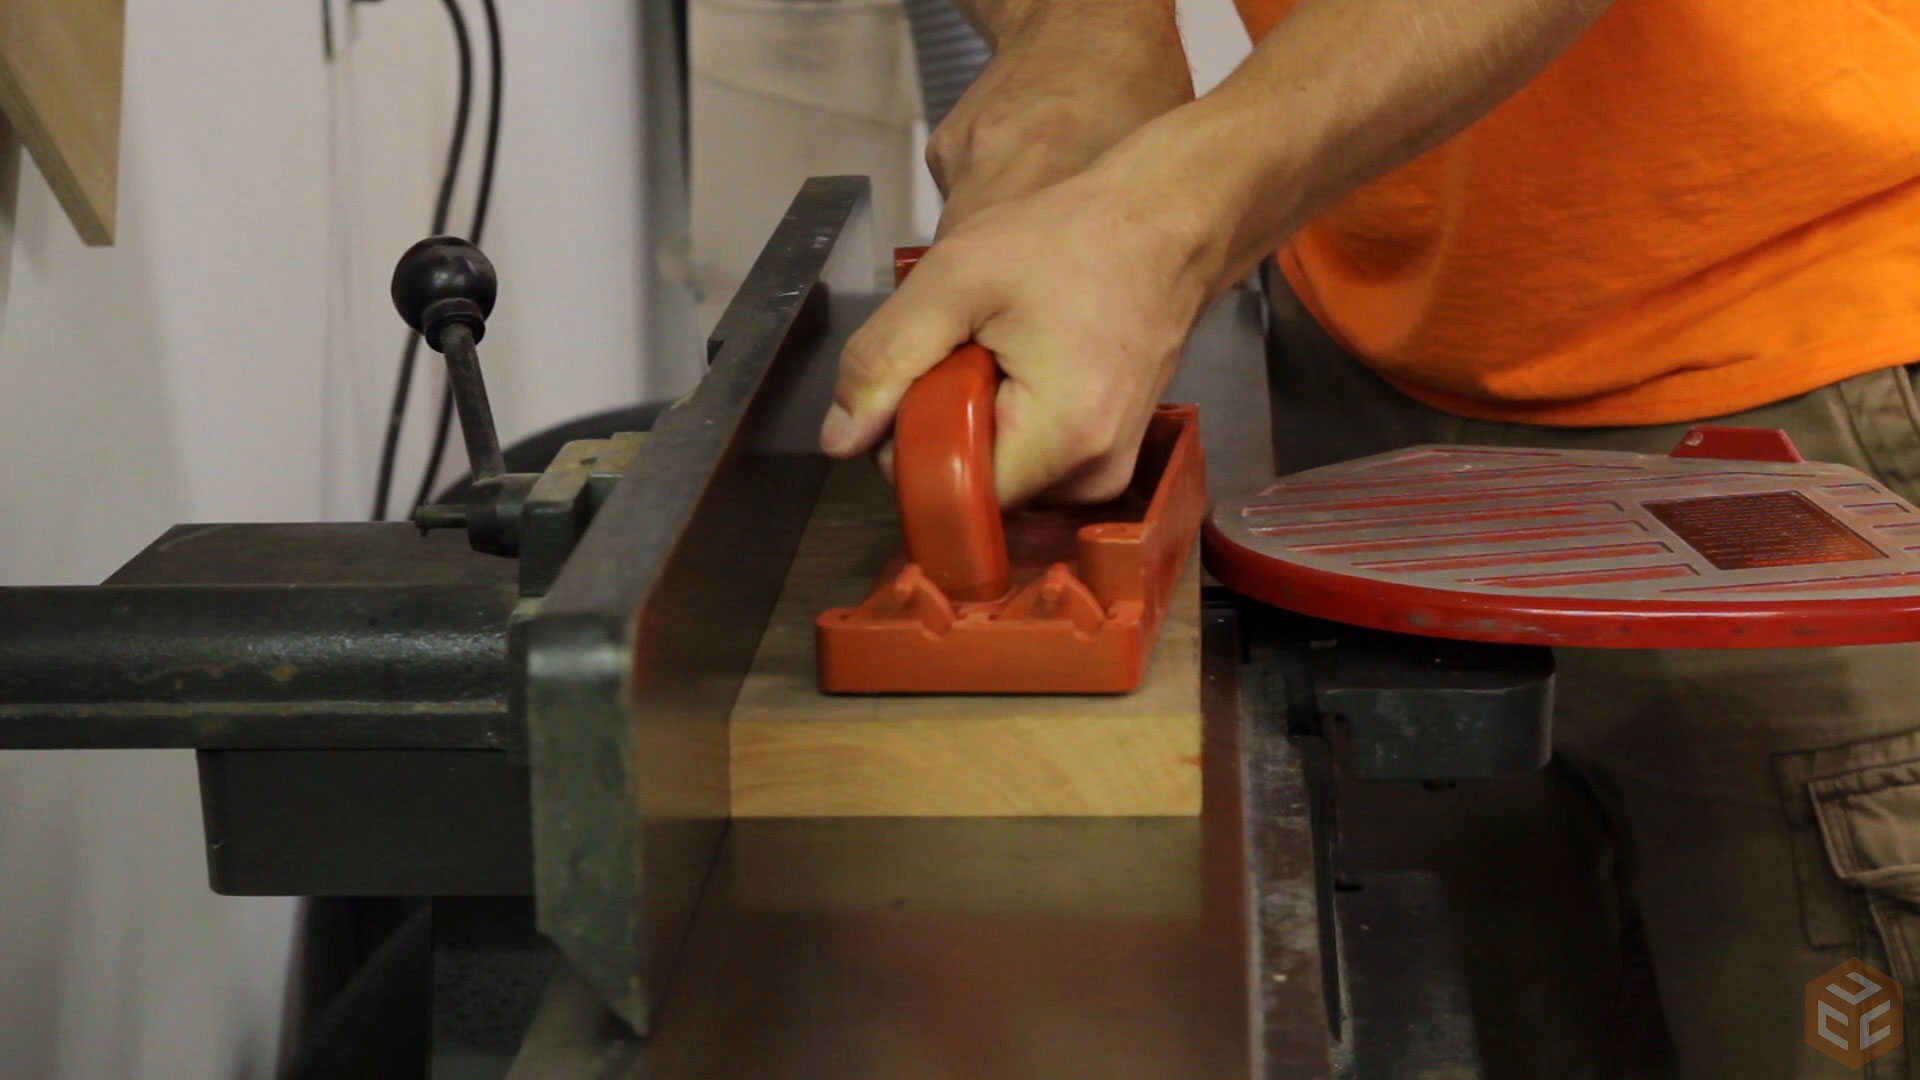
Then jointer to joint both wide faces and one edge.
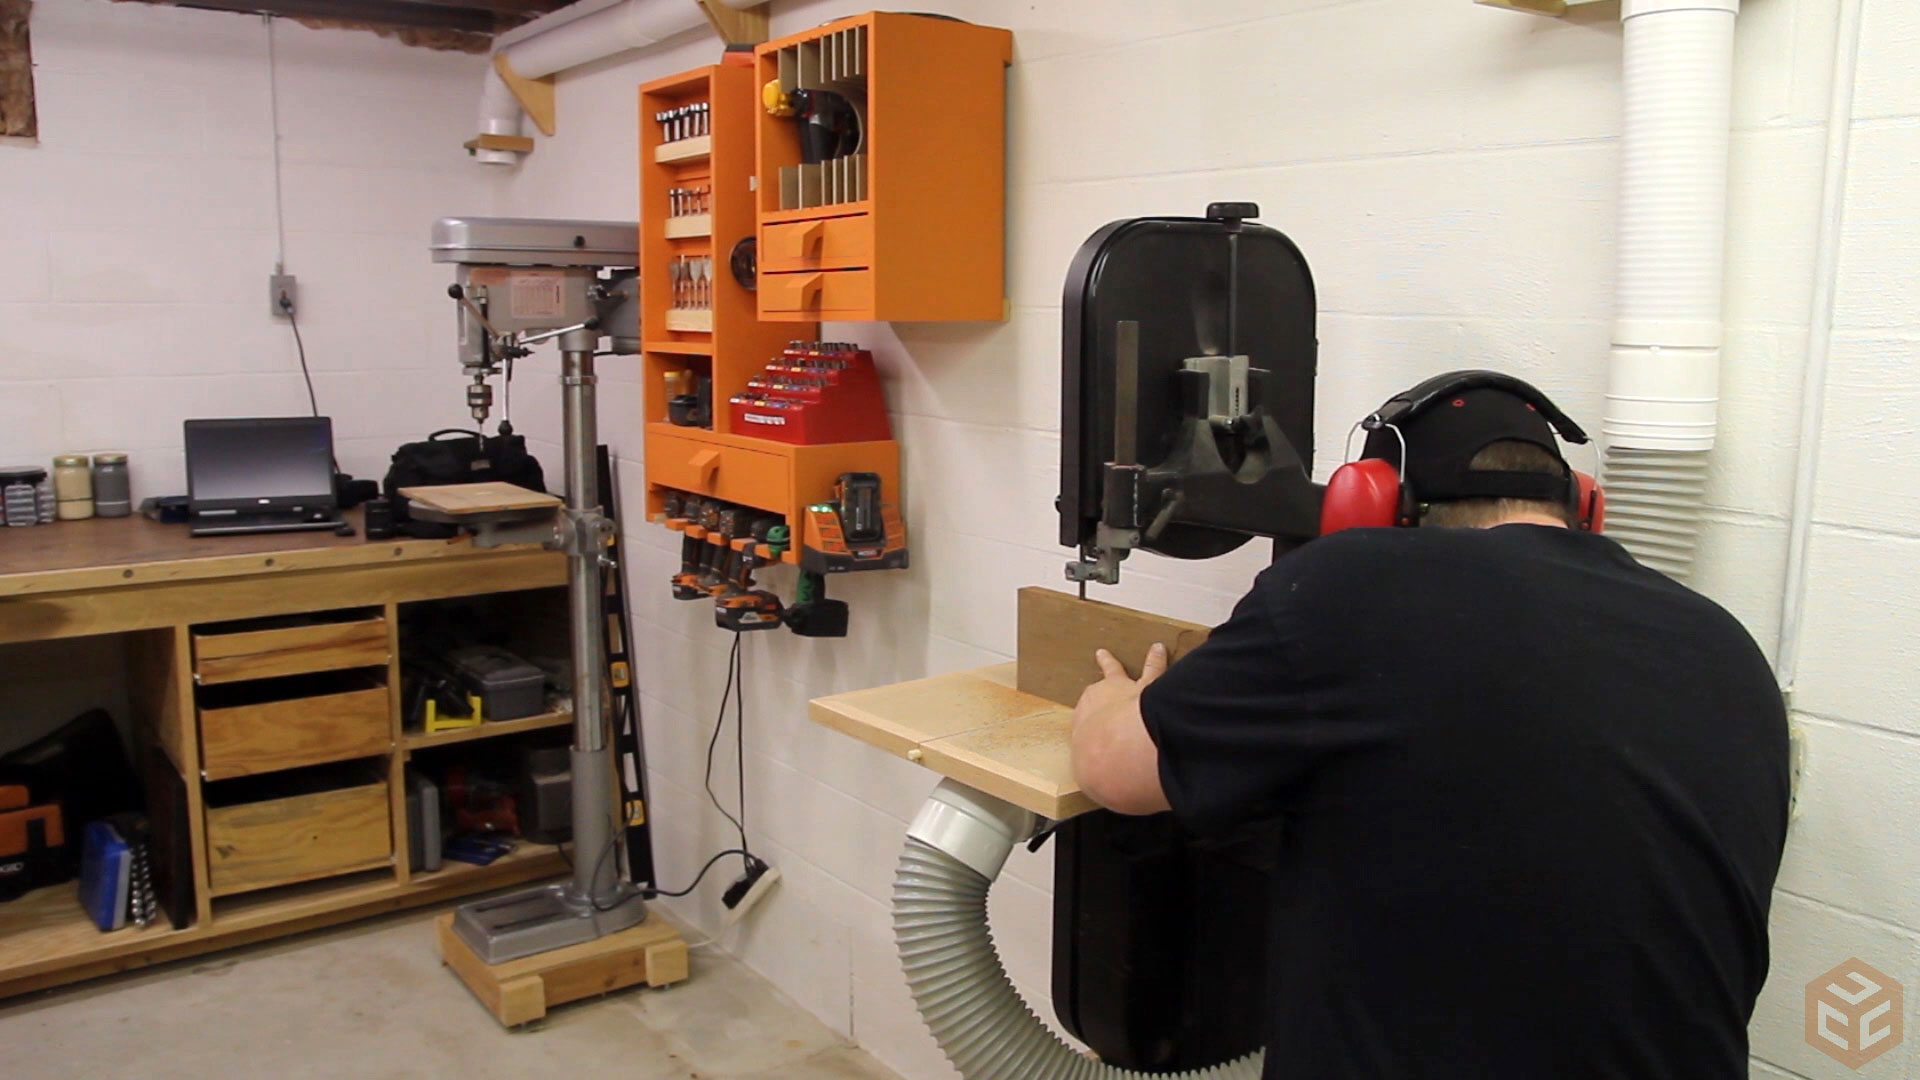
Typically you wouldn’t joint both wide faces first but we are resawing these boards in half so that will leave each half with one flat face that can ride on the bed of the planer. Tyler has a very similar bandsaw as me and but made a big improvement to the dust collection by making a port directly below the table. It works really good. If you check out the shop tour video we put together you can see that his dust collection setup is great.
After the bandsaw we went to planer to not only remove the bandsaw blade marks but also determine the final thickness of our material. I think the exact thickness ended up being just shy of ½” which isn’t too important as we were just trying to maximize material size from the board we had.
Then the final widths are established back at the table saw.

Just as a quick side note that has nothing to do with woodworking. Tyler’s wife made these amazing Cheez-it snacks. Just take two Cheez-it with peanut butter in between, kinda like a sandwich, and then dip it in melted chocolate and let it cool on some wax paper. Amazing. Absolutely amazing. And of course, Tyler cut the pieces to the final length at the miter saw.

For the joinery we went with box joints or finger joints. It’s a fast and easy joint that is not only really strong once completed but also looks really good.
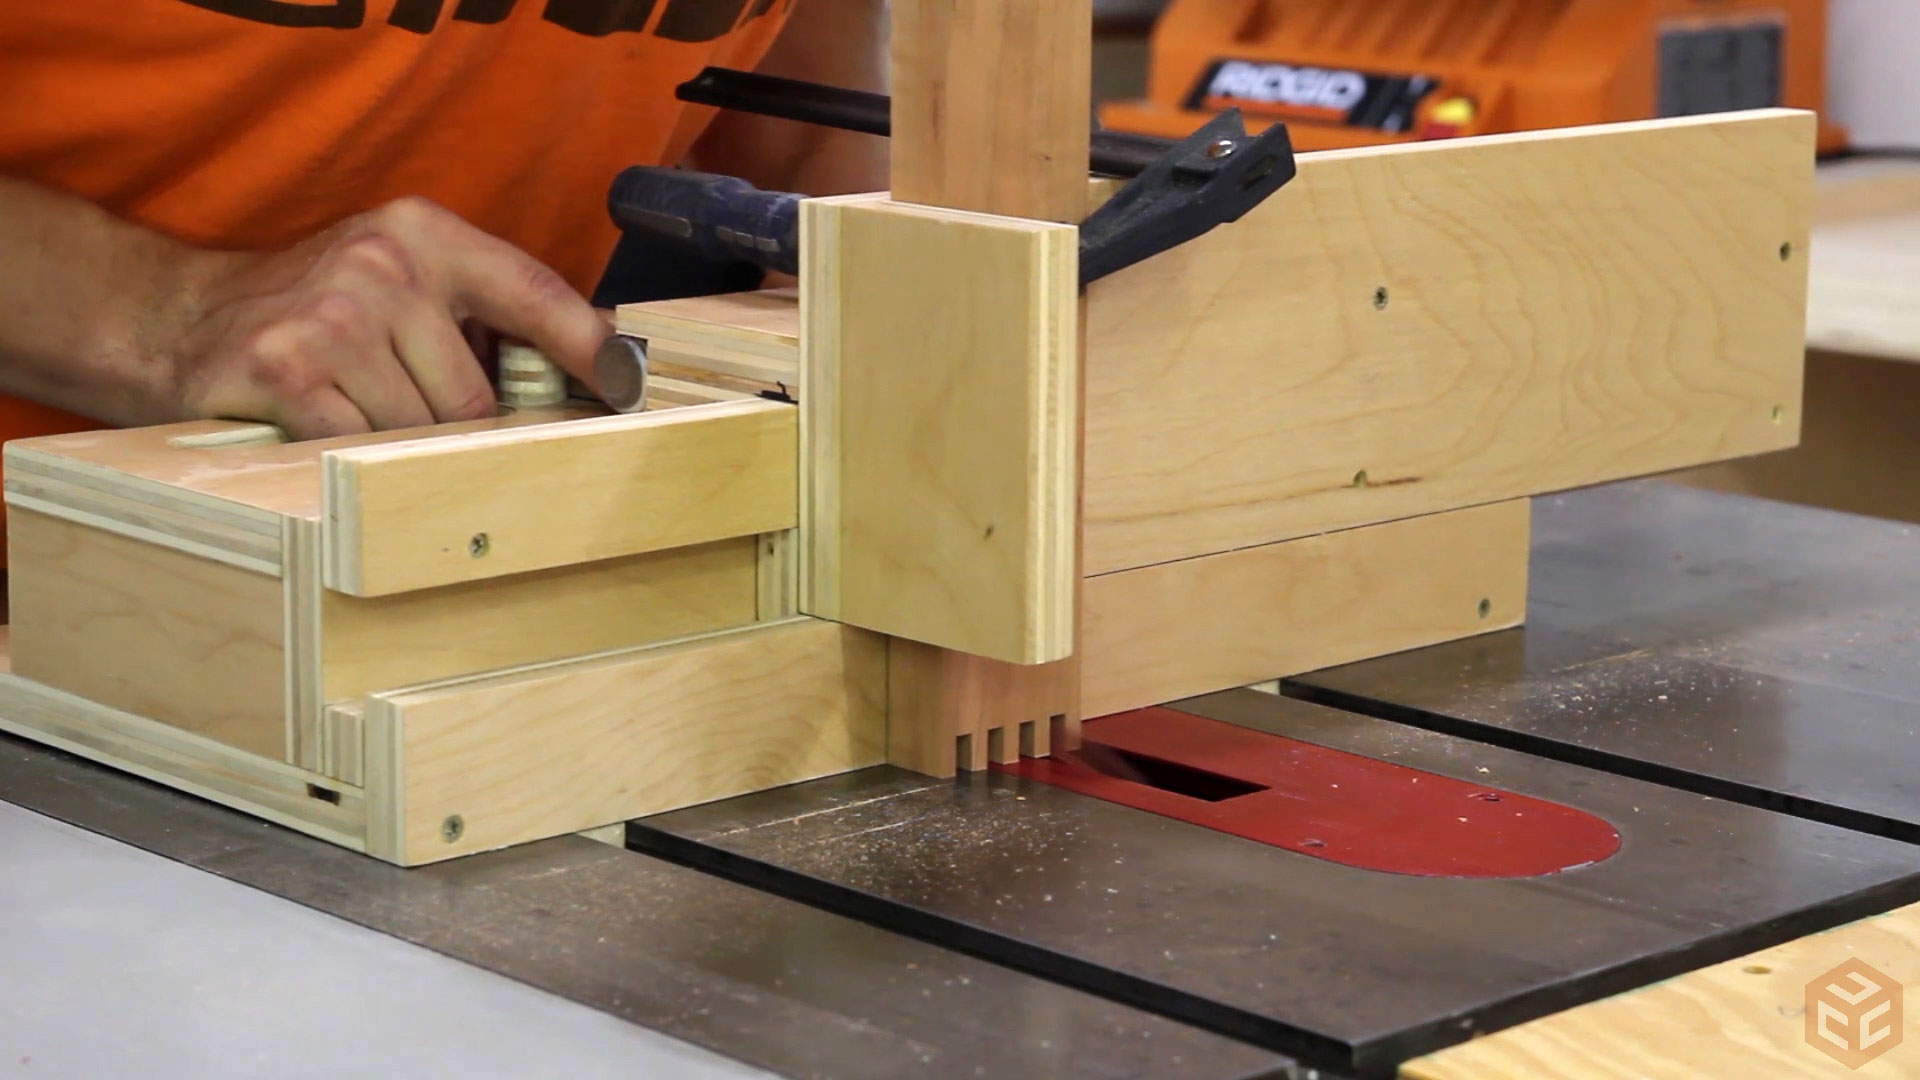
Before assembly we added a groove for the back panel. A quick tip to measure for the back panel is to use two pieces of scraps that fit into the groove on each side, clamp them together, remove them and then measure the total length.
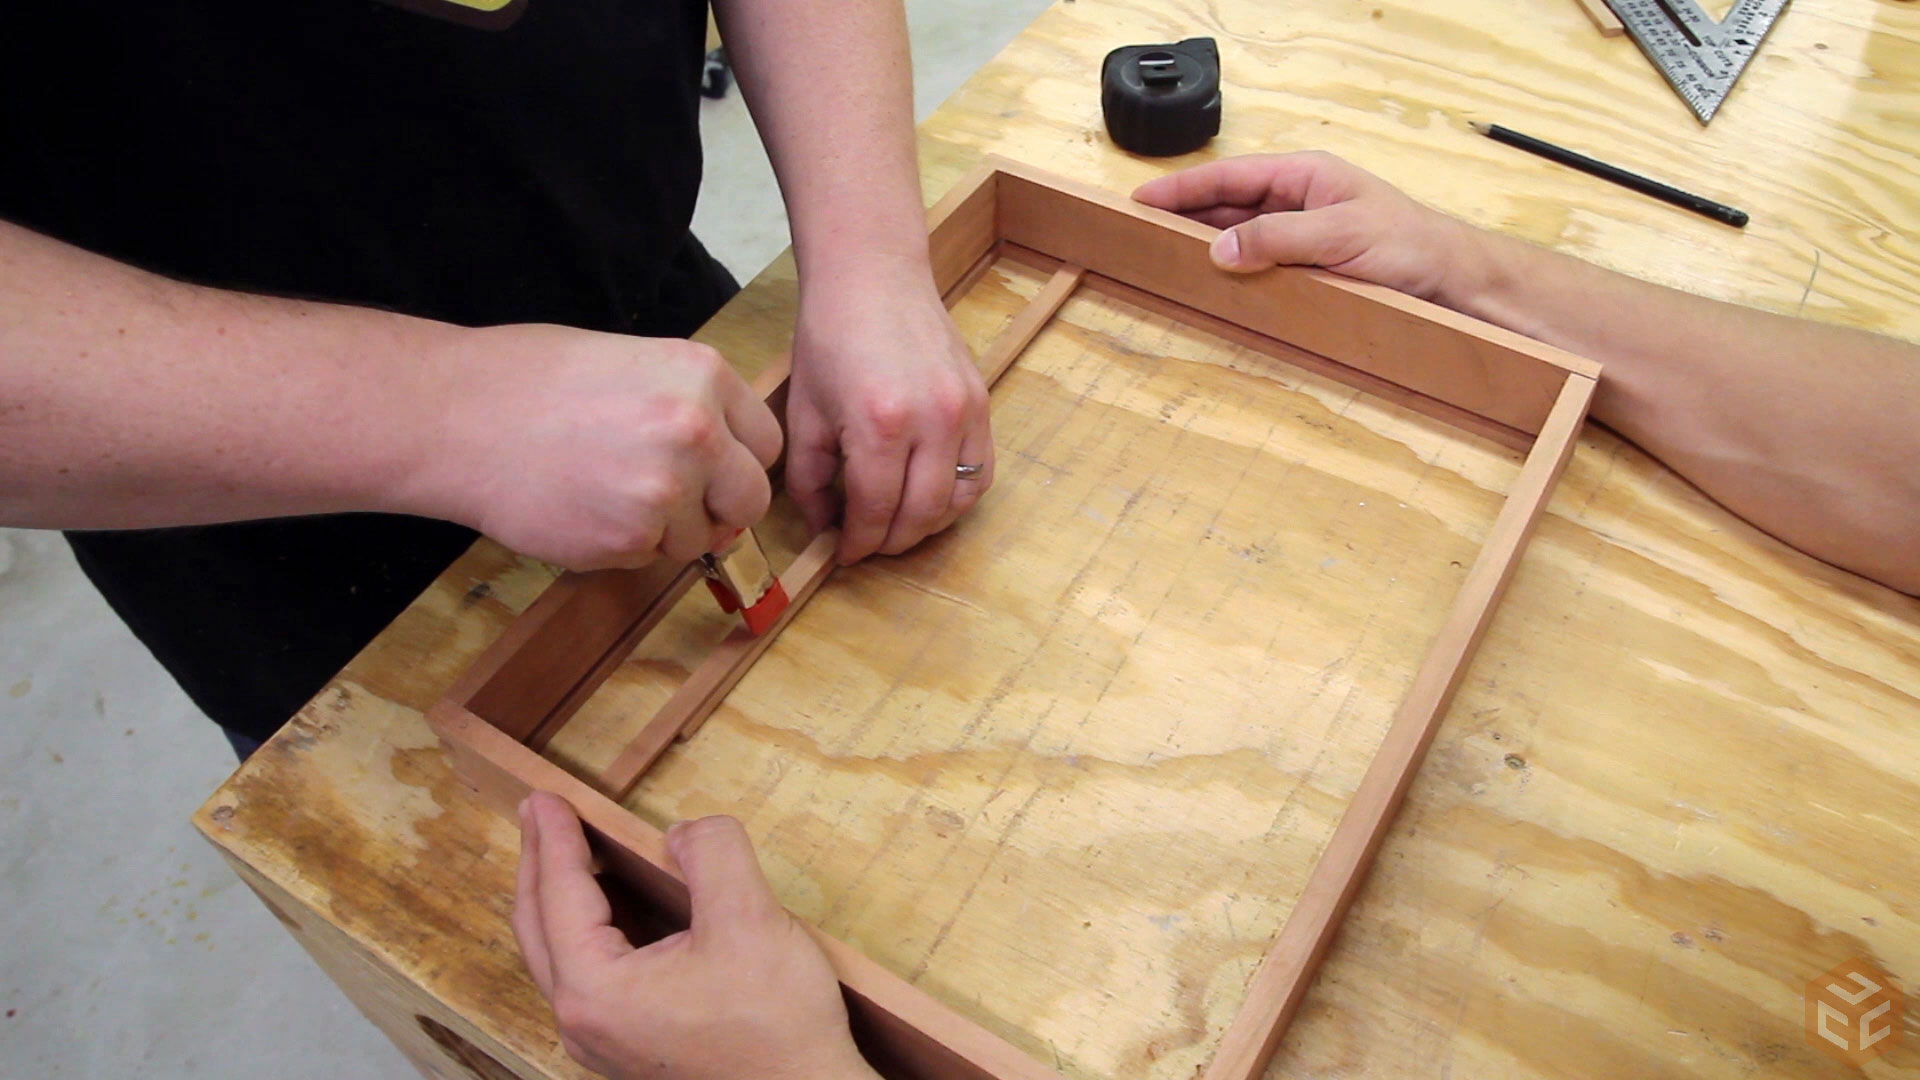
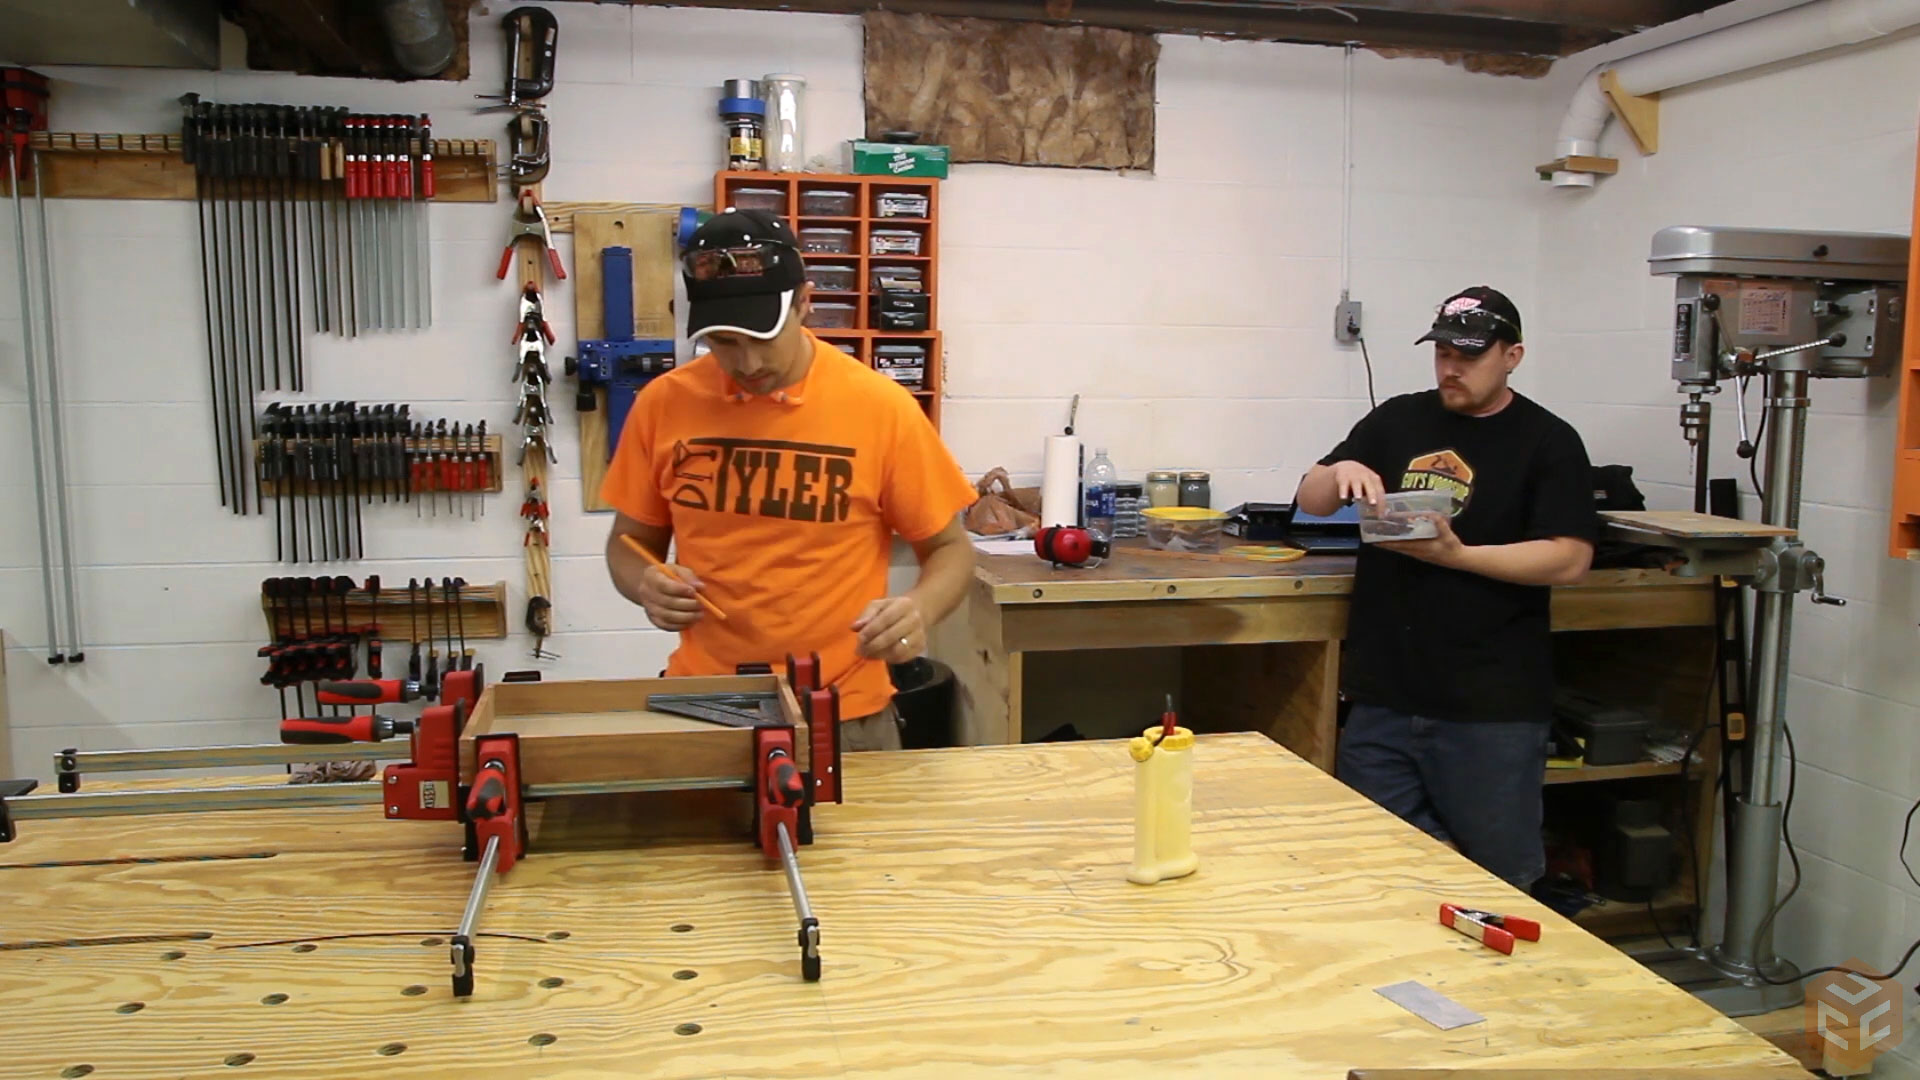
Once everything was fit we glued it all together and started on the coin holder.
The coin holder is just a solid piece of cherry sized to fit snuggly in the bottom of the case with a few appropriate sized holes drilled for the coins.

Unfortunately, that’s where we ran out of time. We ended up not getting as far as we wanted to on the first part mainly because we spent so much time just catching up and talking shop which is so much fun to do. But anyway, you need to check out the second half of this this build. Tyler did a heck of a job wrapping this one up and the finished project just looks so nice. I’ve posted his video here so you can start watching it right away but be sure to subscribe to Tyler if you enjoy his videos.


It looks as though when you cut the slot for the back panel you go the entire length of each of the boards. When you put them together to make the frame what do you do about the exposed holes showing as a result and at the end of that slot cut?
Someone on YouTube caught that as well. It’s my error that I didn’t include one clip. Right before Tyler used the belt sander he plugged the 1/8″ square holes. My apologies.
No probs, I was just curious about your method. There’s probably a million and one ways I’ve seen it done and was just interested in your take. I’ve seen it done by dropping two sides right over a table saw’s blade right under where the two sides butt which seems dangerous to me or people using a router bit but having to deal with the circumference issues at the corners. Also seen what appears to be the plug method you used. Still trying to find the sweet spot of safety, time, and simplicity for doing it myself.
Two of my favorite channels. Thank you guys for sharing your talents. Keep it up..
What is a flag display case?
Flag displays are usually made to honor a service member, military, police, fire, etc.
Tyler;
That’s the story I’m interested in. Who was this made for and what story can you share?
Jay;
I think you did great performing QA on the snacks.
Thank you
A viewer of my channel hooked me up with the opportunity to get this flown flag after he saw my DIY Flag pole video. We had it flown on a B-52 bomber mission in honor of all those who serve(d) to protect our country.
Hey Jay and Tyler – If you have problems with brass screws breaking off first do the install with the same size steel screw, then you can remove them and replace with the brass into the already sized and threaded holes made by the steel screws. This greatly reduces the chance of breakage.
very nice flag box and coin holder. ya’ll did yourselves proud.
by any chance, a story on making the box joint jig?
A Morton,
Jay and I both made this box joint jig, a John Heisz Design. Videos on our channels.
oops – sorry, I did not make myself clear :( – is their a story behind the making of this? Both of you were in the service? Or for a family member?