This is a problem/solution project. My daughter needs a storage shelf to keep some of her belongings off the floor. The solution is to make this shelving unit.
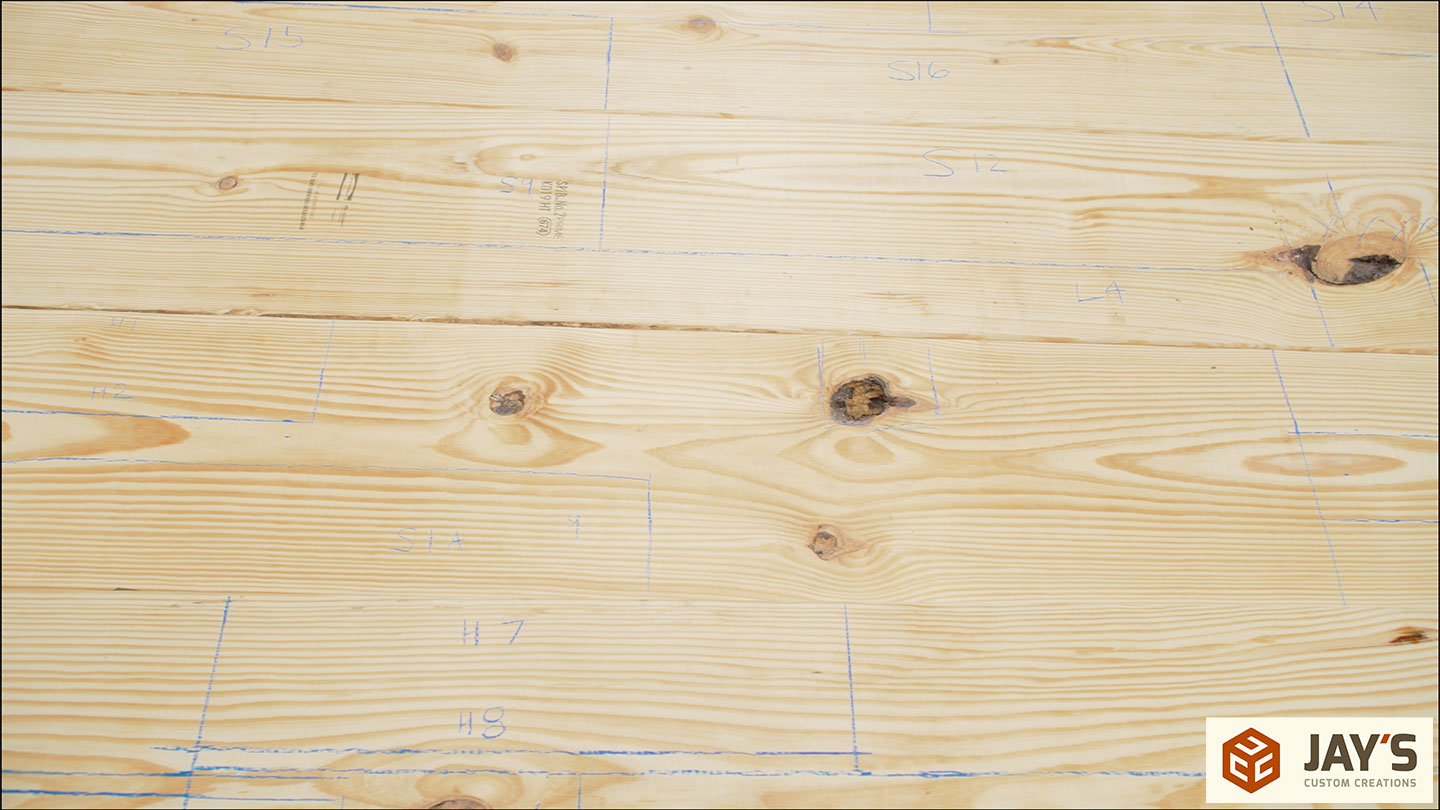
For this build, I’m using box store lumber—southern yellow pine 2x10s. I live in a very humid climate, so the fact that these aren’t kiln-dried to “furniture-grade” specs isn’t a concern. My only concern when using this lumber is the knots and the pith. The pith is the center of the tree and is very unstable. Not only that, it just doesn’t look good. And speaking of not looking good, I’ll also avoid the knots for that reason.
Lumber selection and determining where each part comes from in each piece of wood is one of my favorite aspects of woodworking. It’s the first time in a project where you can start to visualize how the project will turn out. The rift-sawn areas are perfect for legs and outside corners. The quartersawn areas are perfect for interior sections of the panels to reduce movement laterally.
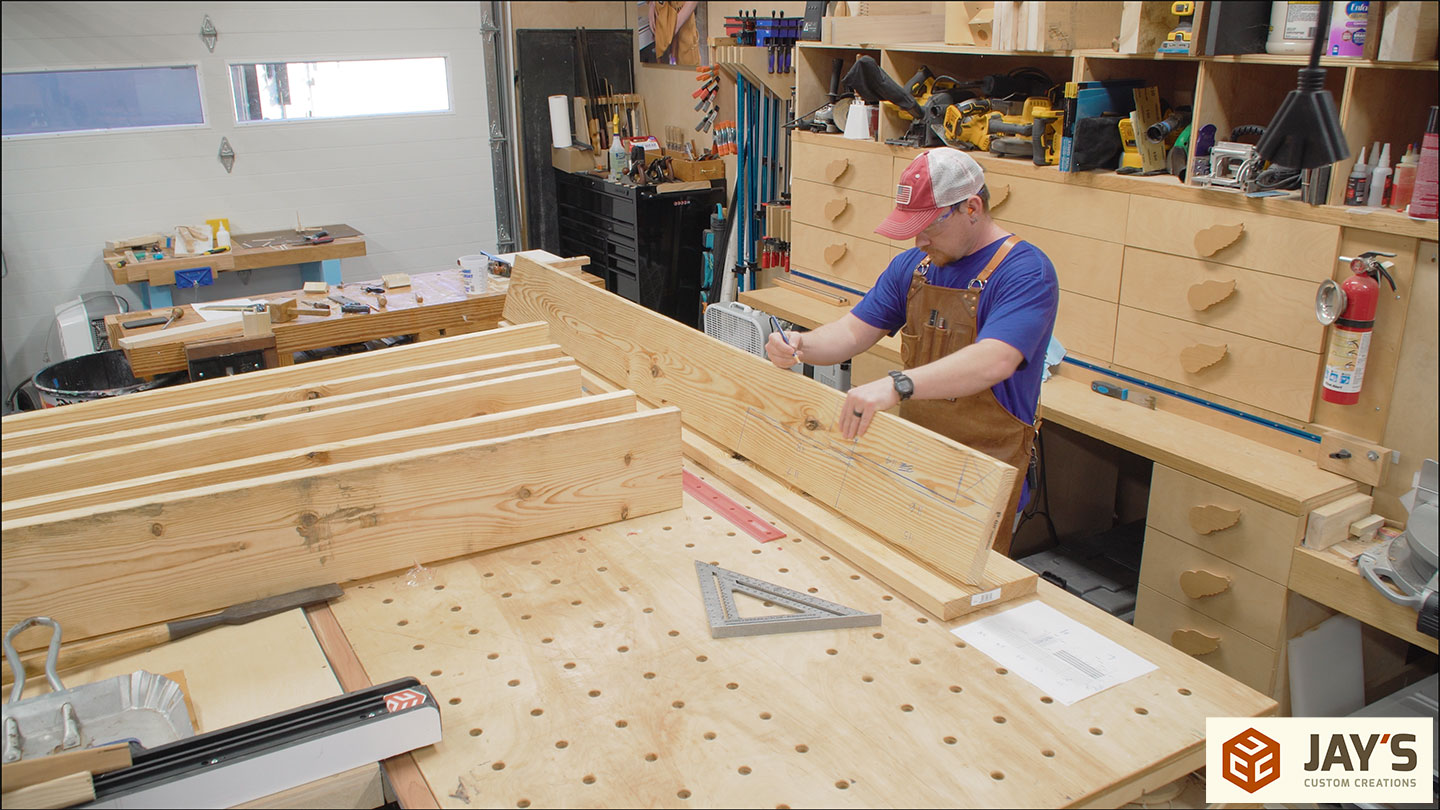
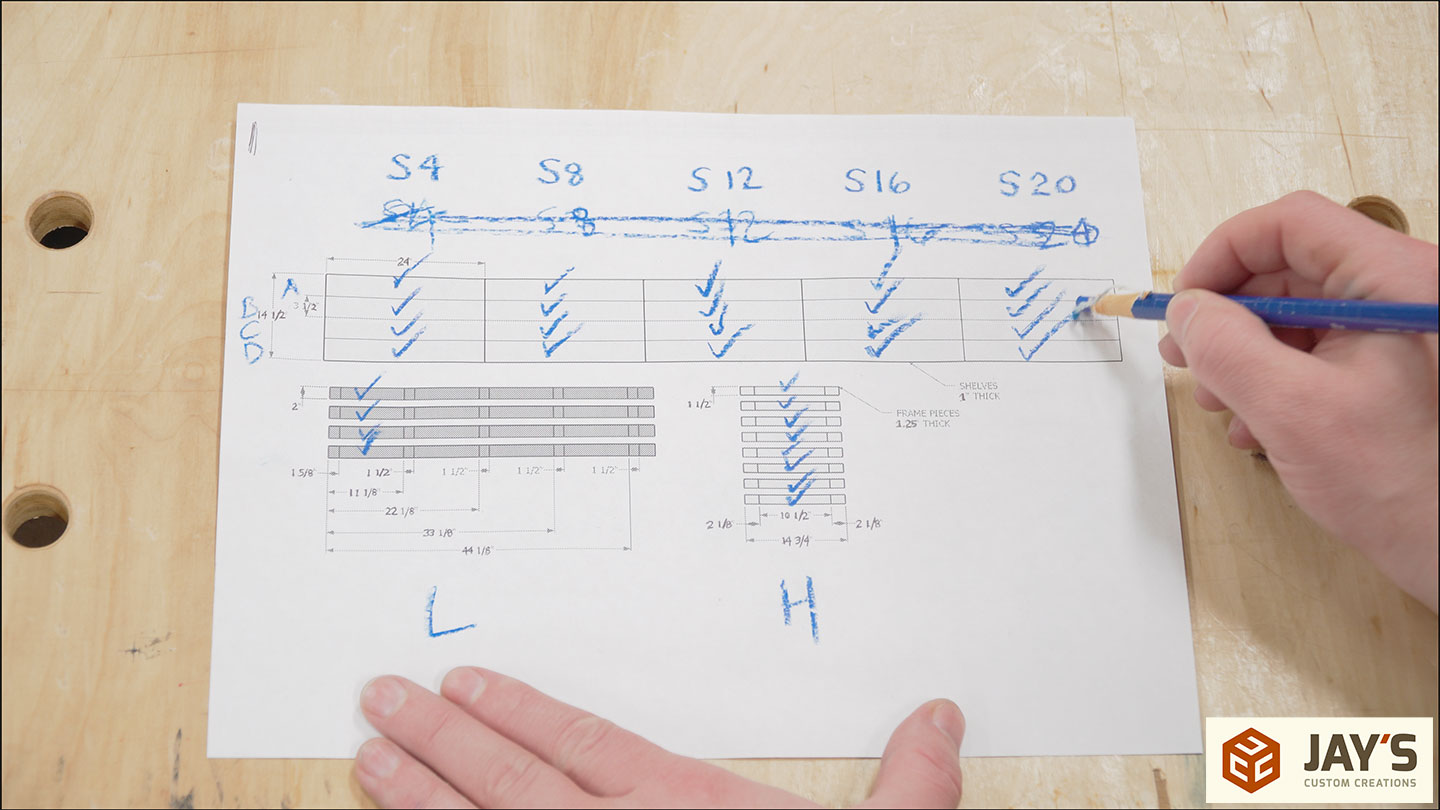
Most all of my projects start out in SketchUp. Therefore, it’s easy to put together a cutlist to help me make sure every piece is accounted for.
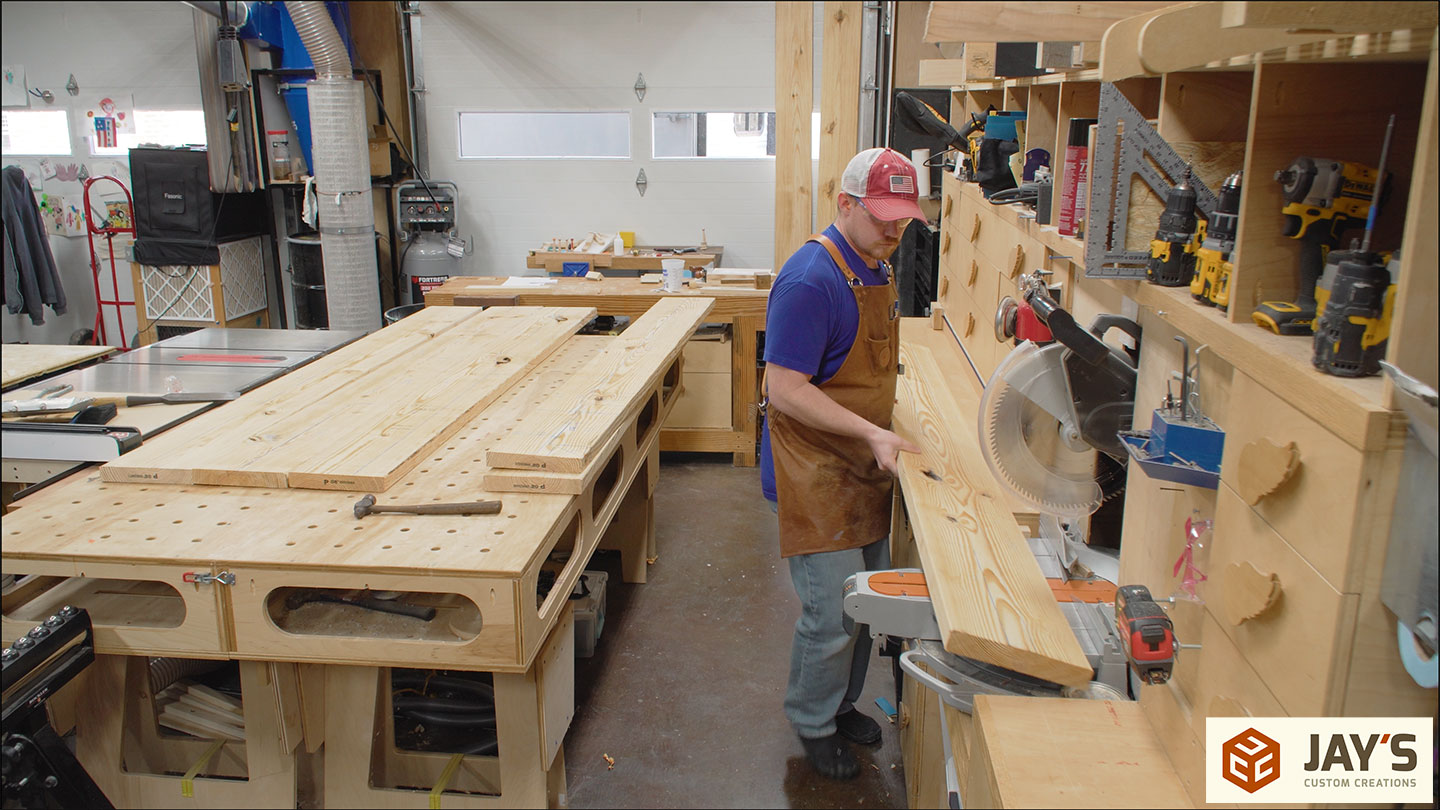
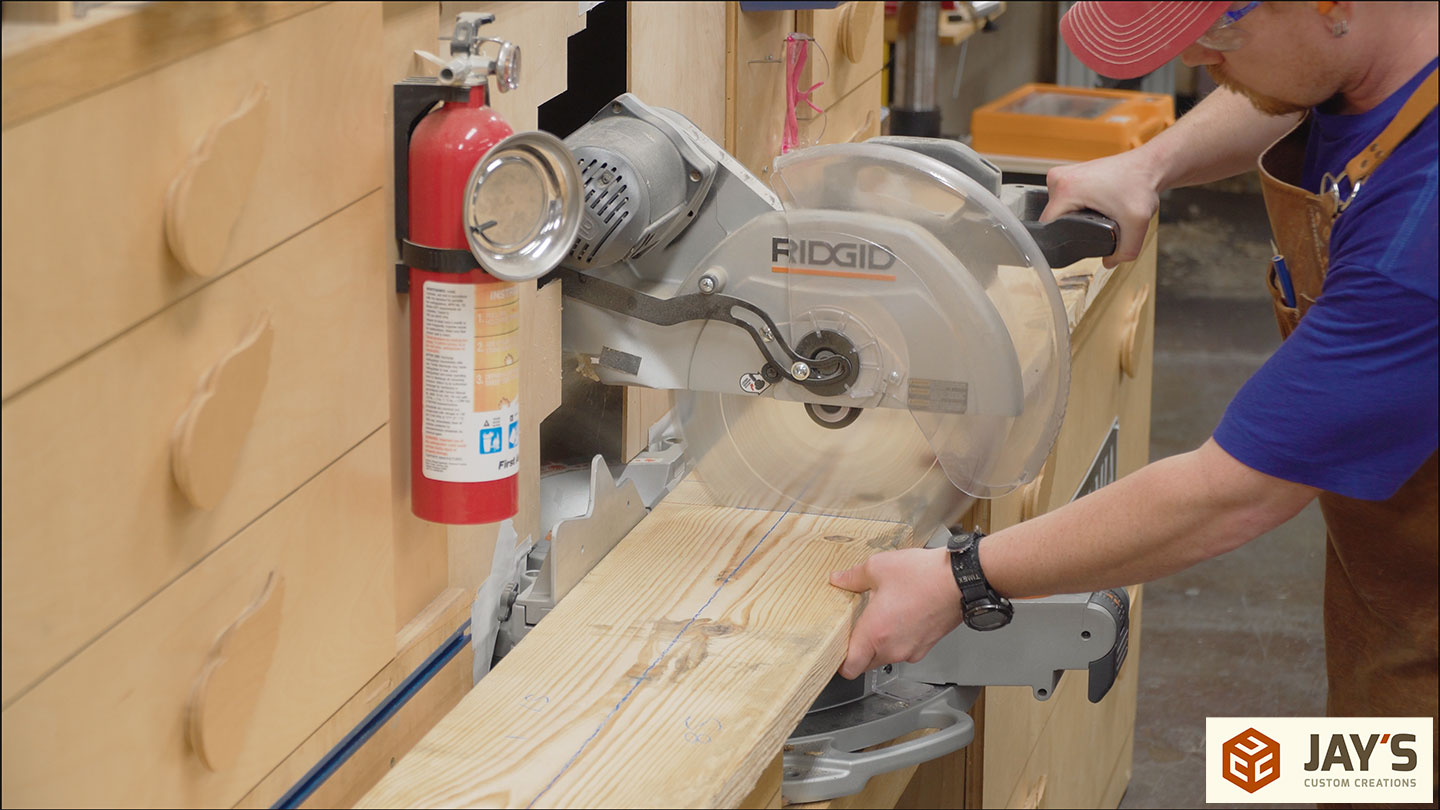
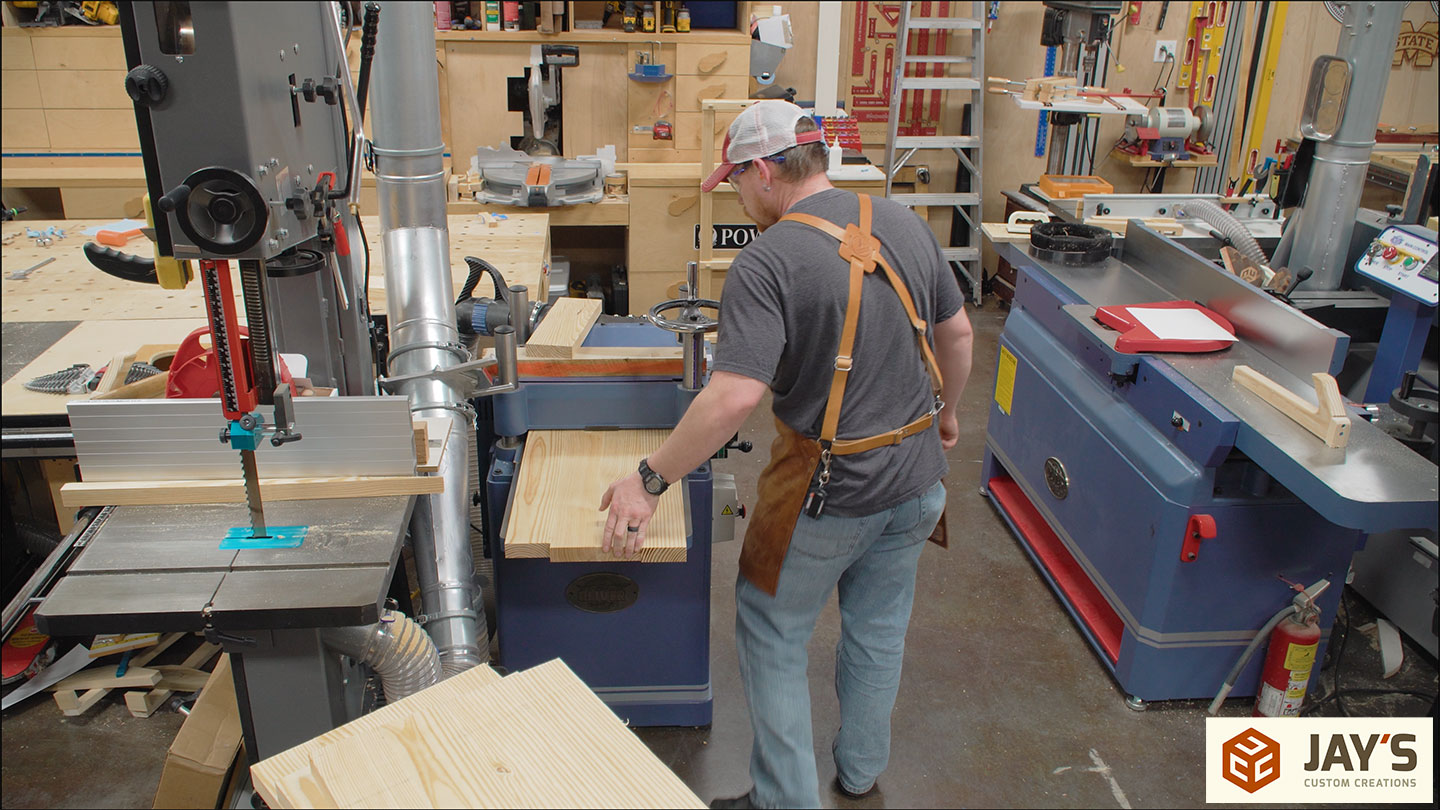
First up, like always, the milling process begins at my miter saw station for a rough crosscut.
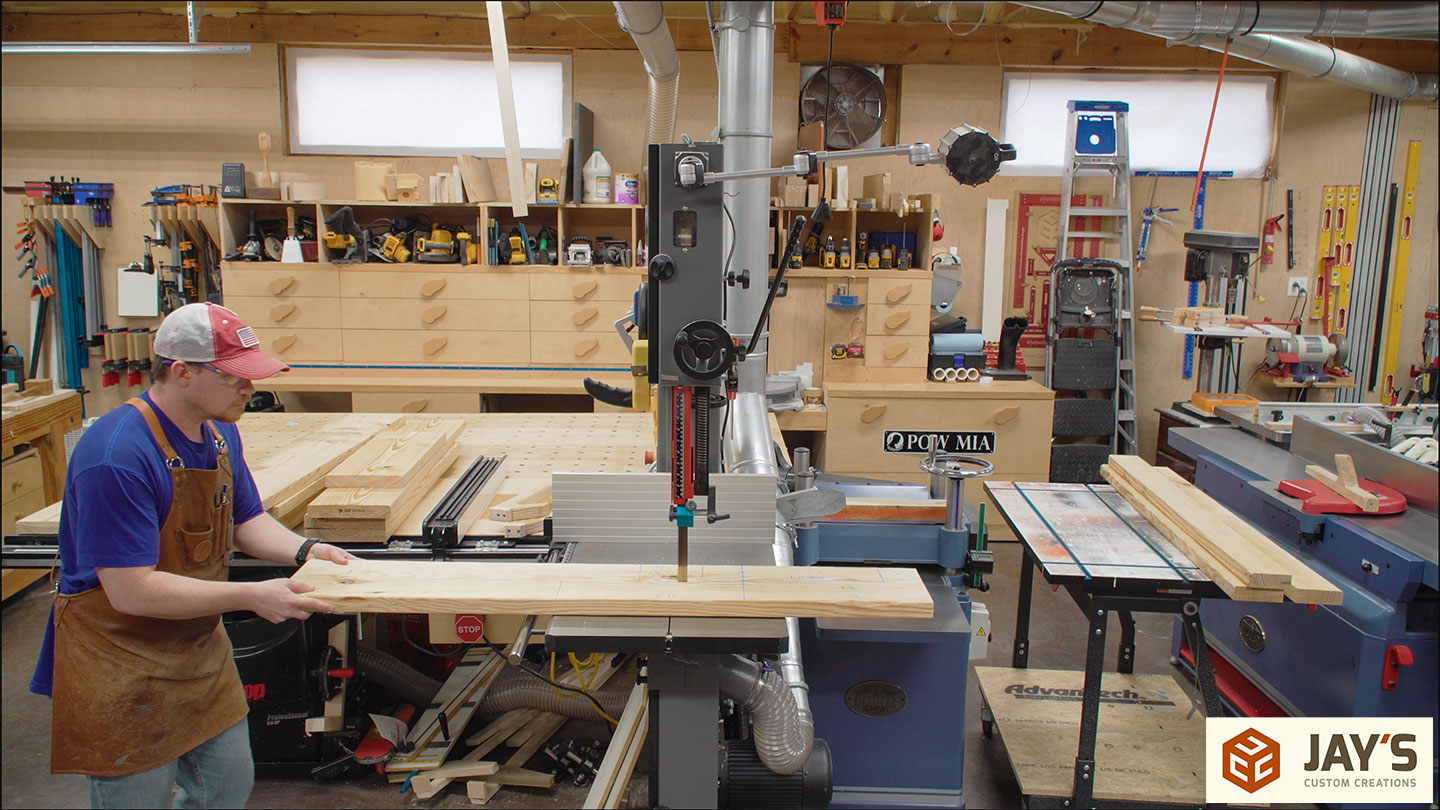
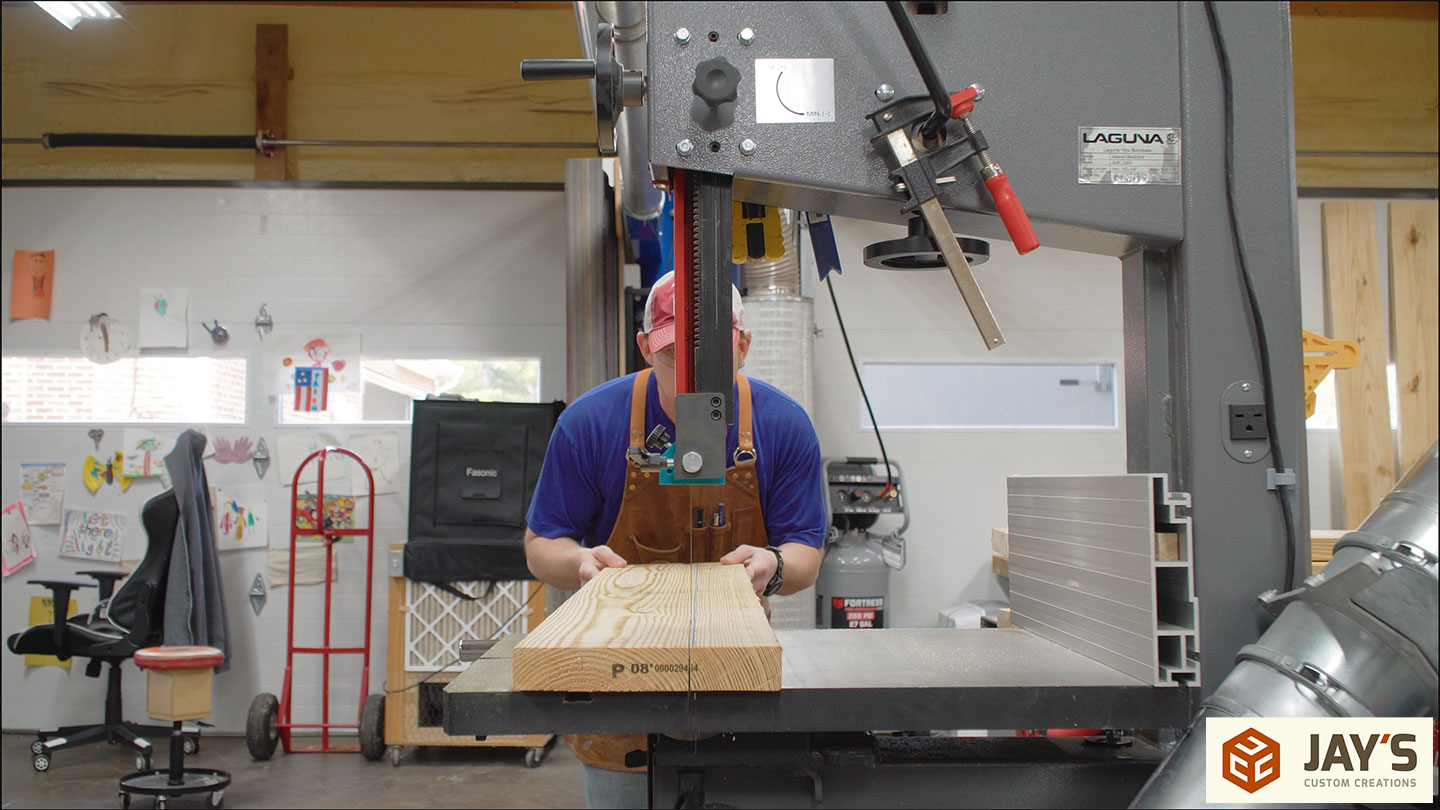
Then, any rough ripping is done at the bandsaw.
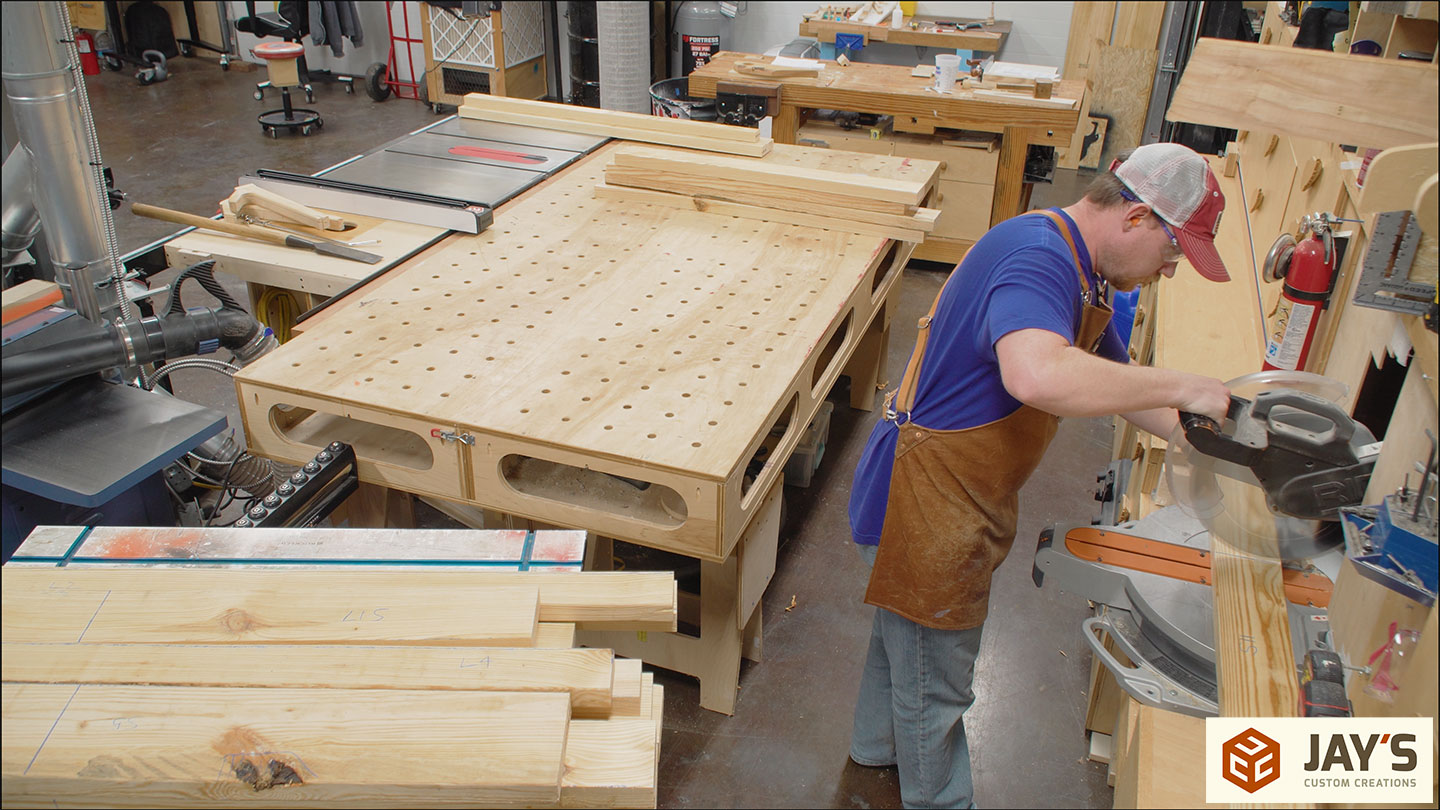
Sometimes a trip back to the miter saw for more crosscutting is necessary.
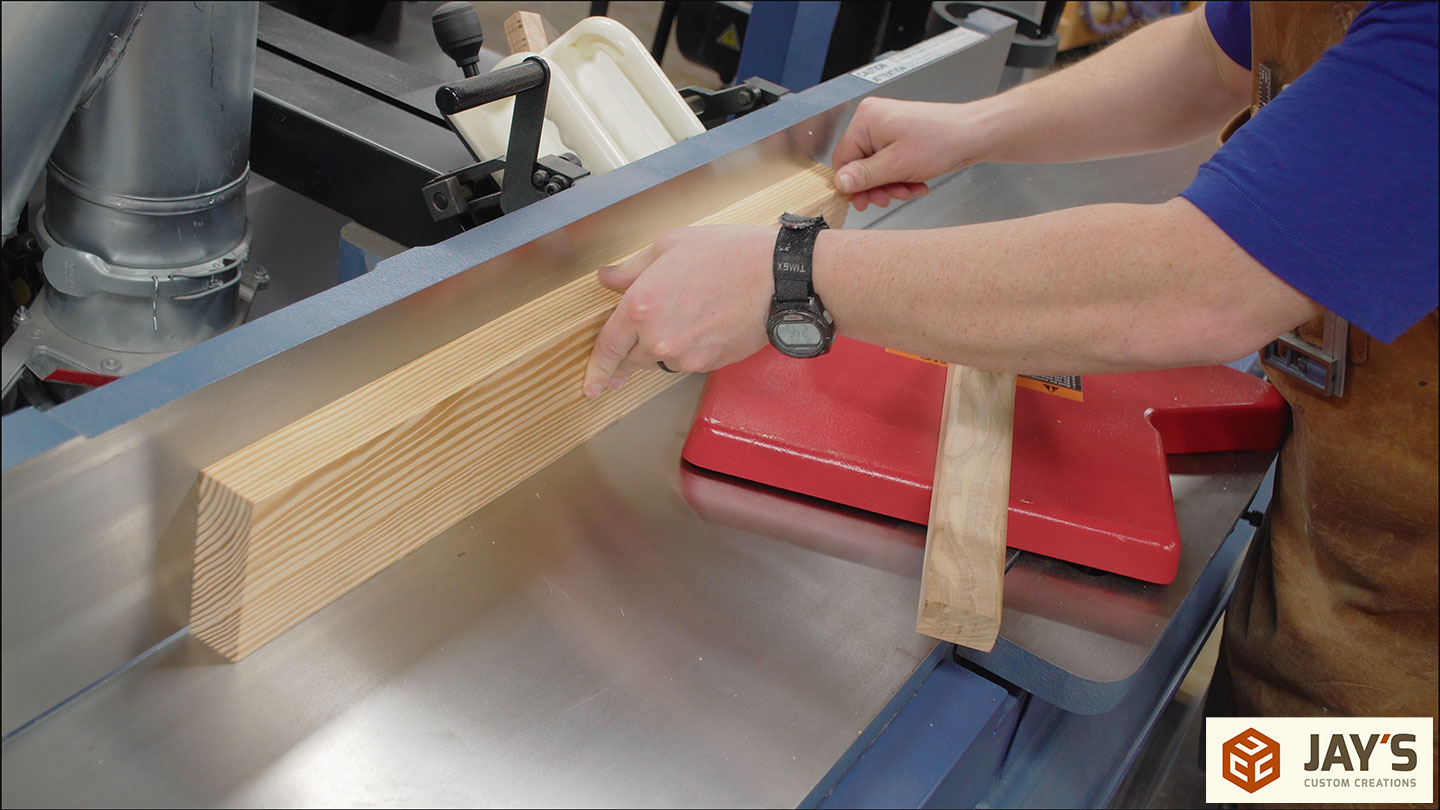
Now that the pieces are individualized they can all be jointed on one wide face and one narrow face. Typically, it’s not a good idea to joint the narrow face just yet, as sometimes it may force an uphill cut. However, all of this pine is pretty straight, and there isn’t any crazy grain to worry about.
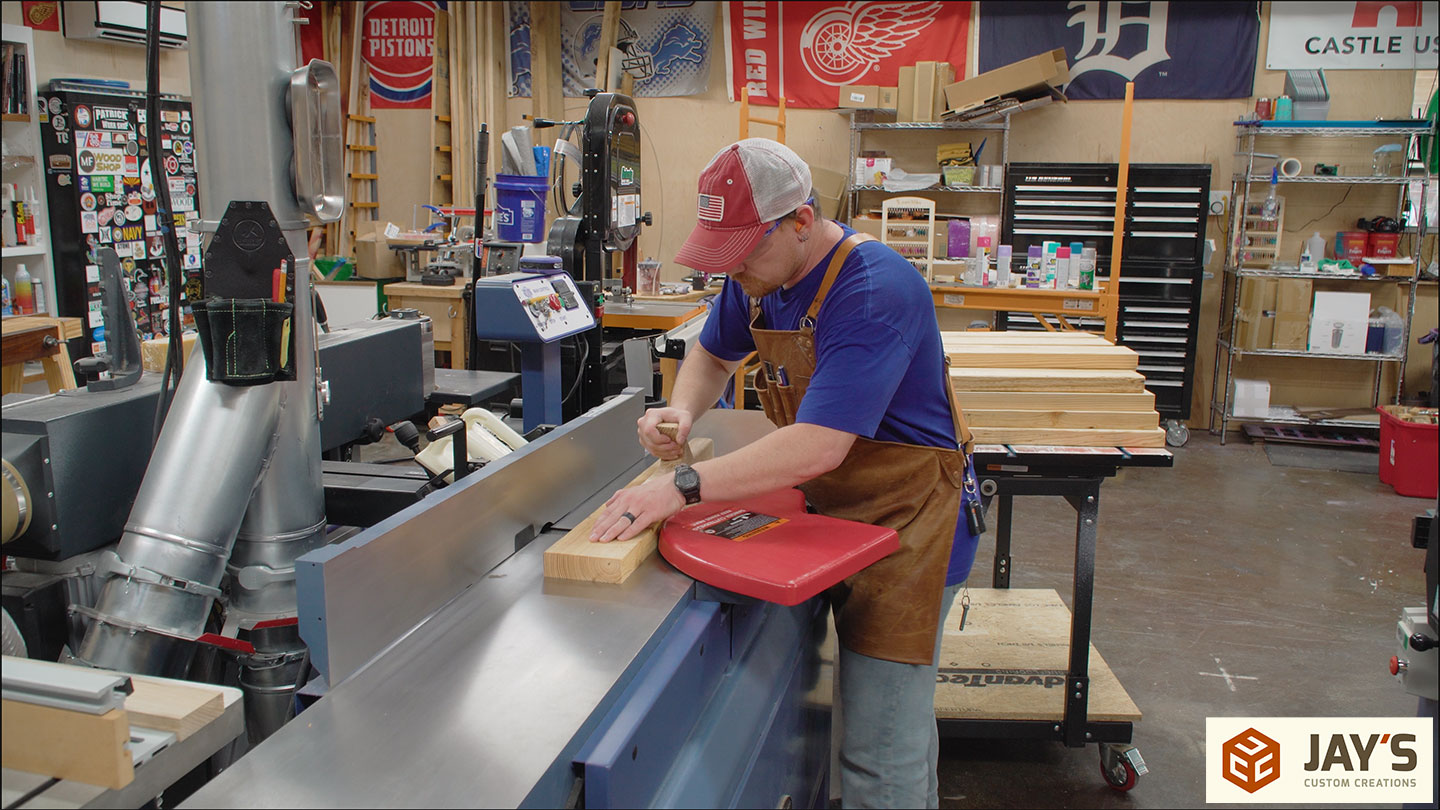
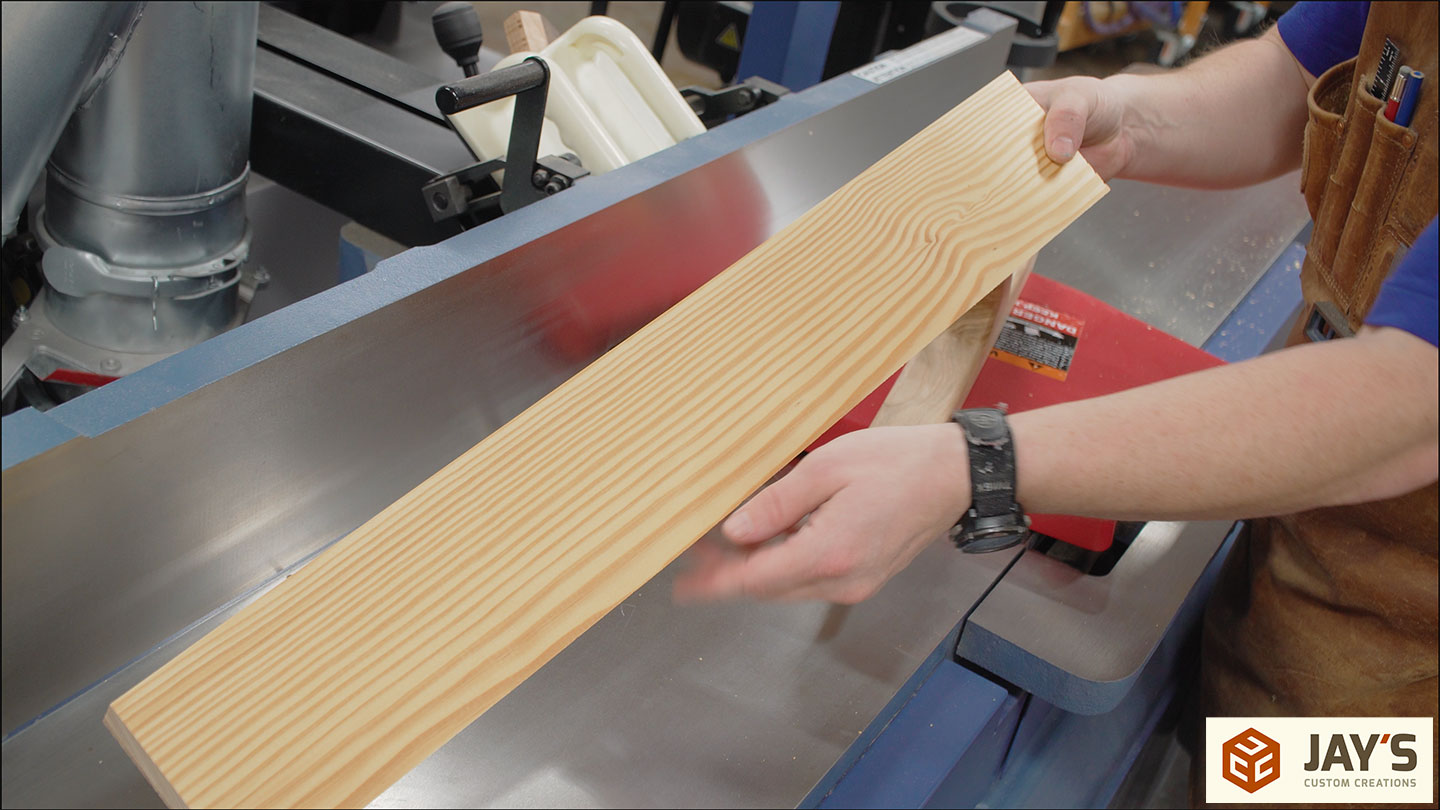
Naturally, after the jointer is the planer.
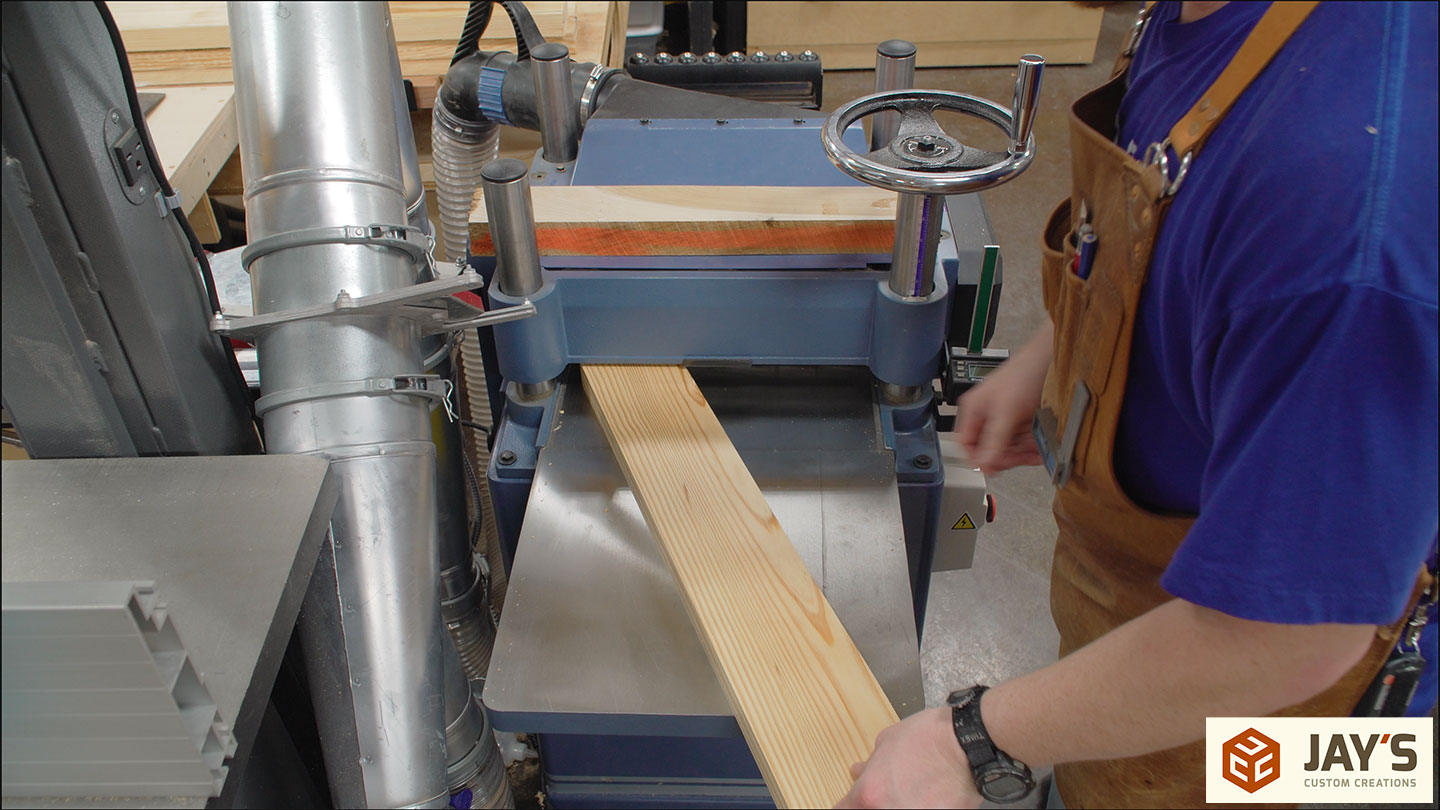
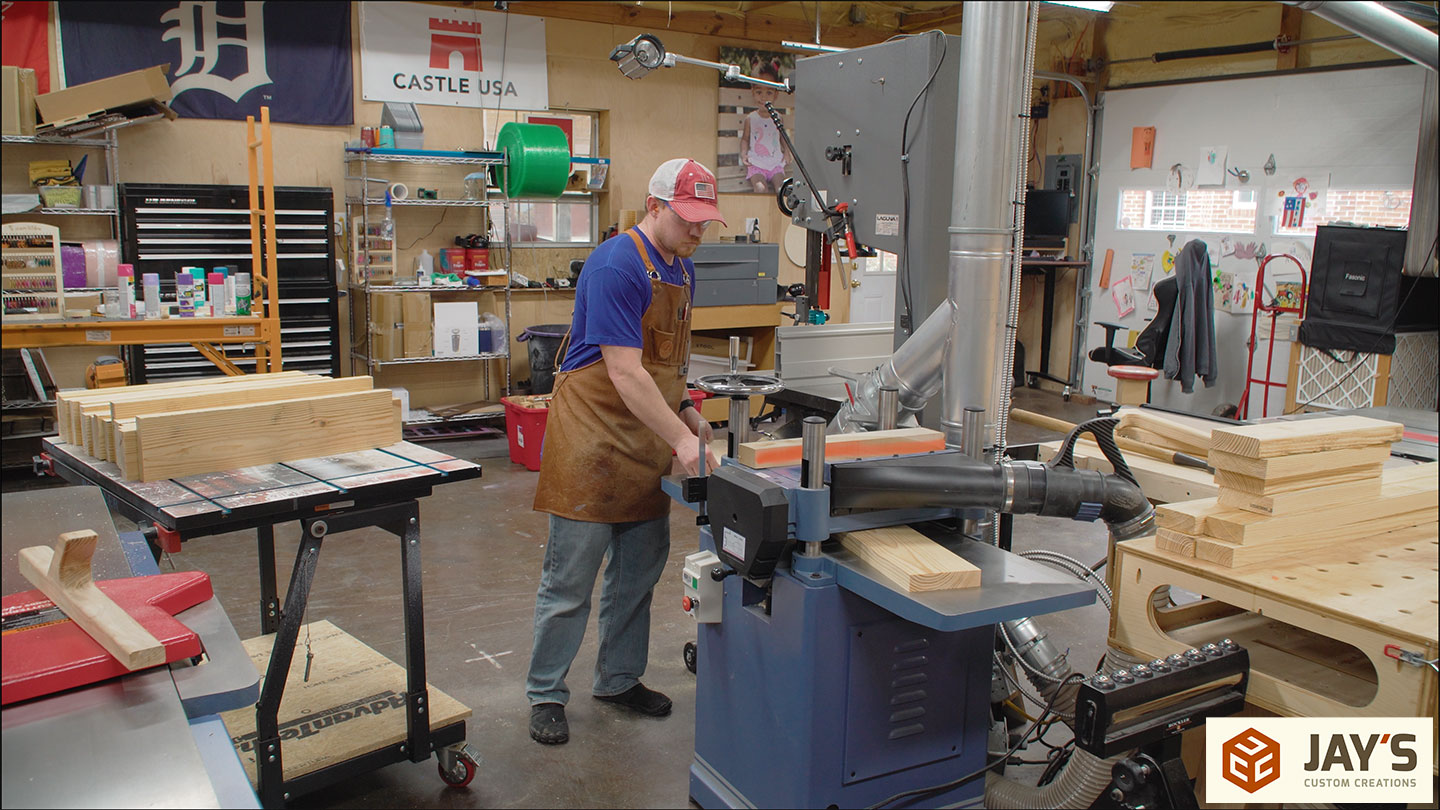
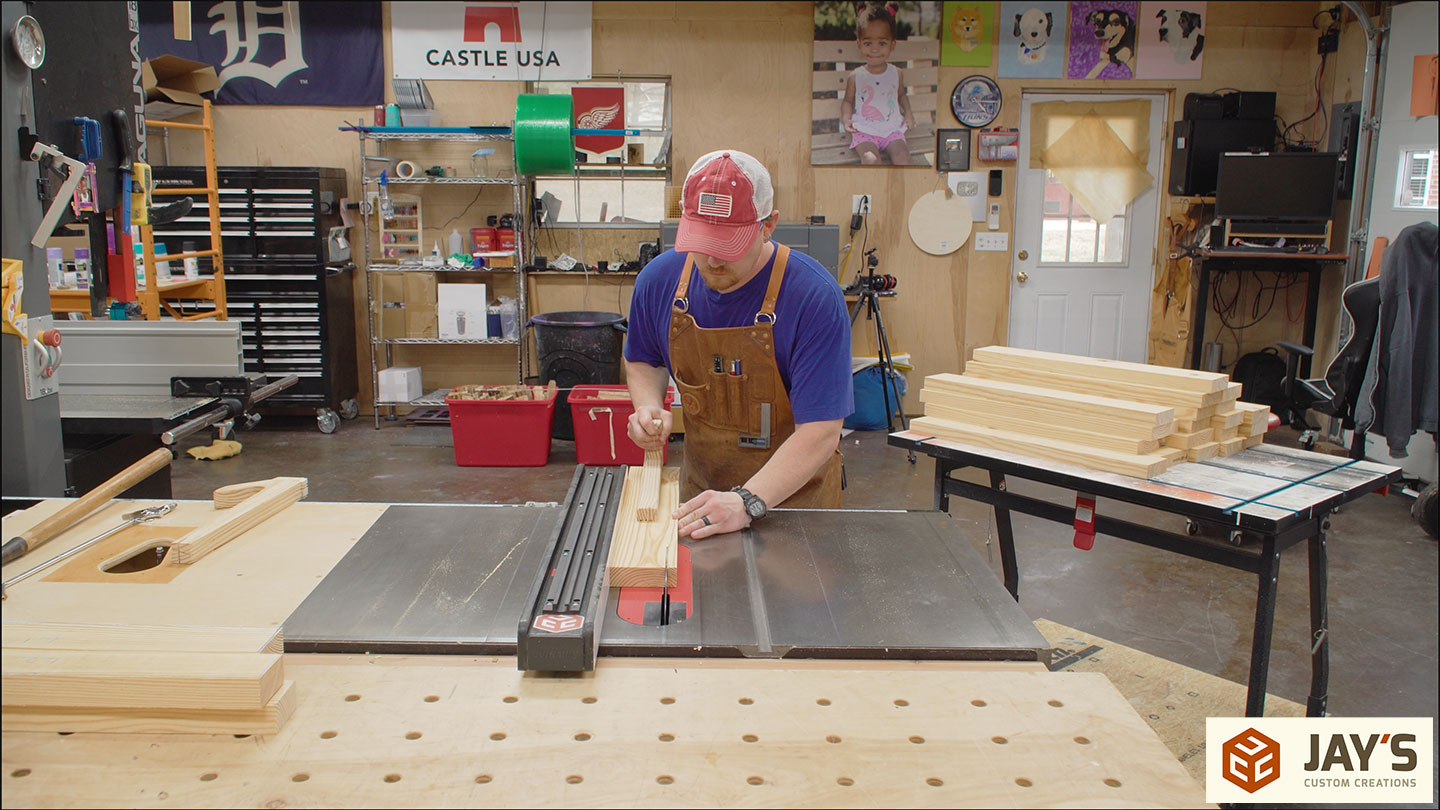
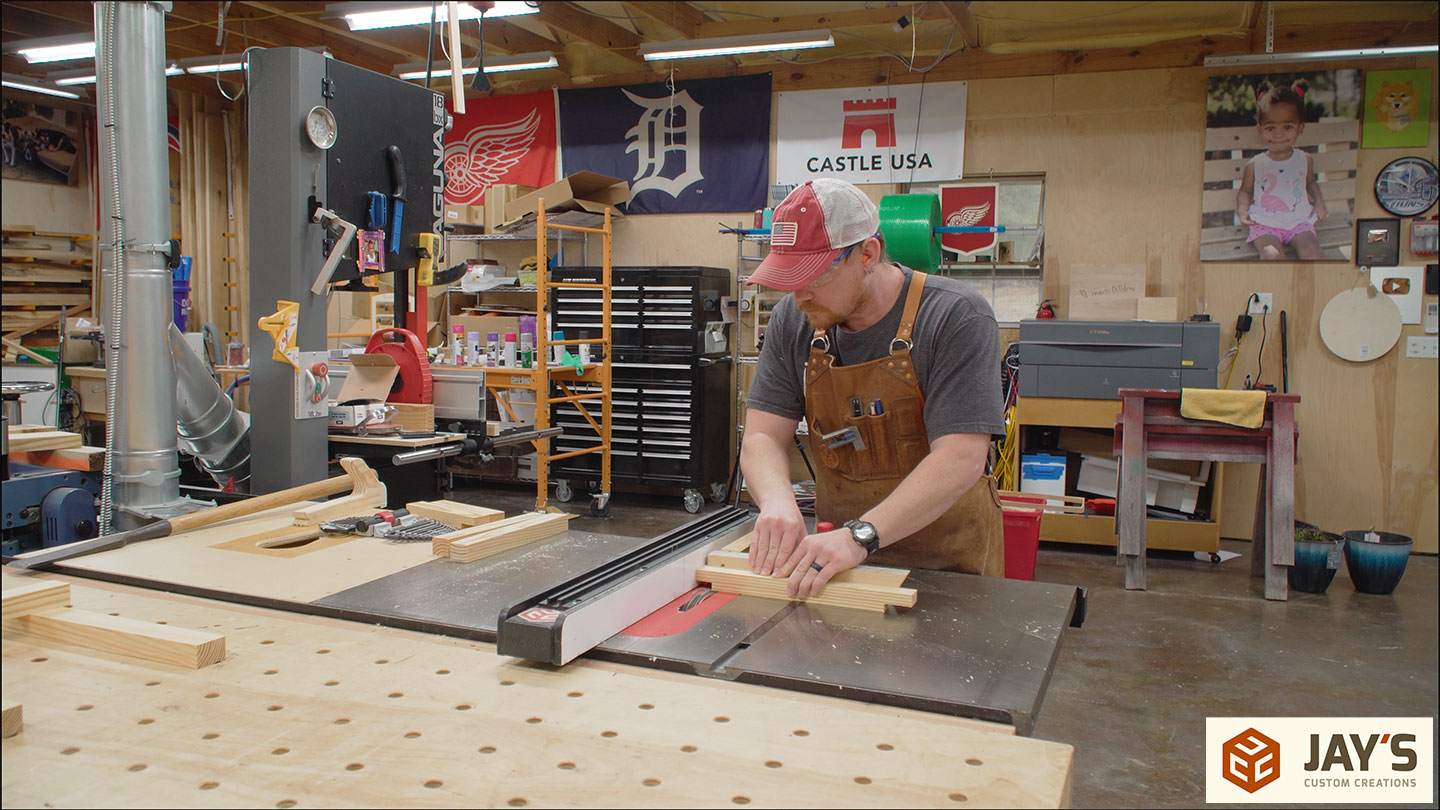
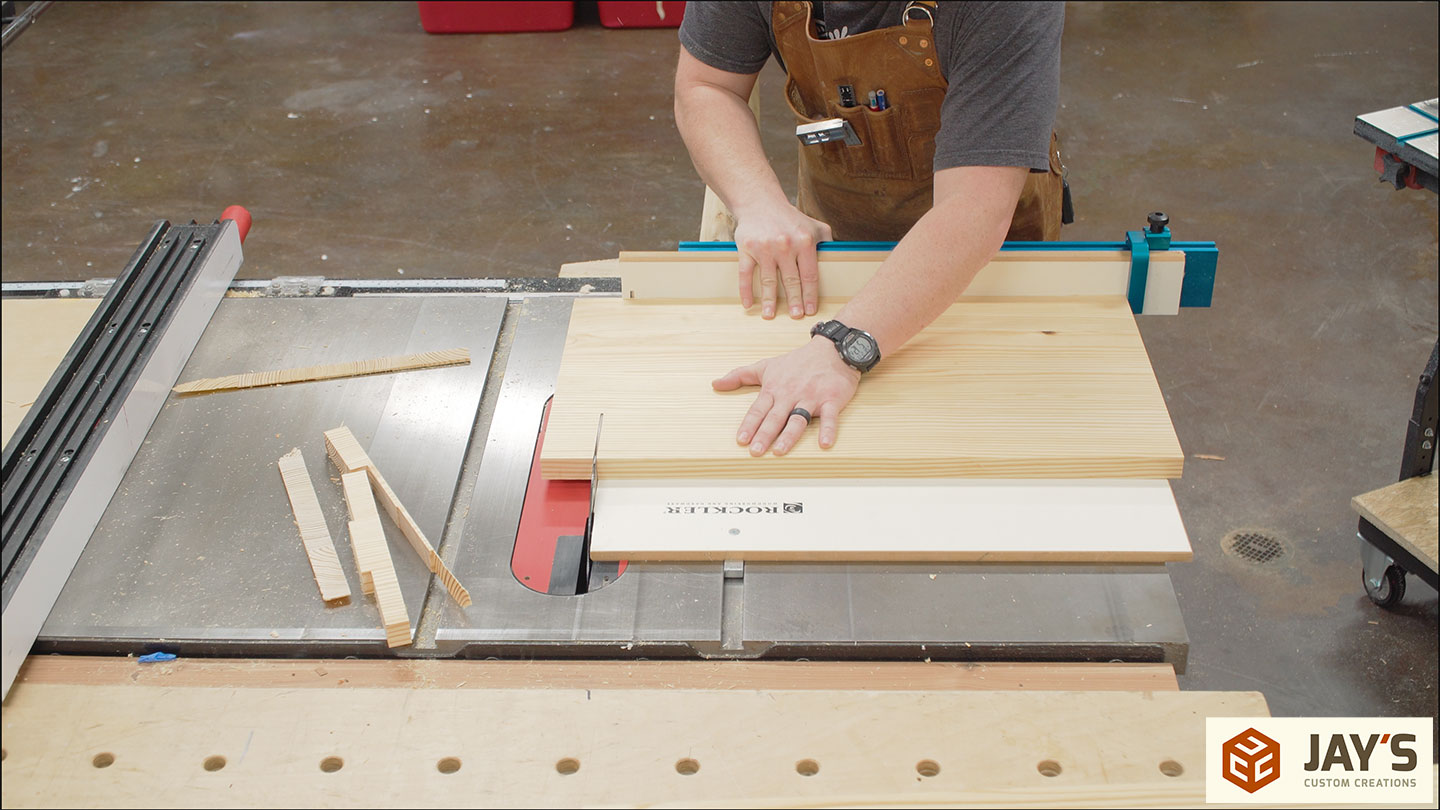
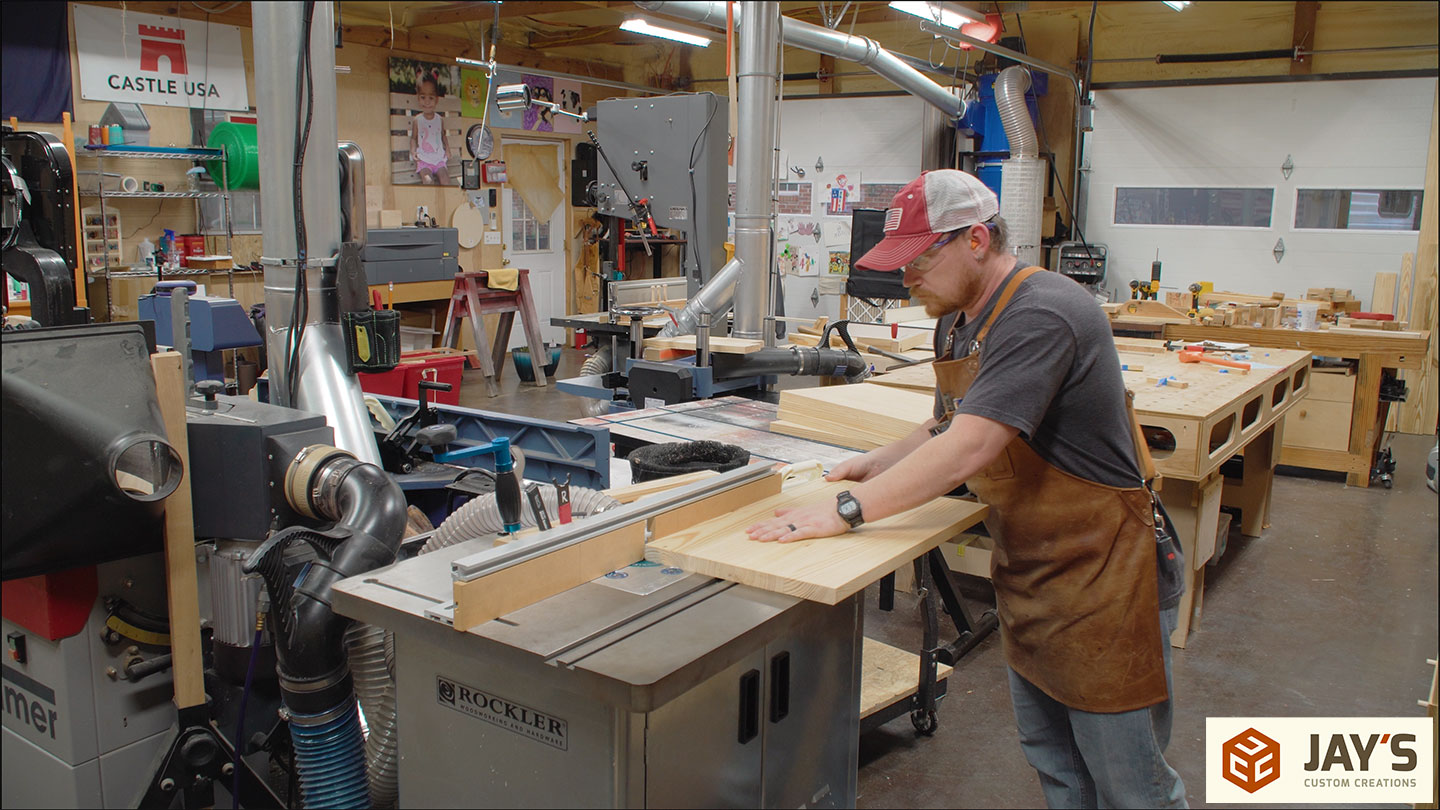
And finally, the rough milling concludes at the table saw to rip all of the pieces to final width.
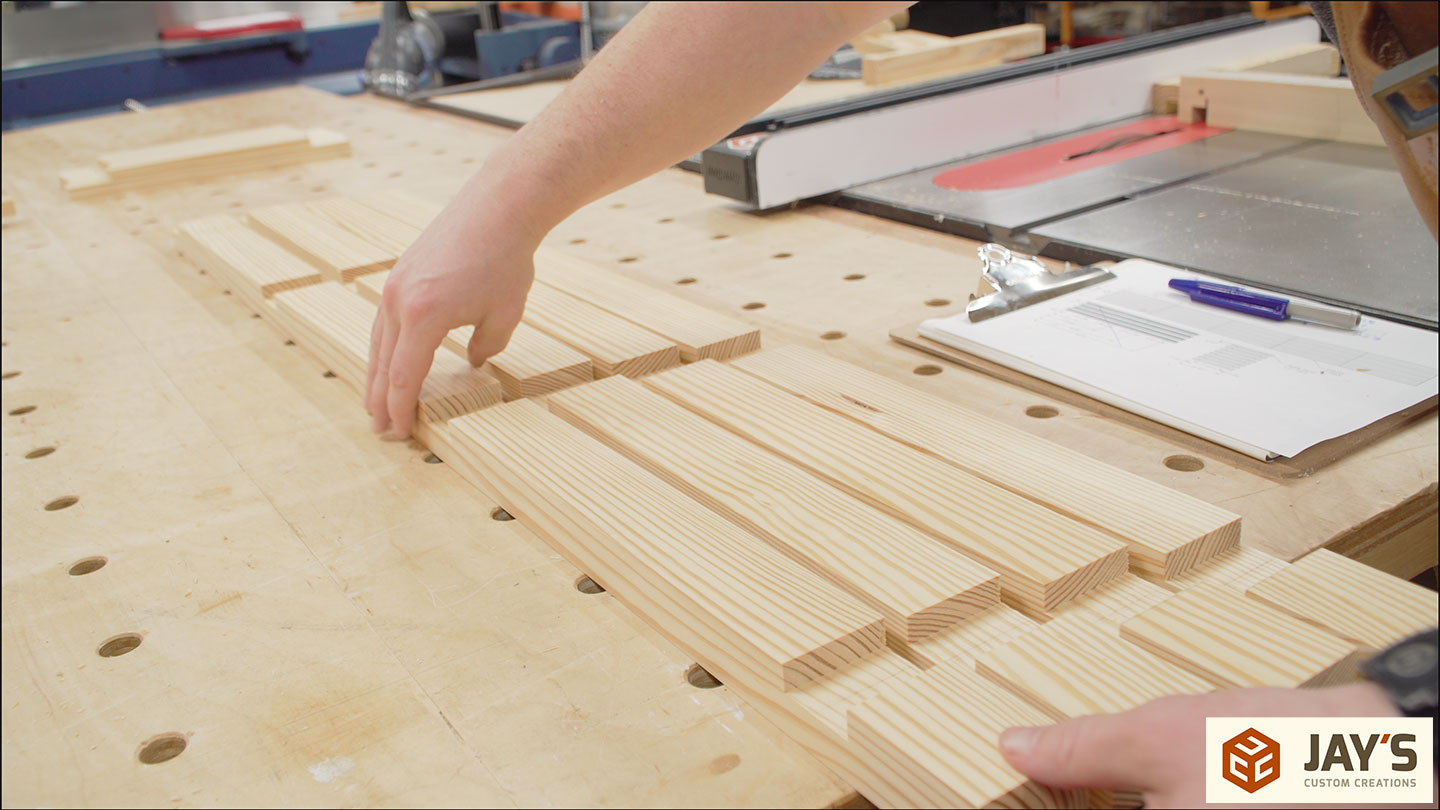
If you take your time to get your pieces out of the best sections of the material, it makes sense to take the time to position every board in the glued-up panels so they will look great as well. I ensured each panel had a rift-sawn piece in the front and then evenly spread out all of the quartersawn pieces in the middle, using whatever was left over for the back piece.
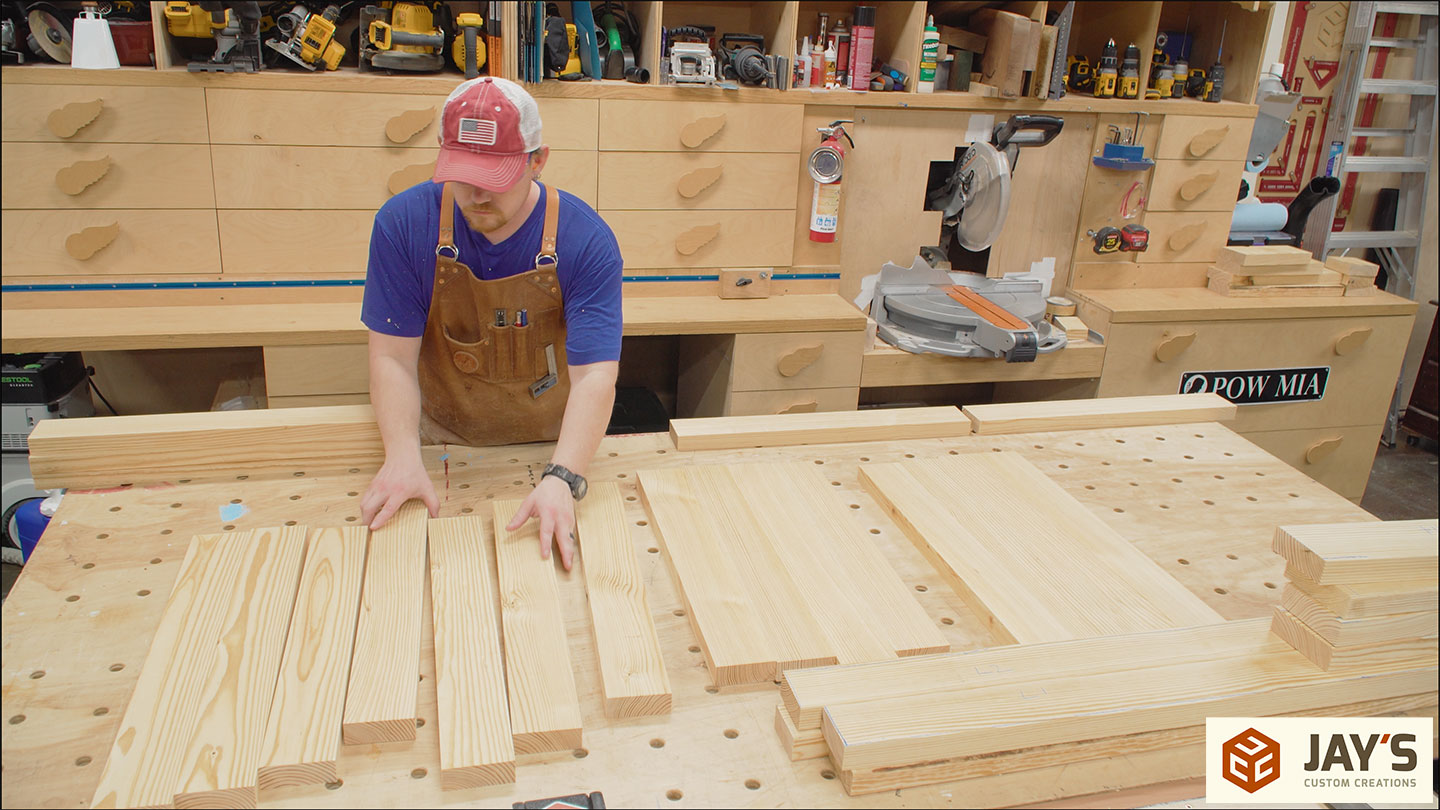
The result is panel blanks that are the most visually pleasing.

Of course, do this right before glue up so you don’t get them out of order.
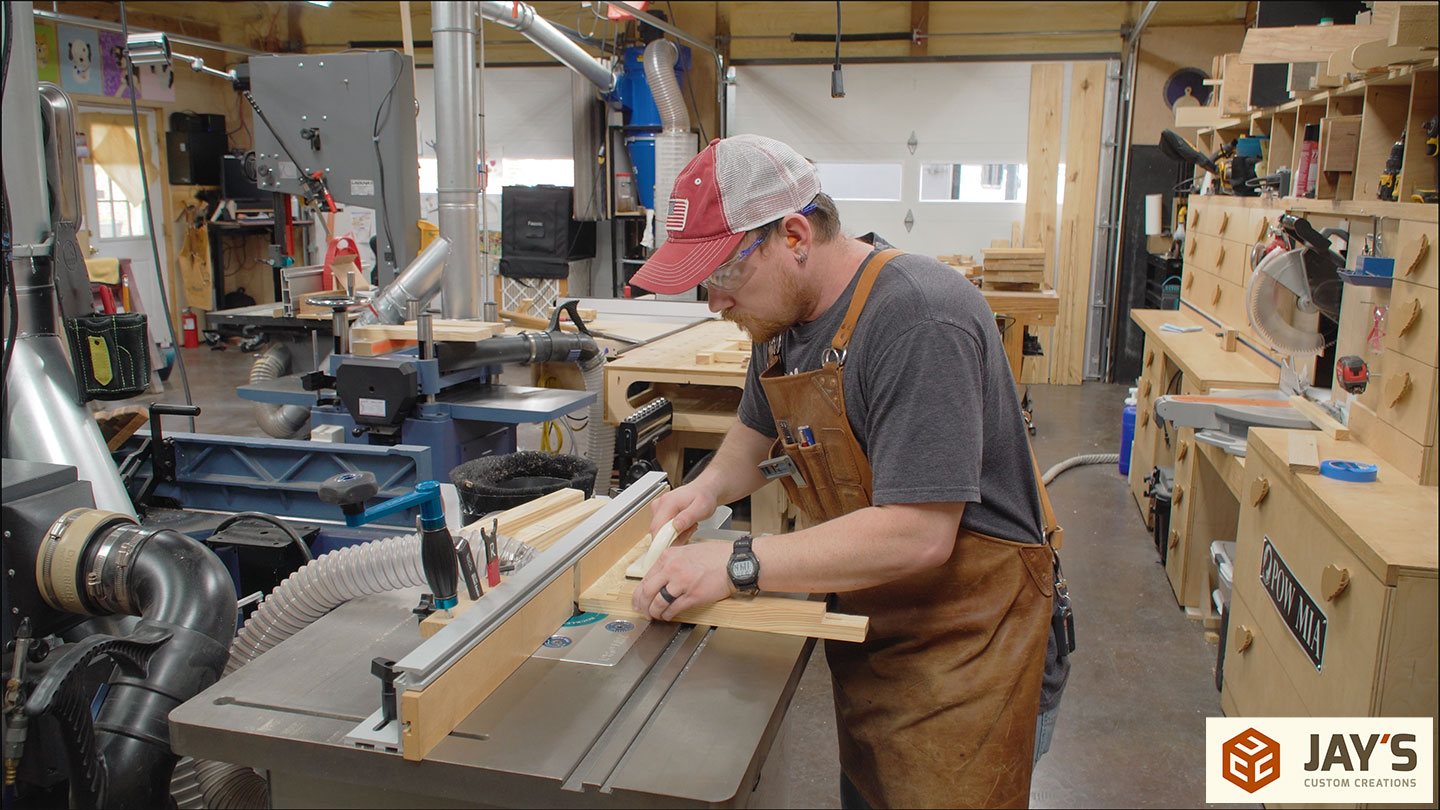
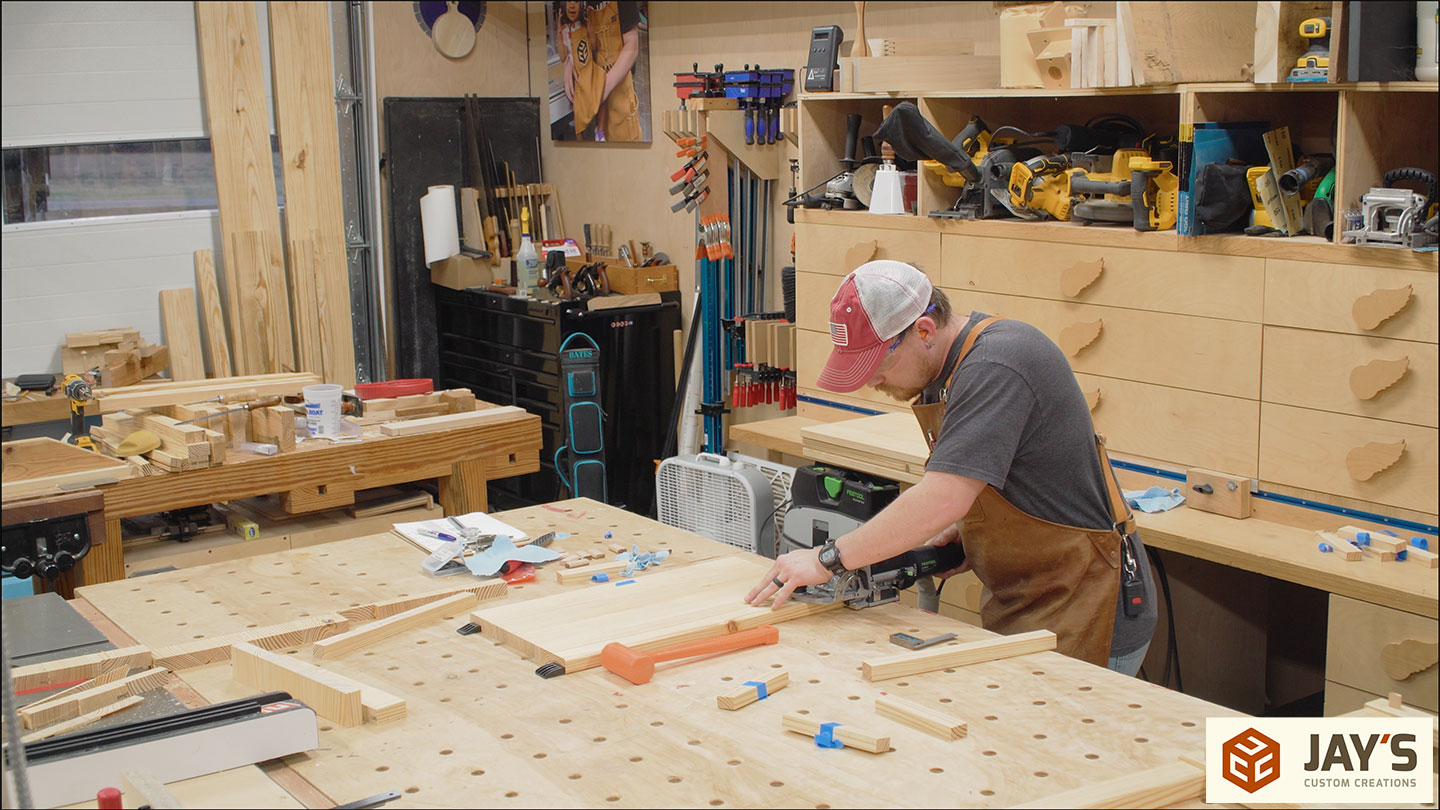
After showing the complete milling process I skipped ahead to mill the frame pieces to their final dimensions.
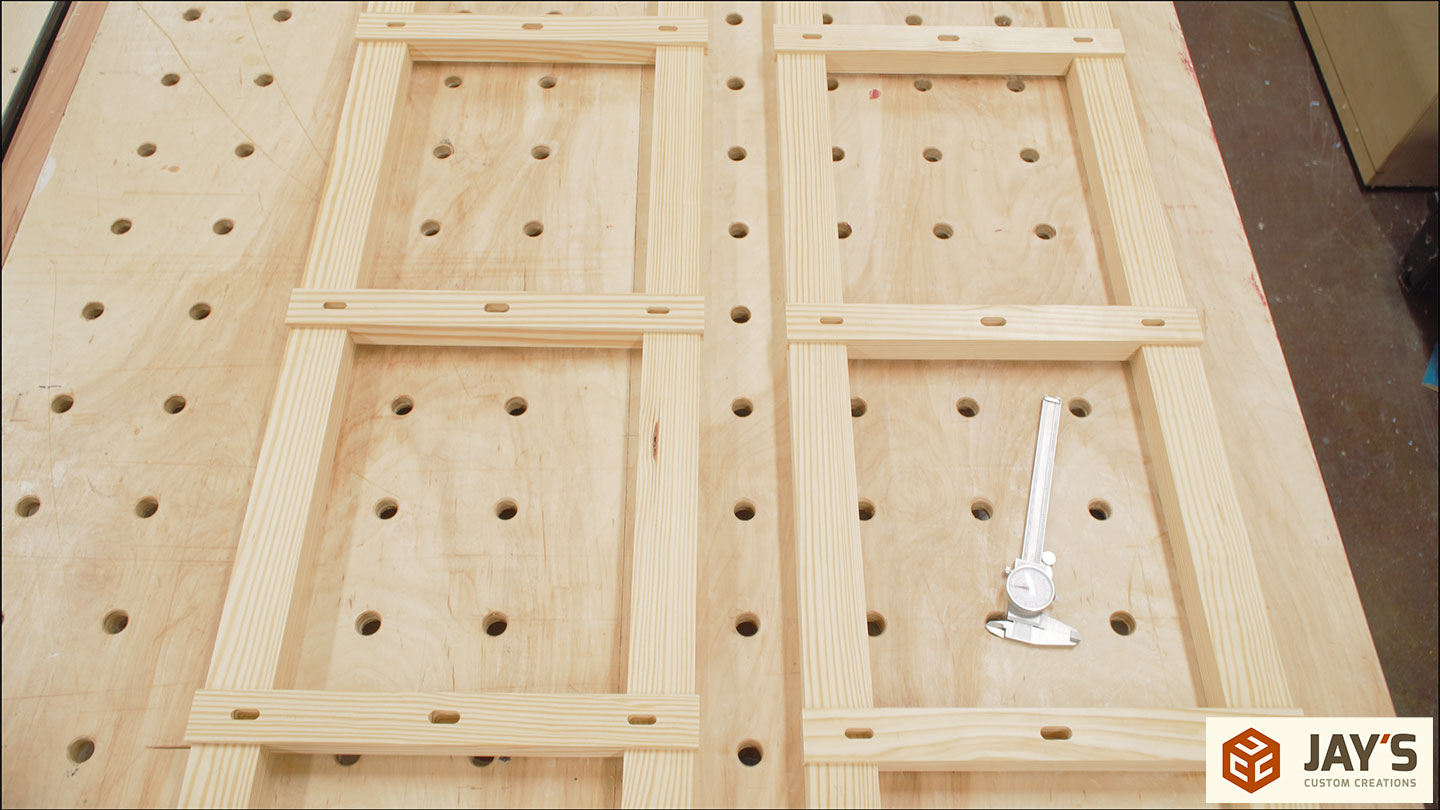
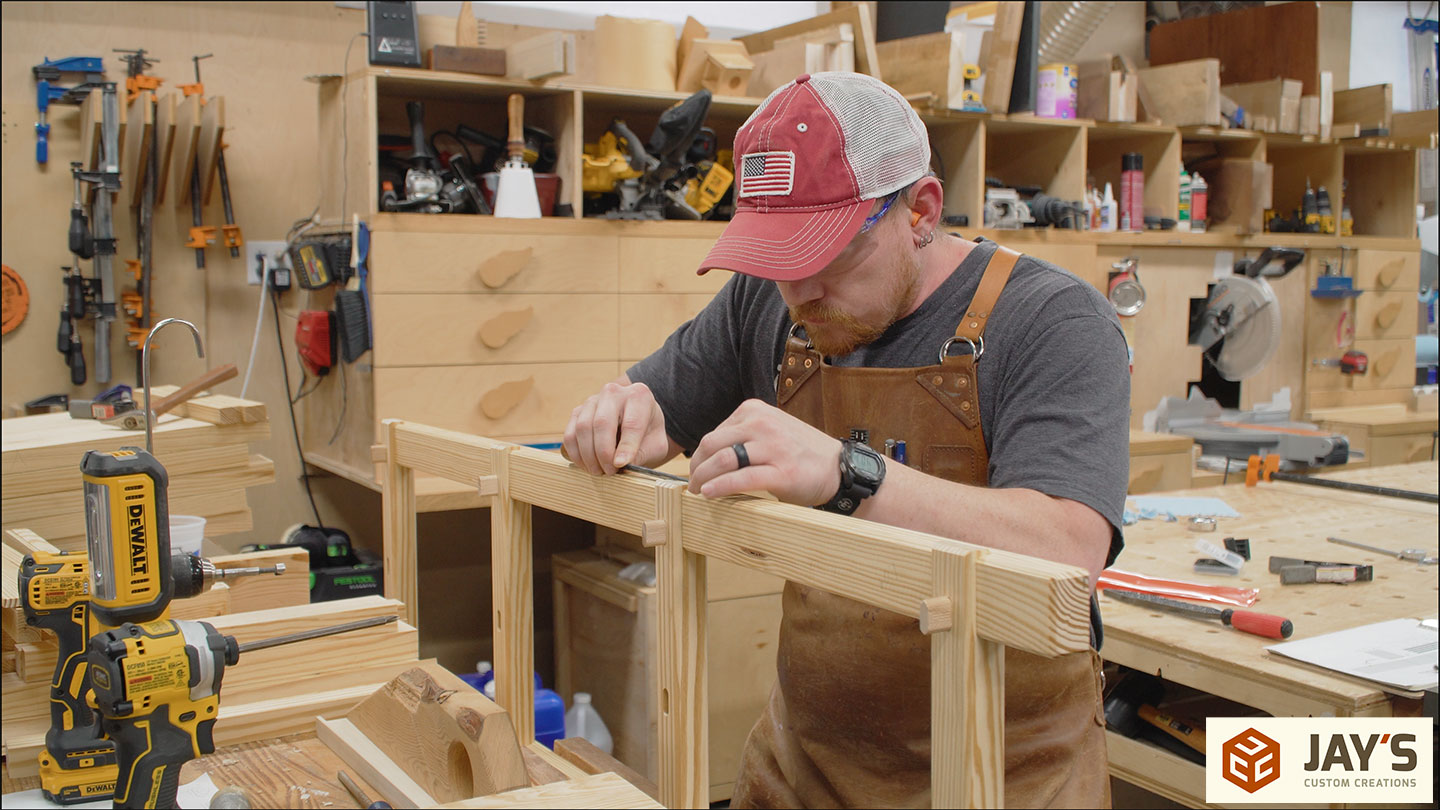
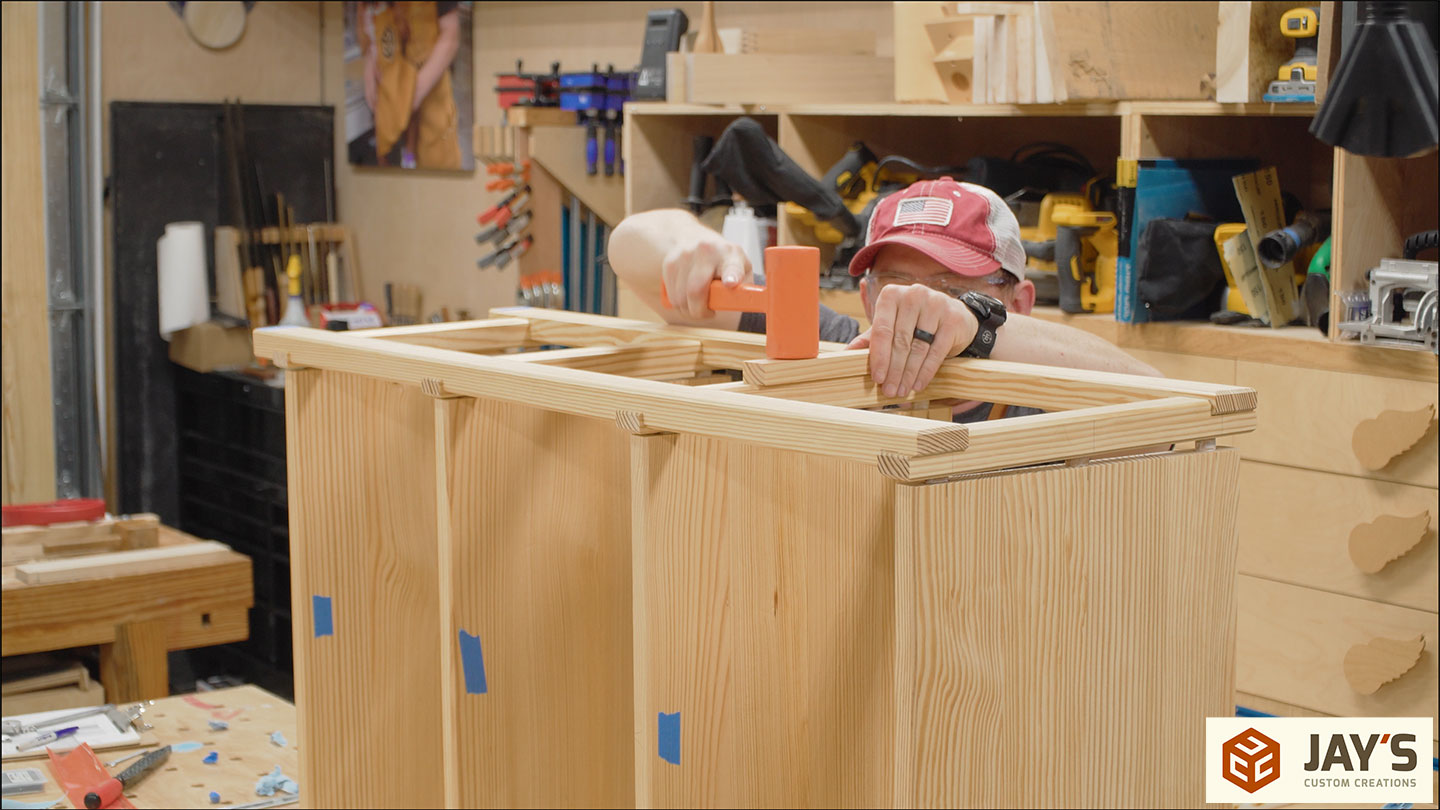
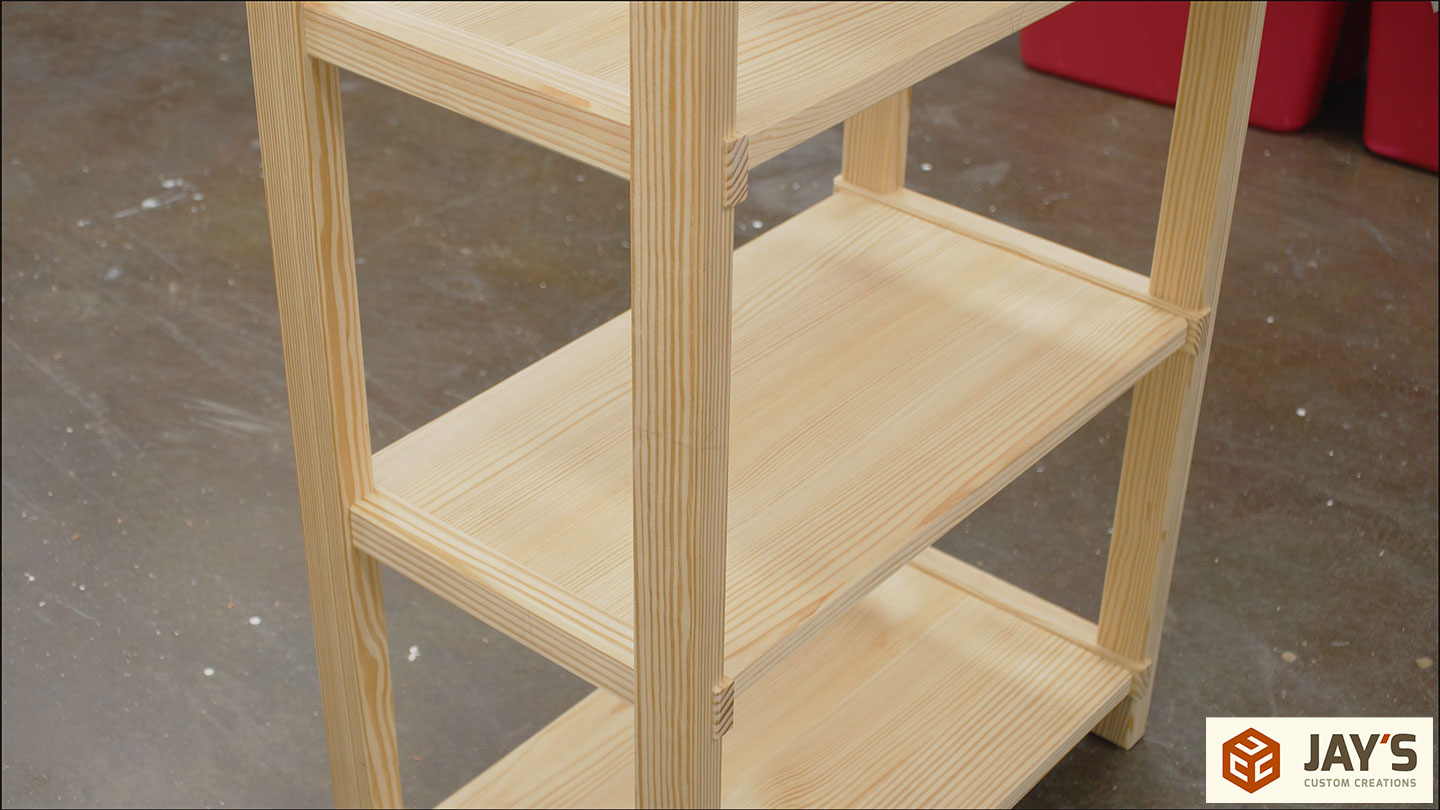
All of the frame joinery will be half laps.
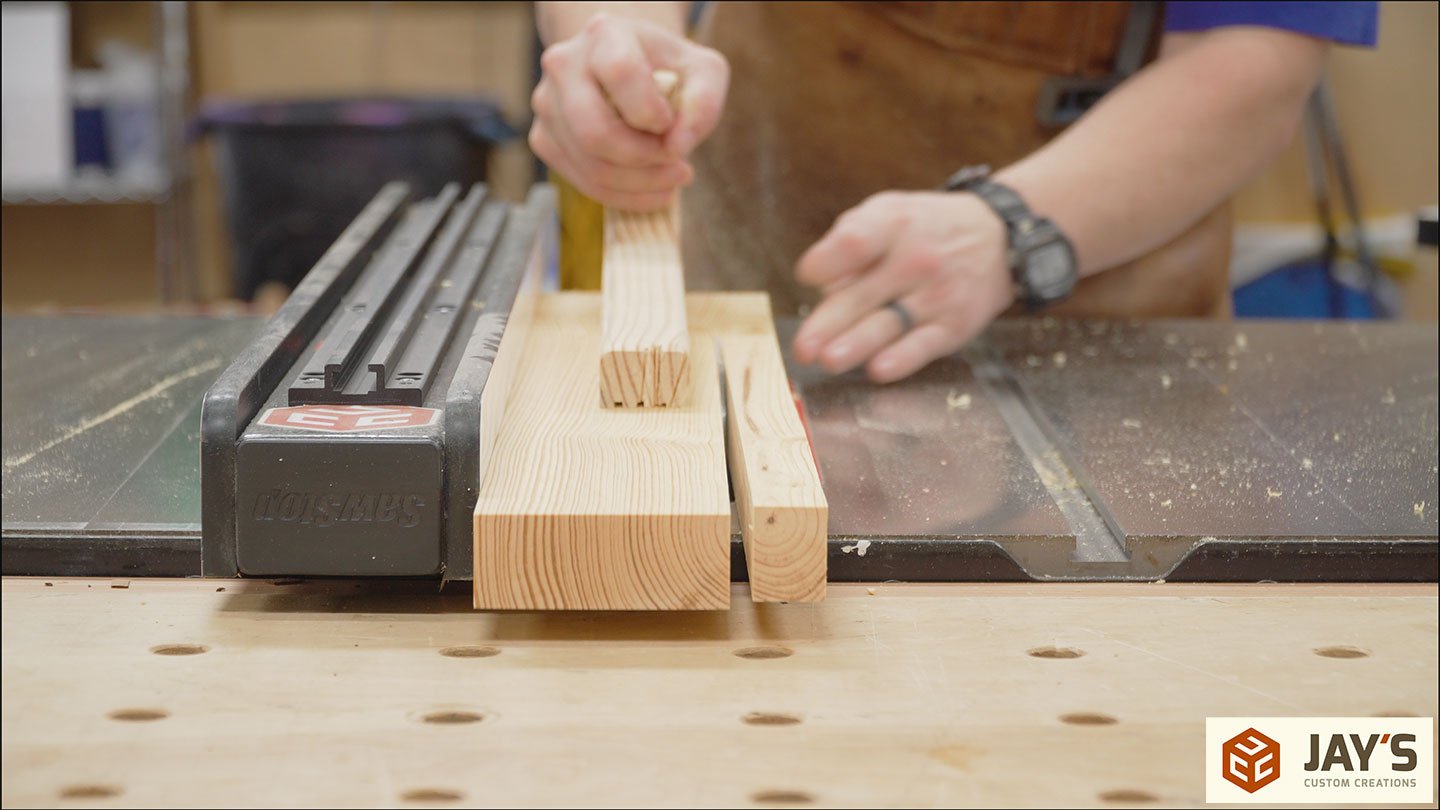
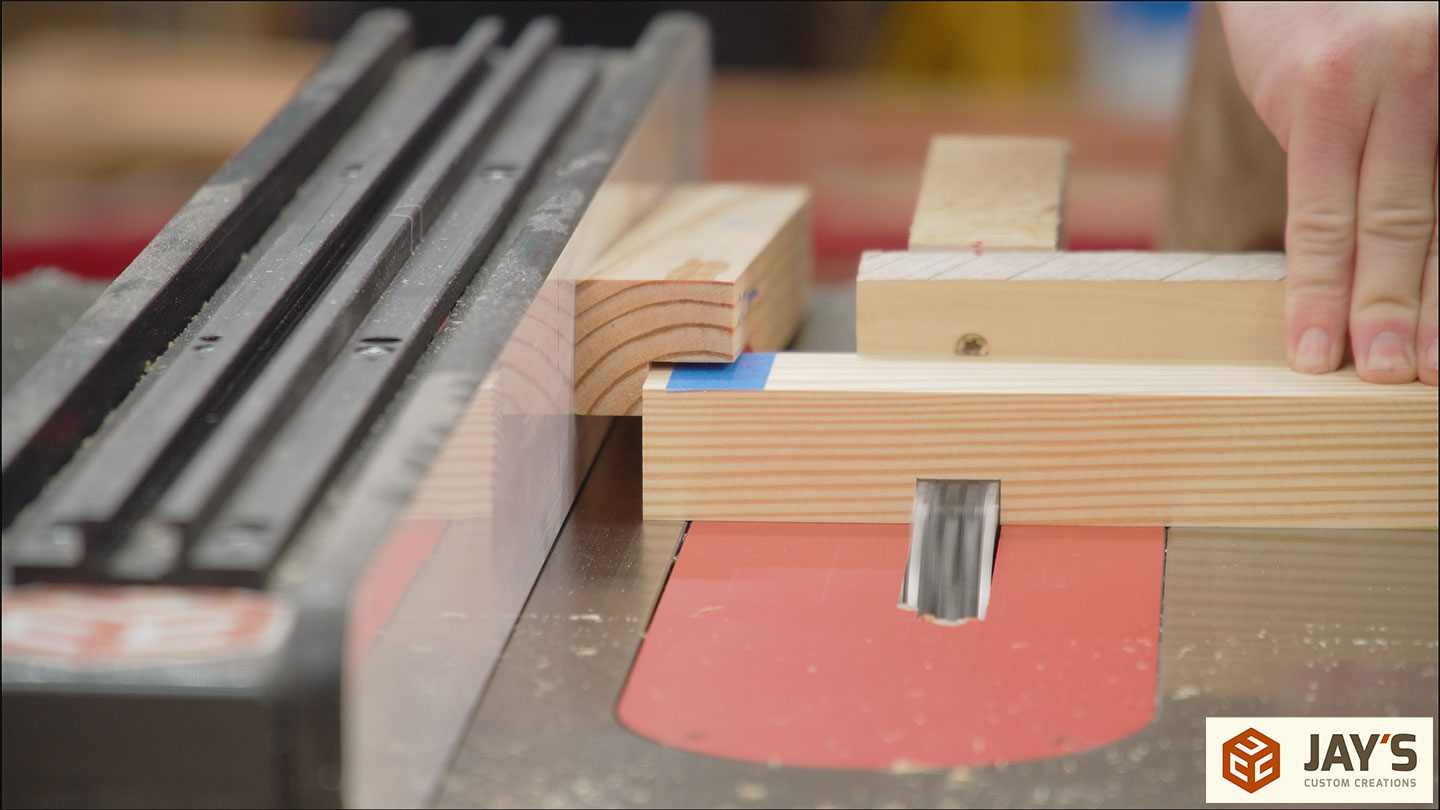
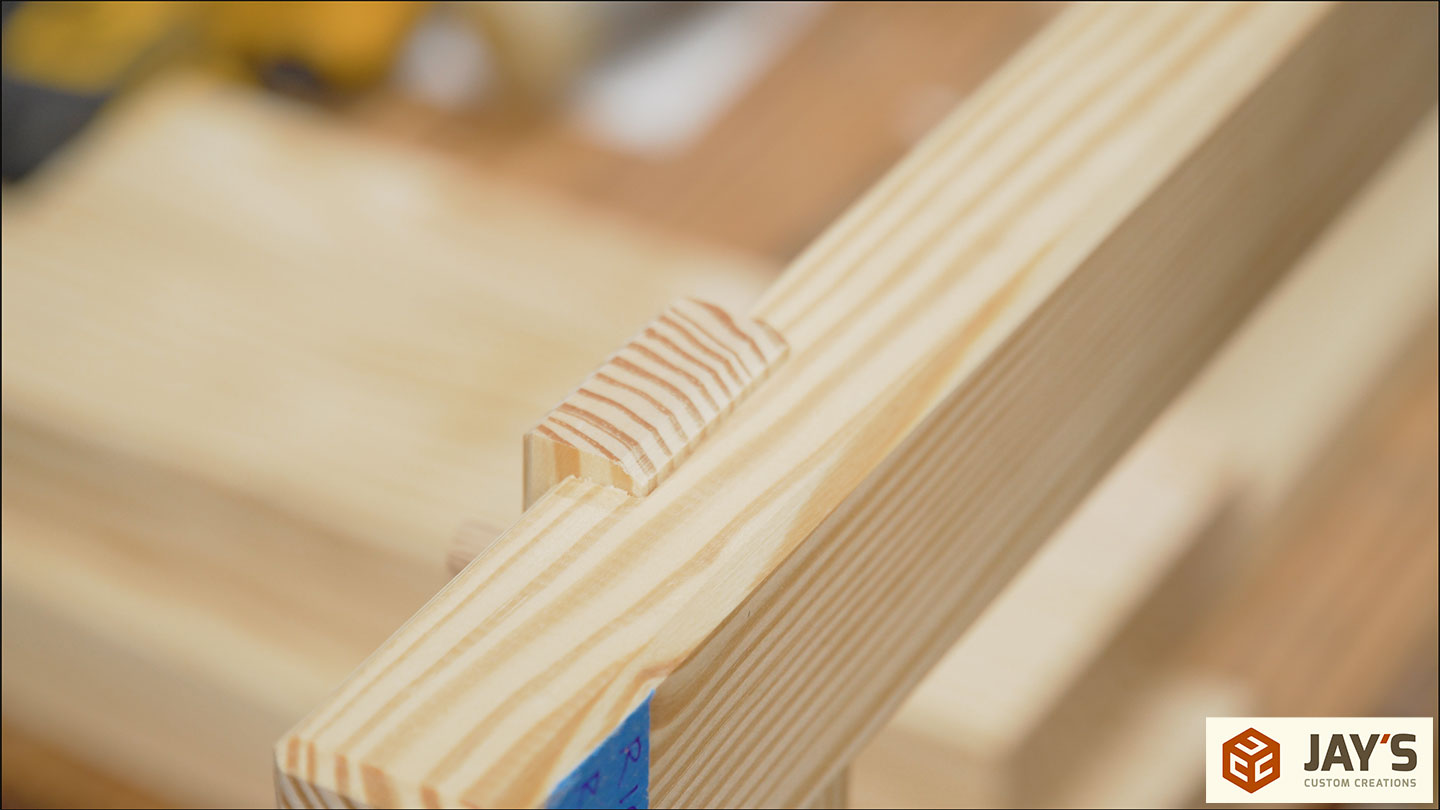
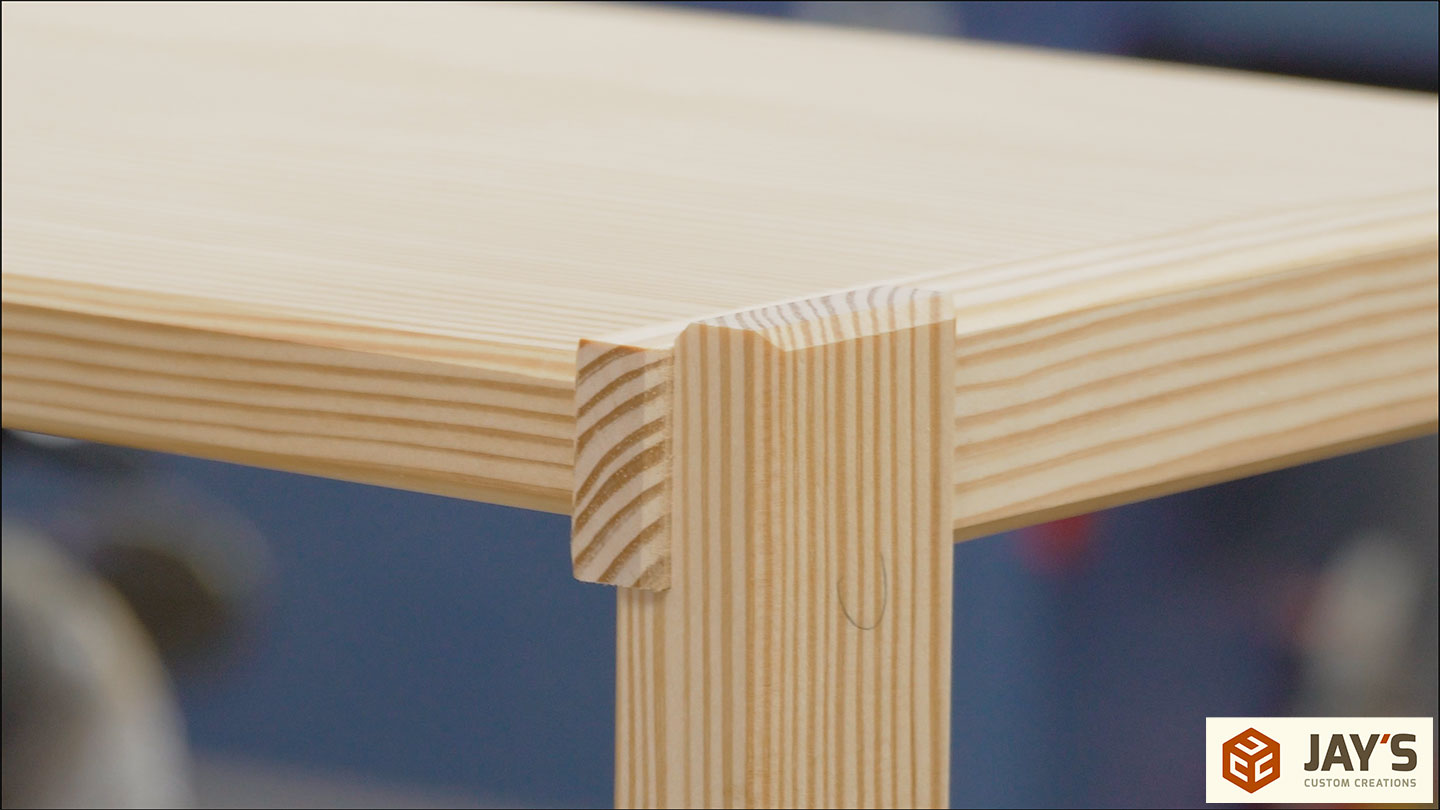
The easy half-laps are the ones on the ends. I set the dado height at less than half the material thickness. This results in a proud joint that gives greater visual depth. The fence is positioned to result in a cut a little wider than the width of the material. Again, this gives greater visual depth to the completed joint, as the piece will stick out further than the end of the joint.
I already took the time to position each piece so the best side or edge is in the correct spot, so for these cuts, I only moved one board at a time.
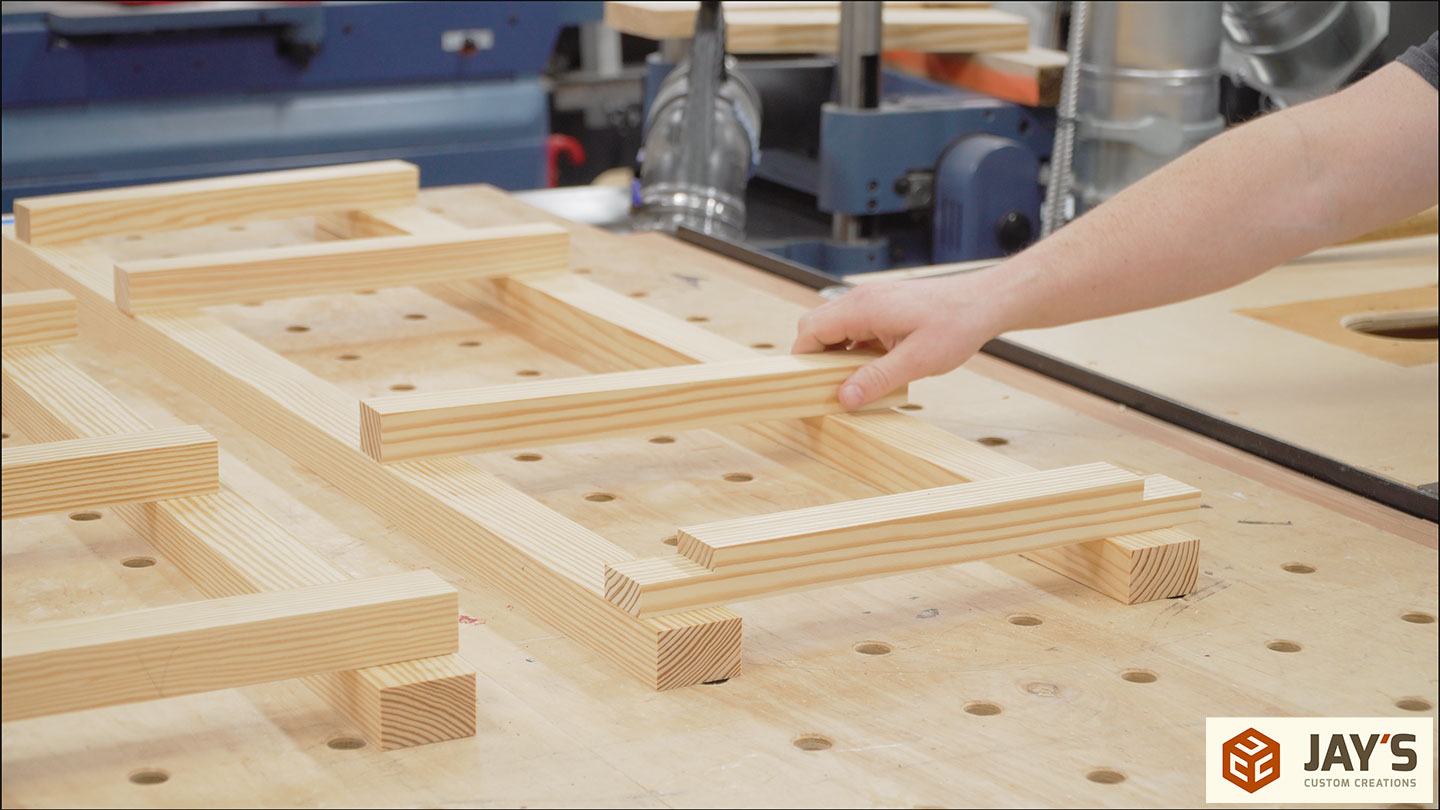
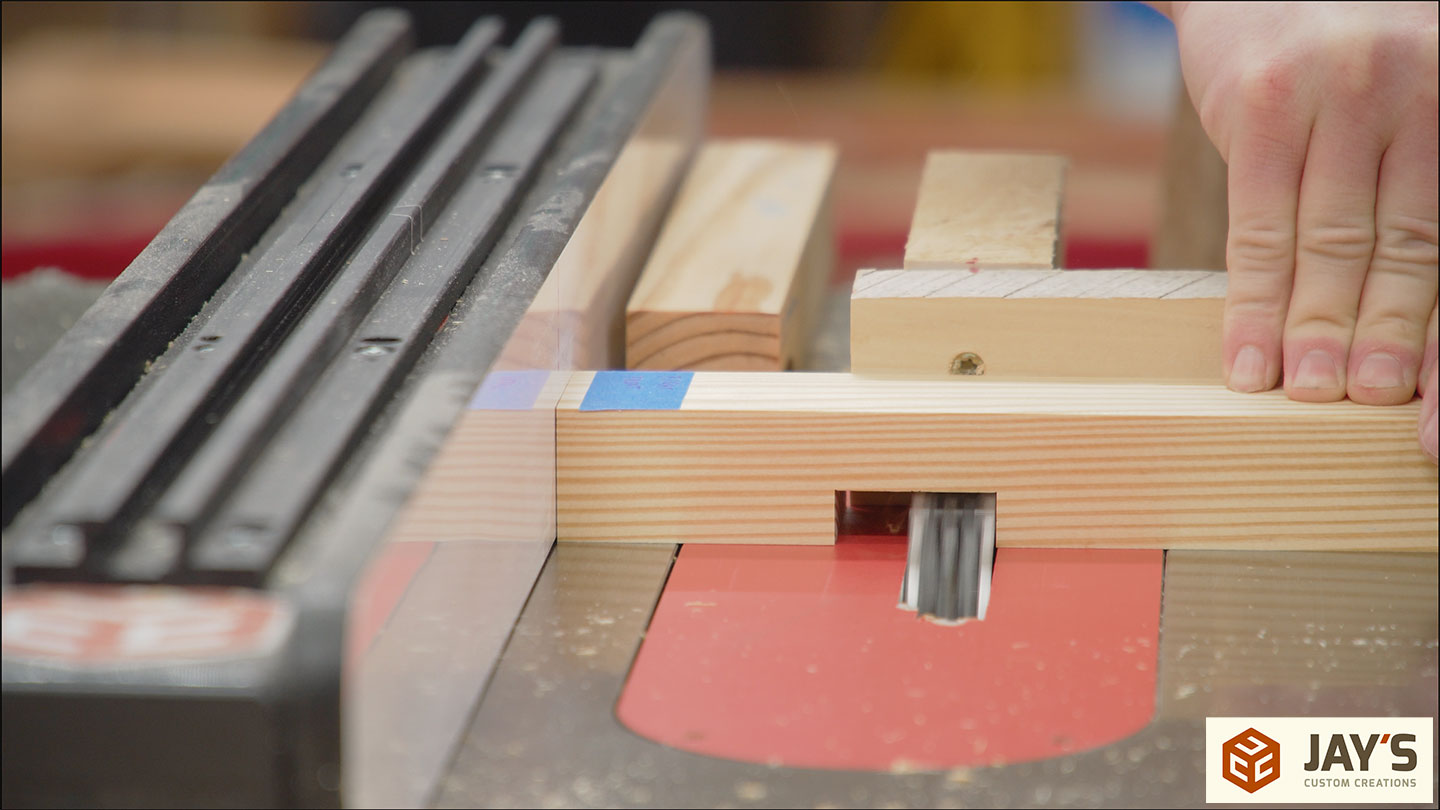
This is the result. A half-lap joint that is proud in all directions.
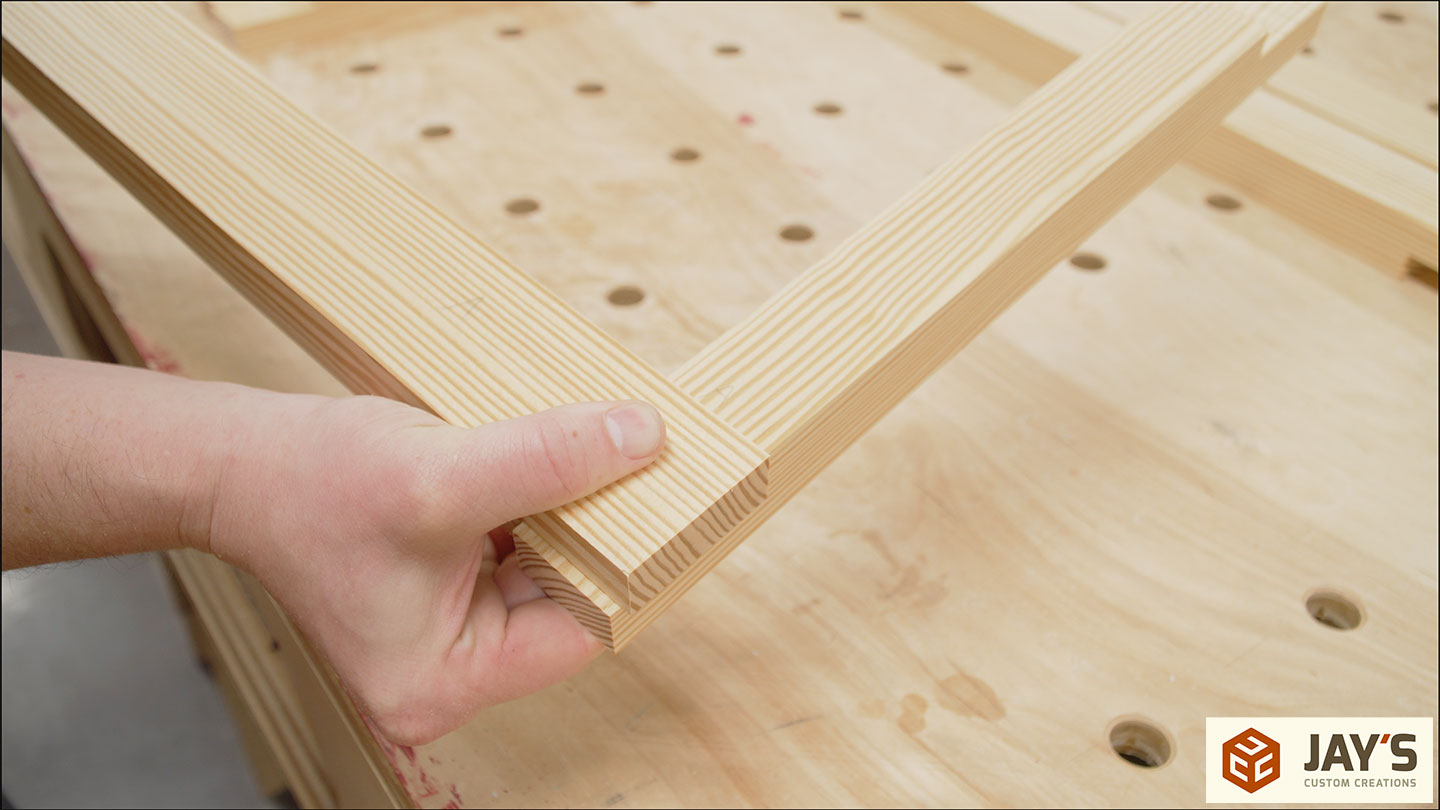
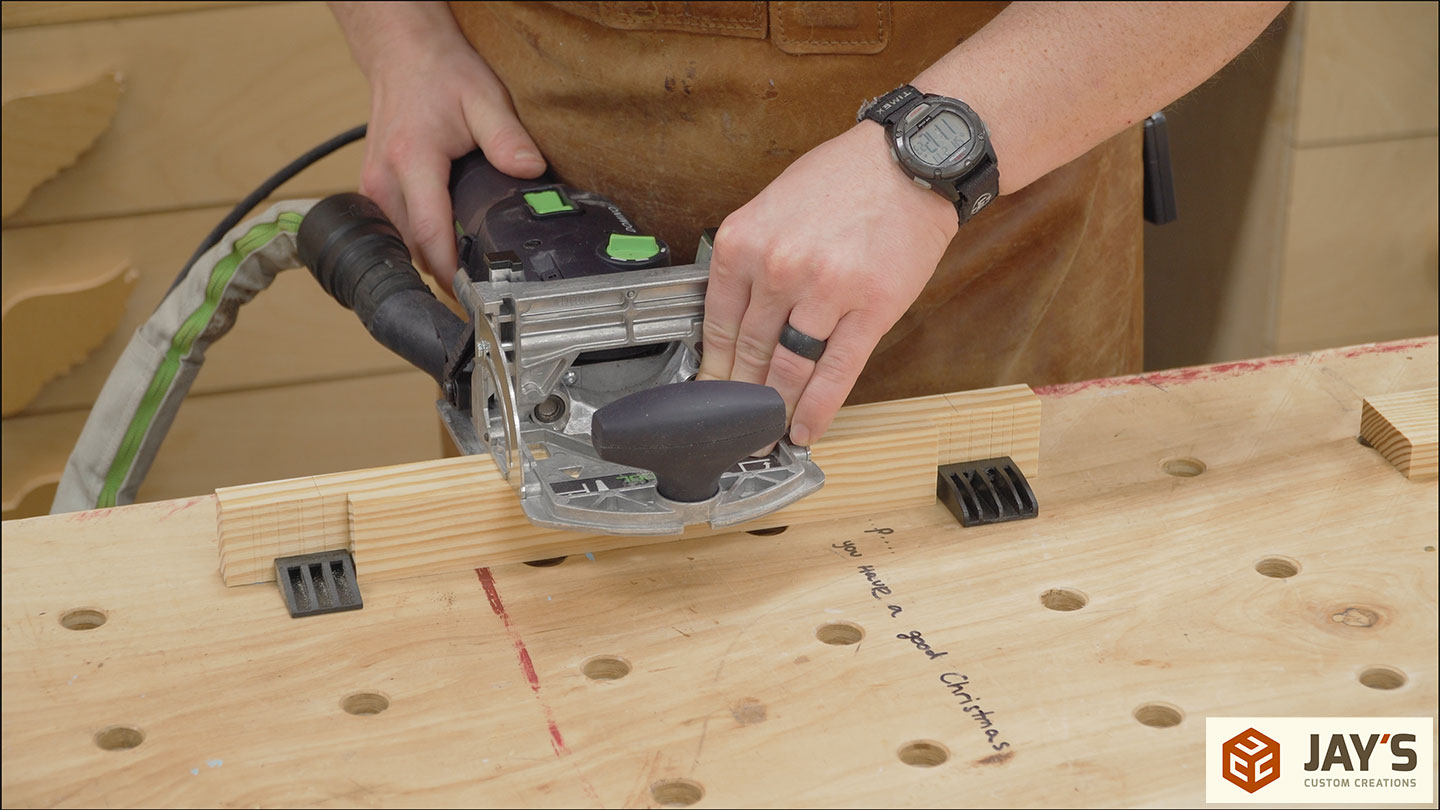
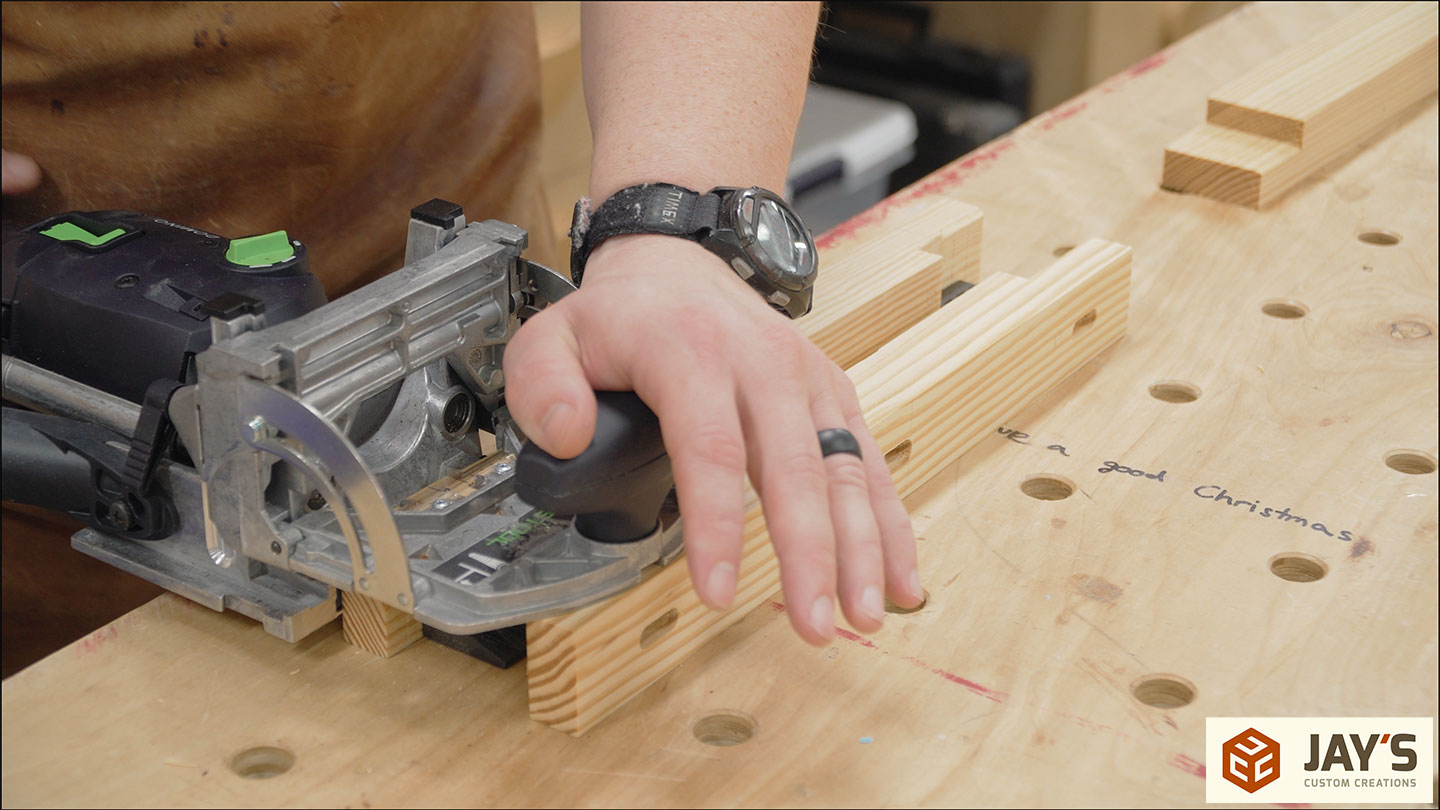
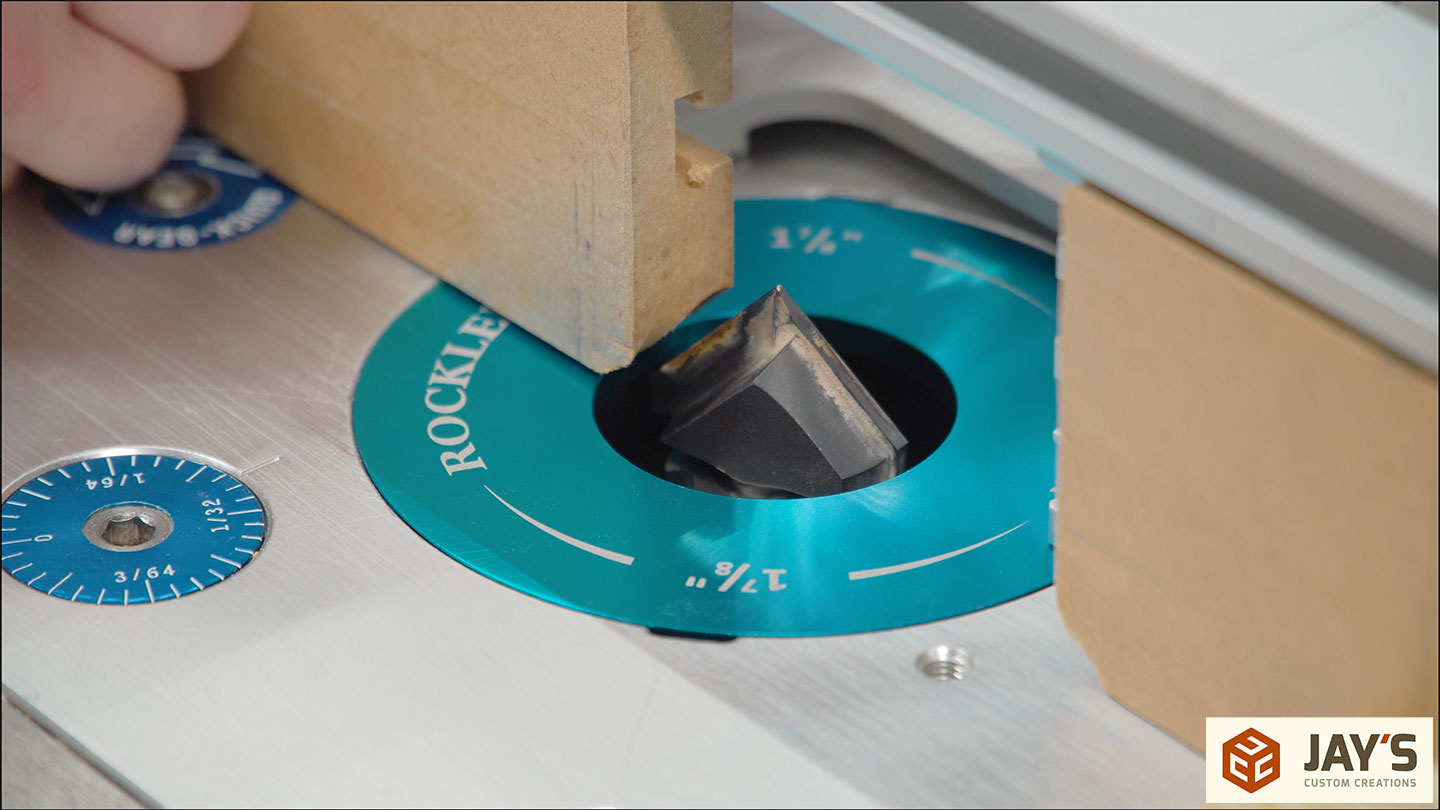
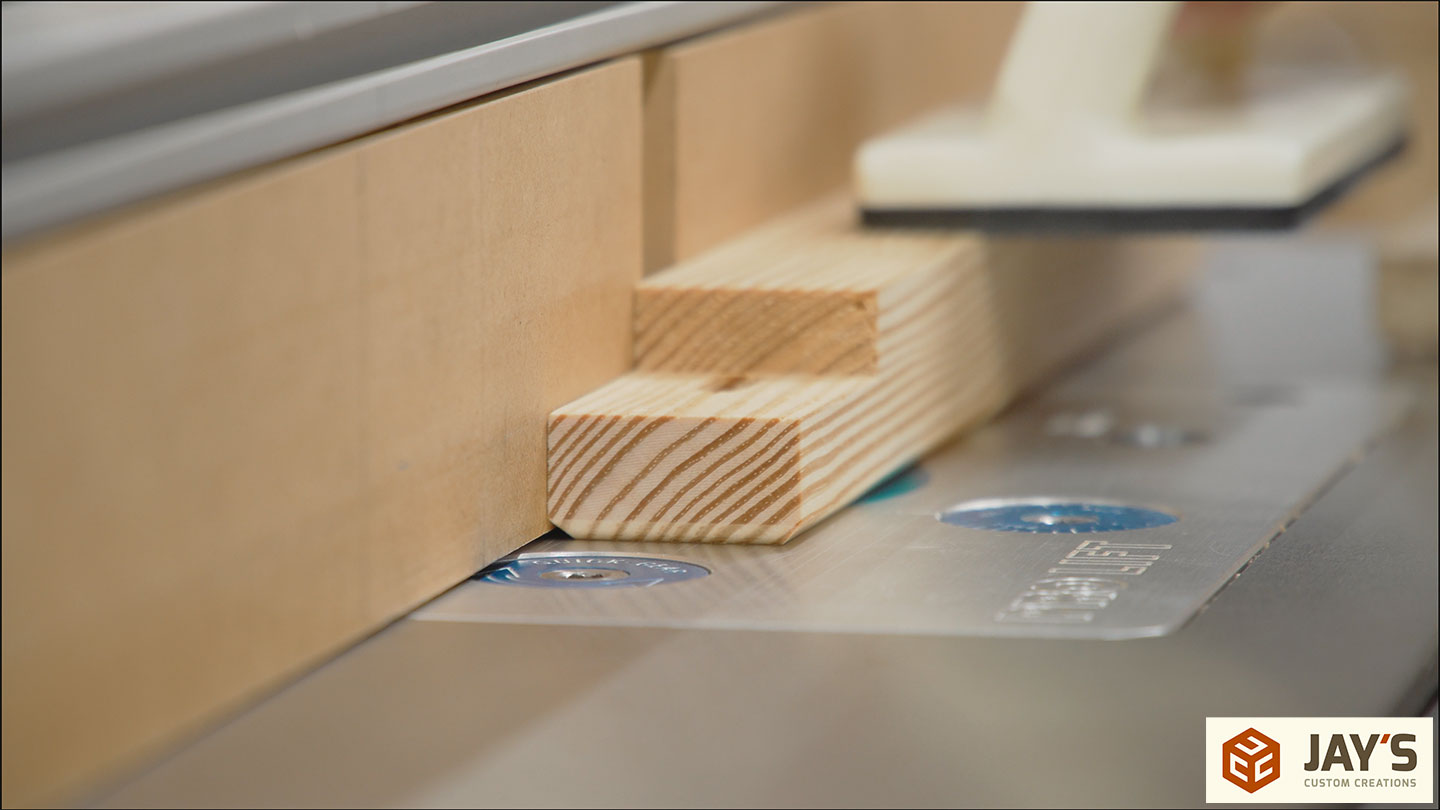
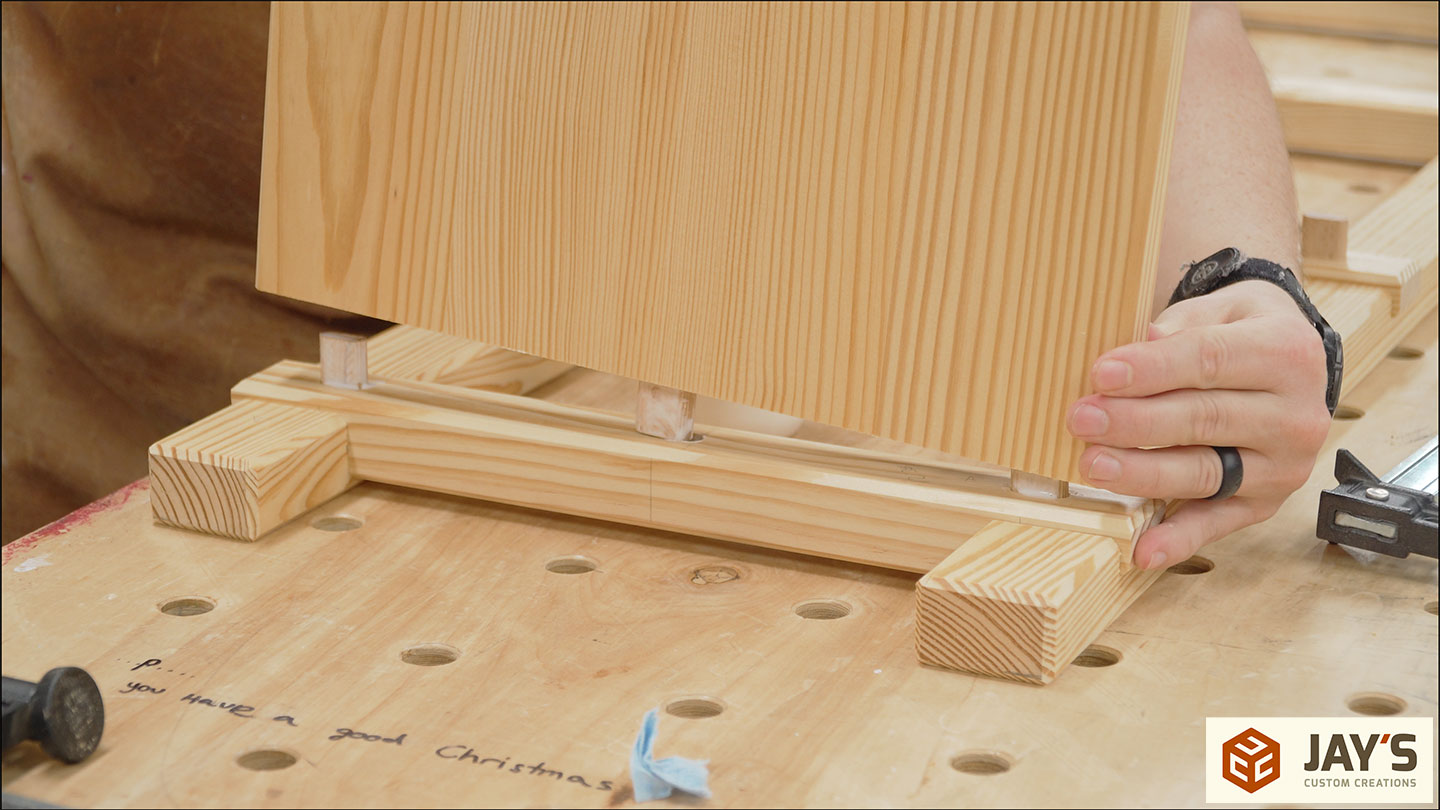
The interior joints require a bit more precision. For these, I always cut what I call a kerfmaker-style stop block. I have a dedicated video explaining how this works and why you should make one when making halflap joints. It’s definitely a technique worth learning. This stop block is the same width as the material I’m working with, but it has the exact width of the dado stack removed. What’s left is a perfect measurement of the distance traveled to get a good-fitting half-lap joint or dado.
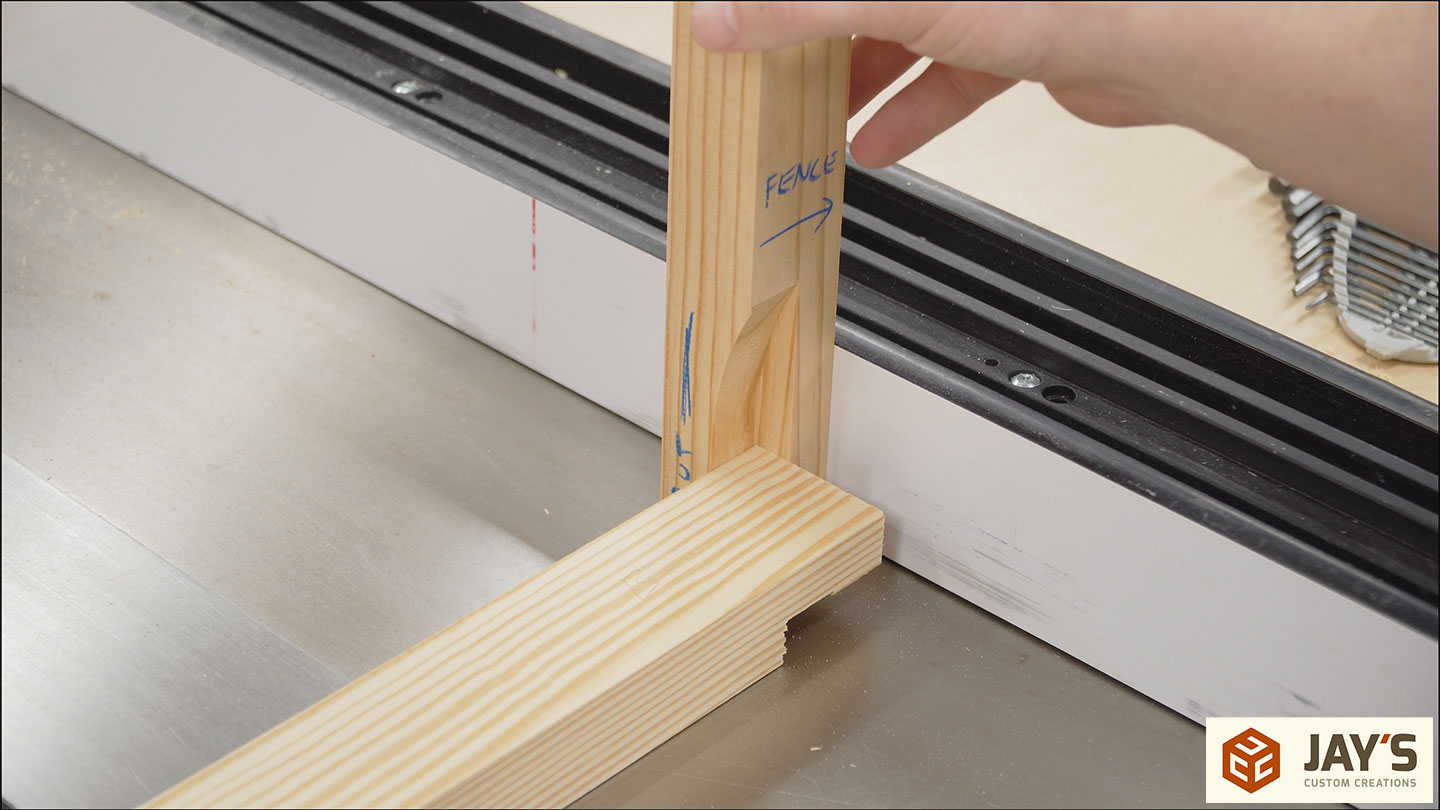
Using it vertically or horizontally doesn’t matter. What matters is that the “distance traveled” section of the stop block is used between the material and the fence to locate the first cut. Then, the second cut is made with the material against the fence. Remember, using a miter gauge in conjunction with the fence is OK so long as no waste material is being cut off and trapped between the blade and the fence.
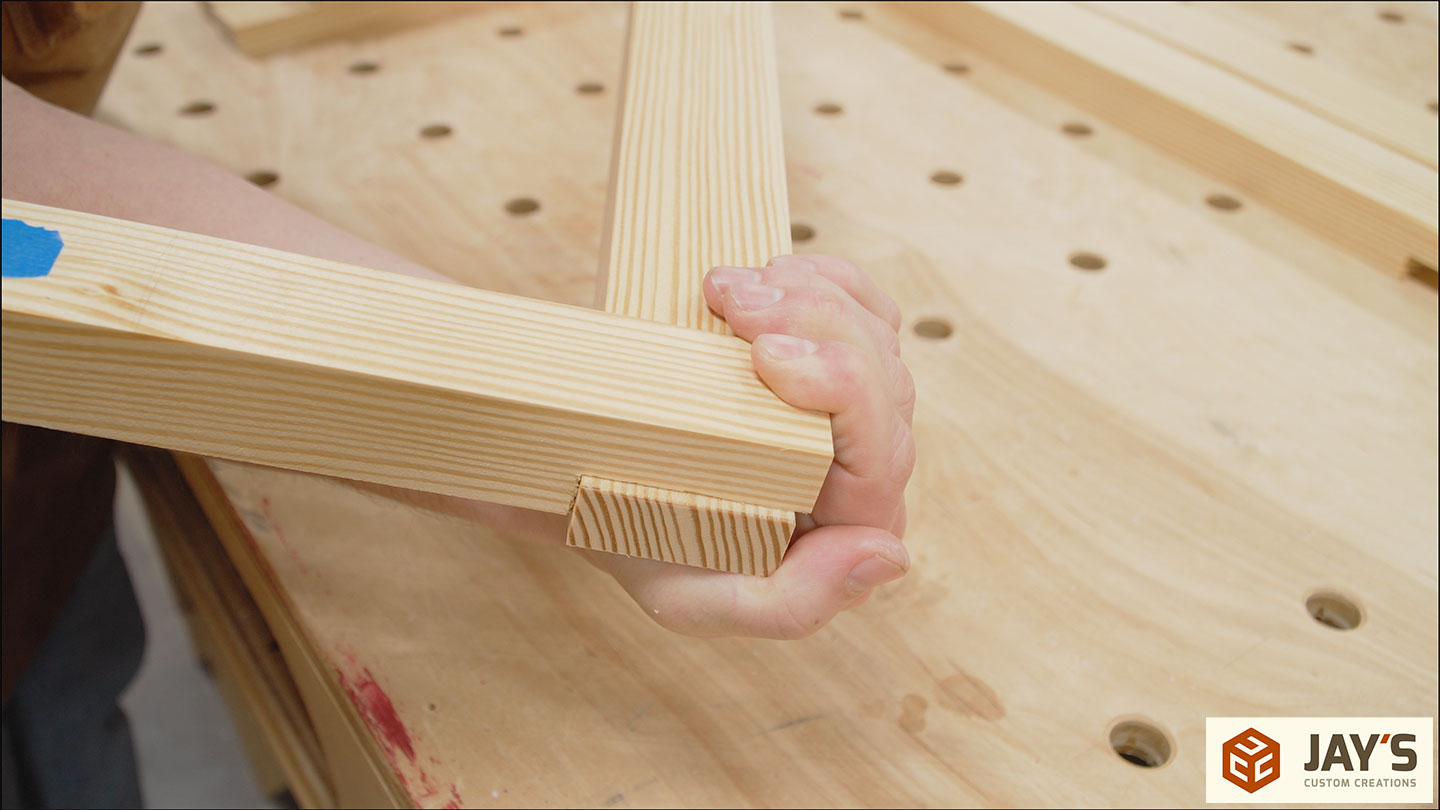
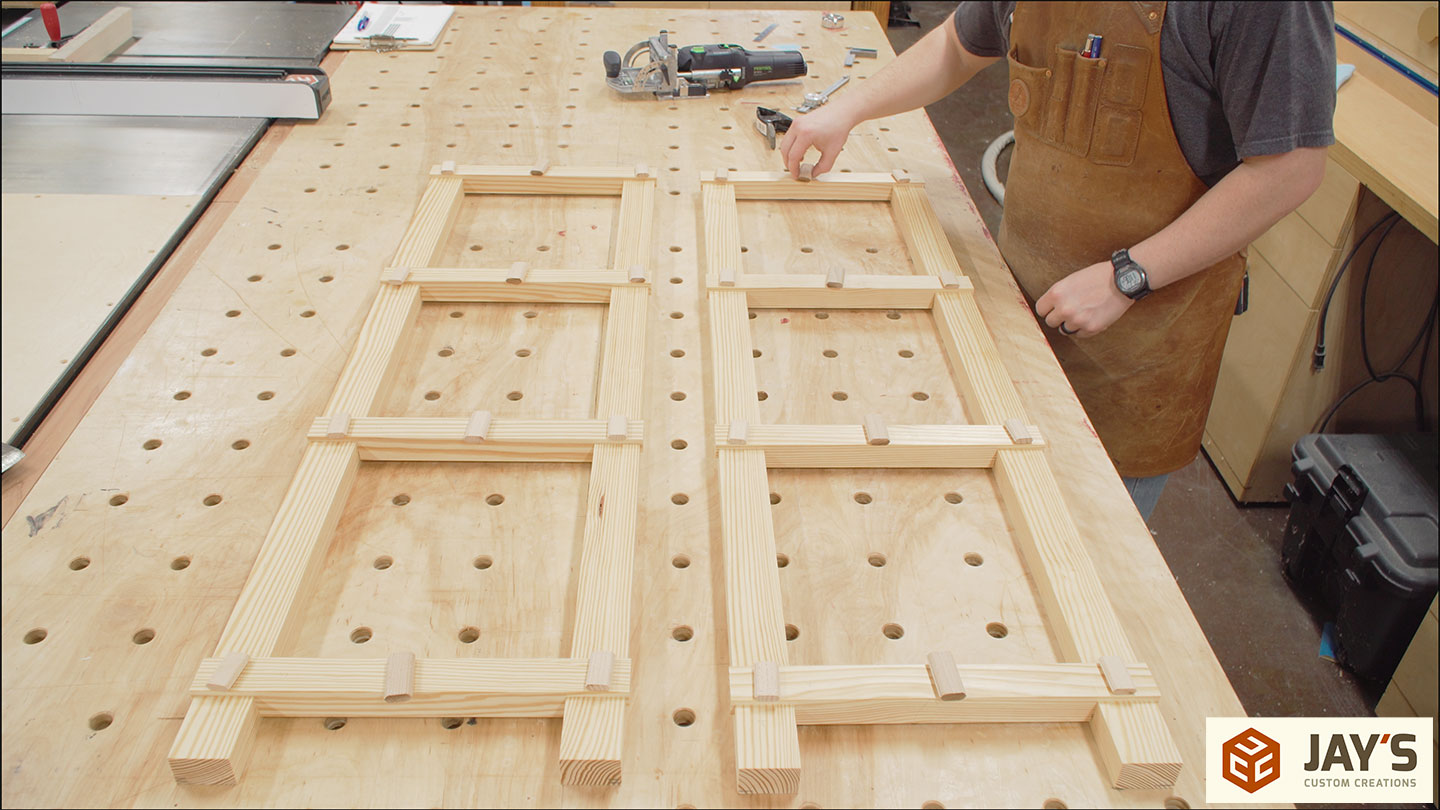
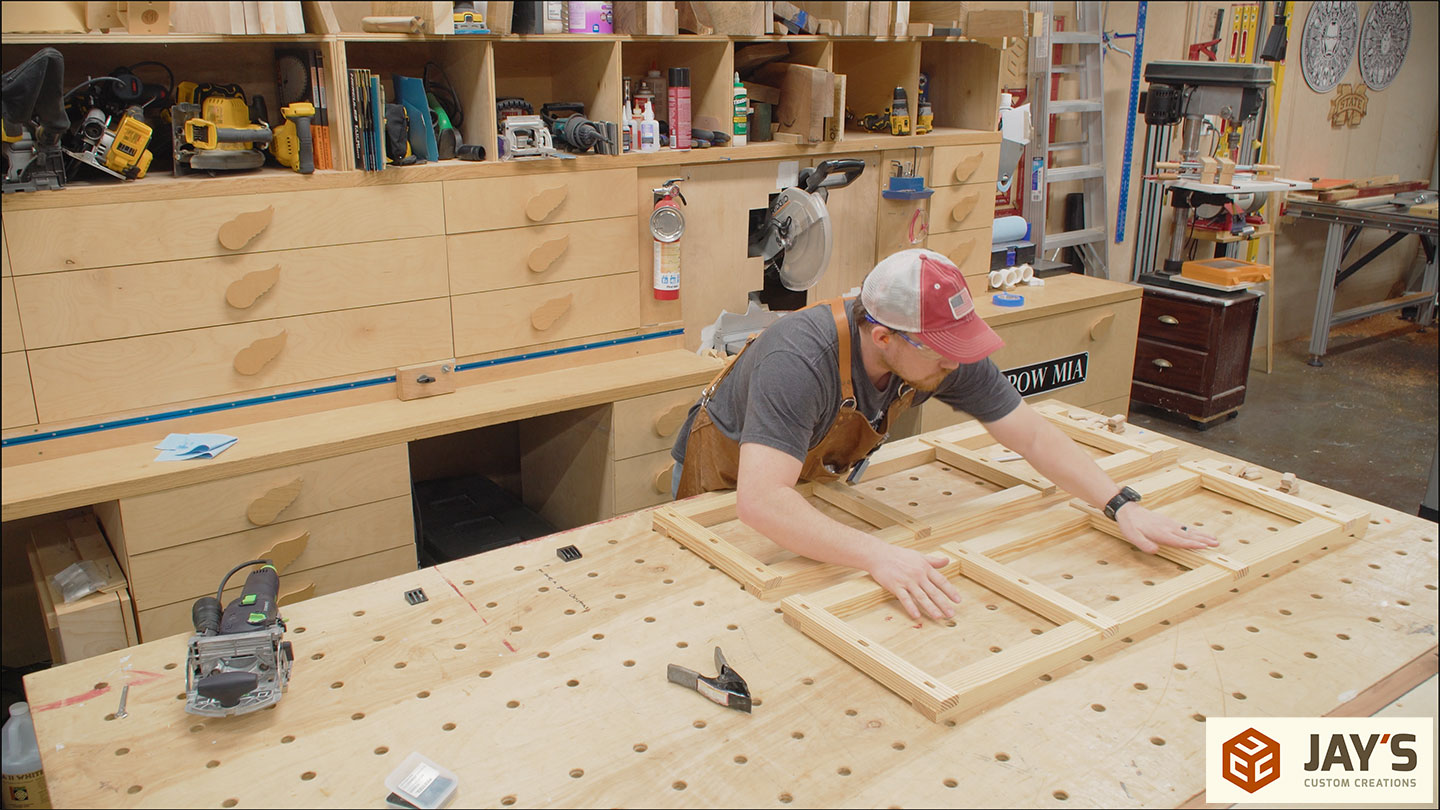
Now all of the frame joinery is cut.
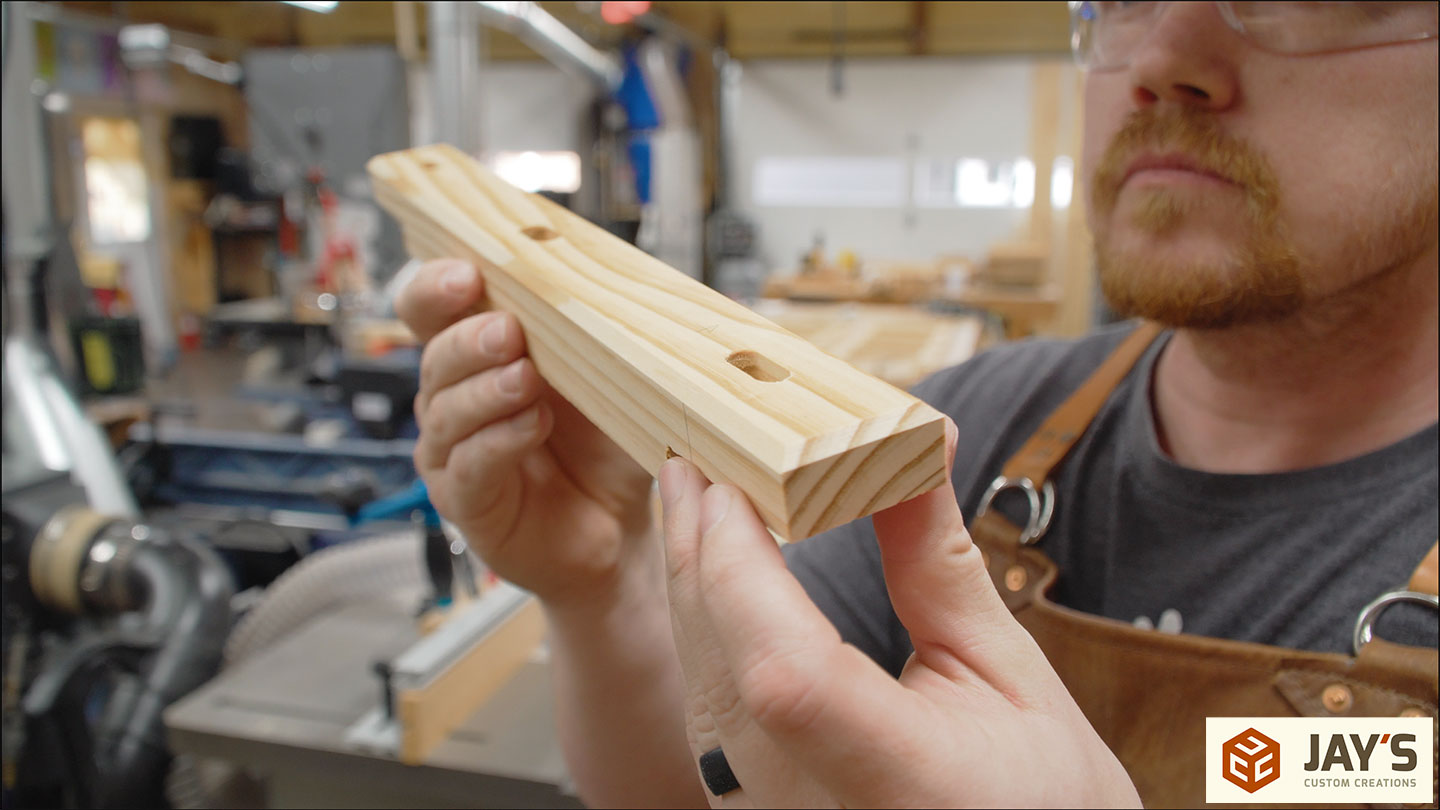
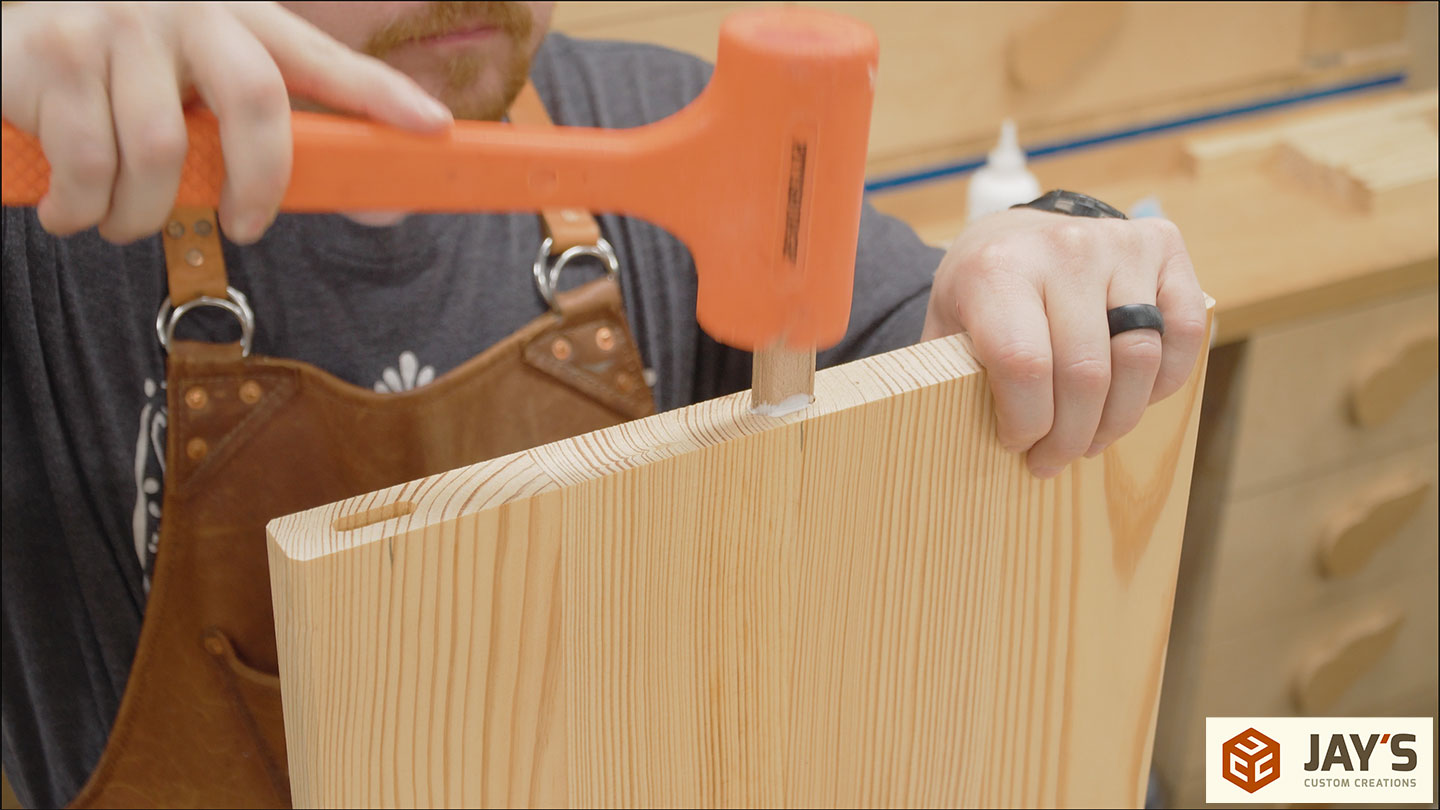
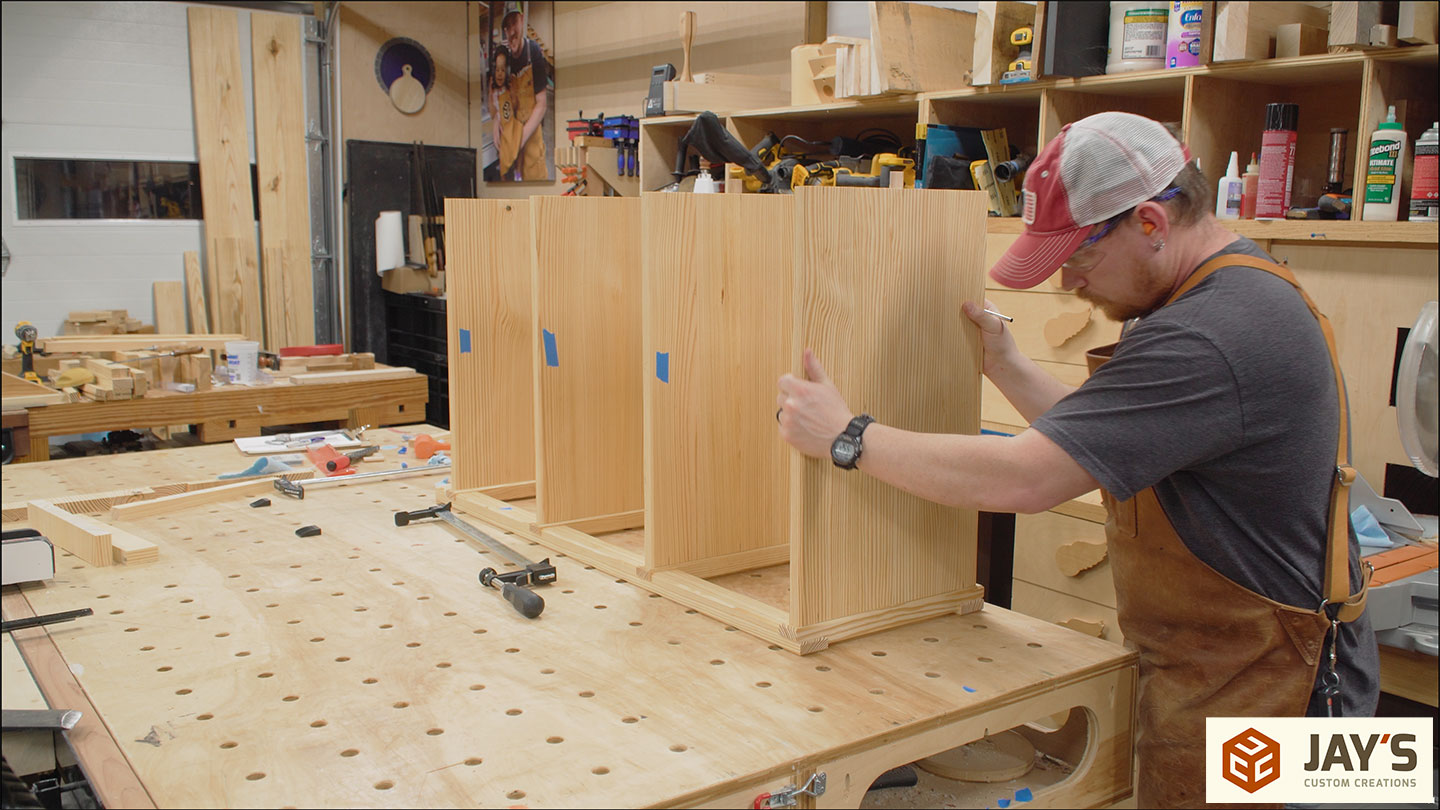
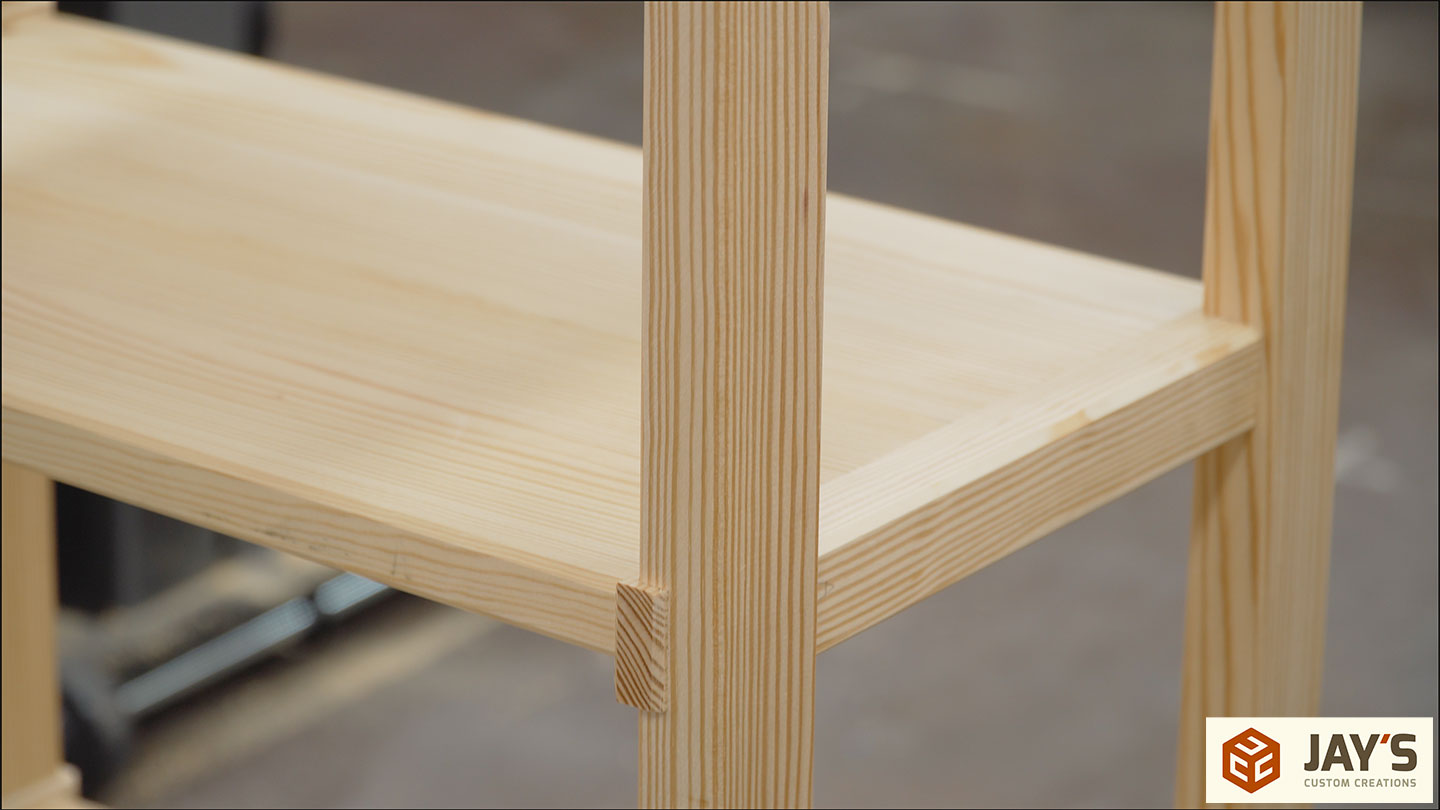
I use dominos, or floating tenons, to attach the shelf panels to the frames. You may notice two sizes. The center area has plenty of material to use the largest dominos I have. I needed to go slightly smaller with the dominos on the sides due to interfering with the half-lap joint. Had I cut these after the sides were assembled I could have used the larger dominoes, but actually cutting them would have been more dificult.
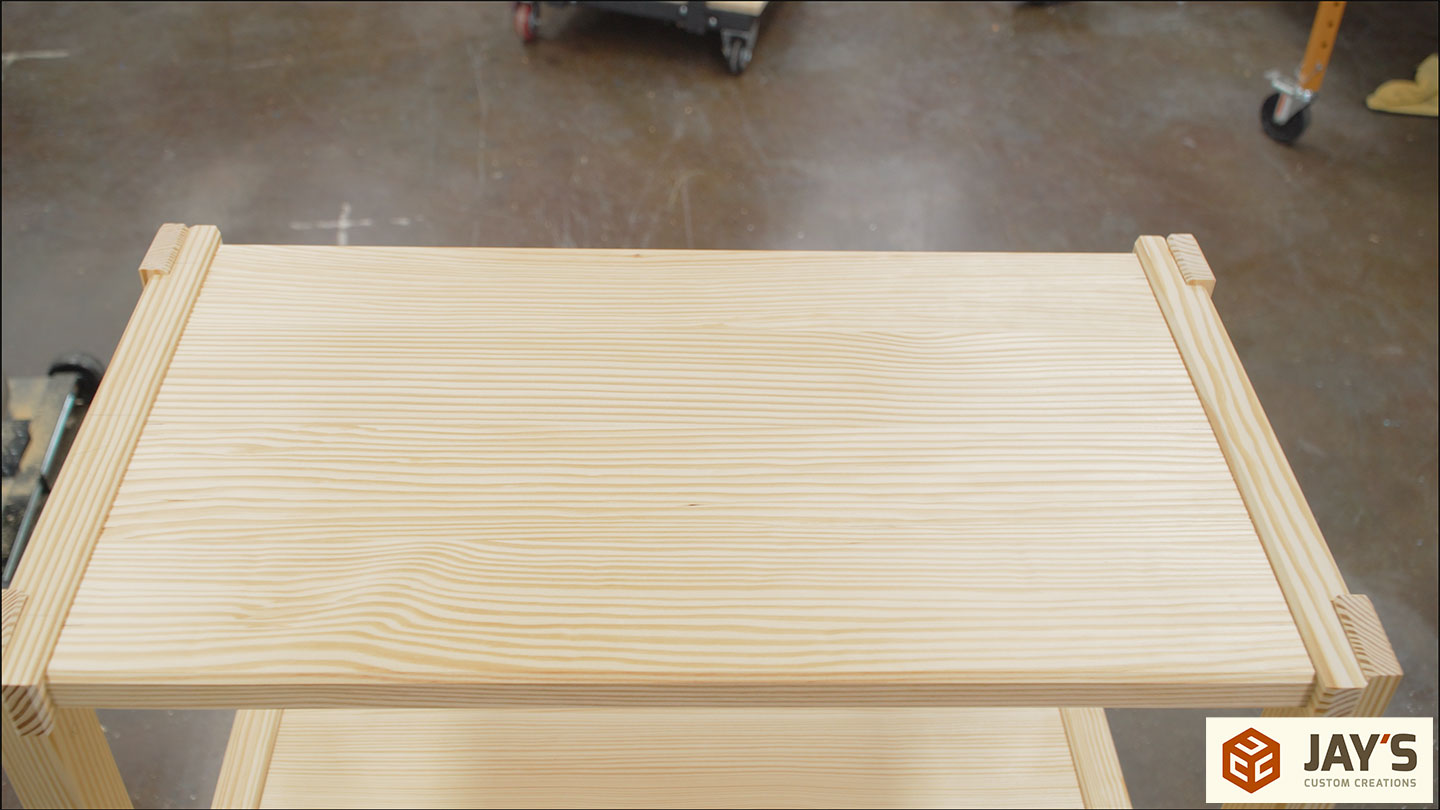
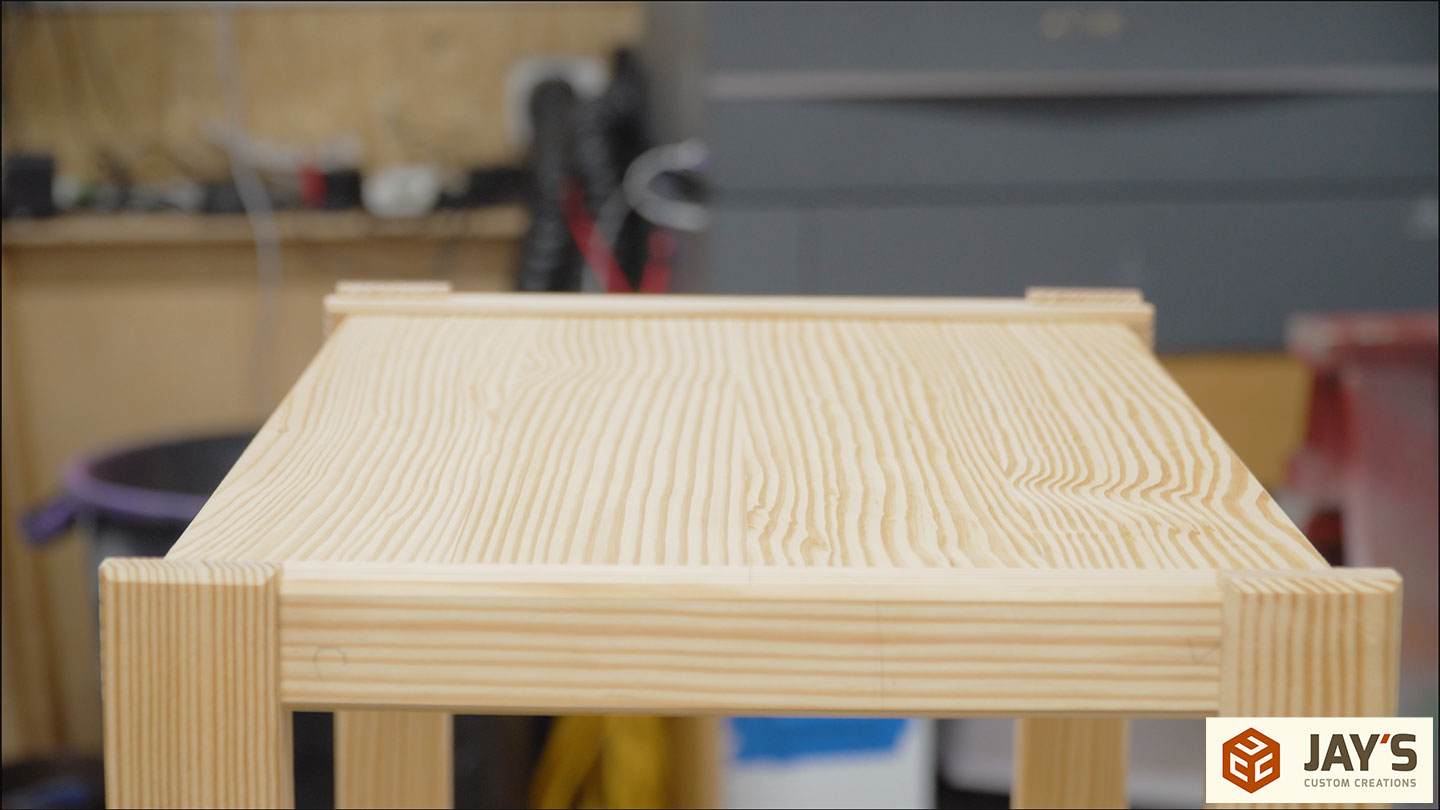
Before assembly, there is one more task to complete. All of the exposed edges need to be chamfered. I opted to use my large 90-degree V bit for this (use the code JAYBATES to save 10% at bitsbits.com). It’s my go-to V carving bit on the CNC machine, and I know it cuts super clean.
End grain first, followed by the long grain. This generally allows any tearout from the cross-grain cut to be cleaned up with the long-grain cuts.
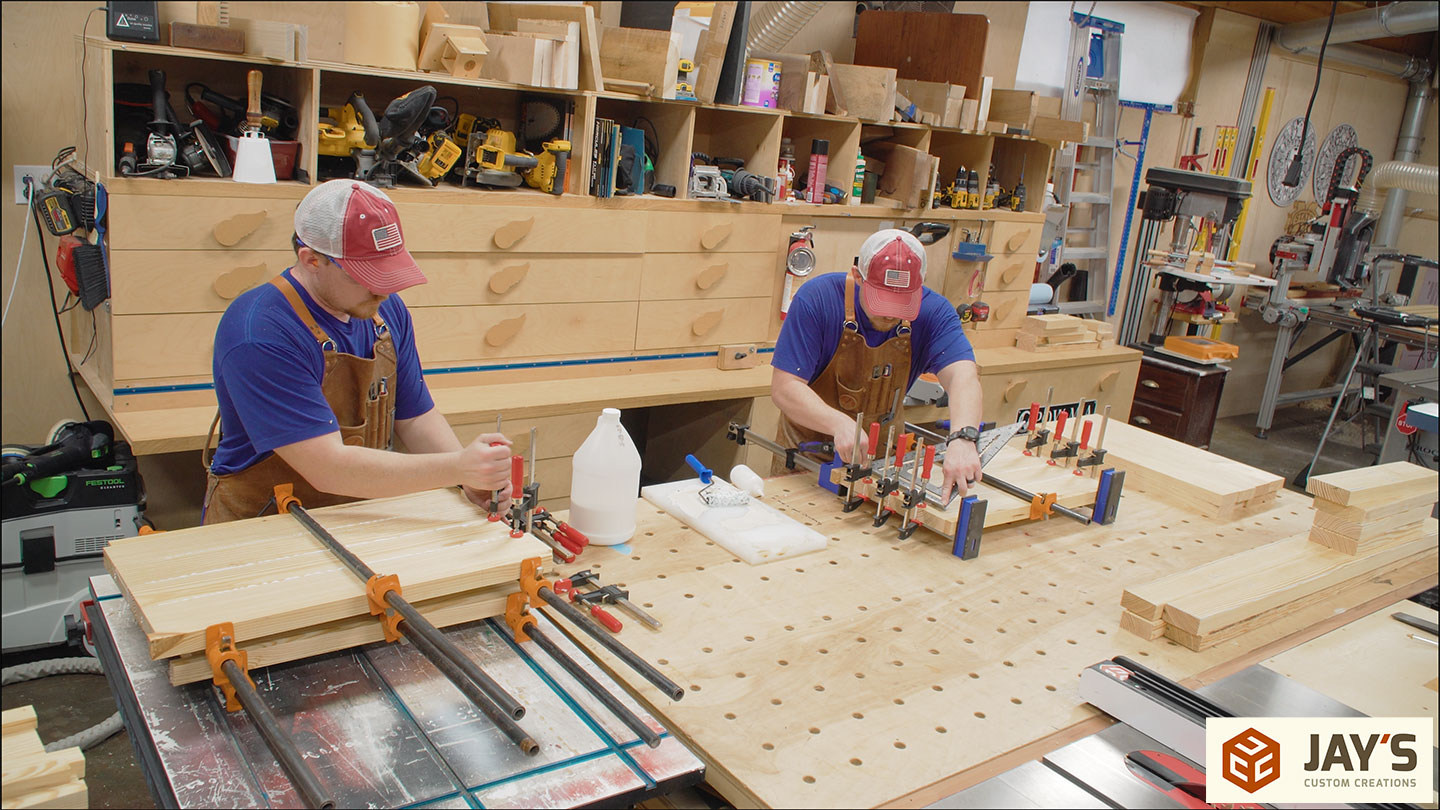
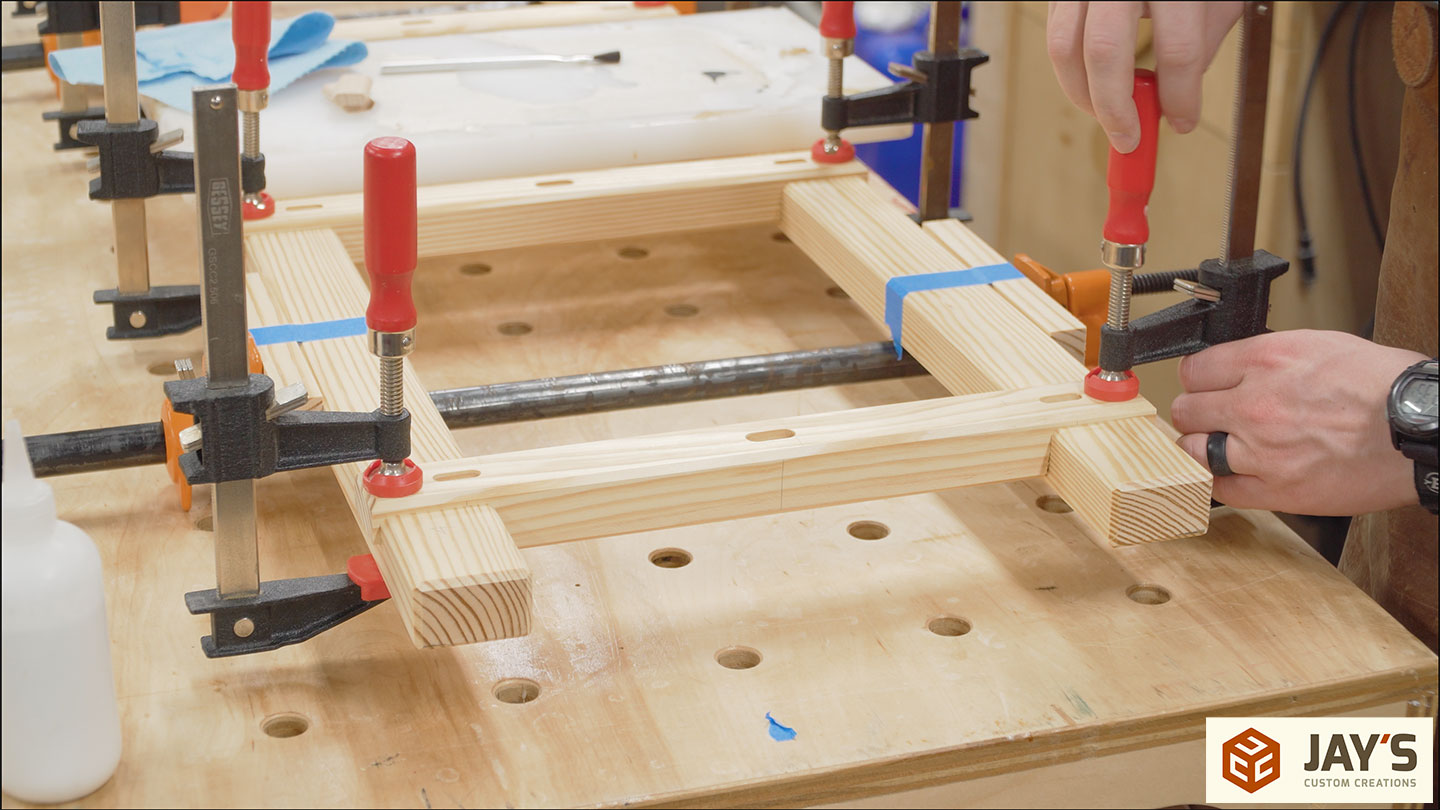
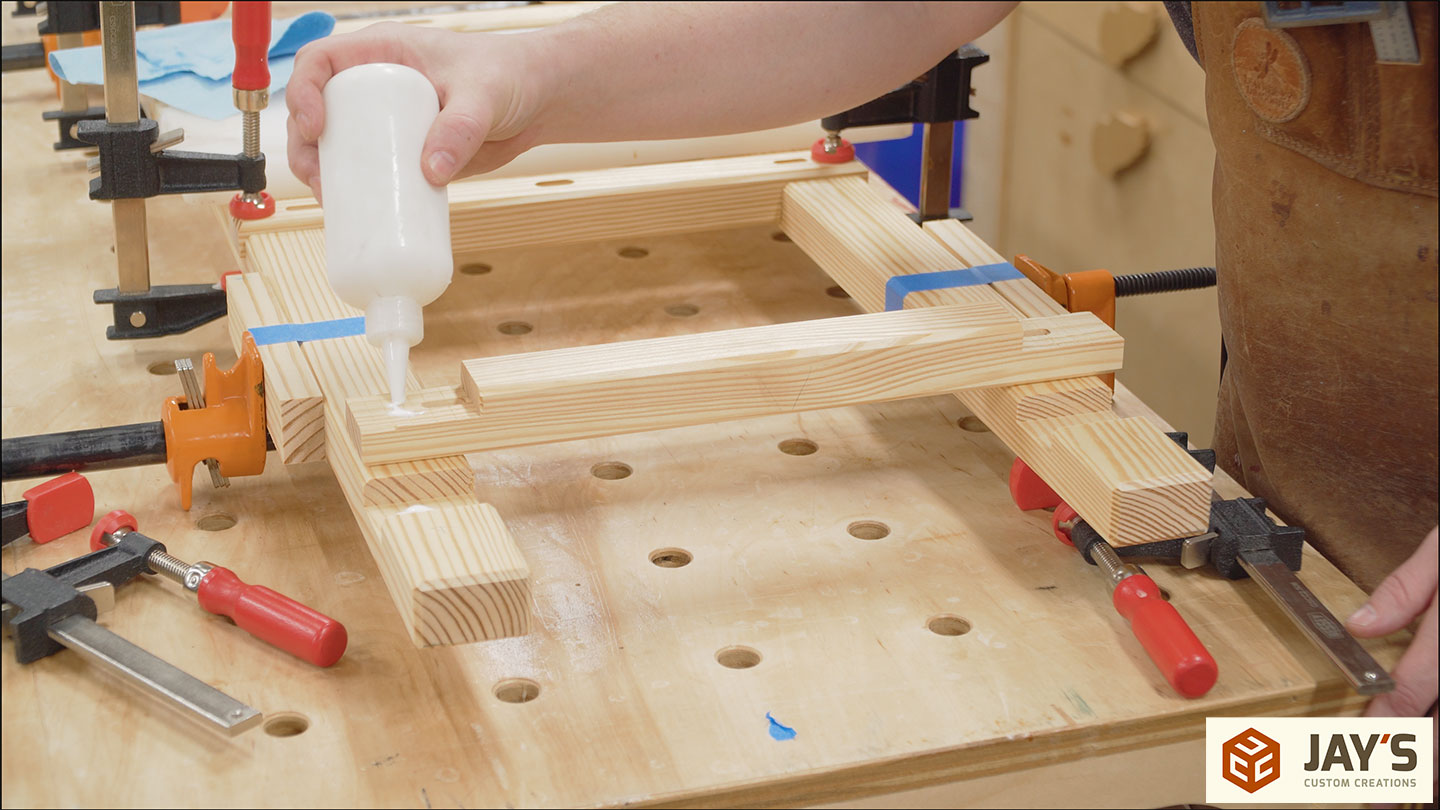
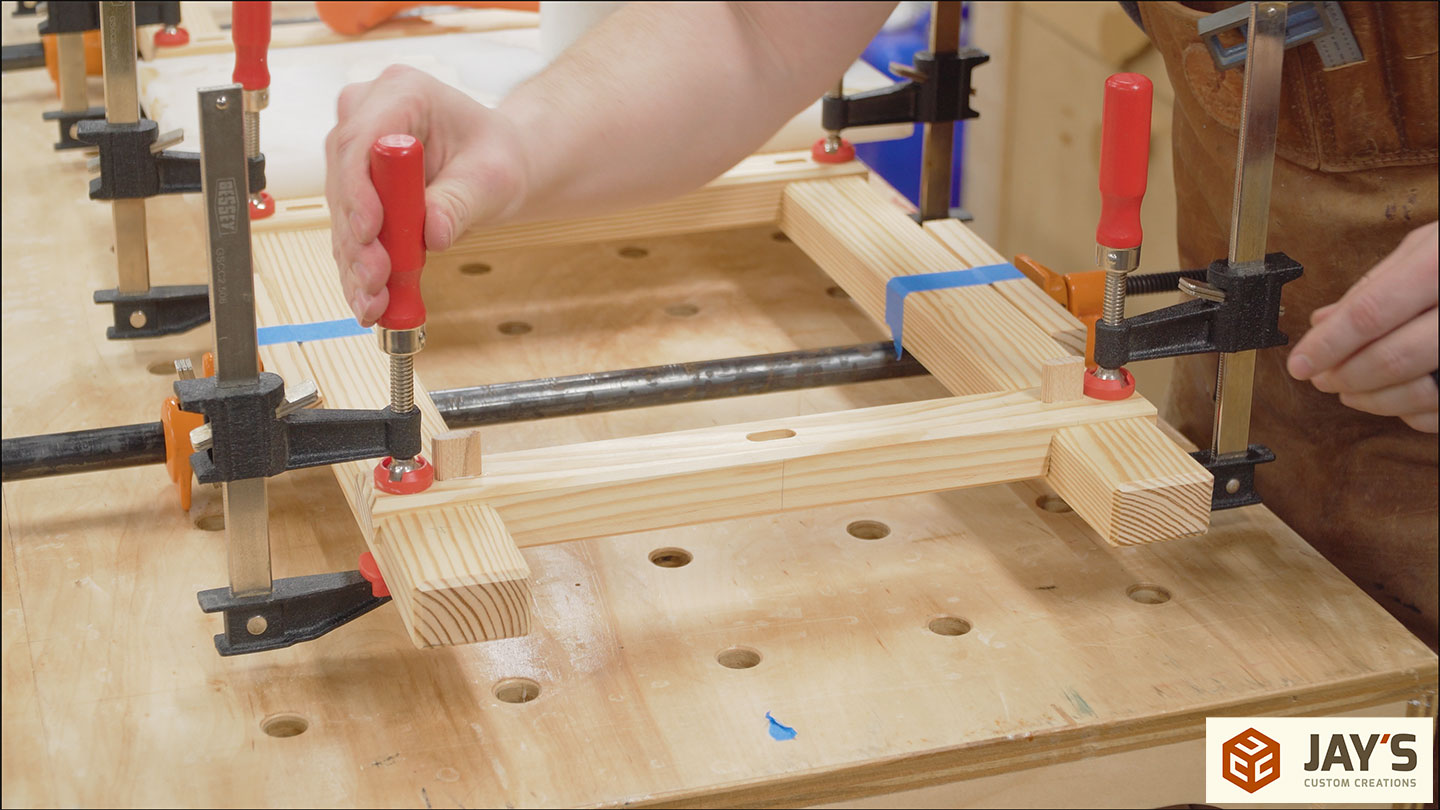
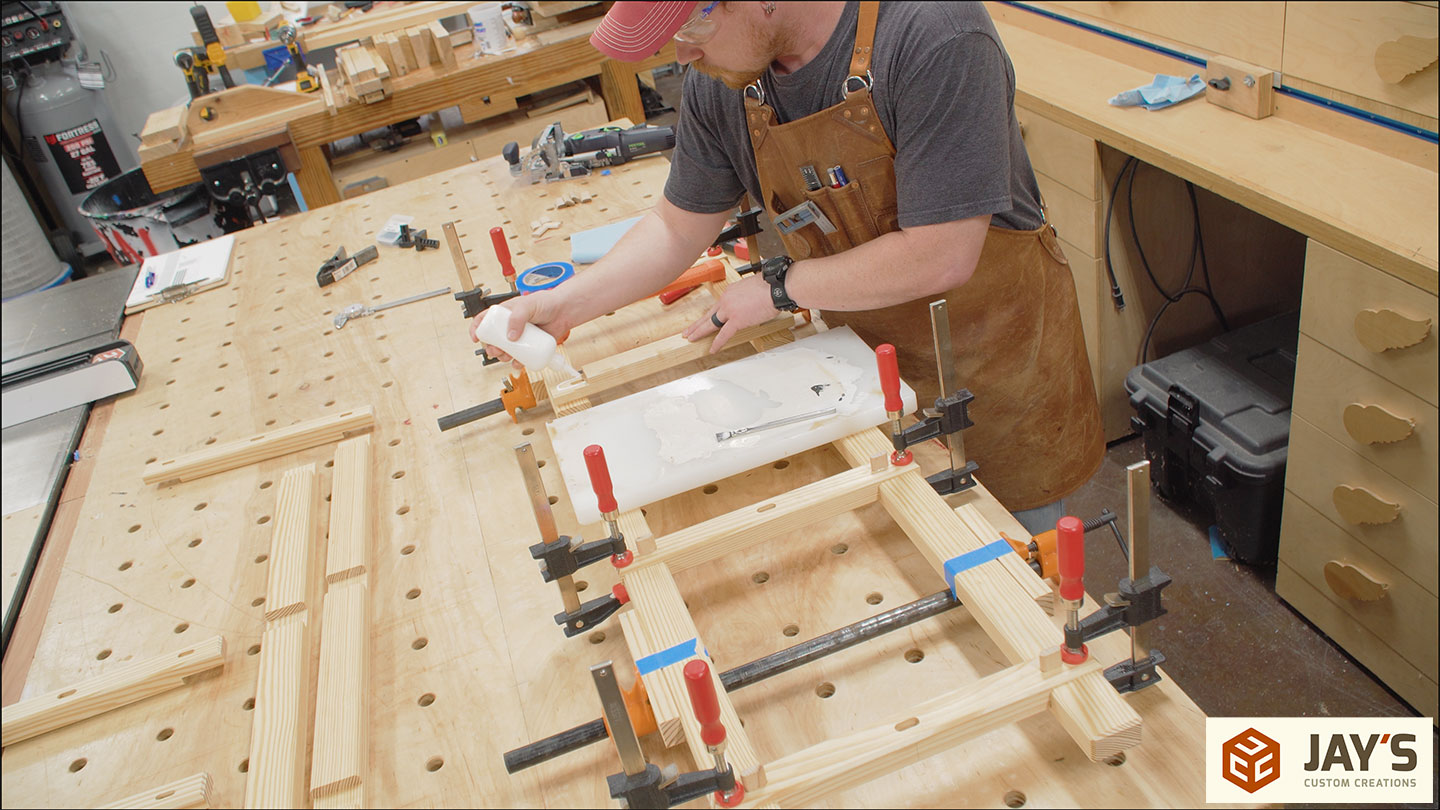
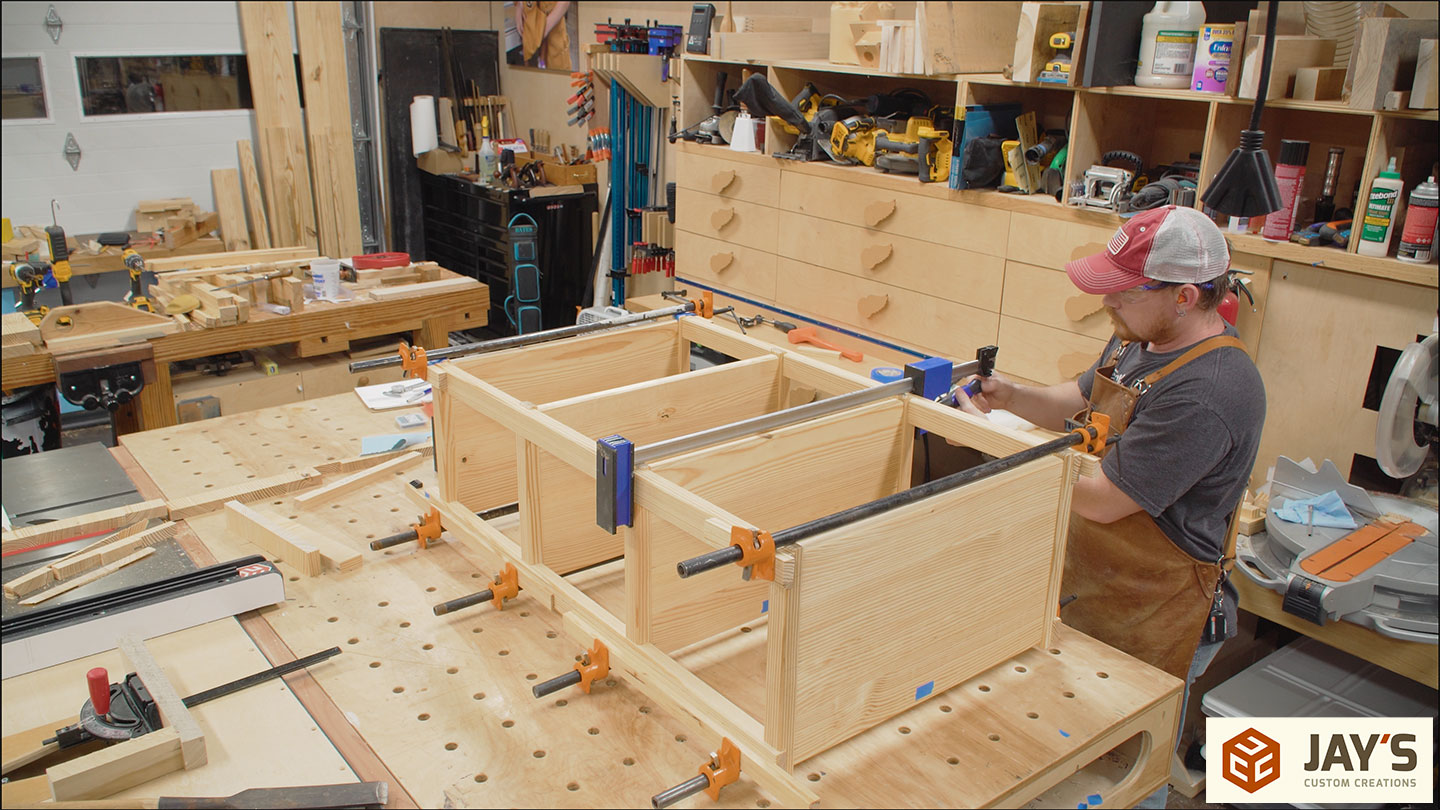
Here’s a tip for reducing stress during a glue-up. Clamp together the entire glue-up without glue. Then, remove one piece at a time, add glue, and clamp it back in place. This technique keeps the entire assembly rigidly attached, eliminating the opportunity to fumble around trying to get six things to line up at once.
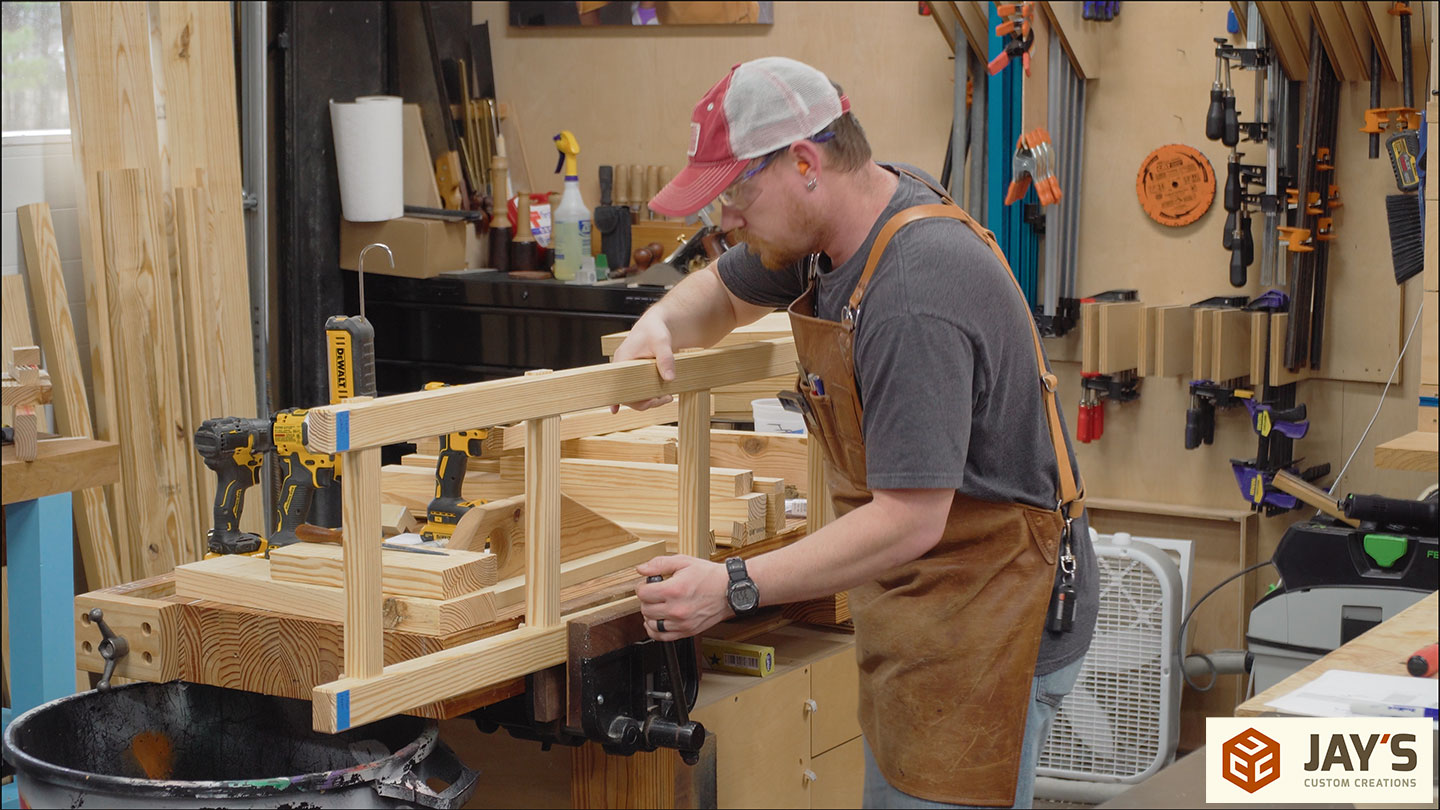
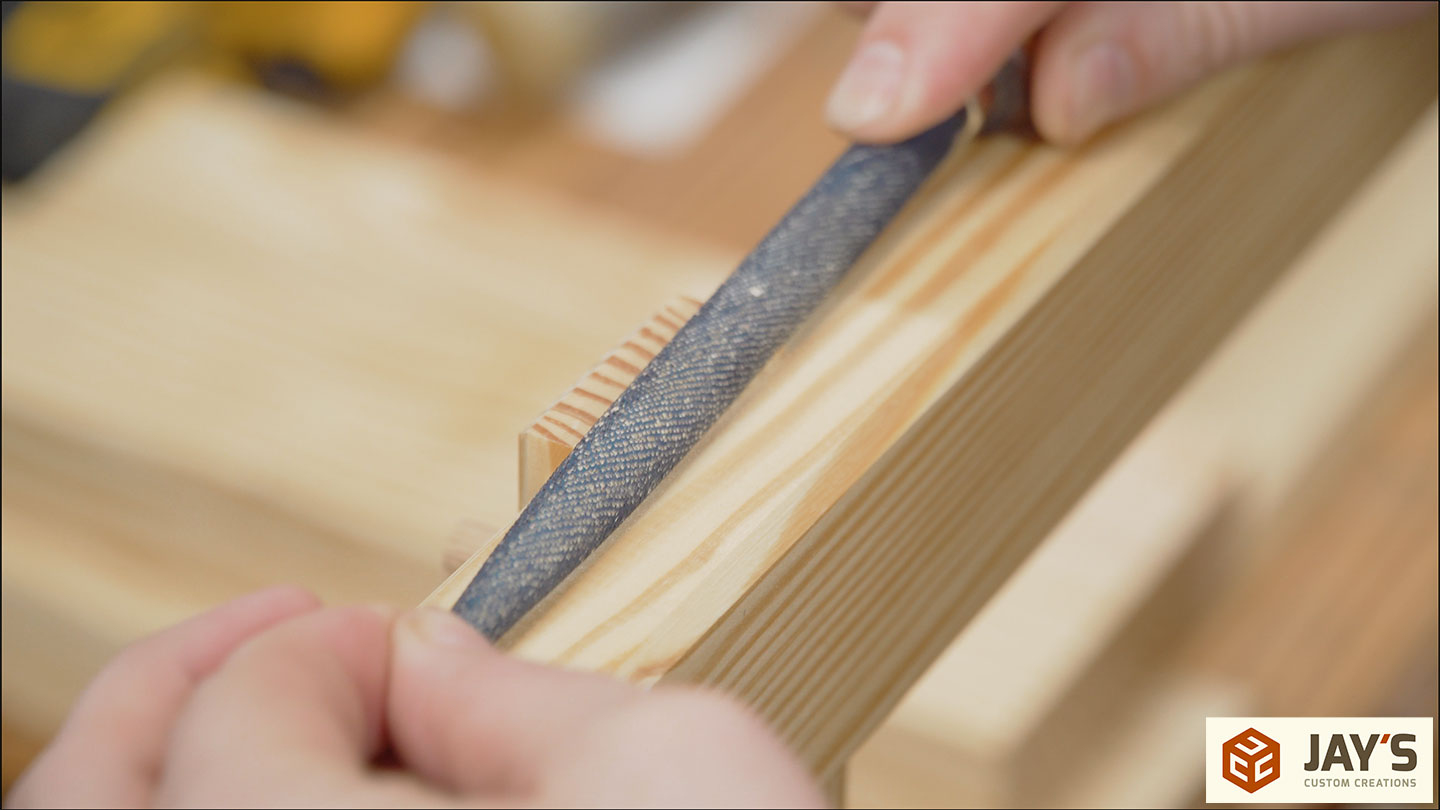
At this point, I started to regret my decision to not chamfer every edge at the router table. I wanted to experiment with the idea of chamfering just the larger outside edges. That was a mistake. At the workbench I tried using a plane, chisels, and ultimately a combination of rasps to get a few more edges chamfered. Lesson learned. I’ll do every edge at the router table next time. I don’t think it looks as good as the project I used as inspiration for this piece.
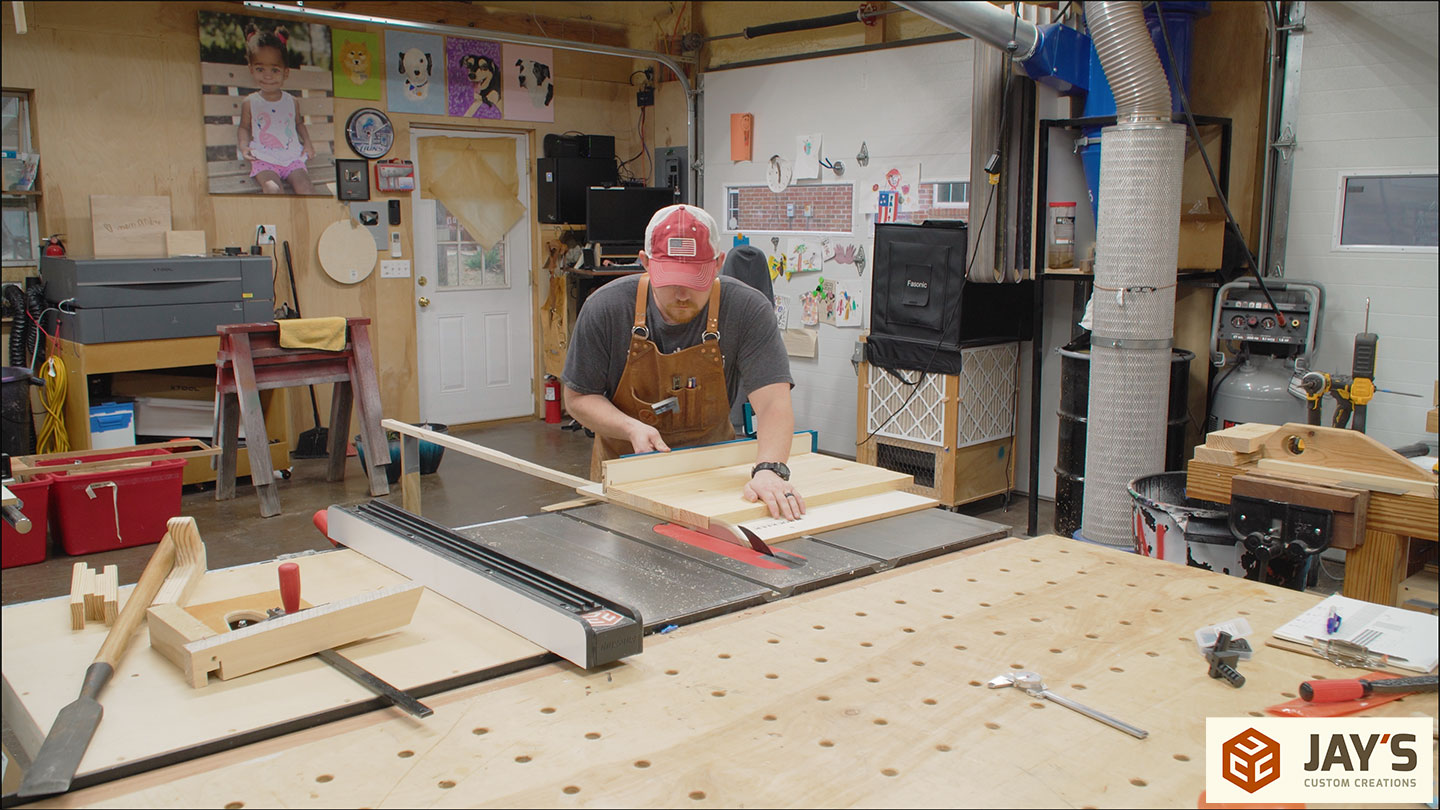
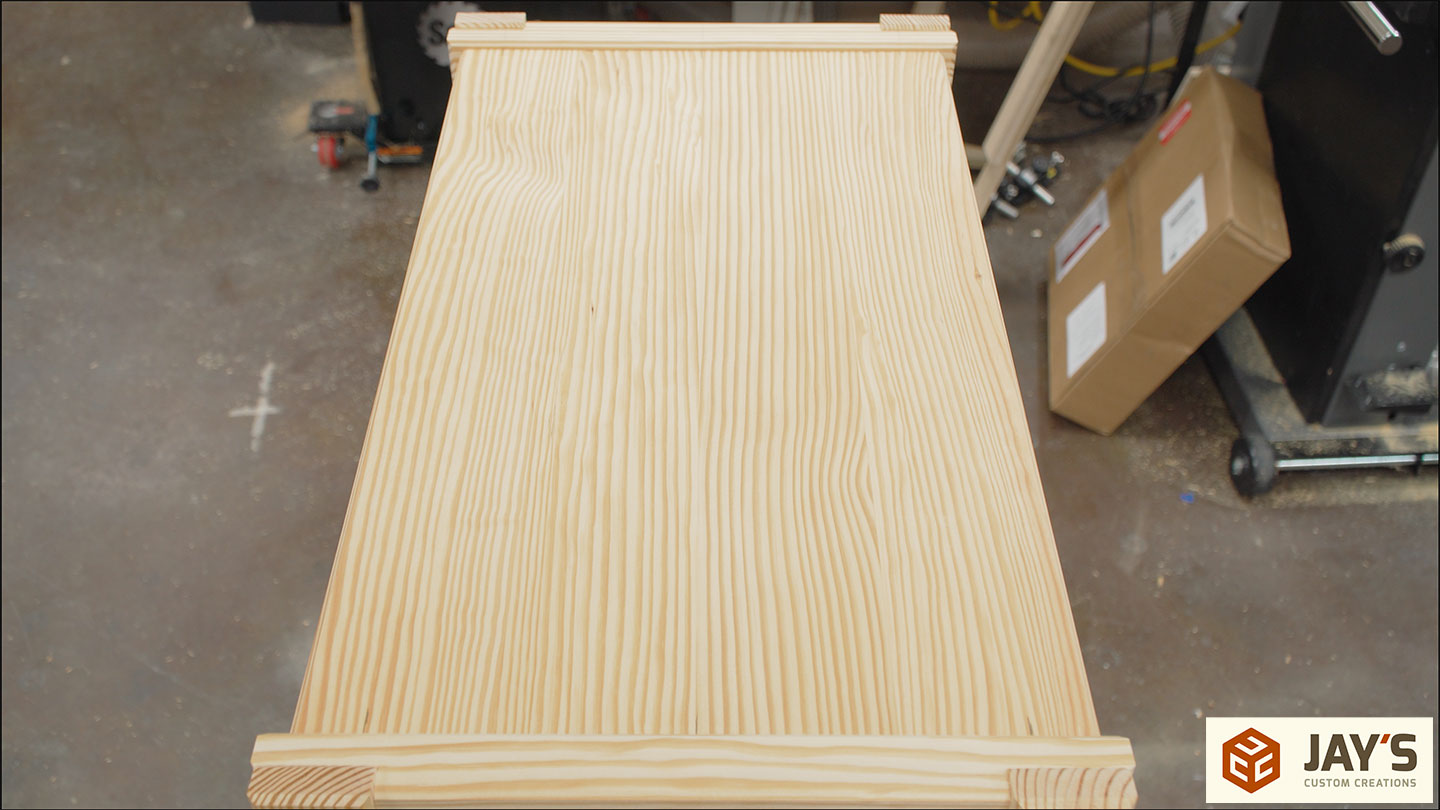
By now, the panels are ready to finalize. I did a decent enough job keeping the panels flat while in clamps, so skip planing is all that was necessary to keep them flat. No need to joint them.
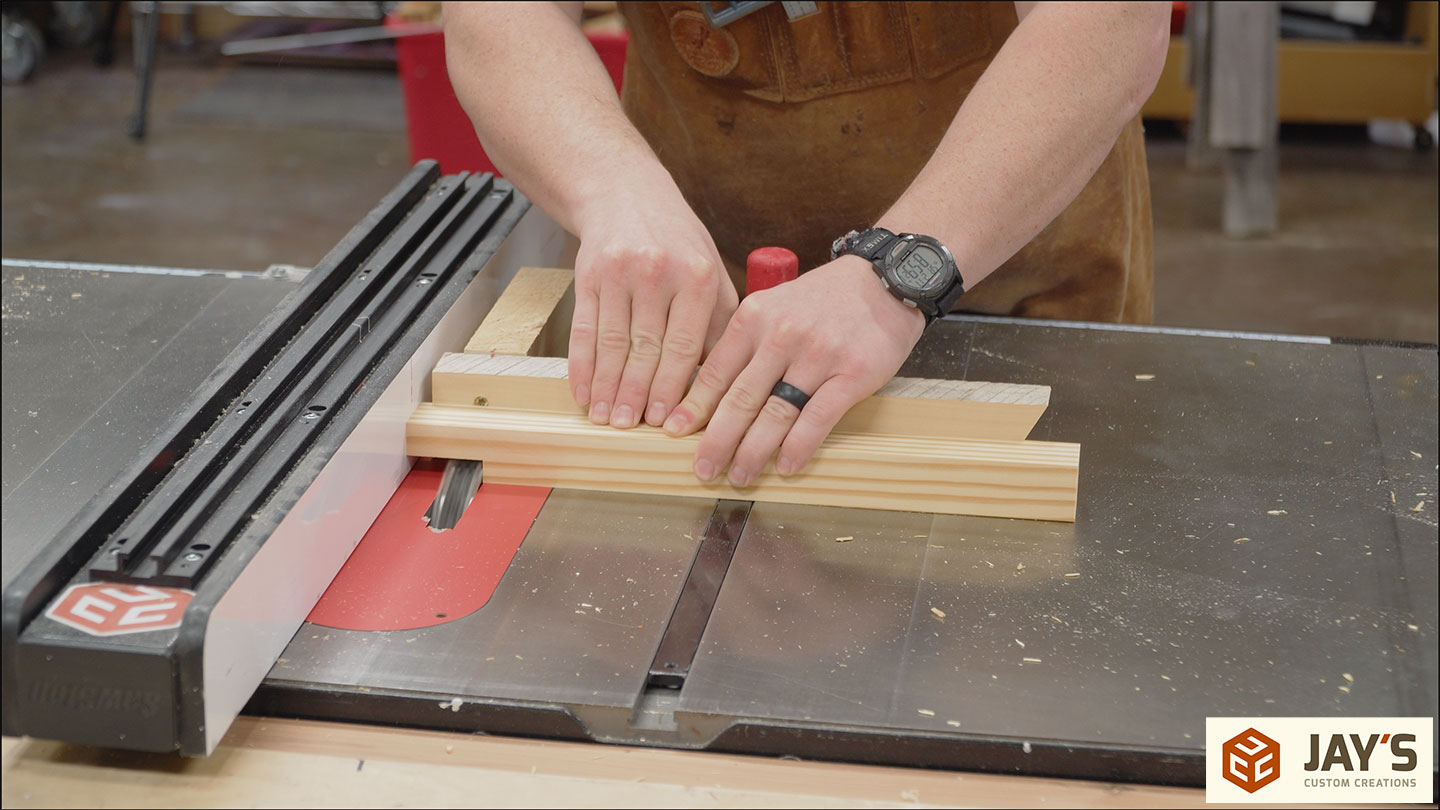
They are cut to the final length at the table saw with a crosscut sled. Using my infeed support arms is super handy when using this sled, as it prevents the sled from falling and allows me to pull it back further to cut wider panels like these more easily.

Of course, the panels get the same chamfer detail on the long edges.
As well as the same domino pattern on the end grain.
When gluing up the side frames, I glued the smaller dominoes to the horizontal frame pieces. I don’t know why I didn’t glue them all in place. So here, I glued the larger, center dominoes into the shelves.
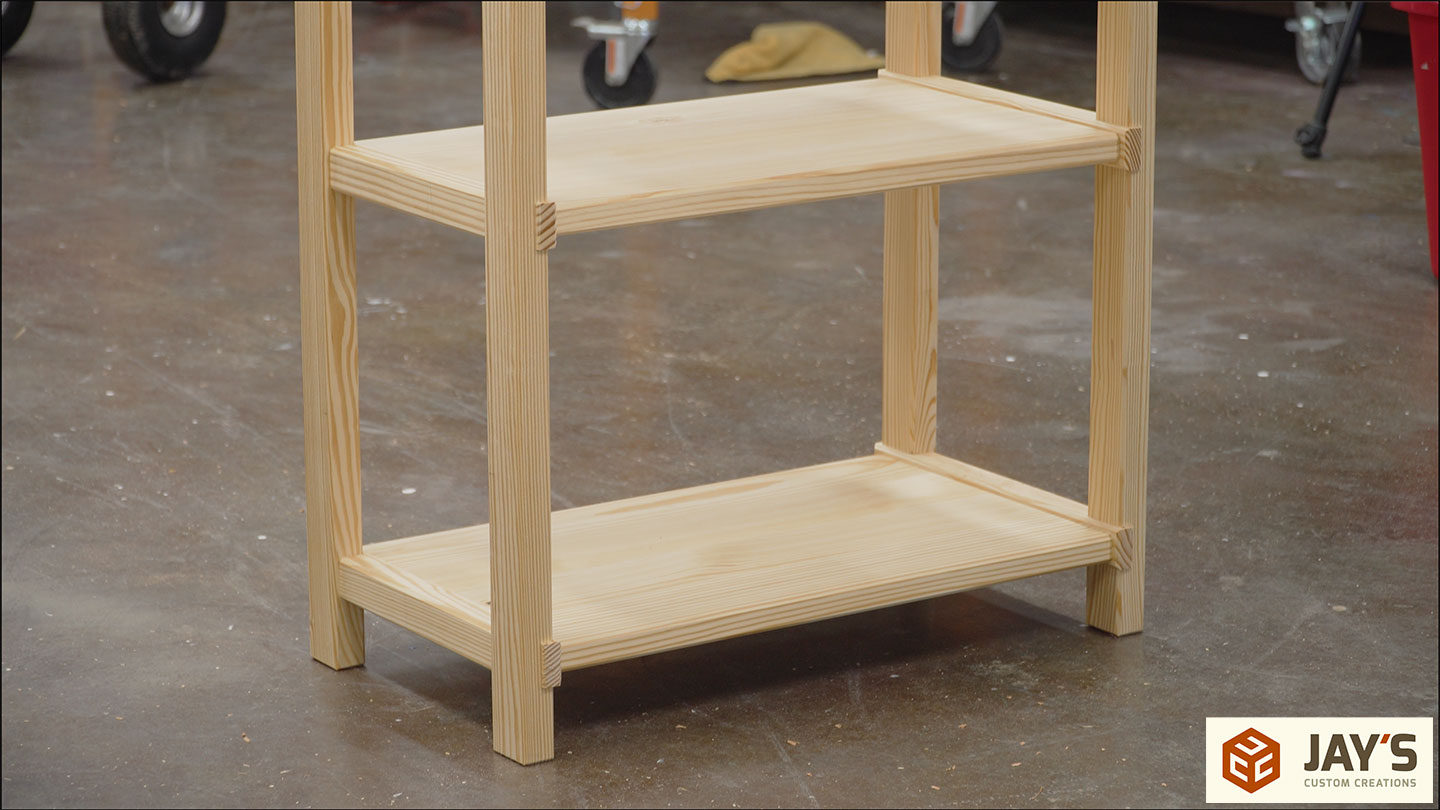
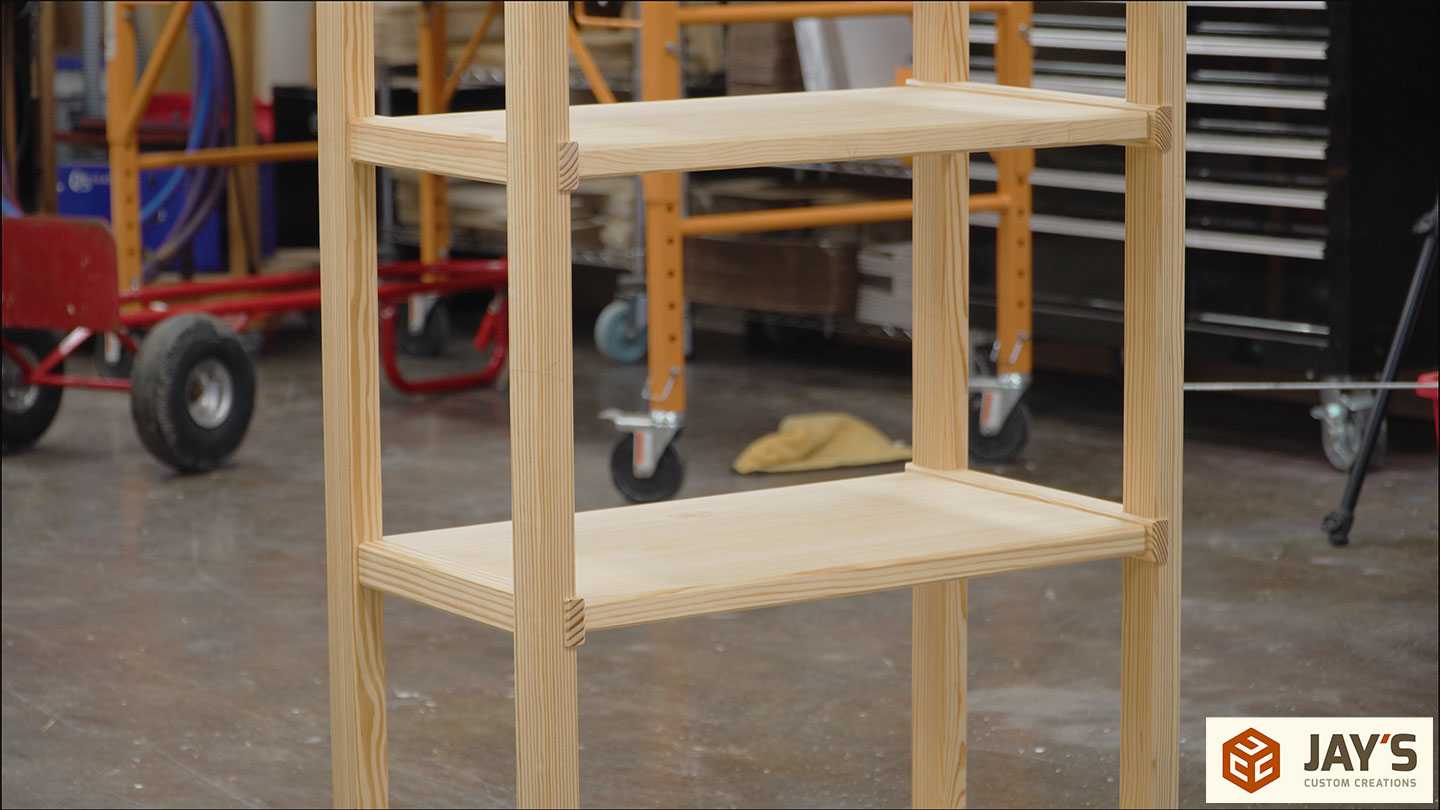
Then, each shelf was attached to one side assembly.
Followed by the other side assembly to lock everything together.
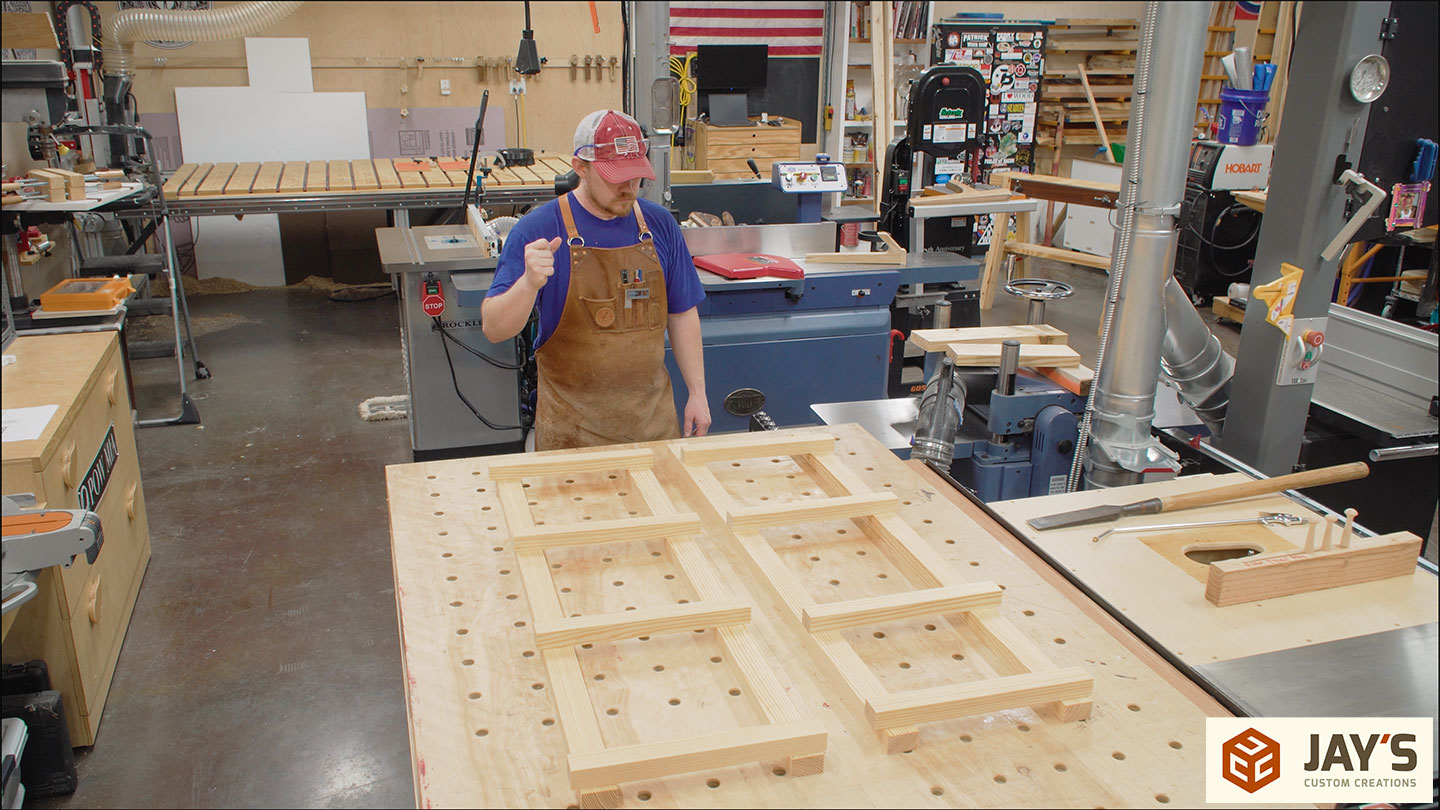
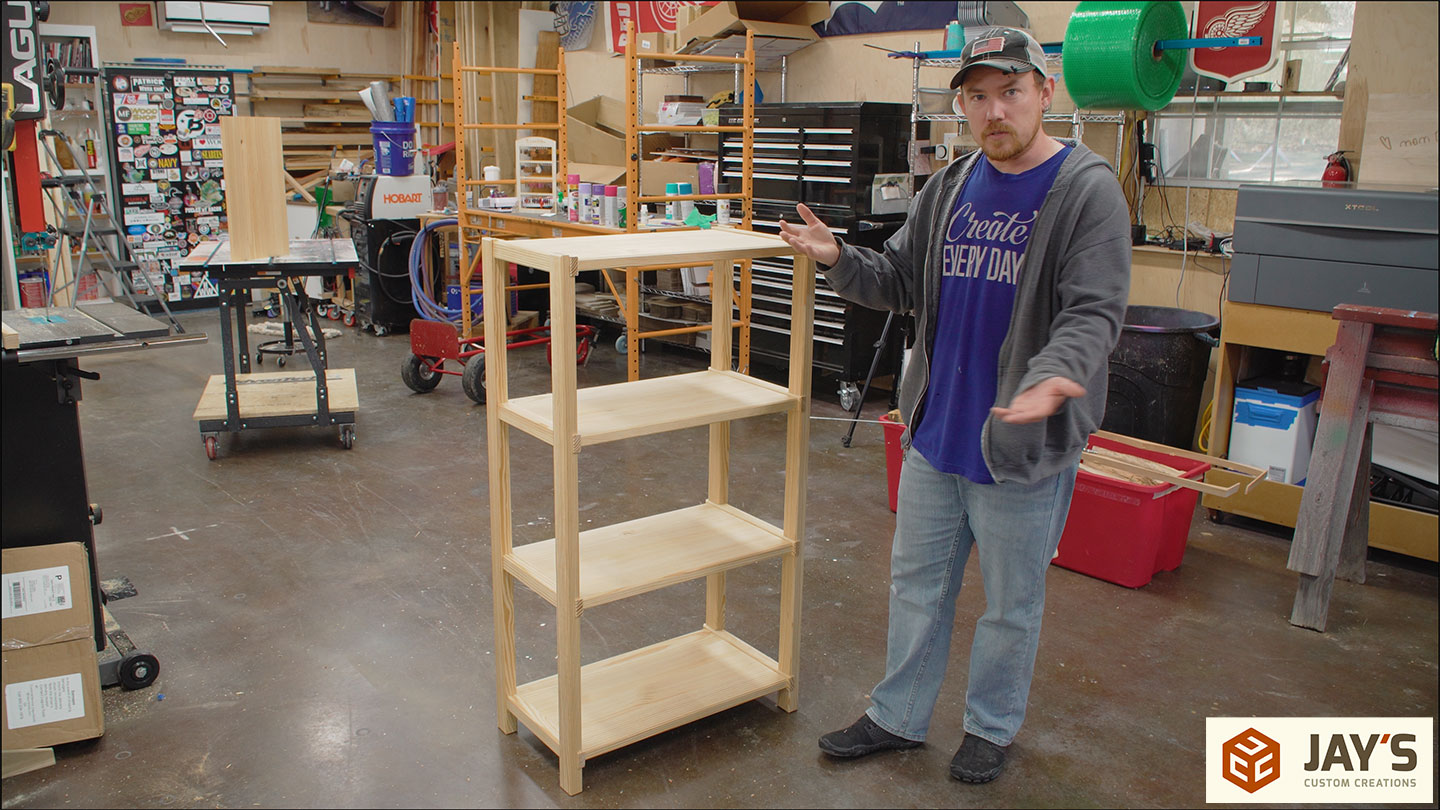
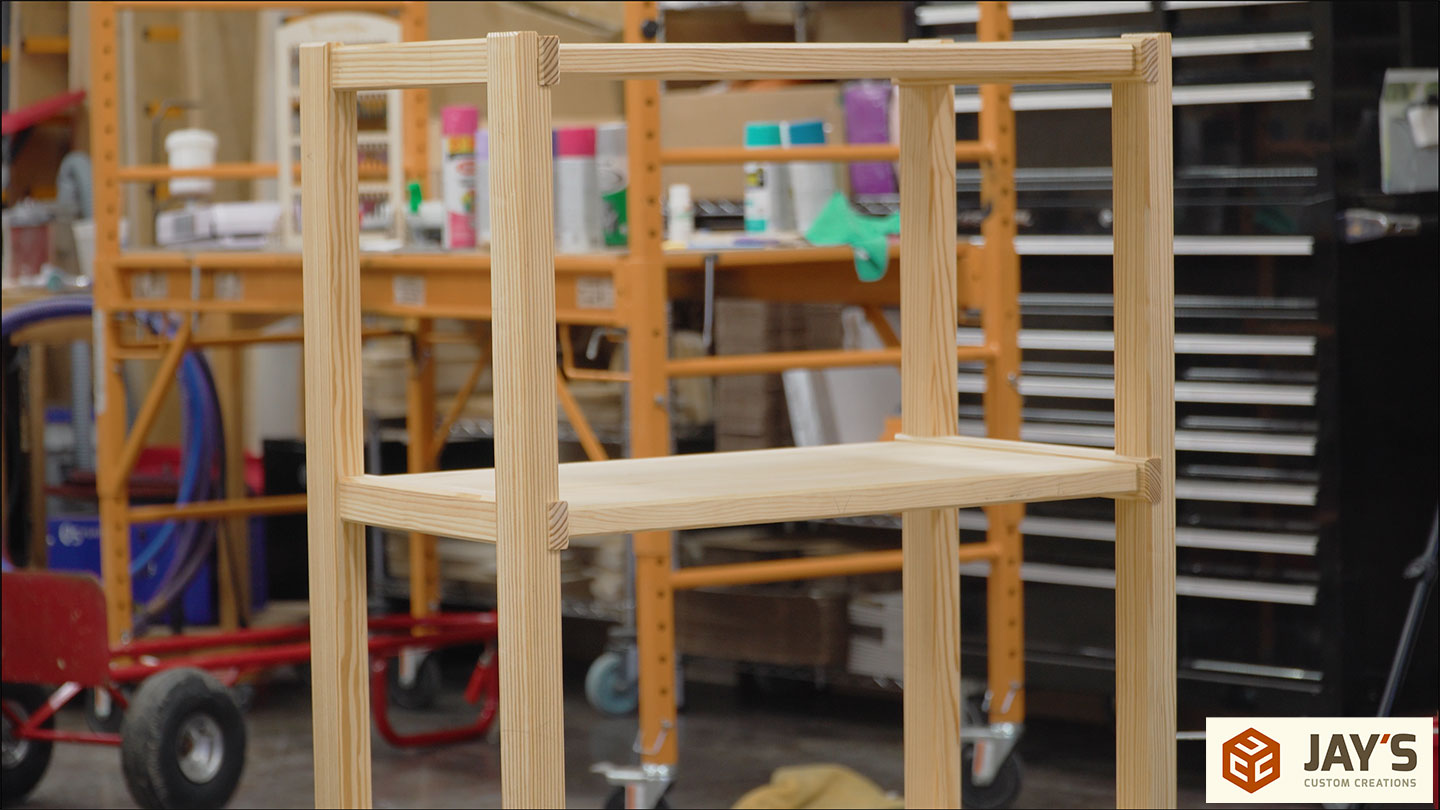
After a day in clamps, here’s the final result.
Let’s talk about those half-laps once again. Here’s a 3 tier shelf I made years ago where I chamfered every exposed edge. This looks great and is the inspiration behind the pine version. In the next photo, you can see how skipping a few edges of the chamfer doesn’t look nearly as good. Lesson learned.
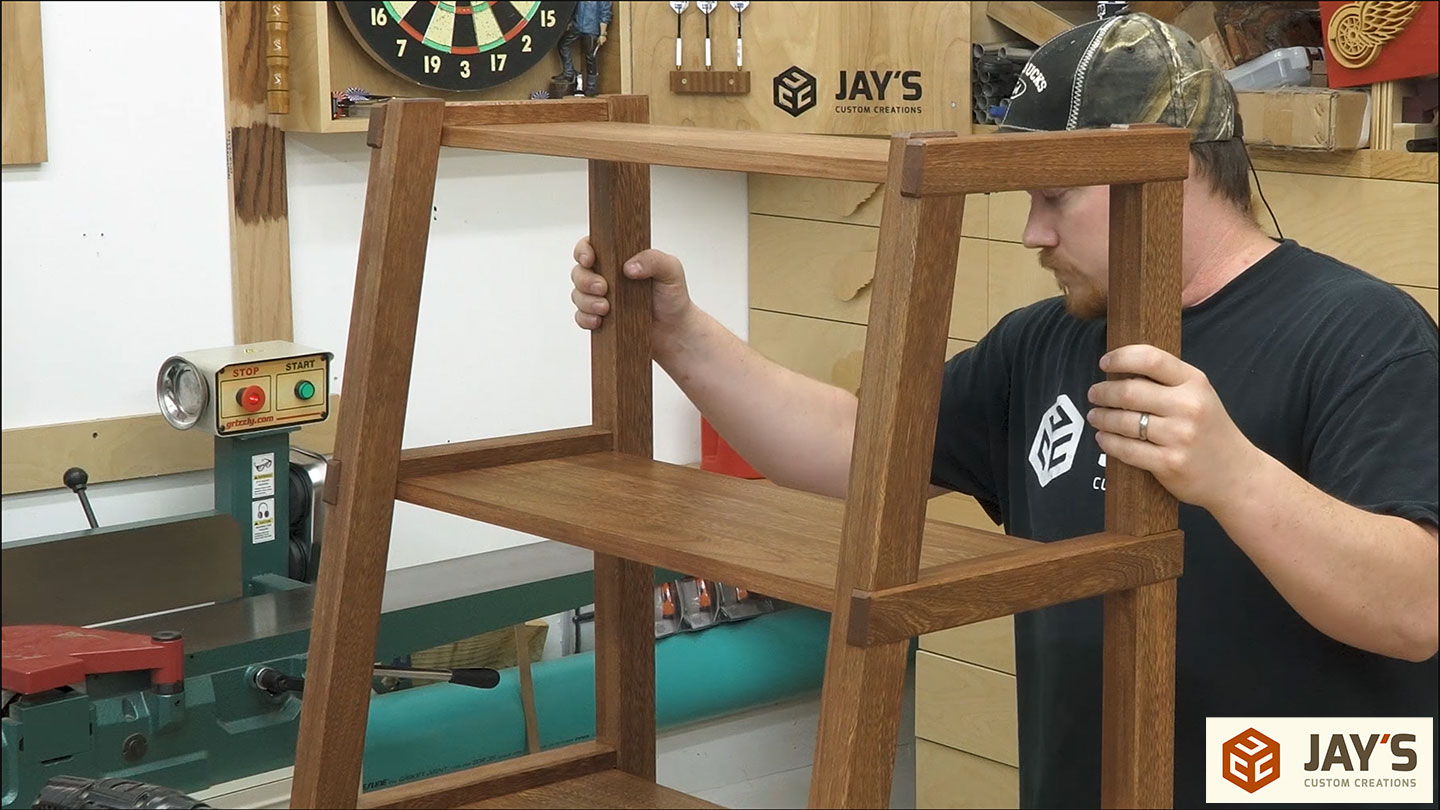
The chamfer lesson is the only thing I don’t like about this build. Everything else turned out great. The grain selection on the legs results in the front and sides looking identical. The shelf panels look straight and uniform. And the few knots and defects I was forced to include don’t really take away from the project visually. They aren’t really distracting, which is the best-case scenario when you can’t remove everything bad.
As I mentioned in the video, I didn’t sand off pencil lines or smudges or apply a finish. I called the project finished-ish. That’s because while the project was in clamps, we got word that we were officially under contract on a new plot of land. We’re moving! Therefore, we no longer need to put this in my daughter’s room; instead, we will use it as basic utility shelving in a shed. More on the house and shop move soon!


Did you forget your Voice over buddy?
No.
Looks great, as expected.
I don’t blame you for using box store lumber. My daughters bedroom was built with it and it looked pretty dang good. We did apply a milk stain finish but that was the wife’s idea.
When she outgrew the furniture it was not hard to let go of it.