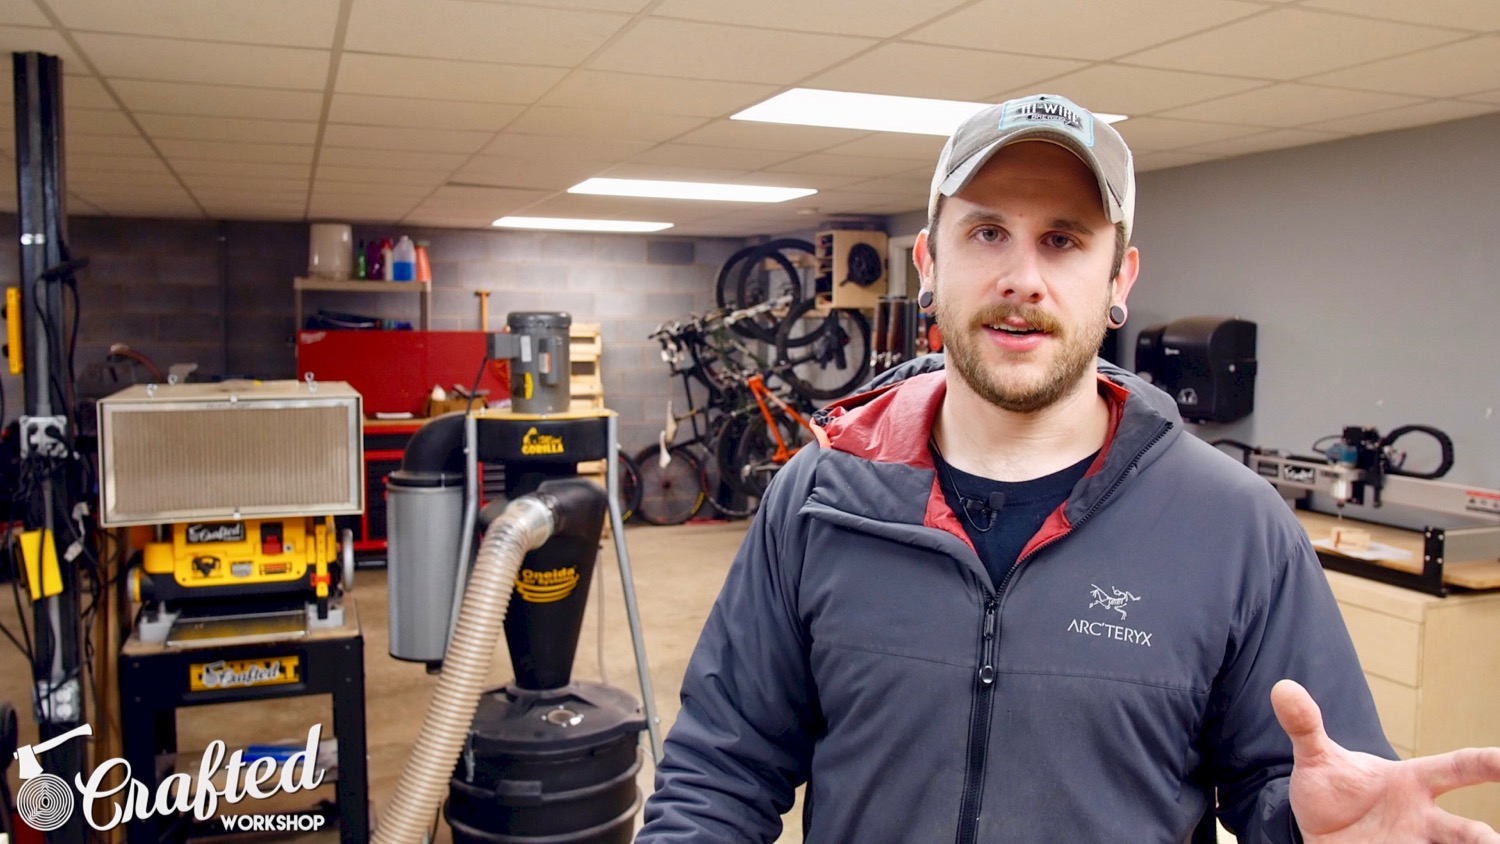
What’s going on, guys! I’m Johnny Brooke and welcome to the first annual Crafted Workshop shop tour. In case you haven’t seen my videos, I publish weekly woodworking how-to videos, but also include some other mediums like welding and metalworking from time to time.
I’m going to walk you around my shop, show you my basic workflow, and talk about some of the tools I have and what I think of them. Check out the video at the top of the post to see the video tour, and then follow along in the article below for a little more detail.
First, let me talk a little bit about my shop space. I work out of a two car garage, but it’s quite a bit larger than your typical two car garage at 25′ by 40′ or roughly 1,000 sq ft.

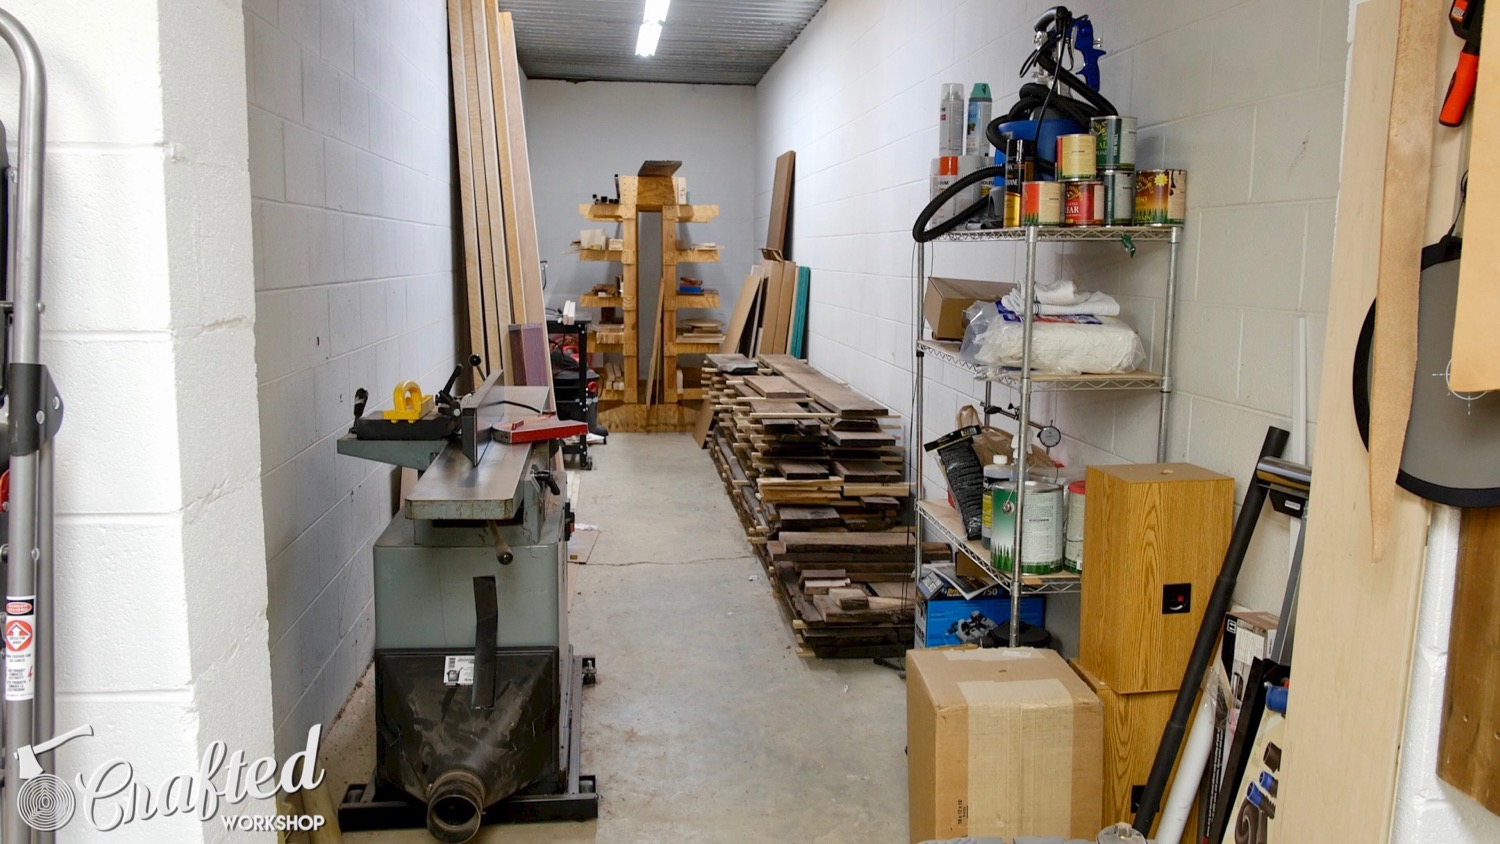
My wife does insist on parking in the garage (sarcasm), so I do have to leave enough room for her car, but everything else is fair game. I also have an odd hallway attached to the garage, which measures 7′ x 25′, and this is the perfect space for me to store my lumber.
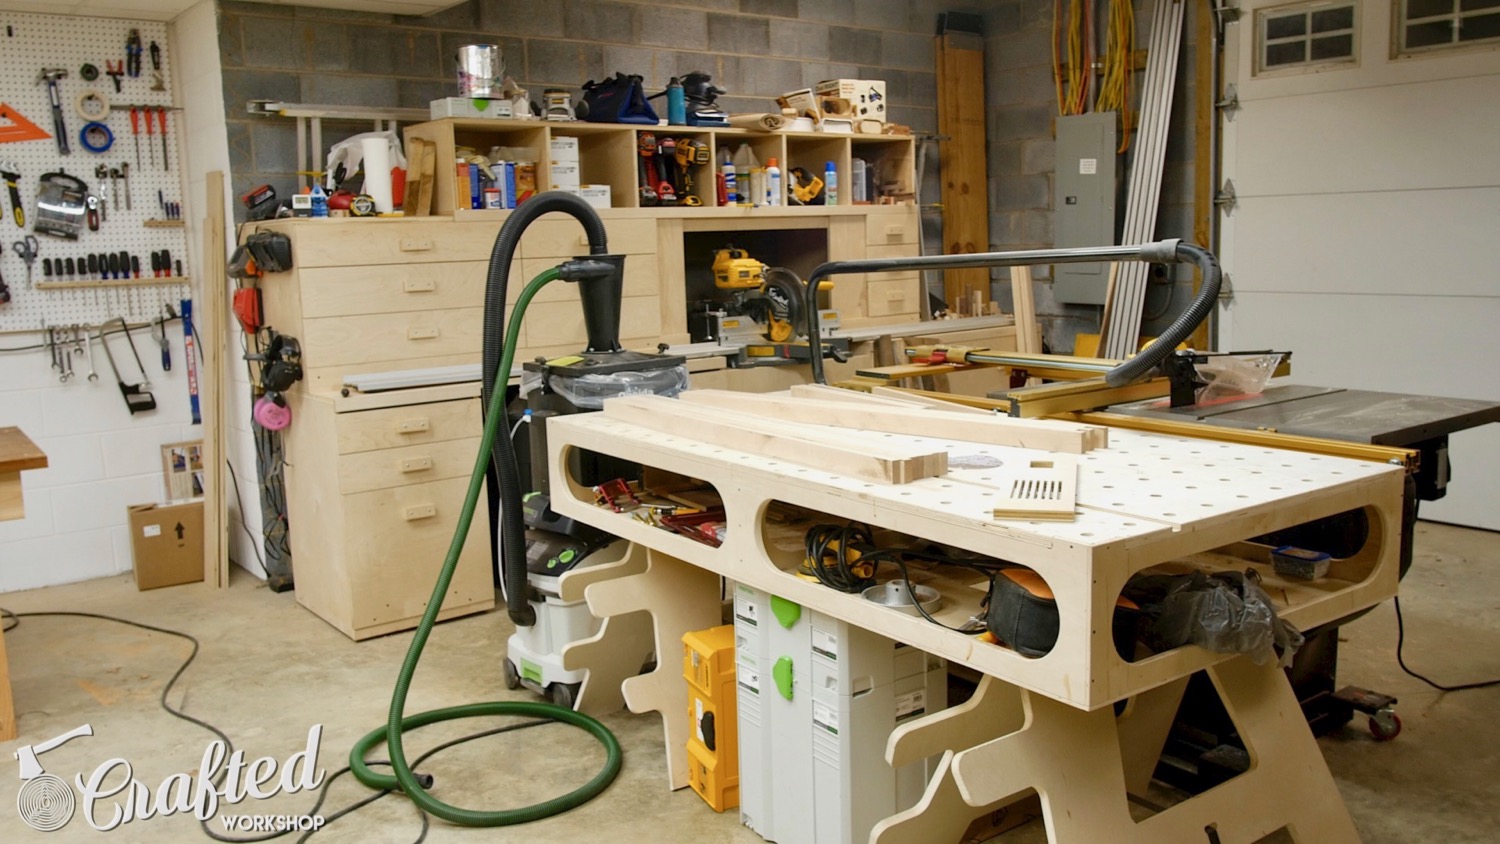
My typical workflow starts at the garage door directly in front of my table saw, so that I can back my truck up and rip sheet goods or lumber right out of my truck bed. Jay’s shop layout has influenced mine in a big way, and I am really happy with my layout as it stands.
The first tool you’re greeted with when you come in the garage door is the table saw, as I said. I use a SawStop PCS and have the 110V / 1.75HP version. I am really happy with the saw overall but have been considering upgrading to a more powerful SawStop recently, since I’ve been working with more hardwoods.

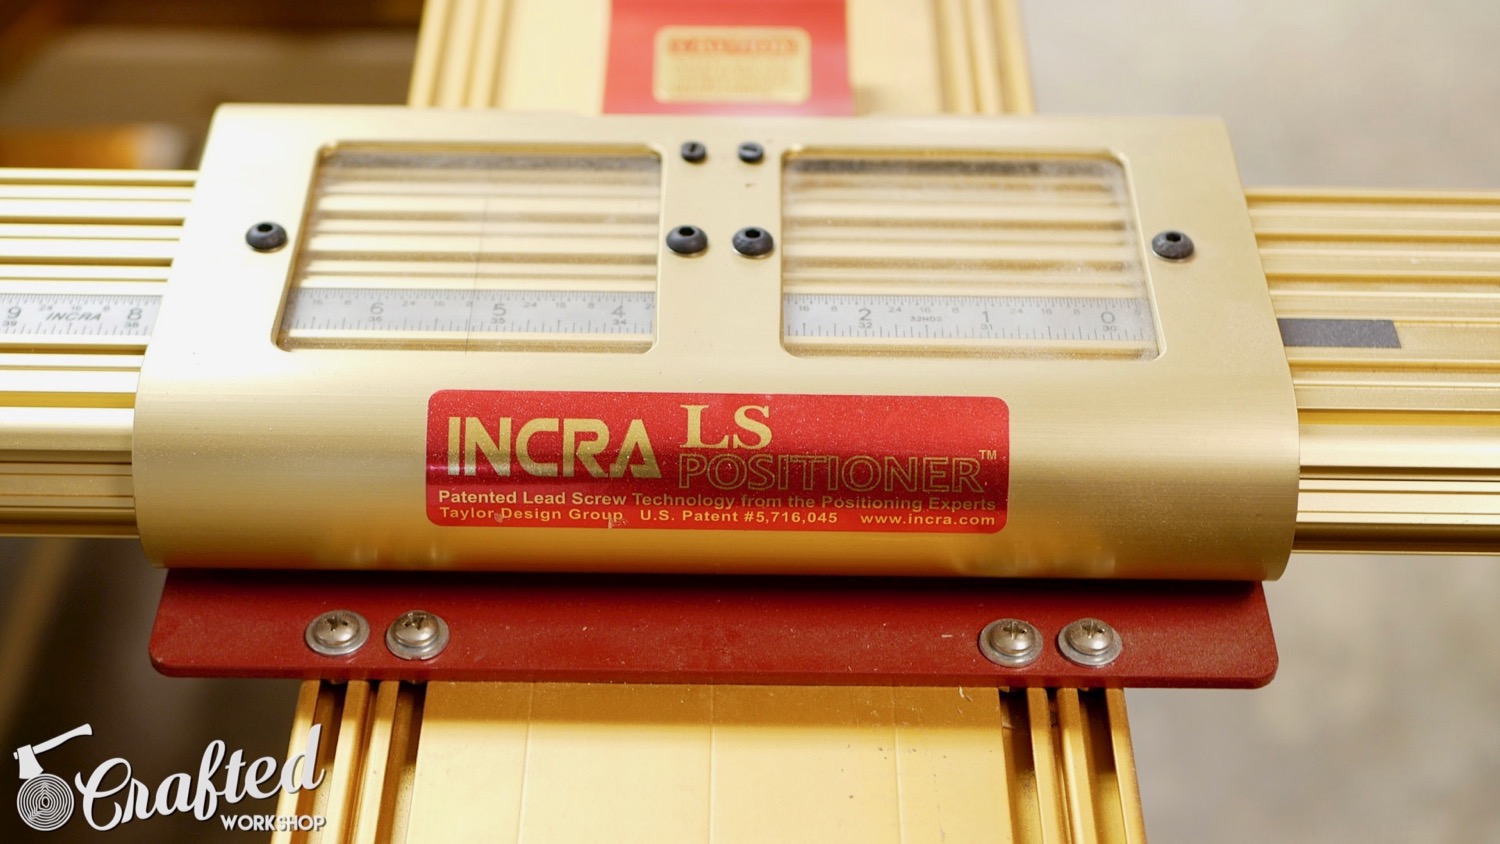
As you might notice, I don’t have the stock fence on my SawStop anymore, I have replaced it with the Incra TS-LS fence system. The Incra fence is outstanding, with tons of precision and repeatability. There are a few flaws; for example, you do lose 4″ of rip capacity with the Incra (32″ rip vs 36″ from the stock fence). It is also awkward to move the fence to the left side of the blade, if you need to do that.
The next major tool in my workflow is my miter saw, which is directly to the right of the table saw. I built the Jay Bates Miter Saw Station as one of my first big shop projects, and I have loved it ever since I built it. It has added a ridiculous amount of storage to the shop, and having a stop block system with the miter saw makes the tool way more useful.
In my workflow, I rarely use a crosscut sled because, most of the time, it’s easier for me to go to the miter saw. Using a 12″ compound sliding miter saw (I use the DEWALT Flexvolt miter saw), I can get something like 17″ of crosscut capacity, and with the stop block, the cuts are incredibly accurate.

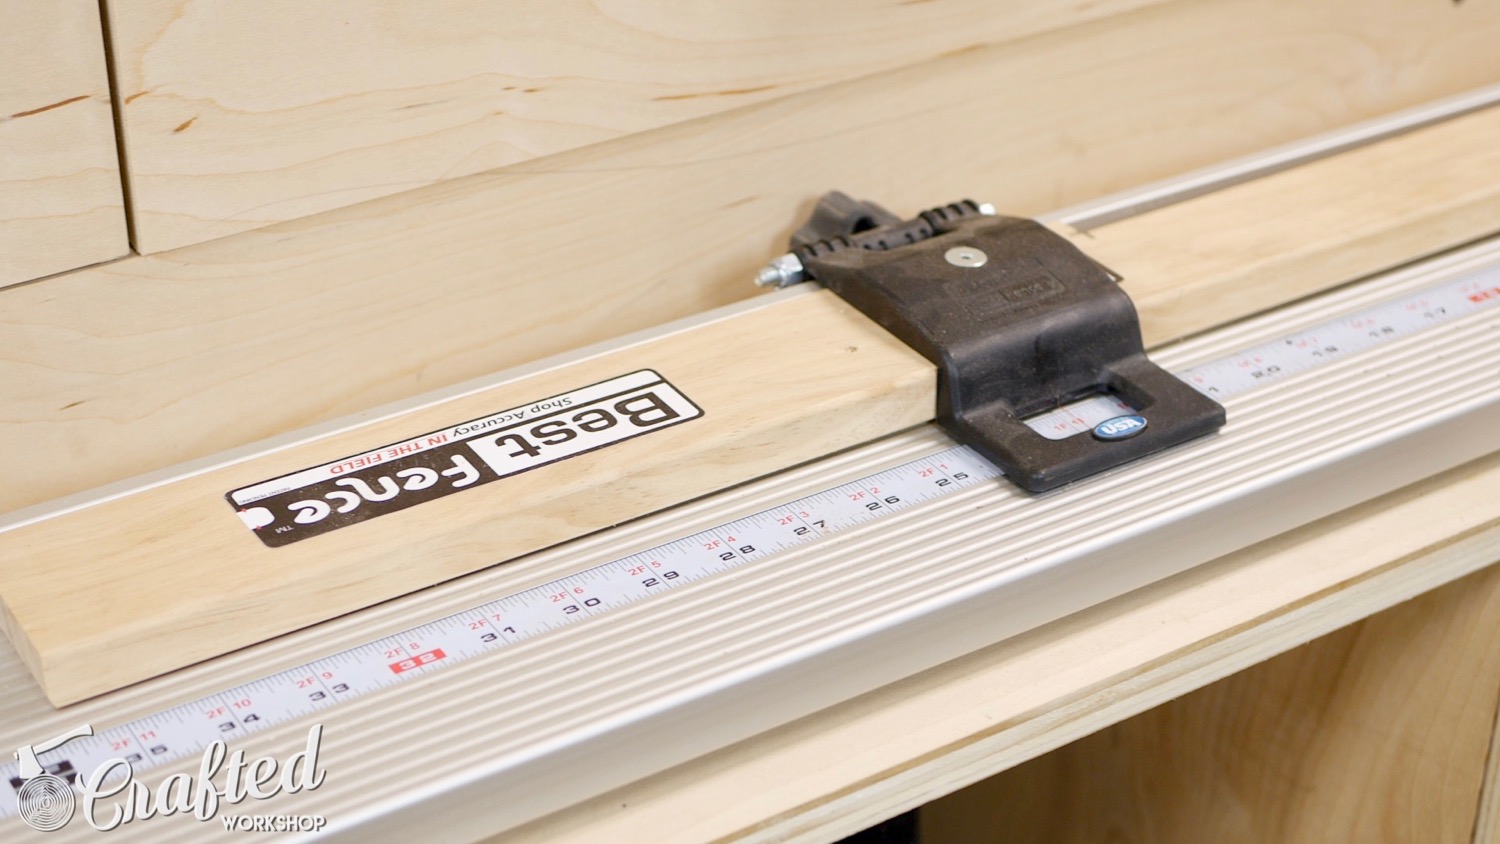
I use the FastCap Best Fence system for my stop block system, mainly because I already had their portable miter saw stand and was using it before I built Jay’s station. It is expensive, but dead accurate and super slick. I was easily able to adapt the aluminum extrusions and the stop block to fit Jay’s system, but obviously it would add a huge expense to buy it outright.
To the left of my table saw, I have a little “tool island”, with my bandsaw, drill press, and planer. Having these tools grouped makes a lot of sense, since each of them has dead space on one side. On the bandsaw and drill press, the backs of the unit don’t need to be accessed frequently, and on the planer, the left side of the unit doesn’t need to be accessed. I also have a load bearing post smack in the middle of the garage, so this island surrounds that.
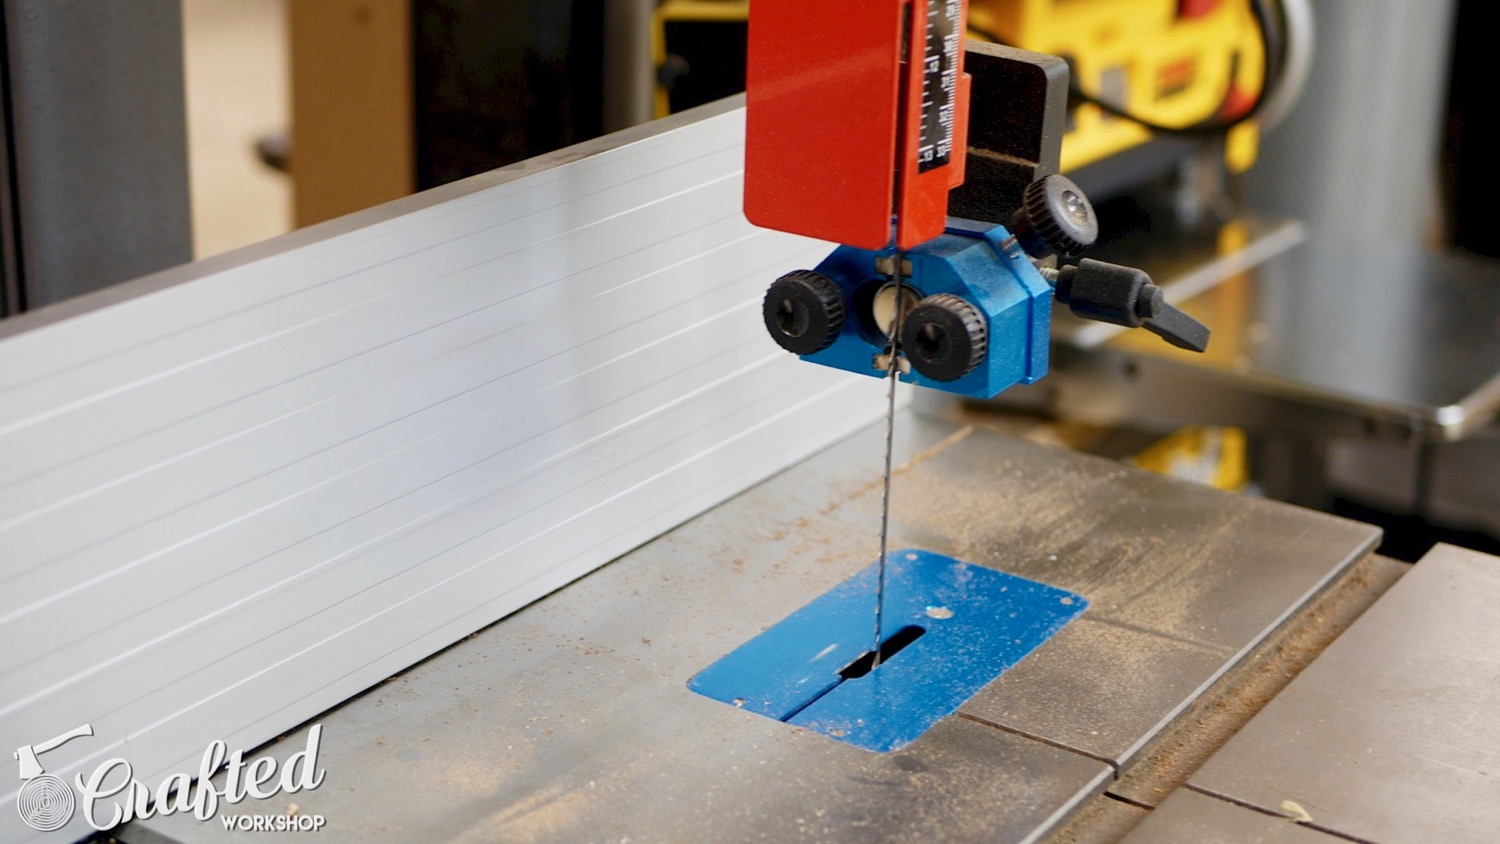
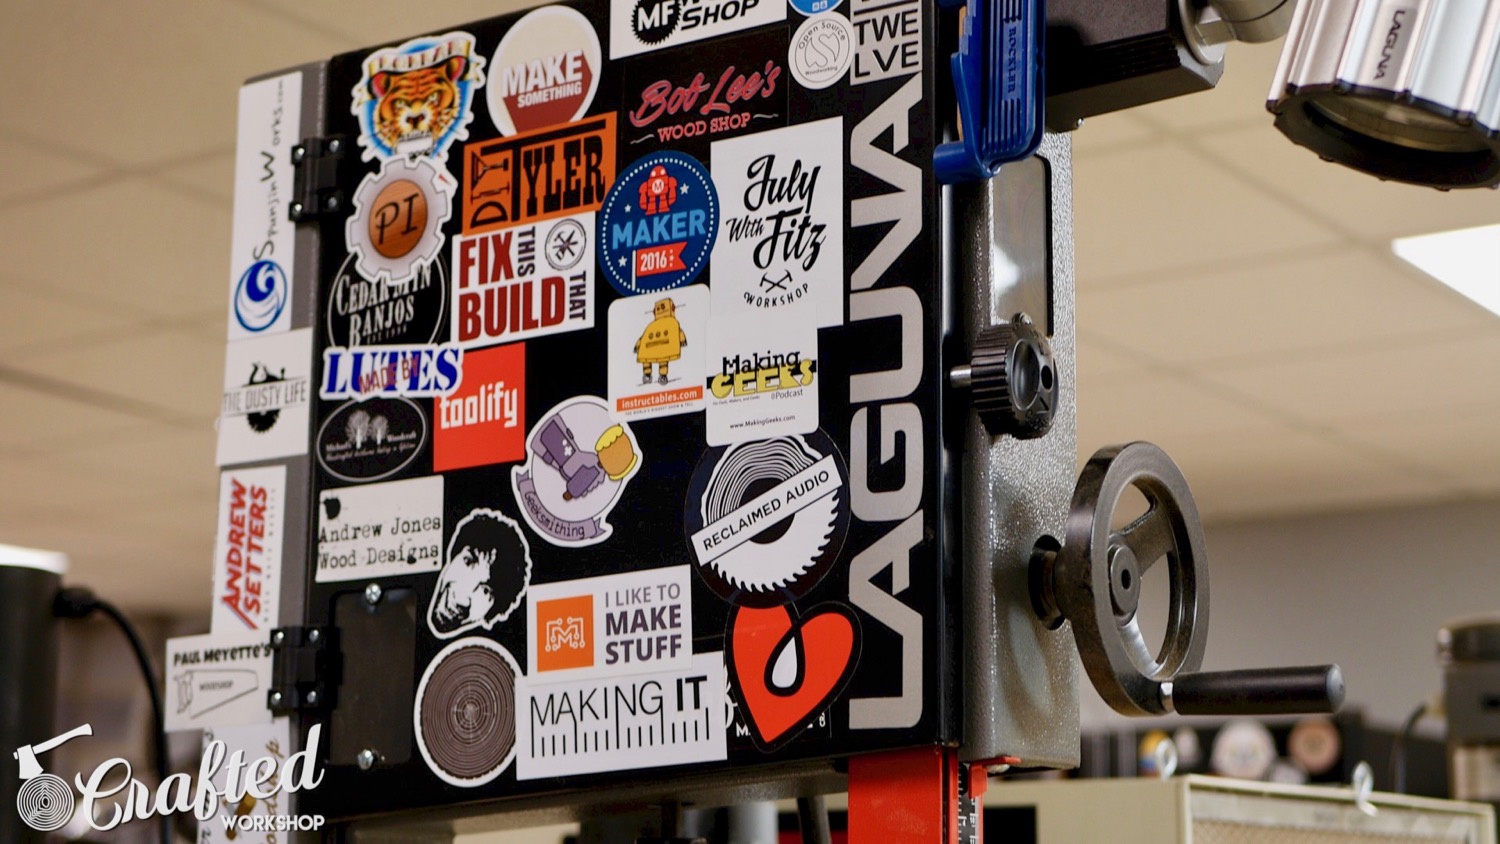
My bandsaw is a Laguna 14|12 and I’ve been really happy with it so far. It has a ~13″ resaw capacity, which is incredibly handy and I have maxed that out. I built a Telecaster-style DIY guitar from scratch last year and had to resaw a ¼” slice off the top of the entire guitar body, and the Laguna bandsaw handled it without struggling.
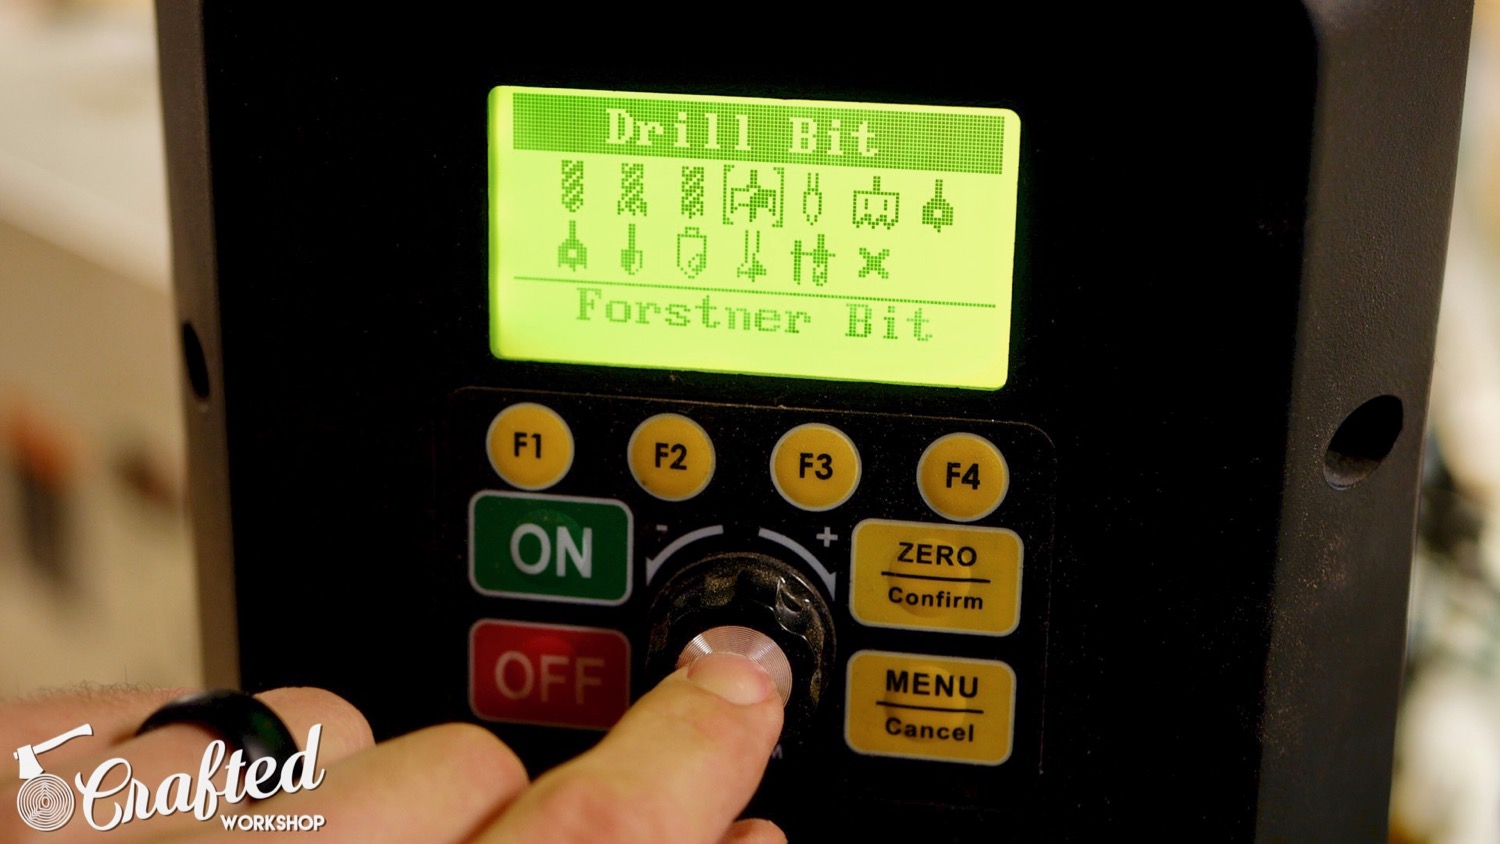
My drill press is the new NOVA Voyager DVR drill press, which is the coolest drill press I’ve ever used.
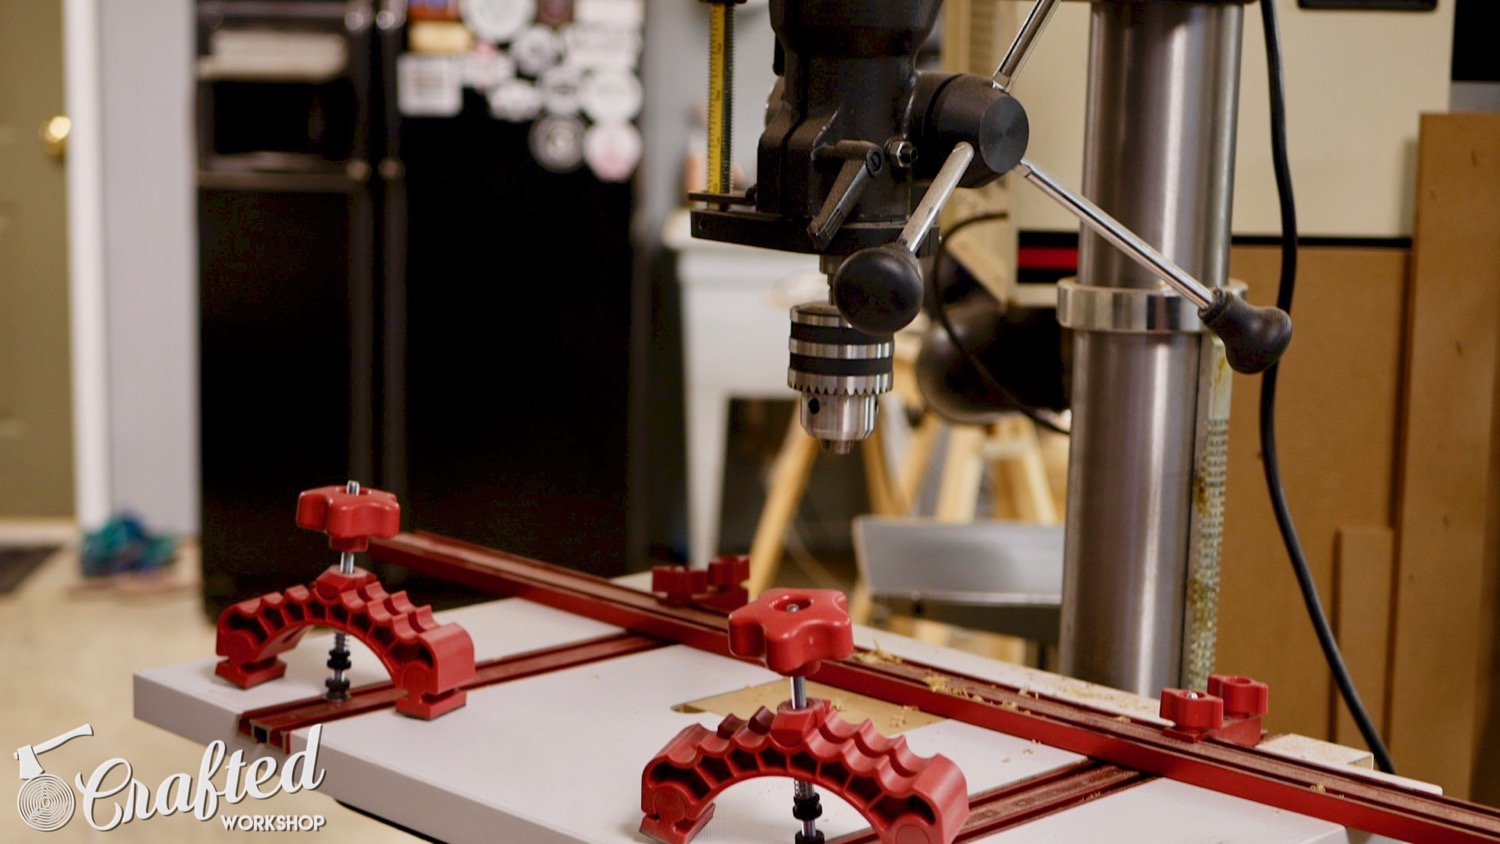
It has a menu system that can help to dial in the correct RPM based on the type of drill bit you’re using, the size of the drill bit, and the type of material you’re drilling into. It’s definitely an expensive tool, but it’s kind of amazing. I have a Woodpecker’s drill press table, which adds a ton of functionality to the drill press.
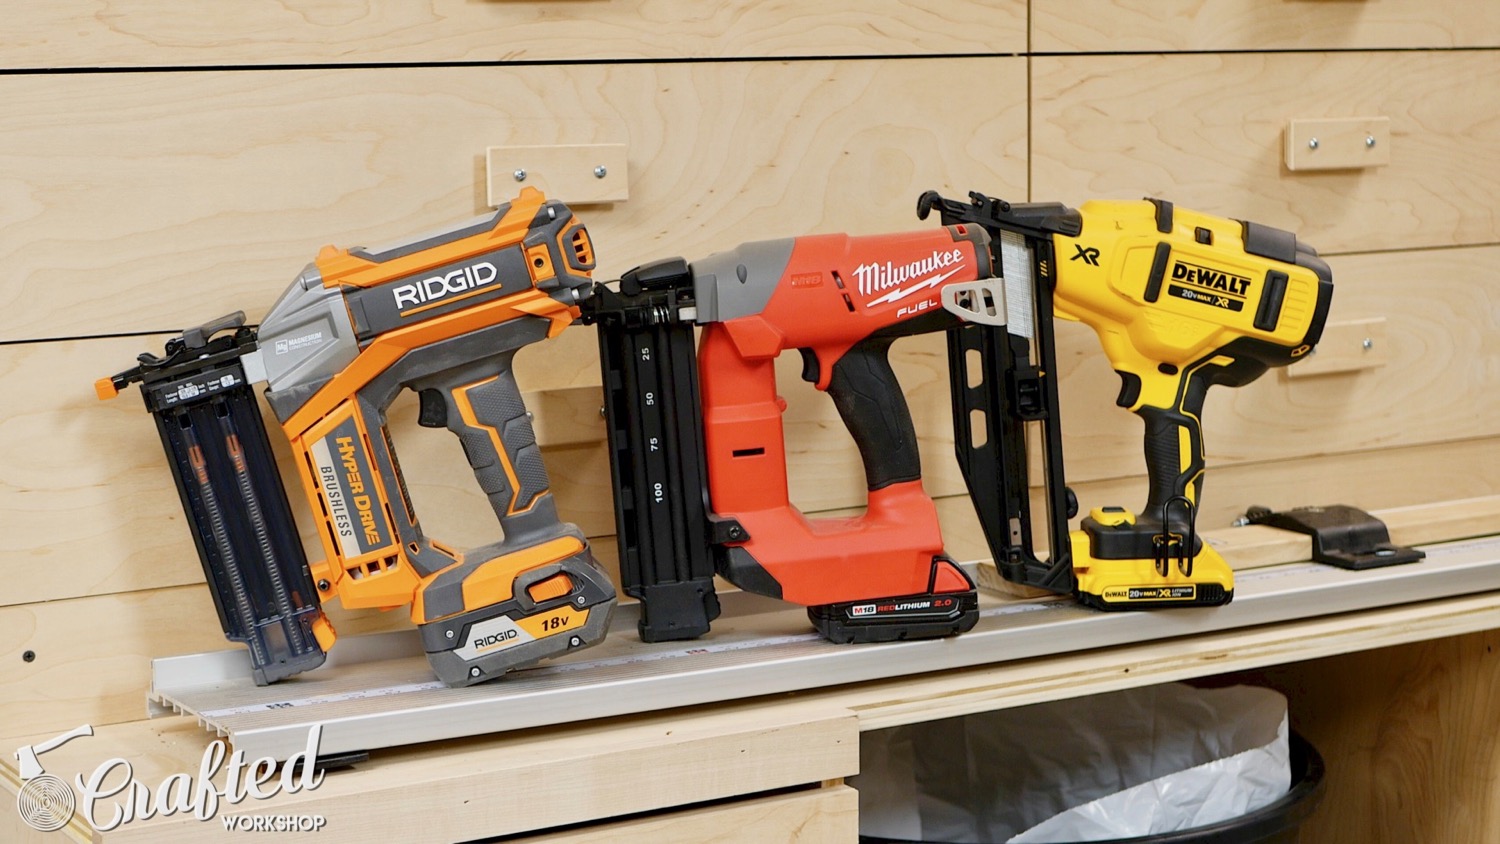
Let’s go back to the miter saw station and take a peek at my cordless nailers. I have a RIDGID brad nailer, Milwaukee Brad Nailer, and DEWALT Finishing Nailer. I don’t even own an air compressor and just don’t see the need for one in my shop based on my current workflow. These little cordless nailers are pretty amazing.
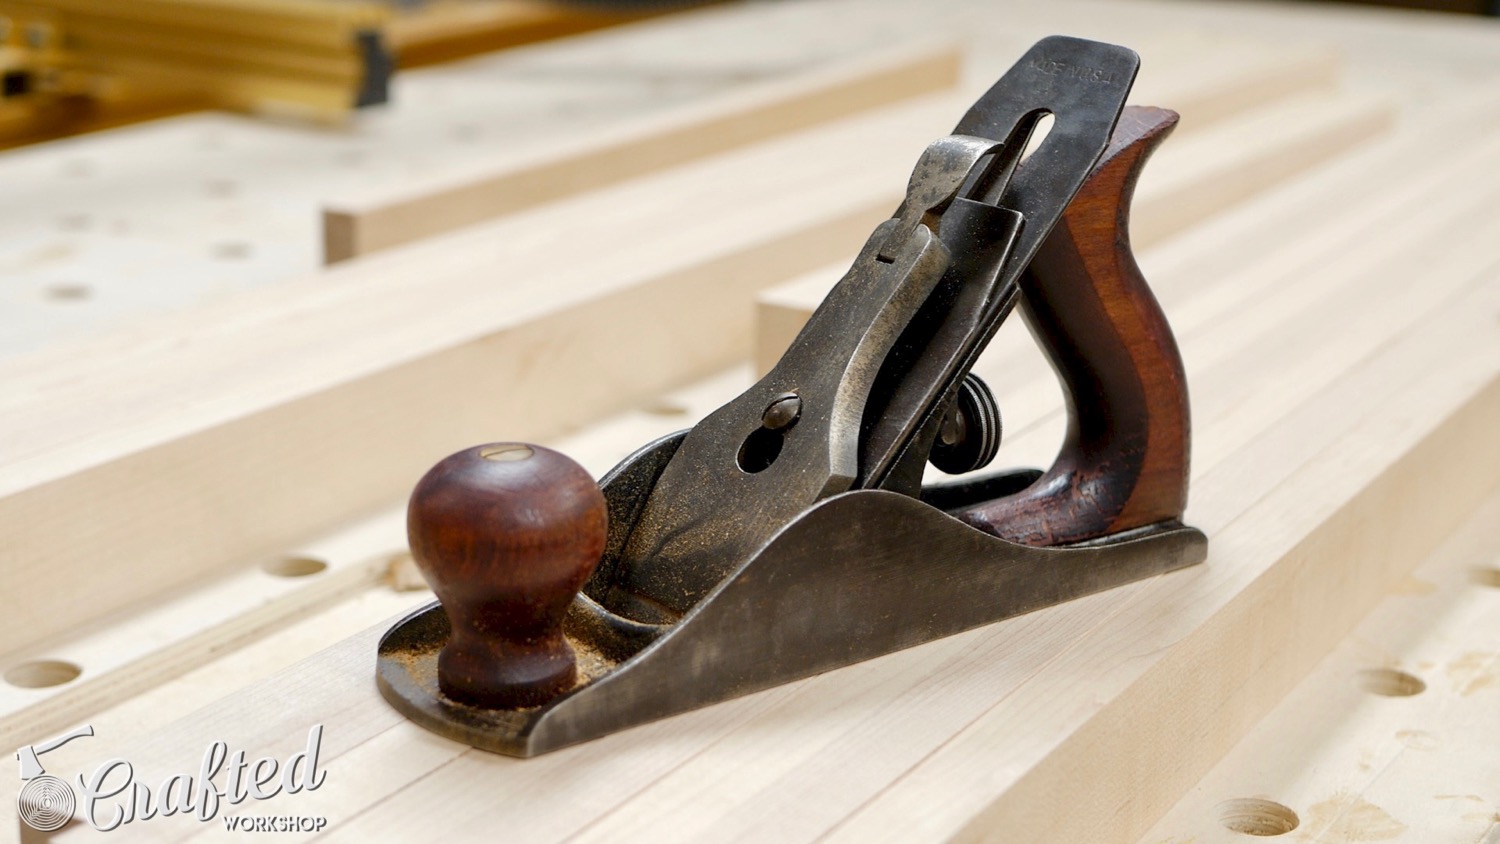
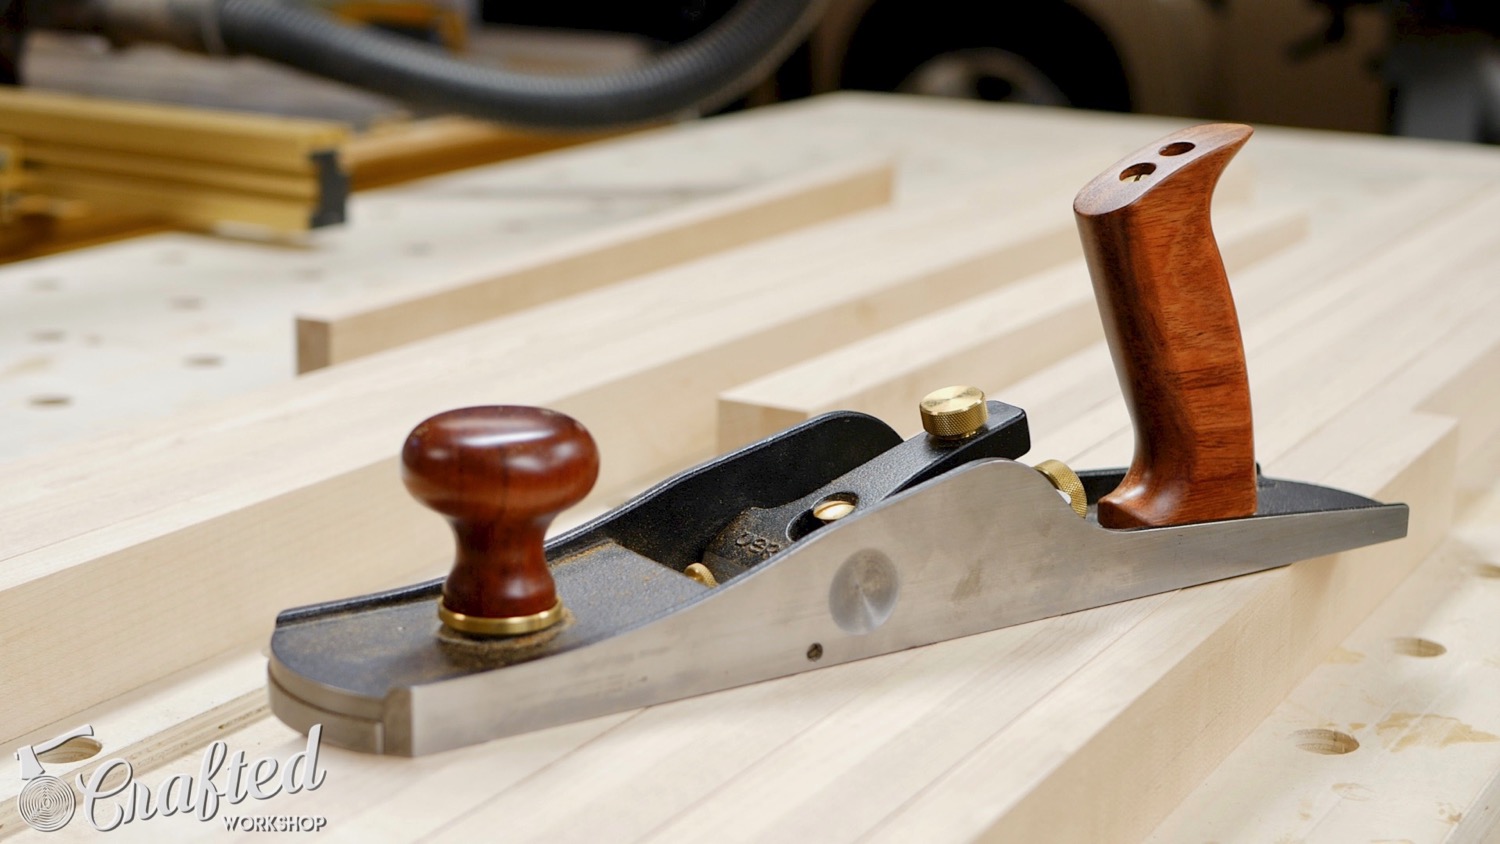
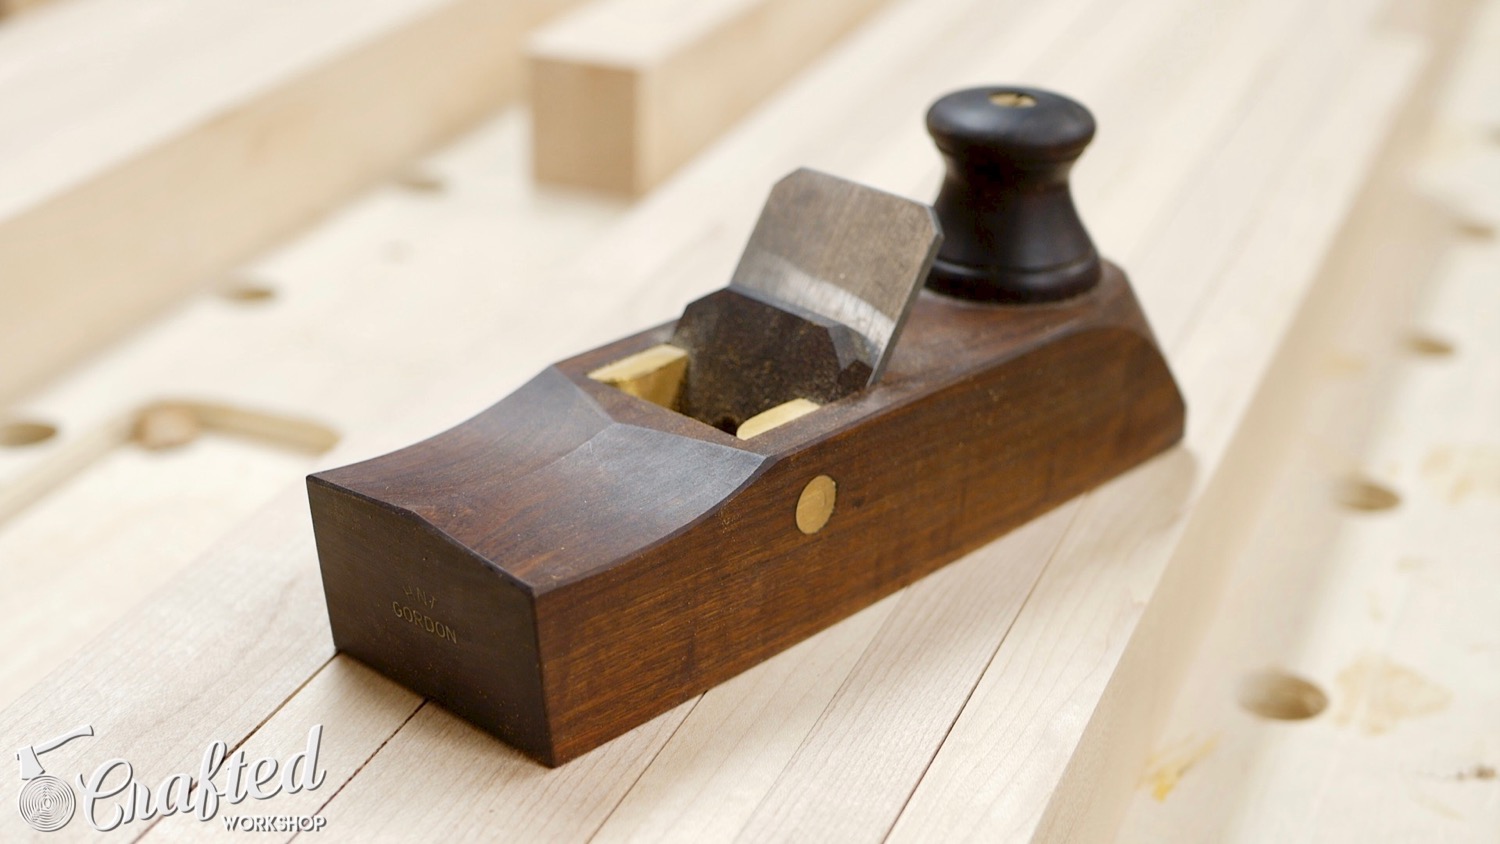
Also stored in the miter saw station is my hand tool drawer, a drawer that is unfortunately kind of neglected. I have three planes, a Stanley No. 4 plane that I restored, a Veritas Low Angle Jack Plane, and a HNT Gordon Block Plane. They’re all great planes, but I haven’t even started to use them to their full capacity. One of my resolutions for 2017 is to rectify that oversight.
Continuing around to the other side of my table saw, I have the FastCap Paulk Workbench. As you guys might have heard me say on my podcast, the Crafted Podcast, I’m not a huge fan of shop projects, so I try to get things pre-made when I can. I realize this is directly opposite to a lot of you, but I guess that’s just how I’m wired.
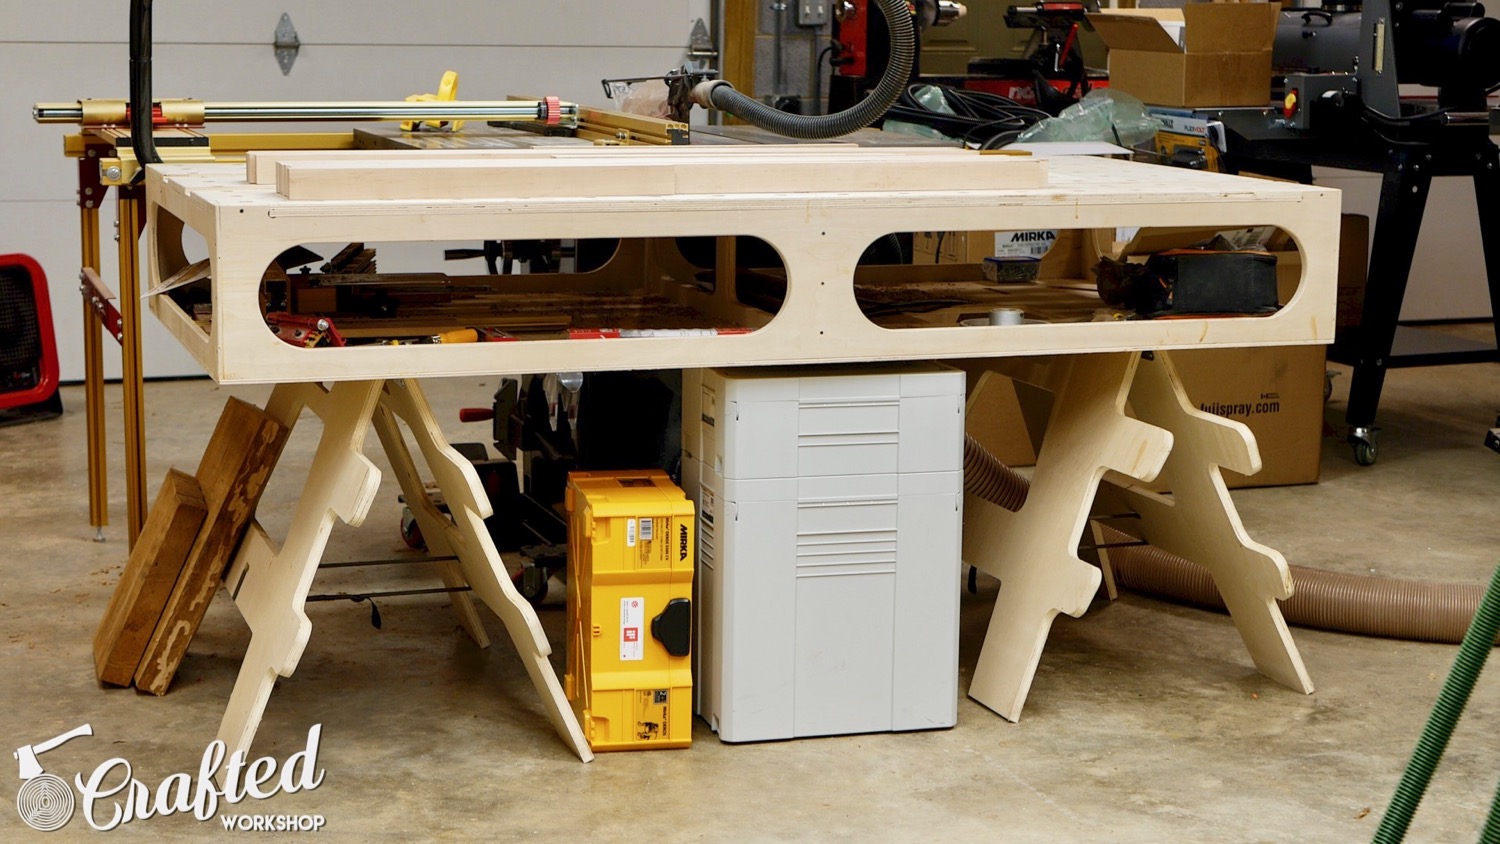
It was really nice to have the Paulk workbench delivered, assembled, and ready to use right away. I use it as an outfeed/assembly table, and it is awesome for that. I actually moved my Woodpecker’s router lift into the Paulk workbench right after recording this shop tour, and I think I’m going to really like it there.
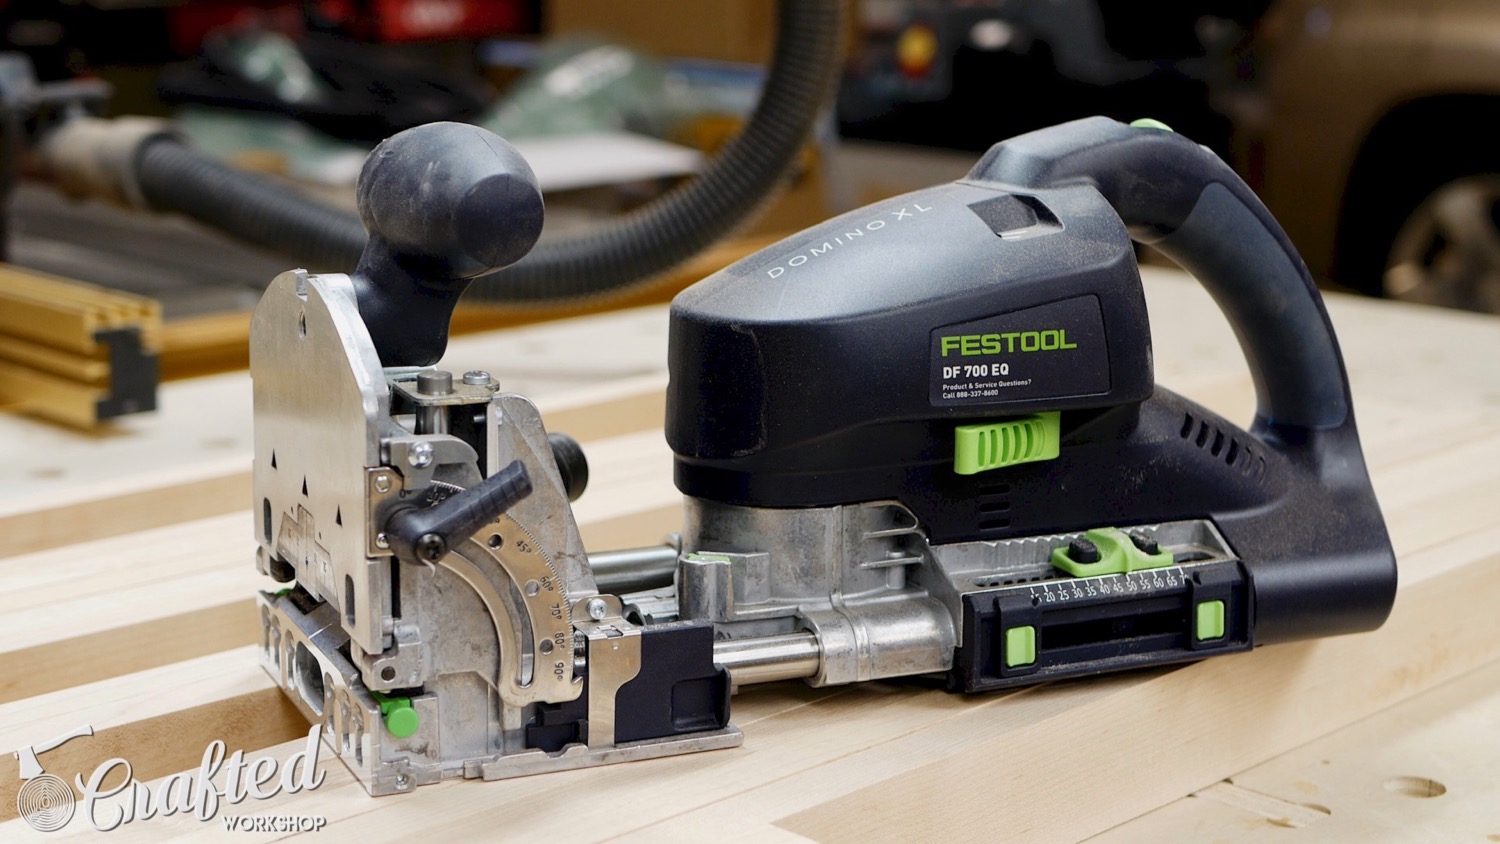
Beneath my Paulk workbench, I store the Systainers that contain my Festool Domino XL and the Dominos that go with it. I realize this is a seriously luxury tool, but it is amazing how much efficiency you can gain with it. On my recent “Building A Modern Secretary Desk / Organ Cabinet” build video, I used the Domino XL extensively and it really sped up the joinery for the base.
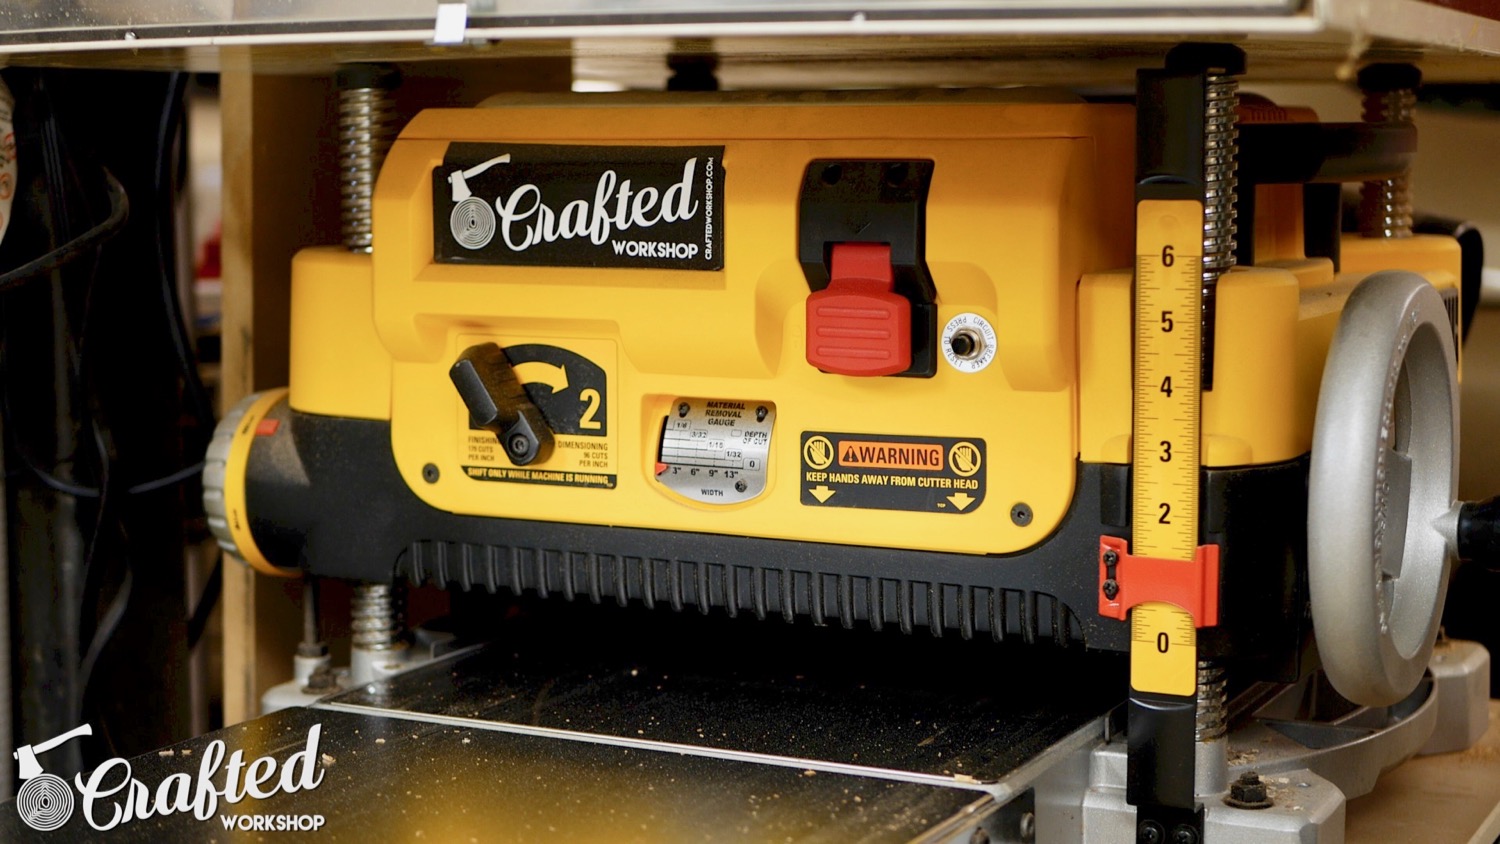
Continuing the other side of the tool island, we come to my planer and dust collector.
My planer is the DEWALT DW735, which I think is probably the best deal running in the planer market. You can pick these up on Craigslist for $350 and it does an outstanding job at that price point. I have been considering upgrading to a larger planer with a helical head, but the price gap is unreal, a minimum of $1,800 from what I’ve seen. That’s a hard pill to swallow when the DW735 does such a good job.
Next to my planer is my dust collector, which is a mobile unit so it moves around the shop. I currently use the Oneida Molded Mini Gorilla, which is a mobile dust collector with a cyclone and HEPA filter built in. It’s a great unit, but having to move the flex hose from tool to tool every time I switch tools is getting really tiresome.
I’ll be upgrading to the Clearvue CV1800 in the next few weeks and will be running 6″ ductwork throughout my shop. This will do two things: give me much more airflow to collect more dust, and allow me to go from tool to tool without moving the hose. This should be a major efficiency boost, not to mention the health benefits.
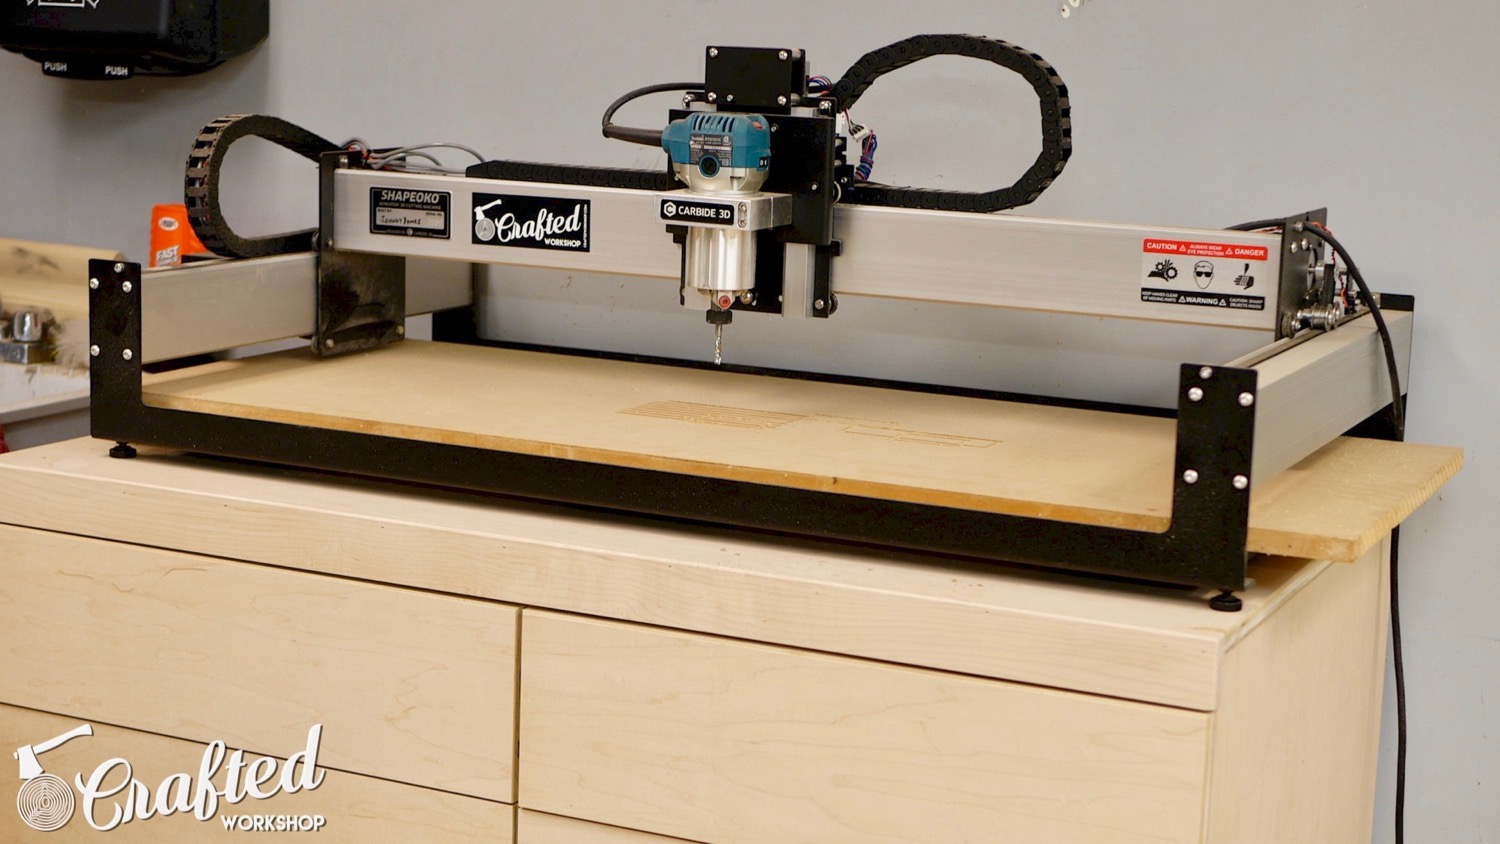
To the right of my planer is my new CNC, the Shapeoko XL. I realize this is another luxury in the shop, but I’m really enjoying having this in my workflow. I’ve got a ton of ideas for upcoming CNC builds, most notably building a guitar. Also, I made a project video on building the CNC Table, in case you’re interested.
To the right of the CNC is the odd hallway I talked about earlier. This is where I keep my jointer and store all of my lumber. My jointer is a Delta DJ20 I picked up off of Craigslist, and I absolutely love it. It has a pretty long bed which is really helpful when jointing longer boards.

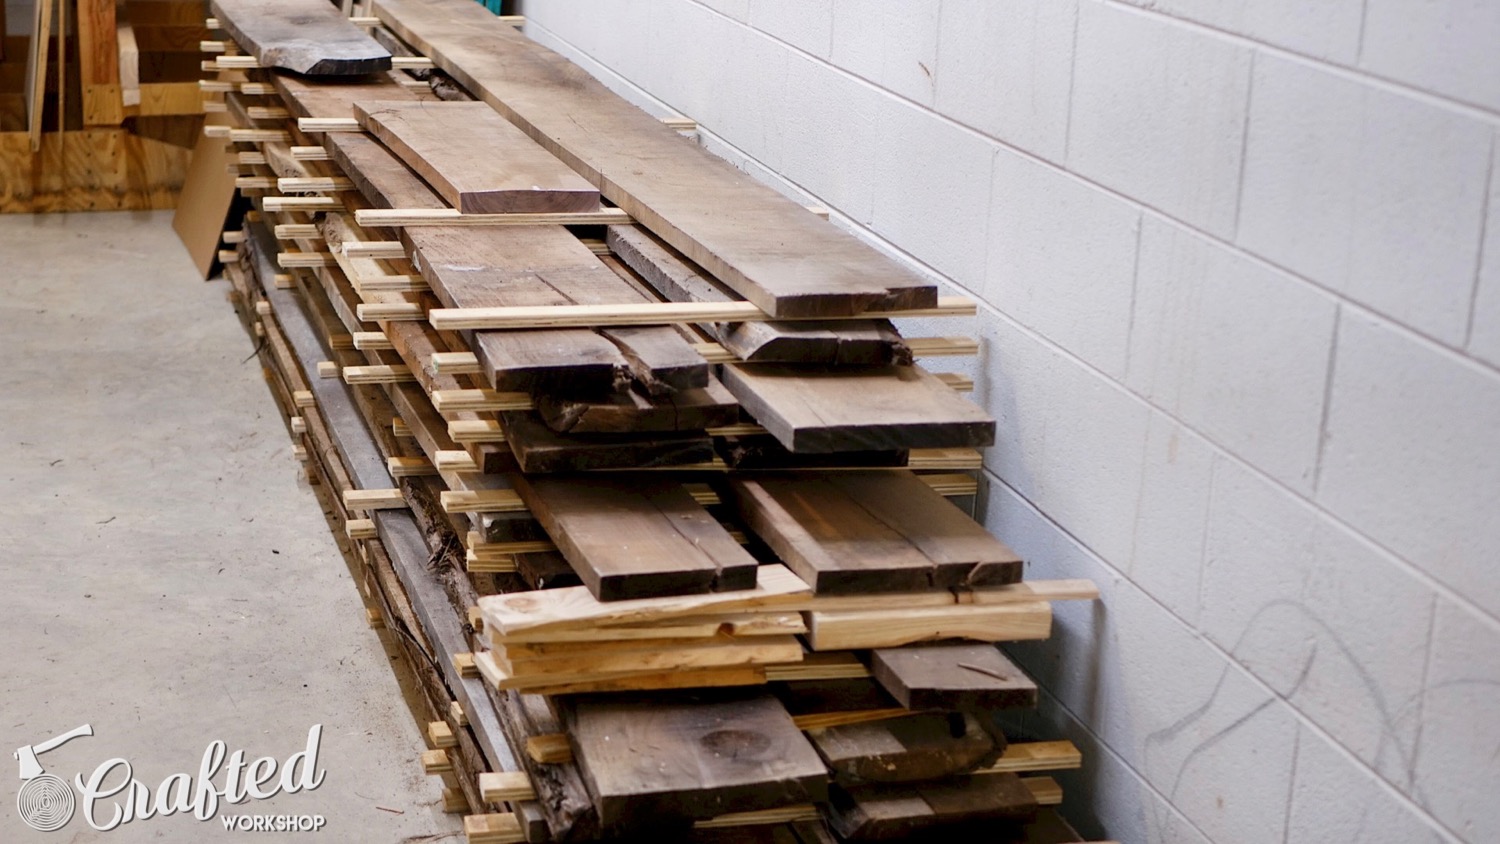
I scored this pile of rough Walnut, ~400 board feet, off of Craigslist for $700, less than $2 per bdft! I was pretty stoked about that deal and highly recommend checking the Craigslist in your area for lumber deals. I feel like I have a seemingly endless supply of Walnut, which is great since it’s one of my favorite domestic hardwoods.
To the right of the hallway is my workbench, clamp storage, and pegboard tool storage wall. I have a mix of Bessey parallel bar clamps, quick clamps, and a few other odds and ends. I’ve used every clamp on multiple projects, you really can’t have enough clamps. The shelf that’s holding the clamps is a piece I found at my local dump (yes, the dump) while dropping off my trash. I adapted it to hold the clamps.
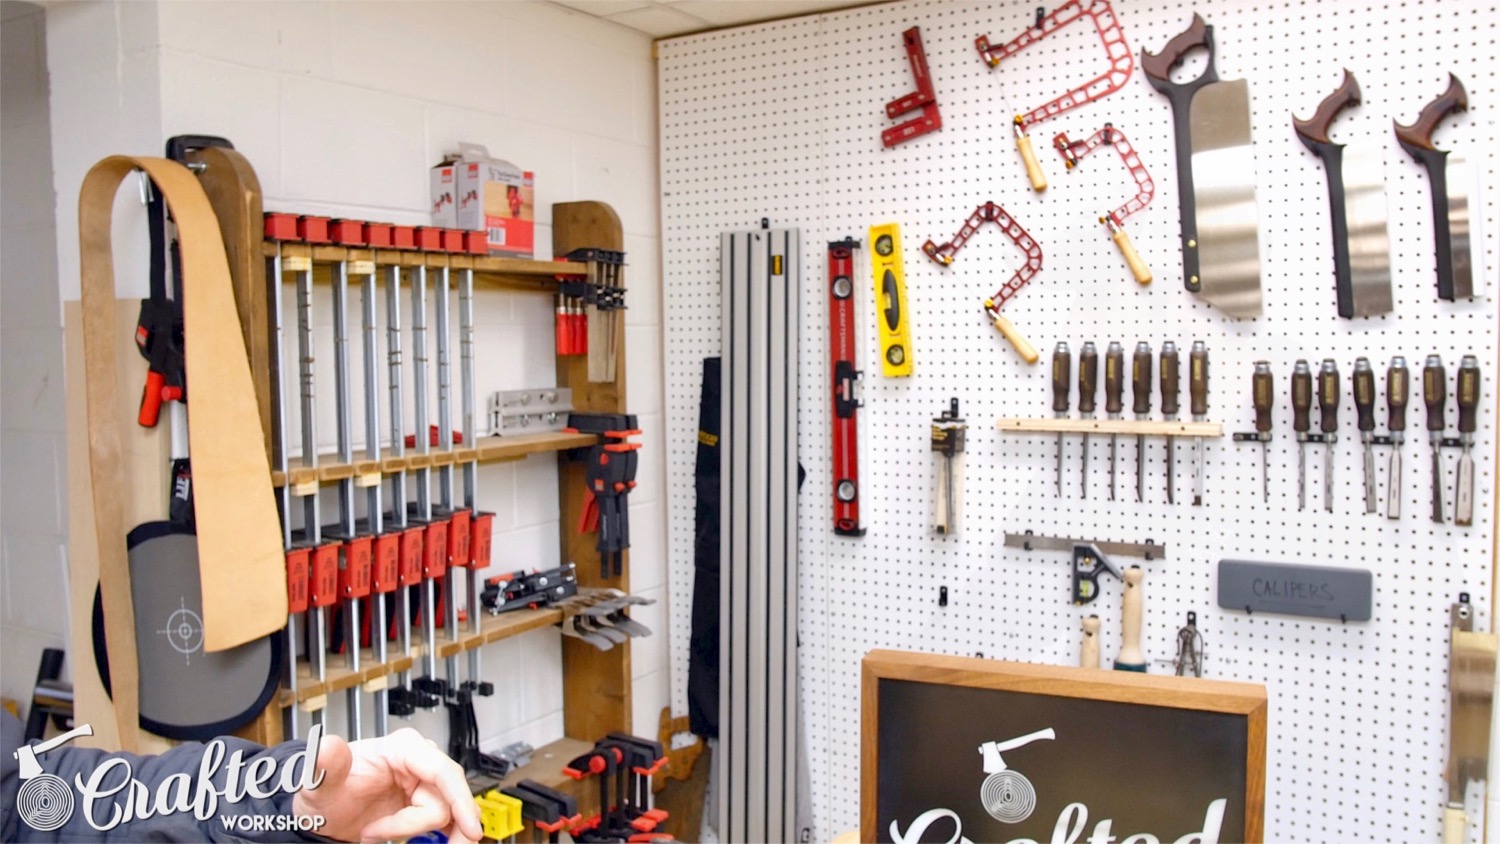
My pegboard has hand tools on one side and my drills, impact drivers, and other random tools on the other side. On the hand tool side, I’ve got a few hand saws from Veritas, some Narex chisels, a few fret saws from Knew Concepts, a Veritas marking gauge, and a few other odds and ends.
To the right of the pegboard, on the side of the Jay Bates Miter Saw Station, I keep all of the chargers for my cordless tools as well as my hearing protection, dust mask, and safety glasses. I keep these in one place so I know exactly where to find them.

Moving onto my workbench… I built this Matthias Wandel solid core door workbench as my first YouTube woodworking project. It’s kind of hilarious looking back at the video and seeing how far I’ve come in a little over a year.
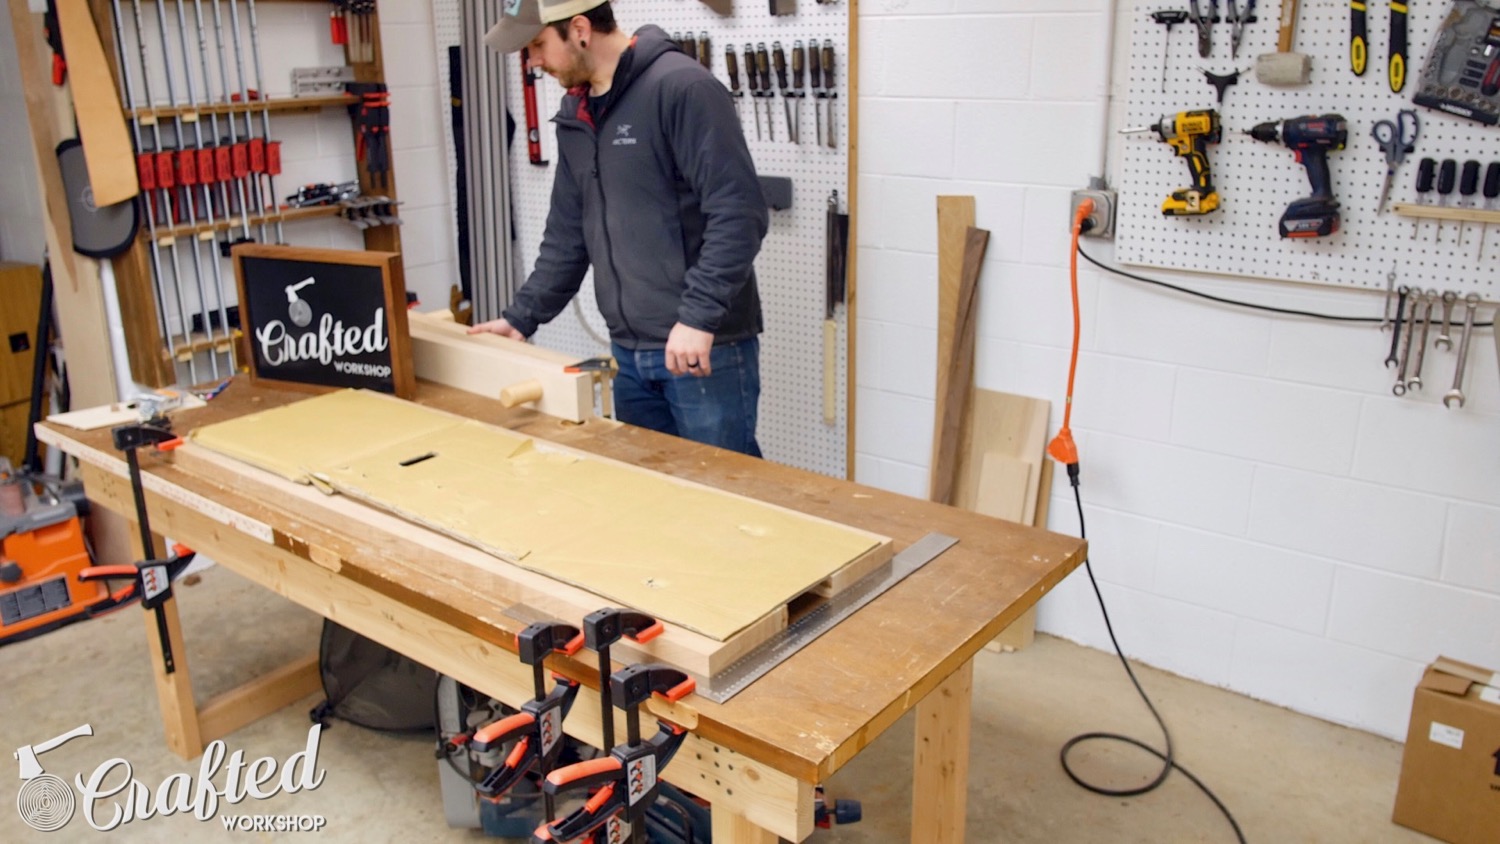
The workbench itself is great, super beefy and a great first bench. It has no built in workholding though, so I usually keep a Lake Erie Moxon Vise set up on it. I plan to build a Roubo-style bench soon to replace this bench, so stay tuned for that.
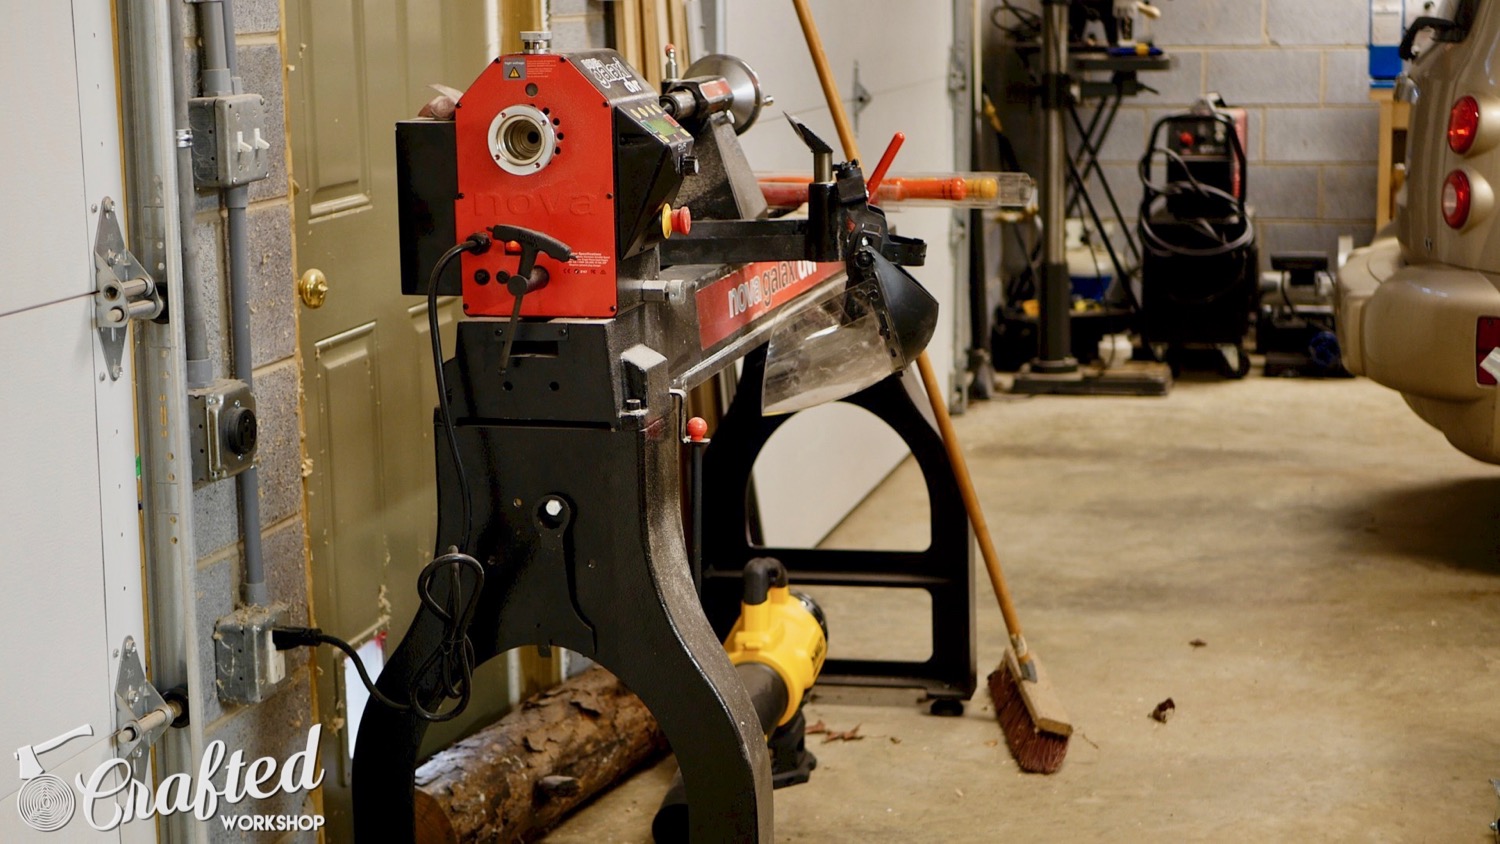
Now let’s move all the way back to the front of the shop and finish off the woodworking side of the shop. To the right of the garage door where we started is where my lathe currently lives. This will probably be moving soon, as I will be putting the Clearvue dust collector against this wall.
My lathe is the NOVA Galaxi 1644 and it is a beast. I wanted a lathe that I wouldn’t need to upgrade and this definitely fits the bill. I want to incorporate some turned legs into my furniture and having a lathe with enough space between centers was a big factor in going with this lathe.
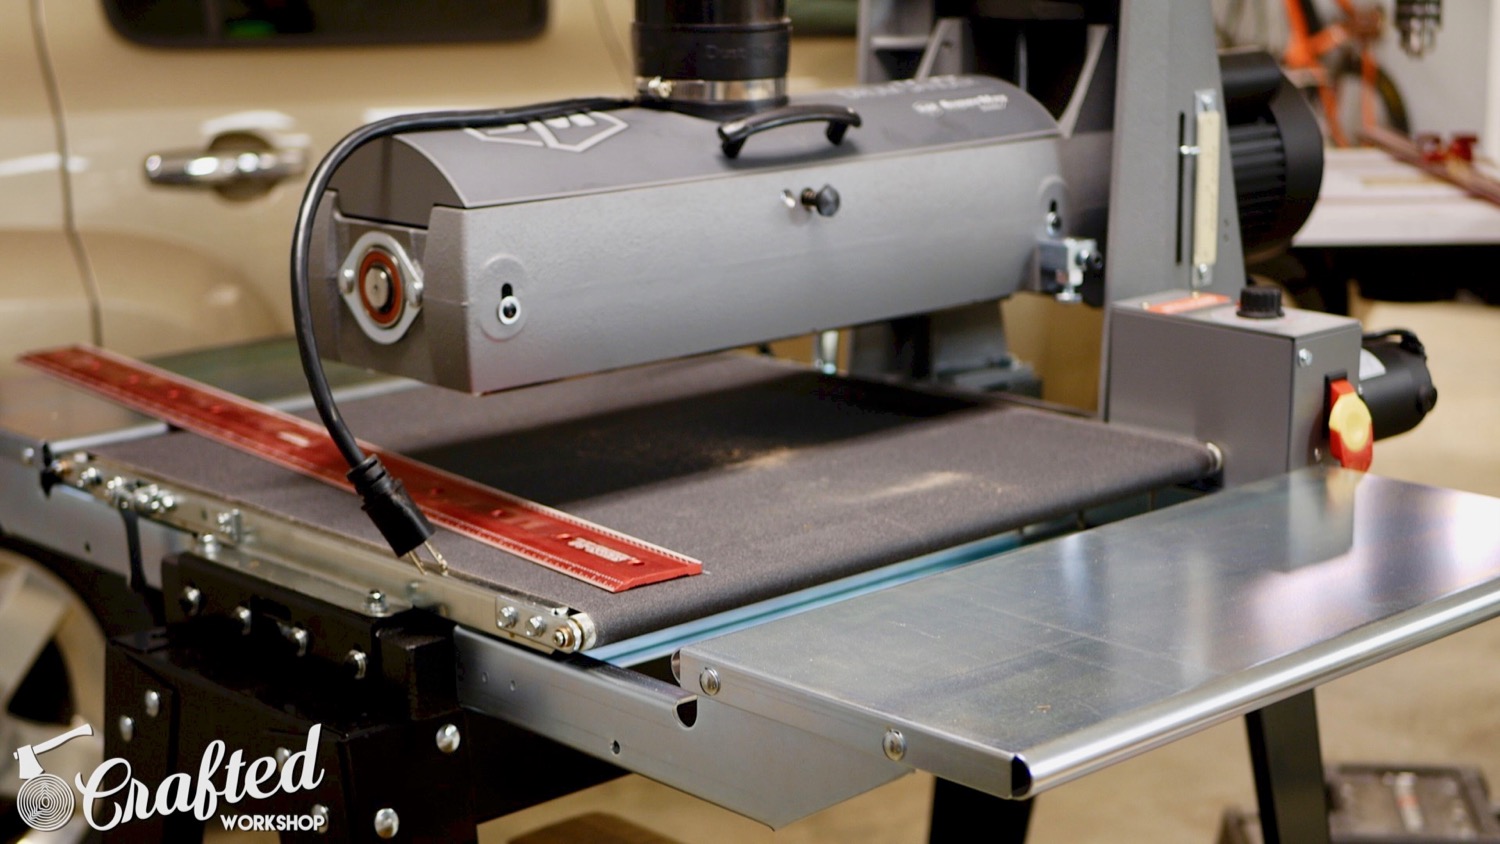
The last tool on the woodworking side of the shop in the drum sander. I just picked this up, it’s a SuperMax 19-38 and it’s currently right next to the lathe. I’m not sure if it will stay here permanently, but I am really happy to have this in the shop.
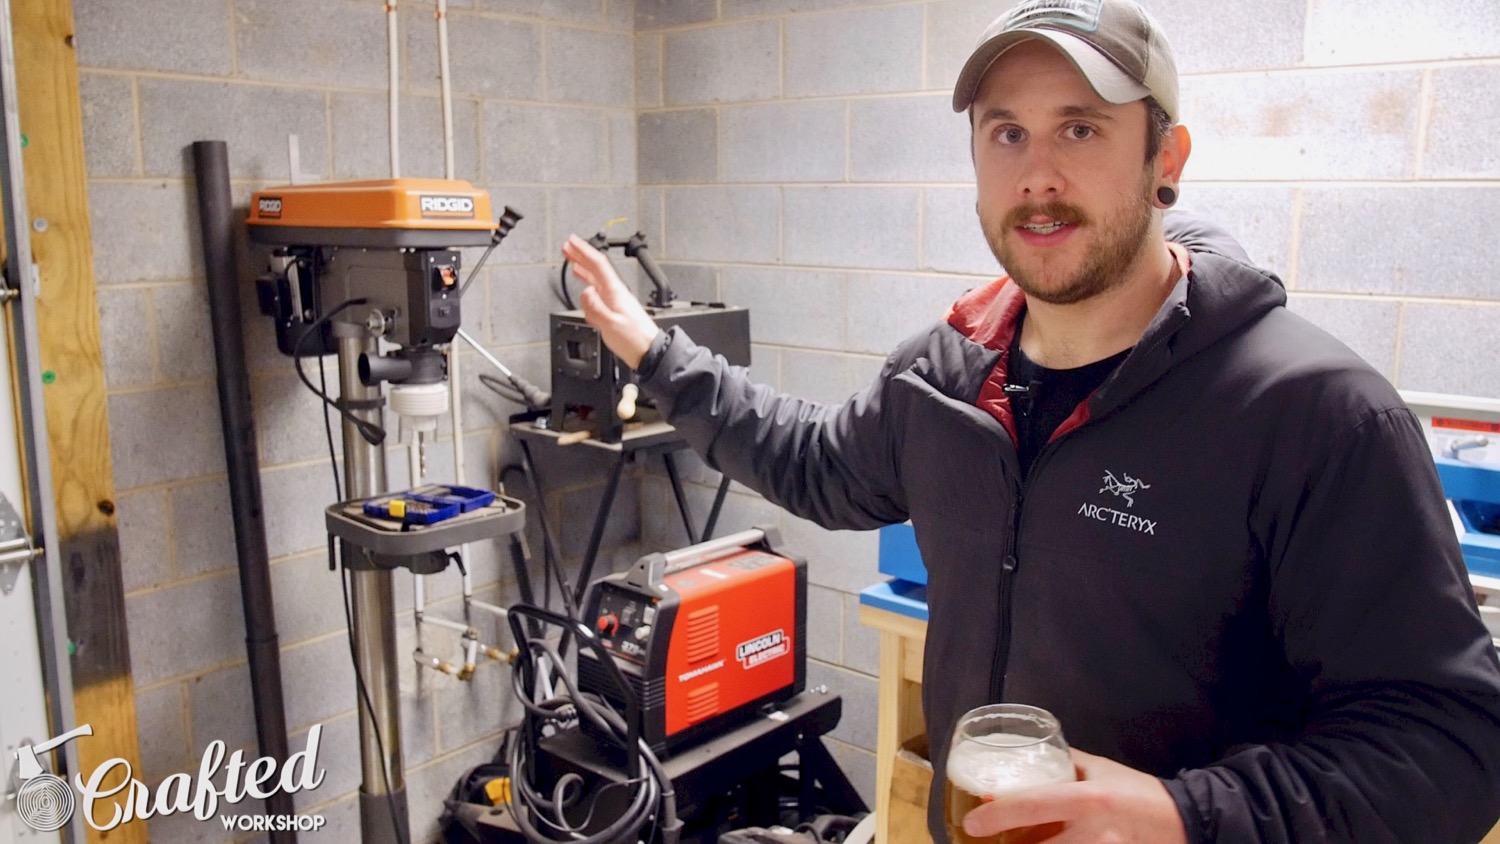
Moving onto the metalworking side of the shop! Before we get there, let’s take a little pitstop, I’m feeling a little parched…
This is my kegerator, set up currently with two taps. I am a homebrewer, for those of you who don’t know, and I love having beer on draft at home. I NEVER drink while operating power tools, though. That is a BIG no-no, in case that isn’t obvious.

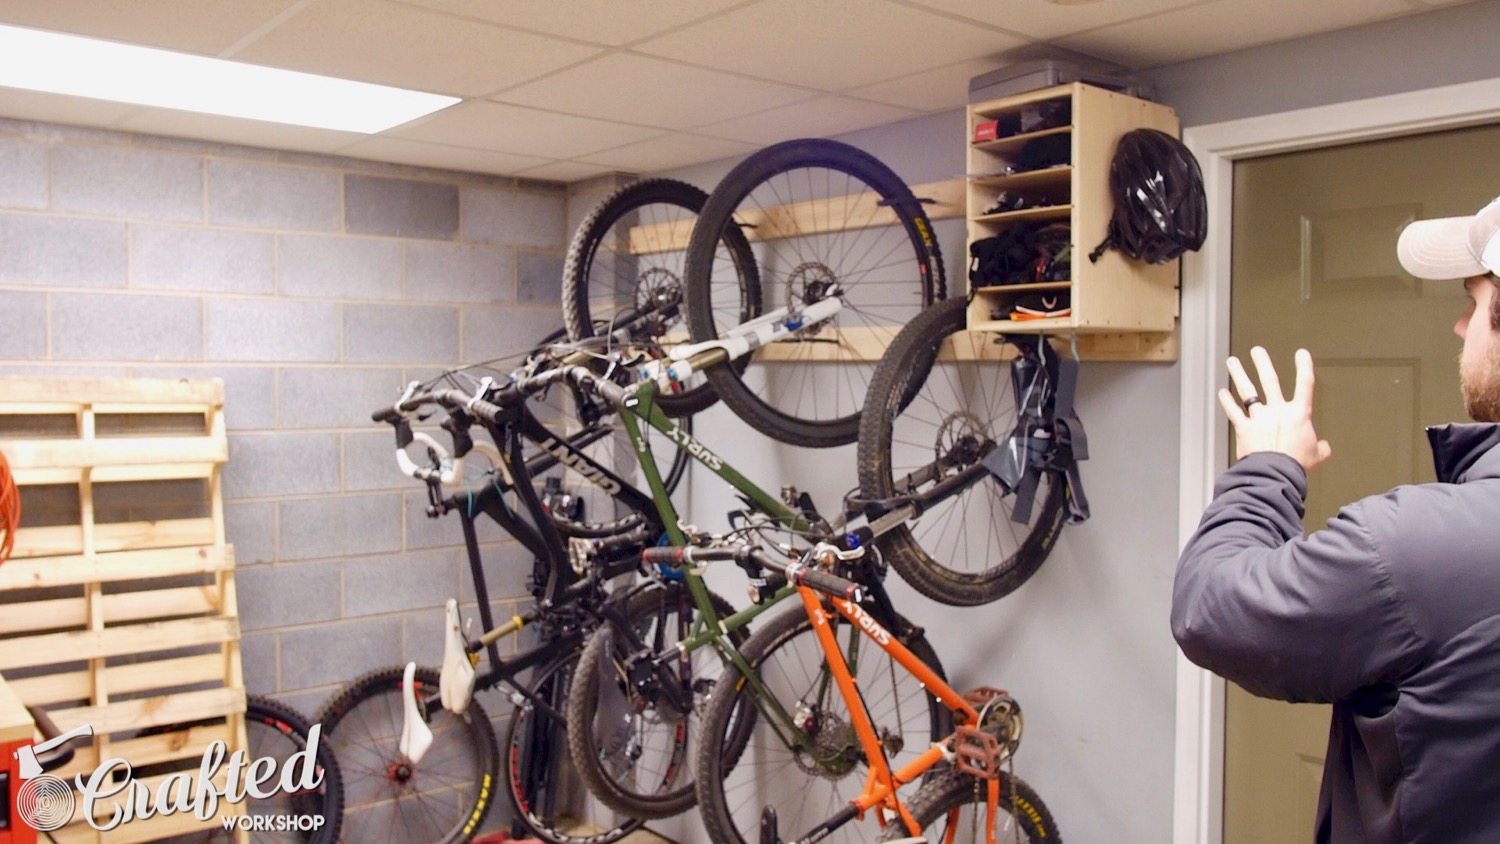
To the left of the kegerator is my DIY Bike Rack, which was one of my projects. This was a huge improvement for this corner of the garage, and I’d highly recommend checking out this project if you’re looking for some bike organization for your garage.
To the left of the bikes is the metalworking area. I try to keep the metal side as separate as possible for the woodworking area, so all of my metalworking tools live on the opposite side of the garage from my woodworking stuff.
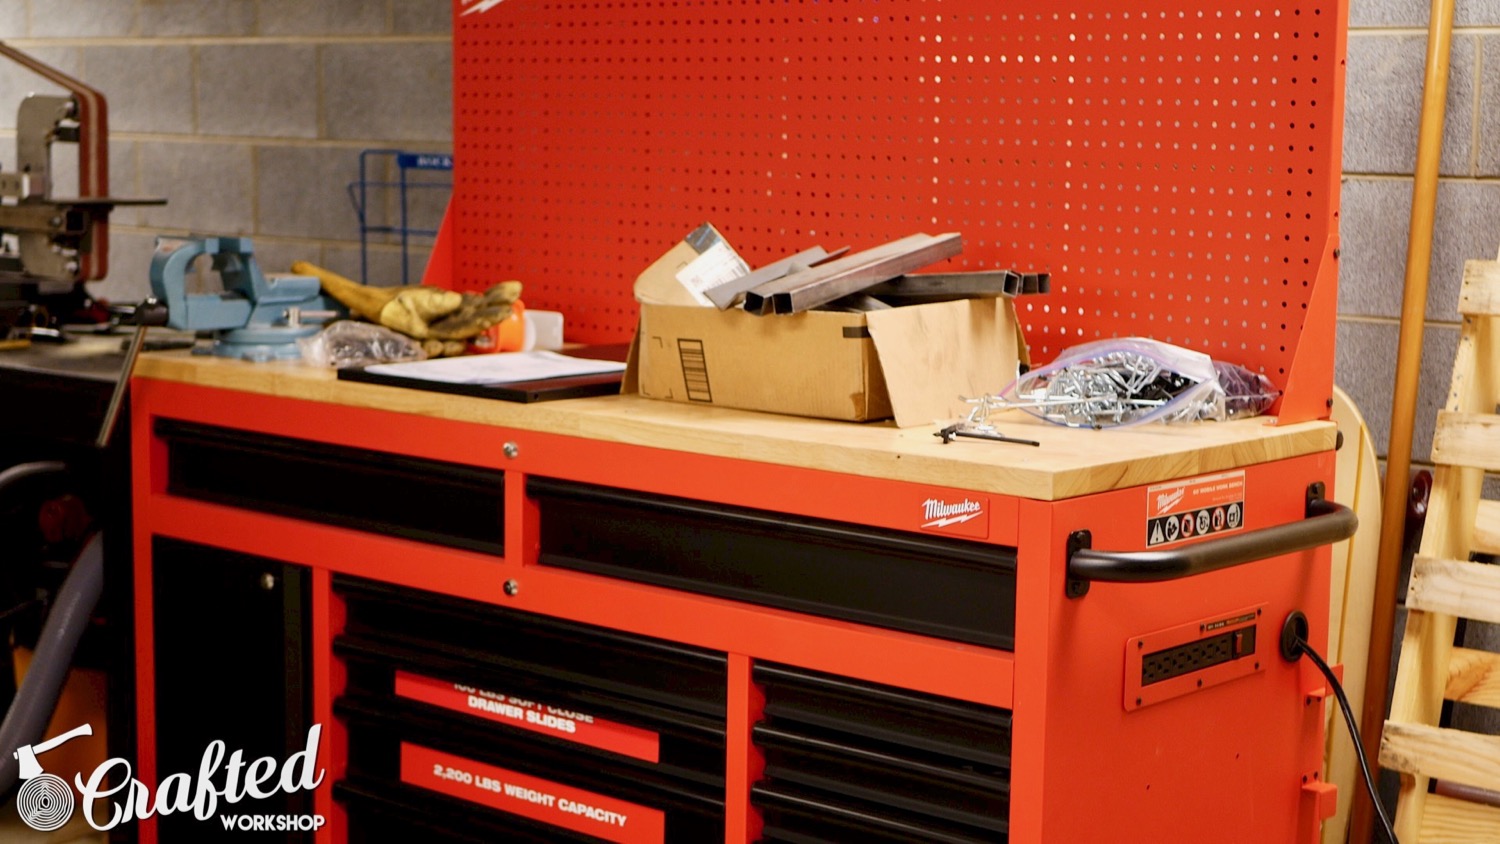
The first piece on the metal side is this Milwaukee rolling workbench. This was an awesome addition to this side of the shop, as I had absolutely zero storage previously. It’s got a ton of drawers, all of them have soft close drawer slides, it’s just a great addition on this side.
To the left of that is my welding table, if you can even call it that. This is my old outfeed table and, yes, it’s made out of wood. I haven’t had any trouble with it catching fire so far, but I’d really like to build something nicer.
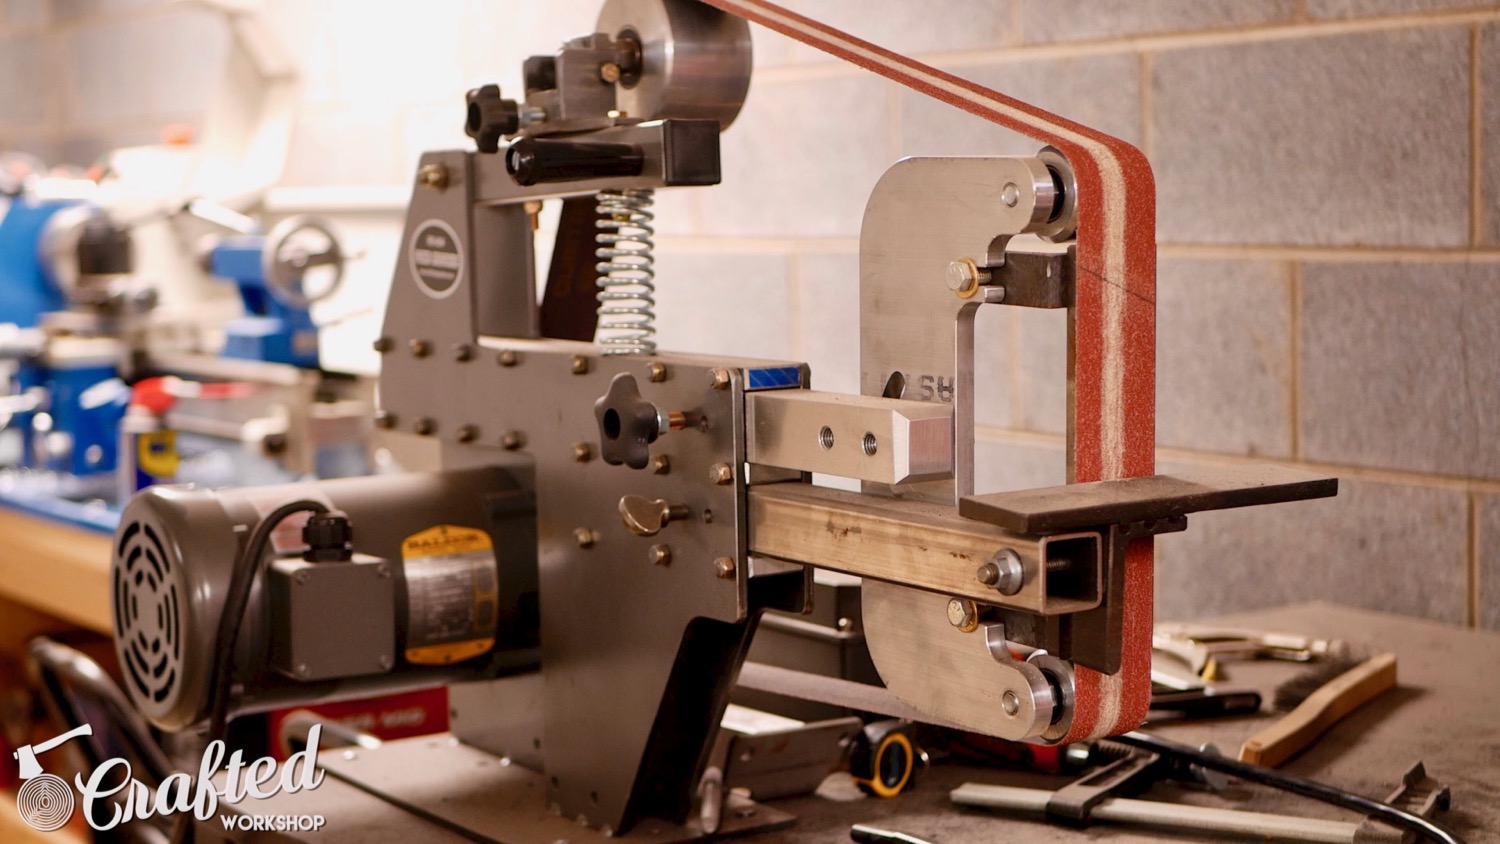
On top of the welding table is my belt grinder, a Pheer PH-454 2×72 belt grinder. This thing is incredible, it will remove metal like it’s going out of style. I really want to pursue knife making, and this is one of those tools that’s hard to avoid when making knives.
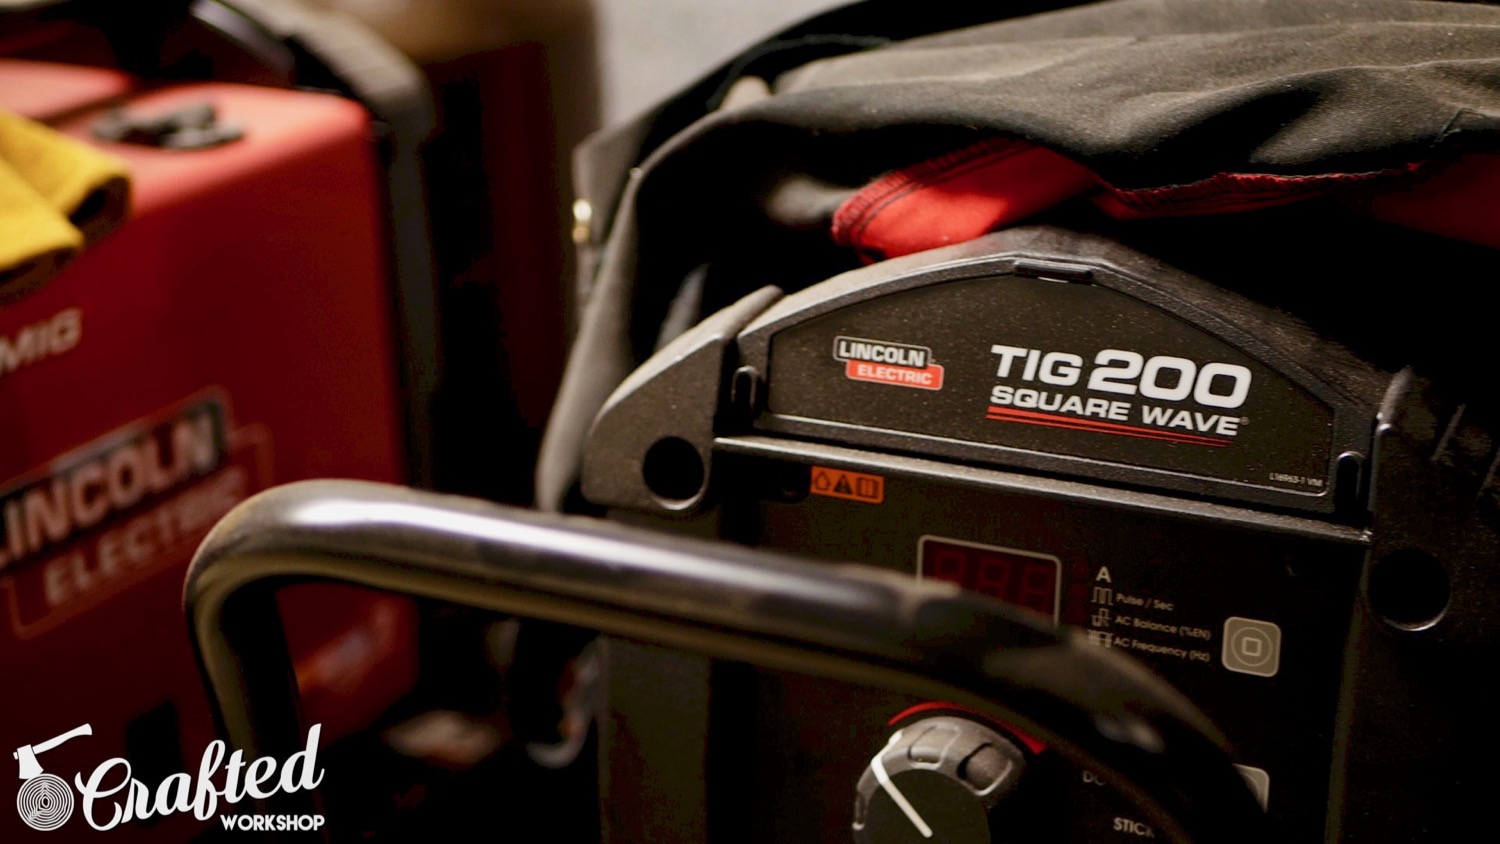
To the left of the welding table are my welders. I have two: a Lincoln Electric Power MIG 210 MP, which is set up for solid core MIG currently, and a Lincoln Electric Square Wave TIG 200 for TIG welding. Lincoln has been super supportive of my work by providing some stuff for me to use, and they’re also big supporters of other YouTubers. They’re good people, for sure.
 Next to my welders is my metal lathe. I have a Precision Matthews PM-1022V metal lathe, it’s a great little lathe that I am just now getting more comfortable using. Machining is a fascinating new world for me and I’m excited to get more knowledge under my belt in that area.

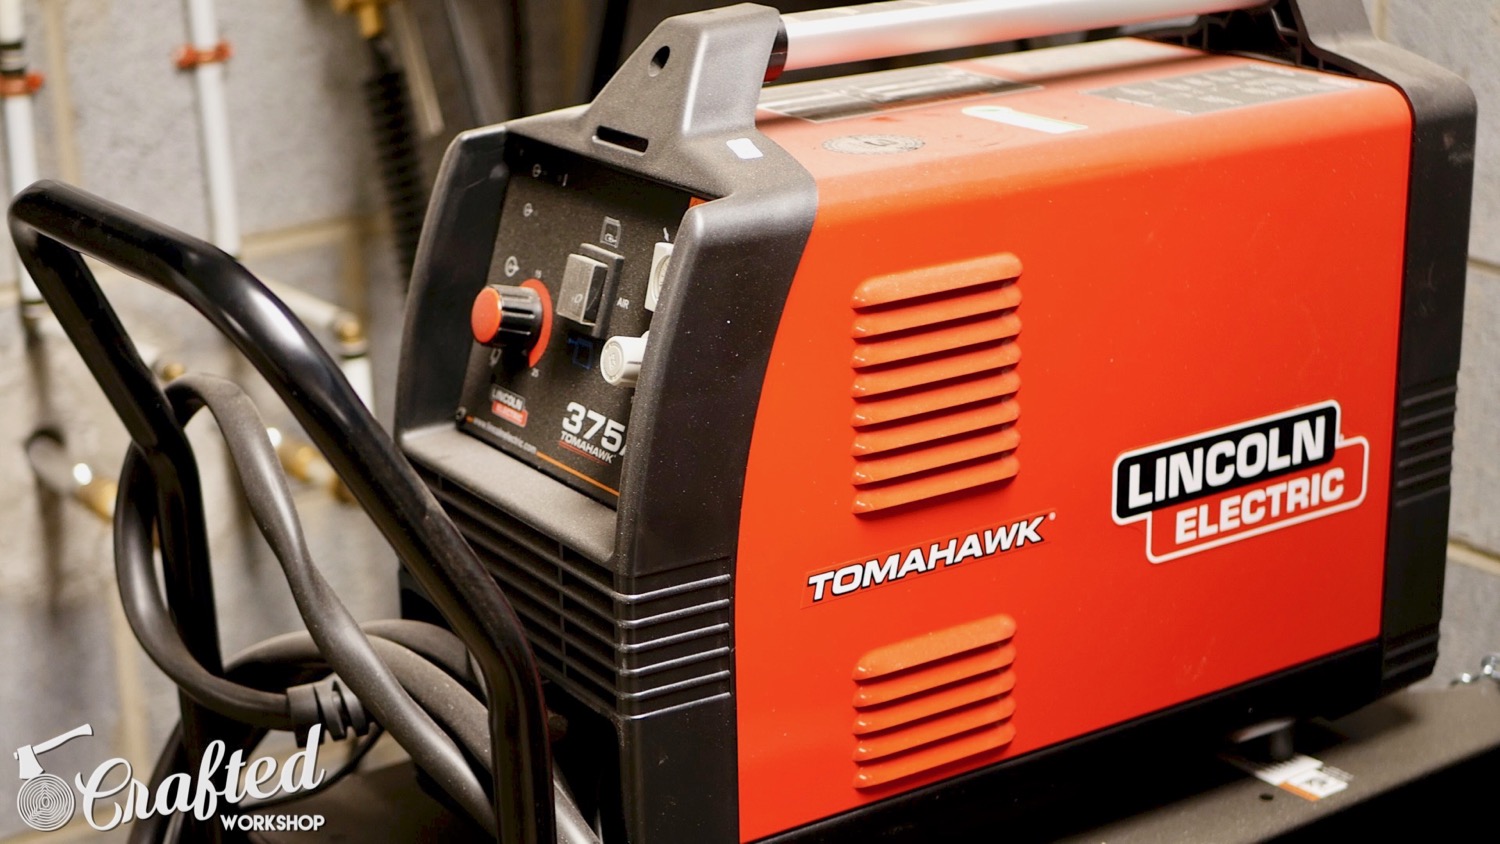
To the left of the metal lathe are my main metal cutting tools, a saw from Evolution Tools and my Lincoln Tomahawk 375 plasma cutter.
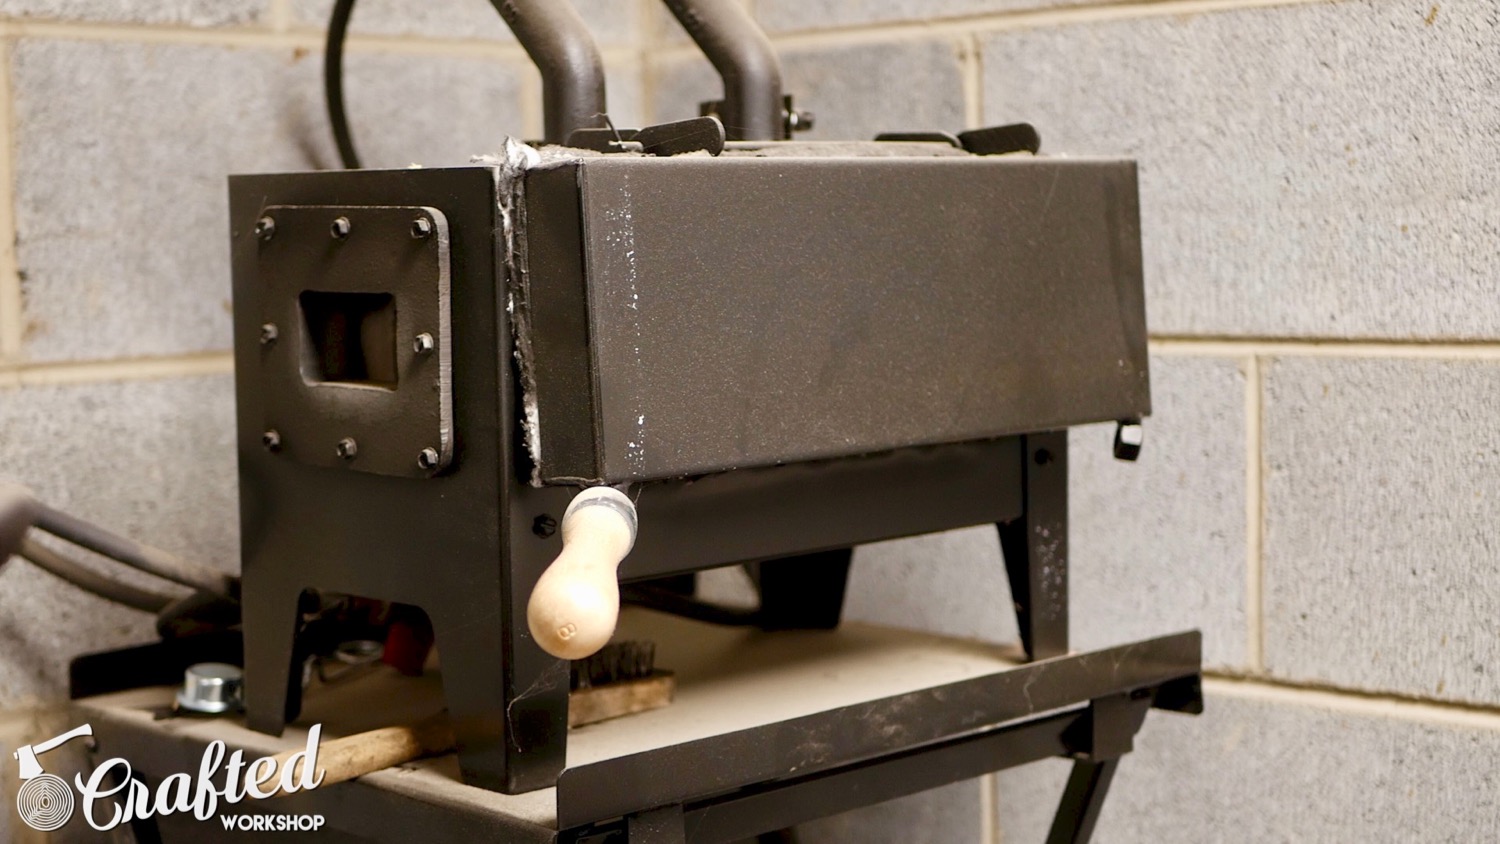
Also in that corner is my little gas forge from NC Tool Co and my anvil. I am a beginner blacksmith and hope to use these skills for my knife making.
The last tool on the metalworking side is my RIDGID drill press, which I have dedicated to drilling metal. My NOVA drill press has the Woodpecker’s table on it, and I don’t want that getting oily and filthy from drilling into metal.
Phew, I think that’s everything! Hopefully you guys enjoyed this shop tour. I know I am extremely fortunate to have this shop at my disposal. My goal when setting it up was to allow me to build anything I can think of, and I think I’ve basically accomplished that.
If you’d like to see more of my projects, I’d definitely encourage you to check out my website, YouTube channel, and my Instagram. Thanks for reading and let me know if you have any questions!

")

Jay, thanks so much for inviting me to write up my shop tour for your site. I’m kind of geeking out, never expected to see my face on your home page. :)
So your a buy once cry once type of guy by the looks of the shop, keep up the good work!
You can swap out the motor to a 3hp – probably a little easier than selling the saw and buying all new.
I think it ends up costing about 500 if you get everything from Sawstops site. Motor, gas strut, new switch, and cord…I think that is all the parts.
You have depressed me so much :-( I think I’m going to have to kill myself! I hate you! ( just kidding)
Thanks Jay for the introduction, Johnny has a great place and cool guy !
So did you win the lottery, I don’t think that I have seen that many new looking high price tools in DYI woodworking shop before. So please tell me and the others that wonder this but won’t ask how do you make your money to be able to afford the equipment you have.
So have you used the CNC router yet and what model router is on it.
Very nice
Jeff
God I’m in awe of not only your tools but workspace!!… I’ve just upgraded from a triangular 15x12x10 foot damp shed to a 10×5 meter “dry” garage…oh if only I won the lottery ?
First time viewer, today 2/7/2017, enjoyed your workshop video which I picked up from Jay Bates’ weekly ‘around the web’ section. Look forward to watching more of your videos. I too am from North Carolina.