Bartering is trading without the use of money. “I’ll give you this, if you do that…or give me that in return.” That’s exactly how this project came to be. A good friend of mine named Duffy gave me an old Stanley brace and some bits in exchange for some lathe work to create a pair of swingletrees for an 1860’s Wheeling ambulance he was building.
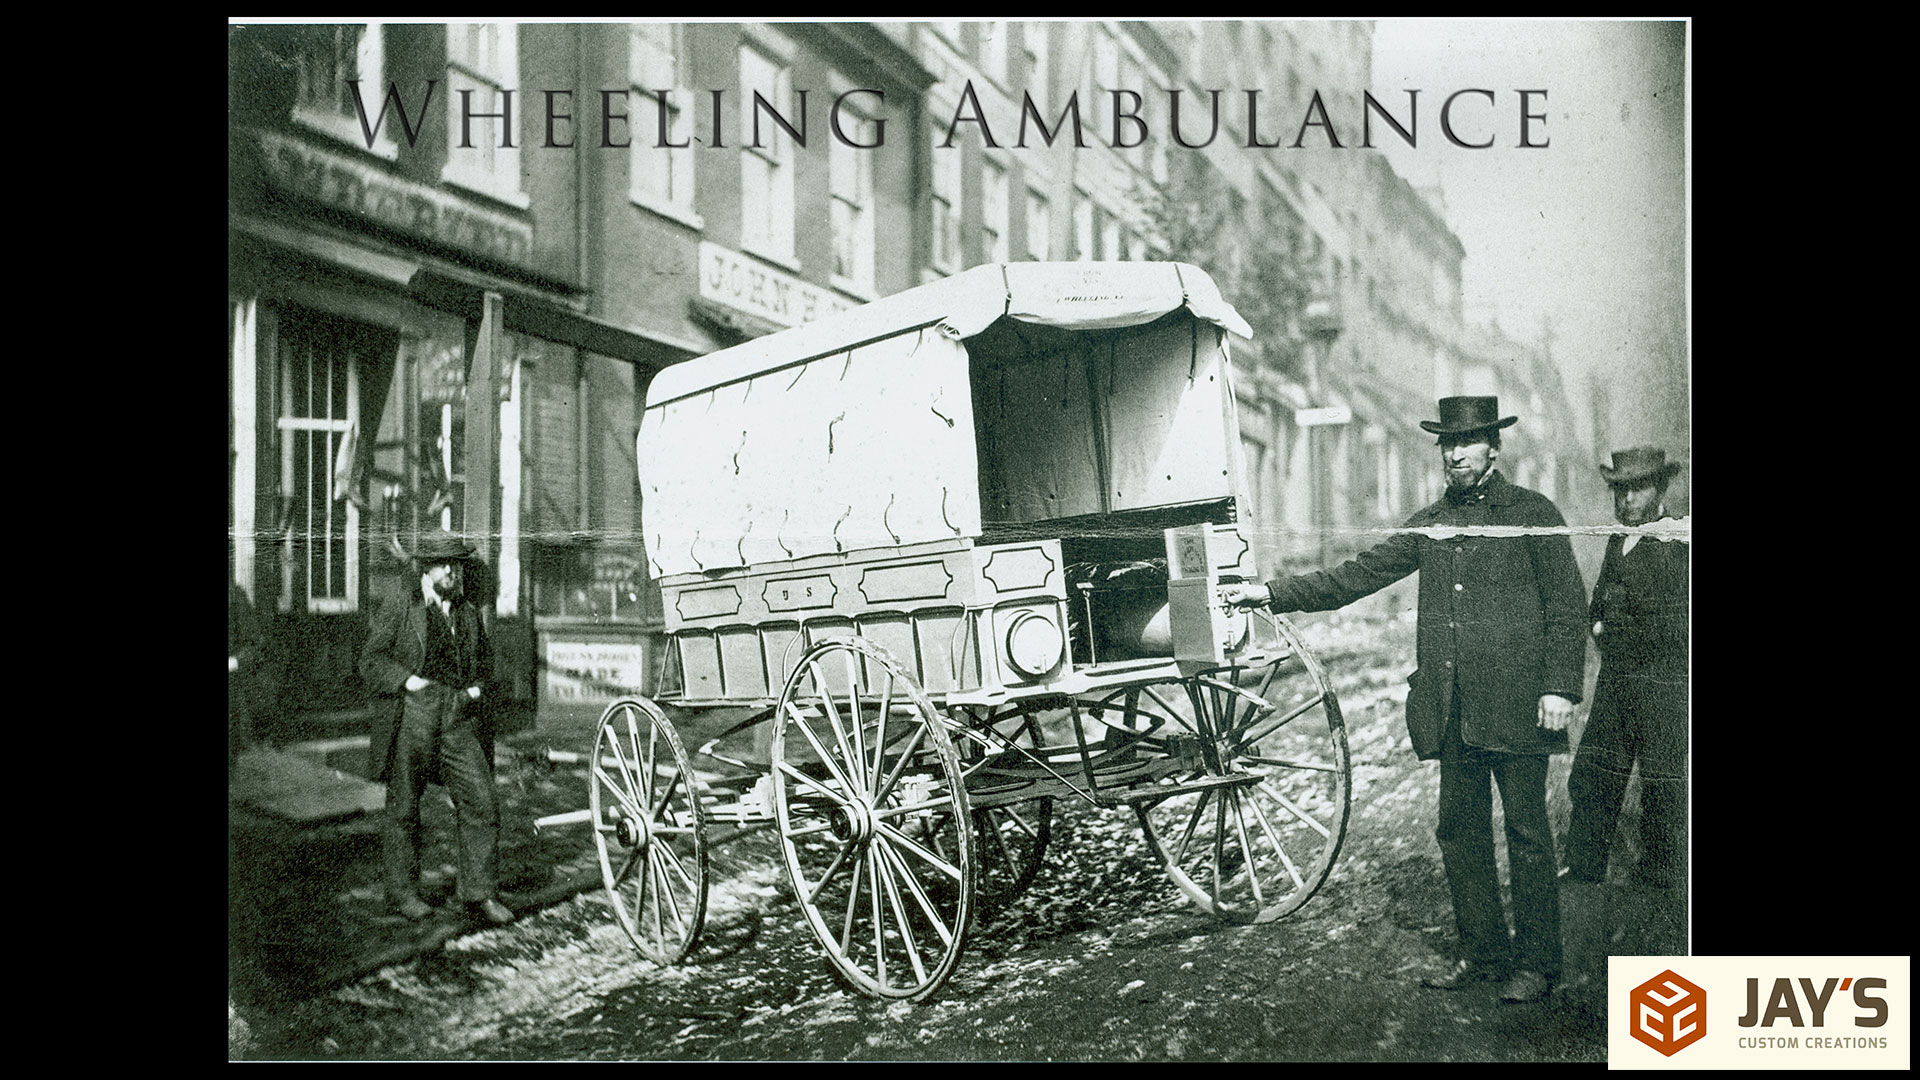
A quick, brief introduction to Duffy. Duffy is the creator of the Starkville Civil War Arsenal with the goal of not only preserving actual pieces of American history, educating people on the craftsmanship during that period, and to also continue that level of craftsmanship with period specific reproductions.
He’s been working on his Wheeling ambulance for a little over two years now (click the link to view his entire build record) and the last piece of the puzzle is to create the doubletree and swingletree assembly. If you’re not familiar with those two terms, a swingletree is what a pulling animal is hooked up to and a doubletree connects the two swingletrees to the tongue of the carriage or wagon or whatever it is they are pulling.
To start the project I was provided an old random double tree and dual swingletree setup to use as reference. Duffy’s doubletree that he already completed to the specifications on the contract. Two really clear and straight grain hickory blanks for the swingletrees. A copy of the build contract and a reference picture of an original. And the hardware that will be used when it’s all assembled. My goal at this point was simply to create the swingletrees and Duffy would handle the hardware.

The contract has some specifications but not all specifications. The length was listed but not the thickness or width so for those dimensions I chose sizes close to the reference pieces that were provided.
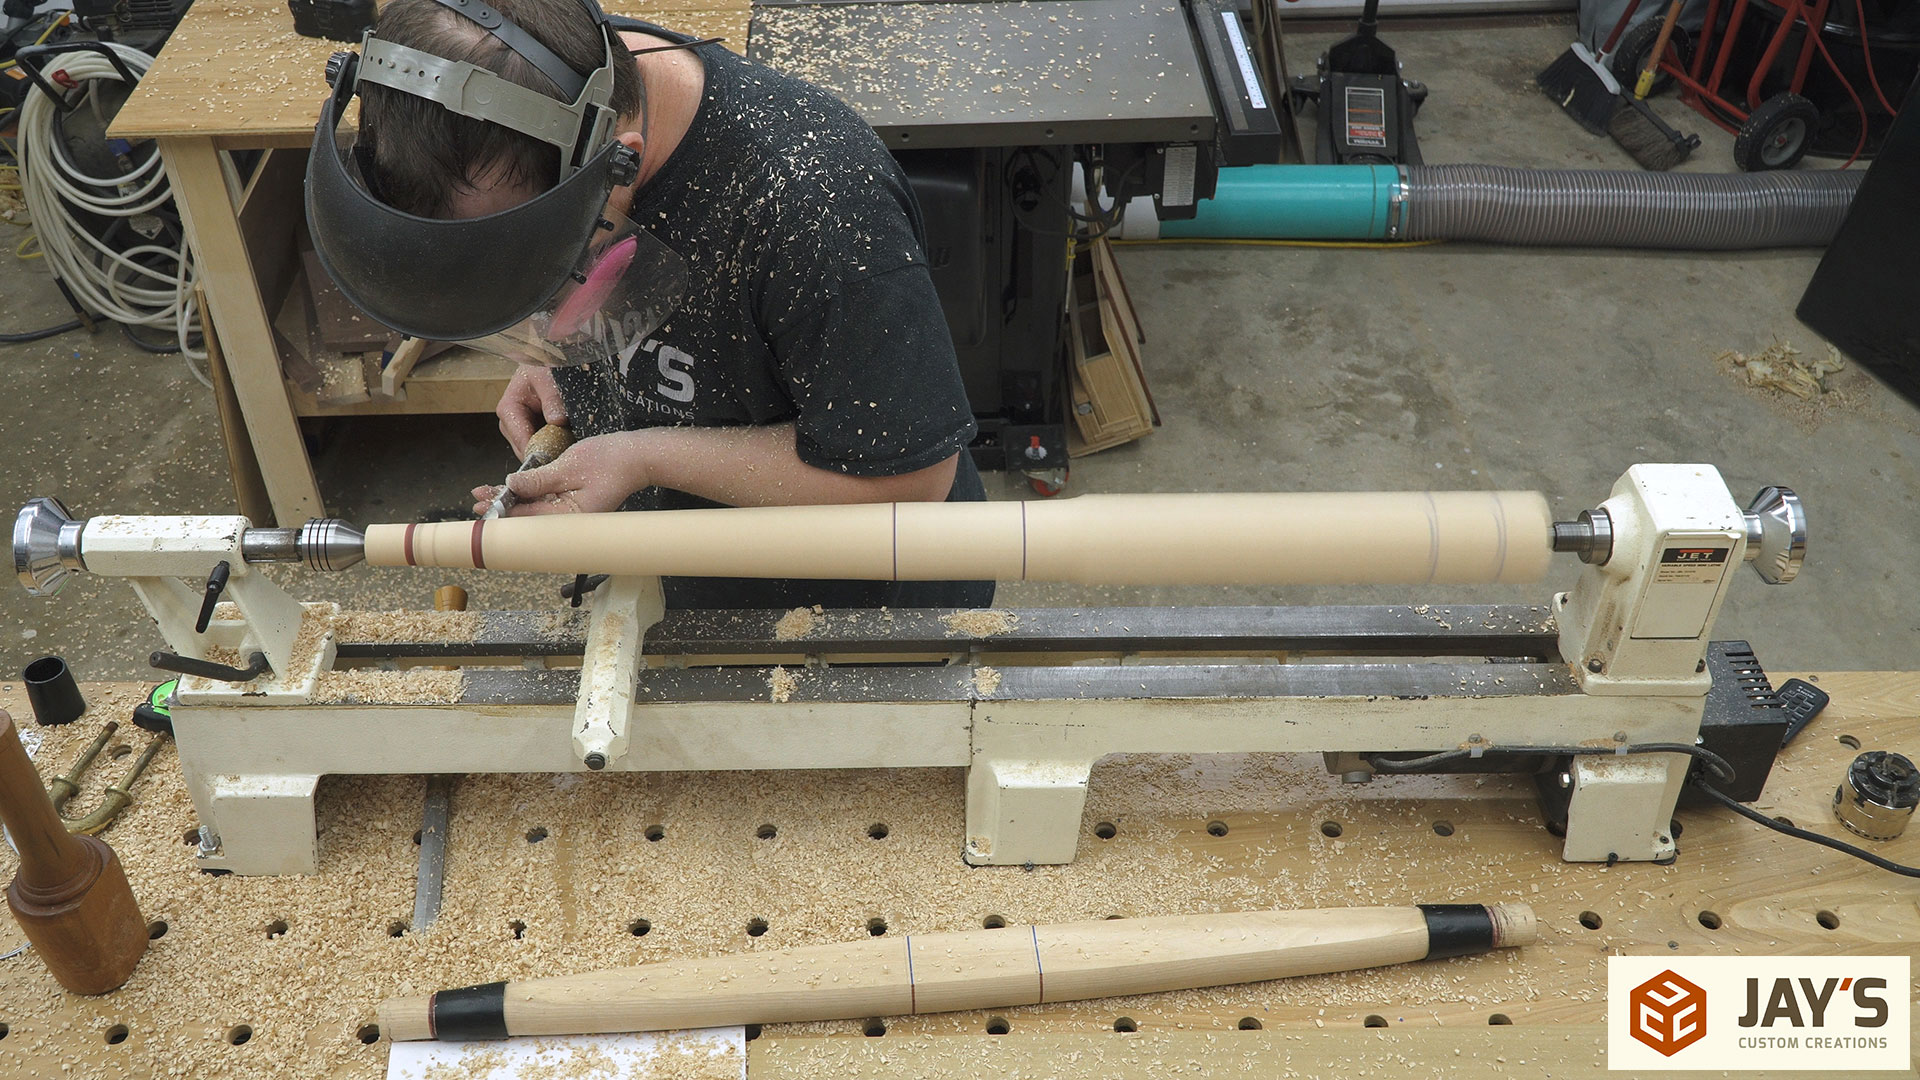
In Doc Green’s book Fixtures and Chucks for Woodturning I read that recessed centering is a safer way to seat lathe centers. And basically this means drilling an appropriate sized counterbore on each end will allow the drive center or live center to be captured. In the event that the center loosens up and let’s go of the piece the center should still be captured in the counterbore to hopefully prevent the piece from coming off of the lathe. This was also acceptable because the blank was about 4 or 5 inches longer than what the final piece needed to be. I could turn the piece from the center out and then cut off the extra mounting material on each end afterwards.

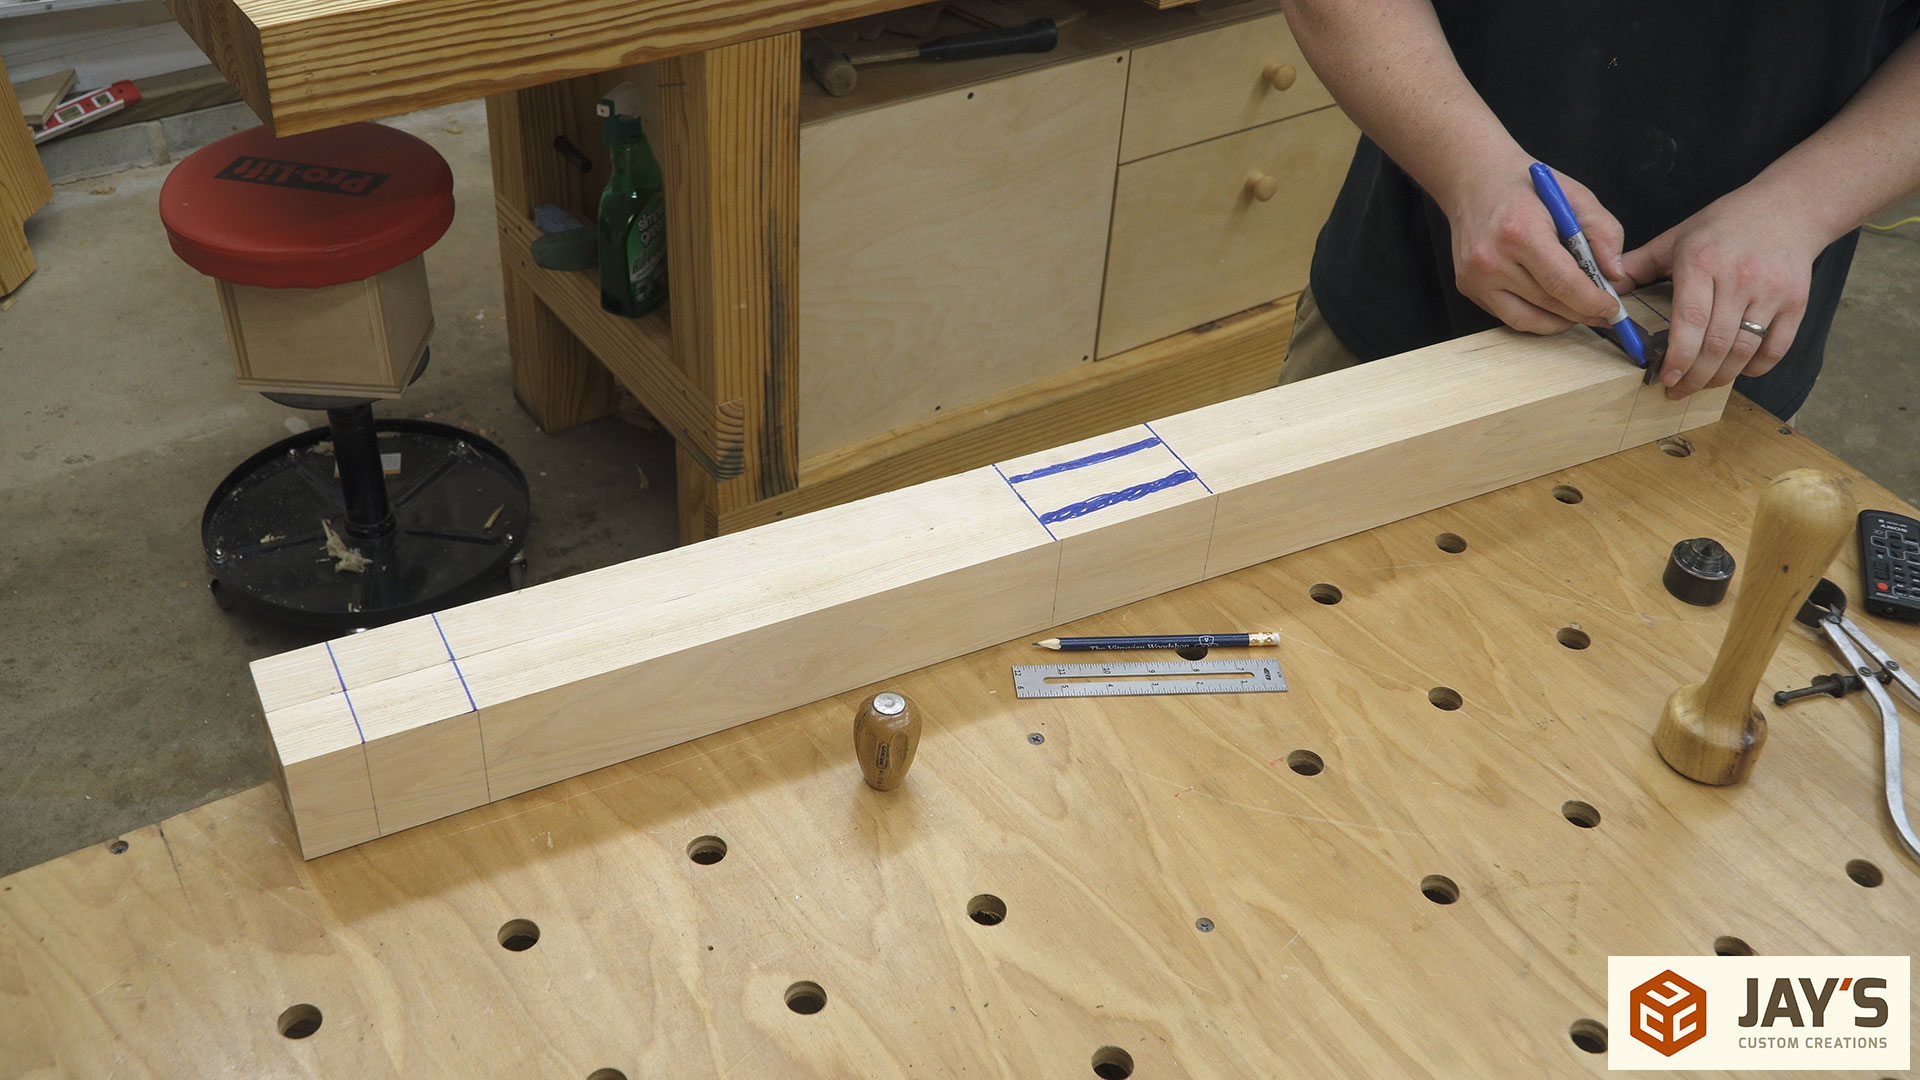
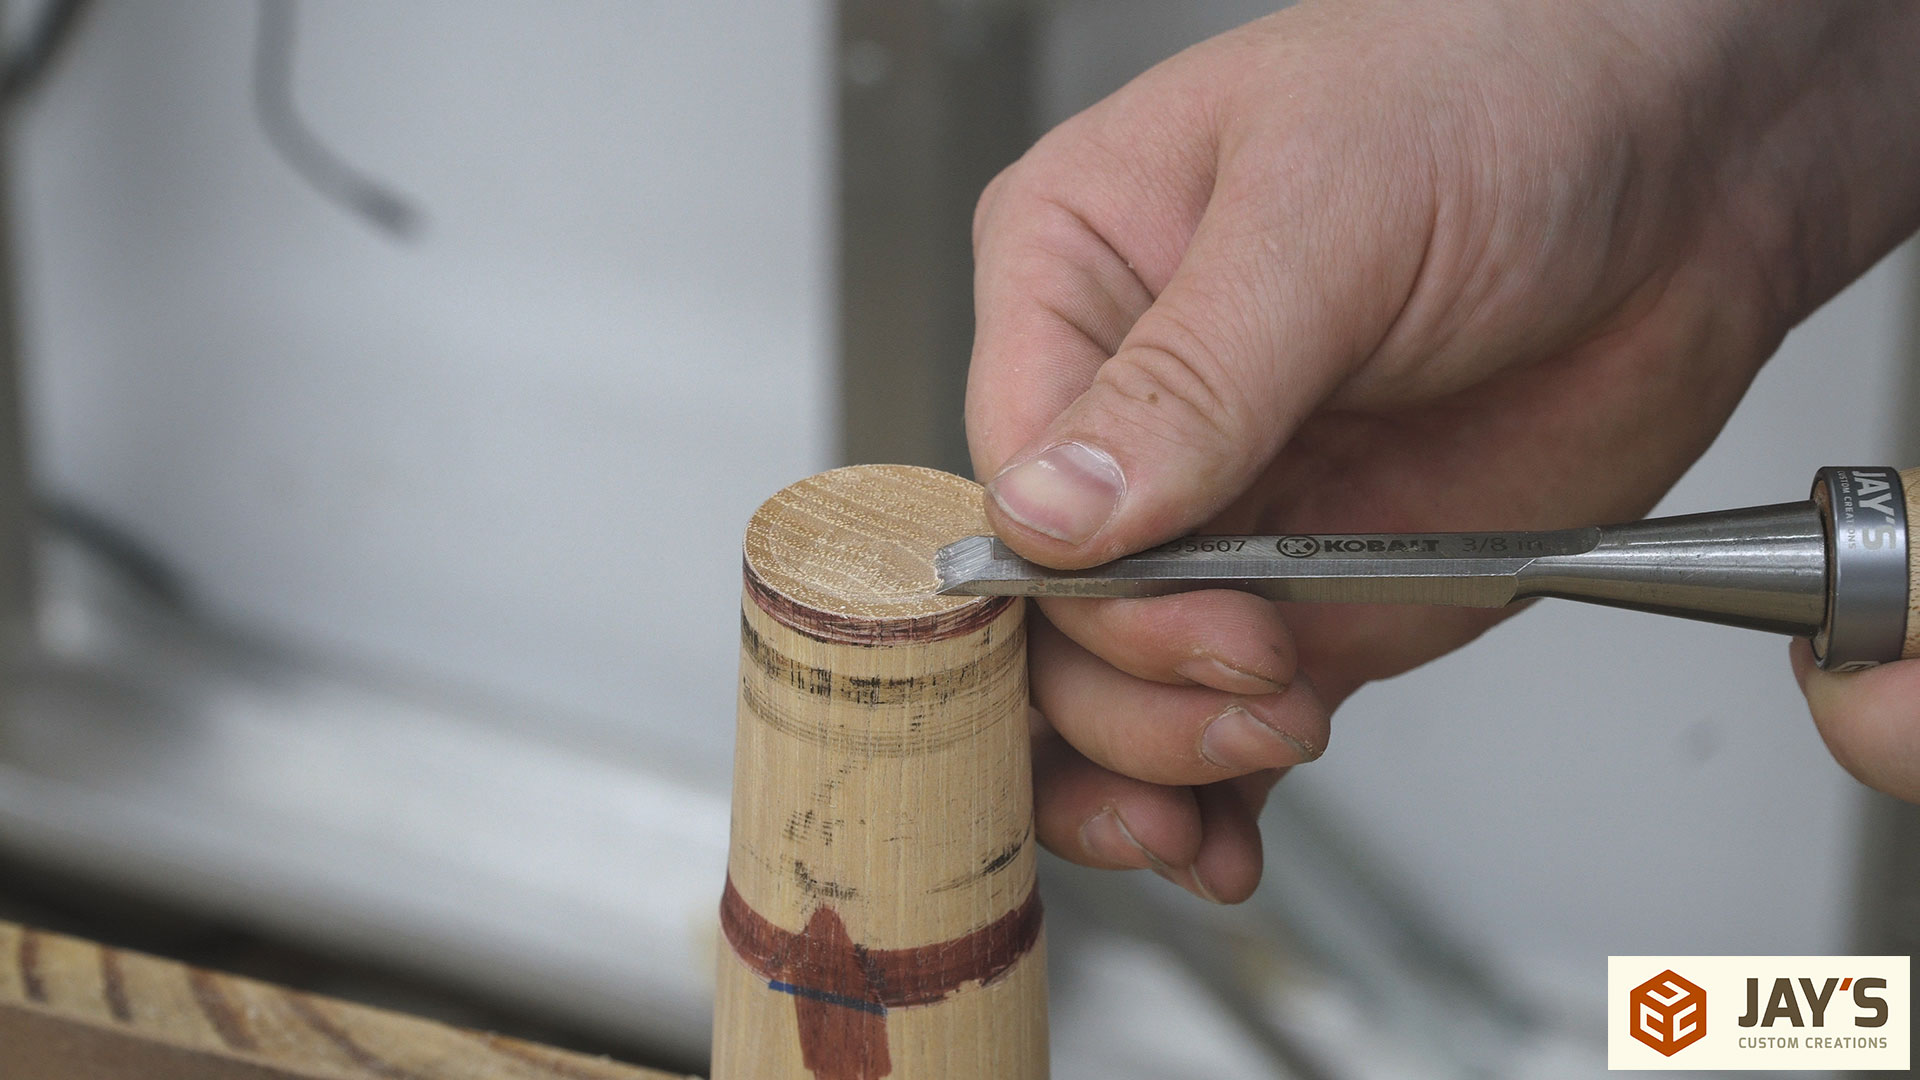
Before mounting on the lathe I used a highly visible marker to indicate center, the taper start and stop locations, and hardware locations.
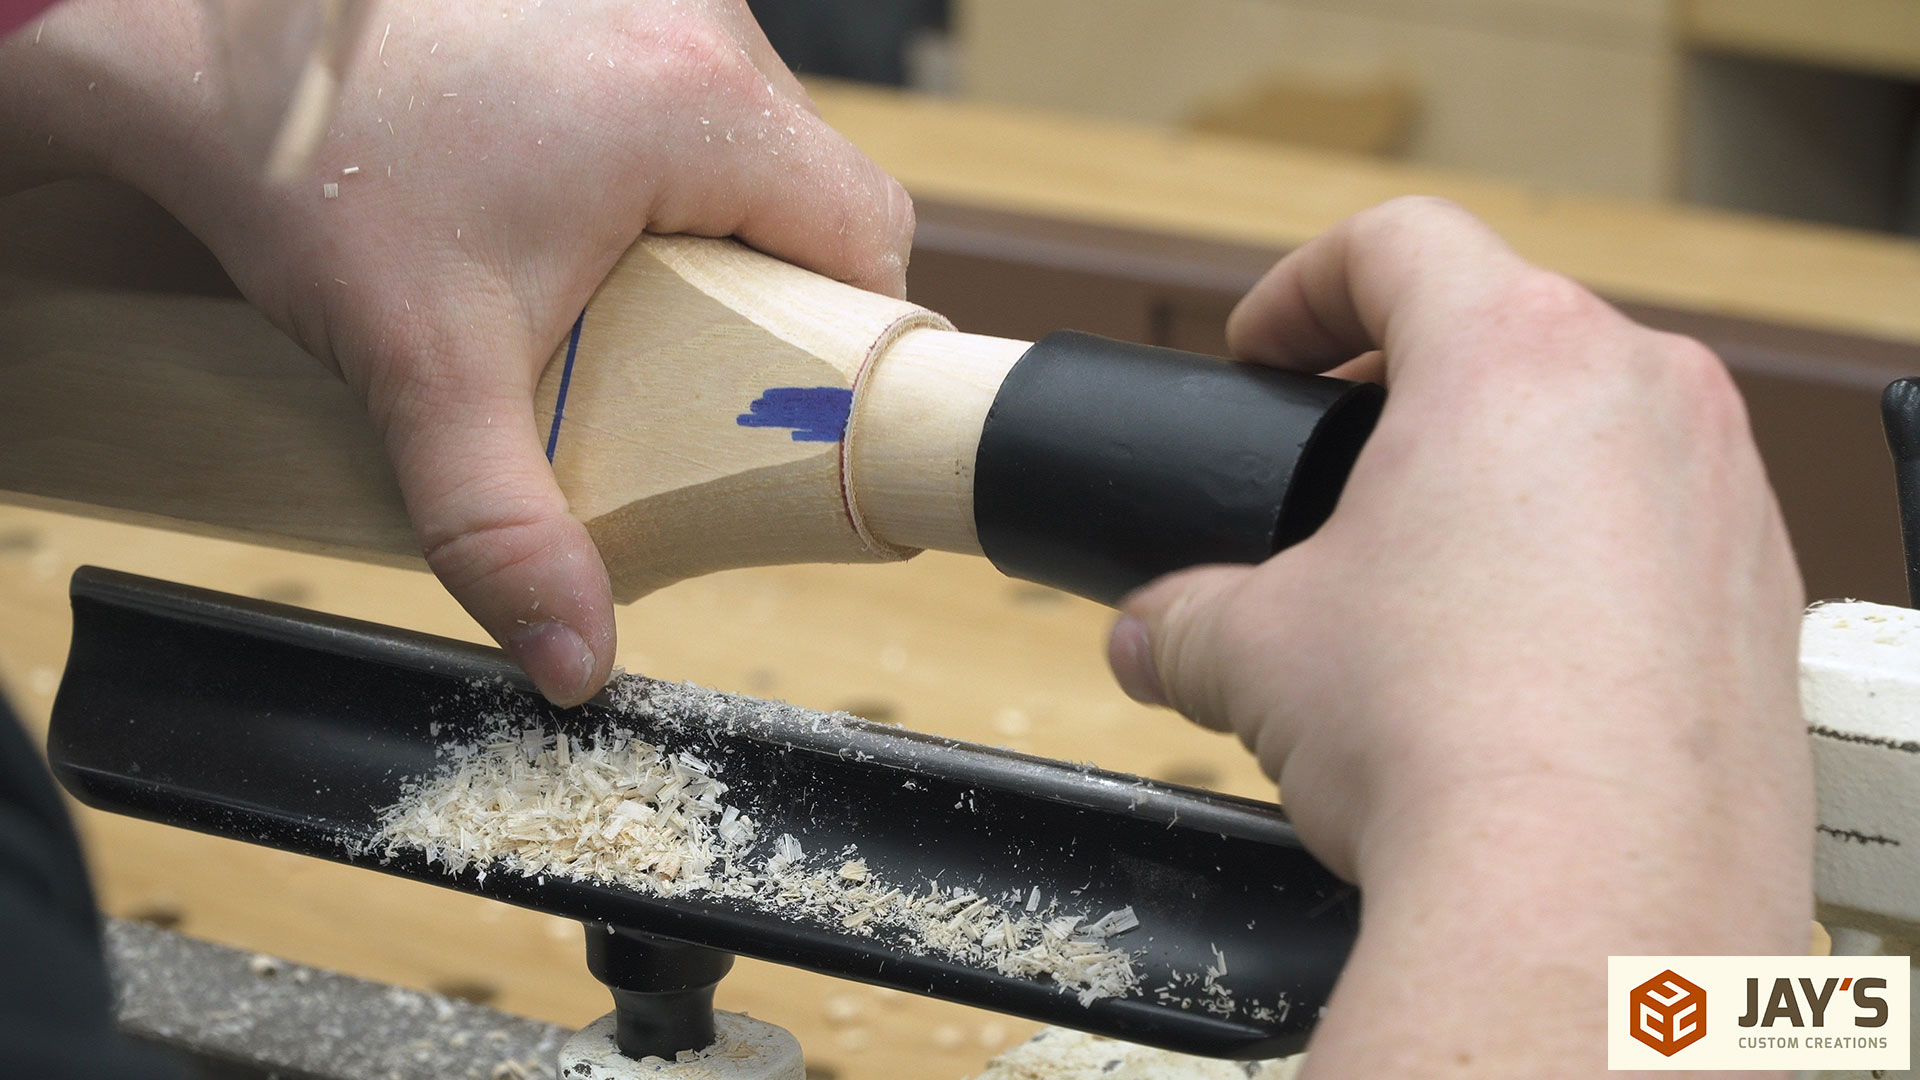
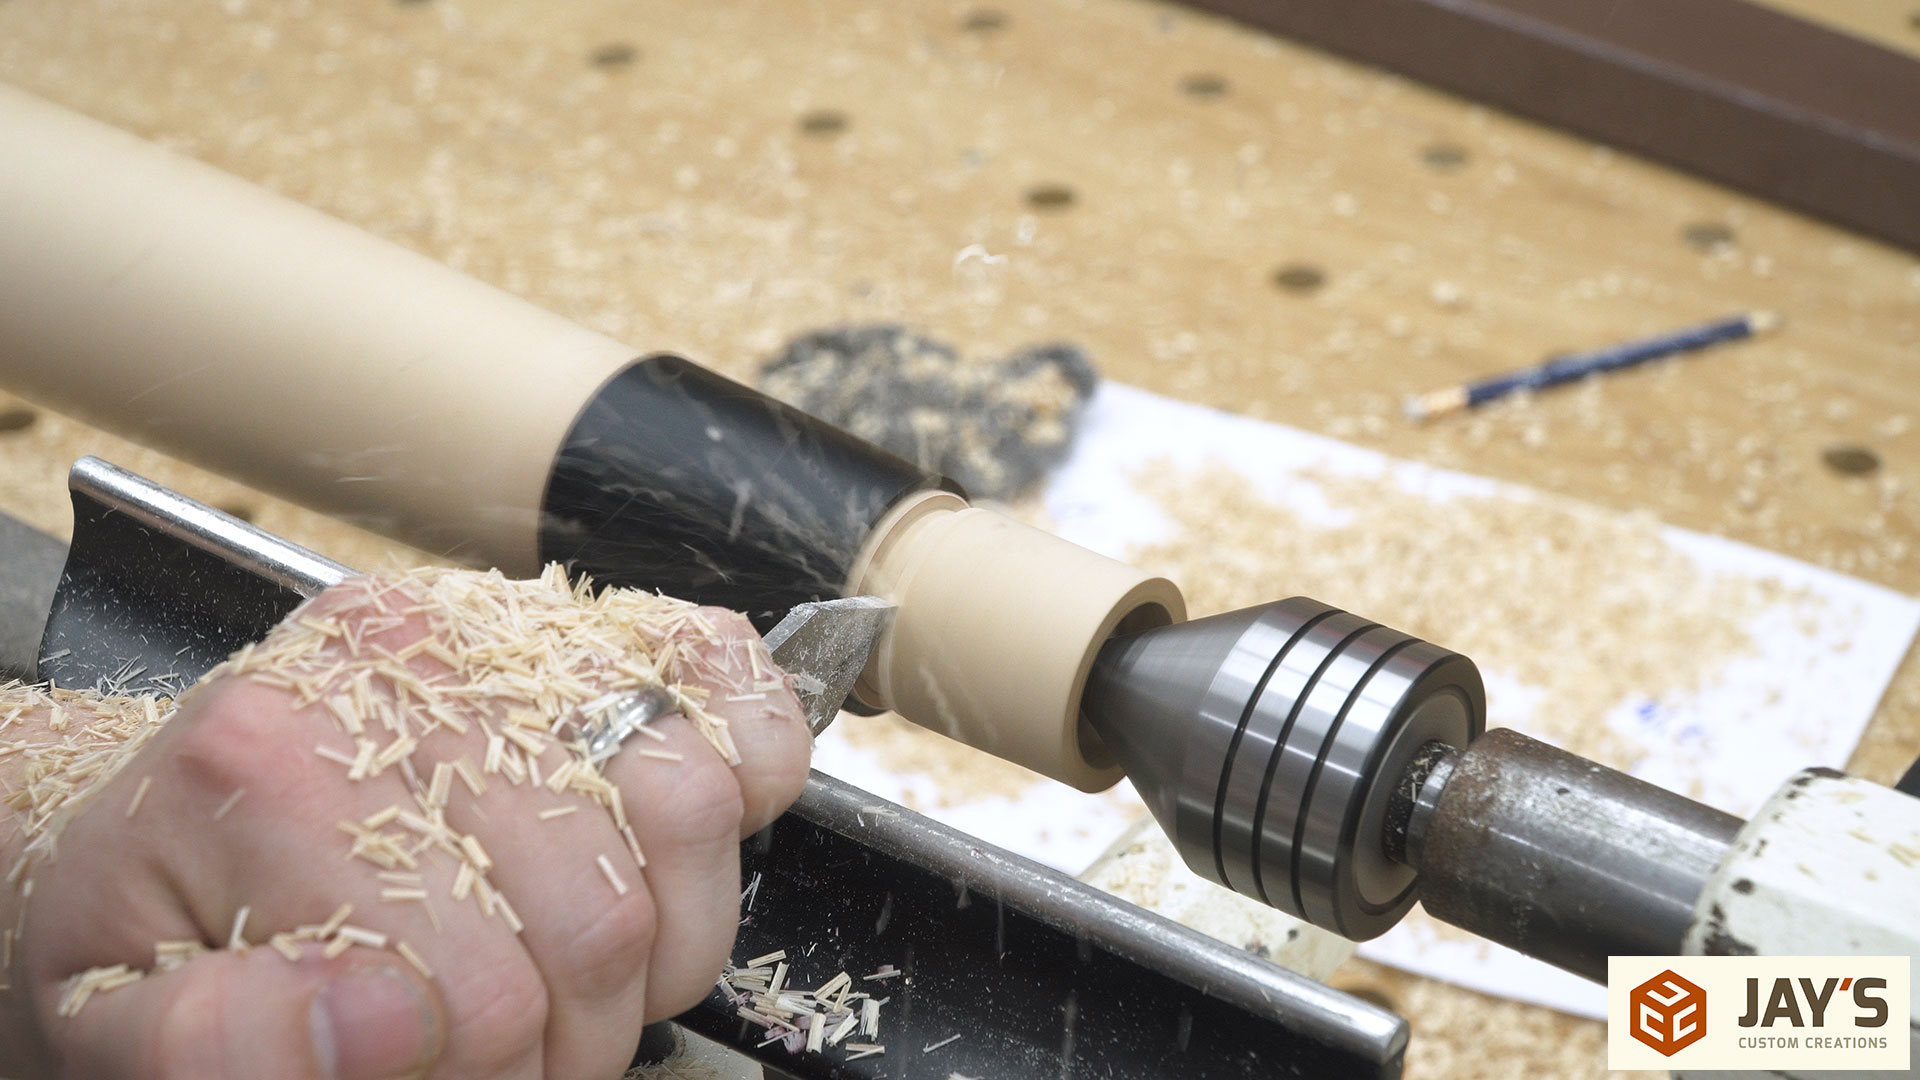
The first step with the turning was to establish the taper for each of the end ferrules. Because the ferrules were tapered I started by cutting the extra end material down to the smaller diameter of the ferrule until it fit on with a snug fit. Here, the ferrule is slipped on backwards but it confirms that the end location is at the correct diameter for the ferrule.
Then the rest of the ferrule taper can be cut little by little checking the progress as I go.
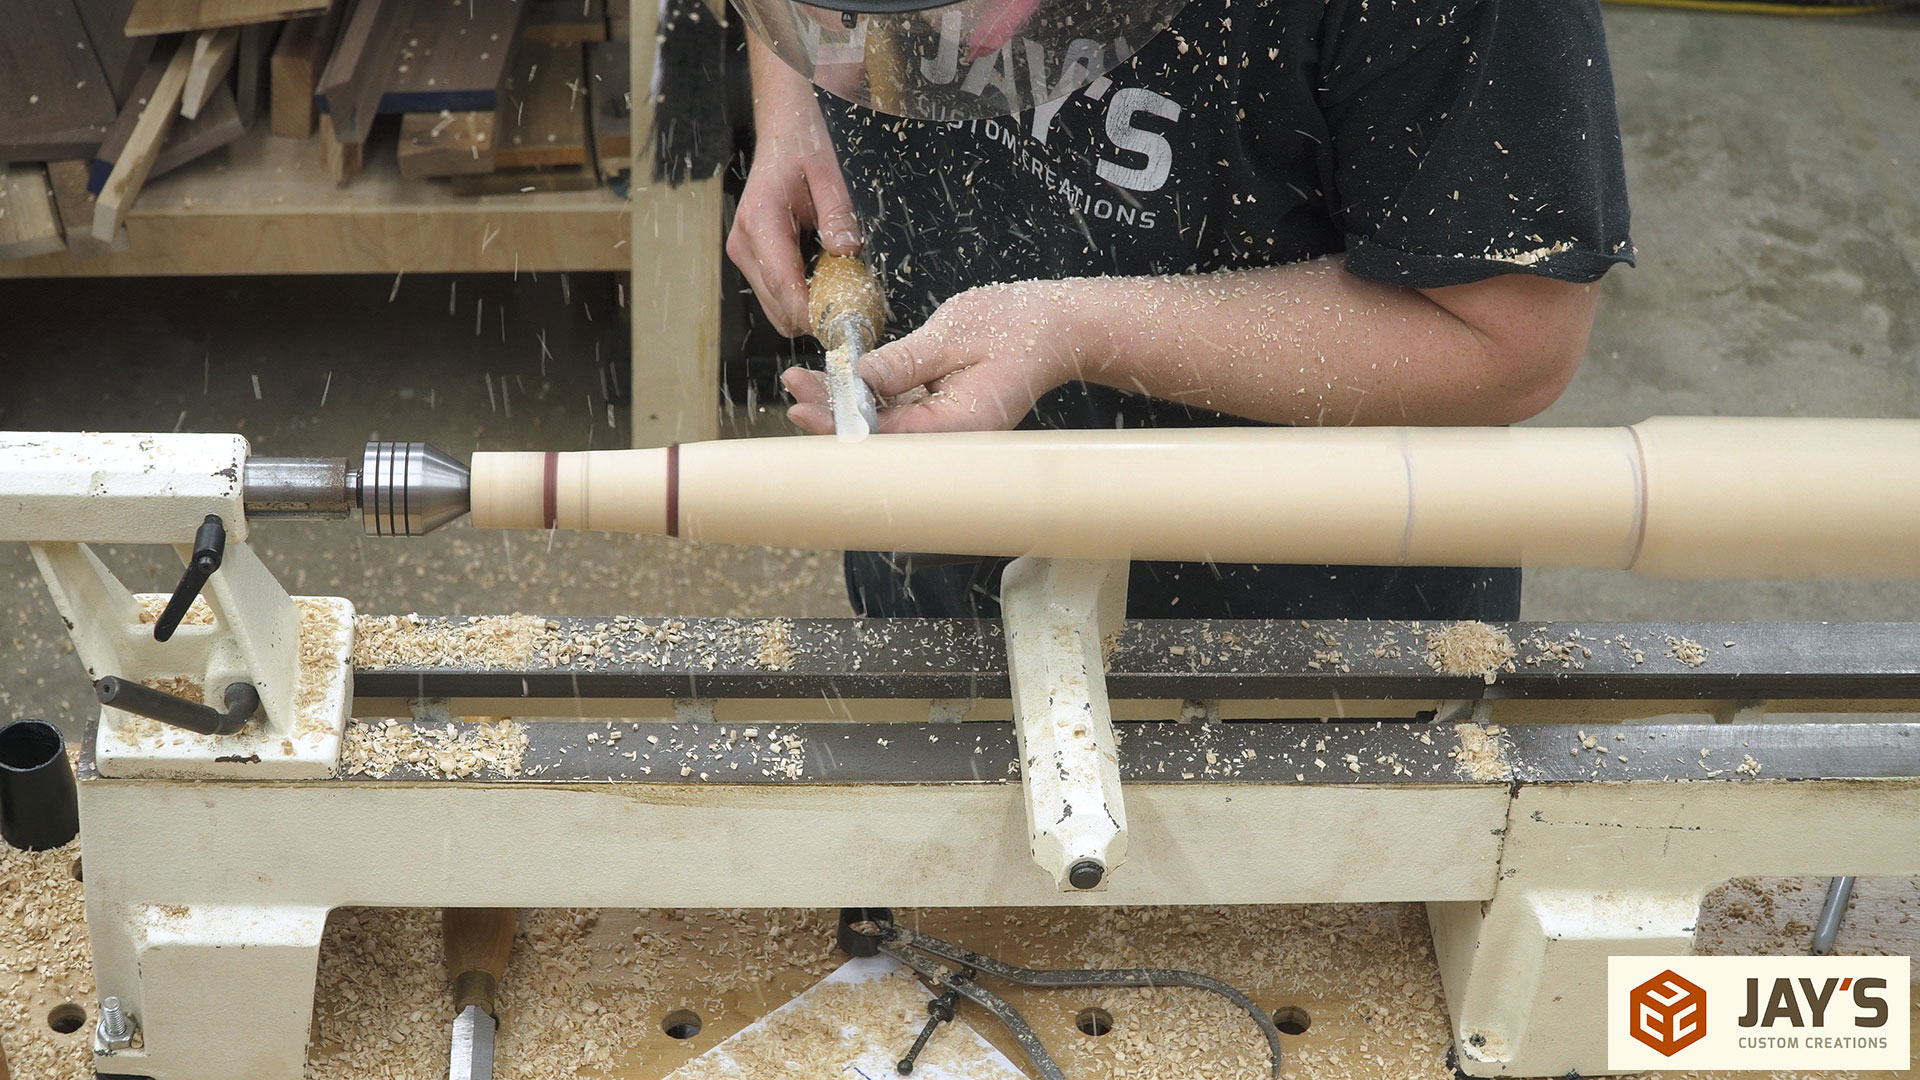
In this orientation the two blue lines on the right indicates the center four inches that will not have any taper. Due to the rectangular stock, the center four inches will just have a bull nose on the narrow face of the stock and a flat face on the wide face of the stock. After that is established a gradual taper can be formed between the center four inches and the already determined ferrule taper.
With one side completed the other side can be cut the same way. For consistency sake I removed the blank and flipped it end for end so that I would be cutting in the same direction for each end. It’s a little easier for me to duplicate something when I work from the same direction rather than trying to cut left and cut right.
The second piece was completed with the same process and just like with any other woodworking project you learn from the mistakes from the first one. You make corrections. And the second one is always the better of the two.
After the lathe I used a spokeshave to clean up the tapers slightly.

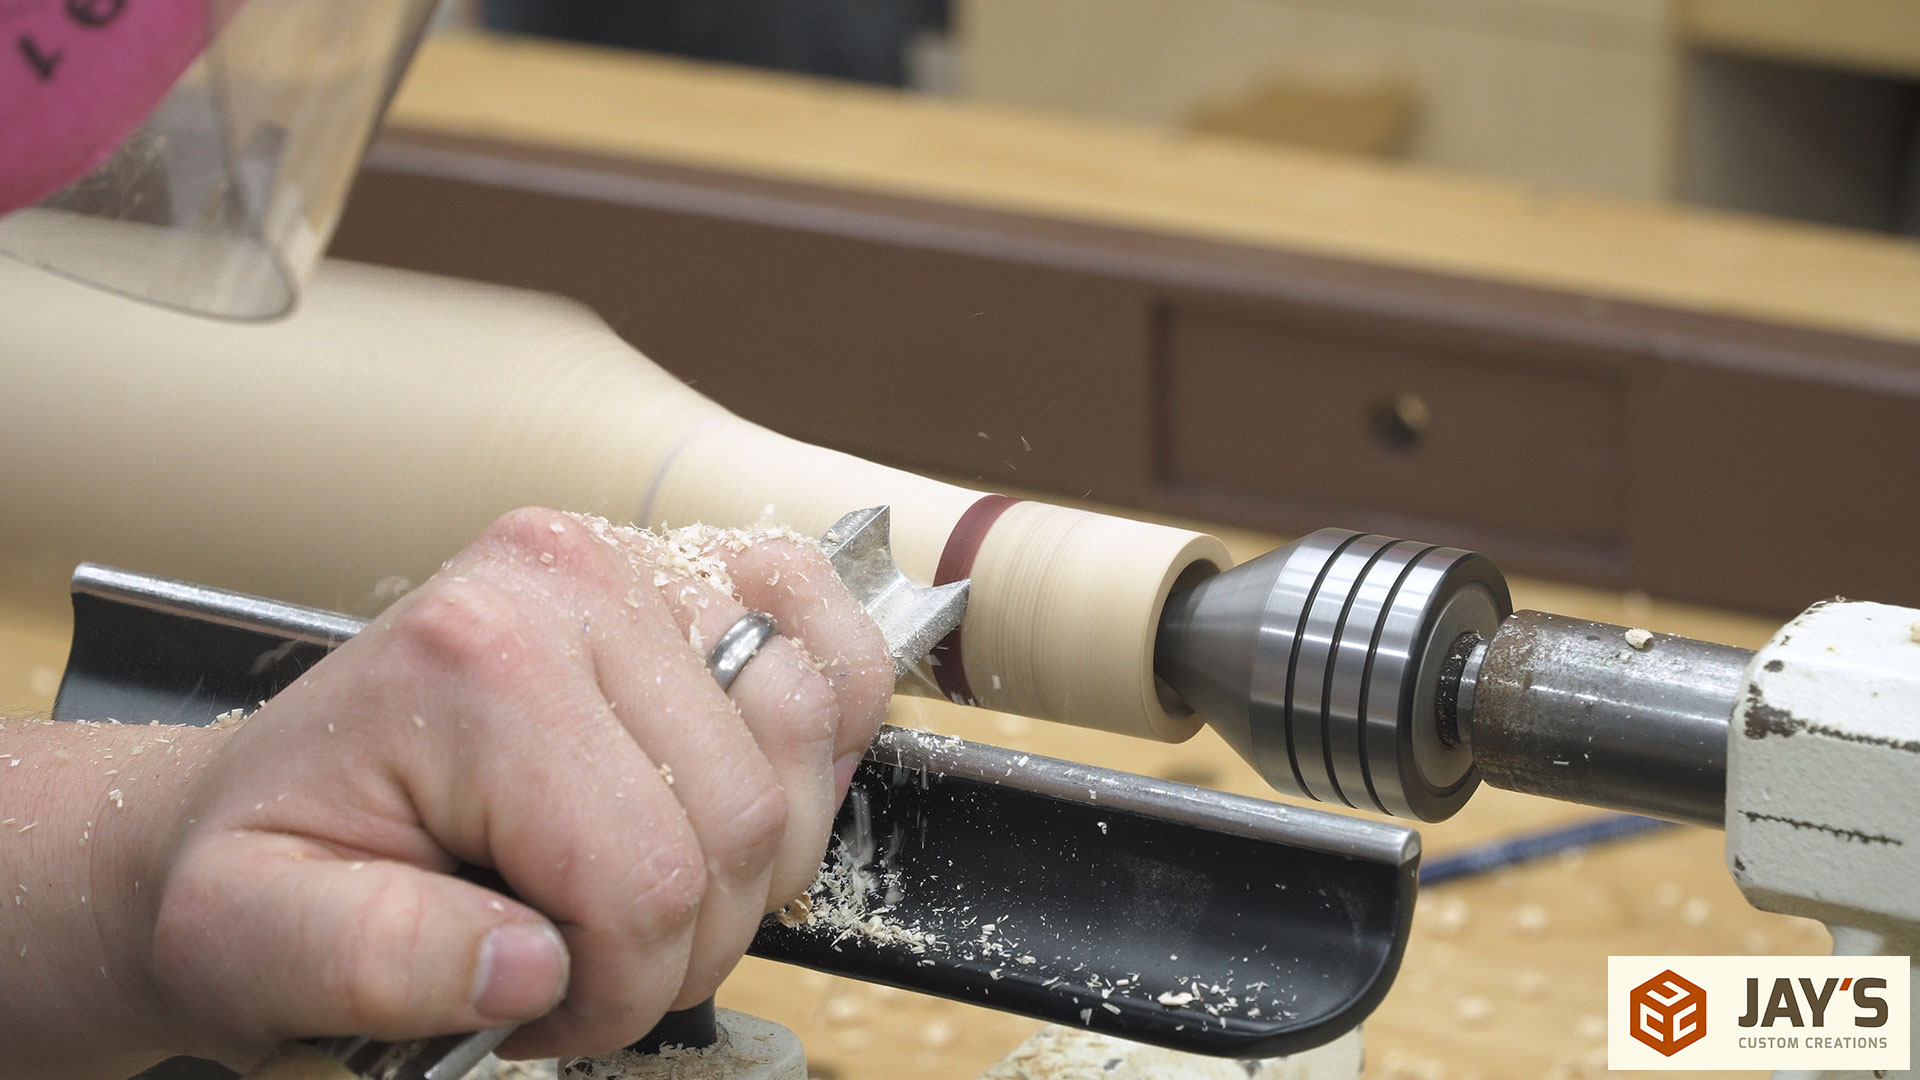
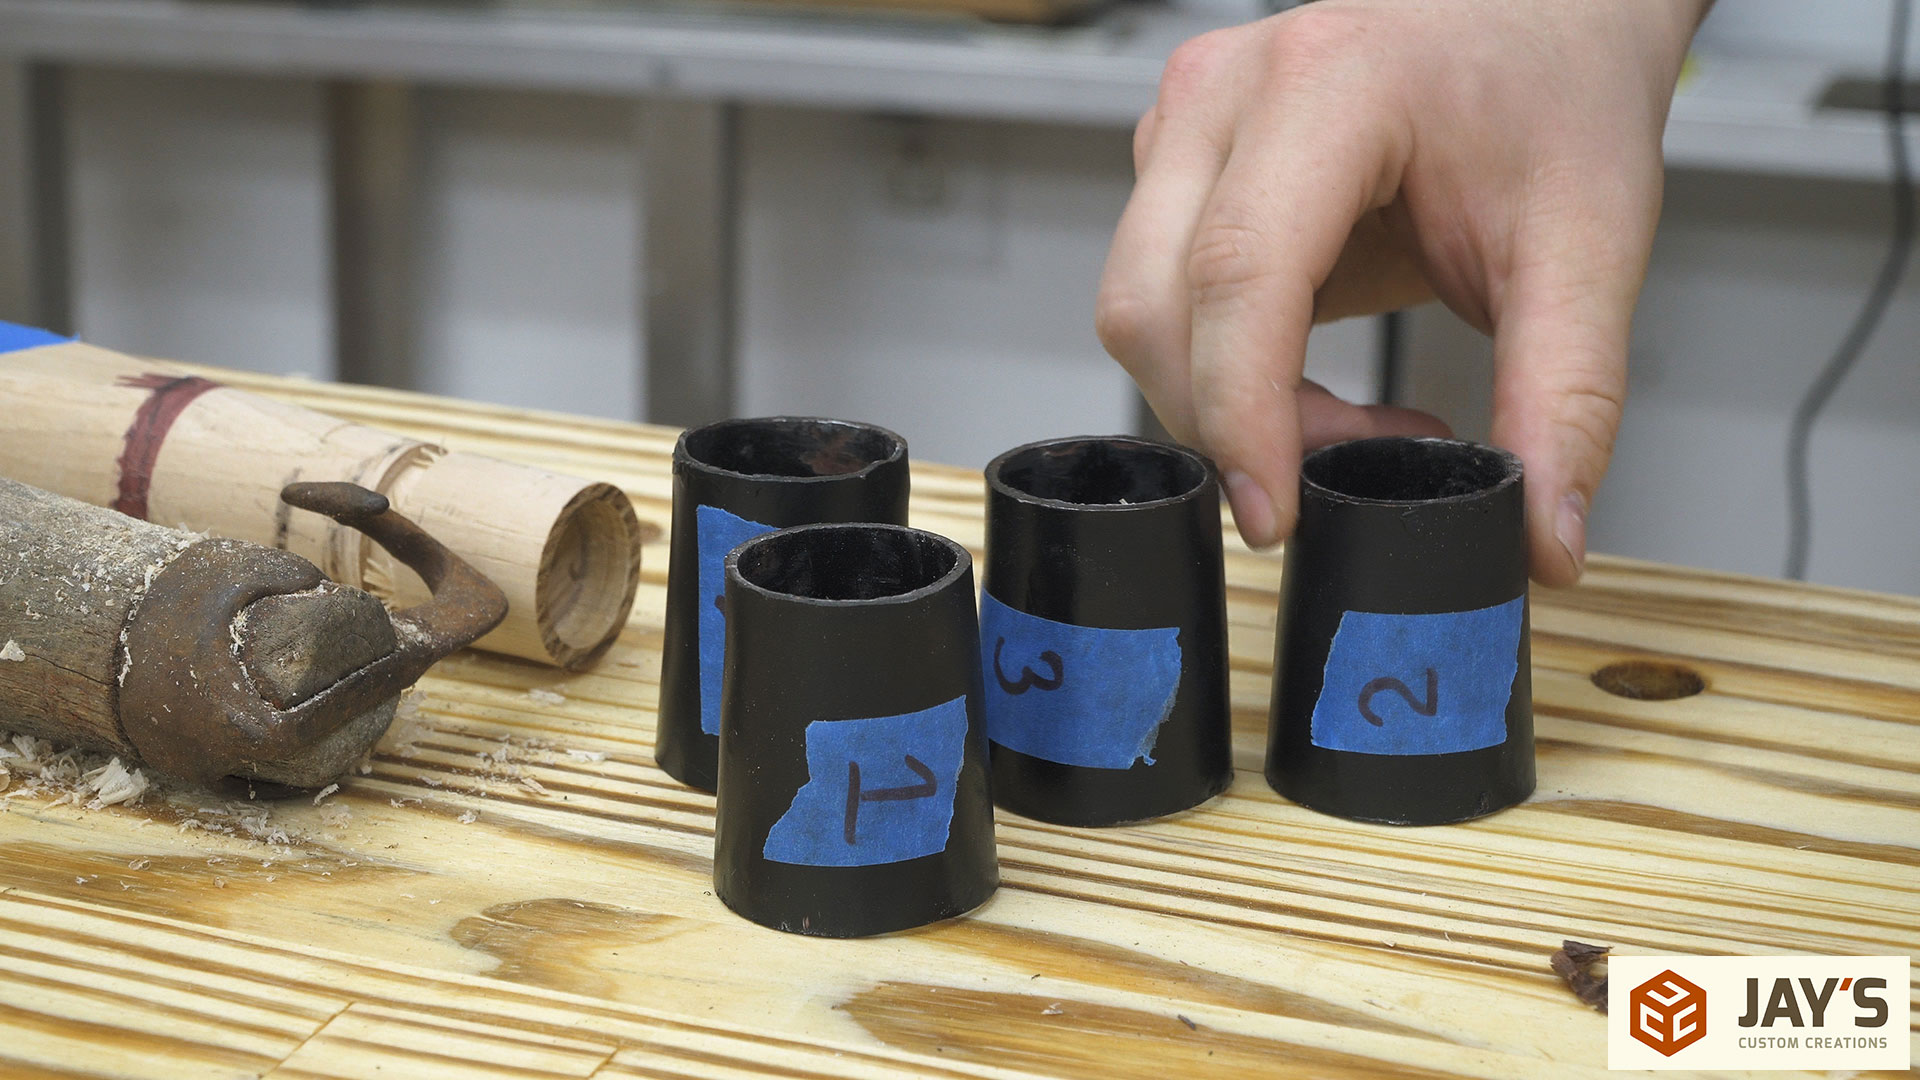
To cut off the extra material I thought it would be best to remount the pieces on the lathe and cut a groove at the end of each ferrule to determine final length.
I also made a point to designate which ferrule match which taper. And then cut off the extra material and cleaned up the ends slightly.
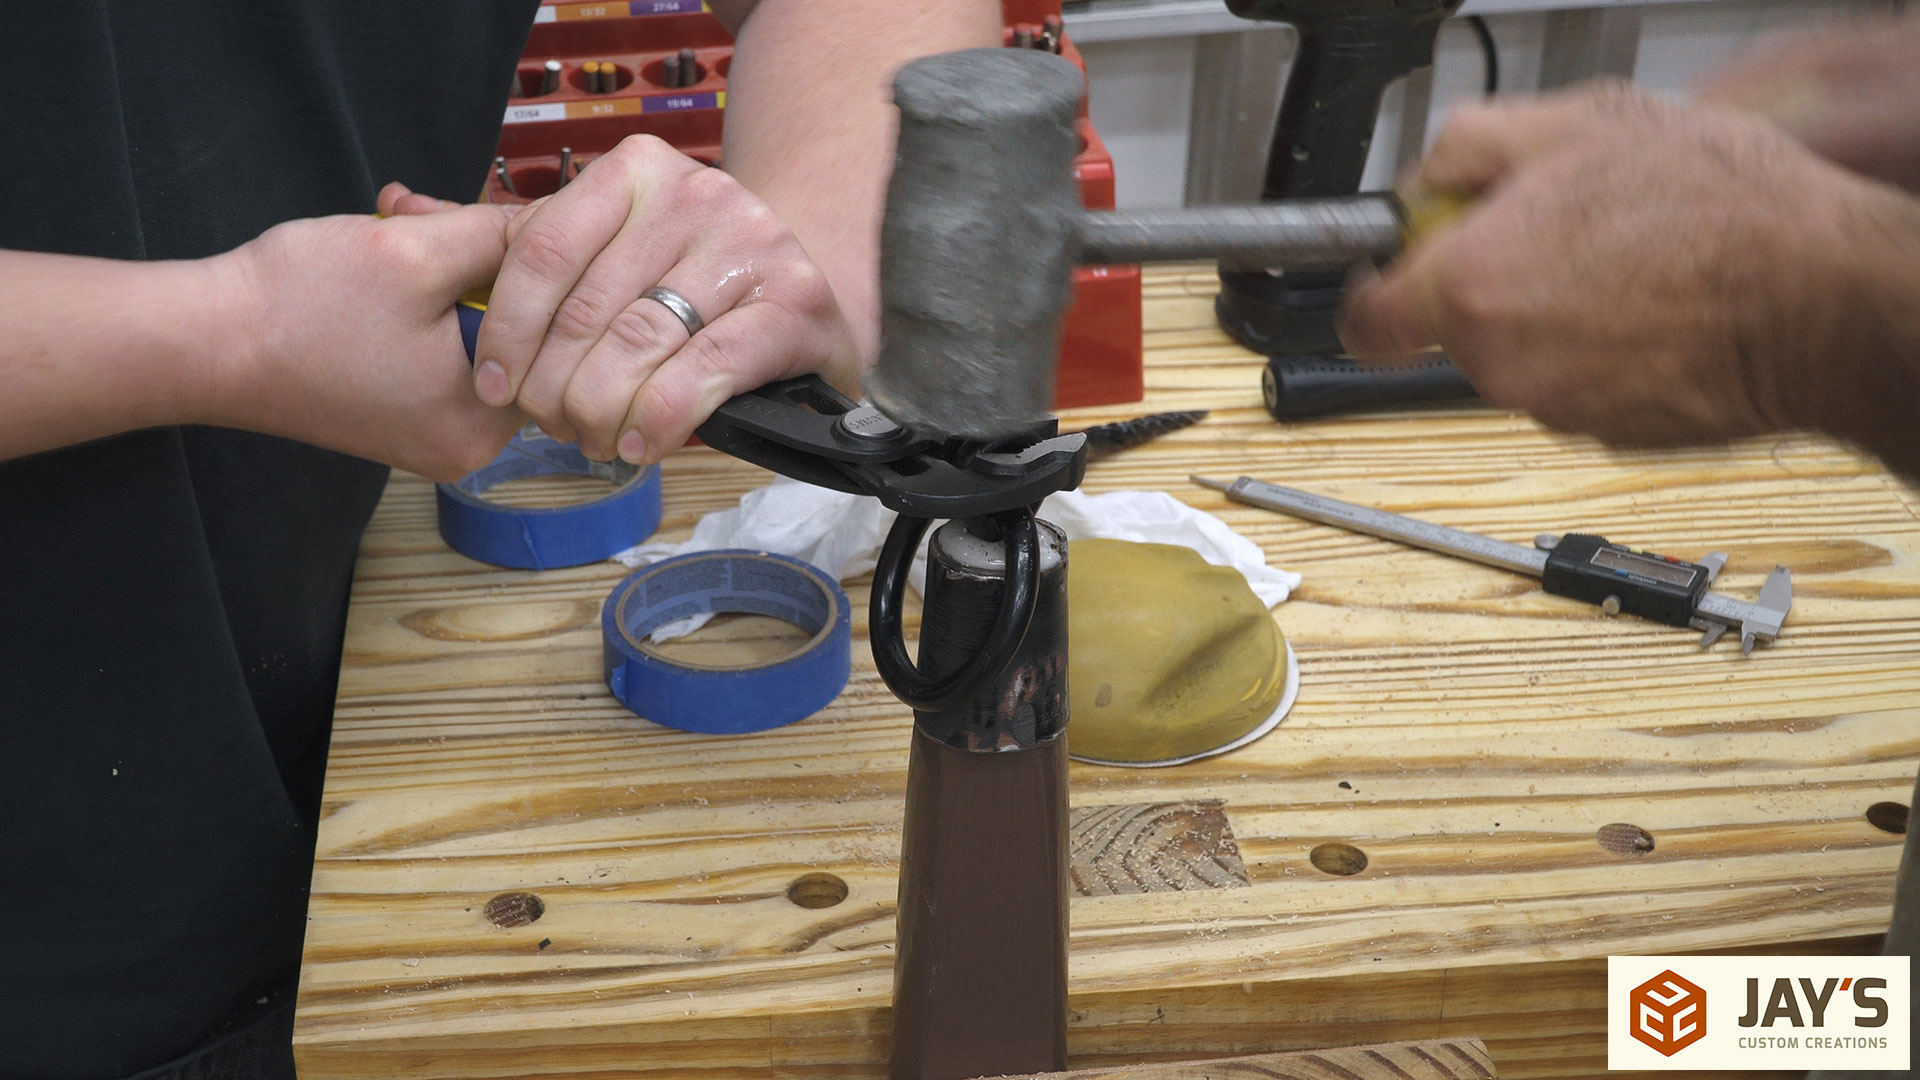
At this point my work was done and I gave everything back to Duffy to paint and attach the ferrules. The end rings ended up being a two man job though. The rings are attached with what I’m calling a twisted spike. I’m not sure exactly what it’s called but it’s not twisted enough for me to call it a screw. With a little bit of epoxy, rotational force, and brute downward persuasion the rings are secured to each end of the swingletrees.
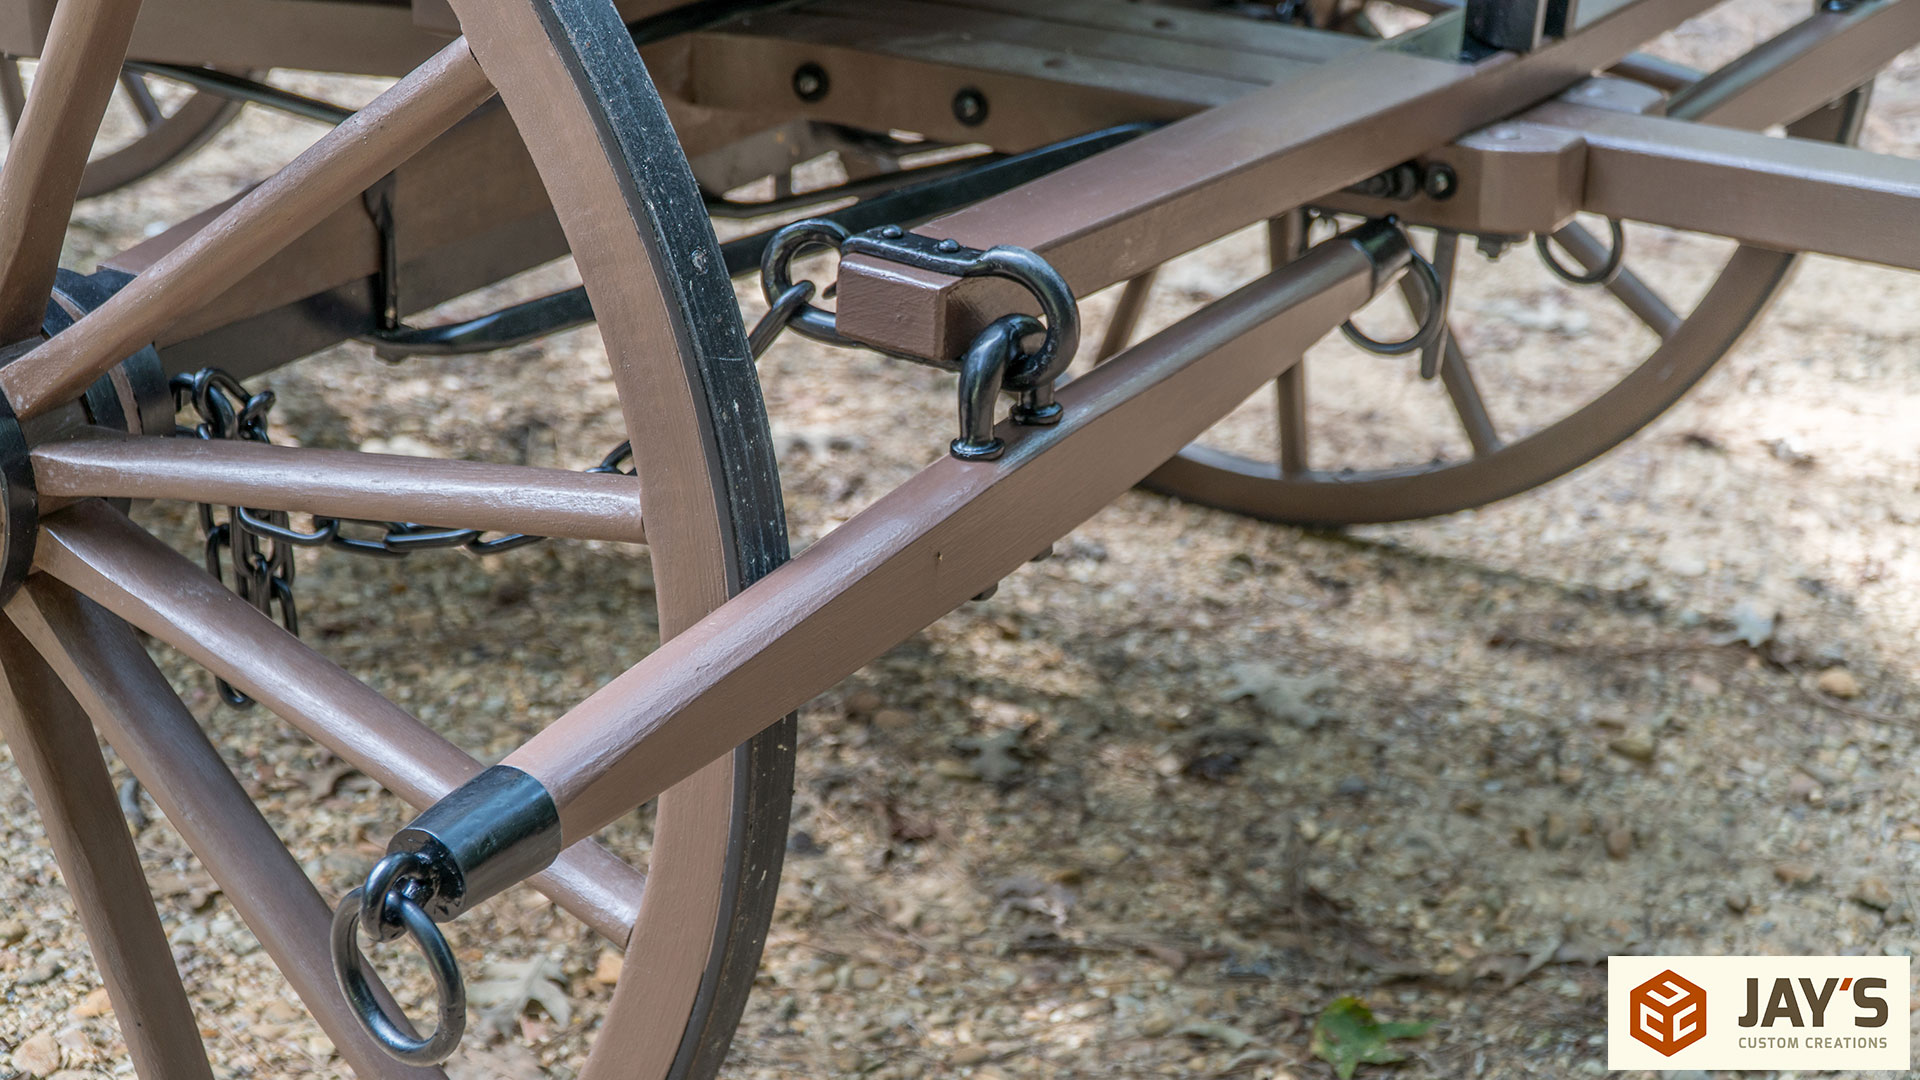
Here’s what the completed doubletree assembly looks like. The hand forged hardware on each end of the doubletree is particularly interesting. On the front side is a basic loop to attach the swingletree but on the back side is a tapered helix type shape. This is where a chain is attached to connect the doubletree to the front axle. Due to the shape the chain has to go forward, up, and twist 180 degrees to be removed. This makes attaching the chain by hand very easy but also very difficult for the chain to naturally fall off while in use.
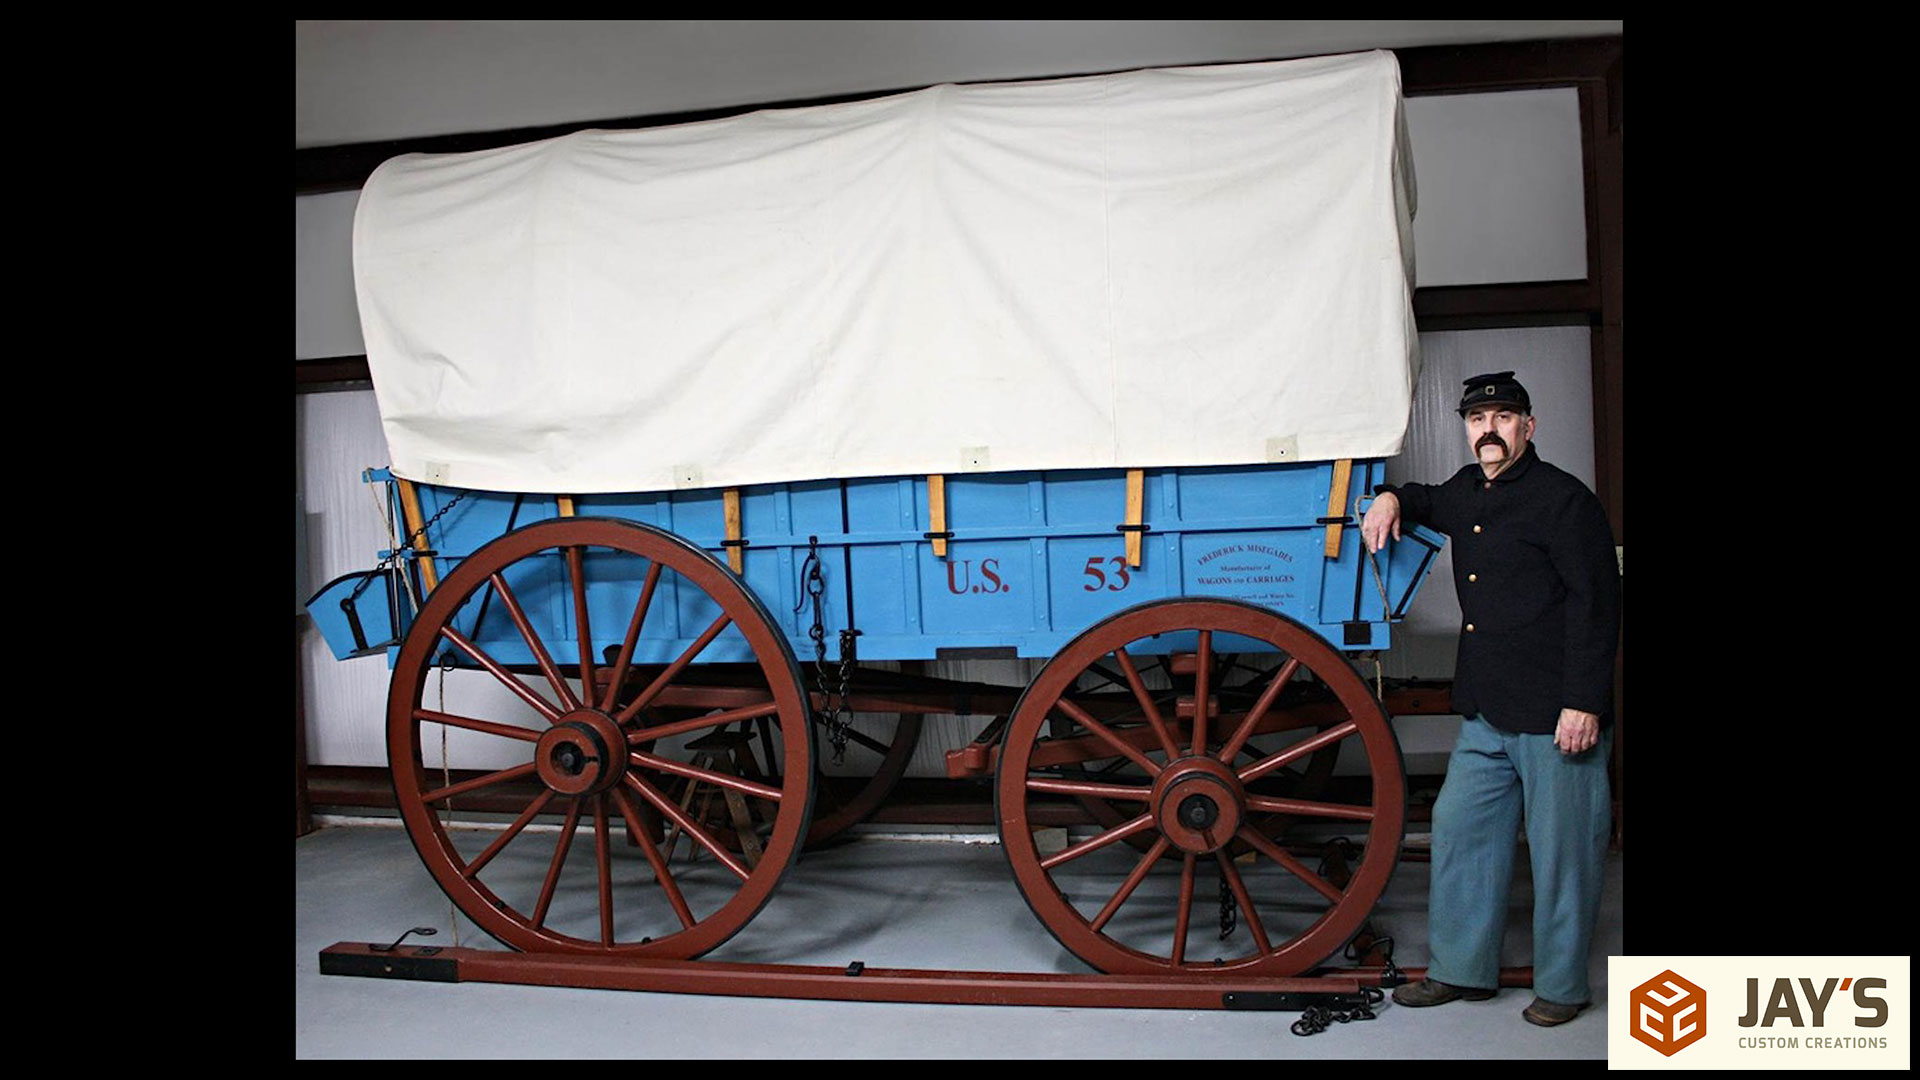
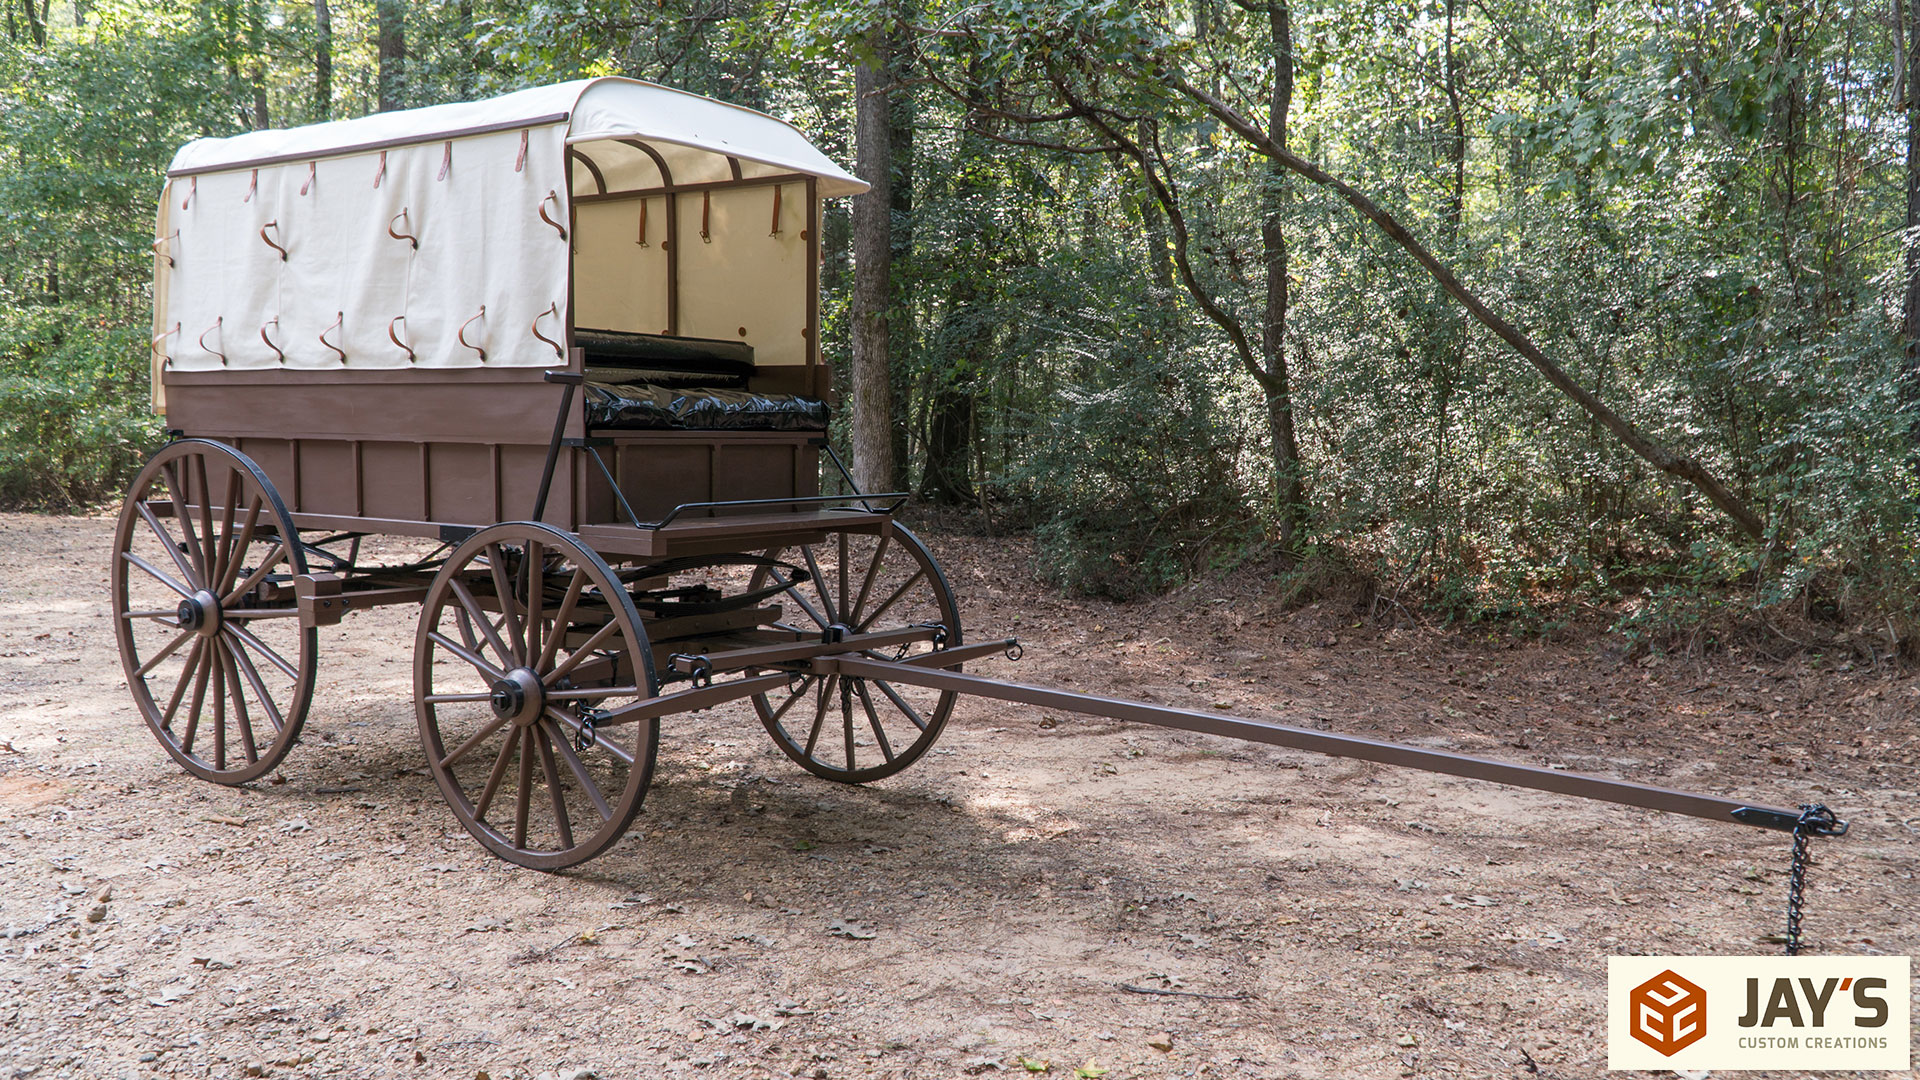
So after a little more than two years Duffy’s Wheeling ambulance is complete. We did a photo shoot to document the completed build so I’ll close with a final image of his build. What’s more remarkable than seeing a completely built period ambulance is knowing that Duffy isn’t a woodworker who decided to take on a huge project. Instead he’s just a guy with a passion for history and sought out the necessary information and skills to complete a massive project like this.
For more information on Duffy, his museum, or to schedule a visit go to http://www.starkvillecivilwararsenal.com/


nice job to the two of you
Very good work, makes my back hurt to look at it because it is the same as the ones I used as a young man planting corn with a pair of mules pulling a planter.
What you have made is actually a doubletree for two animals, a ” single” tree is for only one mule or horse
All of the farm boys reading this will correct your definition of the device. Horse harnesses are usually given the names SINGLETREE for a one horse rig and DOUBLETREE for a team of two.
However, that is a beautiful piece of work. The hardware looks totally authentic. Nice.
Joe
WOW. Just WOW. You have come so far from the spare apartment make shift workroom.
My Grandfather taught me to work with mules when I was a young kid. Those were always Double-trees and Single-trees to us. Used a team of mules on the wagon and a single mule on cultivators. Years later my ex-wife’s grandfather was using a mule to prepare his garden and jokingly asked me to take over for a bit. I did and after a short time, he commented, ‘This is not your first time behind a mule is it?’
Jay, nice work, as usual~! And thanks for the horse-drawn history lesson. ;-)
A beautiful piece of workmanship indeed. A far cry from my day to day life in CNC, but somehow so much more attractive.
Man, I love seeing your work. I feel like such a child by comparison with my tools…