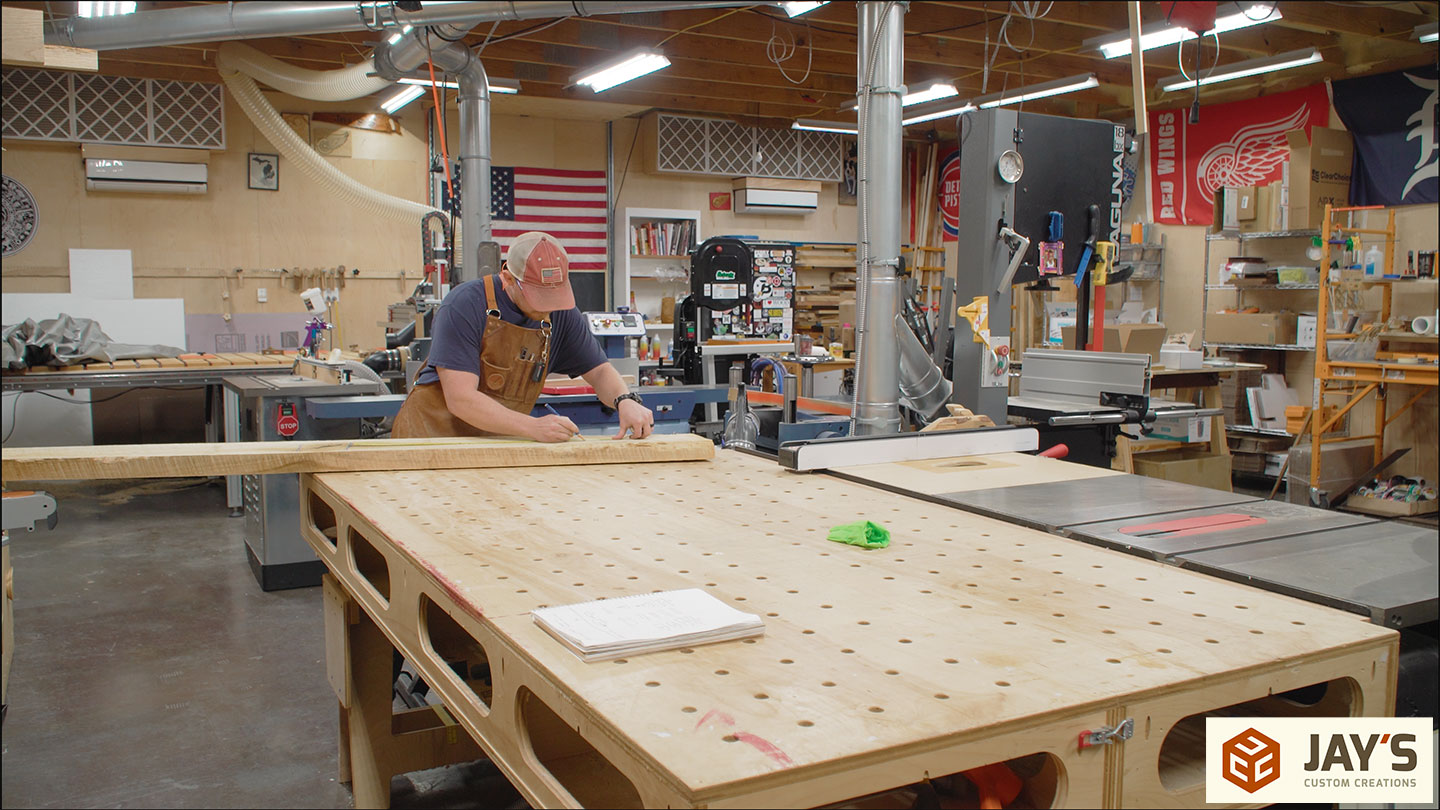
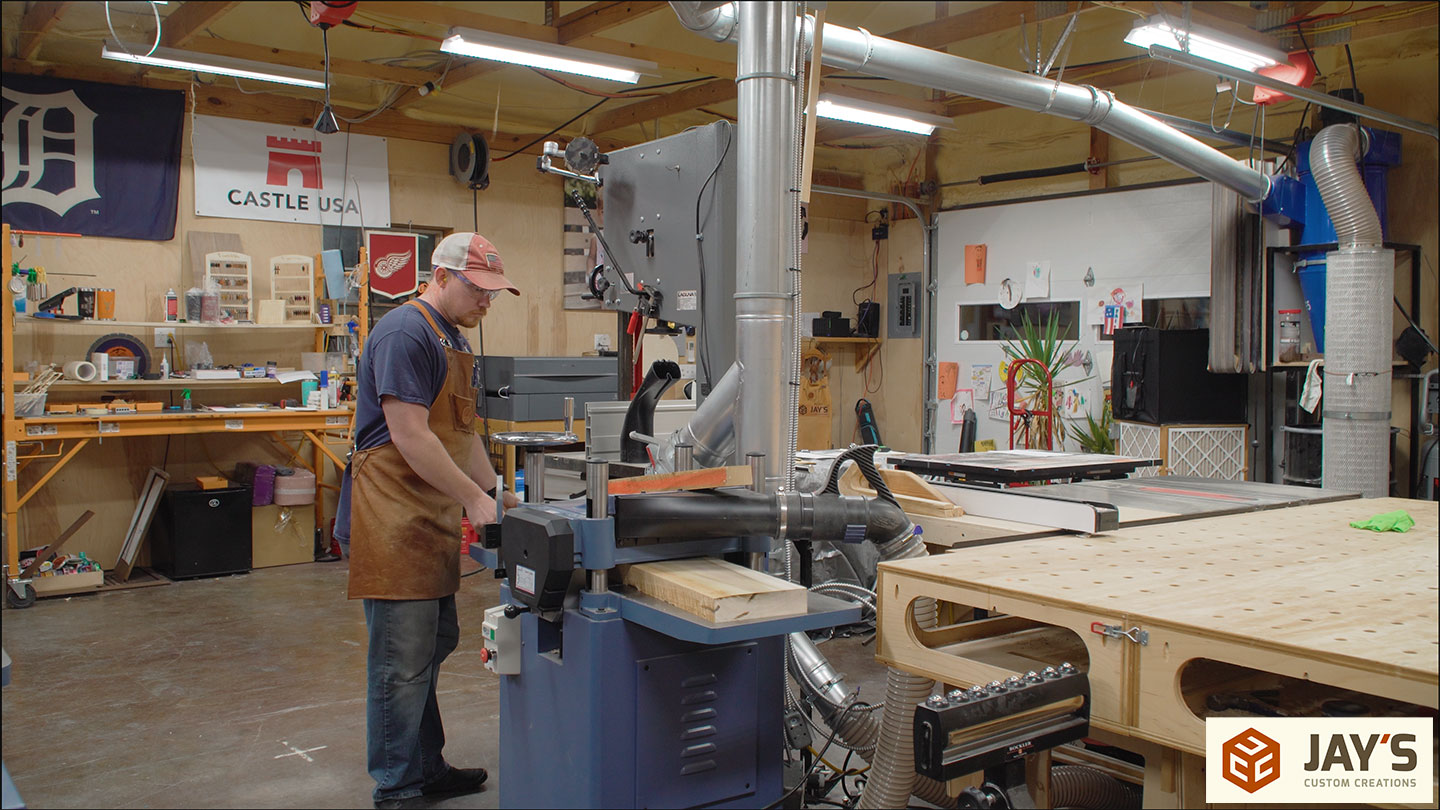
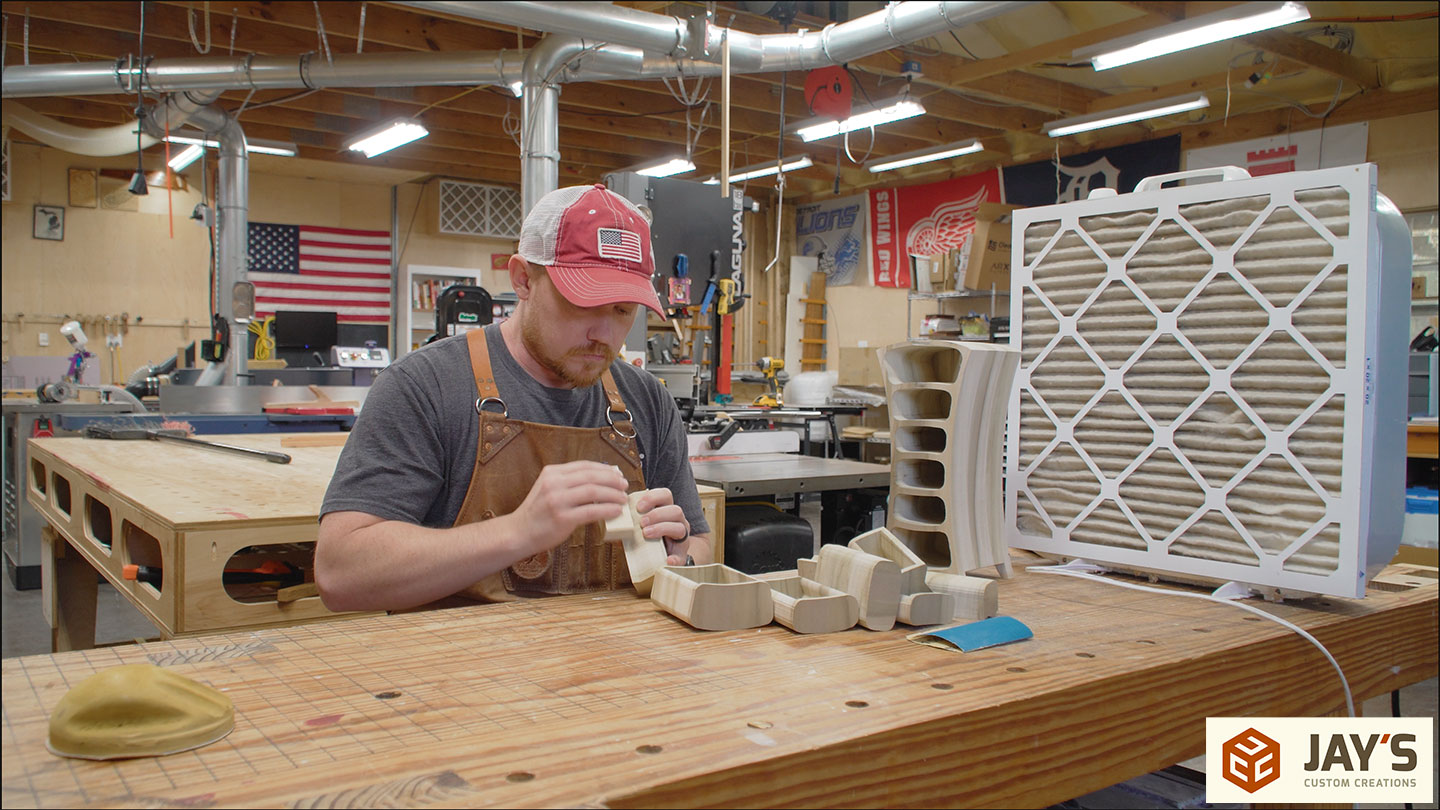
A decade ago I got this 14″ bandsaw. Shortly after getting it I made a bunch of these cracked bandsaw boxes. A little while ago I required the same exact bandsaw and restored it. Now, I’d like to recreate one of those cracked bandsaw boxes for a Christmas present for my daughter. This project started out as a single 8/4 board of poplar.
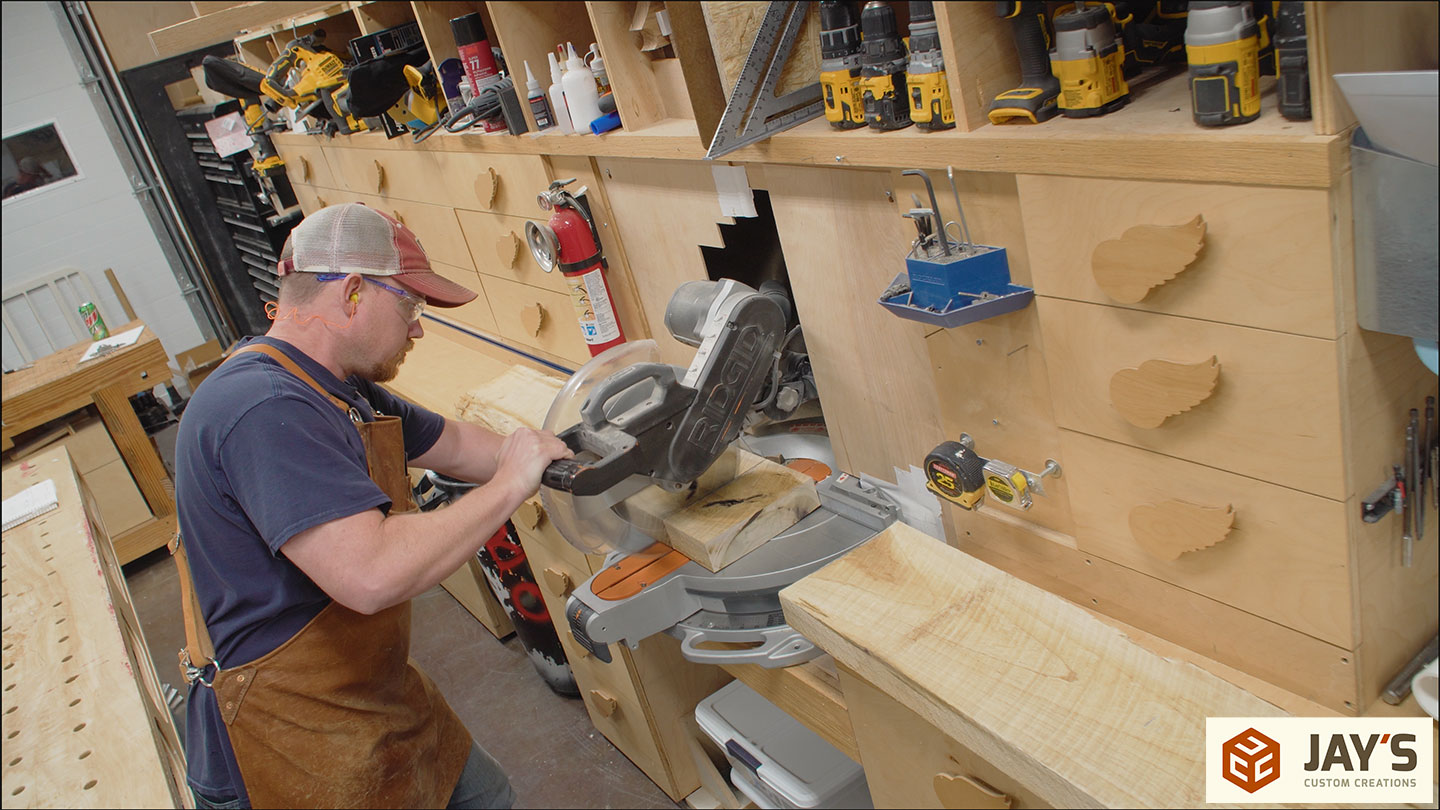
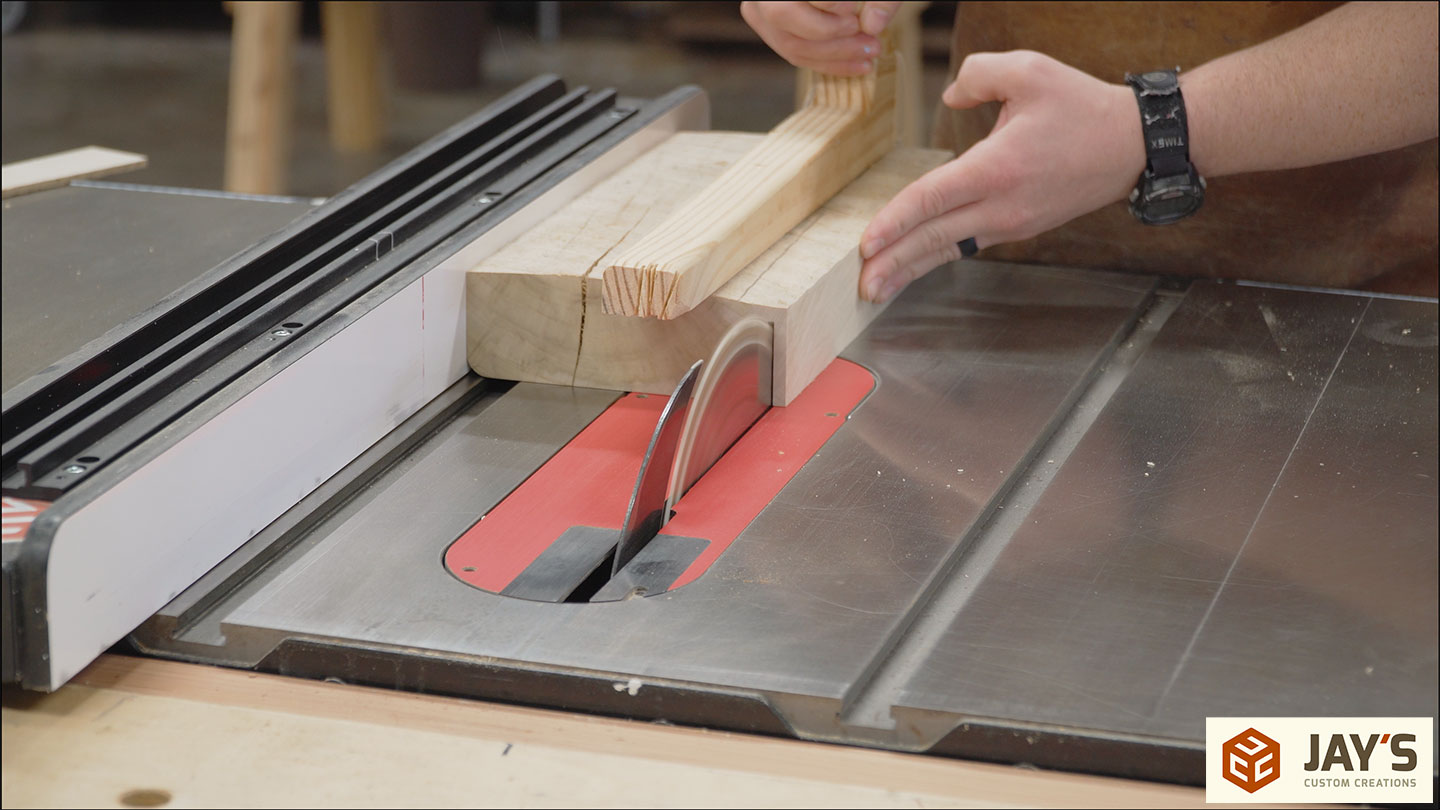
First, removing the only knot at the miter saw station.
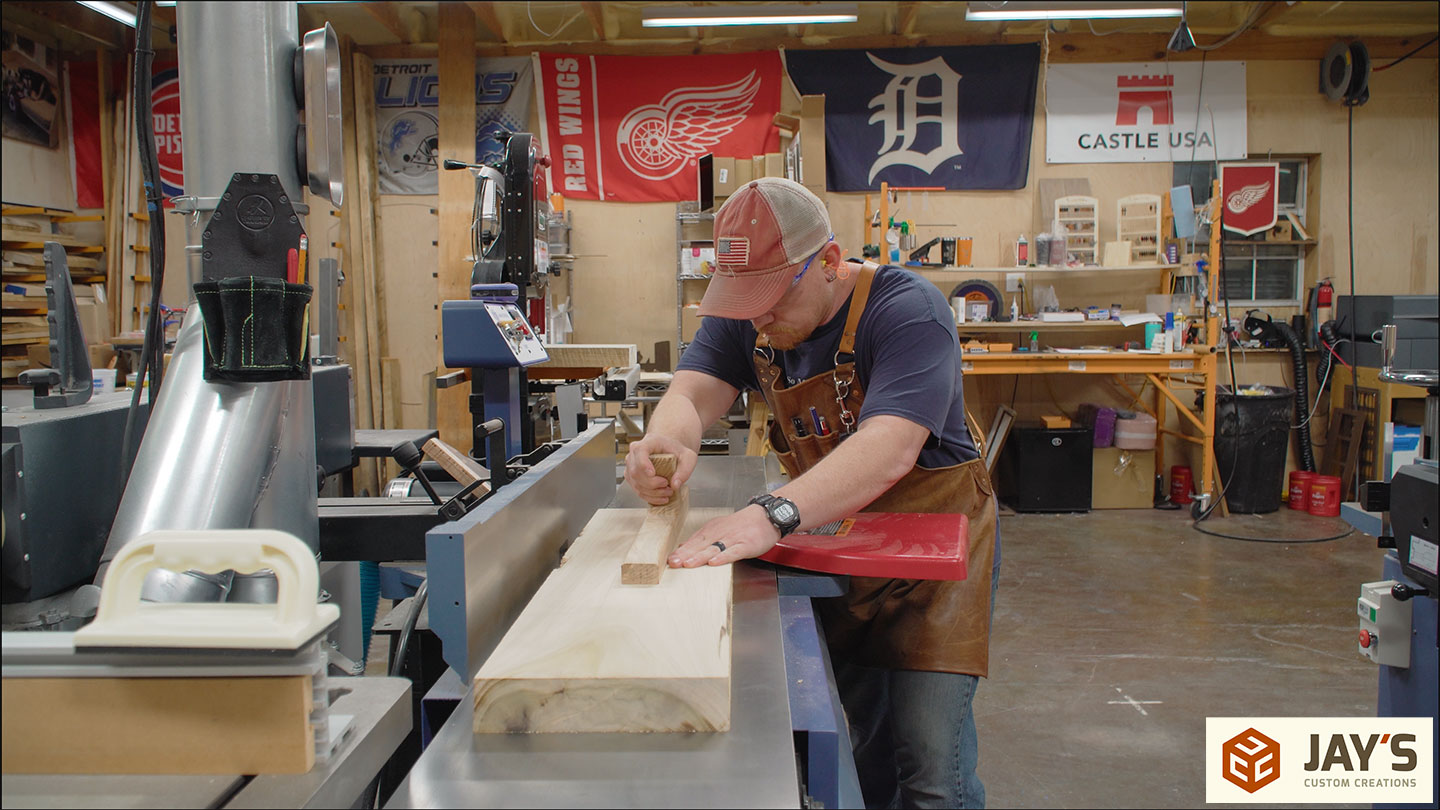
Then each piece gets jointed flat at the jointer.
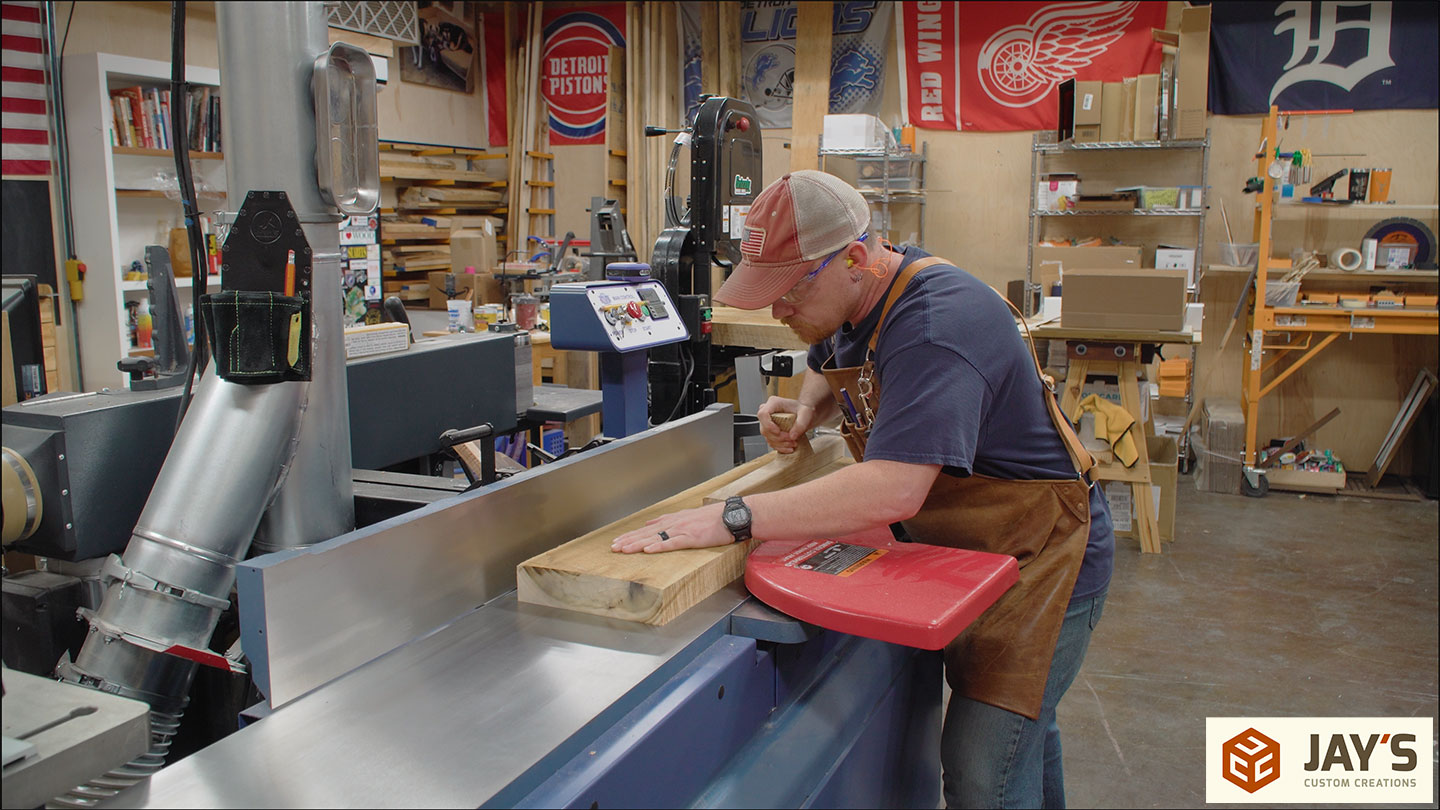
Then the opposite face is planed flat and parallel to the first.
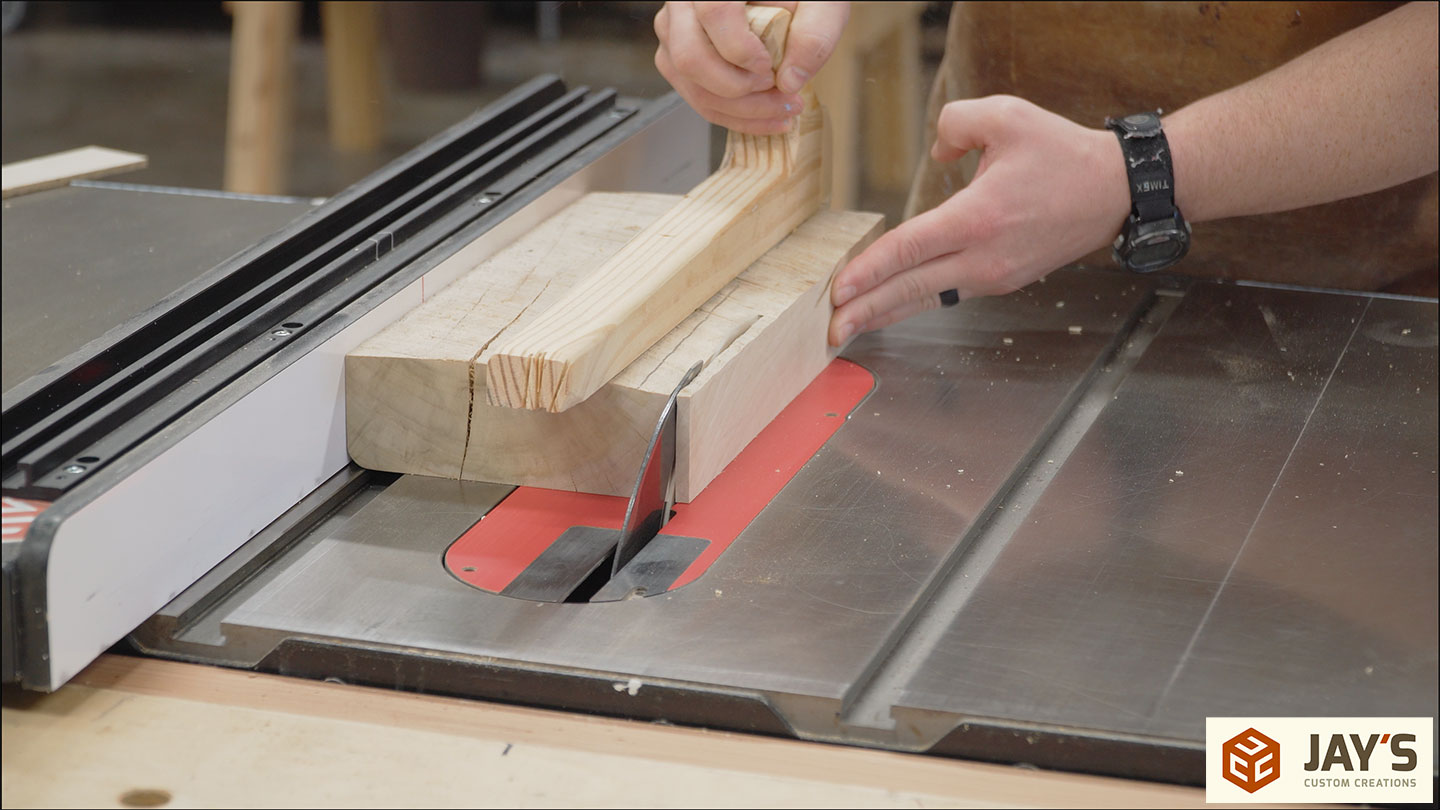
There are a few different ways to deal with planer snipe. When a large run of material is planned, using a scrap board as a “snipe board” to go in front of the first piece and in back of the last piece is my to-to method. So long as you don’t have a gap between boards as you constantly feed the machine, snipe will only occur on the front of the first piece and the back of the last piece. In this case, I only had two boards so I didn’t justify designating another board to scrap. Instead, I’ll show you another trick to deal with planer snipe. First, identify where the snipe is.
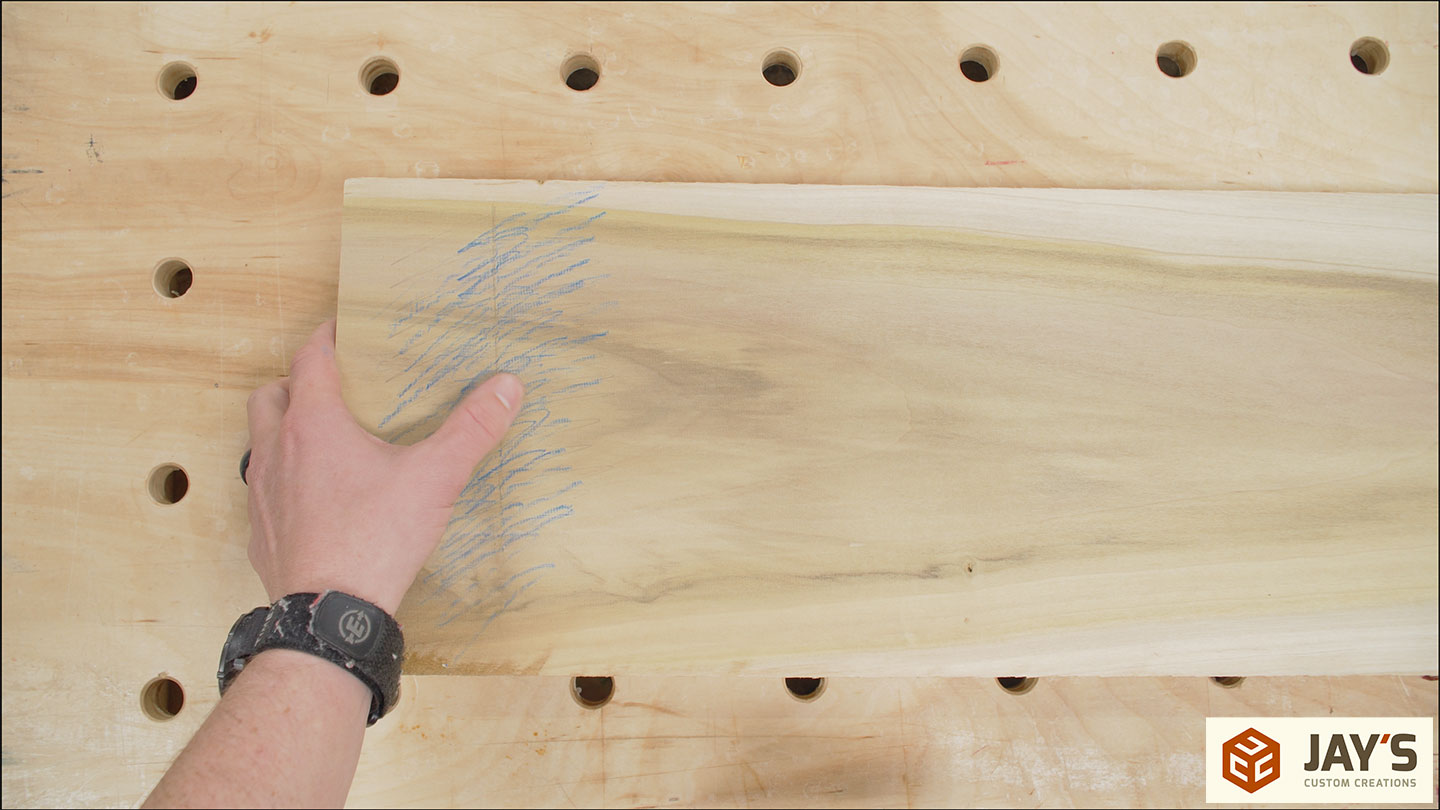
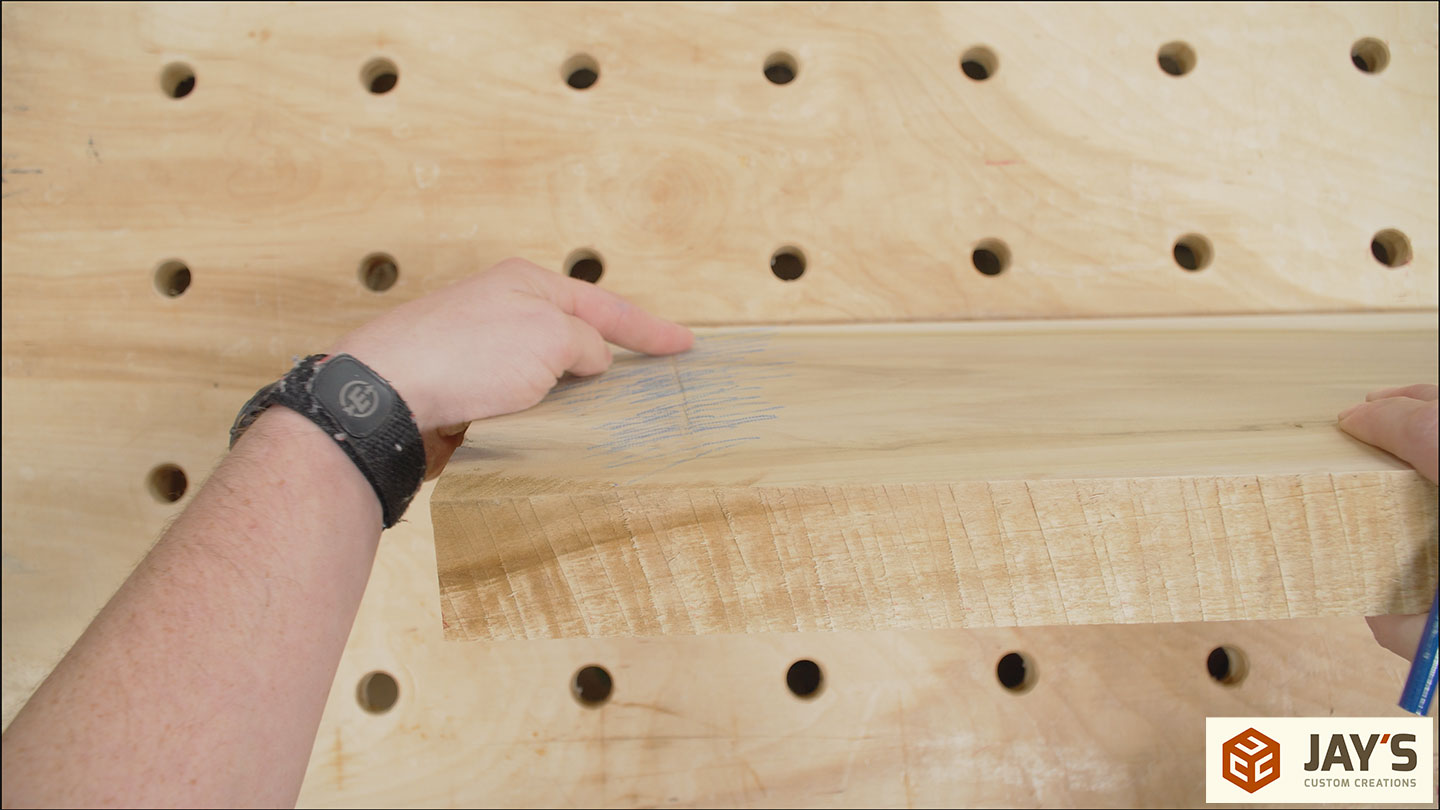
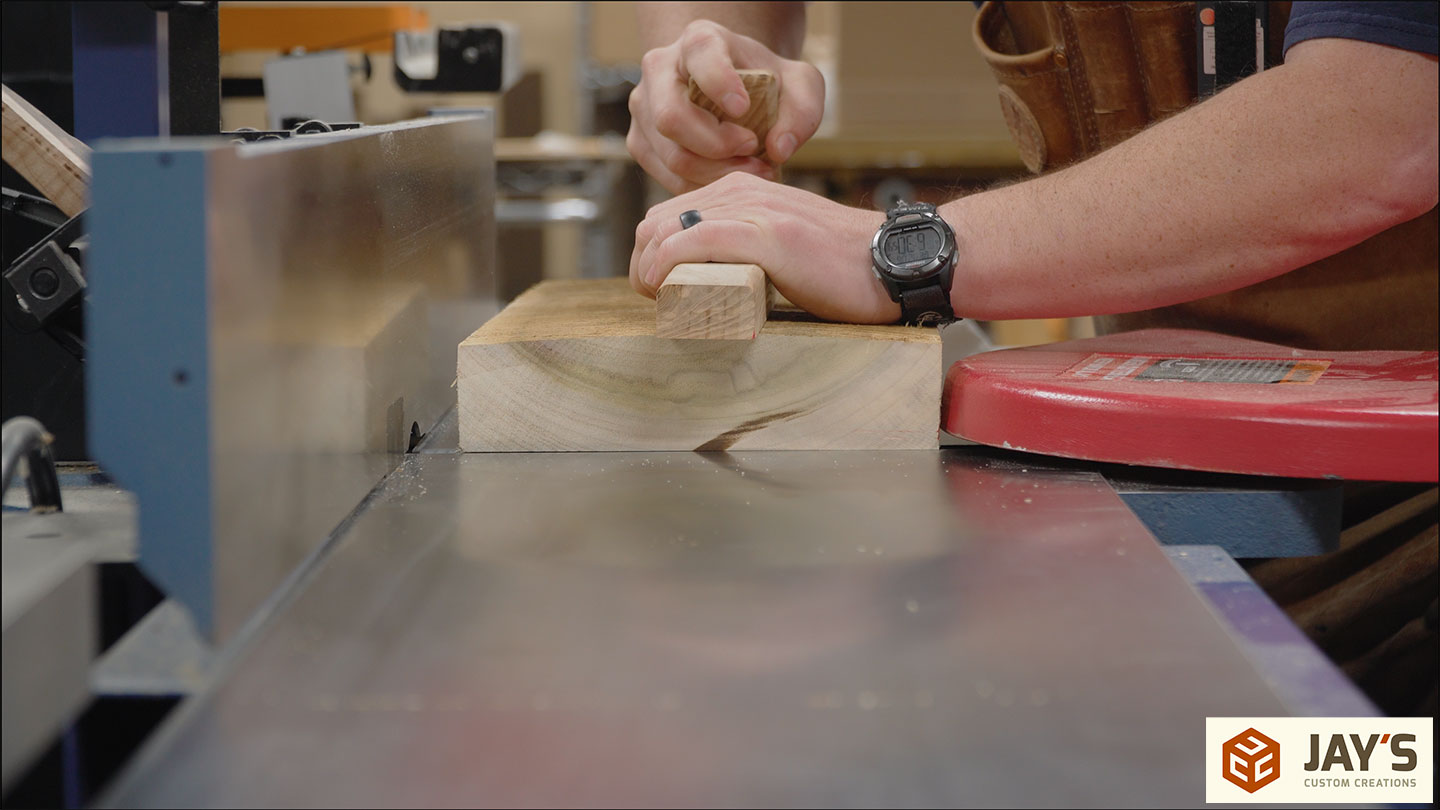
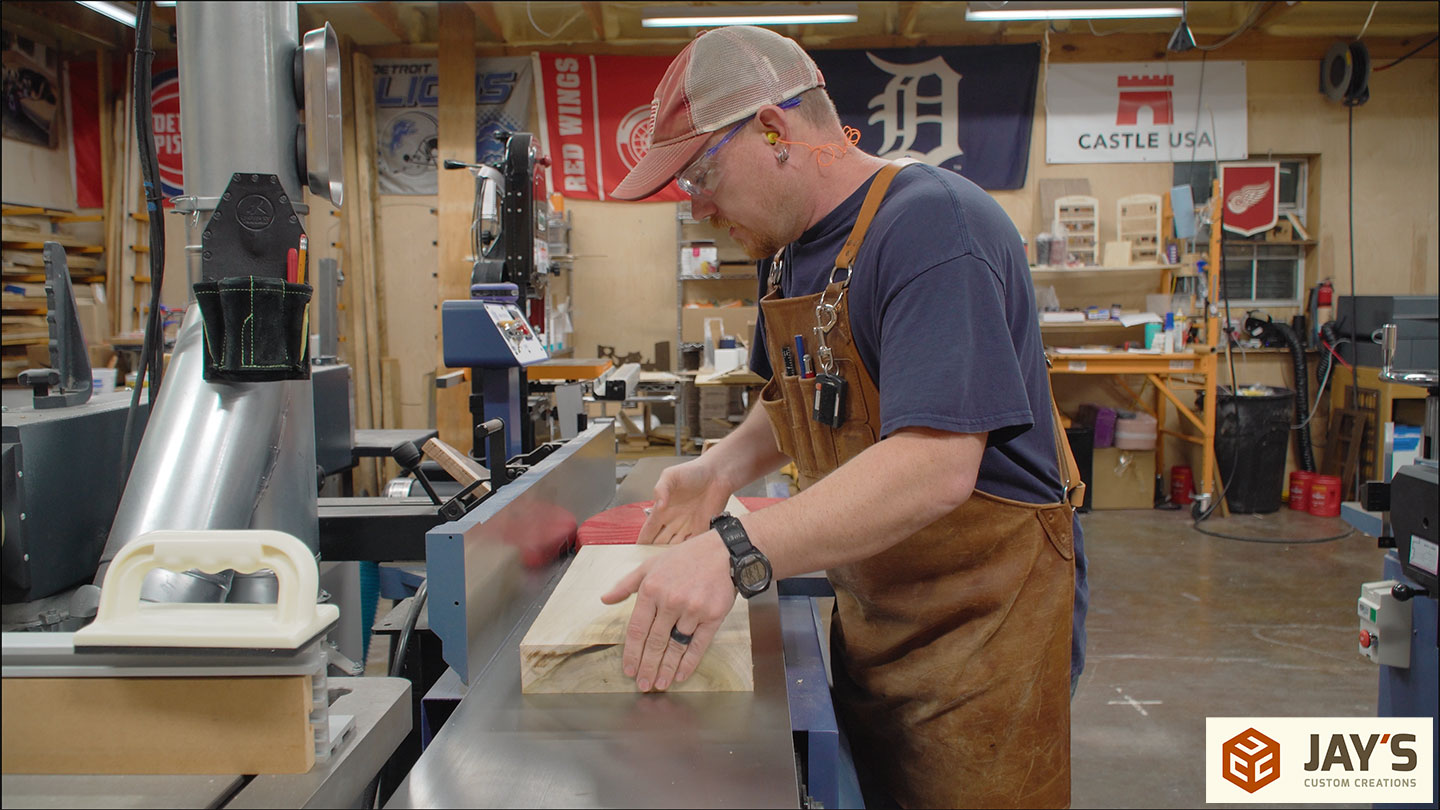
The ends of the board have the snipe but the center area of the just planed surface should be perfectly flat and parallel to the opposite jointed face. That perfectly flat face from the planer can now reference onto the jointer tables for another pass over the jointer. So long as you only reference off of the center area of the planed face, you should be able to keep that same exact flat face and joint away the snipe.
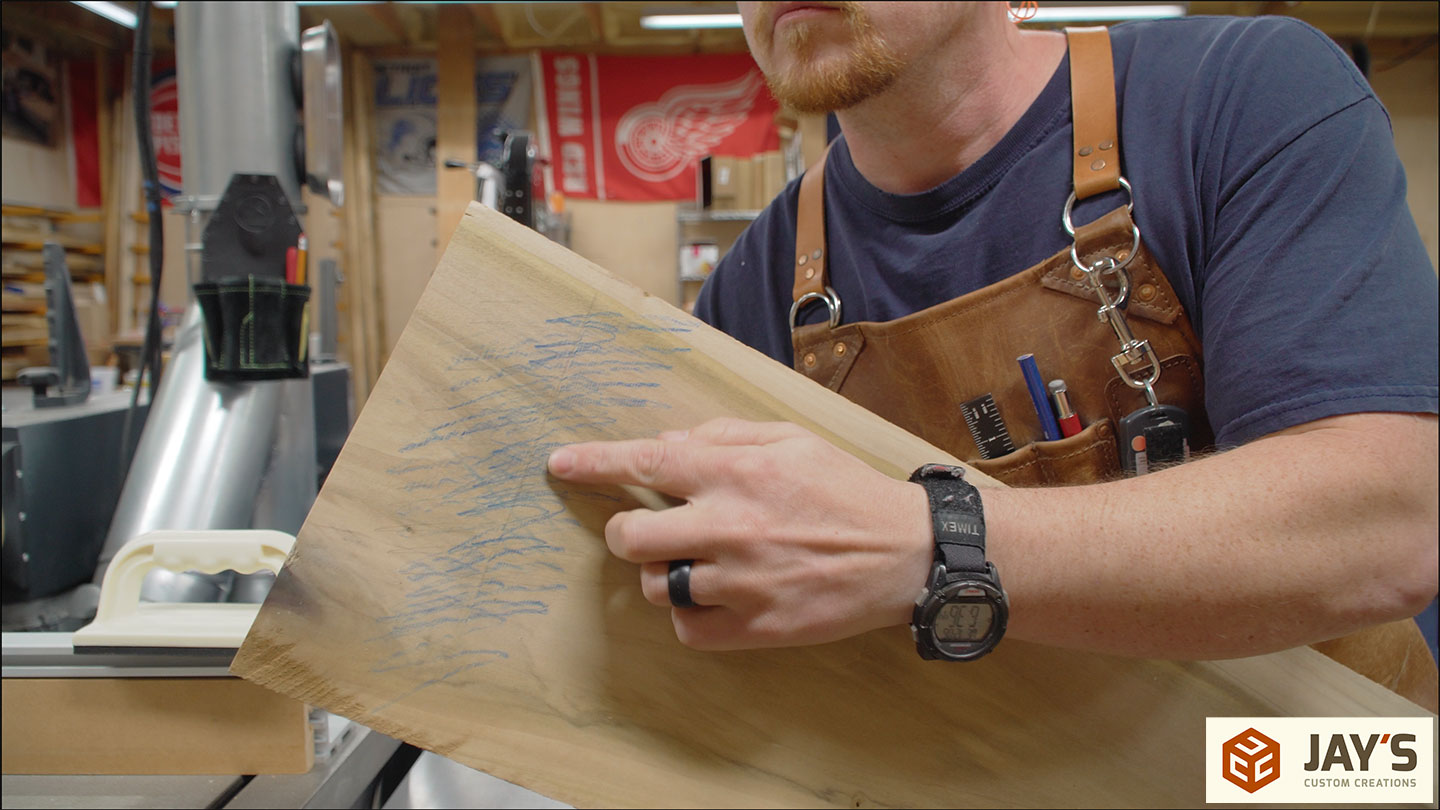
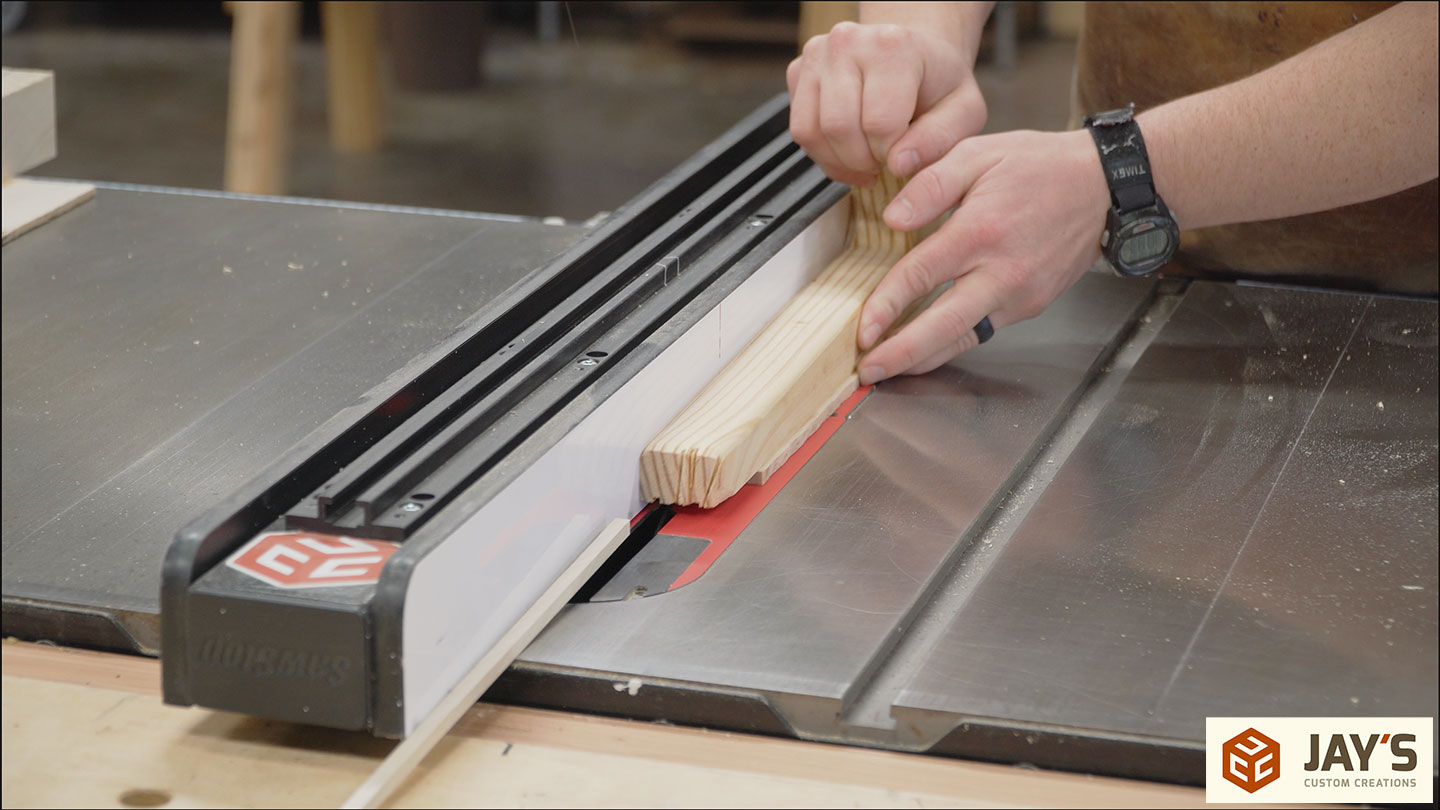
Your material will sometimes be difficult to remove from the surface on a properly tuned jointer. In this case, the board is so flat that it simulates a suction effect on the table surface. This is satisfying, as it verifies a proper jointer calibration.
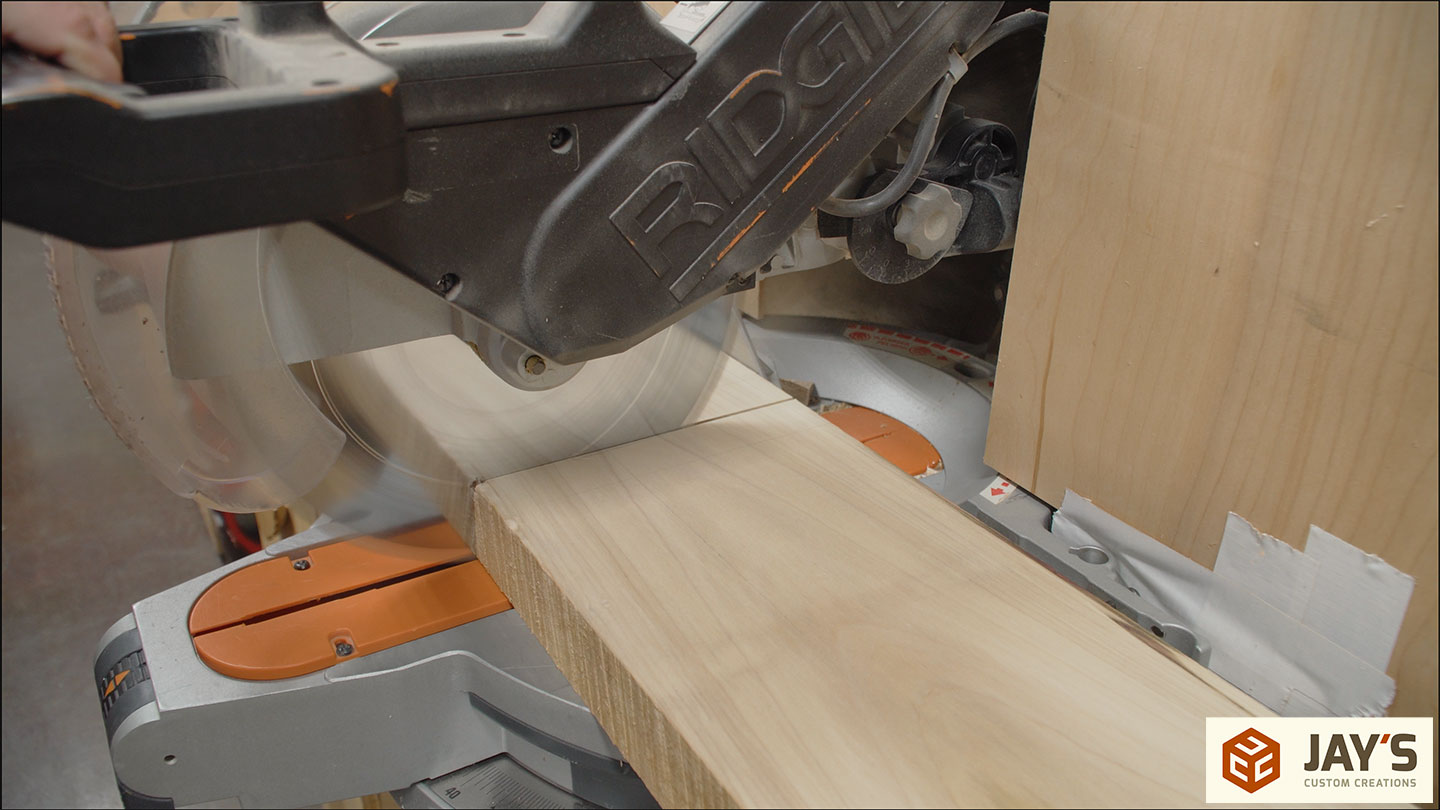
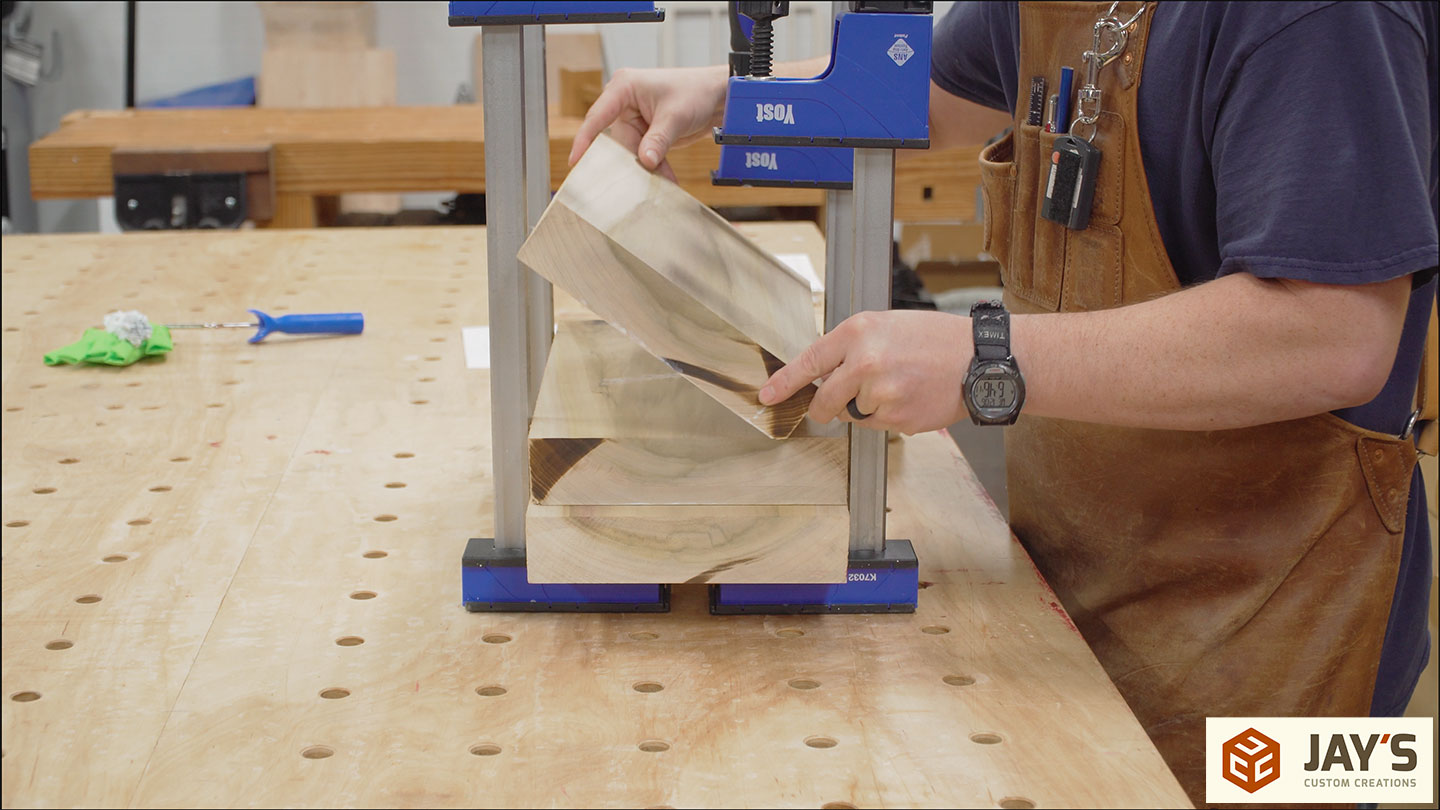
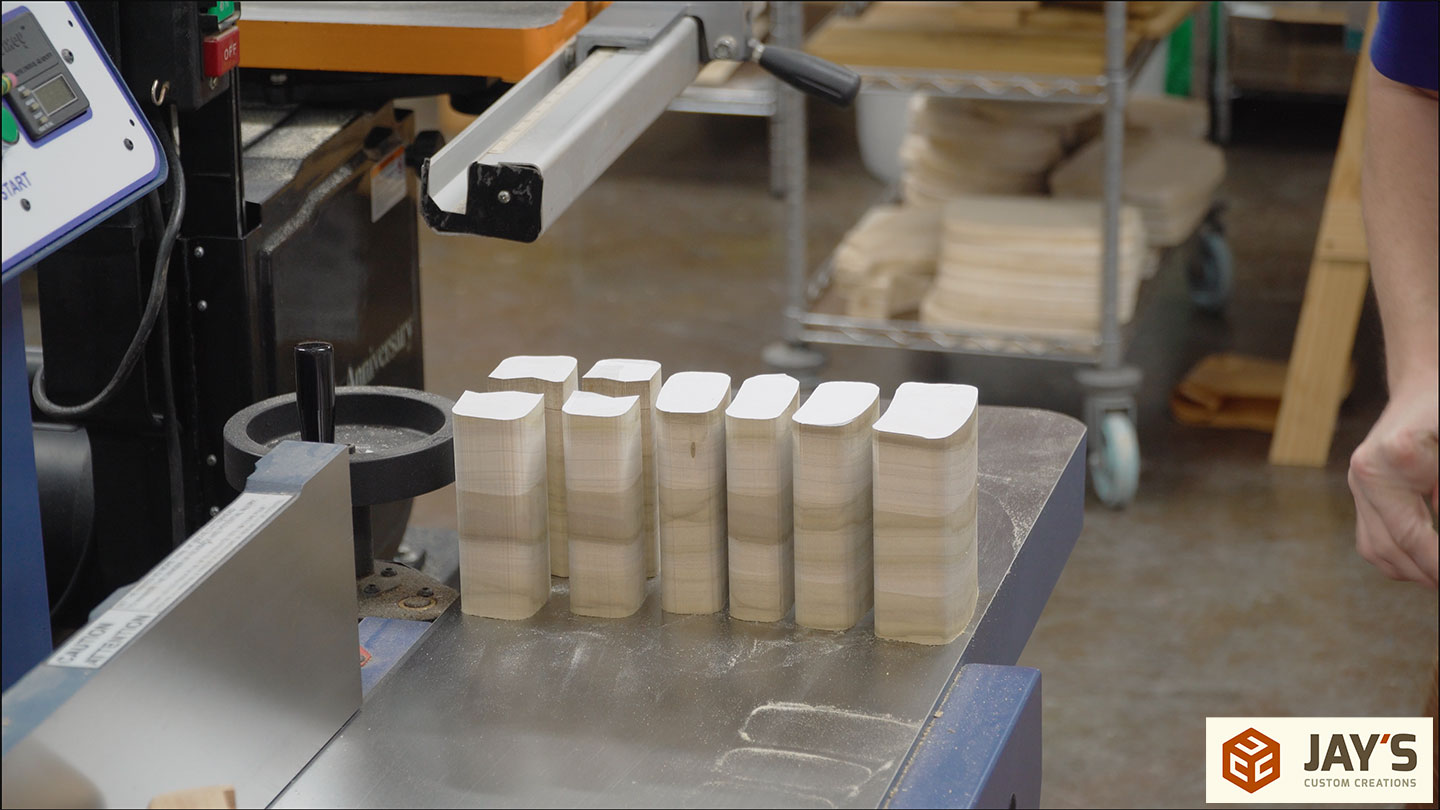
One final trip to the miter saw to crosscut the stock into three pieces for glue-up.
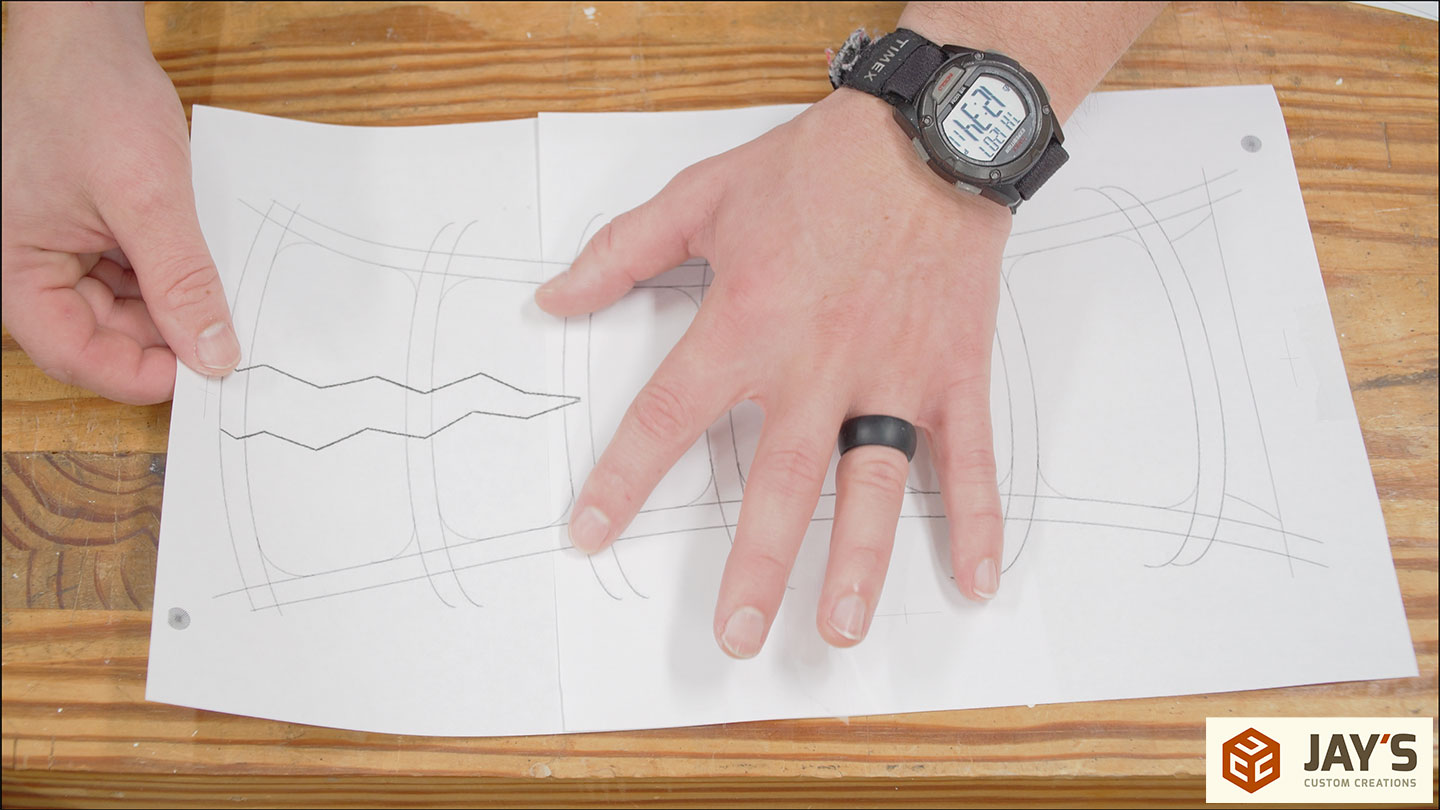
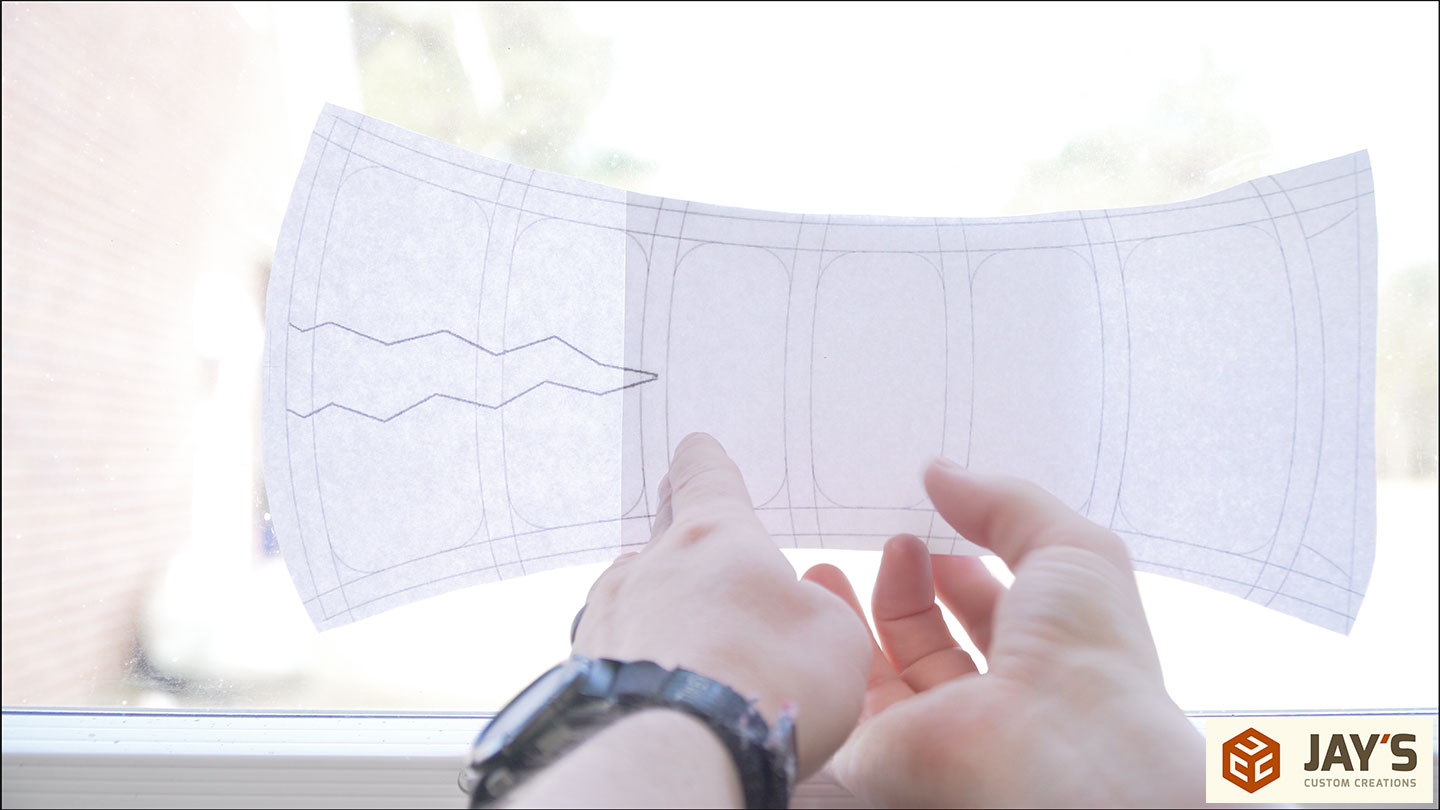
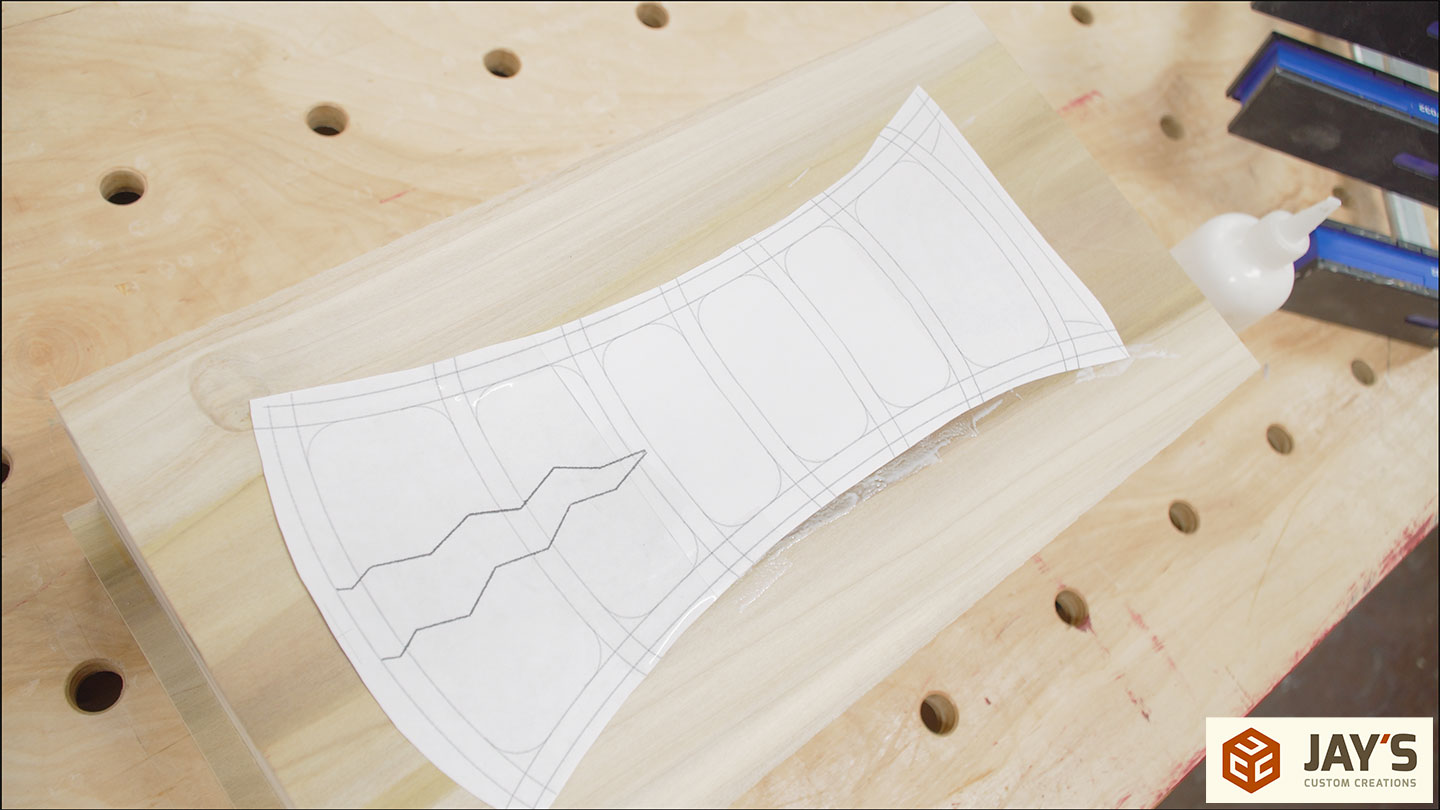
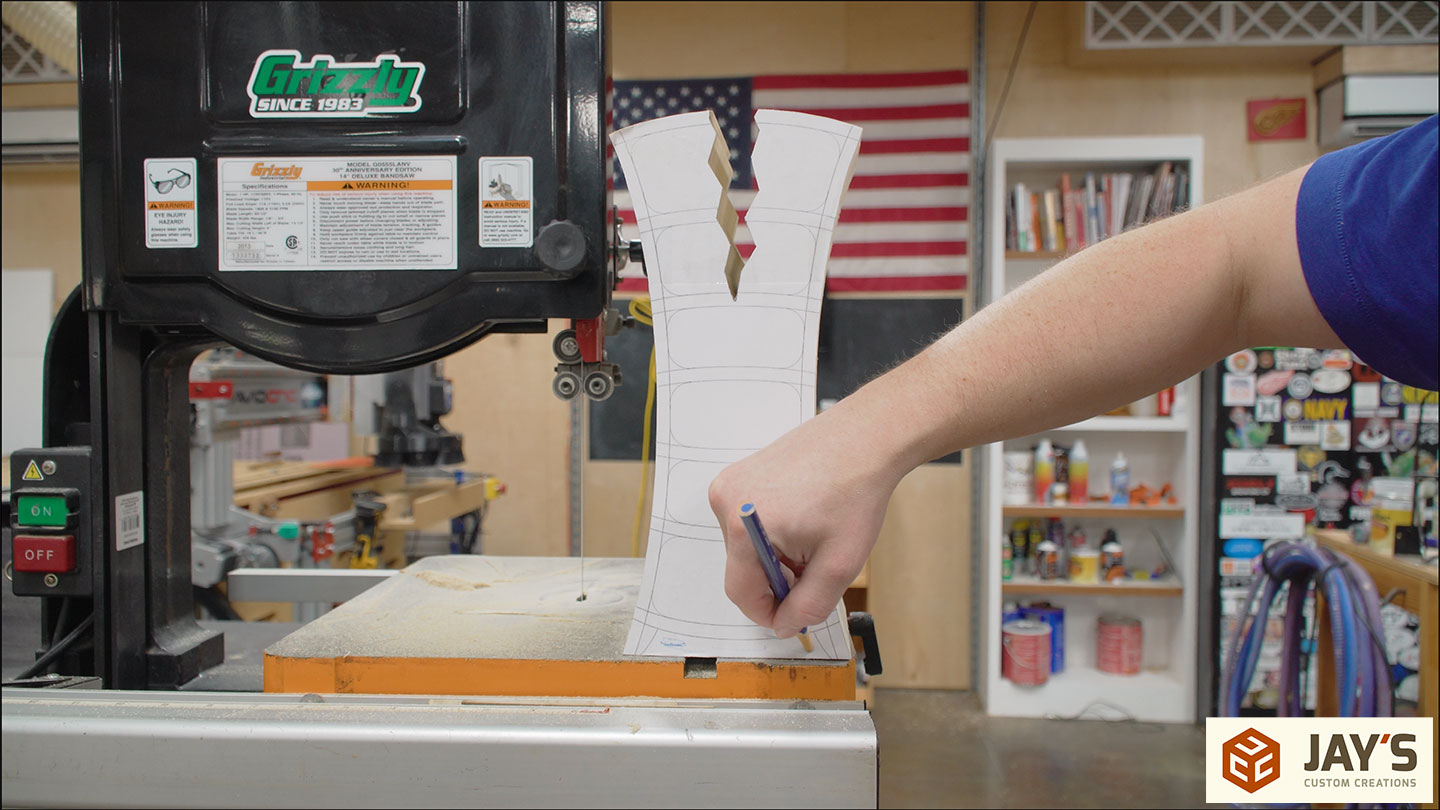
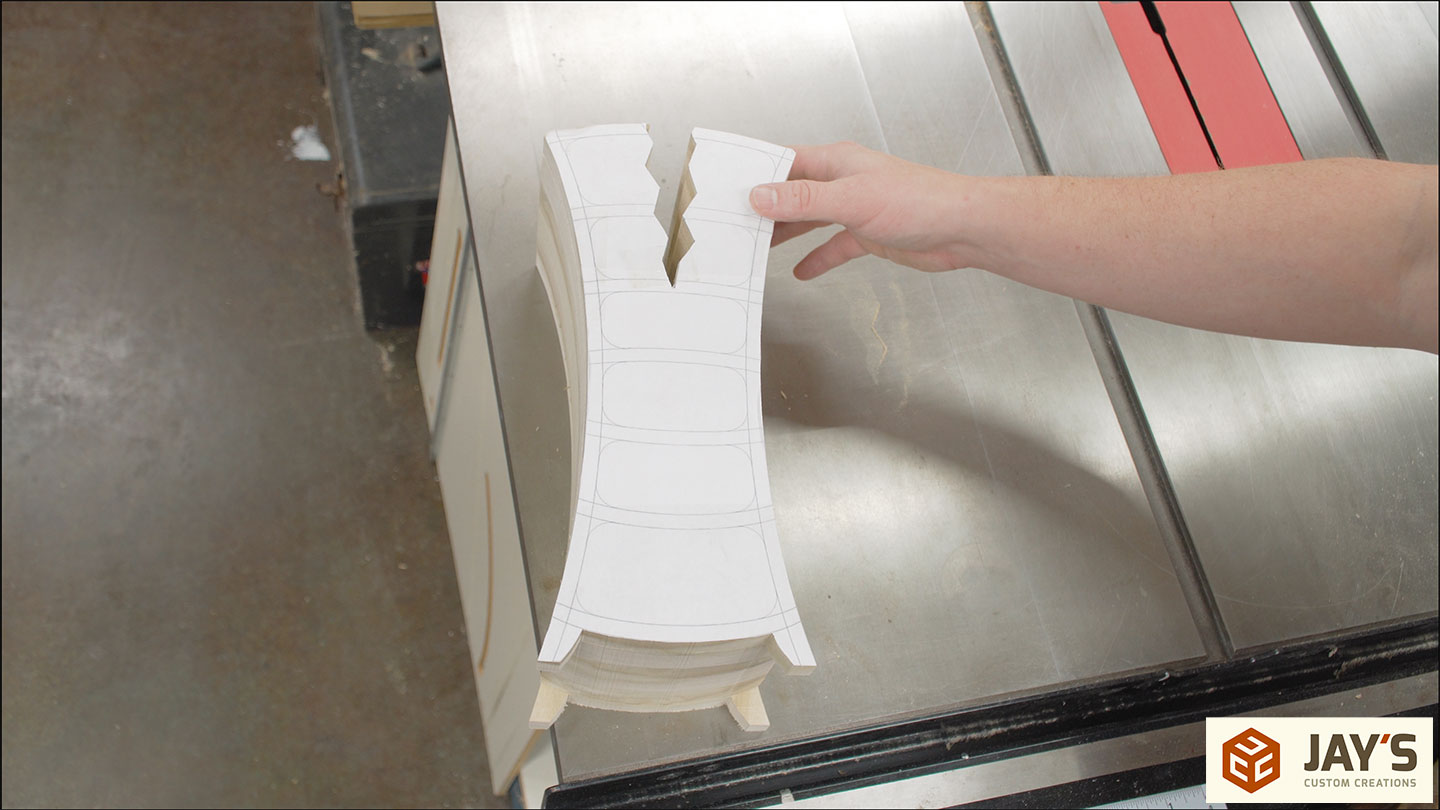
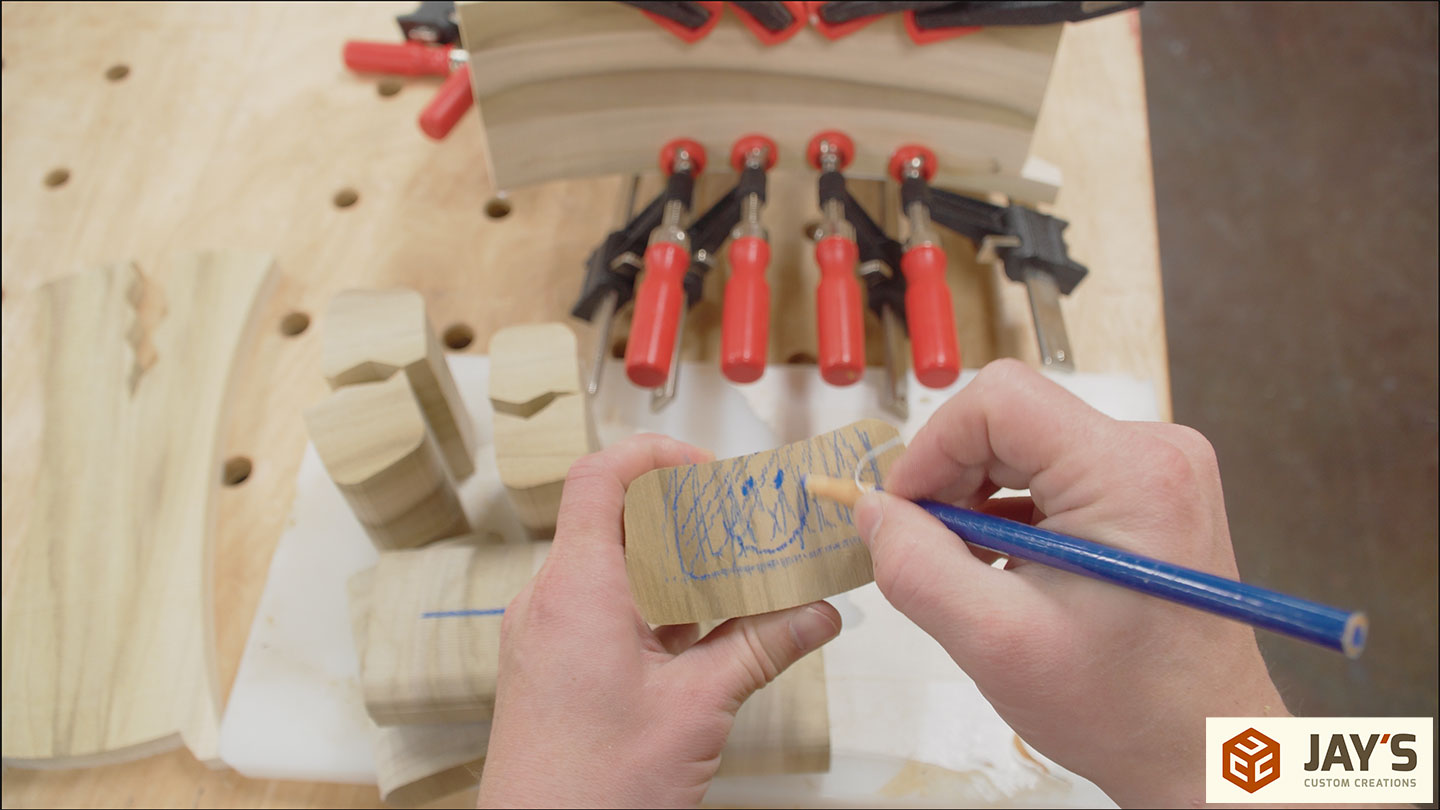
The template I’m using is one I found online a decade ago. I have no idea who originally created it, but it’s a fun design. I scaled the image up to about 13″ in height. This requires two piece of regular letter size paper. The easiest way to align multiple page templates is to use light shining through a window. Tape the first piece to the window and add each additional piece to assemble the template.
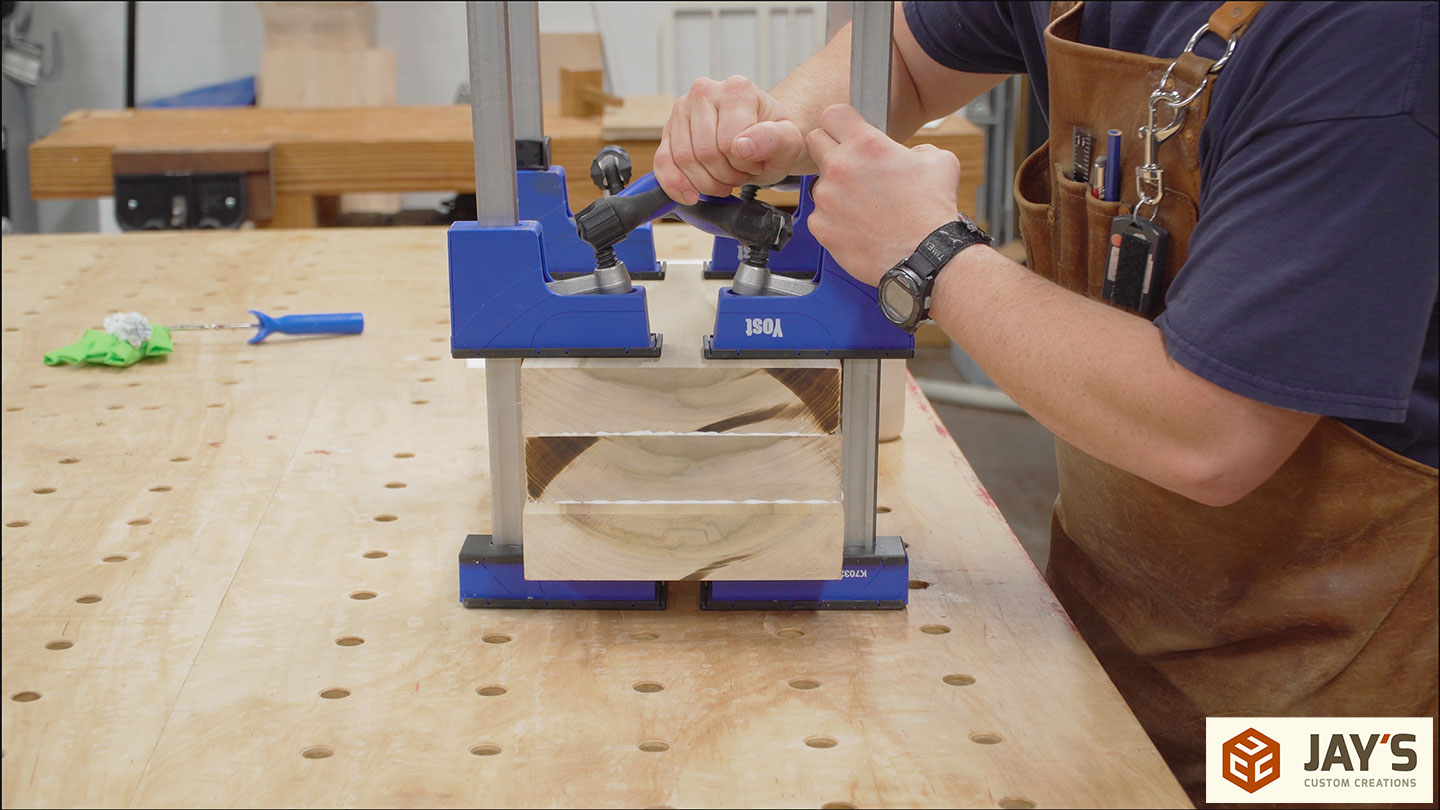
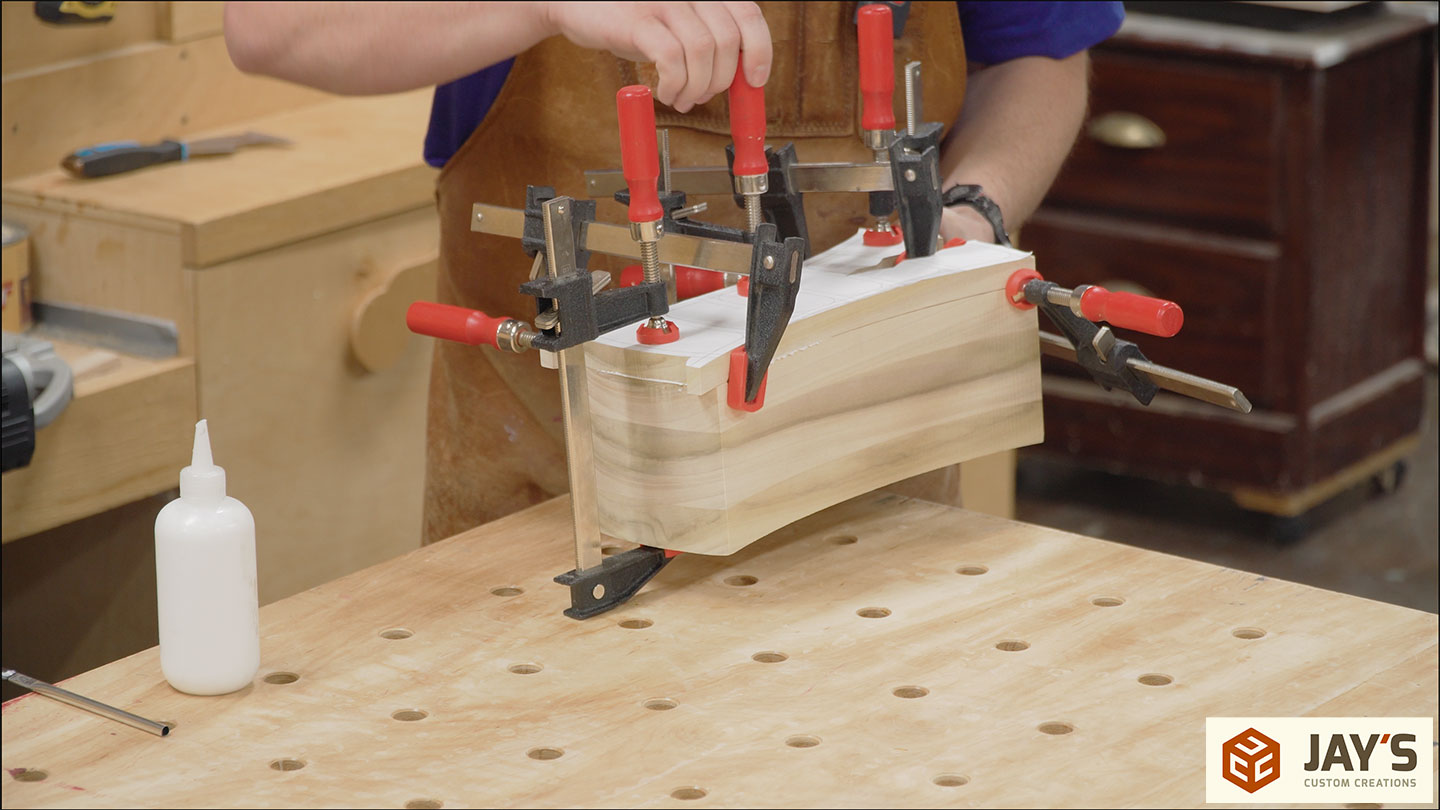
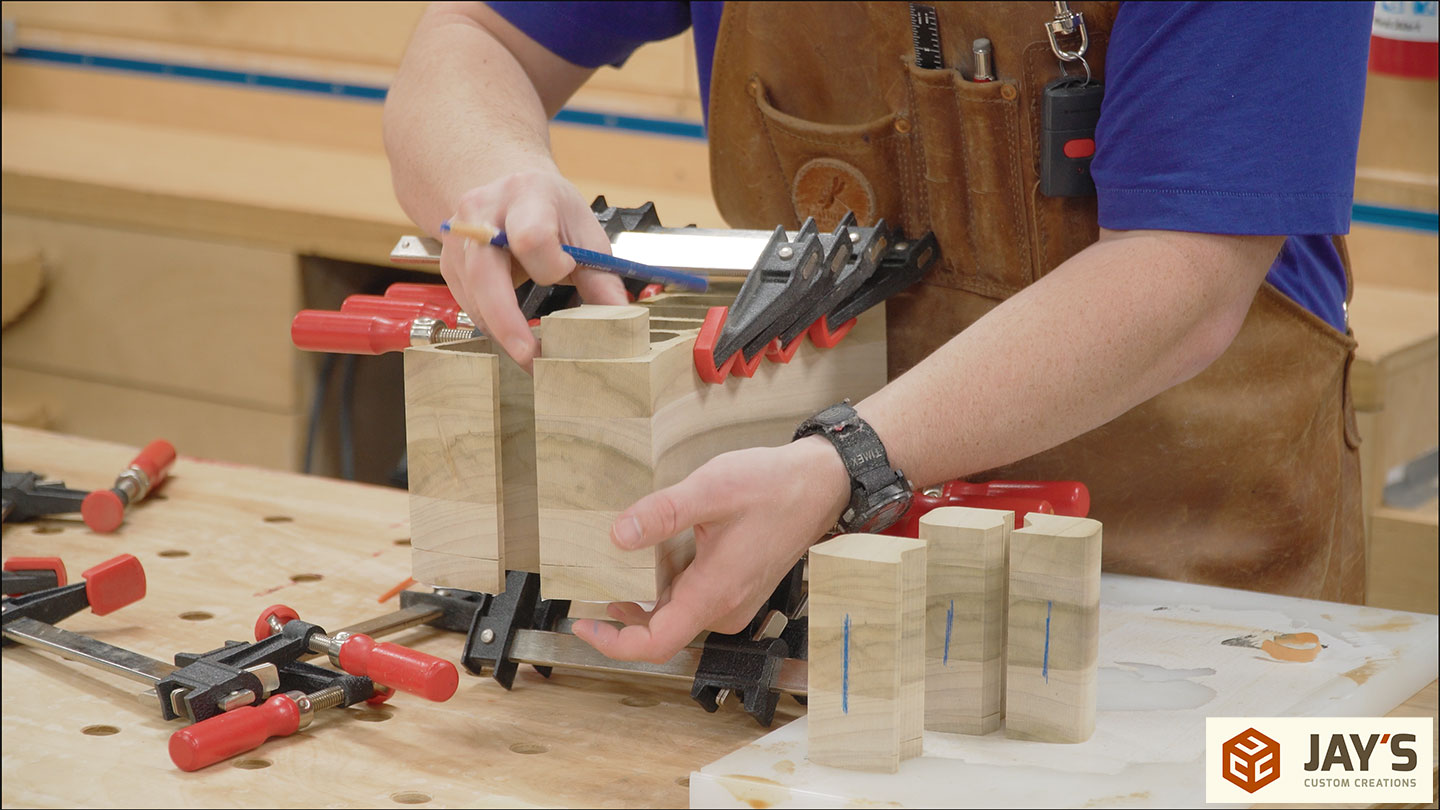
Now, the three blanks can be glued up. Here’s a handy feature I wish all clamp manufactures added to their clamps. Articulating handles take a lot of strain off of your wrists. Normally, it’s not a big deal to use a traditional clamp handle. But some days, your wrists will thank you for having the option.
Paper is a wood product, so I used wood glue to glue it to the wood. It makes sense.
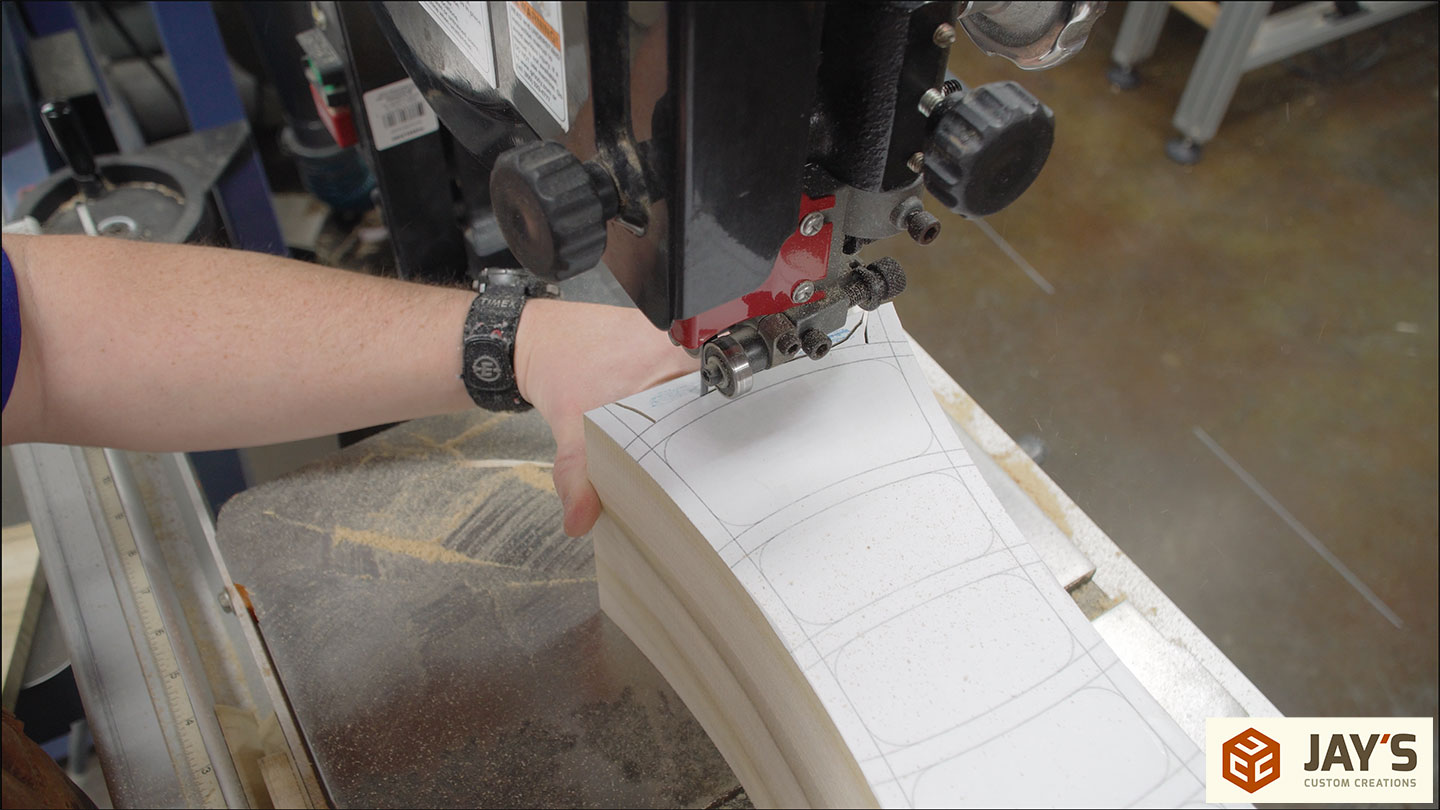
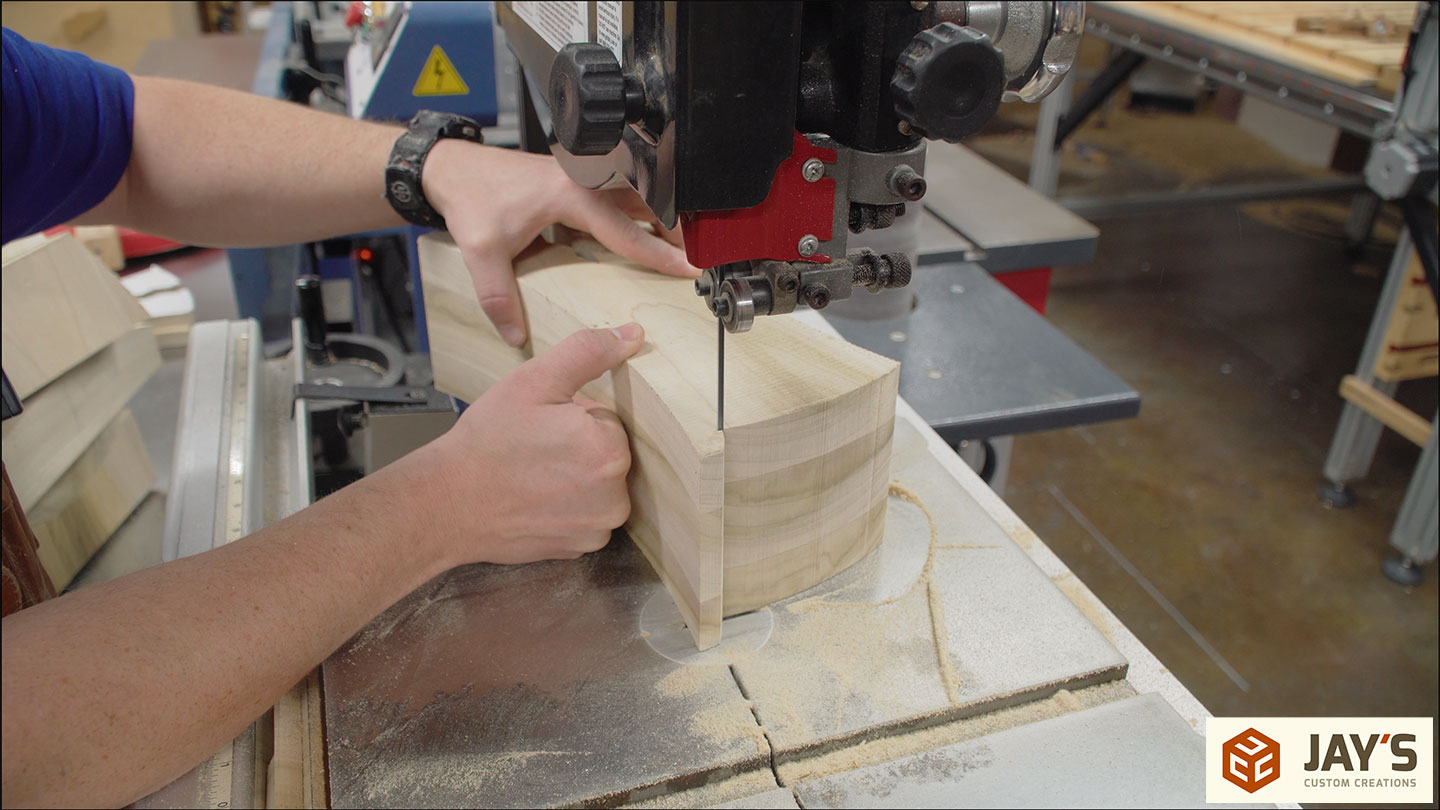
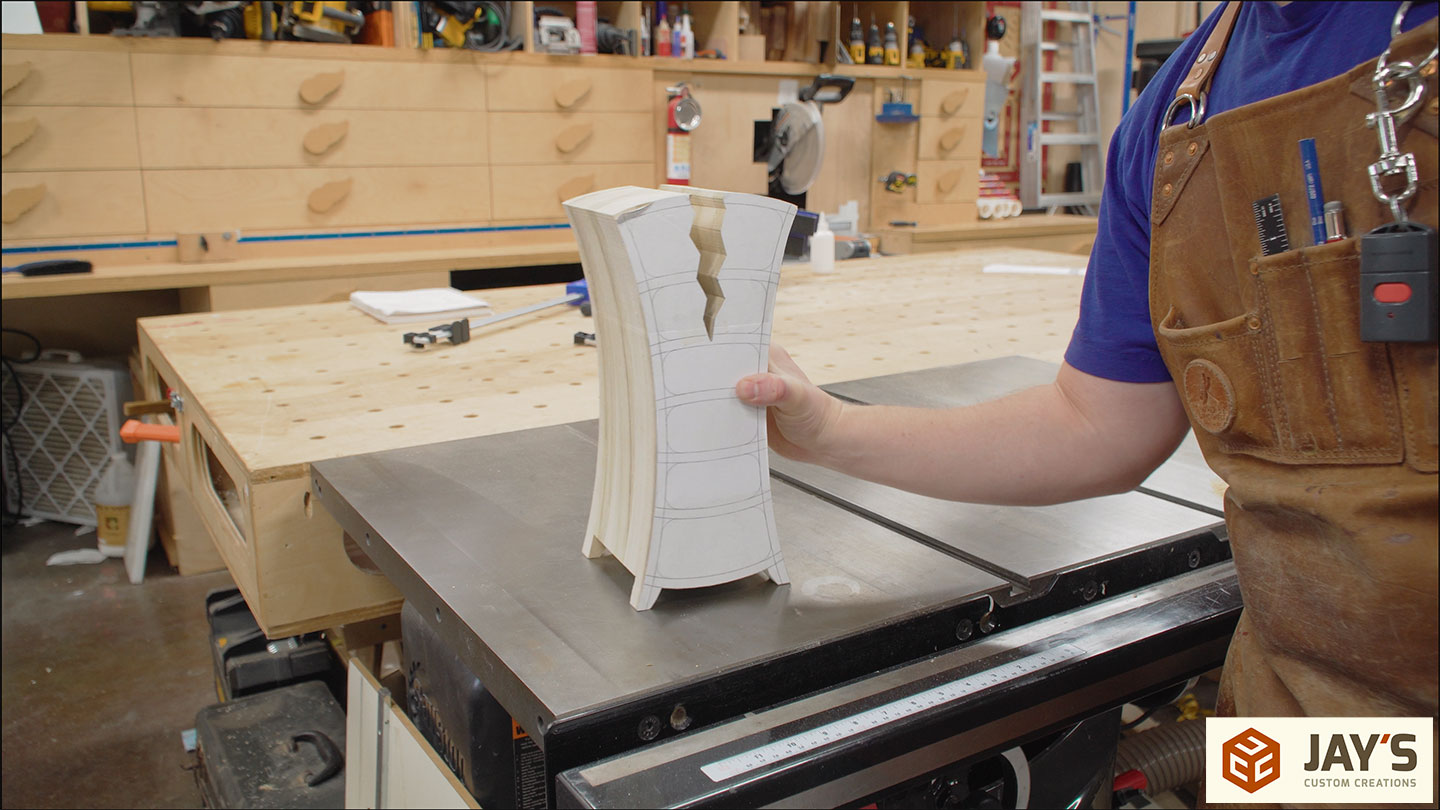
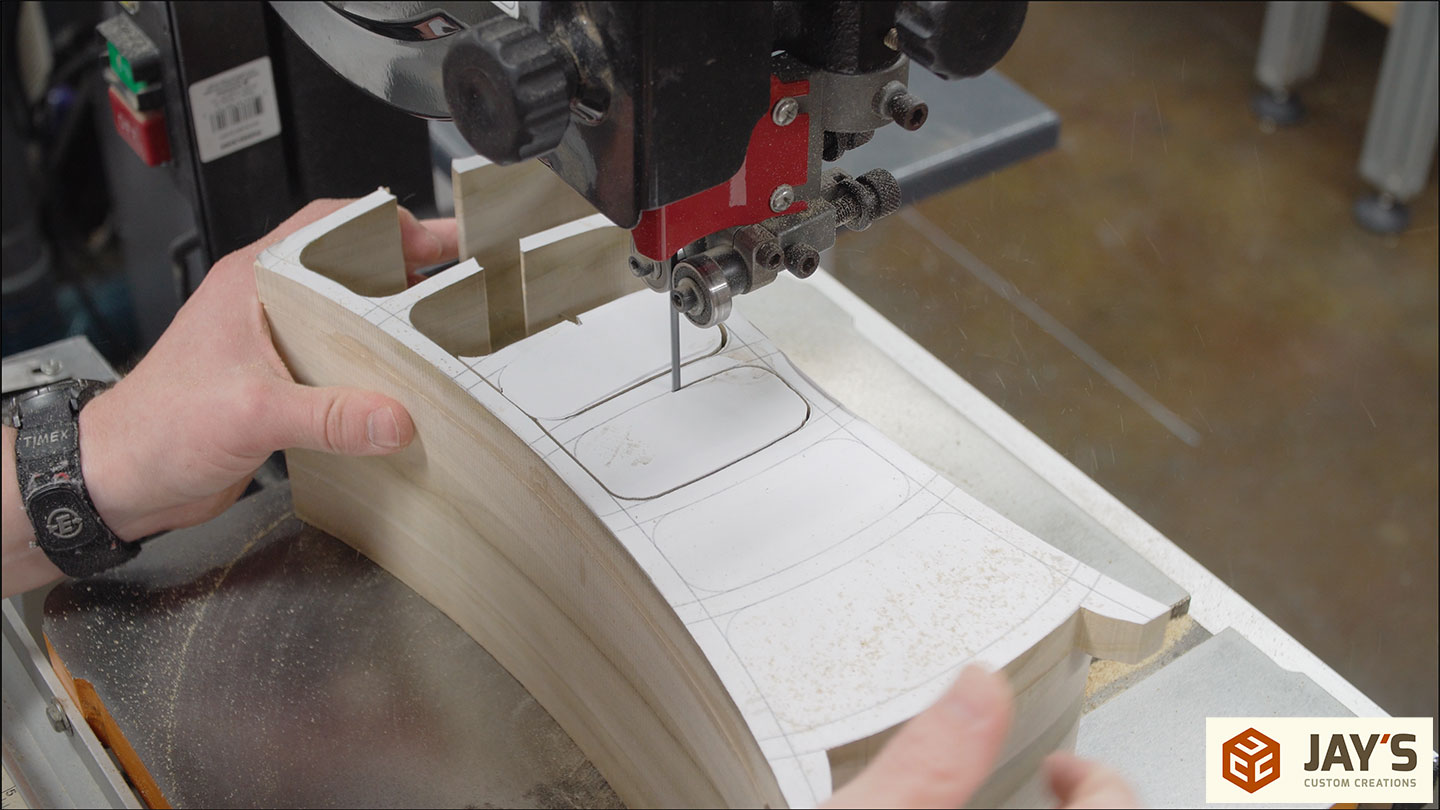
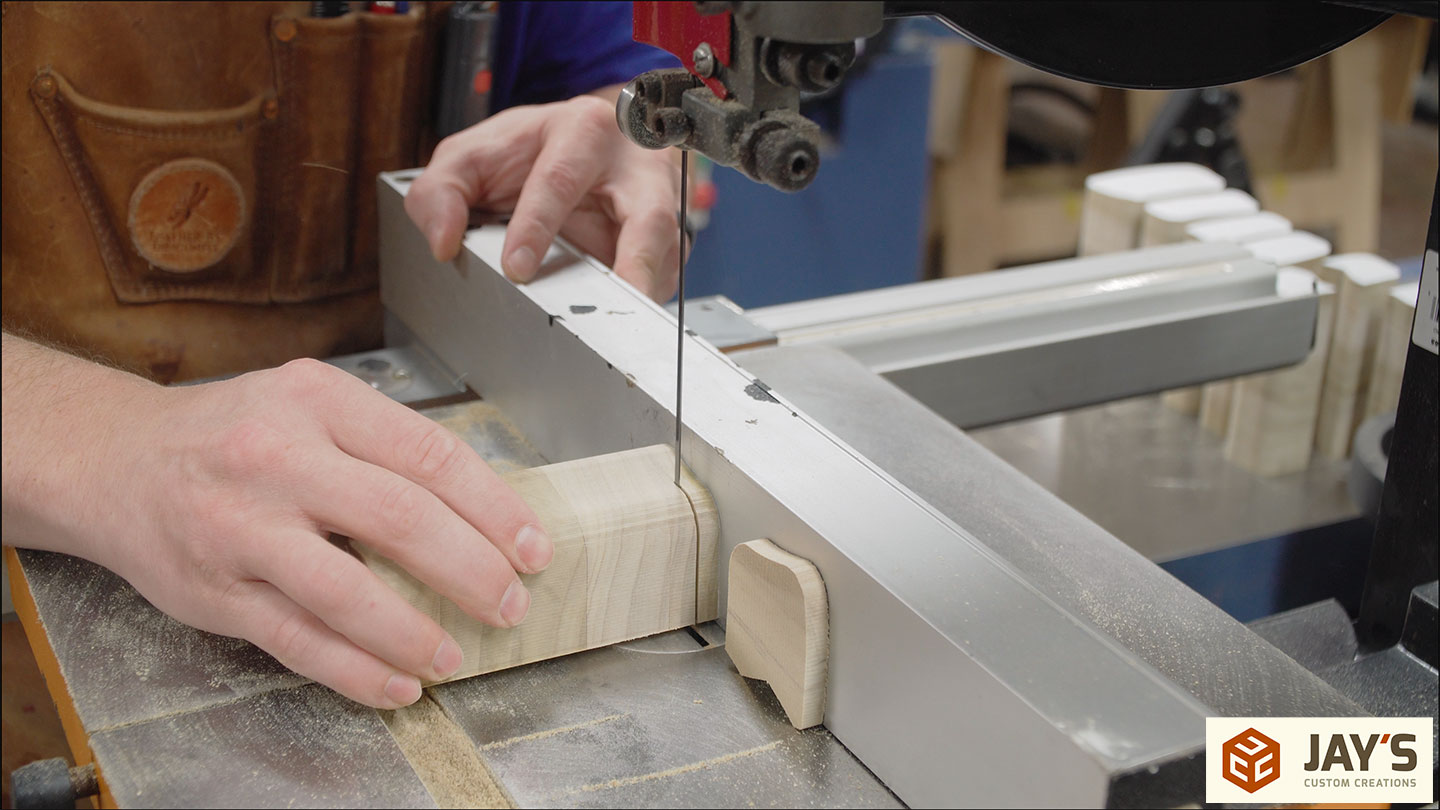
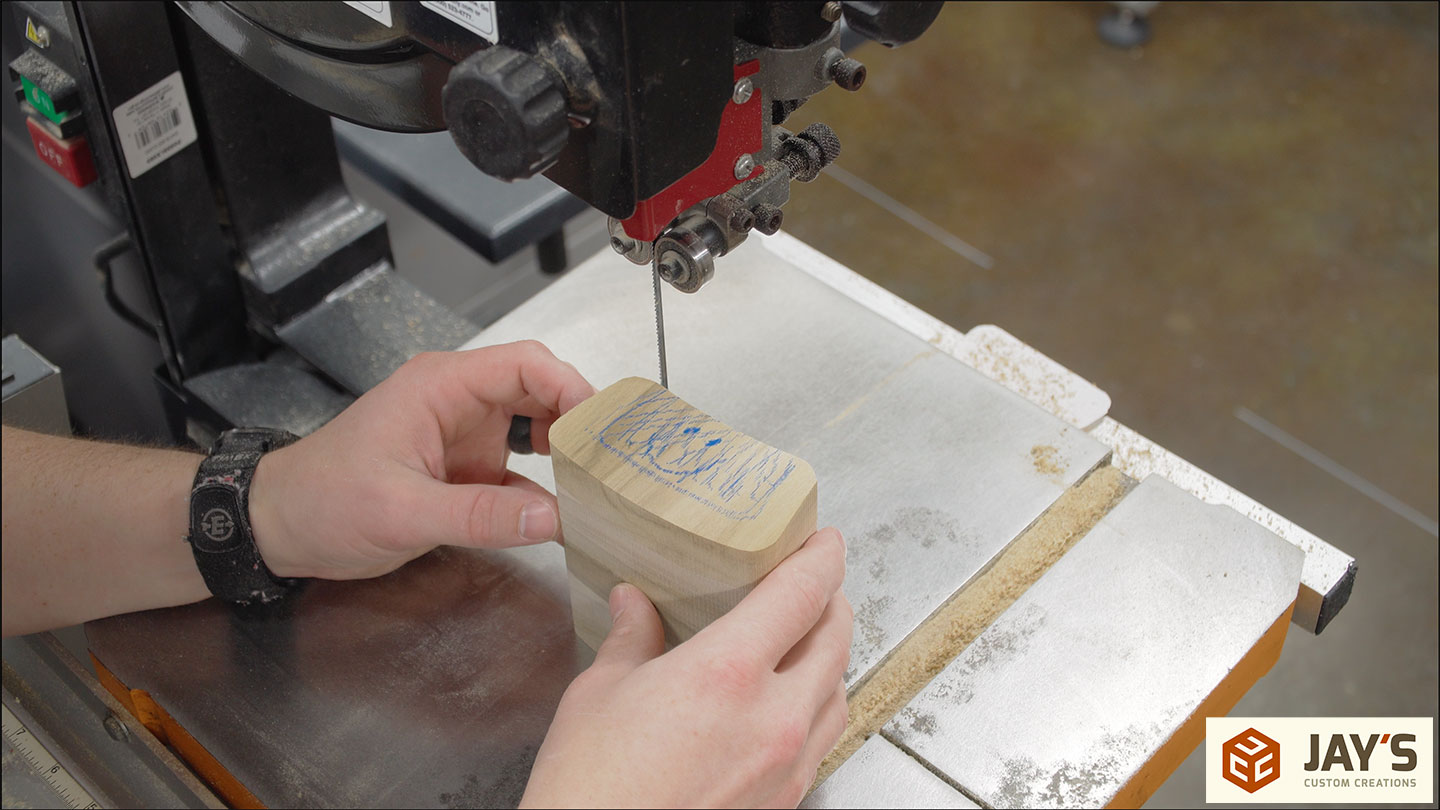
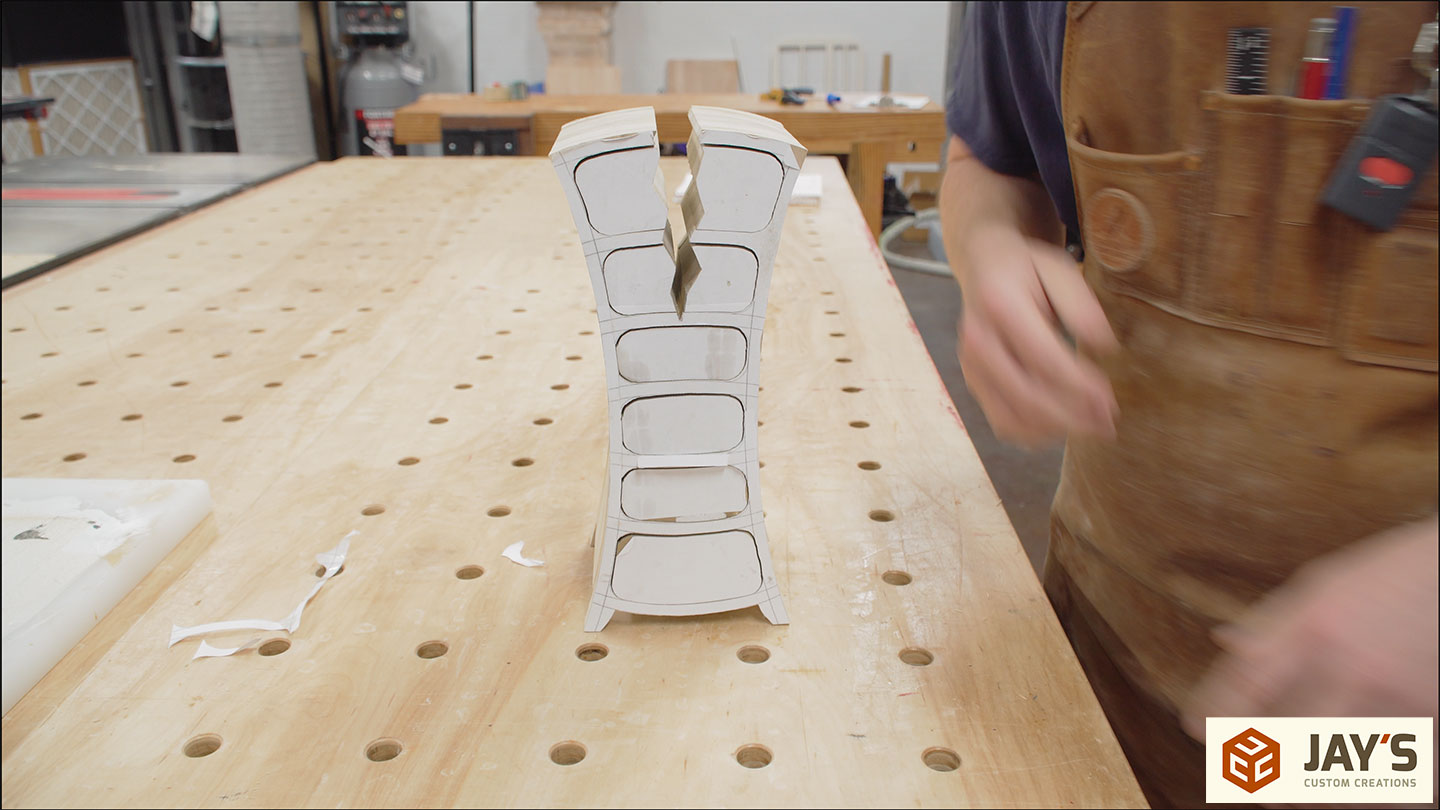
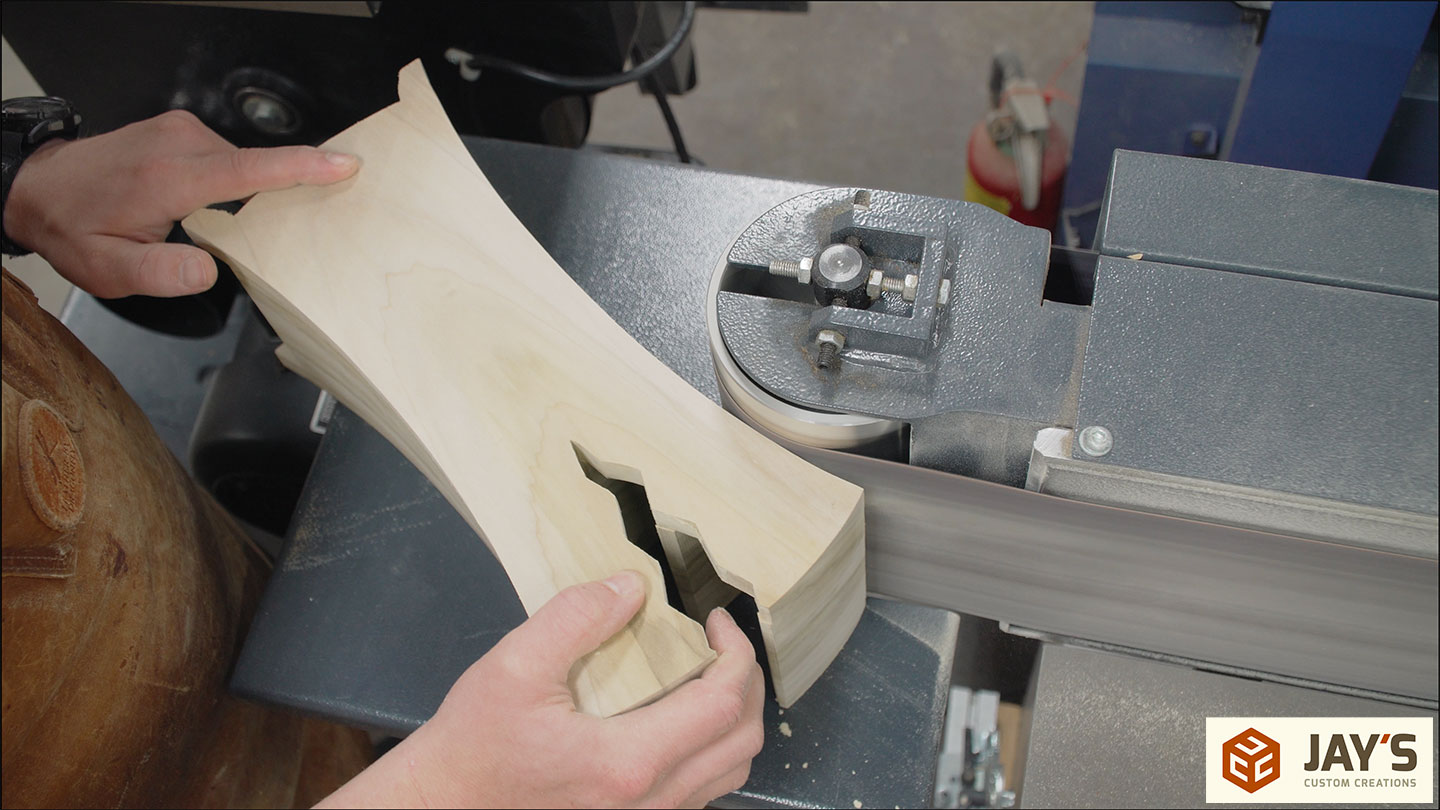
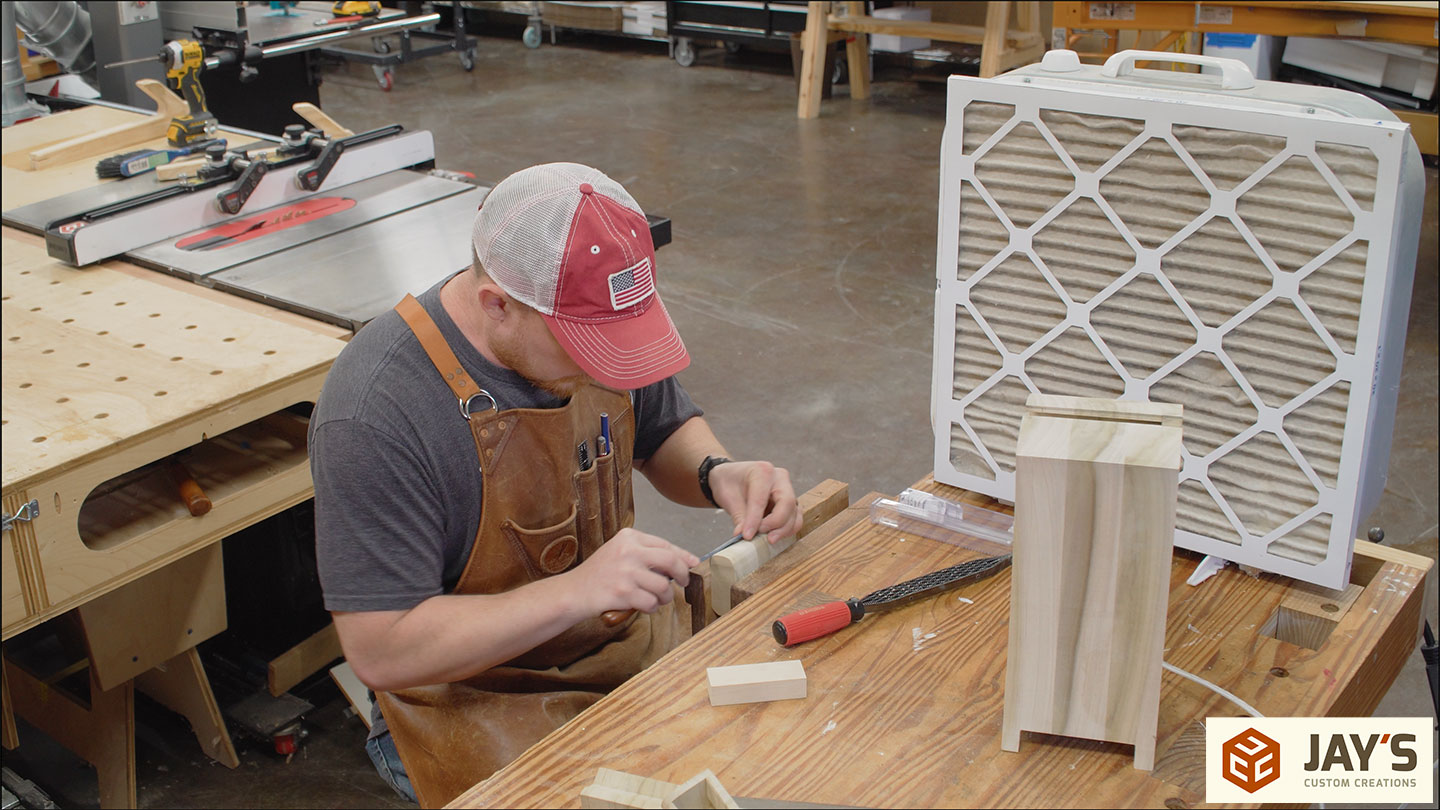
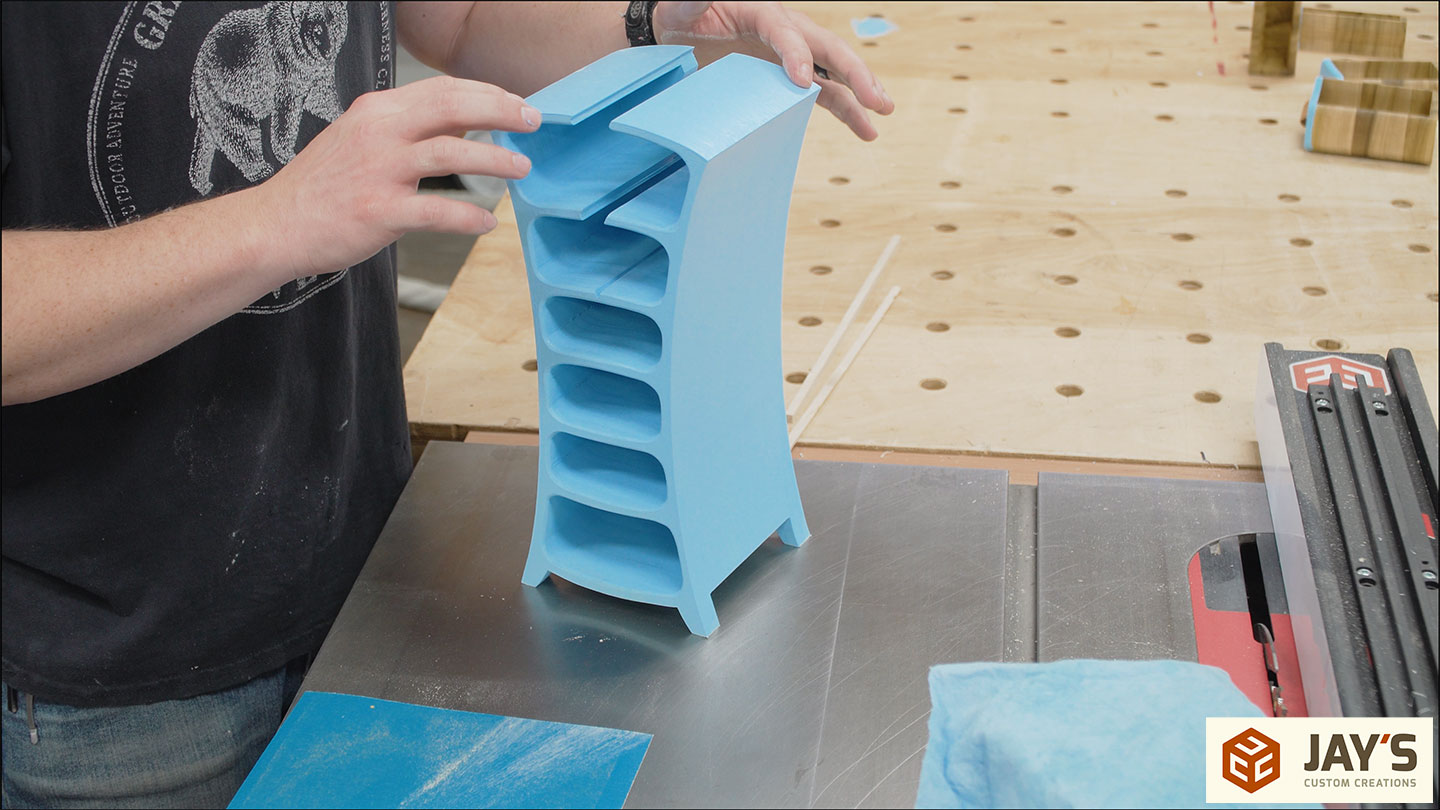
Onto the fun part of the build. Curve cutting on a bandsaw has always been fun to me.
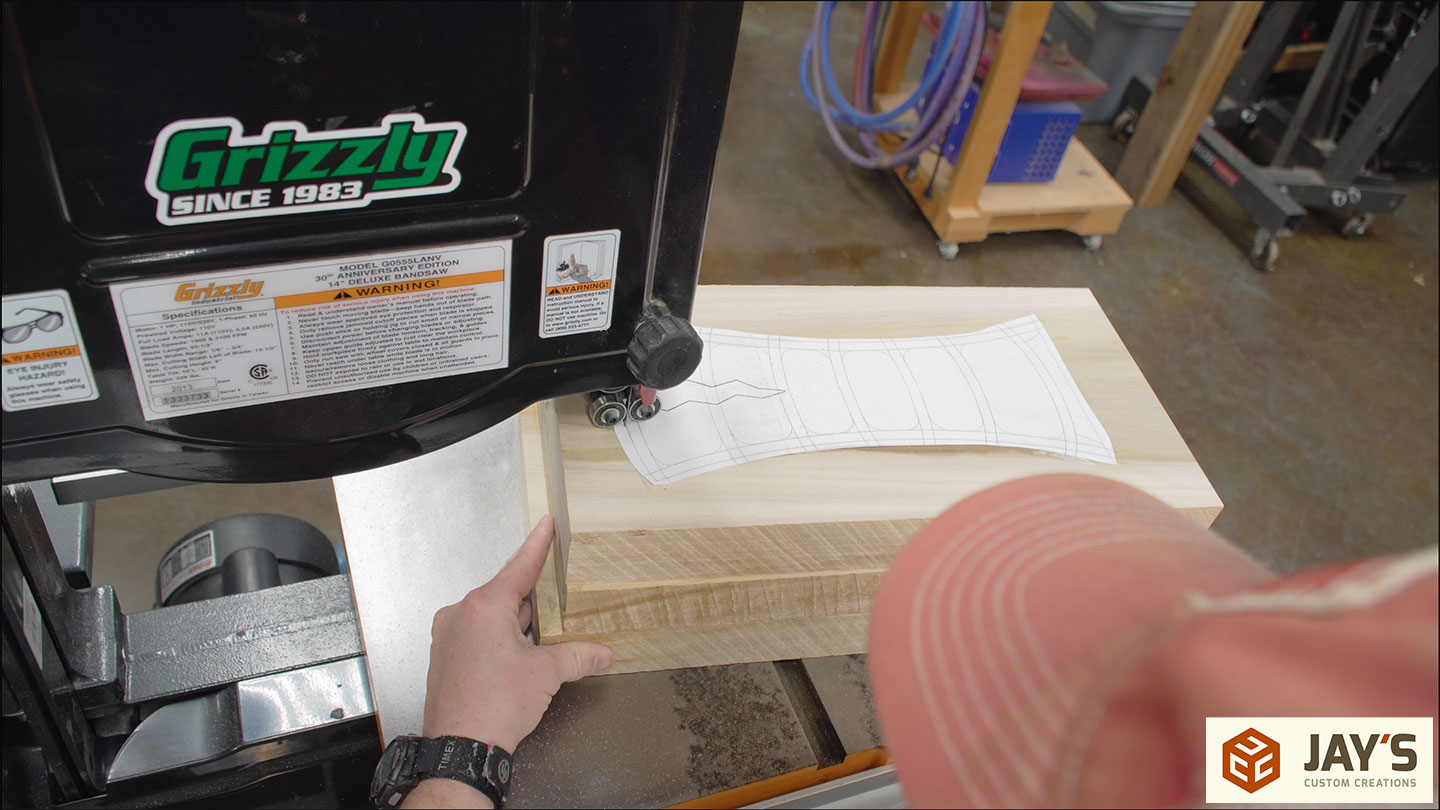
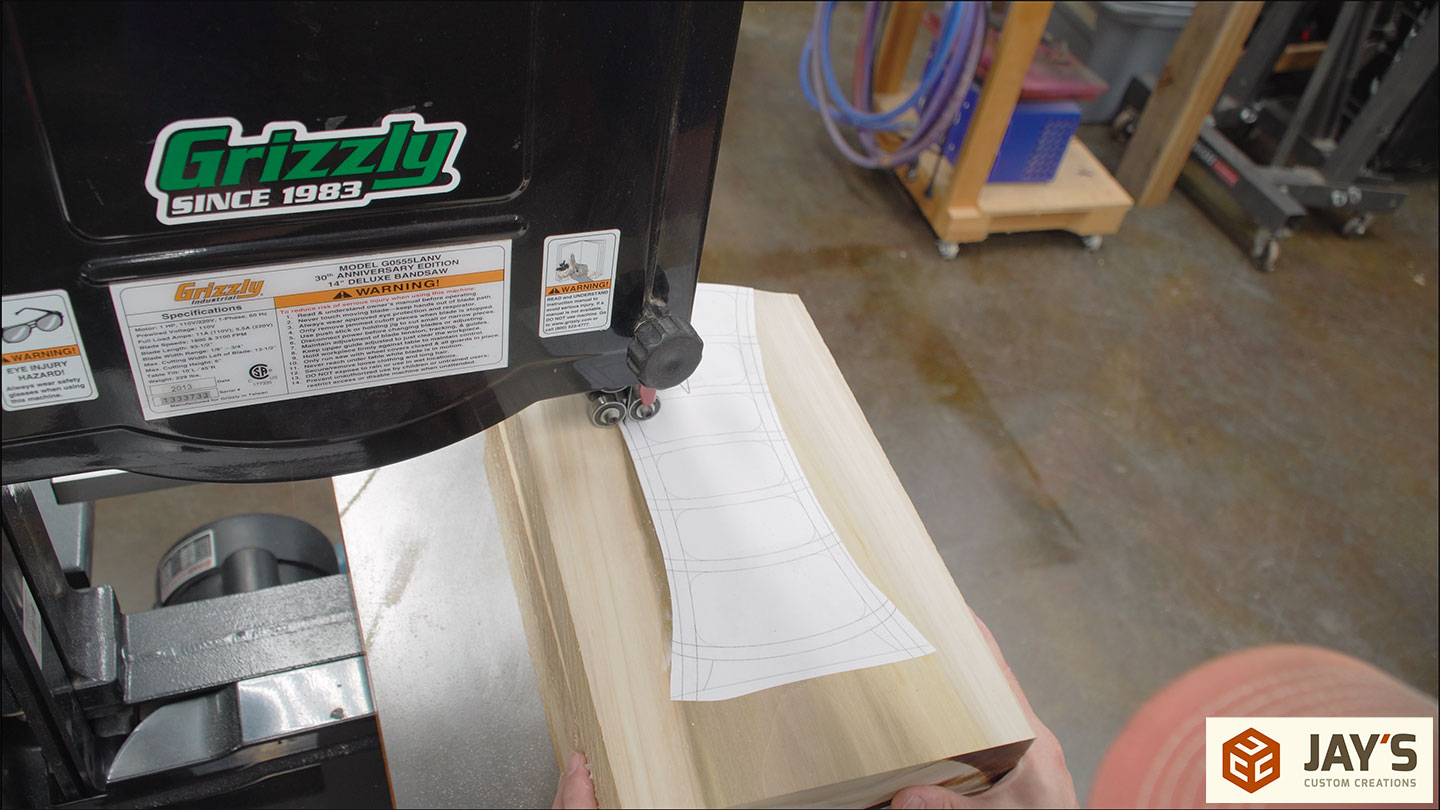
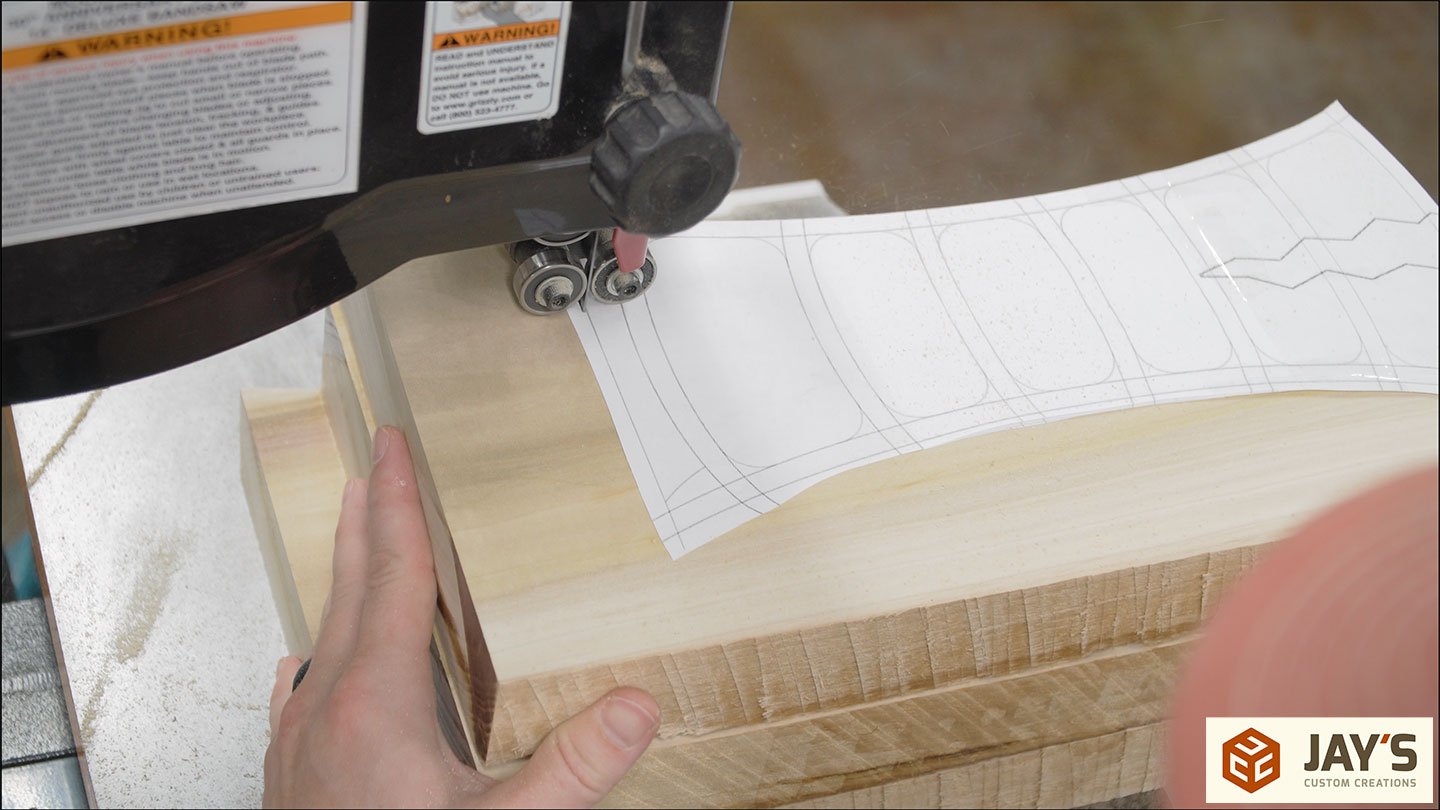
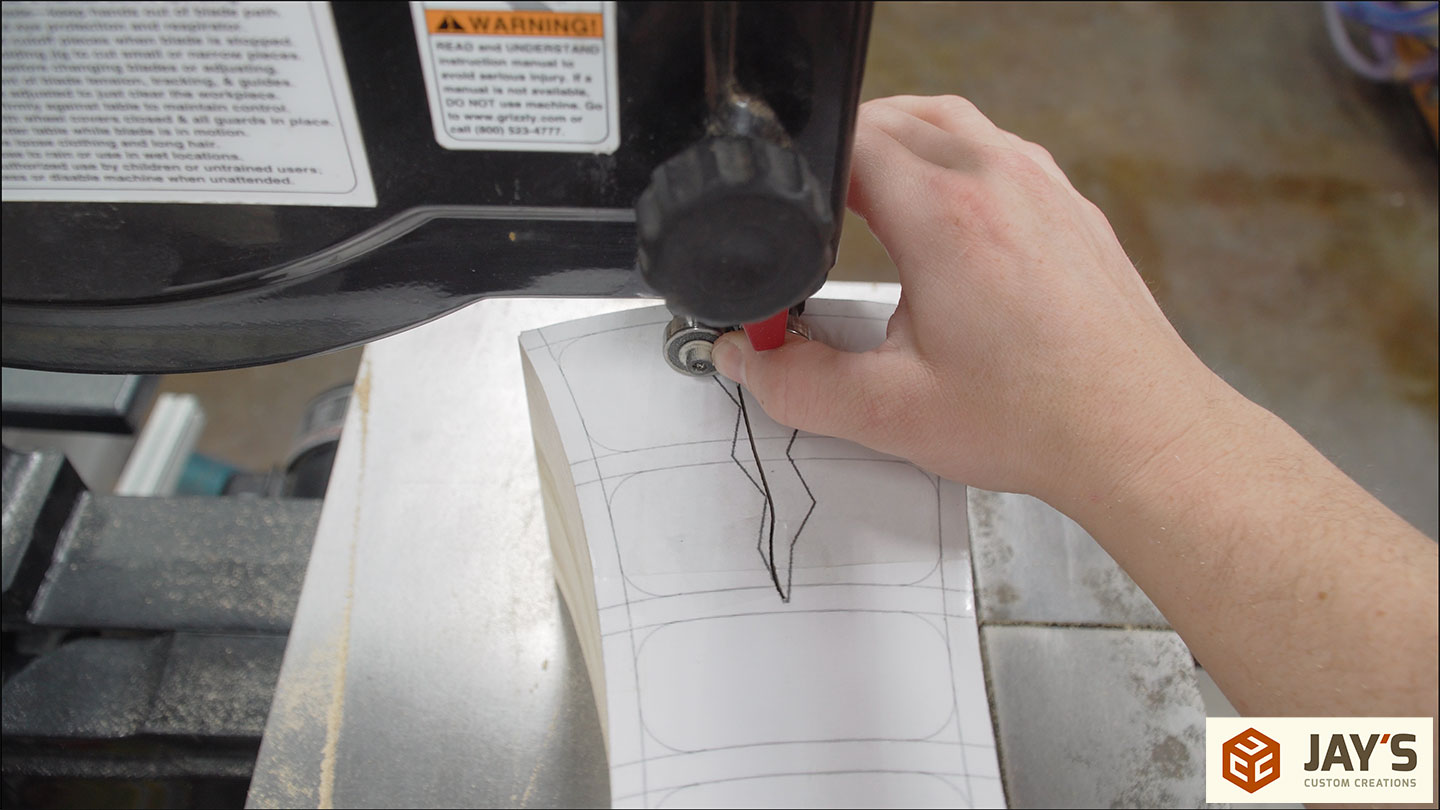
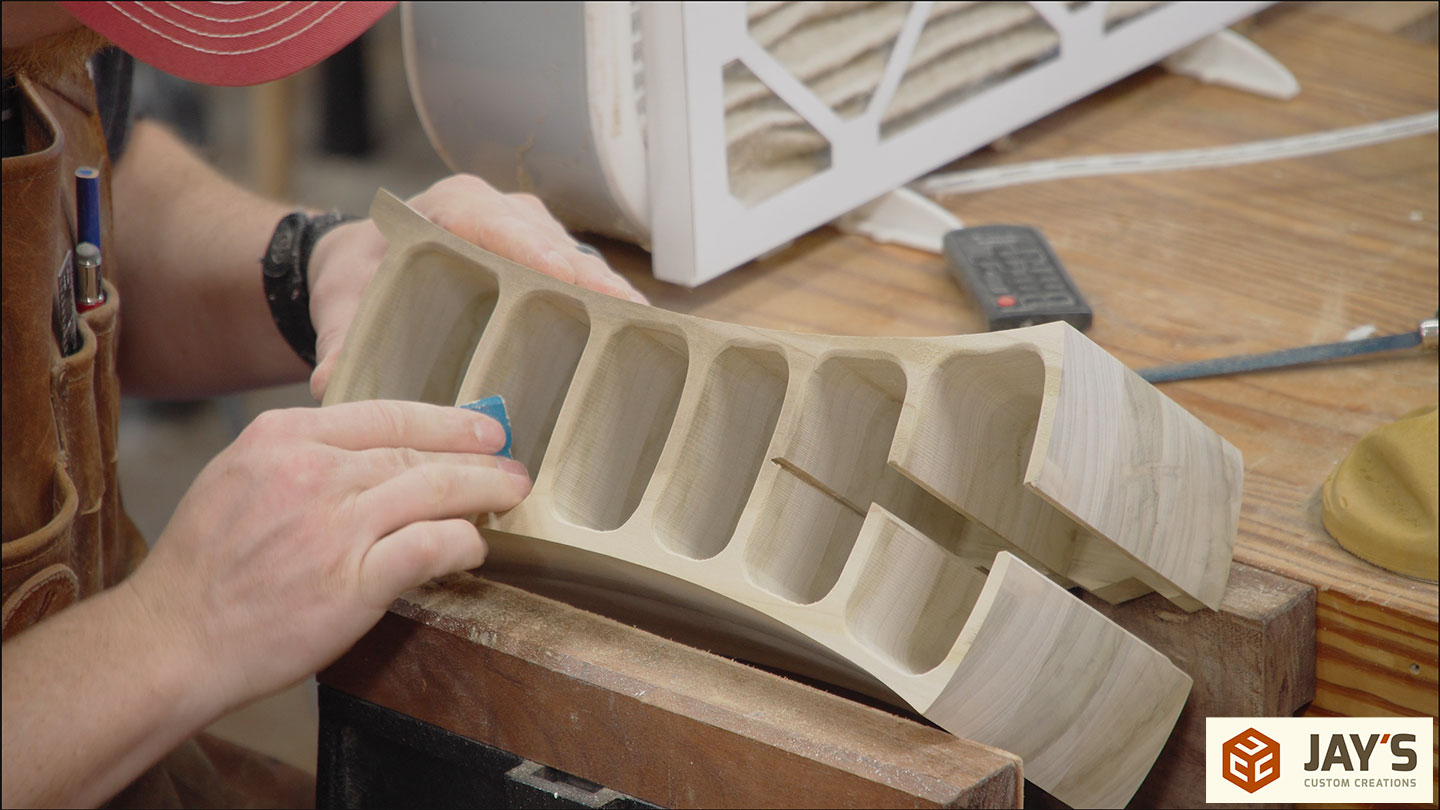
As I work my way around the perimeter, the crack needs to be removed. When using a small blade like I am here, it is easier to back out of a cut with the saw turned off. In this next image I have the saw turned off and my thumb holding the blade between the guides.

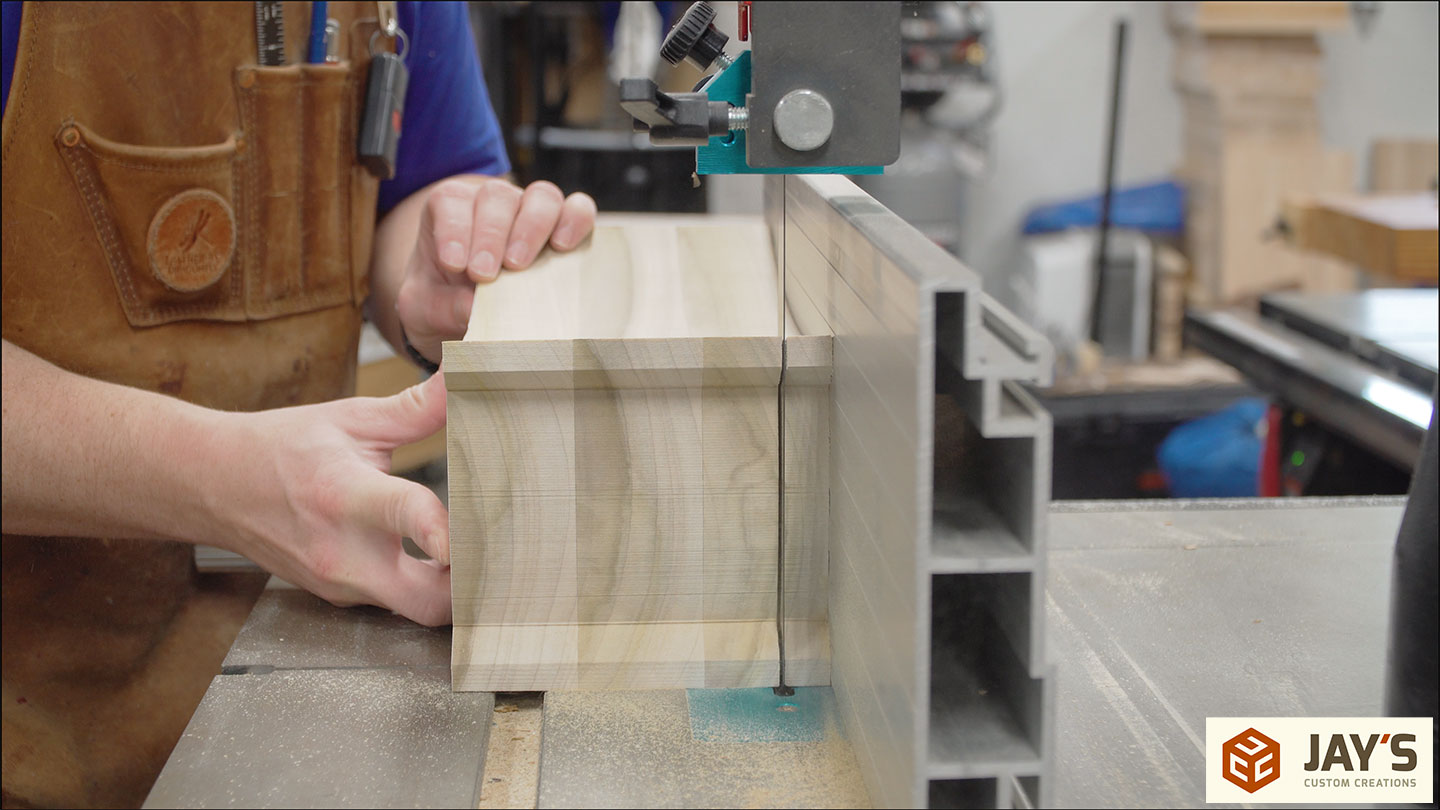
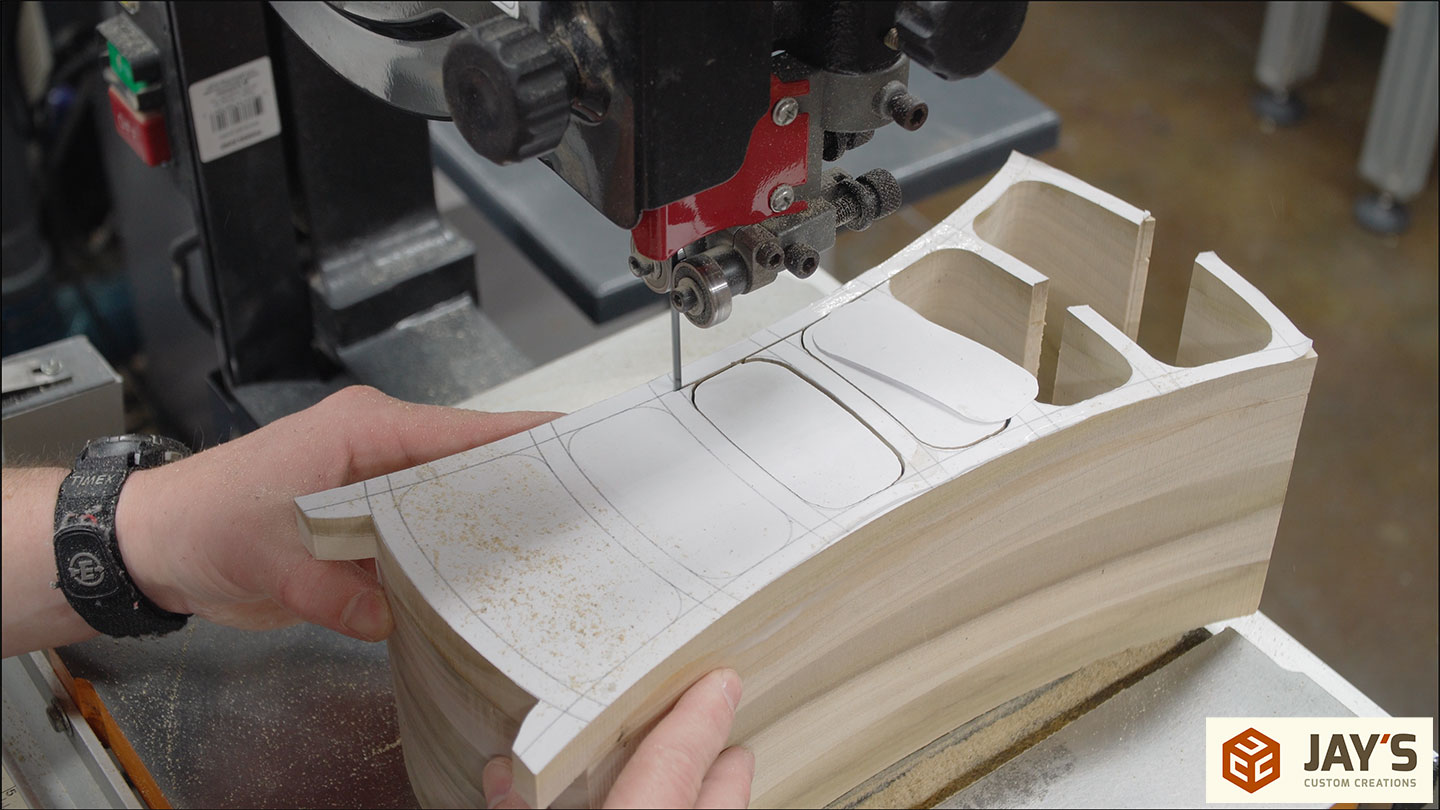
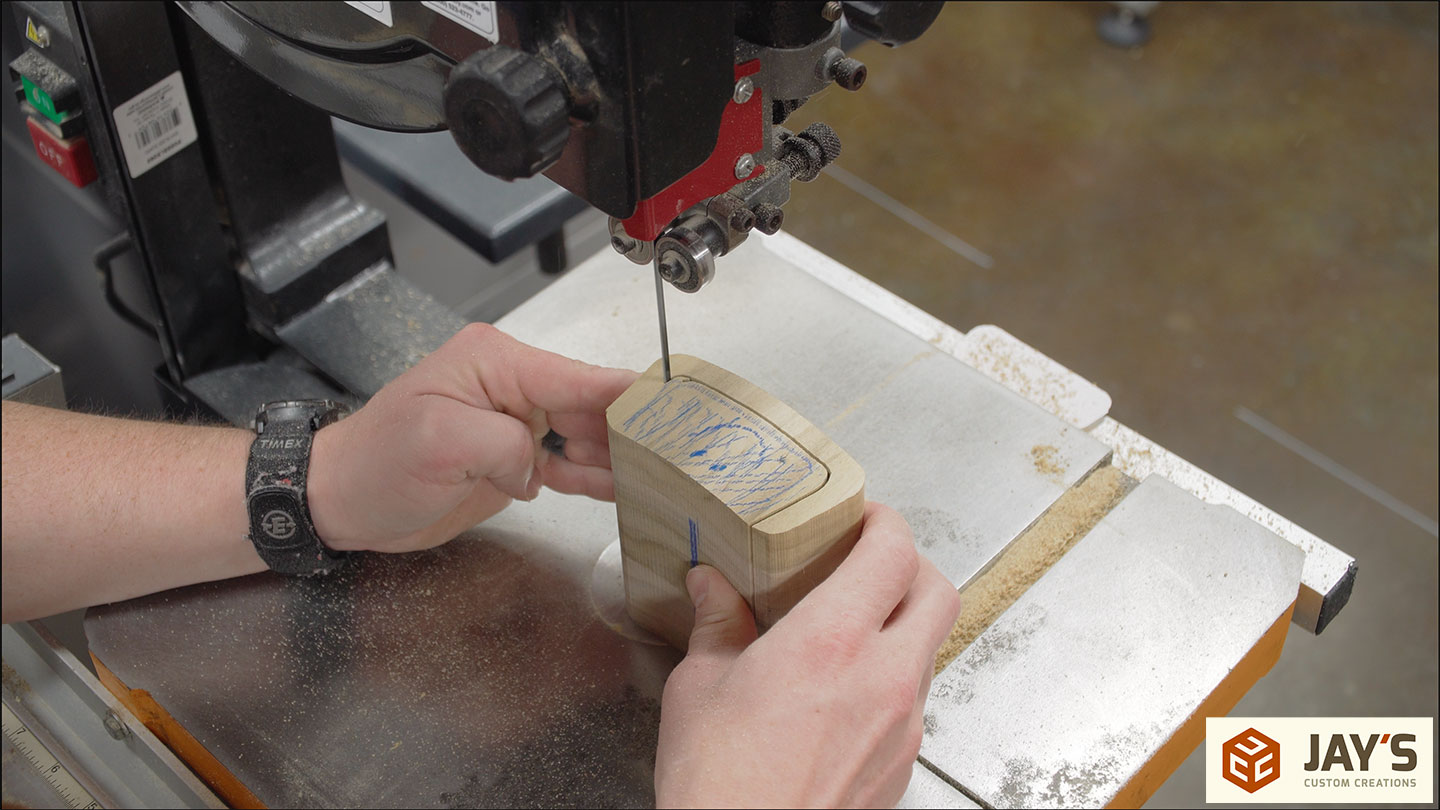
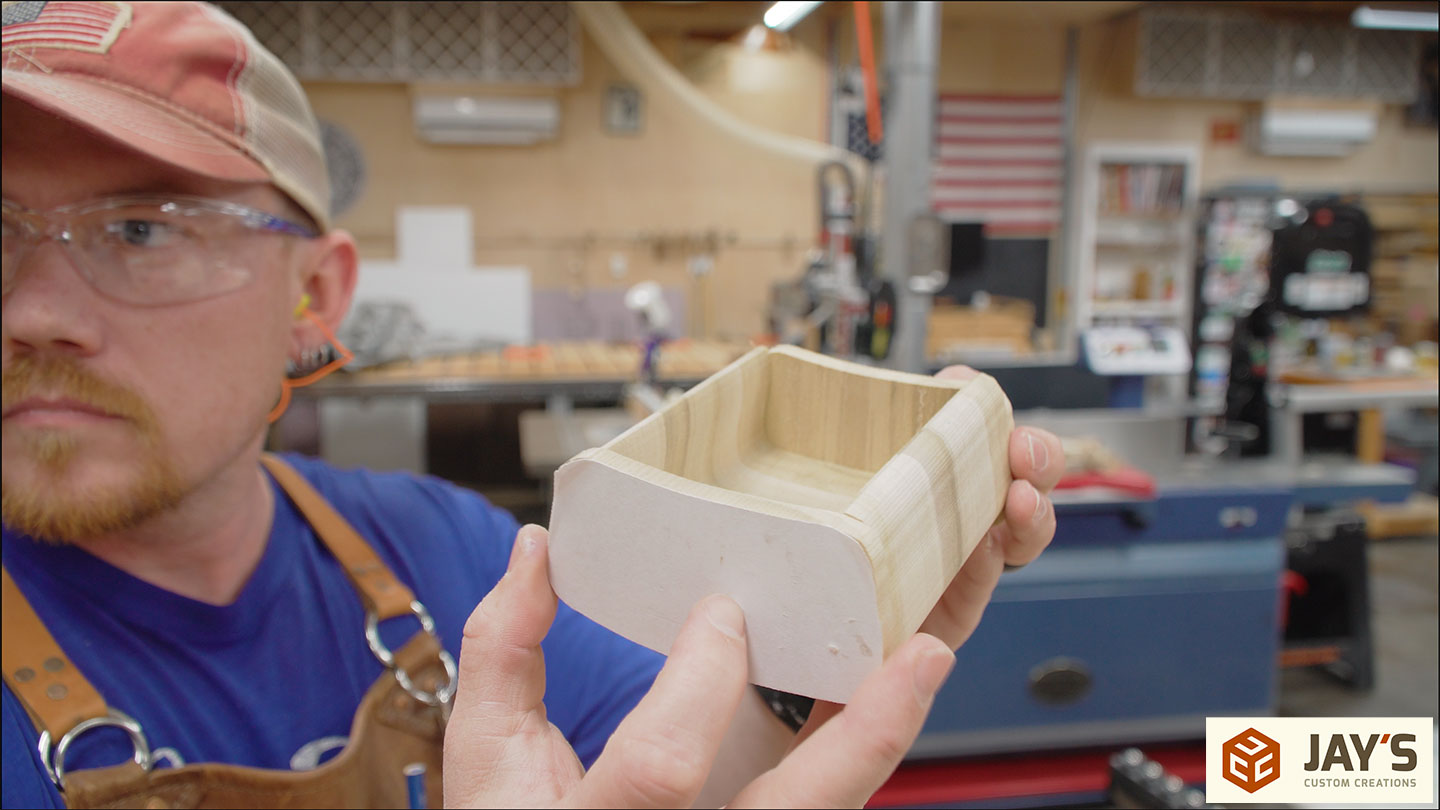
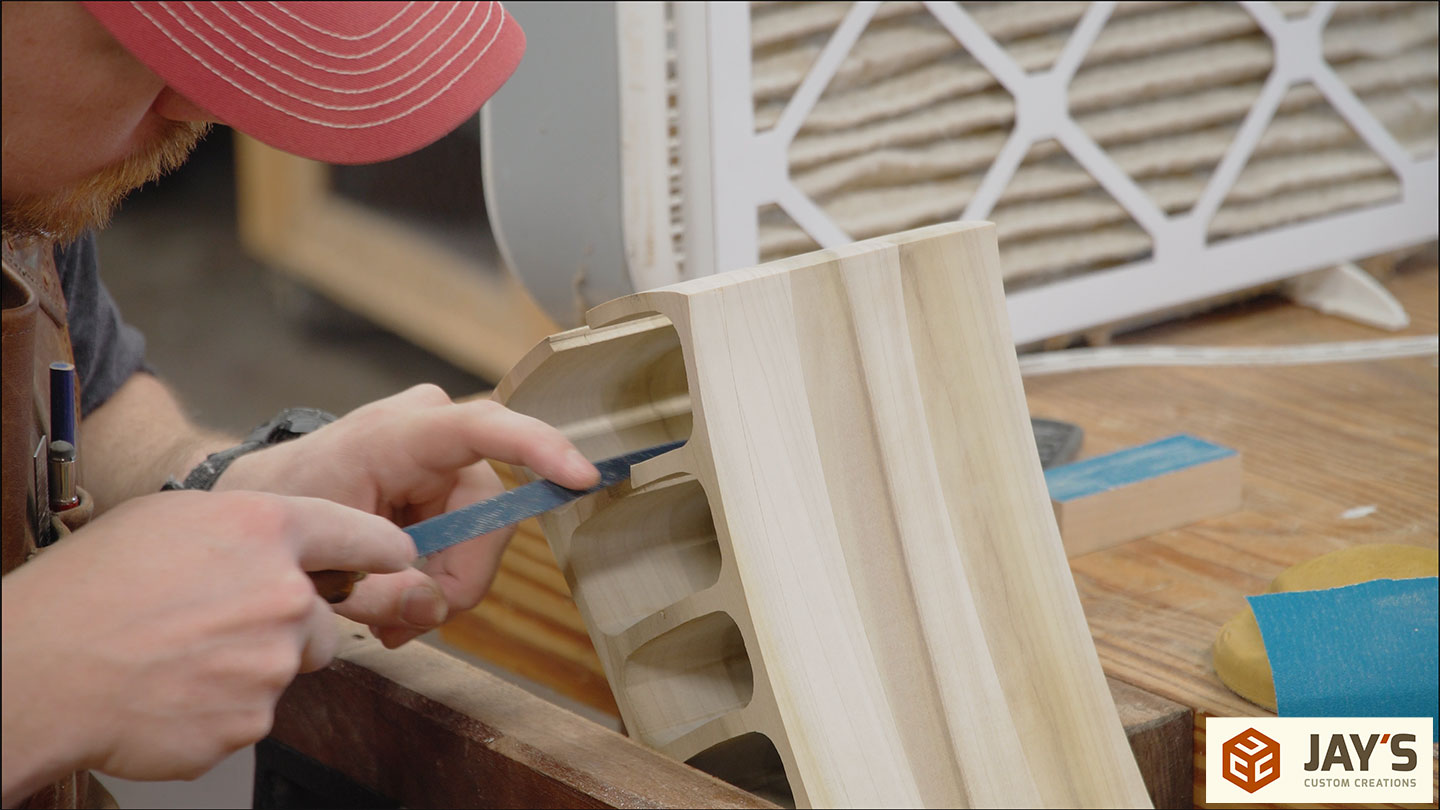
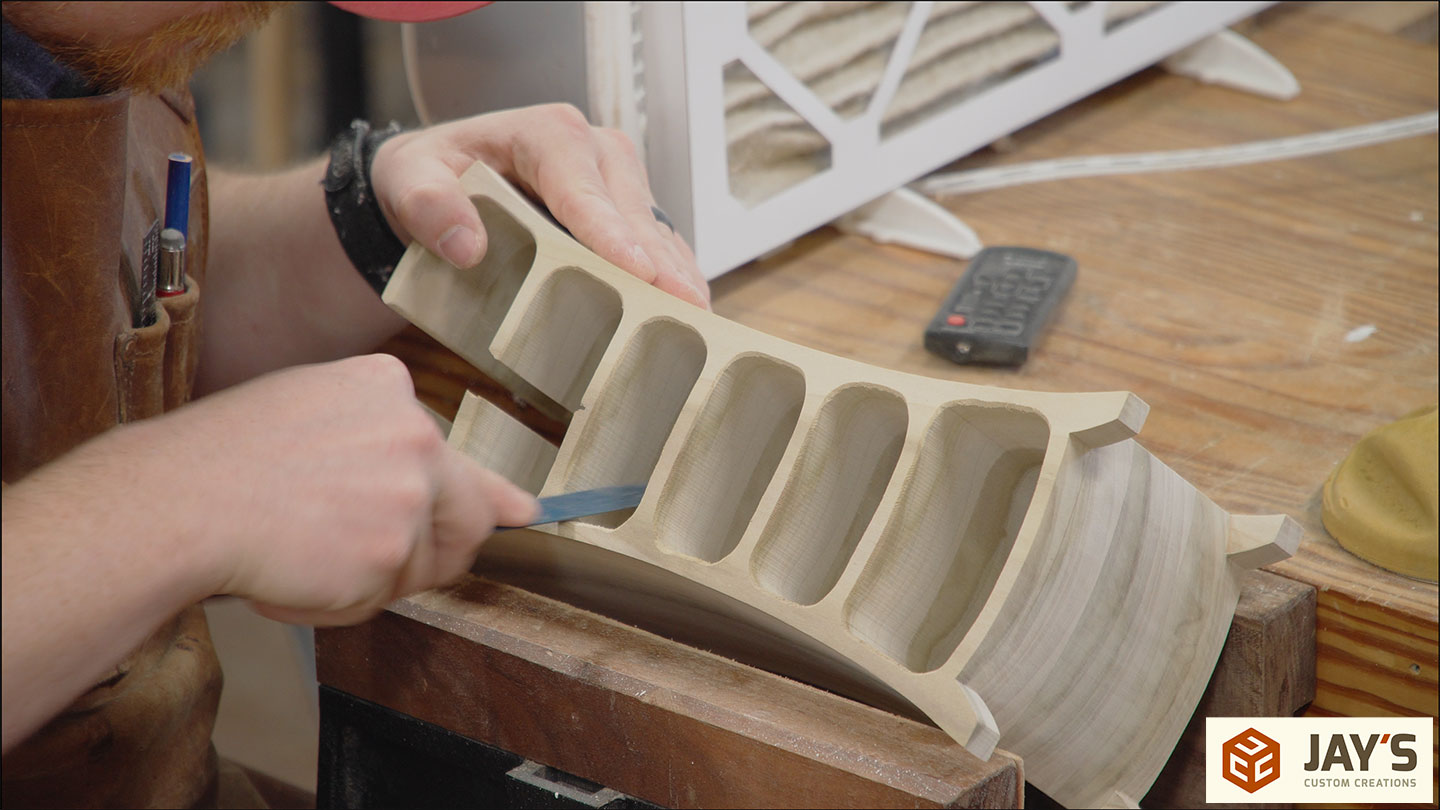
This bandsaw box has feet, so the area between the feet needs to be removed.
Now, the front and back can be removed.
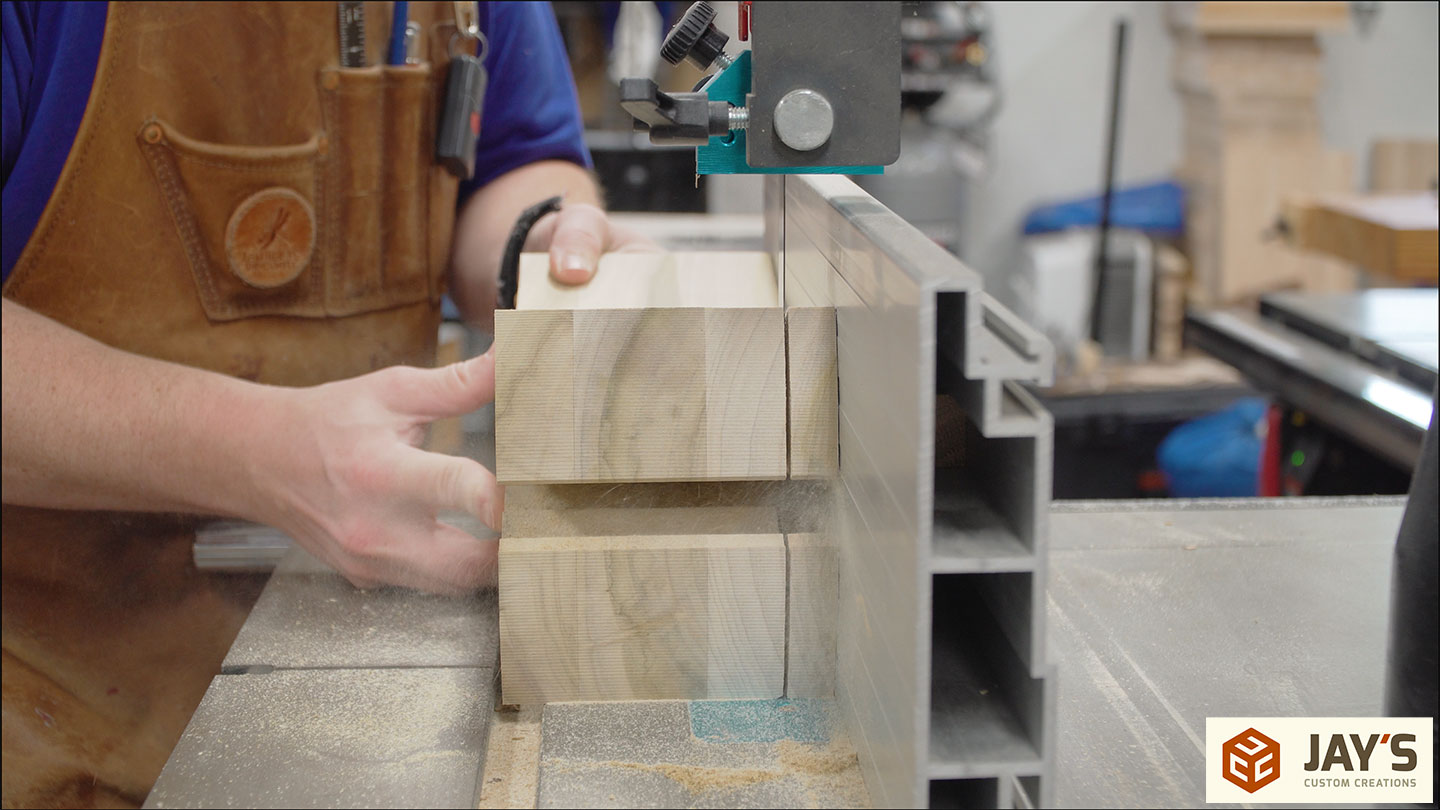
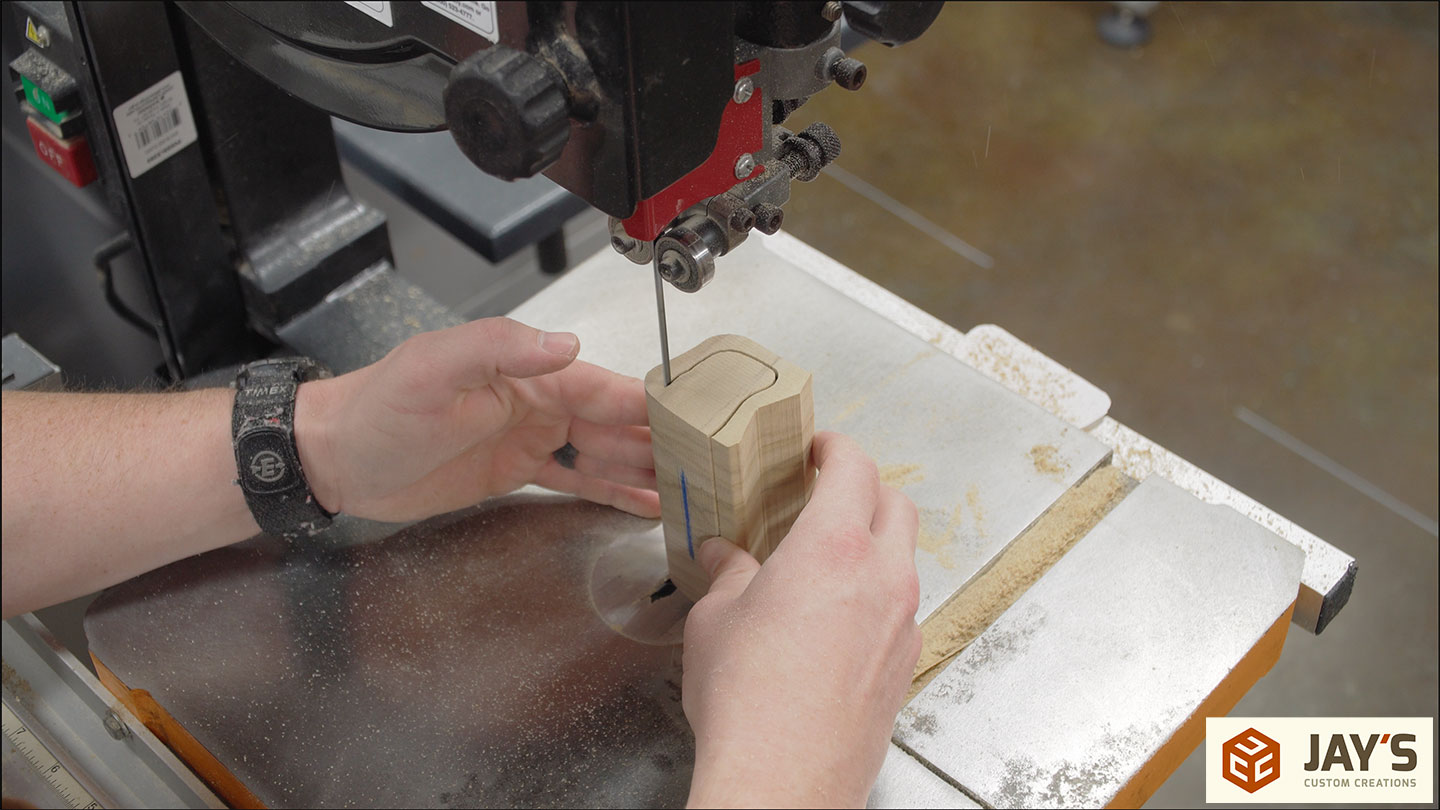
So that the feet can then be removed from the center section.
Once glued together, it will look just like a 4 leg chest of drawers.
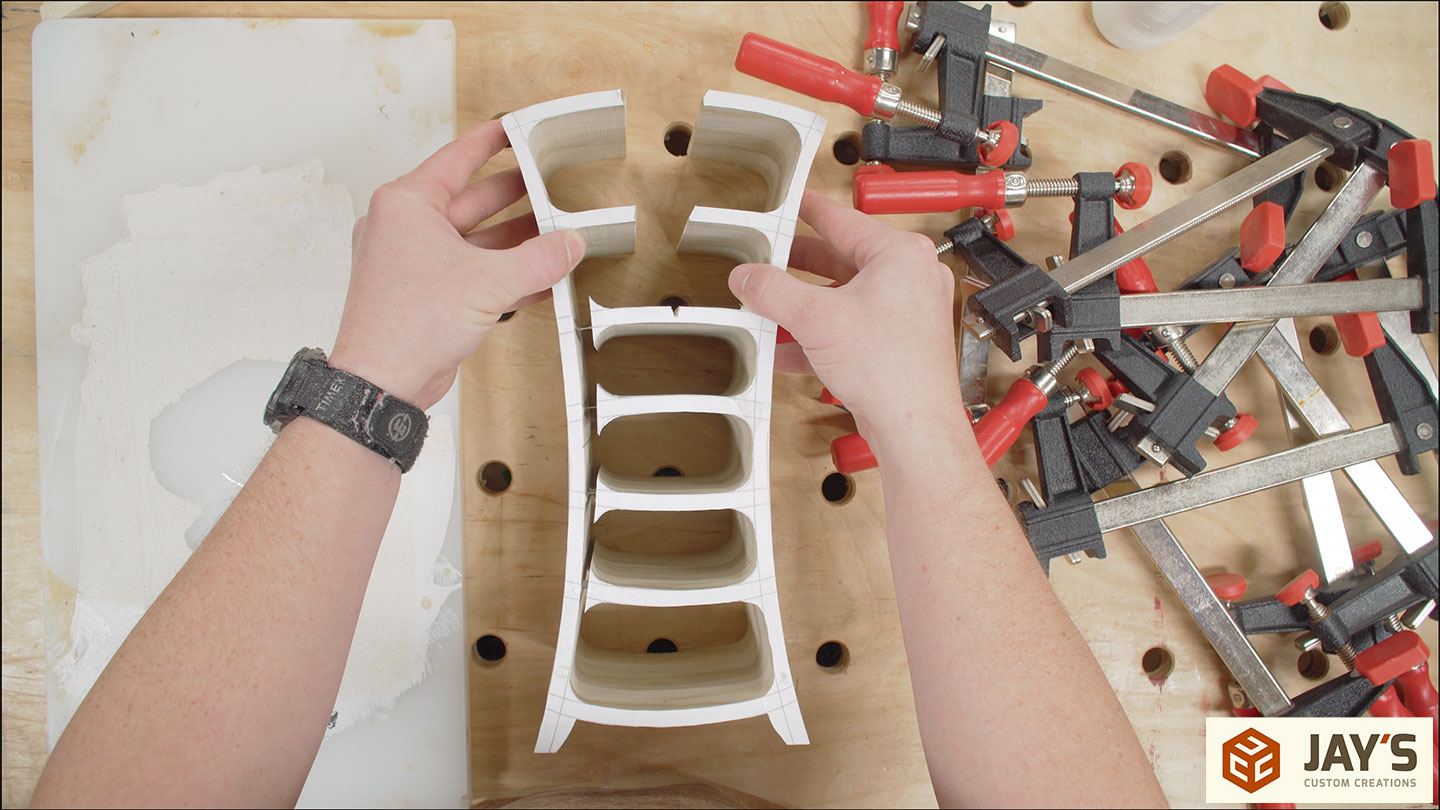
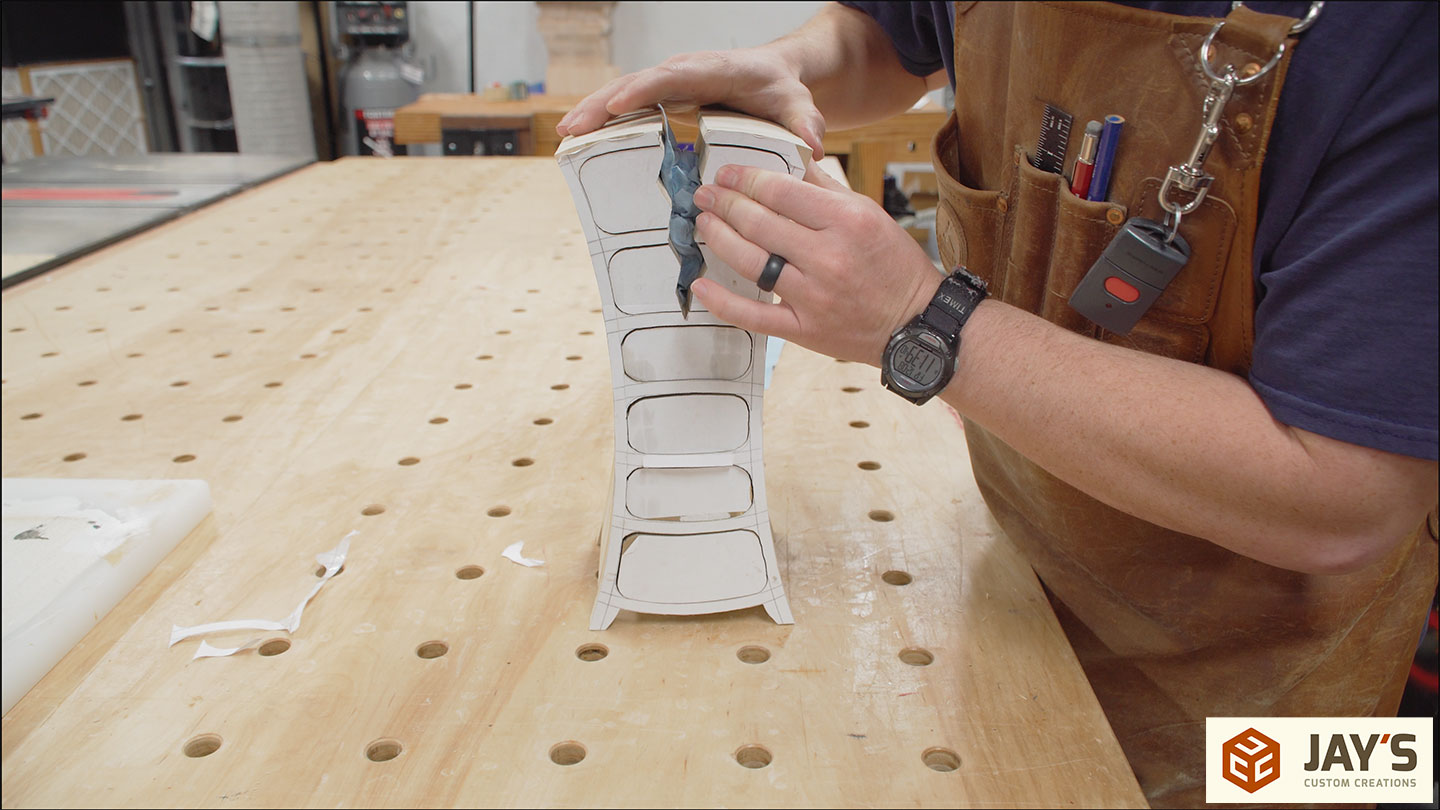
The front can now be glued back to the center area.
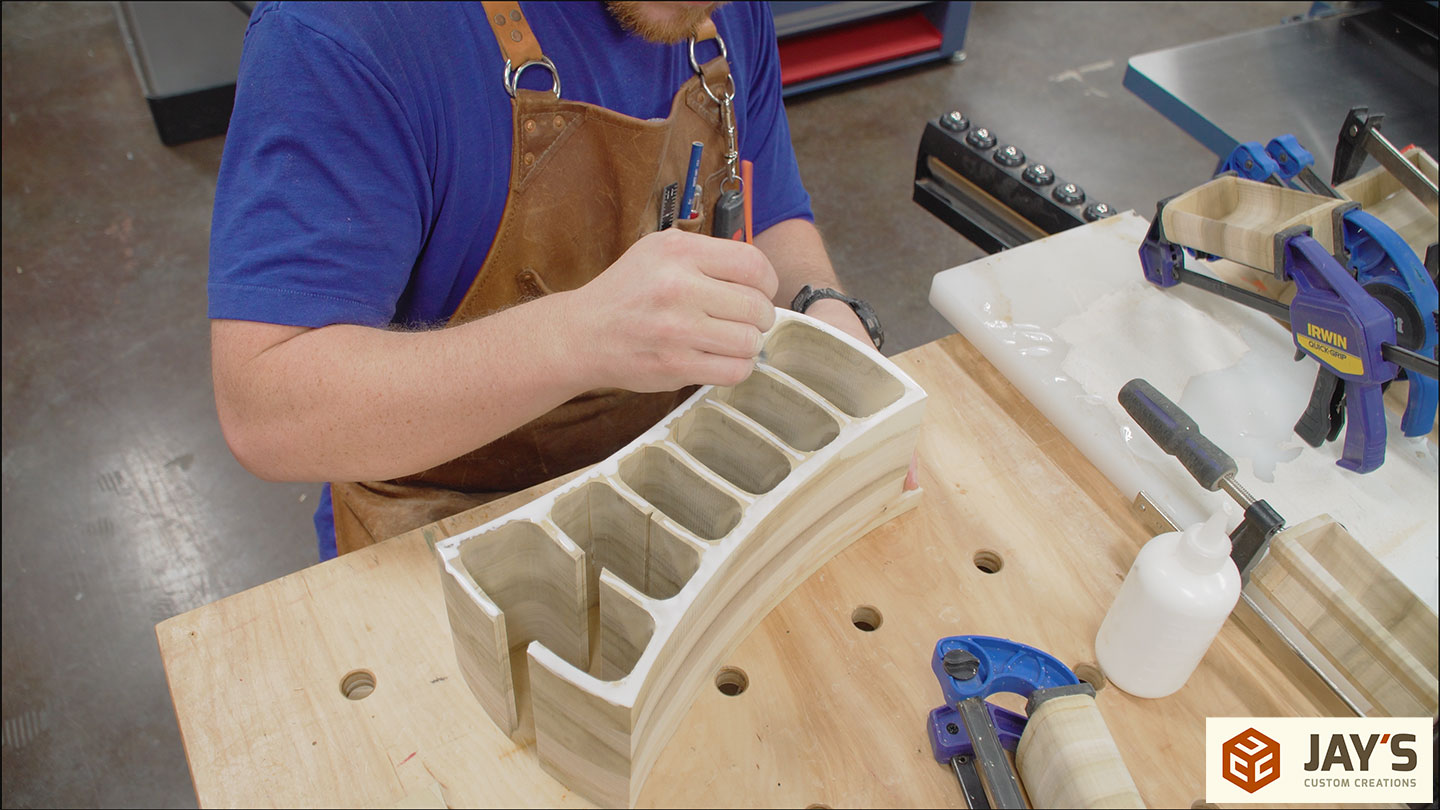
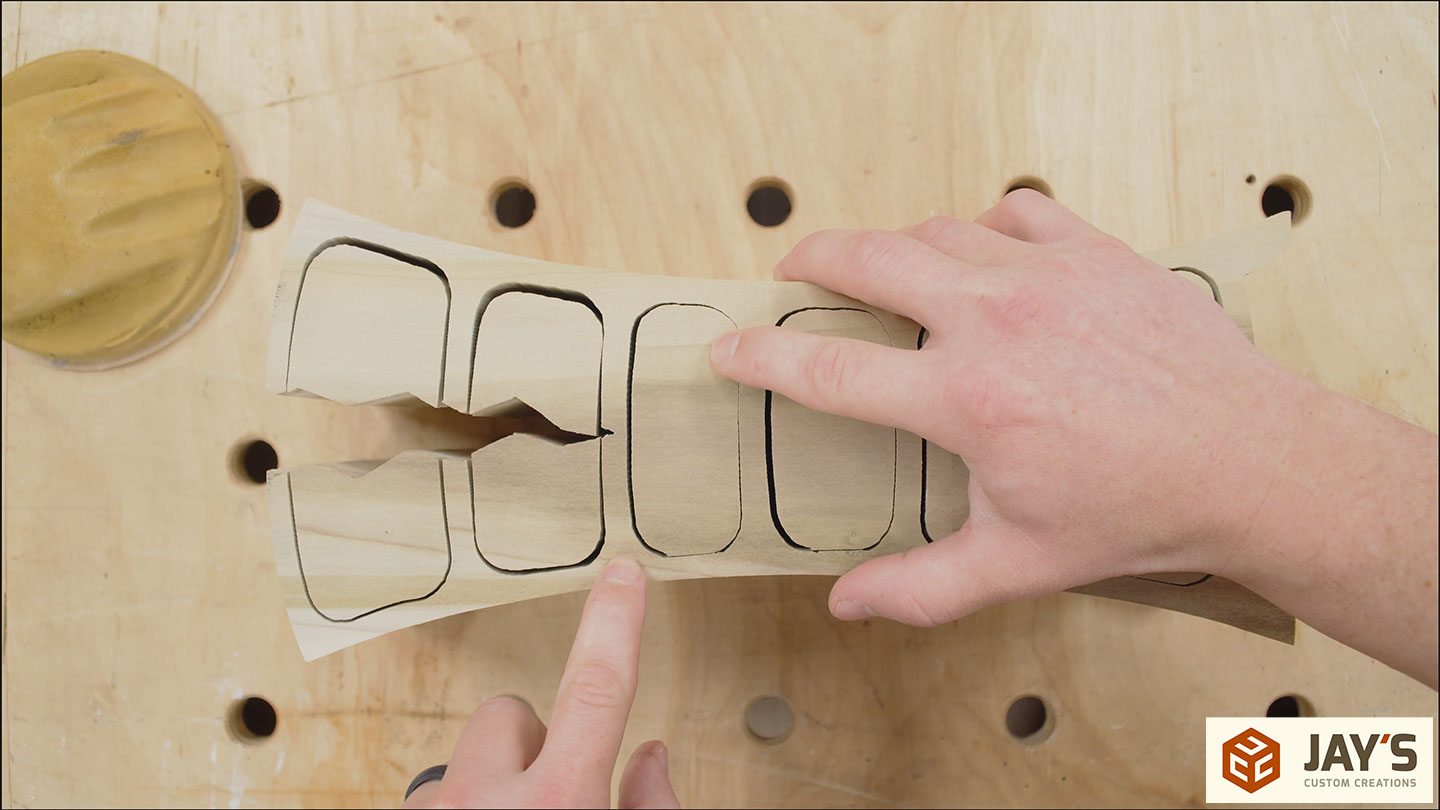
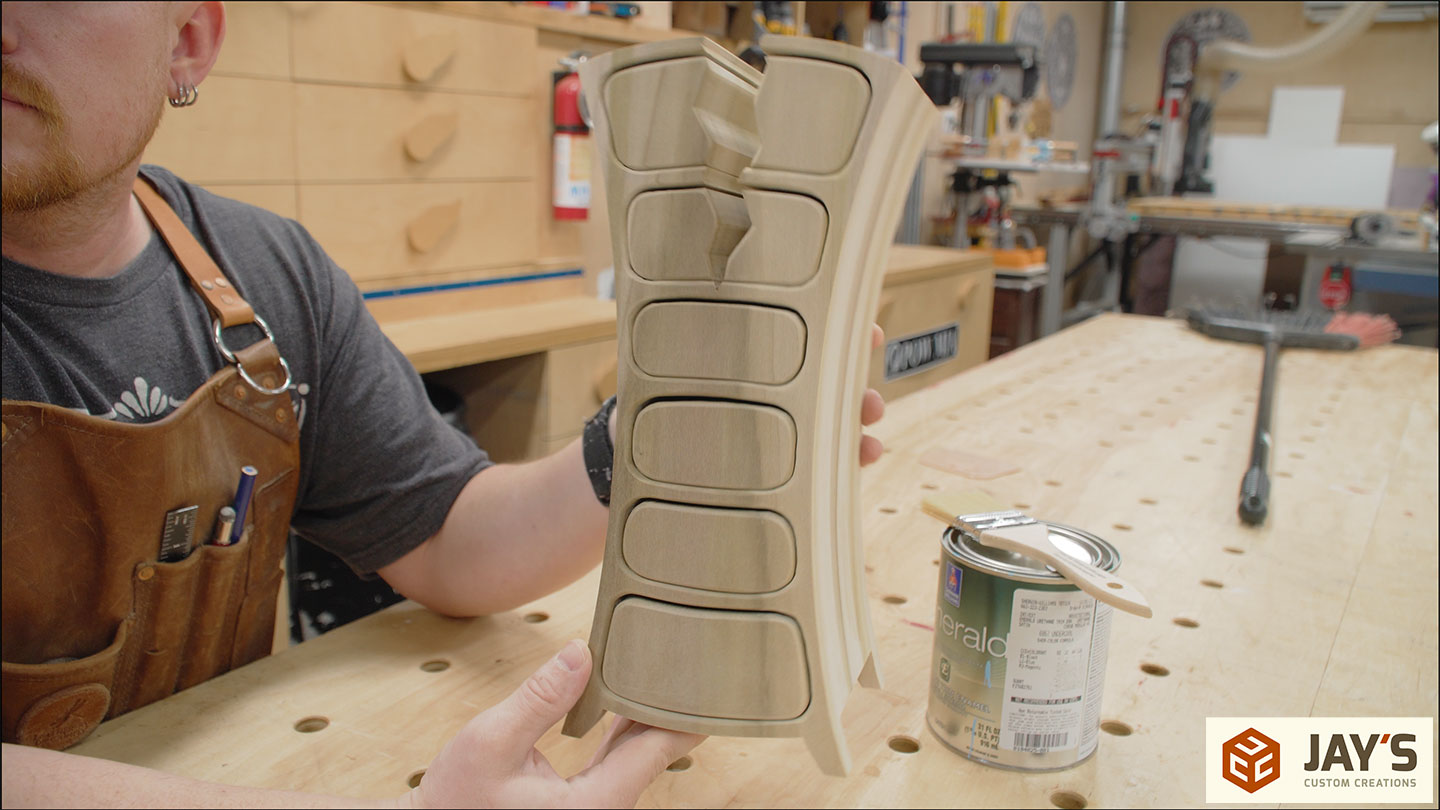
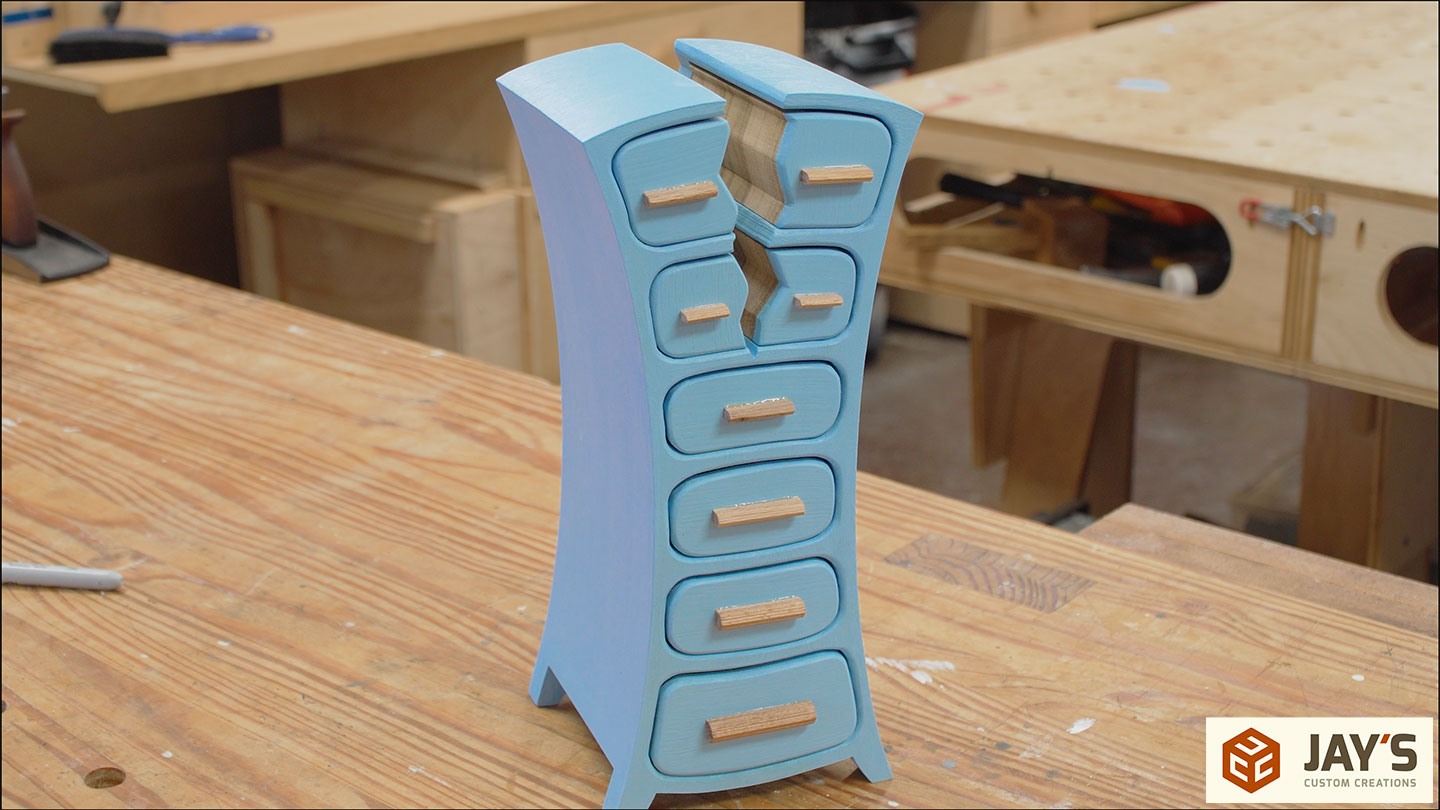
Finally, the bandsaw box becomes a box as the drawers are cut out. The top four drawers are easy, as the start and stop of each cut is in the crack area. The bottom four require a different approach. To reach the next drawer, you need to cut through the horizontal support pieces. This is OK as it will all be glued back together next.
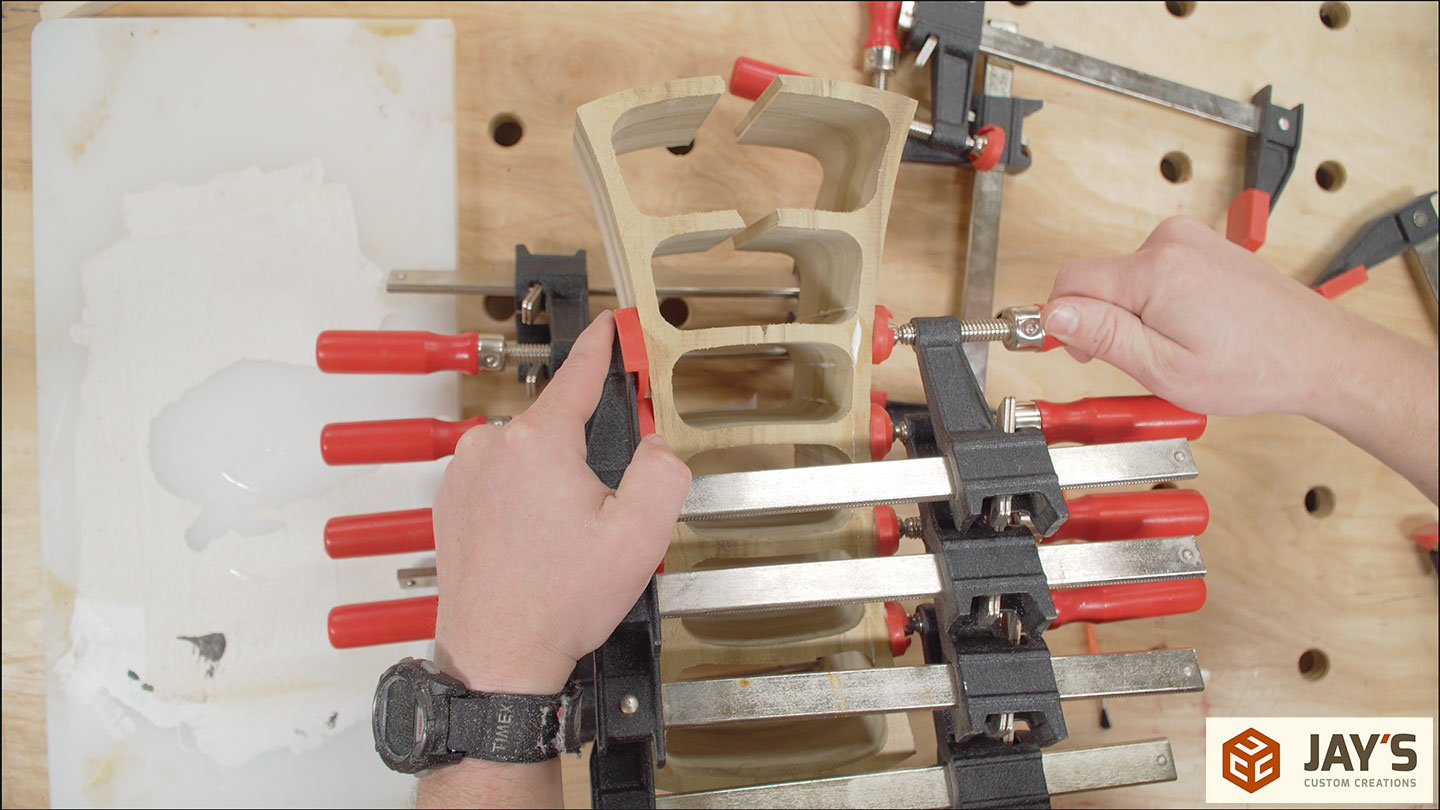
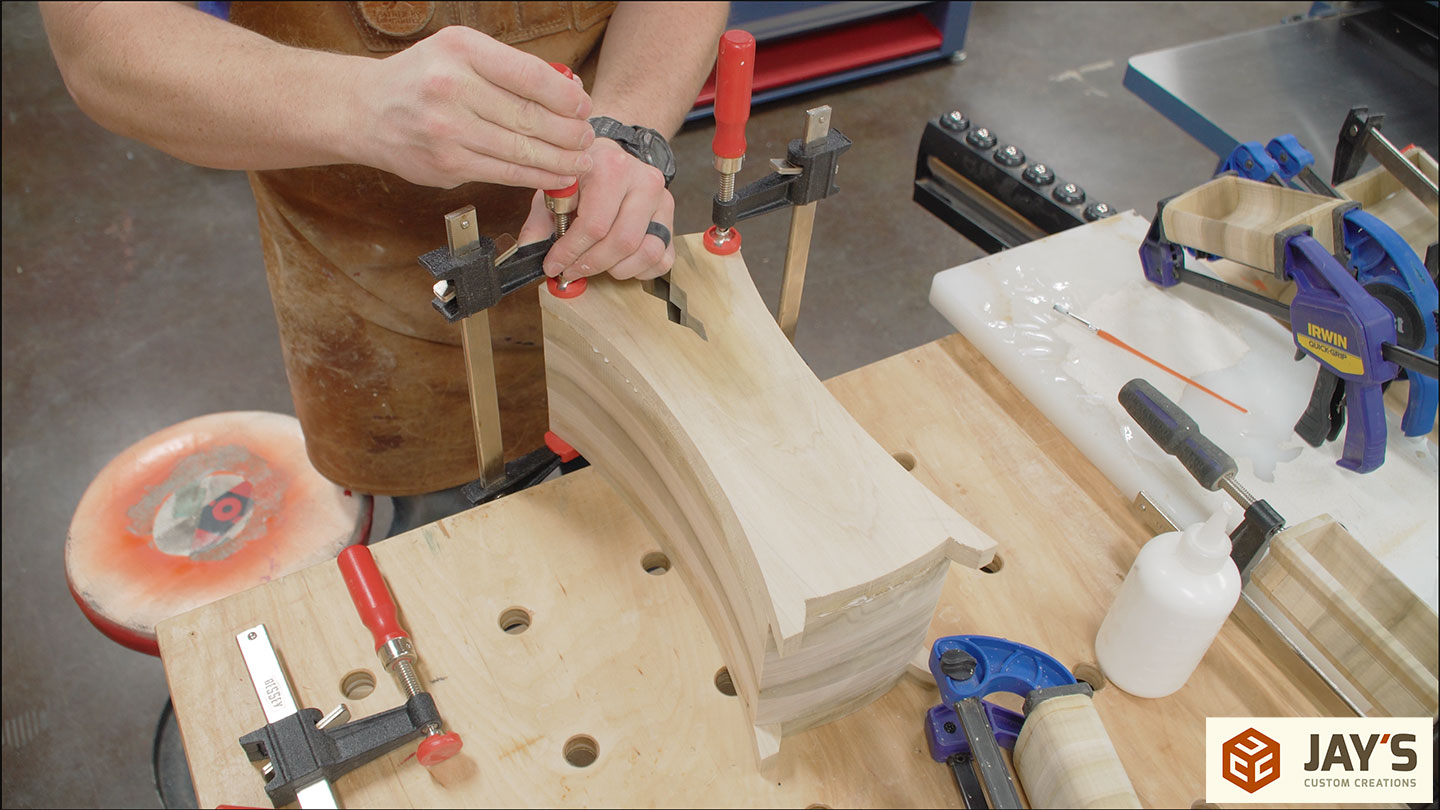
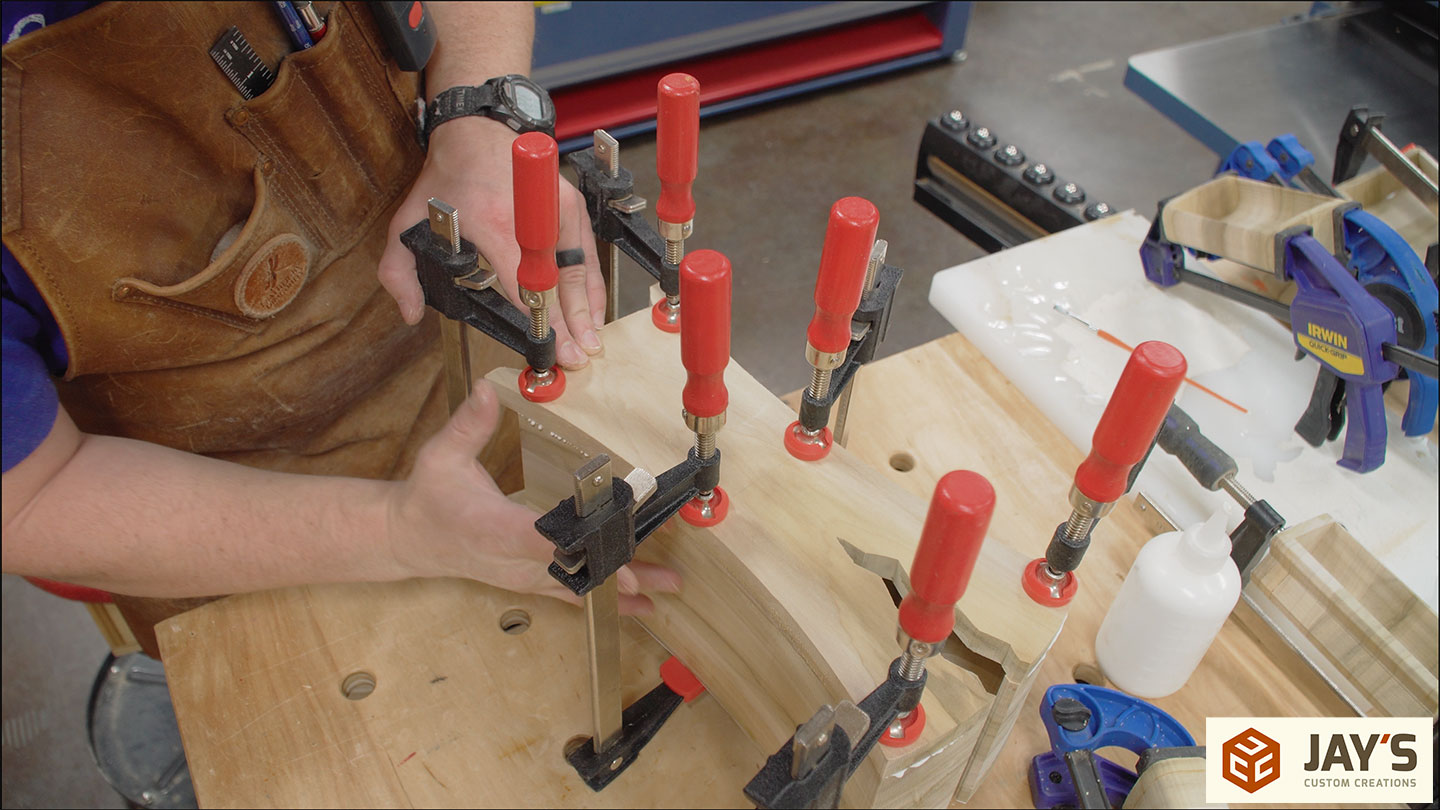
This is the damage done. No problem though. Just a little glue in each of the cuts and 16,000 clamps to hold it together.
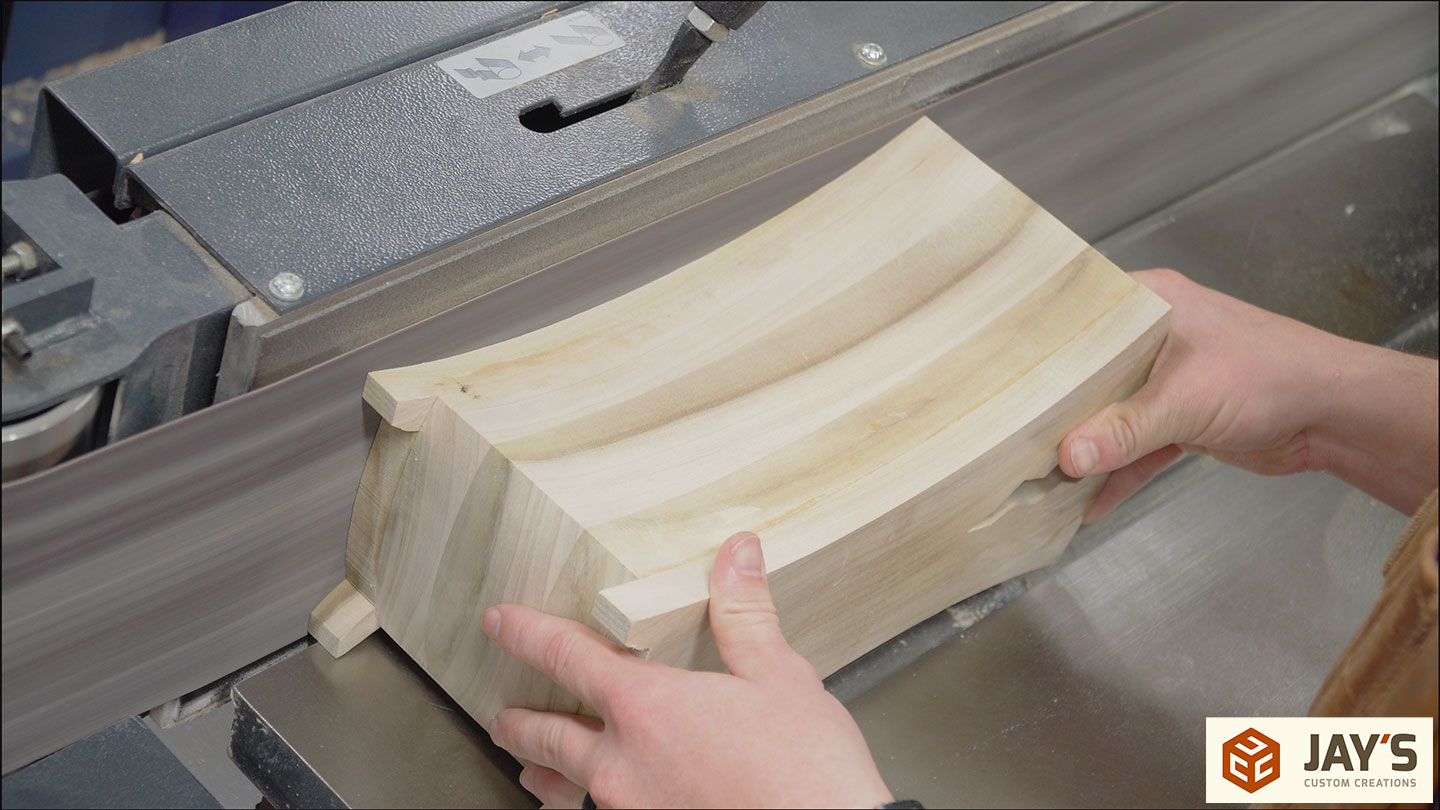
While the glue dries on the carcass, each drawer needs the front and back removed.

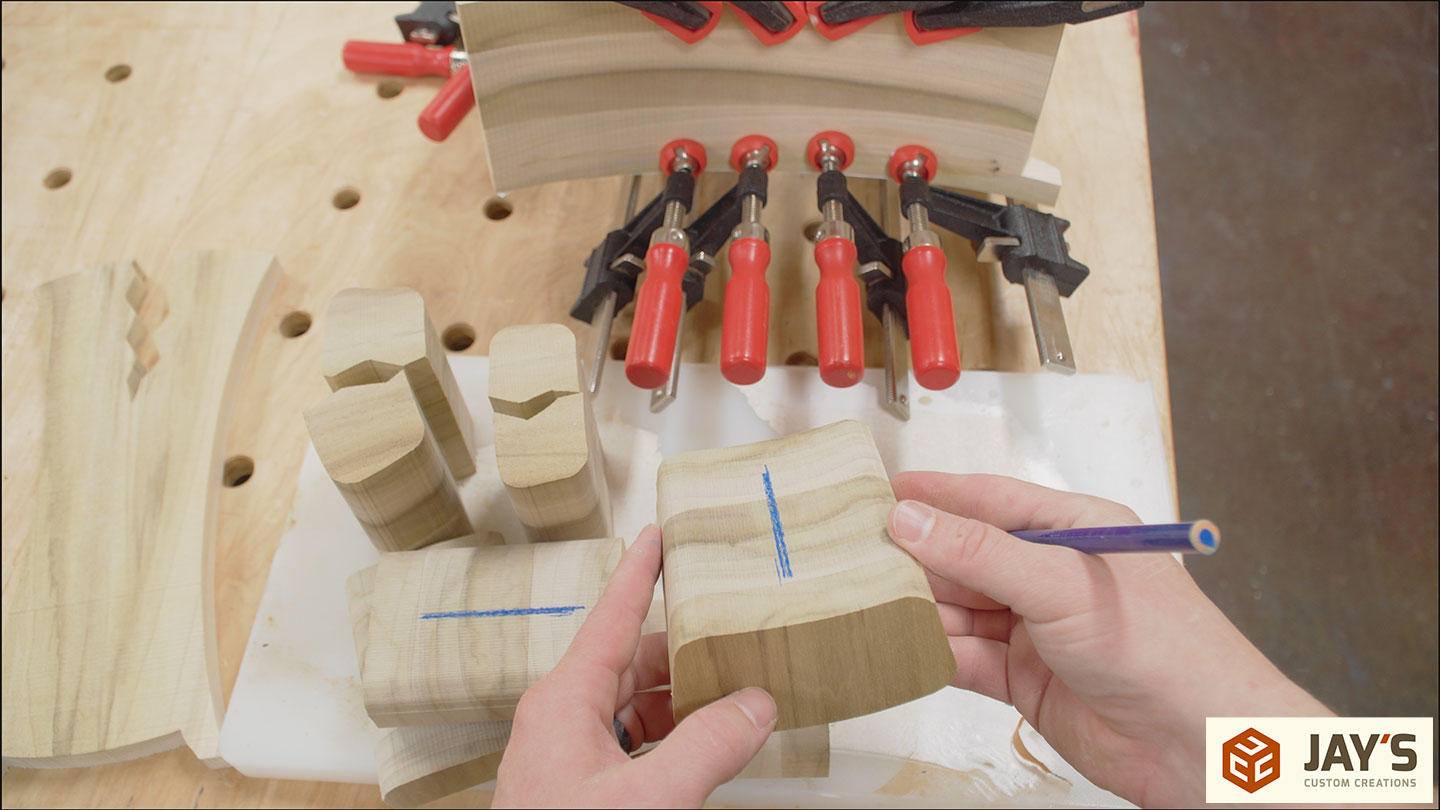
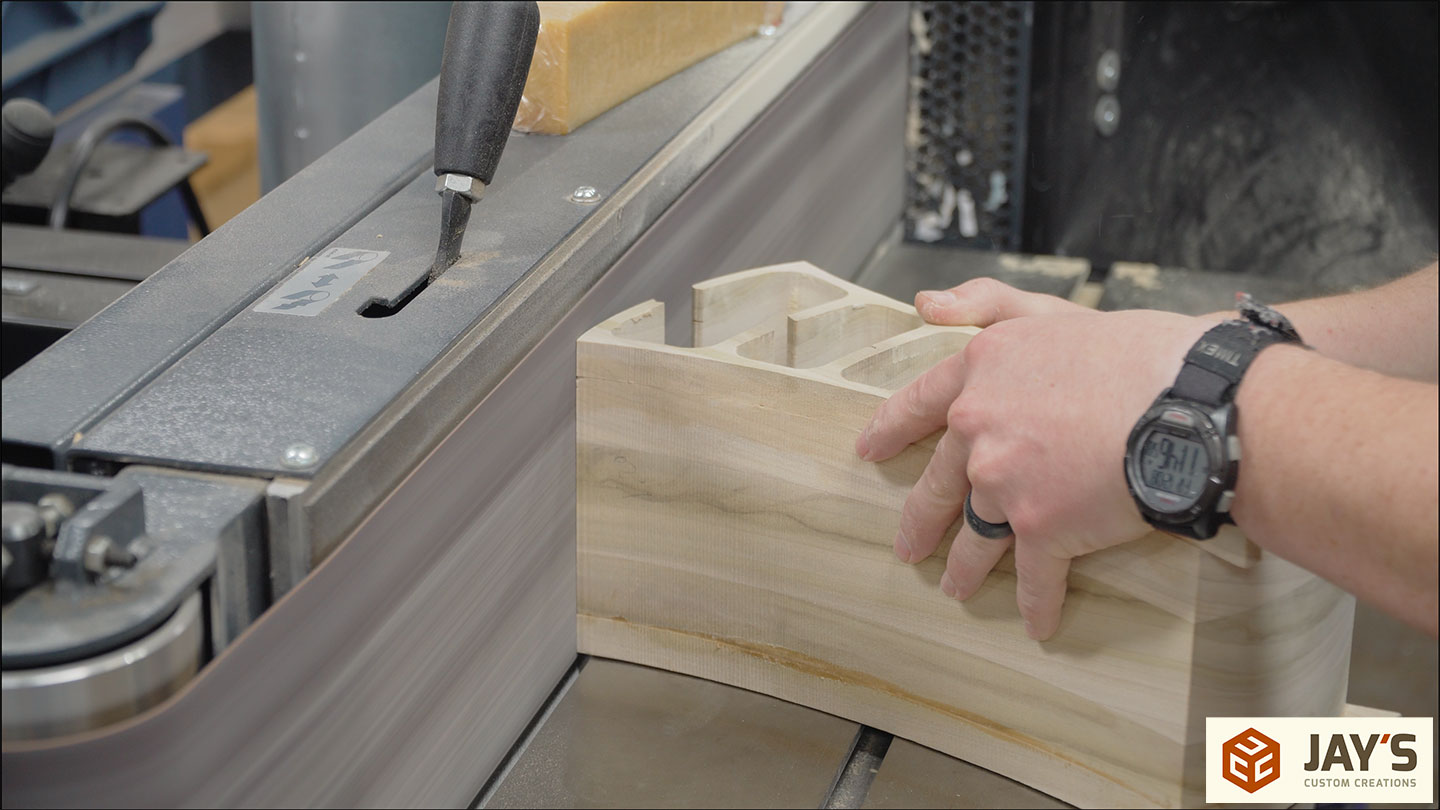
The center section of each drawer needs to be cut out to form a shape that is actually capable of holding stuff. It’s important to make this shape a bowl and not a lid. The TOP needs to be removed. One way to not get mixed up is to clearly identify the top of each drawer before removing anything.
Now the center section can be cut out and discarded.
With the center removed, the front and back can be glued back in place. This results in an irregularly shaped drawer.

With the drawers in clamps, the back of the case can be installed. Here is where you will notice alignment issues. Because we cut through each one of the horizontal dividers, we reduced the width by one bandsaw blade kerf width. Therefore, the back will be larger than the carcass at this point. No problem, this is normal.
The next day, the clamps are put away, and the drawers are installed. At this point, the drawers will be inset from the front face. That’s because we removed two kerf widths of material when we cut the front and back of each drawer off. I want my drawers to be flush with the front surface. To prevent the top four drawers from sliding around in the next step, I wedged paper towels in the crack to hold the drawers in place.
I used a belt sander to sand the front of the case flush with the front of the drawers. Once the paper is completely removed, I know they are all on the same plane.

While I’m at the belt sander, I sanded the top arch smooth.
As well as each side.
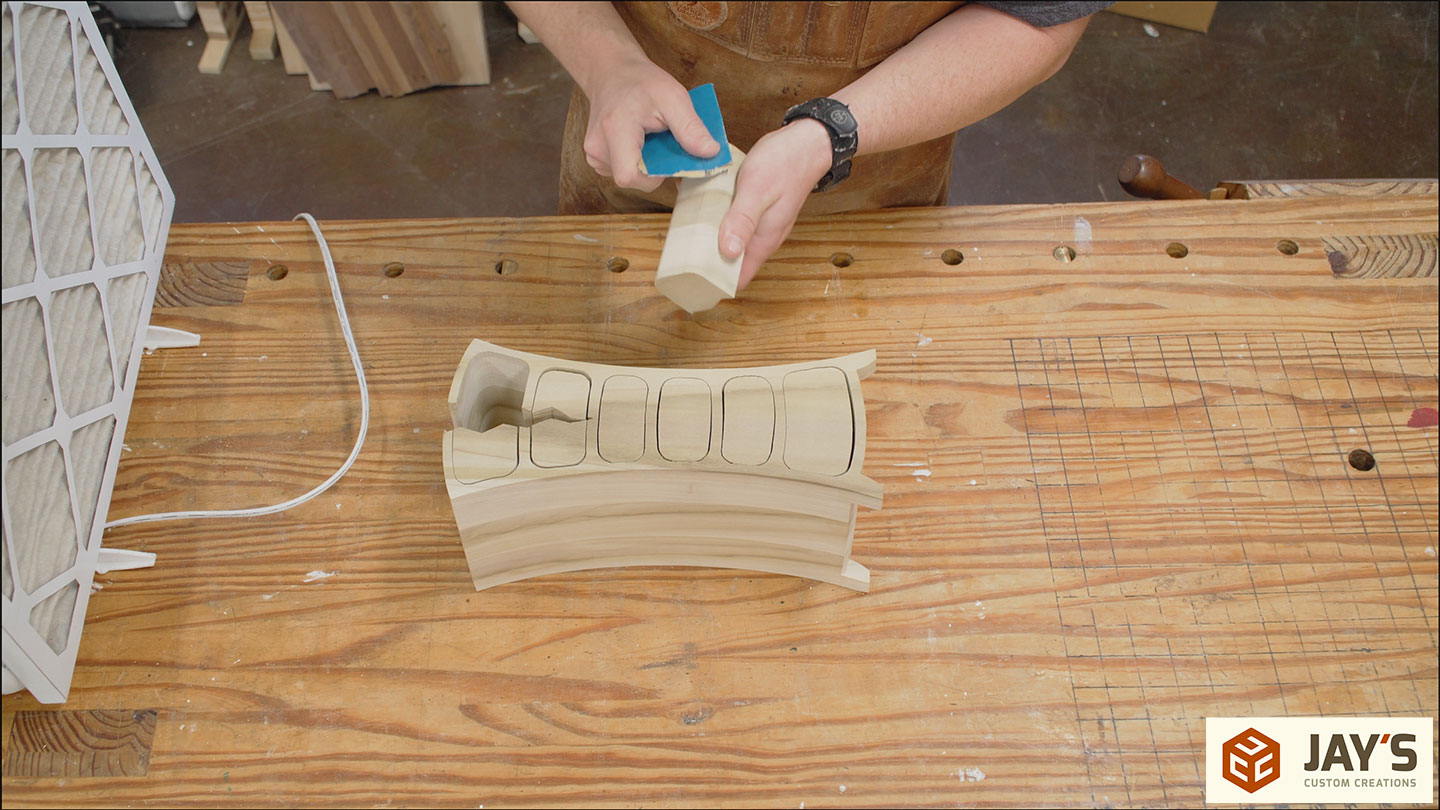
Ouch, you can see how horrible my cuts were at the bandsaw. This is OK.
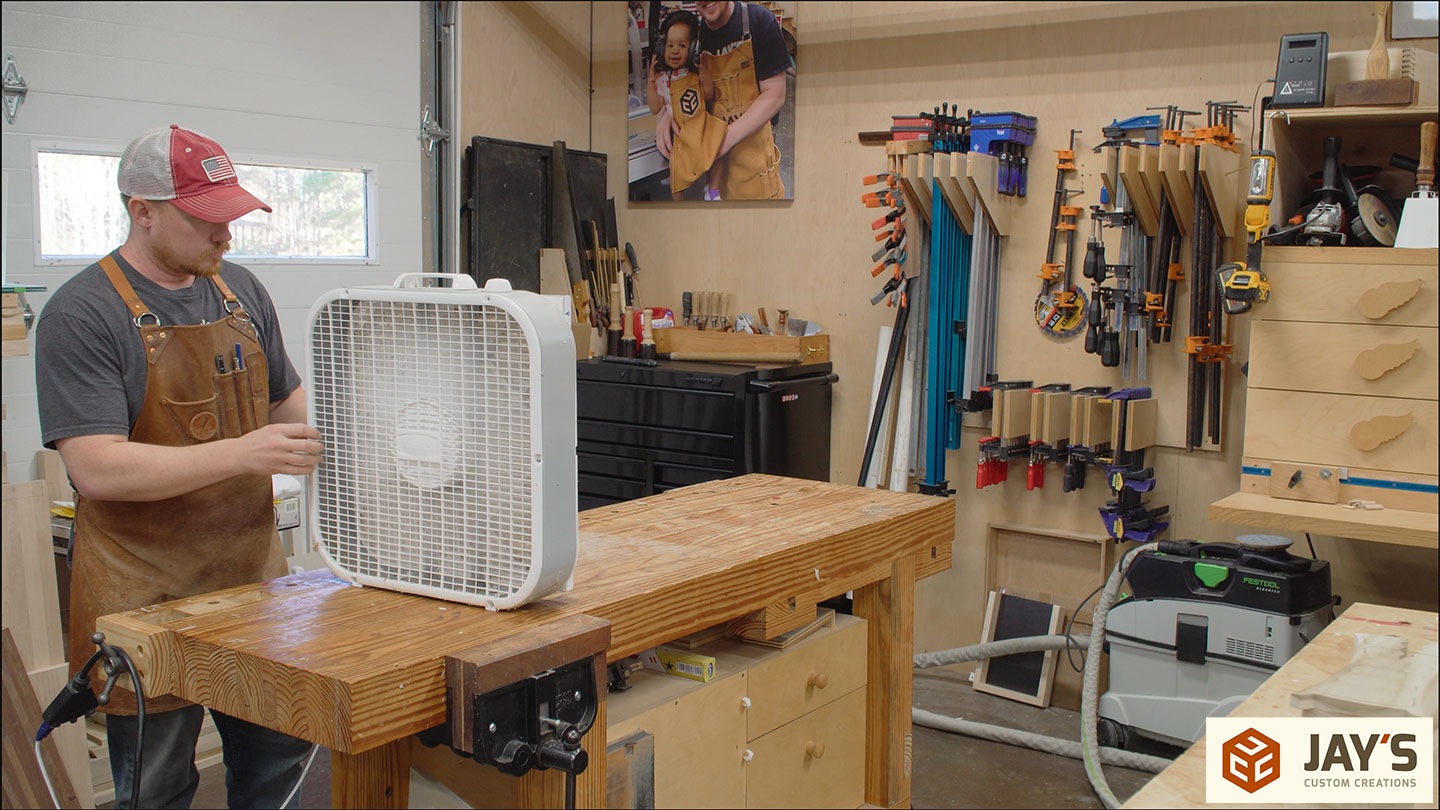
The solution is to sand and roundover each adjacent edge to form a smooth shadow line. One thing I’ve started doing lately is putting a box fan with a filter behind it right next to me when sanding. It keeps a draft of air going away from me, and I don’t have to breathe in nearly as much dust while sanding. Yes, I can also wear a respirator, but those are so frustrating.
Lots of sanding, followed by rasp work, followed by more sanding, and then some more sanding.
Eventually, all of those ugly cuts are blended away.
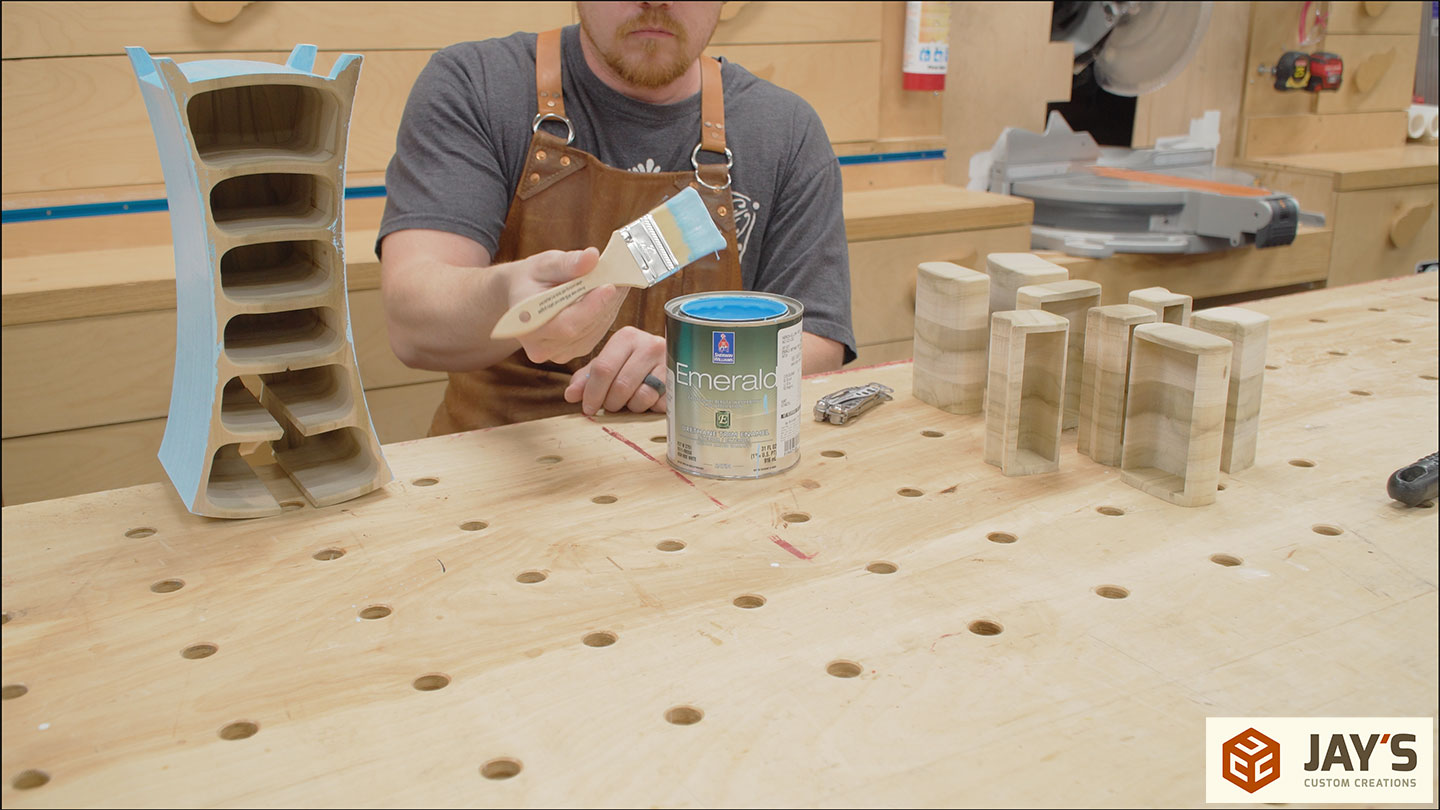
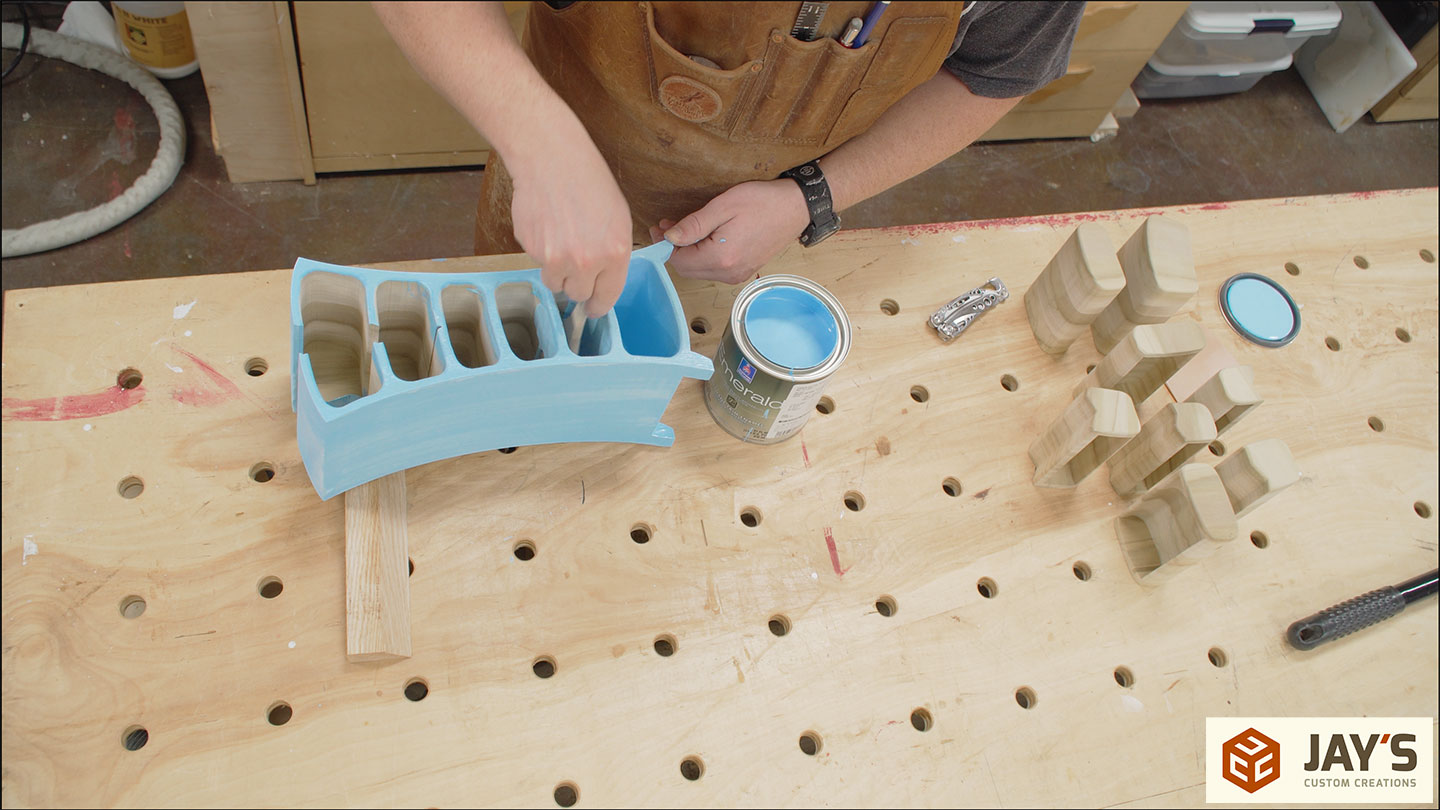
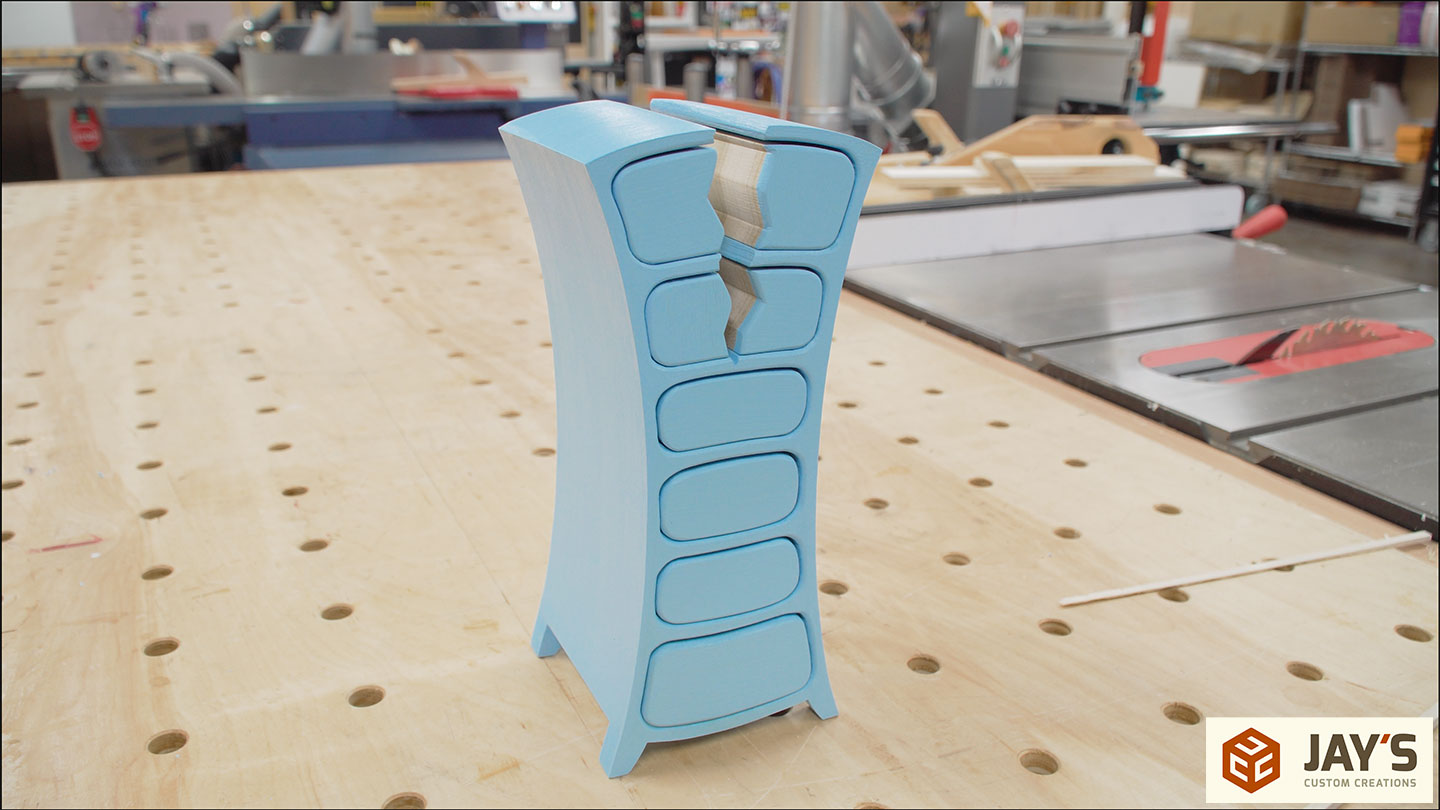
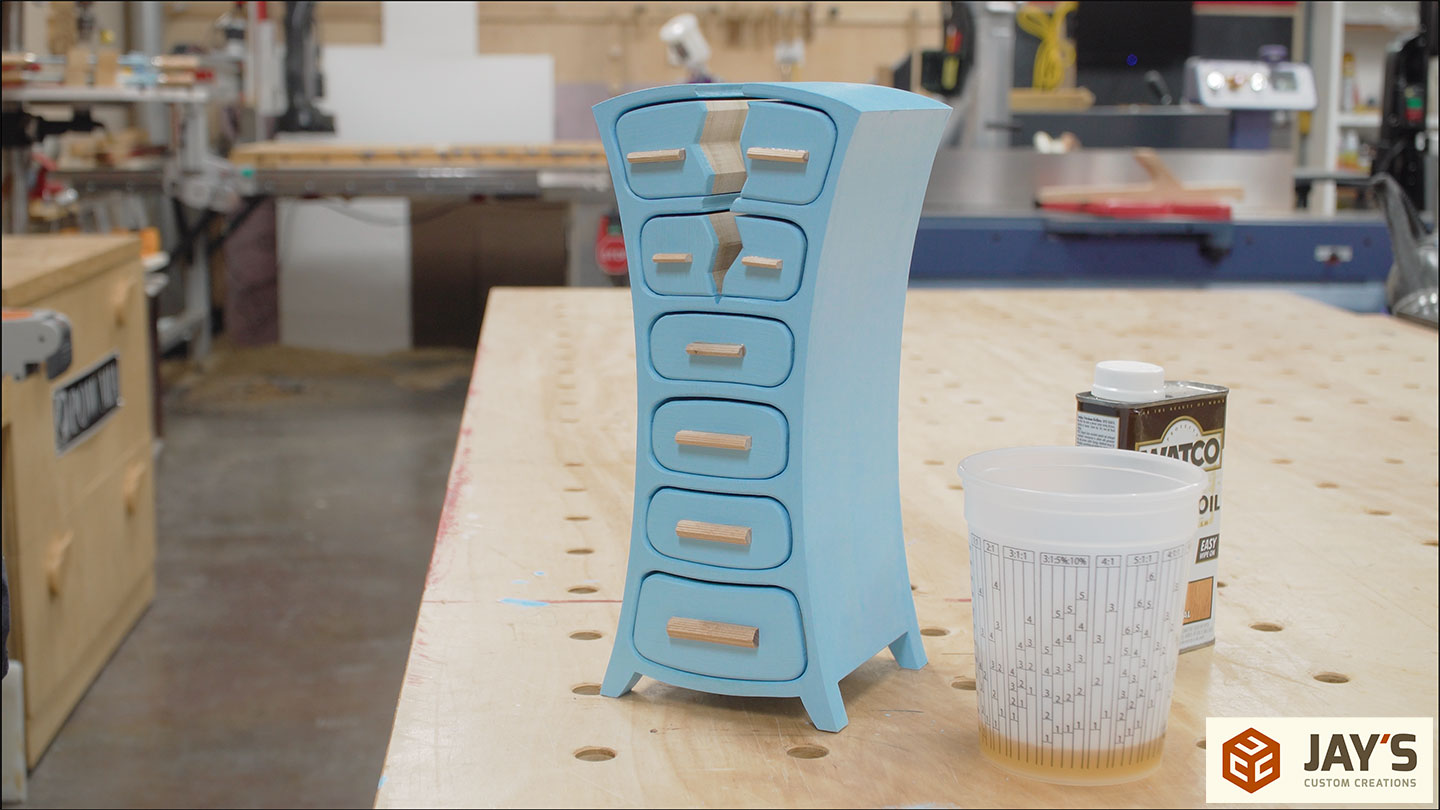
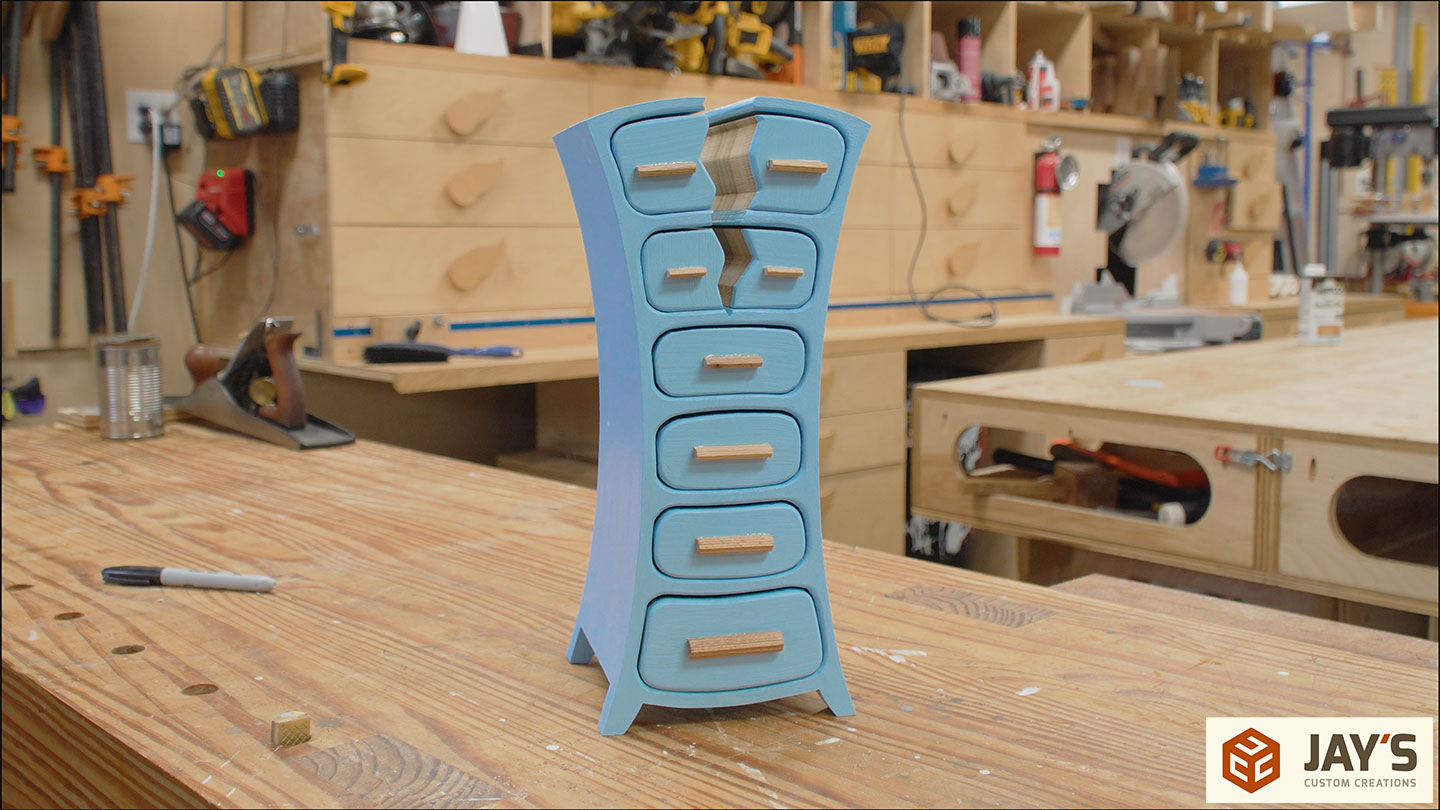
This cracked bandsaw box, or jewelry box, is a Christmas present for my daughter. She picked out this sky blue color, so that’s what I’m using to paint the case. I painted the entire case blue, but for the drawers, I only painted the drawer fronts.
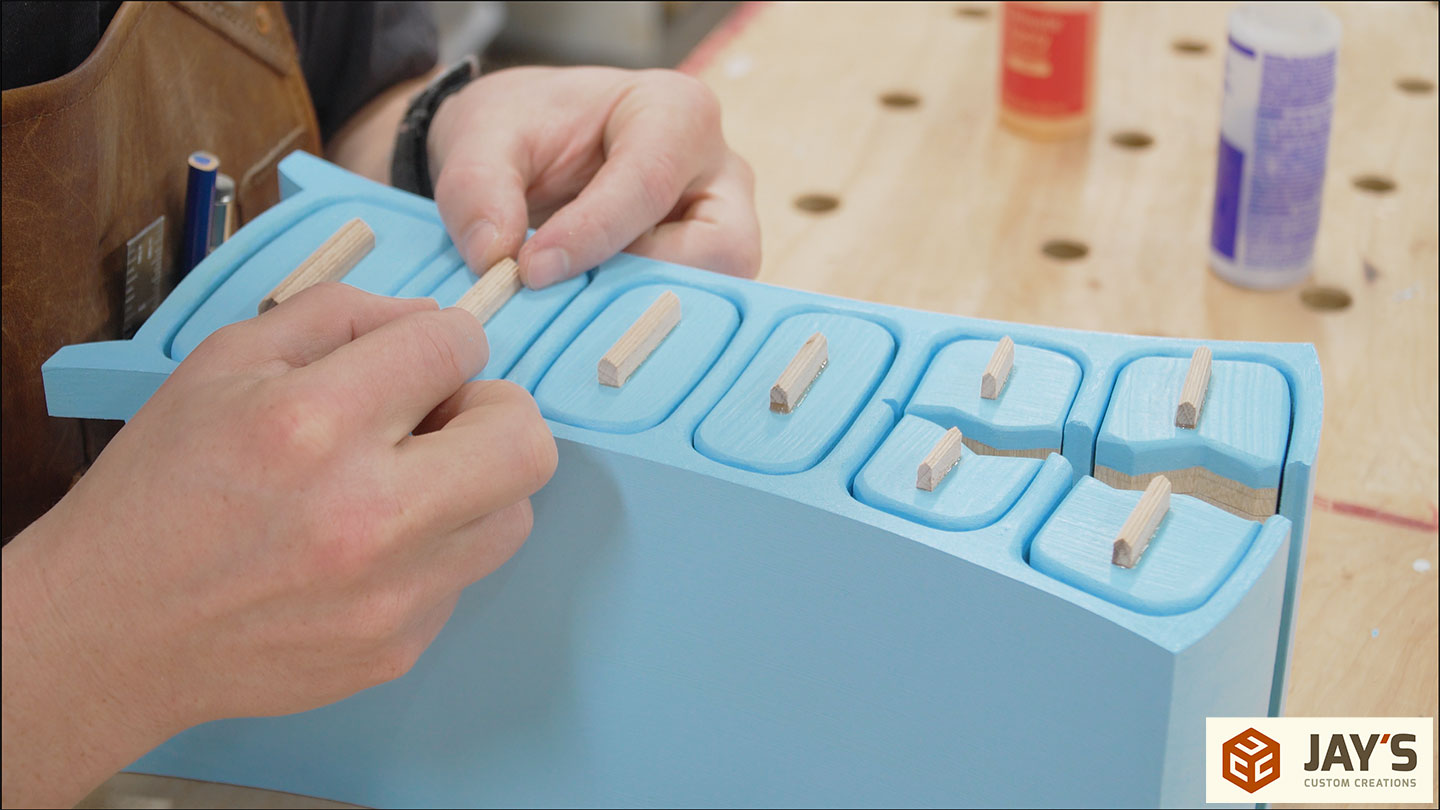
When I started the build, the only thing I didn’t have figured out was the drawer pulls. My first thought was to mill some 1/4″ square poplar stock to use as pulls.
After holding up some of the 1/4″ poplar stock, I thought it didn’t fit. Not like it did a decade ago. It was missing something…
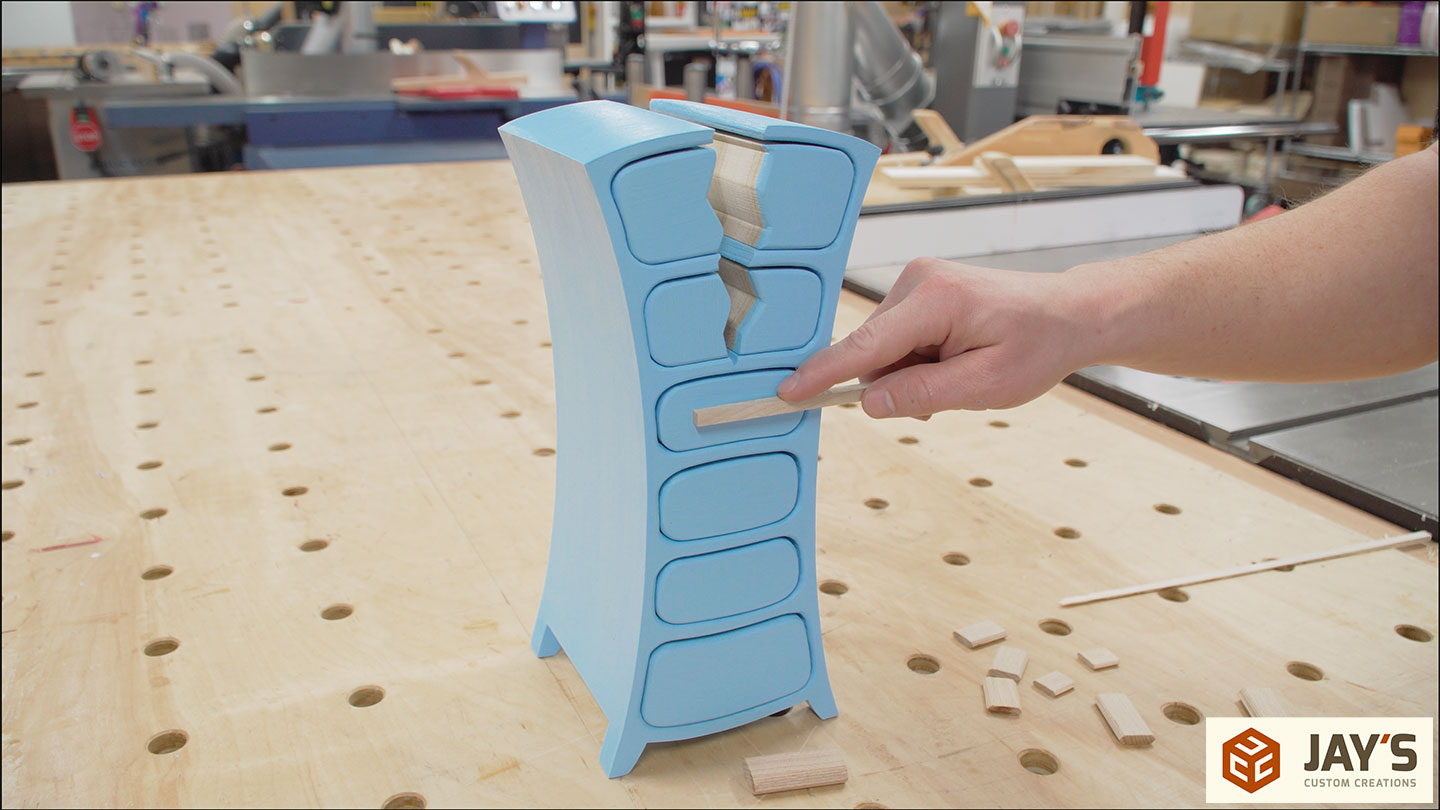
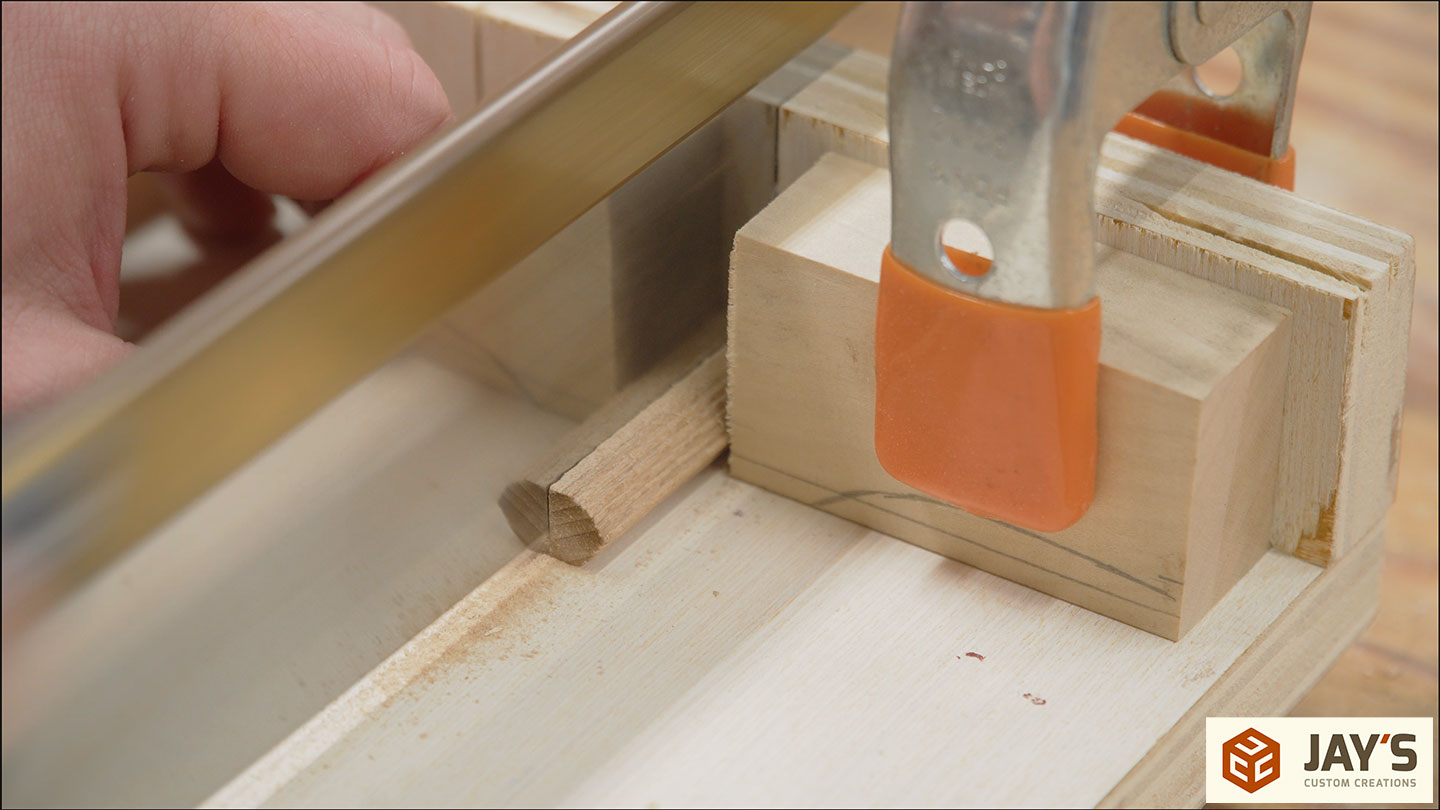
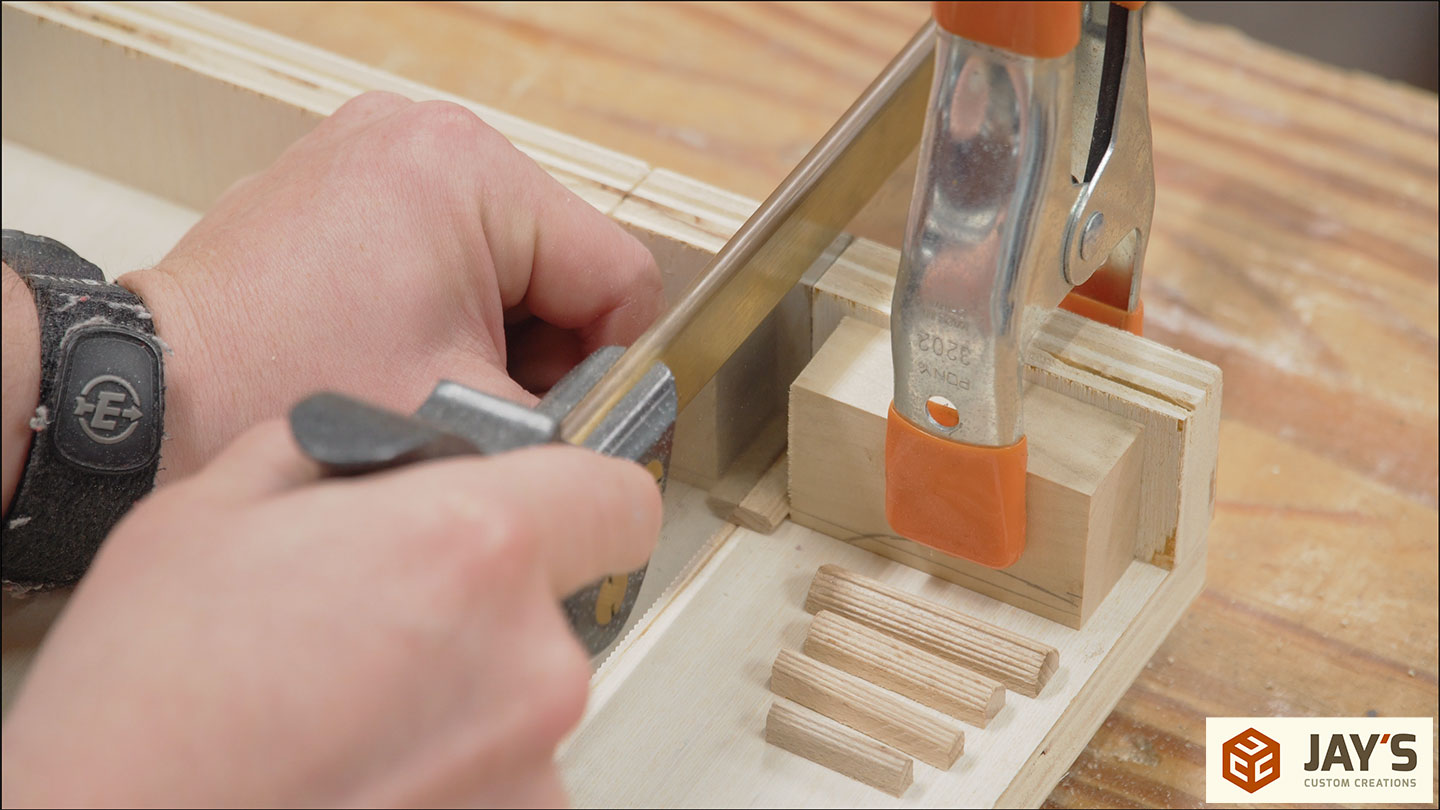
I looked around the shop and found some dominos that would be perfect to use. The dominos come in different lengths and thicknesses that correspond well to the different sizes of drawers.
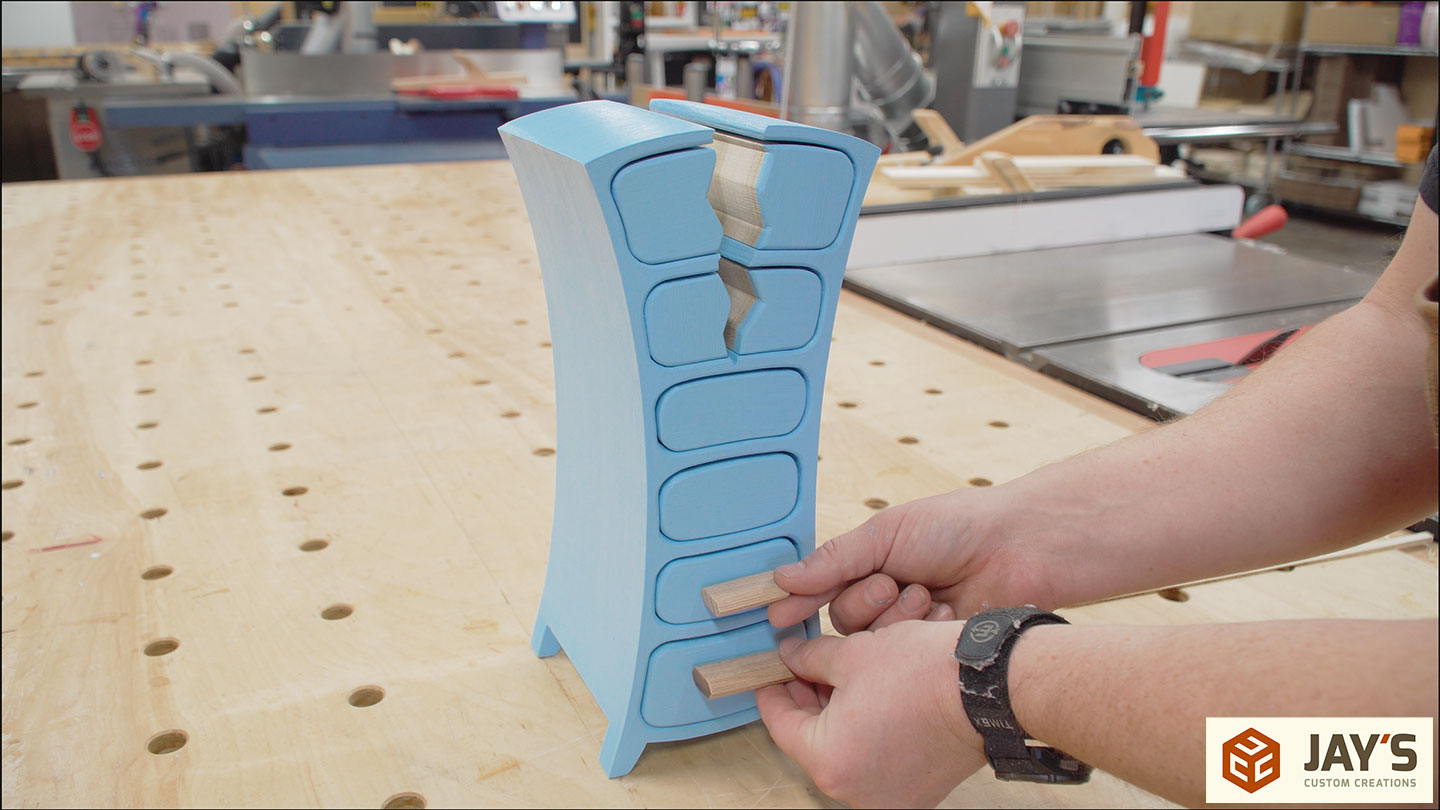
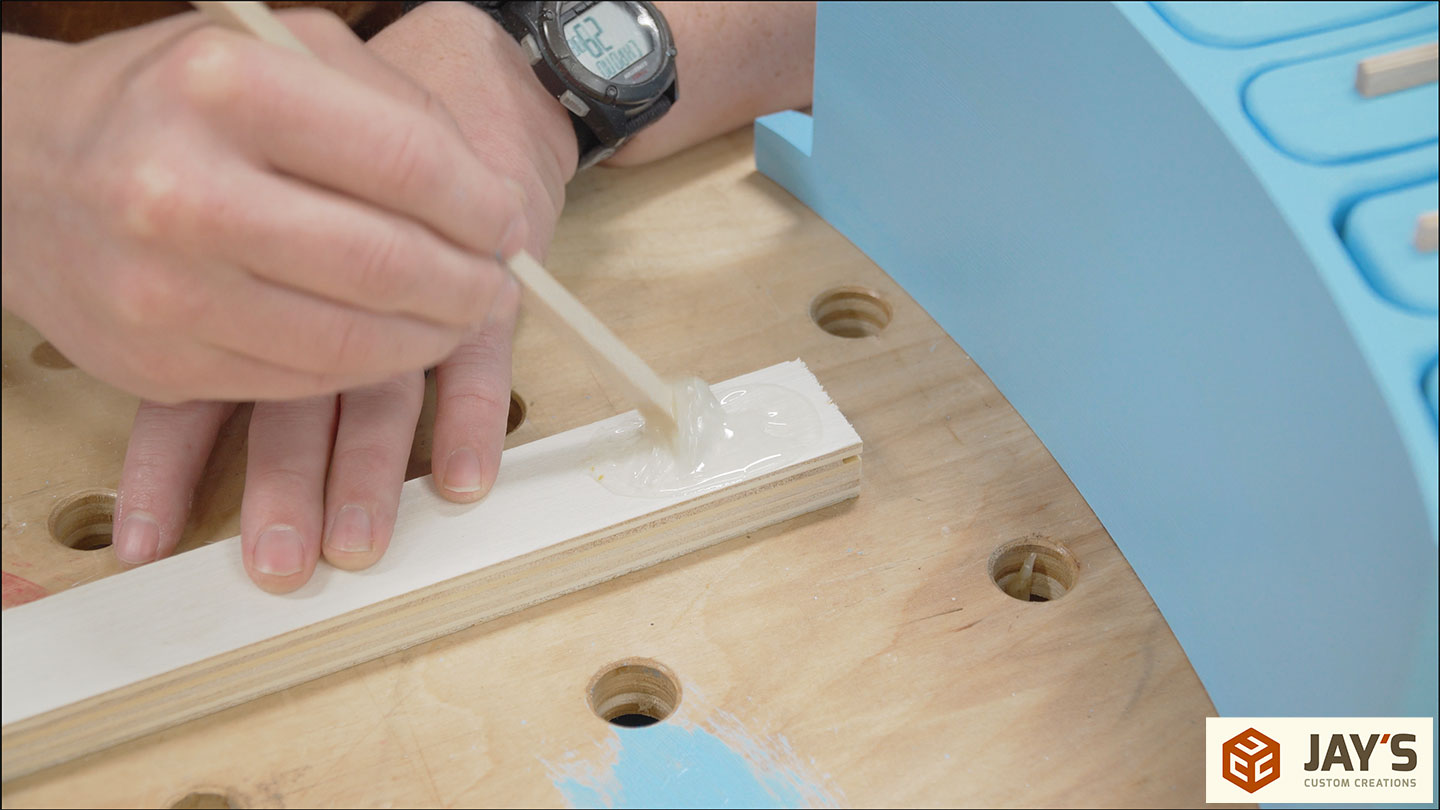
But they were too big to use as is. I setup a stop block and used a hand saw to rip each domino to a consistent width.


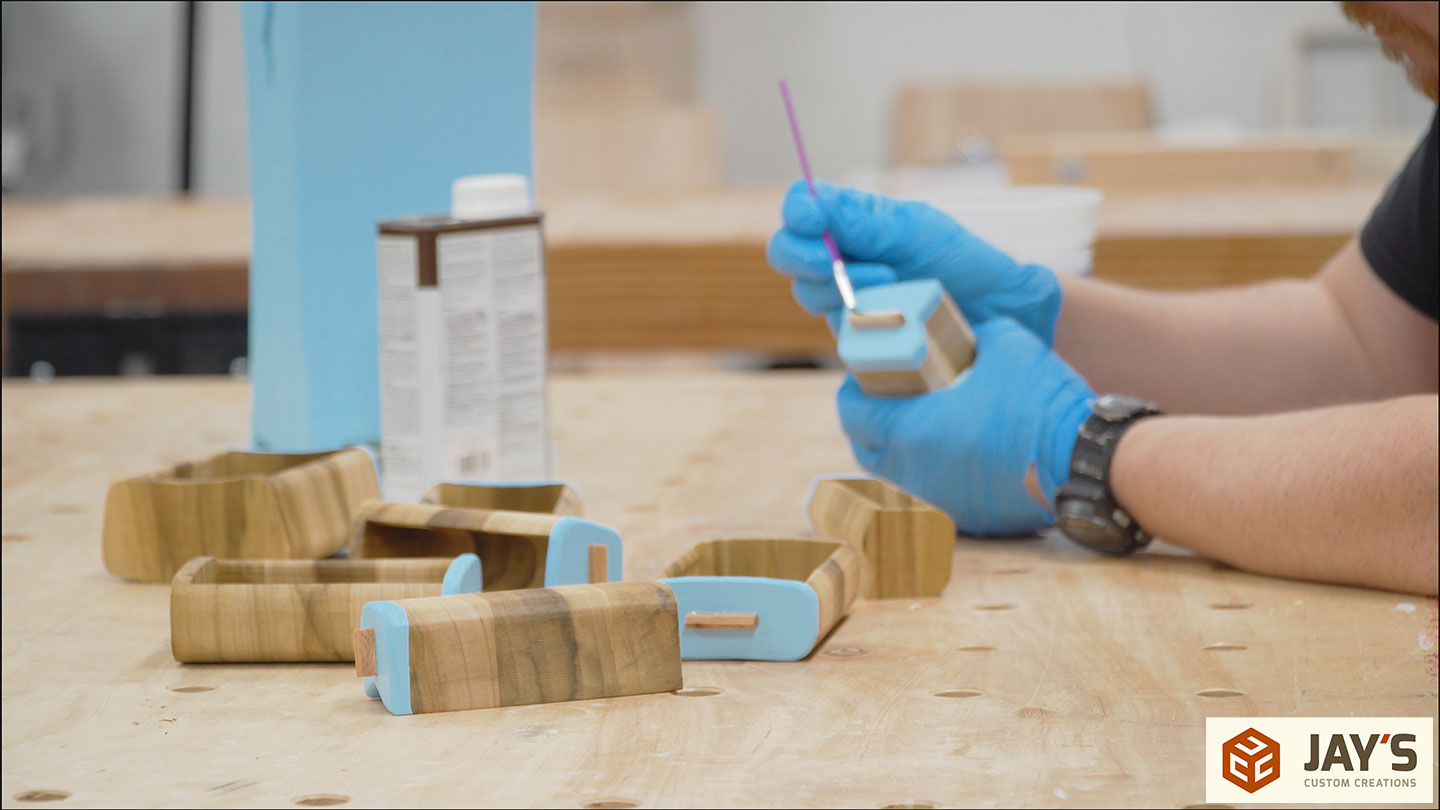
5-minute 2-part epoxy was used to attach the drawer fronts.
Now for a finish. The drawer boxes and drawer pulls are the only thing left natural, so I gave them a coat of natural danish oil for protection. This really makes the green in the poplar pop!

One final step is to stop any rocking that the chest may have. The easiest way to do this is to place it on a known flat surface and find the high-leg pair. Then, place a piece of sandpaper under the high leg and pull it out to sand the bottom slightly. Do this a couple of times until the rock is gone.


Jay,
Very interesting and inspiring piece. Clearly a labor of love.
And thank you for sharing about the Yost bar clamps with those handles. As a old guy whose hand and wrist strength seems to diminish daily, I am definitely looking forward to asking some nice Christmas Elves to perhaps find a couple for me. :)
Blessings.
Your the best daddy a round……………… .
Love that shop. I think you may have more clamps than I have. You must be located somewhere in Michigan with all that Michigan sports team stuff. I am from Michigan also between Flint and Detroit. I still spend a of time in the shop but I older so everything takes longer.
Just a note – What is the two most important things to remember while working in the shop?
Ans Where the right one is and where the left one is (hands).
It looks like you do not have a TV in the shop, smart.