Day four of the outdoor kitchen island build starts with the door and drawer front assembly. I’m using 1/2” plywood for the panels and will need to cut a rabbet on each panel before assembly.

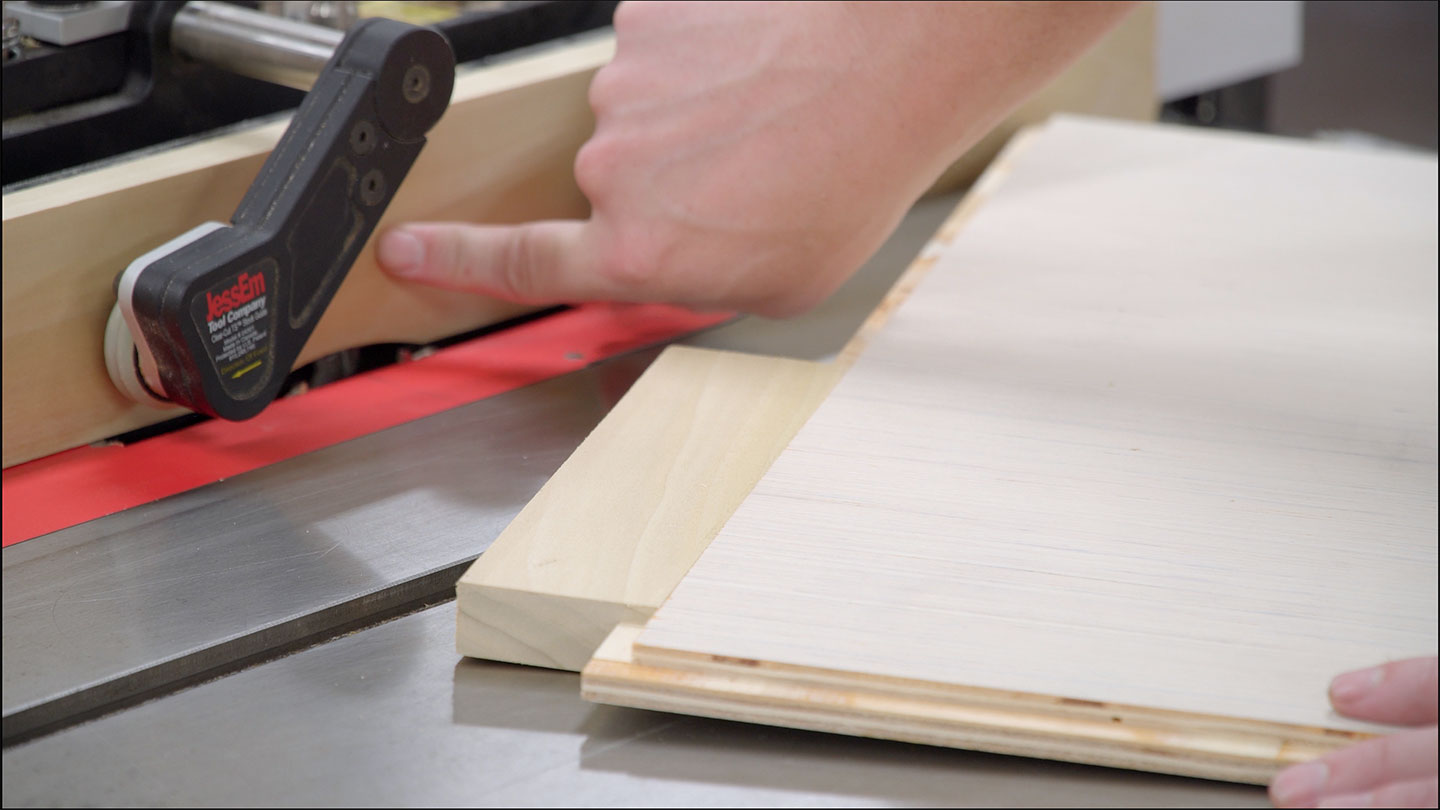
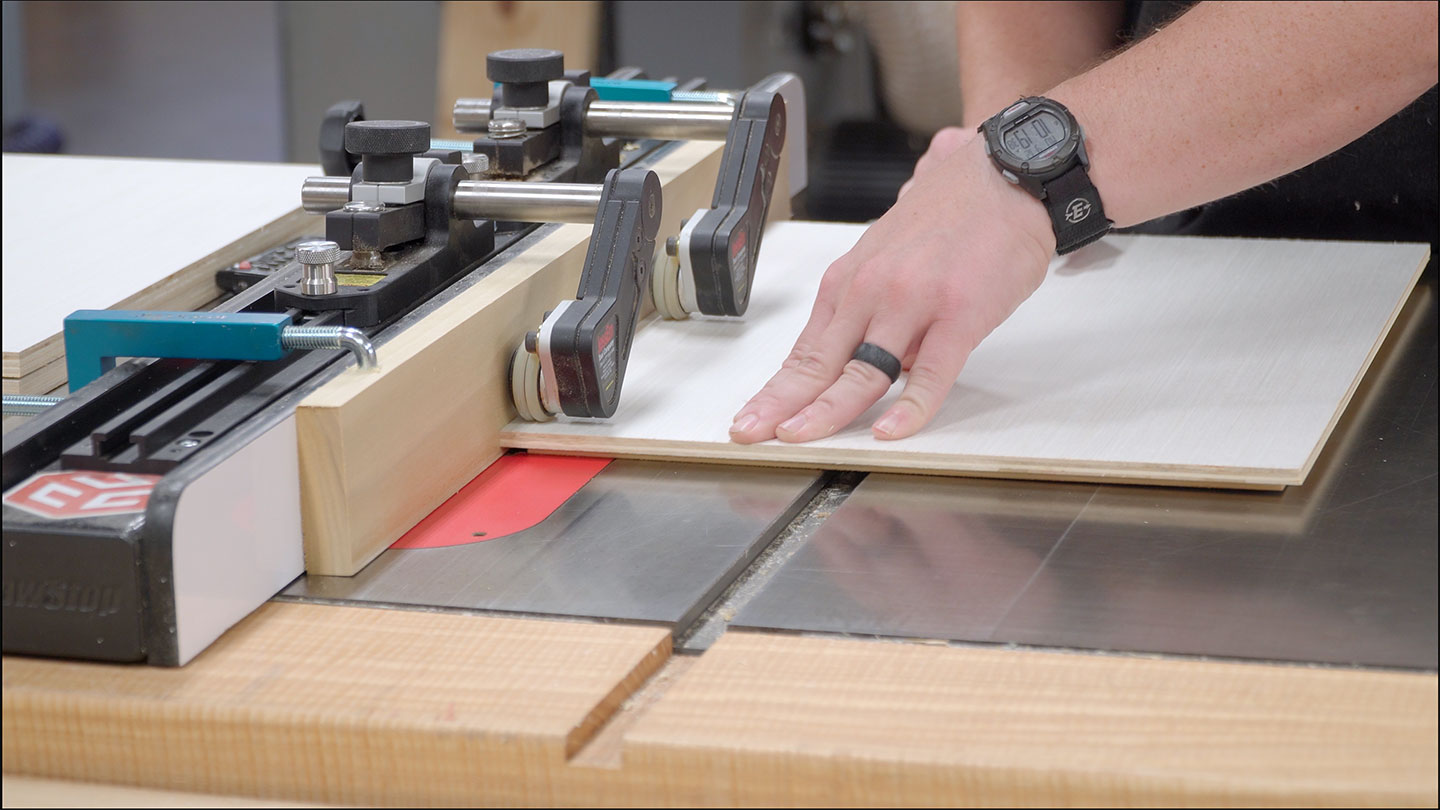
But first, a quick note on these JessEm roller guides. I love them but haven’t been using them lately due to laziness. Sometimes I get in my own way. I have them, they work great, and I should use them all the time. If you’re not familiar with them, they have a roller on a slight inward angle toward the fence. The roller has grippy material to hold the workpiece and they only roll forward. This greatly reduces the opportunity for kickback. For smaller pieces less than a couple of inches they just get in the way. In this case, they will be helpful.
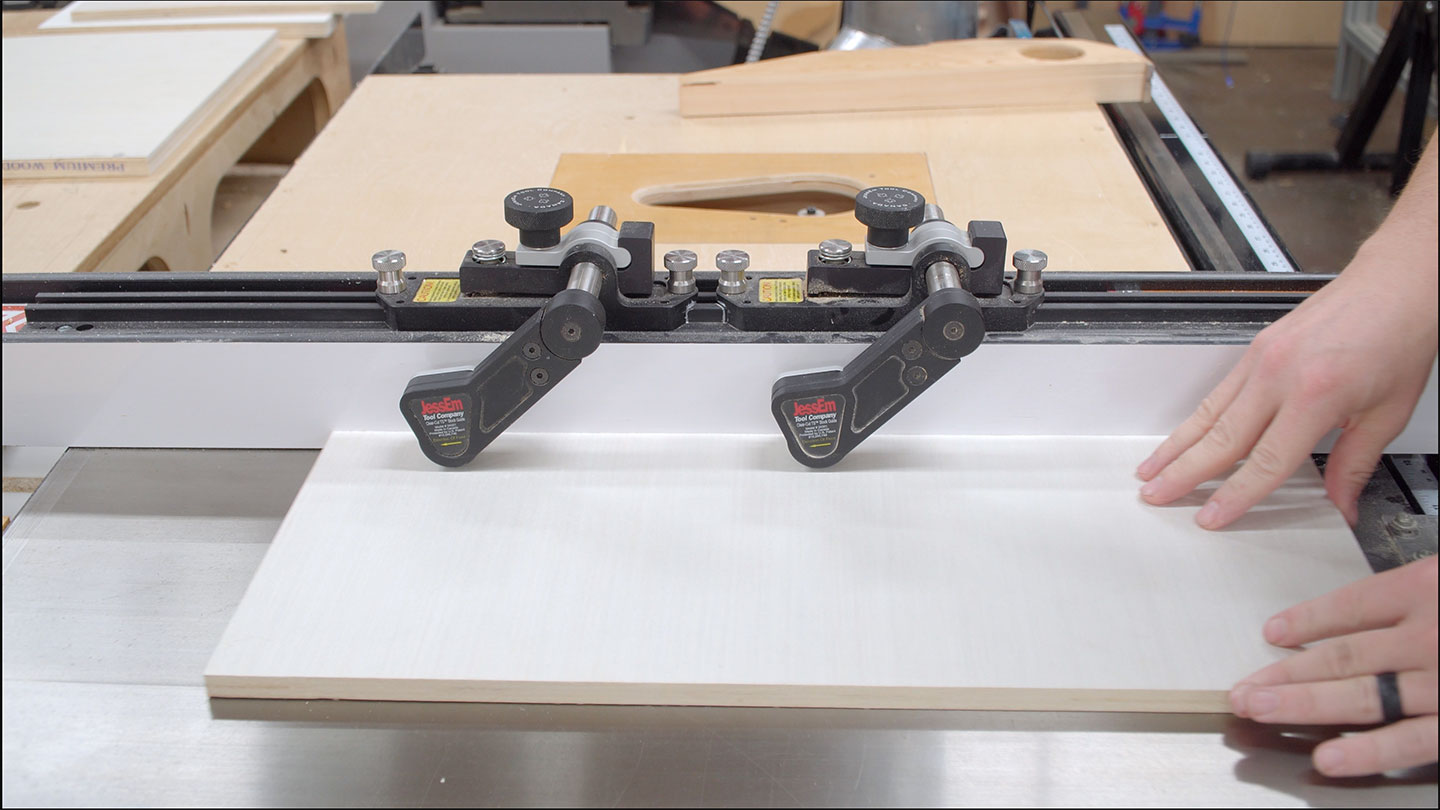
When used, I’m immediately thankful that I have them. It’s strange how some items I’ll go out of my way to use and others I’ll have lazy moments, even considering how convenient they are.
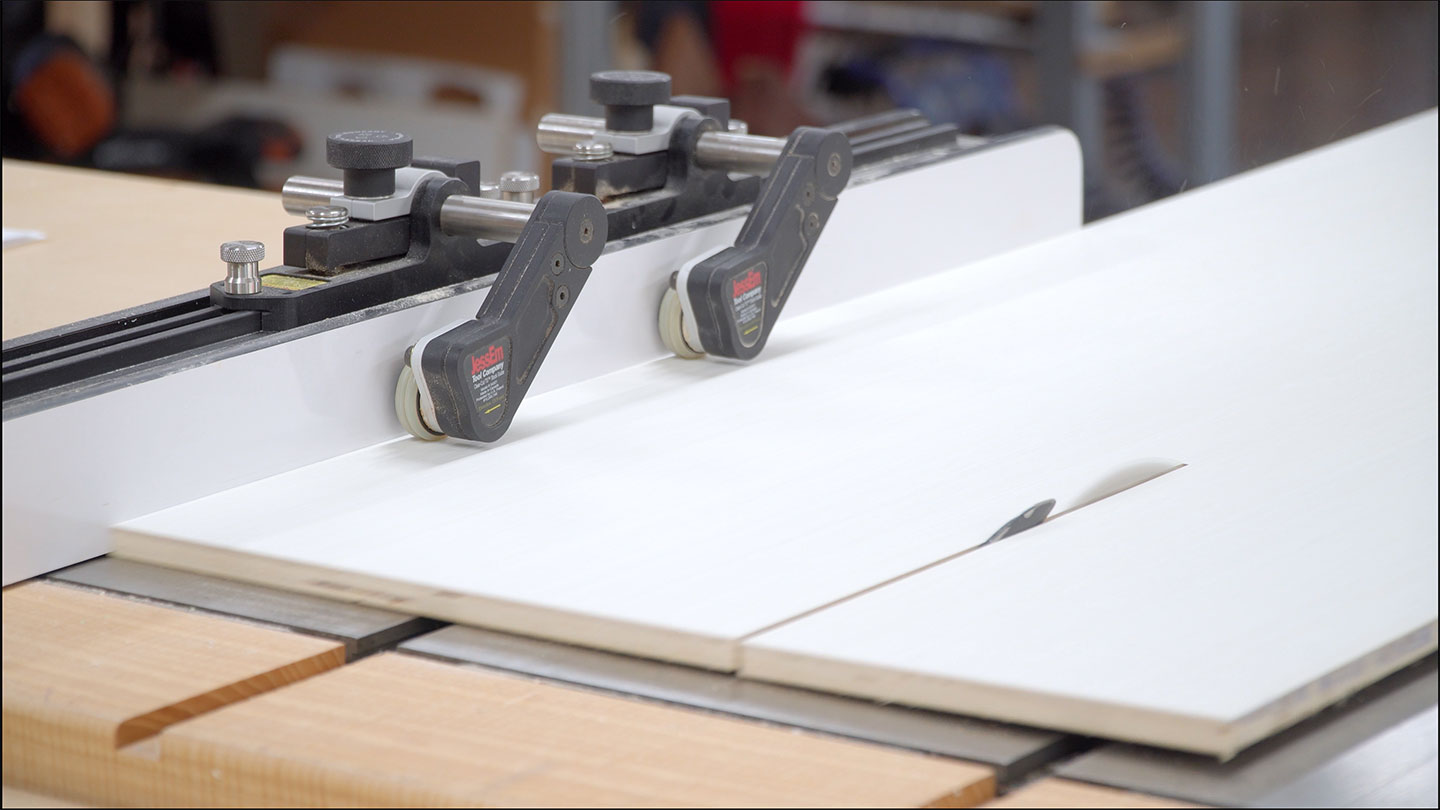
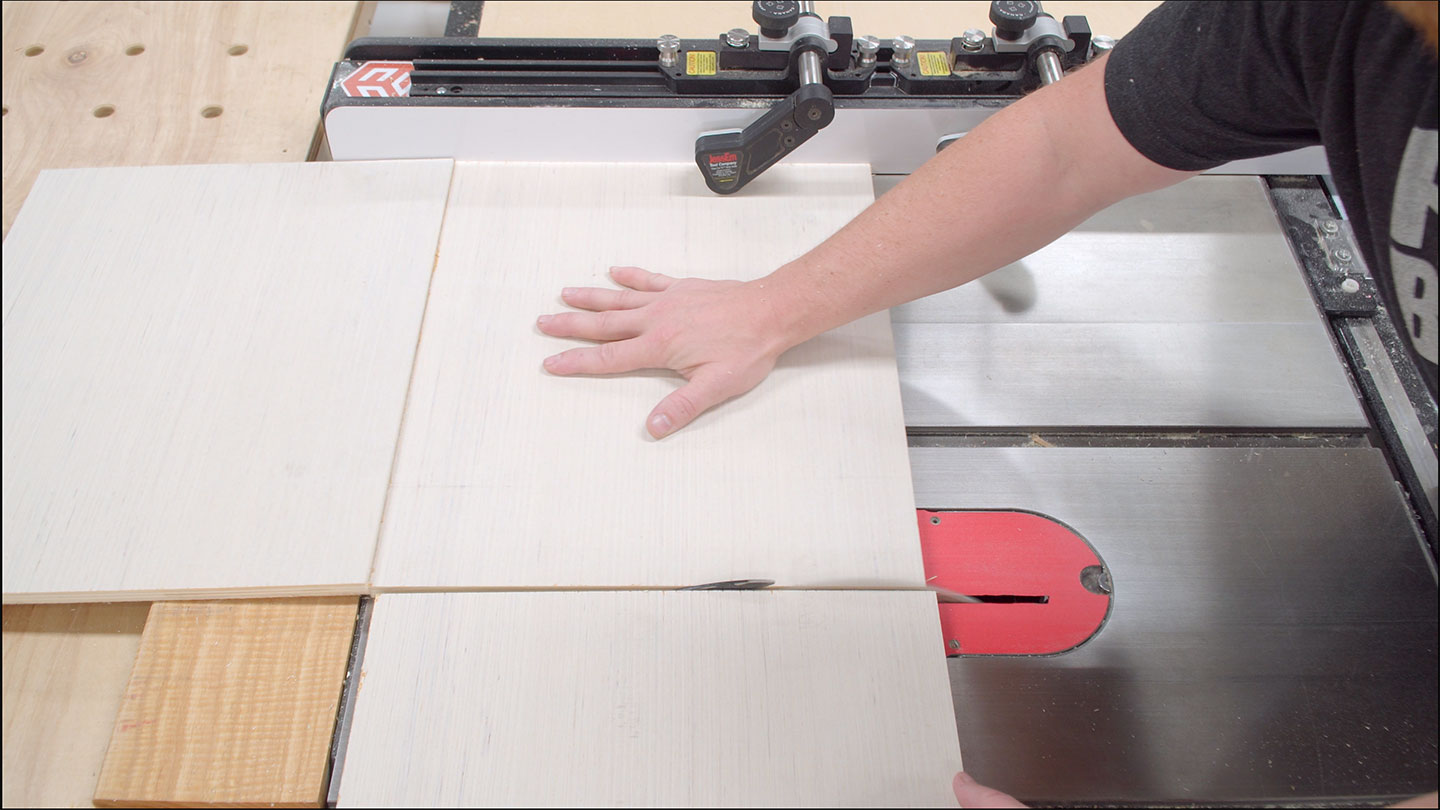
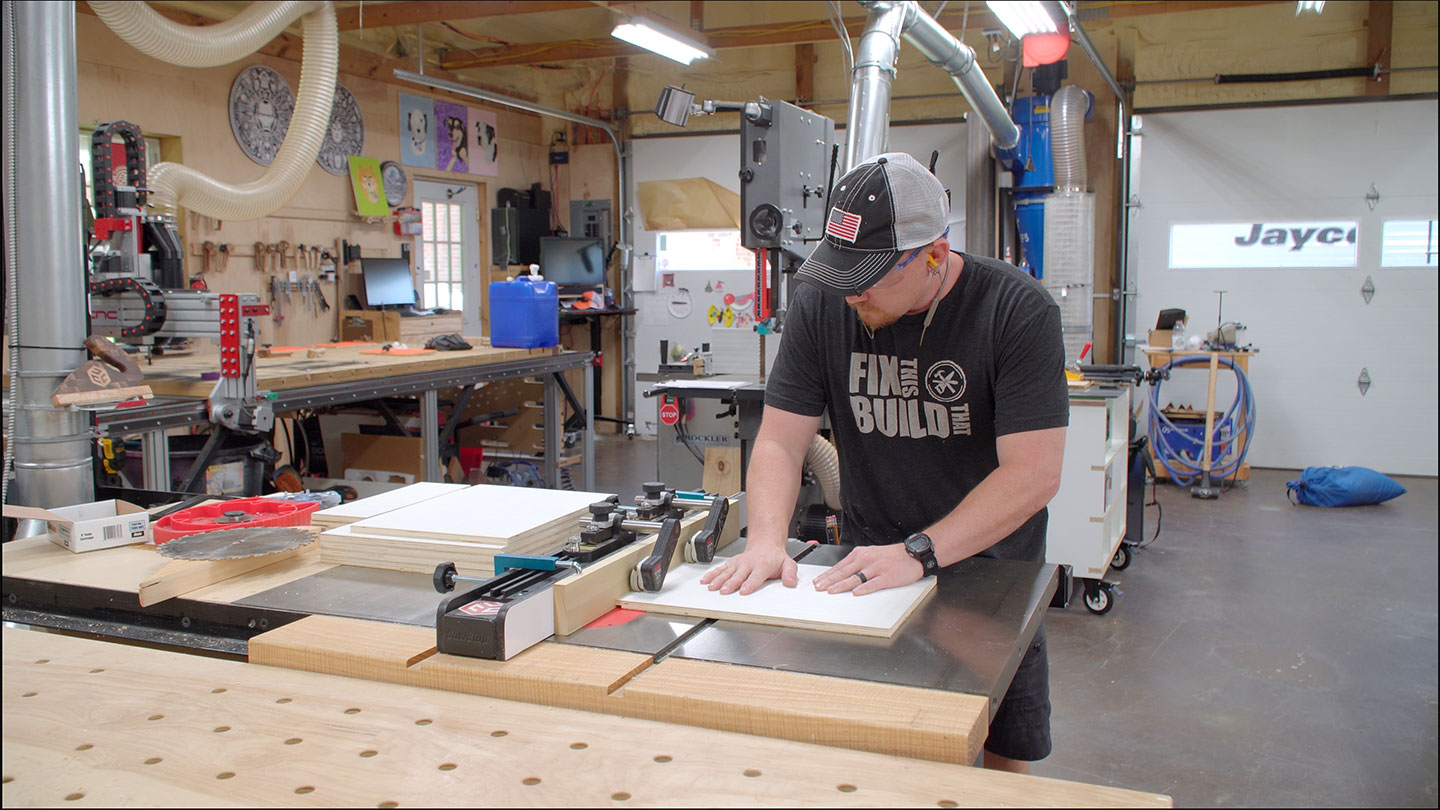
For the panel rabbets, I chose to use a dado stack in the table saw with a sacrificial fence. The sacrificial fence allows the full dado stack to be used and buried in the fence. The fence position determines the width of the rabbet and the height of the dado stack determines the depth of the rabbet. Once dialed in, the inside face of the panel should be flush with the inside face of the door and drawer front frames. The front will have the typical 1/4” step common in shaker cabinets.
Now the doors and drawer fronts can be assembled. Because the panel is an engineered panel, the entire panel can be glued in place. No need for an expansion and contraction gap here.
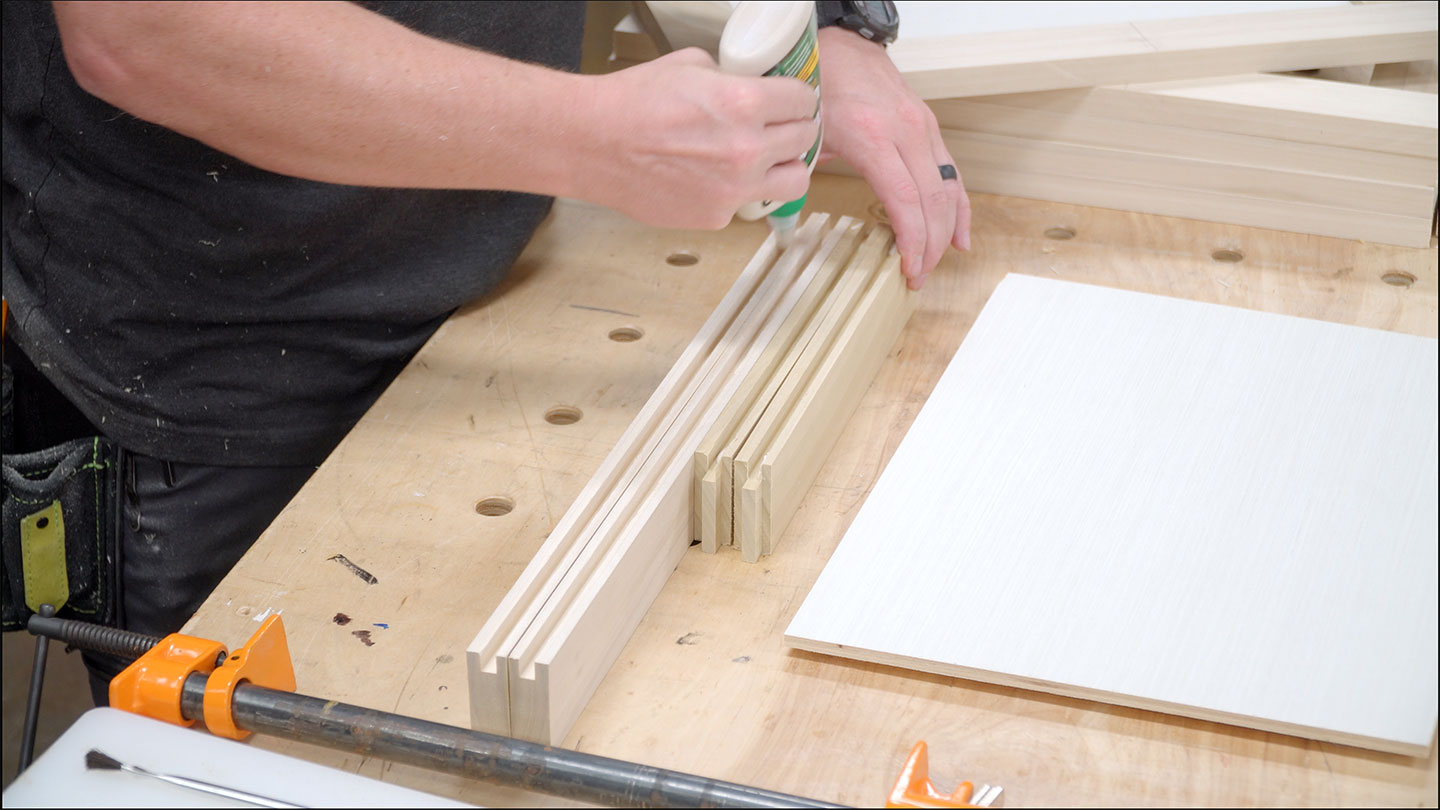
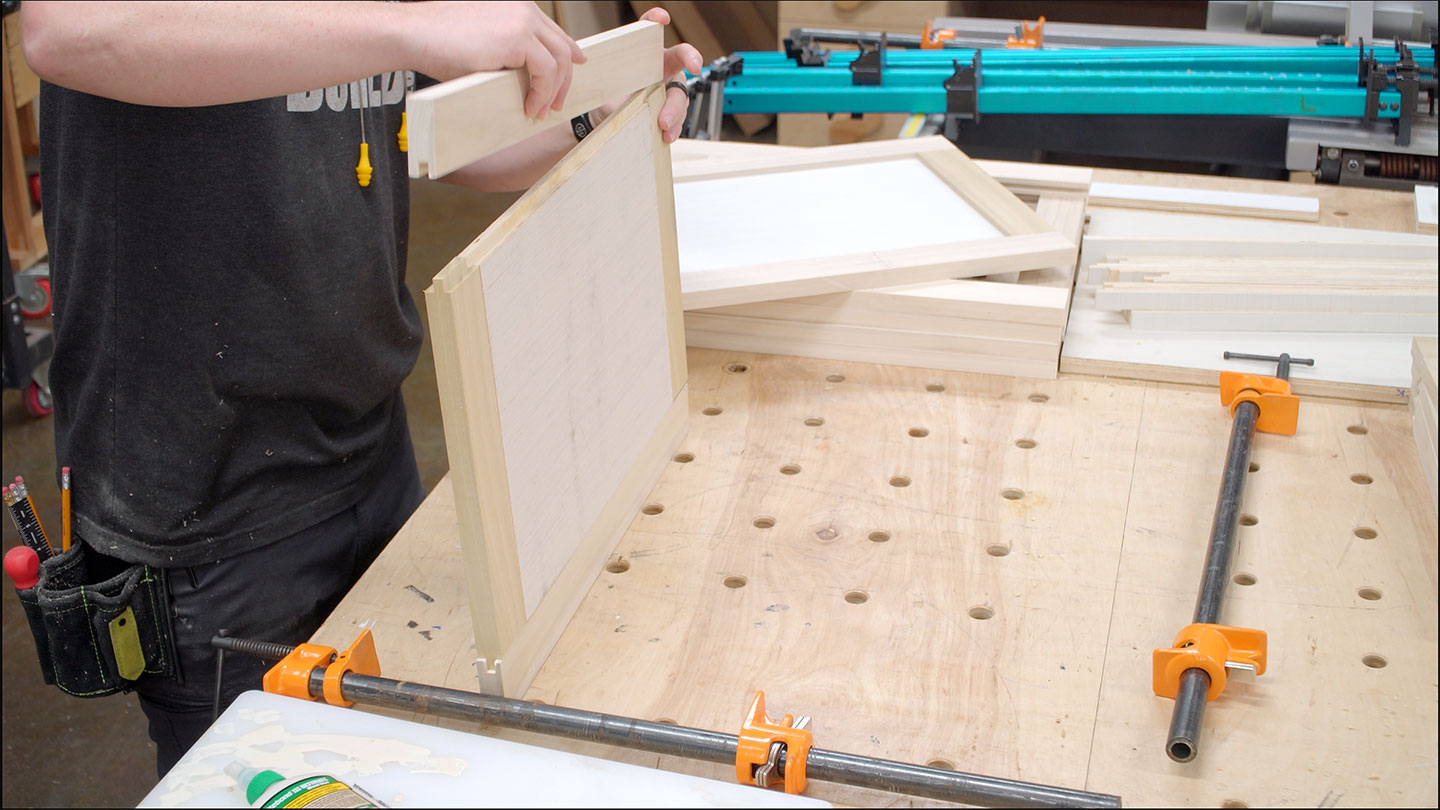
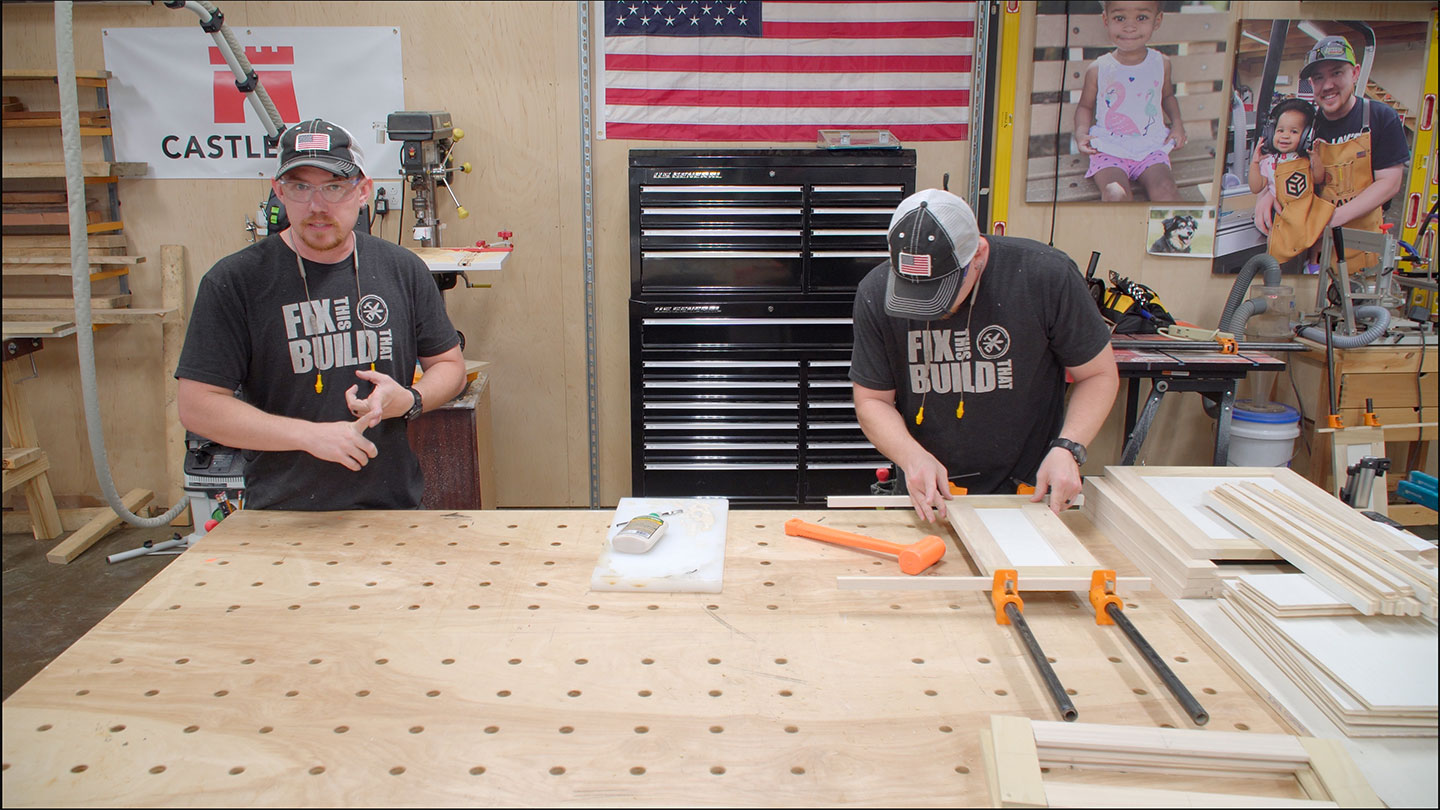
After getting all of the doors and drawer fronts in clamps I realize why most cabinet shops opt to outsource their door creation. Between milling the lumber, cutting the joiner, and assembling the doors there is a lot of time consumption. It just makes sense for a lot of cabinet shops to outsource this step.
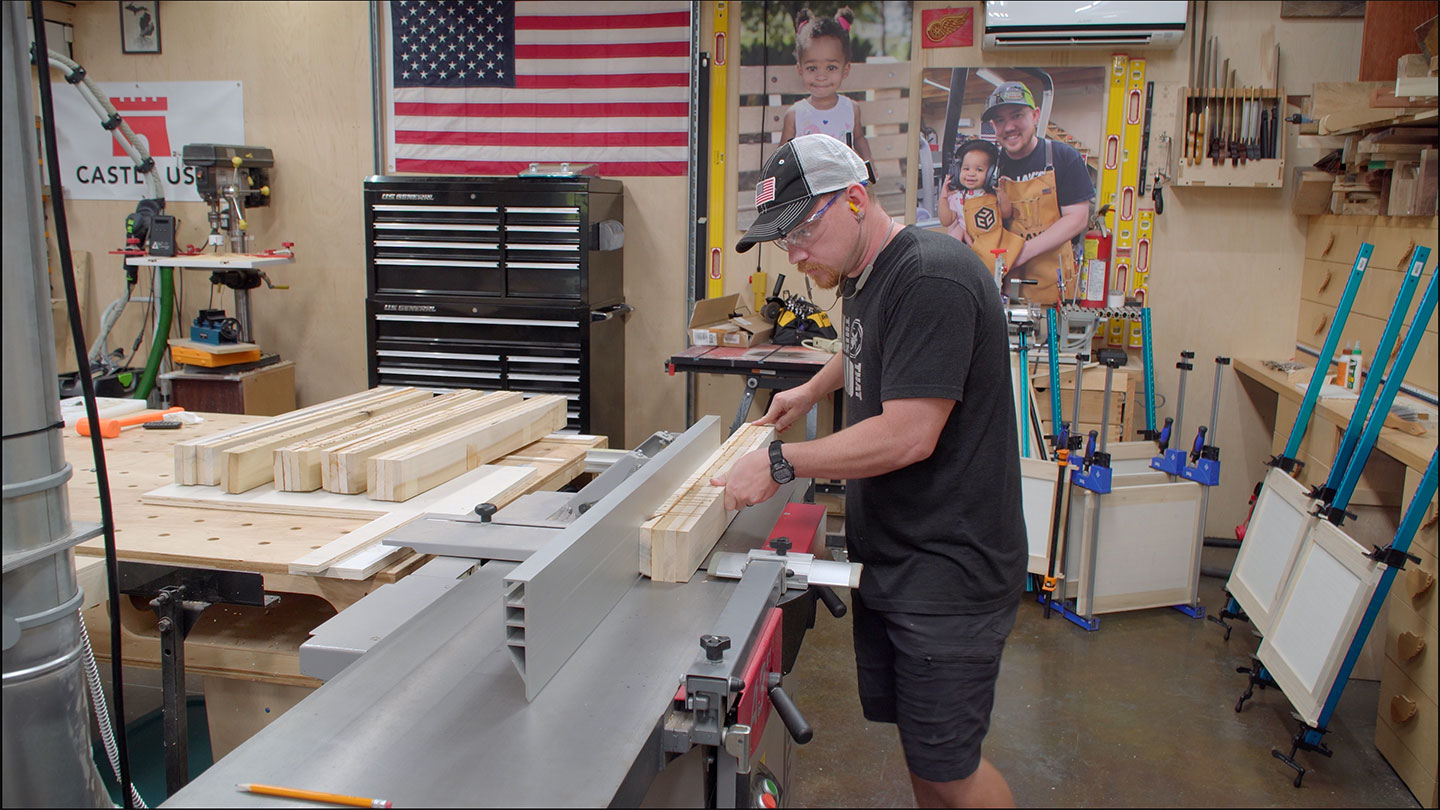
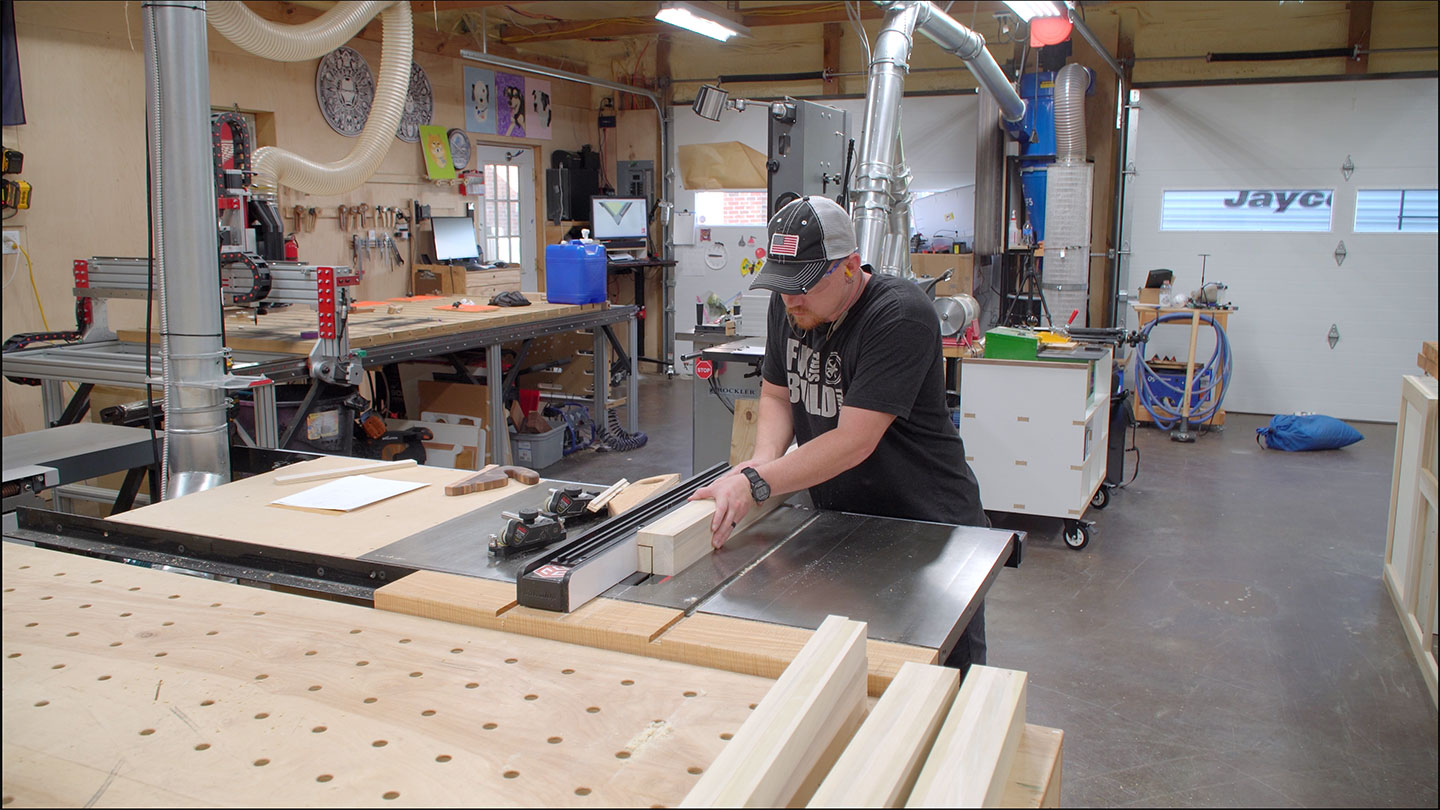
While the doors and drawer fronts are in clamps I switched over to the legs. The four corner legs will be square and the three interior legs will be rectangular.
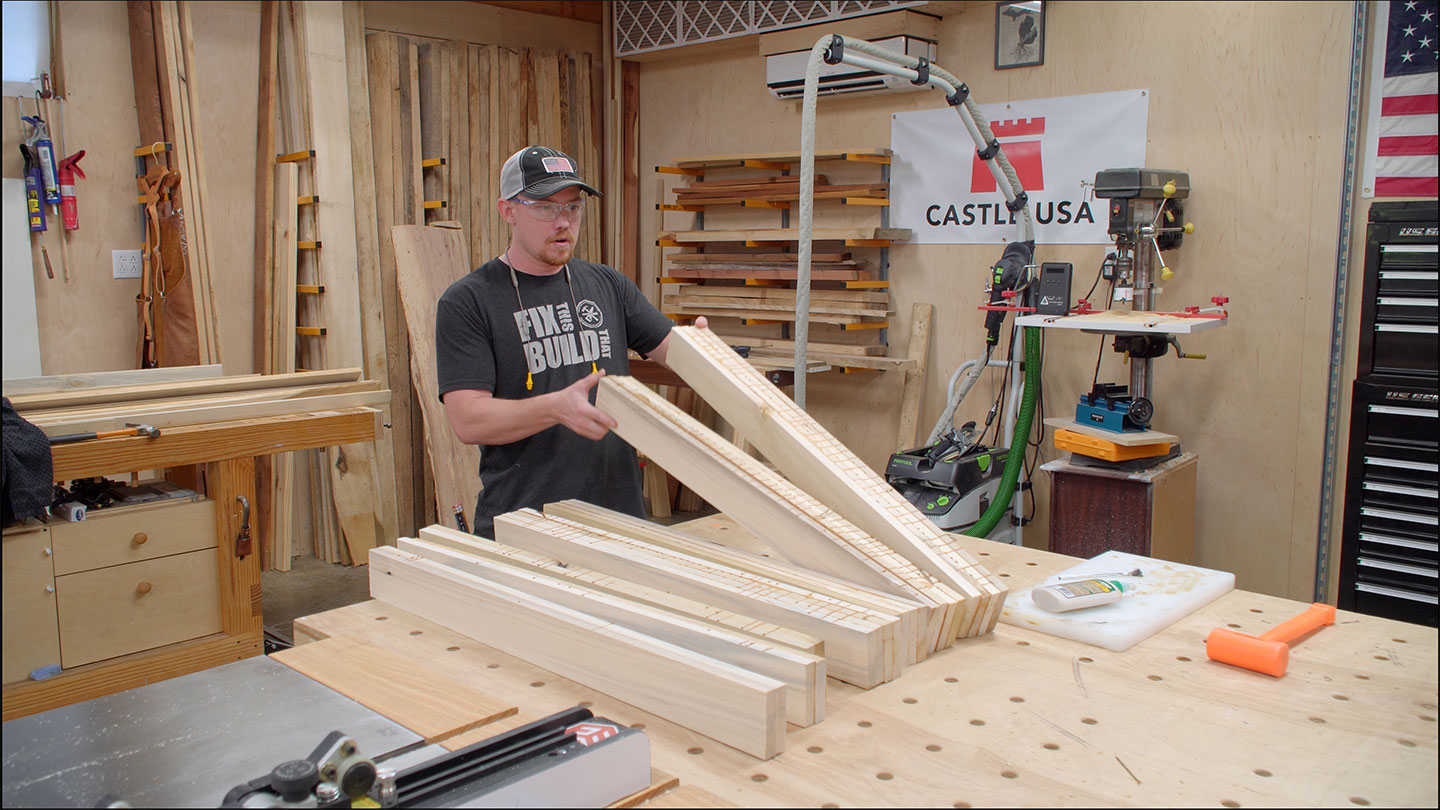
The typical milling process of jointer > planer > miter saw > table saw is followed.
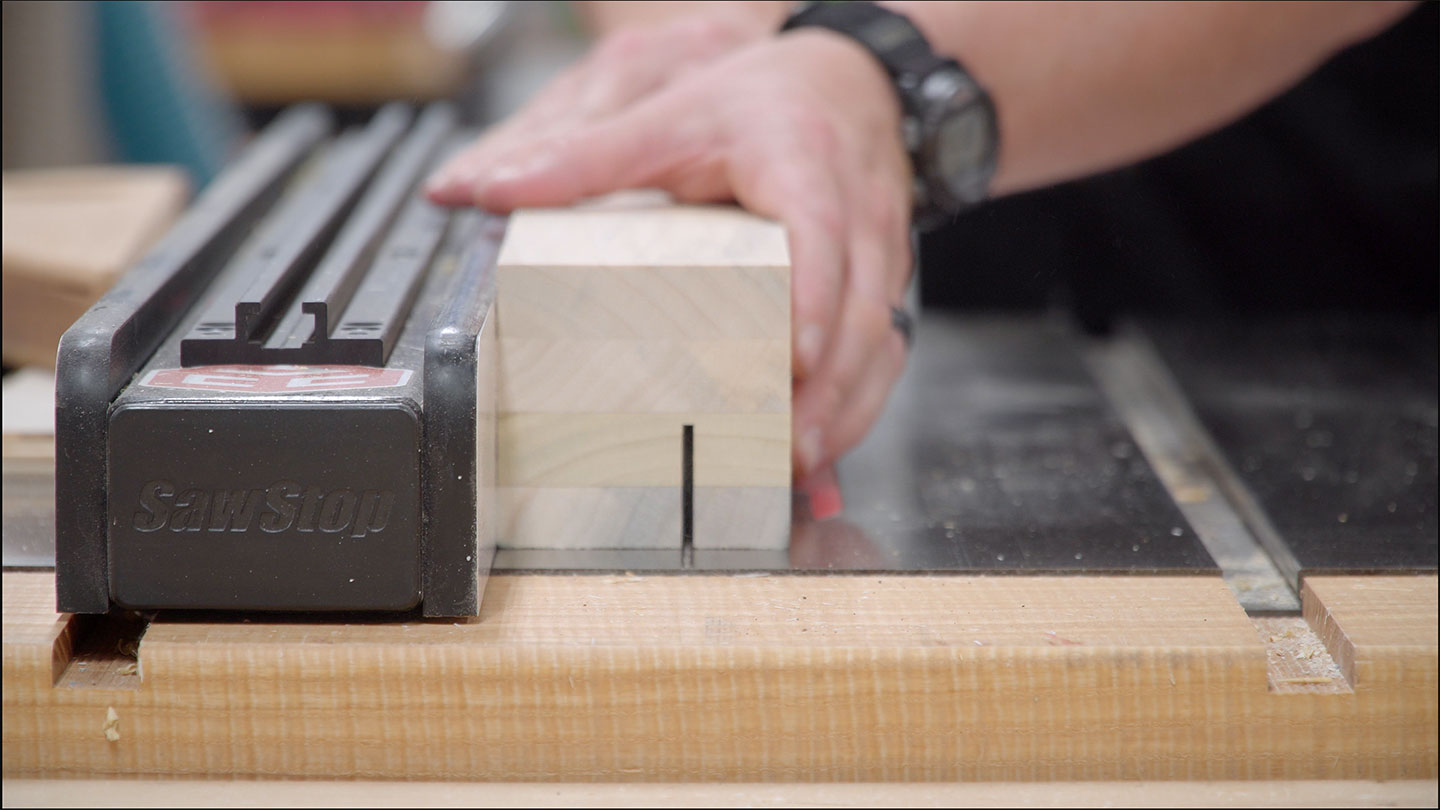
However, the table saw was only used for the corner leg rabbets. These too will fit in place via a rabbet. Two cuts at the table saw to create it but be mindful of the second cut I made. It’s typically not recommended to have the offcut trapped between the fence and the blade for kickback reasons. If the piece has any stress movement while being cut you risk that offcut being shot back like a missile. In this case, I didn’t see any indication of internal stresses and I also used a push stick to keep the offcut moving forward, past the blade.

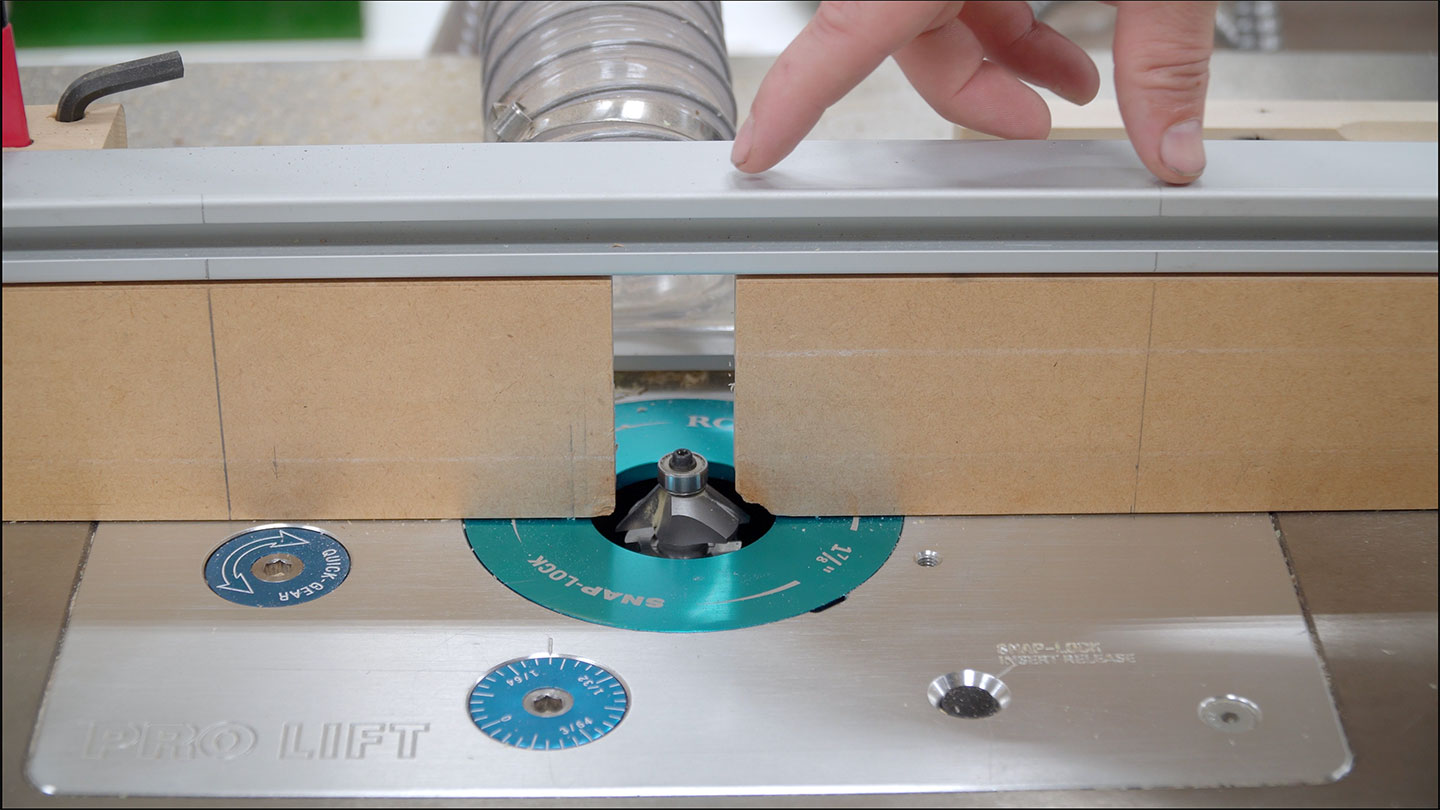
I’m using the router table to add a stopped chamfer detail on each of the legs. The chamfer will start and stop a few inches away from each end of the leg so I scribed visual reference marks on the fence. It’s easy enough to start and stop at these lines by eye. No stop block system is necessary.

During the chamfering process, I had an oopsie! The dust collection on the router table pulled one of the legs into the bit when I didn’t want it to. This gouge needs to be patched one of two ways. If this were a clear finish piece I’d route a rabbet into the edge to completely eliminate the oopsie. Then glue a grain matching piece in place, flush it with both wide faces, then recreate the chamfer stop location. Luckily, this is a painted piece so filling this with Bondo or something similar will be easier and just as acceptable.

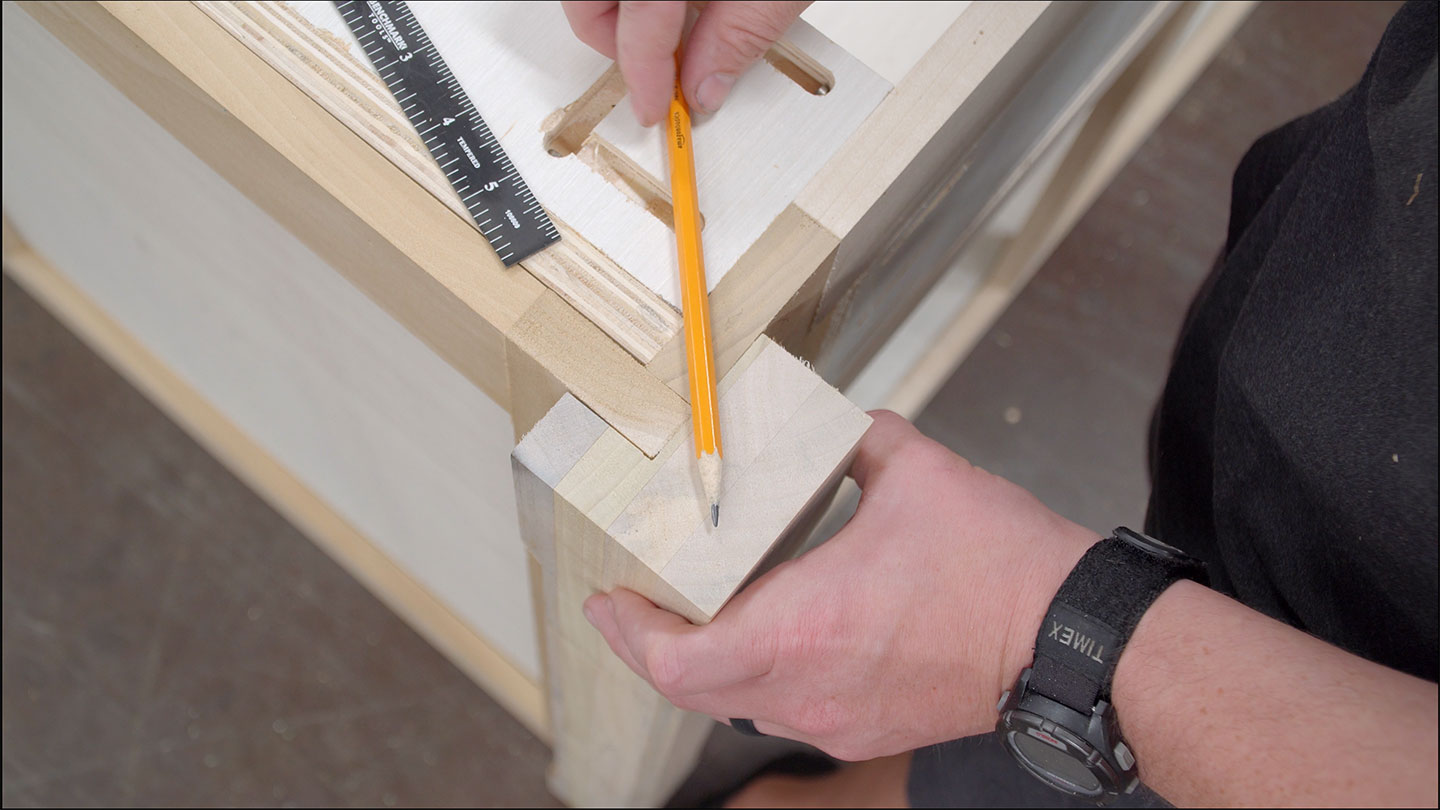
The corner legs will be secured with glue and a few screws through the interior of the cabinet.

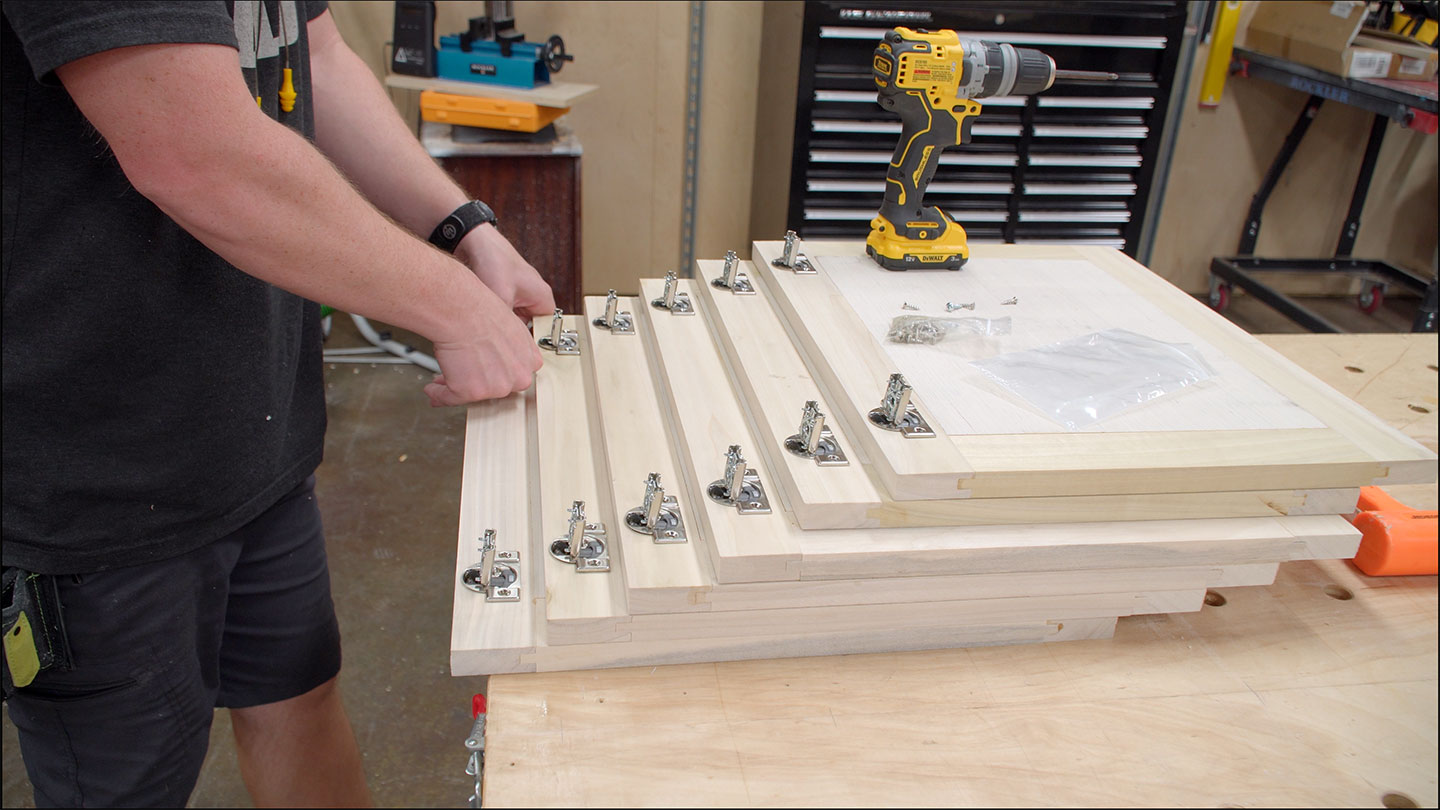
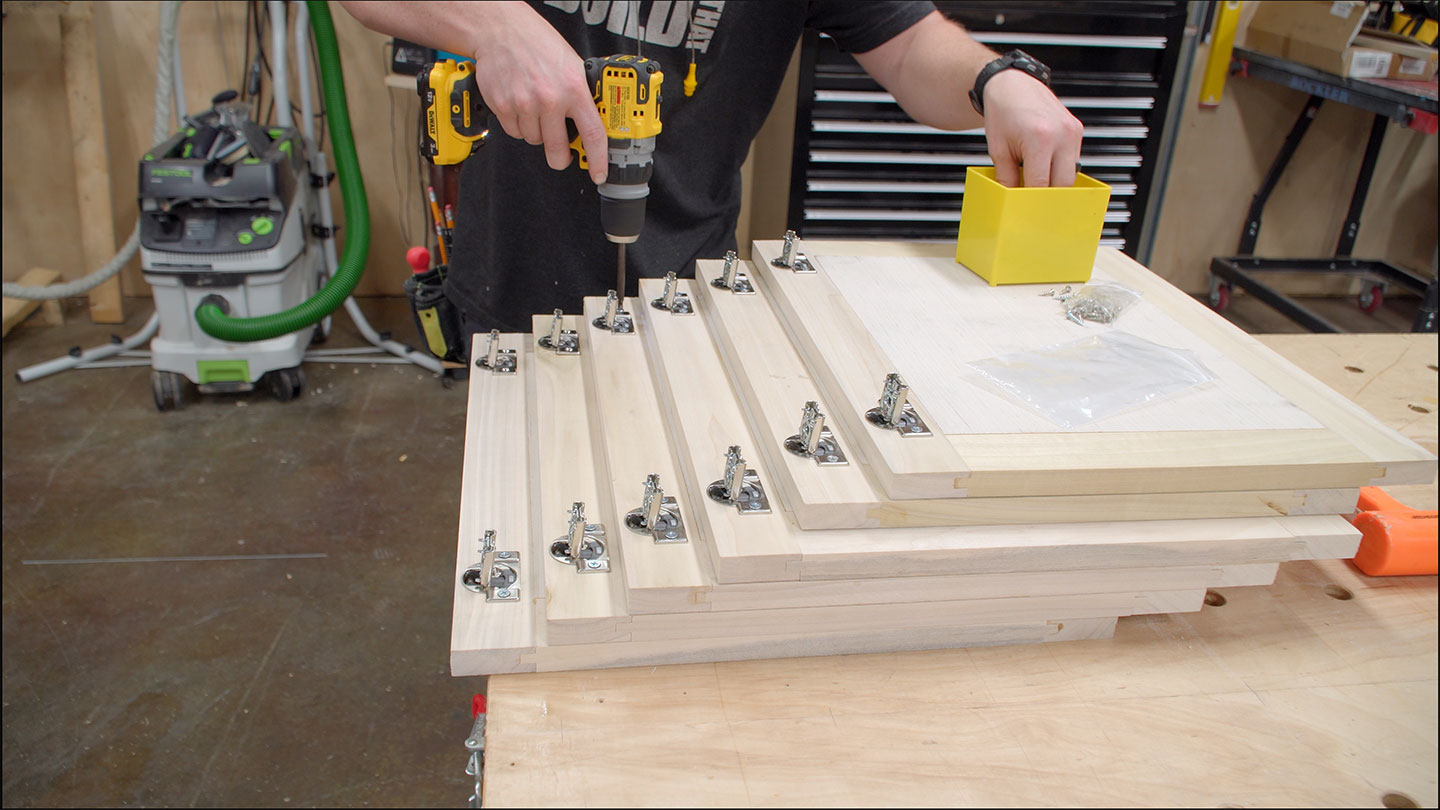
It’s time for the hinges. These 1/2” overlay Blum soft close hinges are my go-to for overlay doors. They are inexpensive and super easy to implement. I’m showing this part at the drill press at first because that really is the fastest way to make the cup hinge holes.

However, I couldn’t find the appropriate Forstner bit for the task so I opted to use my CNC instead. My setup is to only cut one hinge hole at a time. If I were to create a program for both cup hinges I’d need a new program for each door of a different height. Instead, I made a program that has one hole cut on two doors at the same time. One is the top hole and the other is the bottom hole. By running the cut once, switching the doors, and running the cut a second time I’ll have all of my cup hinge holes cut the same distance away from the top and bottom in all of the doors regardless of height.


Pop the hinges in place and add the small screws to secure them. Depending on the wood species, pilot holes may be required. Poplar is relatively soft so I opted not to make the pilot holes.
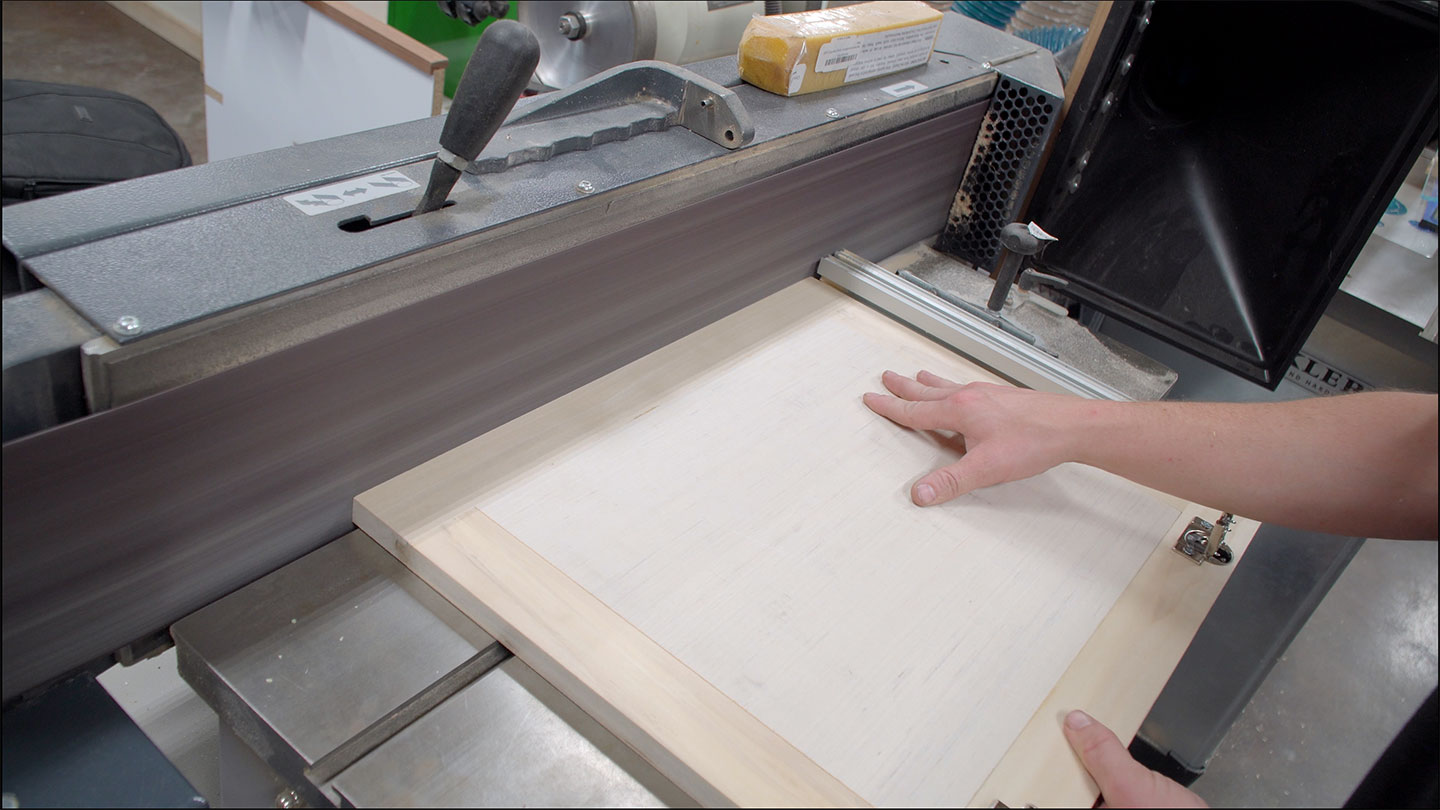
One final step before installing the doors and drawer fronts is to flush the perimeter. A hand plane in a workbench vise will get the job done just fine but I opted to use my belt sander. This is one of the most used machines in my shop that gets relatively little airtime. It’s incredibly handy for many tasks outside of woodworking as well.
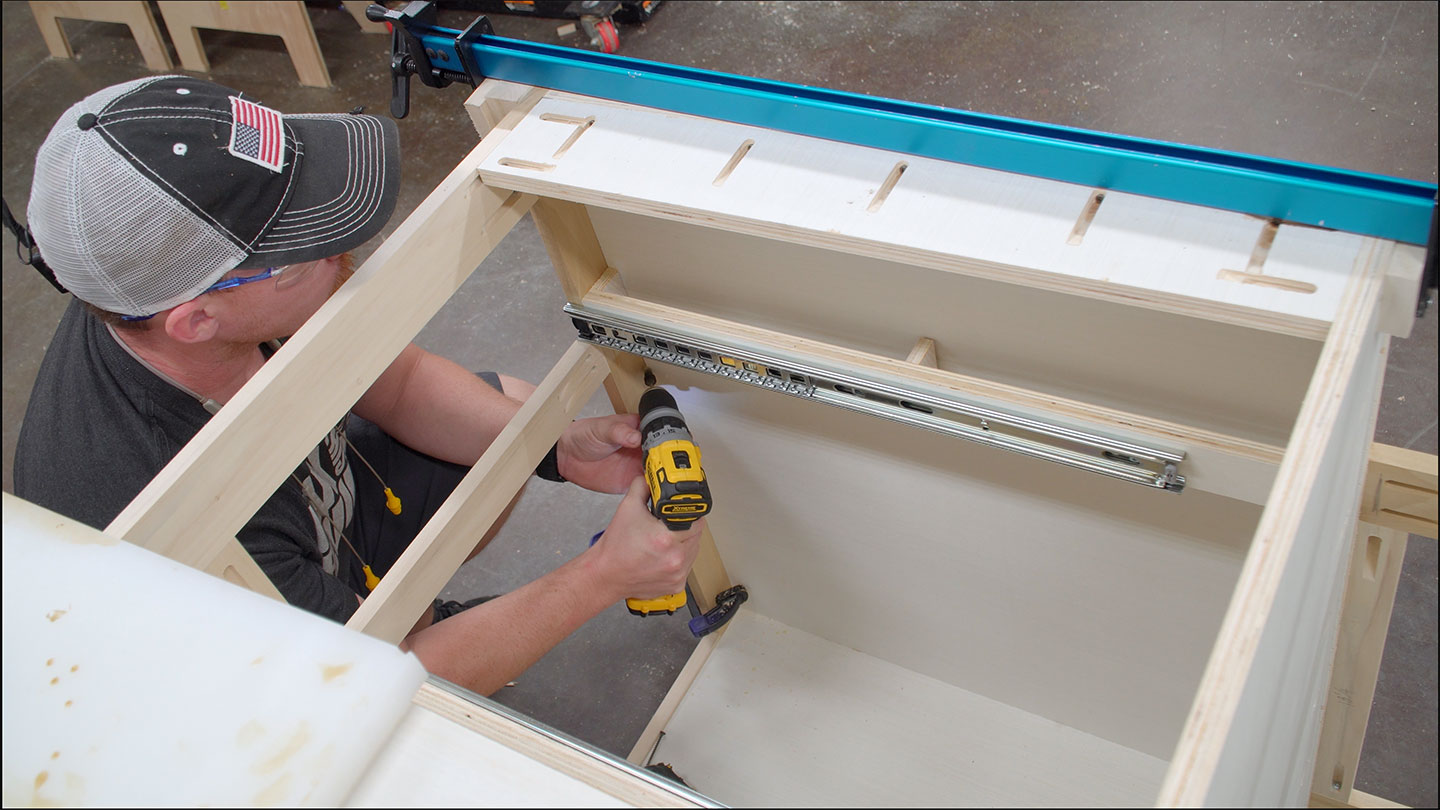
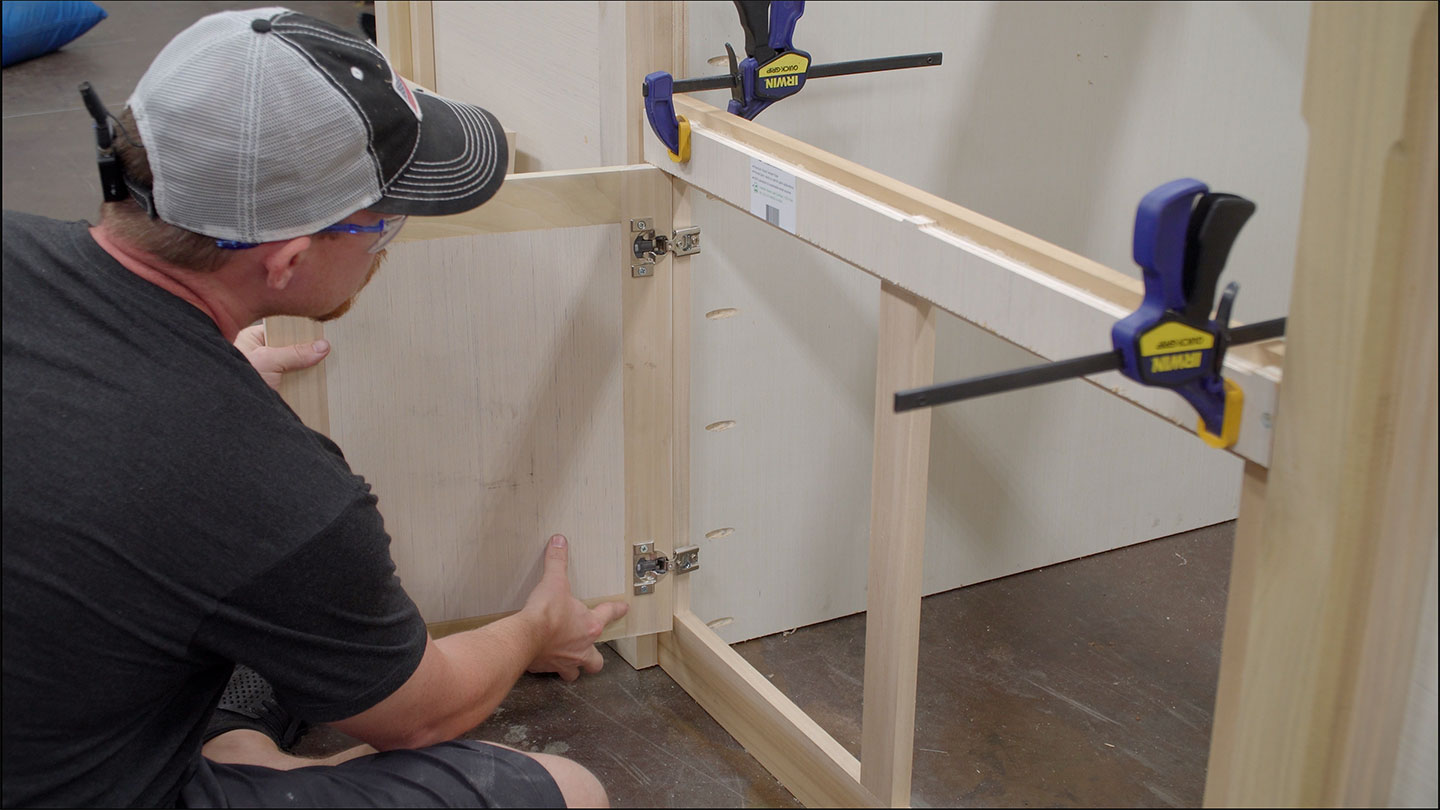
The hinges used are 1/2” overlay hinges. Which means when installed on the face frames they will overlay the face frame by 1/2” when closed. The only alignment needed by the installer is to make sure the height is set for the top and bottom 1/2” overlay. The easiest way to do this is with a stop block clamped to the cabinet somewhere. I typically put the stop block on the bottom so that gravity works in your favor. However, the gap between the top of the door and the bottom of the drawer is what will be most noticeable so I opted to put the stop block on top. From here, I can use my foot to elevate the door while I use my hands to hold the door and secure it with screws.

The drawer fronts are even easier. The stop block rests on top of the doors, pilot holes are drilled, and a few screws added from the inside of the drawer hold the drawer front in place. These doors and drawers will eventually get pulls that match the countertop.

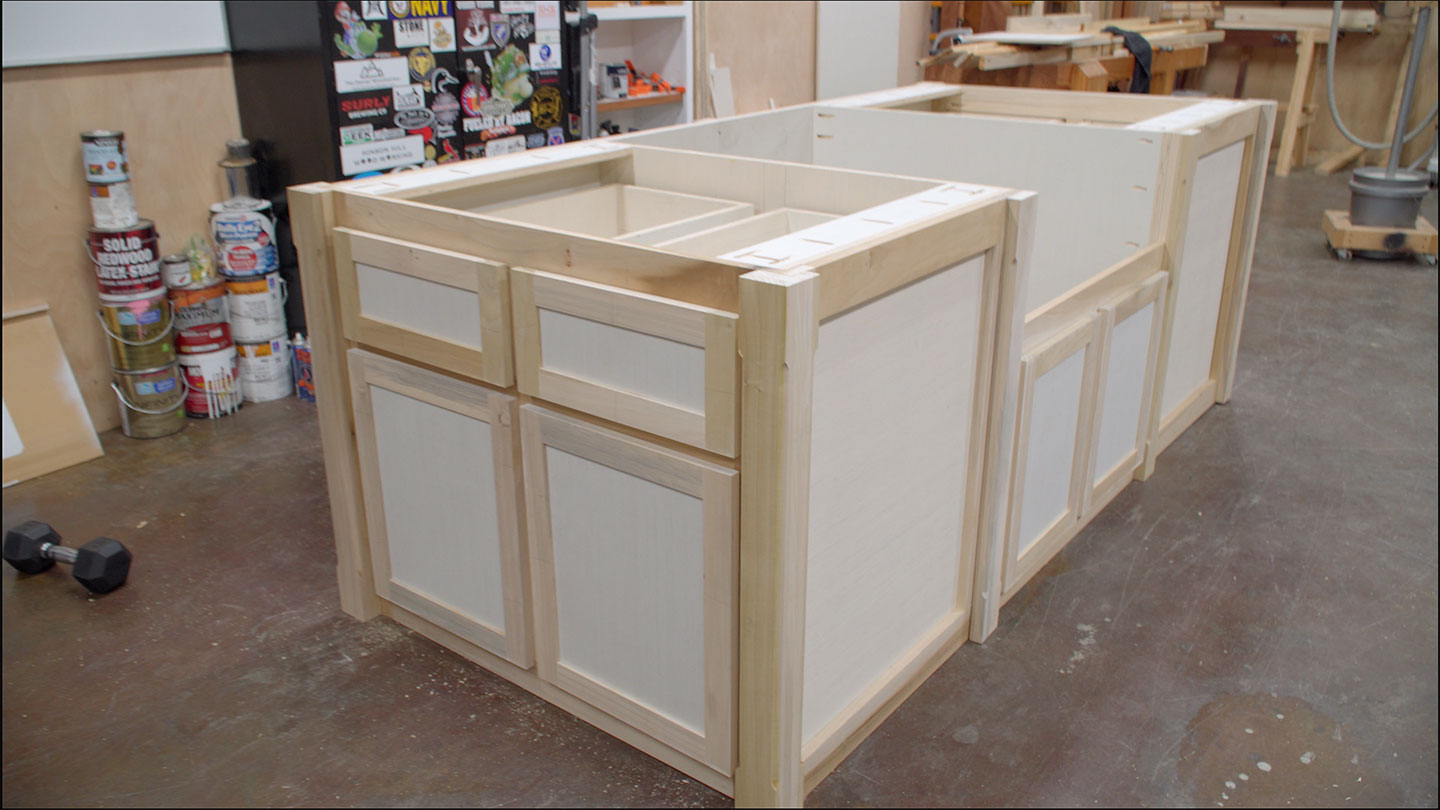
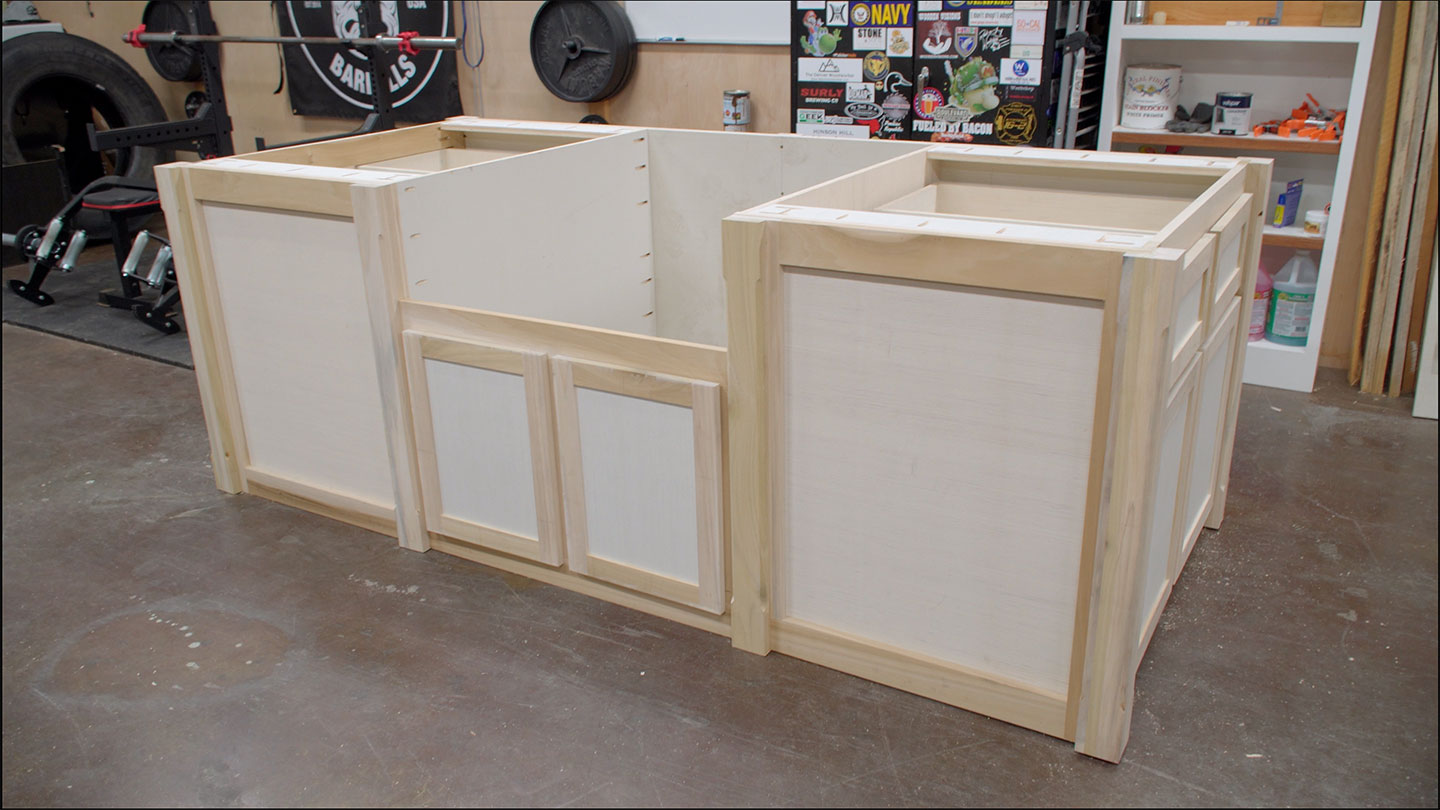
And that’s it for day four of progress on this build. All that’s left to do is a little bit of basic trim work to the front and back plywood panels, the center sink support, and the leveling feet. I’ll be finishing the base with milk paint but will hold off on that until I get the matching farm table built. That way I can spray them both at the same time.


