Affiliate link to the xTool P2 55w CO2 laser. Purchasing through this link provides me with a small commission on the sale. Using this link is not required but is appreciated.
https://www.xtool.com/?ref=x57e1_kqAgBT4A&utm_medium=5306&utm_source=influencer
Anyone with an online audience will frequently be asked to promote products. Nothing in business is free. Usually, the product offerings are inexpensive junk, and they request a video for YouTube. Rarely is that an even exchange. The value of online marketing is MUCH greater than the majority of products sent to media companies (JCC). However, in this case, not only does the value of the machine match the value of the exposure, but I am genuinely interested and excited about the product. With that said, I agreed to a three-video partnership with xTool to showcase their new P2 55w CO2 laser engraver.
The partnership terms are as follows:
- Make three videos for YouTube. The first video shall focus on the feature introductions. The second video shall focus on how the xTool P2 assists you in making large wooden projects. The third video shall focus on how to make money with a CO2 laser machine or how to expand your business with xTool CO2 laser machine.
- Please kindly empower us to use and edit your content of xTool for product promotion and branding purposes.
- Please notice that the video content shall be honest.
This video and article will cover the laser engraver itself, as well as my first impressions of it. Keep in mind that I’m not the typical laser user these partnerships target. On one side of the coin, I have zero laser machine experience and knowledge prior to the past week. On the other, I have a Computer Aided Drafting and Design degree and a lot of CNC router experience, which I think will give me an advantage in learning the software and workflow.
Hardware Features
Assembling the xTool P2
There’s almost no assembly with the machine itself. Remove the internal packaging, which I kept just in case I need to move this machine a considerable distance. Install the exhaust hose. Connect the smoke purifier if you have it. Add the appropriate amount of antifreeze and water mixture for your climate. Connect the power wire and USB wire. Turn it on, plug it in, and download the free xTool creative space software. I was pleasantly surprised at how little actual assembly there was. If spending hours assembling tools is not your thing, you will appreciate the quick out-of-the-box setup.
Create with Any Device
You can connect to the machine via WiFi, USB, or ethernet and do so from a PC, Mac, iPad, or mobile device. I used a refurbished Windows PC that I purchased in 2016 via the USB port. You don’t need a top-of-the-line computer.
Bed Size vs. Working Area
The 24″ x 14″ bed is the physical space you have available to place materials. This allows you to engrave on materials larger than the working area. The working area of 23.6″ x 12.1″ is the actual area the laser can reach. This is expanded to 19.6″ x 118″ with the riser base and conveyer attachment. The conveyor is the only thing I won’t cover in this video as I’m saving it for video #2.
The bed has removable metal slats to accommodate different material thicknesses.
The 55w CO2 Laser
The 55w CO2 laser is capable of cutting through 20mm thick acrylic in one pass. I don’t have any acrylic that thick on hand to test, but I’ve seen other videos where people have successfully reproduced this test.
Cameras
Two cameras aid in precise positioning. A wide-angle camera gives you an overall view of the bed, which is handy for correctly positioning vectors. However, the further away you are from the camera lens, the more parallax becomes a problem. Parallax is the observed displacement of an object caused by a change in the observer’s point of view. This means the closer you are to the perimeter of the work area the more distortion and inaccuracy the image will have, in relation to the actual top-down grid view in the software.
The solution to this is the second camera. I like to use this camera to get a more precise location of the material corner so I can then place an accurate rectangle to let me know exactly where the material perimeter is.
If you place many of the same objects on the bed, align the vector on one object, you can then use the smart fill button to have the cameras and software speed up the process of duplication. I personally did not try this because I didn’t have a need to do so.
Engraving Speed
The maximum engraving speed is 600mm/s. However, similar in relationship to the maximum cutting speed on a CNC router, this speed will rarely be achieved in typical use. My wife and I ran a few hundred programs through this machine over the course of four days and I don’t recall maxing out the speed a single time.
Safety
xTool has a fire safety set that is compatible with the P2. I did not get it, which means I am the fire safety feature. Never leave the machine unattended while in use.
The machine does have a 145CFM smoke extraction fan and an included hose to allow you to vent the exhaust outside. xTool also has a smoke extractor that can allow for use indoors. In the week that I’ve been using this in my workshop, this is what the top filter in the smoke extractor looks like. While it’s clearly working, you can still smell the odor of wood burning while in use. When I move the P2 inside my house, I will use the exhaust port on the smoke extractor to exhaust the air outside.
There is no auto on/off for the smoke extractor. Festool dust extractors are known for their auto on/off feature. When you plug a tool into the extractor and turn it on the extractor automatically turns on. When you turn the tool off the extractor continues to run for a little bit to clear the dust in the line. I would love to see this feature implemented in the extractor. I found myself forgetting about it and letting it run wide open for no reason between jobs.
The lid automatically locks while in use to prevent accidental exposure to the laser. The lid itself is tinted so you can watch the laser work without the need for safety glasses.
The emergency stop button location and use are just laughable. I feel like this was an area where the engineers/designers just needed to check a box. It’s on the side of the machine near the rear which is nowhere near the operator’s position. And it’s recessed into the side of the machine so an aggressive slap, which is how an emergency stop is typically used, doesn’t guarantee a button press.
Riser Base
The machine itself is capable of engraving on material 2.7″ thick and with the riser base that is increased to 8.4″ thick. That being said, the bottom of the machine and the riser block are both wide open. The potential is there if you want to build a larger base or table structure to accommodate large objects.
Rotary
In my local area and friend circle, tumblers seem to be the most common laser engraved item. The optional rotary is used for that and so many other materials such as rings, coffee mugs, spheres, etc. The rotary can be used in a roller configuration for cylinders and in the chuck configuration for odd-shaped items. The rotary was the last item we set up, and we only had the chance to do one tumbler. Perfect results on the first try.
Curved Surfaces
The P2 can engrave on curved surfaces, which is super interesting, but I have yet to try the feature. I will explore this in video #2.
Products
My wife jumped at the opportunity to learn how to run this laser and started her first business the day I setup the machine. All of that will be covered in video #3.
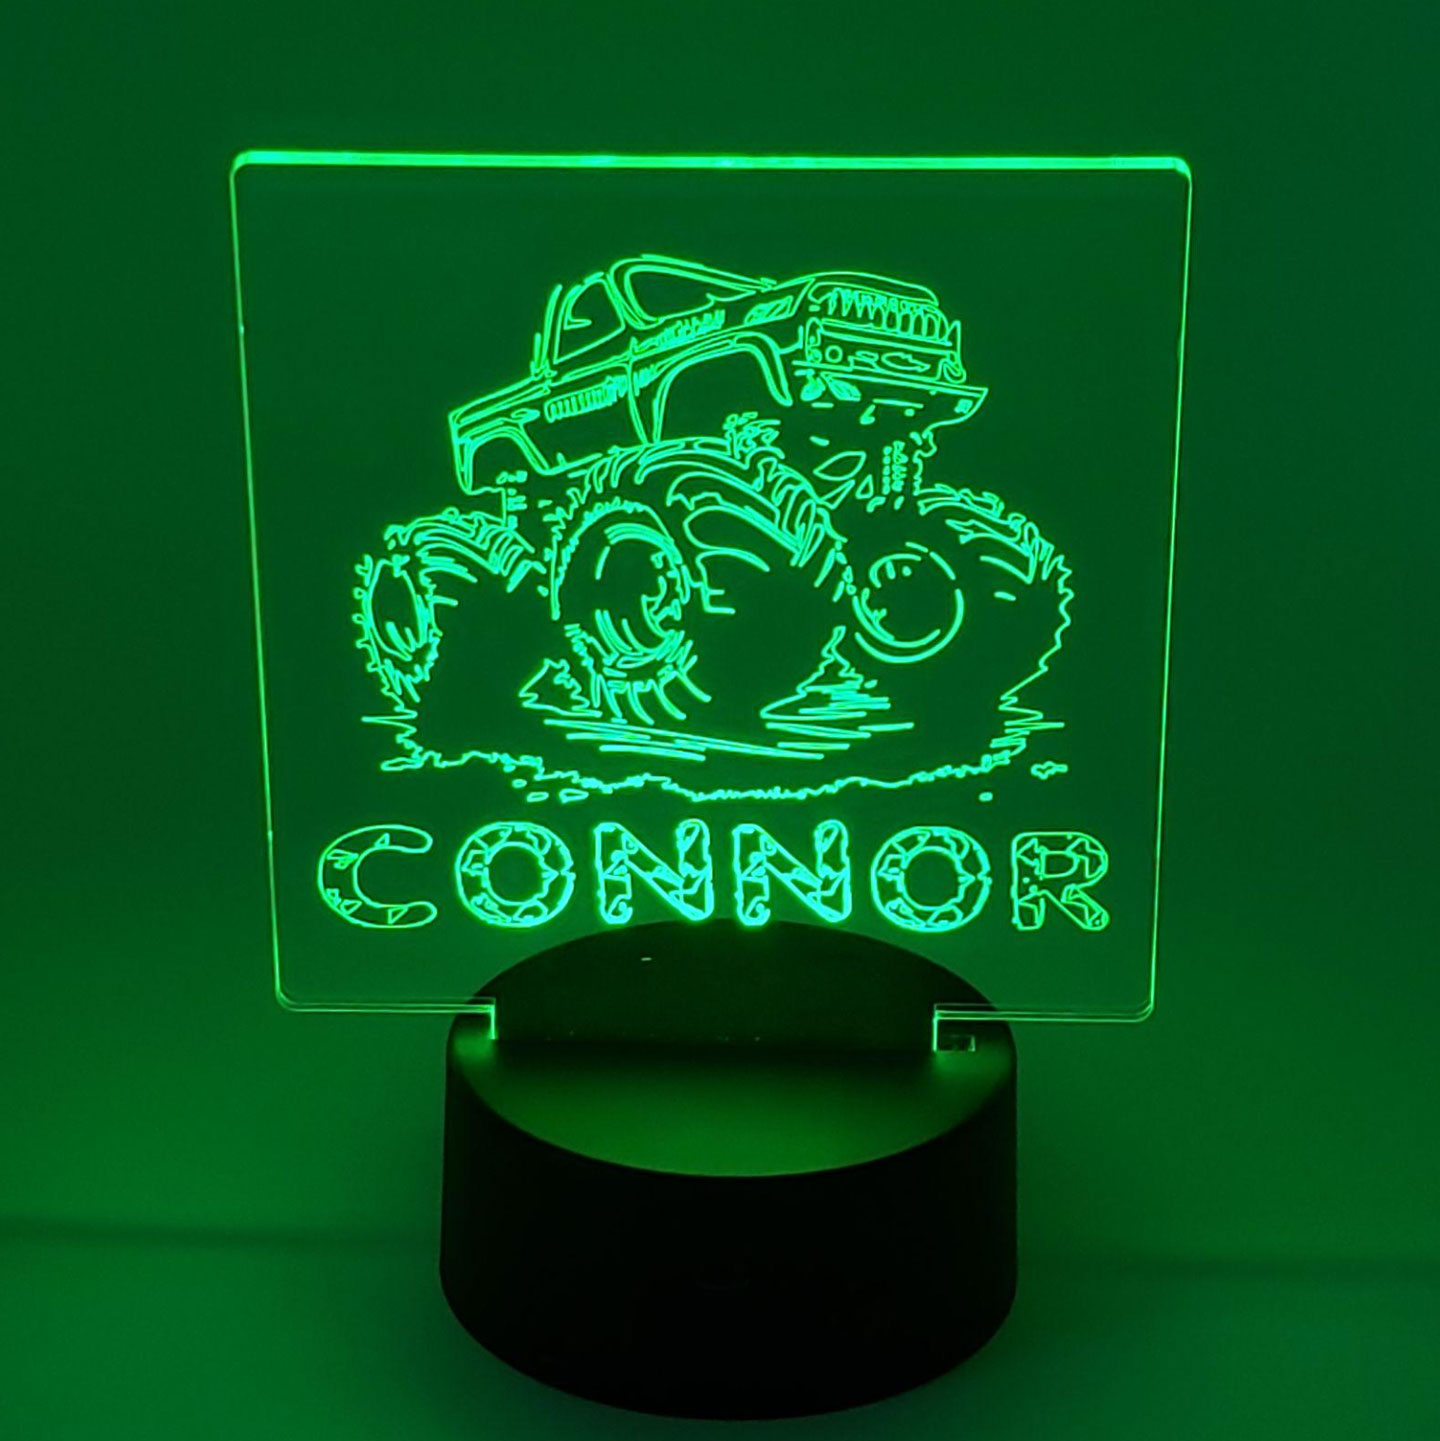
I was already making a few of these acrylic LED signs with a diamond drag bit on my CNC router. The workflow is so much easier on this laser and to speed up the process even more I made a hardboard template for the bed. Simply open the project file in the software and drag the new vector in place. I recommend making a physical and digital template like this for anything you make repeatedly.
We picked up a box of 30 leather keychains that engraved quite well. In the week that my wife has been selling stuff, these are the least popular item we’ve tried.

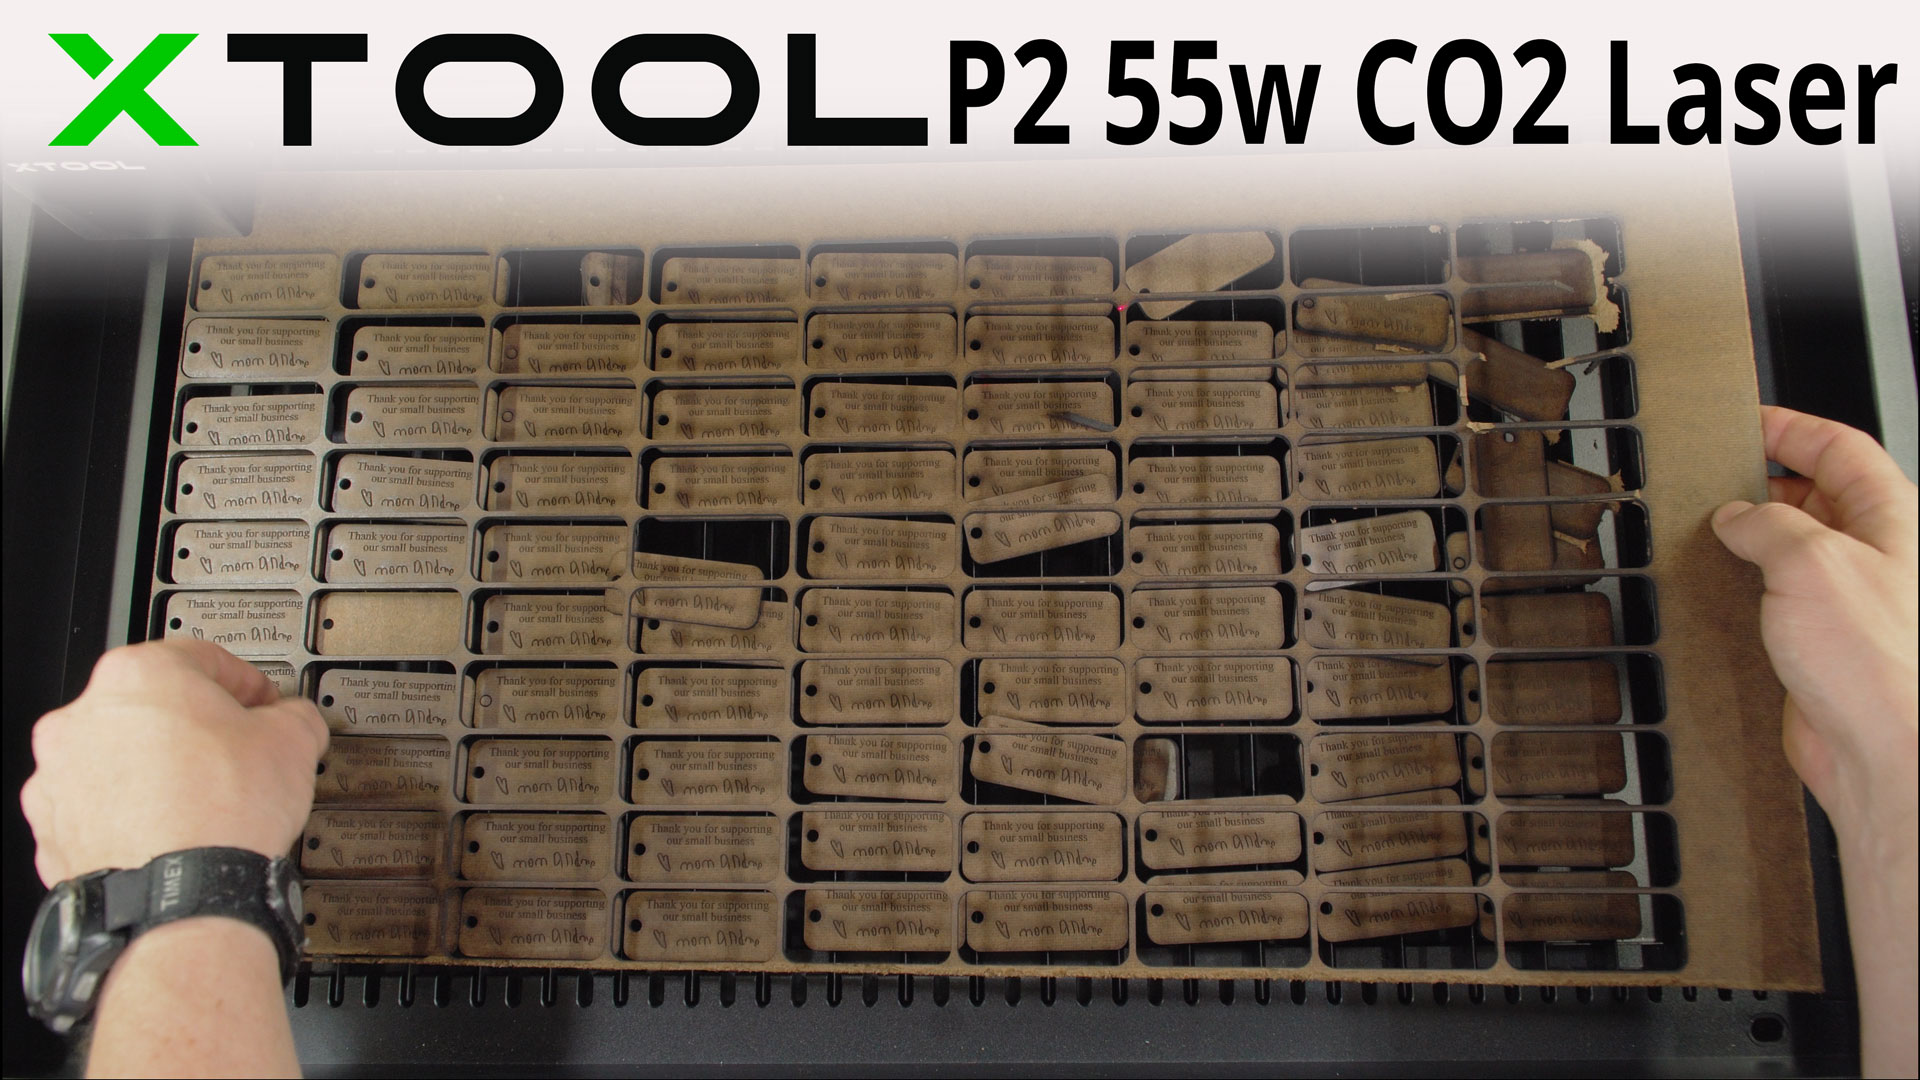
1/8″ thick hardboard is a handy utilitarian material in the woodworking world. I picked up a few sheets and cut them down to smaller sizes for general use with the laser. My wife designed a simple thank you tag to add to products and we can get 90 of them on full bed cut. Not too shabby for about $1 worth of material.
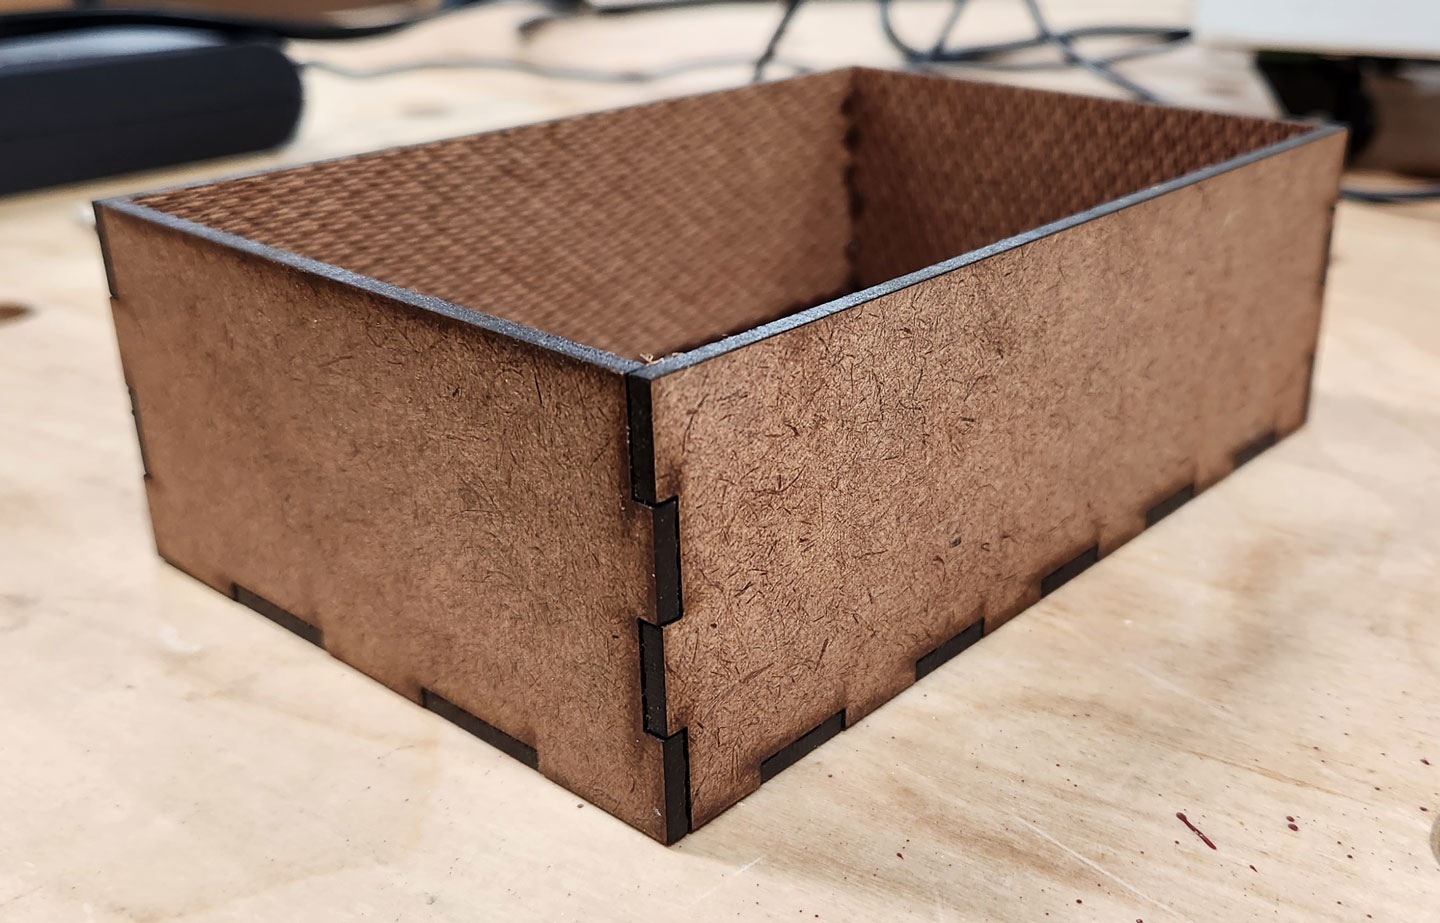
In video #2 I think I’ll explore using inexpensive hardboard to make hardware drawer organization bins. I cut one and glued it together with CA glue and it turned out pretty good. It’s definitely a good material, at a great price, for hardware bins.
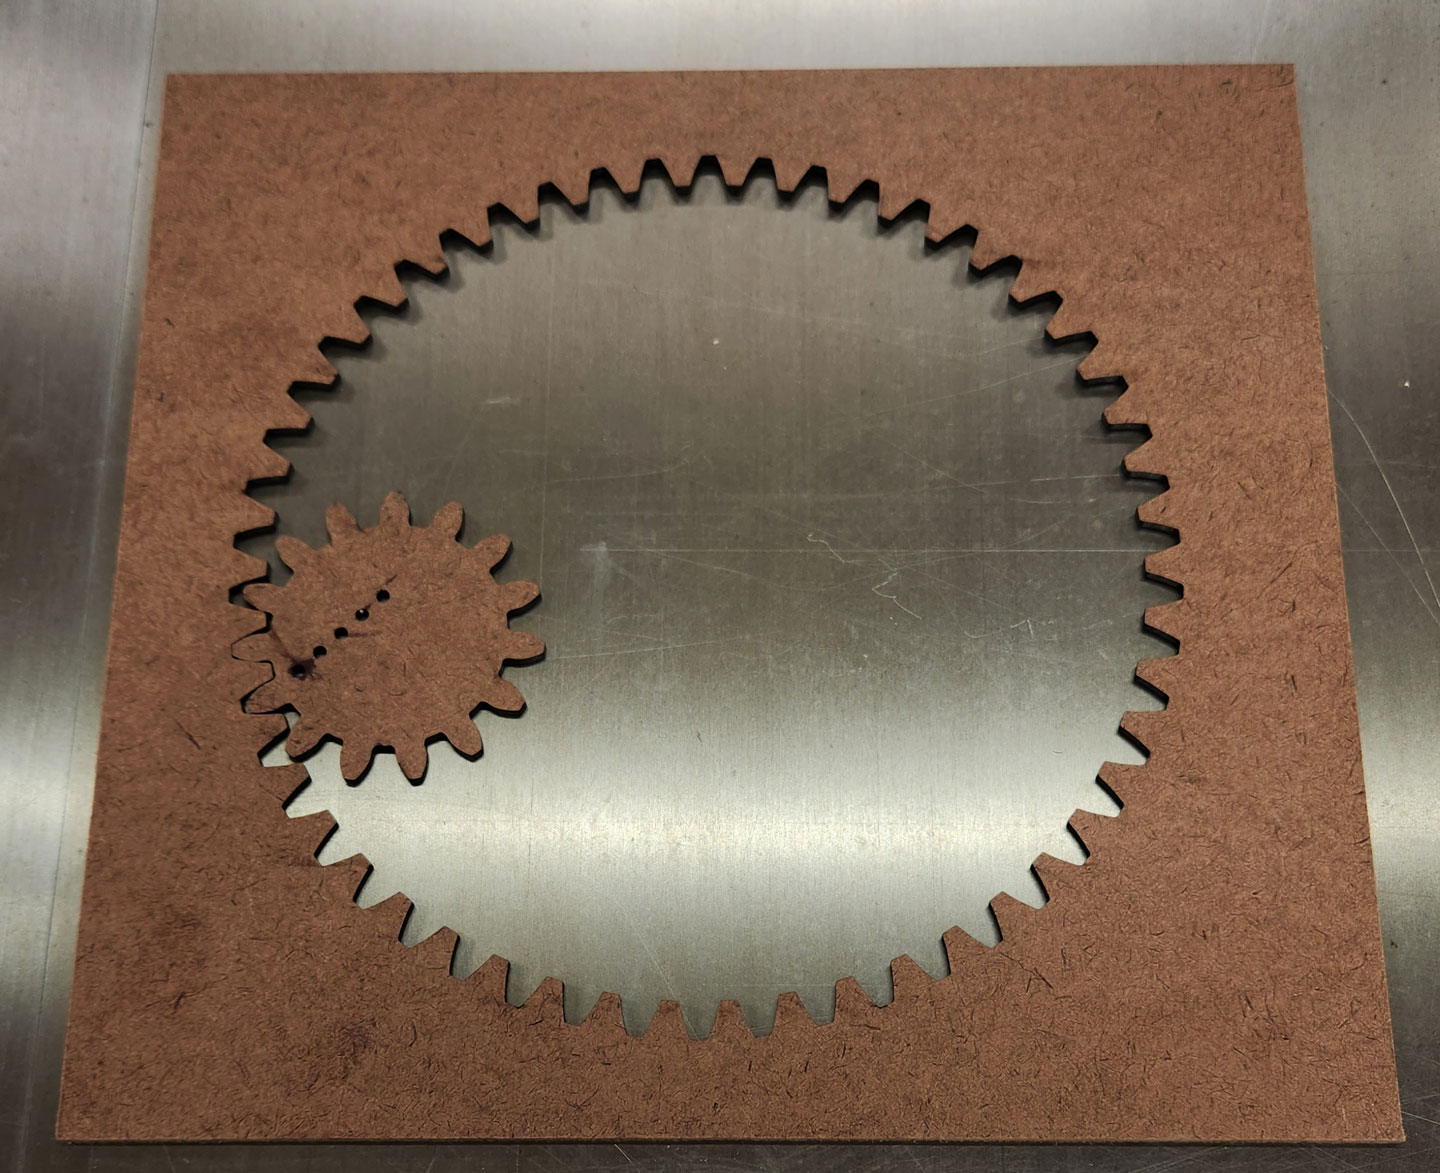
Hardboard will also be handy for super inexpensive tests for ideas. Ideas where you might want to explore with good material but you want to get it done with cheap stuff first. Like this spirograph for my daughter.
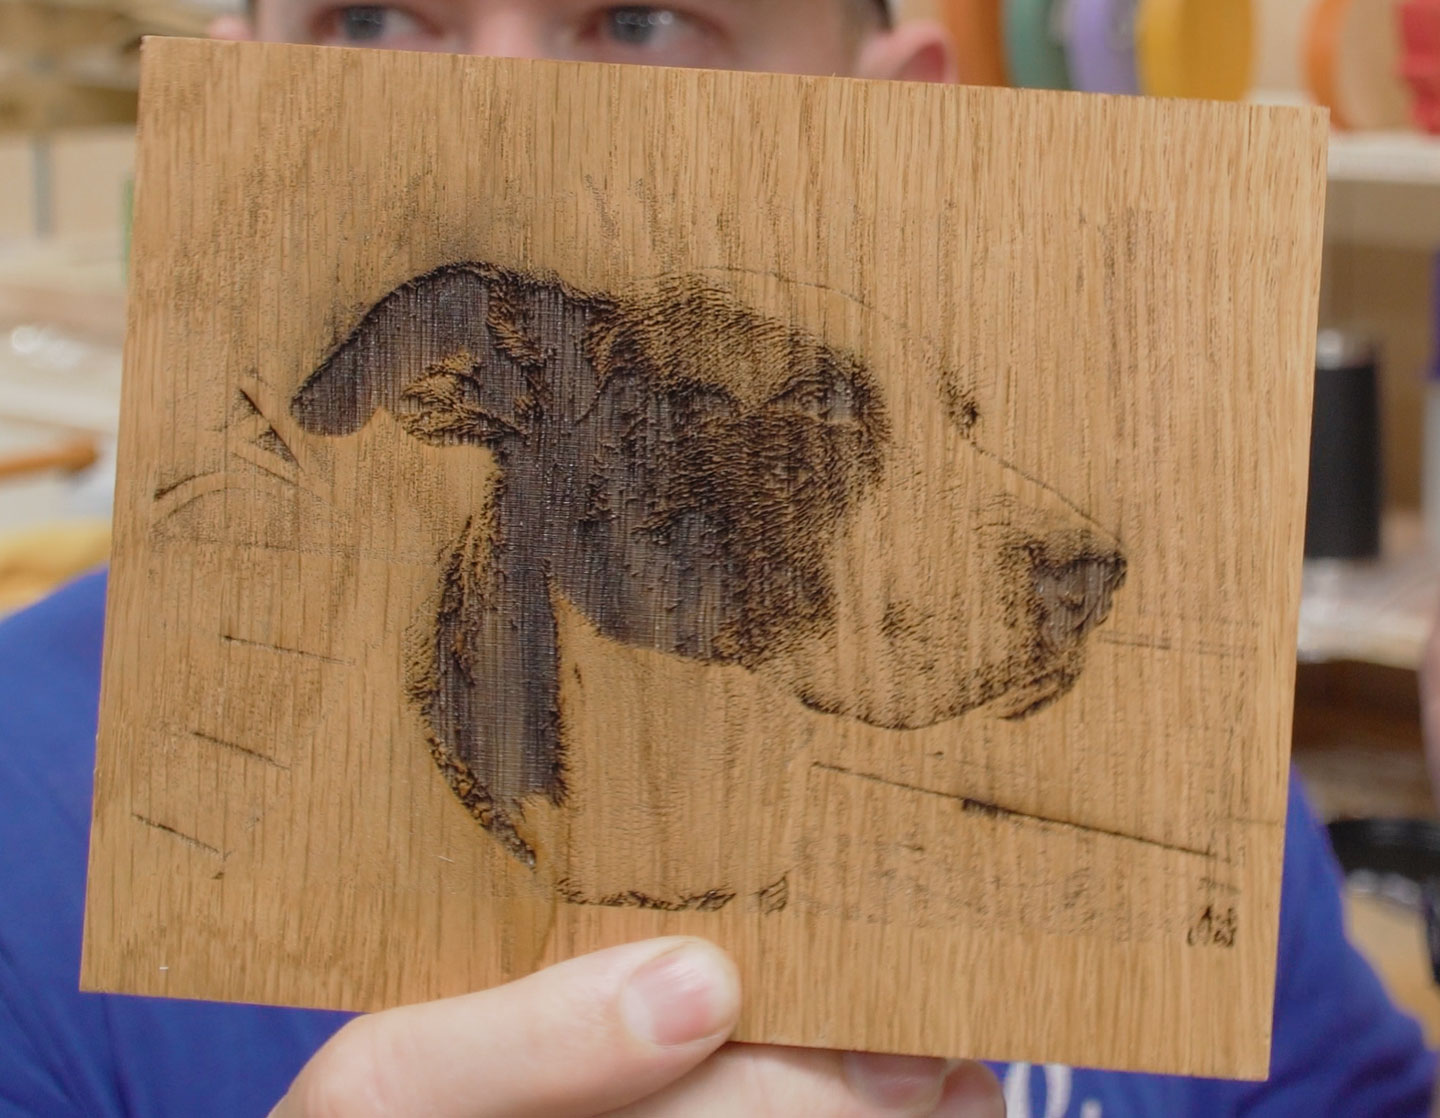
My 14 year old dog passed away recently and I’ve been delaying making her urn because I knew this laser was arriving soon. I experimented with an image of her on solid oak as well as canvas. The large canvas image was stopped after I knew I had the settings dialed in.
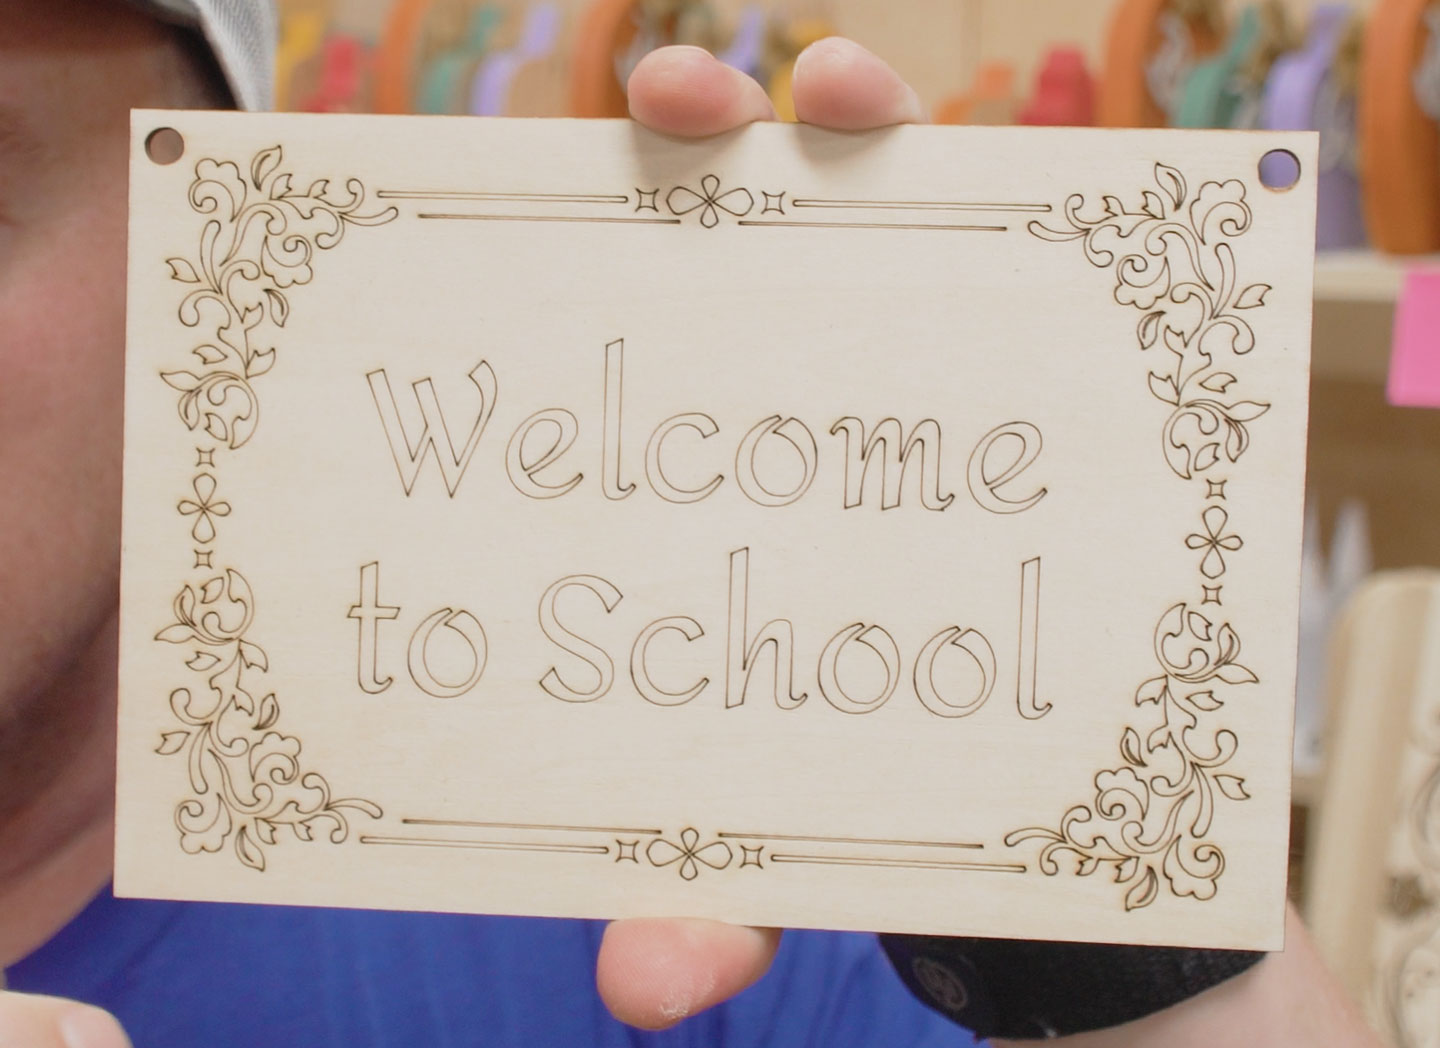
My daughter wanted to be involved, so we cut a 3mm basswood rectangle. She told me to make it pretty around the edges, make it say welcome to school, and make it so I can hang it on my door. I think this flow of ideas to reality was a good intro to creating stuff.
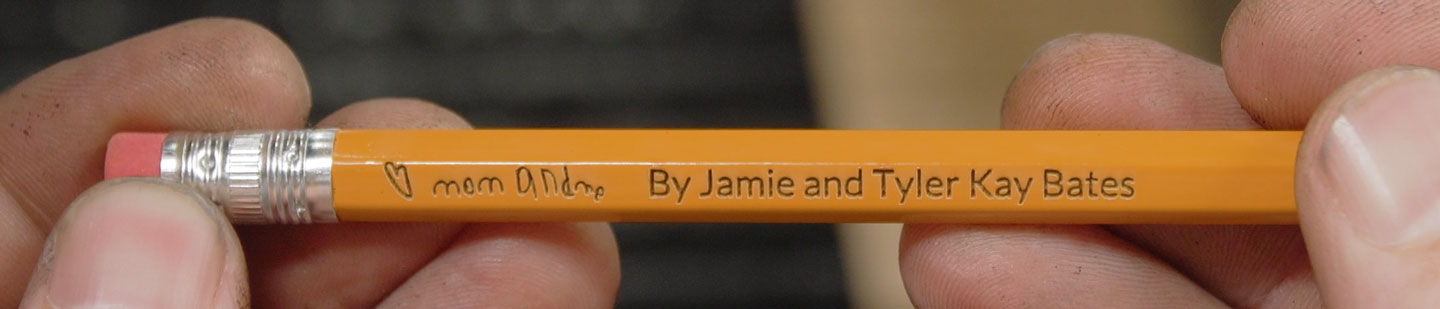
One of the P2 promotional videos show engraving on a toothpick. I didn’t go as small as a toothpick but we did have great results engraving on pencils.
Software – Good, Bad, Ugly
xTool Creative Space is a free software that facilitates quick learning and quick use of the machine. I came up with that. I’m not reading talking points.
The Good
My wife has zero graphic design or engineering design experience, and she was able to sit down and be productive with the software. All of the basic necessities are included, such as combining vectors, scaling, and such. It allows precise positioning with camera image assistance. it gives you a completed job run time to tell you how long each job took, and a lot more other features. That said, it’s basic software that, according to comments I’ve read online, is continuously being improved upon. For the majority of what we did it was plenty good enough.
The Bad
If you have a lot of CAD experience with other software like VCarve Pro, SketchUp, SolidWorks, or Fusion360, maybe even Inkscape or Illustrator, you will feel like Creative Space is lacking in a few areas. With more complex designs, I routinely did all of the vector work in VCarve Pro and then saved and imported an updated svg.
Software optimization? Slow when working with a LOT of vectors. This is somewhat expected, but when compared to something like VCarve Pro on the same old computer, xTool Creative Space is much slower and laggy. For simple stuff it’s fast.
The Ugly
Keep in mind that I’m not making these points to bash the software but rather to highlight areas that are in desperate need of improvement. Overall I think the software is good, especially considering it is free. But if they are continuously improving it, let’s highlight some areas that need improving.
- Move should be its own tool and not used by default. This is horribly annoying when you are trying to select multiple vectors by dragging a selection box when you don’t realize you already have one selected. Another example is when you’re zoomed in far enough that you don’t see the typical “transform” icons surrounding your selection and you try to select something else. Way too frequently am I moving stuff on accident and have to press Ctrl+Z to back up.
- Vector selection is horrible on complex designs. Sometimes it wants to select a vector nowhere near the cursor. Sometimes you can’t select the vector you want at all. This can sometimes be corrected by sending the outside vectors to the back.
- Vectors need a third option: Lock. Lock should be a sub-option of ignore. If using vectors for positioning, like template use, being able to keep those vectors displayed but not selectable is handy for positioning vectors on common-use templates.
- Toggle layer visibility and/or lock. Sometimes you want to visually remove an entire layer for better clarity of something else. Other times, to expand upon the previous point, it would be handy to lock the entire layer.
Overall Thoughts on the xTool P2 55w CO2 Laser Engraver
As a laser newbie and all things considered with capability, ease of use, and cost, I think it deserves a thumbs up.
I’m pleased with every aspect of the machine…except for that darn emergency stop that I hope I never need to use. This machine has great potential between the pass-through, the conveyer attachment (saving for video 2), the rotary, and the material options. I can’t speak for longevity, but we did keep it working a LOT over the past week and had zero hardware errors.
The workflow learning curve is minimal, as my wife experienced. The software crashed on me once, but I was asking a lot with the complexity of the vectors I had loaded. And it is free software, after all.
For me, I see this as a very handy template or prototype maker to explore ideas and even small-scale models of woodworking projects. The obvious decoration potential is similar to V carving on my CNC. I’ve stated many times in the past that I don’t want to get caught up in making stuff to sell. My primary focus for JCC is media (articles, videos, digital plans). I personally won’t be using this machine to make money. I will be using it as a tool to complement what I already do.
The income potential lies in the hands of my wife. Her immediately taking interest and being able to pick up the workflow quickly was a pleasant surprise. She has started a business and is already fulfilling orders. More on that in video #3.


Another great use of the rotary is engraving maglites. I custom engraved several using a laser at a maker space for the groomsmen in my wedding. It worked extremely well.