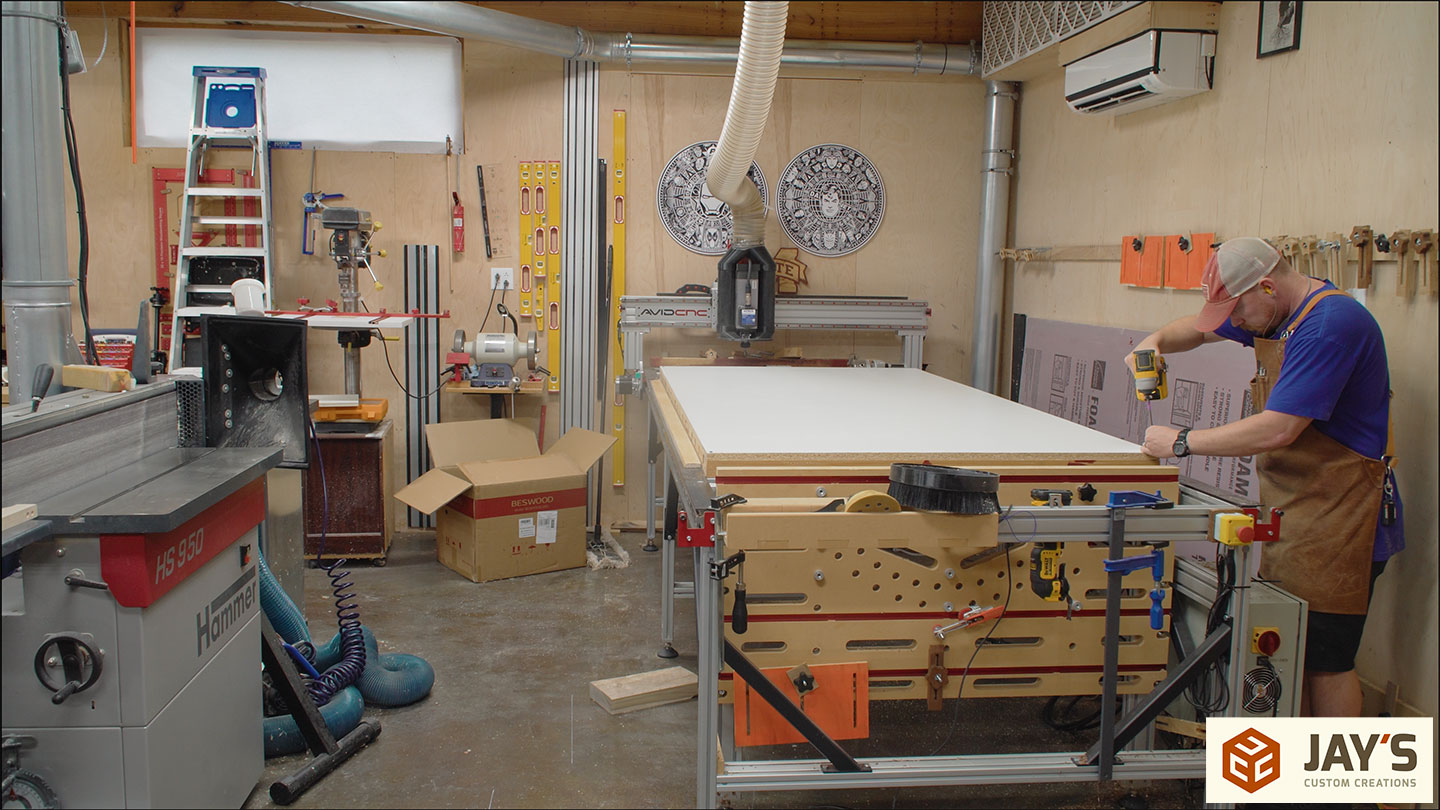
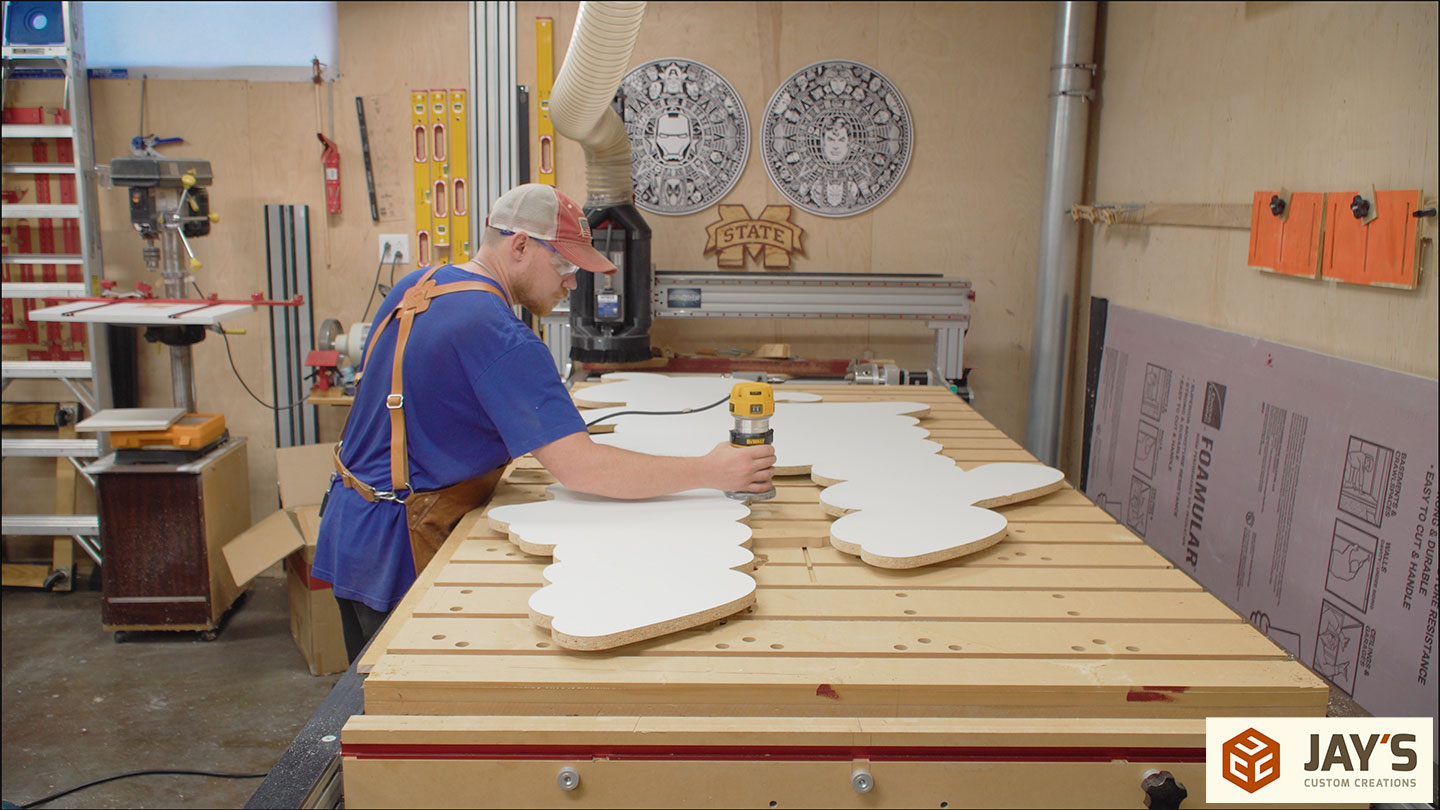
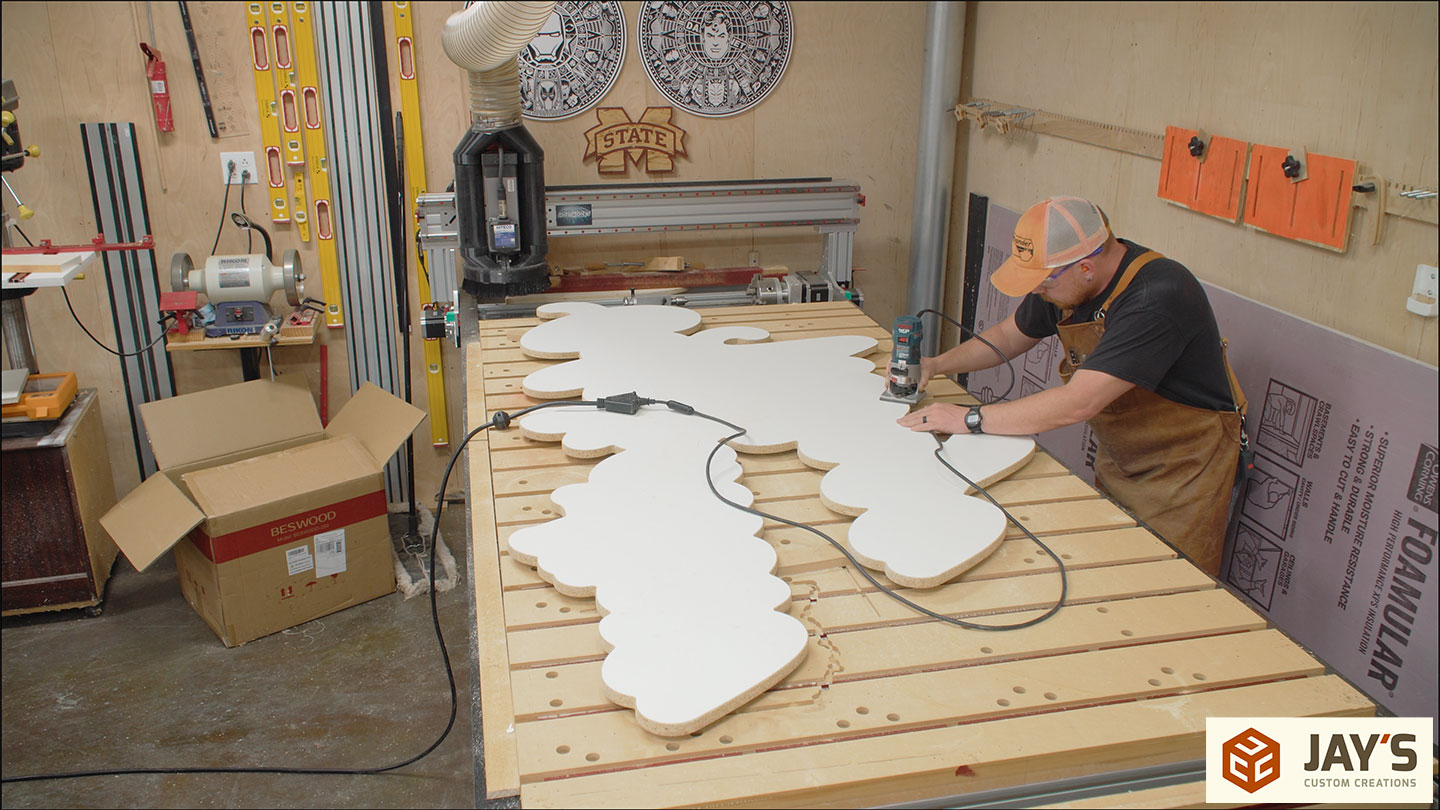
As of late, my shop time is resulting in less structured builds and more random progress with a bunch of stuff. In this video I’ll cover making a budget sign, some router/cnc bit testing, some bandsaw resawing, and a new-ish bandsaw for the shop. First up, melamine on the CNC machine.
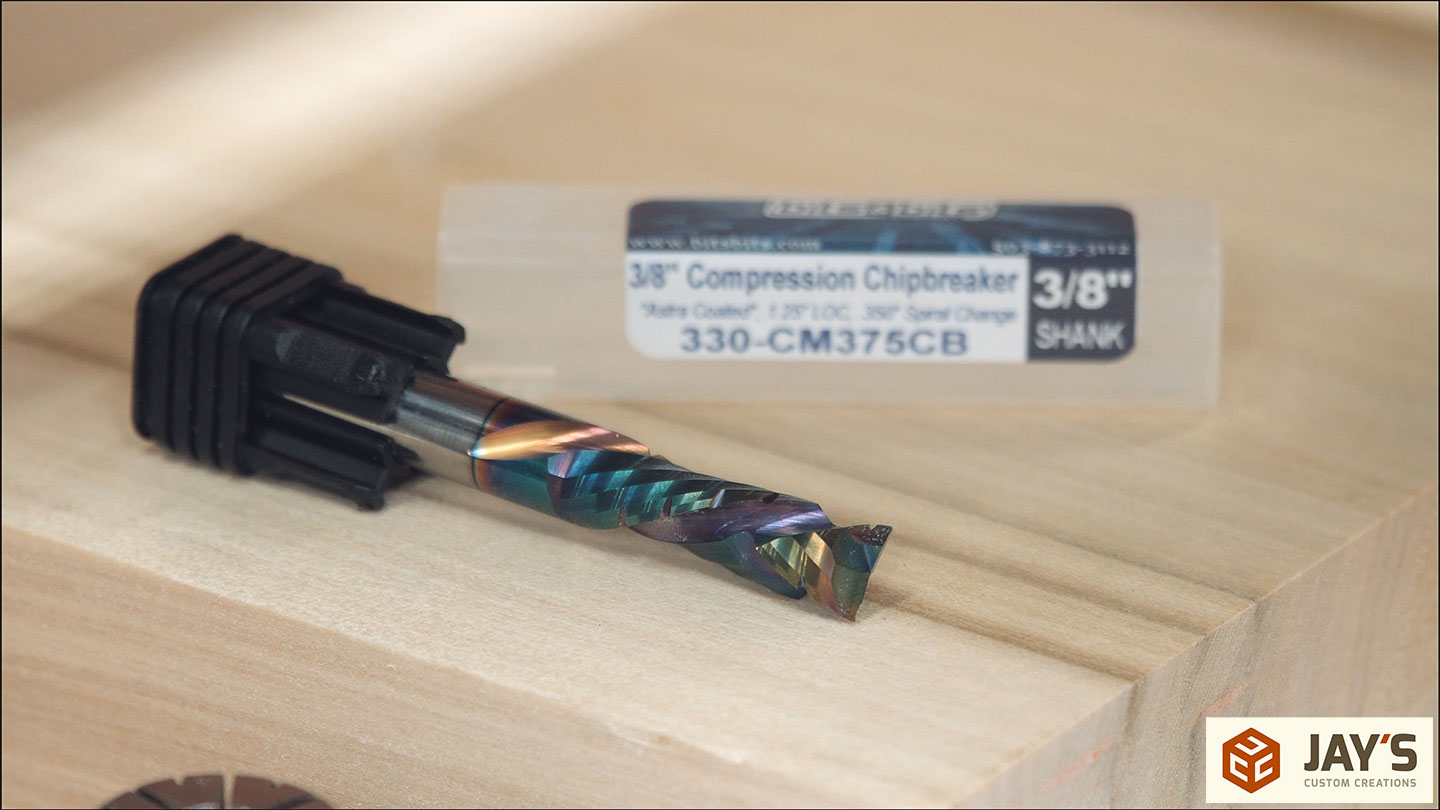
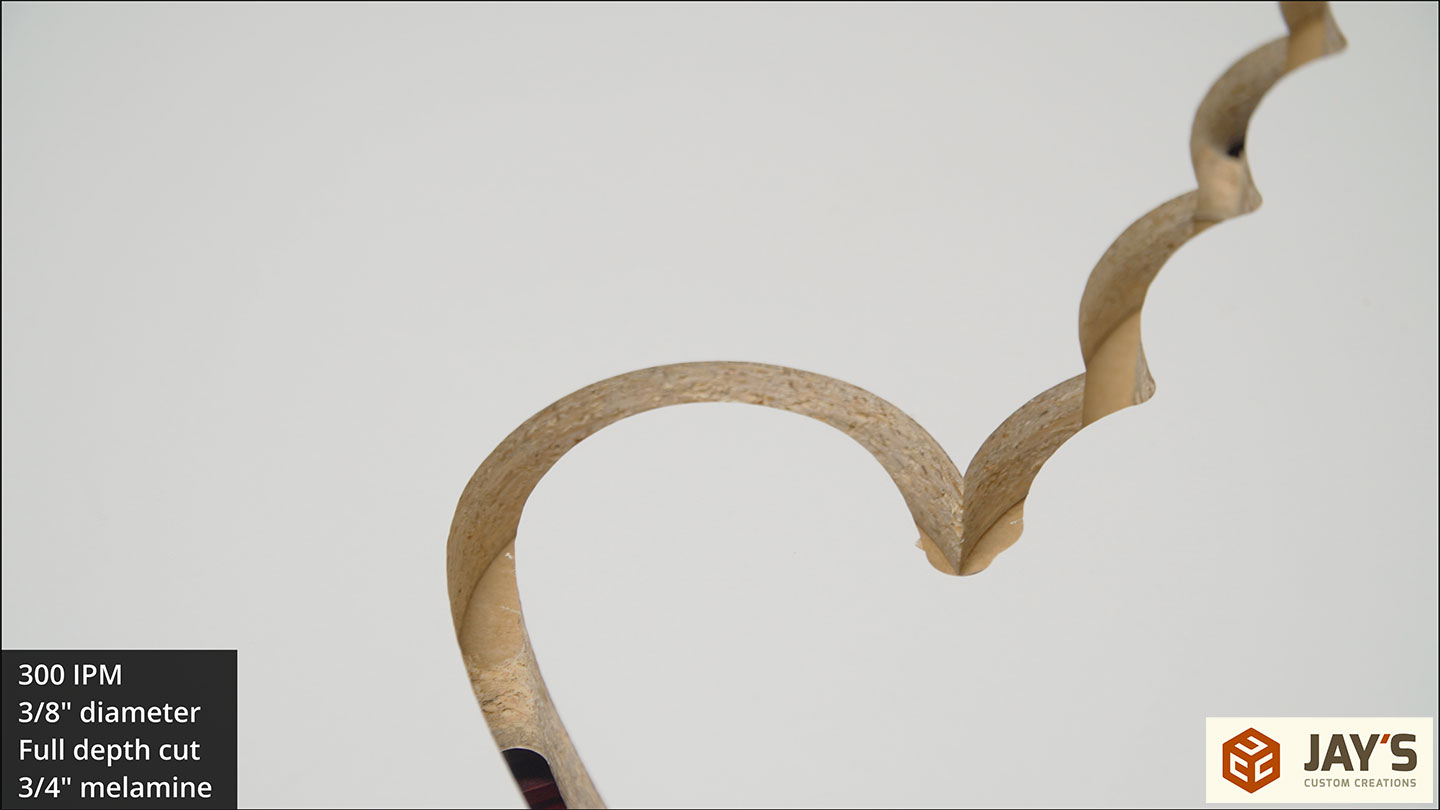
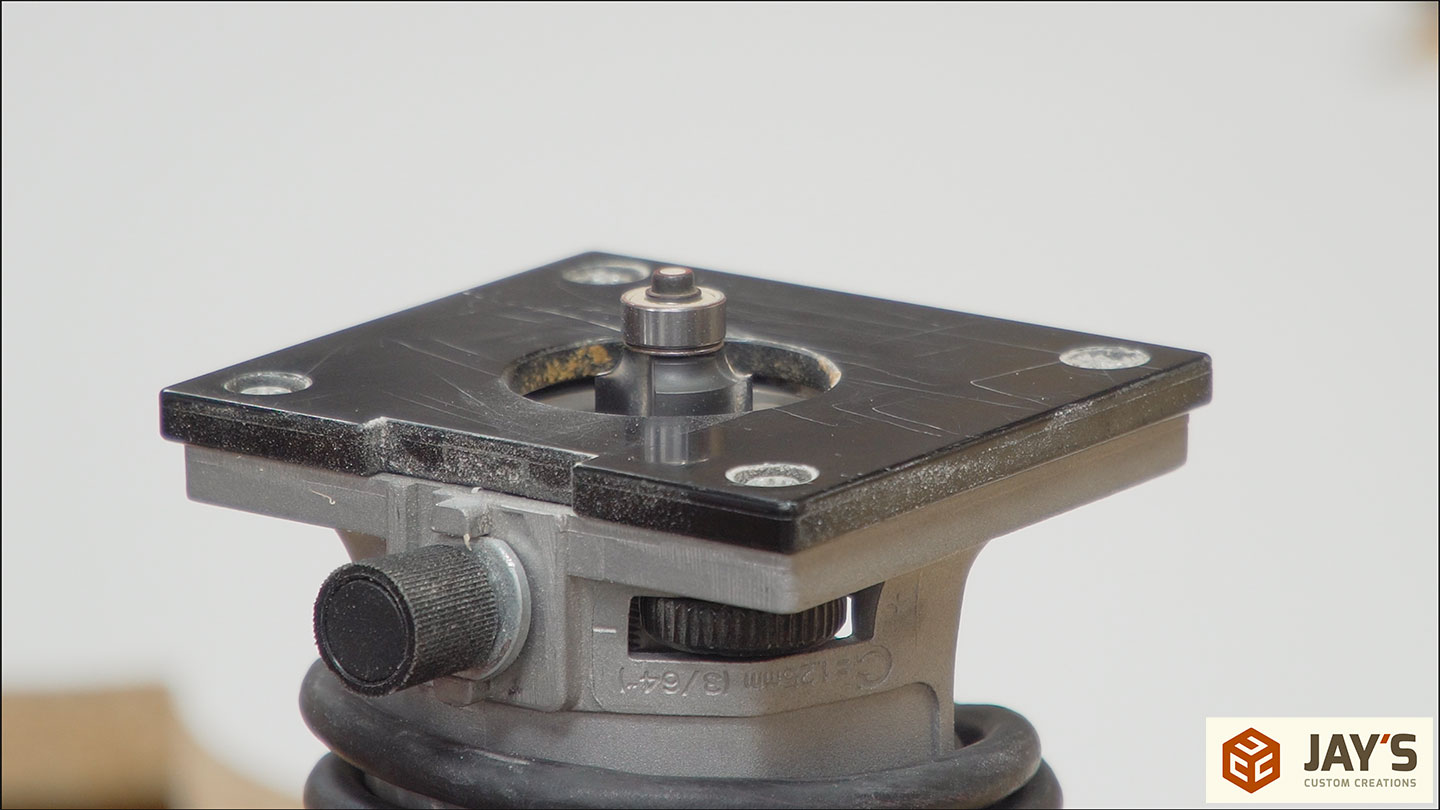
I’m also testing the capabilities of this router bit. Well, kinda-sorta. I already know it can plow through material but I want to keep pushing it. This bit is a 3/8″ diameter compression chip breaker. The compression feature allows for both the bottom and top material surfaces to be cut clean with no tearout. Specifically, it is the 330-CM375CB. You can save some money by using my coupon code JAYBATES at checkout on bitsbits.com. It’s not an affiliate code, just a coupon for you :)
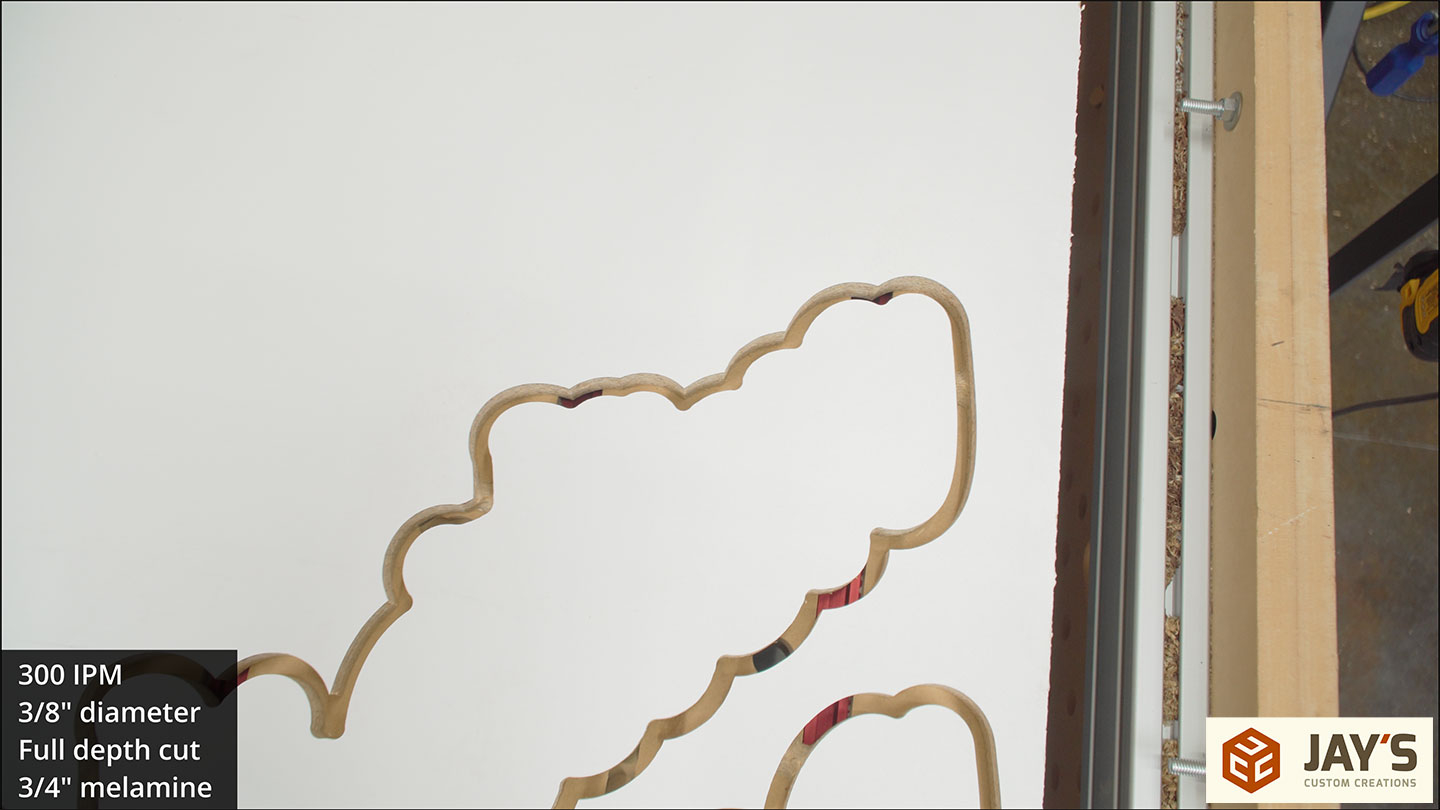
So what’s the test? 300 inches per minute of travel speed making a full depth cut. 3/4″ melamine cut in a single pass. I feel like this is where I need to somehow insert the Tim the Toolman Taylor grunt and mention the Binford performance of this piece (I know not all of you will get that one..)
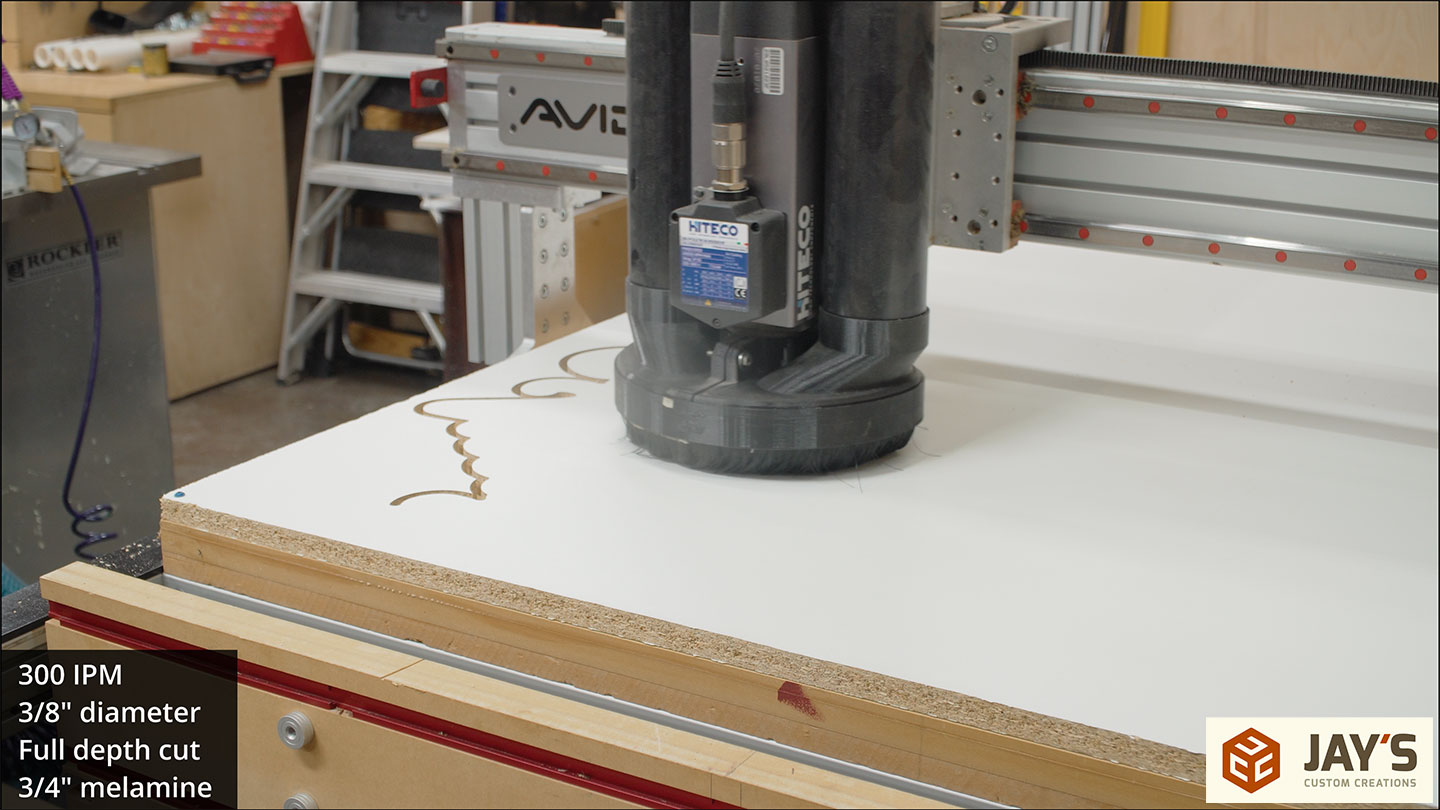

Super clean cuts. I have a pretty good dust collection setup so it’s not entirely surprising that there is no dust or chips packed into the groove. That said, a 1/4″ diameter downcut bit usually results in a dust packed groove with this setup.
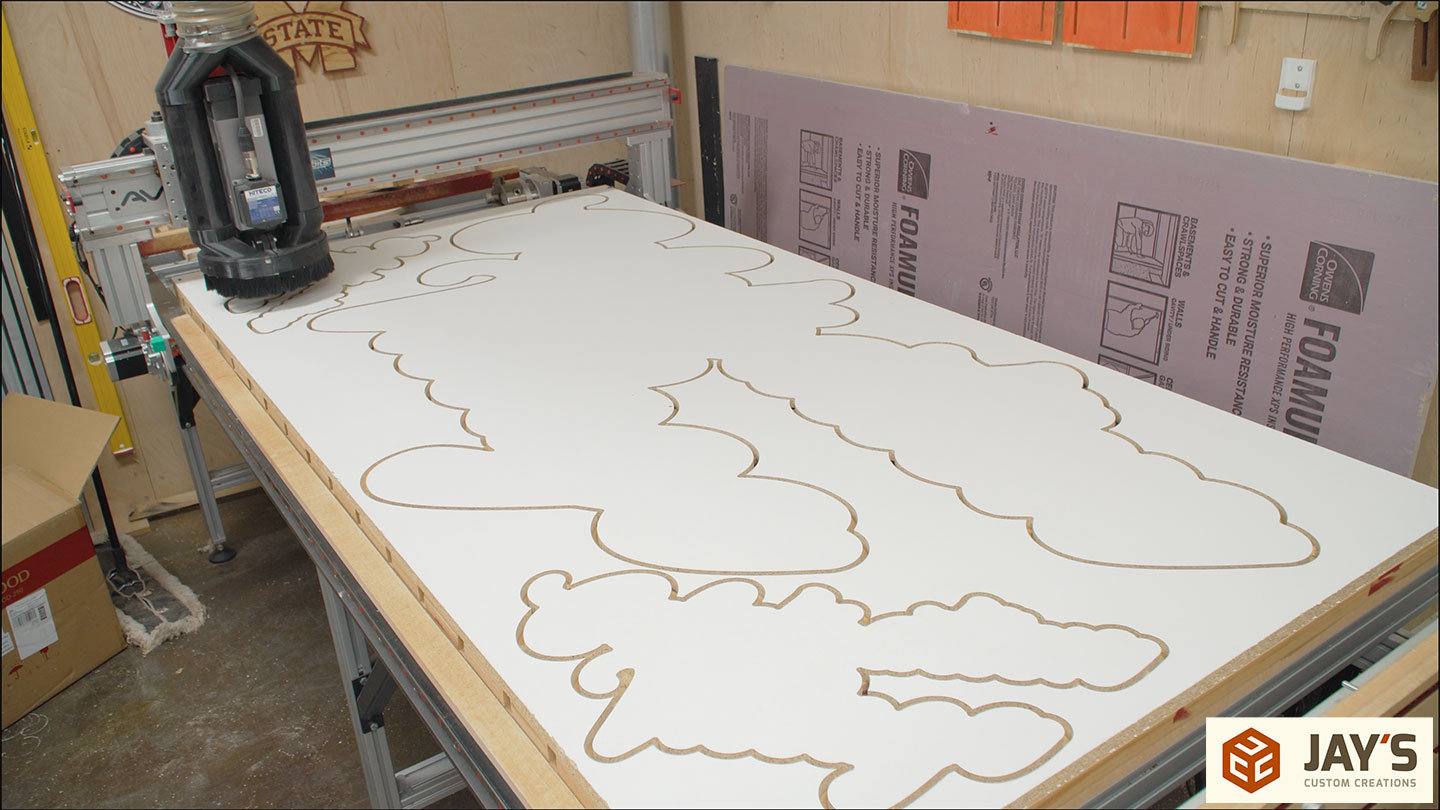
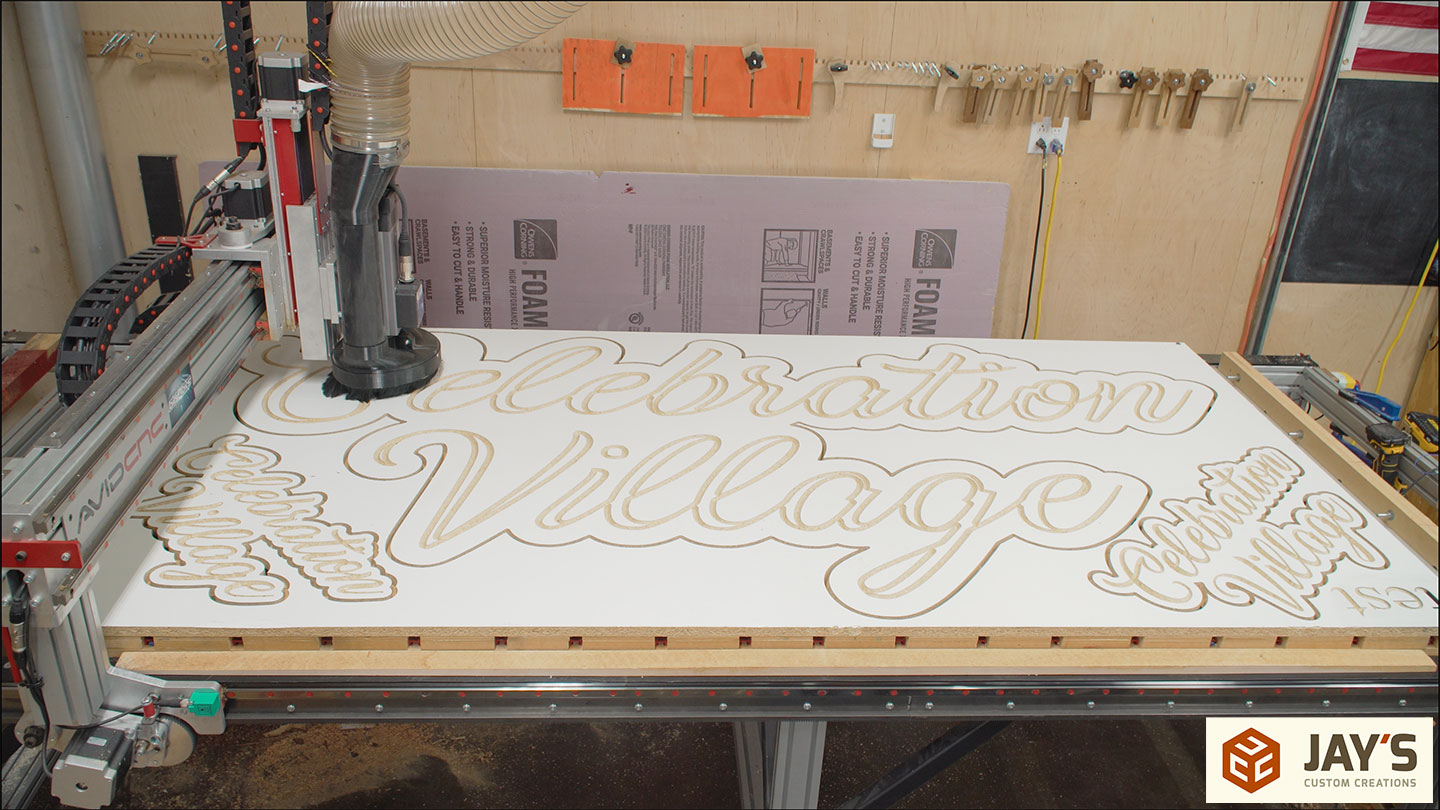
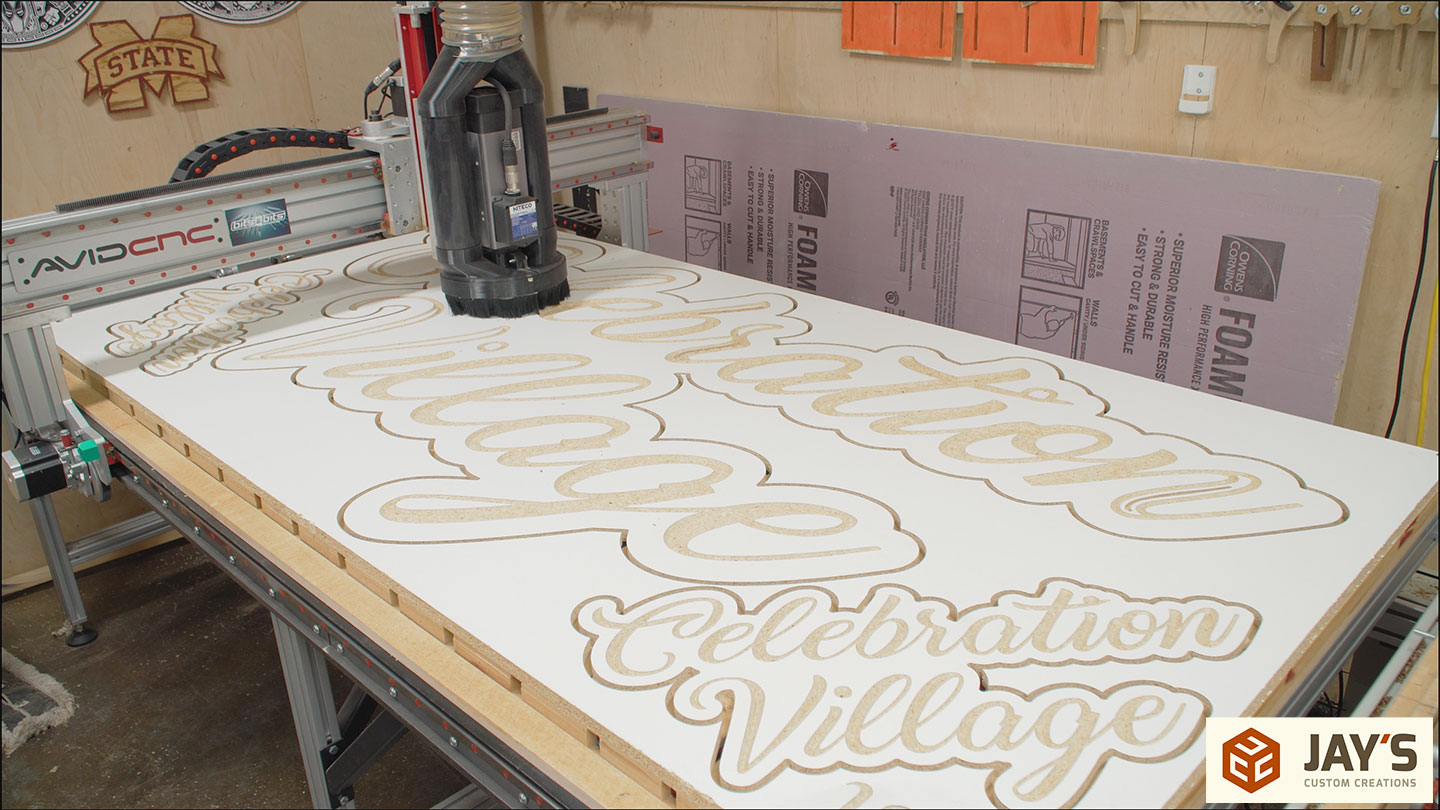
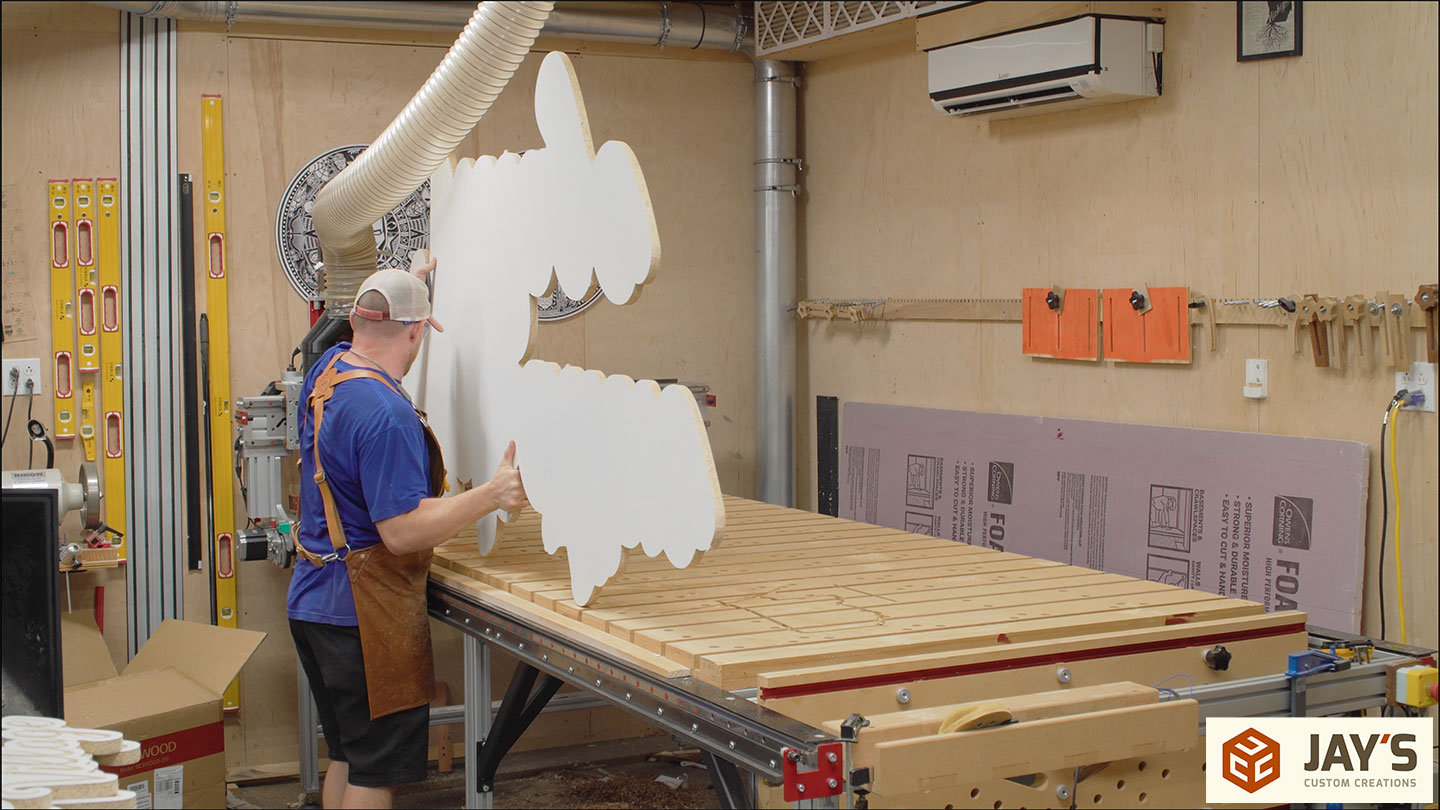
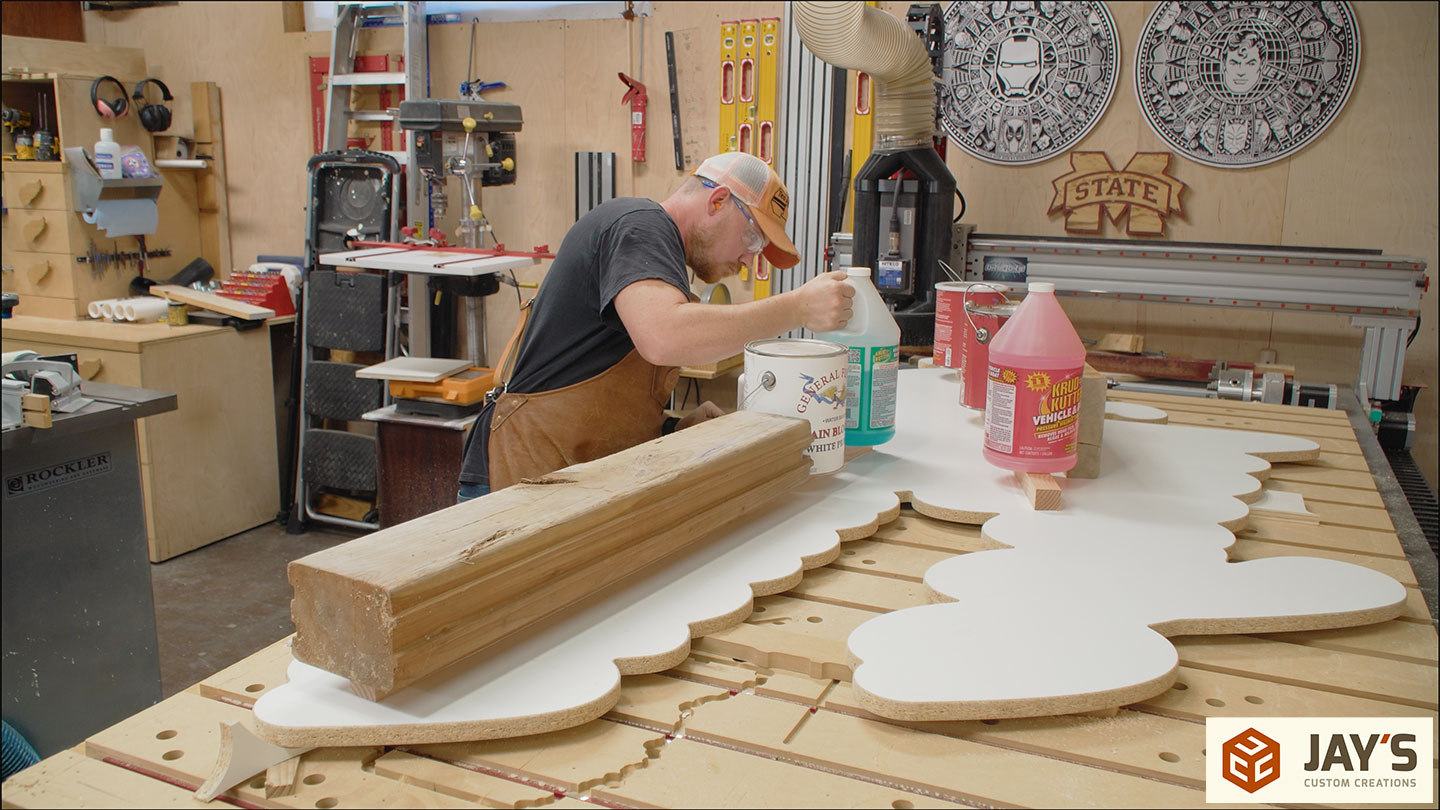
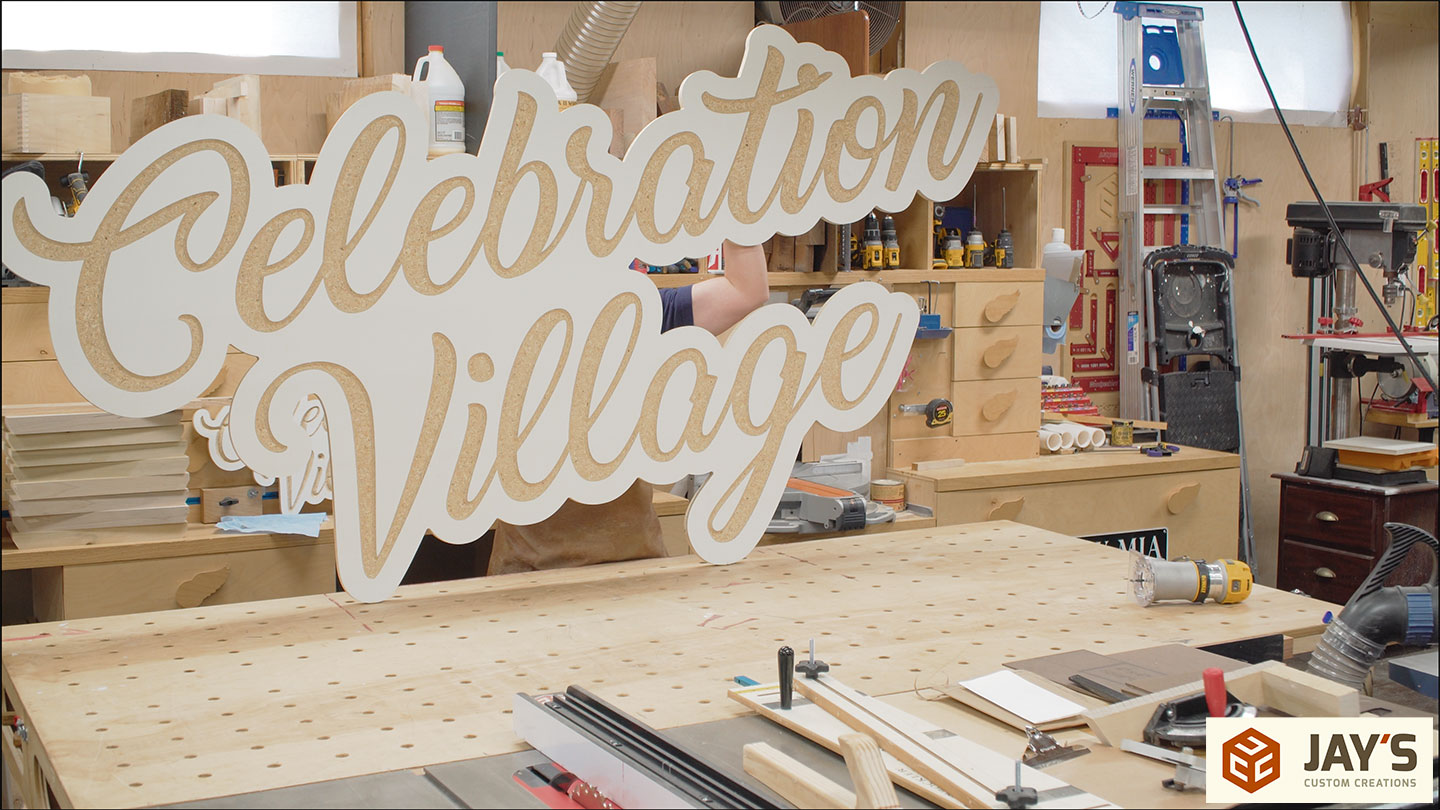
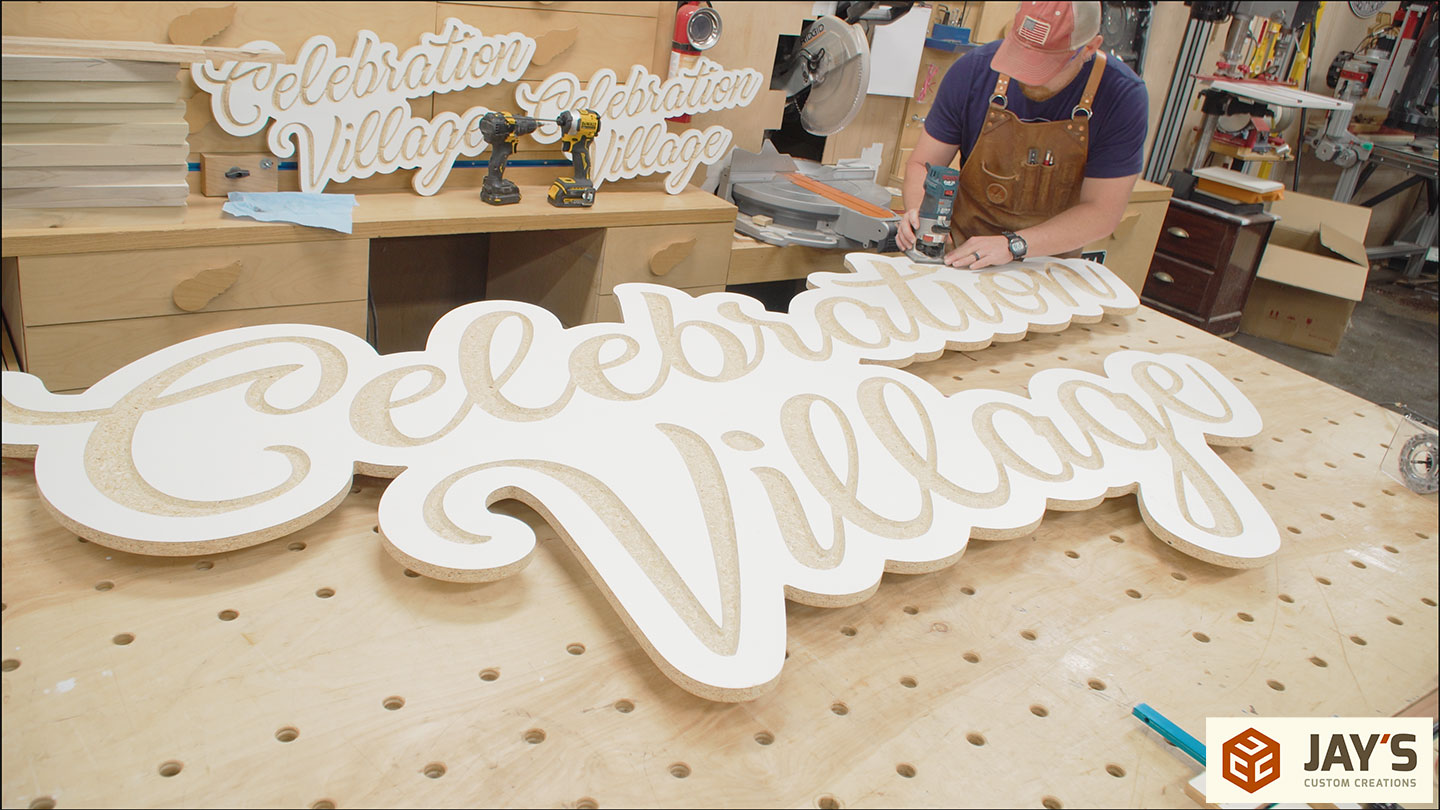
The sign request was for my neighbor. She’s part of the organizing crew for the Celebration Village event in Tupelo, Mississippi. She requested a large budget sign for the event. A single sheet of material and keep the cost down. The sign itself ended up being 93″ long and 46″ tall. In the scrap area around the sign I scaled the image down and made two more signs for her to take as well. Because it was a budget build, and for a good cause, I didn’t charge for labor. Just material cost. Help out when you can!
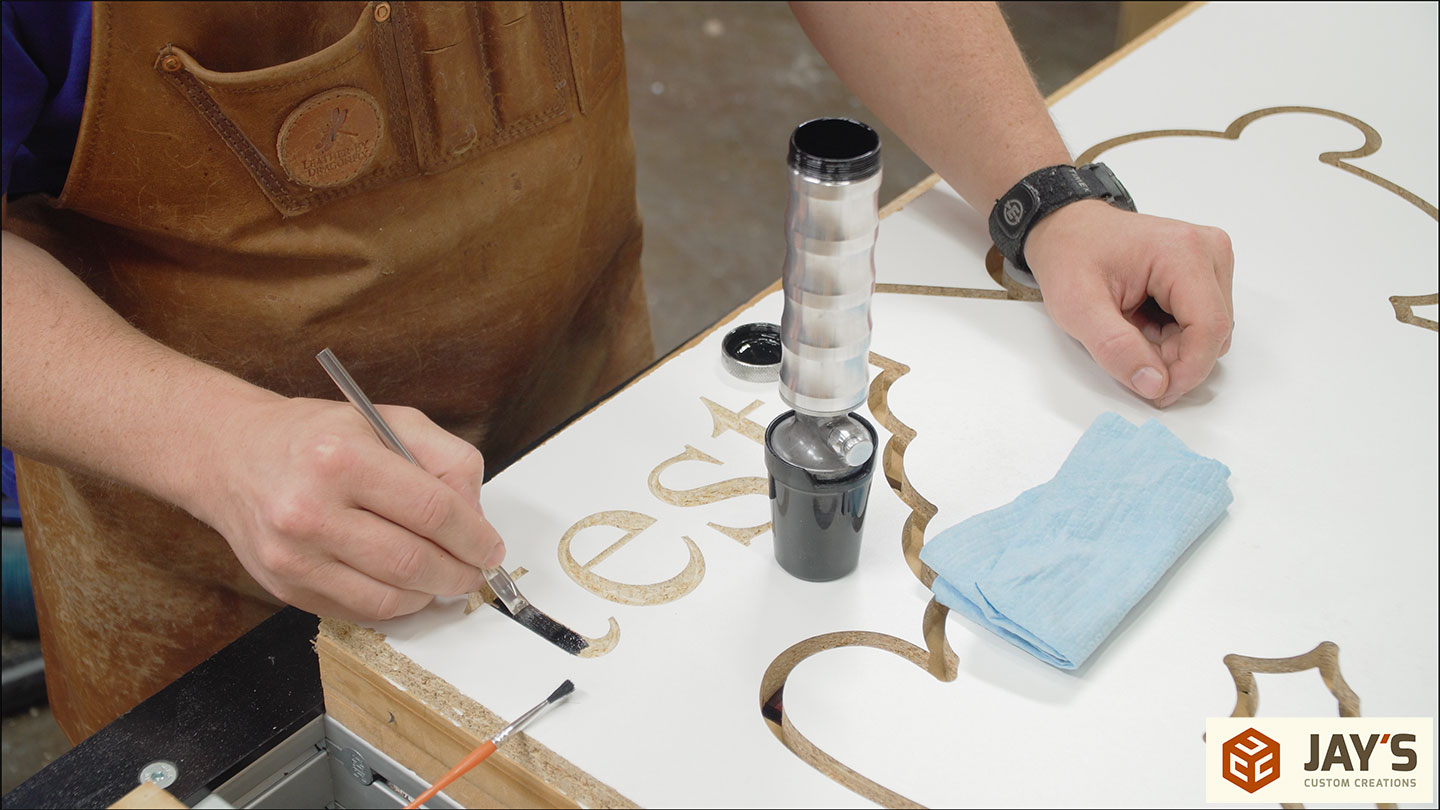
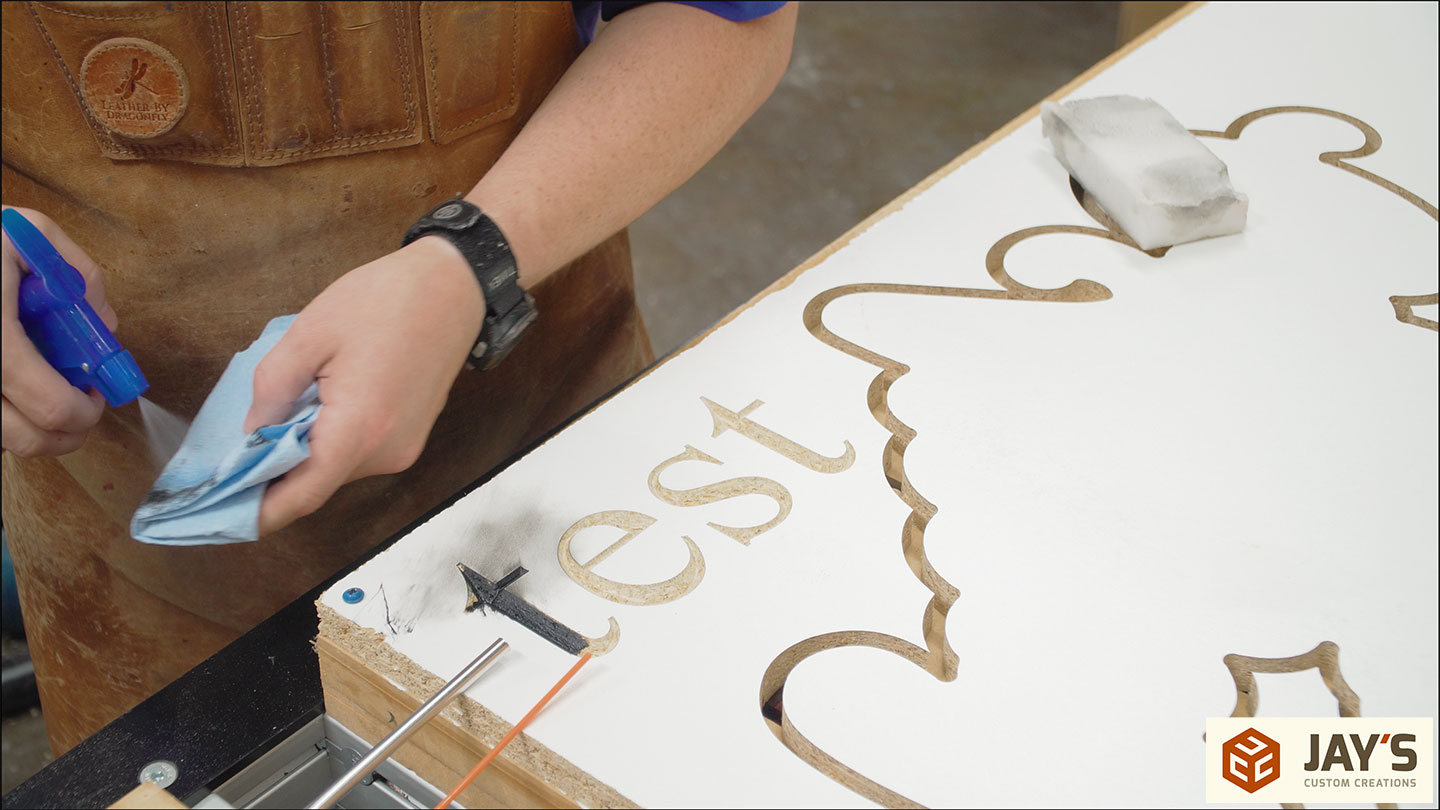
Another test was to see how well I could dye the interior of the cuts black. On more of the scrap area I cut the word “test.” With a very careful hand and two different brushes I very carefully applied black ink to the interior of the cut. As far as the color transfer and the contrast it provided, it looked great! However, it was too messy. Melamine is porous and any attempt to wipe up the white area on top resulted in smearing. There was no way I could do the entire sign without screwing up the top surface. Plan B was to just carve and leave the natural contrast.
With the ink testing done, the detail of the sign can be cut. A 90 degree V bit with a 1/4″ flat bottom is specified. It’s worth noting that this is somewhat out of order. Any time I’m doing a profile cut to release material I like to do the profile cut last. In this case, I wanted to more accurately Z-0 off of the machine bed for the profile cut and with the size of the sign and the number of tabs I used, I was confident it wouldn’t shift when switching to the V bit.
And here’s the two stars of the show. The 3/8″ chip breaker is on the right, and my go-to 90 degree V bit is on the left. I’ve been using this exact bit for all of my 90 degree V cuts for the past few years and it’s still going strong. That’s more of a statement about me not screwing up and plowing through a screw or a metal clamp than it is about the bit. These bits last a long time. It’s usually the operator errors that destroy them.

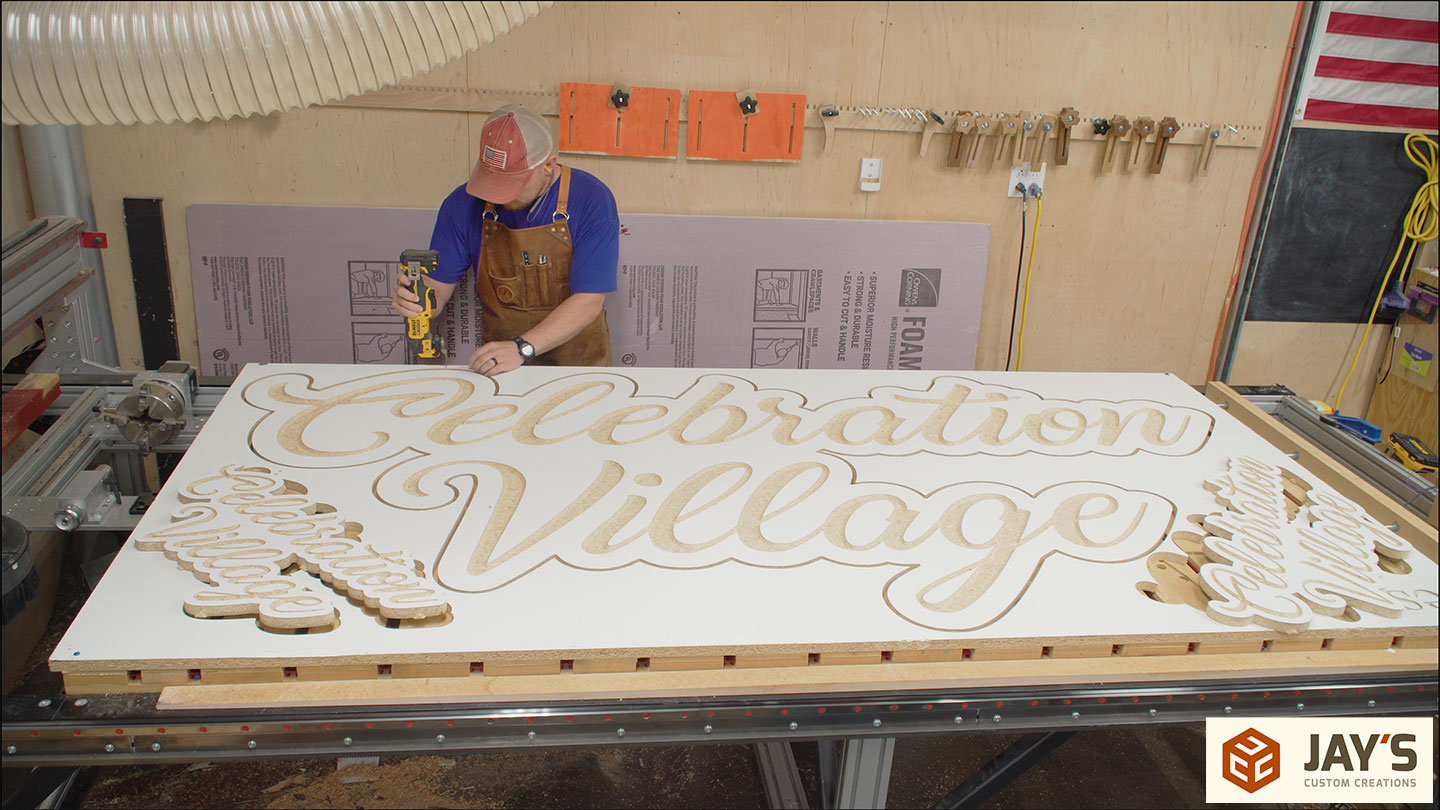
Because I do not have a vacuum table, tabs are needed when profile cutting. That adds an extra two steps. First, the tabs are cut with an oscillating tool. And then a break to work on other stuff.
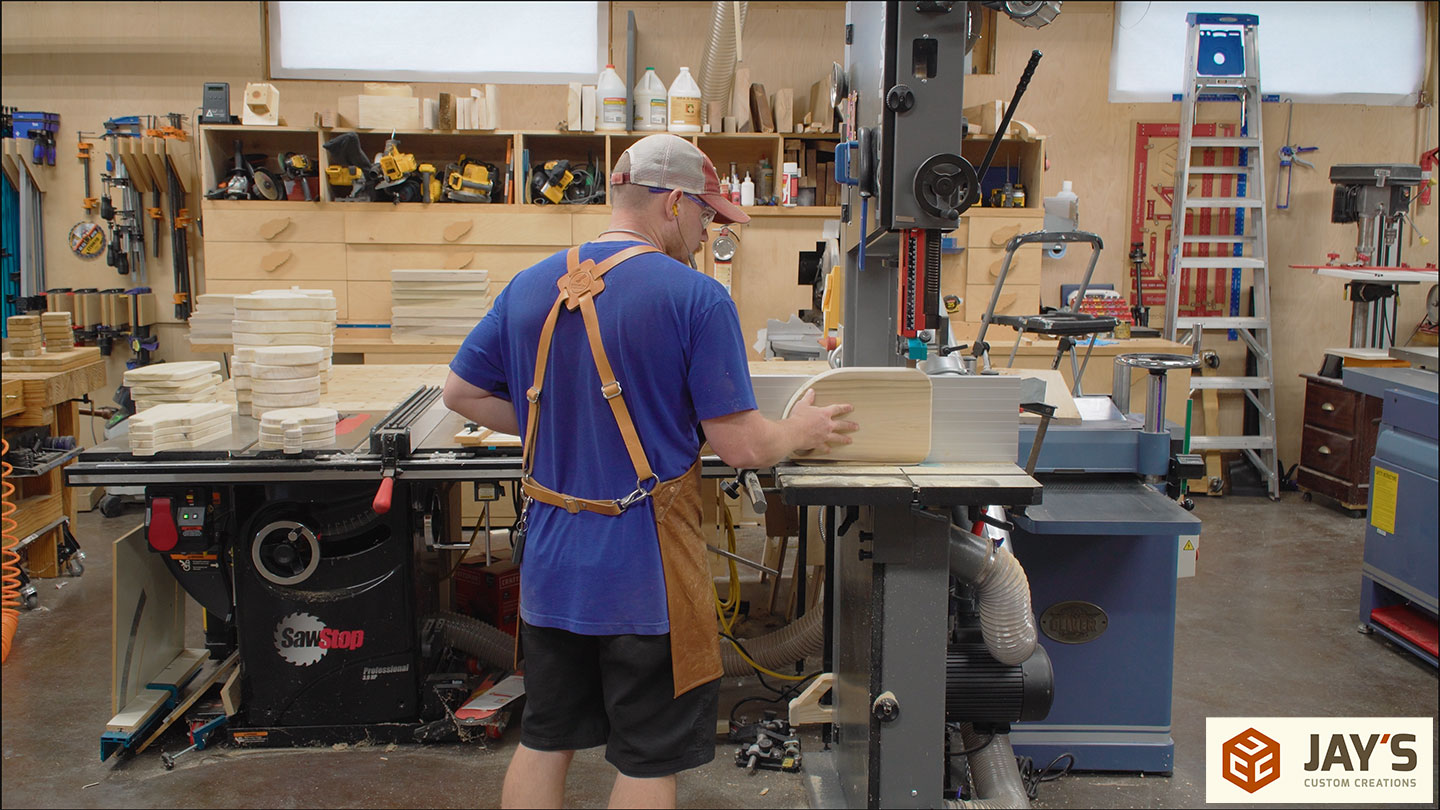
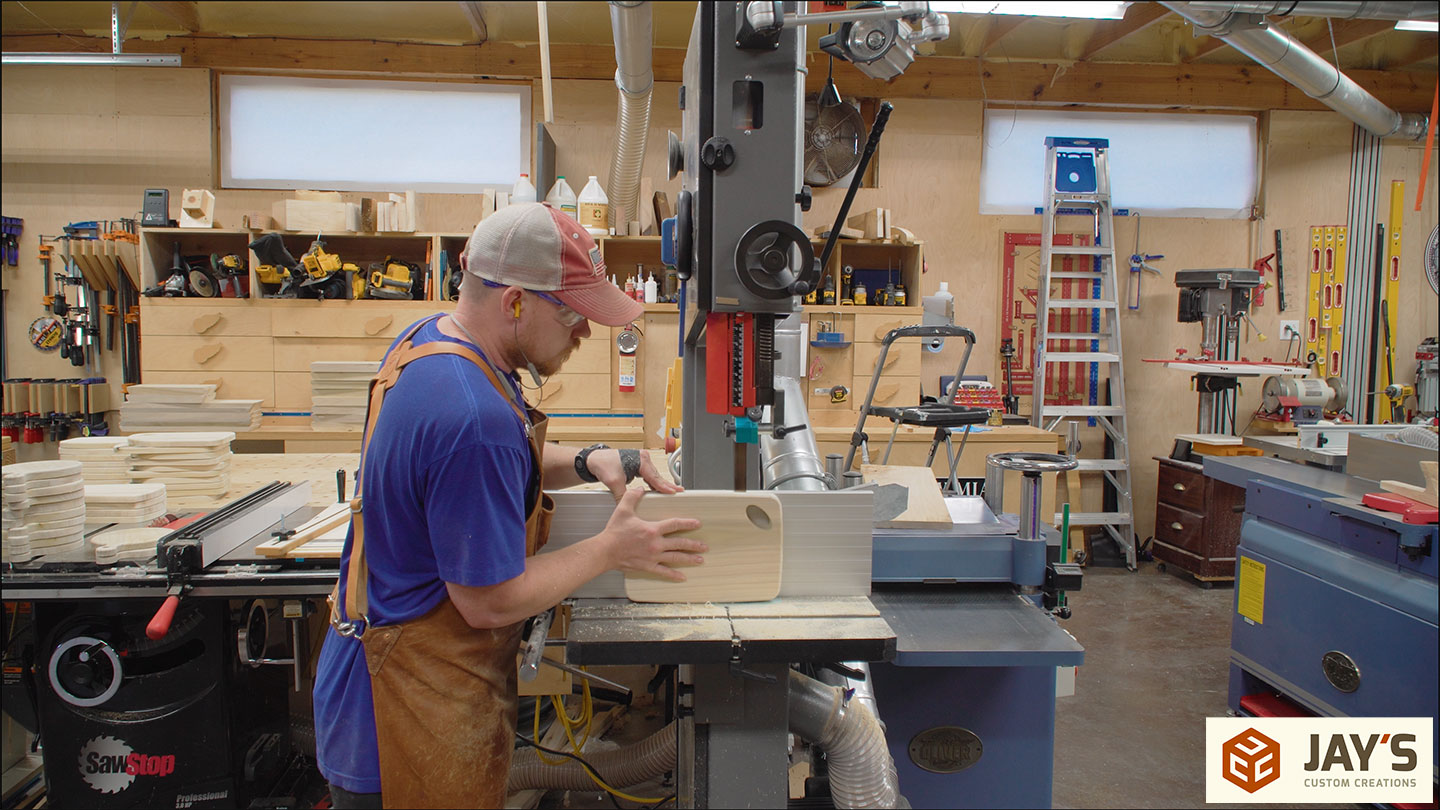
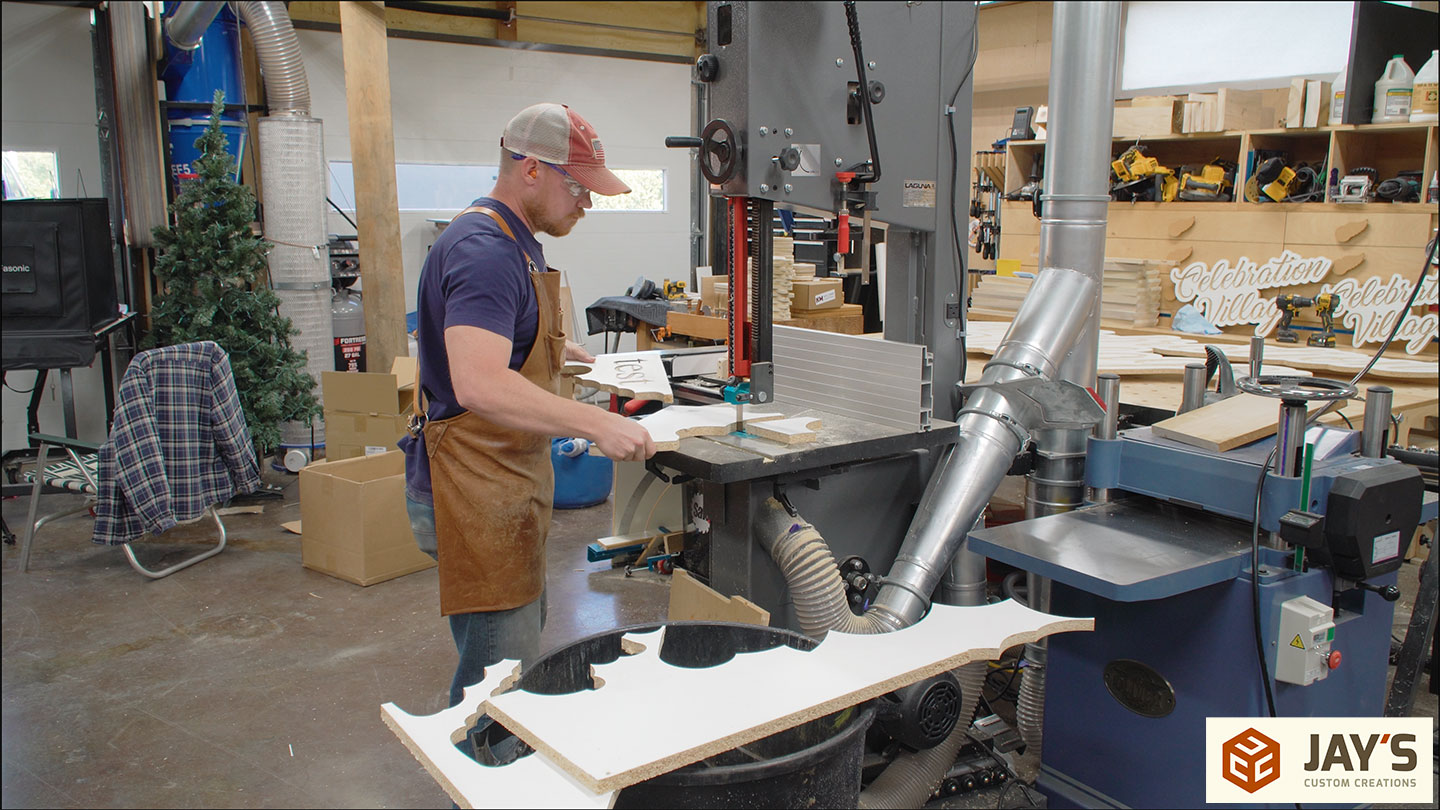
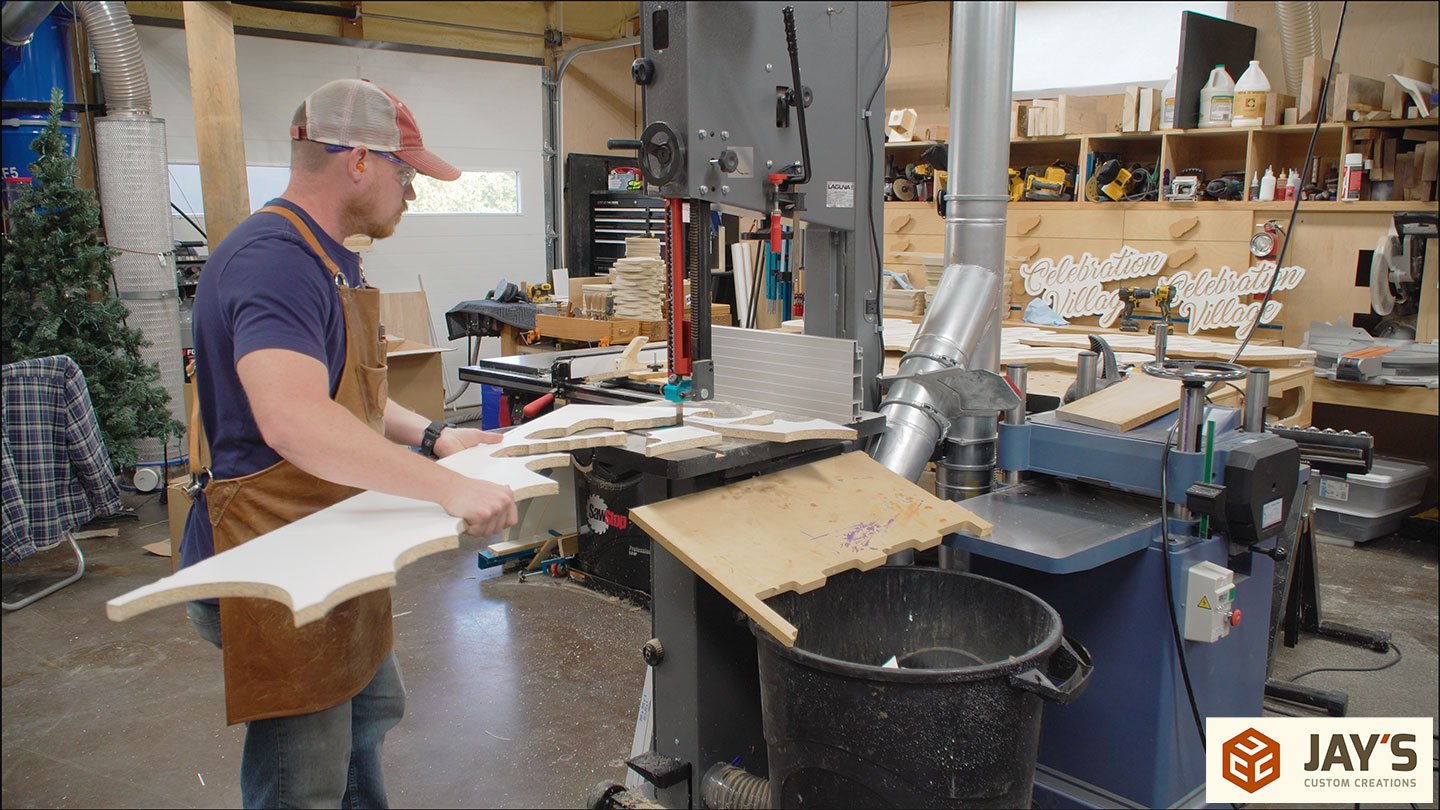
The other stuff is the charcuterie boards I made last week. I batched out a bunch of boards for my wife’s laser engraving business. She, the entire internet, and I agreed that they were just too thick for charcuterie boards. So, I took the opportunity to double up and resaw all the boards in half.

After that break from the CNC, it’s back to the sign to start cutting the tabs.
A flush trim bit in another trim router makes quick work of the tabs.
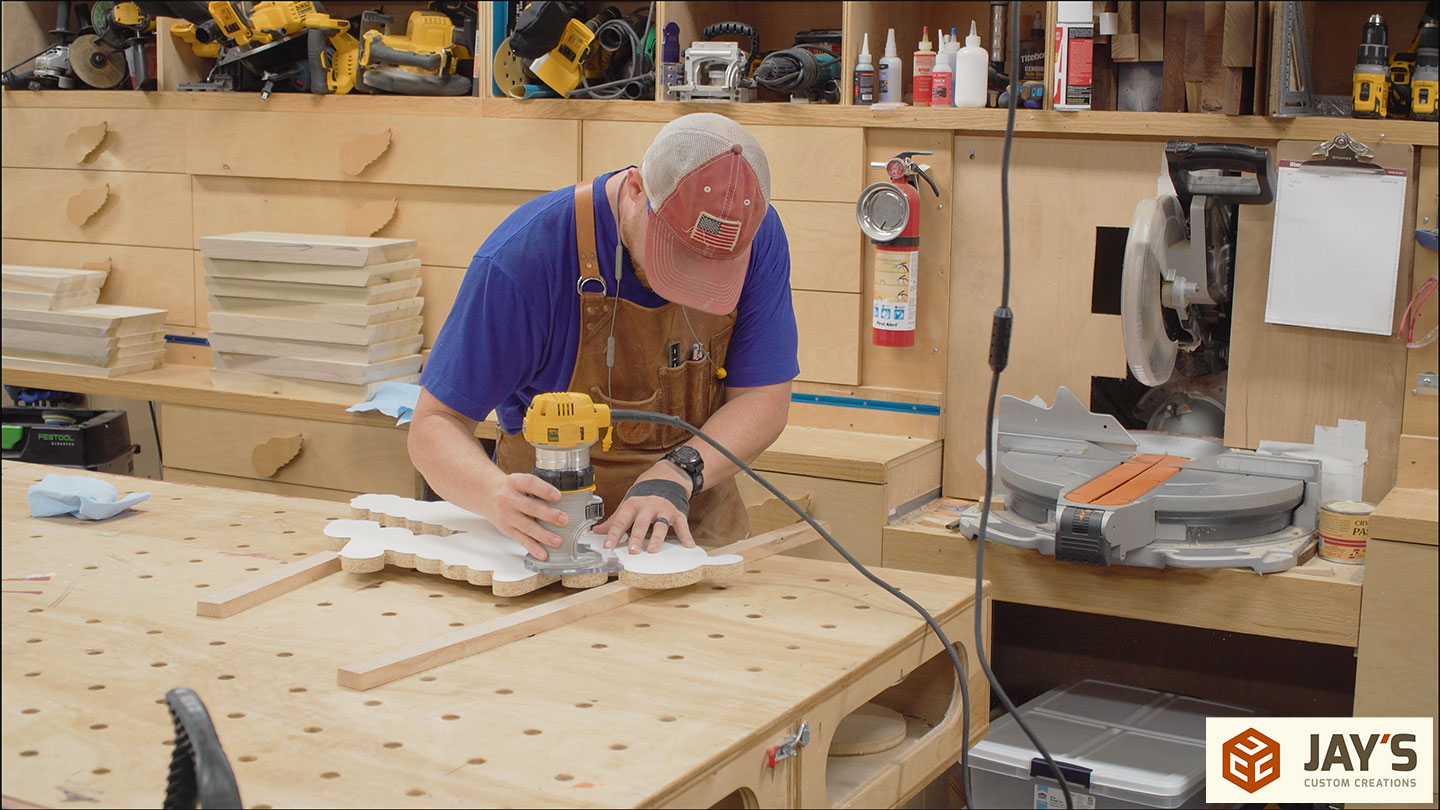
More router action. This time my absolute FAVORITE router bit I own. It’s not the most used, but using it always puts a smile on my face. This is a mighty 1/8″ radius roundover bit. I like to use it when I want to quickly break sharp edges while not changing the overall appearance of a piece. A 1/8″ roundover results in a clean and refined look that I really like. Simple, yet effective. At this point I wanted to reduce the number of back and forth flipping of the sign so I only did the back side of the large sign but both front and back of the smaller signs.

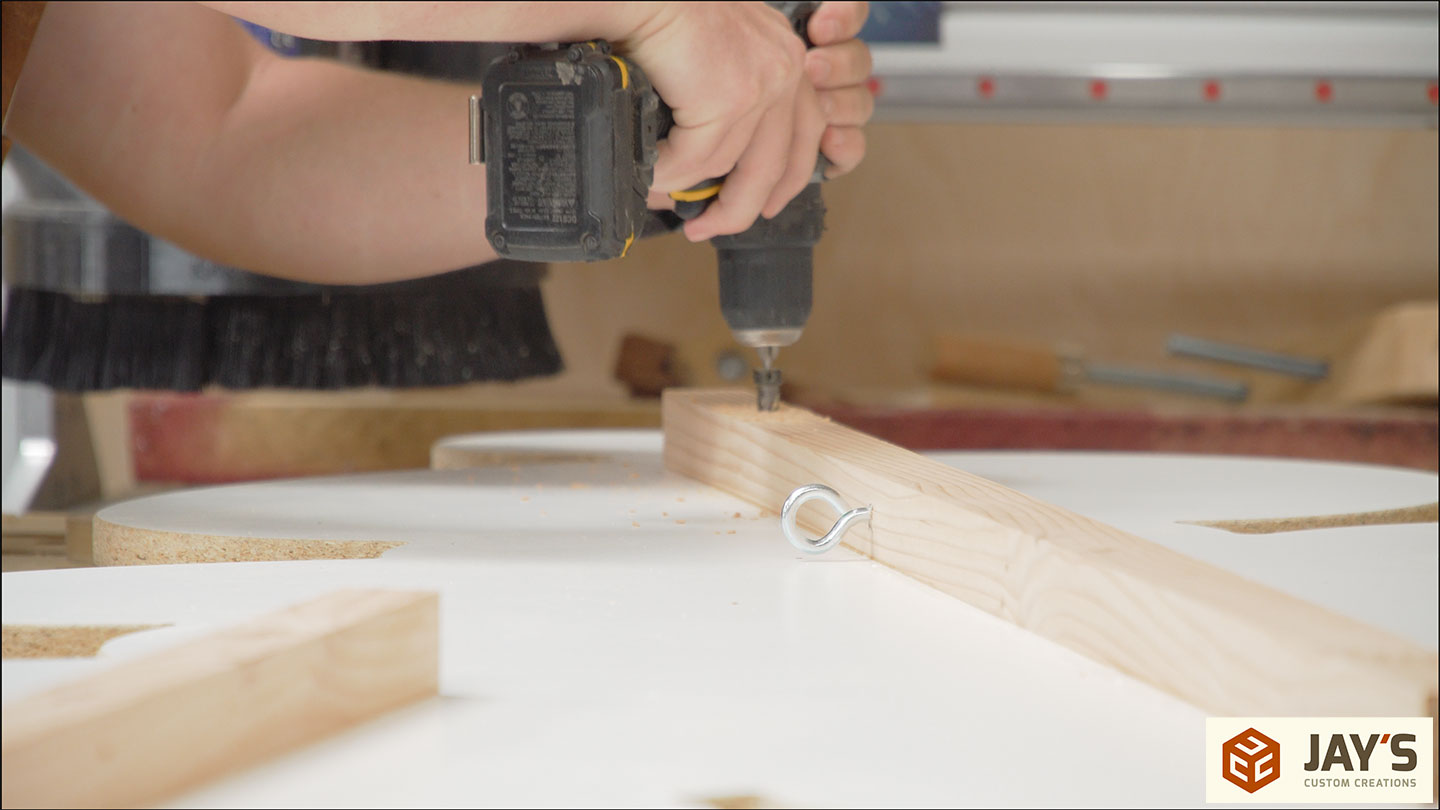
If I’m not mistaken, the sign must be hung above a stage. I milled a couple pieces of pine to glue to the back side of the sign. The length of the pine allows for a lot of glue surface area. Glue sticks to melamine quite well, by the way. I made the mistake of using melamine for an assembly table surface one time. It only took one glue-up on top of it to realize the mistake I made. Glue sticks incredibly well to melamine.
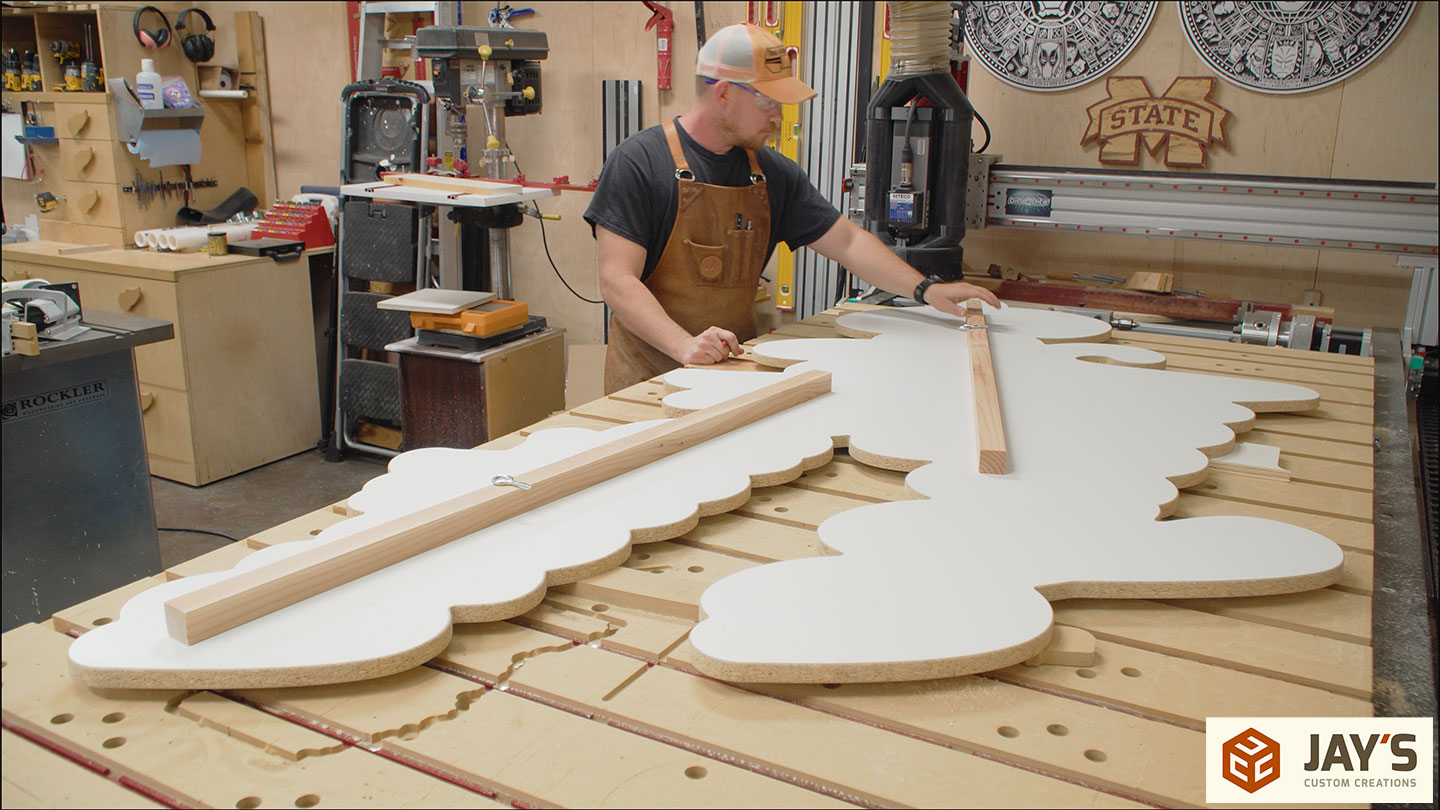
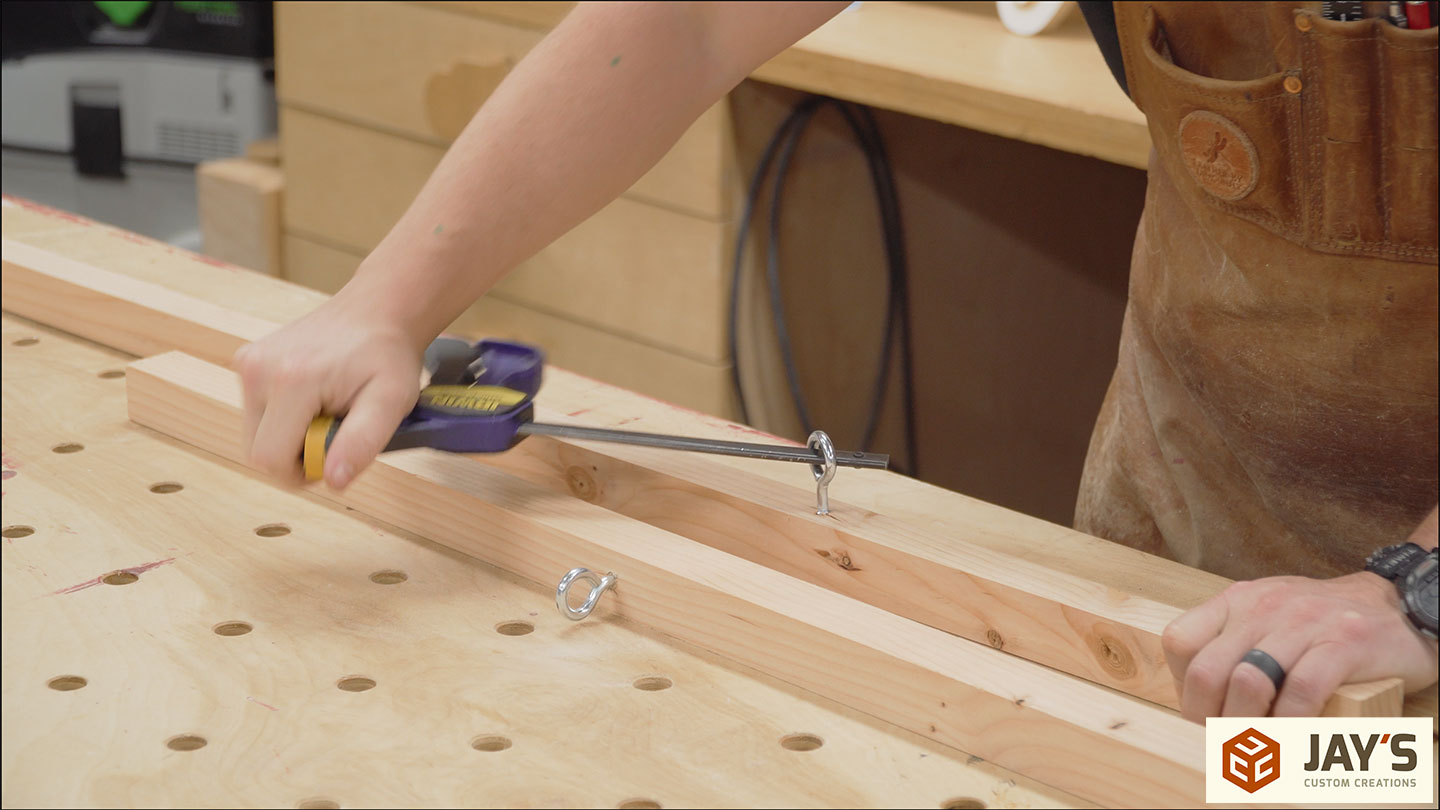
The purpose of the pine is to allow a mounting surface for eye screws. Rope through the eye bolts is how it will hang.

Clamp bars are great for turning eye screws in place.
With the eye bolts installed and the locations of the pine marked, the pine can be glued in place and clamped with anything of weight. I left these to sit overnight for the glue to fully cure before further reinforcing.
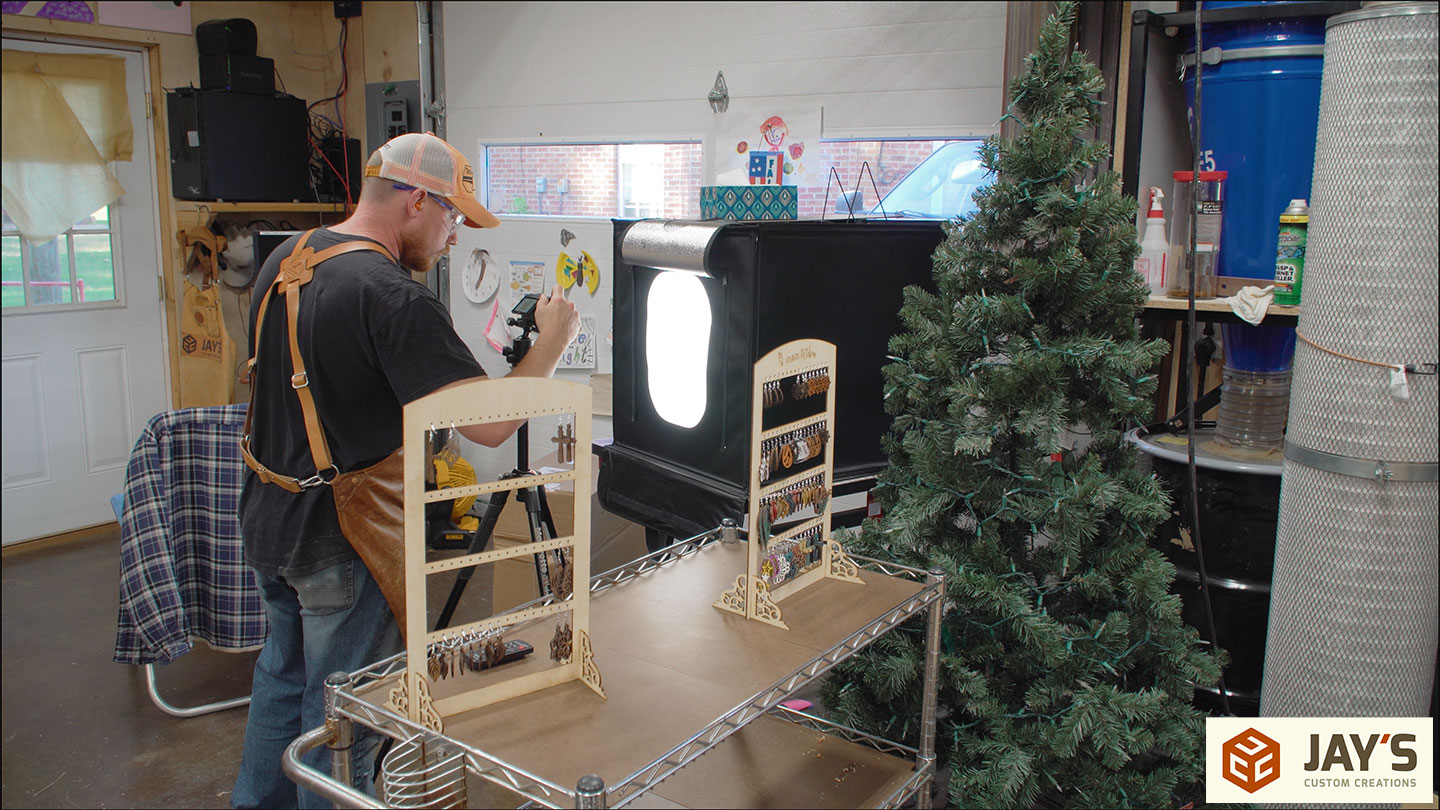
Another detour. This time, I am photographing earrings for my wife’s website. I have a very mixed bag of work experience and my wife has seemed to find a business that can benefit from all of it. My first job out of high school was in the photo department at a furniture factory. My first photoshop experience came from Photoshop 7!
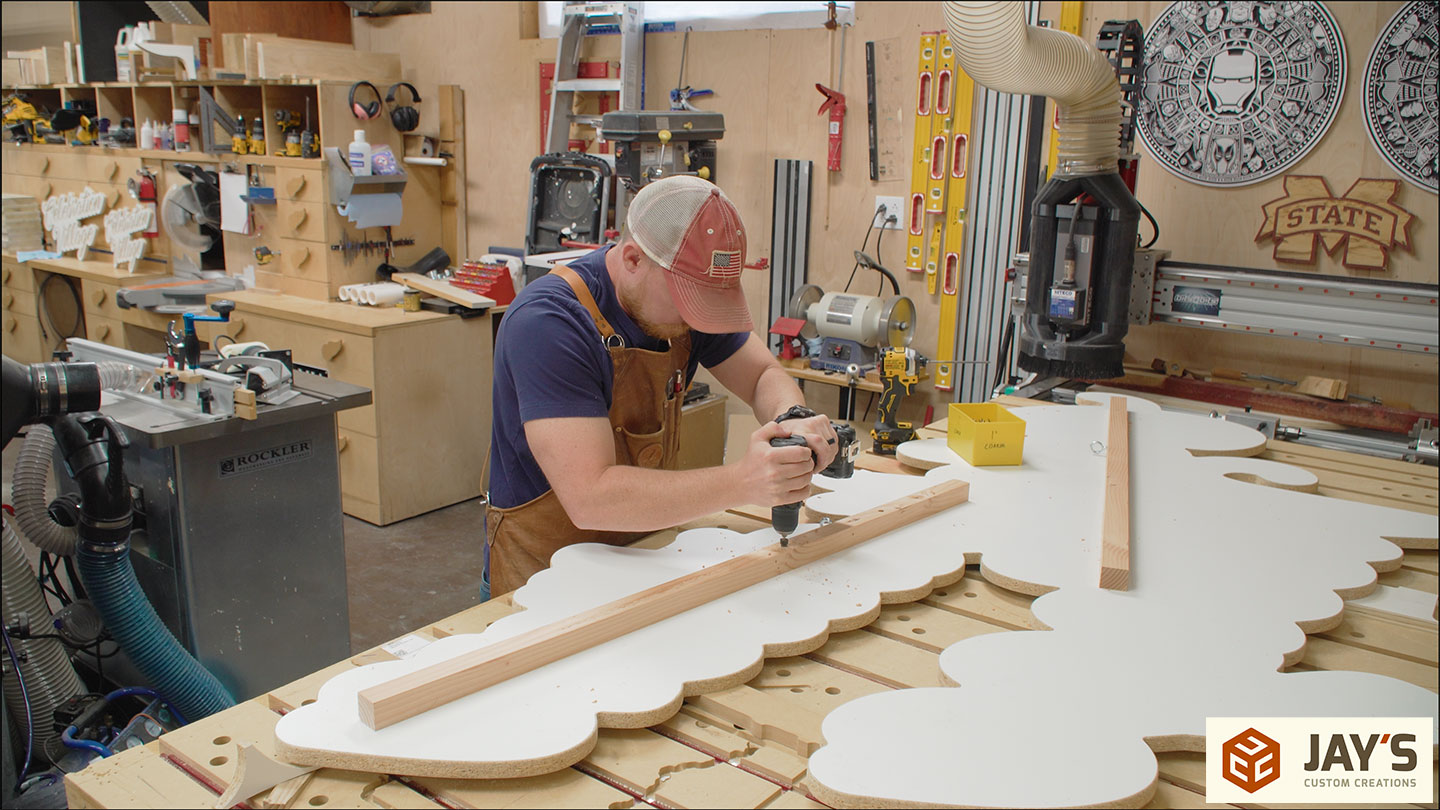
With the glue dry on the pine backer boards, I can add some reinforcement. A full sheet of melamine weighs around 95 pounds and I estimate this sign to be around 70-75 pounds. Each one of the eye screws should be holding about 35-45 pounds of weight, which I think the glue bond alone should be strong enough for. But for extra security I added one countersunk screw on each side of each eye screw. Doing this after the glue dries prevents the melamine from mushrooming up when the screw is driven home. The only benefit of adding the screws before the glue sets up is the screws will act as clamps. Time wasn’t a factor with this one so I didn’t need that benefit.
Here’s a good look at the sign as it will be seen above the stage. Even without the black lettering I still think it looks pretty good. Definitely visible from a distance.
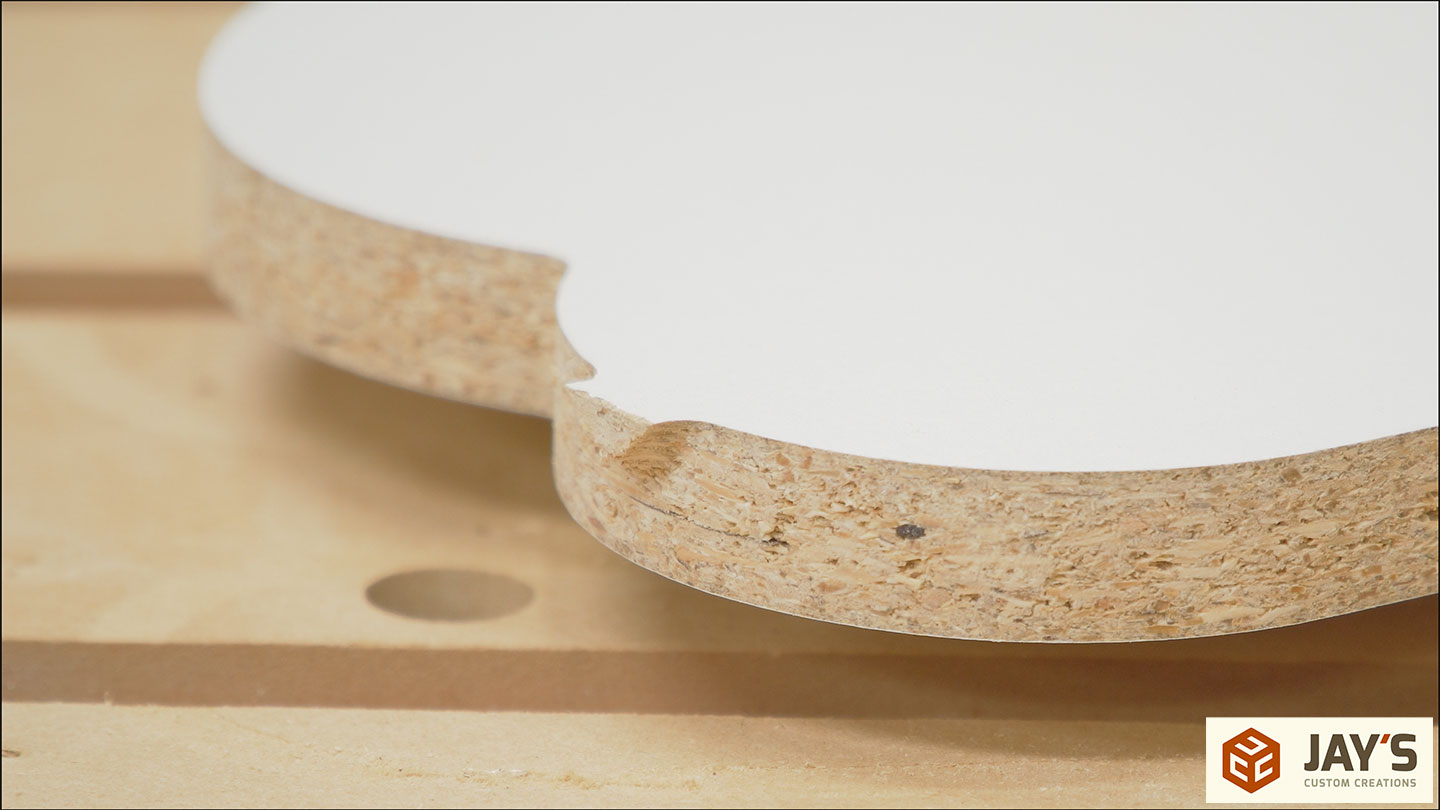
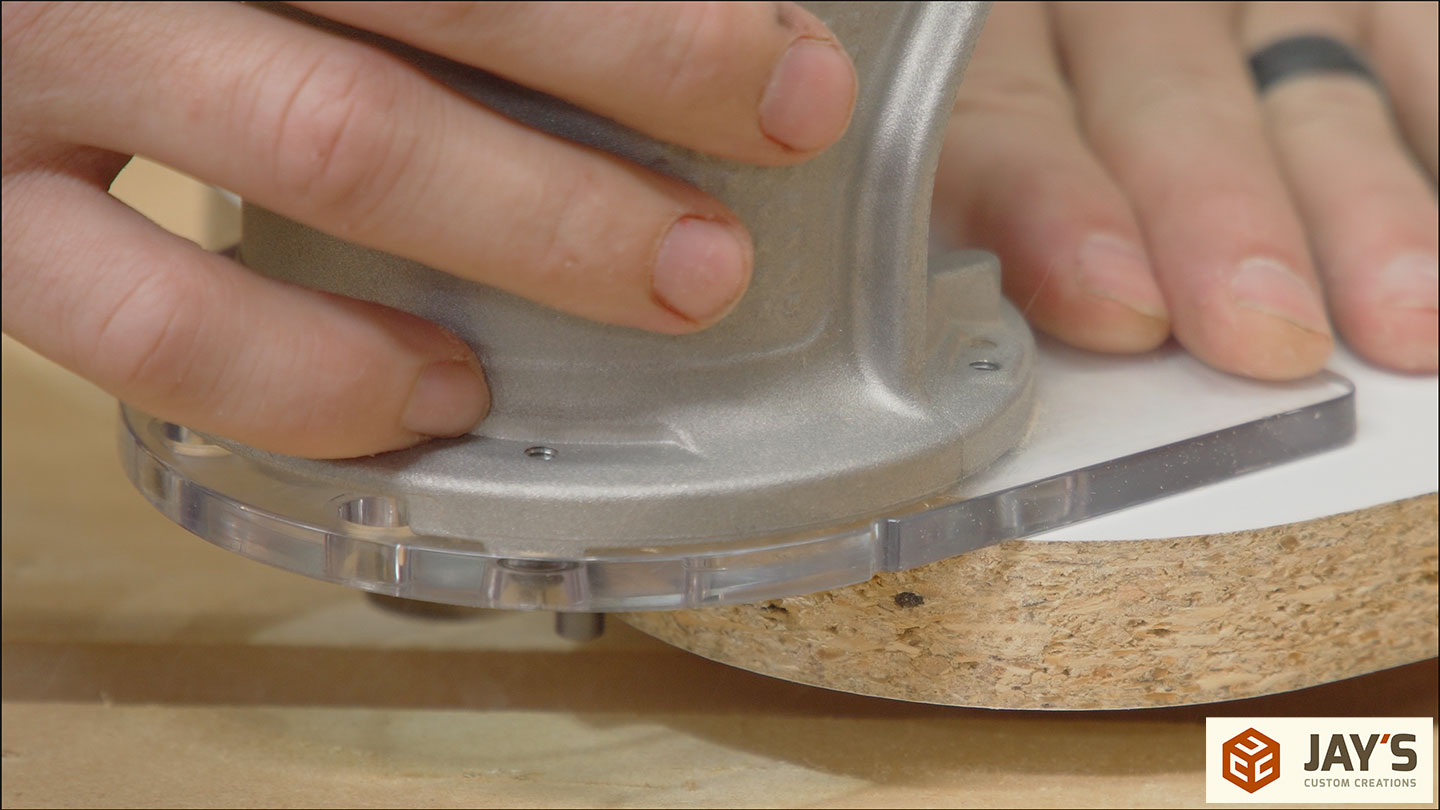
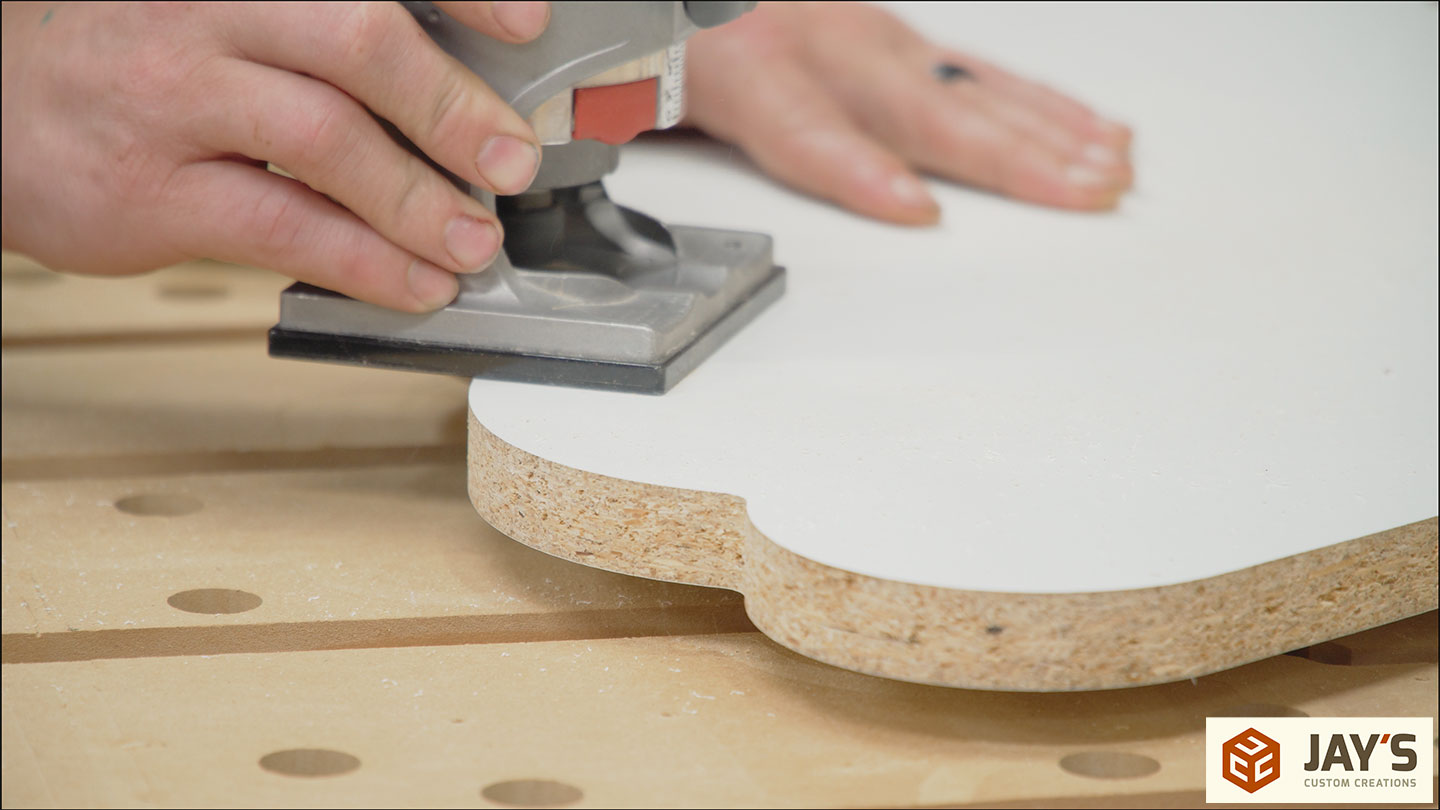
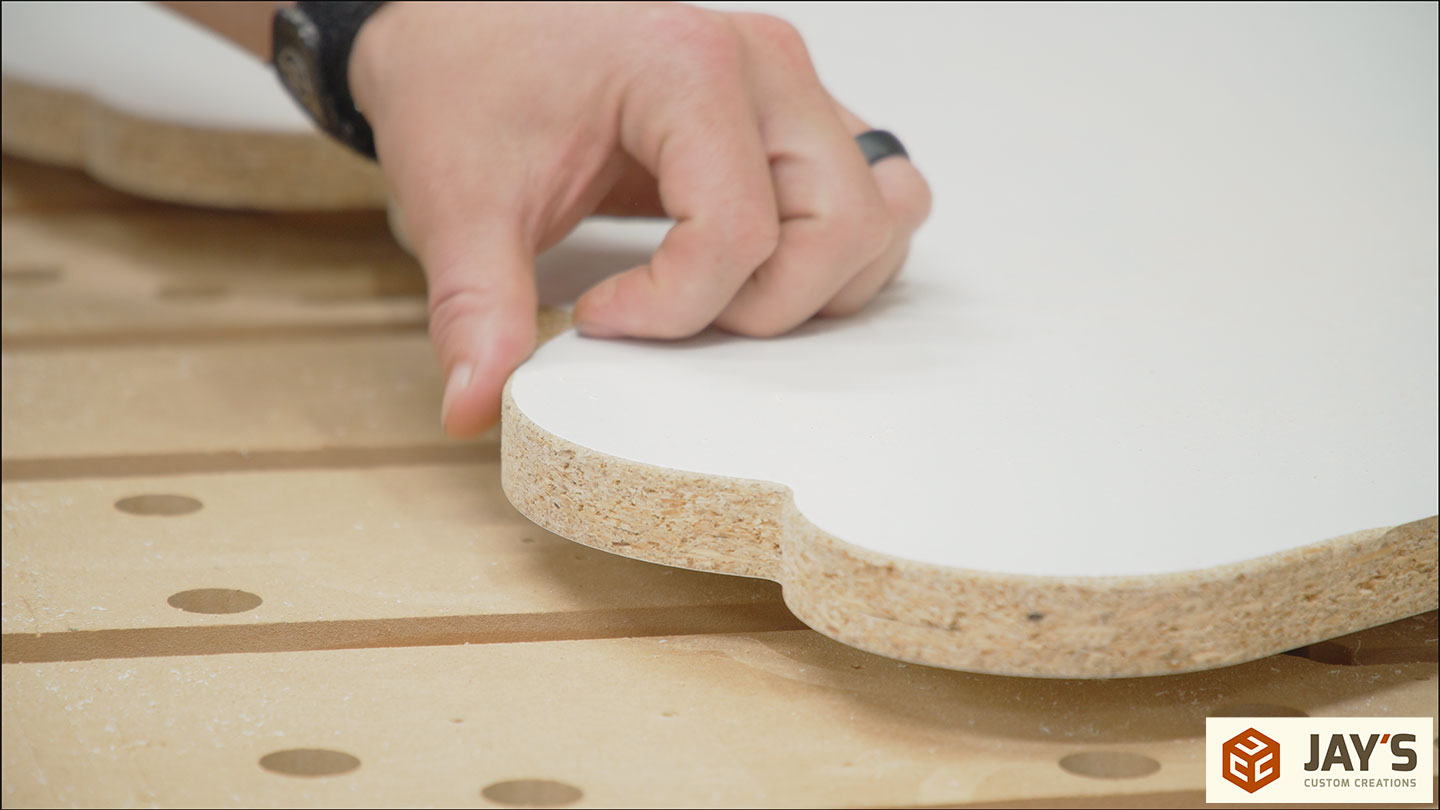
If you’ve worked with melamine before you know how brittle the veneer is. And how sharp it is! Seriously, don’t look at this stuff the wrong way or it will reach out and cut your hands. Finally, the 1/8″ roundover is added to the top surface. This will also protect the edges slightly and prevent chipout around the perimeter.
Melamine is a great material to work with on the CNC. It cuts easily and is relatively inexpensive. The only down side is all of the scrap that I don’t know what to do with. I wish there was a better way to utilize all of this material but sadly, all of the offcuts get cut up and head to the landfill. With most plywoods I can keep, and use, even the smallest of pieces. All of my hardwood scraps go to my smoker and firepit. This stuff just heads to the landfill.
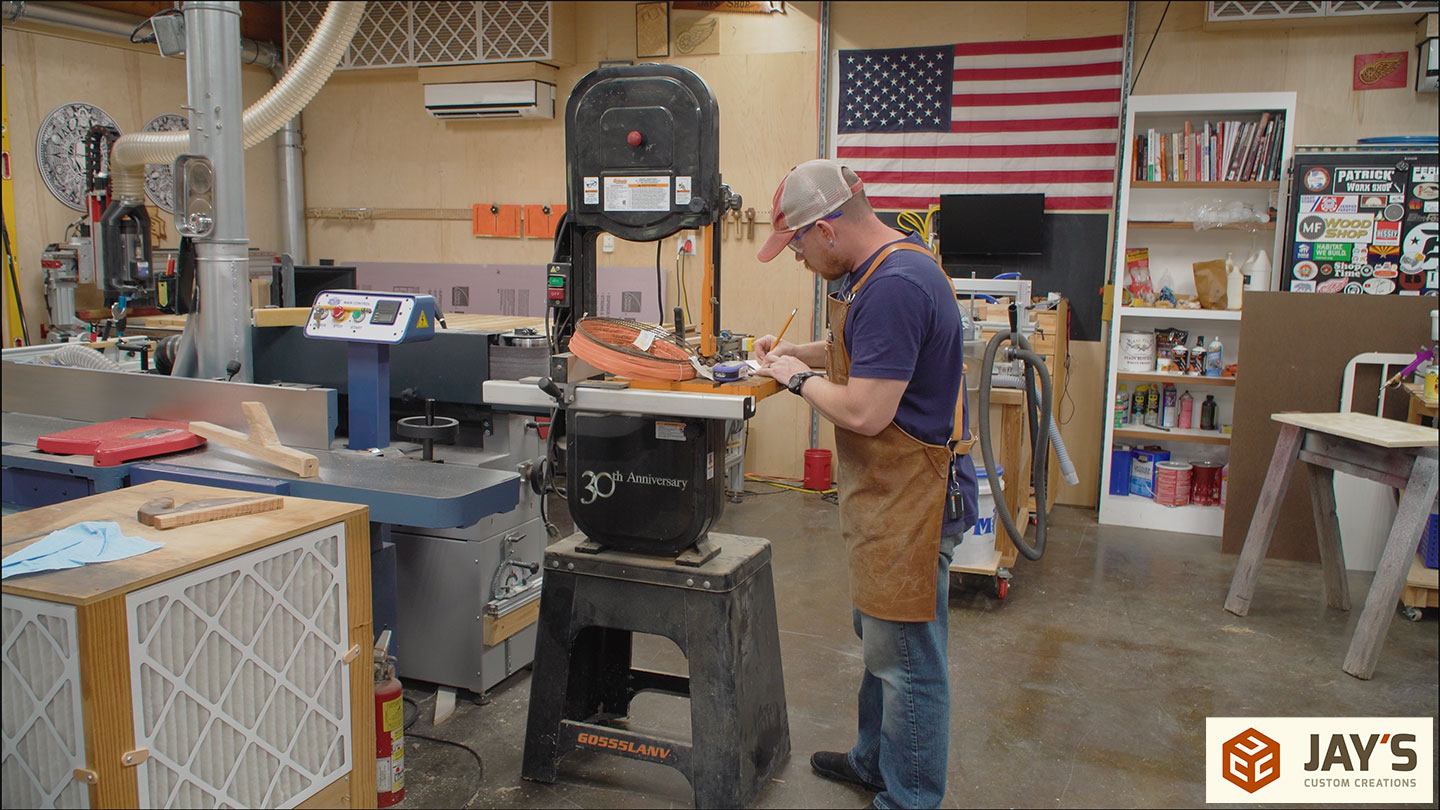
And finally, I got my old bandsaw back! I bought this bandsaw in 2013, sold it to a friend of mine in 2018, who then sold it to another friend of mine in 2020, and now it’s back in my shop! It has seen better days though. Actually, I think it just hasn’t seen enough days. Lack of use seems to be its only real problem. The bearings are gummed up and the table is a bit rusty. I’ll do a restoration video on it soon but first I need to order a few parts.
And that’s where I’ll end this one. Thanks for following along and I’ll catch you later!


I have a grizzly 555lx and would love to have the riser block!
I carve melamine all the time on the CNC – Ikea shelves are actually the best. Anyways, paint with water based stain or with acrylic paint, wipe off the bulk (not entirely necessary but will help later), let it dry completely, then scrub all the extra stain or paint off with a Mr. Clean eraser or the Amazon knockoff. Just keep washing out the eraser as you wash it out. If you get any chip-out on the edges, I do a round over or chamfer and paint that edge as well.
I’ve used car paste wax on melamine, just wipe on before carving and let dry, carve then paint then wipe the wax and dried paint off. Works fairly well. By the way, jealous of the Avid!😉
Jay,
you are using both the Dewalt mini router and the Bosch “colt” I believe, to round edge your work. Was there a problem with one or the other? Are you happy with one over the other?
Secondly, I see you have a form of the Corsi-Rosenthal type of air filter in your shop. Have you ever discussed the making of it in your blogs? I built a very similar one with the fan unit on top and four sides of standard 20″ by 20″ filters. I used no wood in mine and are curious to see how you constructed yours.
Thanks,
Keith
You should check out the “new” Melamine. The inside is all wood, not pressboard. It shouldn’t chip as easily and can hold screws. I opened my box of my 4 “new” pieces and they look beautiful and the guts of the Melanine looks exactly like Baltic Birch. Check it out.