If you’d like to purchase the CNC files for this build, click here.
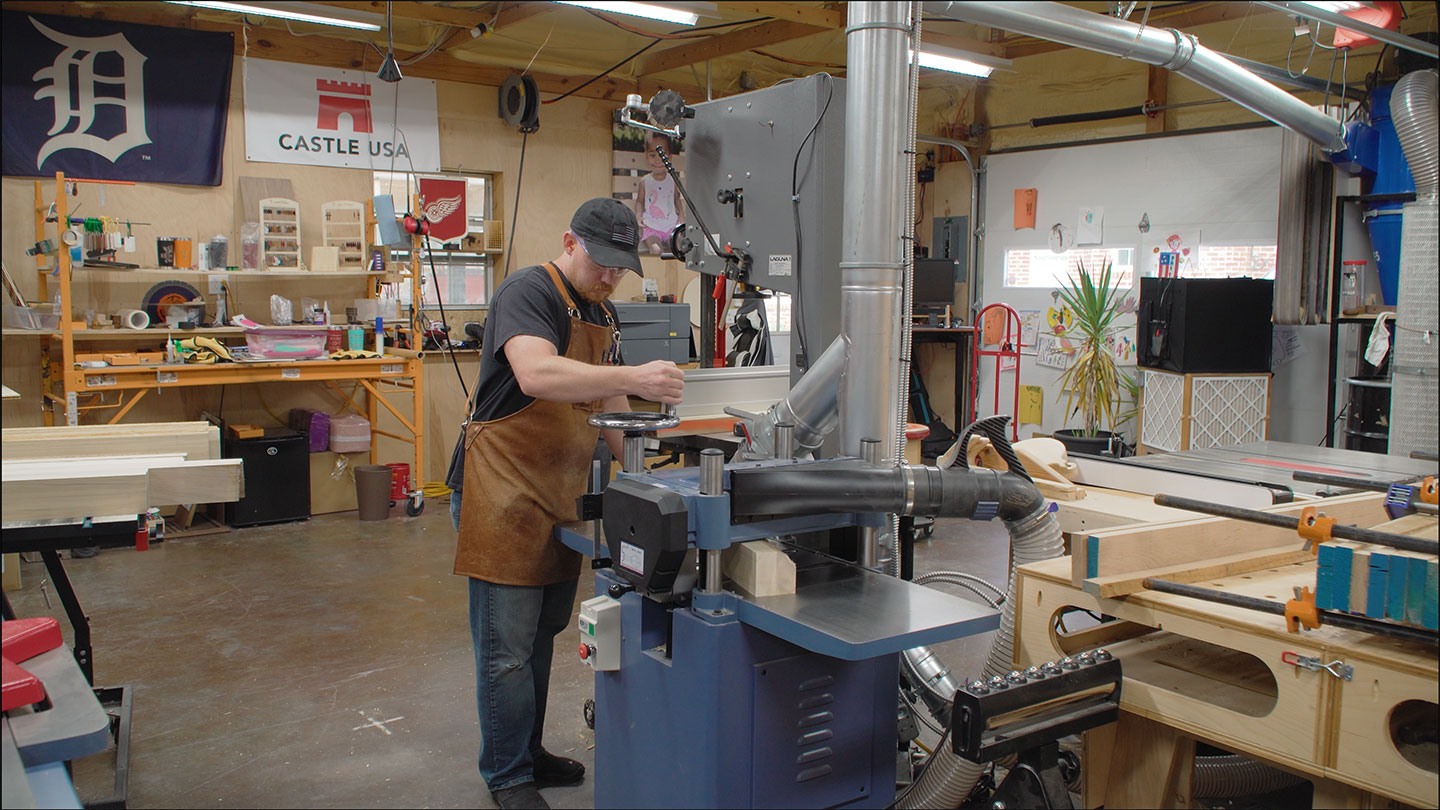
My daughter is five now. I think it’s time for her to get her first workbench. In this video and article, I’ll walk you through building the workbench itself. I’ll cover the final fit and finish in the next video.
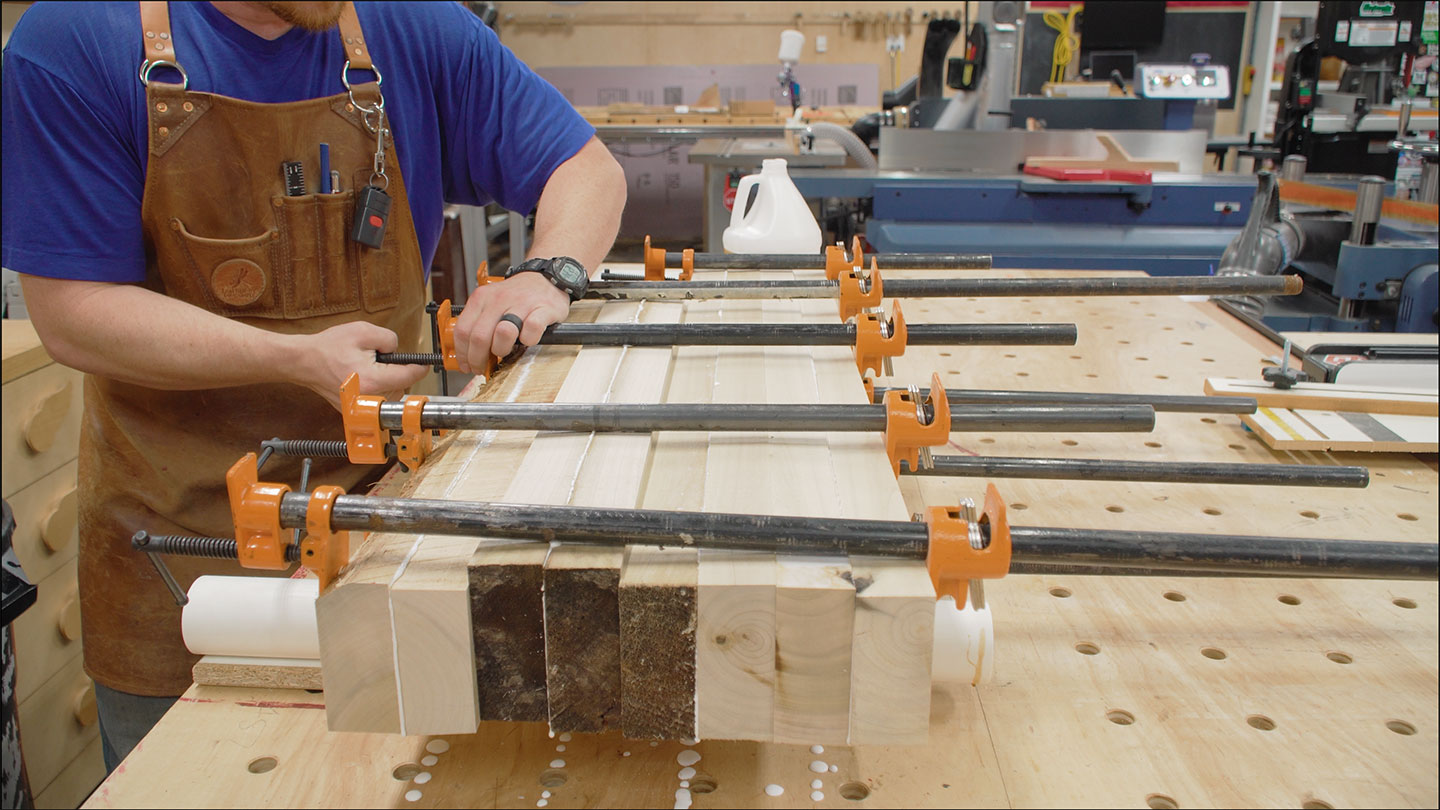
I want to use up some extra lumber I’ve had on hand for a while. Each base component will be a glue up of two pieces of 8/4 poplar.
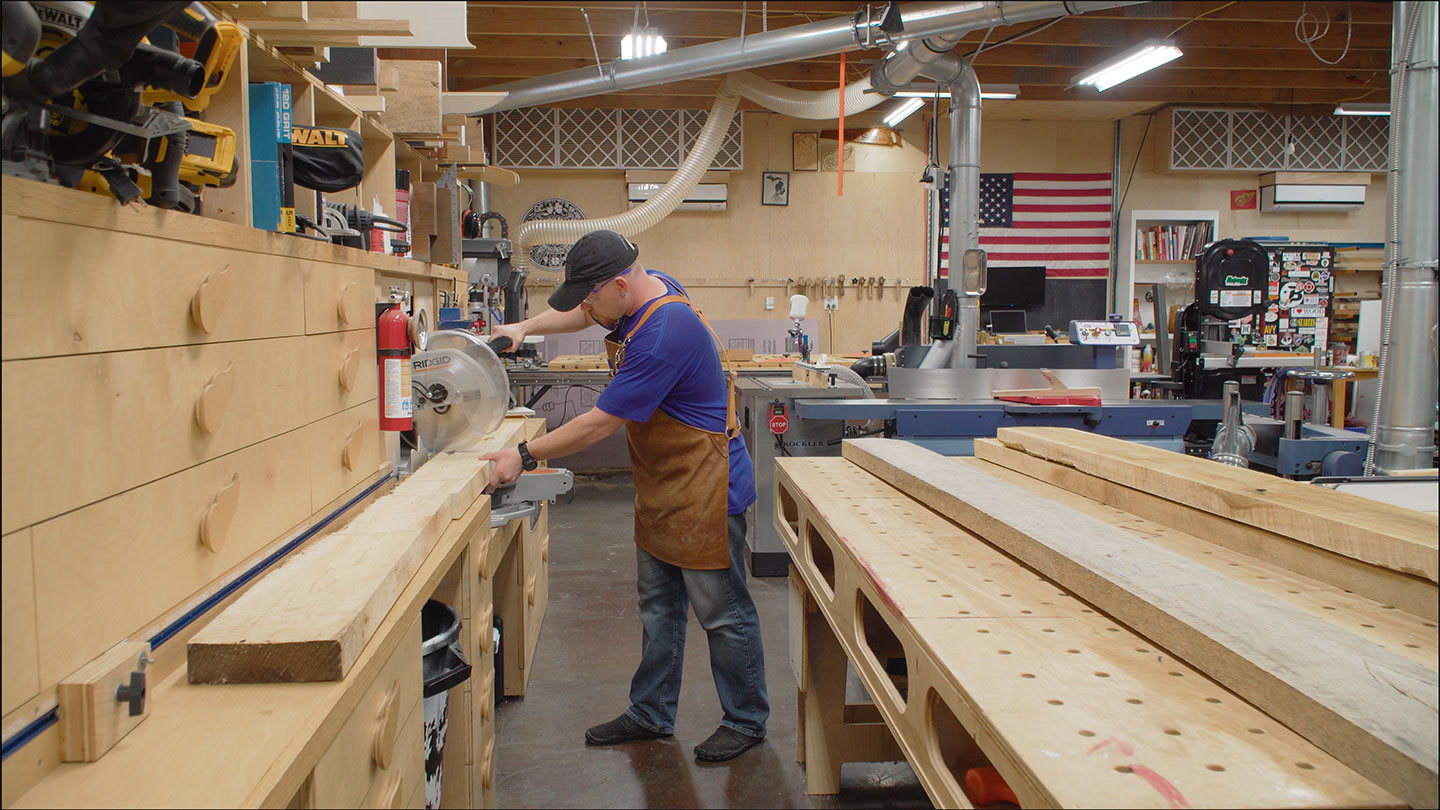
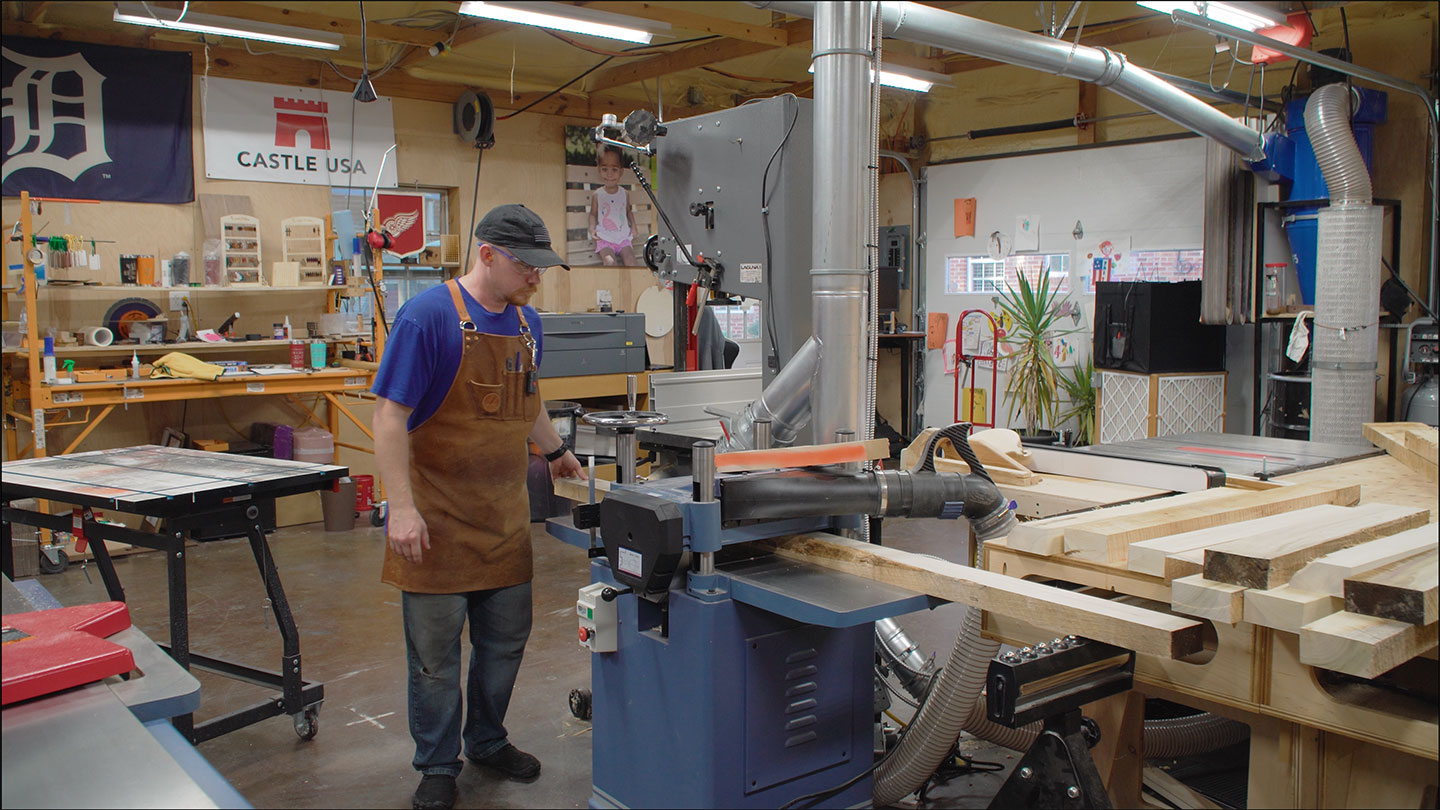
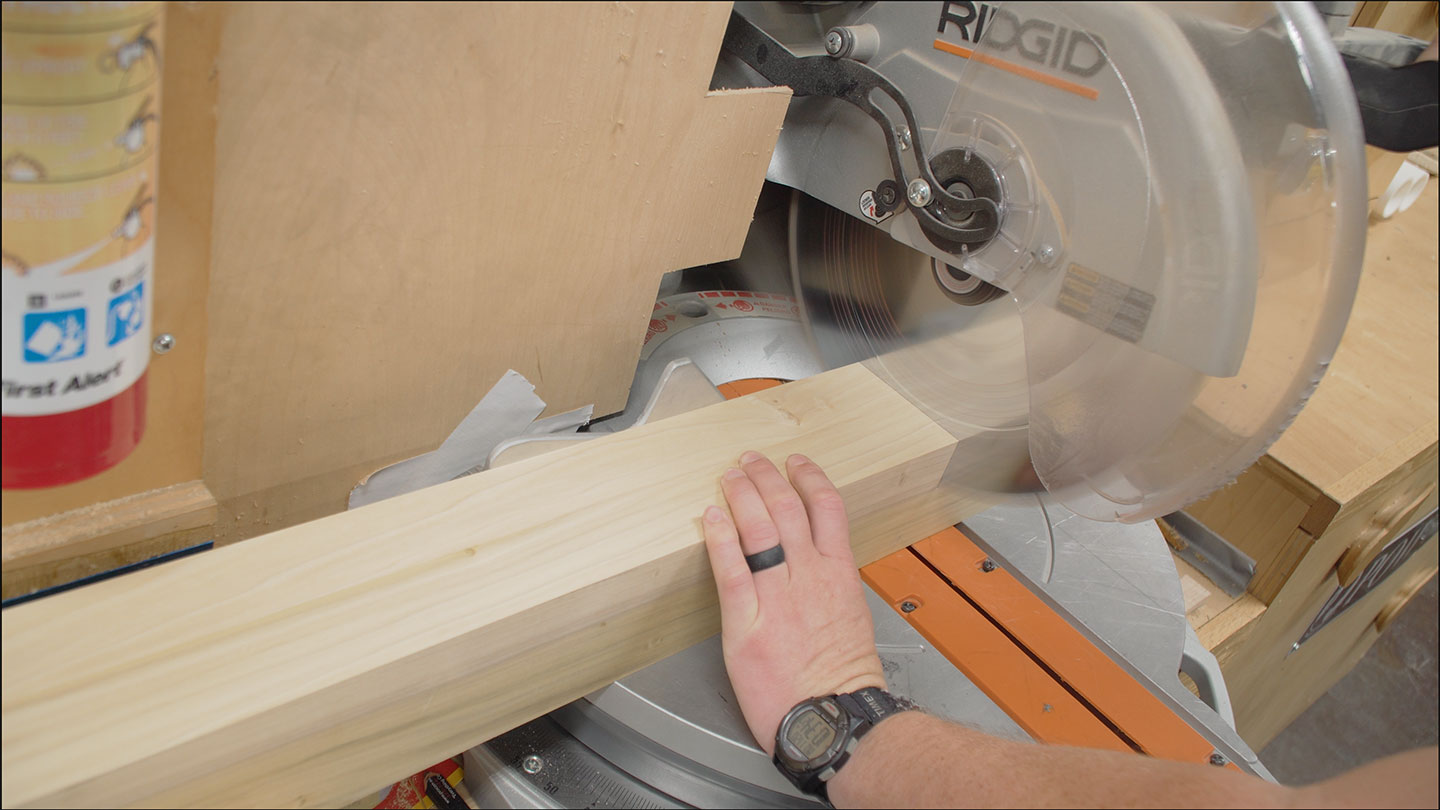
The first step in my milling process is almost always rough crosscutting at the miter saw station.

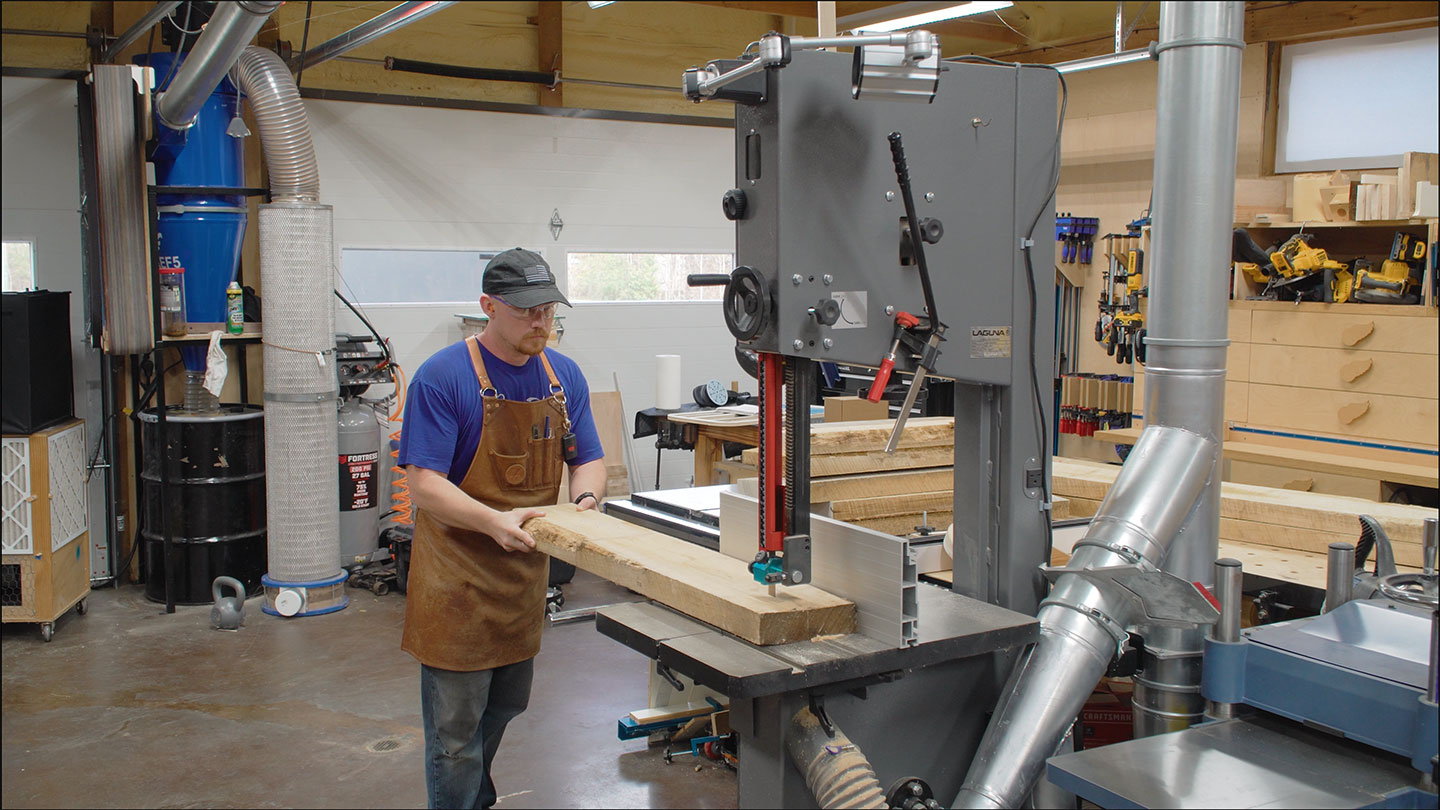
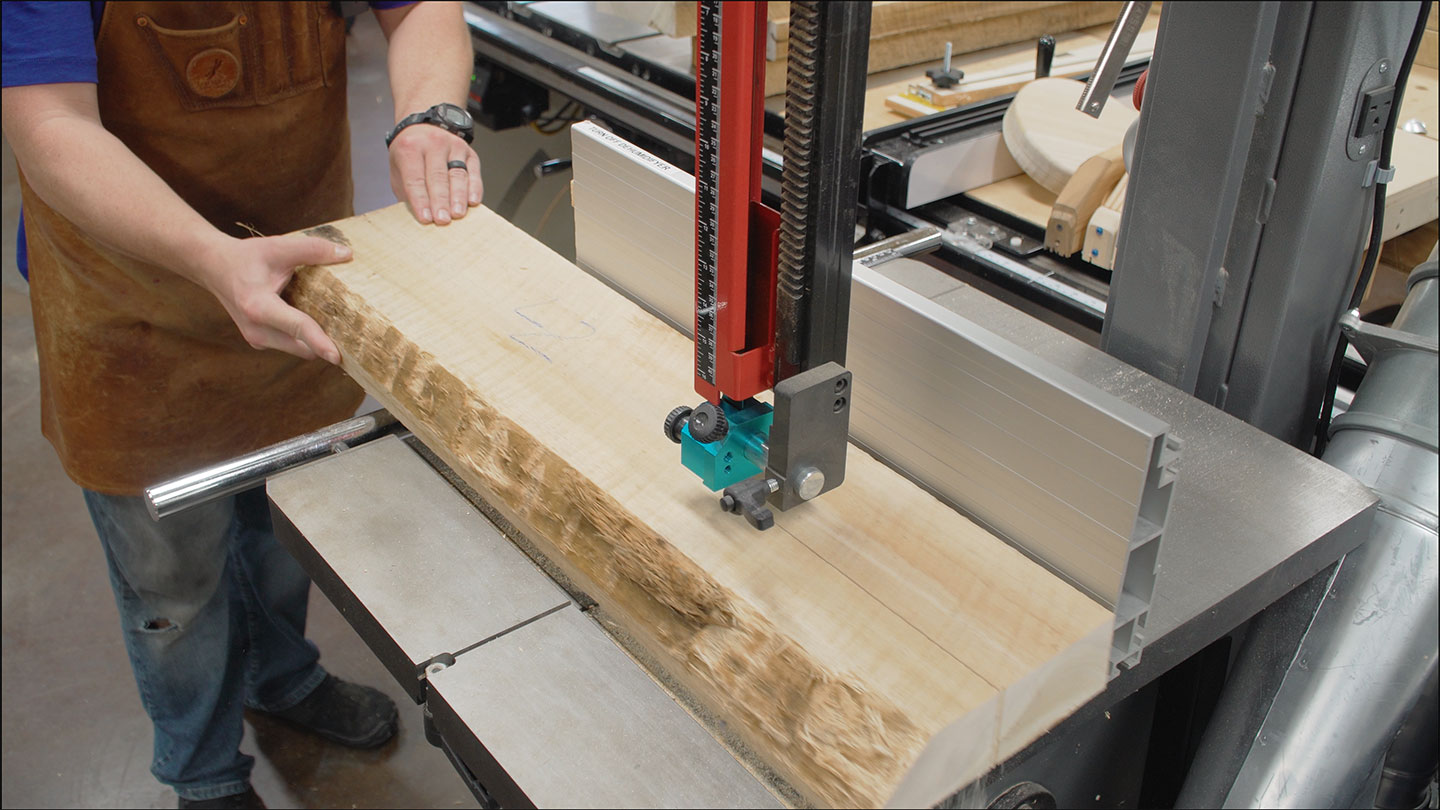
Followed by any rough ripping with the bandsaw. These boards are all cupped. Using the bandsaw for ripping is safer than the table saw in this case. Ripping cupped boards at the table saw is a good recipe for wood binding between the blade and the fence as the cut is completed. A good flat reference face should be used on the table saw surface, which these boards do not have.
Jointing one wide face is next.
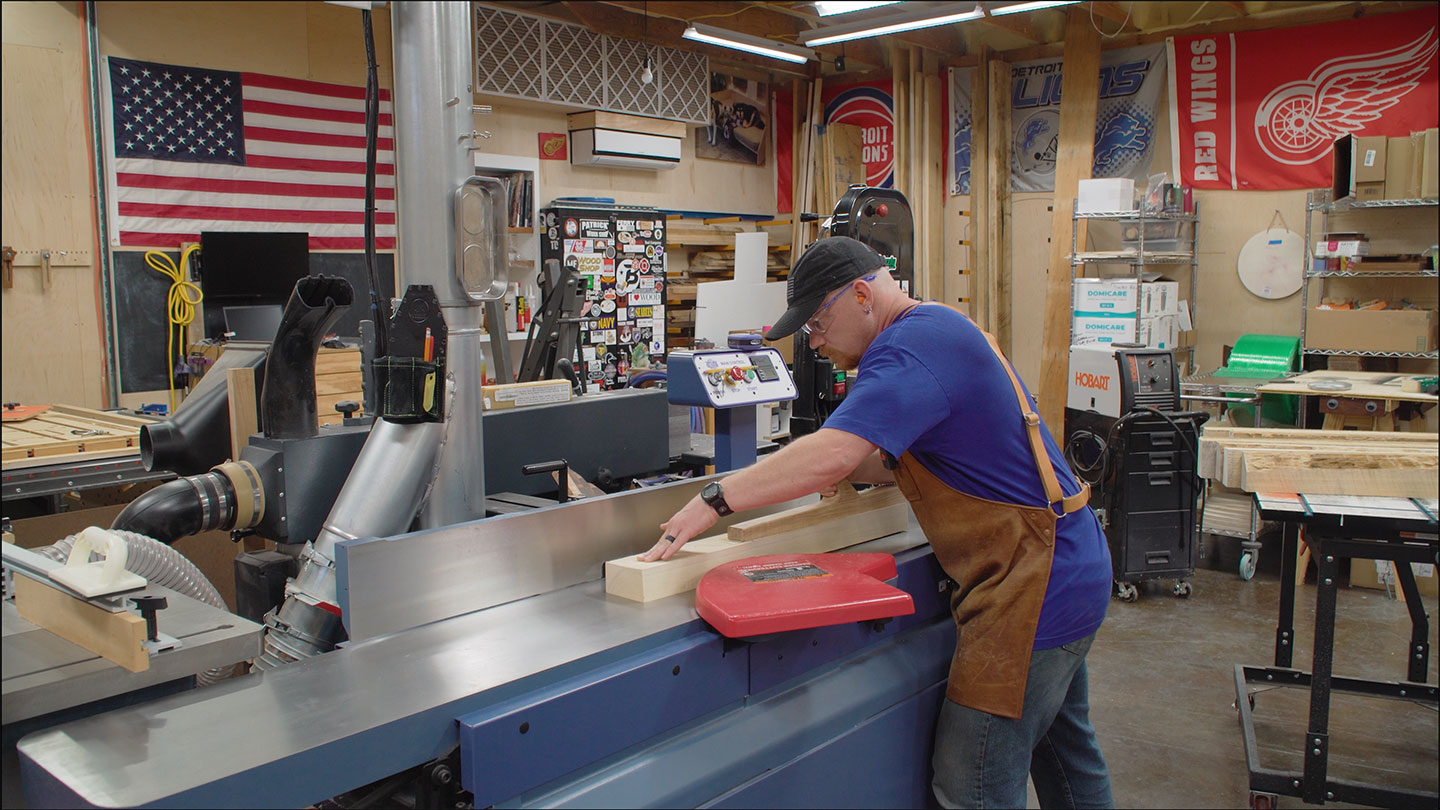
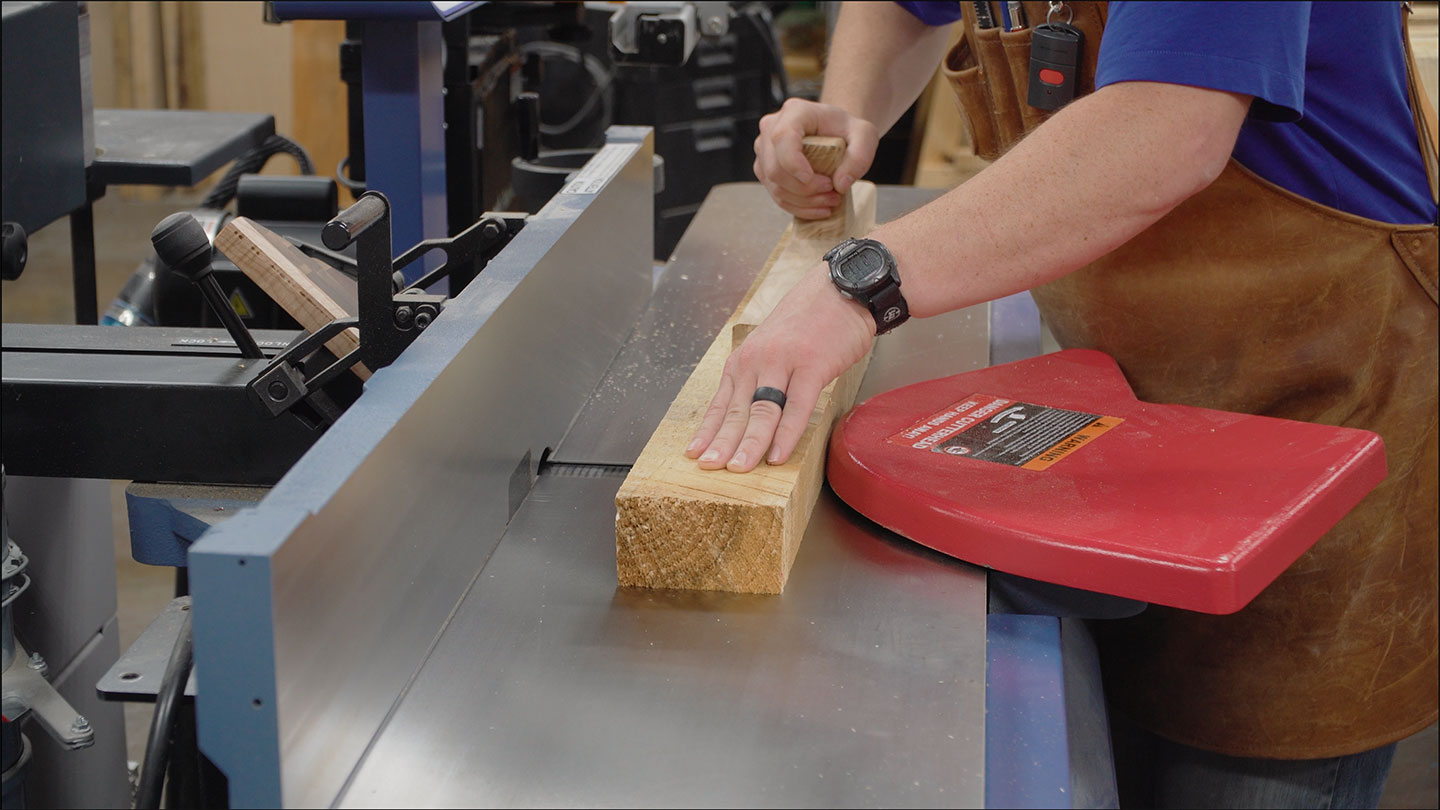
Followed by planing the opposite wide face flat and parallel to the first.
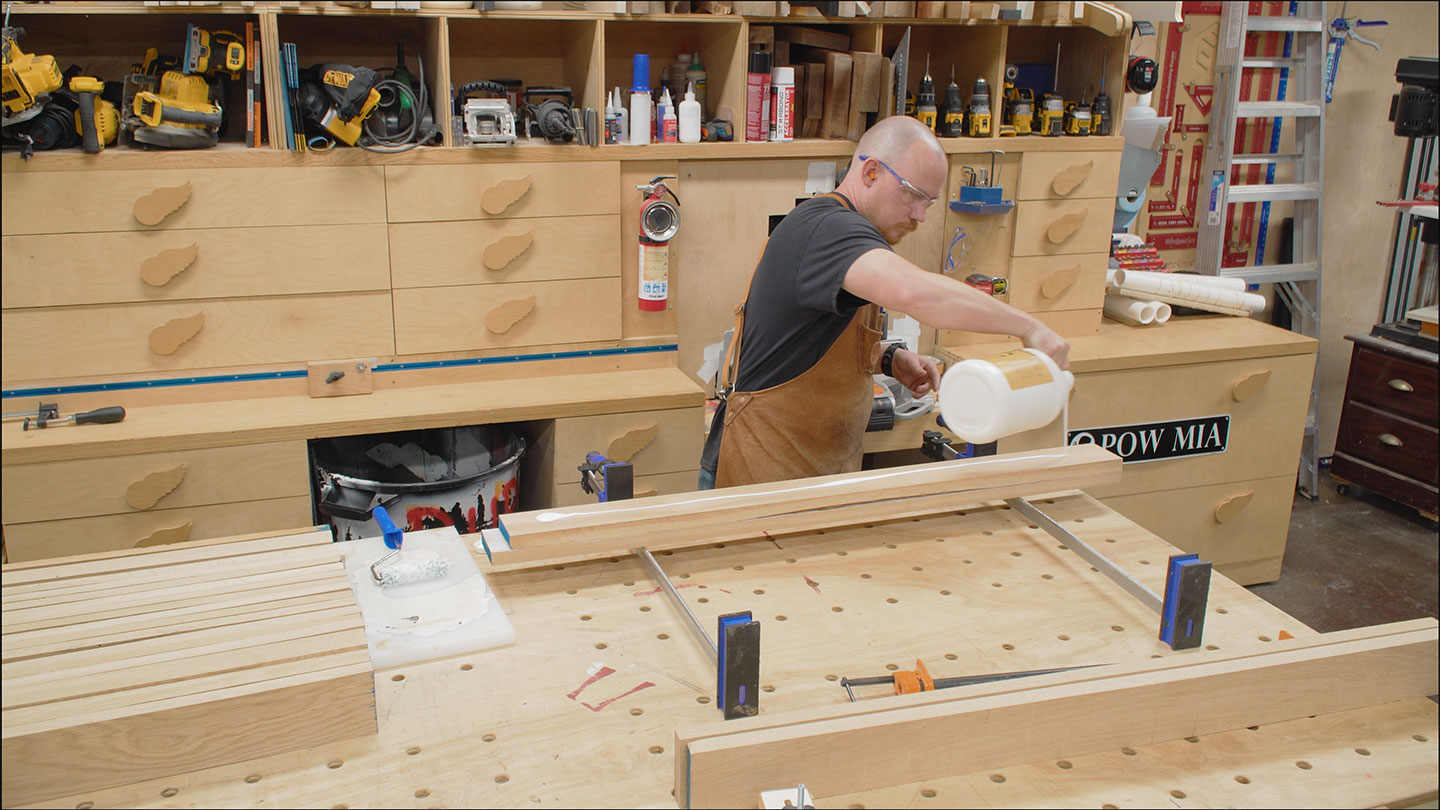
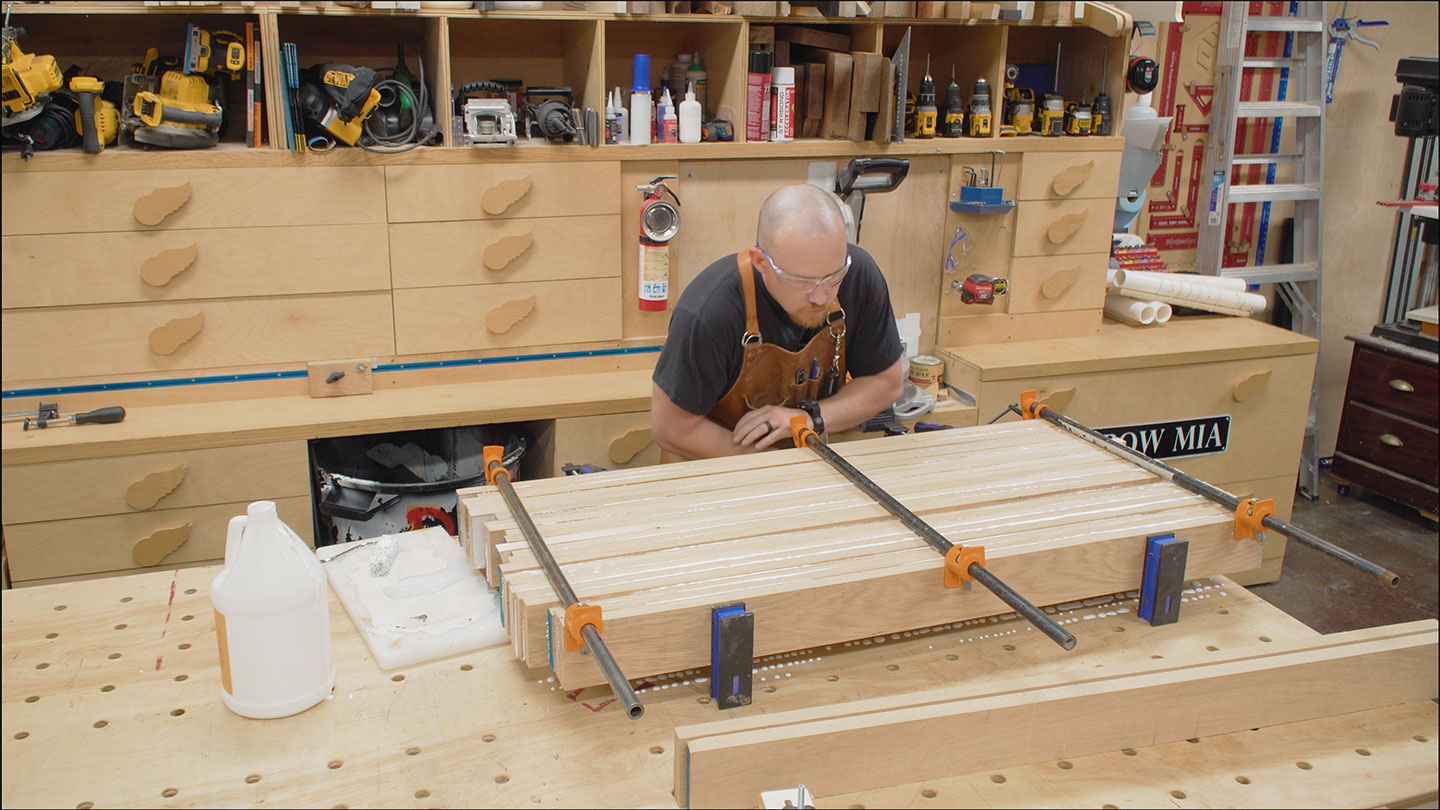
The base components will need to be jointed and planed once more after assembly so I don’t worry about the narrow faces just yet. I’m only gluing two bards together for each component, but it makes sense to glue them all together at once.

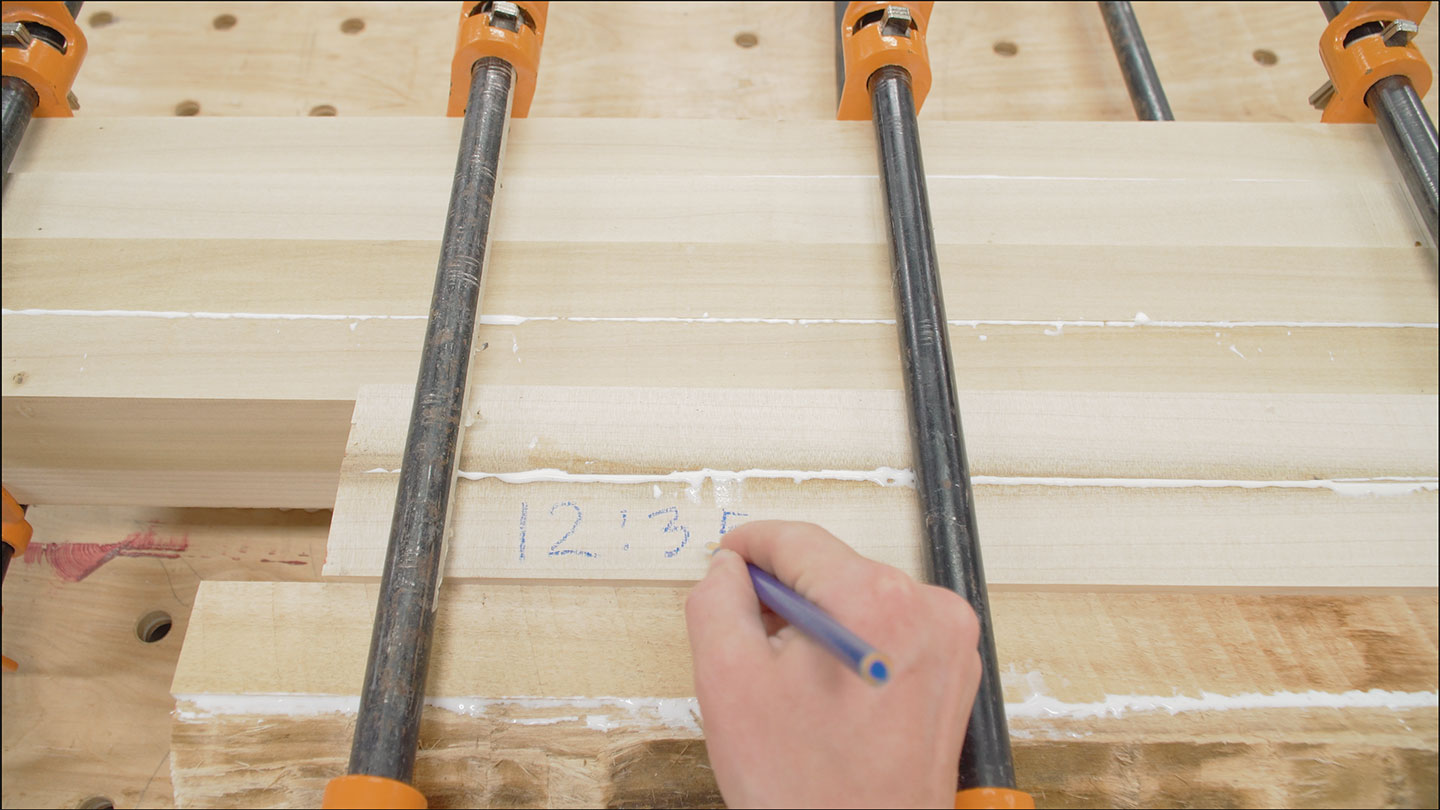
I like to write the time of the glue up on the wood. This is handy for items that don’t need to be in clamps overnight. However, I did let these sit in clamps overnight. Writing the time is a good habit to get into.
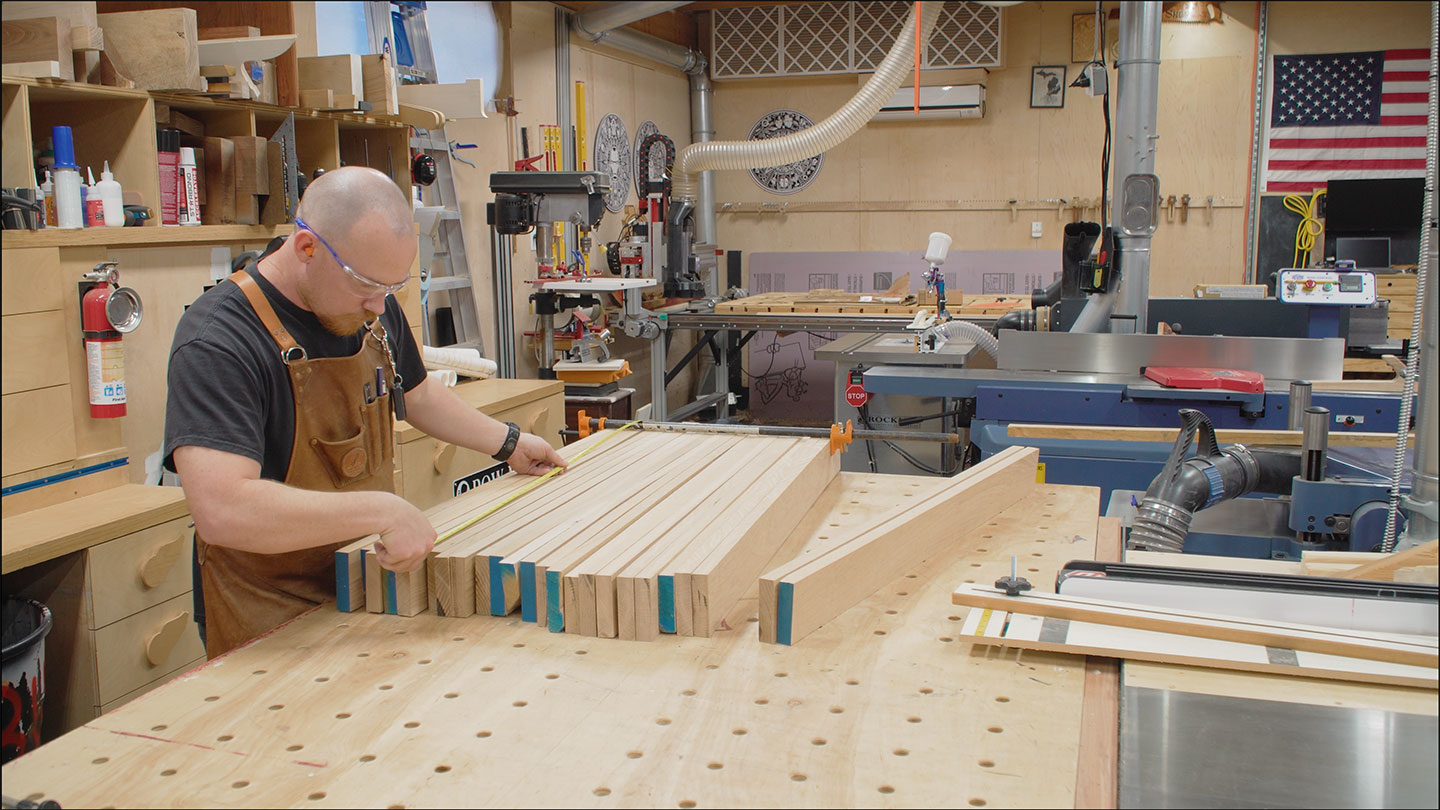
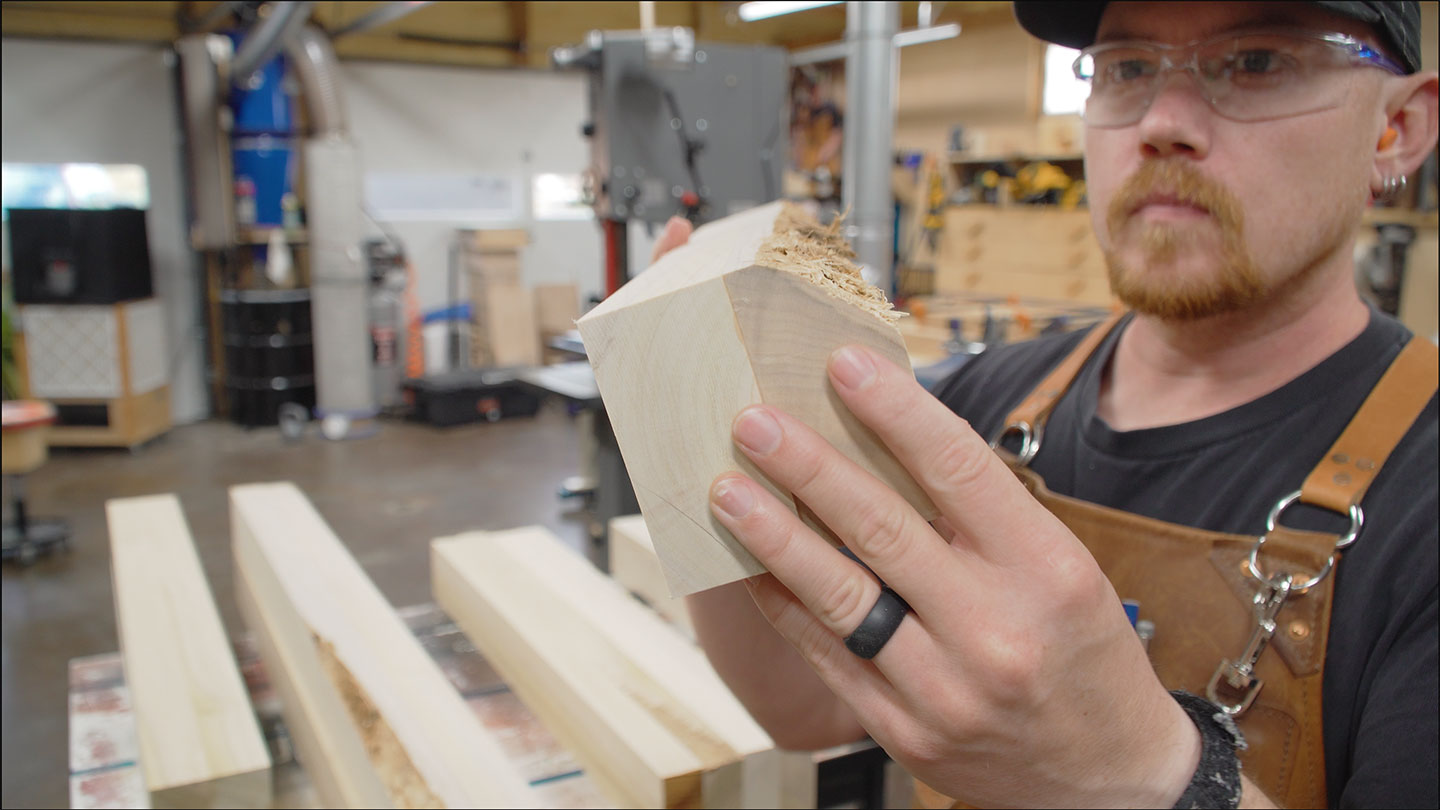
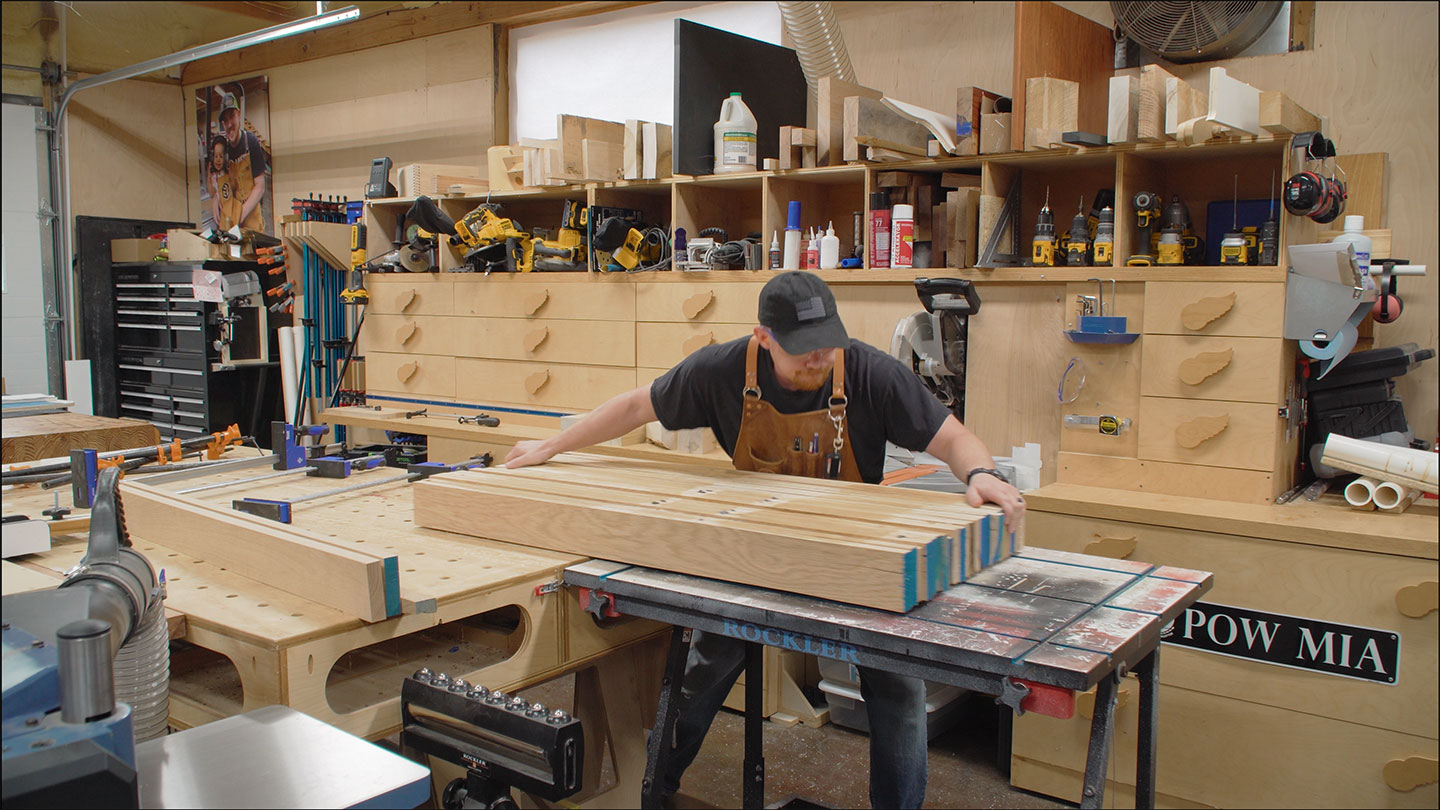
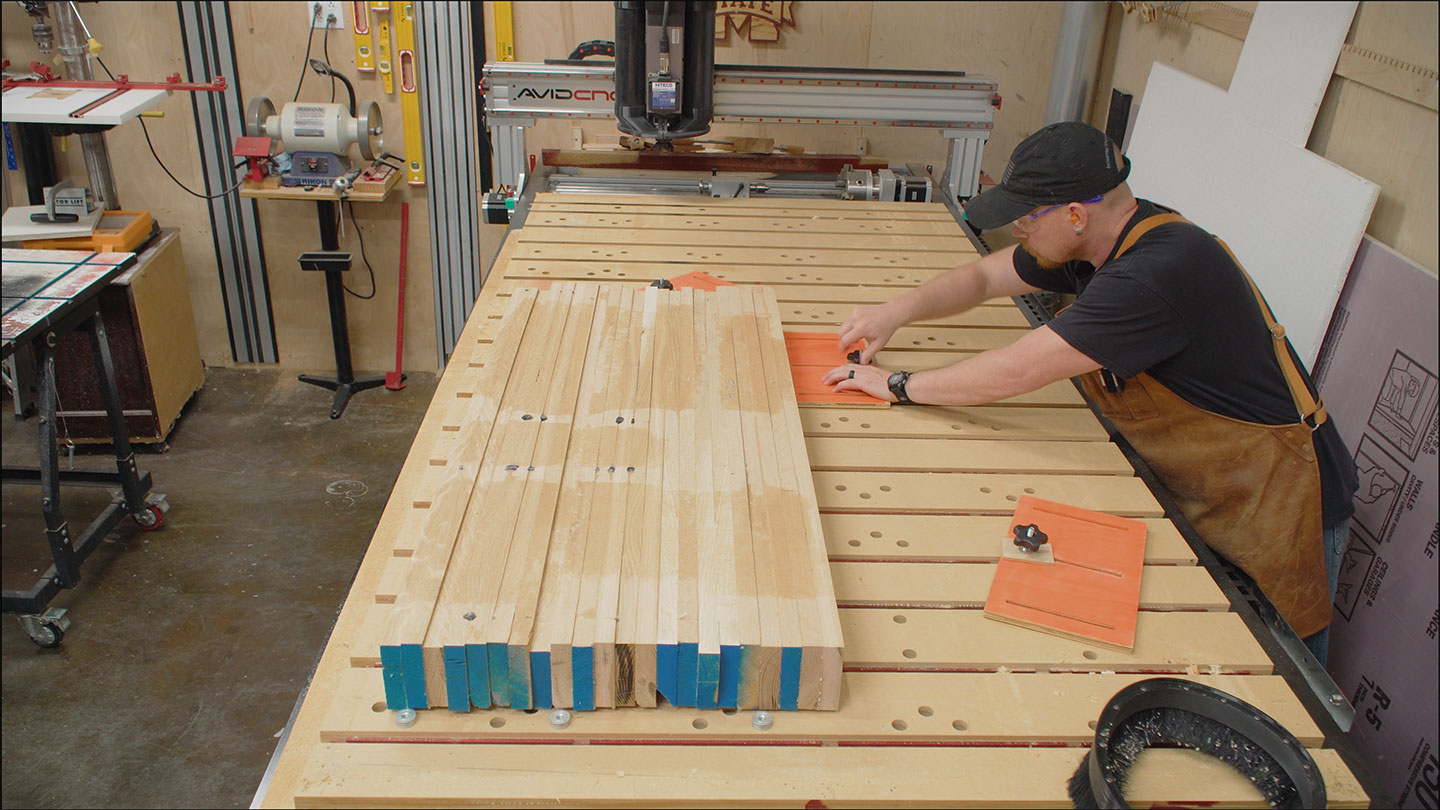
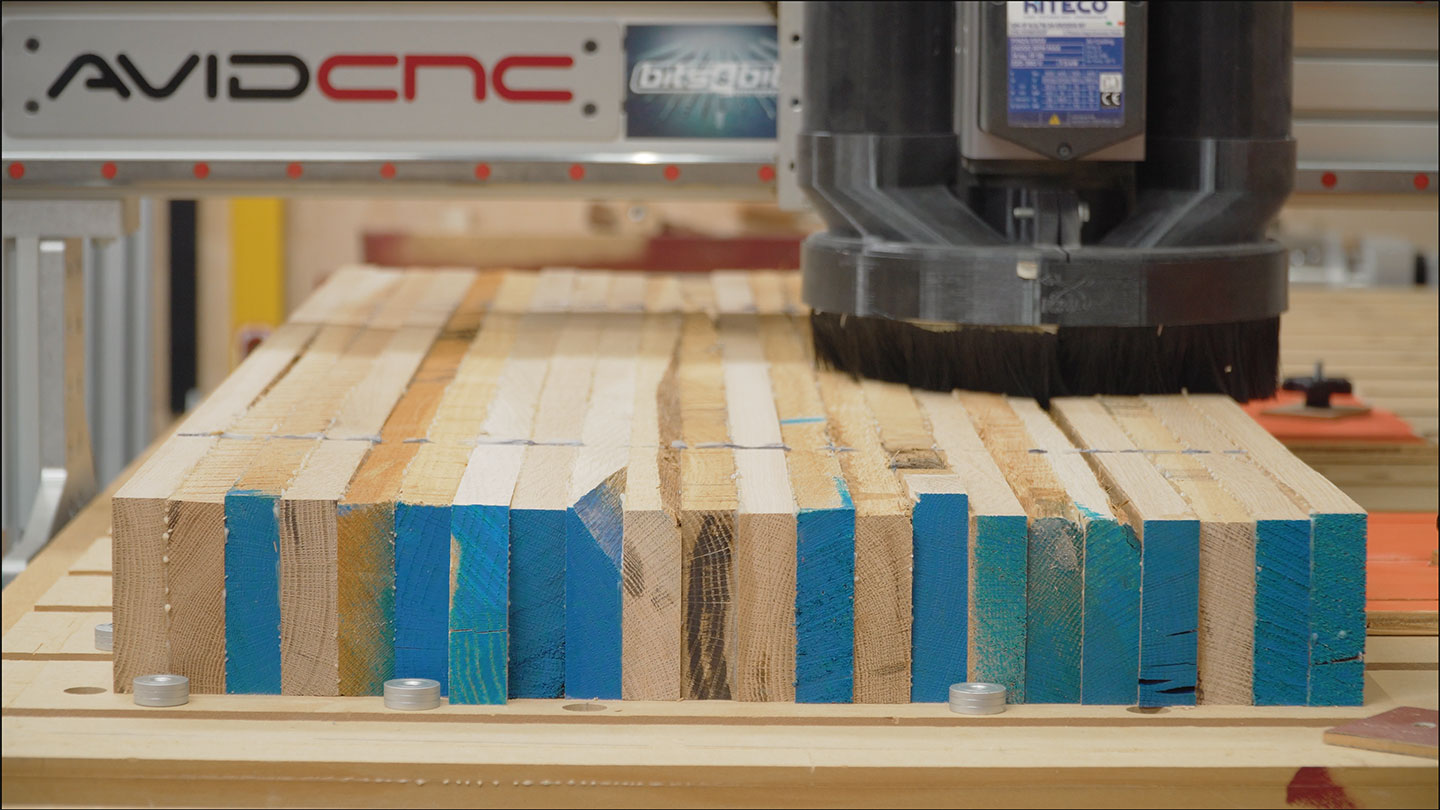
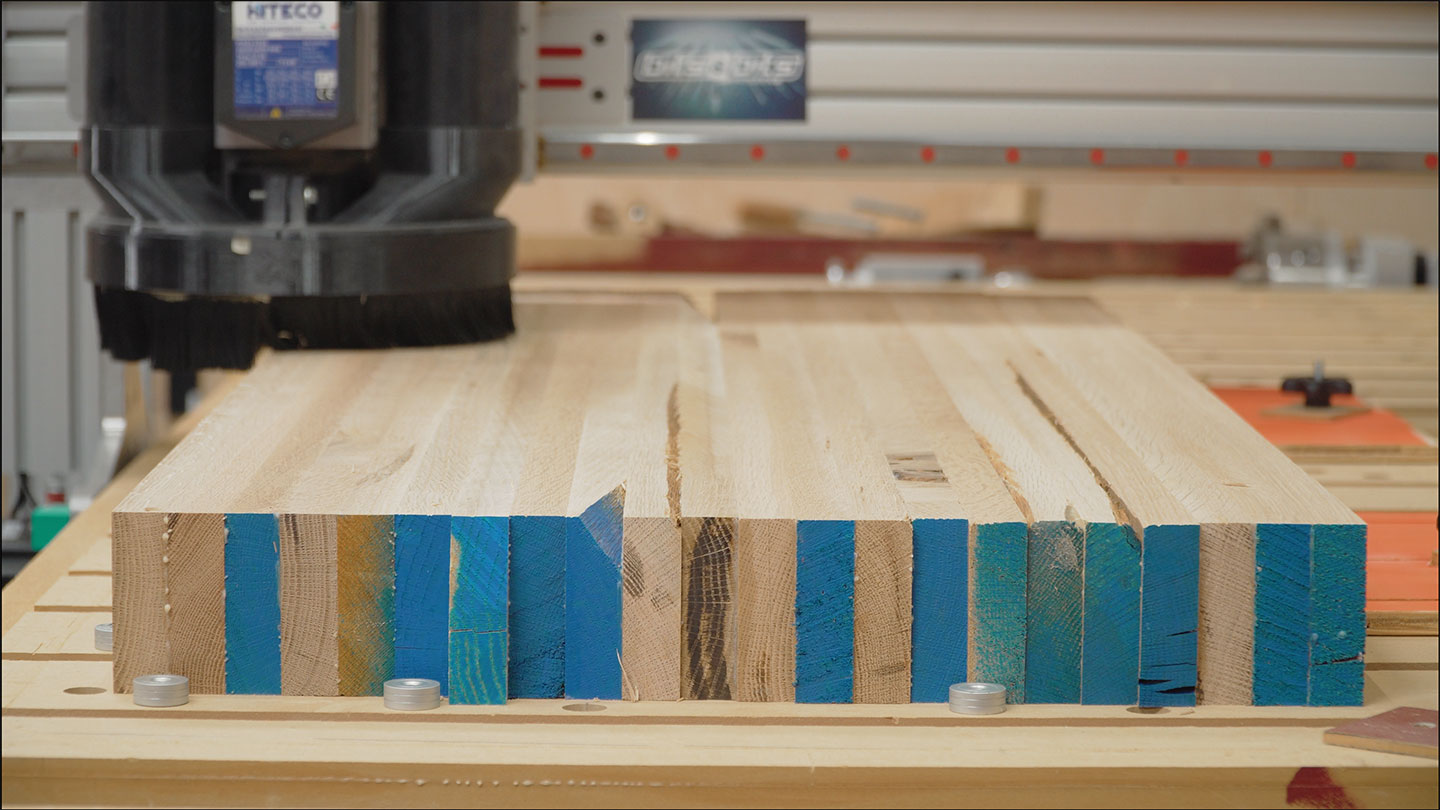
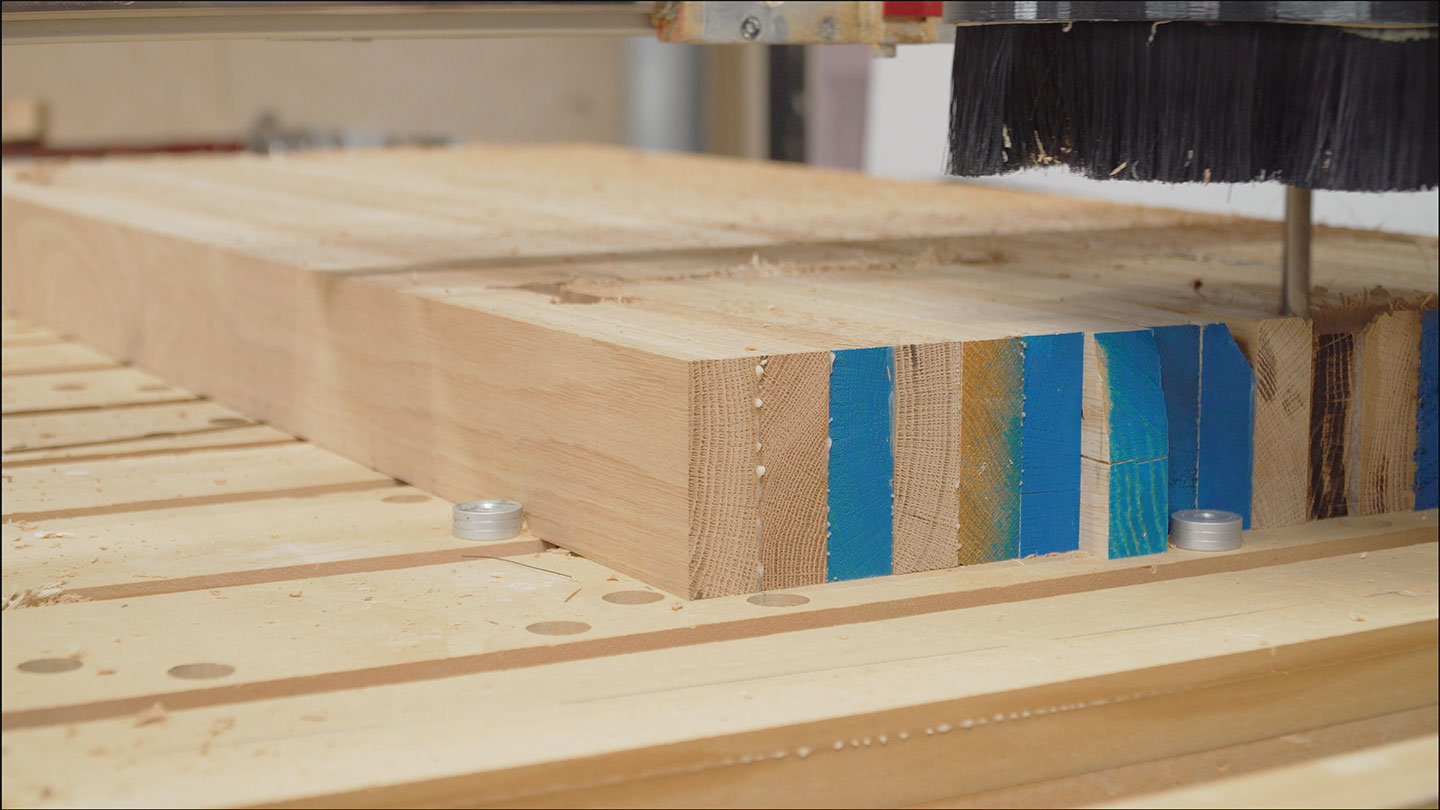
Now on to the workbench top. I went through the milling process again with rough sawn 4/4 white oak. These strips are all about 3-1/2 to 4″ wide. The final thickness of the top will be 3″.
With every workbench I’ve previously made, I glued up the top panel in multiple smaller panels. This allows me to run them through the jointer an planer before gluing them together for the final time. In this case, I made one large glue up. My CNC machine will act as a planer to flatten the entire panel at once.
After a night in clamps, the base components can be milled to their final dimensions. 3-1/2″ square via the jointer and planer.

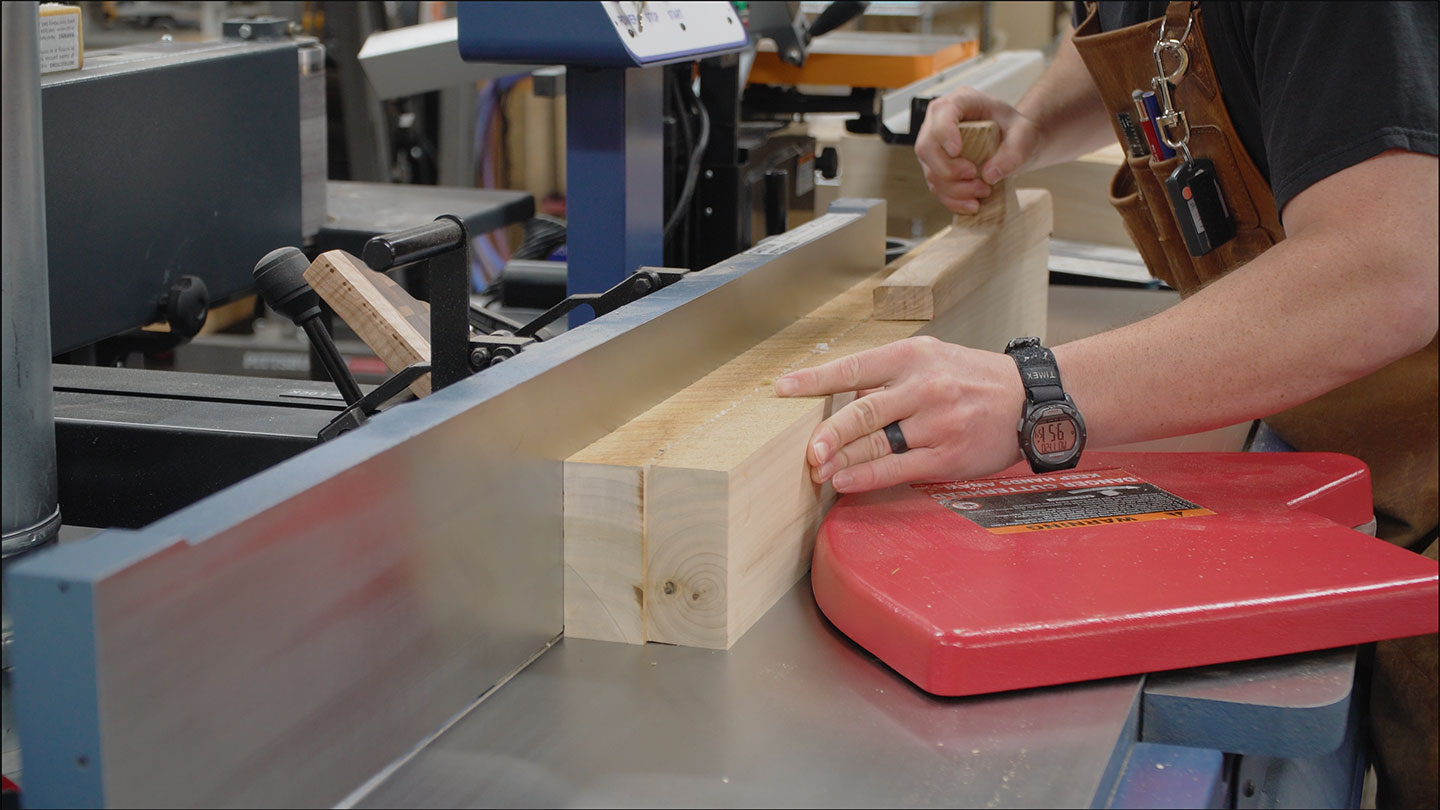
I didn’t have 100% perfect material to begin with. A few of the components will have one bad edge. That’s OK for a workbench. Every leg and rail will have one edge nearest the inside of the workbench that won’t be seen as much. Simply orientate these edges to the inside.
Final length is established with the miter saw at my miter saw station.

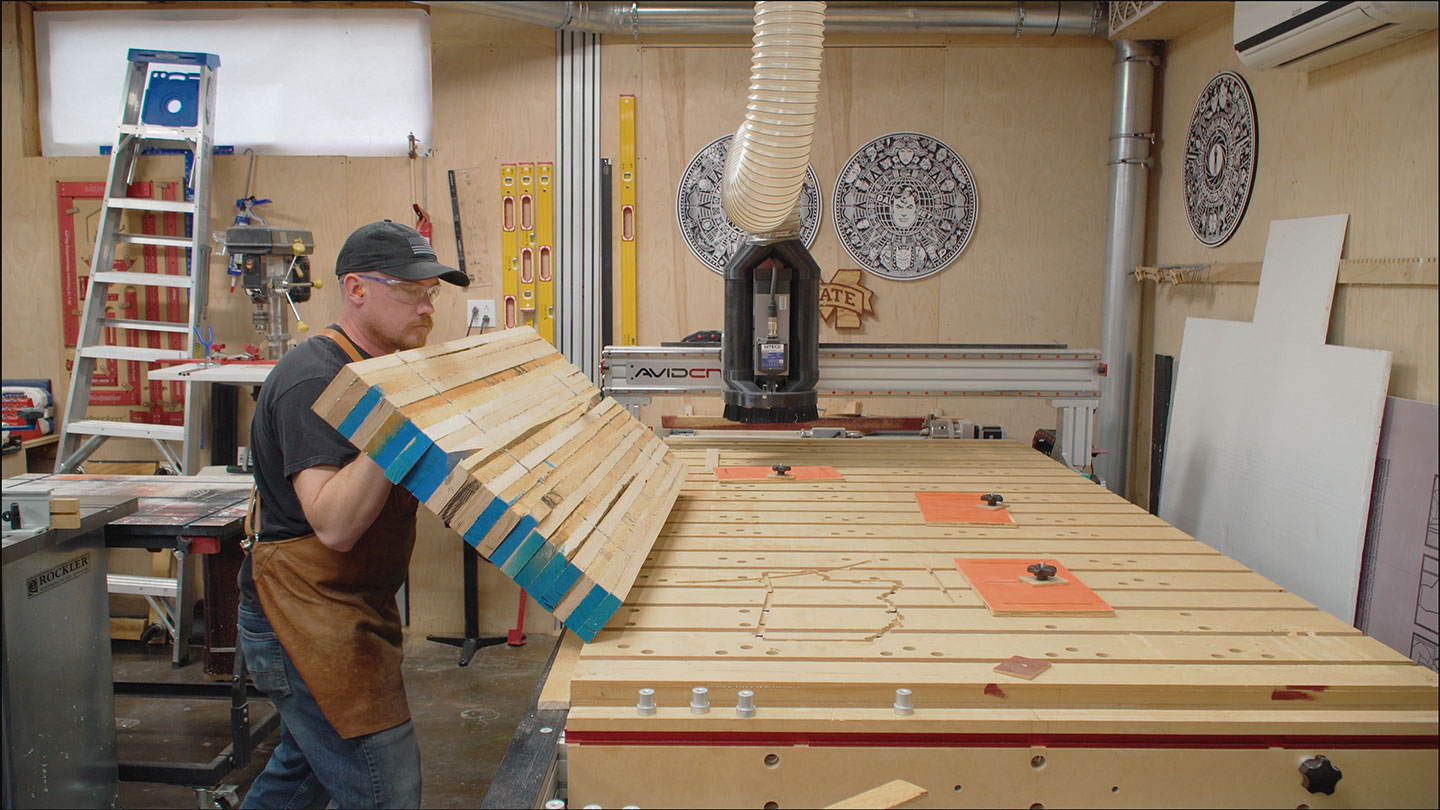
After a night in clamps, it’s time to flatten the workbench top.
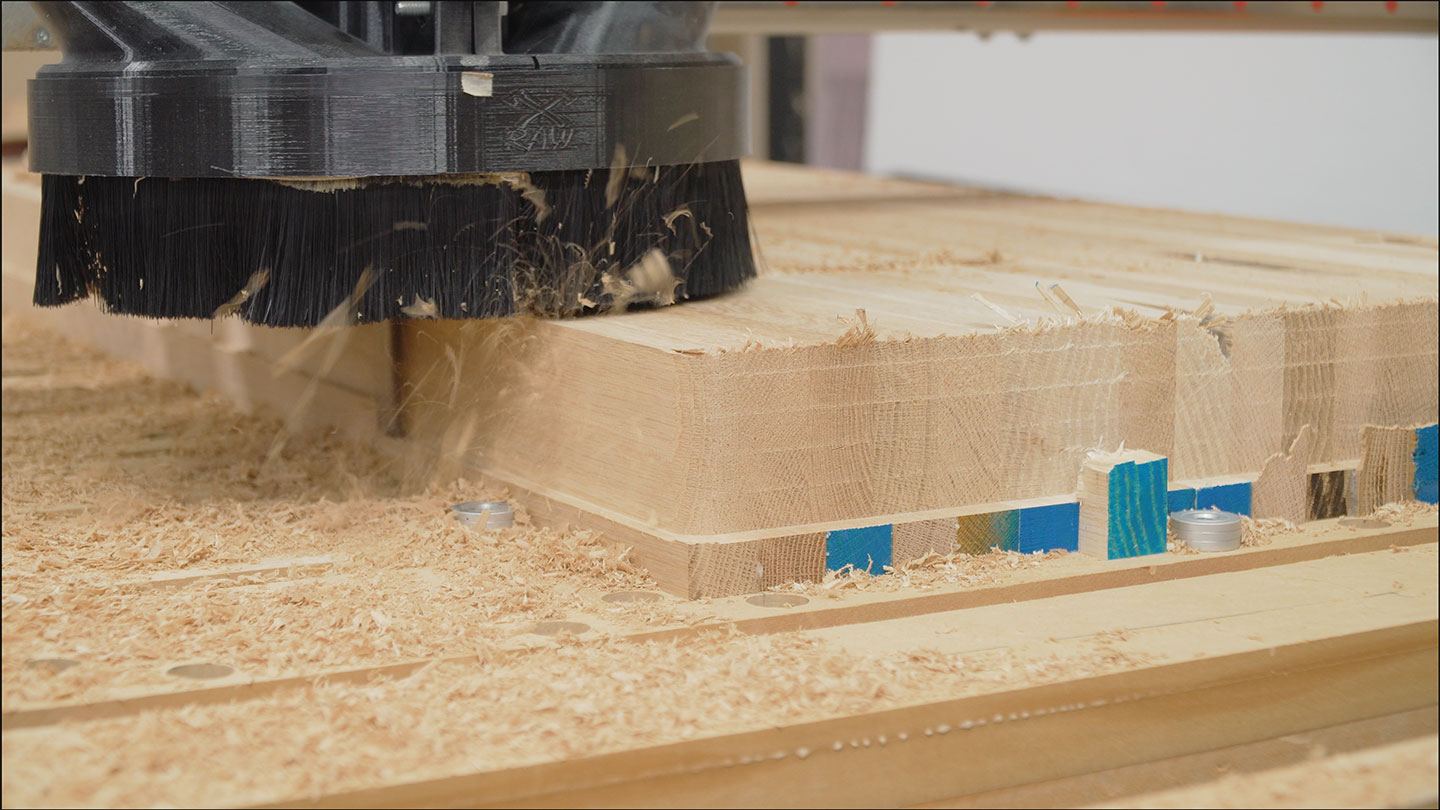
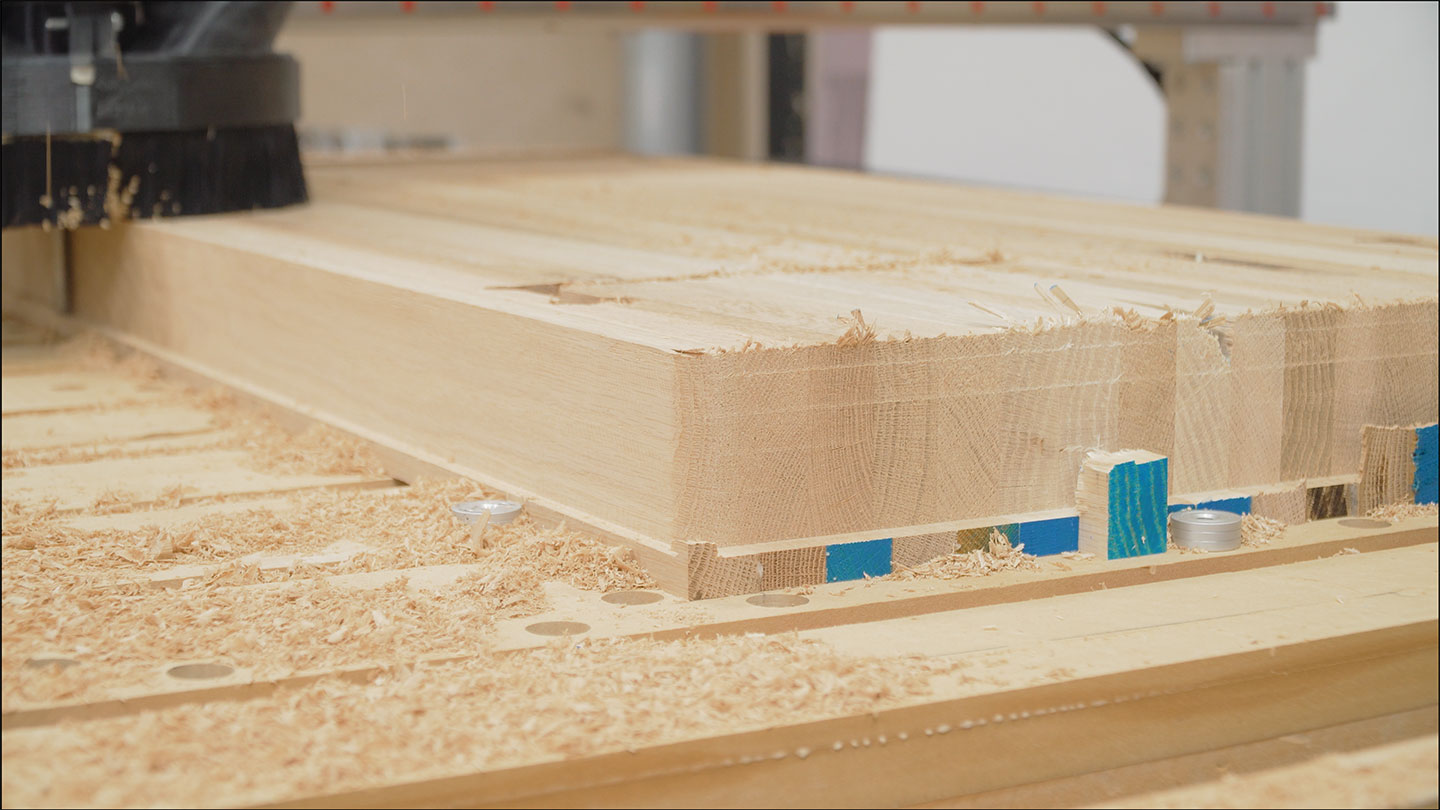
The top panel is too heavy to move around on its own. Dog holes are used to locate the panel on the table and then 1/2″ plywood stop blocks are positioned on the other side to immobilize it.
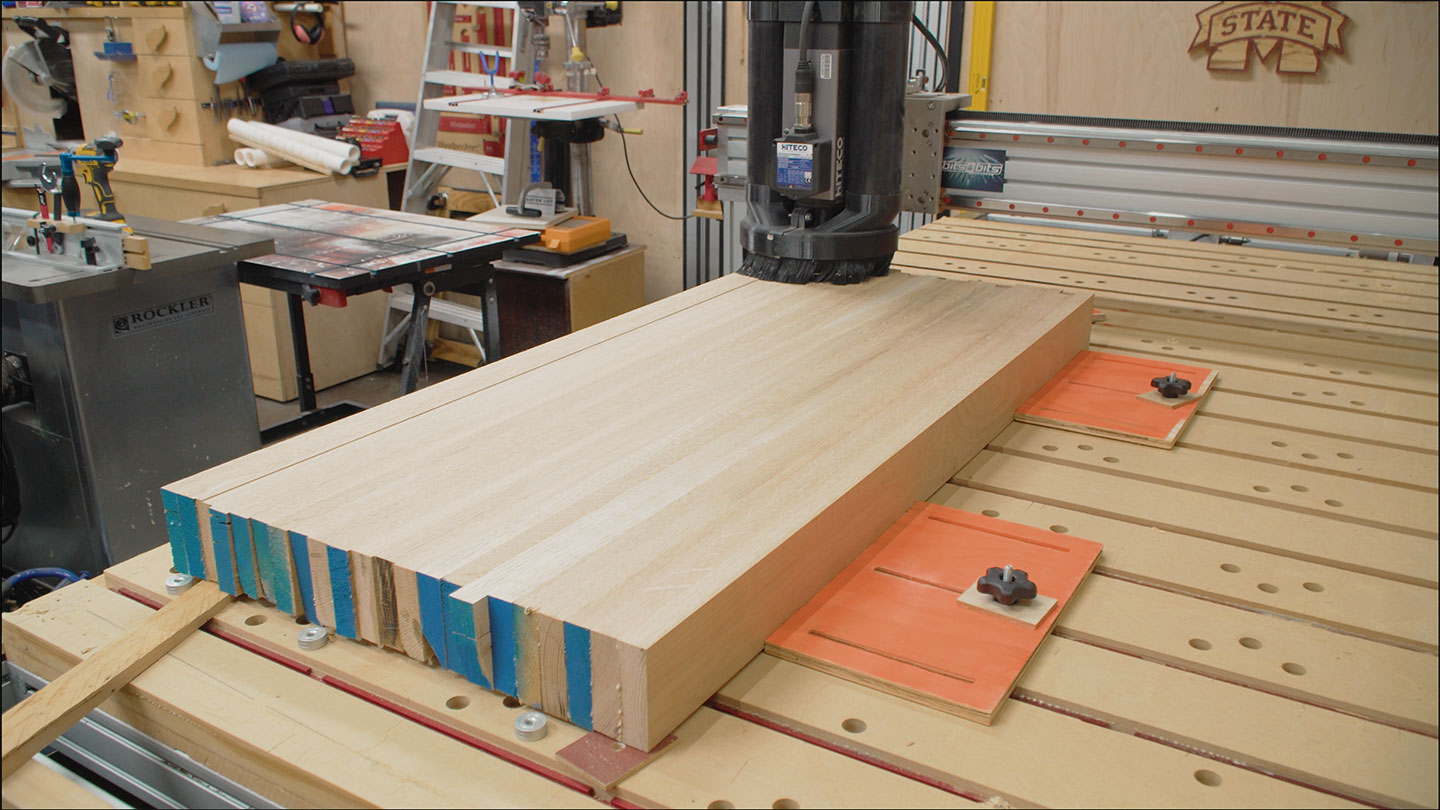
This is one of those “darnit” moments. Well, kinda. You can see that one of these boards shifted while I was gluing up the panel. Somehow I didn’t realize it. That means I need to remove close to a half inch on top and bottom to get both sides flat and parallel. Even so, I was still able to achieve my target thickness of 3″

Flattening the top side first allows me to flip it, flatten the bottom, and keep the bottom side up for the mortises. This is desirable, as the bit will produce tearout as it cuts the mortises. Tearout on the bottom will be covered by the joinery.
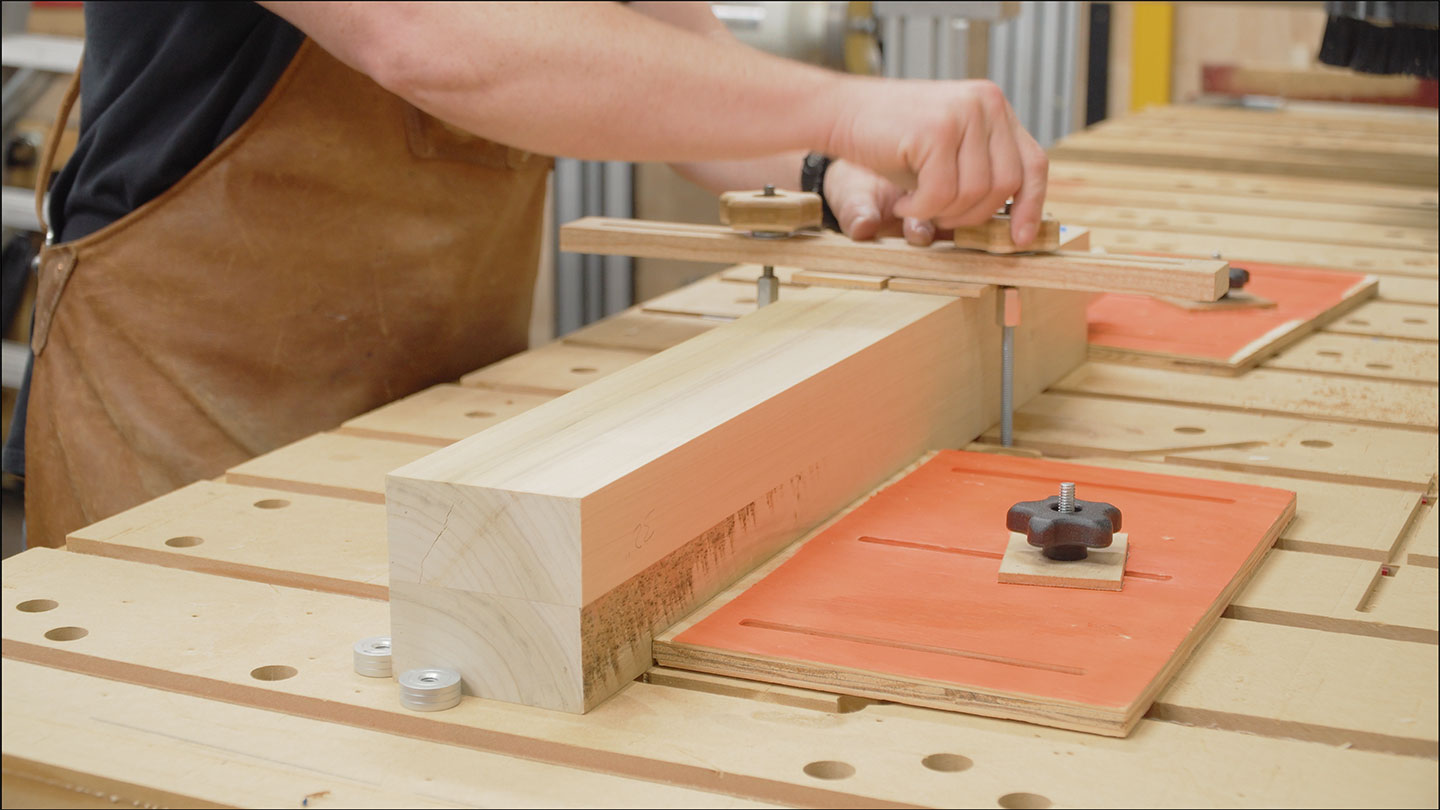
Before cutting any joinery, I need to make sure I mark all of the outside faces.
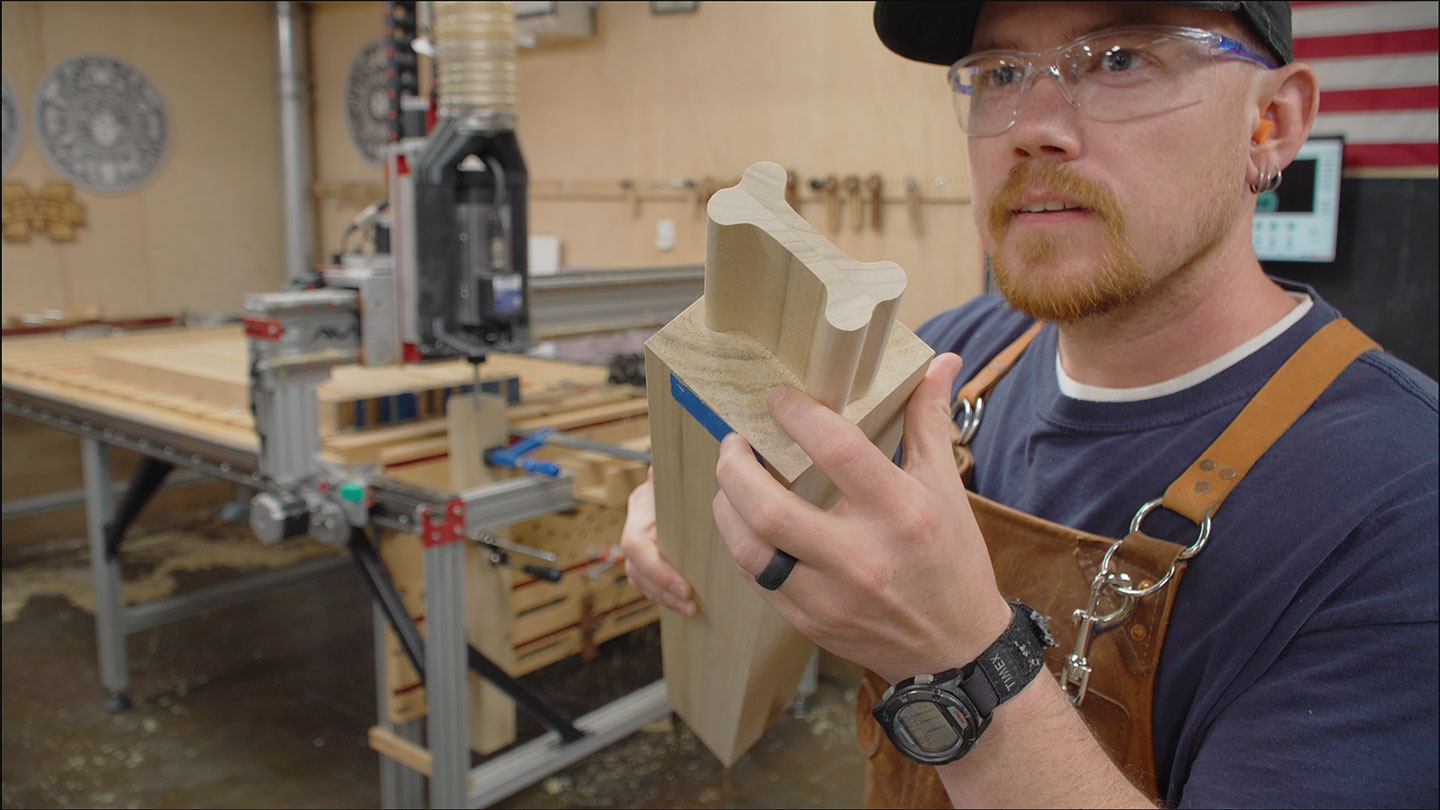
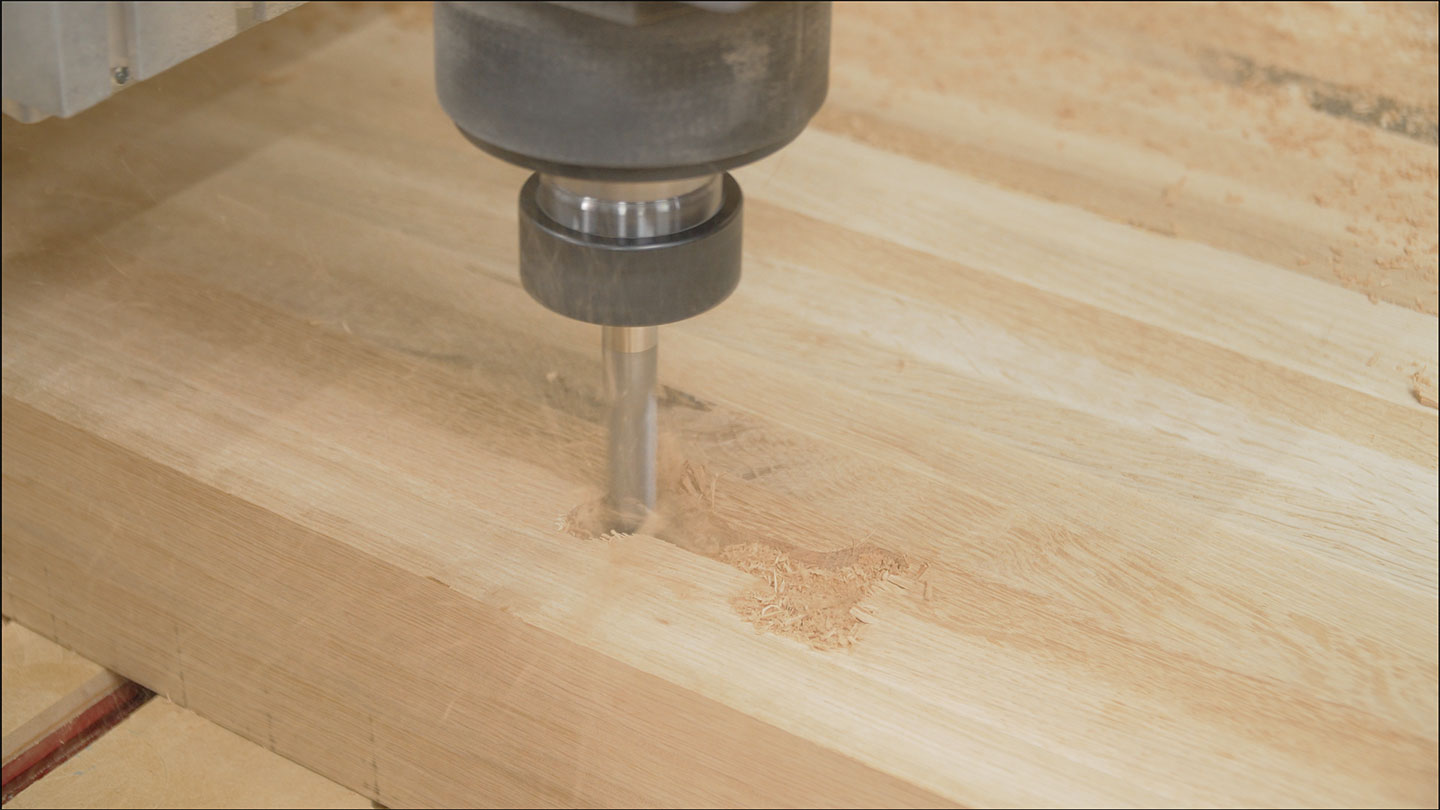
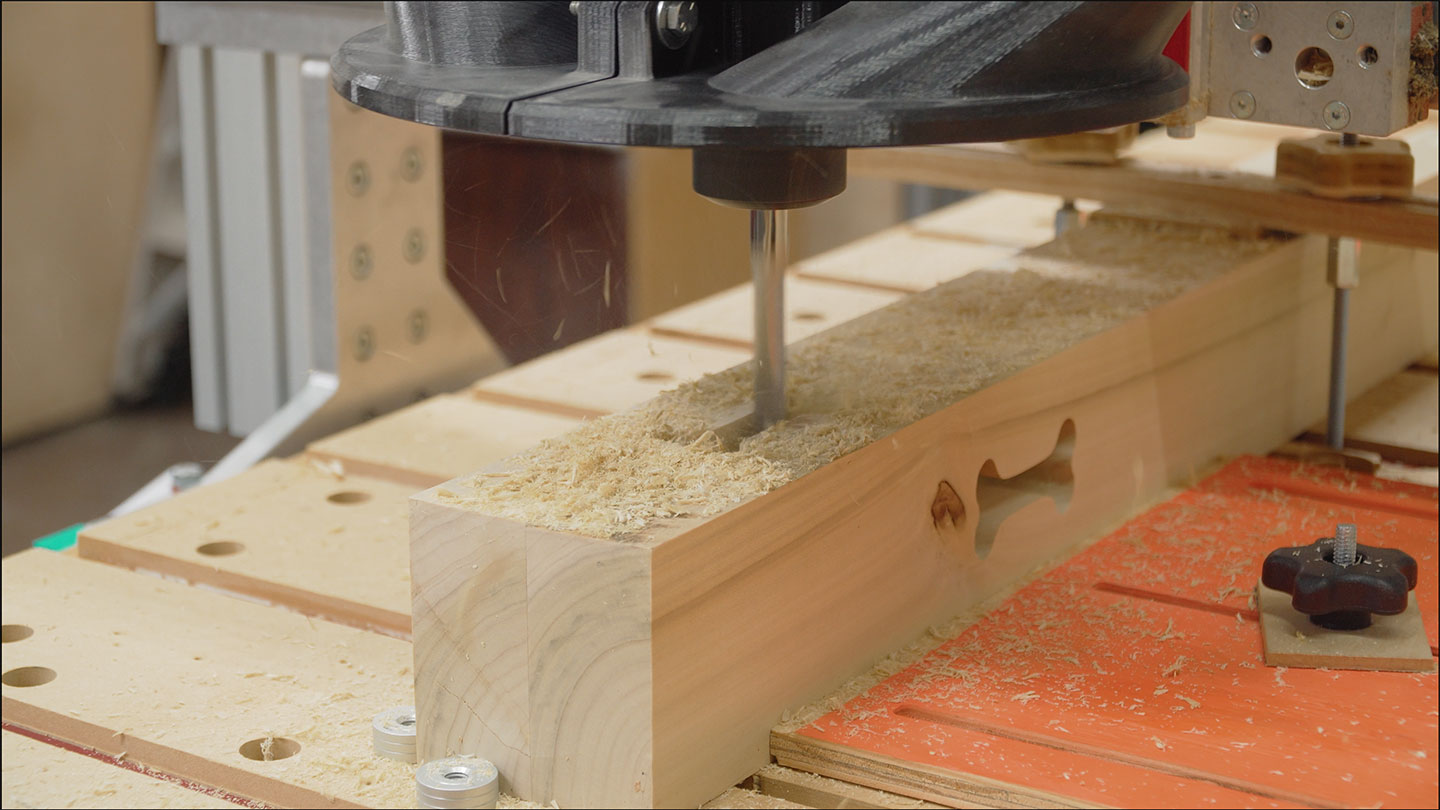
The bit I’m using is a 6″ long 2 flute spiral from BitsBits.com (use the code jaybates to save some money on your order through BitsBits). This bit has a 3″ cutting length and sticks out of the collet by 4″. I’ll be able to cut 3-5/8″ long tenons and 3″ deep mortises with this setup.

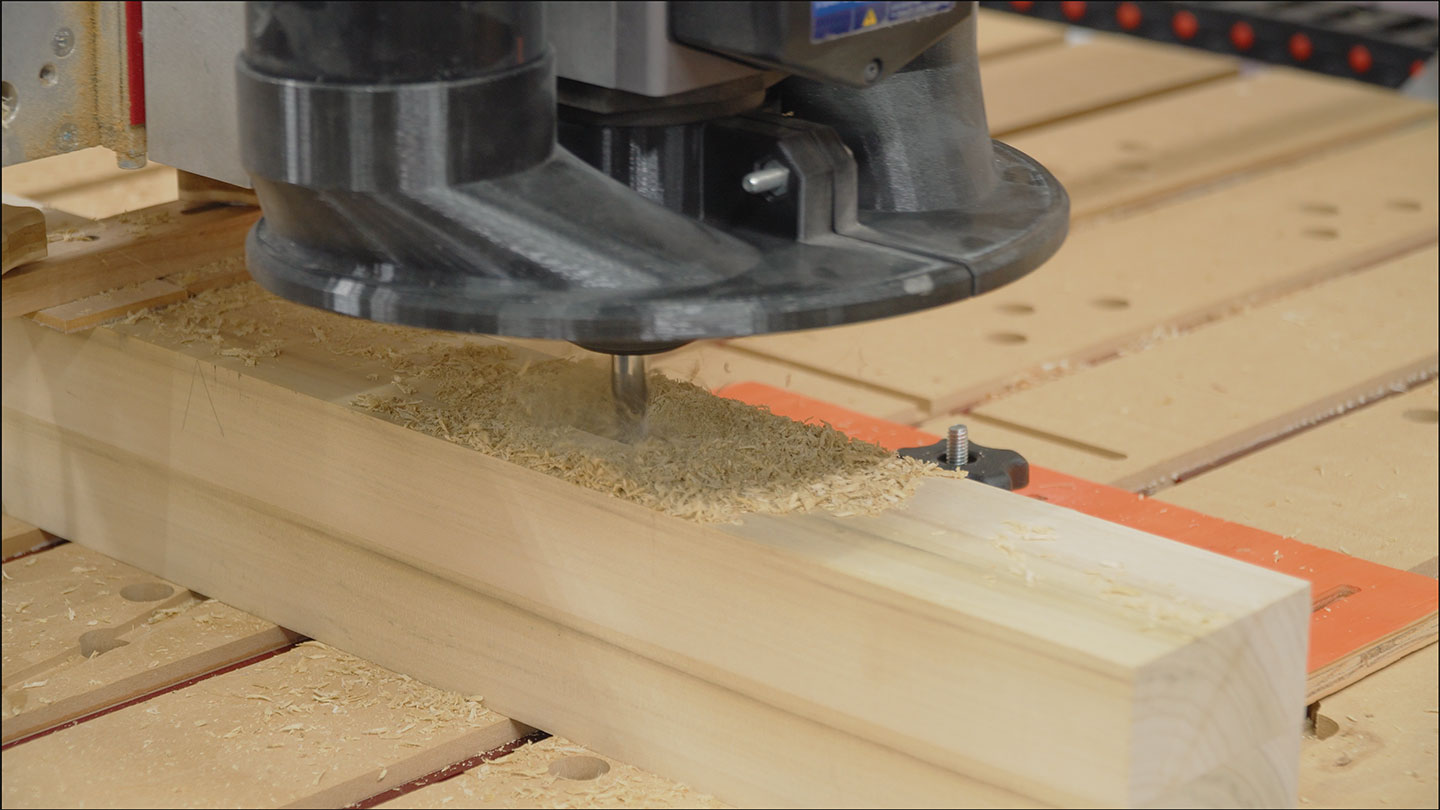
First, the tenons are cut. Starting with a 0.1″ scoring cut to establish a crisp shoulder.
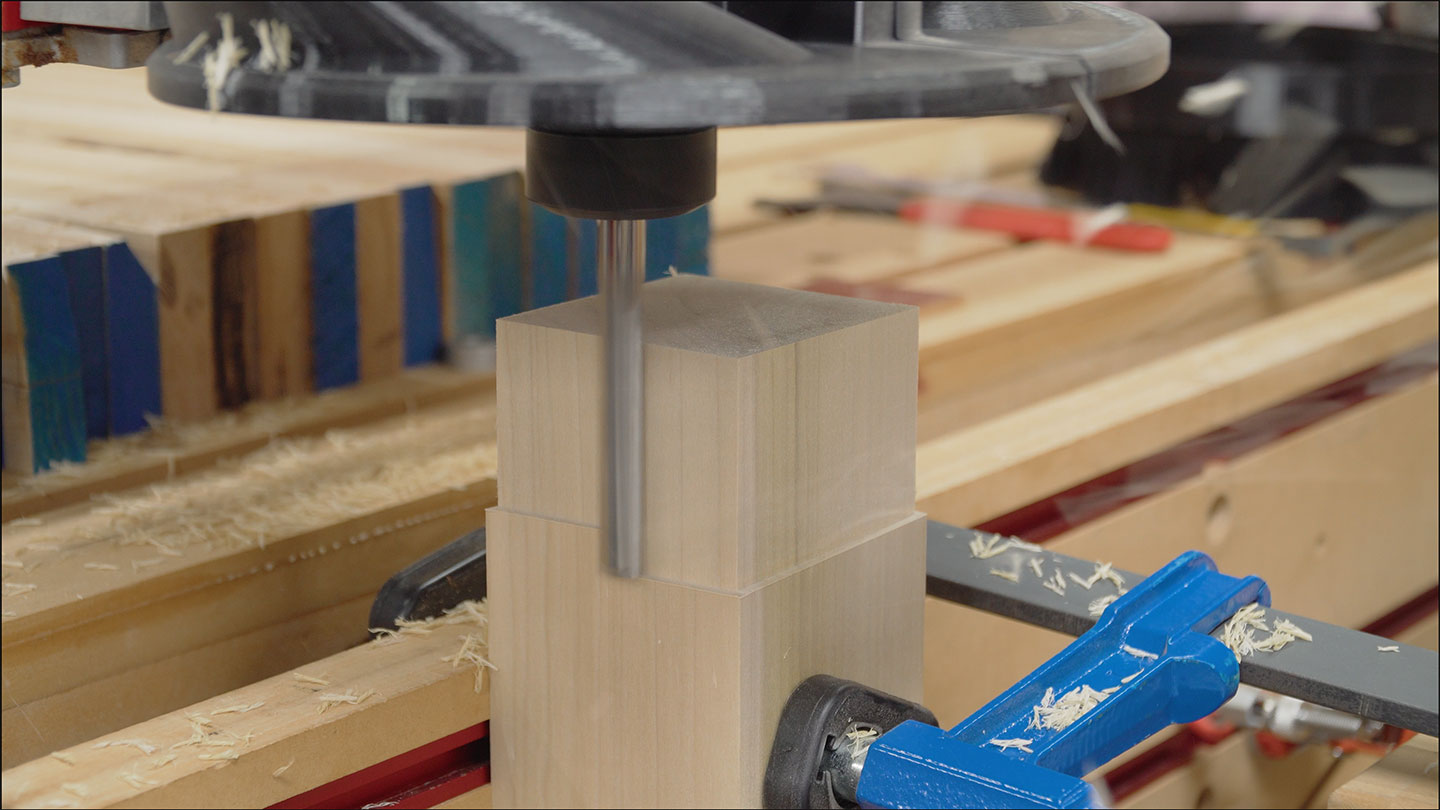
Then the pocket toolpath removes the waste and brings the dog-bone tenon to life. This toolpath is a bit slower than what it should be. That’s because this is a one of piece and not a production run. If I were making a production run of parts I’d take the time to optimize the toolpath.
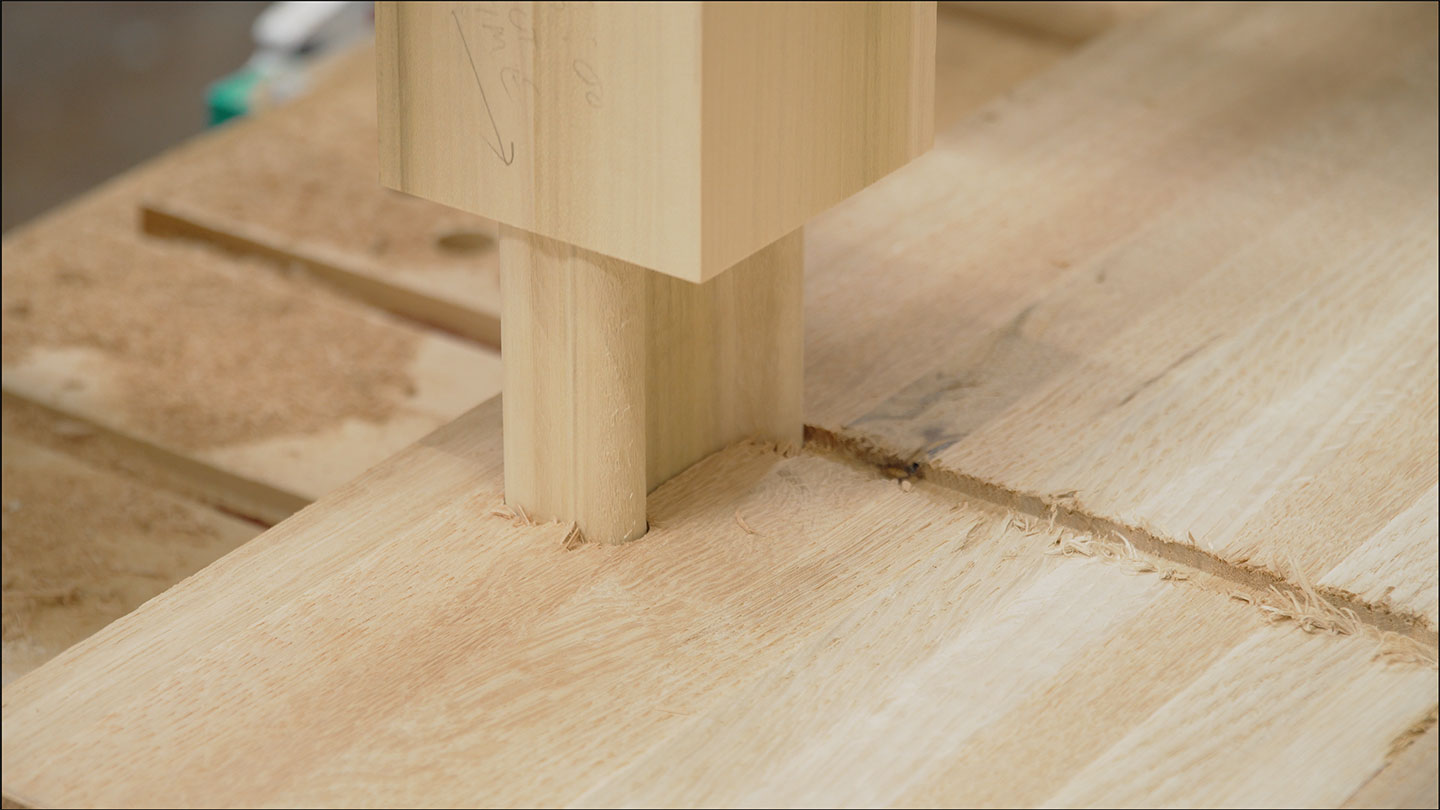
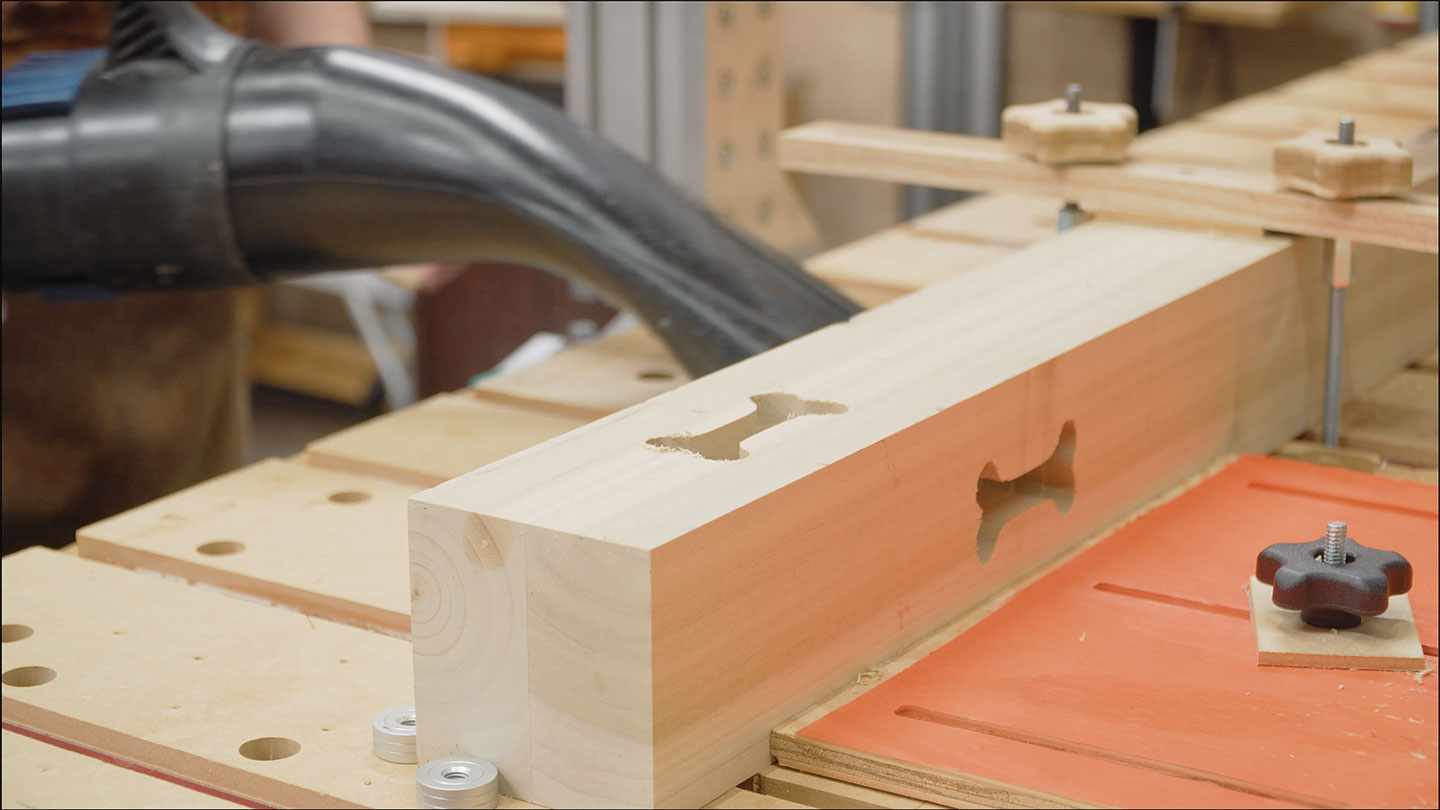
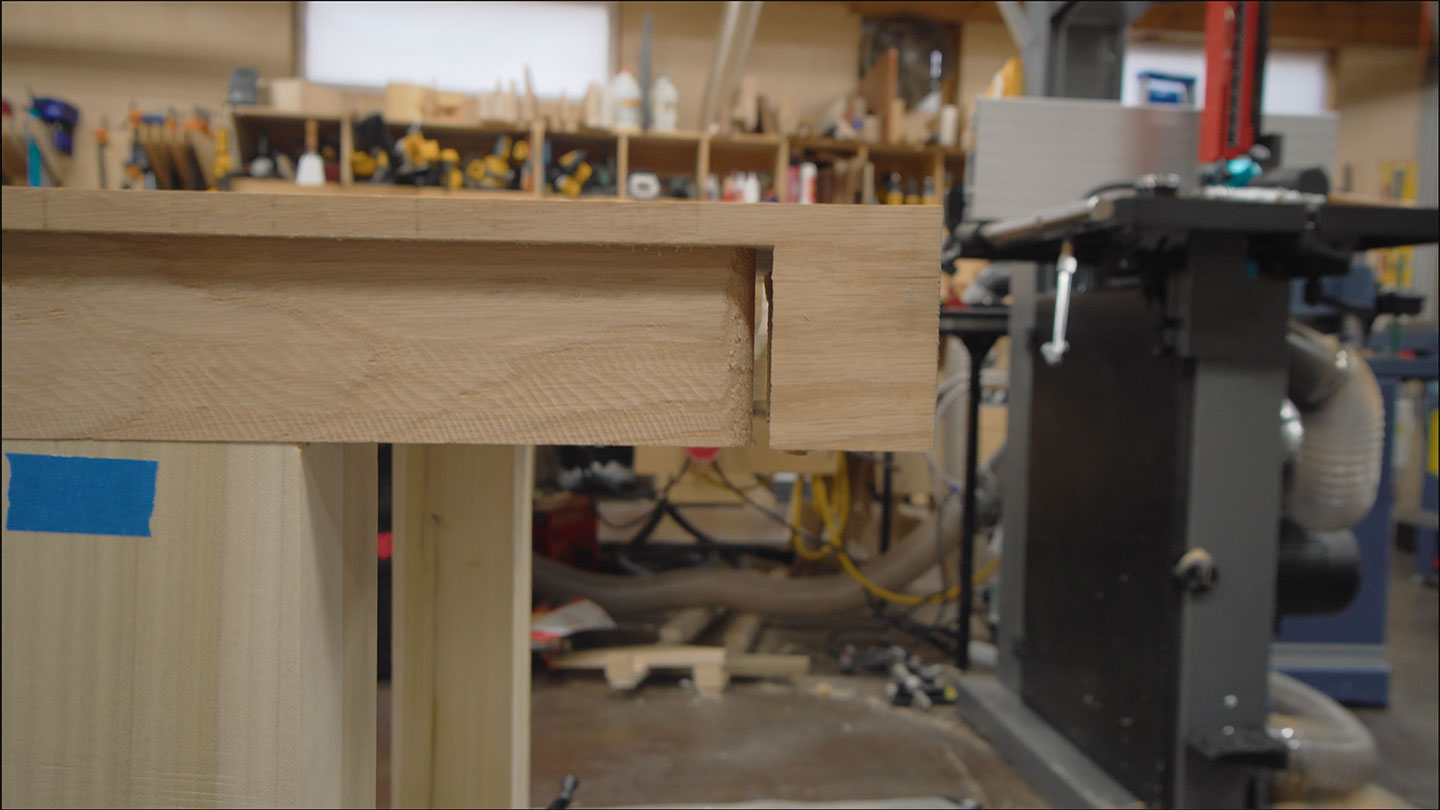
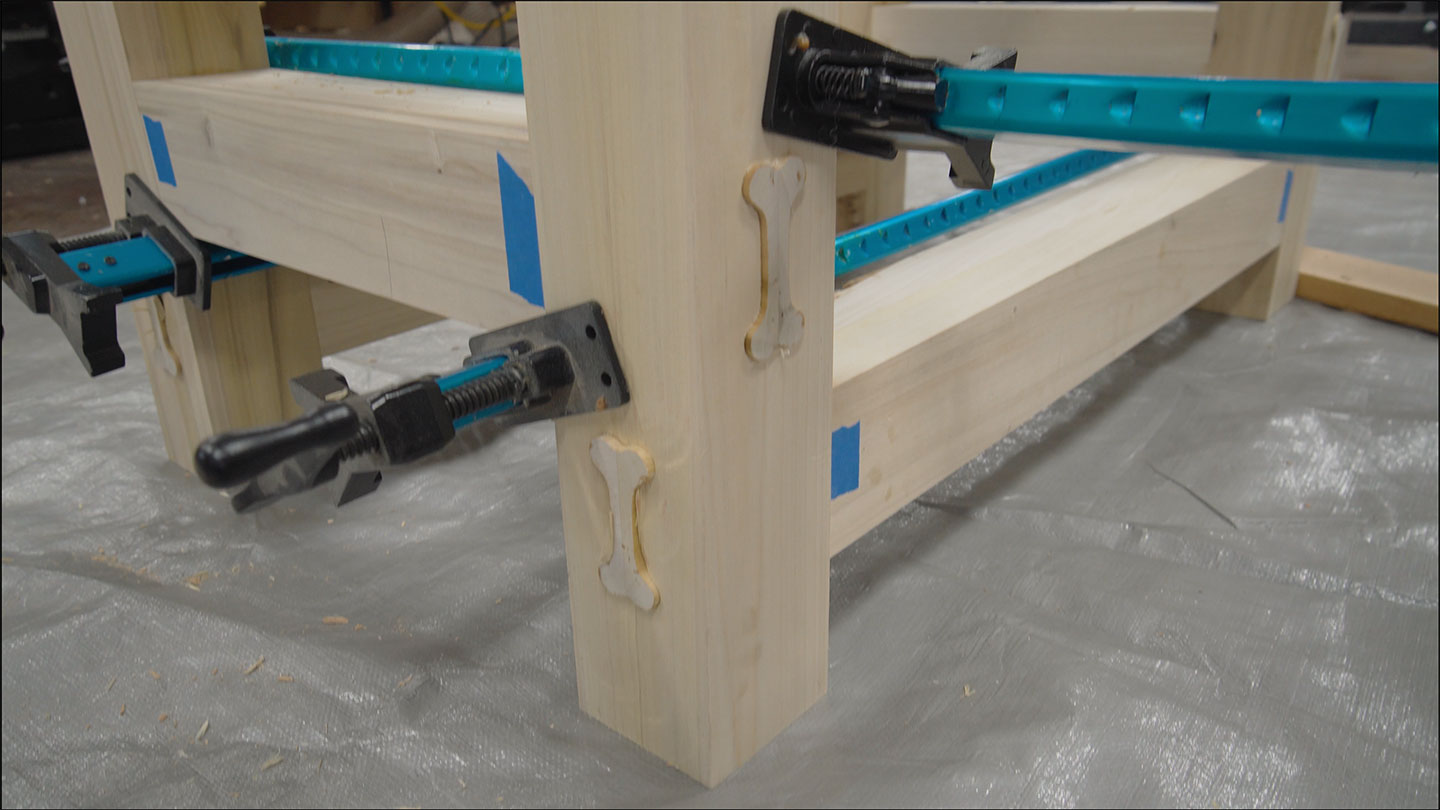
Here’s what the tenons look like when cut. A nice, functional dog bone profile. The “wings” of the bone should provide more resistance to racking than a typical slot mortise and tenon joint. And it also provides more glue surface.
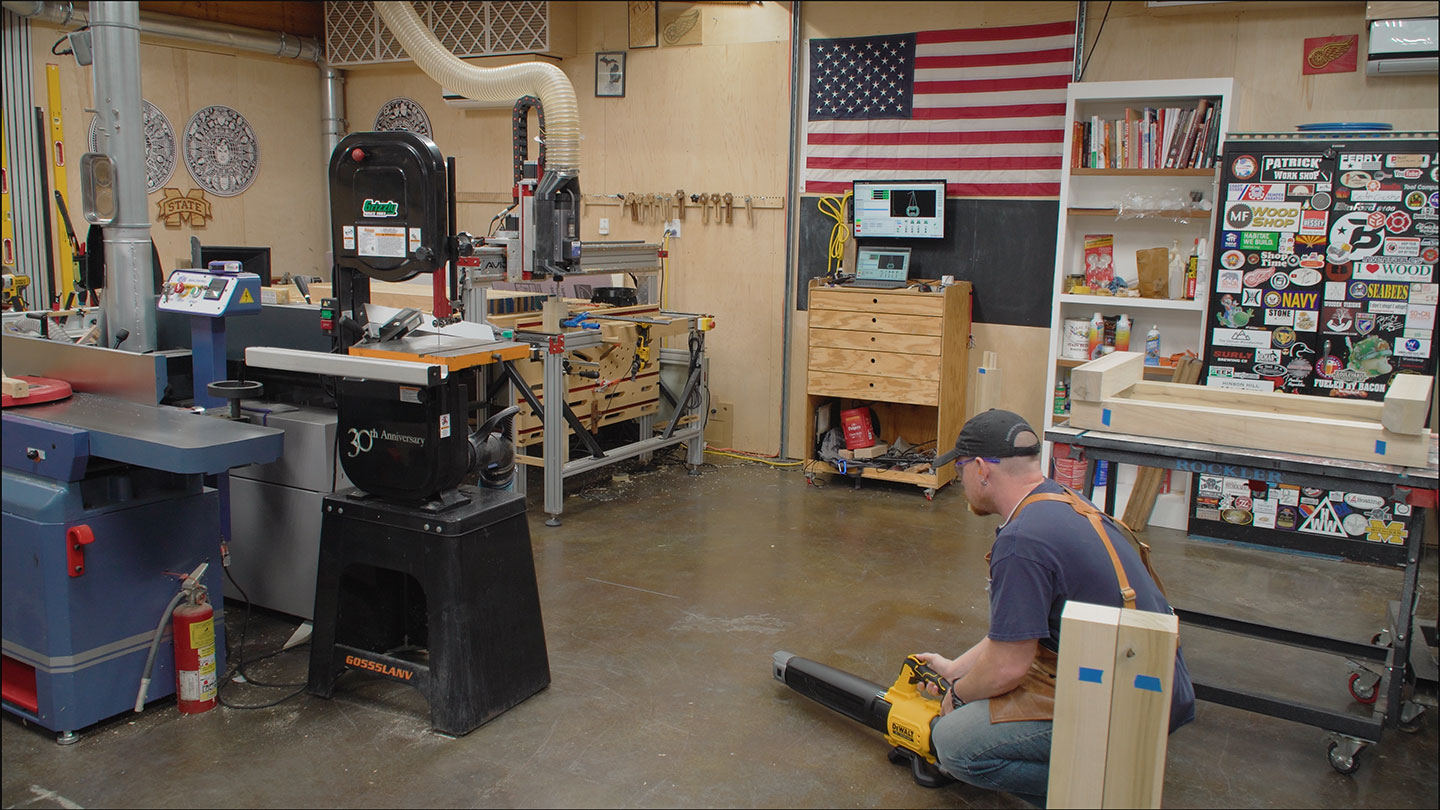
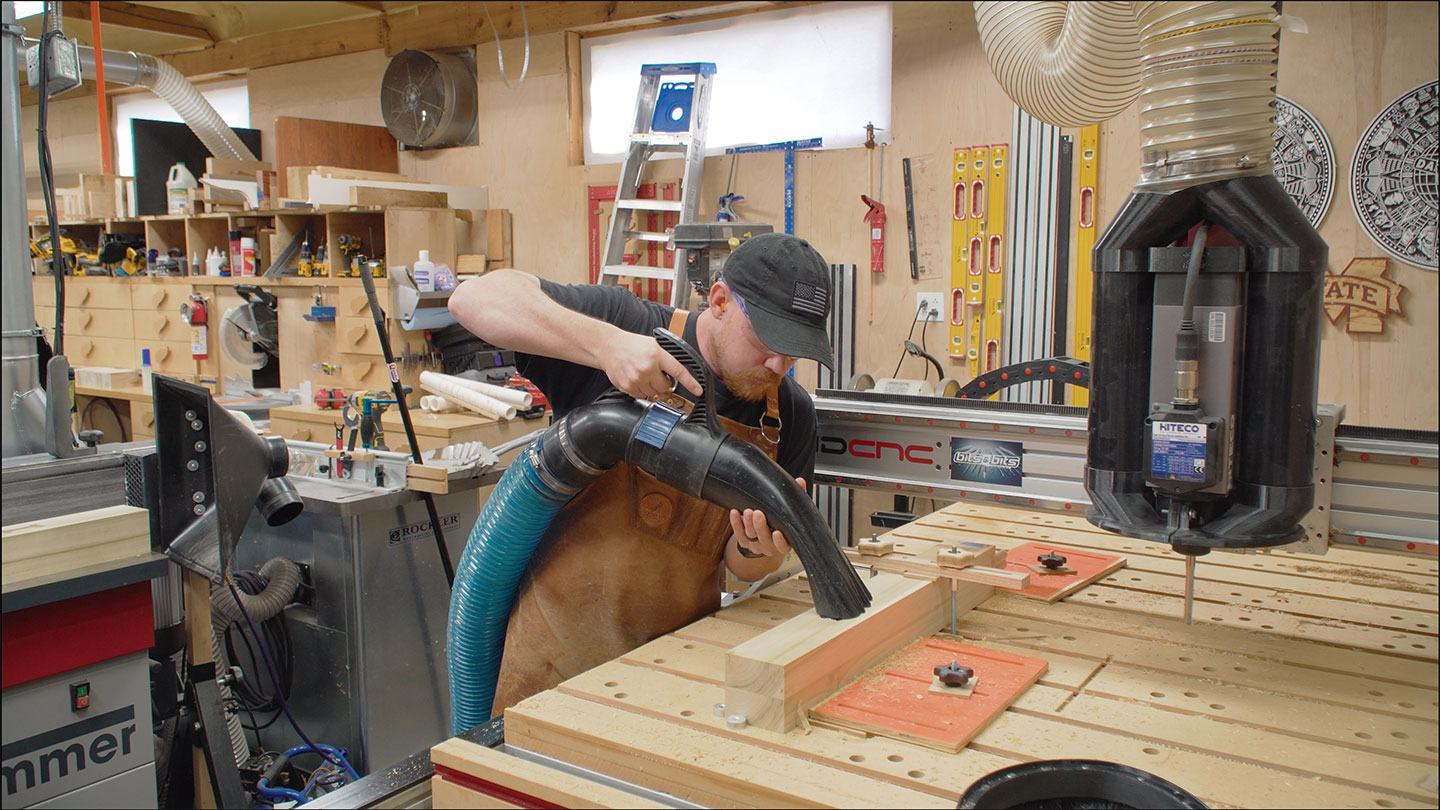
Dust collection is non existant on the tenon cuts. Due to the bit length and the fact that we’re cutting from the outside in. It just rooster-tails the chips everywhere. A leaf blower is handy to keep the mess contained. My floor sweep is located in the corner of the shop behind the CNC for this exact reason.

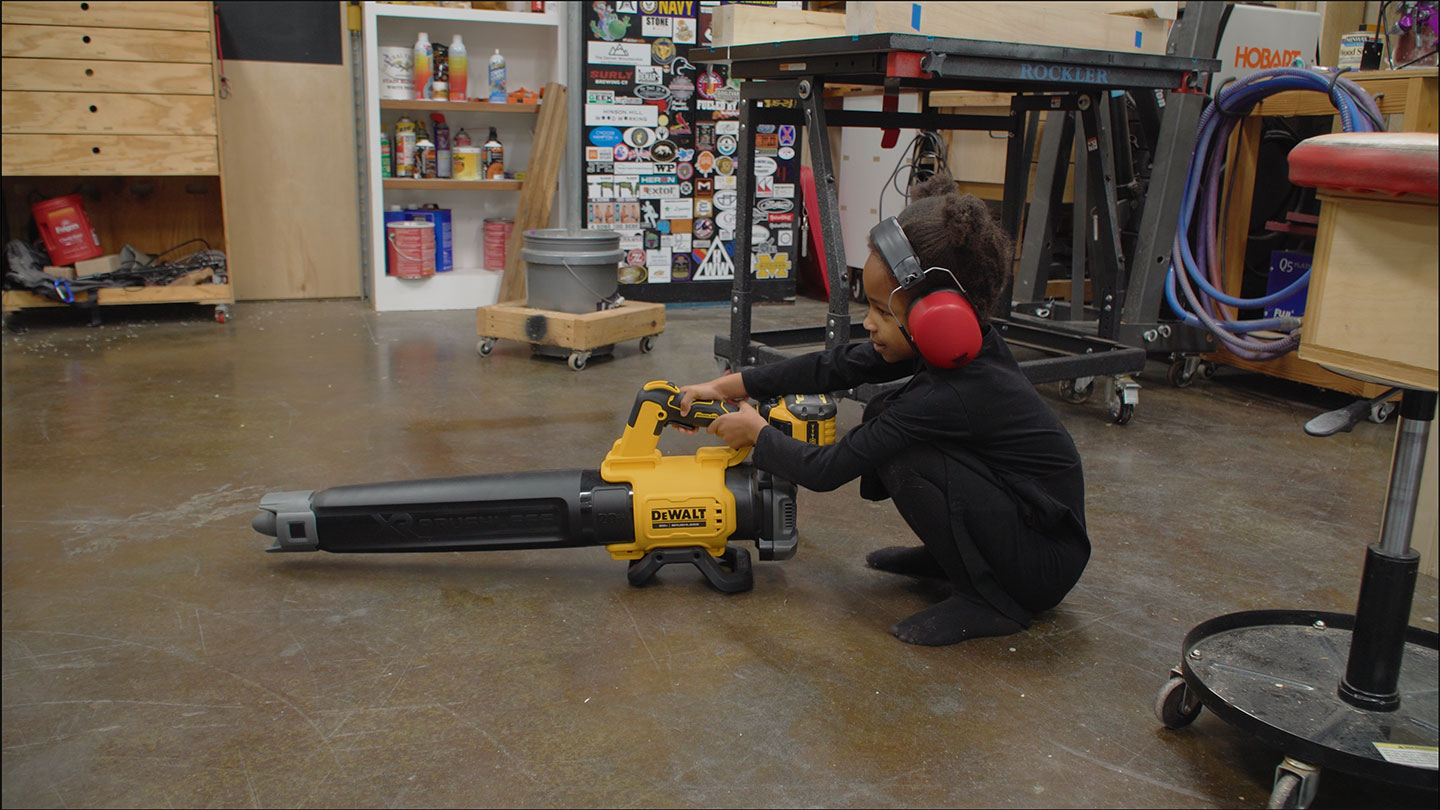
My daughter had a blast (pun intended) running the leaf blower.

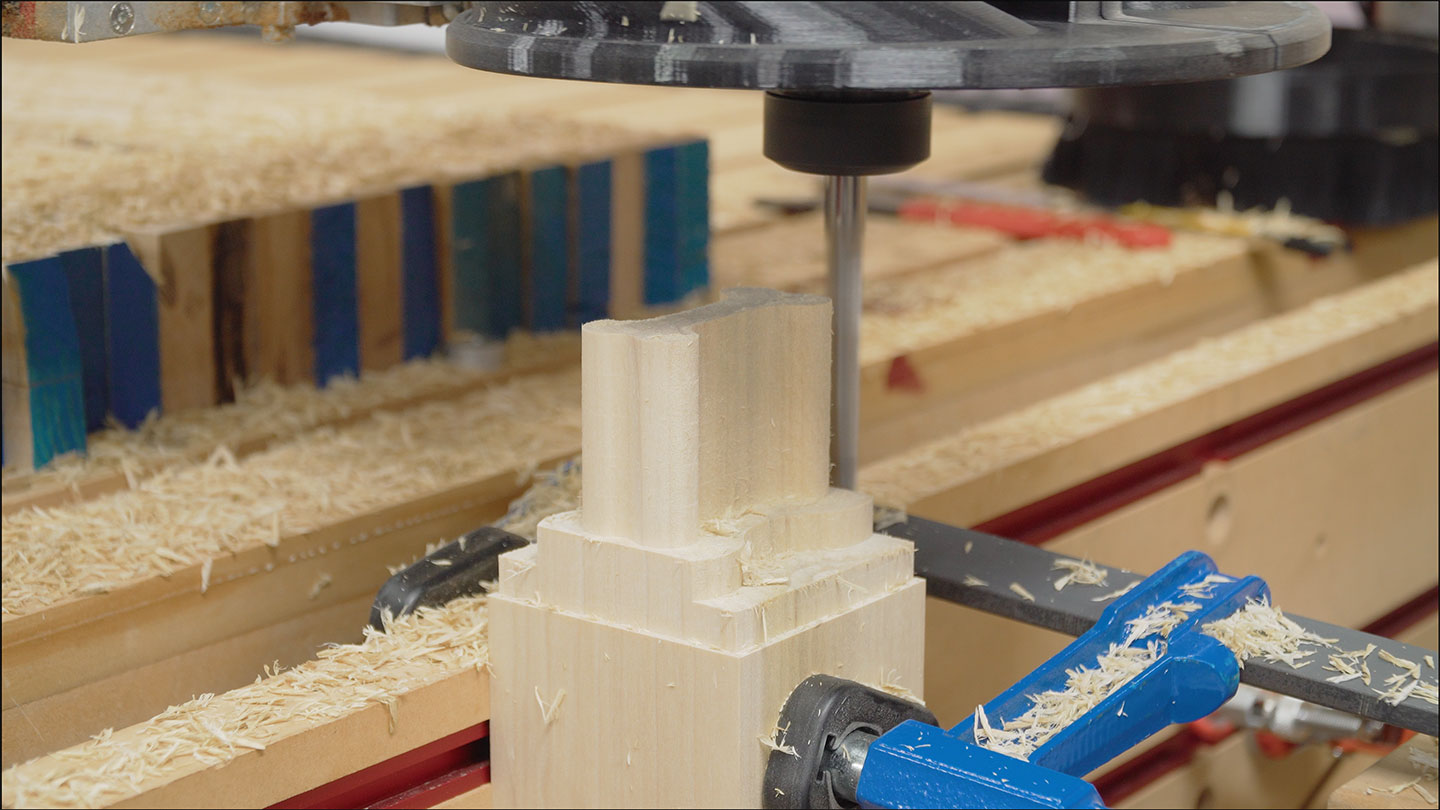
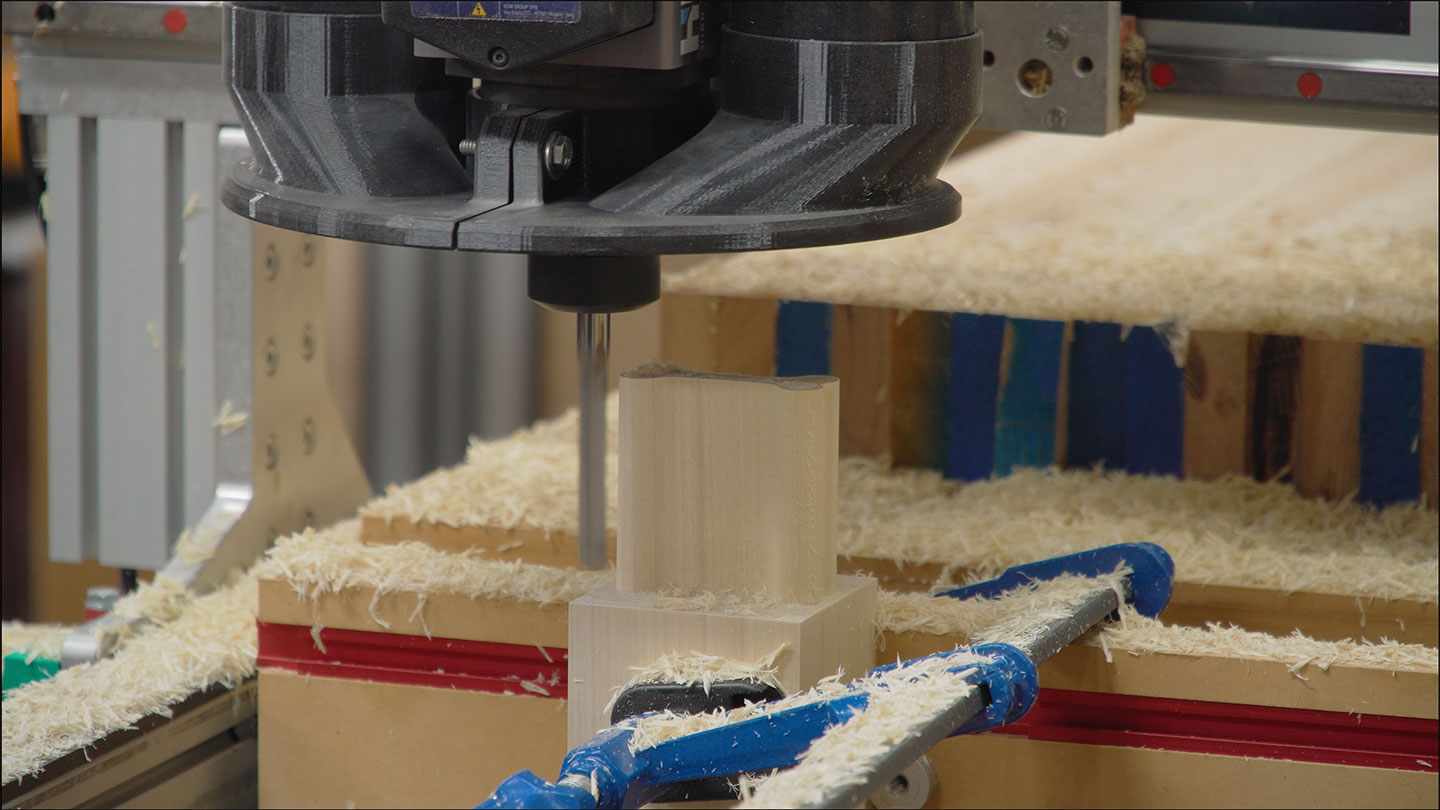
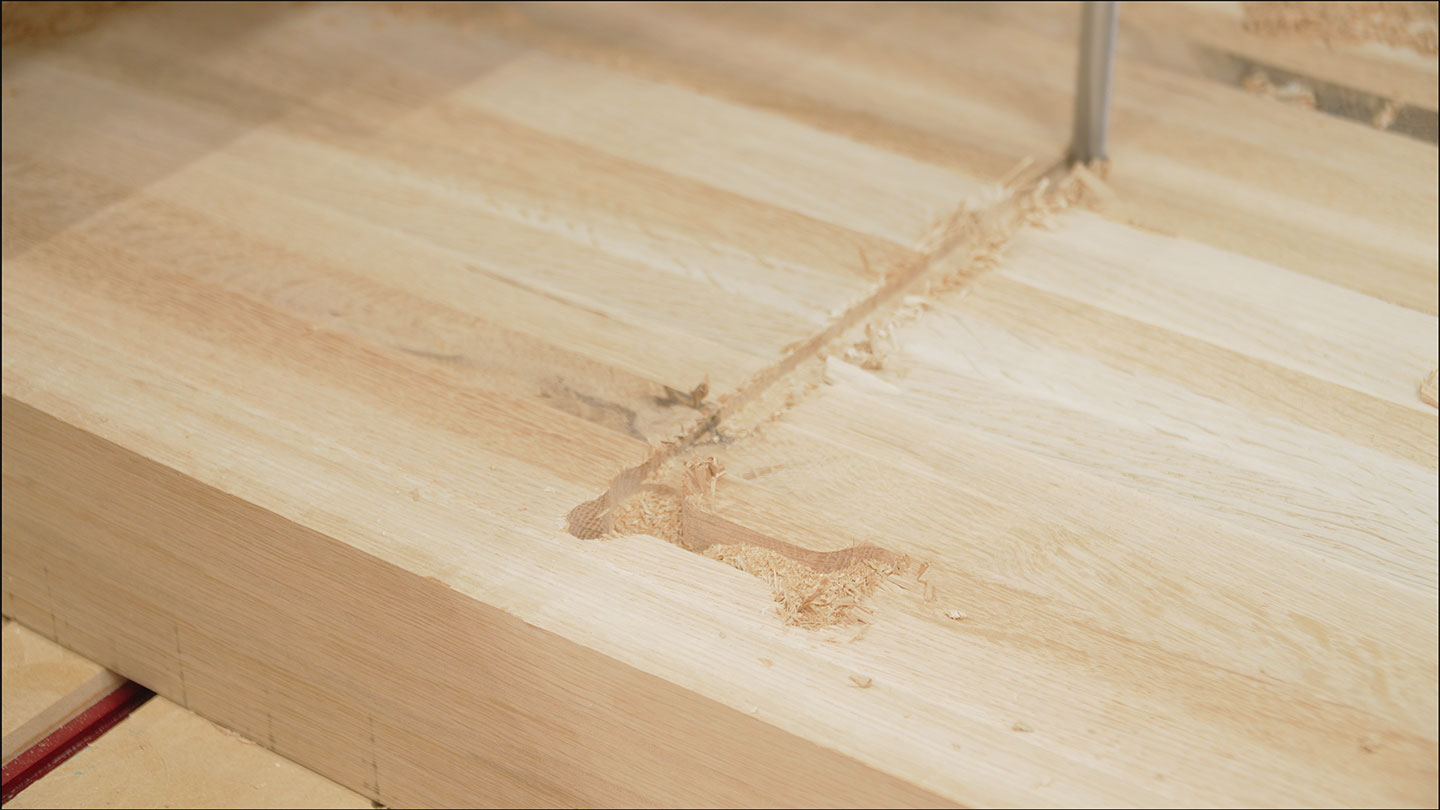
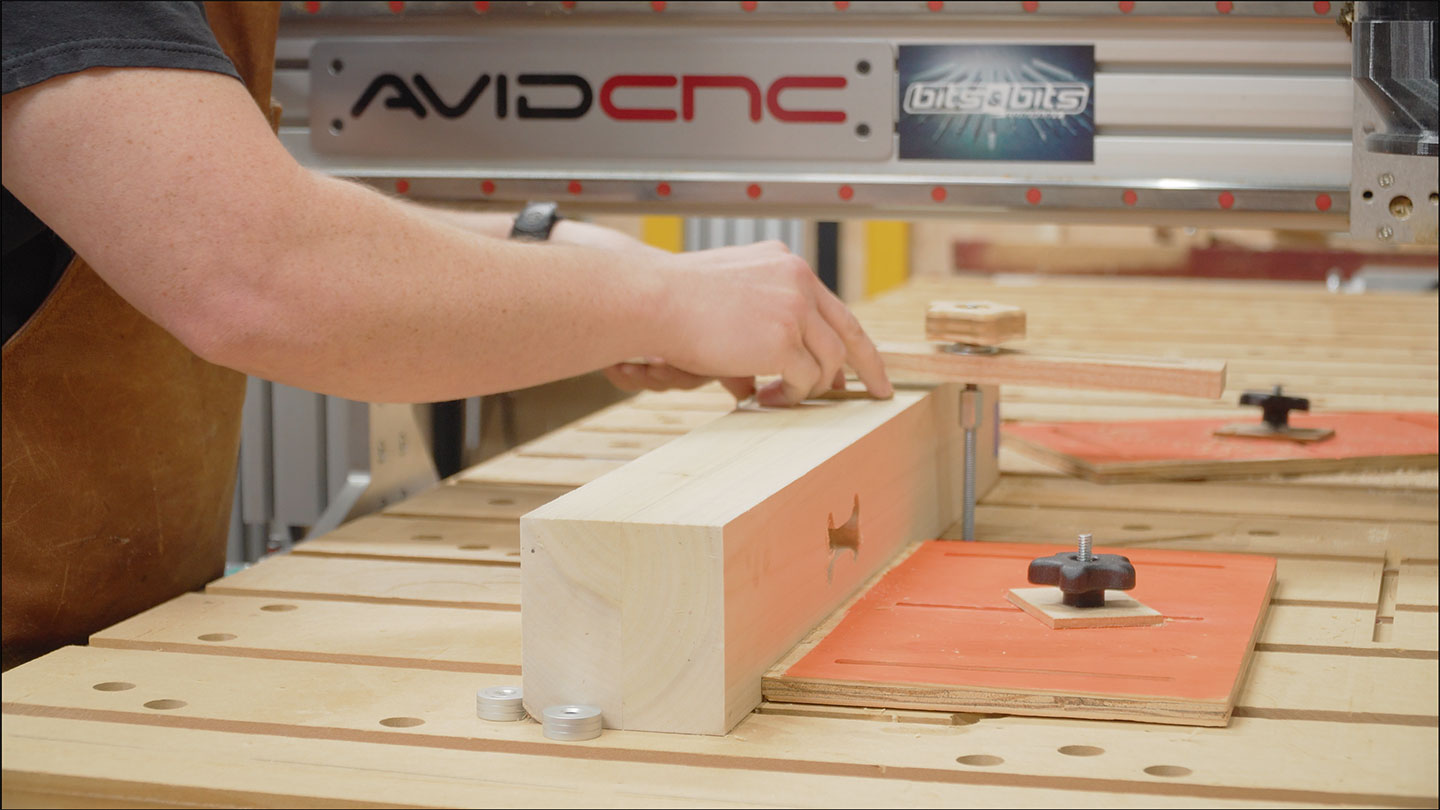
Onto the mortises. On the first mortise, the bit slipped down by 1/2″ in the collet. Therefore, when traveling from mortise one to mortise two the bit was too low and cut through the workbench where it shouldn’t have. That’s frustrating, but ultimately OK. This is the bottom of a workbench and nobody will see it. It won’t affect performance any. It’s just annoying.
While I had the machine stopped to reset the bit, I test fit the tenons. These were not as tight as I liked them to be. I think that has to do with doing a conventional rotation cut with this particular bit being so long. Bit deflection is almost nonexistent on a 1/2″ diameter bit, but when you increase its length as much as this bit is, the leverage is greater. Ultimately, it is a good enough fit for glue.
OK, the bit is reset and all is well, right? No. Mortise two and three were cut with no issues but while exiting the fourth mortise the bit plowed through the material once again. By about the same amount. So why is the bit slipping? I think two reasons. First, I don’t recall ever cleaning the bit before using it. It may have had some oil on the surface from the manufacturing process. And second, this oak is much more dense than the poplar I cut before it. Because the bit is an up cut bit, I’d imagine the forces from the bit wanting to pull itself down into the wood are much greater in oak than poplar.

I wanted to cut the entire workbench profile while it was still on the CNC machine. However, without top-down workholding, I can’t go the entire way through the top. My bench dogs are about 7/16″ tall and the plywood stop blocks I’m using are made from 1/2″ plywood. Therefore, I made the cut stop 1/2″ from the bottom. I can flush trim the rest later when the workbench is assembled.
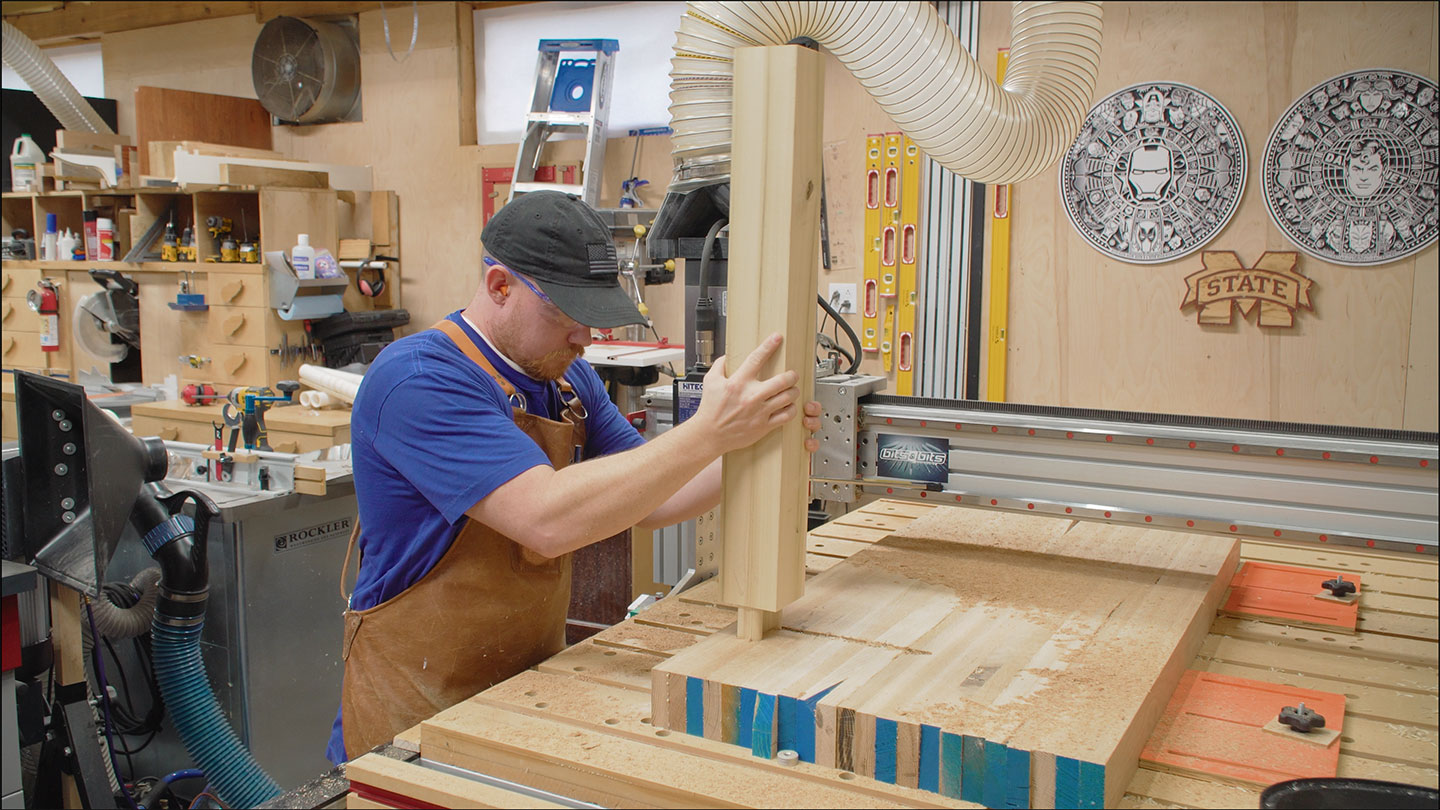
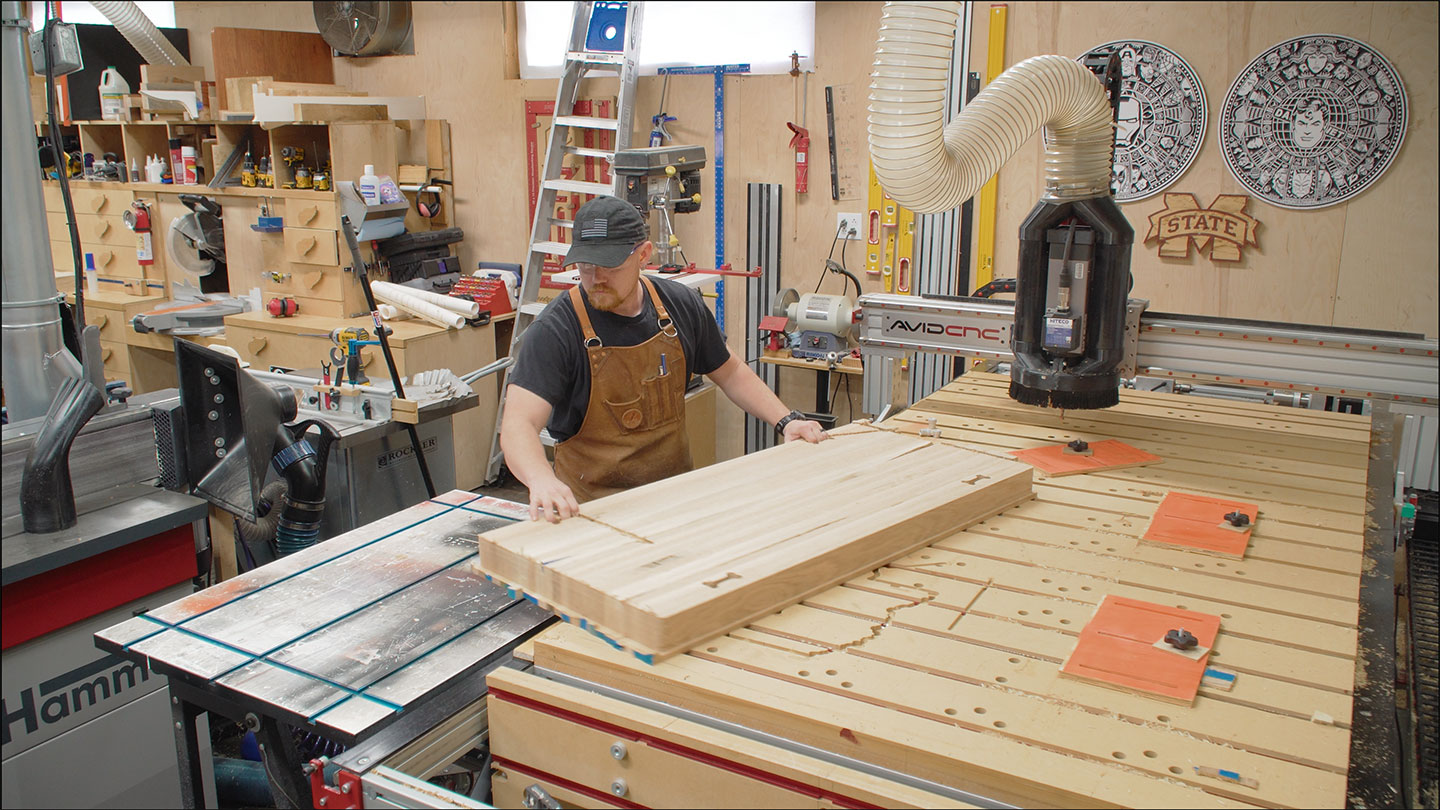
Time to swap the workbench top for the legs.
Each leg gets two mortises on two adjacent faces. Again, making sure the inside faces of the leg are facing up. That way the tearout will be covered when the tenons are seated.

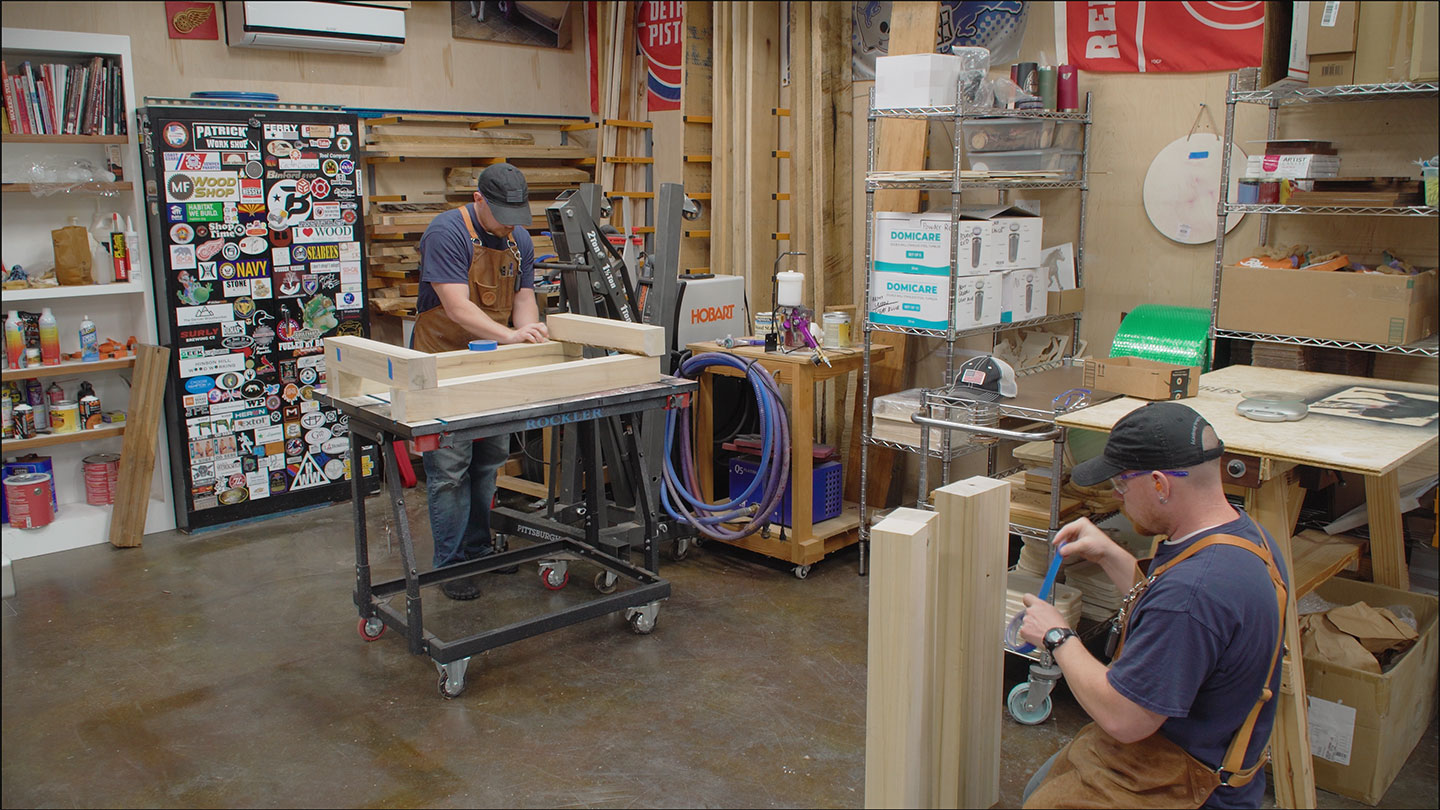
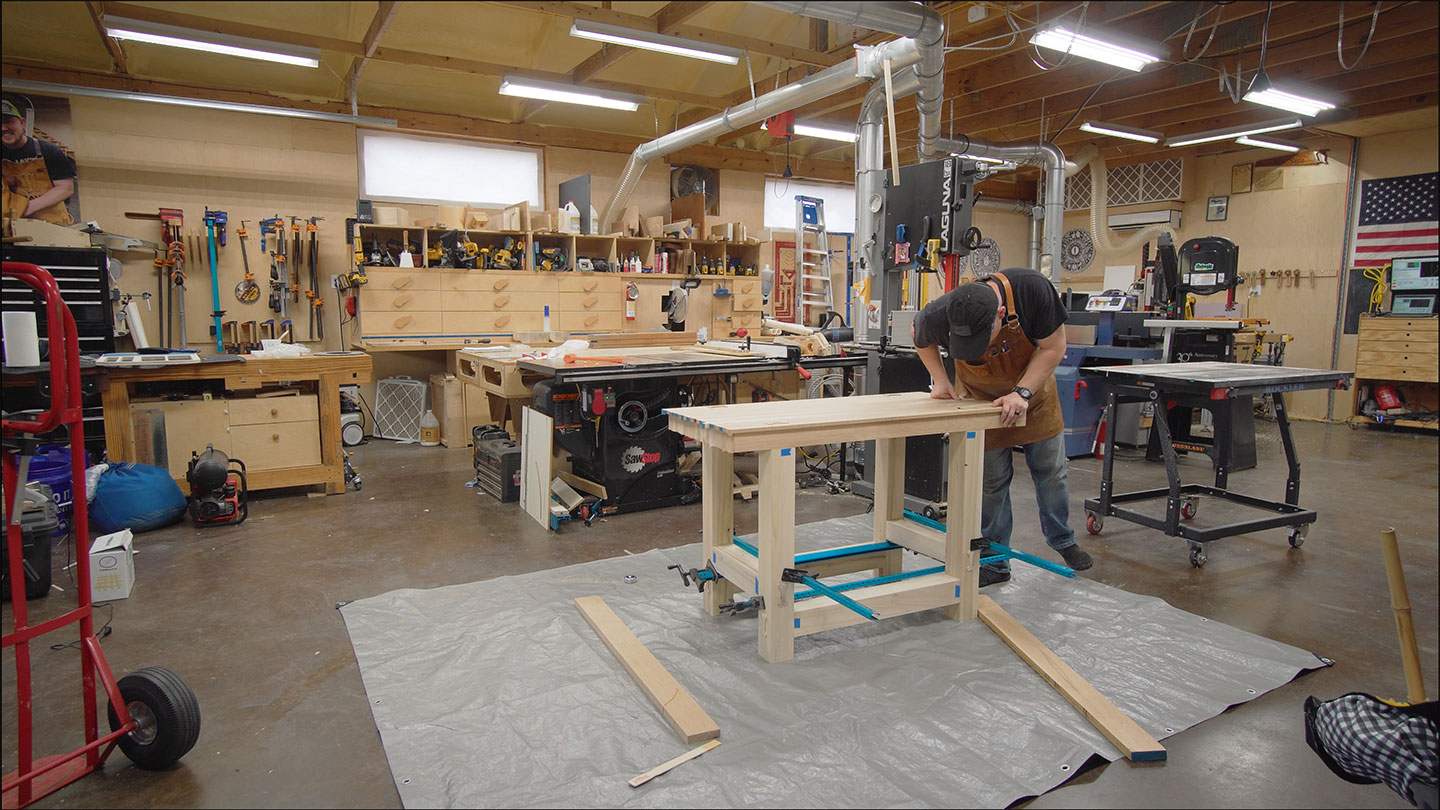
I figured it would be easier to assemble the bench on the floor so I first laid out a tarp to catch the epoxy.
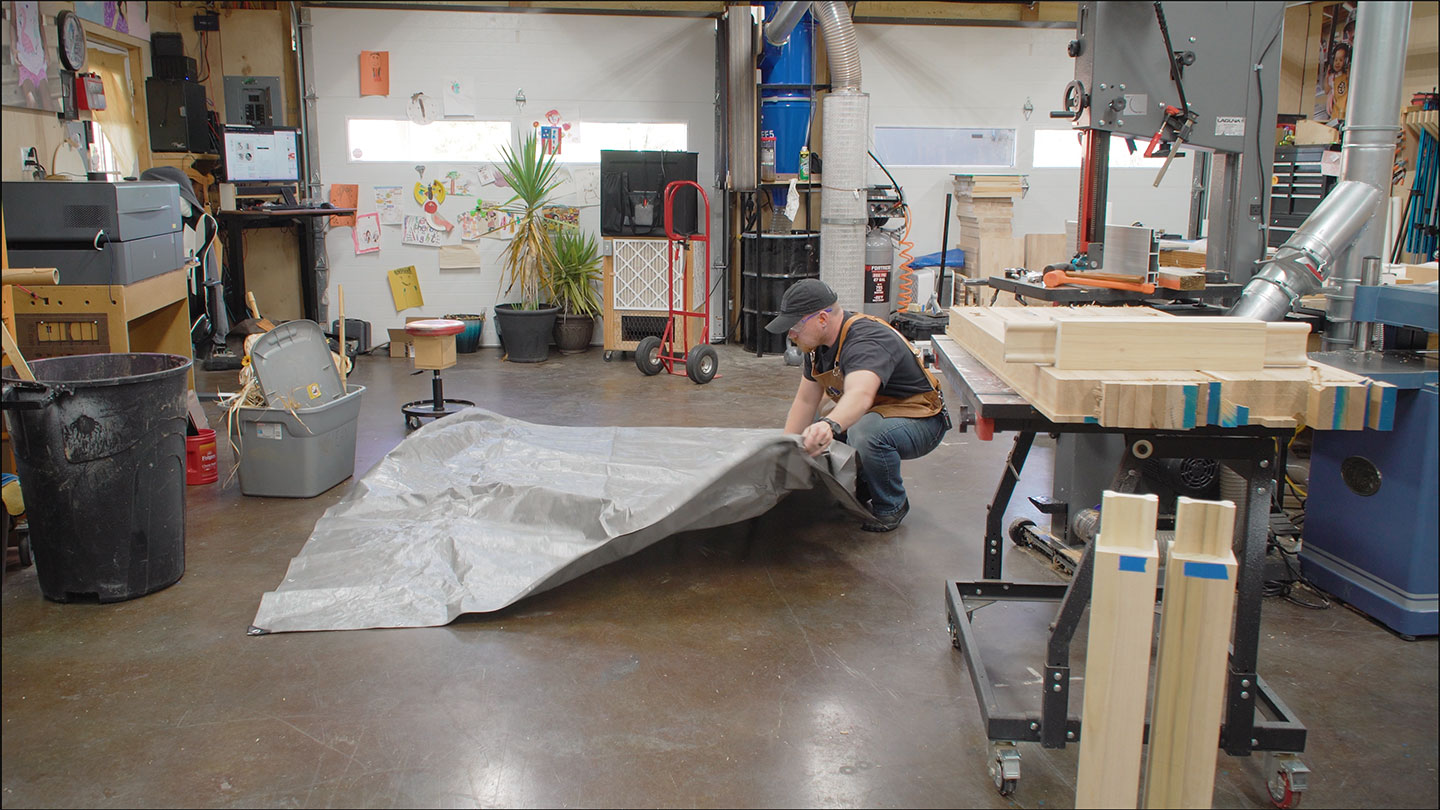
Then all the base components are staged in the correct orientation.
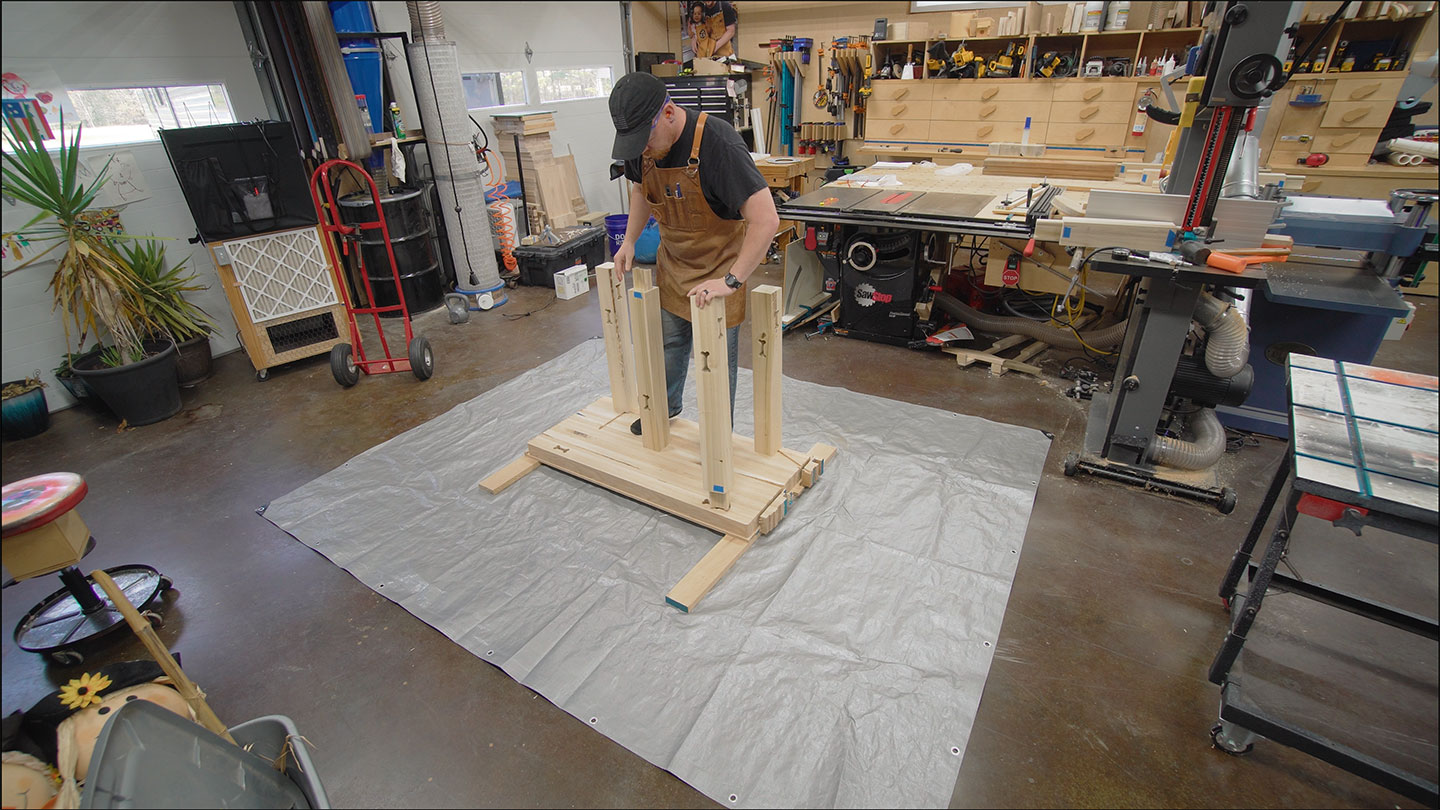
Epoxy is the adhesive of choice for something like this. The much longer open assembly time is needed for sanity purposes.
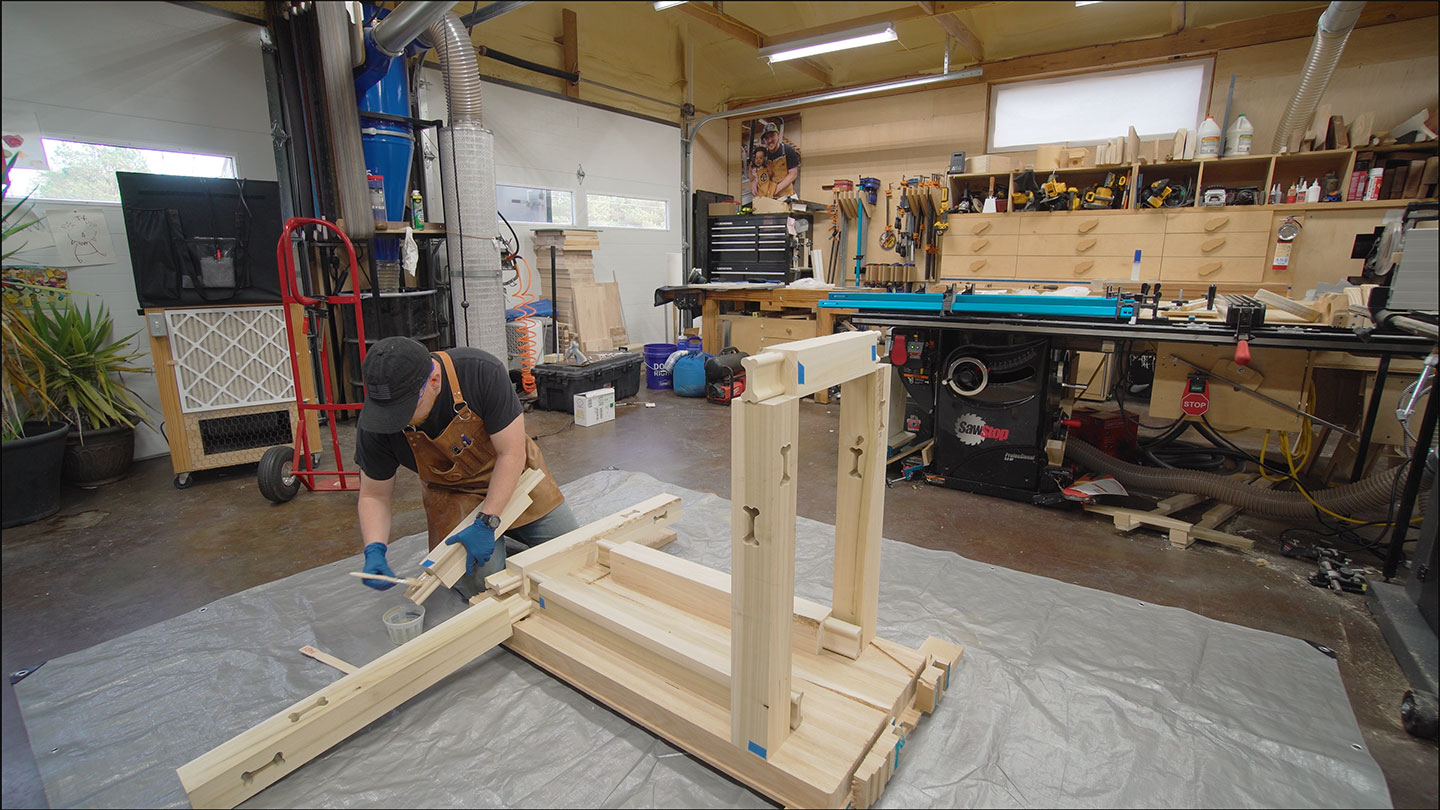
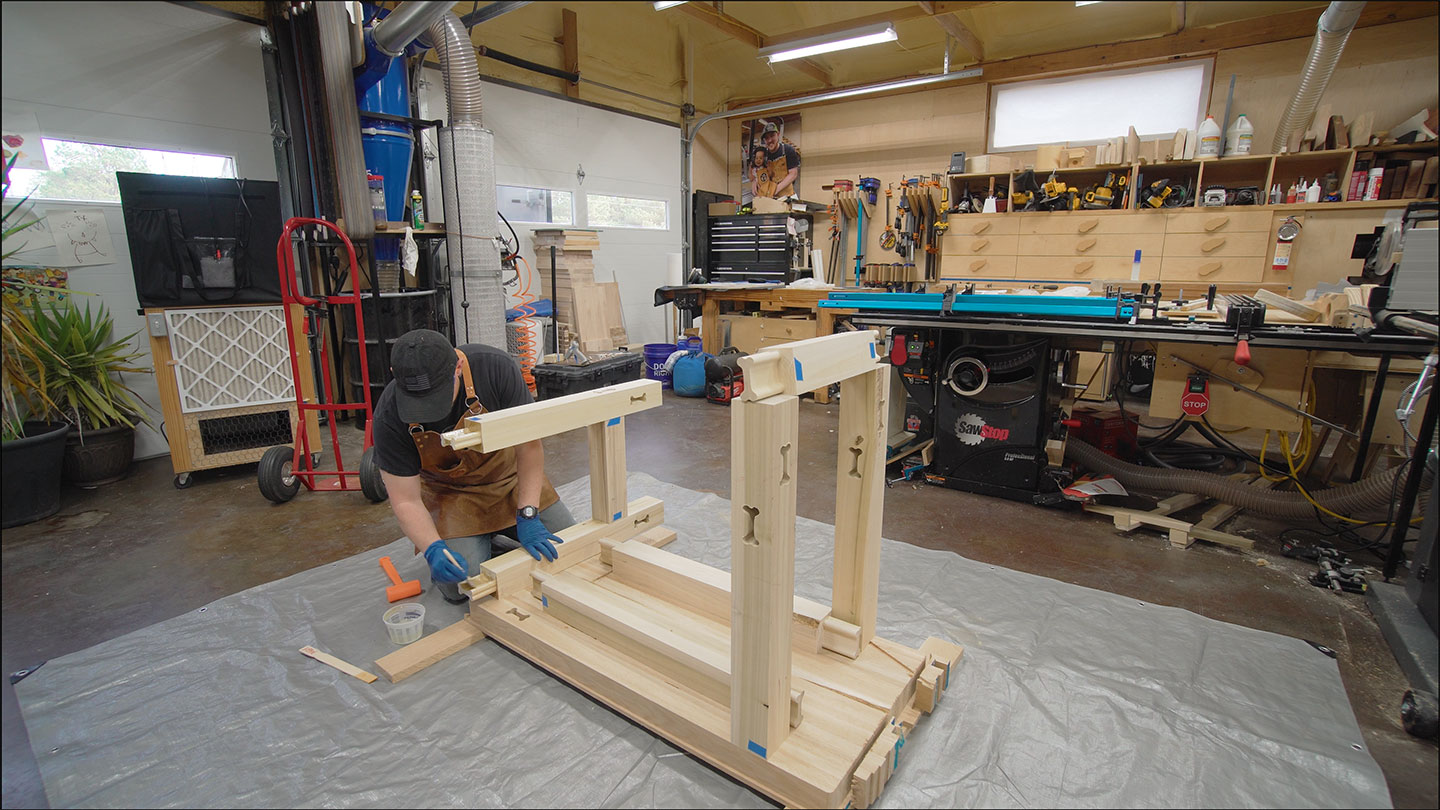
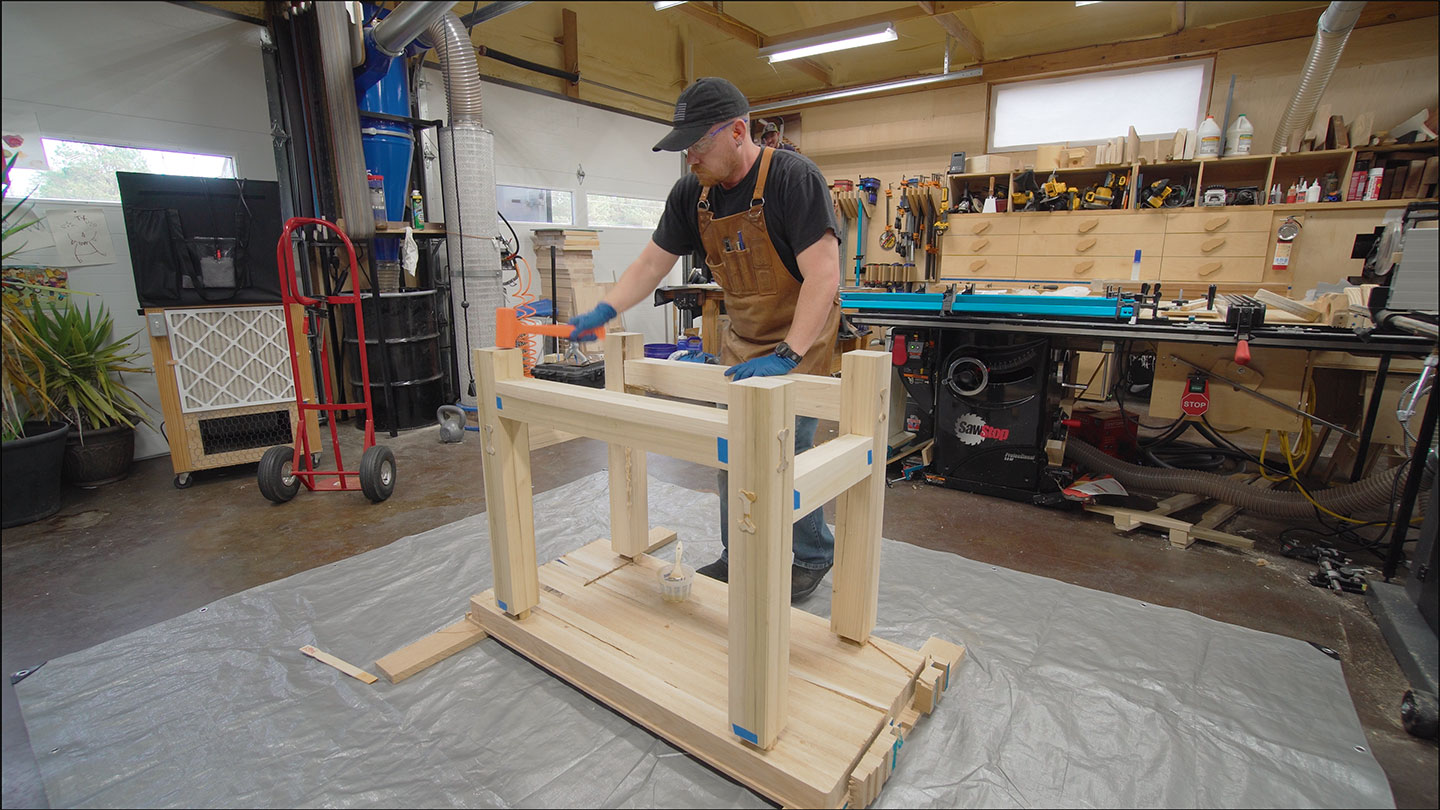
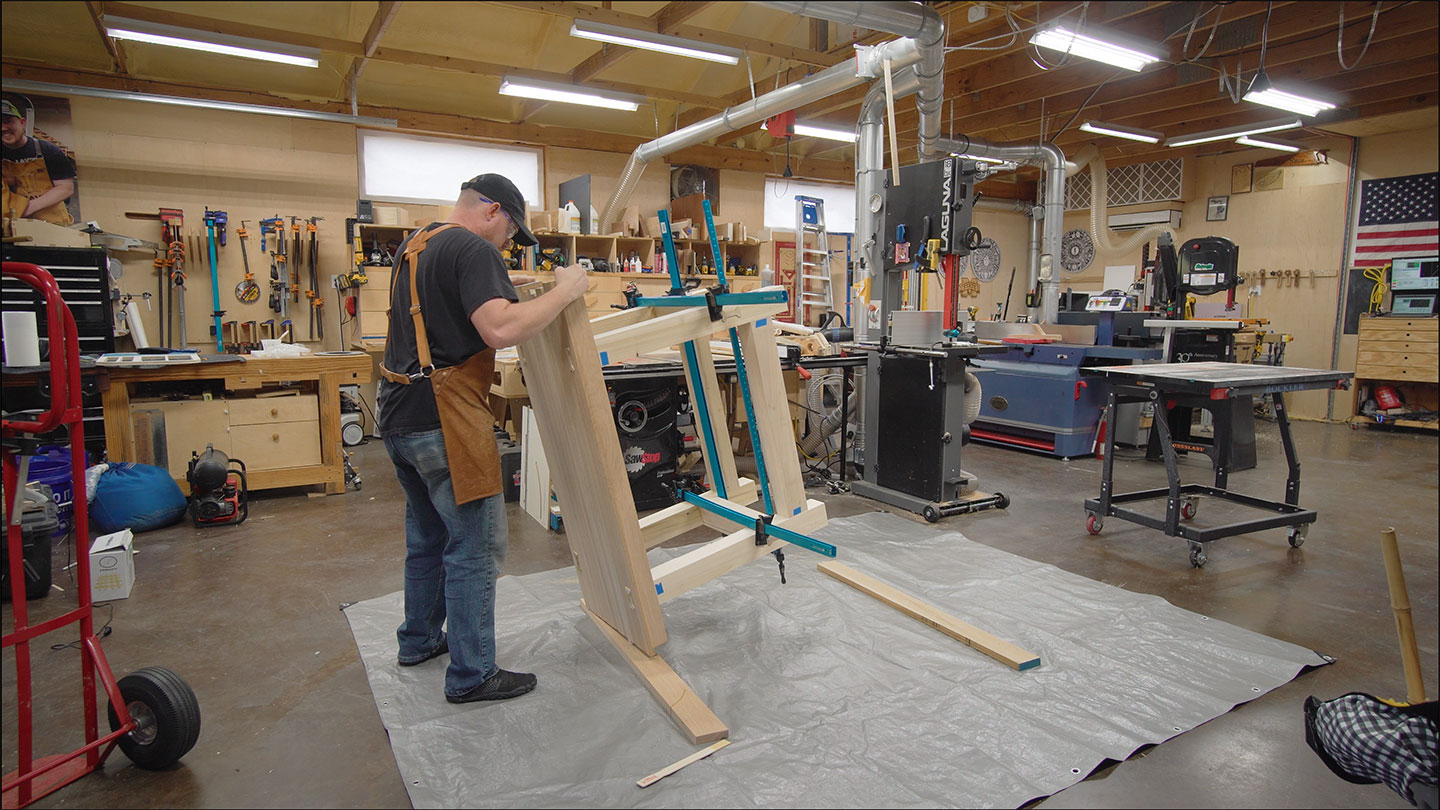
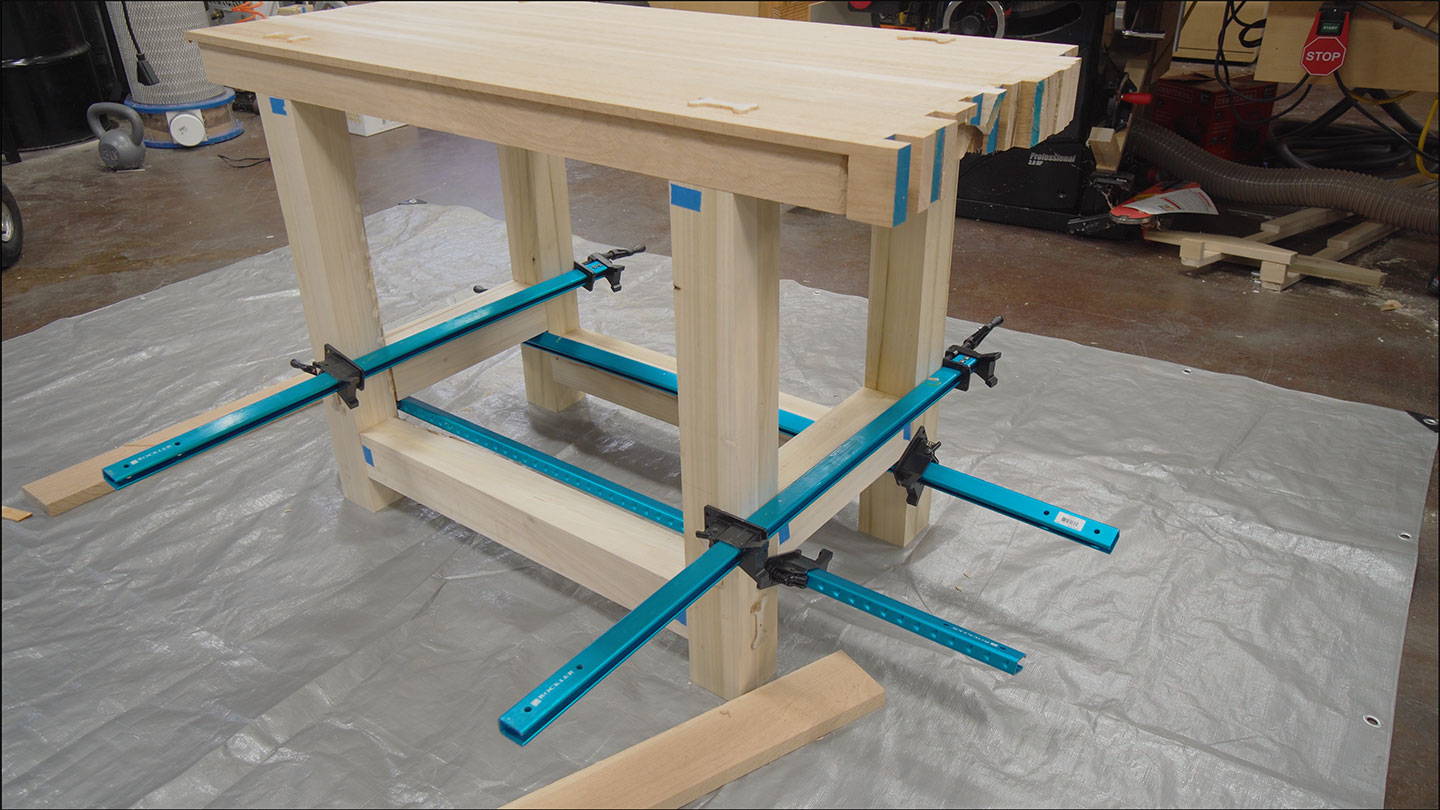
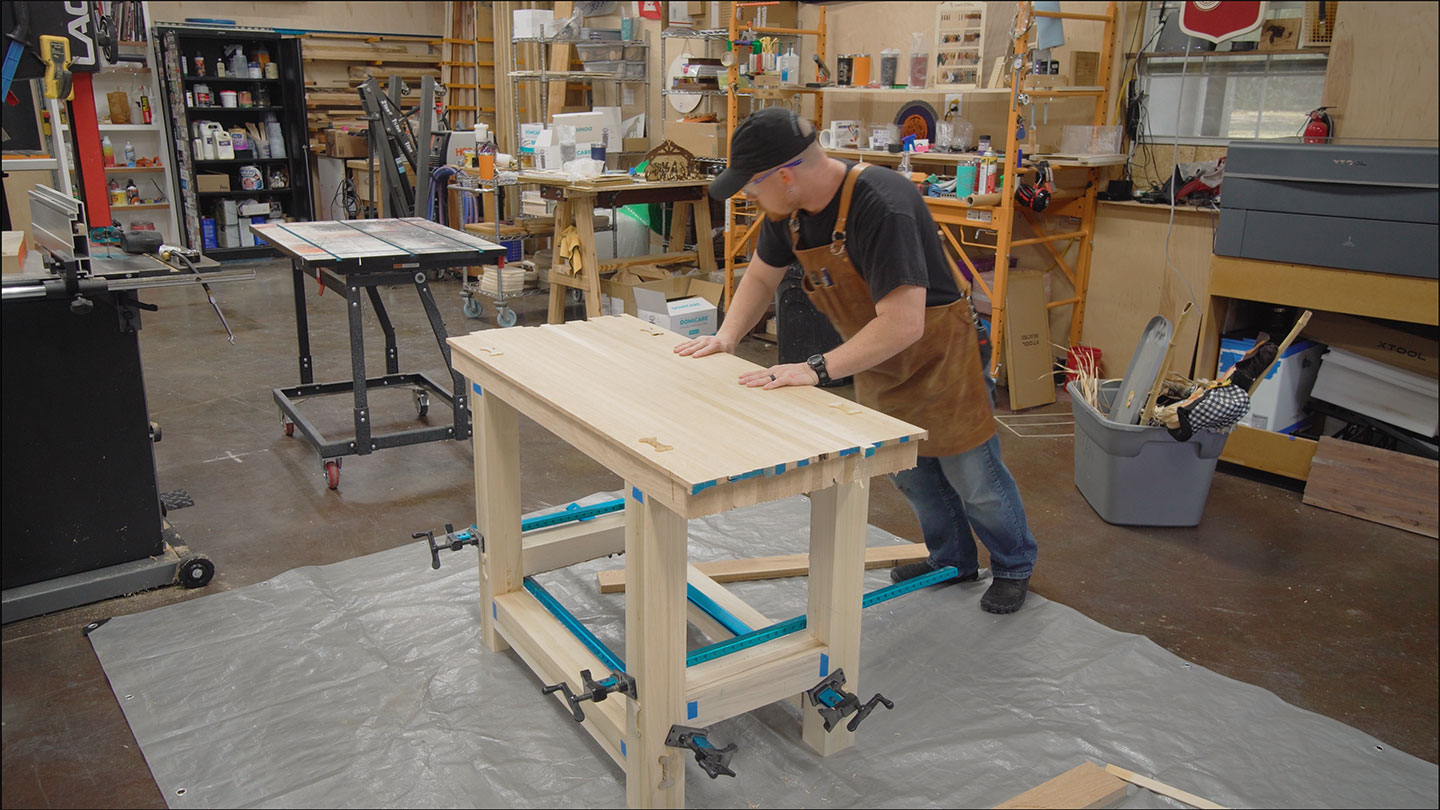
Each rail gets a clamp to guarantee the joint is seated flush. The top to leg connection doesn’t need clamps though. Even when flipping the workbench over, clamps are not necessary. The joints have enough surface area to bind in place as I flip it over. Then I can pick up and slam down each leg joint that needs to be seated further.
That’s it! The workbench is assembled, which is as far as I was wanting to get done in this video/article. I’ll conclude the rest of the fit and finish in the next video. My plan is to flush trim the top and all joints, paint the base Tuscan Red, oil the workbench top, and install a small cast iron vise for my daughter.


You’re a good daddy. I’m sure she’s going to love it.👍
Hi Jay,
Thanks for sharing the build, and the story.
Based on experience, I typically run my safe-Z position at least 1″ above the work surface, as I have found out the hard way not all material is as flat as one hopes. Glad things turned out ok for you.
I’ve also found that when clearing an interior space (the mortise openings in this case), that starting the cut from the center and working to the outside puts all the tool pressure on material that is soon leaving, and your final cuts are much less constrained by the material loading.
Keep having fun and enjoy the shop time.
Regards,
Rick