Not everything works out as planned. Recently I’ve made a couple projects that left me scratching my head as to “why did I do it this way?” A couple weeks ago I made a modified version of the Paulk Workbench in which I made a couple decisions that ended up not working out.
If you aren’t familiar with the Paulk Workbench I recommend that you check it out. It’s a workbench designed with engineering instead of mass for people who are either working on site or who need to break down shop for one reason or another. I bought the plans, slightly changed a few things, and made my own version. But I should have done a few things differently from the start.
The original design calls for two tops that are bolted together. This allows the structure to be easily broken down and stored away. Because my version will never leave my driveway I have no clue why I went ahead with the two top design. I should have made it a solid one piece top to begin with. I also didn’t want to drill all the holes in the top. I thought they might have been a problem with things falling down in them. So instead of drilling the holes I secured the tops in a split-top orientation with a gap down the middle. This was intended to be used for clamping material in the center of the table but ended up being a pain in the rear. In the week or so time I used the workbench I quickly grew frustrated with items falling in the gap.
So to correct the problems that I created I removed the bottom panels from both top structures. I’ll use these panels in future shop projects.
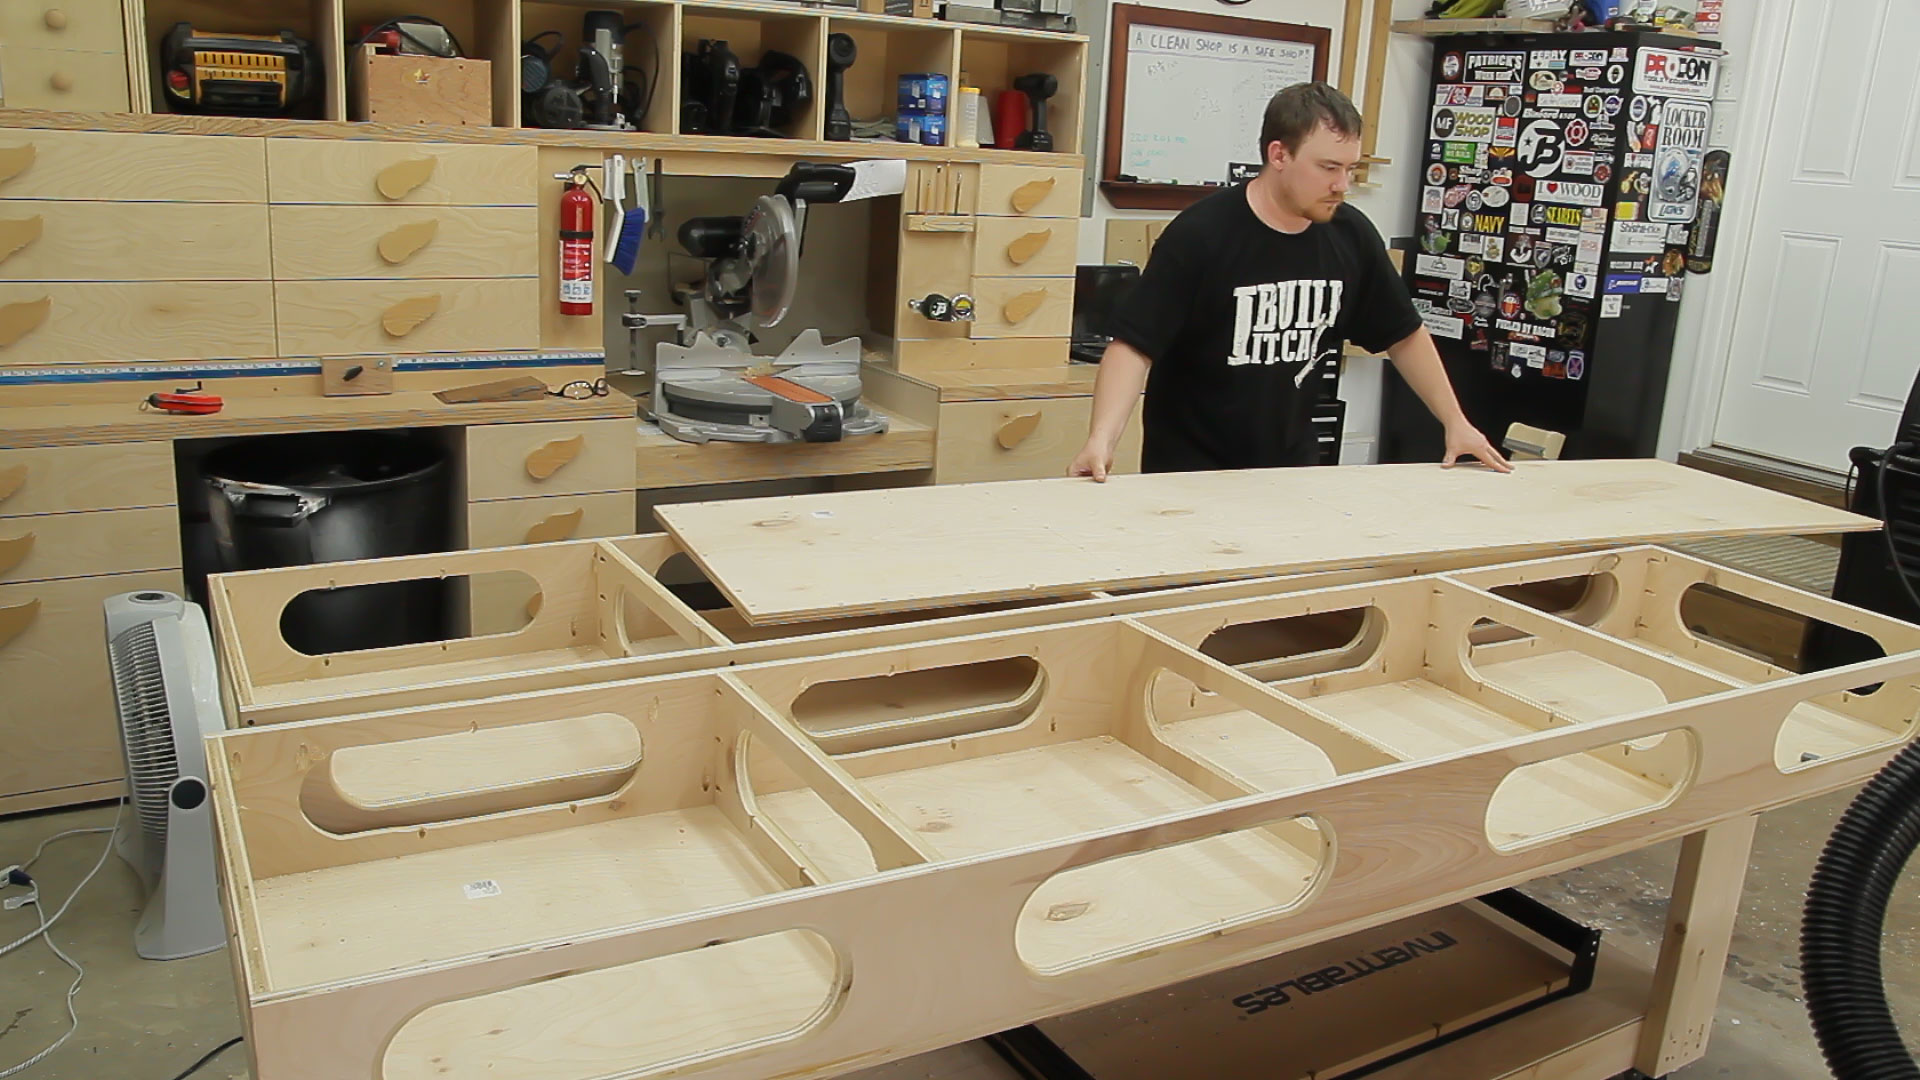
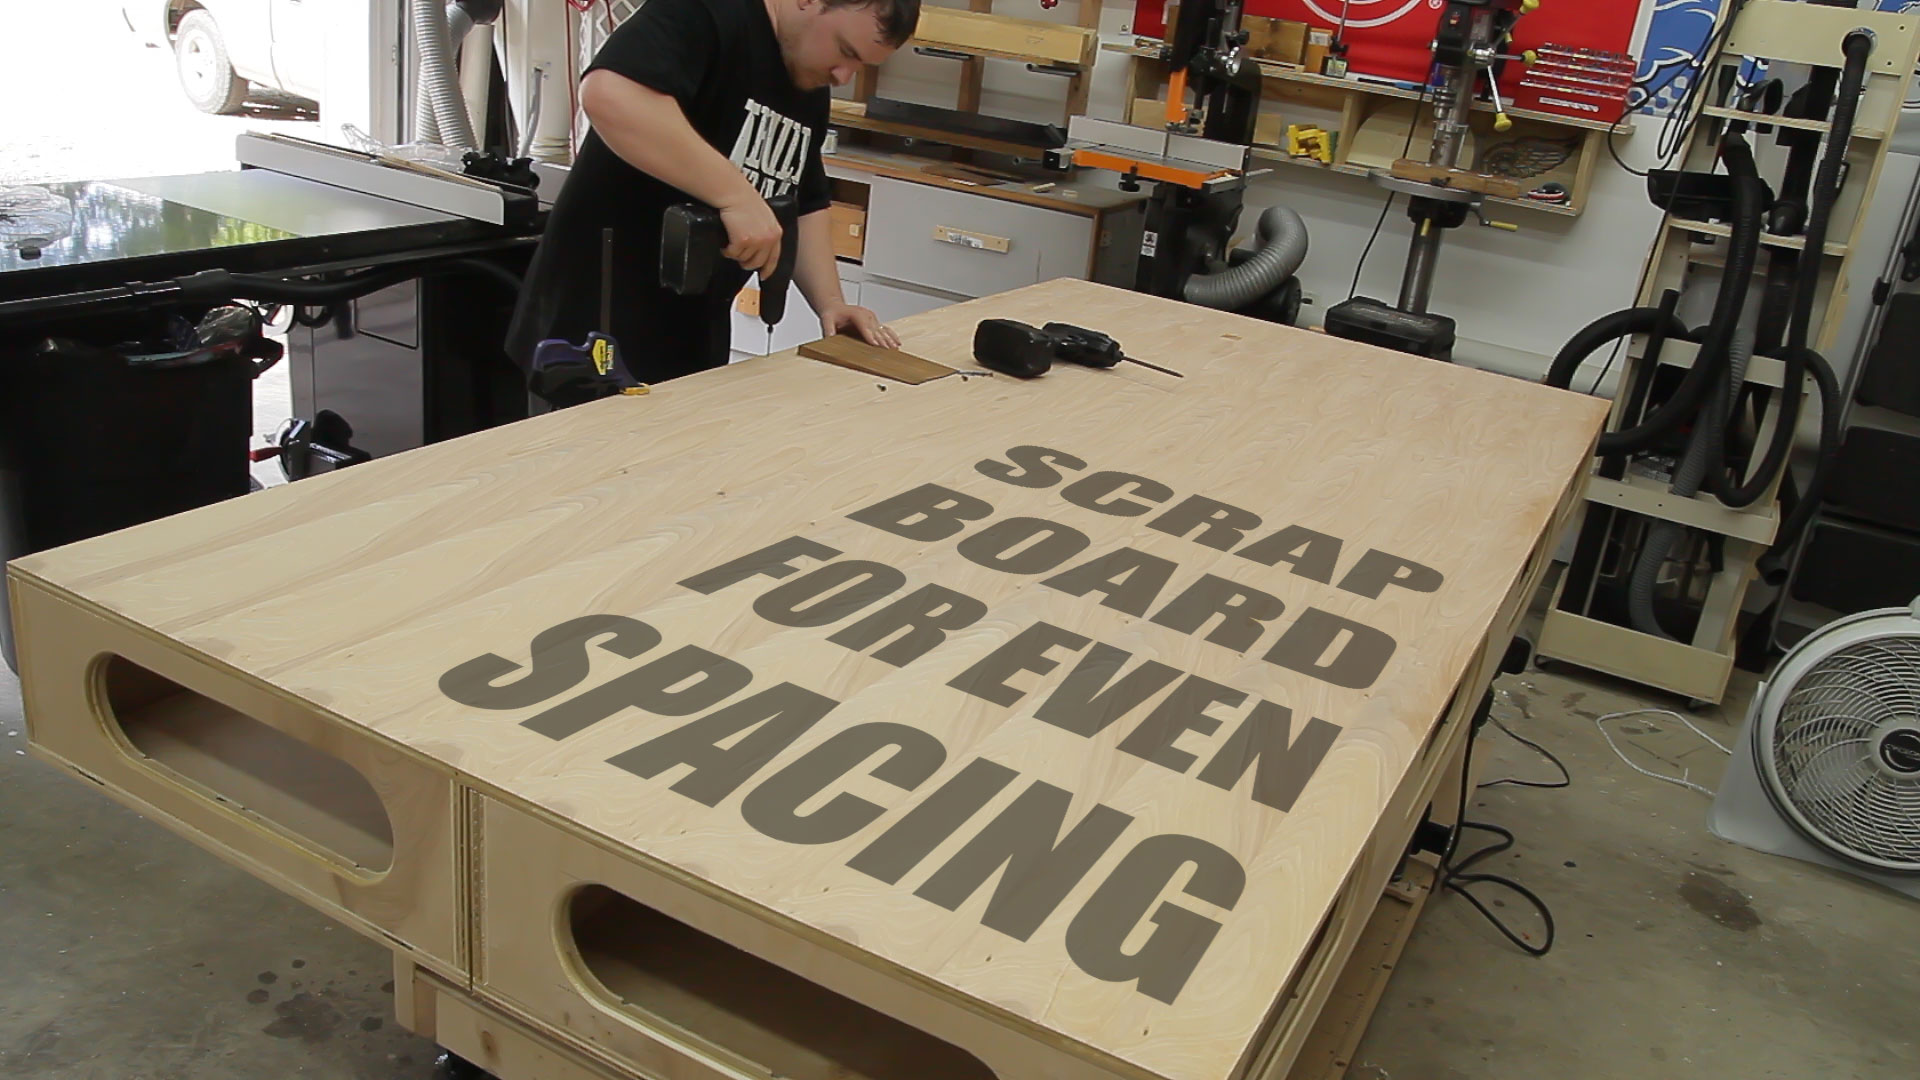
For whatever reason I didn’t glue the bottom panels. Which worked out great for me as I could remove them. I replaced the two panels with a solid 4×8 sheet of 1/2” plywood. As usual I used Purebond hardwood plywood for this. It’s made in the USA and formaldehyde free. Both of which I really like. I screwed the top sections together in the middle to form a single top assembly before adding this top sheet. When predrilling I used a scrap board as a random spacing to keep all of the screw holes looking even. The board was actually a left over shingle from my dog house build.
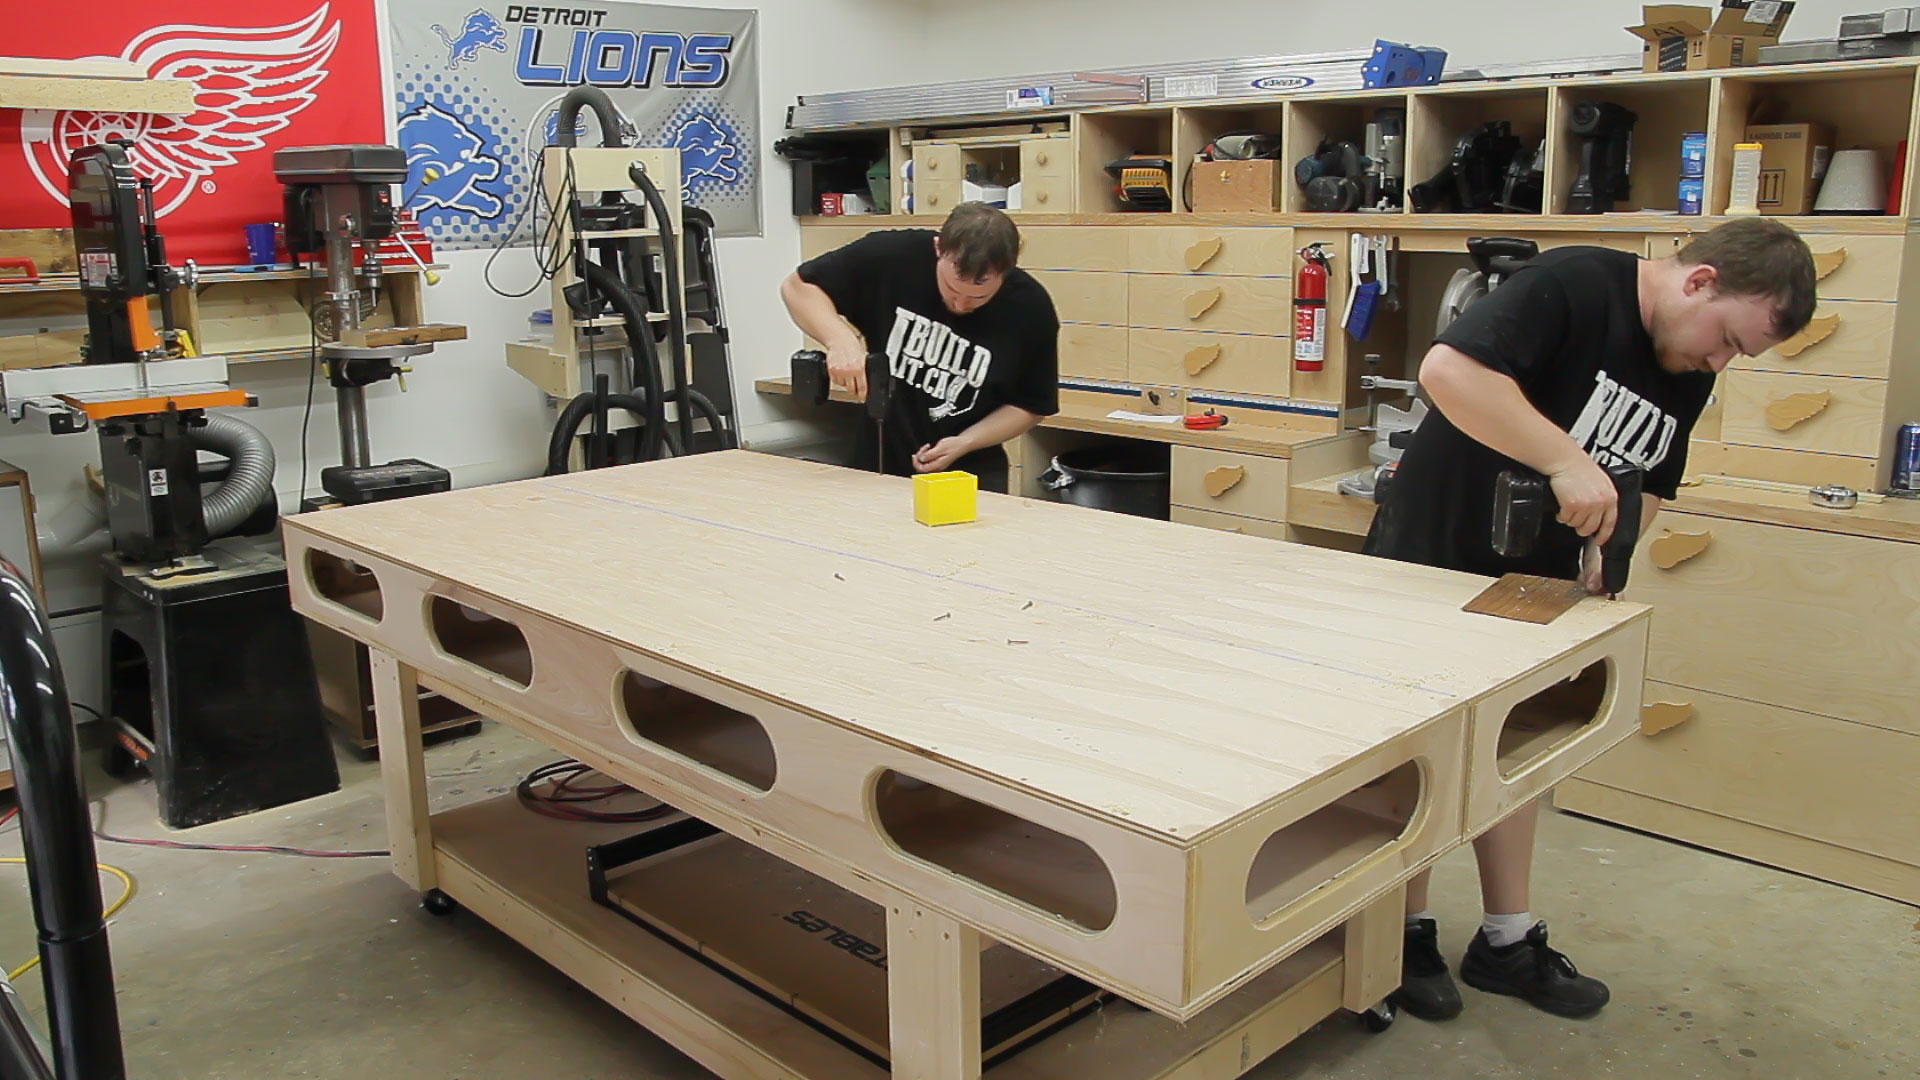
I used 1-1/4” drywall screws to secure the top panel. I also used a chalk line to make sure I was going into the dividers and not into dead space.
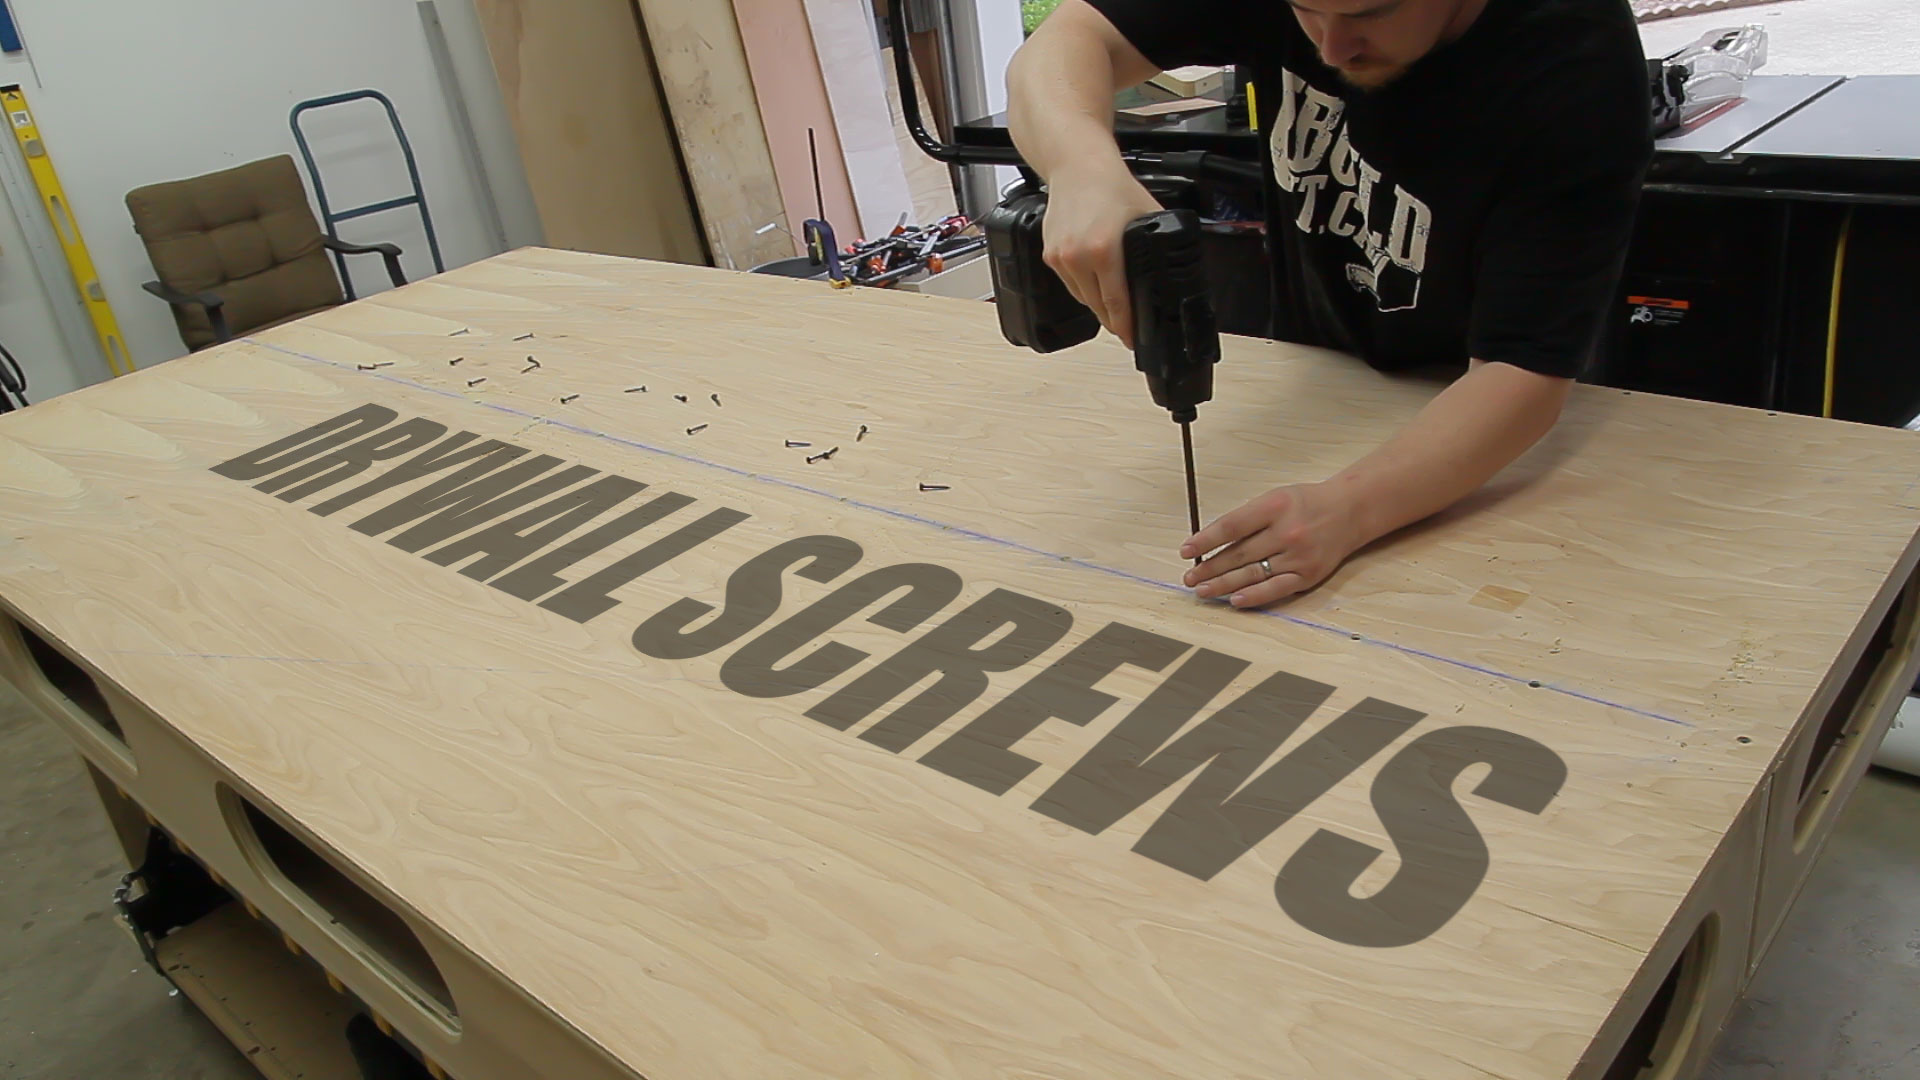
With two of us working on it the process went pretty quick. The entire perimeter as well as all of the interior dividers received screws.
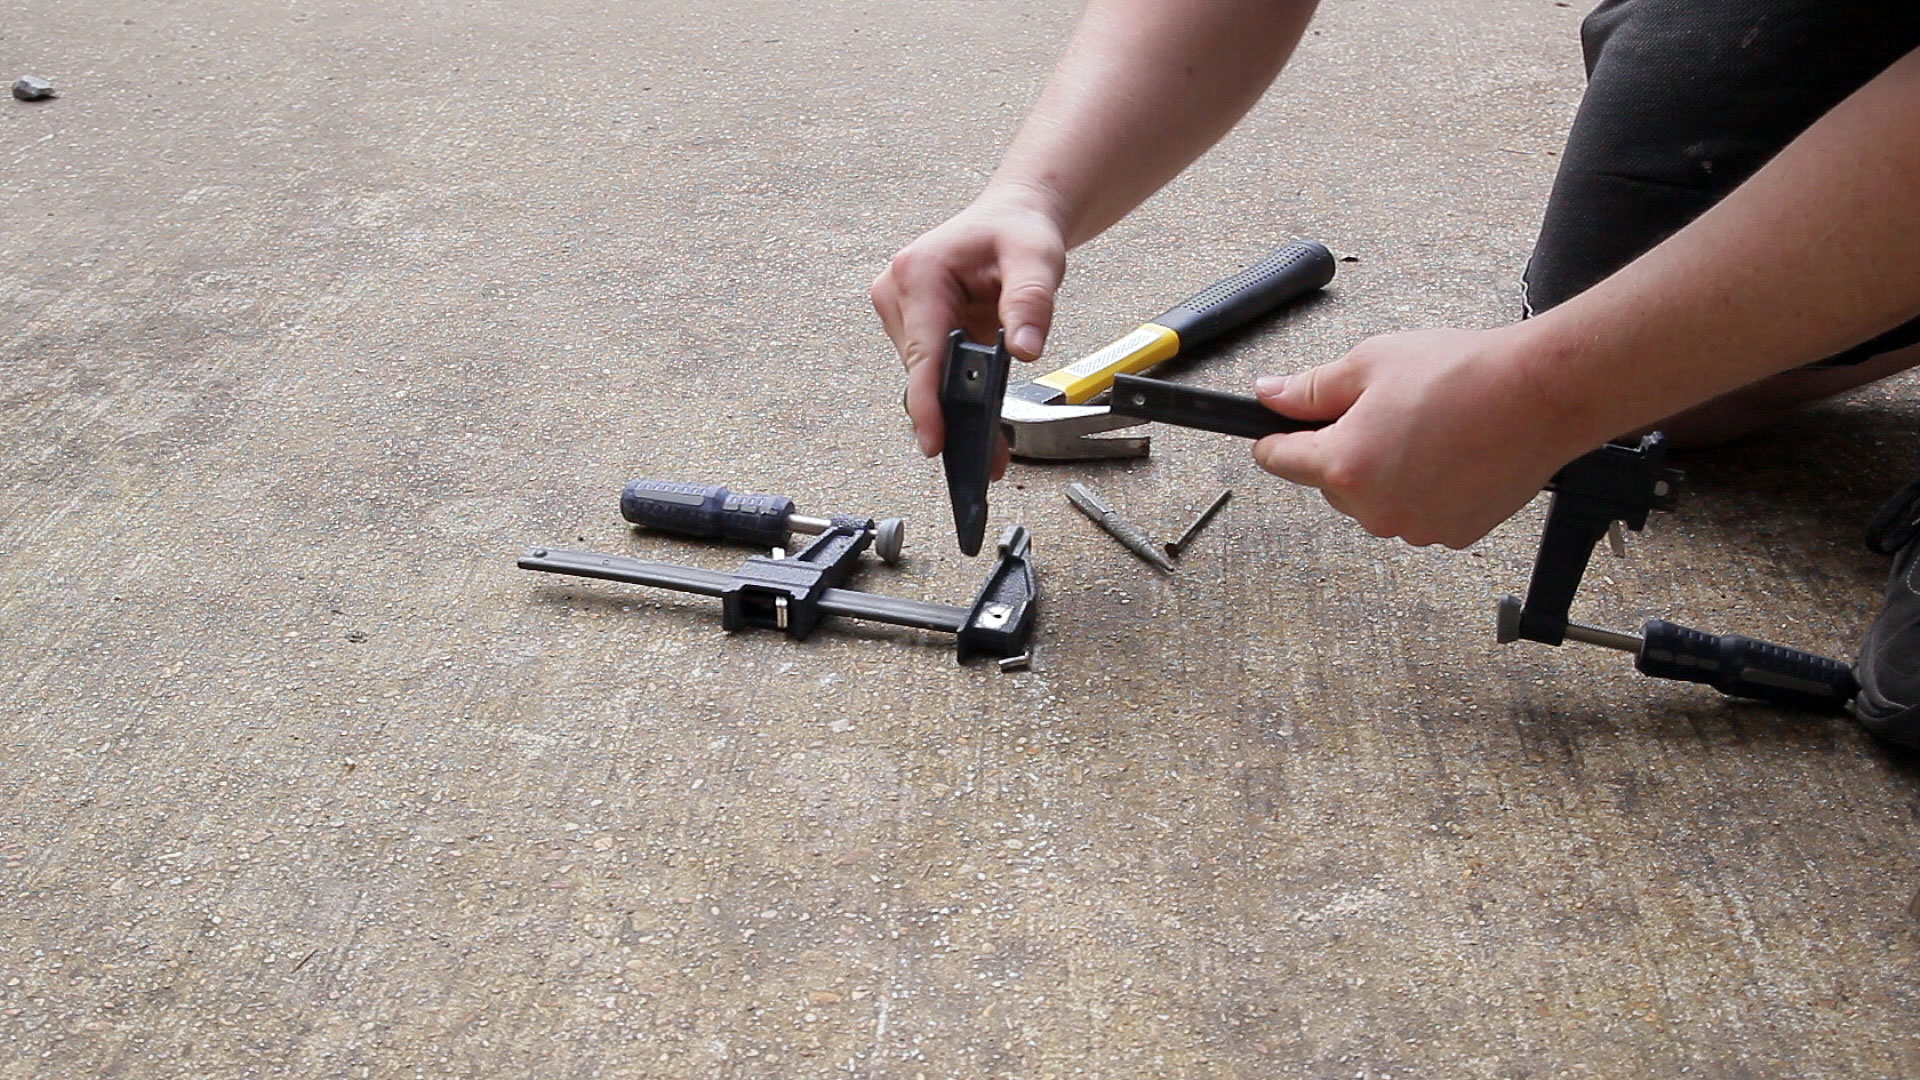
Ron’s original design uses 3/4” holes which work great with Festool clamps. I looked up the price of the clamps and realized I didn’t want to pay $40 per working clamp for this bench. So instead I found a video on YouTube that shows how to modify an inexpensive Harbor Freight clamp to be used in 3/4” holes. The only problem is that it would require me to cut down the length of the bar to about 7” to be inserted from below on the workbench. This would result in about 3-1/4” of clamping depth on top. I wanted a little more than that because I use dimensional lumber a lot so instead of modifying the small end of the bar clamp I ground off the retaining pin holding the top arm in place which made the top arm removable.

A few taps with a hammer and a punch and the retaining pin is released. To hold the top arm in place a nail can be used.
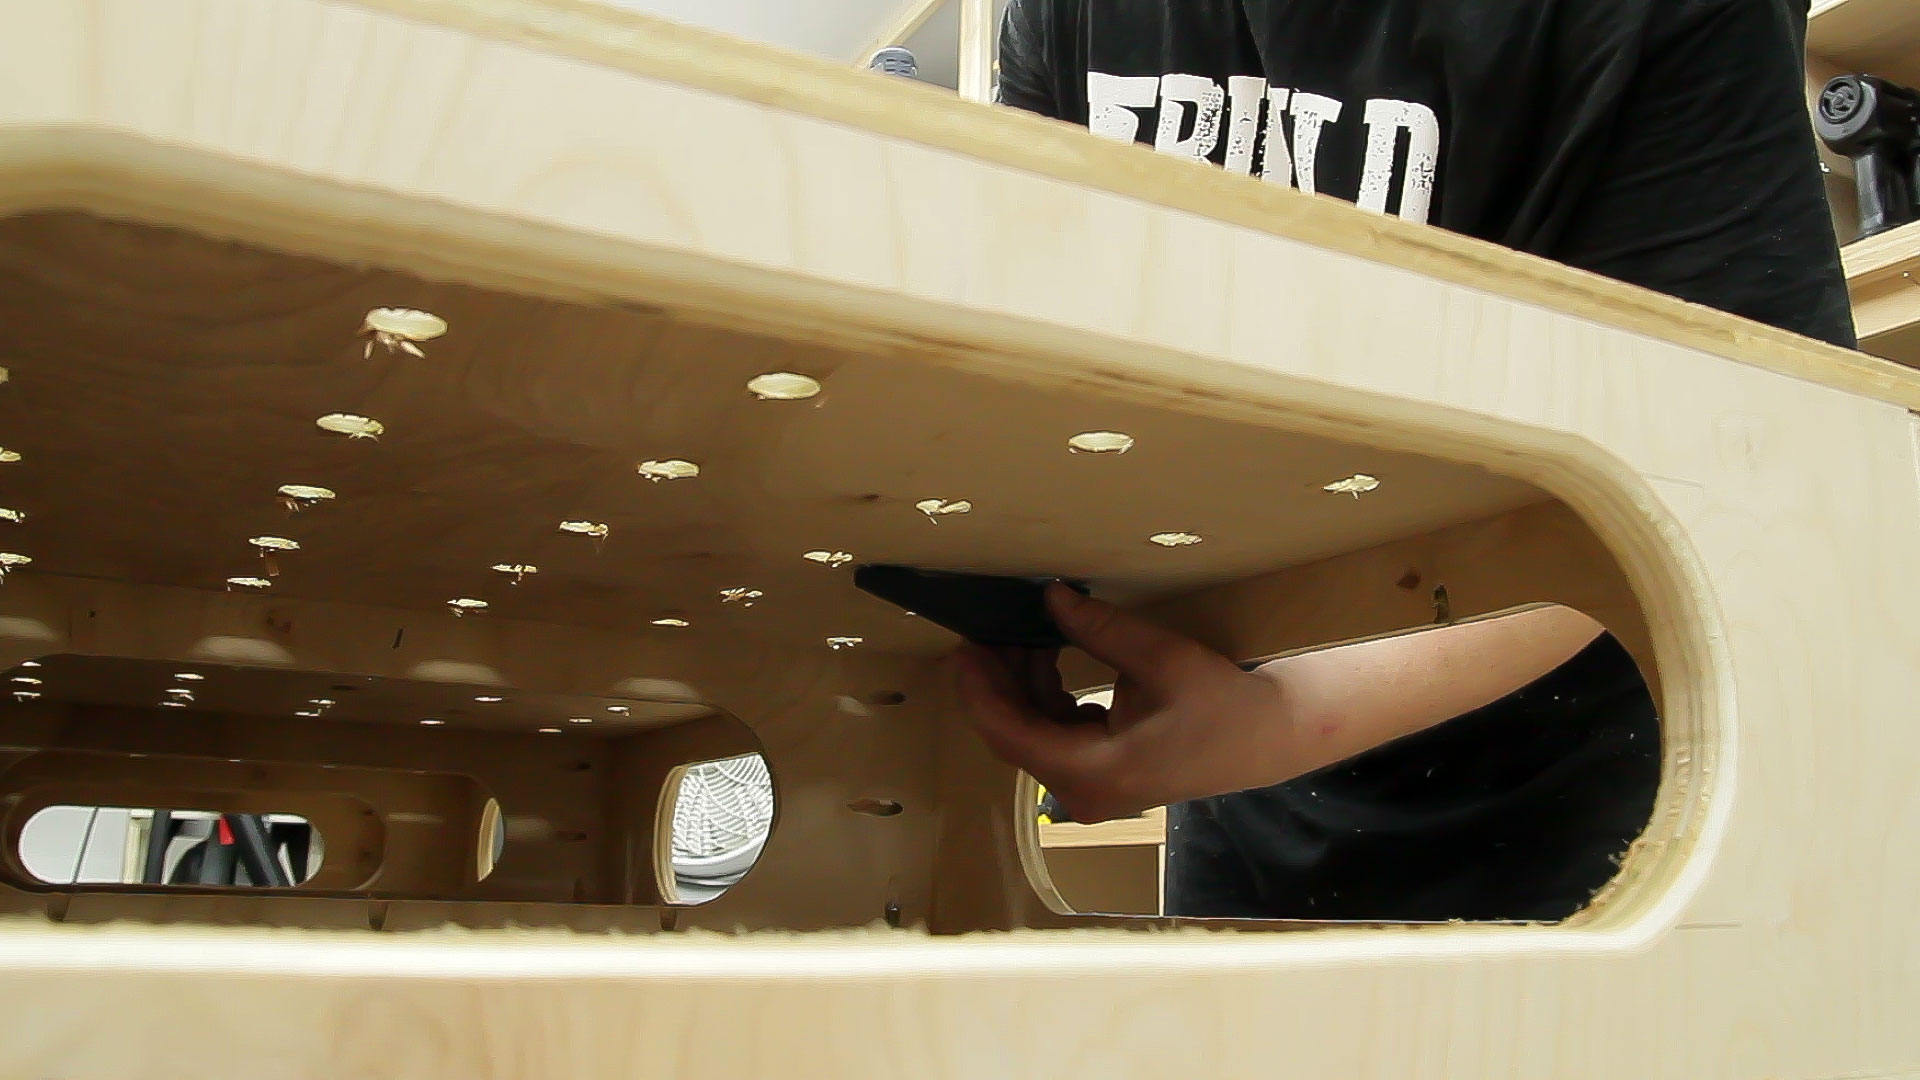
With a few clamps successfully modified a fun drilling session could begin. I believe there are 220 holes drilled in the top of the bench. Again, I used a chalk line to establish where to drill.

Because I can visually see into each hole on the table I can line up the bar slot in the arm from below, insert the bar from above, and insert the locking pin (a nail). It’s not difficult at all.
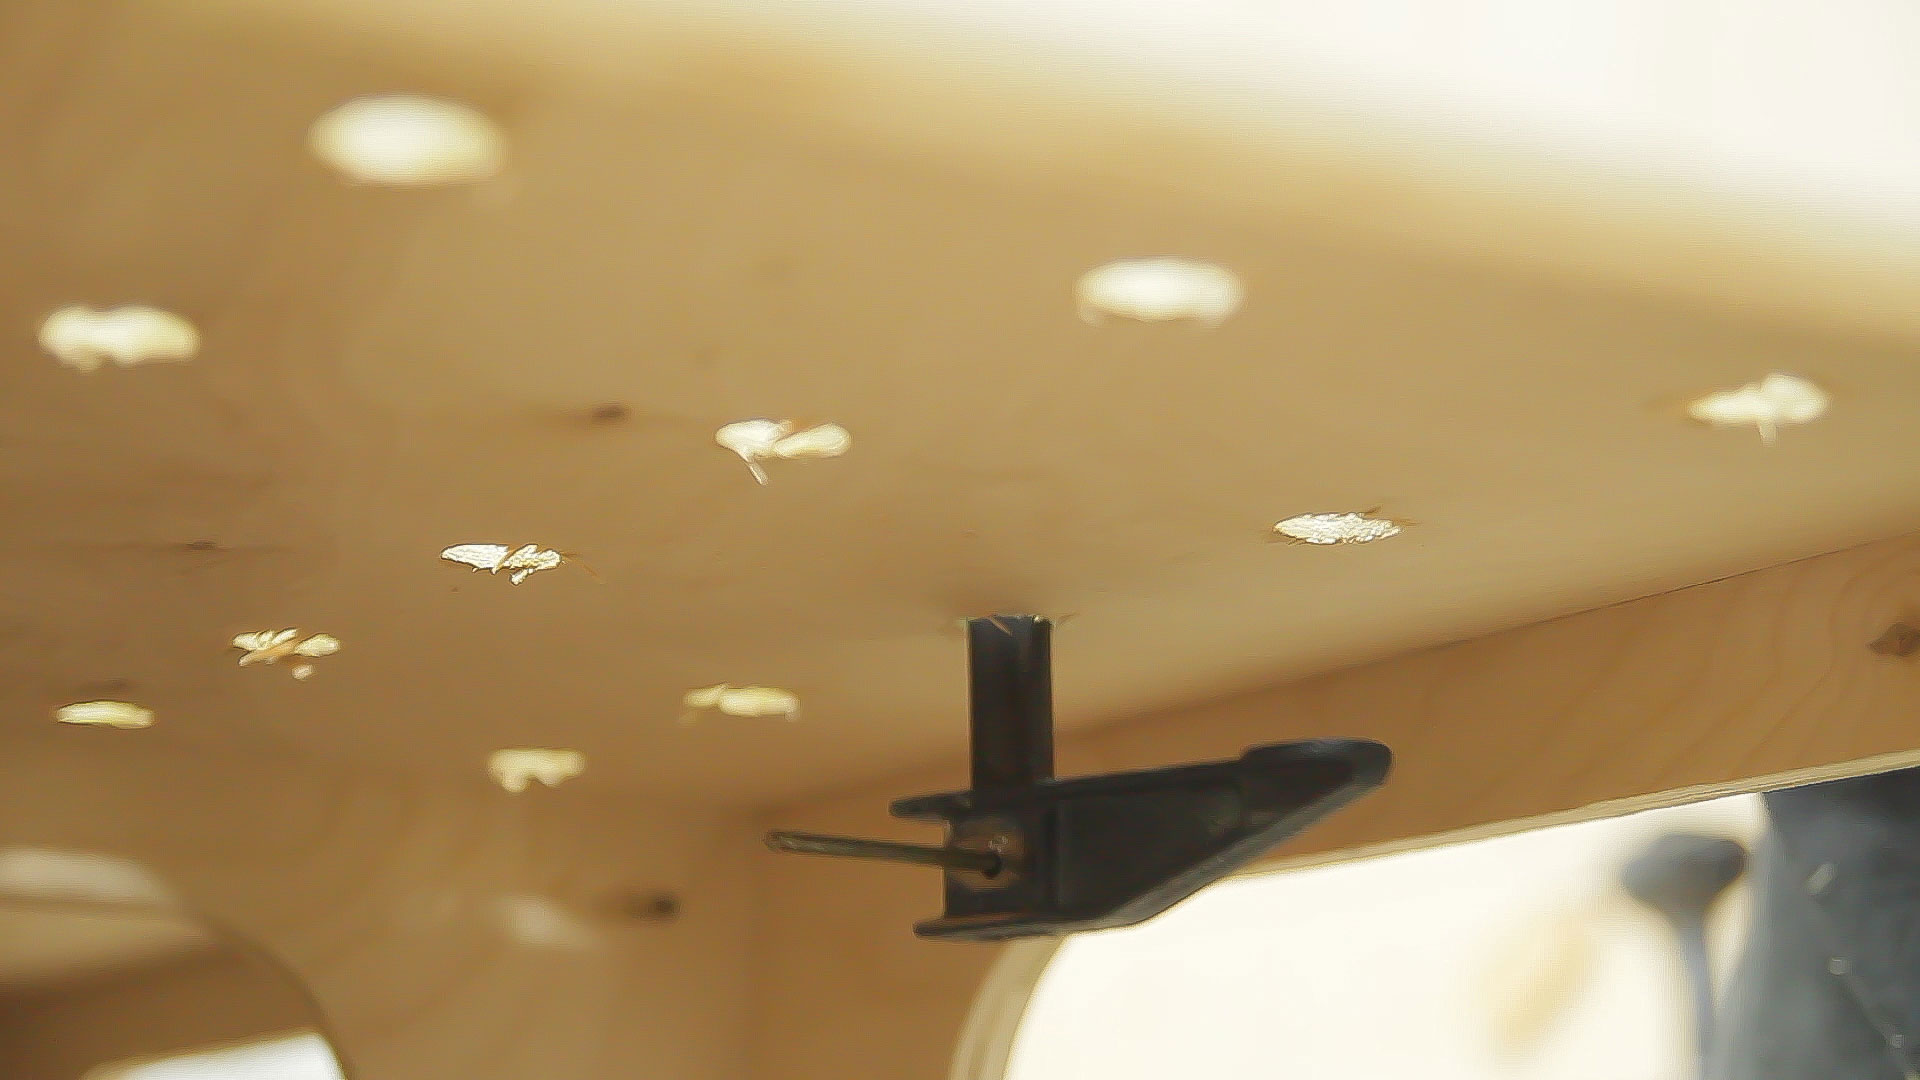
Here you can see the clamp from below as the nail is in place.
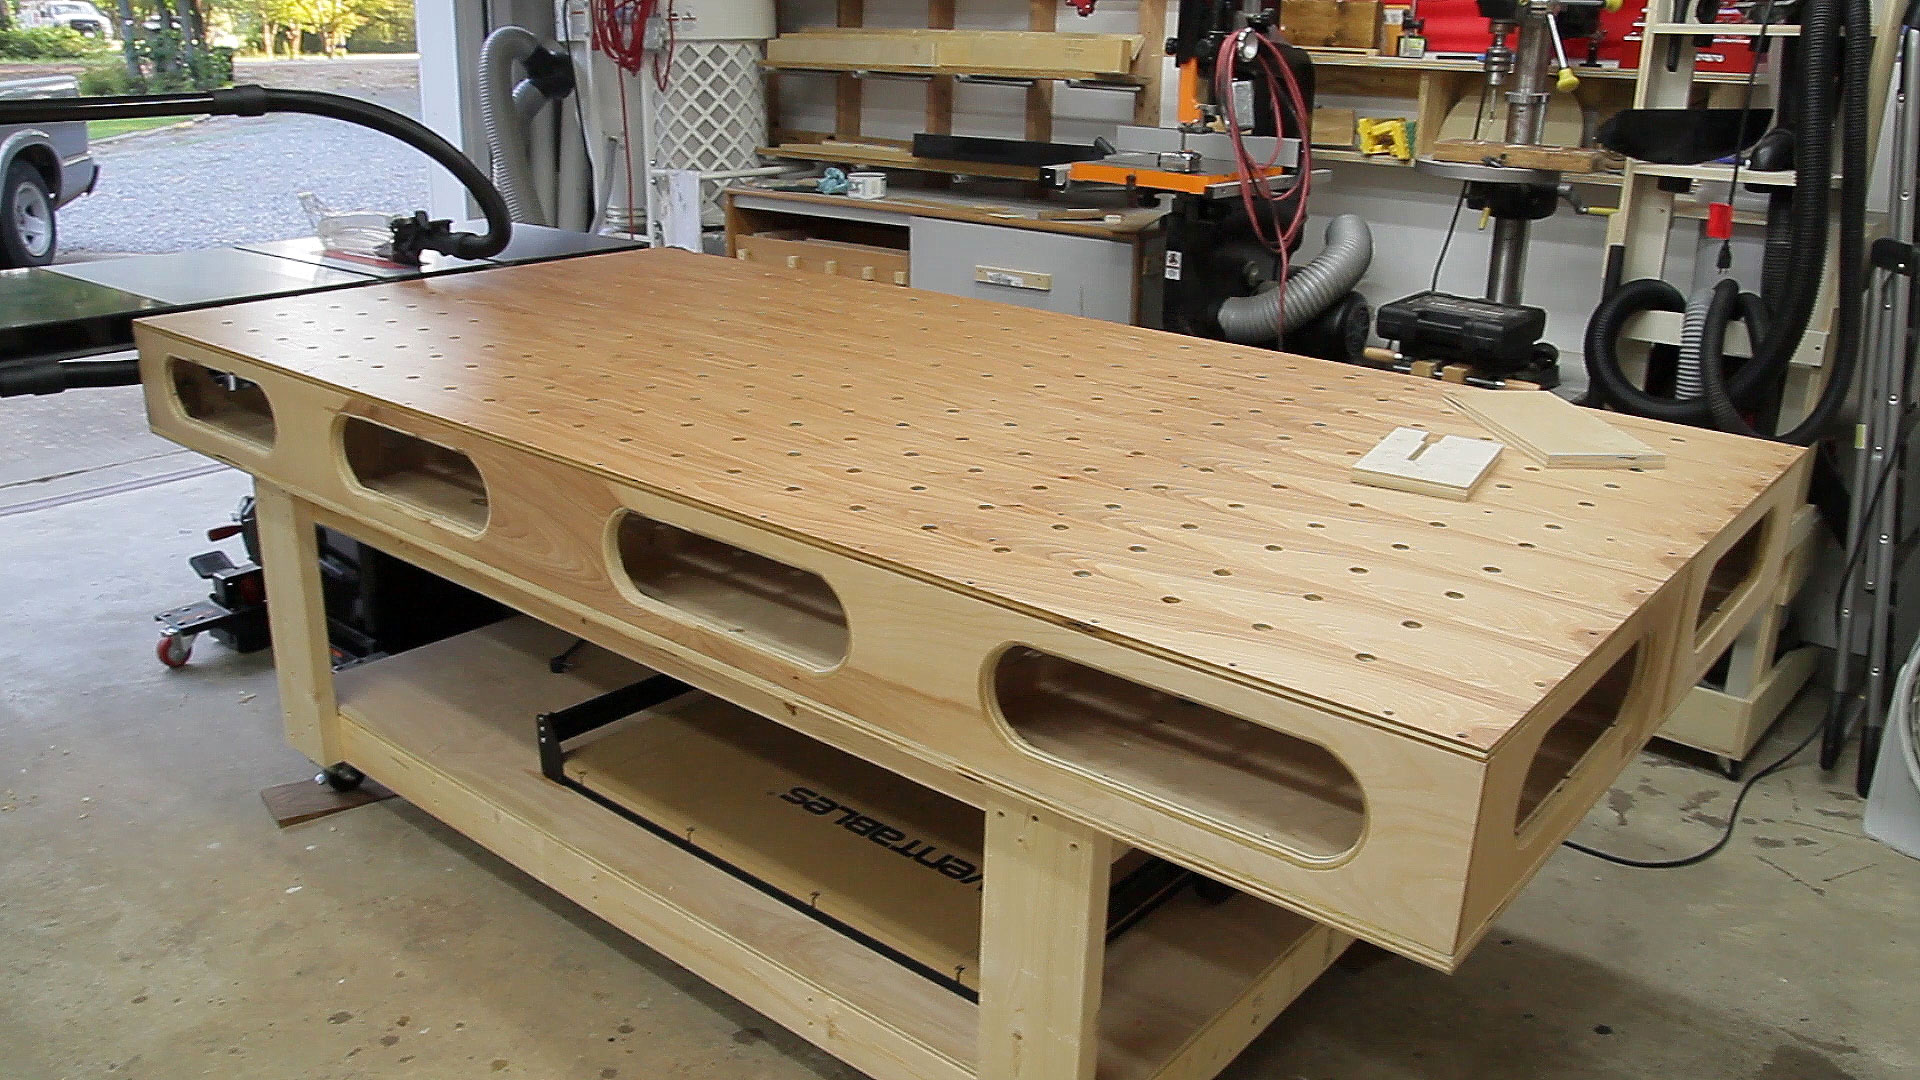
I drilled the holes a week after completing the bench the first time and sprayed a polyurethane finish on the top a couple days after that. So, for all of those who told me I should have drilled the holes in the first place go ahead and say I told you so. This is really a useful workbench but it definitely has some spring to it when pounding on top with a chisel or something of that nature though. I’m not sure if I can call it the perfect workbench for woodworking but it definitely is a very useful table setup for me. I’m still thinking about pursuing a heavy woodworkers workbench but I can’t ever decide on the build vs buy decision.


I went out to an inch on the holes in my workbench and rounded the corner of a 4″ bessey clamp and it worked great. That way you don’t have to mess with pieces from the clamp.
Glad it worked for you. But I don’t have any 4″ Bessey clamps.
If you could find or make a “U” shaped piece of metal with a hole to go on the end of the clamp that pivits (near the fold of the “U”), you could attach it, turn the piece in-line to insert, let it flop sideways and it would lock and hold. Might have to grind a radius so it rotates etc. Actually you could probably use a short section of the shelf standard track with a small bolt that pivitted, again just reach under and turn in-line to put it in/pull out, or turn horizontally to hold while clamping.
A cool idea for cutting would be strips of wood with dowels glued in that fit in you holes. Screw sacrificial scrap strips to the edge of the dowelled strips to hold the stips on edge on top that you could support items that needed cutting without scoring the top of your bench. .
Hey! Me and Myself are back. Good to see them again.
Nice workbench Jay, BUT I am not sure about all those holes you drilled. All I see is a lot of saw dust and screws falling through them. I also saw you didn’t remove the tear out from the bottom of the holes – maybe you took care of that before you applied the finish and you didn’t show it. Your last email you sent out had a workbench from Marc the Wood Whisperer which said we build only to change our minds. It looks like you proved him right.
-Sawdust falling through isn’t a problem. It won’t hurt anything and will probably take more than a year to build up enough to vacuum out.
-I did remove the tearout. Just not the small burrs. I pulled off whatever I could grab by hand. The interior of the structure is an entirely function only setup so I didn’t go over the holes with sandpaper to perfectly clean them up.
-Both workbench images were random google images. I build only to change my mind? Not really and I’m not sure what you are trying to imply there. This whole project was to fill a need of replacing a smaller assembly/outfeed table that I often wished was bigger. And at the same time if you can try out a few new options and maybe stumble upon something great that you otherwise didn’t know about than that’s OK with me.
I believe the word ‘cheap’ gets used at times ‘inexpensive’ should be used, solely because ‘cheap’ has over time taken ‘quality’ into its meaning. I know it’s nitpicking, but if you could specify: were you referencing quality or cost of the tool?
Harbor Freight clamps are an exception. I was referring to the clamps as inexpensive but they are also cheaply made. On occasion they do bend and I’ve had a few of the handles strip out but they have a lifetime replacement policy so just bring it back and get a new one. As long as you aren’t going out of your way to get them replaced the price is worth it. In my opinion of course.
Typically, at Christmas, at home centers, you can buy a package of 4 Bessey clamps for $20 that are noticeably more pleasant to use than HF’s. Only 8″ and 12″ lengths, however. I concur that HFs clamps are adequate.
they are on sale right now for father’s day for $14
Hey it turned out to be a quick fix, so that’s all that matters. I’ve never cared for the split down the middle myself, but that’s me. Did it take long to drill all those holes? I have an old miniature sized Robo style bench and when I say tiny, its tiny-but perfect for the 10’x16′ space I’m working in. The table also has rectangular bench dogs, only 2 and I’d like 2 more. Any suggestions Jay how to make them and with the “leaf” spring on them? I Think Lee Valley still makes them, but they are like $60-70.00 a pieces, so I’d like to make them. Any suggestions as to wood to use and how to make the “Spring”. Also one of the 2 wide vises on it has a couple of deep saw marks in it. I’m not sure of the wood,but I think either maple or oak. I was thinking of chiseling it ,then sanding it smooth. Find a like wood and fit it into the gaps.What would you do? Leave it as “character”, or fix it? I would appreciate your in put. Thanks and hope all is well with your wife and “Kids” (dogs). ~Dolly
The holes took about 15 minutes to drill. Have you considered making round dogs? You could use those for holdfasts as well.
Many years ago, Norm Abrams had a program called New Yankee Workshop. One of the early projects was a workbench that was made from framing lumber and plywood with a pressboard top screwed to the plywood sub base. When the pressboard wears out, unscrew it and replace. In Norm’s design, he made benchdogs out of oak (I believe) that included the “spring” you are asking about. Not sure where you might find plans these days, but he did have it in a book that was an offshoot of the show. You might check your local library or check out PBS to see if any of this is still available.
Hi Dolly, a little late in replying so you may not see this. However John Heisz recently made some bench dogs with wooden leaf springs. The video is https://www.youtube.com/watch?v=WodFW0OIjic.
With regards to the “build vs buy” decision of a woodworkers bench. I personally would *love* to see Jay Bates take on a classic woodworking bench. I just think your practical approach to it would be a side of things that everyone would appreciate seeing.
Who is the Ron you referred to early on in the article?
Ron Paulk – the inspiration for Jay’s workbench
http://www.core77.com/posts/25453/interview-with-ron-paulk-on-the-design-of-his-innovative-paulk-workbench-25453
I haven’t gotten a chance to drill holes in mine yet, but I’ve been gathering ideas for clamping. The first is a way to put the clamp through without needing two hands – http://www.woodworkerz.com/bench-hold-fast-for-woodworking/. You still need two hands to remove, but this might be easier than aligning a nail as you are currently doing.
The other is for horizontal clamping – I only have the picture via pinterest https://www.pinterest.com/pin/321866704590753158/ the linked article is long gone. I have not figured out exactly how they attached the machine bolt through the dowel, but I’ll probably tinker around with this concept (that is – if I ever drill the holes through the top of my bench).
Check this modified Irwin quickclamp as an alternative to festools. http://bethepro.com/forums/topic/alternative-to-festool-mft-clamps/
Looks like your twin brother will come in handy from time to time!
Hi Jay. Hope this isn’t taken the wrong way, but sounds like you should have just designed your own bench from the start! When I look at the work you’ve done in the past and your skills with the tools and design, you could have come up with a way more solid and economical design that doesn’t have all that wasted space and take such and effort to make. On the bounce issue, maybe you could put some formers inside perpendicular to the long edge. Would mean taking the whole thing apart again but would strengthen that ply surface and still give you access to all the holes. Good job.
Not taken the wrong way at all. But where is the wasted space?
Hi, I guess I just mean the space between the top sheet with the holes and the lower sheet. But I guess you need room to reach in there and attach the clamps, so not really much you can do with it. So please ignore comment, sorry.
That space between the top and bottom is so handy. Its a great place to put your tools. This keeps your work surface free of clutter. I have been using this table for about 2 years now and love it.
Ditto. The wasted space is the most useful part.
Jay, you did a great job on the table and I really like the way it can be a outfeed for the table saw -Keep posting your great ideas Thanks
I cut slots in my top instead of holes, that way I can put the bar clamps through and turn them any direction I need them.
Doesn’t that weaken the top a lot? How long are your slots.
Jaay, have you seen Wood Magazine’s 6 says to beef up a workbench? It’s a pretty useless item because its stuff that can be found around the web. One of the things I liked, but I’m not sure how it would work, was adding a bag of sand to the base. They created a cavity on the bottom shelf, and the shelf was the cover. I guess the thought of dumping the bag in loose, rather than just setting a bag on the shelf, was to spread the weight out over the entire surface. Not sure if it would help in your situation. I tried to find a pic of it online, but wasn’t able to. I can scan the doc, but I didn’t want to post the copyrighted pic.
-Tony
Jay, are you able to say what you don’t like or would want to change on your plywood storage rack ? That you talk about in the first few seconds of your video ?. Is it just that its a catch all ?
Dolly…..check out Izzy Swan at thinkwoodworks.com. I believe that he has fashioned square dogs with a wooden spring that holds the peg in the dog hole.
As for clamps, sticking the pin in from underneath does not look like fun to me. I have some suggestions in place of the Festool clamps.
(1) I use Grizzly/Shop Fox track saw clamps which are 2 for $24; I’m not delighted with the quality, however.
(2) The Dewalt track saw clamps look attractive at $33-$40 for a pair; don’t have them yet.
(3) There are videos on modifying an Irwin clamp by taking off the fixed end and bending the bar around 90 deg. after a half twist.
(4) Why not just drill bigger holes? Or elongate holes? Anyone done this?
There are tons of options out there. I was working with what I had.
what was the cost of that table with the lumber and castors?
Hi Jay
I often watch your videos and find them informative and keep me motivated tomato new things. I’m thinking of making something similar to this version of the Pulk workbench too, with heels but am undecided as to what size to make it. Either in one large bench top, or two smaller side by side. Both on wheels. This way one could move the smaller benches to use elsewhere easily and roll them together to form the large bench when needed. I’m not sold on the two halves longways as I would think thats a pain to store and for me less useful.
In regards to the flex, you used 1/2″ ply, I’m thinking the thicker 3/4″ ply would definitely help with more rigidity there but of course adds more weight, but since it’s all on wheels it wouldn’t matter.
keep up your good work, I for one wish you continued success and don’t get put off by the naysayer Jay. cheers, from an aspiring woodworker from New Zealand
Ha ha, “tomato” new things! damn auto correct. That should of course be “to make” new things!