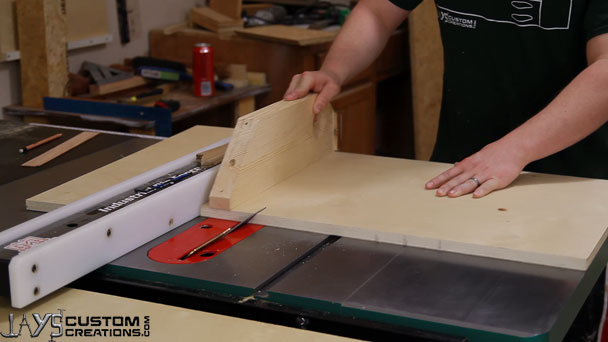
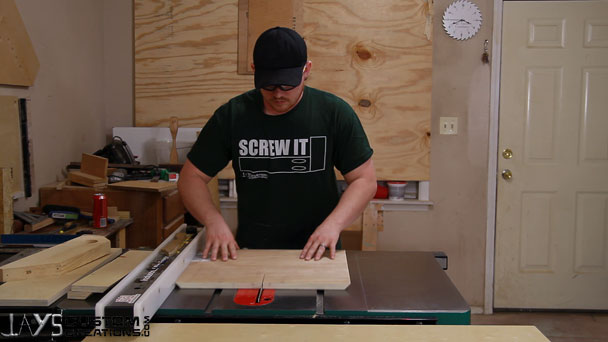
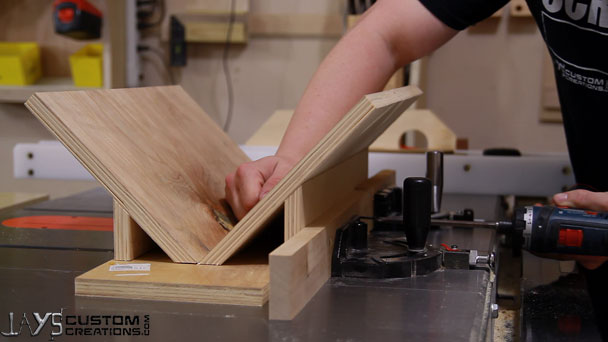
A standard mitered joint really isn’t that strong of a joint. In a typical scenario the joint is an end grain to end grain glue connection. To make the connection stronger you can add what are called splines. The kerf for the splines are cut perpendicular to the mitered joint and at a 45 degree from the adjacent faces of the joint. After the cut is made a strip of wood with the same thickness as the blade used to cut the kerf is glued in place. Once dry the extra spline material is cut off and sanded smooth. The strength is increased due to the added long grain to long grain glue connections. And as an added bonus the spline adds a decorative touch.
Much like my miter sled plans this jig will be made out of a single 24” x 24” piece of plywood but this time I’m going to use 3/4” plywood. The first cut is to remove a 7” strip that will be used as the base.
Next, rotate the plywood 90 degrees so that all the remainder of the cuts will be along the 17” length. Tilt your table saw blade to 45 degrees and set the fence to 3-1/4” according to the ruler. Because a 45 degree angle is nothing more than a matching rise and run this will tell us that the top side of our piece will be 4” in width. 3-1/4” plus the thickness (rise) of the plywood.
Then rotate the plywood 180 degrees so that the mitered cut is on the opposite side. Set the fence to 1-3/4”. This will make the next piece 2-1/2” wide.
The rest of the material should be cut in half with the mitered edges on the sides. An exact measurement isn’t critical here. Just cut it in half.
You can trim your base piece down to 17” to match everything else if you want. I didn’t. Next attach the 4” piece to the side of the base. Do not attach it with it sitting on top of the base. I used glue and one screw at each end to make sure I didn’t get anywhere near where the blade would be with any metal fastners.
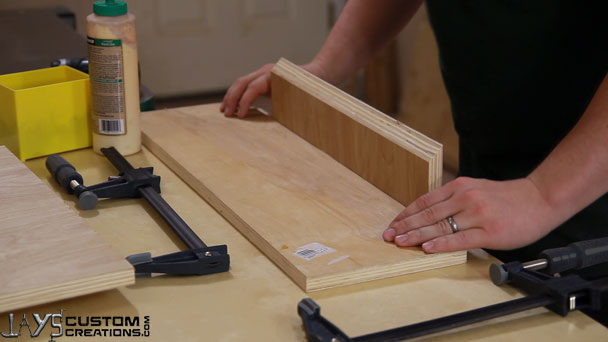
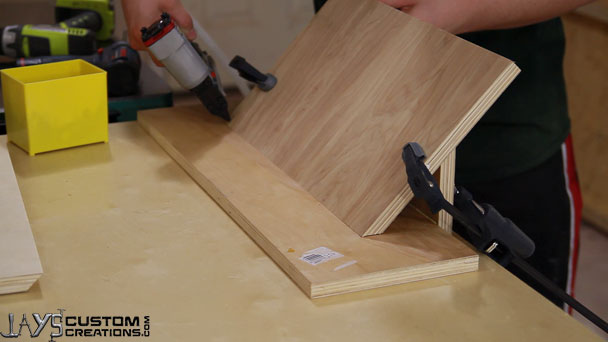
The first angled face piece goes on next. I glued and tacked it with a few headless pins on the end just to stop it from sliding. The piece should go wherever all of the miters lay flat. When planning this jig I tried to get the measurements so that the edge of the miter on this piece would be close to center on the base.
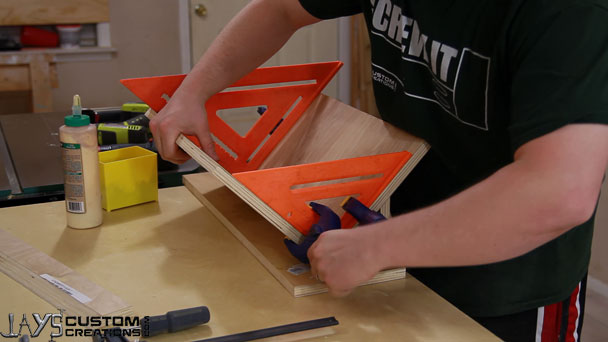
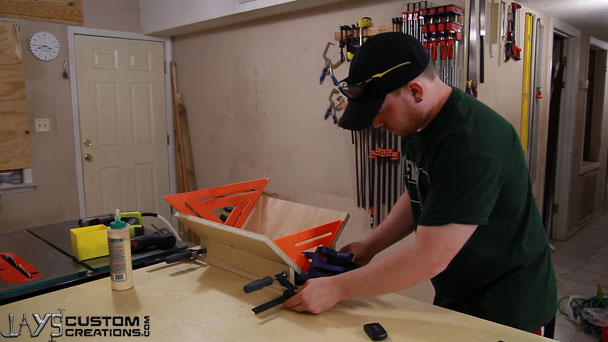
To make sure the cradle of this jig was a good 90 degree corner I clamped a couple speed squares to the already installed face first. Then I could glue and clamp the adjacent face in place. I didn’t use any mechanical fasteners at this point.
Then the remaining 2-1/2” piece was glued and installed. I glued both the mitered edge as well as the base. Unlike the 4” piece, this piece will rest on top of the base of the jig. I clamped this piece down very gently. Just enough to hold it in place but not enough to cause any of the previous geometry to shift.
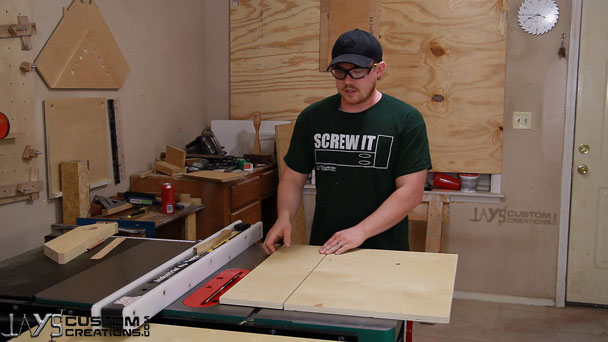
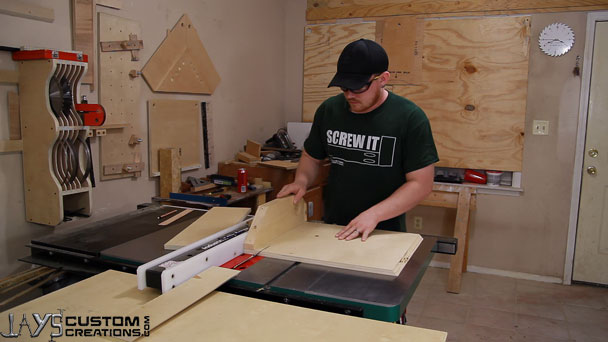
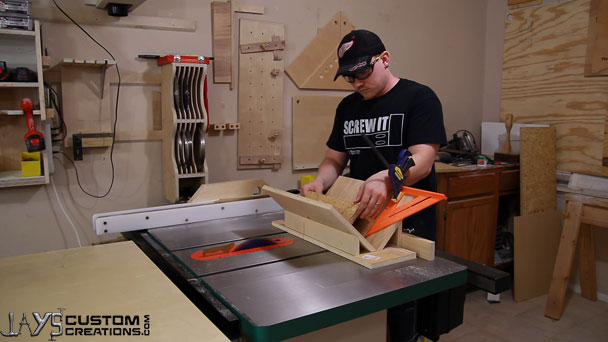
You have a couple options to slide this over the table saw blade. You can use runners and make this a dedicated sled or you can attach it to a miter gauge. I chose the miter gauge route. In fact, I used my table saw miter gauge and my band saw miter jig in conjunction with one another. I’m not sure if using two over one makes much of a difference but it does give me a few “place hands here!” locations to push the jig over the saw.
I should also note that I offset the jig so that roughly 2/3’s of the jig is on one side of the blade. This allows plenty of room to clamp a speed square or whatever else you want to use as a stop block. If you haven’t noticed I’m in love with speed squares. They are sooooooo handy.
Hey Pinterest users! Just a reminder that you can follow me on Pinterest to stay updated with all of my projects and I would love for you to pin this one if you enjoyed it!
Download
Although this plan is free to you remember that it isn’t free to produce. If you would like to show your thanks please consider using the donate button at the bottom of this page. If you liked this project and found it useful please share it so others can do so as well. Thanks for stopping by folks and have a great day!


