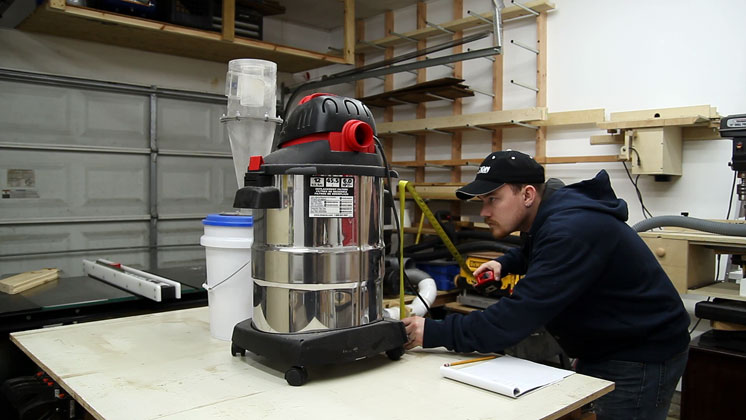
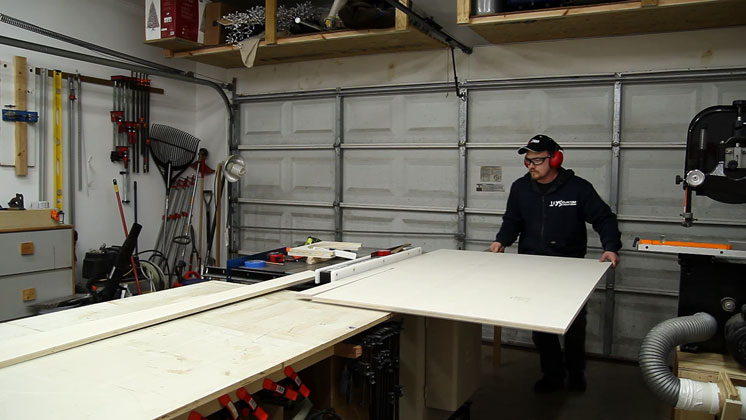
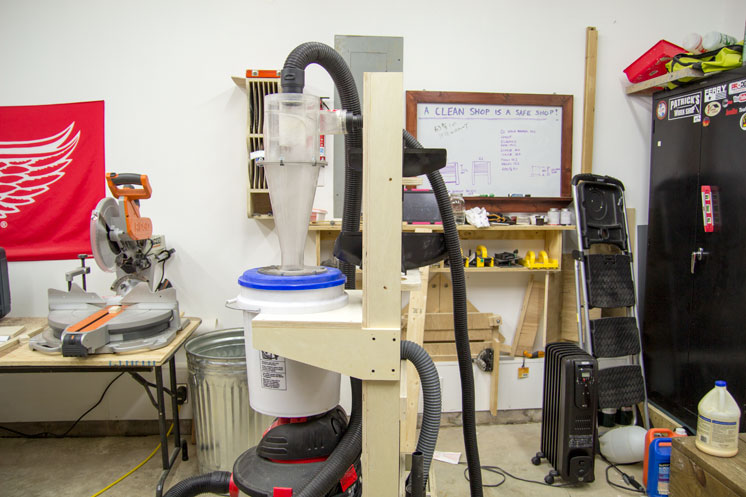
For most of us there is always a constant battle to reduce wasted shop floor space. To me that’s one piece of motivation for getting this project done. I’ve got a 12 gallon shopvac hooked up to a cyclone dust separator and moving them around the shop together is a pain in the butt. That’s motivating factor #2. I’ve also got a bunch of hoses and accessories taking up floor space in a separate box on the shop floor. More motivation.
The solution is to put it all in a mobile cart to pull around the shop as needed. Typically when you see these carts the shopvac and cyclone are sitting side by side. I didn’t want to make mine side by side though. I wanted to use as much vertical space as possible with this build so the idea is to stack the cyclone on top of the shopvac. The frame that holds these two up will also house all of the tools as well as all of my hoses.
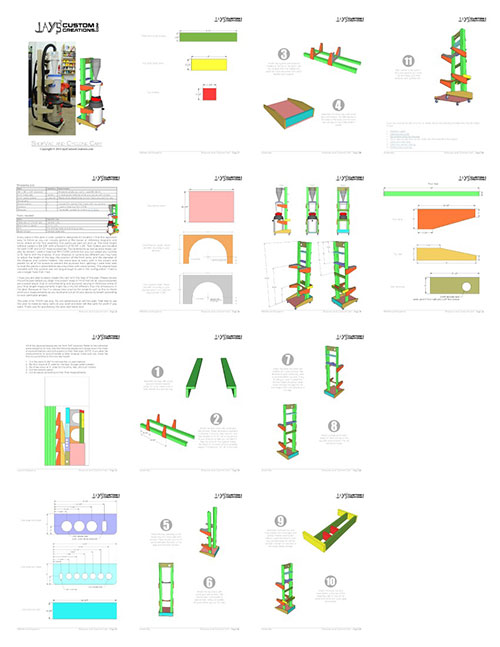
I start the vast majority of projects with a plan in hand. That wasn’t the case with this one. I had a rough concept of what I wanted and designed as I went along. Since completing the project though I have put together a detailed set of plans for those who are interested in making this cart.
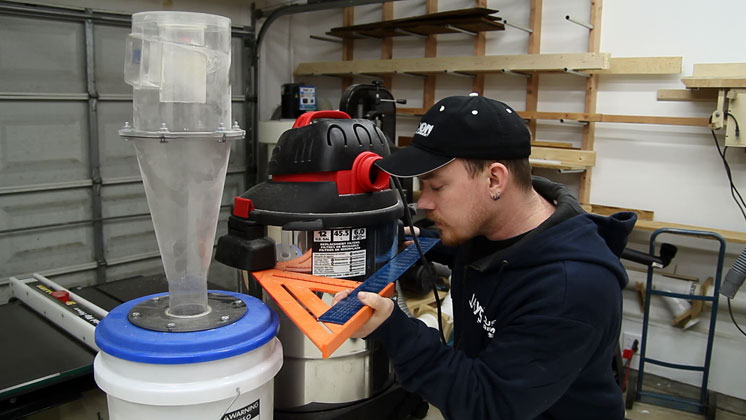
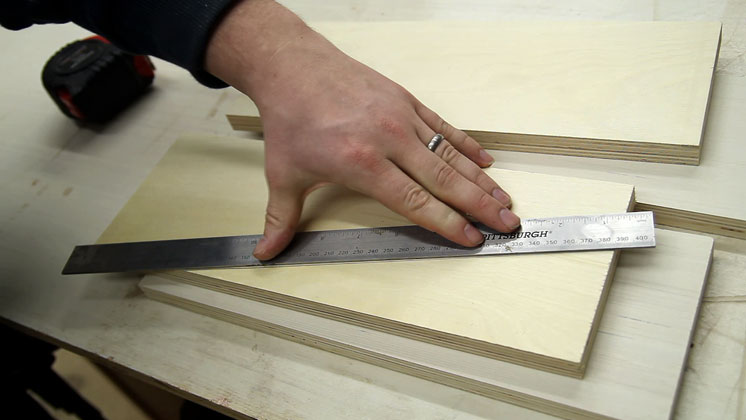
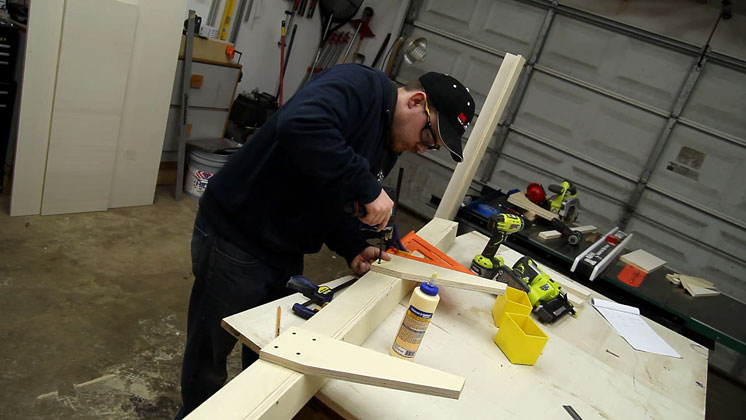
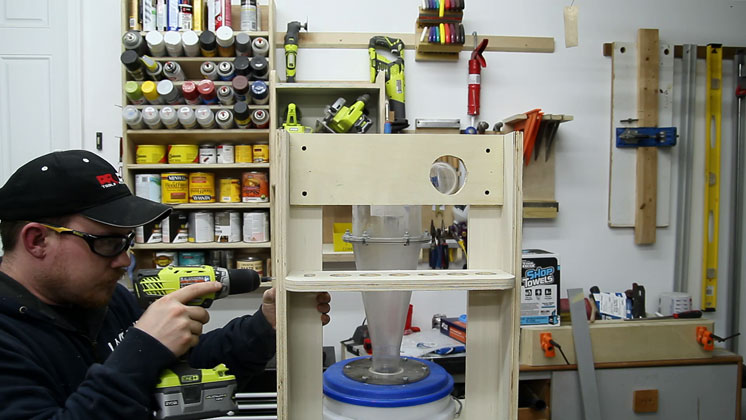
To start, a few measurements are needed. Both the shopvac and the cyclone will be suspended by half circle supports. They will be under the handles of the shopvac and under the lip of the bucket where the handle attaches to.
Squares are awesome. I have several squares in the shop and they all have their uses. The easiest way I have found to determine the diameter of a circular object is with the use of a speed square riding along one edge of a carpenters square.
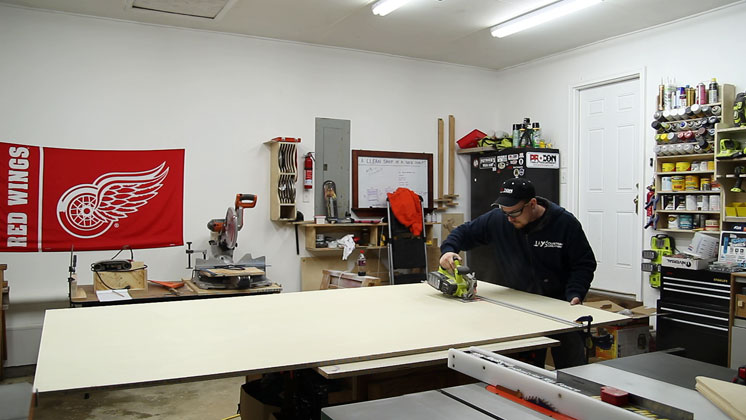
The first few cuts were made with a circular saw and a straight edge to get everything down to a manageable size. I made this entire cart out of 2/3 of a full sheet of 3/4” plywood. That means you will have enough scrap left over to make either a miter sled, splined miter sled, or a perfect width router dado jig. Each of those only require a 24” x 24” piece of plywood.
The first thing I cut were the two curved support boards for the cyclone and shopvac. I ended up making two sets of these pieces as I screwed up the originals. It’s not so much that I screwed them up as much as it was that I just didn’t make them large enough. I was making it up as I went and realized I cut the overall size of the panel too small.
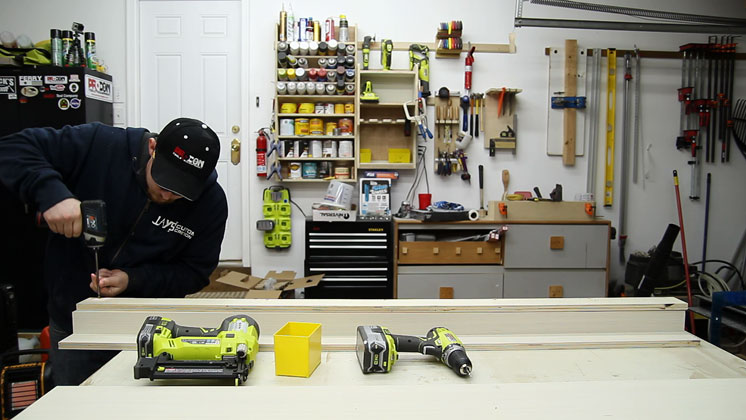
With the rest of the plywood more manageable I could rip four strips that would be the legs.
The legs were just glued and screwed to form an “L” shape.
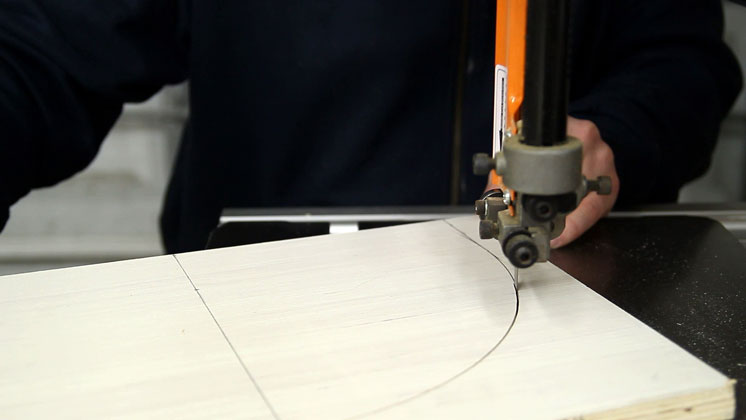
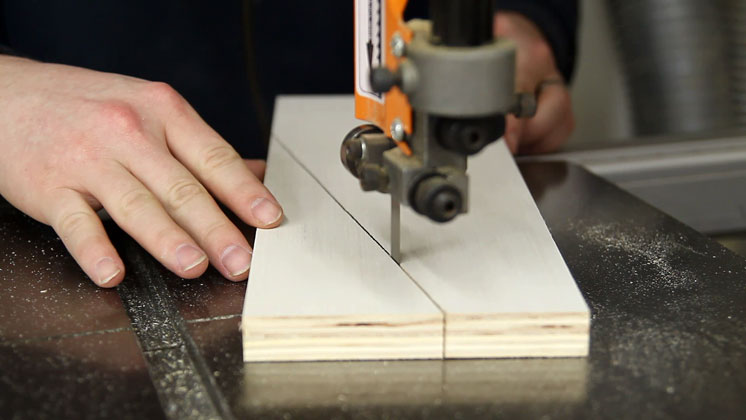
To eliminate a few sharp corners sticking out and also give the cart a little bit of visual interest I chopped off the bottom corners of the front support arms.
The bandsaw made quick work of this. I am beginning to find myself using my bandsaw more and more in my work. Even for straight cuts. It’s just an incredibly handy tool.
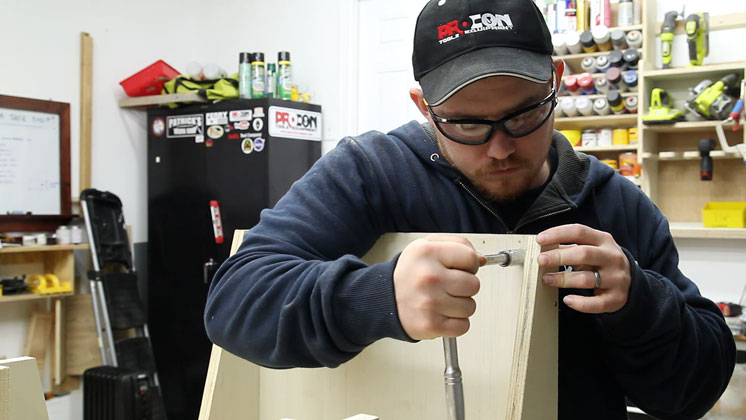
After a little bit of simple math that had me feeling like an idiot I determined the appropriate locations for the support arms. These are secured with glue and screws. I used brad nails on most of the joints to hold everything in place while I predrilled for screws.
And finally I have can visually see some progress.
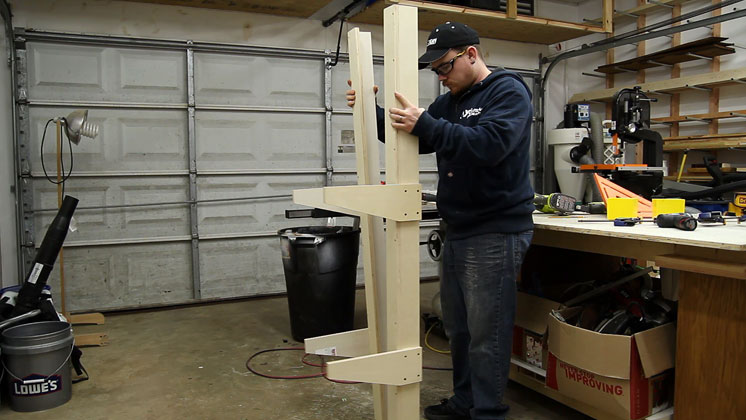
The curved support boards could then be screwed onto the support arms.

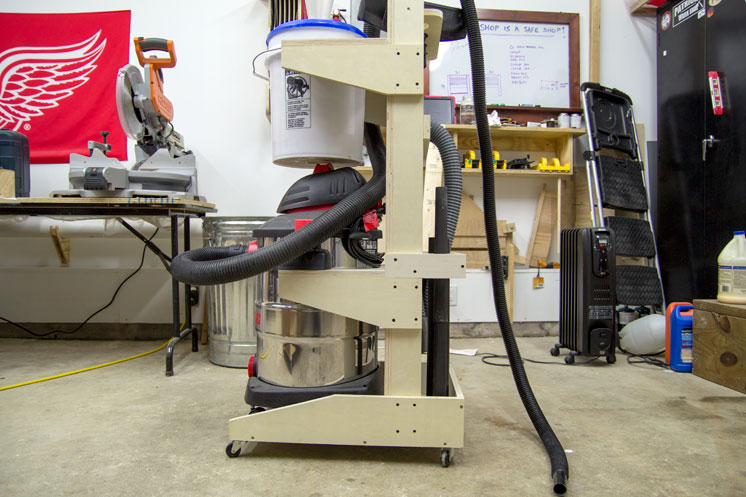
I tossed around several different ideas for the base of the cart. My original idea was to make a much smaller base that would only extend to the halfway point of the shopvac in the front. I ended up going out past the shopvac though as I wasn’t sure if that small of a footprint would make the entire cart top heavy. That ended up being a good decision as the cart is incredibly difficult to tip over now.
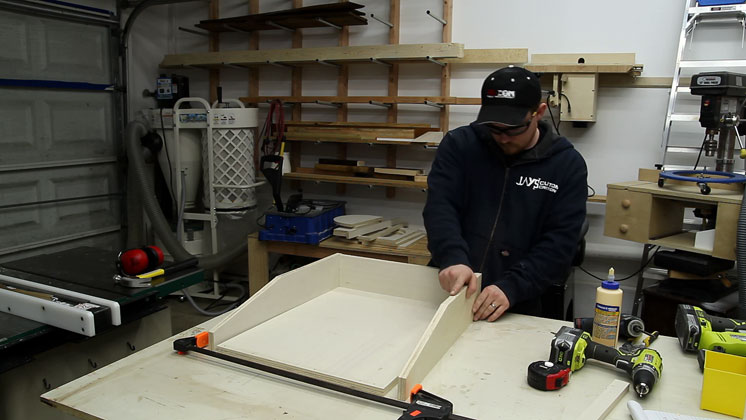
The leg assembly slips right in to the base.
After confirming that everything is square I drove four screws into each leg from the outside of the base.

My original idea was to use large wooden wheels in the back to function the same way you would use an appliance dolly. That way I could roll it outside in my gravel driveway to use when cleaning out our vehicles. When it was time to work on the wheels I realized that I didn’t have the necessary hardware to do what I was wanting so I just went with four swivel casters. The original casters from the Mini CV06 cyclone were reused here.
The tool holders would be sticking out the back so I rounded off the corners real quick with the bandsaw.
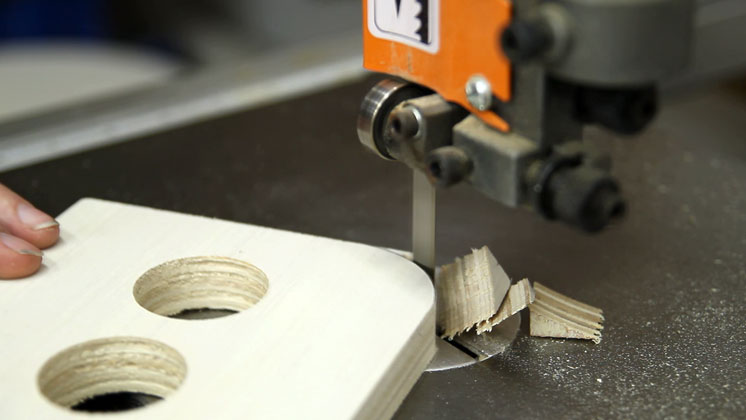
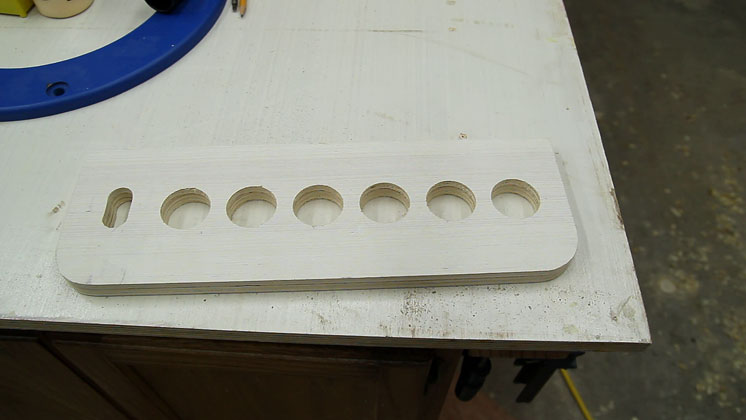
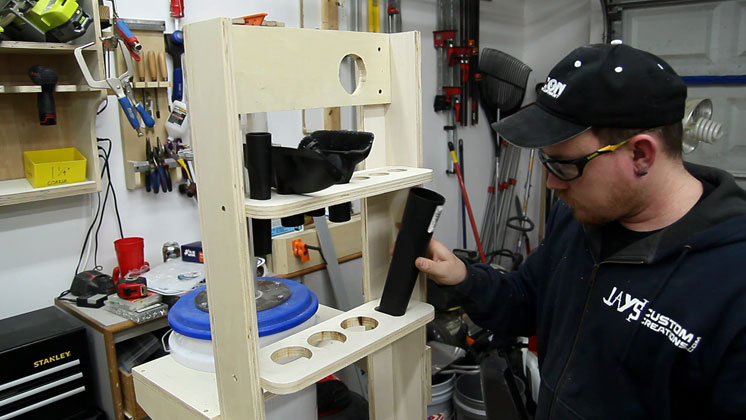
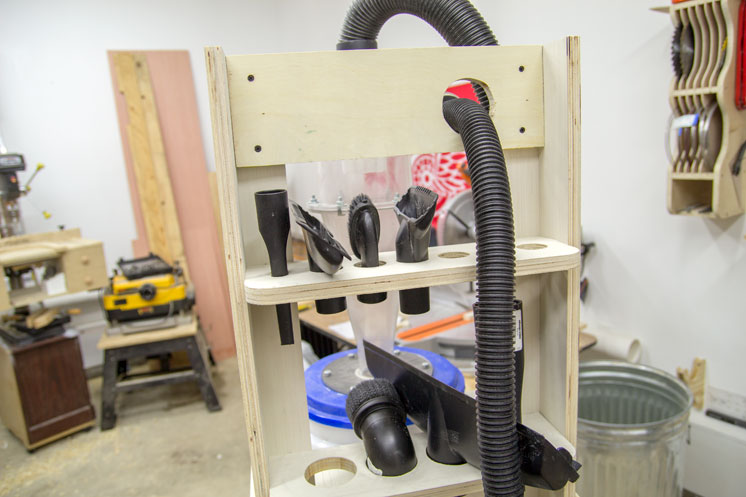
I also made a series of holes to accommodate tools for both standard sizes of shopvac hoses. The only tool that needed a custom slot was the crevice tool. Both the small and large tool holders were done this way.
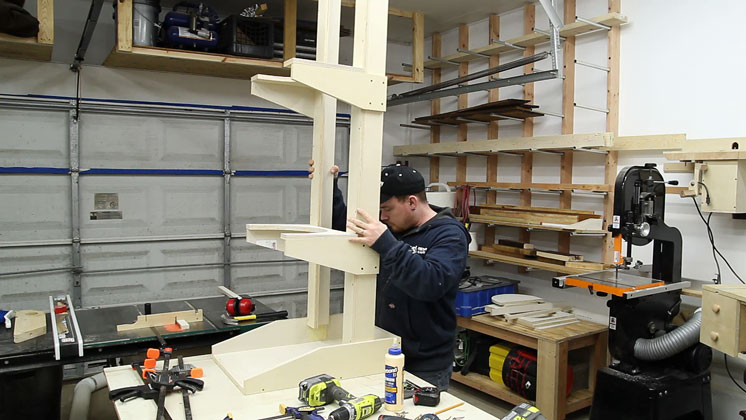
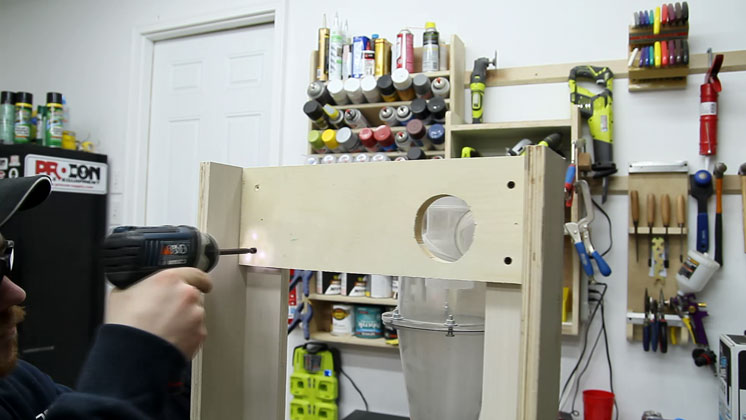
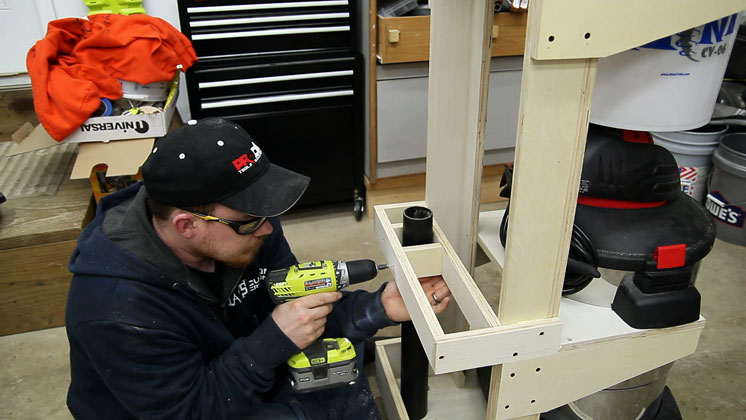
I wanted the intake port for the cyclone to face the back of the cart. Everything the operator needs is going to be on the back side of the cart so there is no need in making the front side the operation side. To prevent unnecessary stress on the cyclone I put a horizontal brace with a hole cut in it between the legs. This is where the intake hose will be used. The idea here is that if I accidentally tug on the hose too much the hose will grab the plywood and hopefully not put any stress on the body of the cyclone.
The tool holders are just screwed onto the legs.
And then they can be loaded up to verify everything is working as it should.
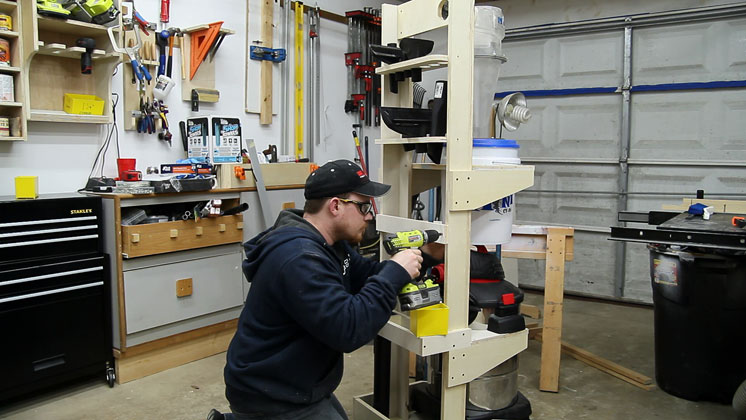
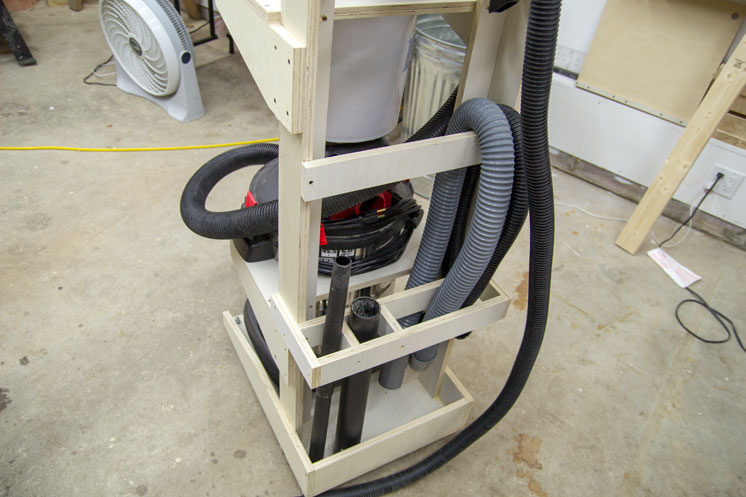
I also have a few extension tubes that need to find a home. I came up with a super simple grid for this.
And the last piece of the puzzle is a horizontal brace to loop all of the hoses over.
I’m incredibly pleased with the results of the project and after testing it out in the shop I’m sure I’ll put it to good use going forward. If you would like to build one too I have a detailed set of plans available a little further down this page. If this is your first time here I’d love to have you subscribe to my email newsletter so you don’t miss a new post (generally 3 per week). I hope you are able to find this useful and are able to at the very least get a few ideas from it. Thanks for stopping by folks and have a great day.
Shopvac & Cyclone Cart Plan
Shopvac and Cyclone Cart PLAN
$9.99
Description
Click here to see the build article for this project. Every piece in this plan is color coded to designate it’s location. I find this approach easy to follow as you can visually glance at the layout or reference diagrams and know where on the final assembly that particular part will end up. The total height without casters is 64-3/4” with a footprint of 18-1/4” x 24”. Tool holders are included for both 1-1/4” and 2-1/2” hose accessories. Tool extensions as well as extra hoses can also be stored. I used a Clearvue Mini CV06 cyclone but you can adapt any cyclone to fit. Same with the shopvac. If your shopvac or cyclone are different you may have to adjust the height of the legs, the position of the front arms, and the diameter of the shopvac and cyclone holders. Use wood glue at every joint in the project and predrill for all of the screws to prevent the plywood from splitting. I used brad nails to hold the pieces in place before securing them with wood screws. The original hose included with the cyclone was not long enough to use in this configuration. I had to use a longer hose that I had. Included in the Shopvac and cyclone cart plan:
- 14 detailed pages
- shopping list
- tools list
- plywood layout diagram
- reference diagrams for specific part dimensions
- step by step 3D assembly diagrams with written instructions
- UPDATE 6/25/2018: Additional CNC files provided by Marc Eaton.
The entire plan is included in one PDF document. Most everyone will have a PDF reader installed on their computer already but if you do not you can use the free program Adobe Reader to view the plans. You can download Adobe Reader HERE. The checkout process for this plan uses PayPal. You can use major credit or debit cards through PayPal. You do not need a PayPal account. To purchase the plan follow the link below. After you purchase the plan you will receive an email receipt from me containing a link to download your plan. Make sure to check your inbox and spam filter for the receipt. If you do not receive the email within 10-15 minutes or encounter any problems please contact me.

Related products


Really like your plans definitely one I’m going to use for my shop!
Thanks Mark. I appreciate it.
This is for sure my next project. I was thinking side by side but this is much better. I wonder though, would it be better to put the cyclone on the bottom so the heavyest load of dust etc doesn’t have to lift so high?
I went with smaller on top. The cyclone bucket filled with sawdust feels like it weighs the same as the empty shopvac. As far as the shopvac having to lift the dust higher I doubt that makes much of a difference at all. It’s just moving air and the dust is suspended in the air.
I’m pretty new to woodworking for my age (lets say over 21):) but I look forward to seeing you make your stuff keep it going.
Thanks Andrew. I appreciate it. We all start somewhere :)
Thank you Jay .
I was looking for another option for my cyclone /shop vac .
Once again great work ,always entertaining and very educational.
God Bless
Thanks Gregg. I appreciate it as always.
Great video Jay. I took a similar “vertical” approach for my unwieldy shop vac/5-gallon bucket with Thein baffle dust separator system for all the reasons you mentioned. With stowing my most used attachments, easy mobility, no additional floor space, and vac improvements, this project is about the best payback of all my small shop improvements. Keep up the great content.
Glad to hear yours is working well for you John.
Just as a curiosity, is it better for you if I “like” or “thumbs up” your videos on your actual youtube channel or watch them embedded on your website or facebook. I know this website and your channels is how you make your living (though I don’t know the specifics). While I don’t have the funds to actually contribute to your work I really enjoy the content you produce and would like to see you continue to do well. If there is a certain way that you do better based on where your videos are viewed I would like to do that so that I may contribute in my own small way.
Thank you very much for the thought. Viewing, and sharing anything on this site is the best way to show your support without spending a dime. Thanks again Christopher.
Nice Job as usual Jay. I really appreciate all that you share with the community of woodworkers. You continually provide creative, useful and practical builds. Always look forward to your video’s.
Thank you for the feedback Dev. I appreciate it.
what’s your opinion on the size and power of the shop vac used with the cyclone? will smaller shop vacs do a good job too?
Awesome vids by the way. i’m learning alot from them. i’m just starting out working with wood and made your 2×4 chairs and benches. Its been fun
Jay, Your videos and projects are great! Keep up the good work.
Thanks Jay! I’ve been waiting for you to post this project. I have a cyclone dust separator as well and like yourself have been wanting to build some sort of self contained cart for the system. Great design. It’ll make a big difference in small shops where floor space is at a premium. I look forward to your videos. Keep up the great work.
Jay, you’re getting really GOOD at this stuff! I like your style of presentation, especially the way that you explain your thought process and decision making. Keep it up!
I just reread your post and have a comment on the ease of tipping of the cart. You can find the loaded/unloaded center of gravity of the whole assembly pretty easily. Tip the assembly forward until you can balance it on the front casters. Drop a plumb line to the caster and mark the line someplace on the side of the assembly. Then repeat the process with the rear casters. Where the two lines intersect is the center of gravity. It will be a bit lower when the canister is full of sawdust. When the center of gravity is directly above the front or rear caster, you have reached the tipping point. Another way to look at it is that your assembly’s casters should have a larger footprint than the vac’s casters.
There is absolutely no issue with this tipping over. It’s extremely hard to get it to tip when trying.
Love the design of this as I also commented on your YouTube channel. Just one thought, perhaps a stupid one but still: Will the suction suffer since you pull the dust/dirt upwards and thus risk of losing suction energy – work against gravity instead of being neutral gravity when they are the on same level? Does it make sense?
In theory it sounds like it will reduce suction but considering the weight of sawdust through air the shopvac should have absolutely no problems with this.
Great Idea Jay. I was wondering, were did you get the cyclone & bucket at? I really need to get me one.
It’s a clearvue min cv06: http://amzn.to/14VDrmx
Jay, thanks for the info, and the link. This looks like a project for the rest of this week. Well after the honey-do list.
Jay , this is just another one of my ToDo List items and I like your setup. I am going to be useing a Dust Deputy to build mine and was planning on doing the side by side thing like a plan I found in Shop Notes. Is it hard to empty the cyclone bucket or Vac with this setup?
I find it easier to empty the cyclone bucket as you don’t have to bend down. I just emptied it a few hours ago actually and noticed how much easier it was to empty.
Jay,
I love your projects, but its starting to get very painful to scroll through these long articles due to the website setup. I think it may be the dynamic page loading. The scrolling is very slow and juttery as the bottom of the page keeps loading the rest of the article. If there is some kind of dynamic loading setting in your content management system, can you please turn it off?
Thanks
I don’t have any problem.
Could the cause be your Internet connection being too slow?
Thanks for the feedback Paul. I haven’t had any issues testing on various other browsers and computers.
It’s a great idea and it should be quite stable unless it is tipped to about 45 degrees from vertical – which hardly seems likely to happen.
One thing seems to be lacking, though: a cleat around which the Shop Vac power cable can be wrapped when it is not in use.
Thanks Paul. I didn’t include a cord reel because the entire leg can be used as a cord reel. I just make a few loops and place int on one of the legs.
I’m curious, Jay. How do you store your plywood? I don’t see any full sheets in your shop. Do you purchase them as required or do you keep them against a wall somewhere and I just haven’t noticed?
I purchase them as required. I might end up making some type of plywood rack in the same spot as my lumber rack but on the opposite side of the shop though.
Hey Jay… I am looking for a dust collection system as I finally moved into a permanent shop. Any reason you have this setup and a dust collector? If you could only do one which would you do? Shop Vac with Cyclone or Dust Collector? Thanks!
If I had to do only one I would go with the dust collector. They work completely differently and have different uses. A shopvac can’t handle larger tools well. A DC works by low pressure high volume to generate an air flow of dusty air out of the machine. A shopvac works by high pressure low volume to extract a low amount of air at a specific location.
Really appriciate your idea to inspire me make my own version. I took pictures for my own in my dropbox. Thanks!
https://www.dropbox.com/s/s3prxxwuvep2mr2/IMAG1003.jpg?dl=0
https://www.dropbox.com/s/0v1trqjia6vsli8/IMAG1002.jpg?dl=0
After making mine, I’ve found that a 90 degree hose connector at both the top of the cyclone and on the side of the shop vac make less stress on the cyclone hose, and takes up less room since it eliminates the hose bending in a sweeping 180 degree arc. This also allowed me to use the factory cyclone hose since less length is needed.
Hi Jay,
Not sure if you still check this thread periodically, but…
I wanted to know how you empty the bucket. Does the bucket easily separate from the blue lid, allowing you to simply slide the bucket out to empty, then slide back in and snapping back to the lid? Or do you remove the whole upper assembly with cyclone attached? I didn’t see any clamping system attaching the lid to the bucket.
I was considering mounting my old craftsman shopvac to the ceiling from a couple hooks through the handle, and have the cyclone down below hanging off a bracket mounted to the wall. I have a great little corner that is really useless for anything else. I have a new large Ridgid vac that I can move where needed (garage, etc), so I am not worried about mobility.
Thanks again for awesome videos – you really are talented, not just at the crafting – your editing is top notch!
Jeff
Hey Jeff. The lid easily pops off the bucket while the bucket is in place. Then slide the bucket out and the lid just stays there if still attached to the tool hose. Dump the bucket, gently lift the lid slightly, and return the bucket. Then snap the lid back on.